While I’m waiting for the paint to dry… or the watched pot to boil… or the snow to stop falling etc.etc.etc.. I thought I’d spend a short time here to put some pix of my first large diorama that is on the archived pages. I wont bore anyone with a long winded backstory, or step by step… just a slew of pix that will give most everyone a glimpse into the wild wild world that is my inner self; a builder of enormously huge vision, who often flies by the seat of his Khaki pants. A dreamer and a free thinker, who sometimes lacks the necessary planning and wherewithal to make his internal thoughts come to life on 35th scale. So without any further Adieu, let the fun begin…
Great work. Can you tell us a bit about the construction of the church and interior eg what materials you used and how you went about it? I’m very interested.
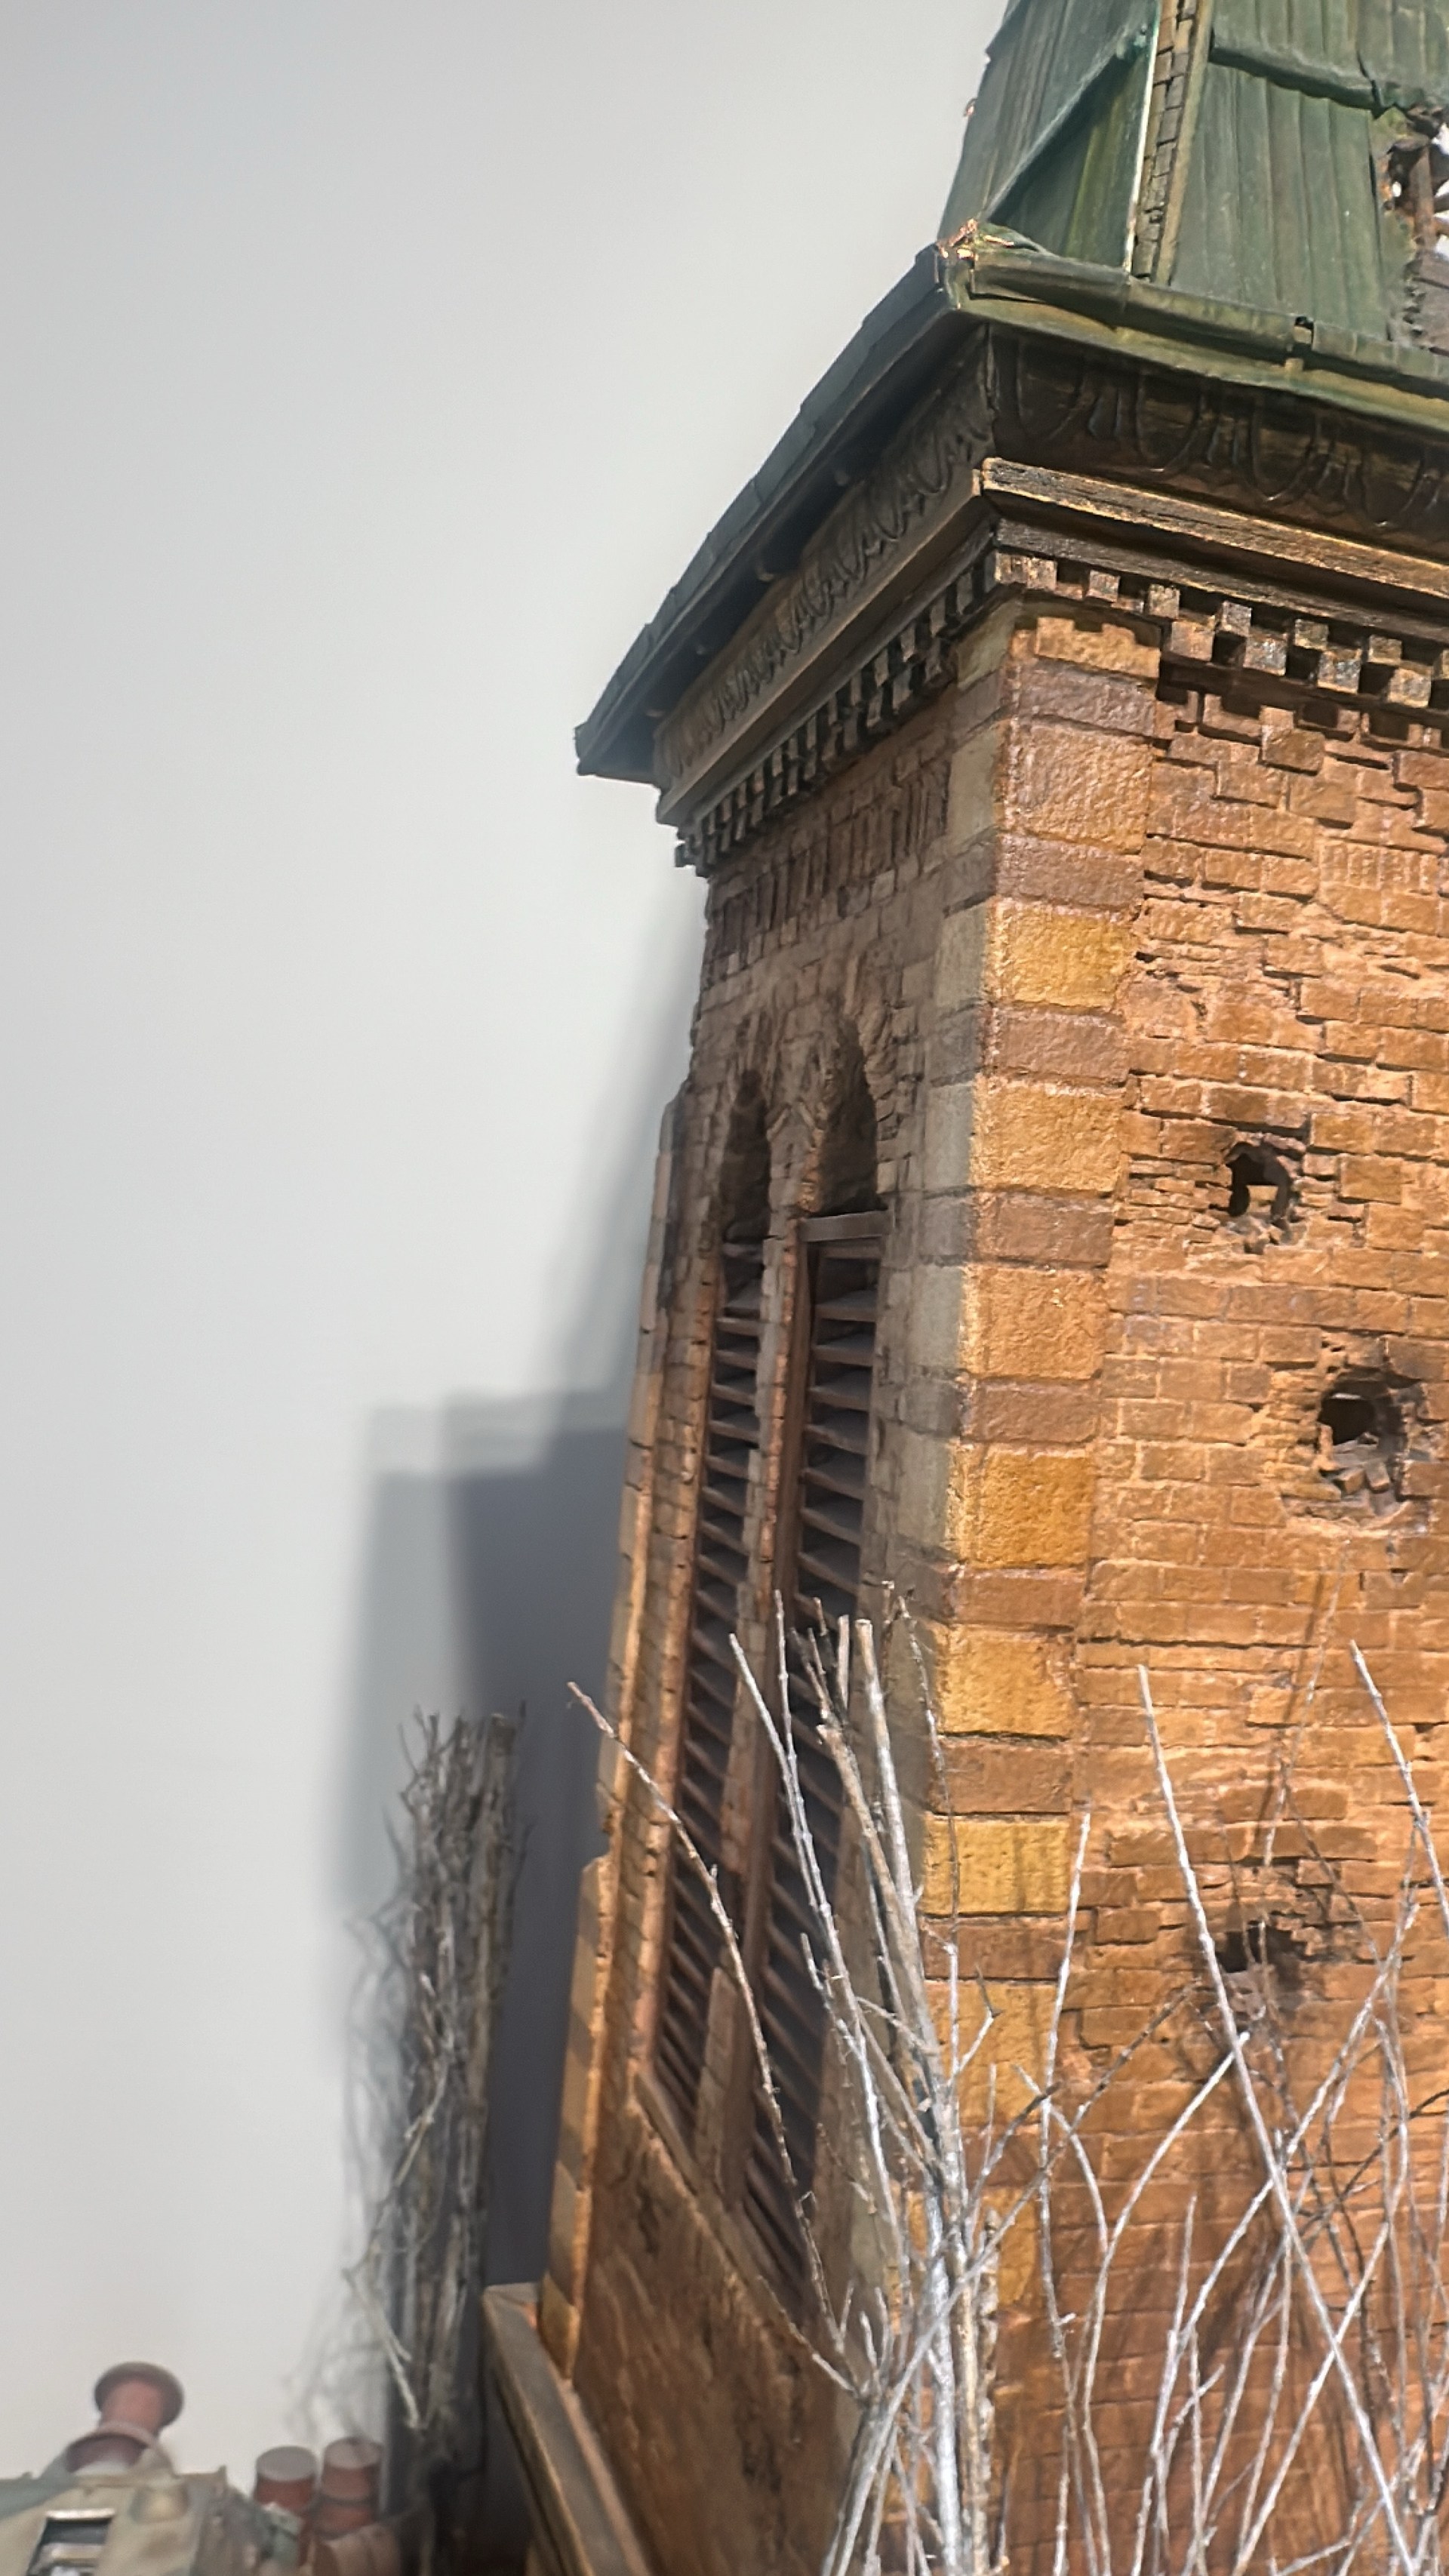
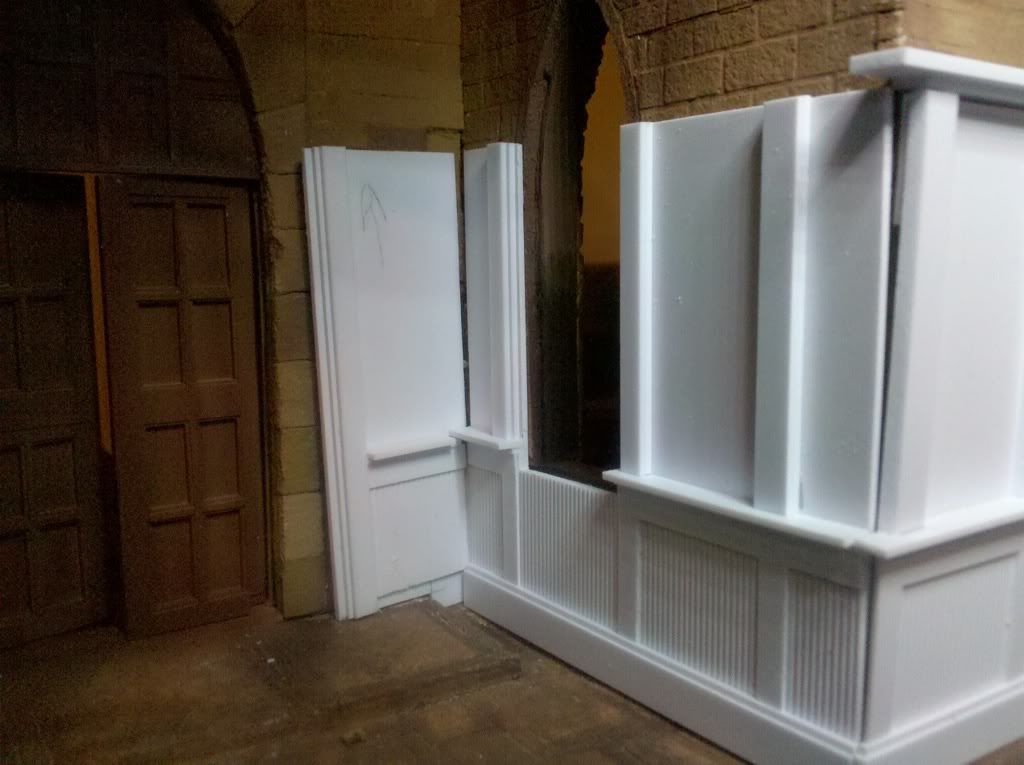
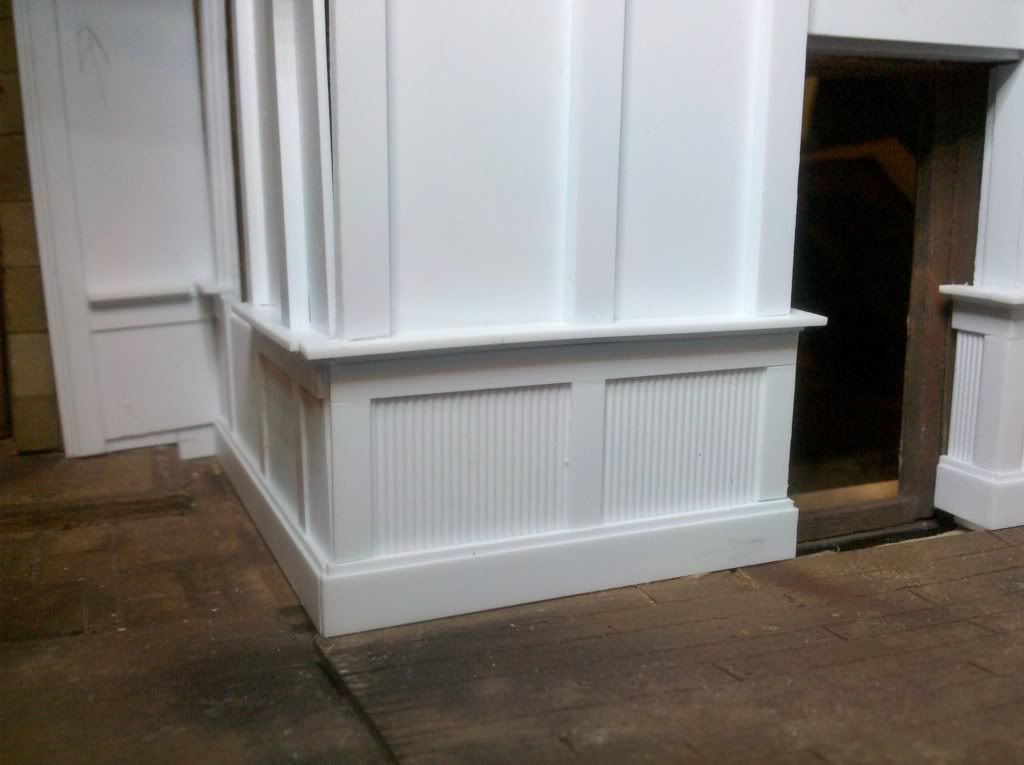
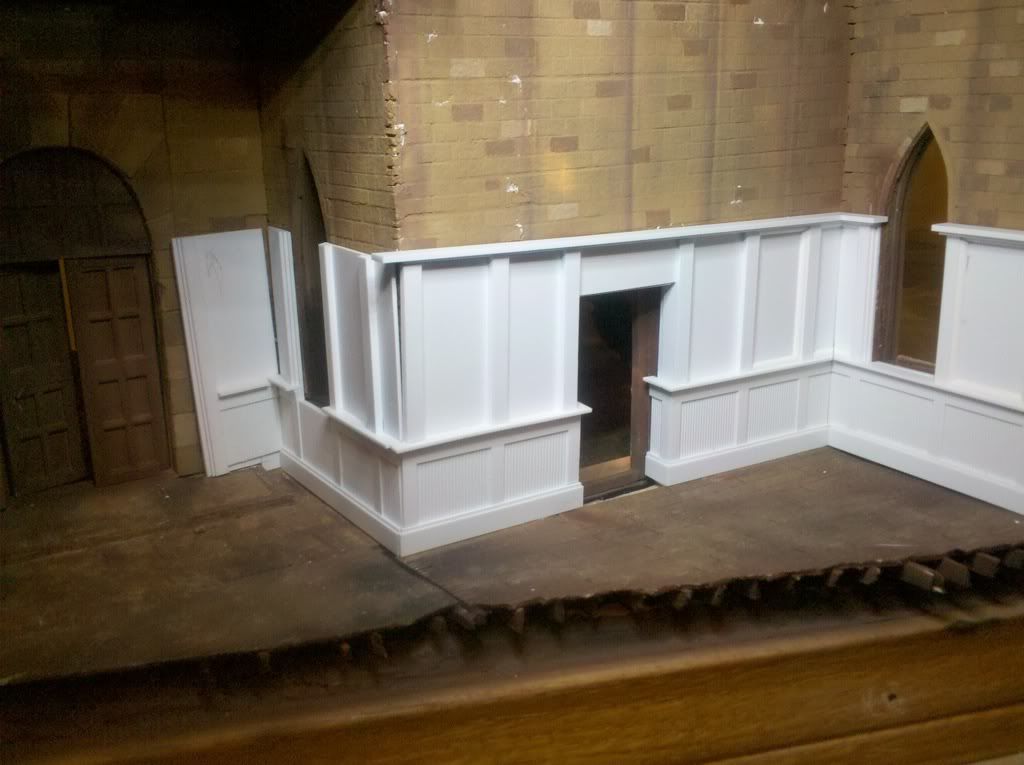
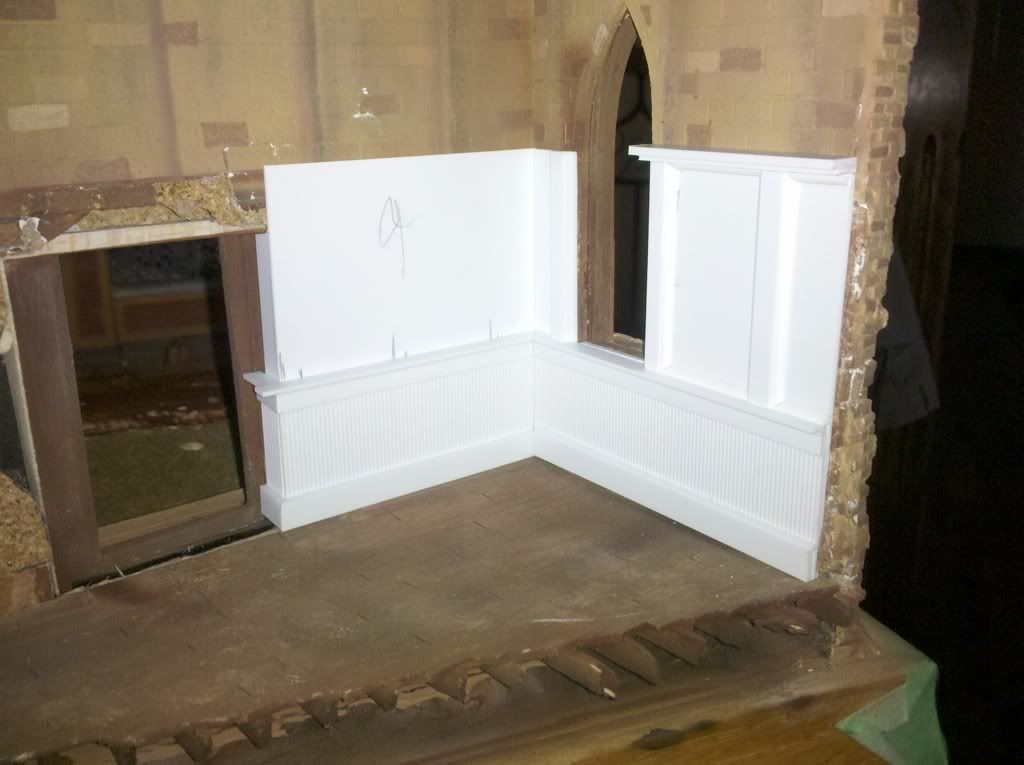
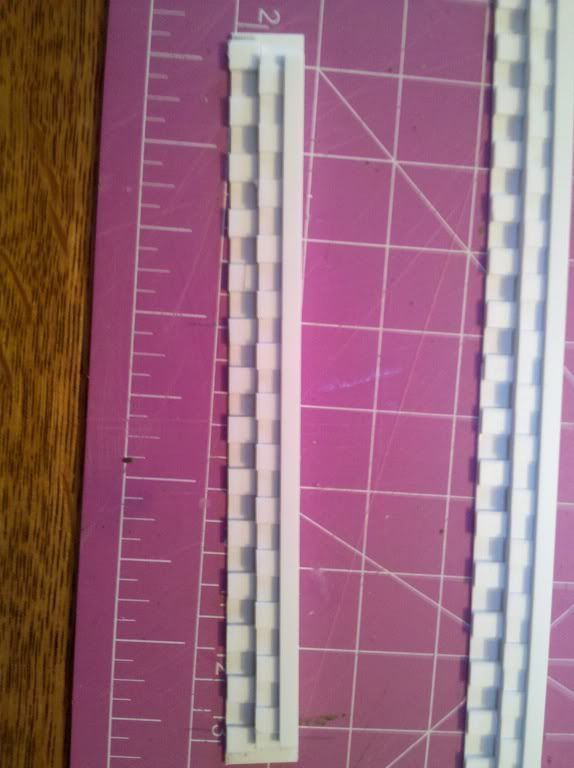
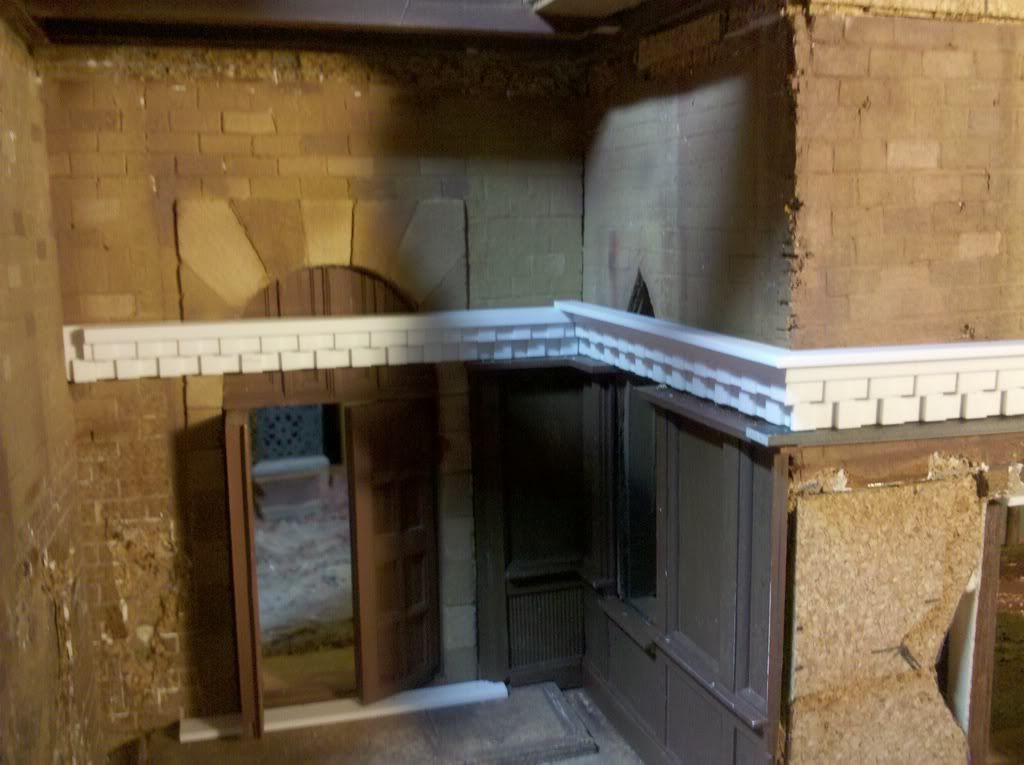
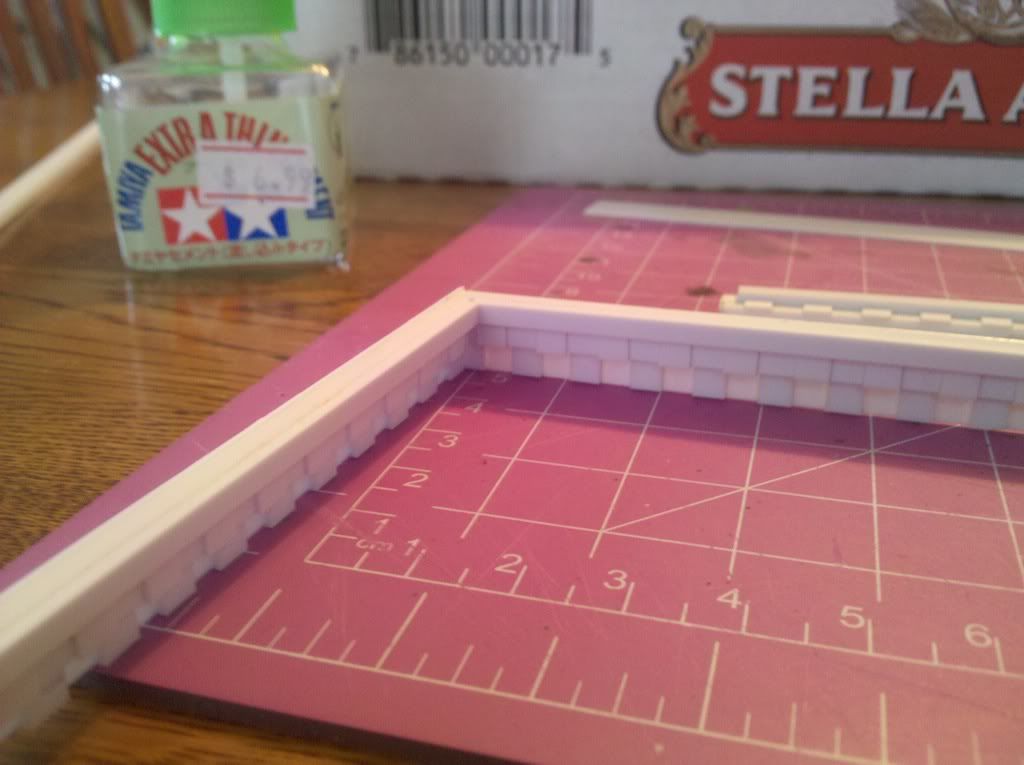
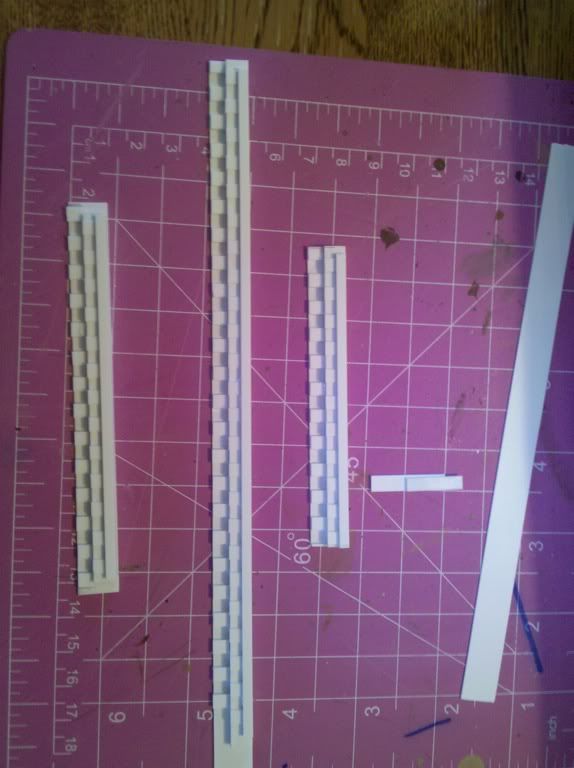
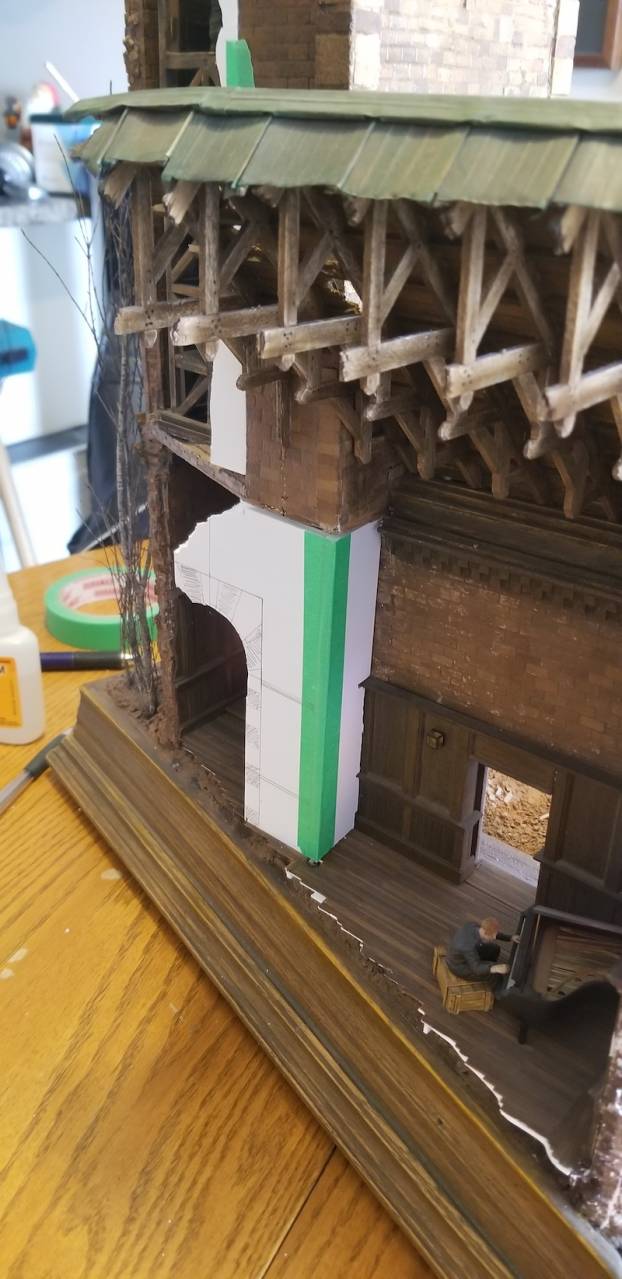
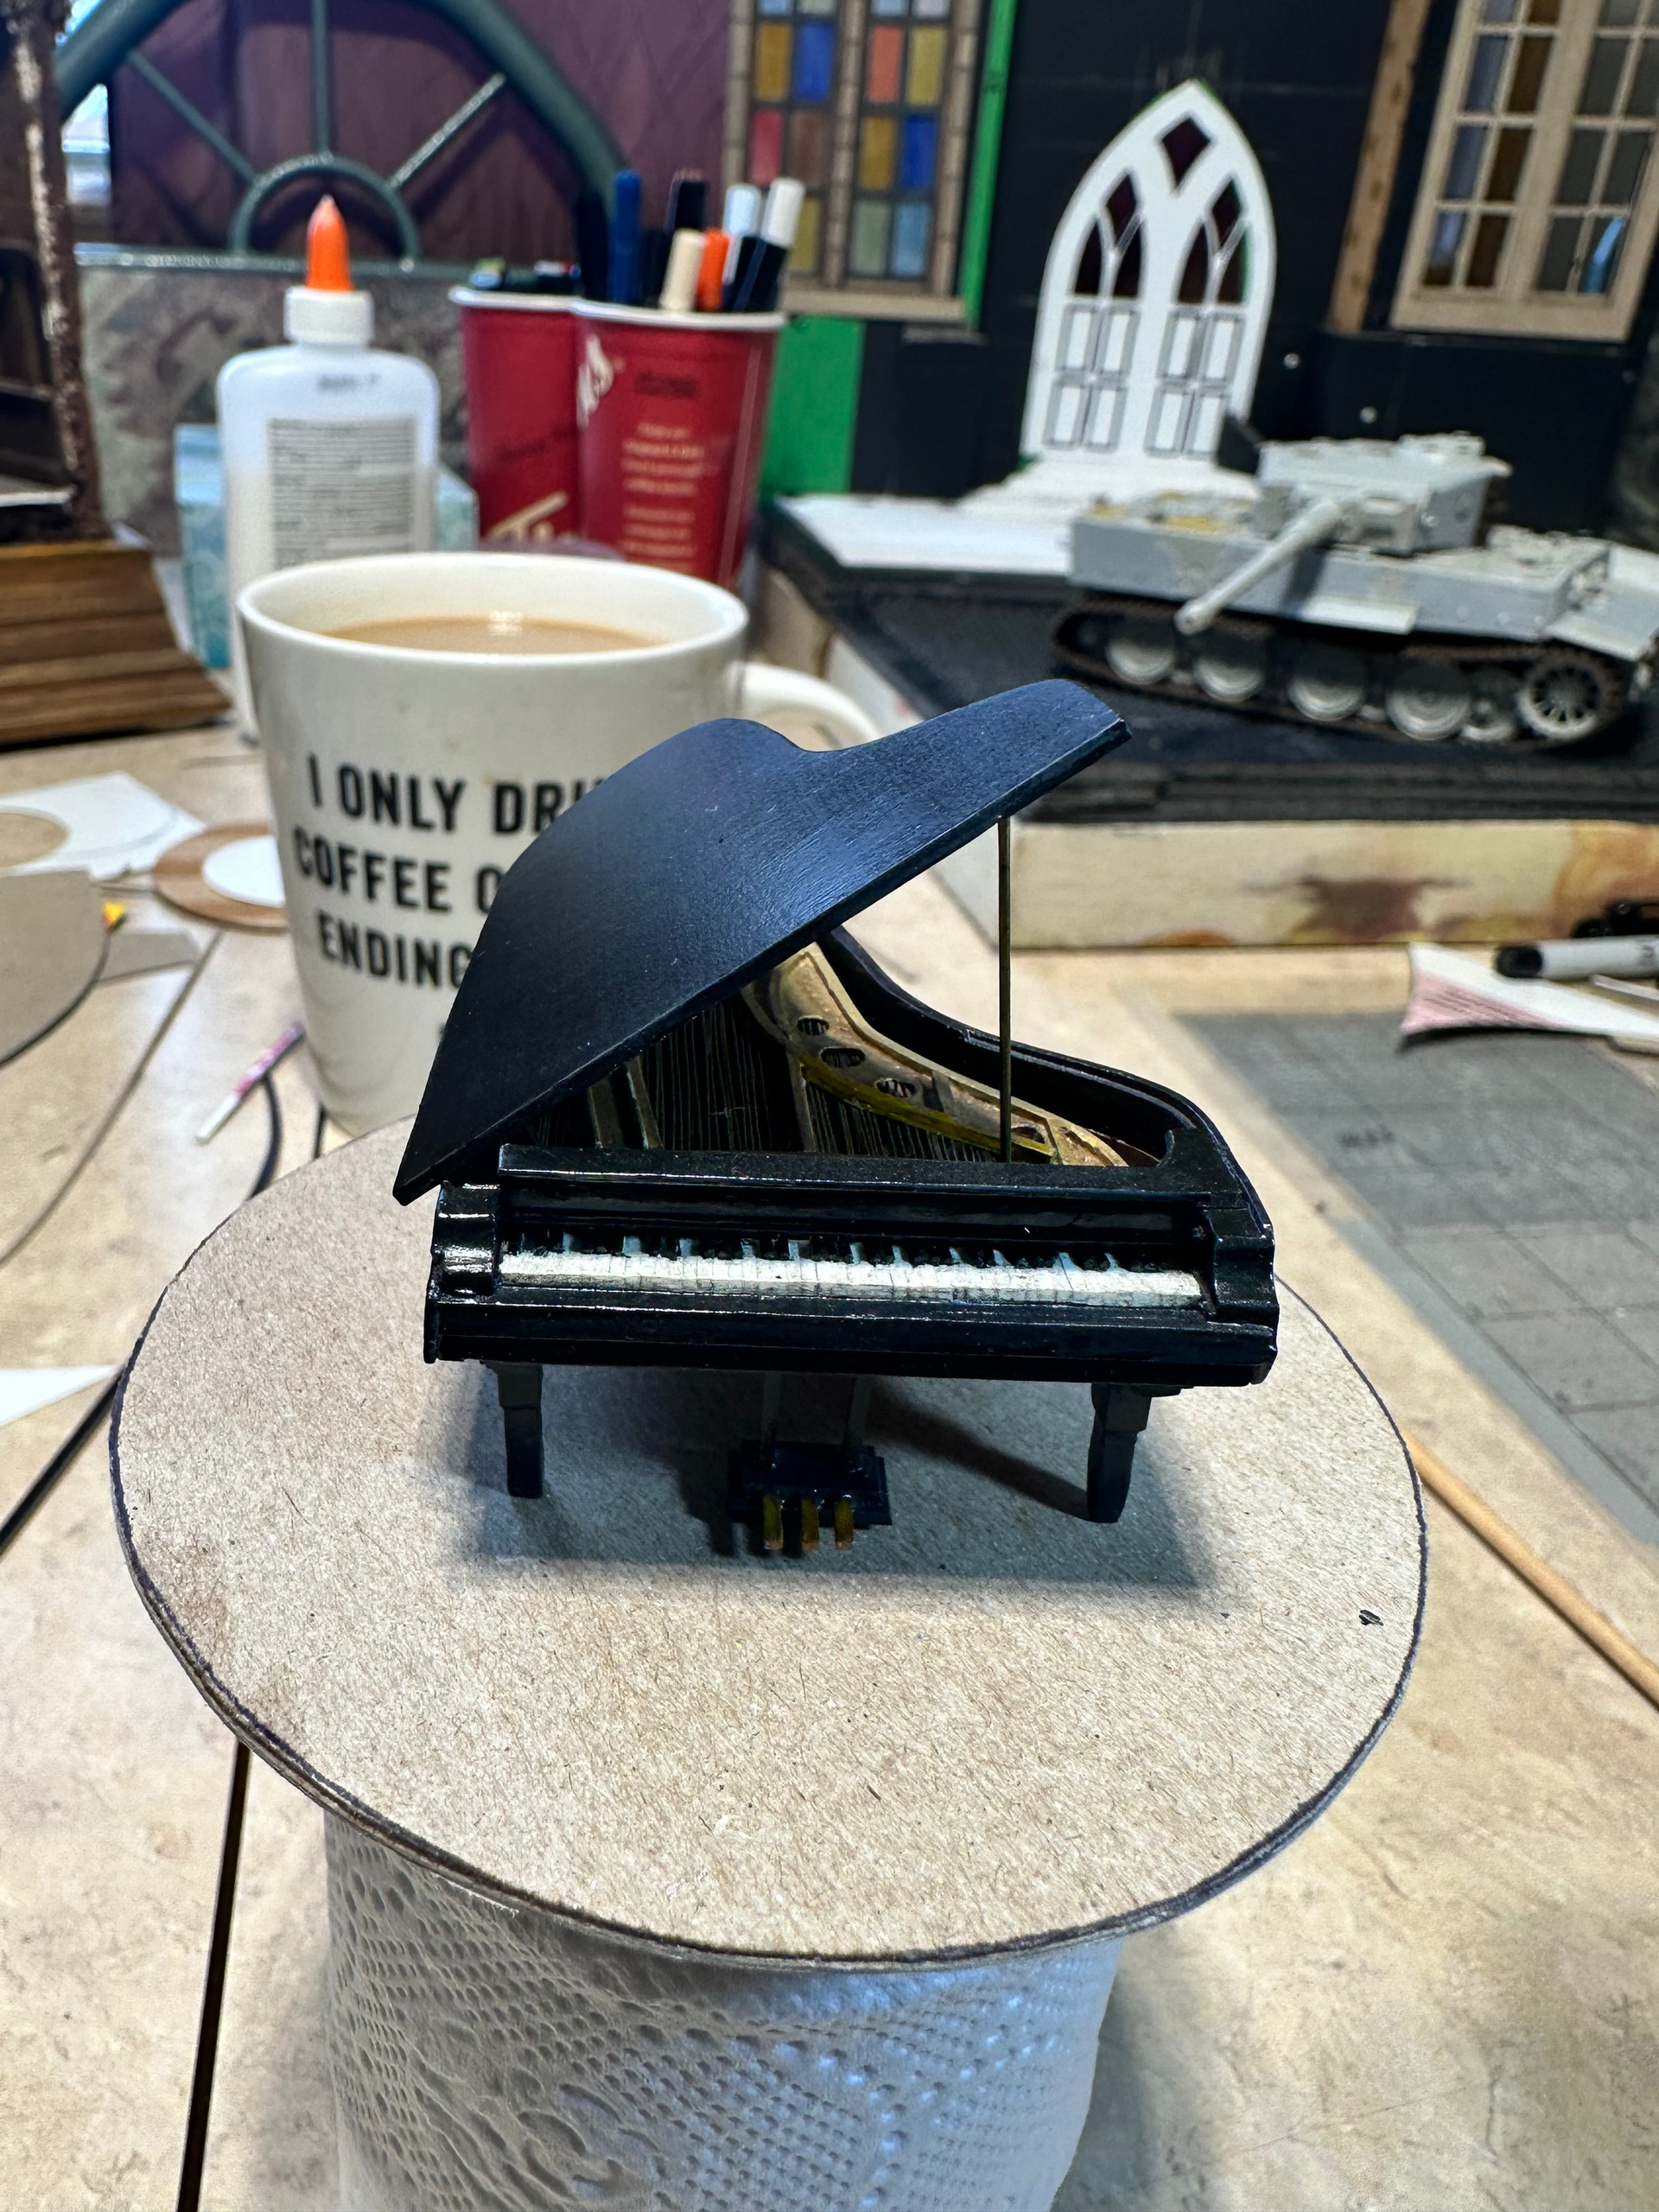
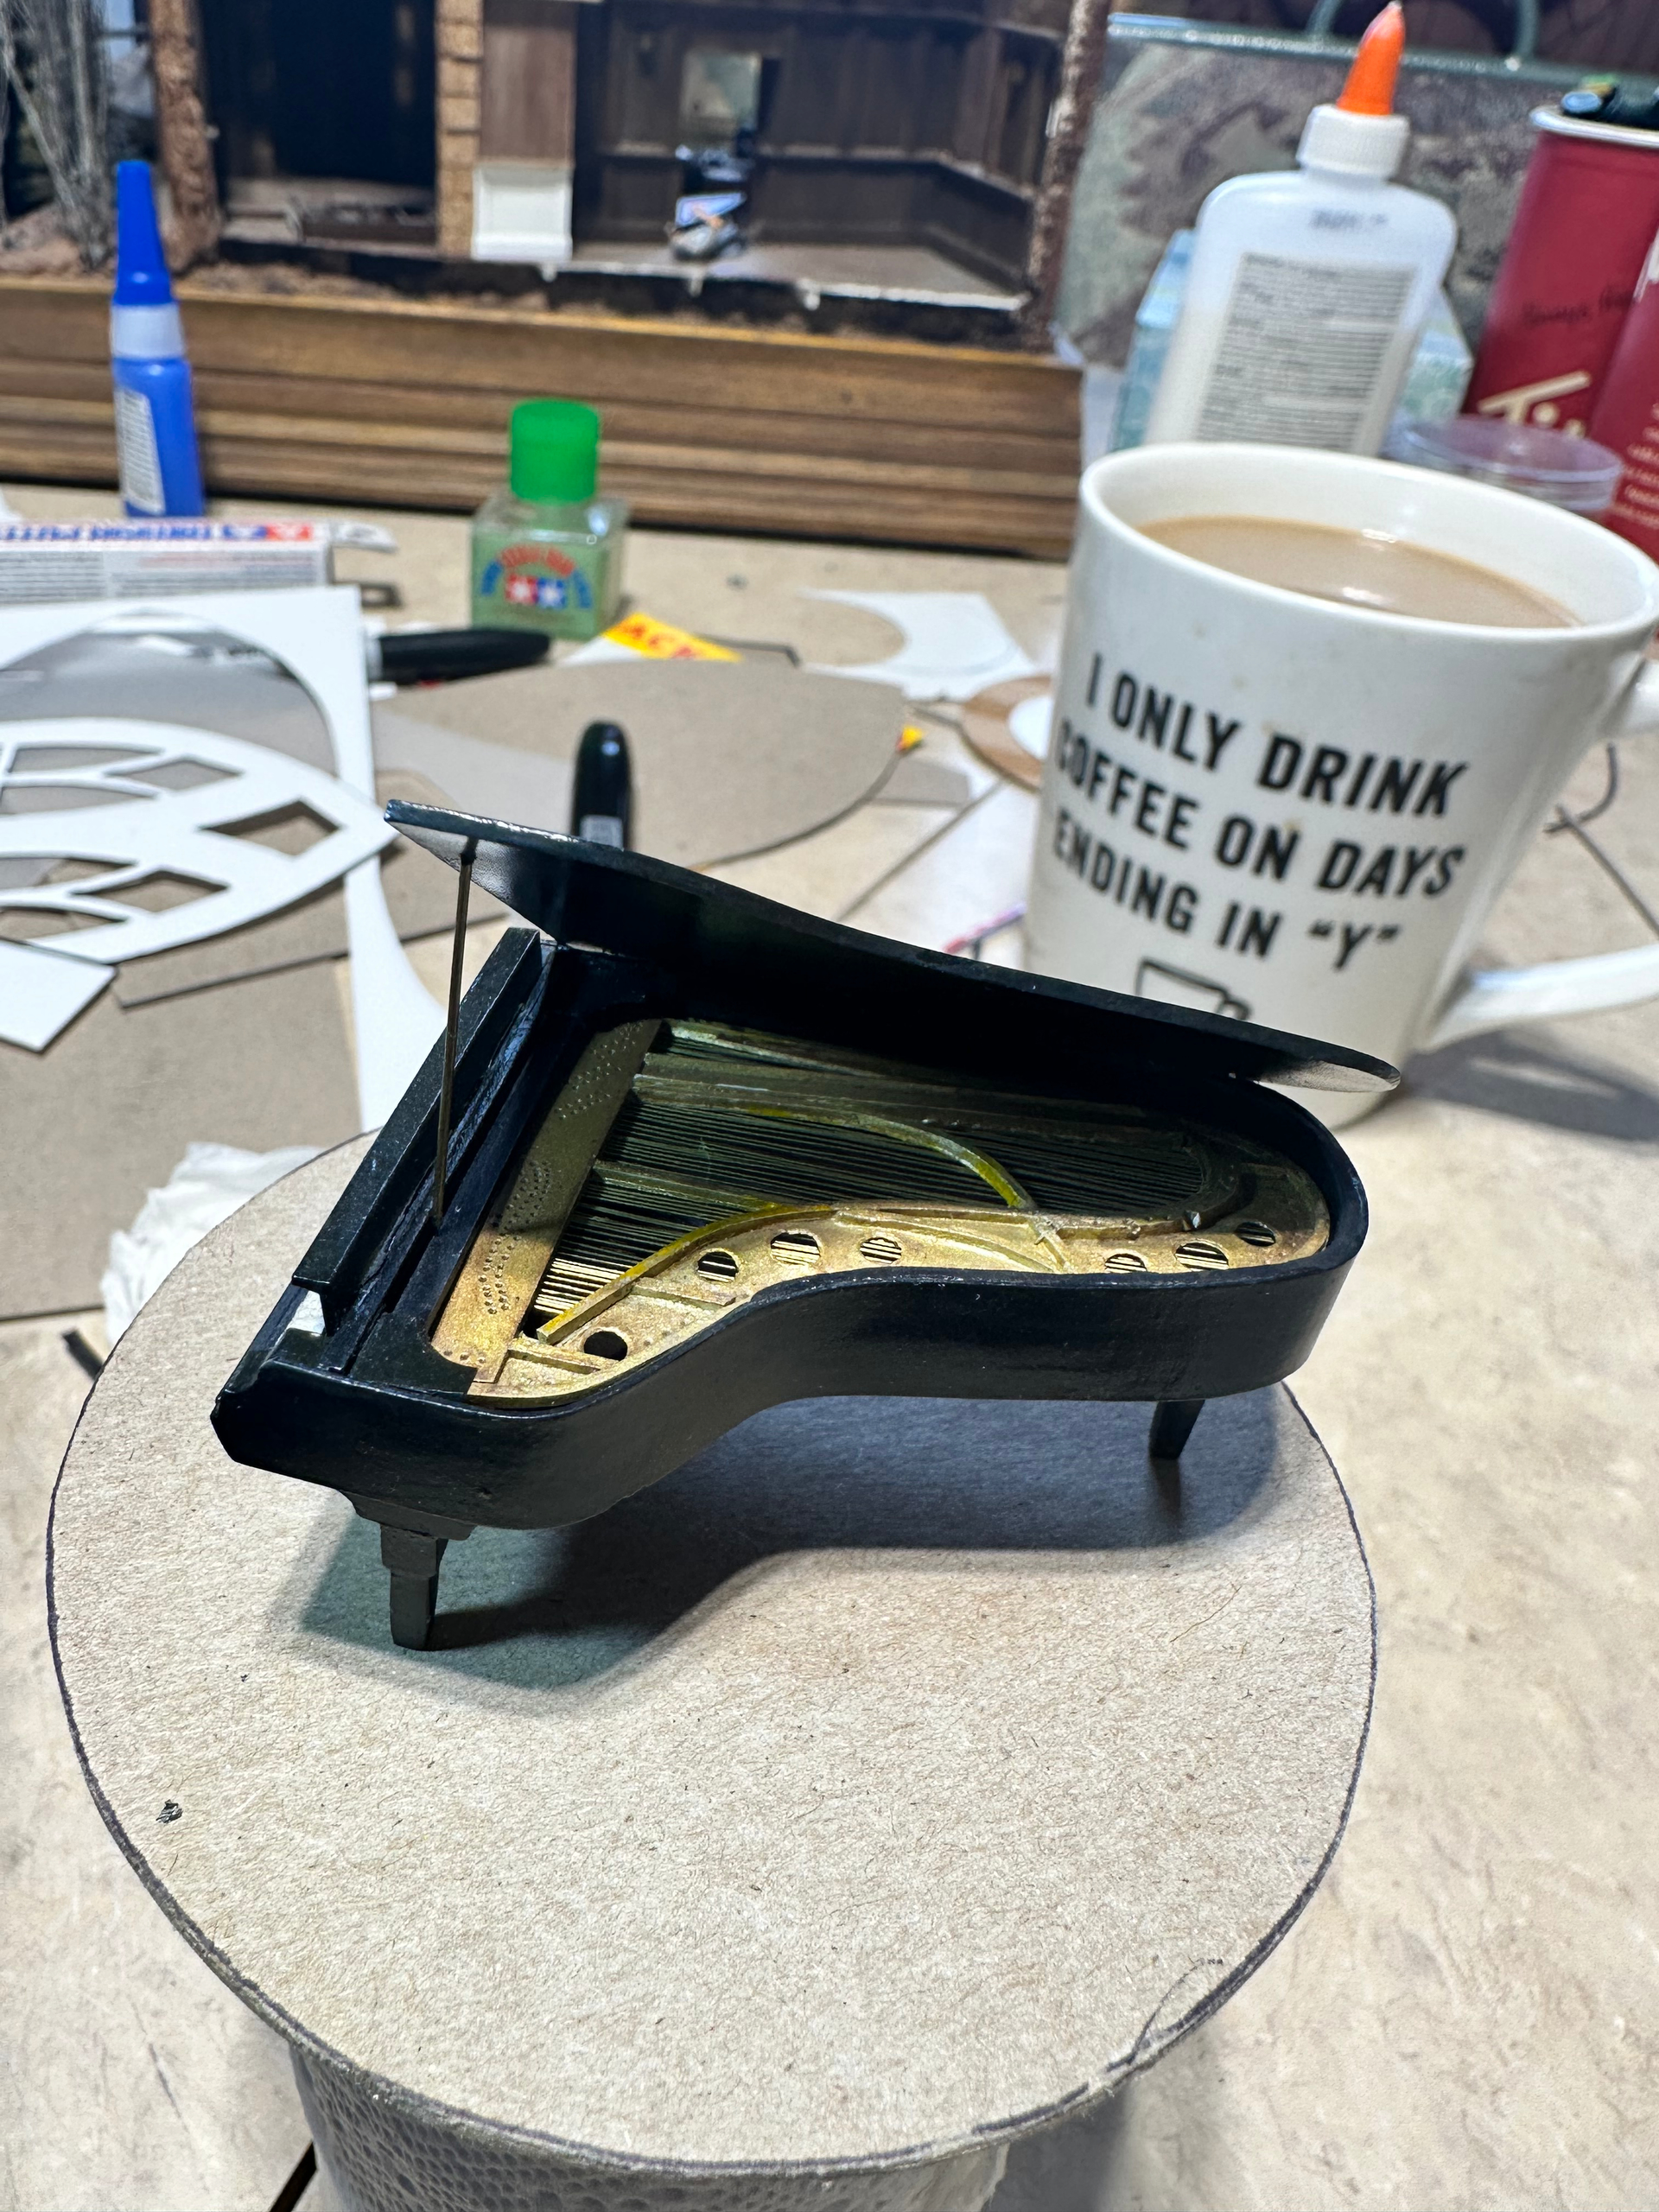
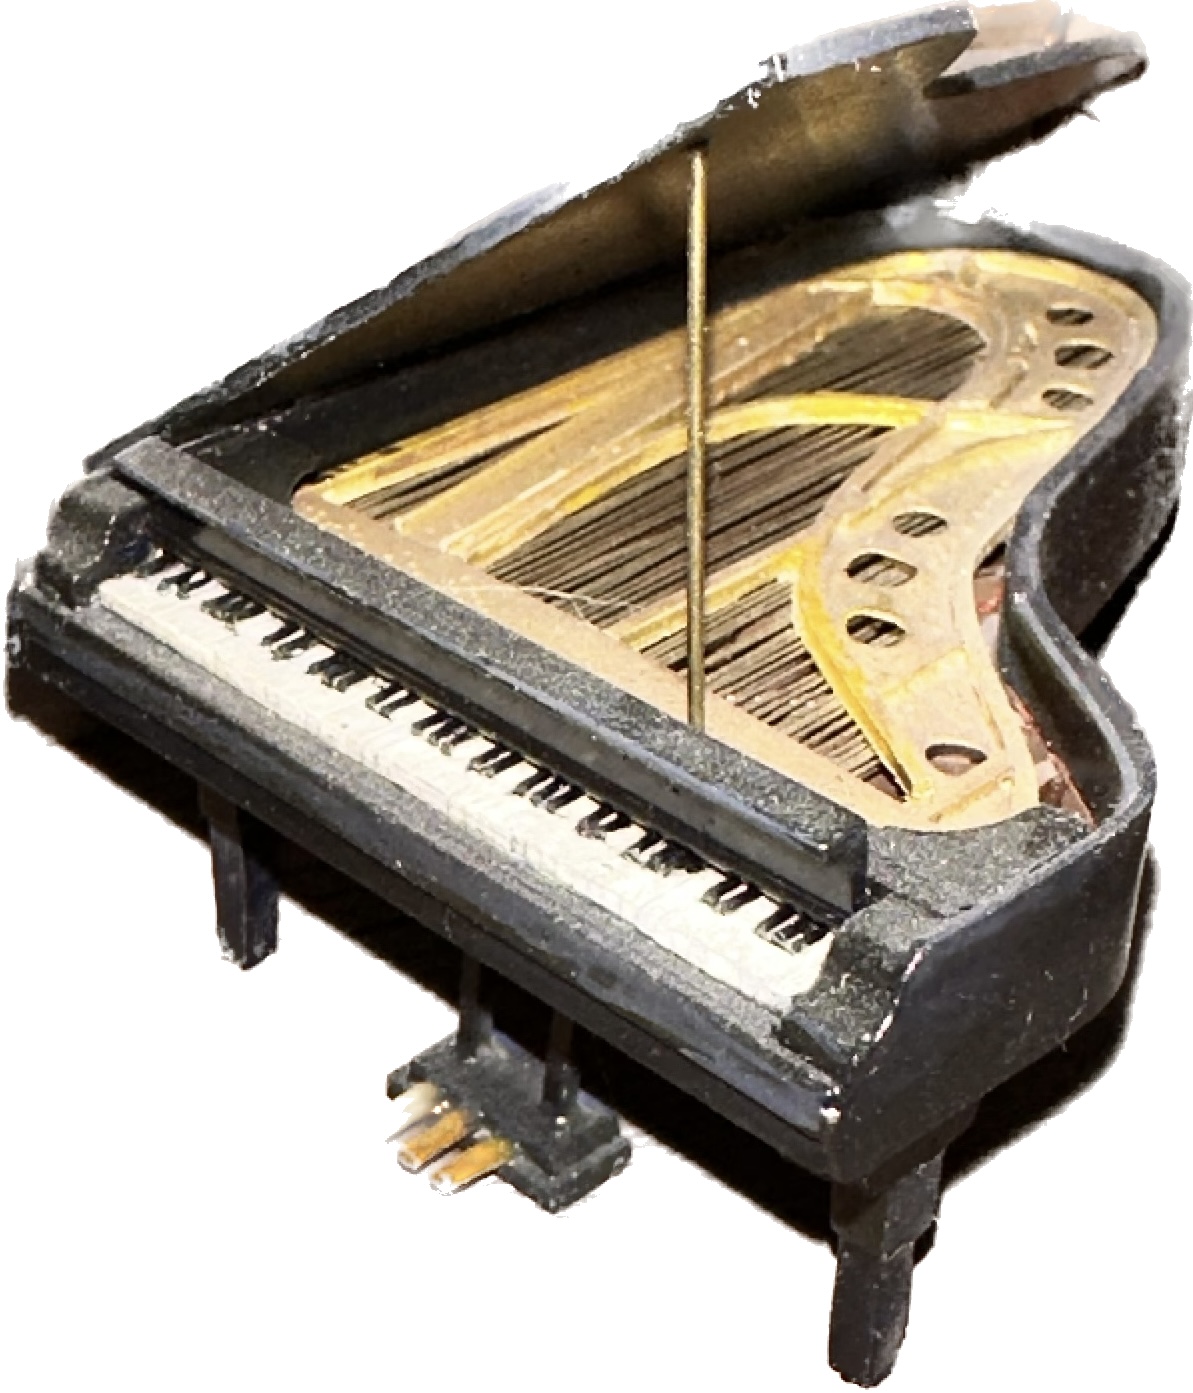
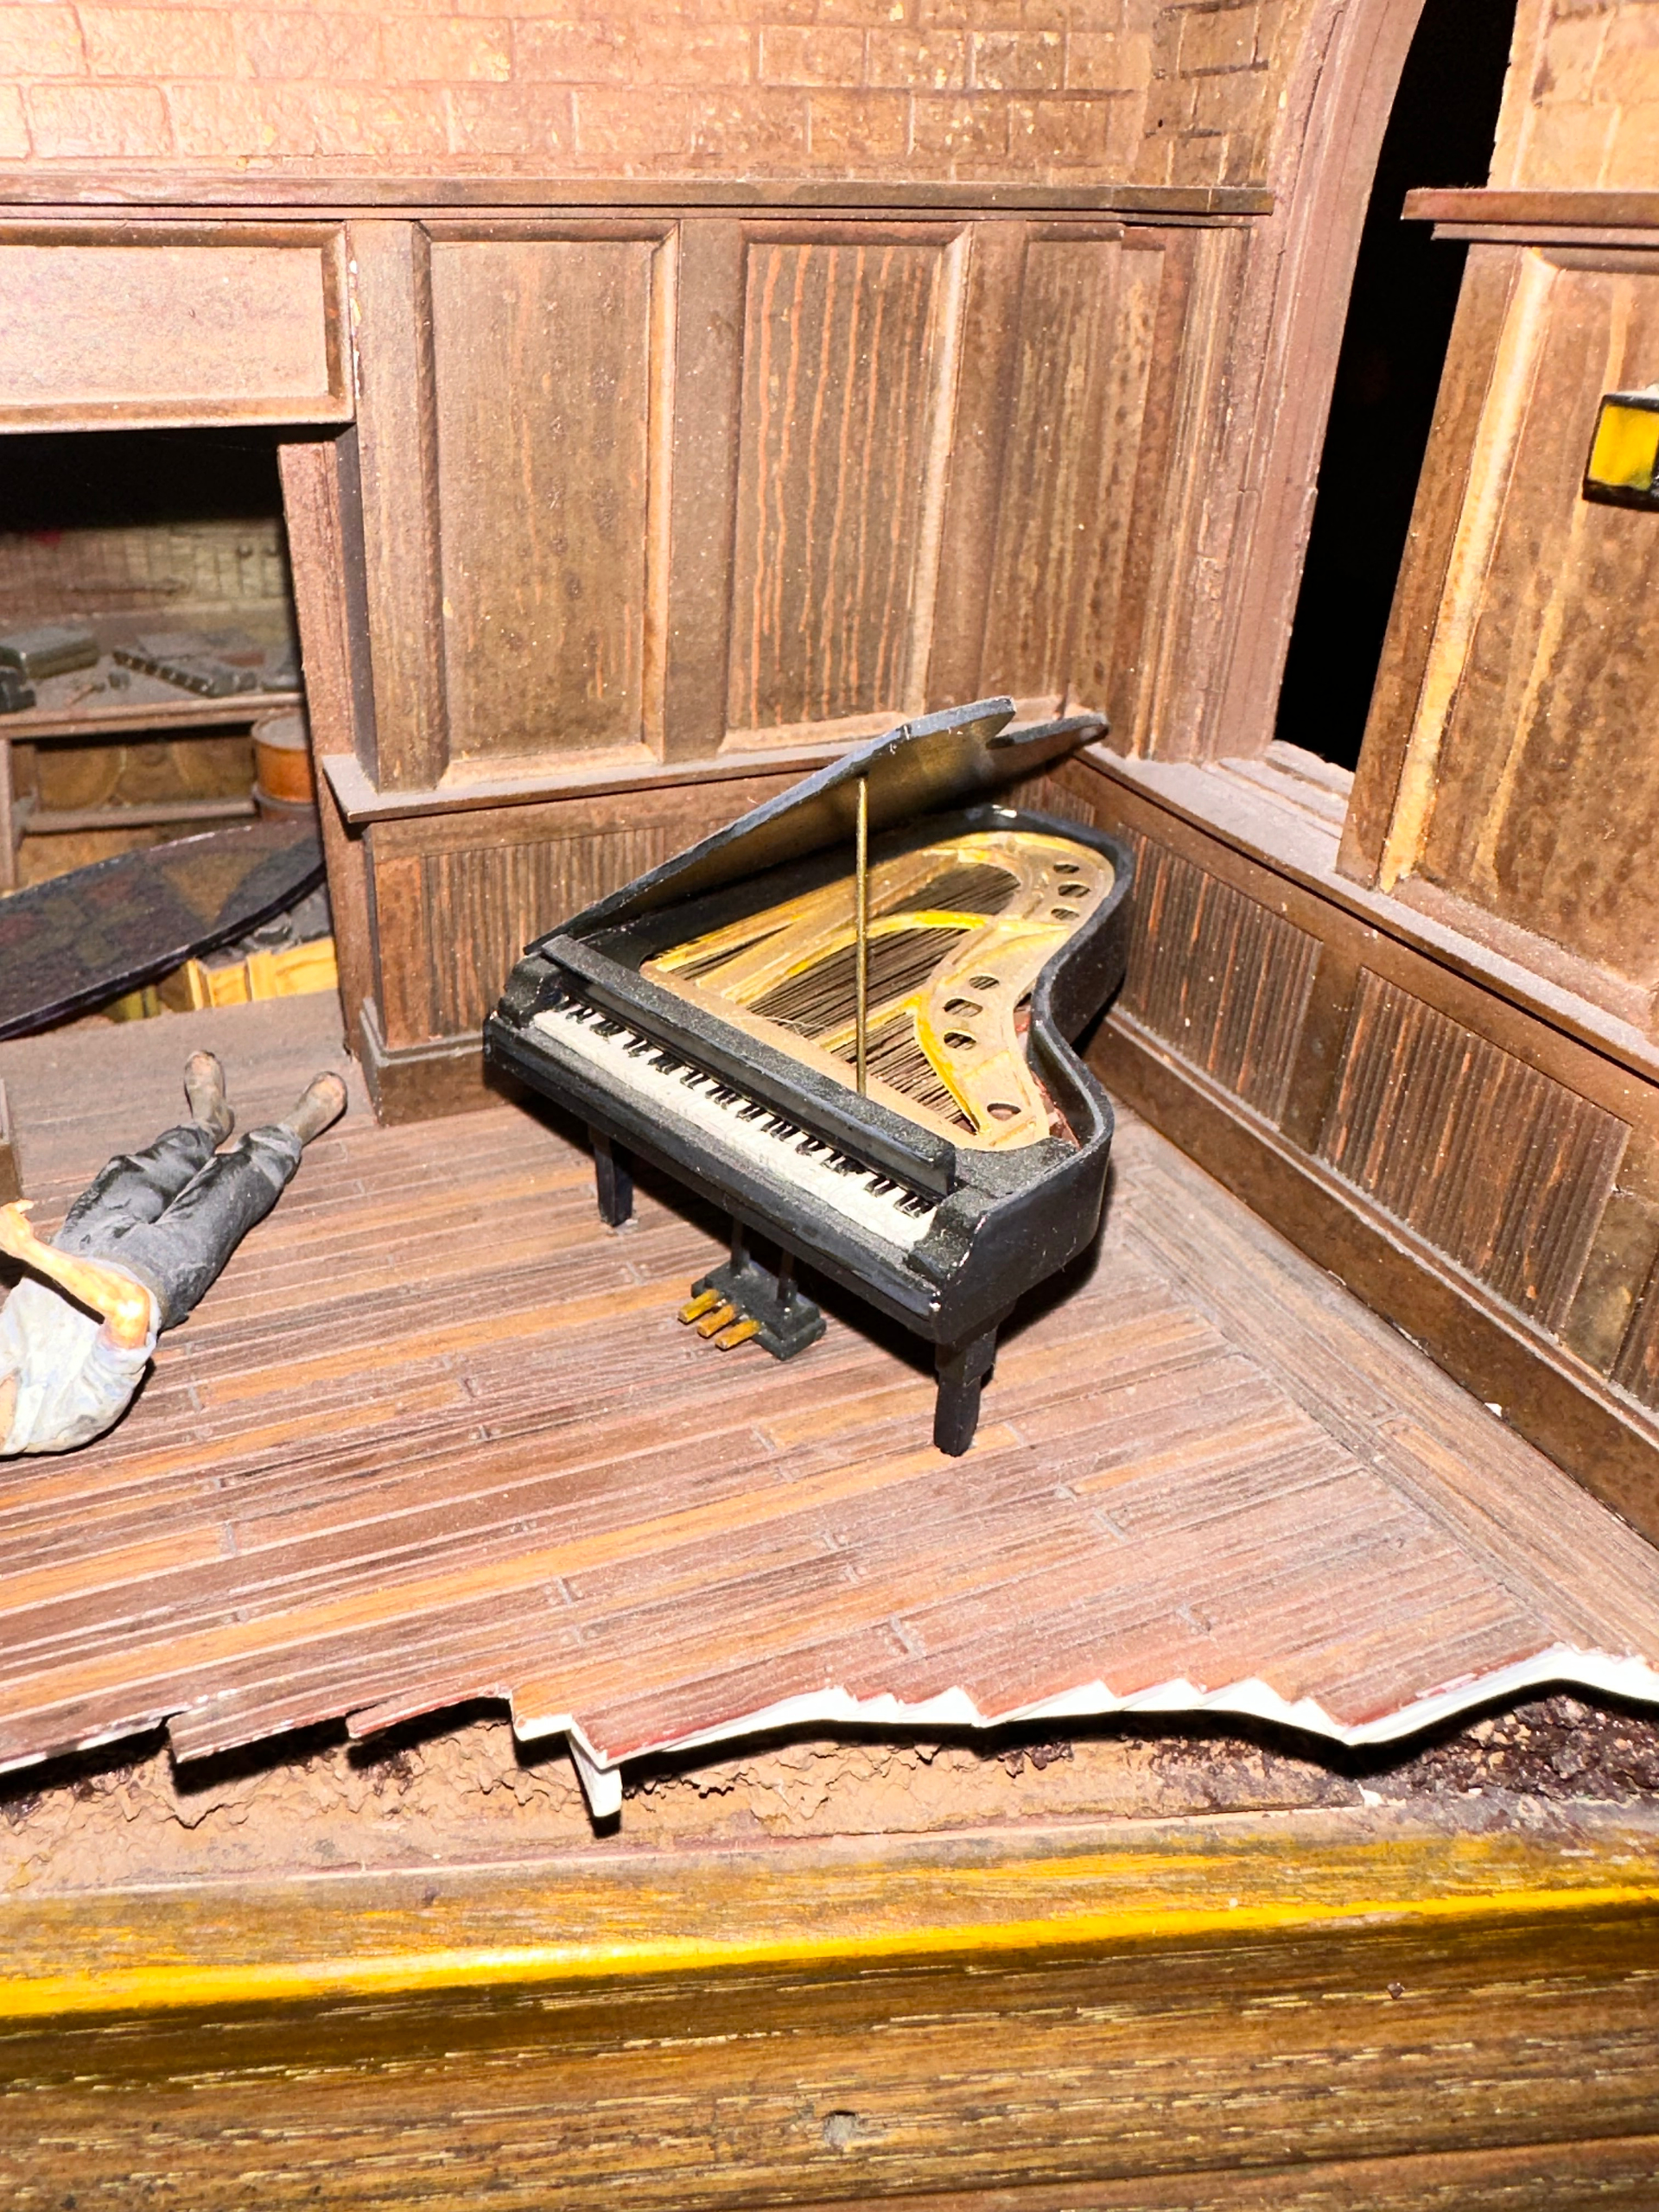
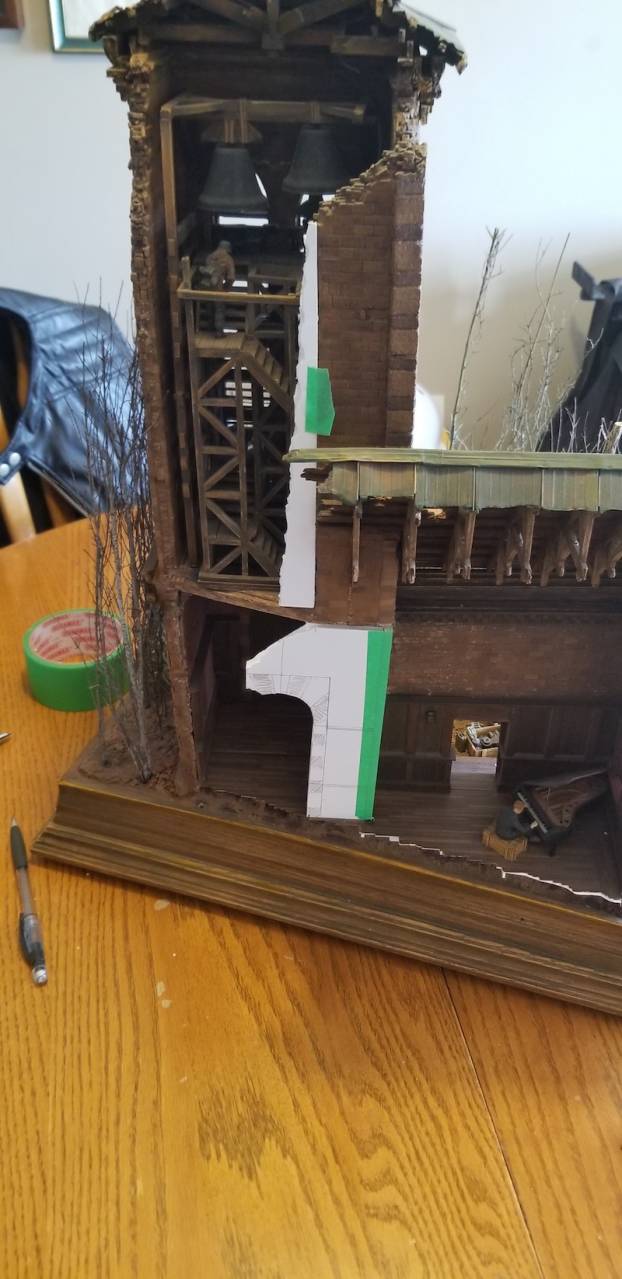
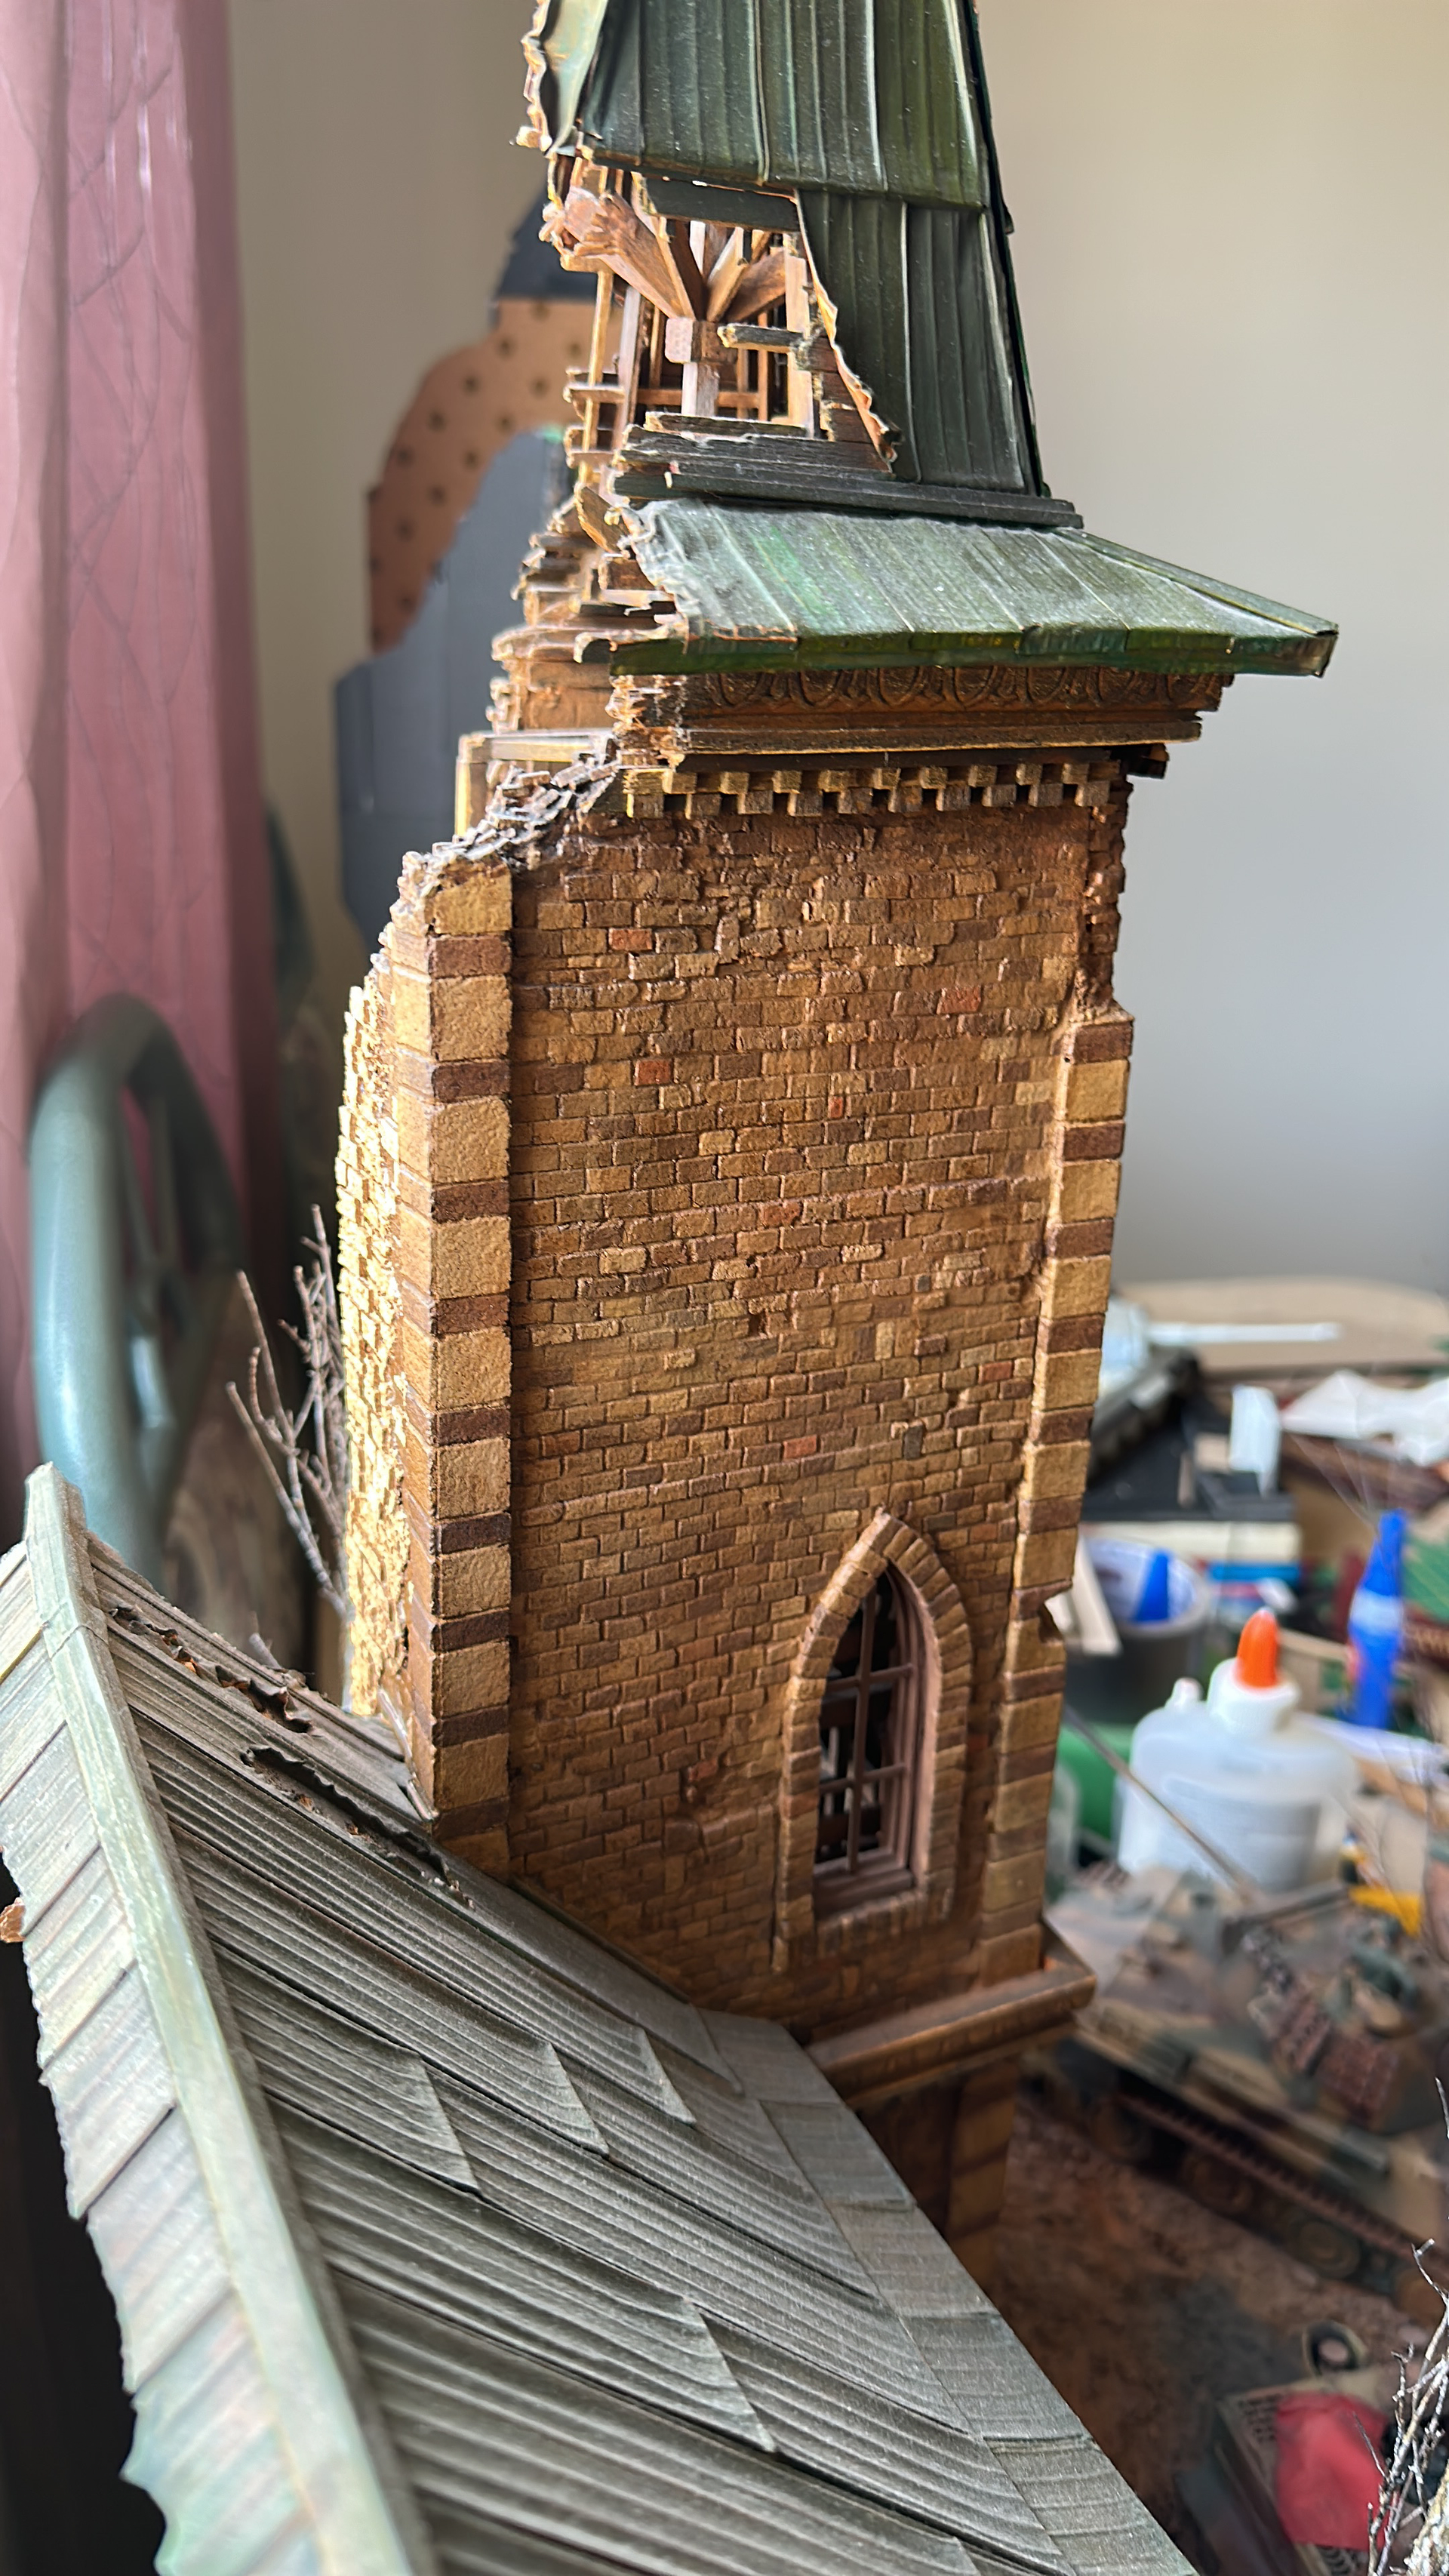
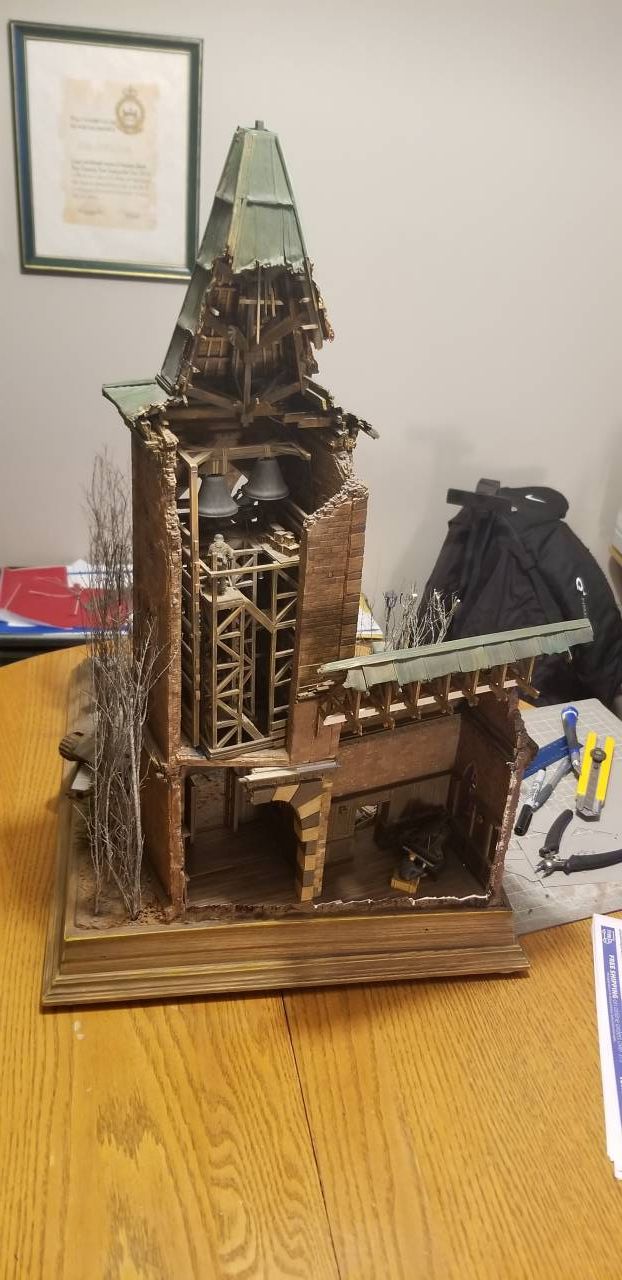
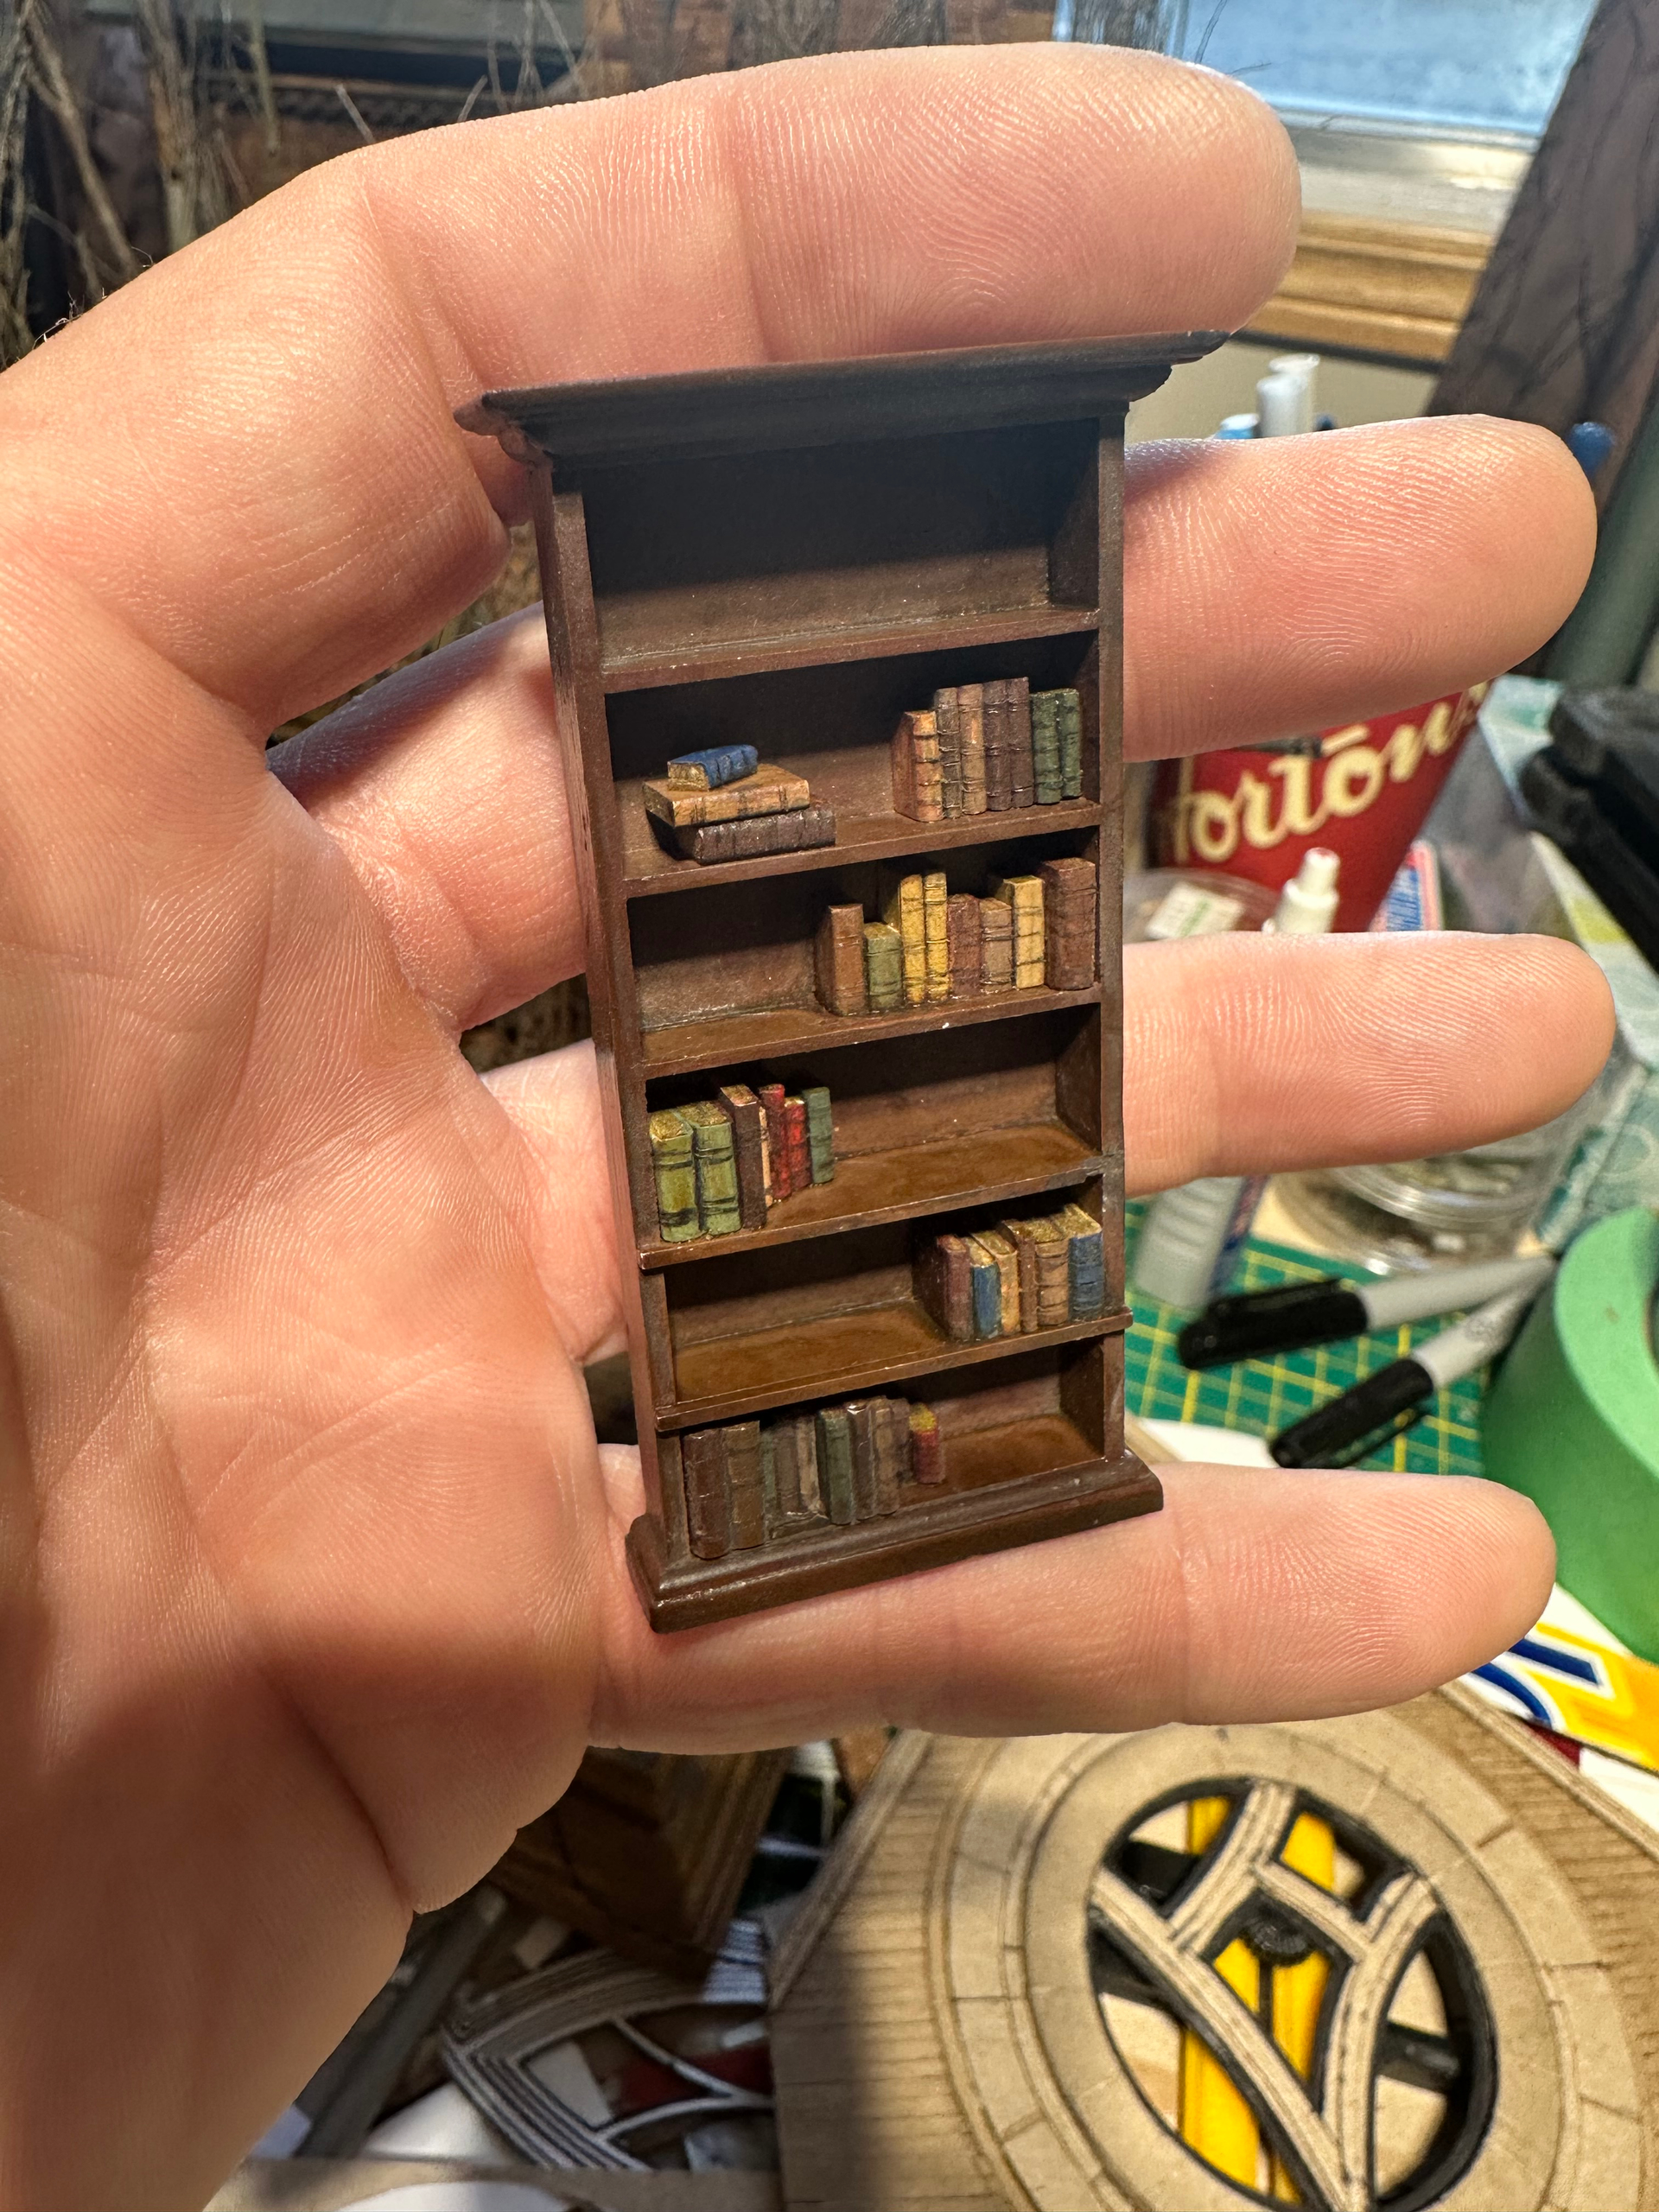
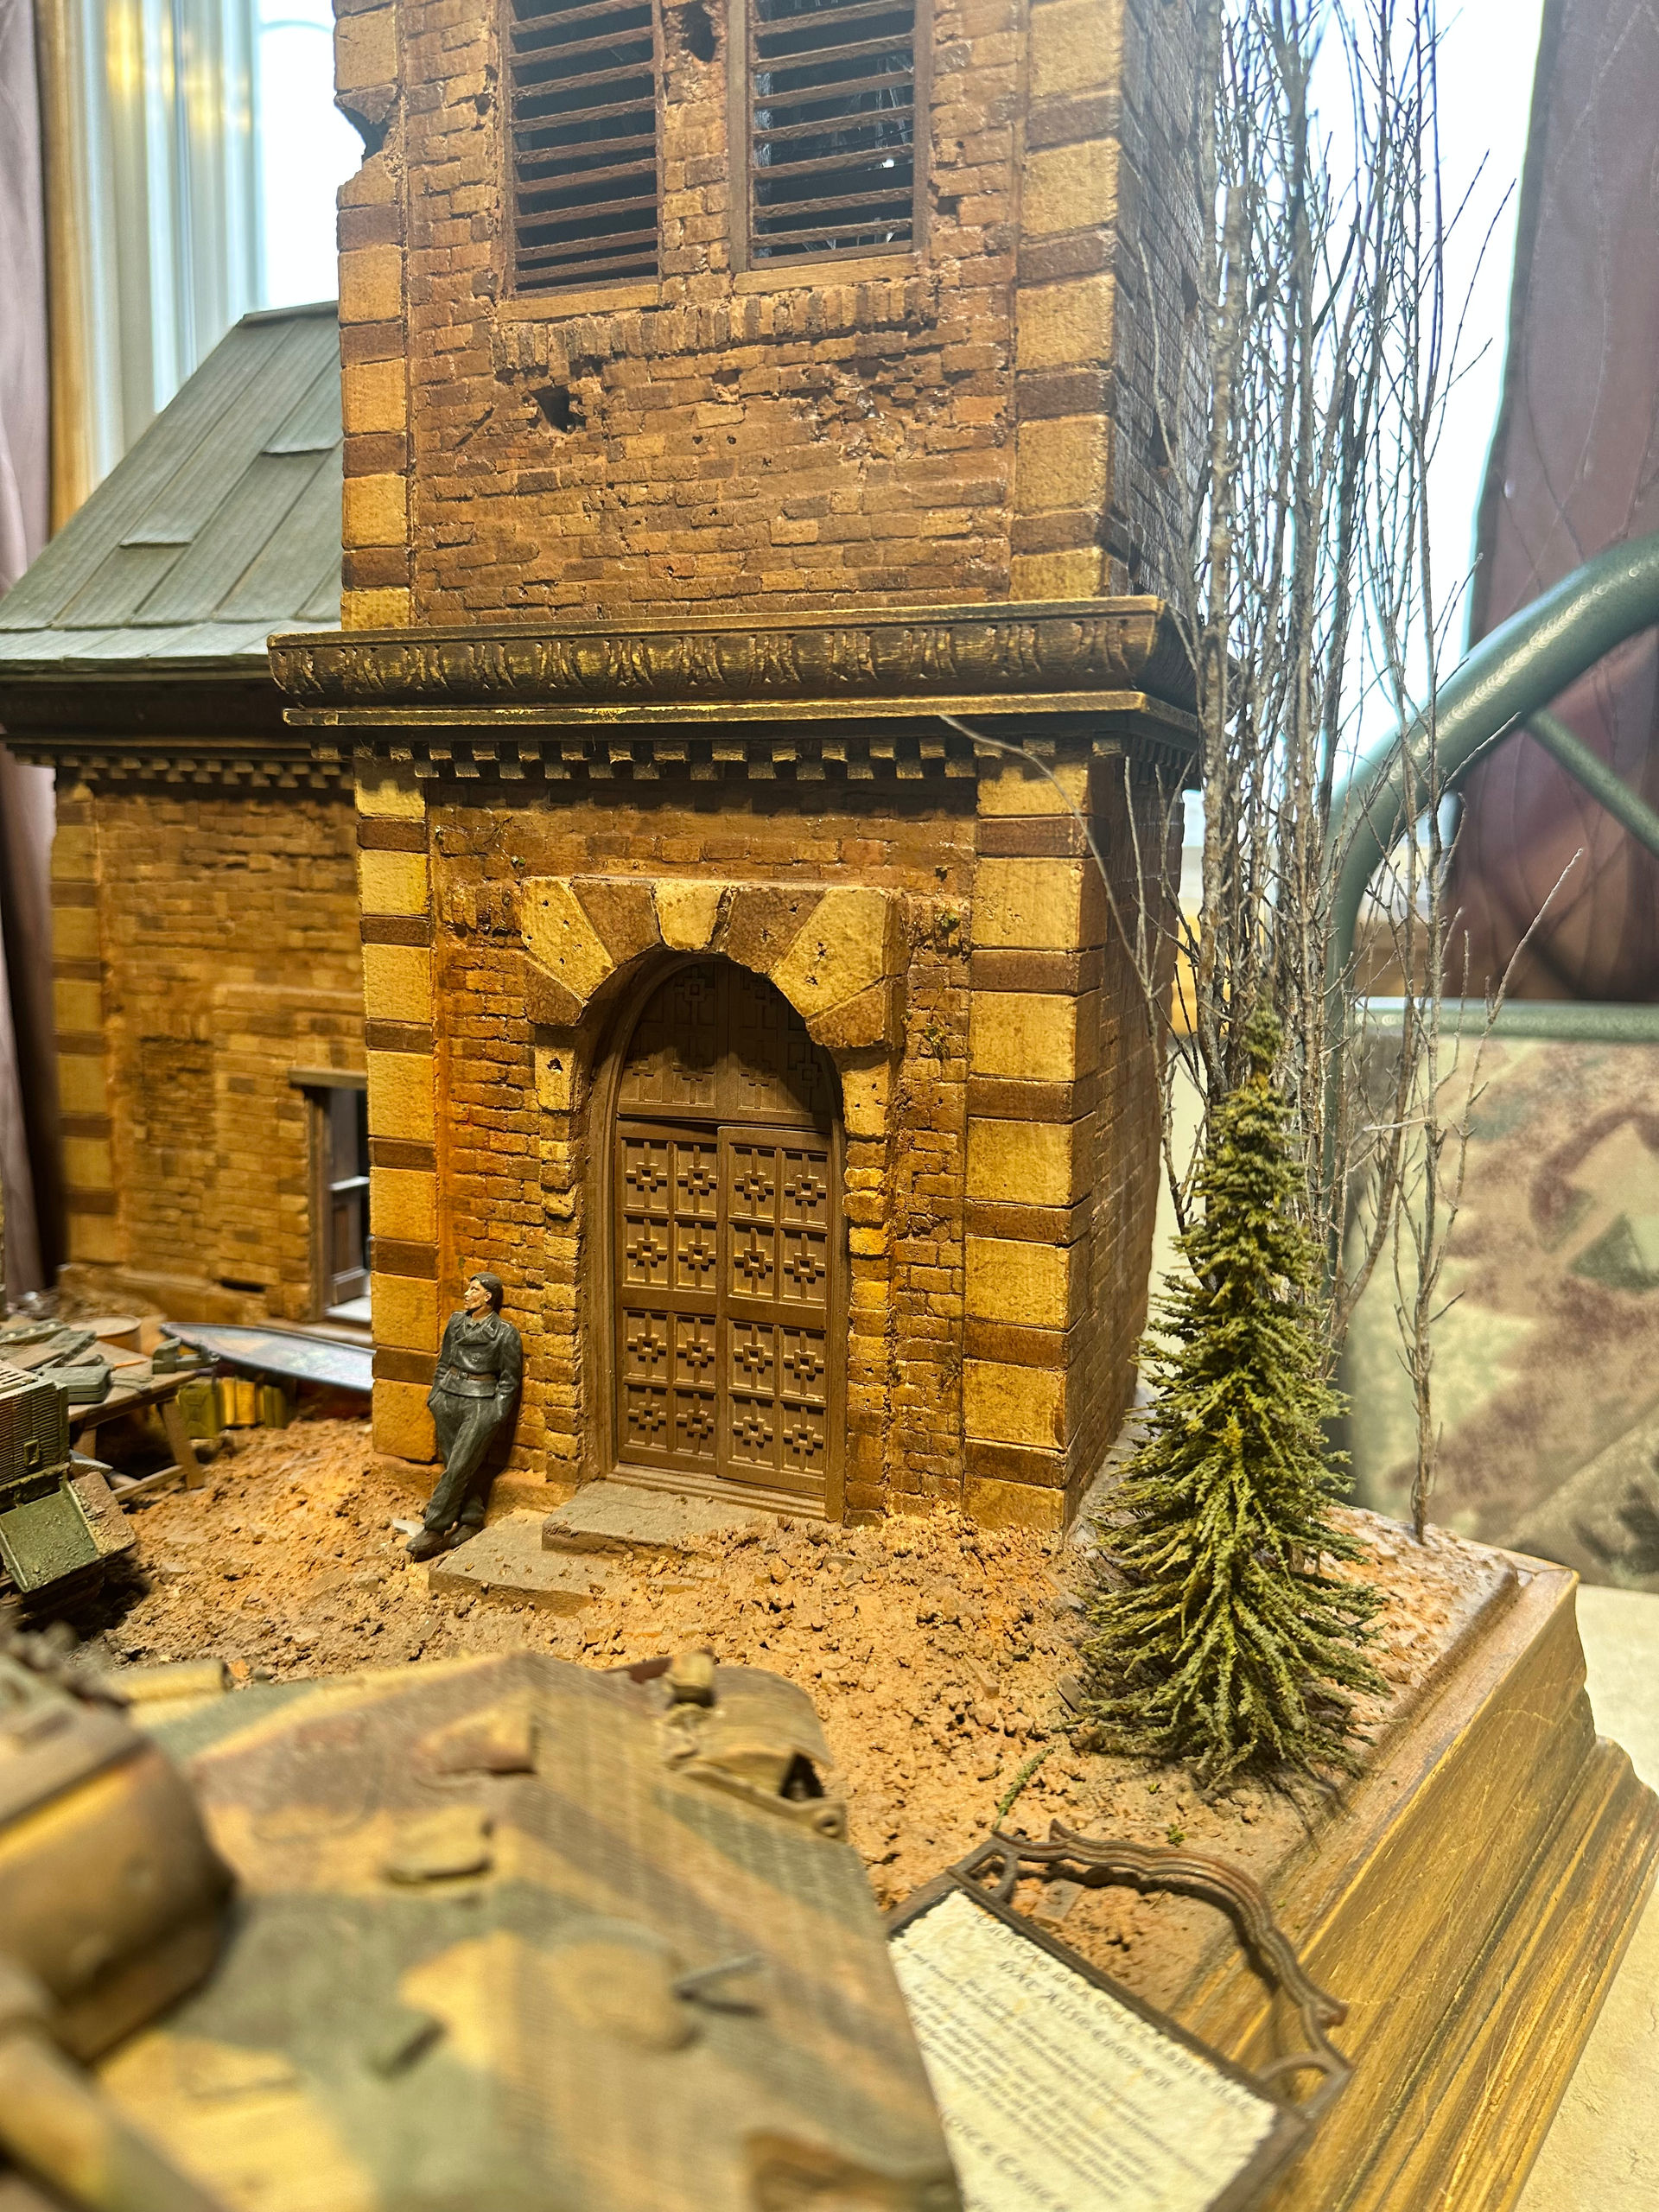
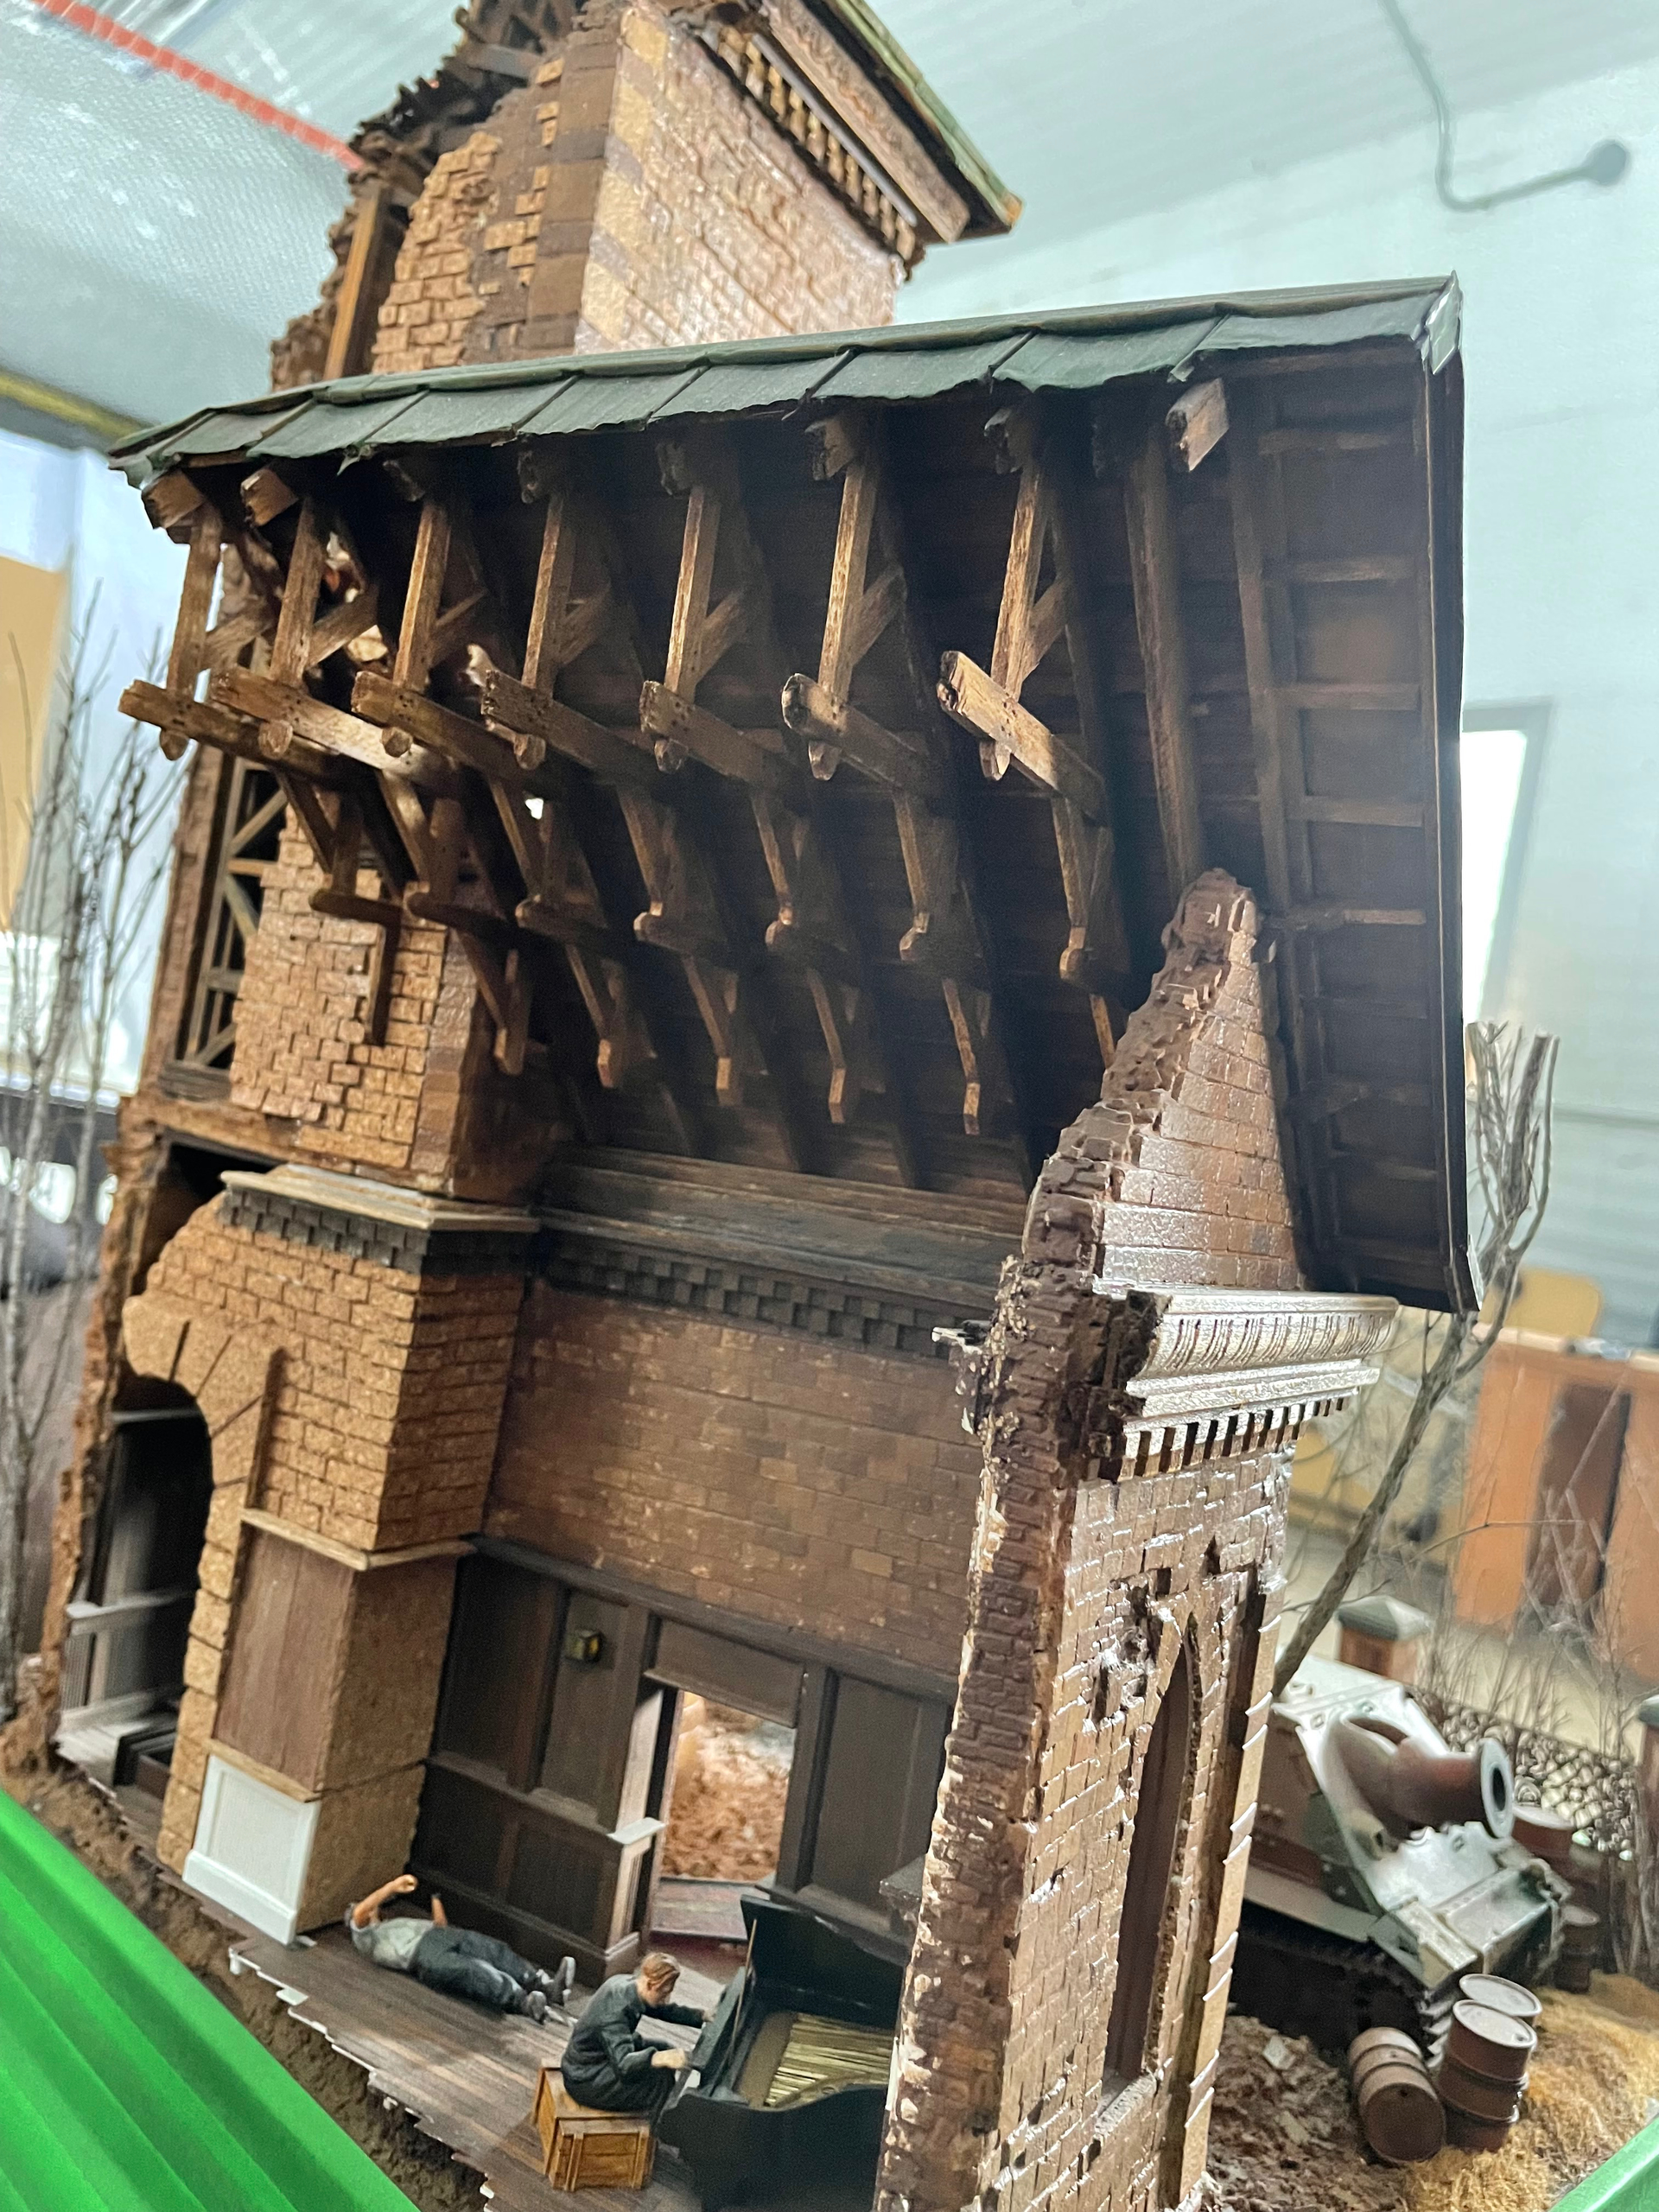
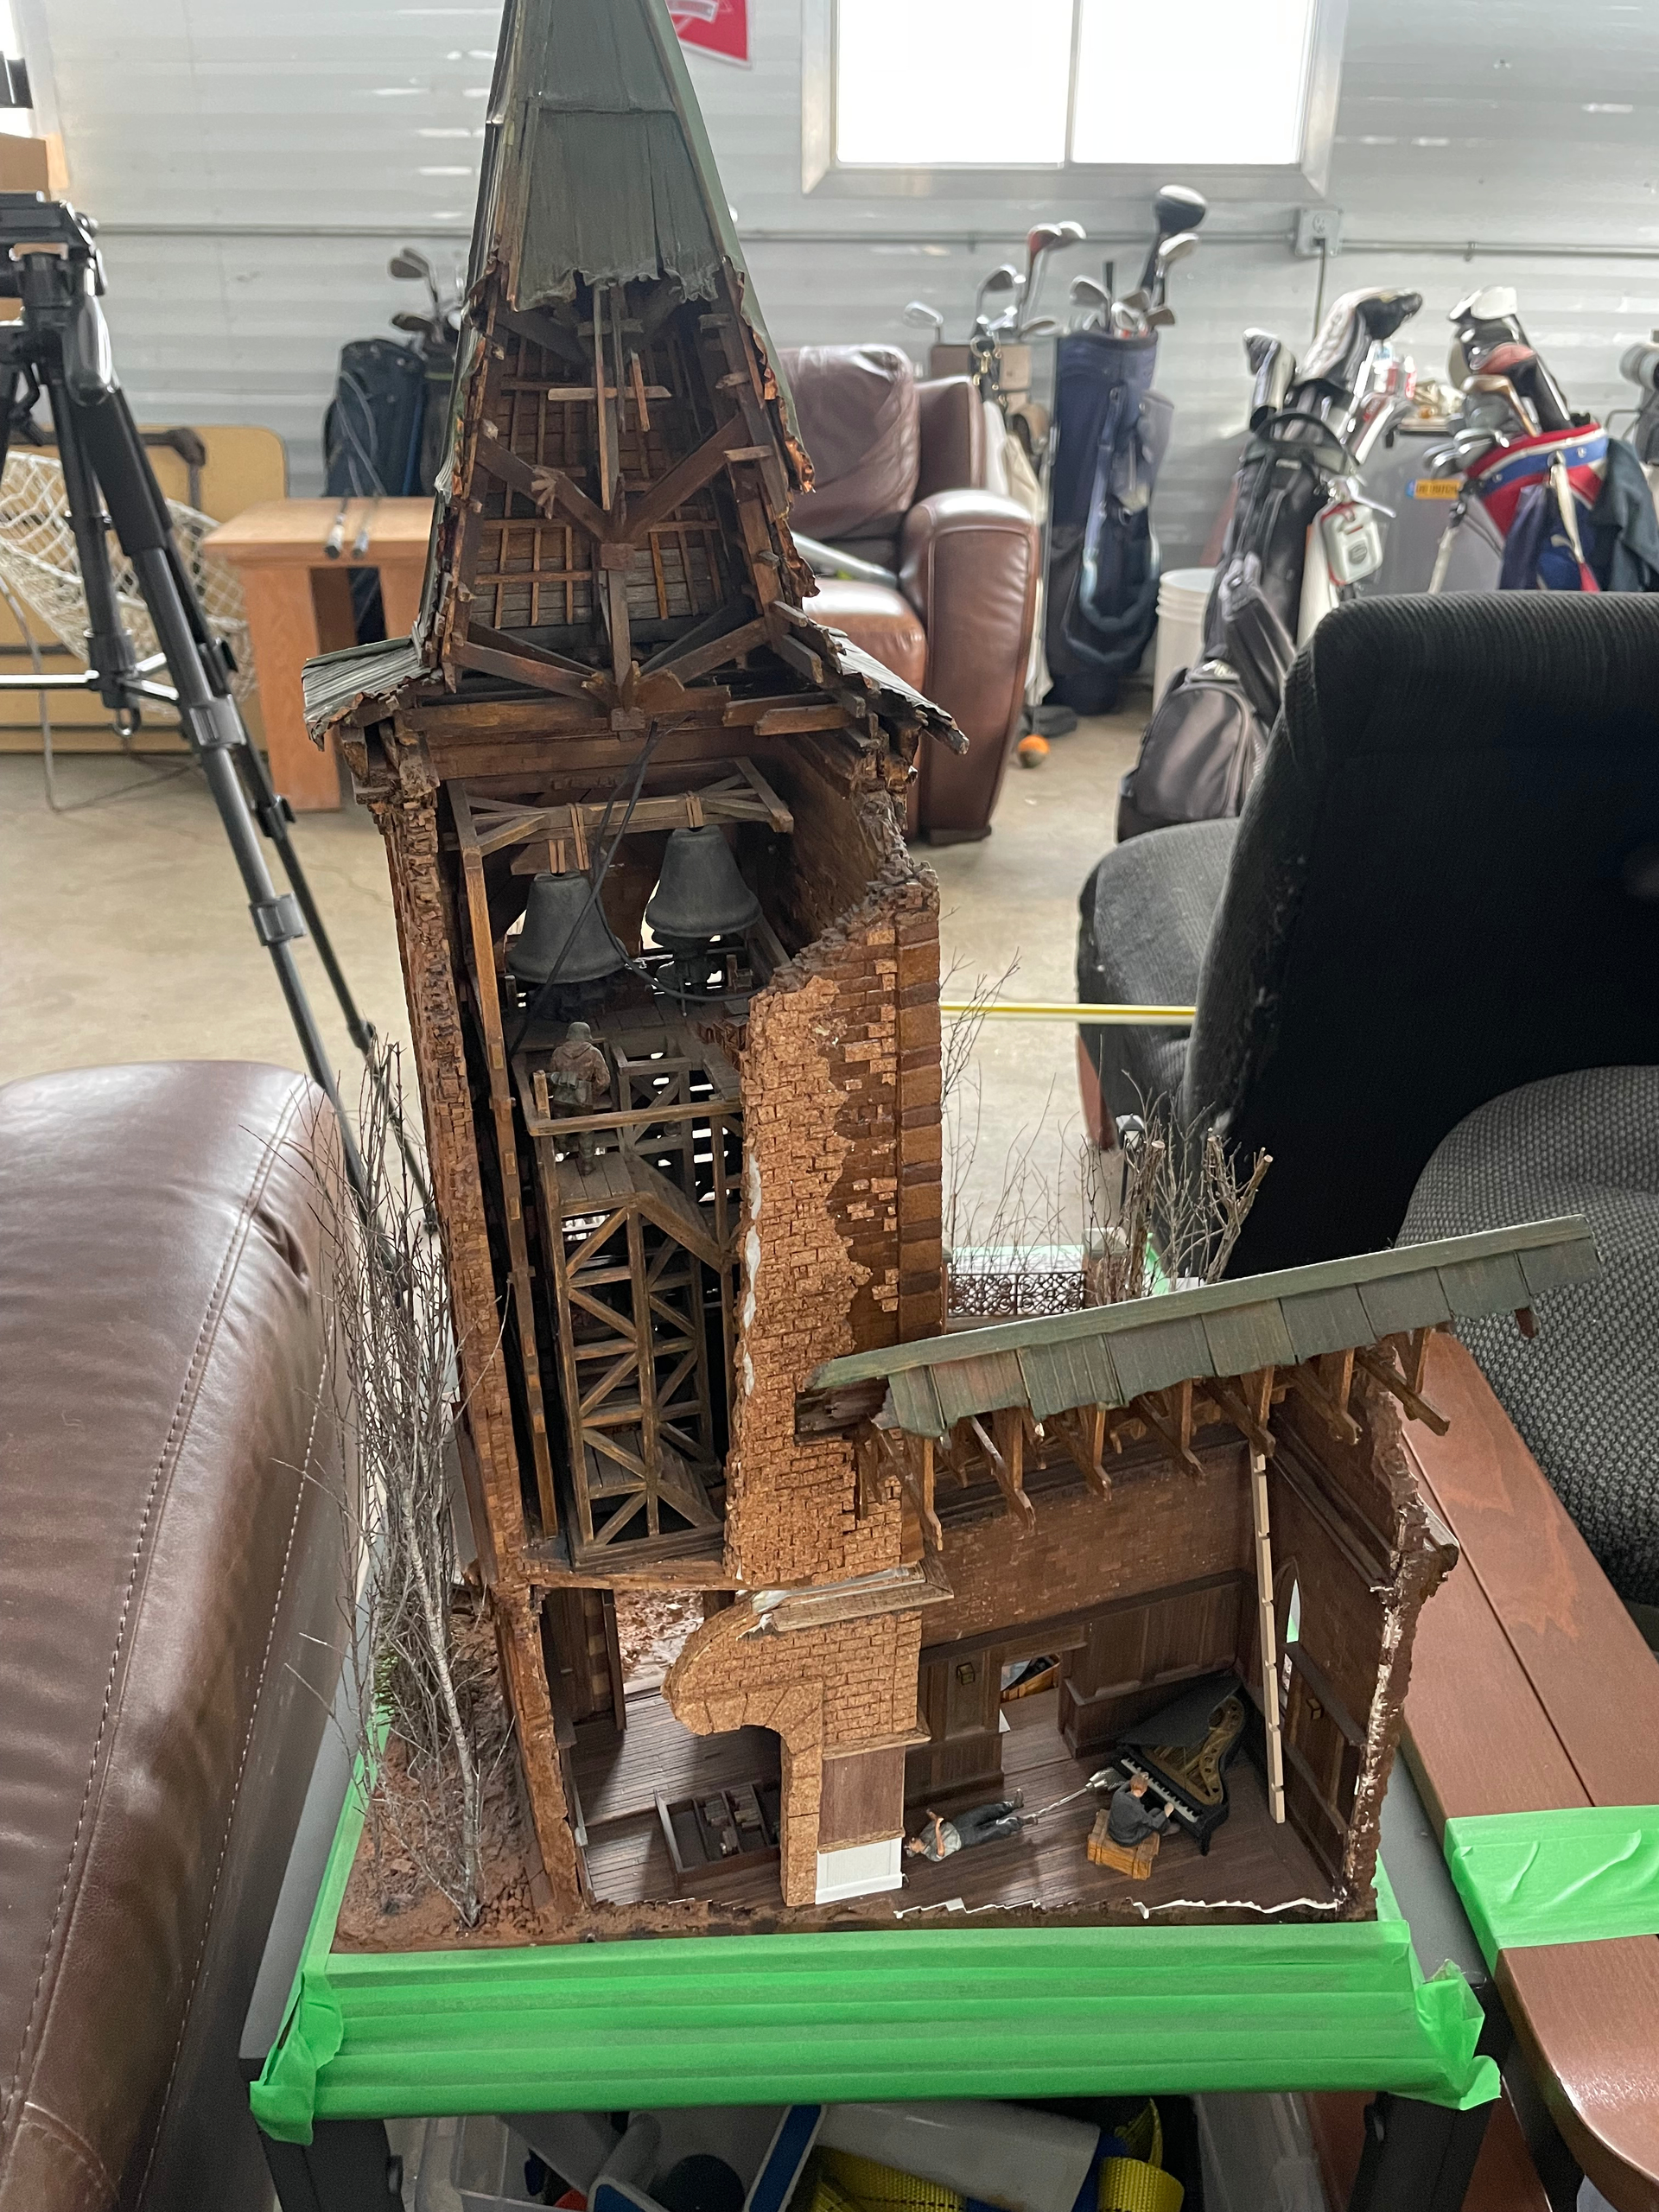
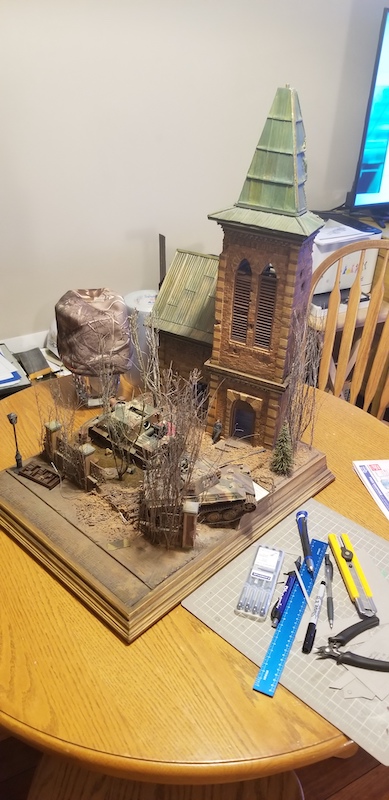
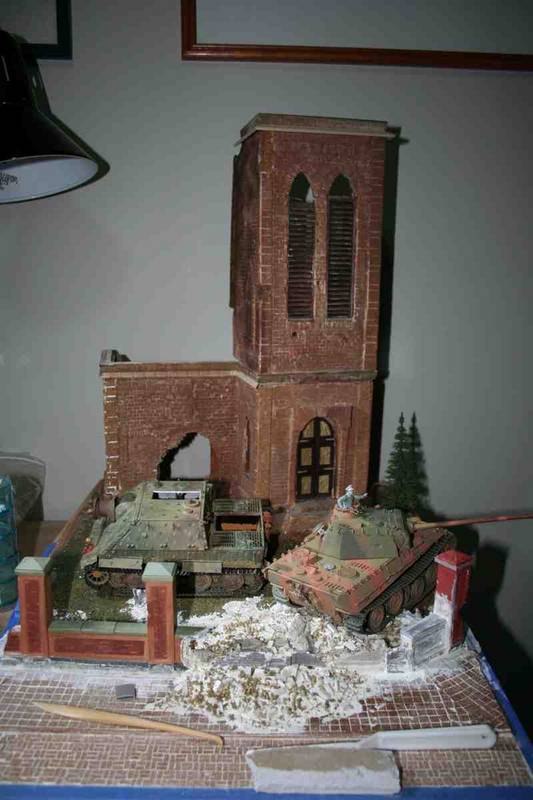
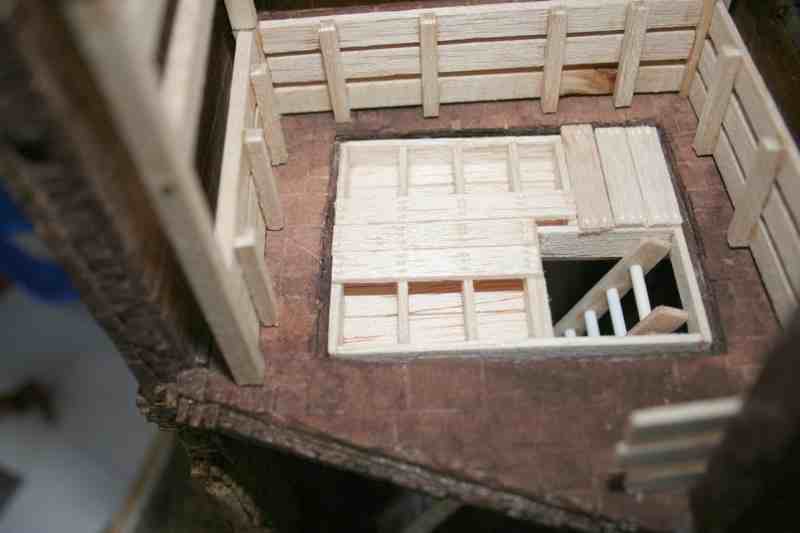
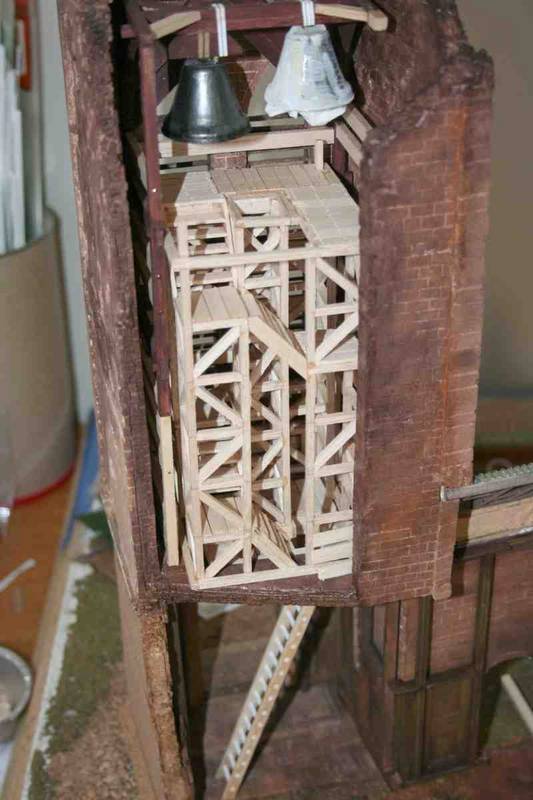
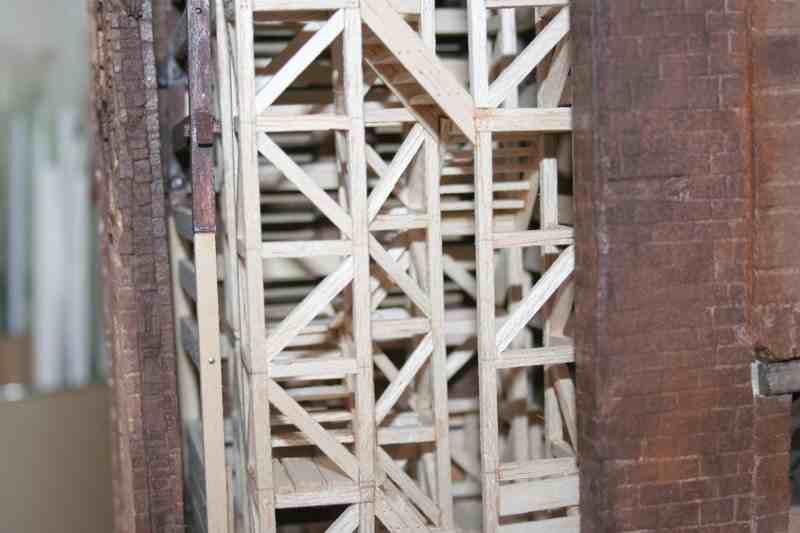
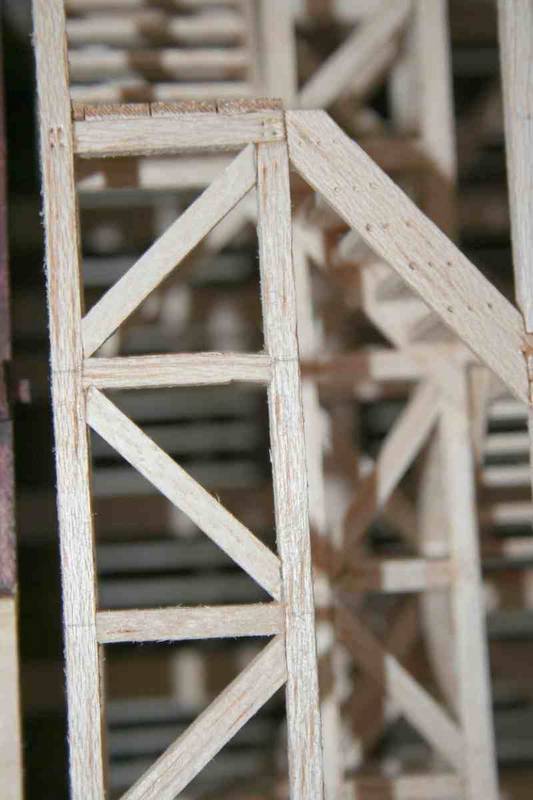
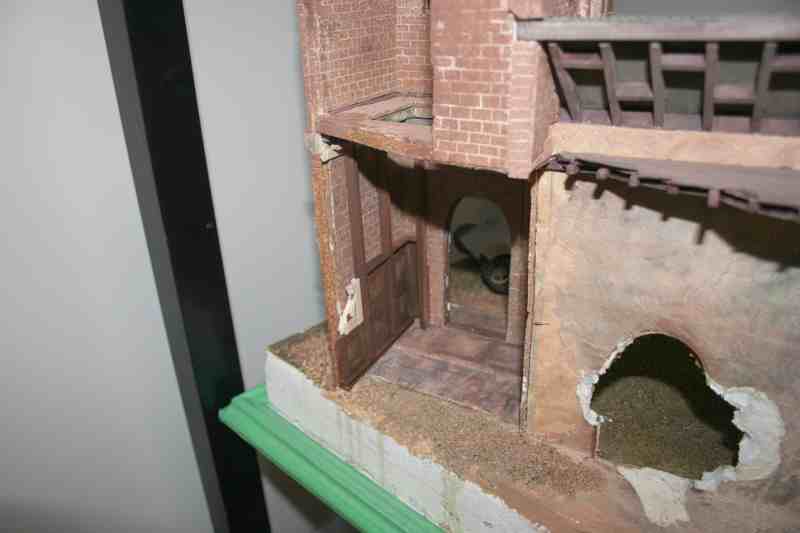
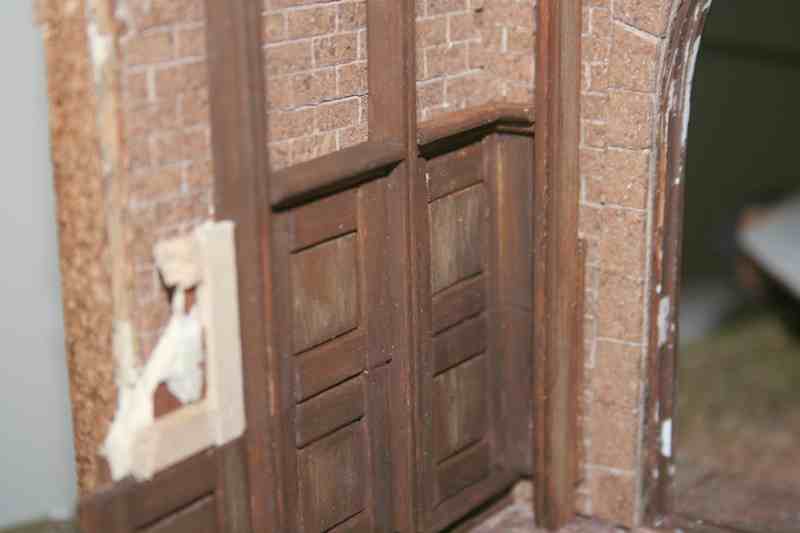
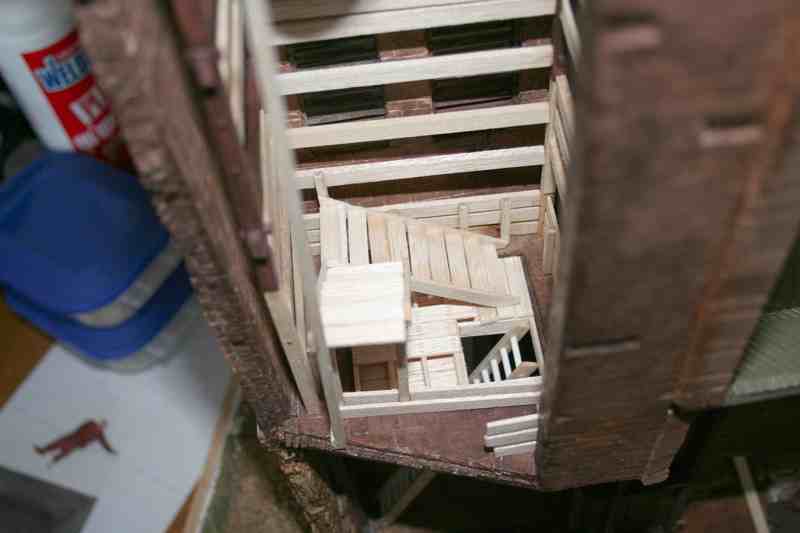
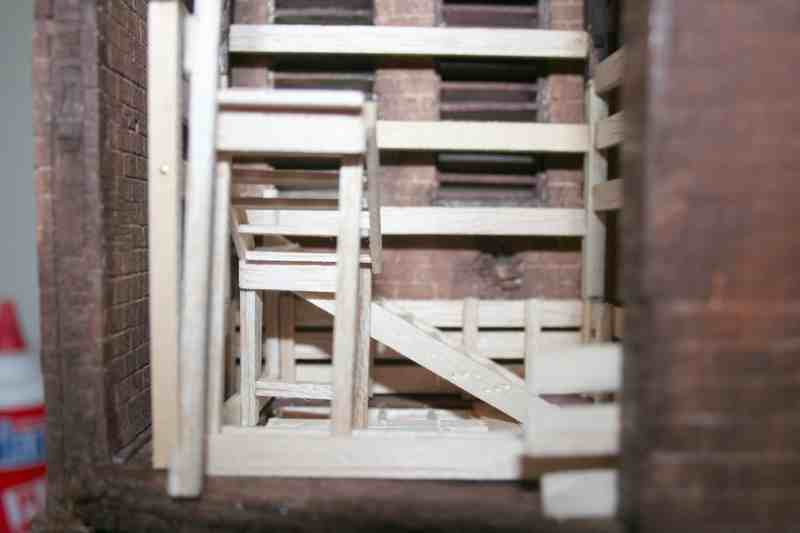
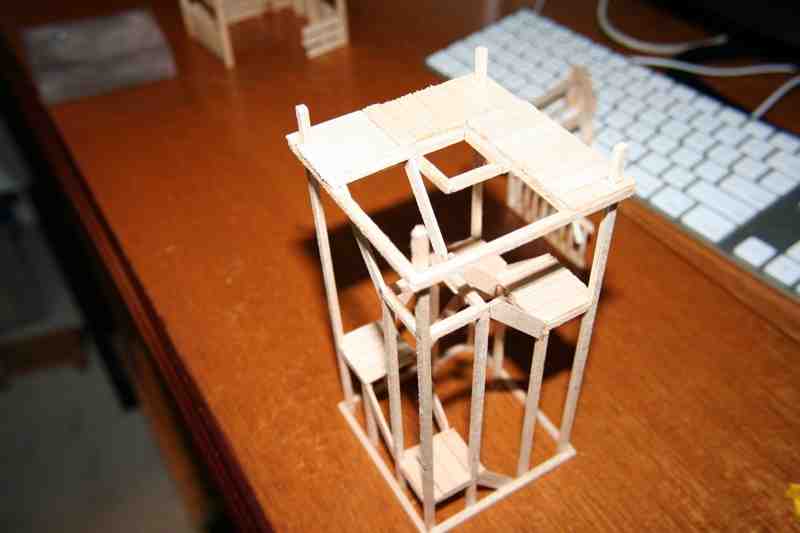
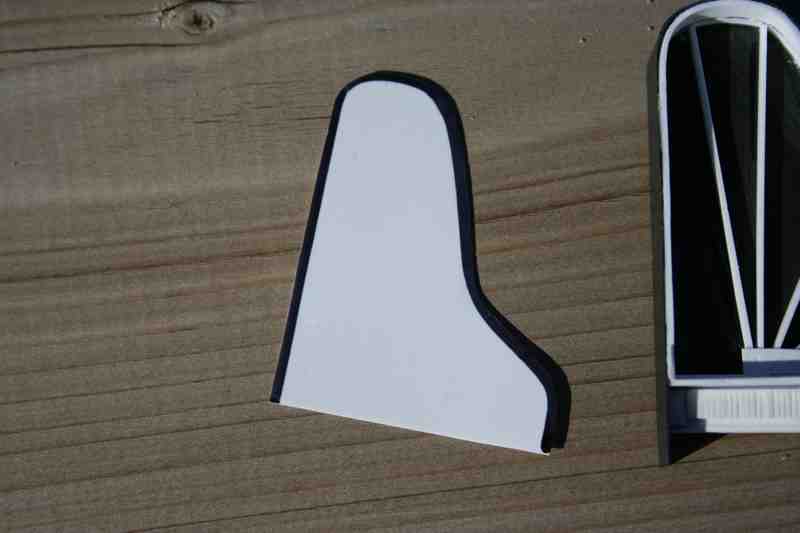
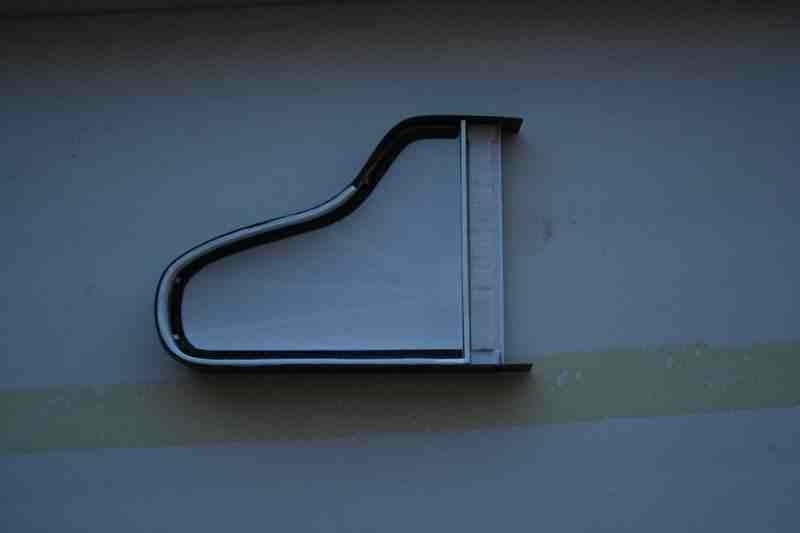
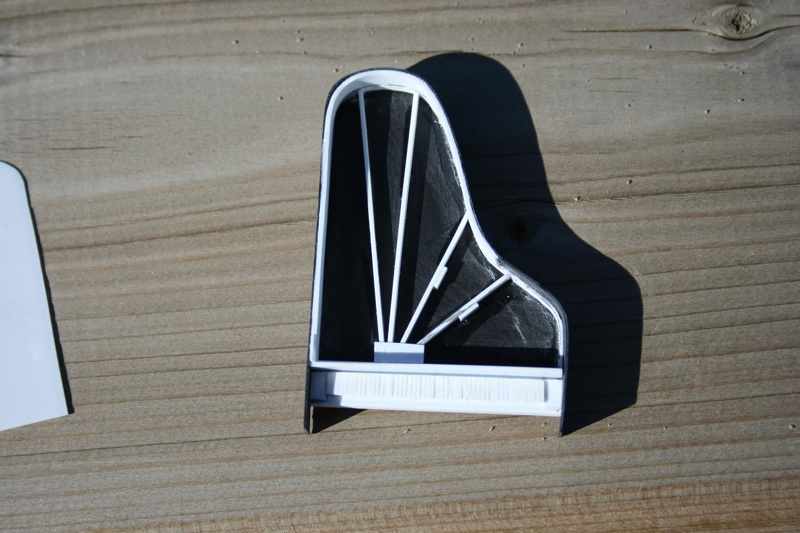
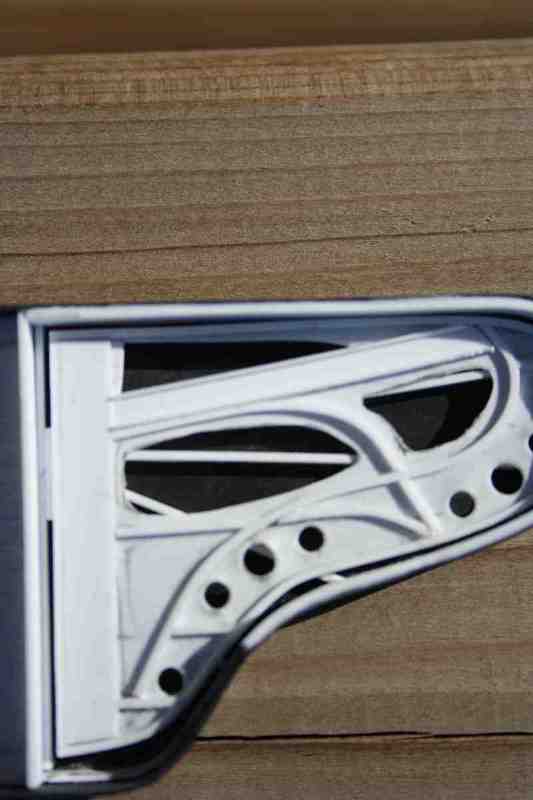
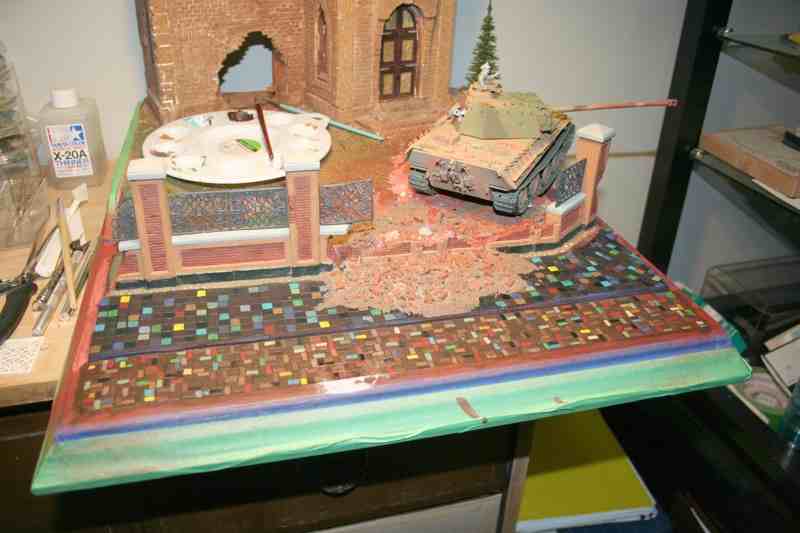
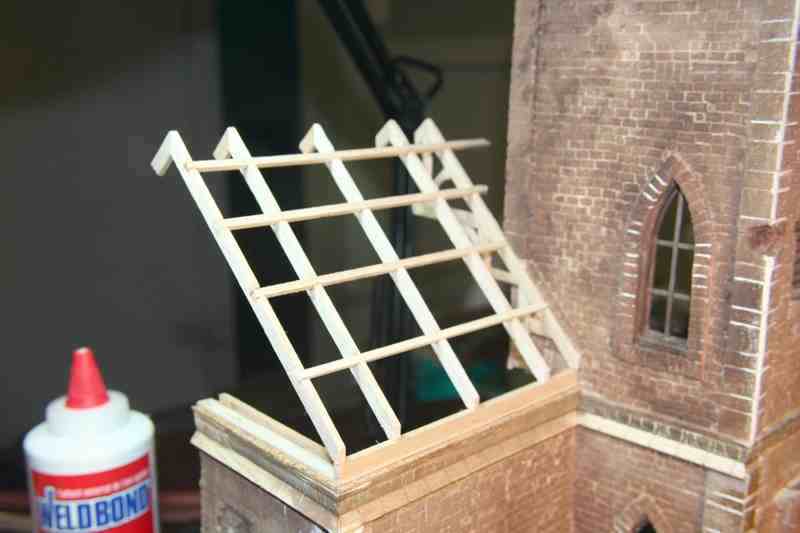
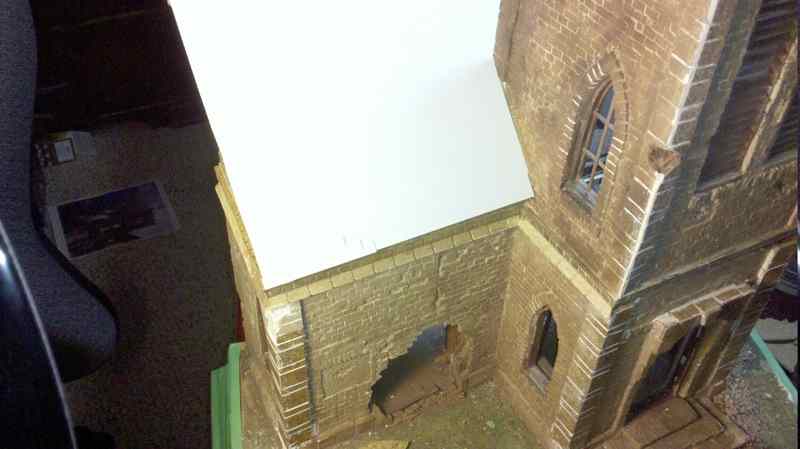
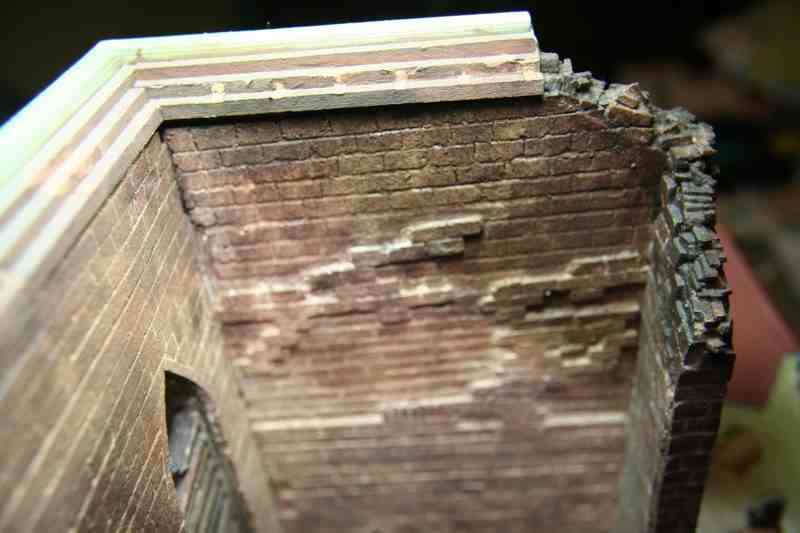
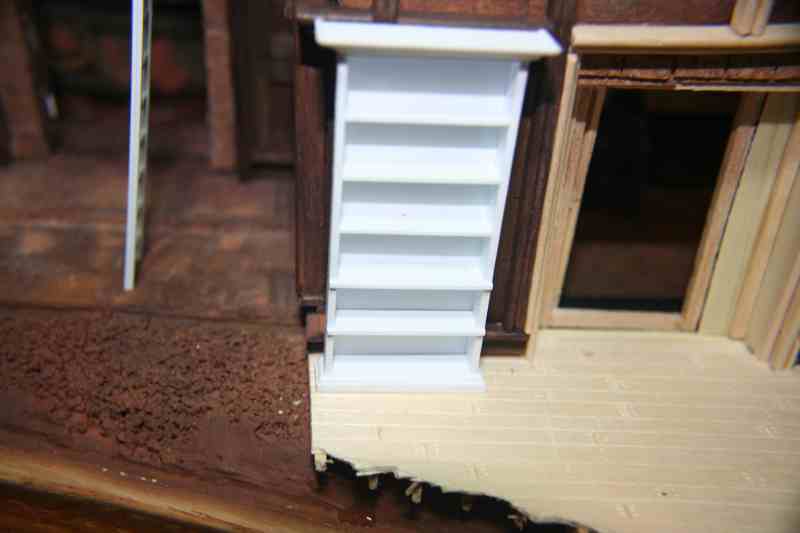
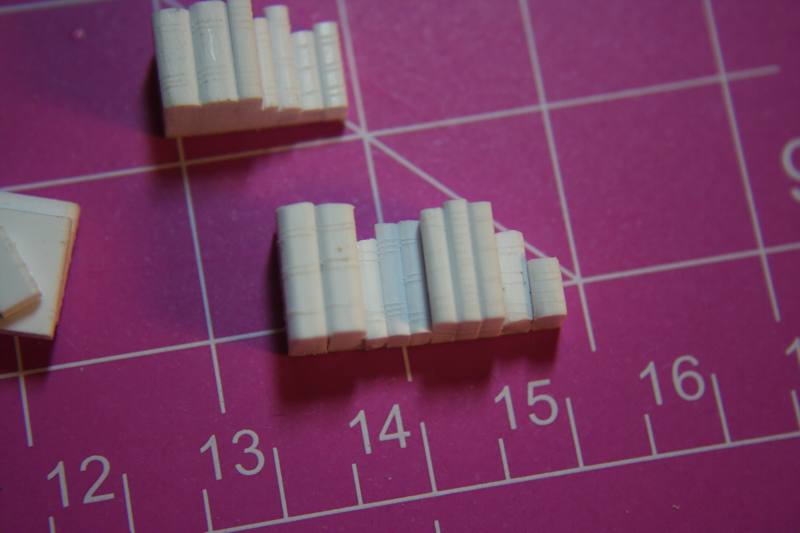
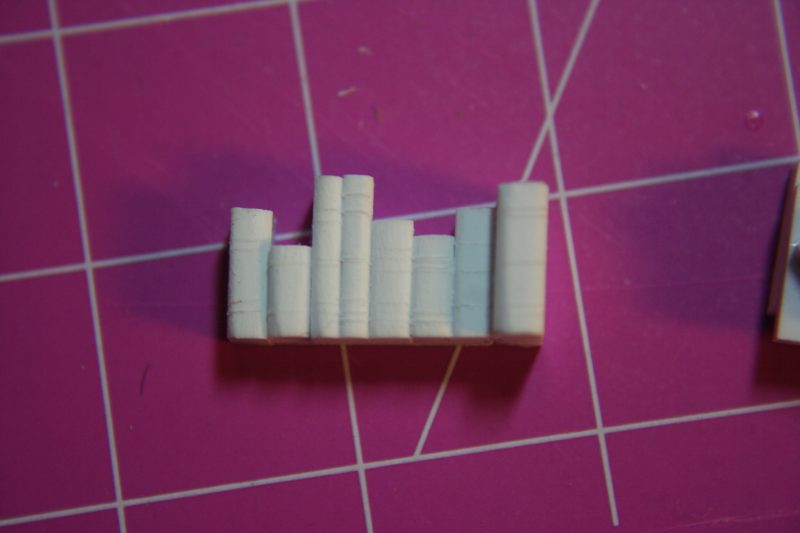
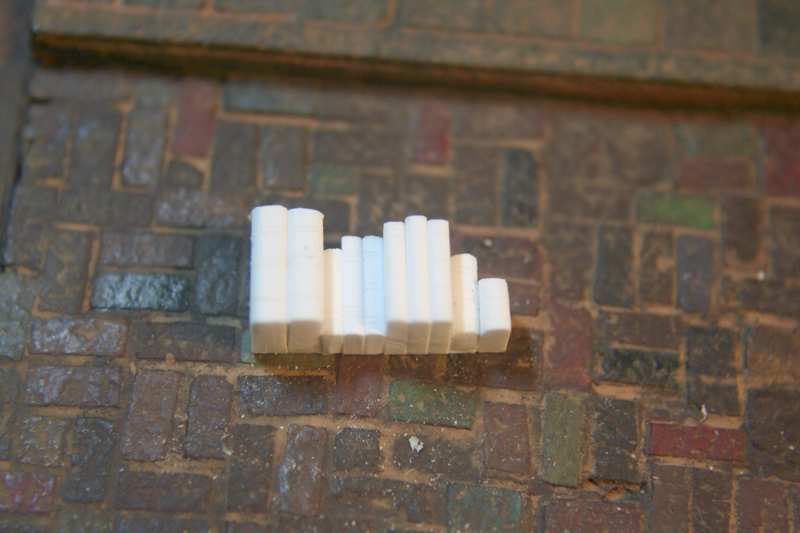
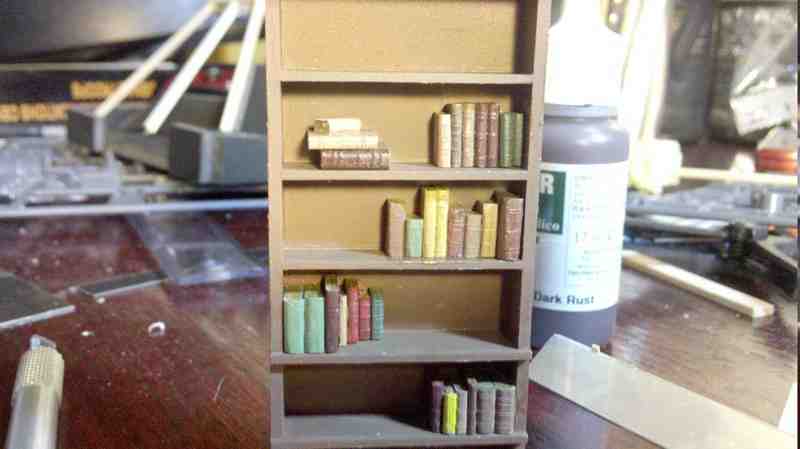
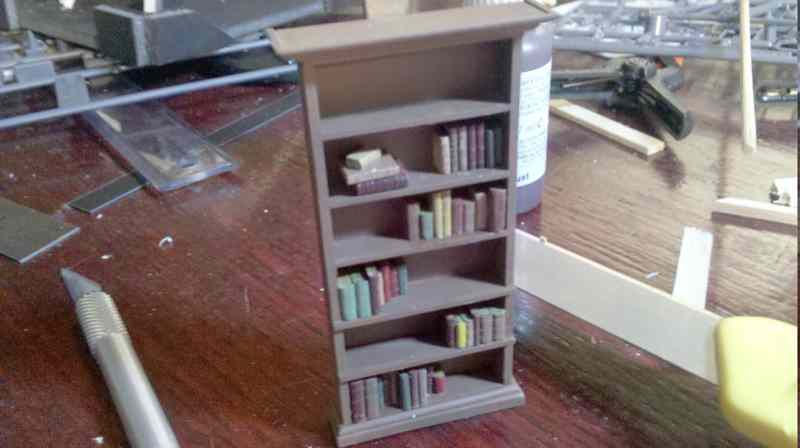
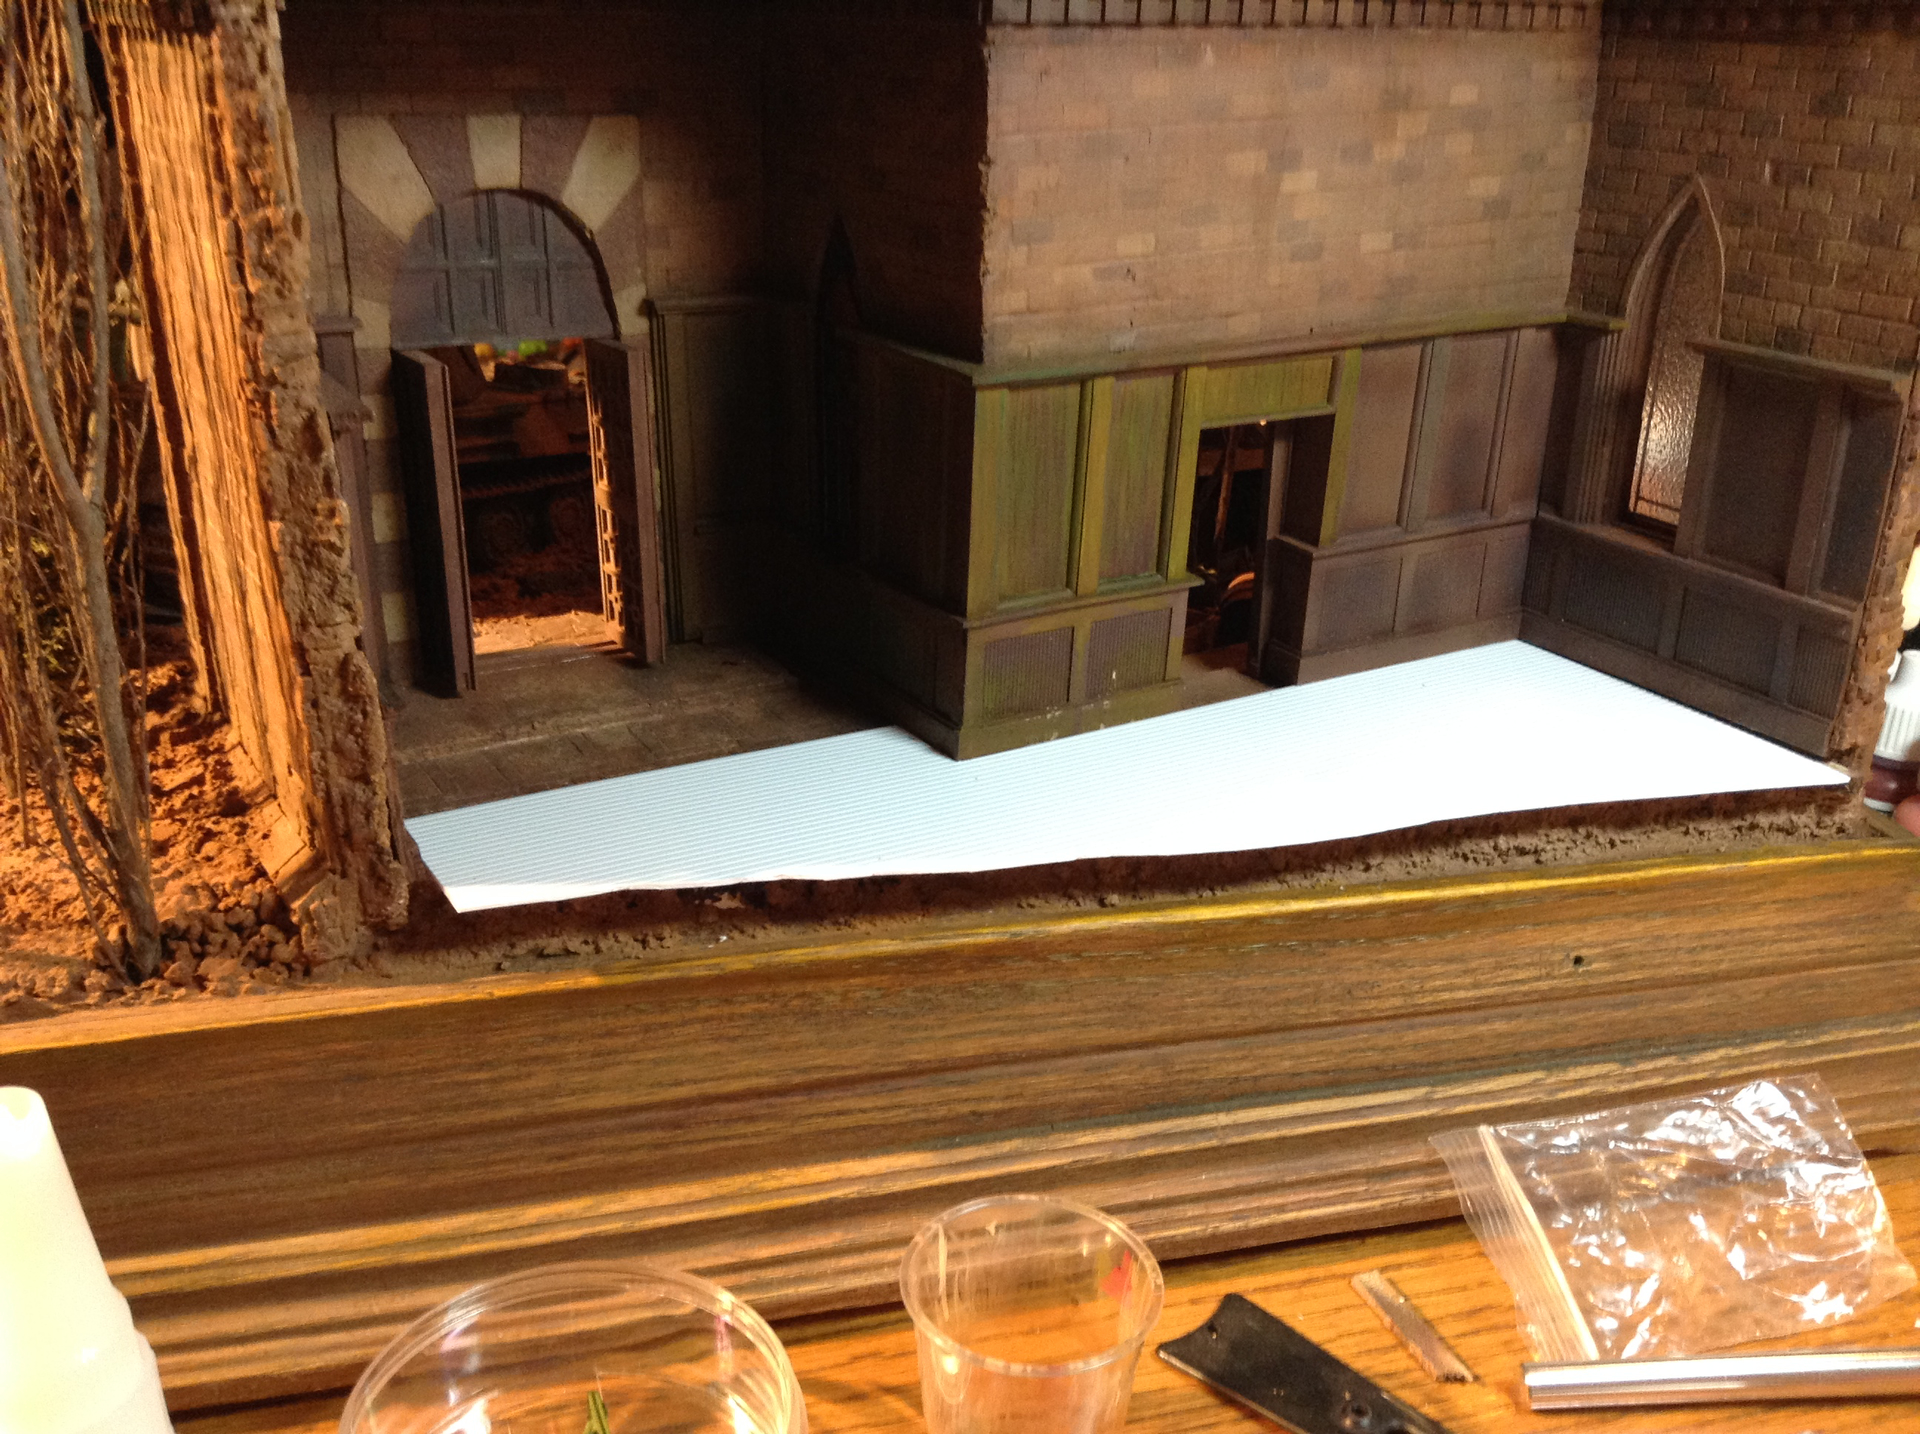
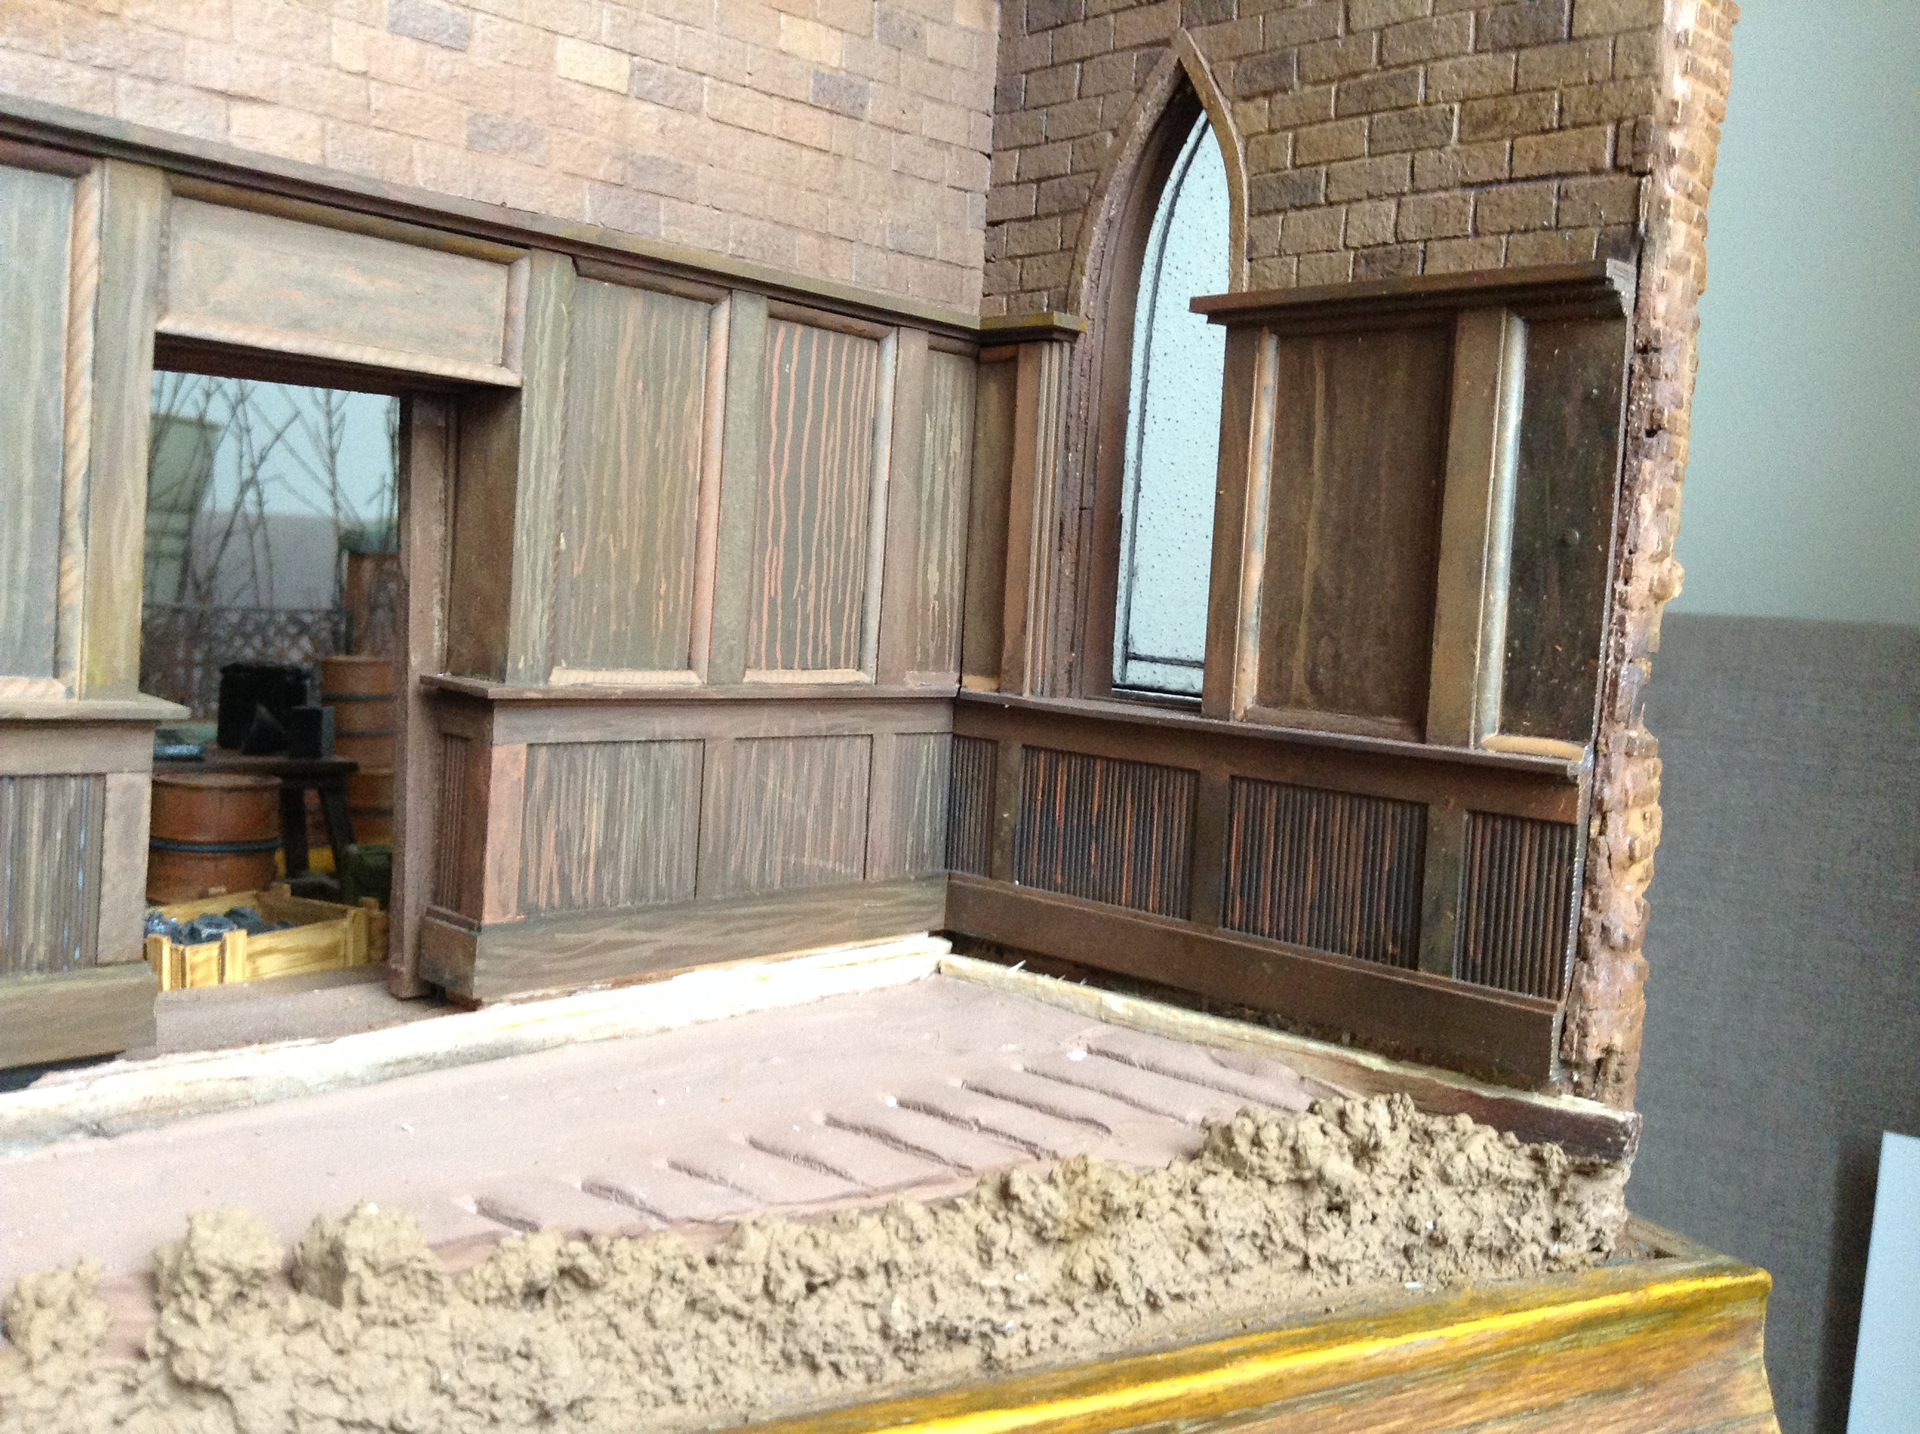
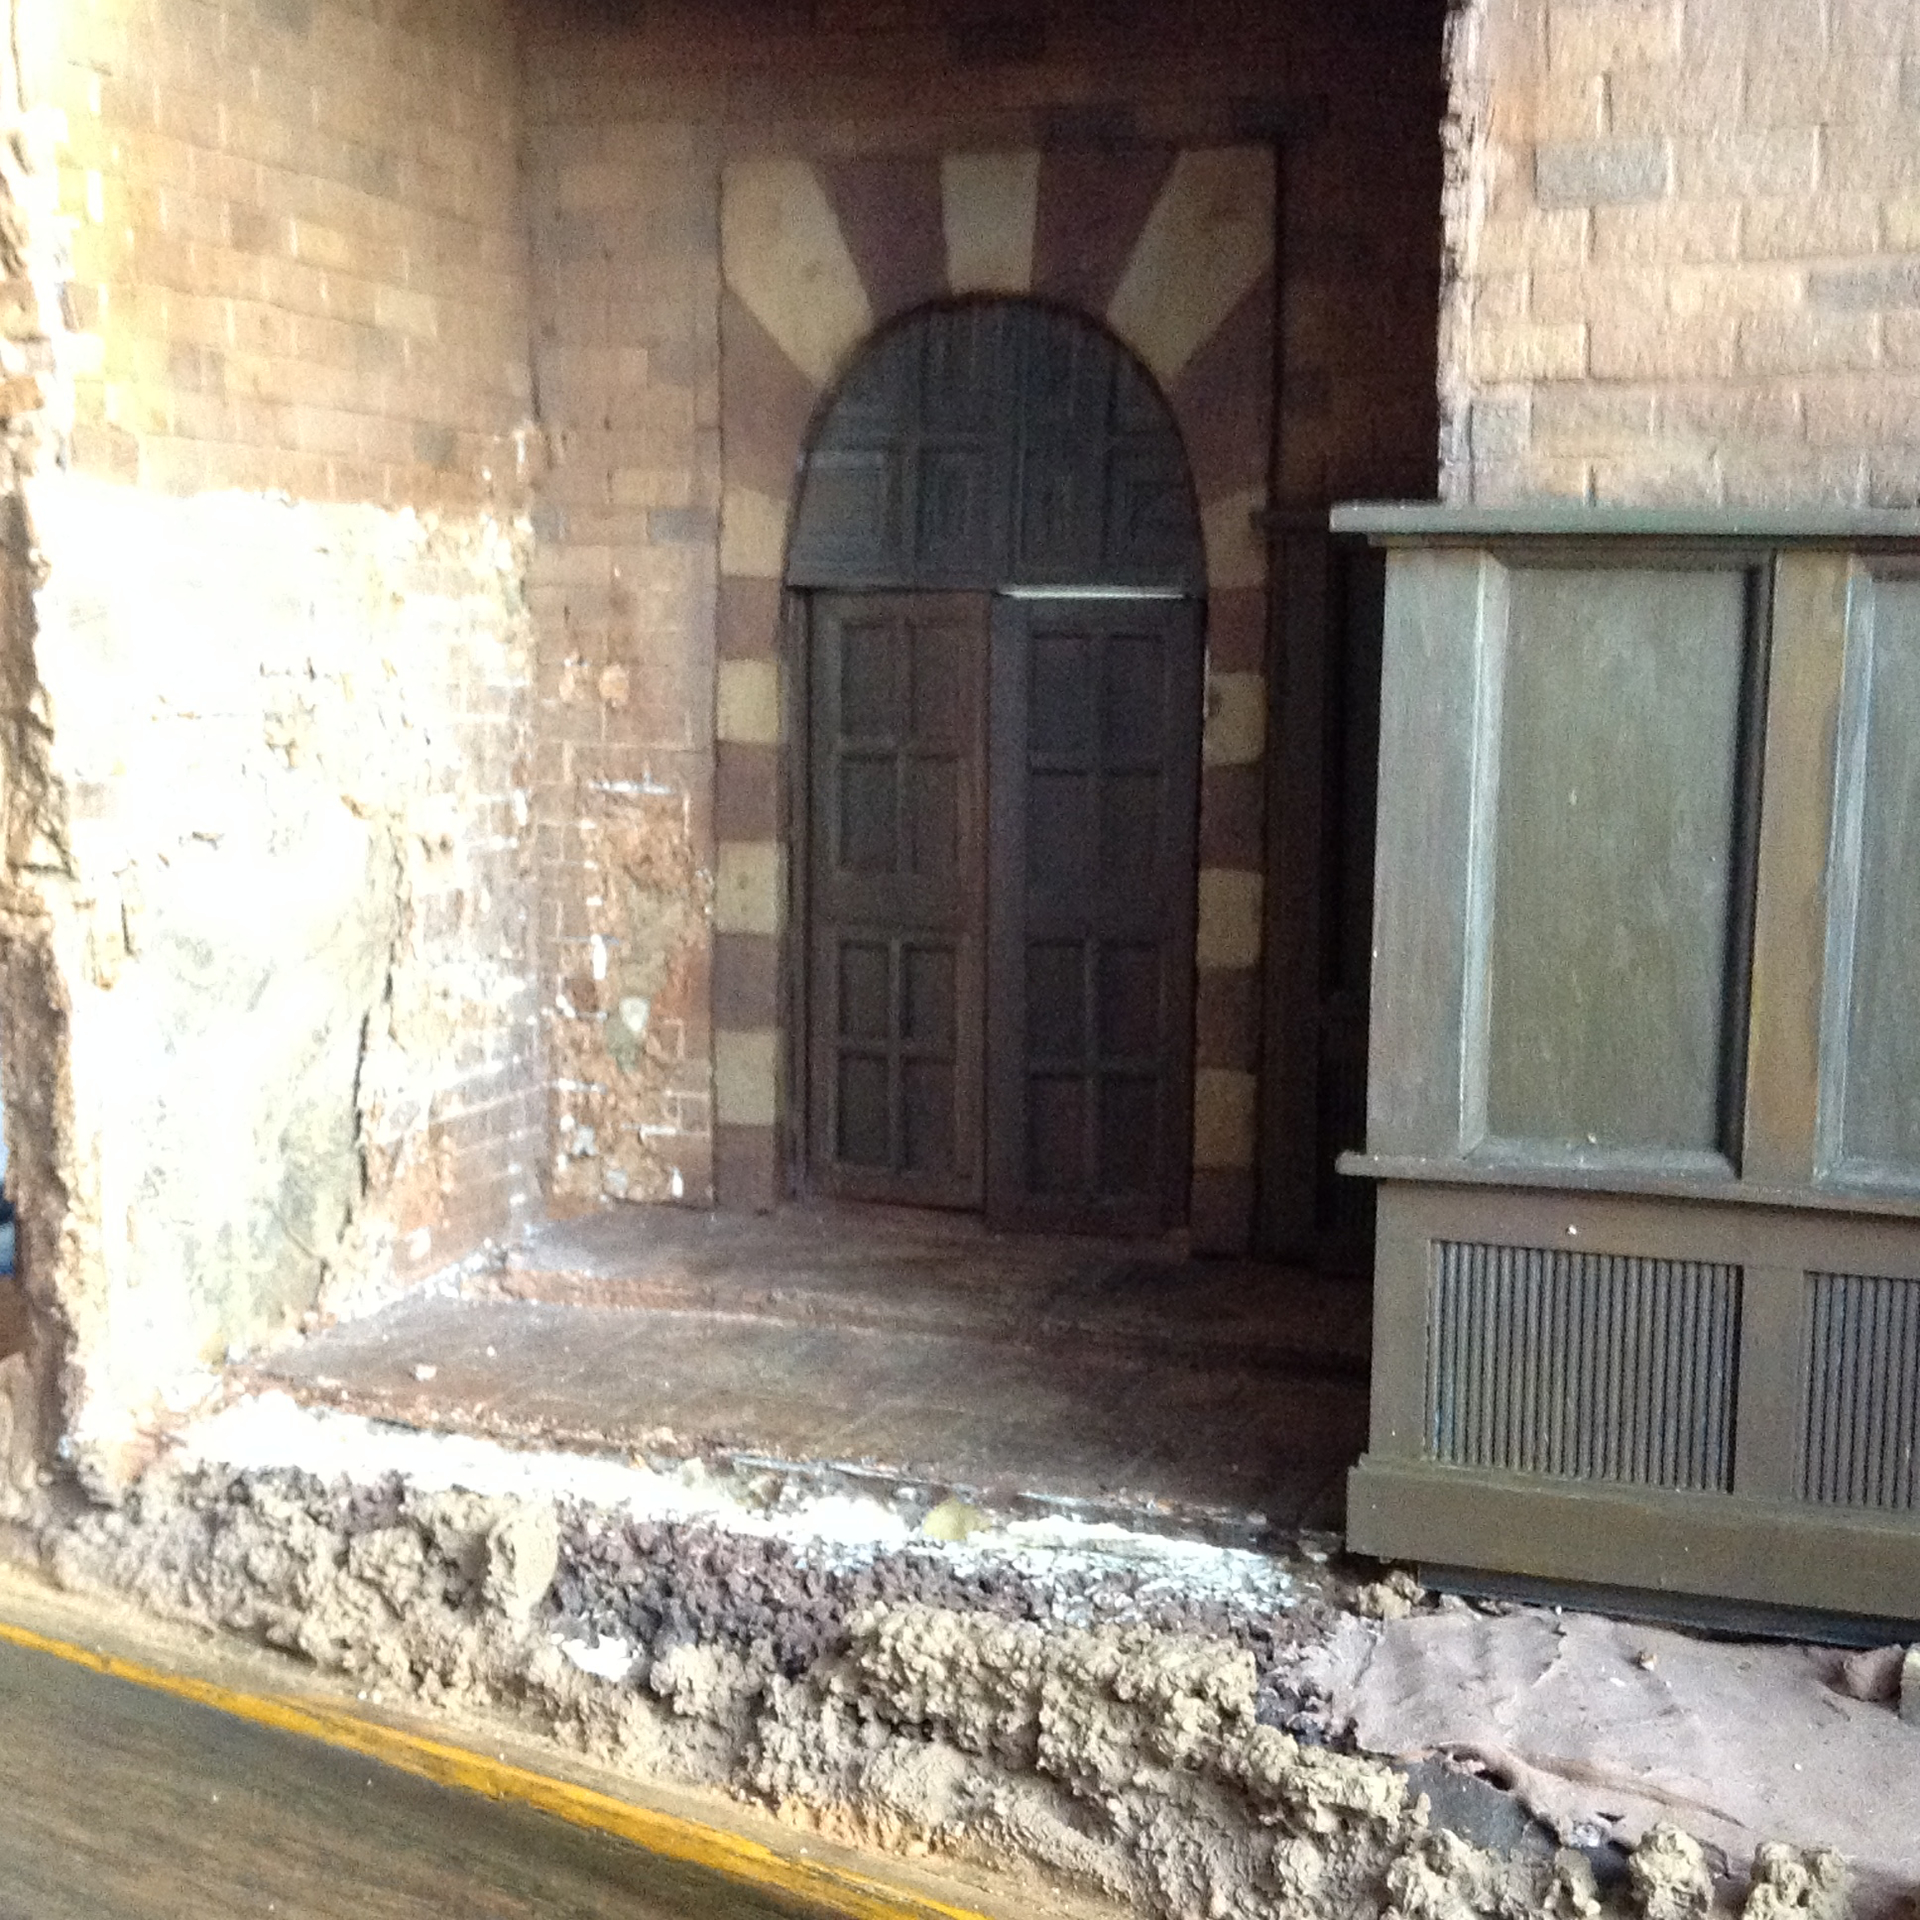
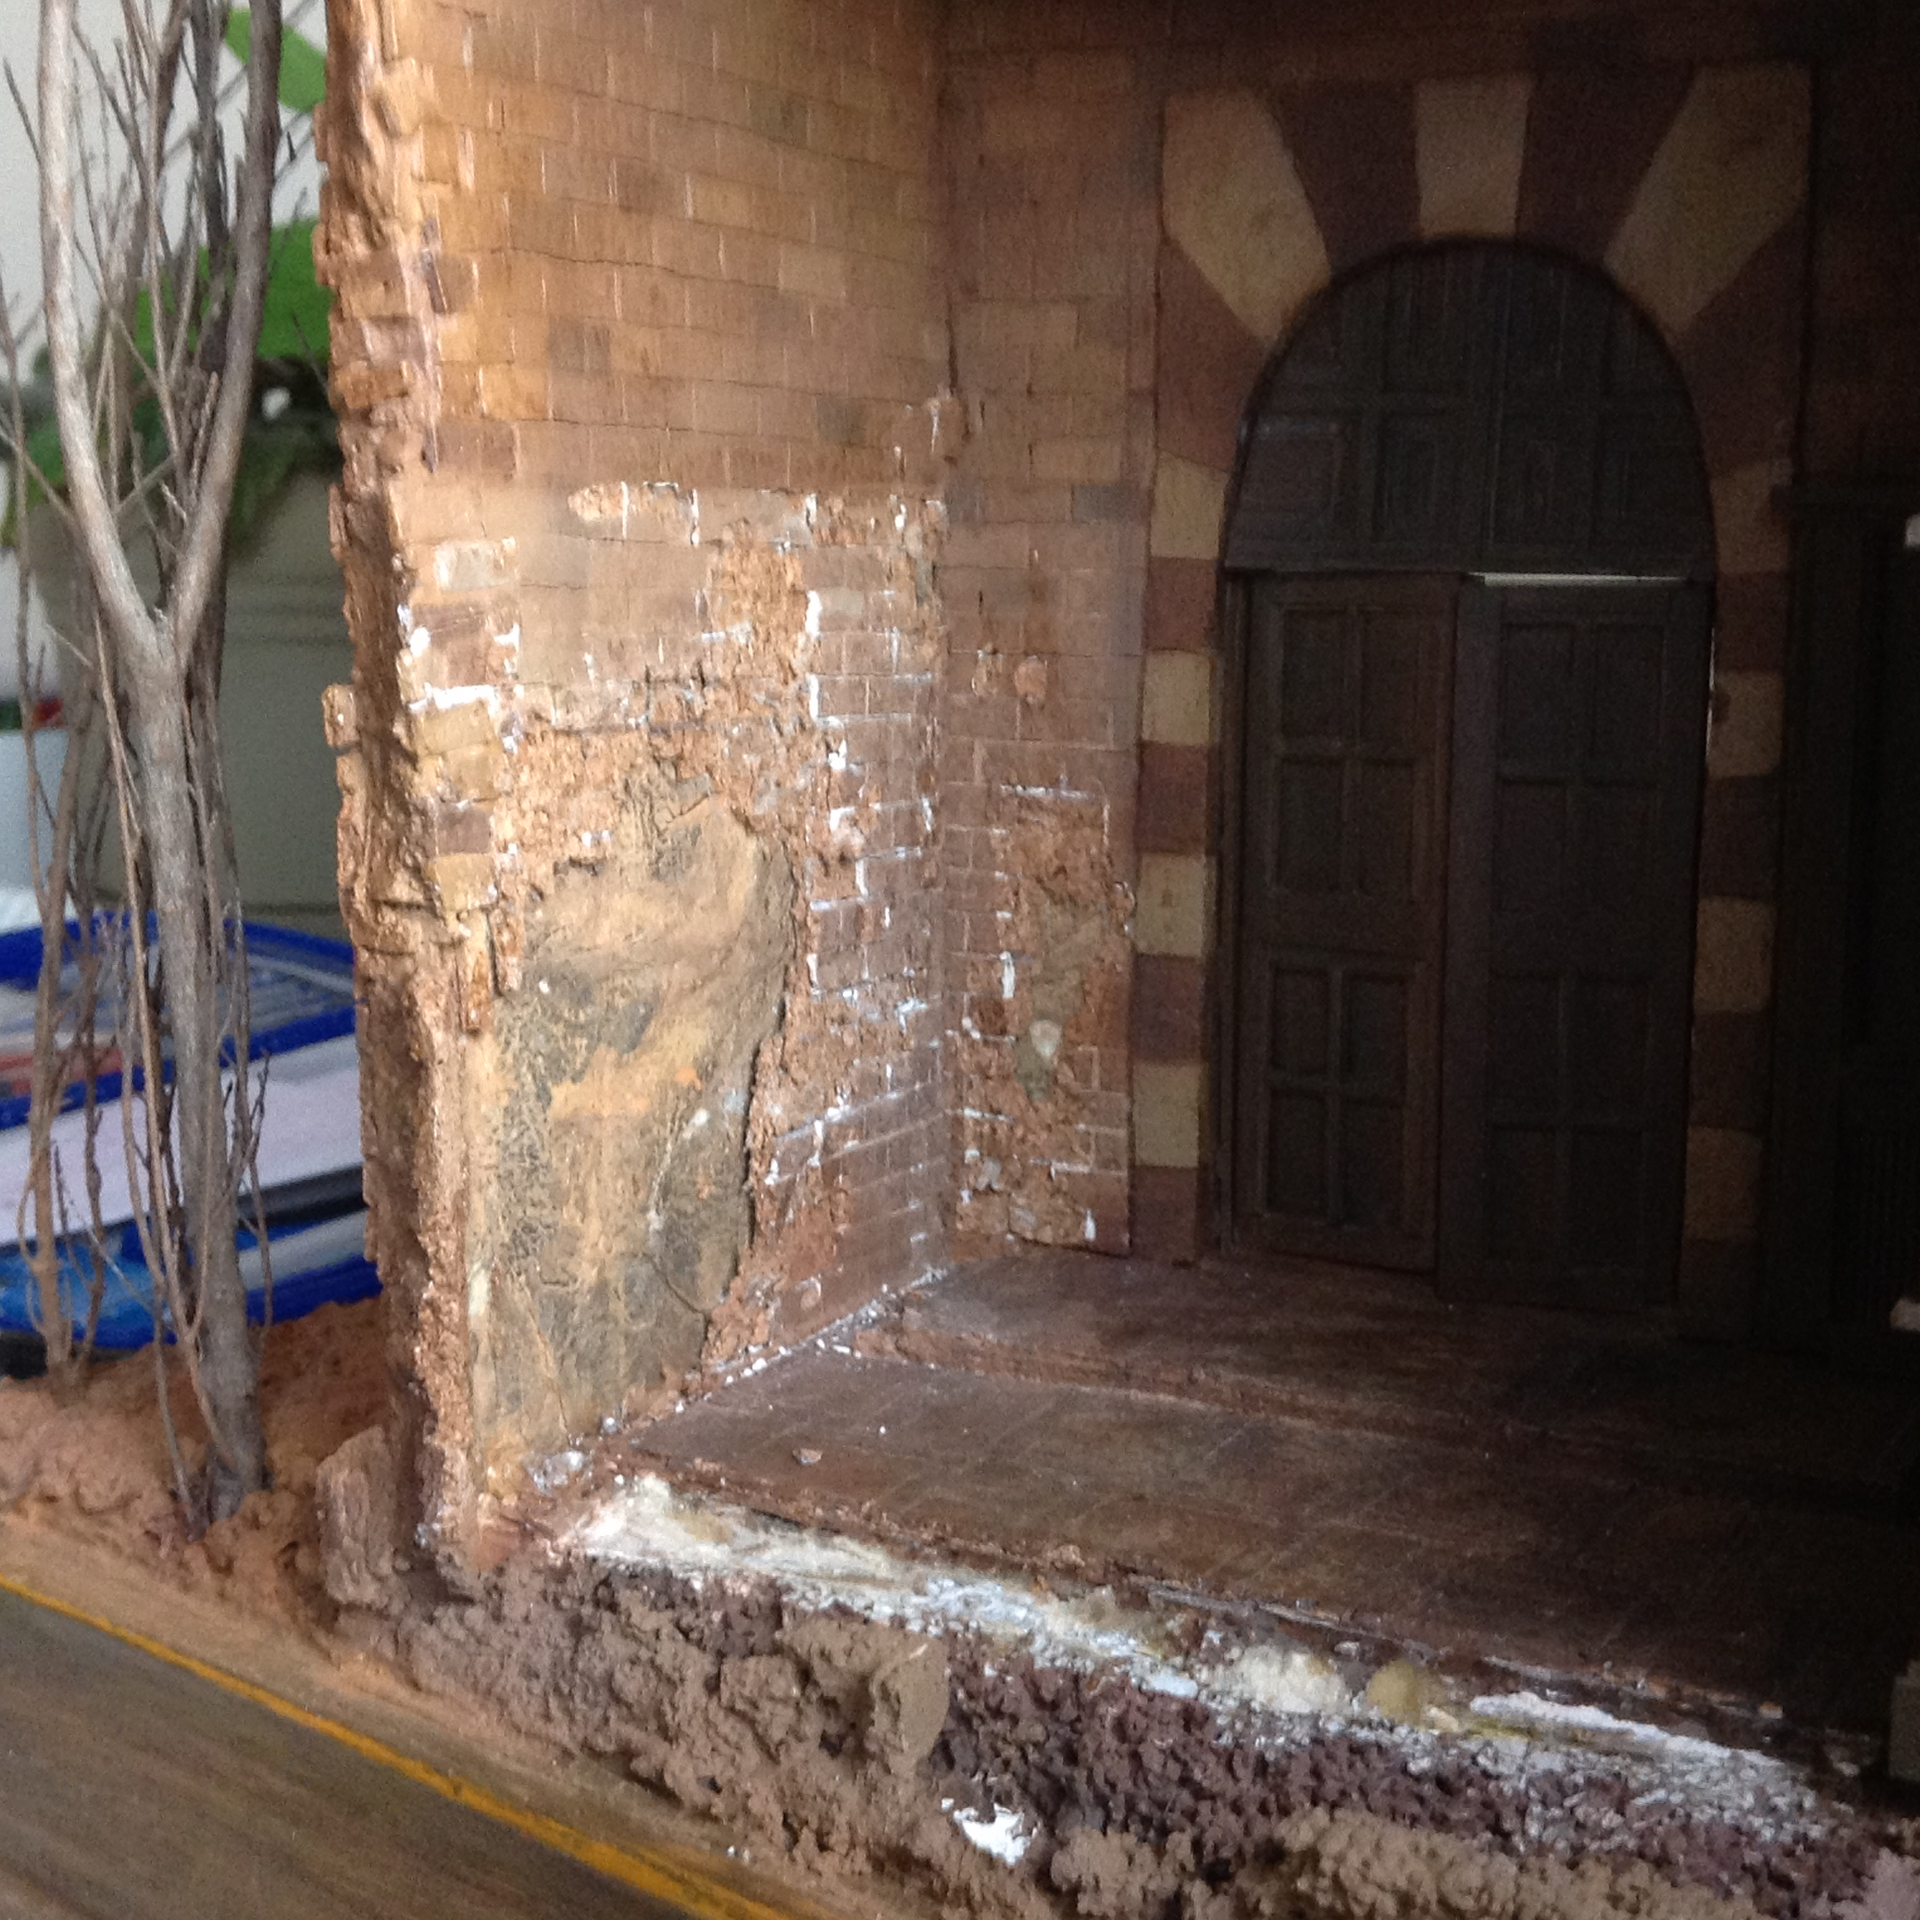
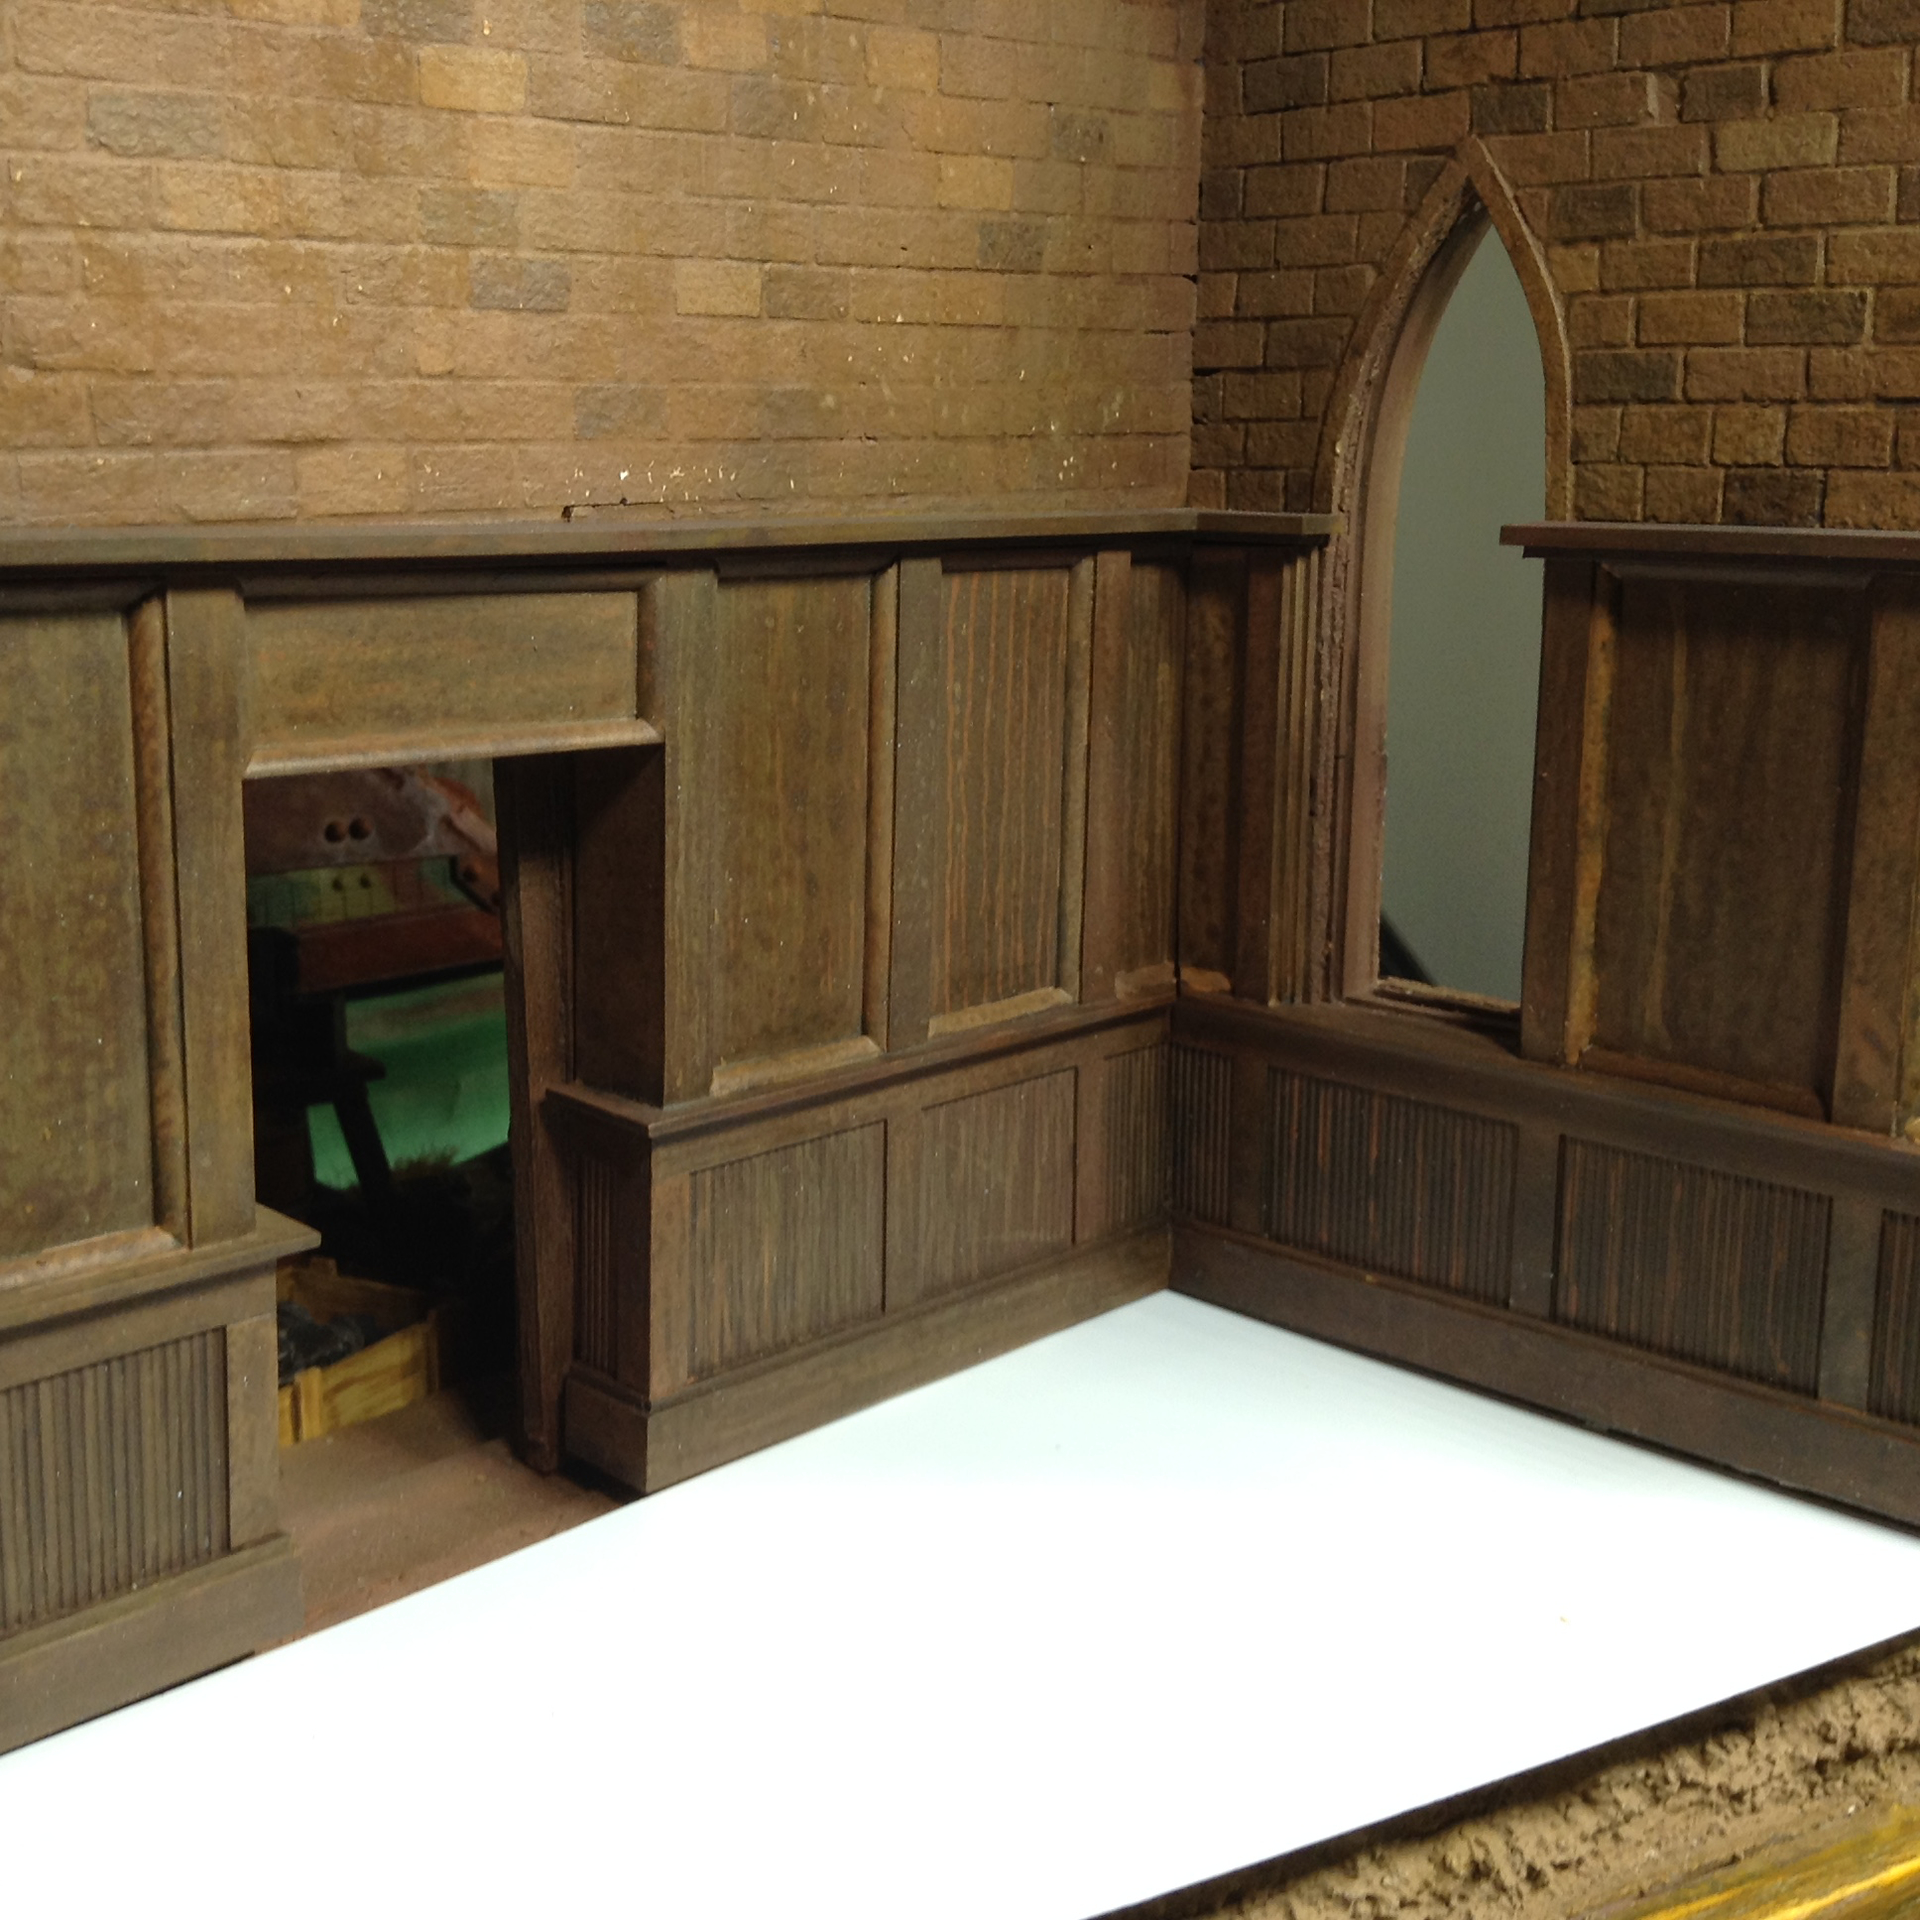
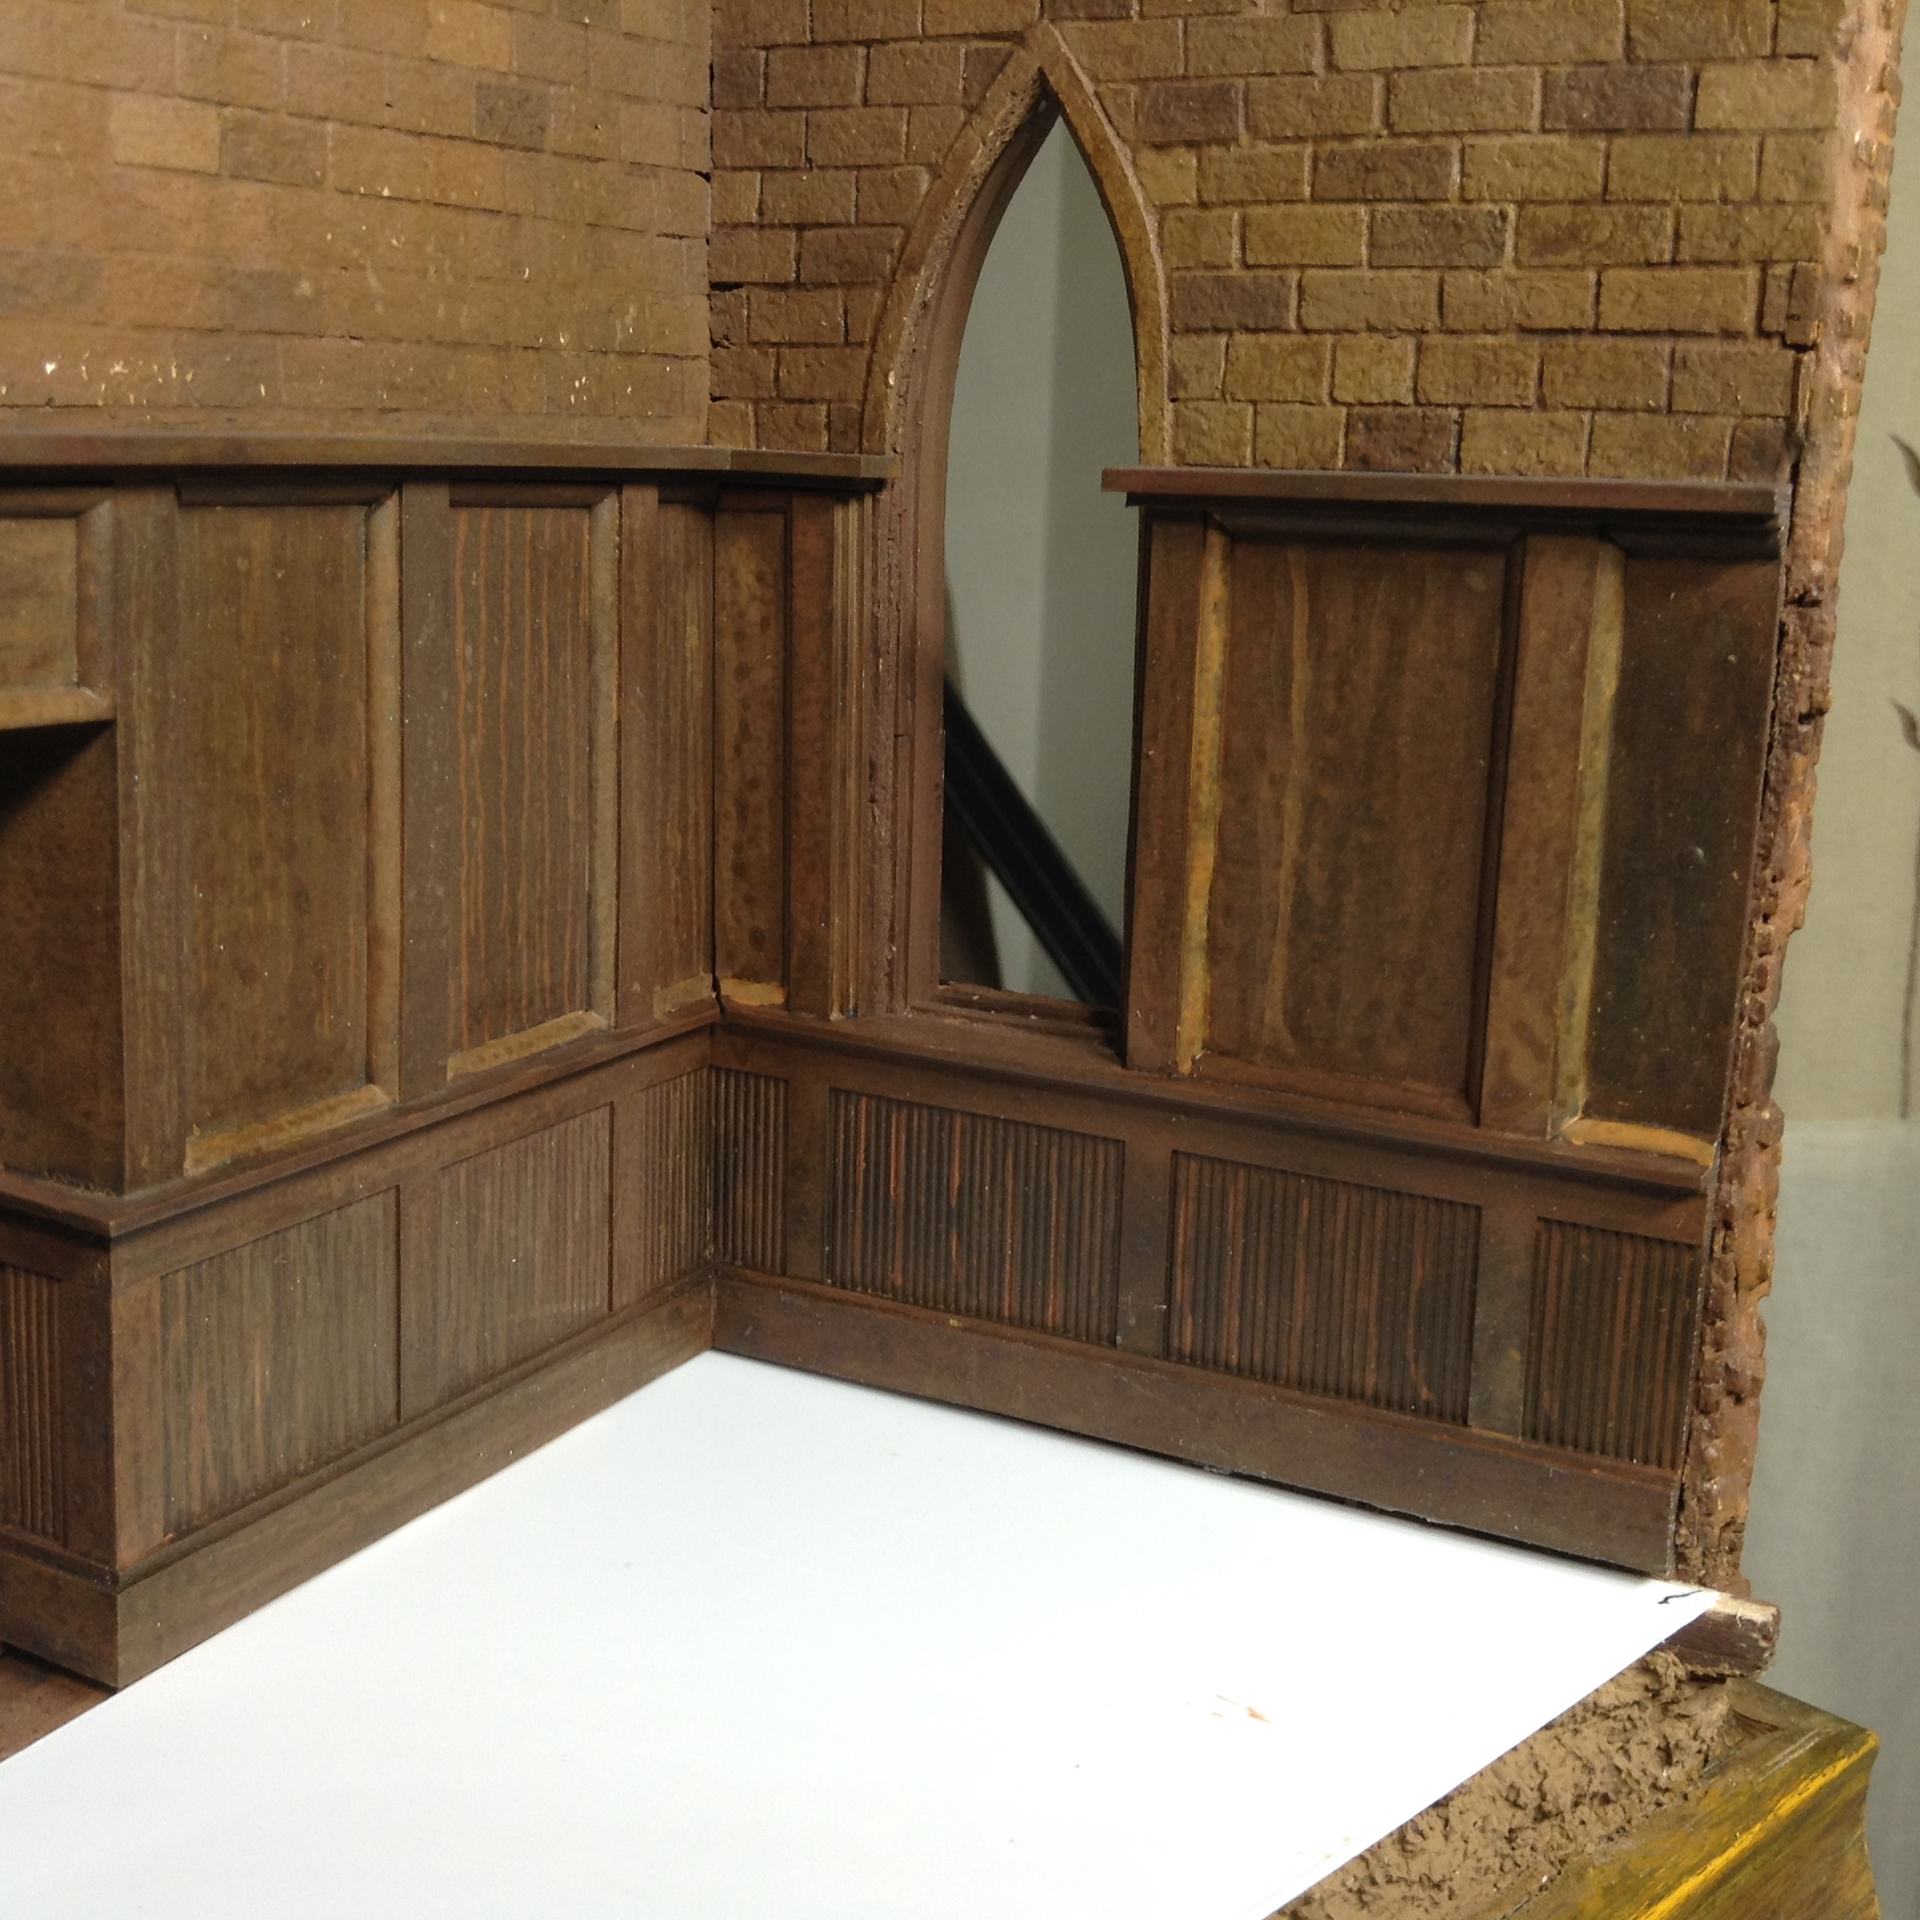
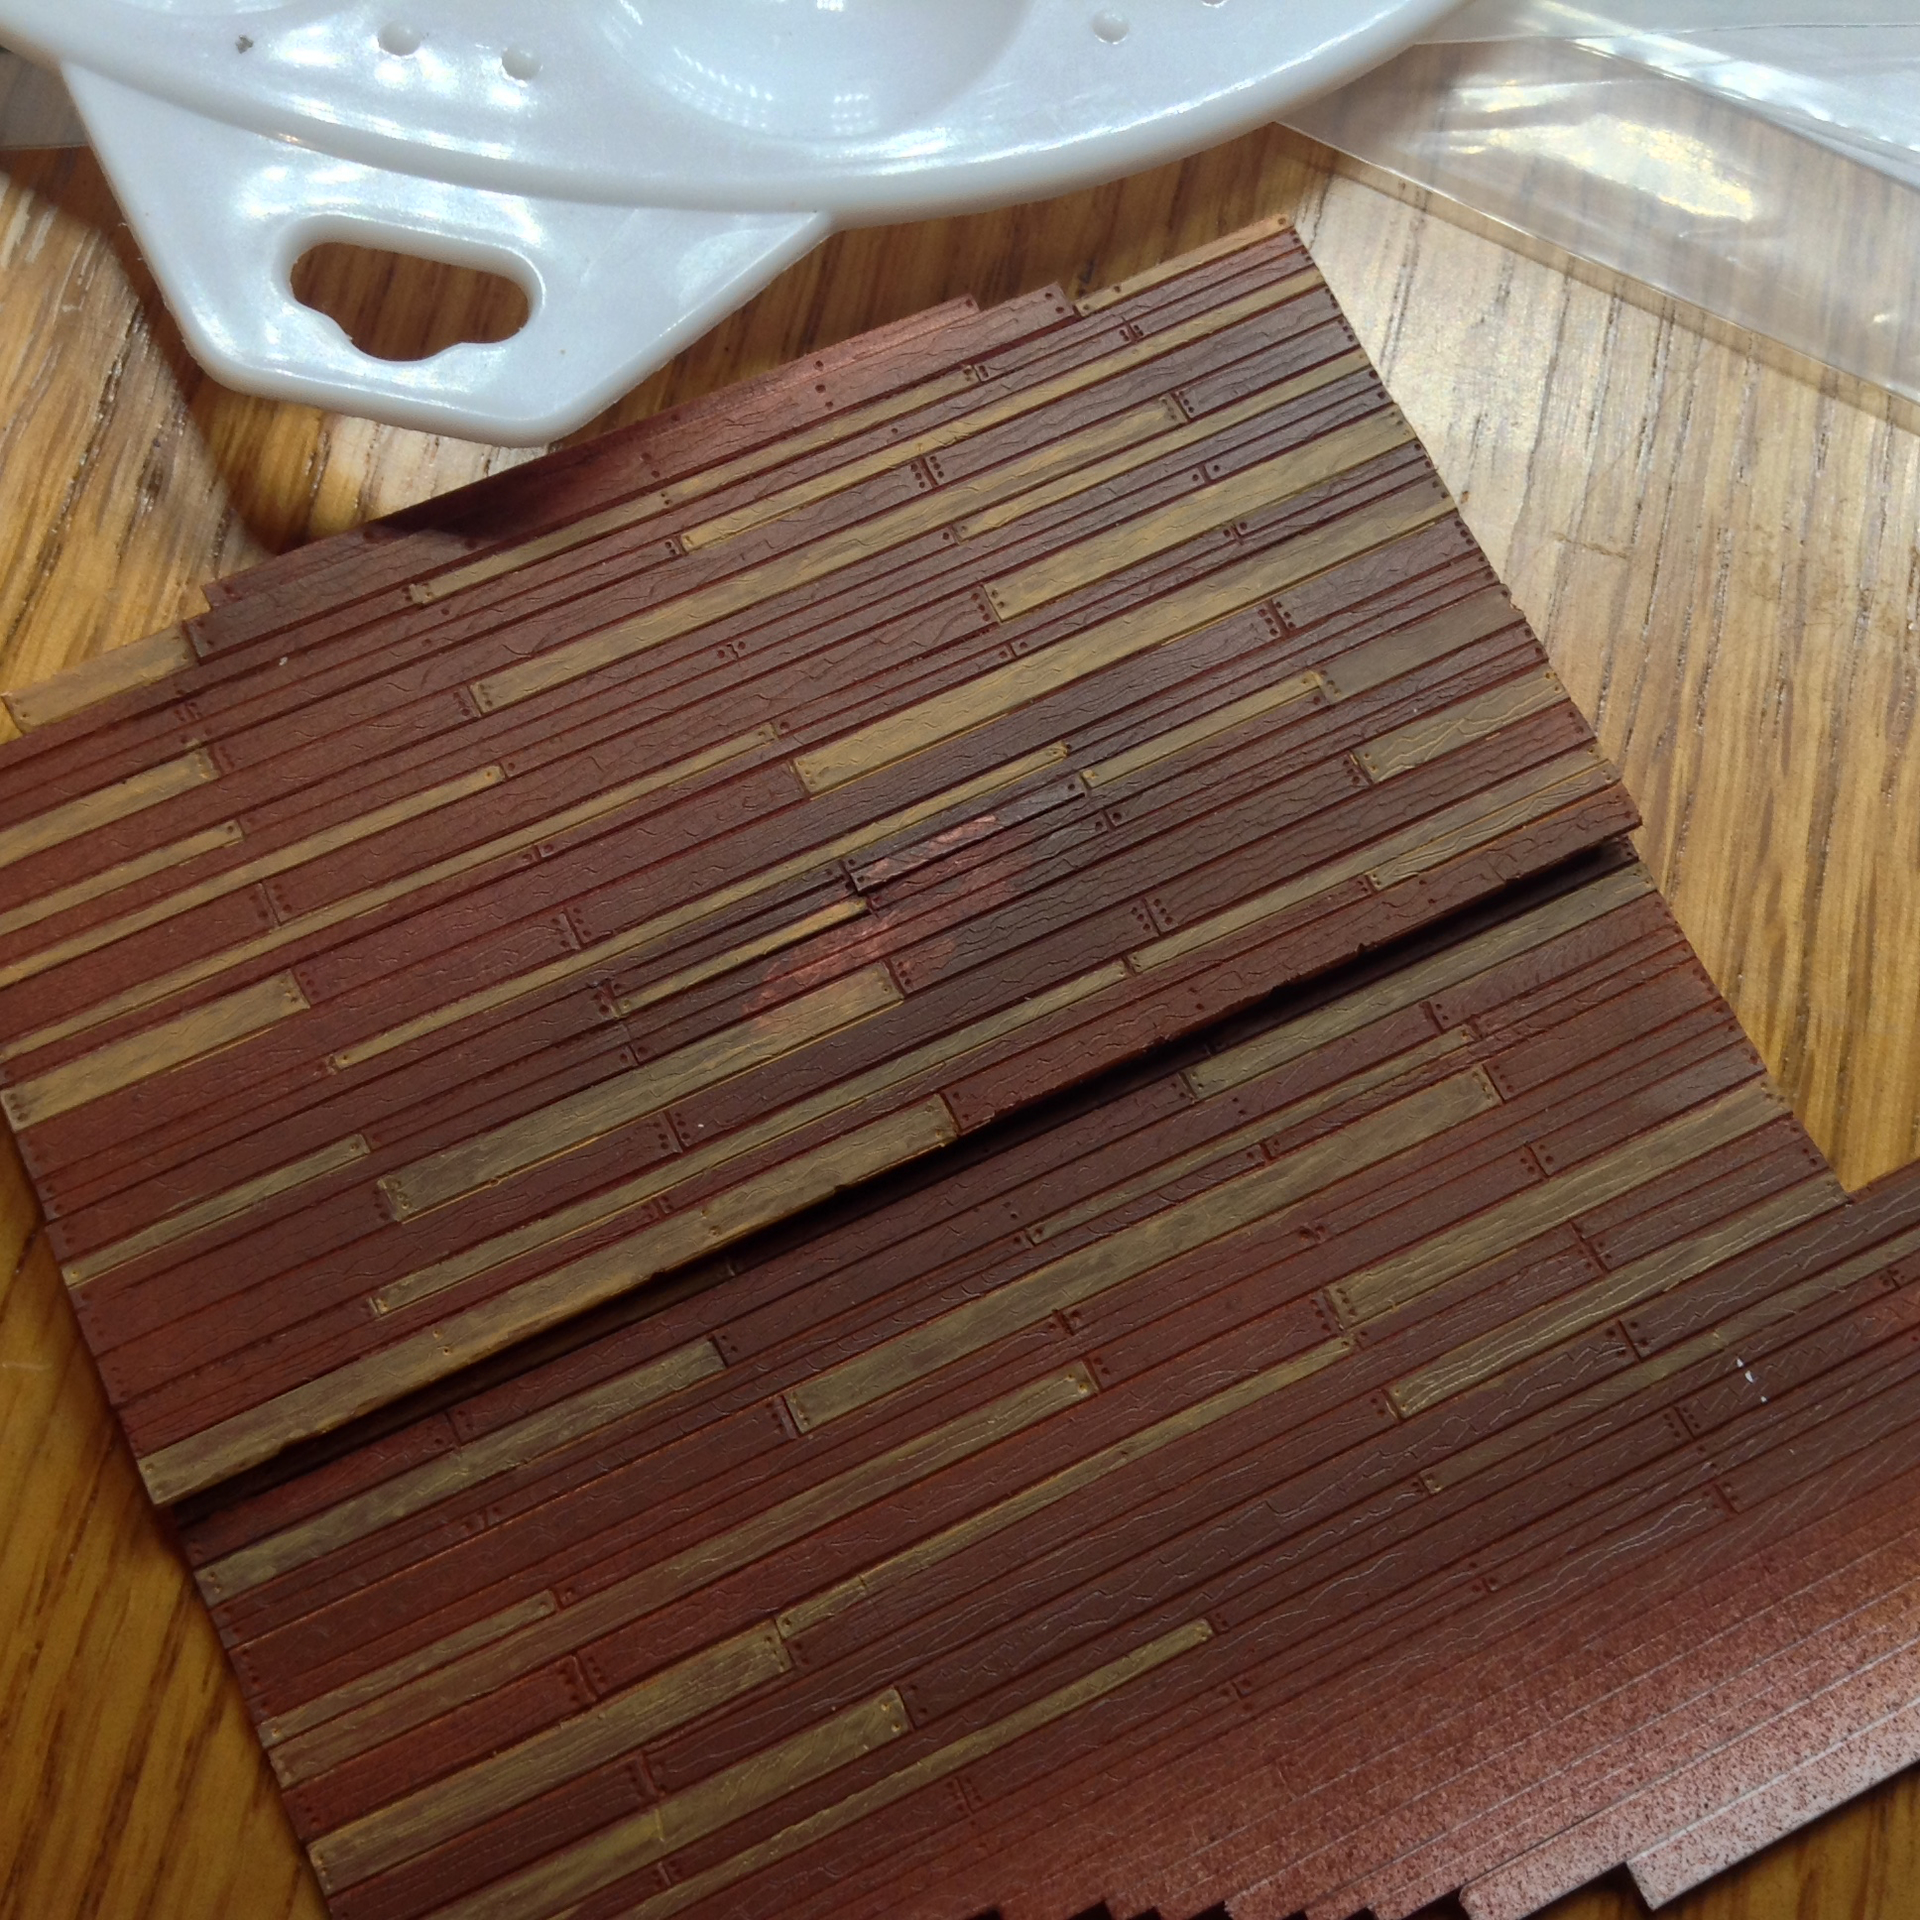
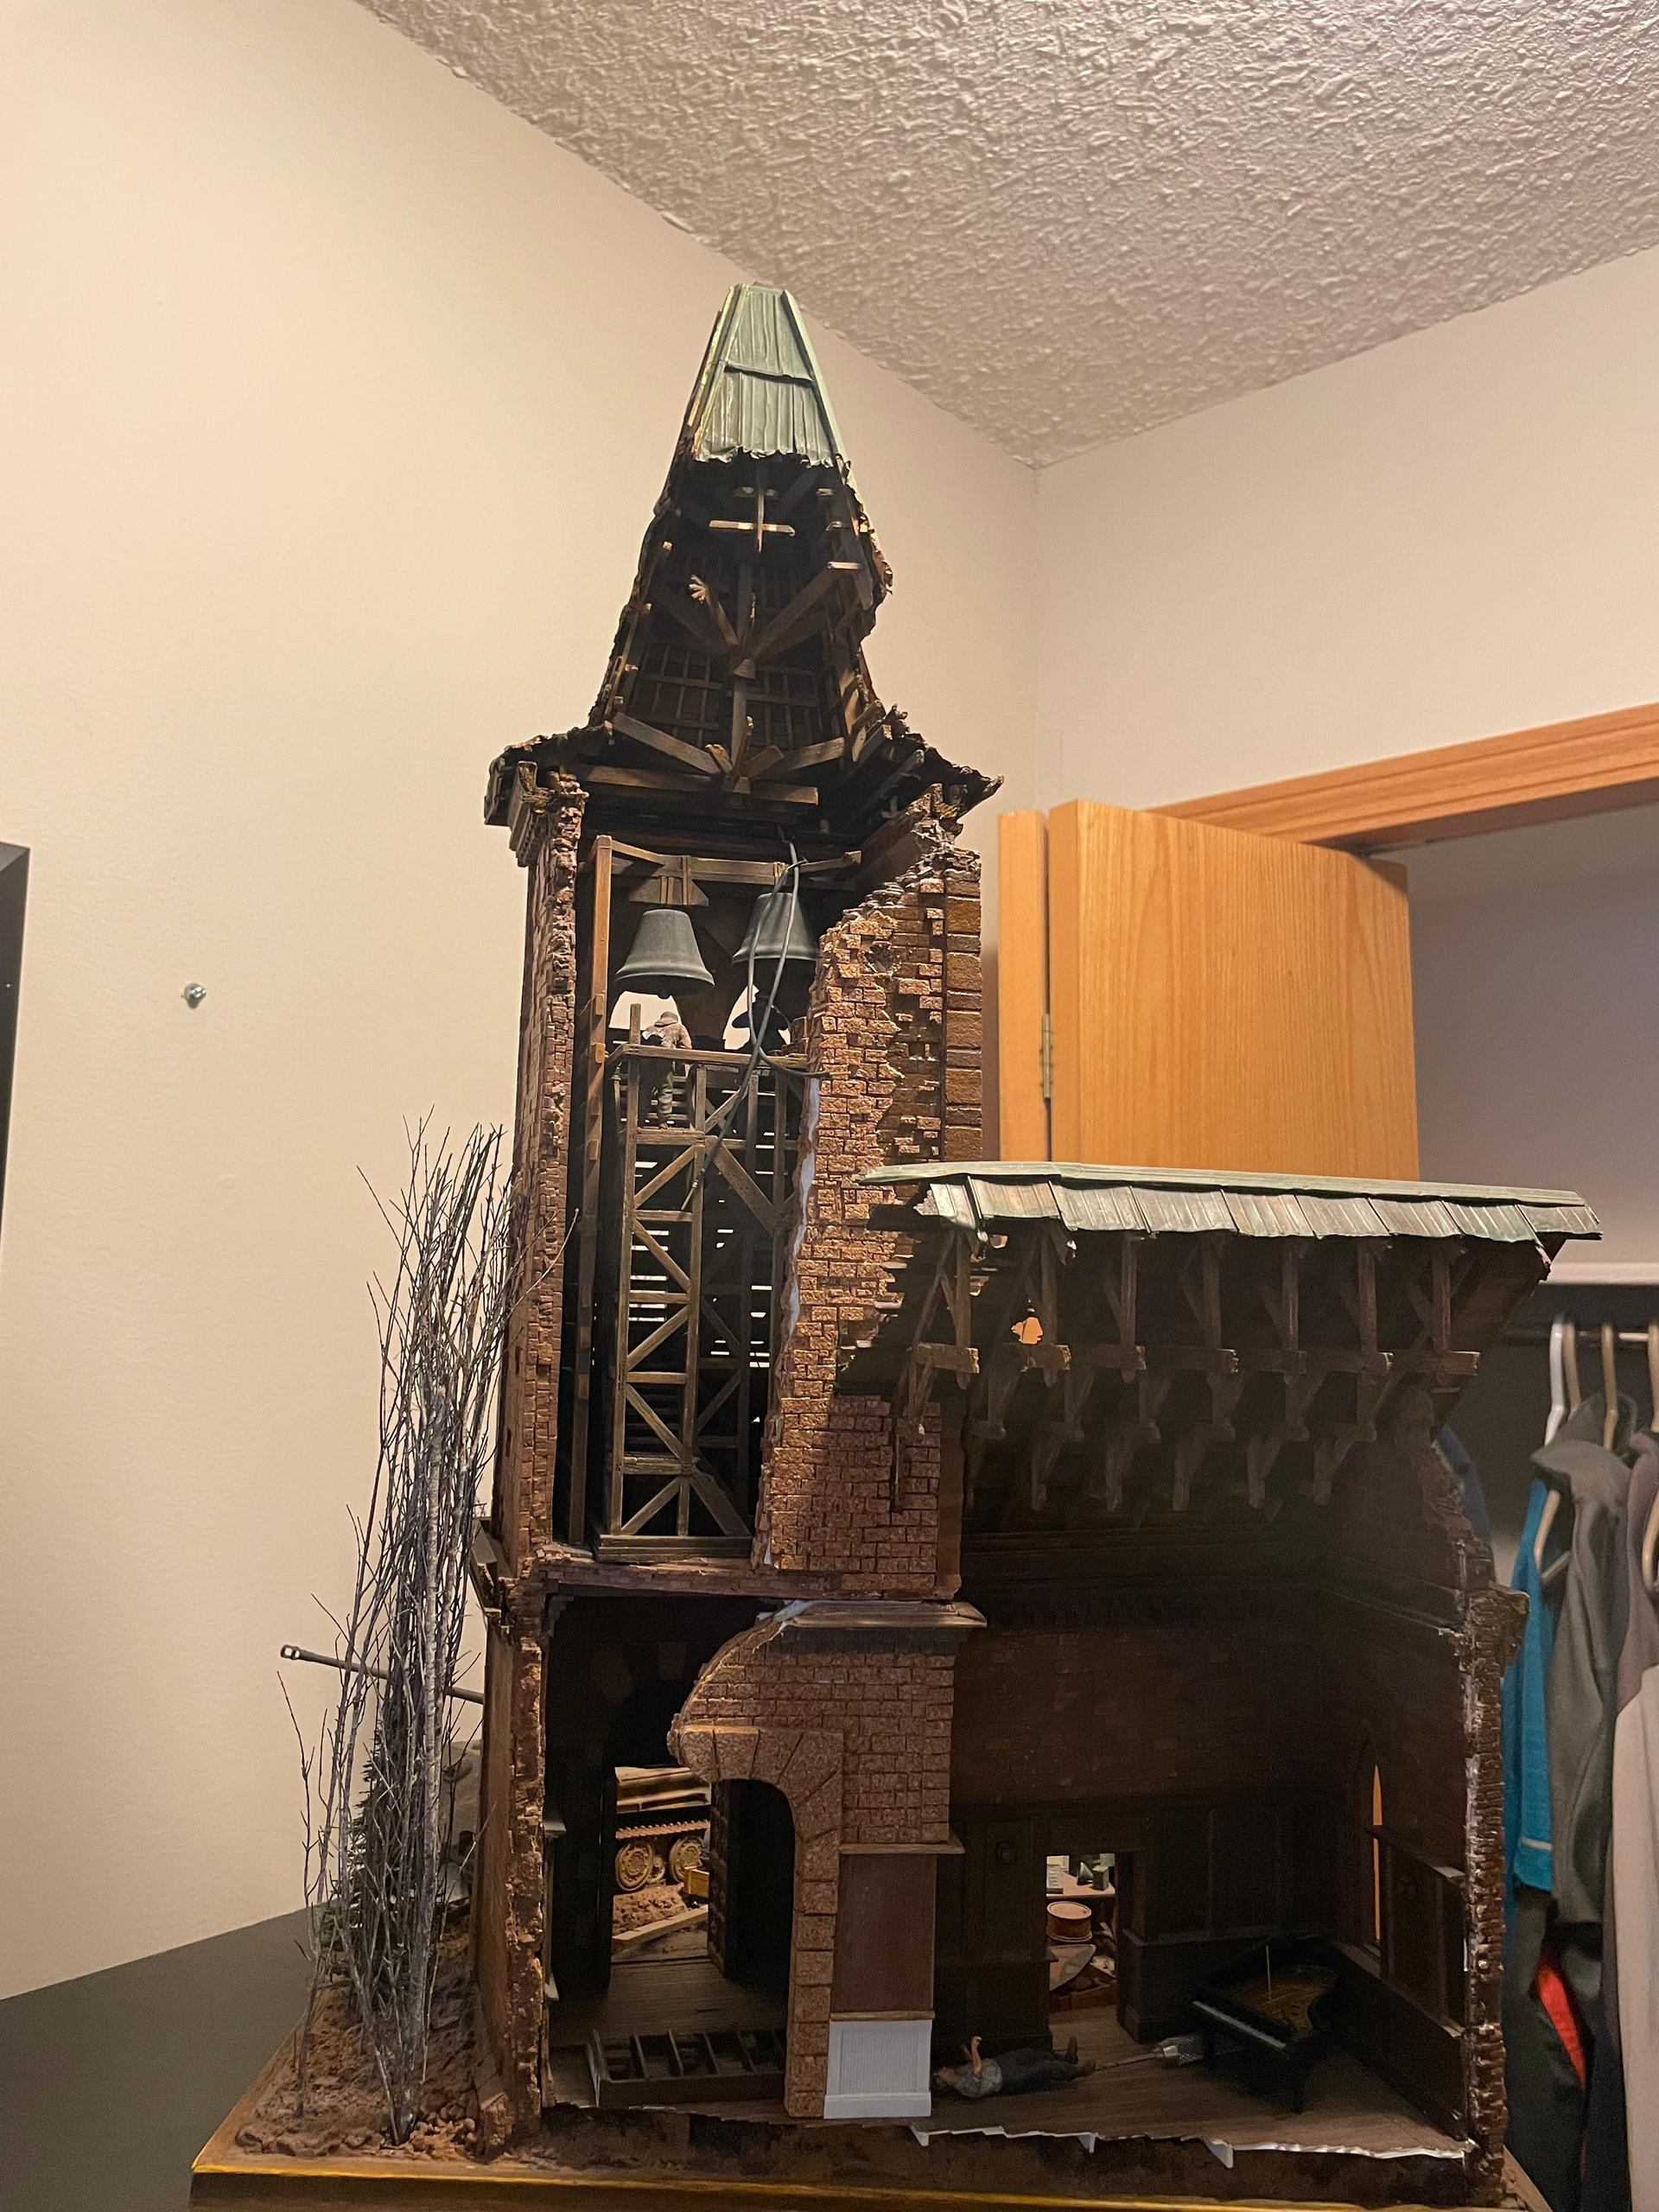
Thanks Jeremy. Sure. The majority of the structure is a foamcore board construction, with the bulk of the exterior and upper portions of the interior surface covered in thousands of individually cut and placed pieces of adhesive back cork sheets. The lower sections of the interior, and the doors are Evergreen plastic of various sizes and thickness, cut and glued using a variety of hobby tools and mostly Tamiya extra thin adhesive. The piano is also scratchbuilt, along with the bookshelf and assorted books. The trees are pieces of a wicker wreath type thingy, cut and painted to resemble poplars or similar trees.
Some more of the trip down memory lane… no really specific order, and hopefully the build processes are clear enough to make sense of it all. Please feel free to ask if uncertain of anything. Thanks again for your participation and any feedback.
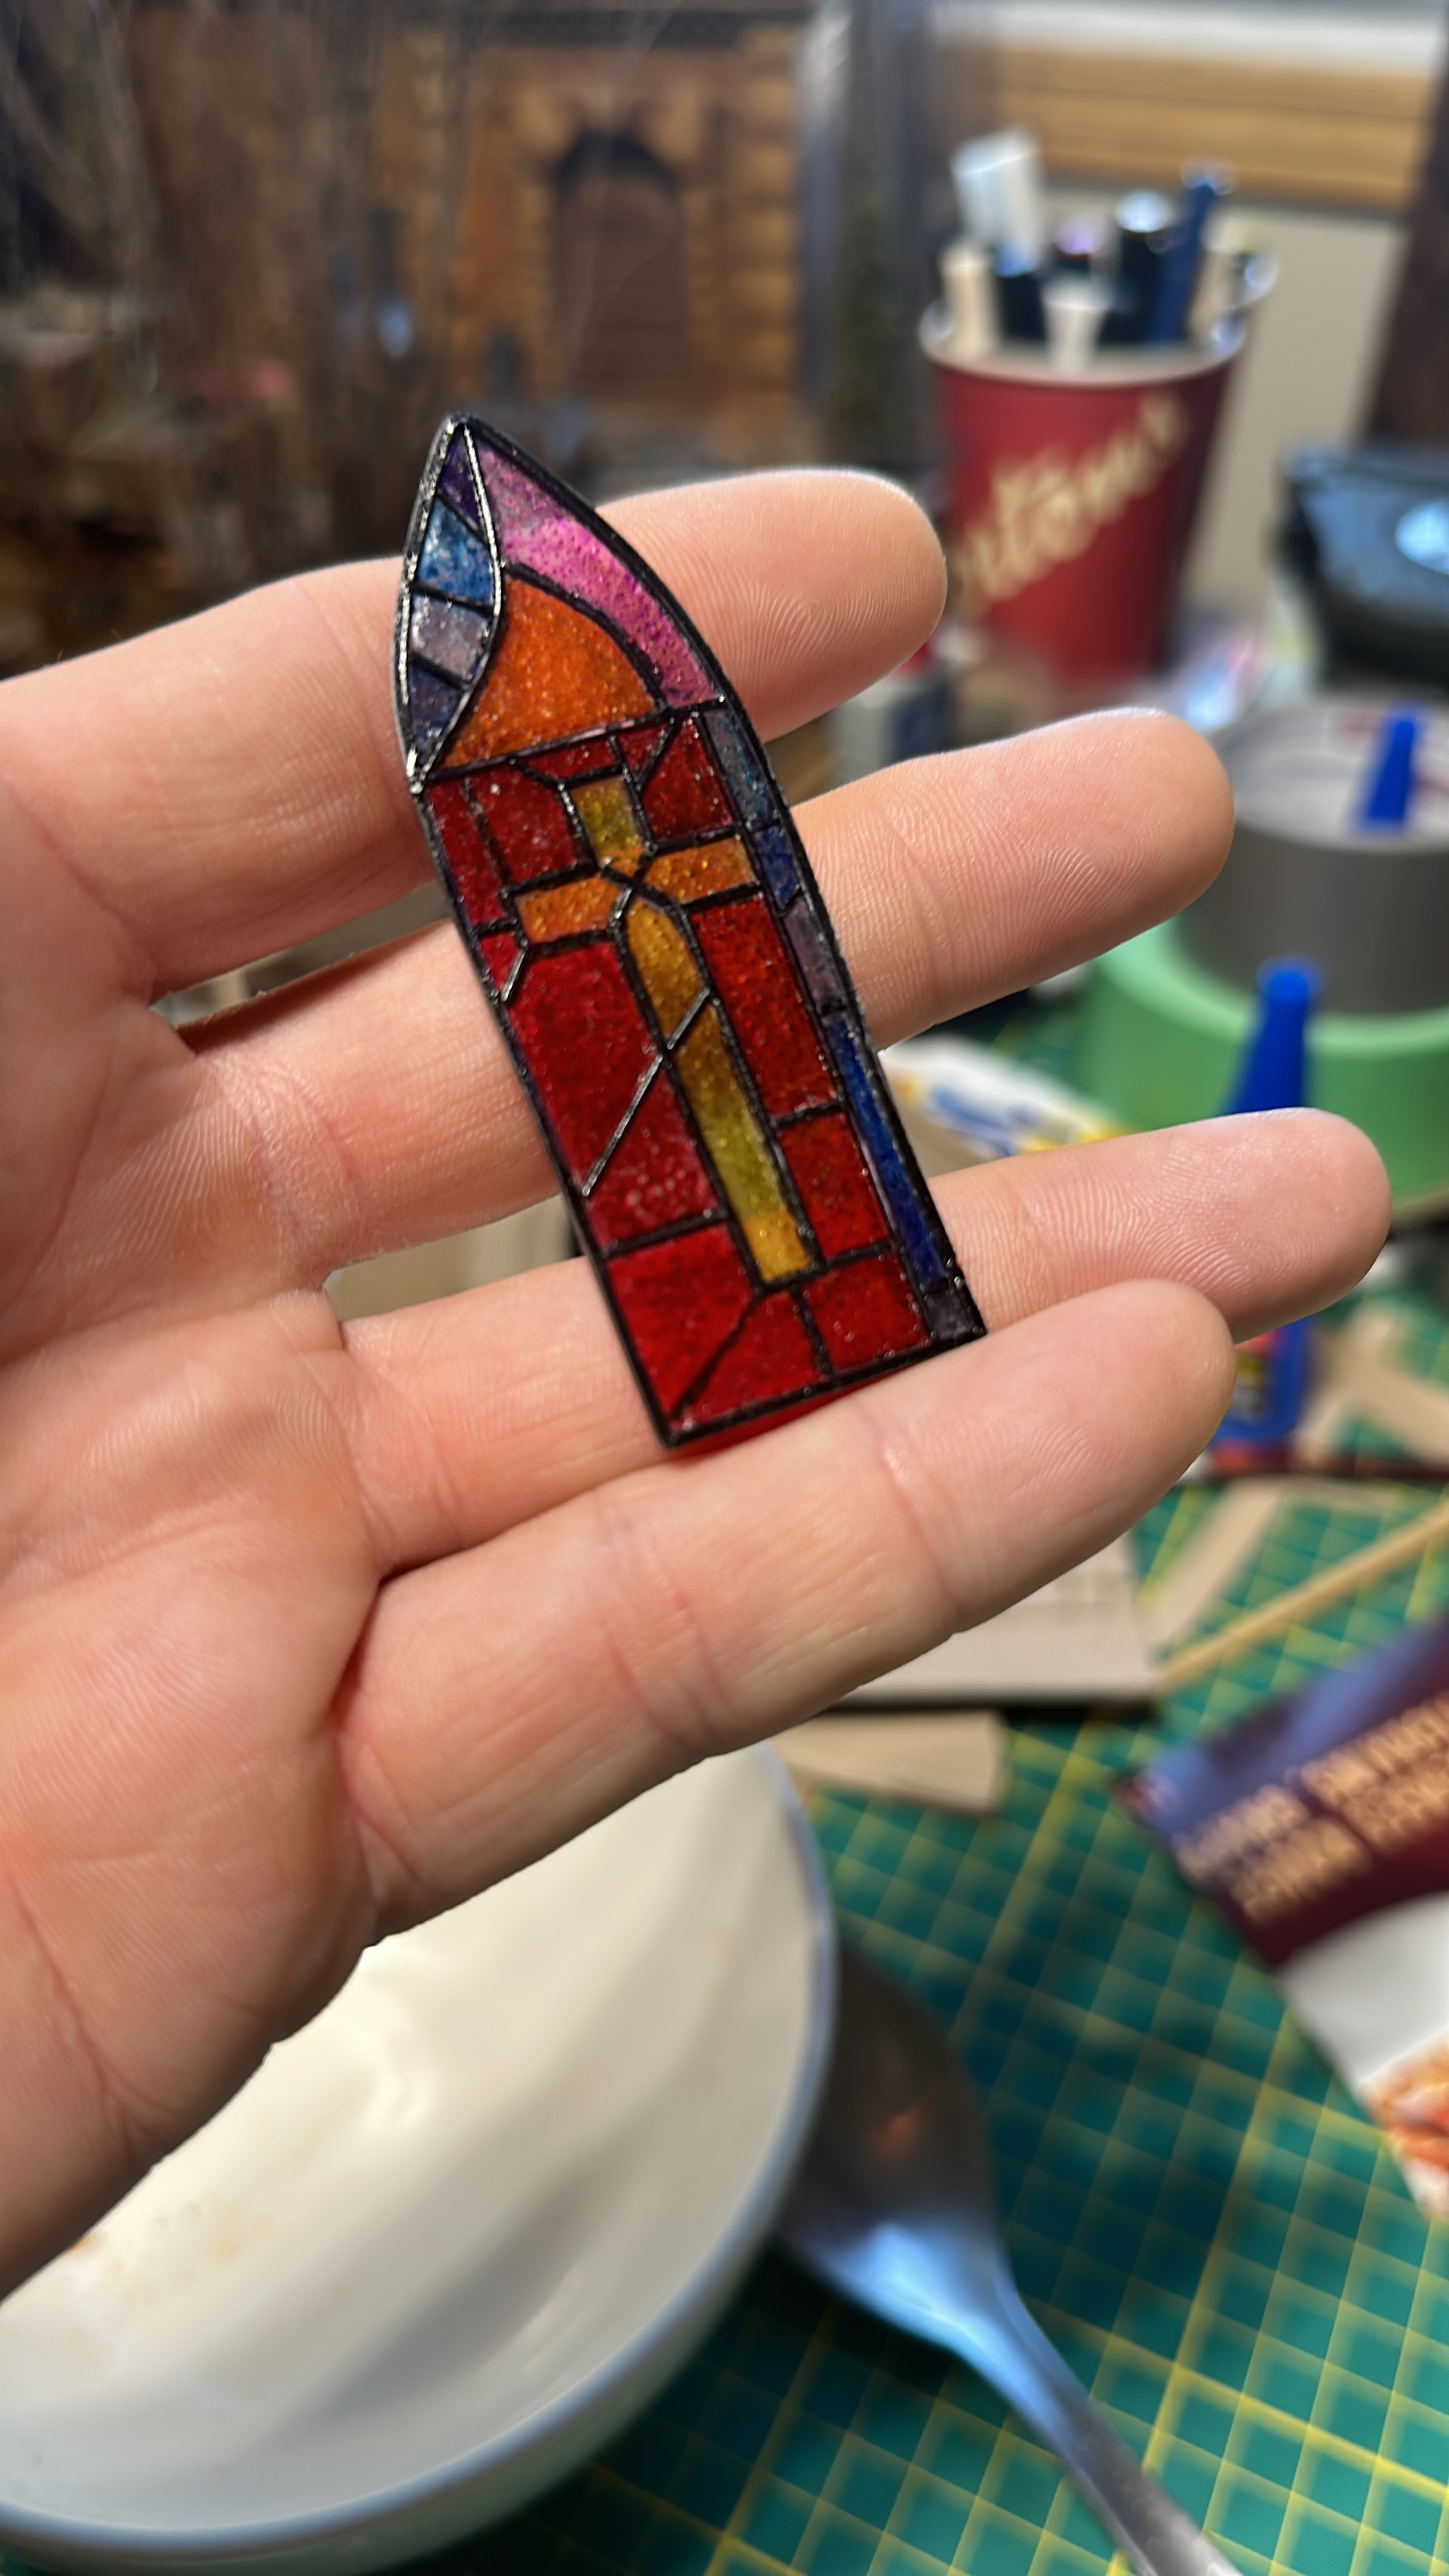
So good to browse this epic again, don’t take this the wrong way but it looks even better than I remember it . And I’d certainly forgotten you’d already mastered 1:35 stained glass. The brilliant piano – kit or scratched?
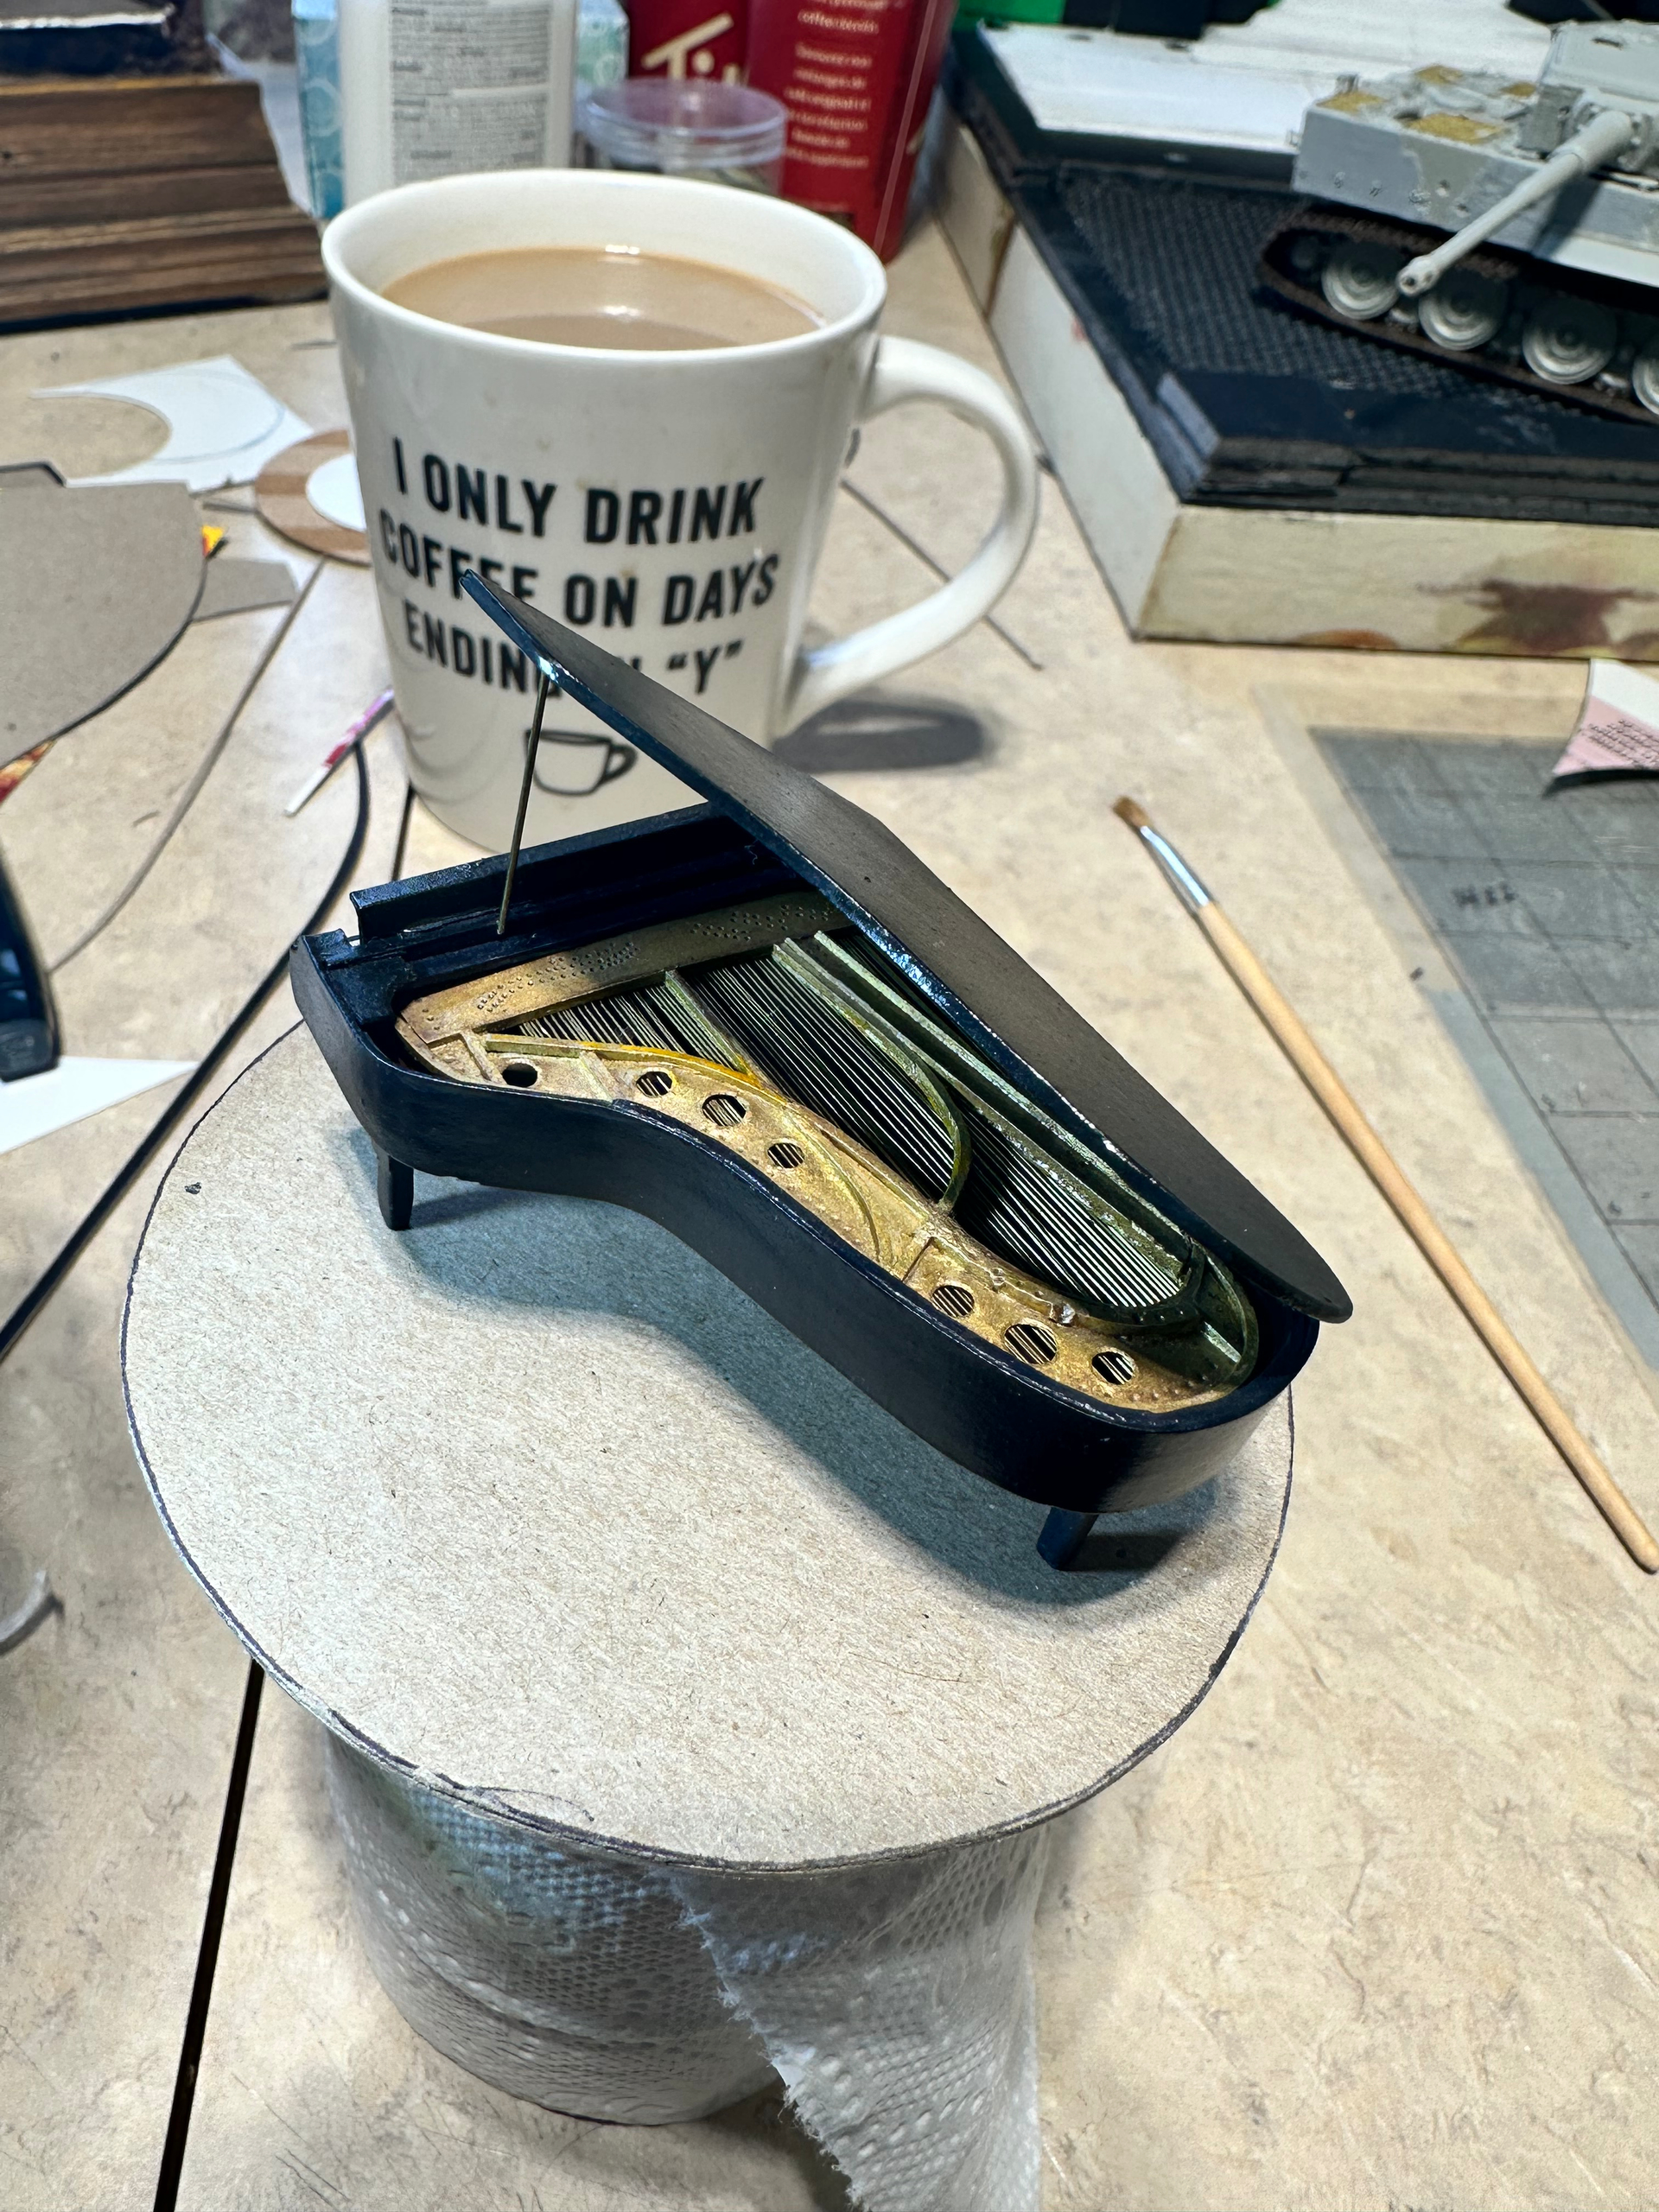
No offence taken lol. The 85 key almost Grand Piano is completely scratched good sir. It may very well be making a repeat performance in the new dio too…
And many of the pics I’m posting this time are newer than what appeared back in the original WIP, so that may account for some of the better quality of the work
Ahhh well that would explain my impression, so my visual memory may not be as fritzed as I’d feared – it’s more that you’re photography’s got even better.
Well that piano is a mini-masterpiece all by itself, superb scratch-building & I hope Whitney Foreman’s watching too.
Your memory is mostly sound I believe, and I do believe my photo skills did and have improved over the years. Better iPhones and better lighting in a lot of the newer pix that are in this retro look.
I’m not sure that I get the Whitney Foreman reference? Well, I actually don’t get it let me ruminate on it for a bit before you enlighten me.
I assume he’s on the forum, but that concludes my assumptions and my familiarity with the name.
Whitney’s a torch-bearer for scratch-building – there’s a thread somewhere from several years ago on this site called “The Death of Scratch-building”, it’s huge because many of us sought to disprove the thread title. I think we convinced him, but his original beef about too many easy hacks from manufacturers was well taken, he had a point.
I’m certainly not against the ever expanding supply of aftermarket “stuff”, and especially some of the new and previously untapped tools that are available; however I’ve always been an advocate for scratching as much as you can, if for no other reason than it’s usually the least expensive way of getting things done. It’s not the quickest solution for building however, so if your priorities are volume and or ease of build then laser cut and resin or photo etch detail sets are probably the way to go. Scratch building almost always guarantees an original product though, and I do like that a lot.
That’s exactly right - if speed (or arguably laziness, or lack of confidence scratching) is the priority then after-market and/or 3D is the answer. Nothing wrong with that.
But some of us are more artisan (and arguably, cheapskates) who prefer to DIY. Nothing wrong with that either. Being of the latter persuasion I think the pay-off is way more personal satisfaction if/when it works.
I would imagine the perceived lack of ability, most likely due to a lack of trying is probably the top reason for aftermarket accessories and kits.
For me the build process and the imagination needed to make something out of nothing drives my creativity which makes the process so much fun. I don’t build a bazillion kits. My current cache is close to double digits now, with most sitting open but untouched lol. I may never get to most of them, but in my head I have plans for all of them in different dioramas of very different styles.
and there’s nothing wrong with being cheap for the right reasons
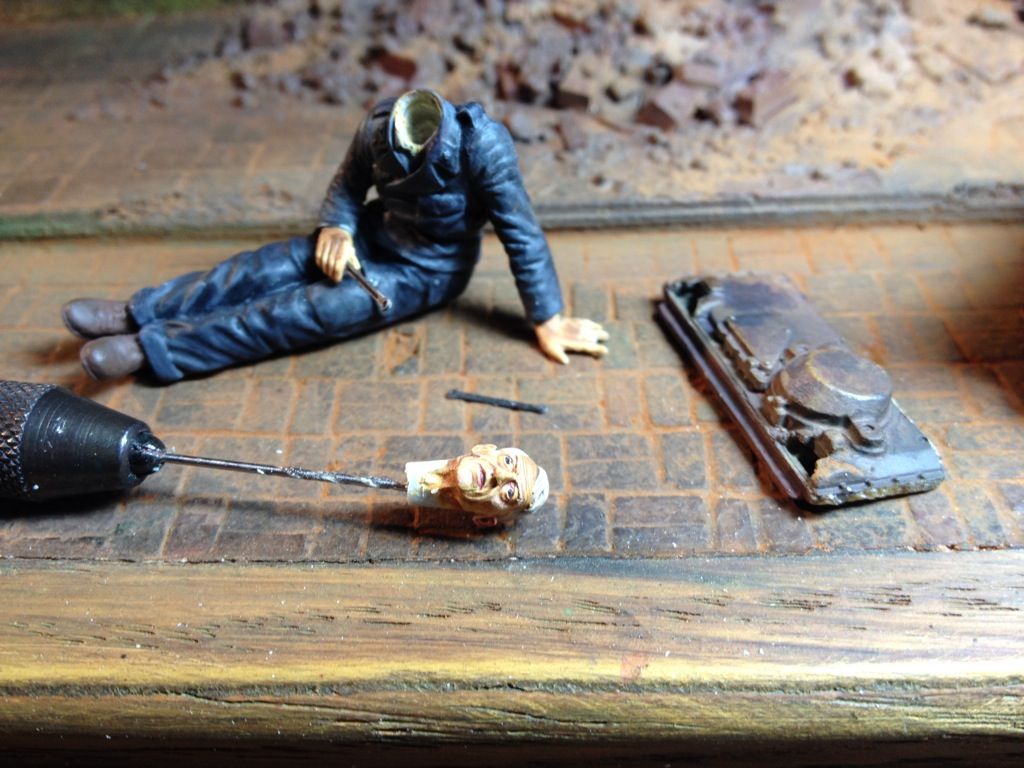
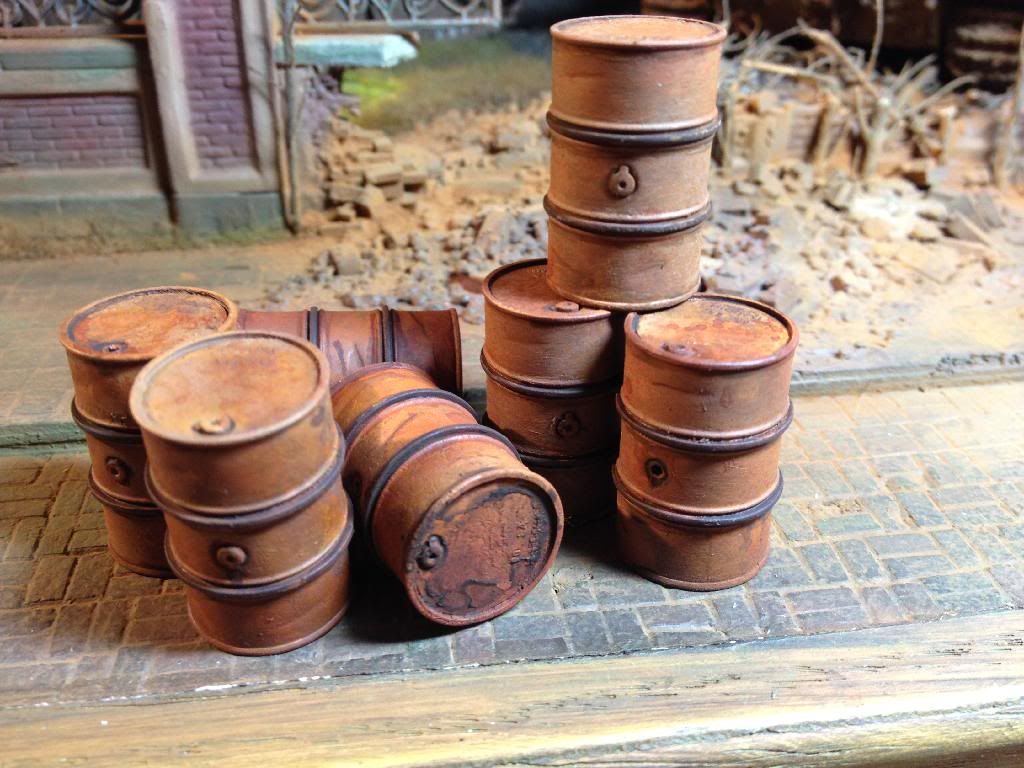
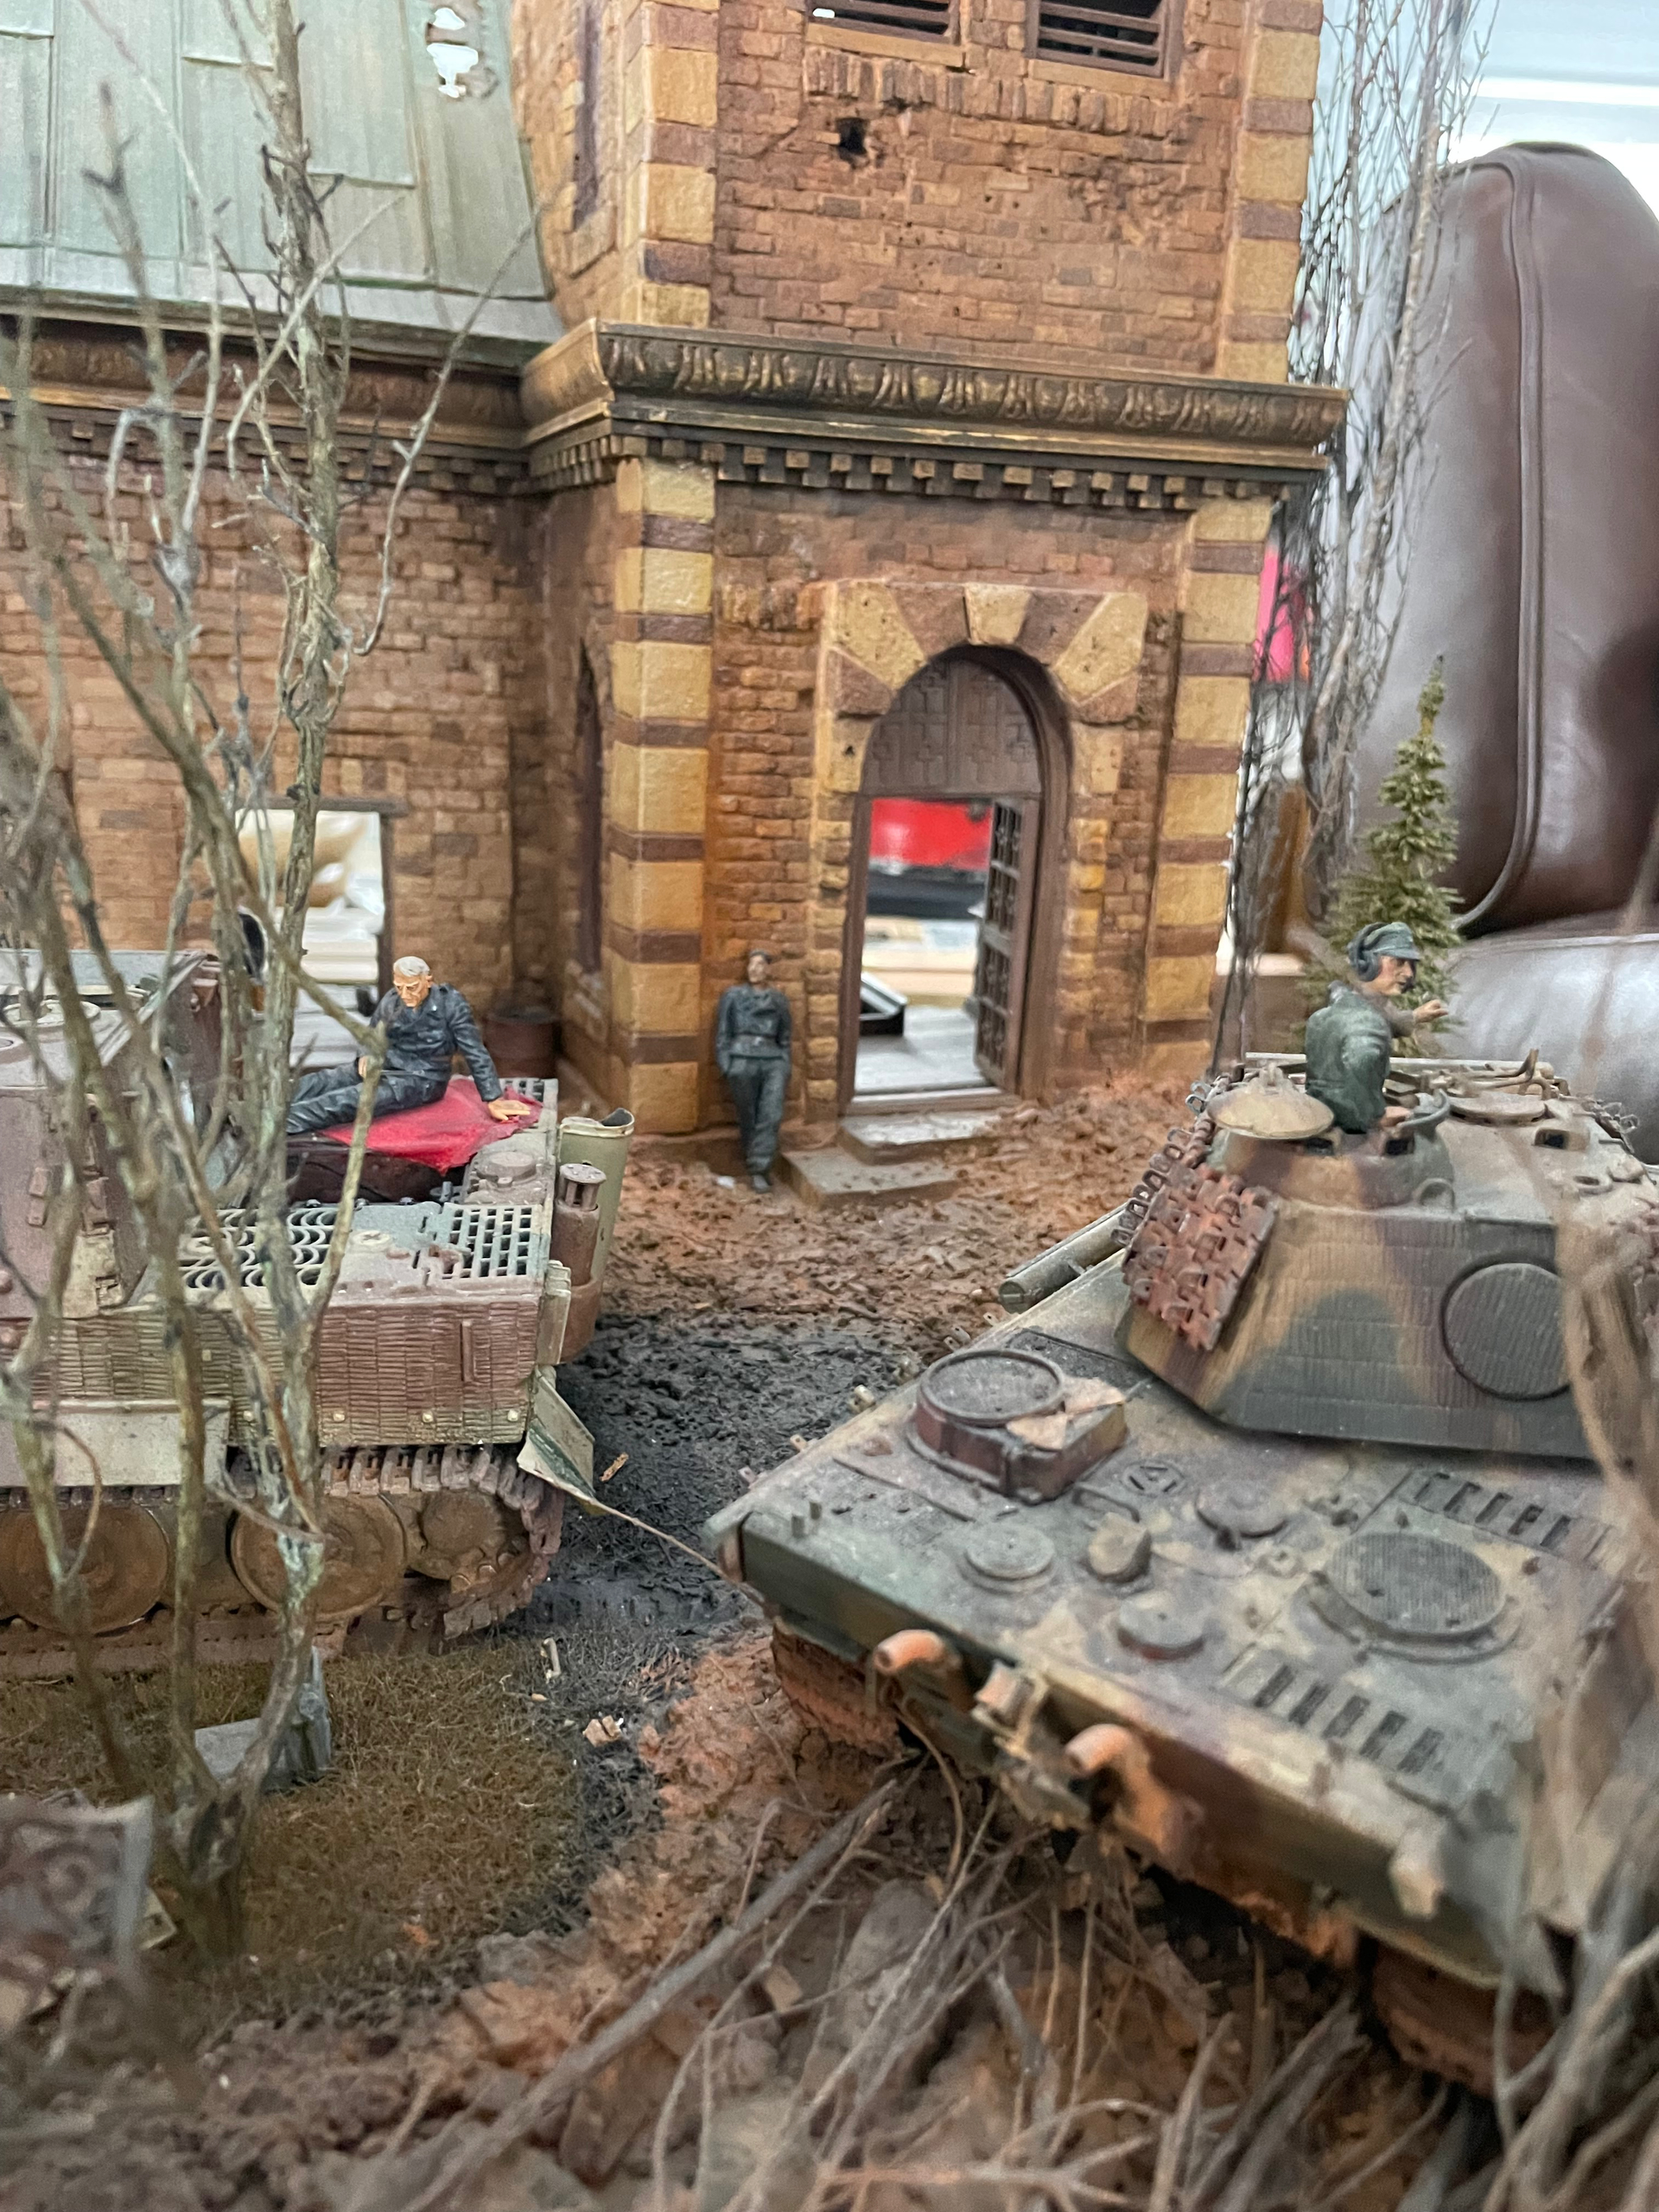
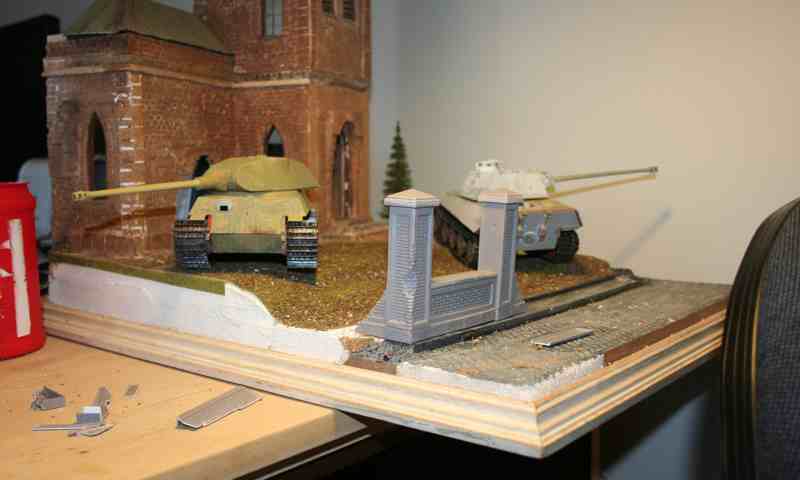
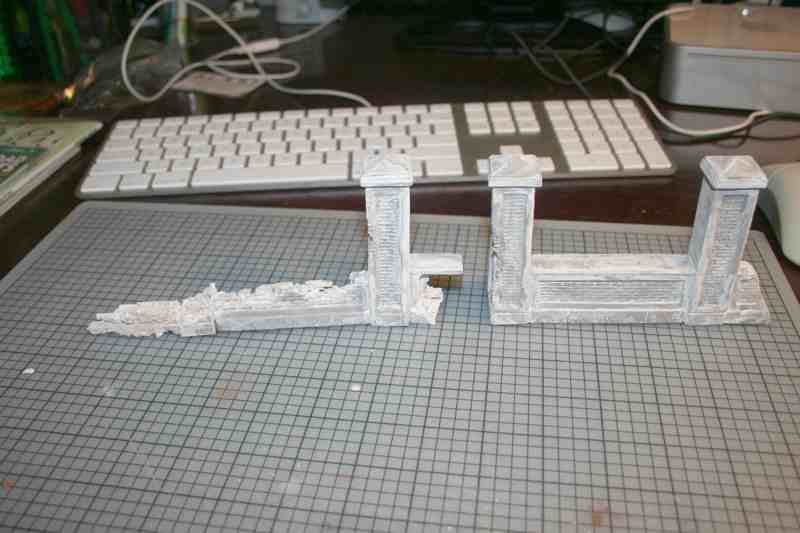
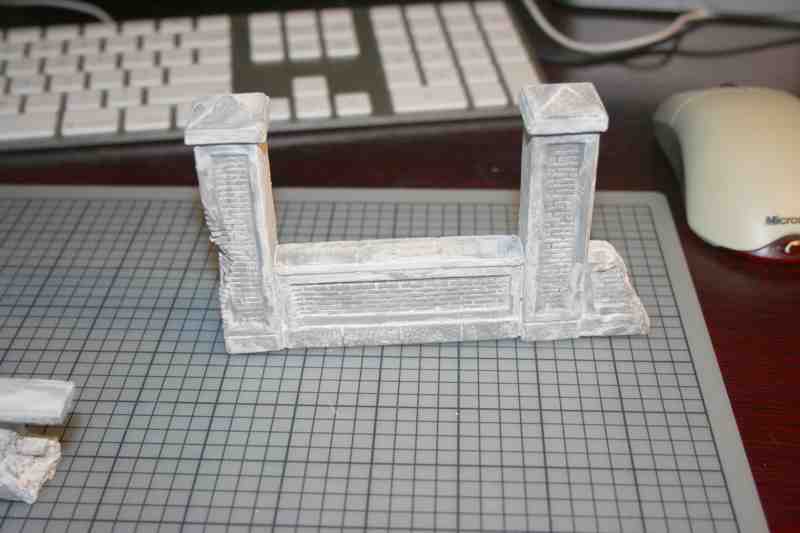
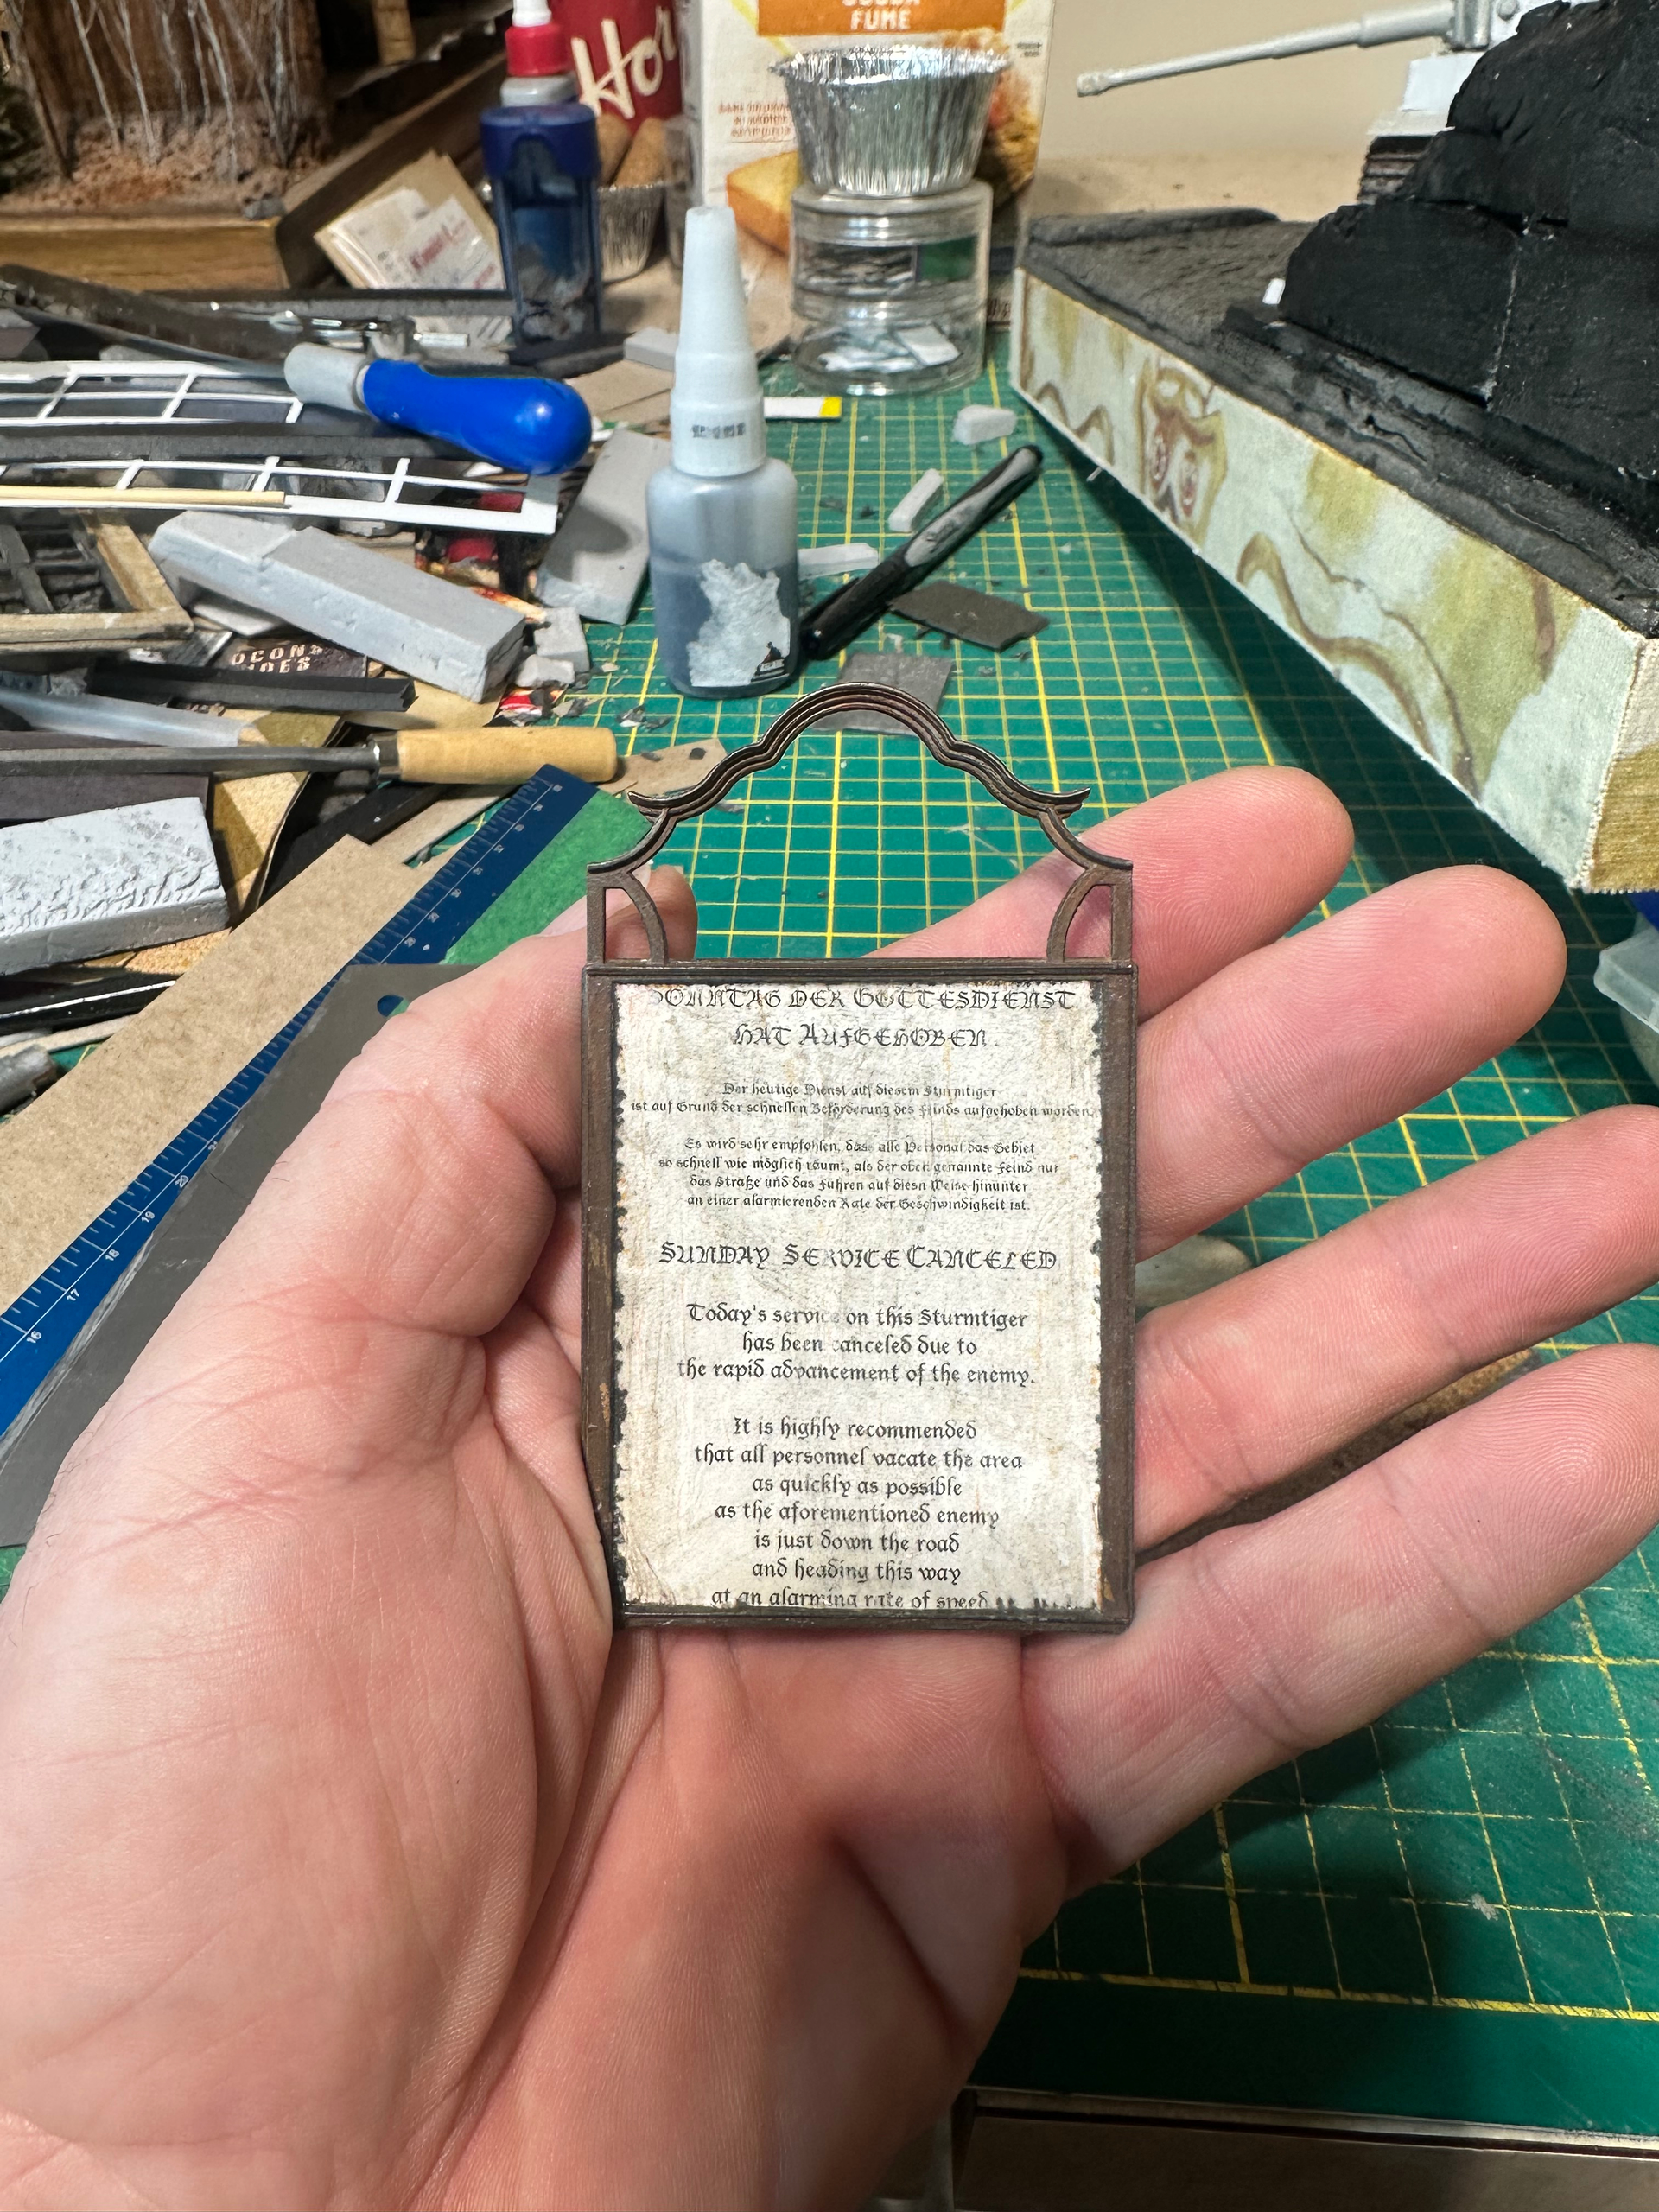
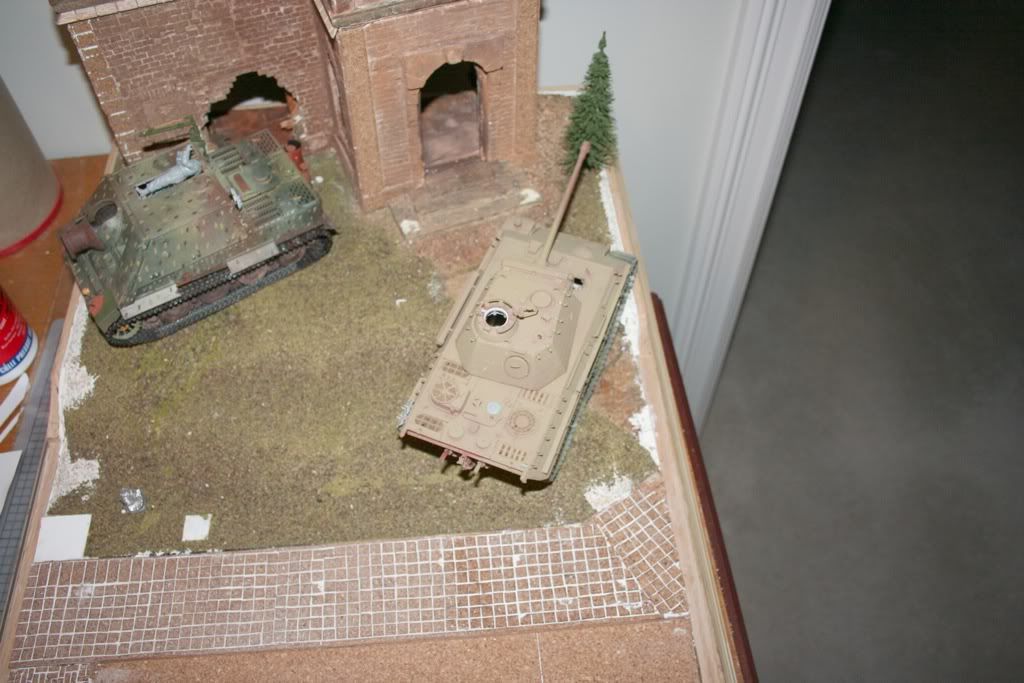
One more before bed. The sign that would normally stand outside the church, perhaps with the coming sermon title and the pastor’s name; or the churches name and address and service times. Now, well at one time before I removed it to take this pic, it resides underneath the Panther that has busted through the gate to the property; and describes the diorama to the keen eyed perusers of the scene.
Ah yes! I followed this one back in the day in the first posts! You have some really original ideas here and great skills. Thank you for the photos and your art
Thanks Stuart. It sits on the edge of the table where I have my latest diorama in process. It’s seen better days. Perhaps I will eventually attempt tiresome it after this new one is finished.
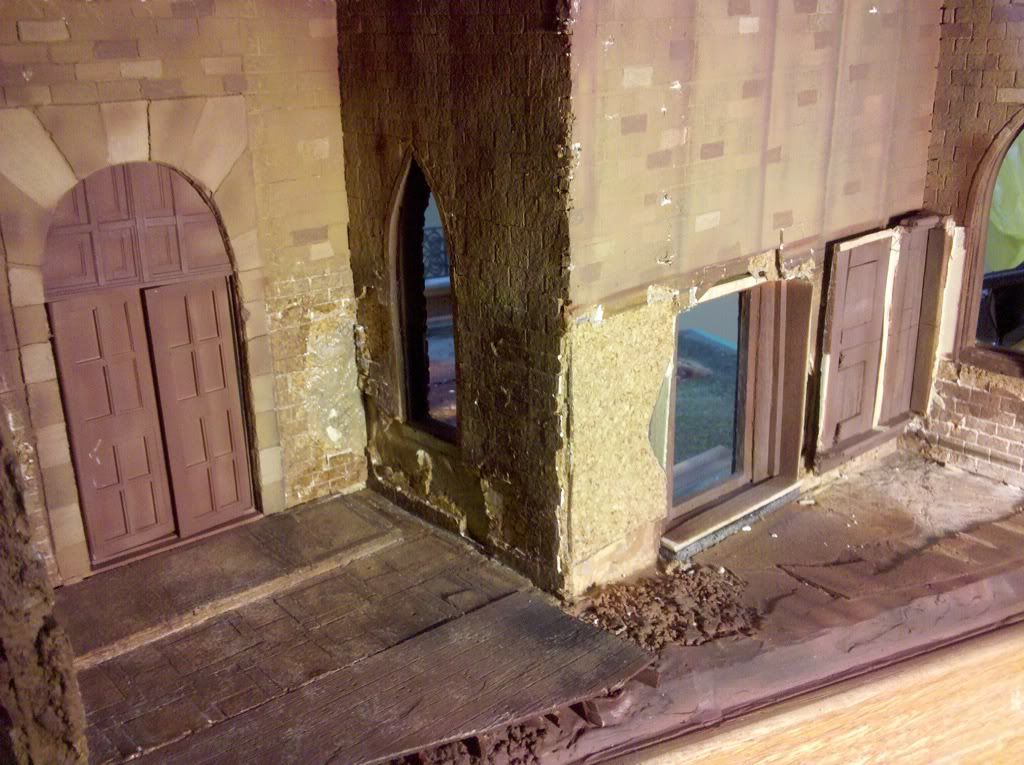
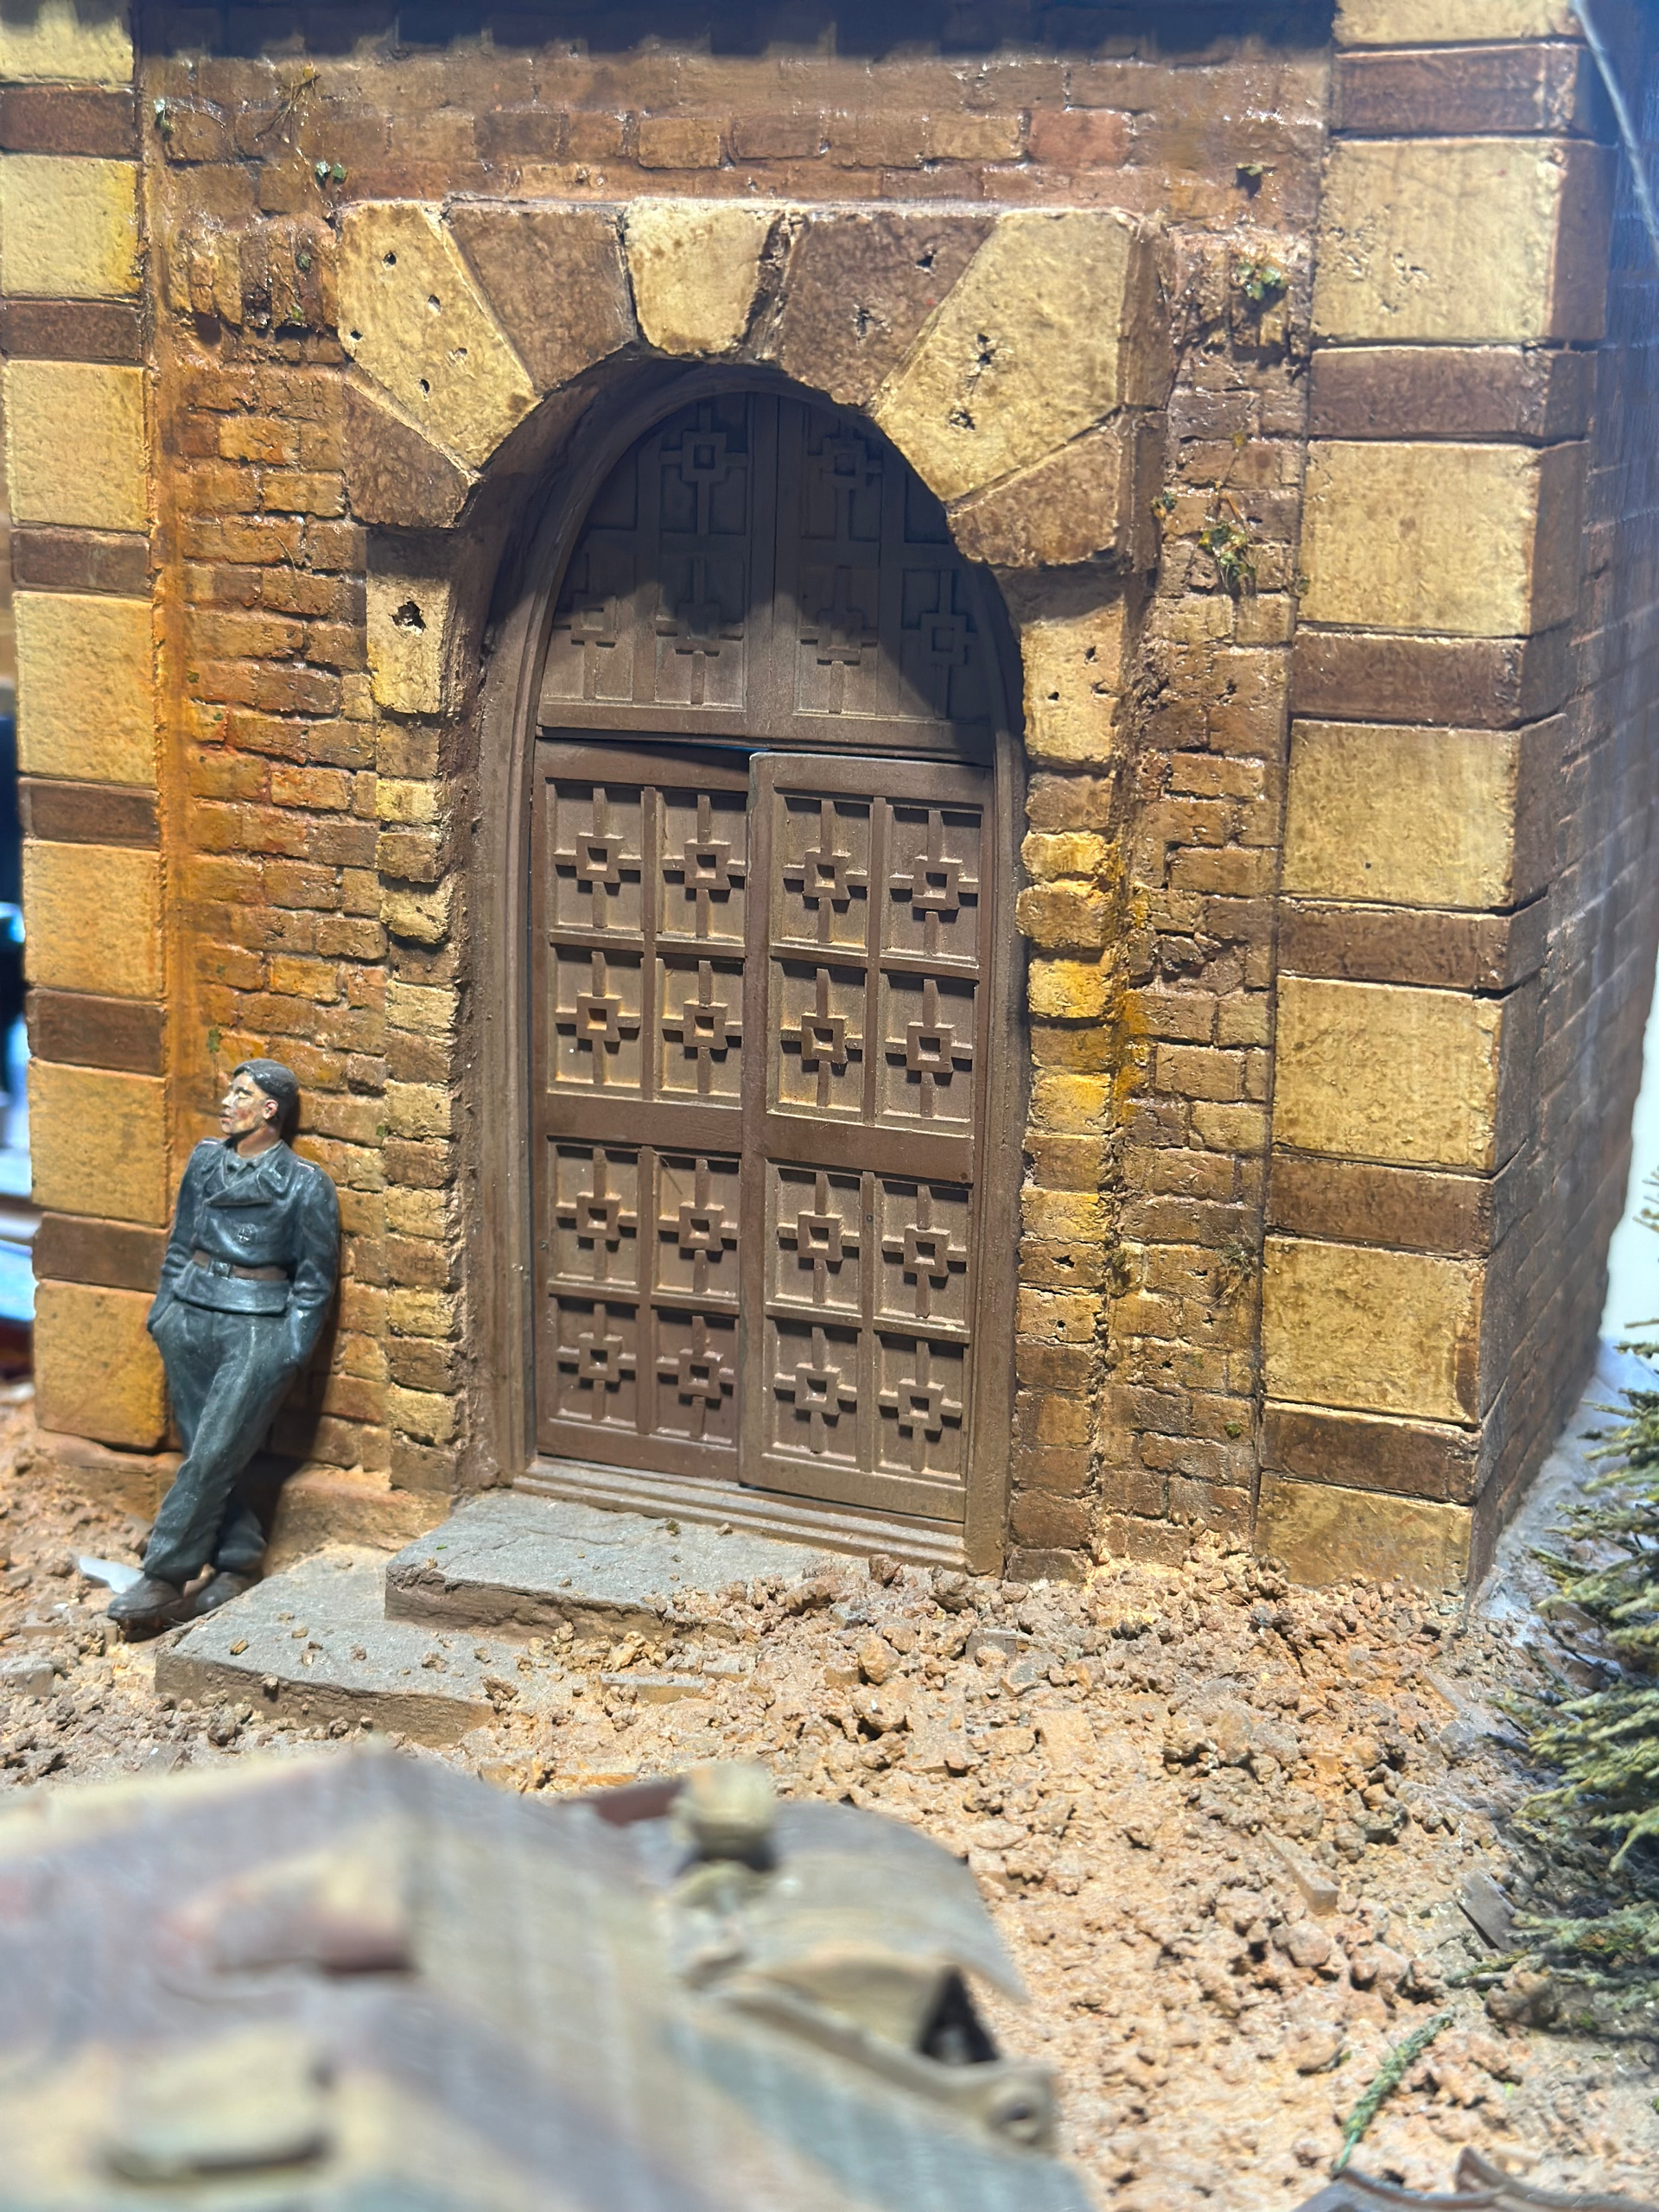
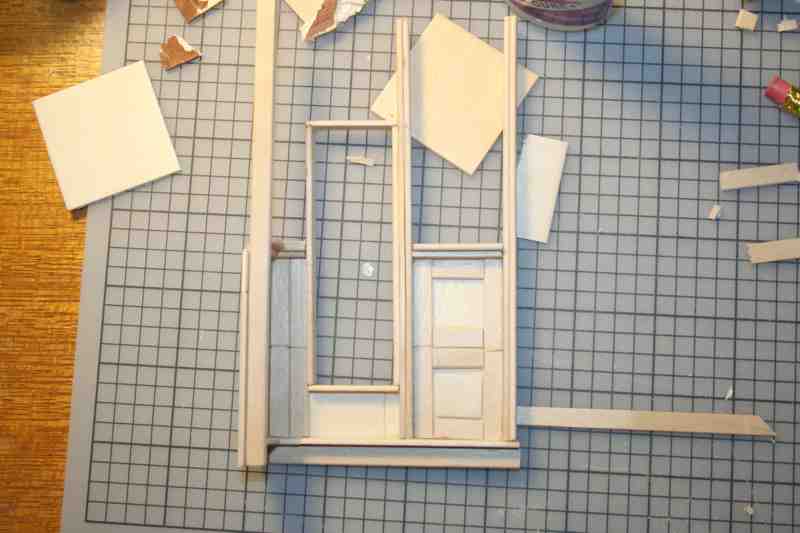
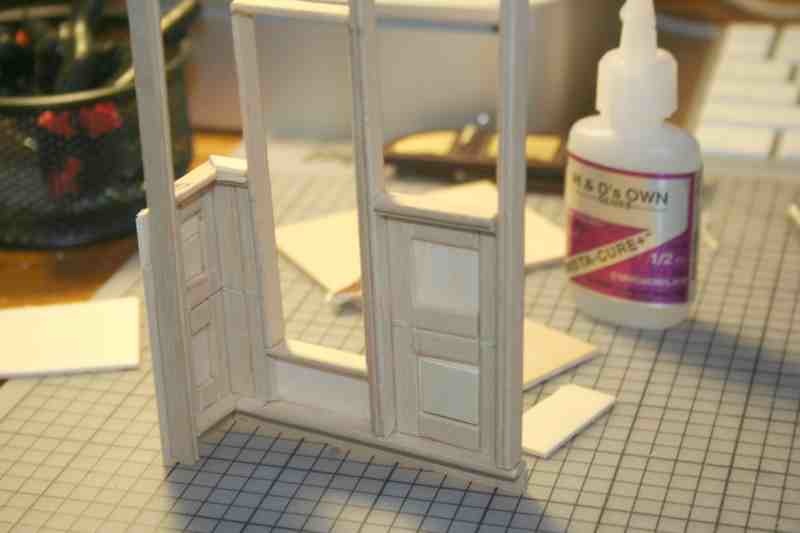
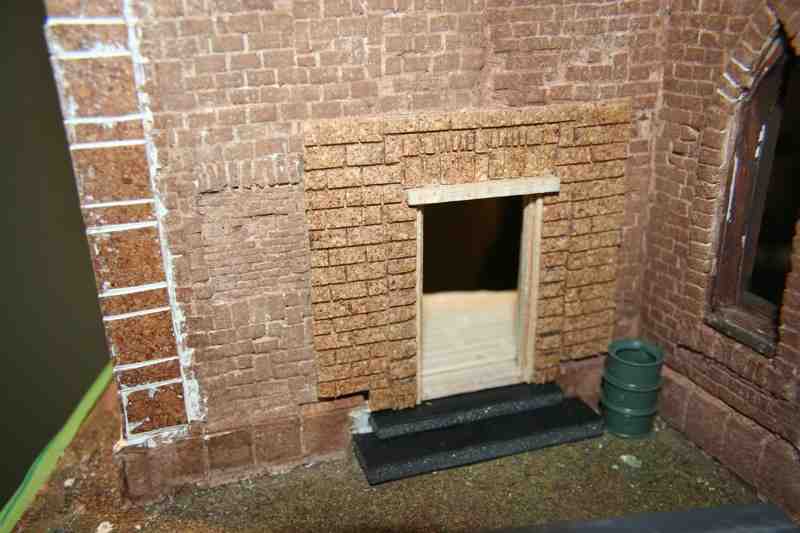
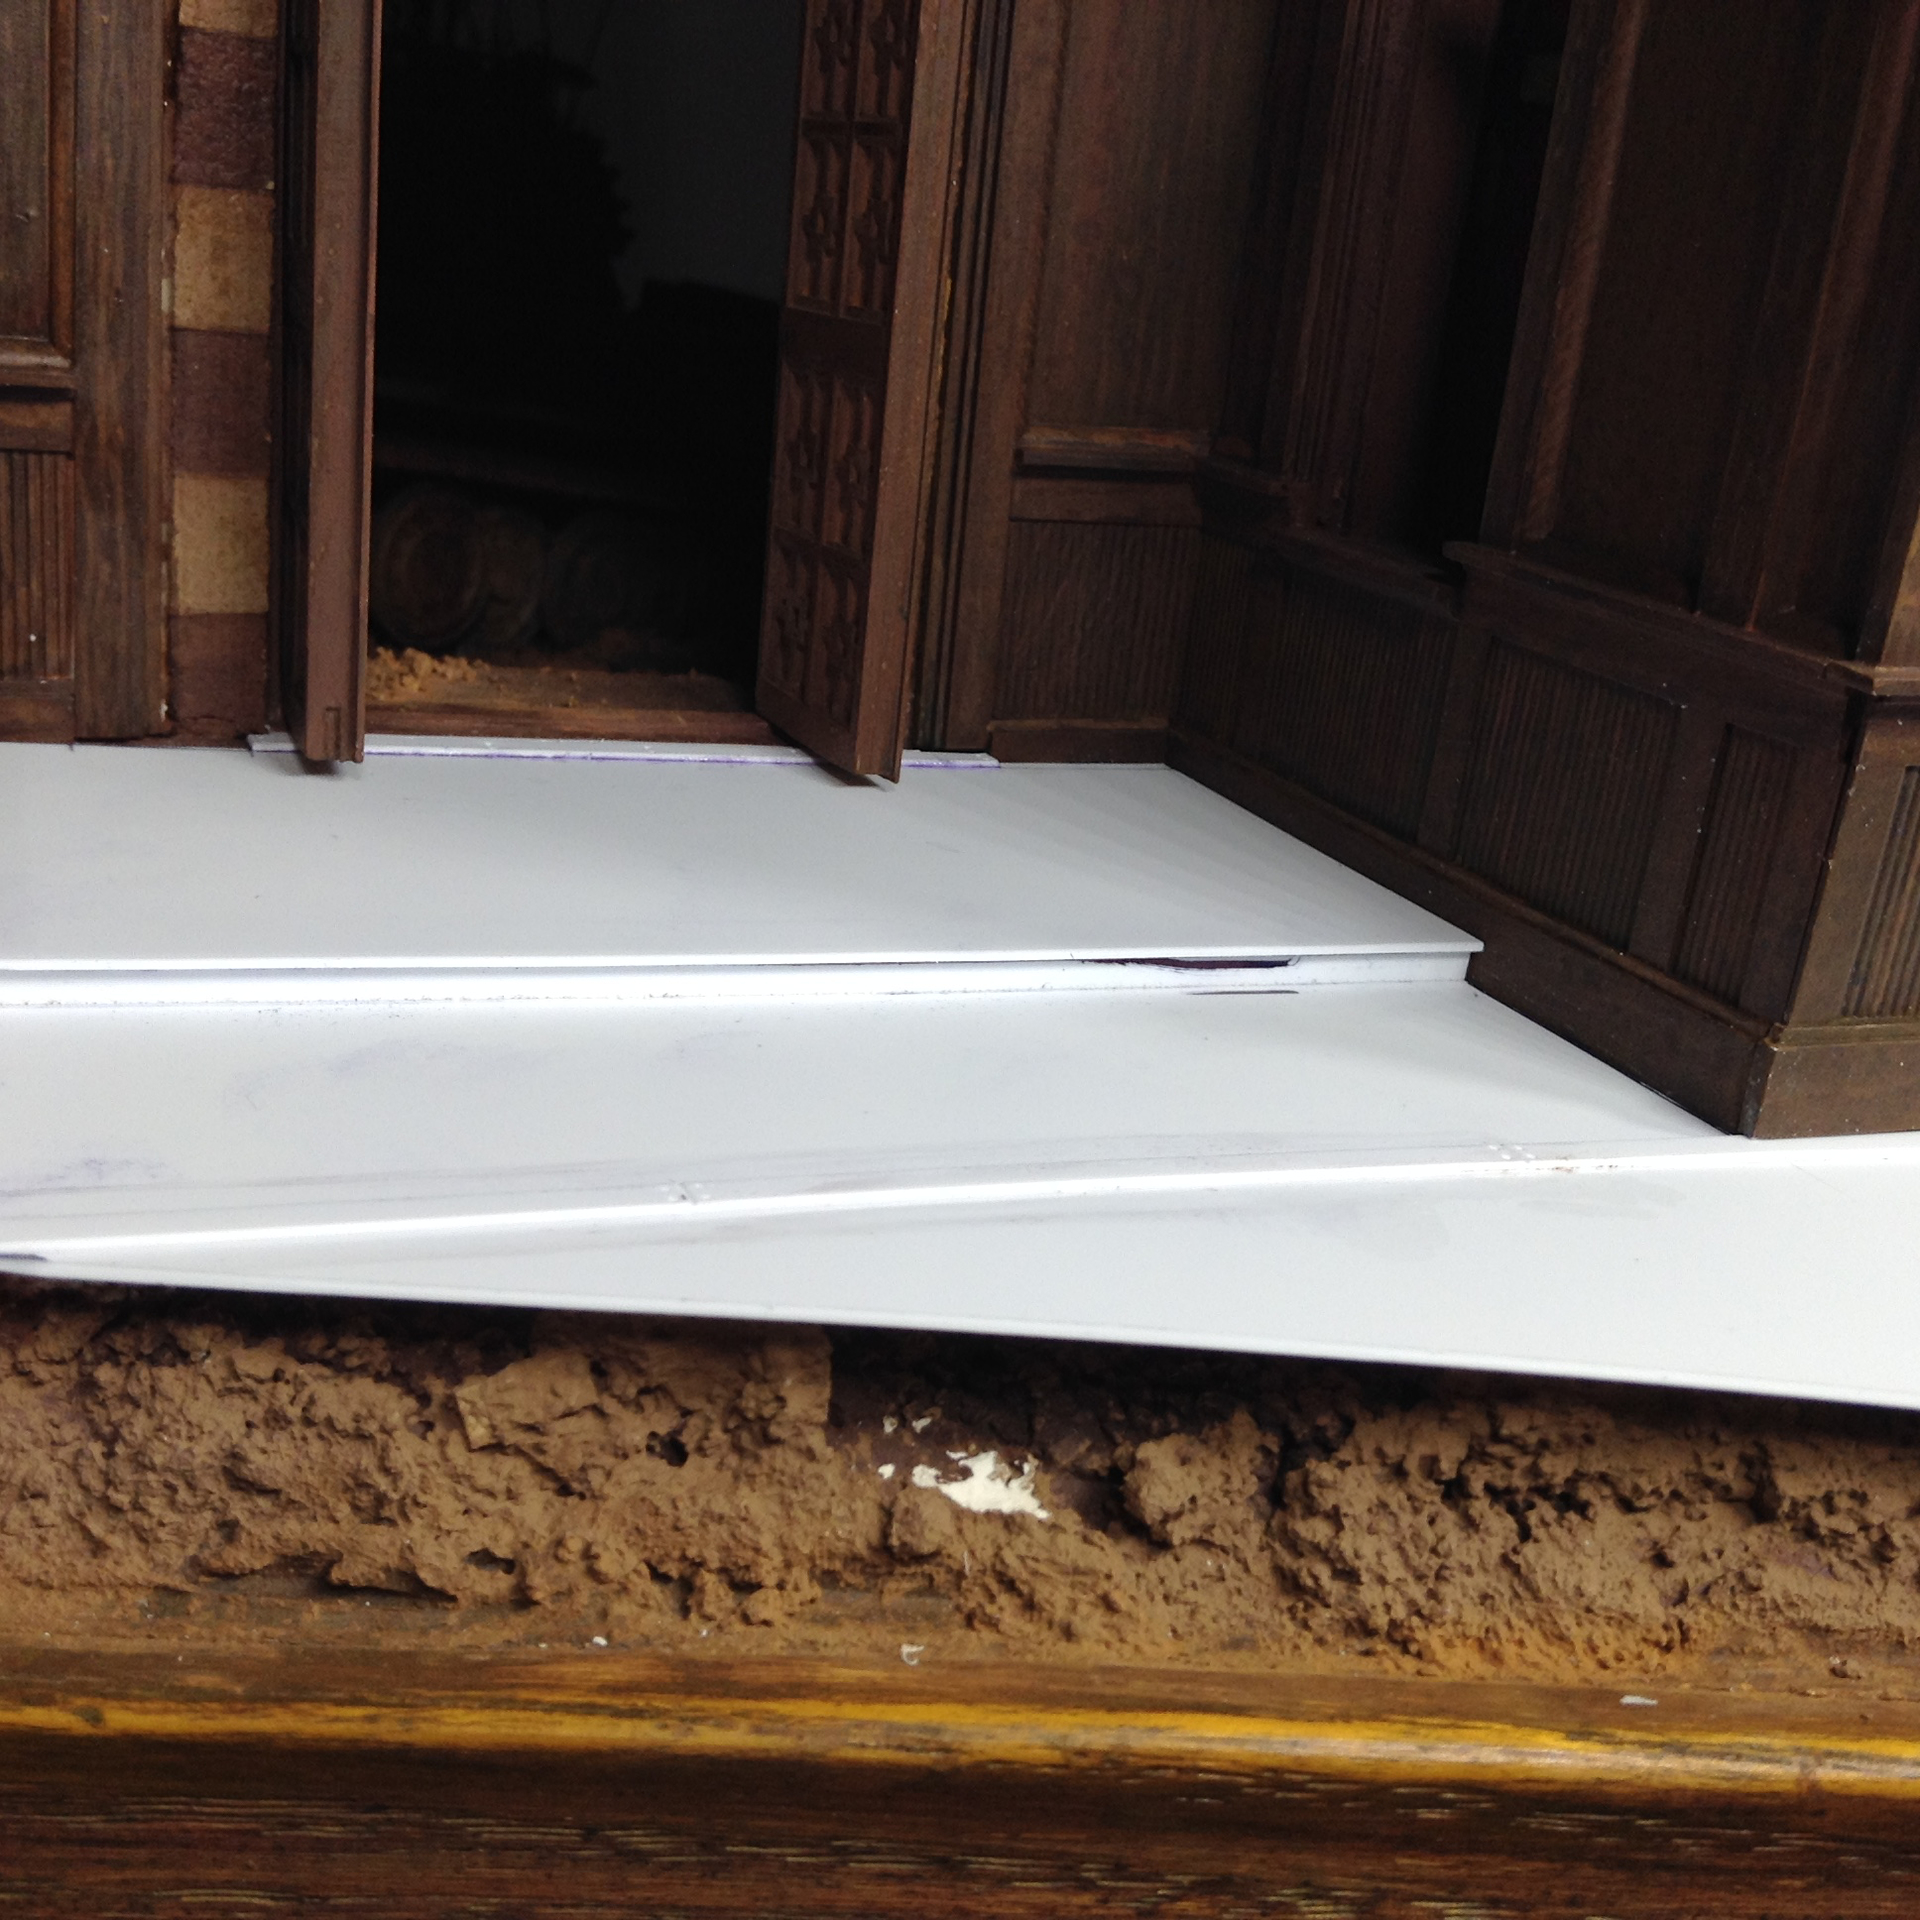
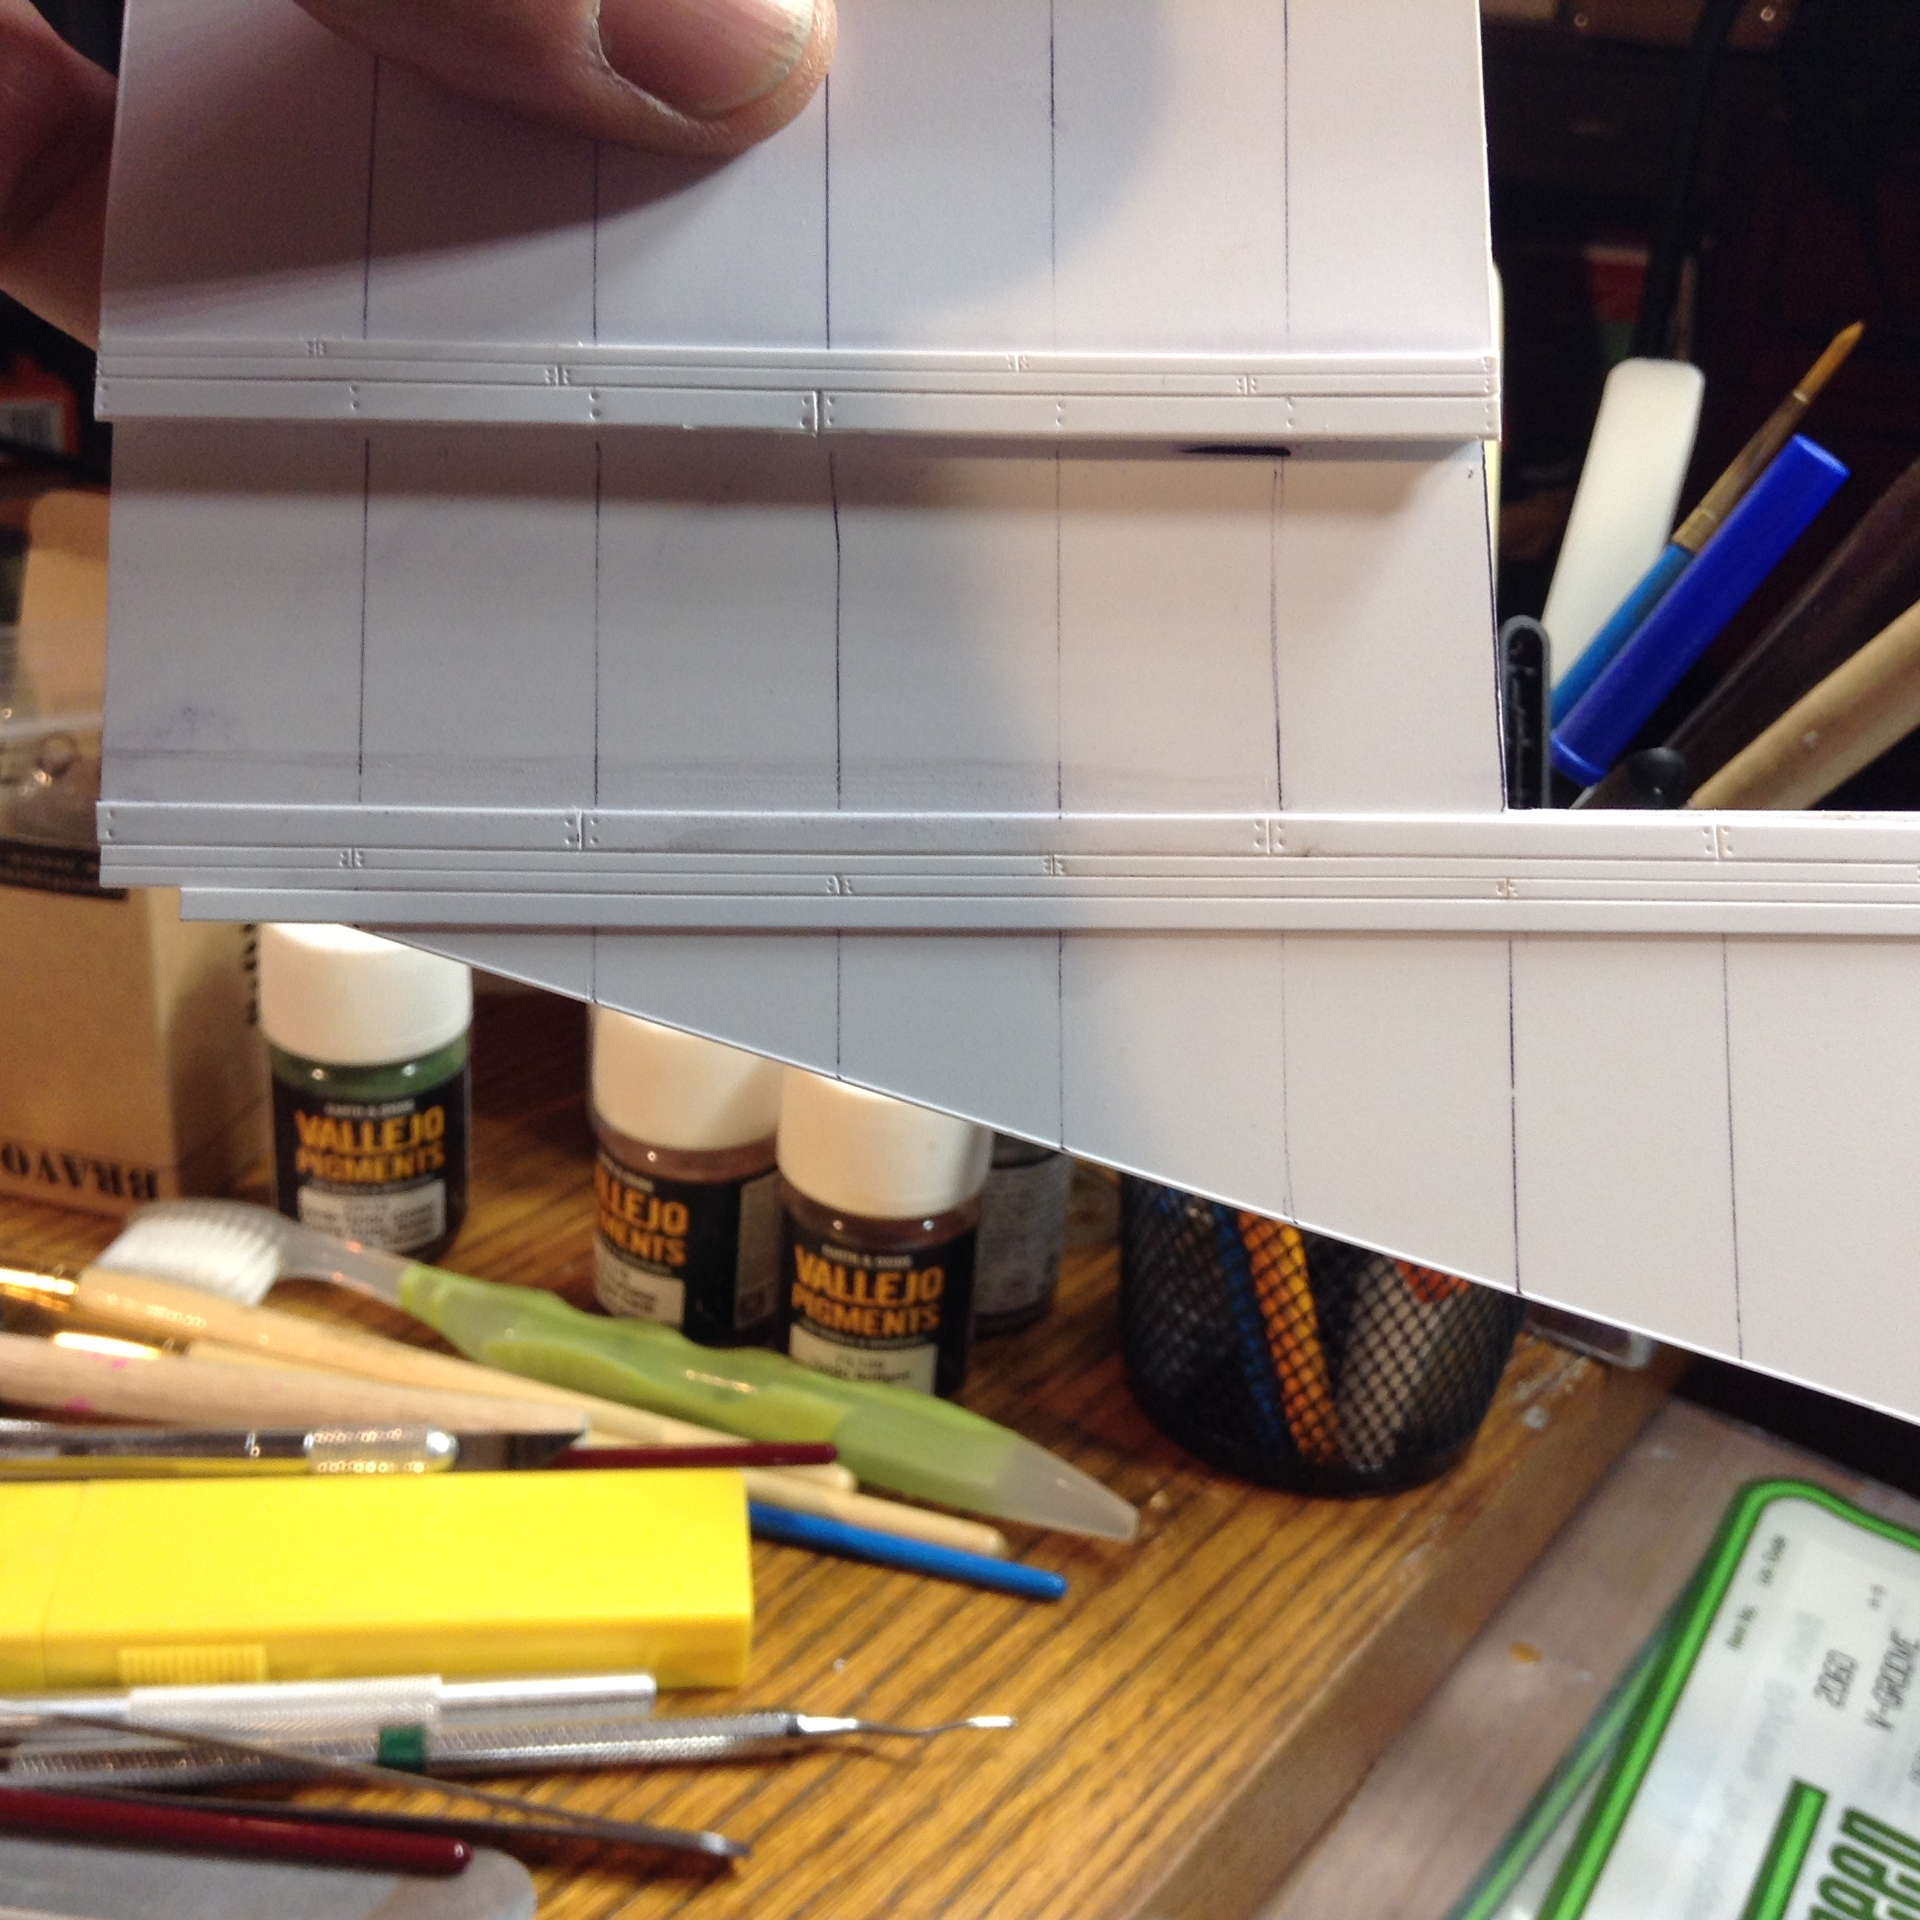
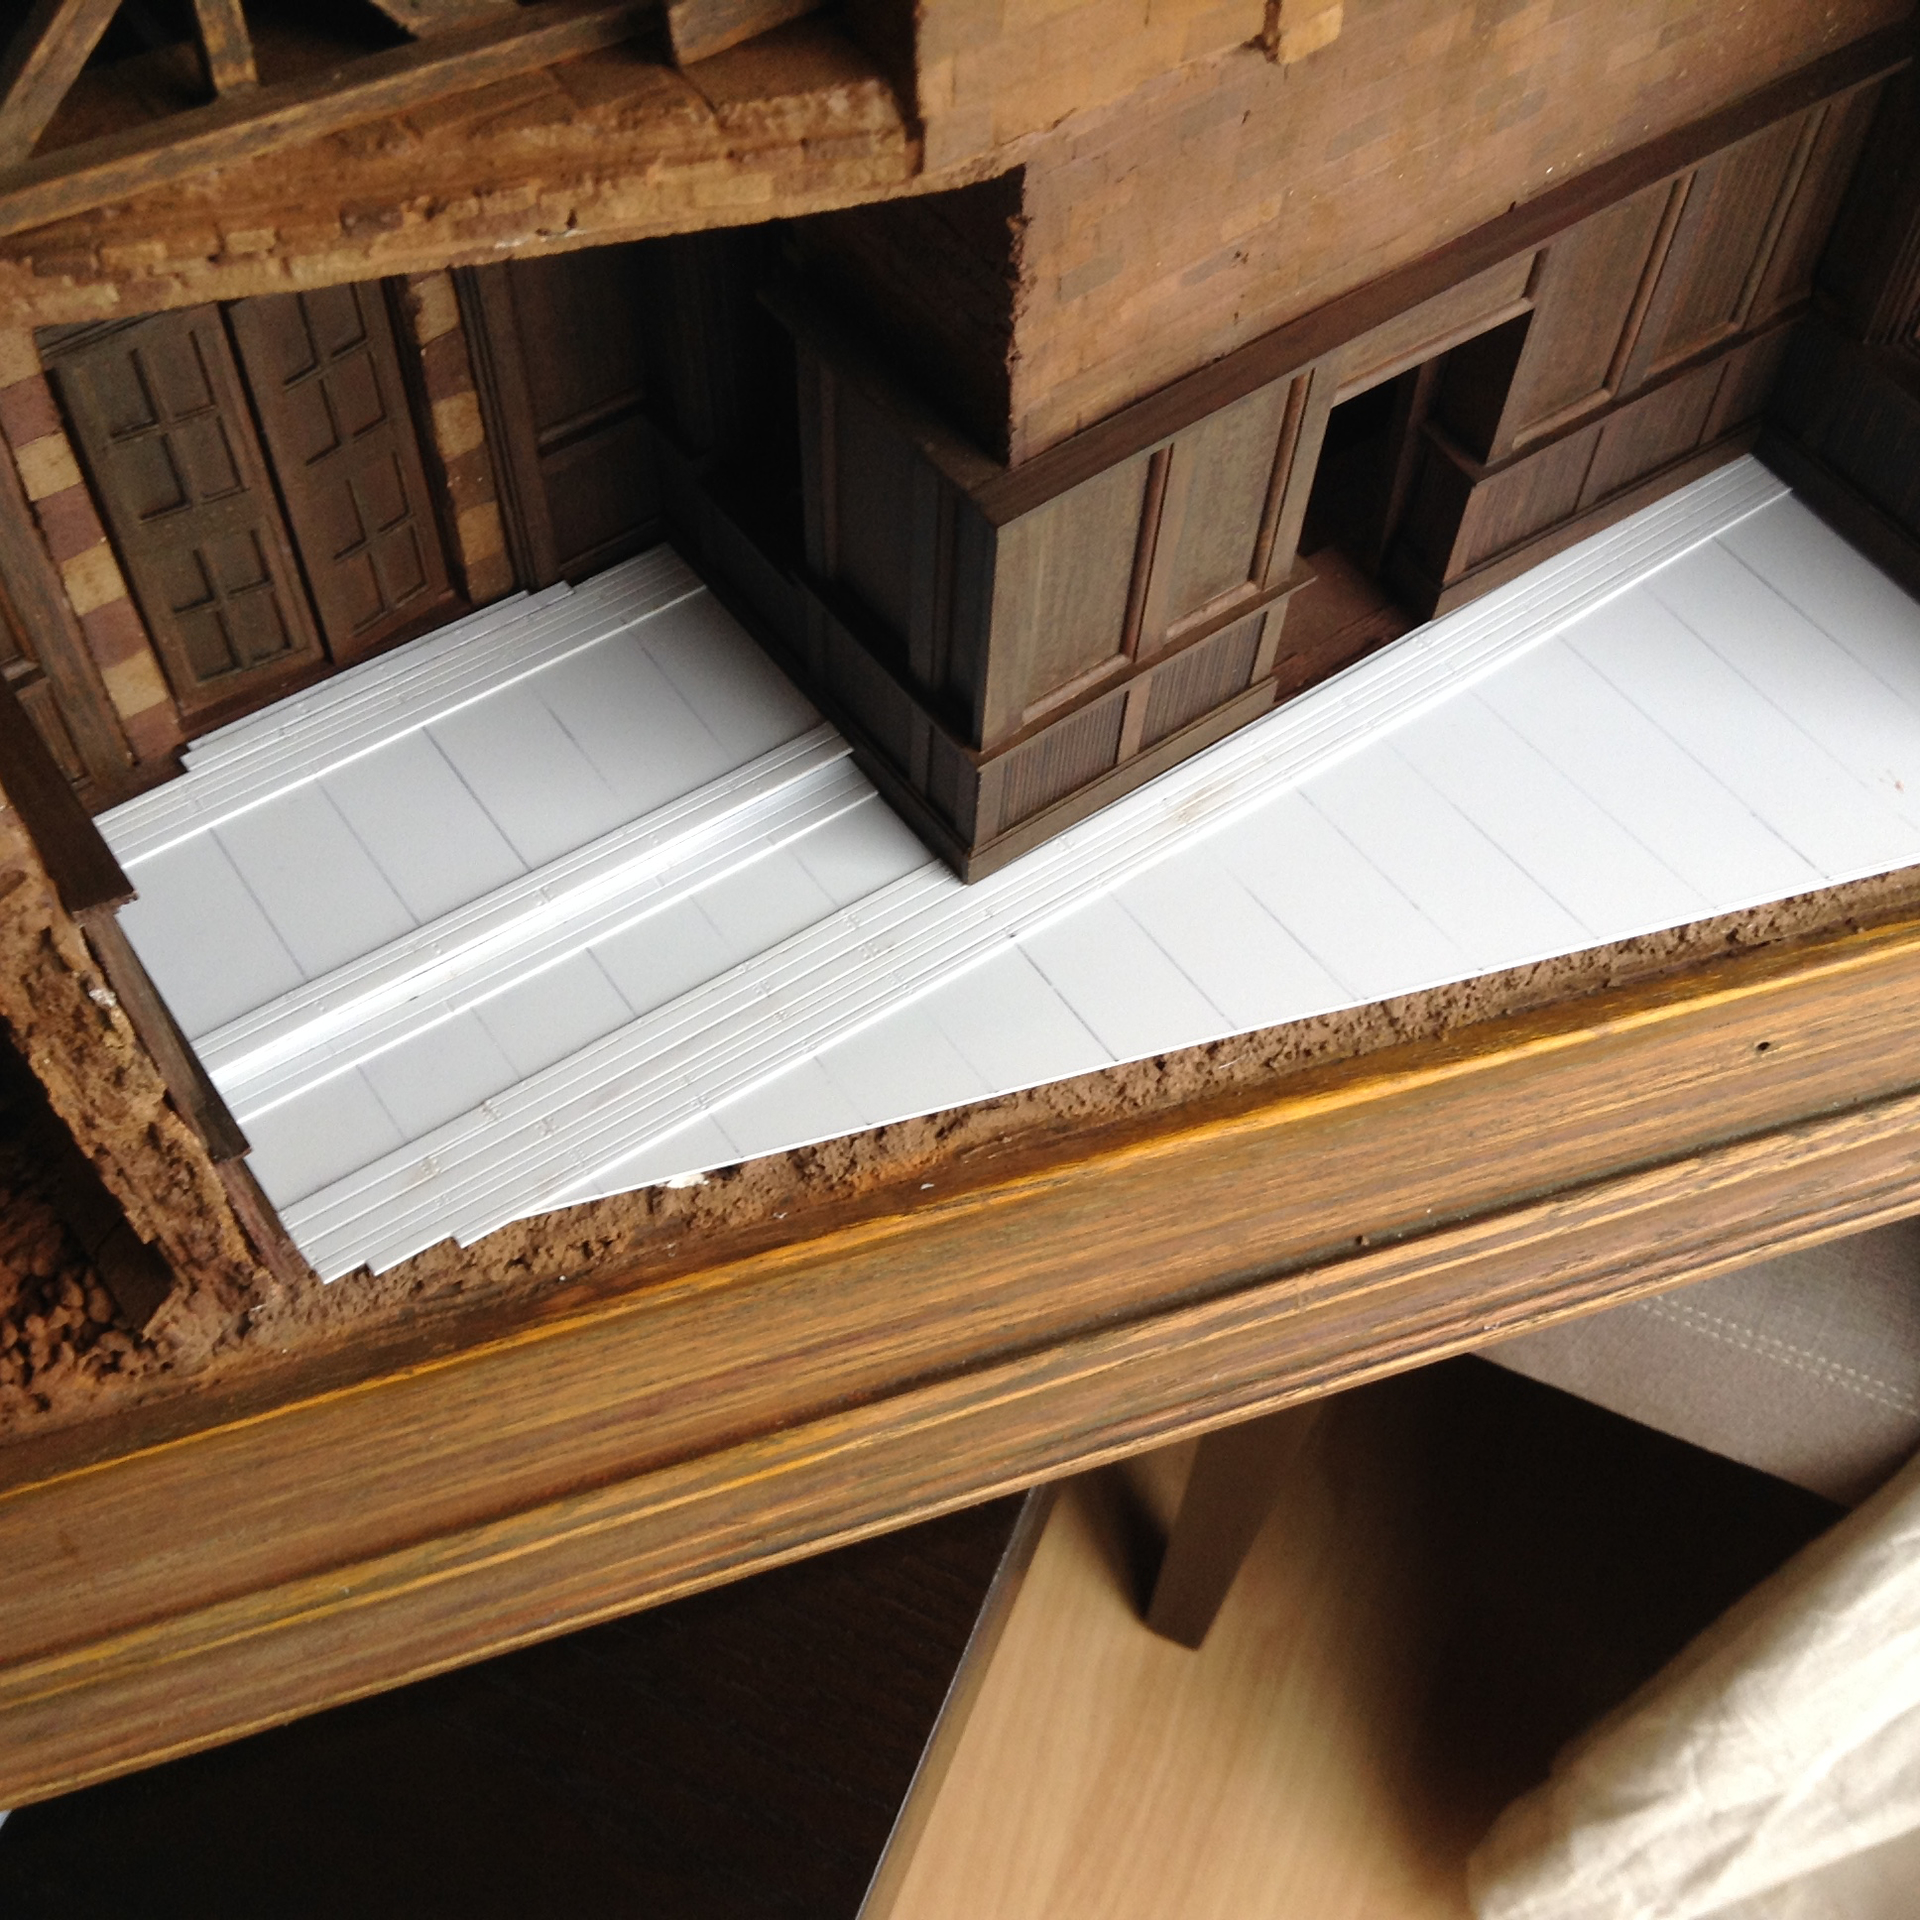
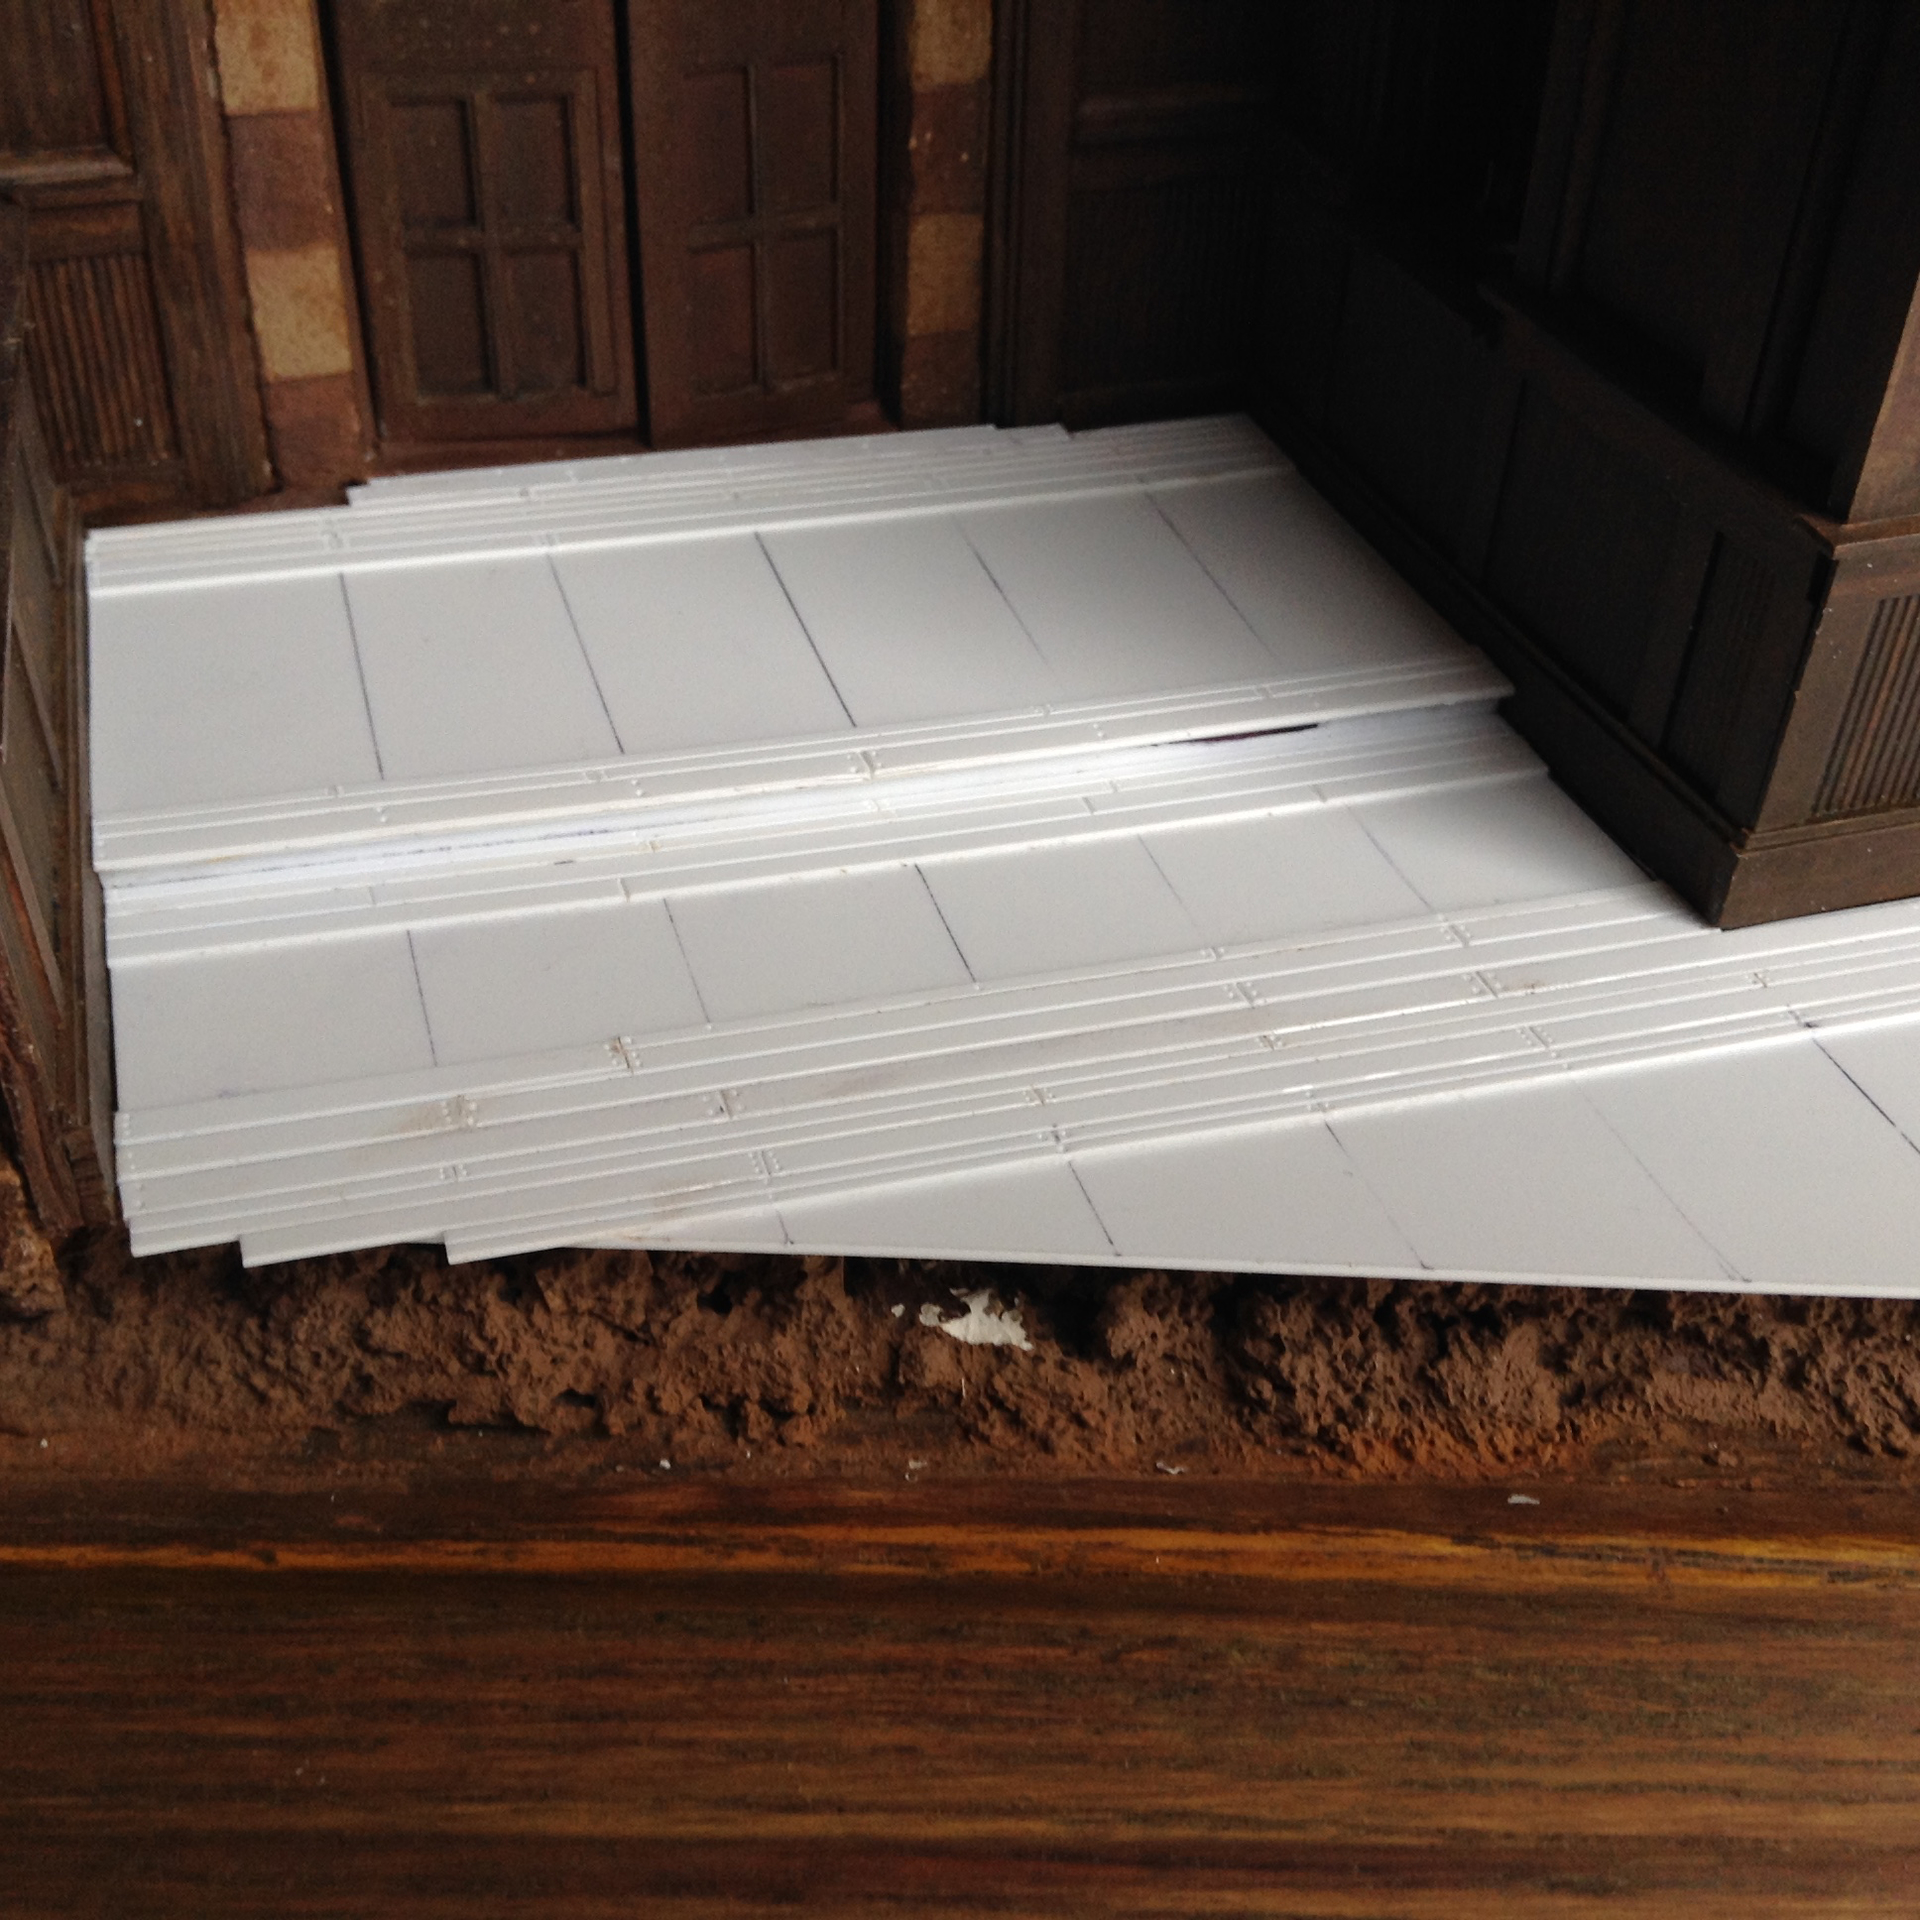
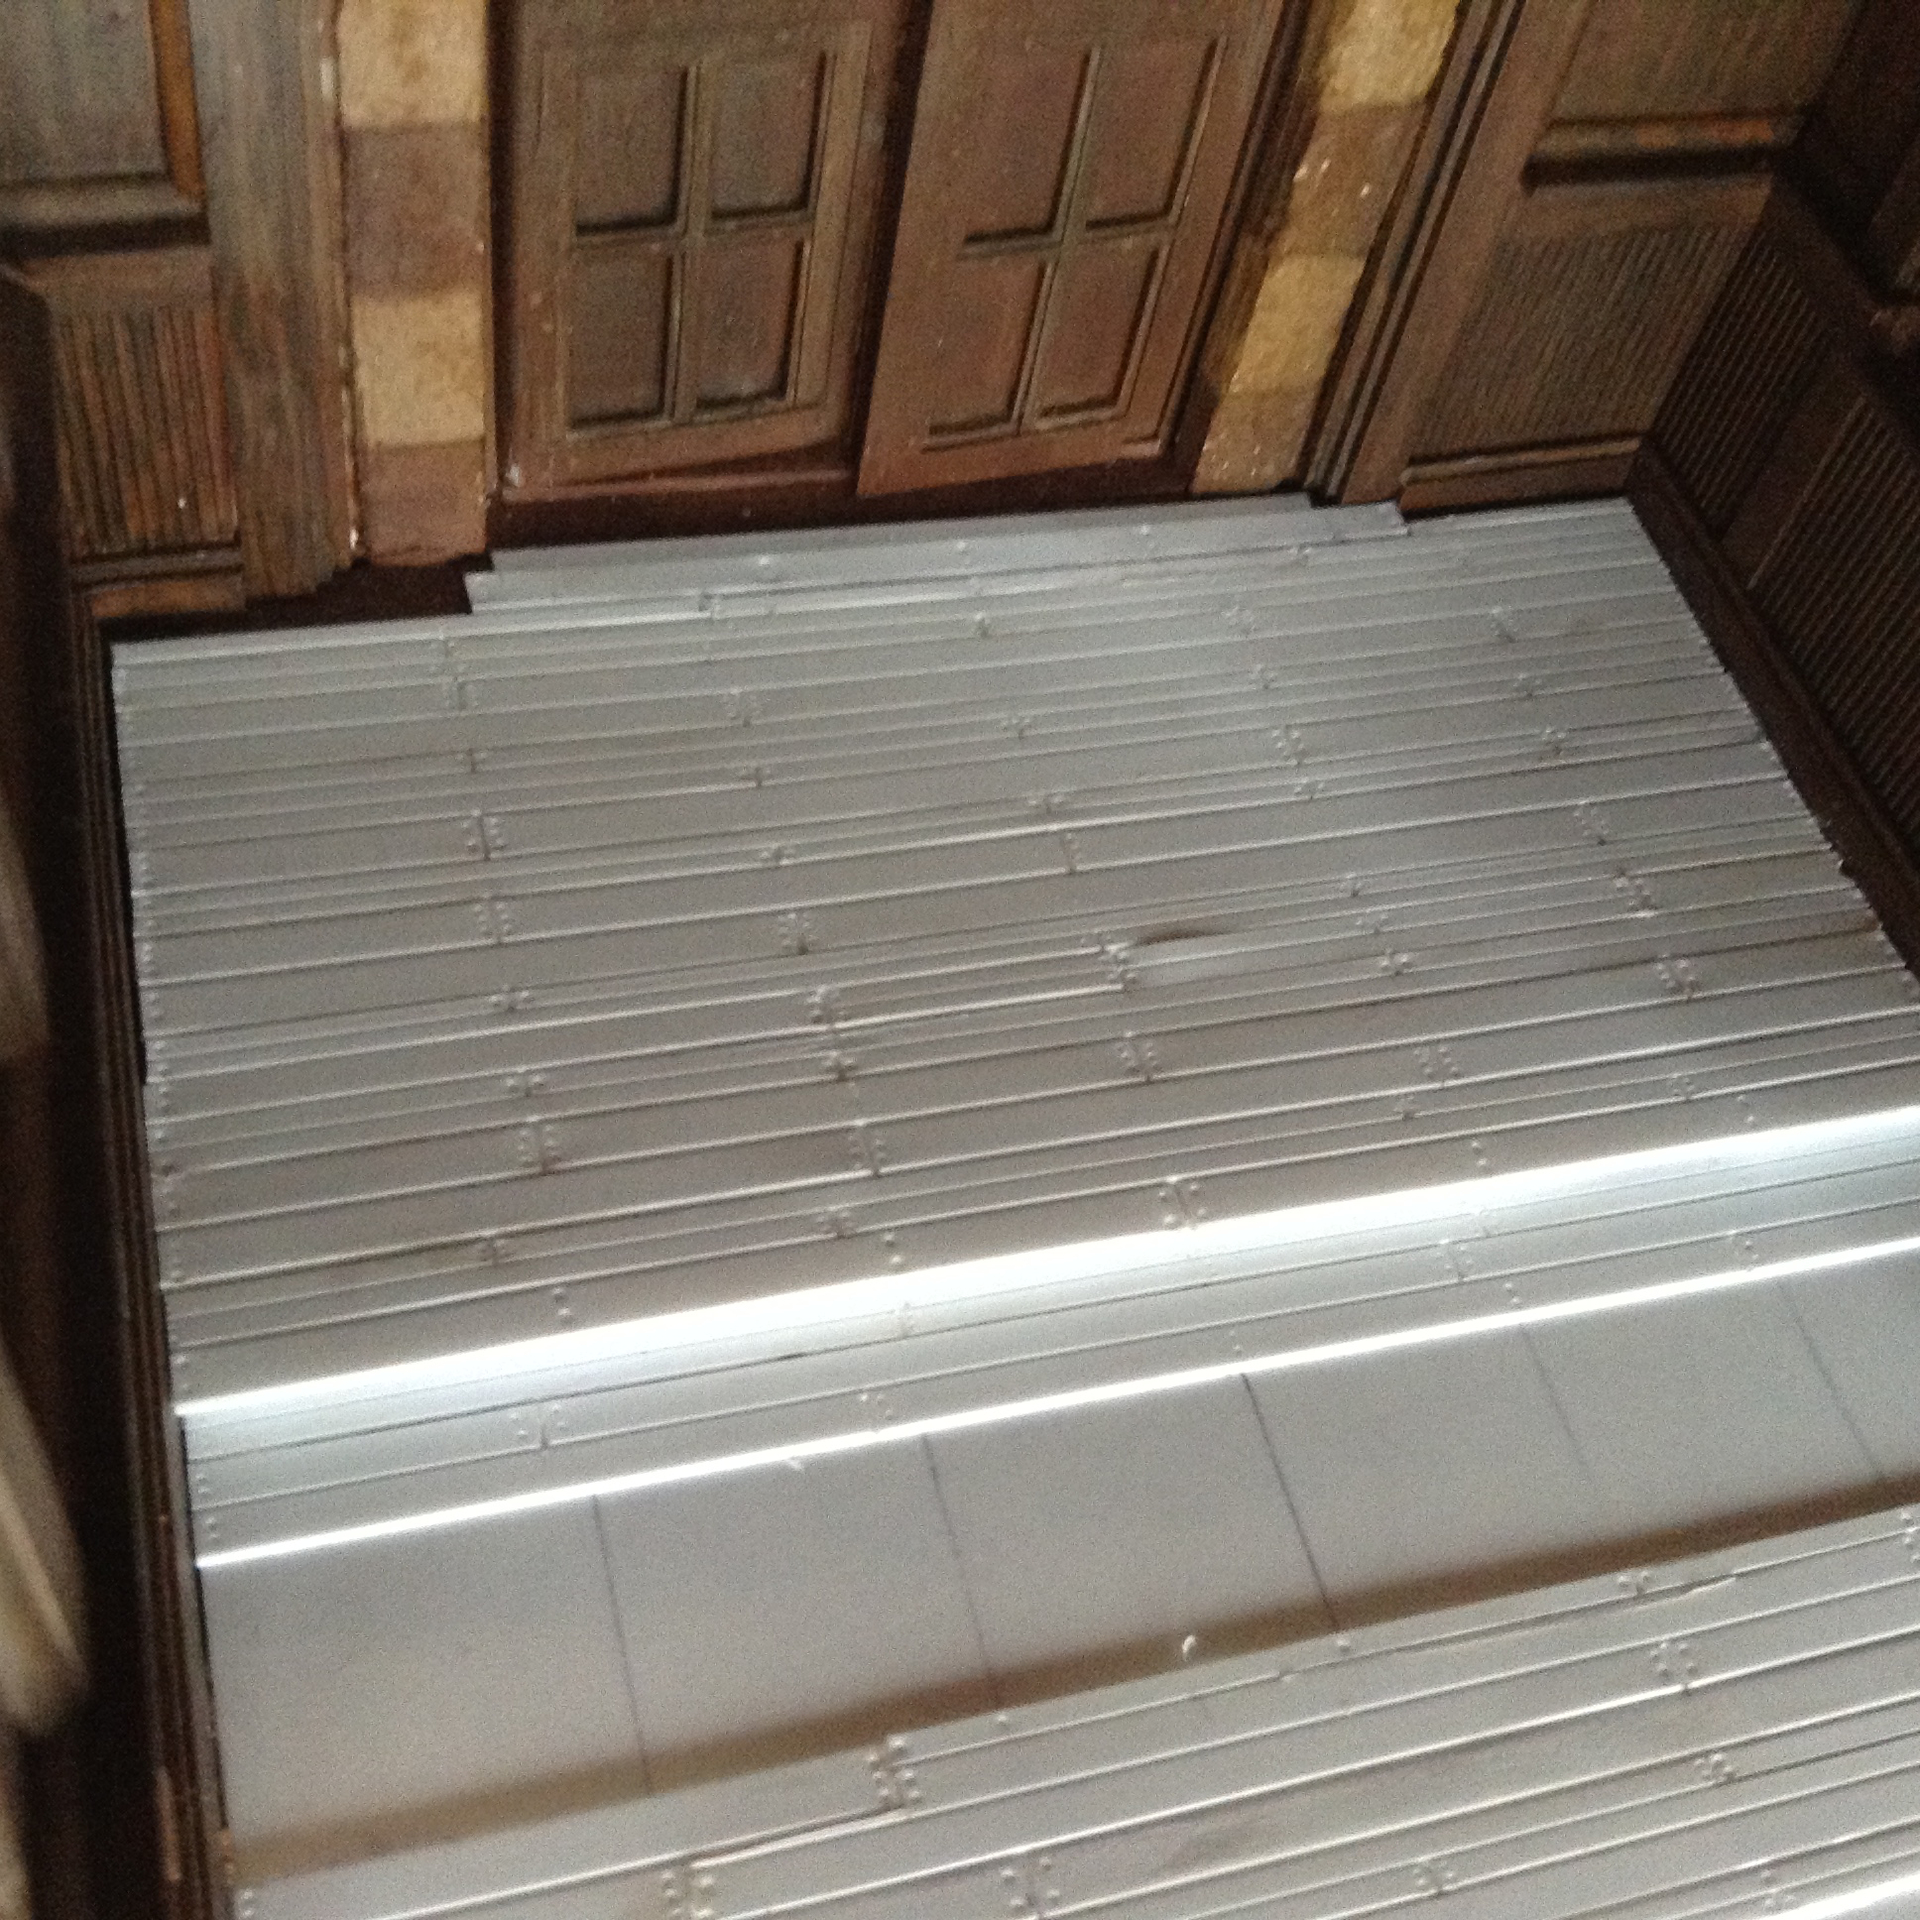
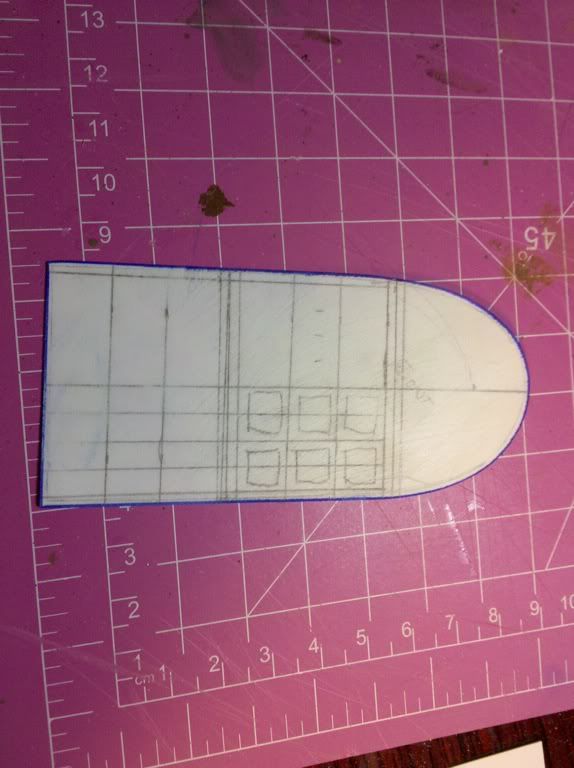
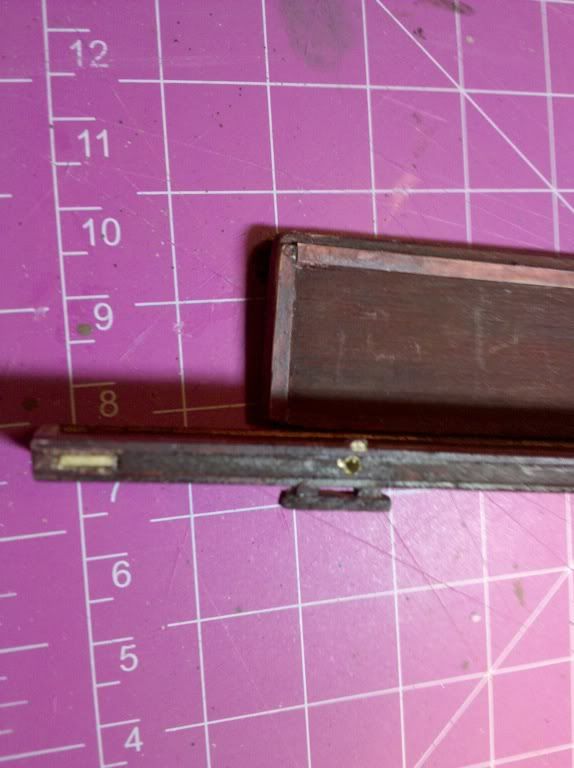
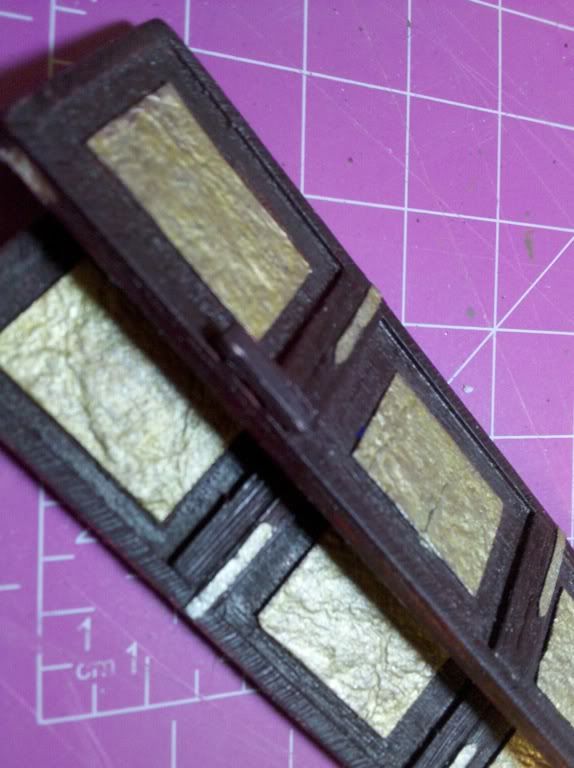
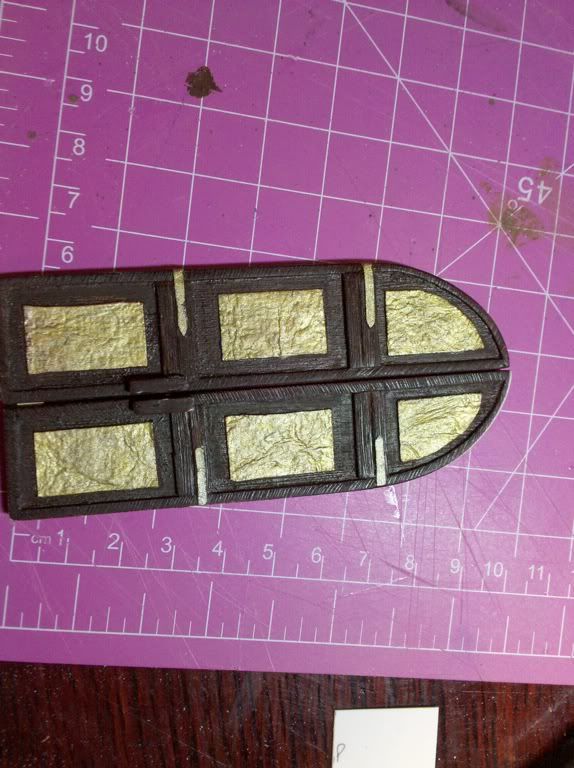
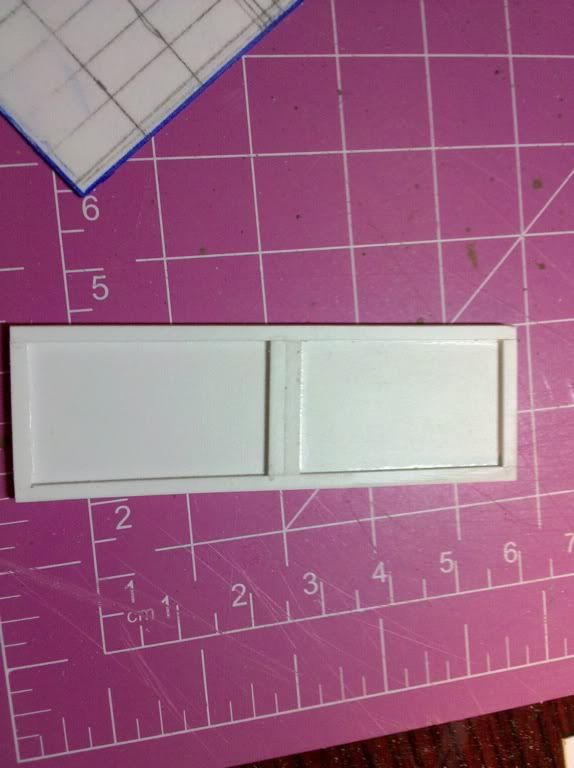
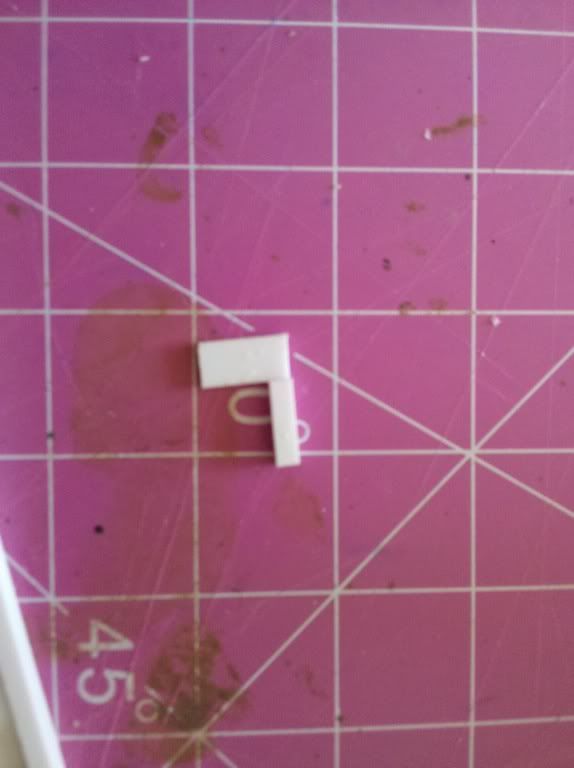
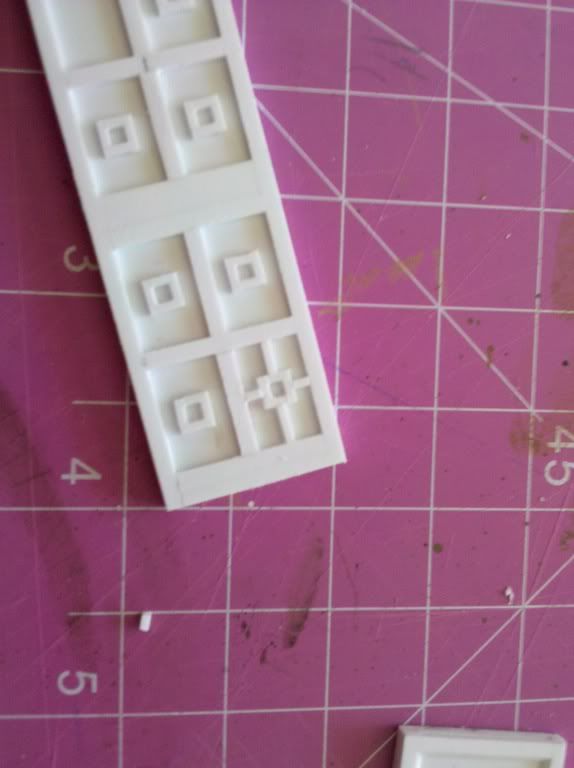
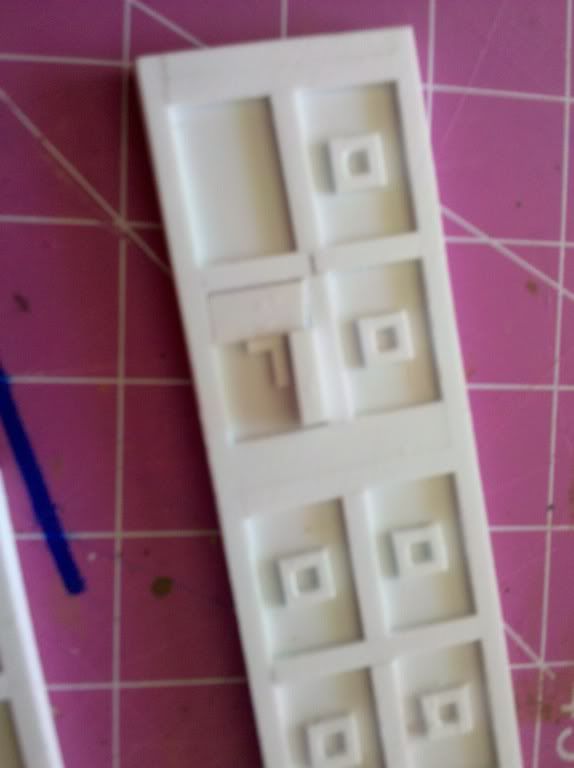
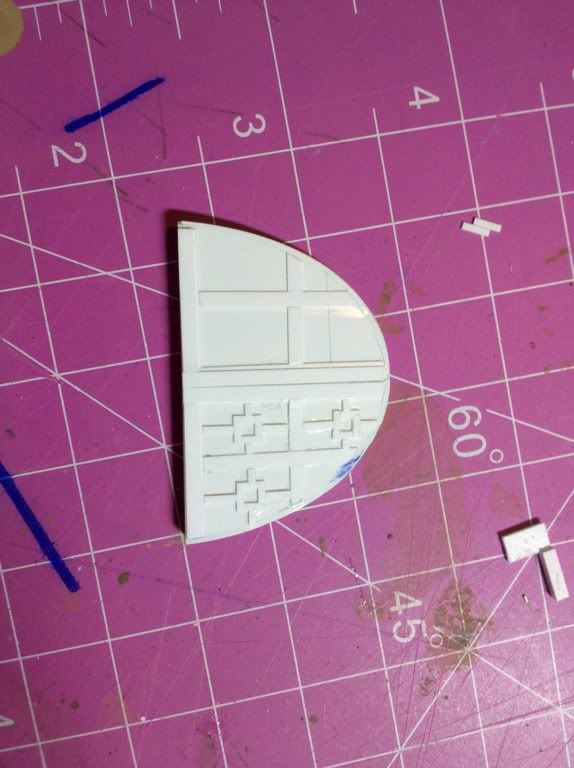
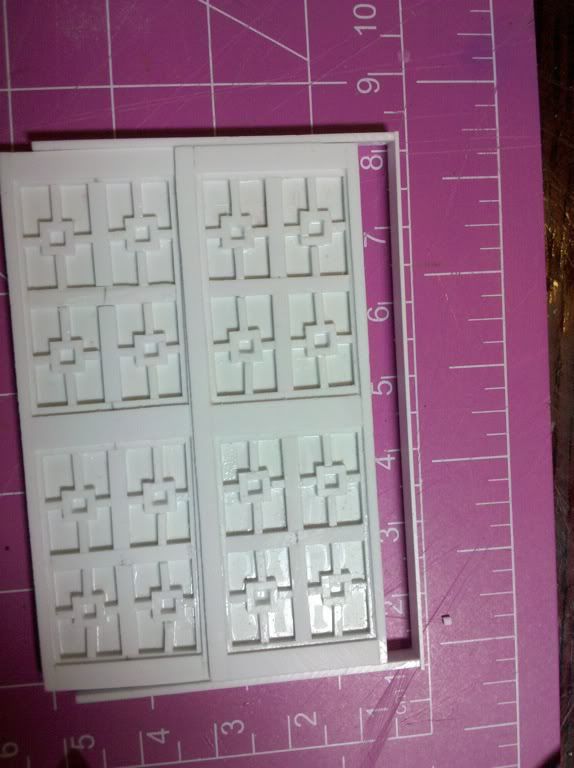
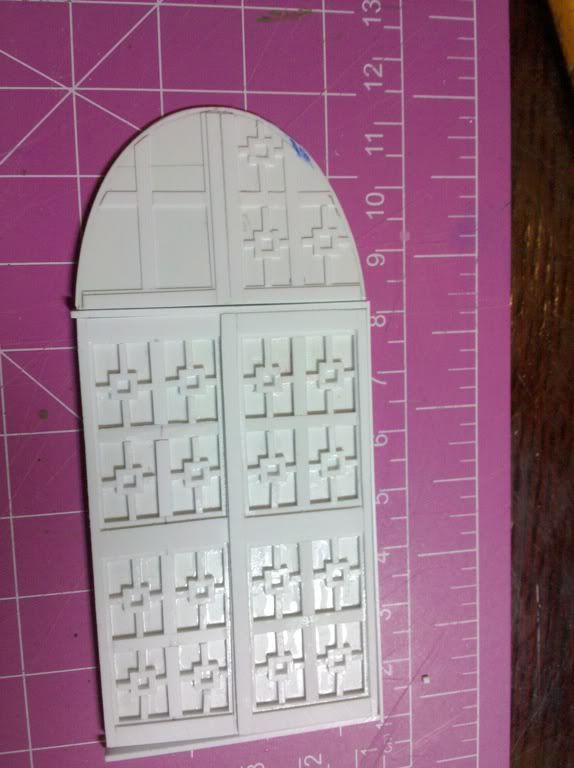
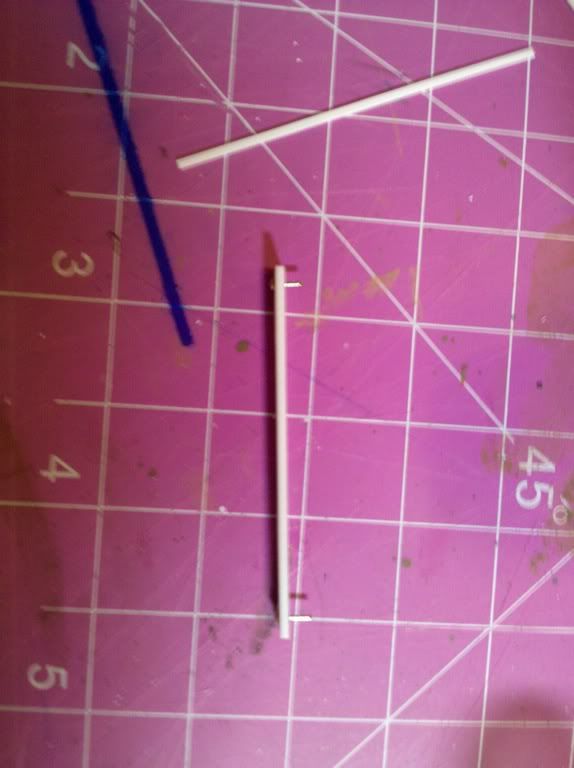
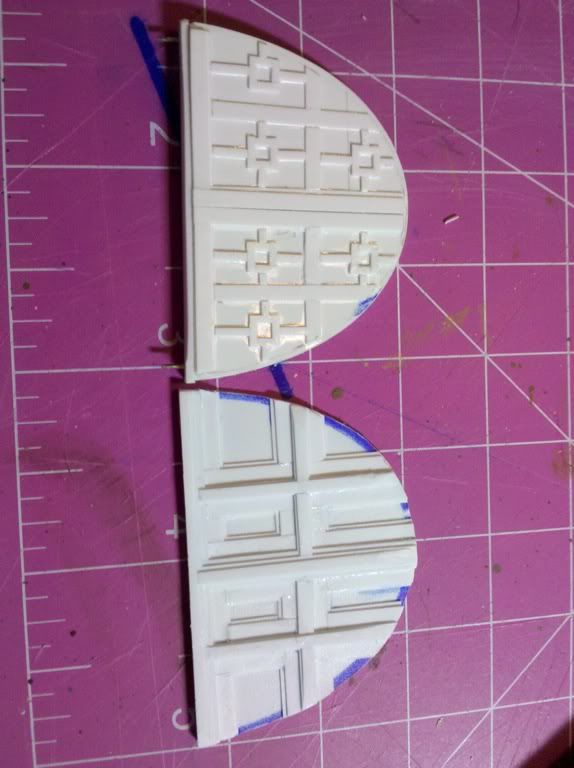
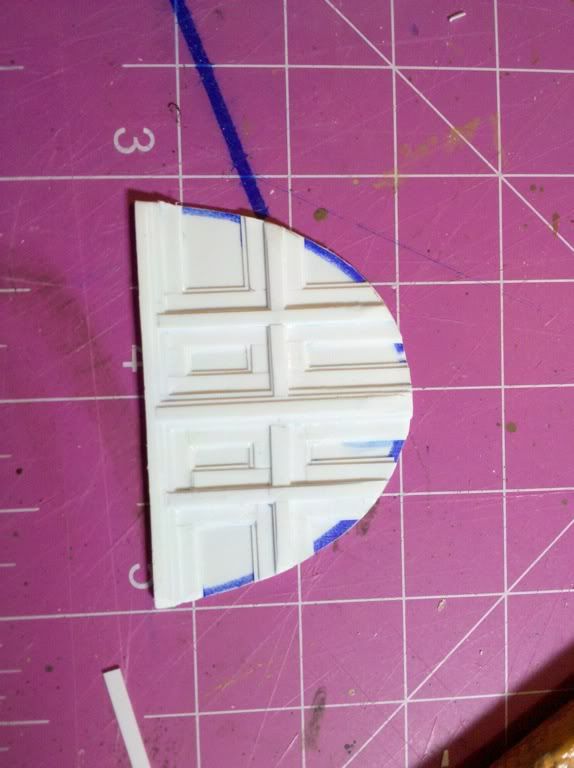
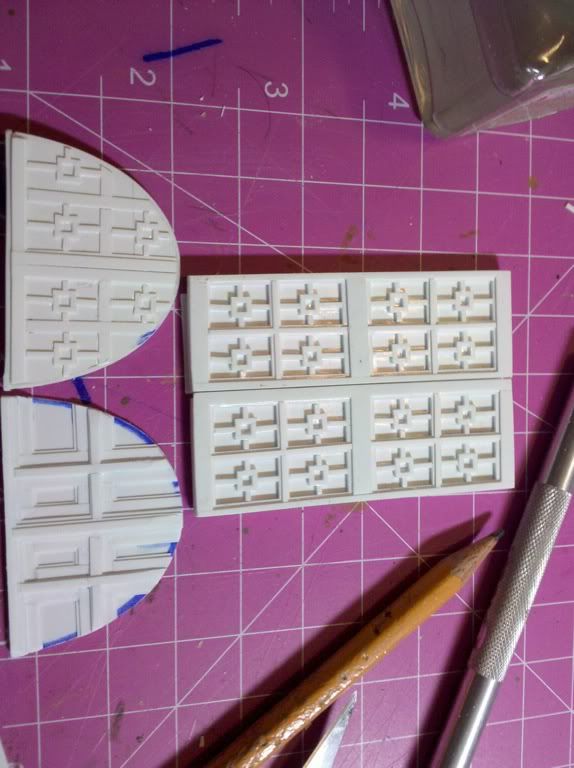
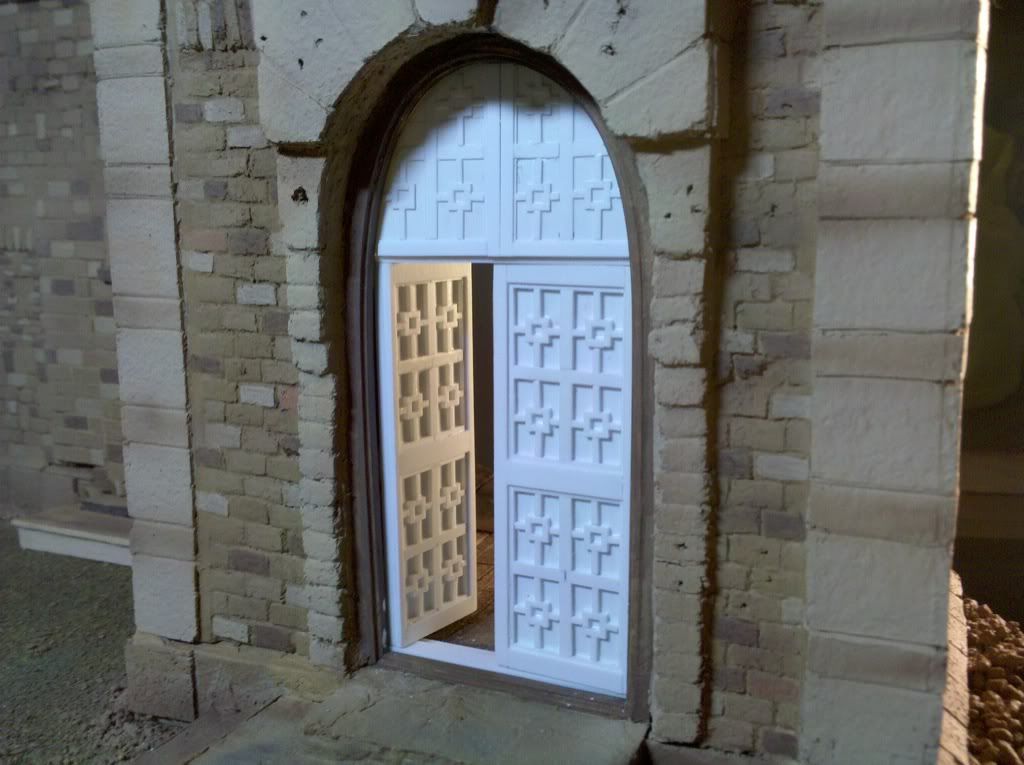
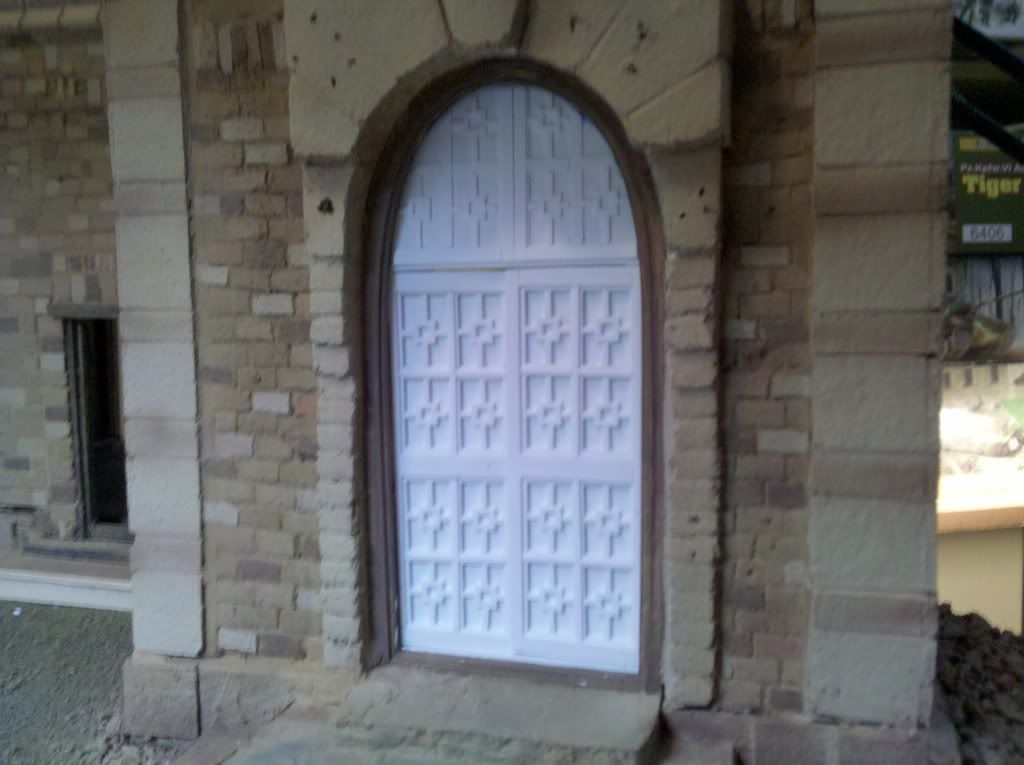
The doors began as actual wooden doors, but even though I liked them quite a lot I knew I could do better. That and I had at the time a lot of Evergreen plastic stock at hand.
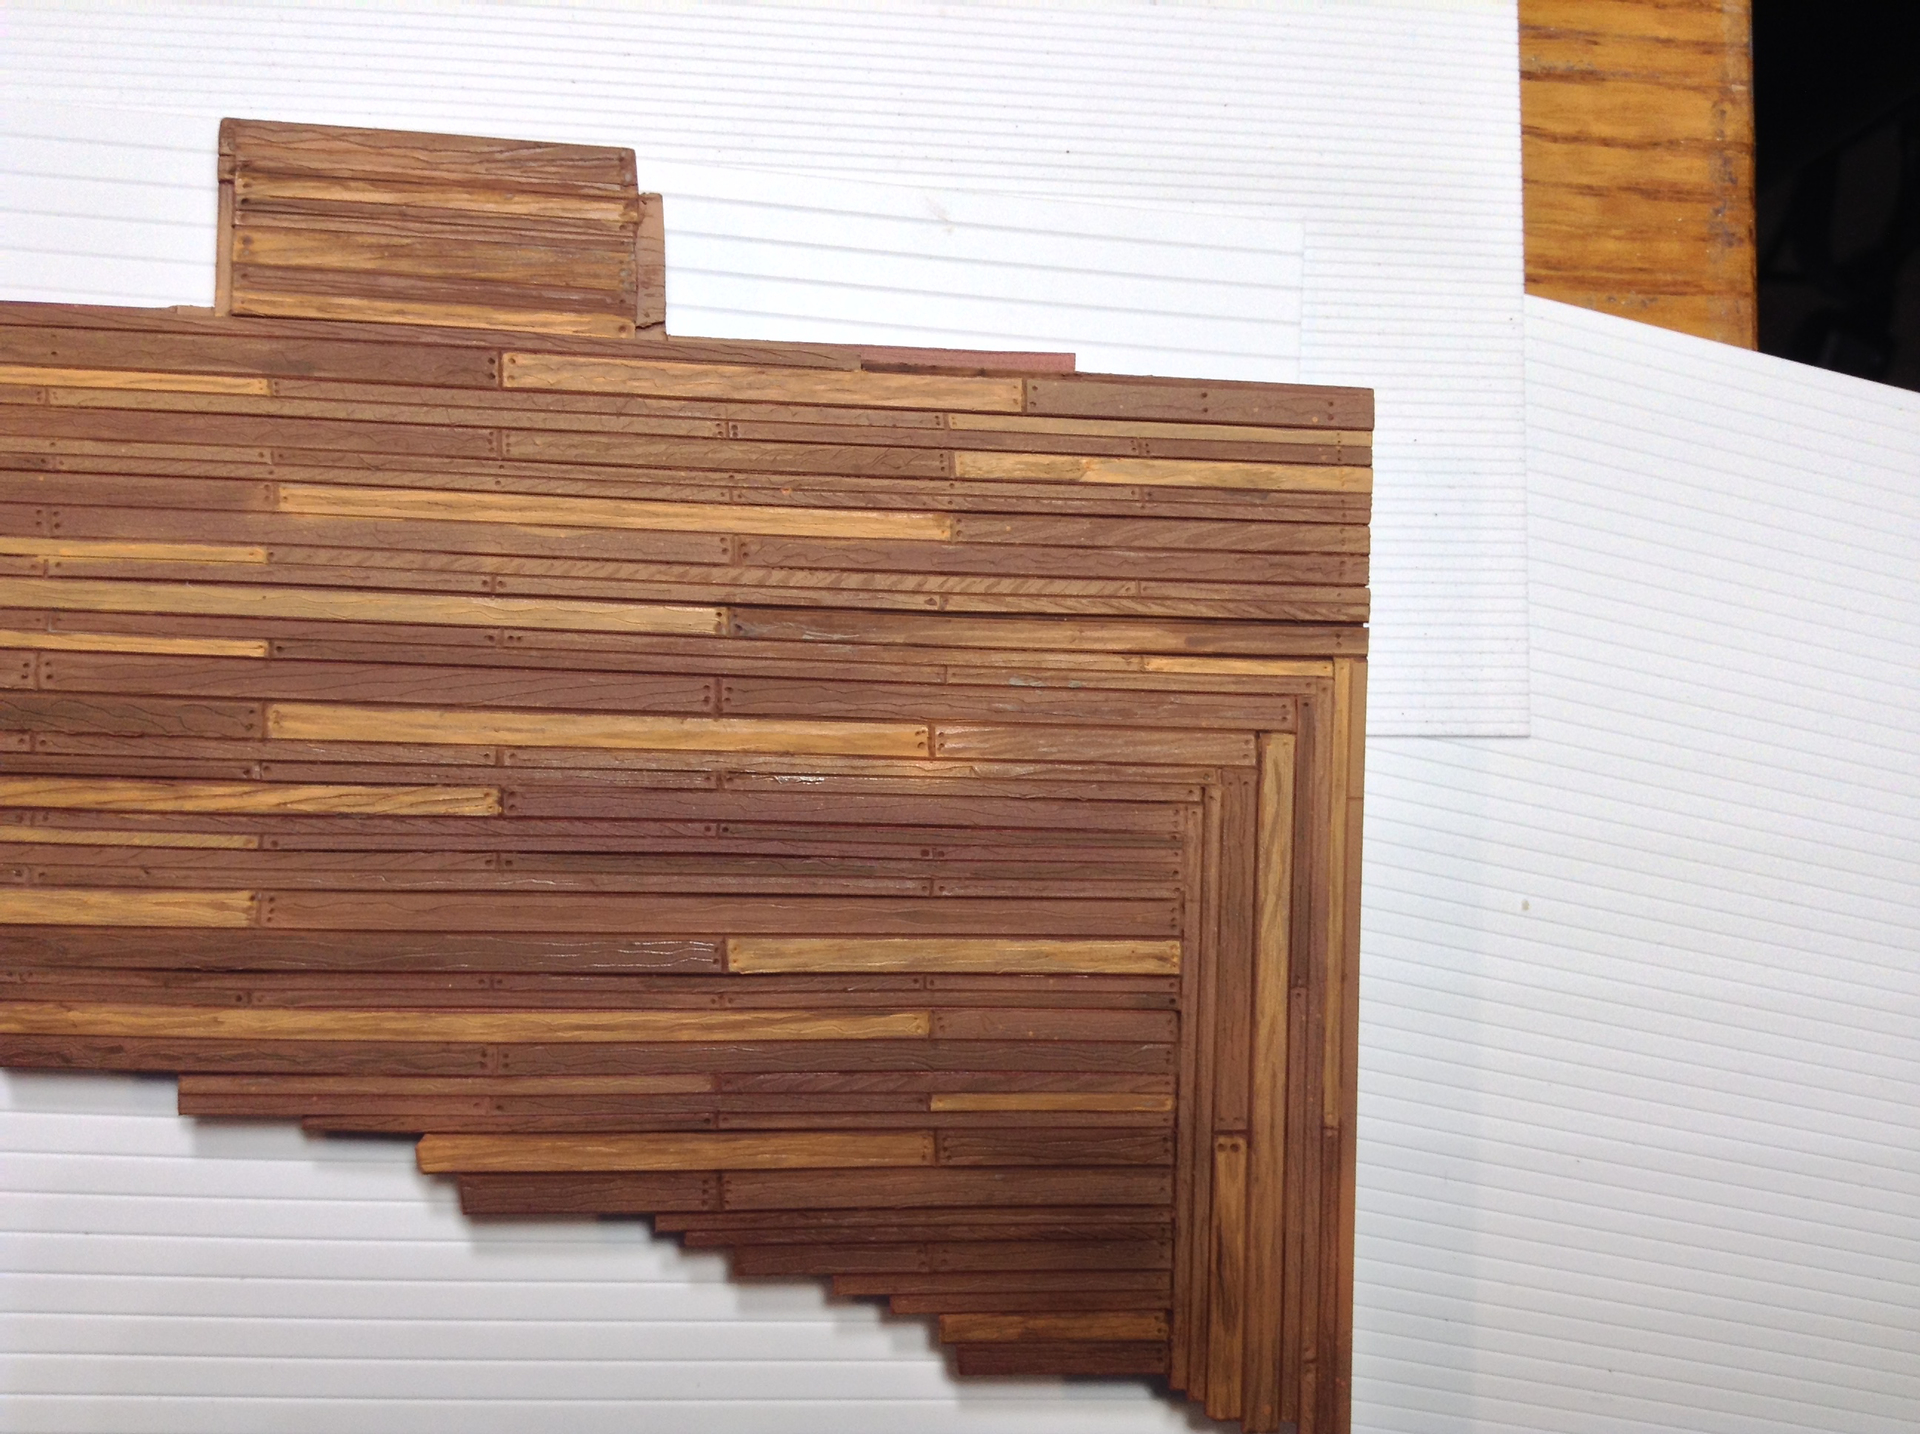
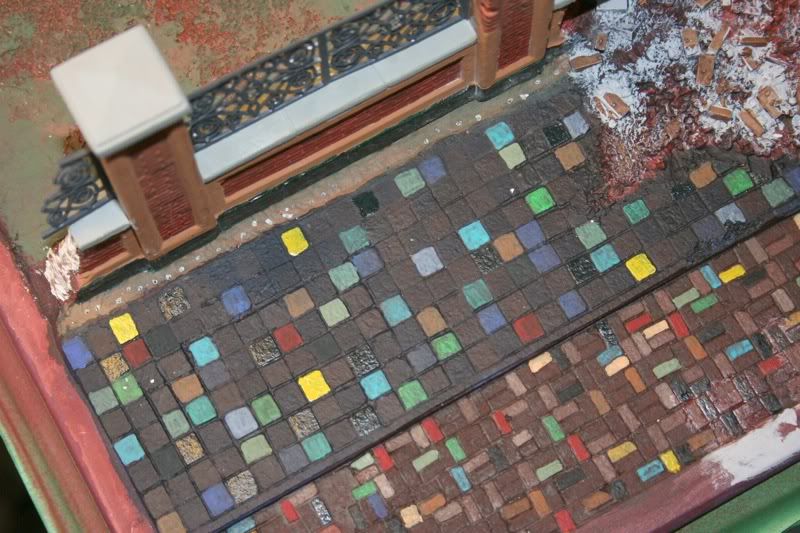
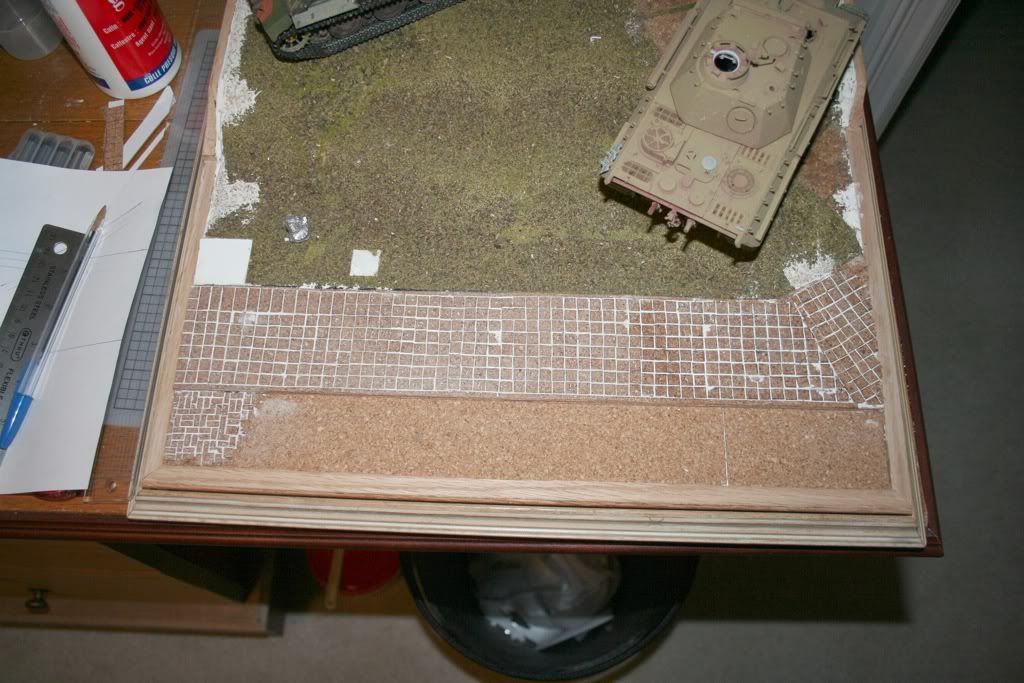
A few of the WIP of the street front area… again dozens of individually cut and glued down pieces of adhesive backed cork sheet. I used PVA glue as well so that if the adhesive ever wore off the backing of the cork it wouldn’t fall apart. Redundancy. It’s not just a four syllable word!