Hi Flyers!
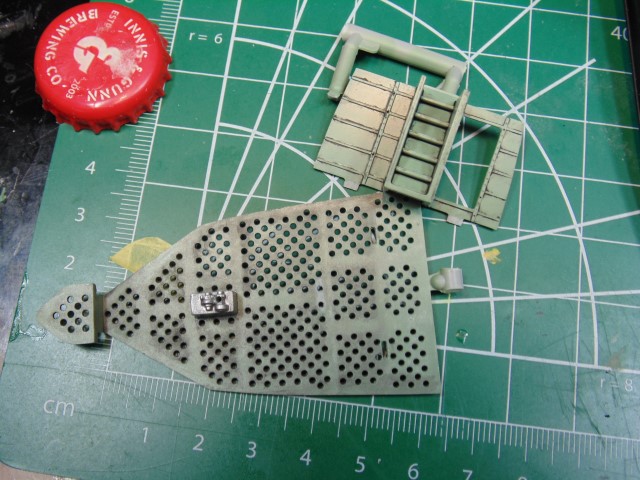
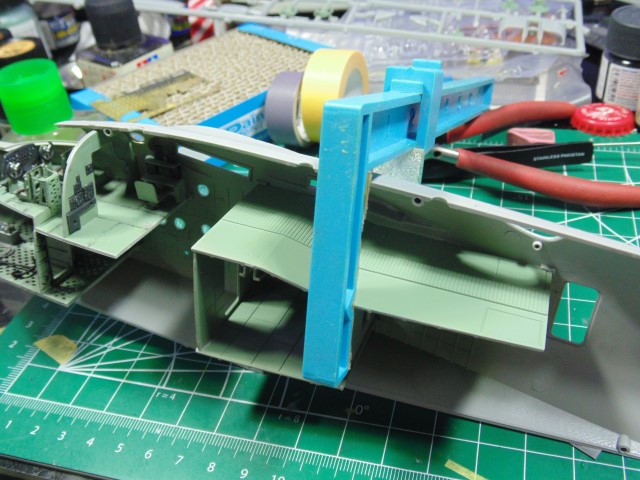
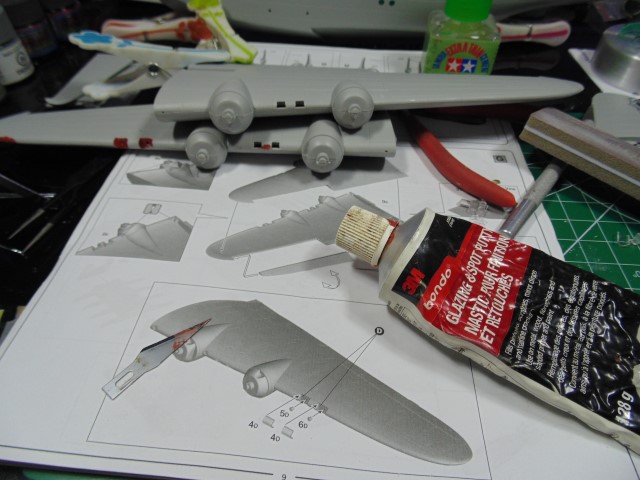
And so we begin. Before the pictures though, I have to say this kit, for a 1/72 is incredibly detailed with almost no flash. The fit, so far, is really good and fun to put together. On with the show.
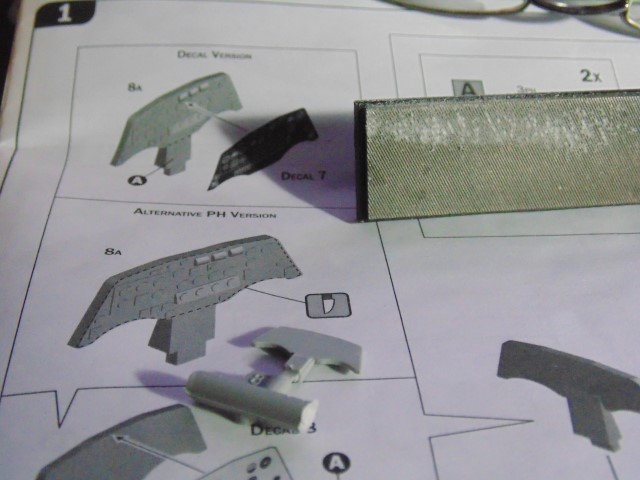
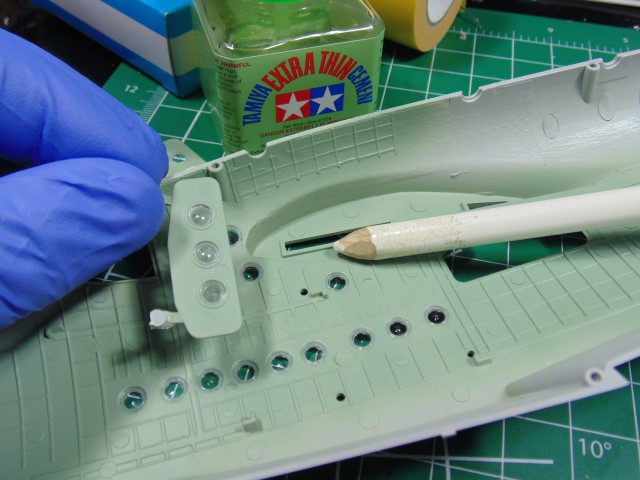
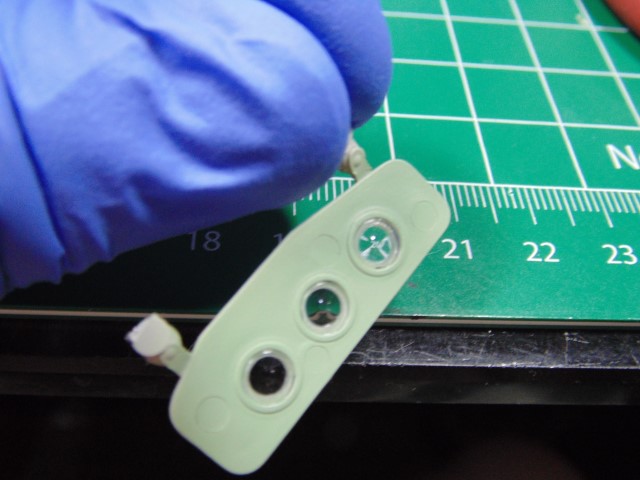
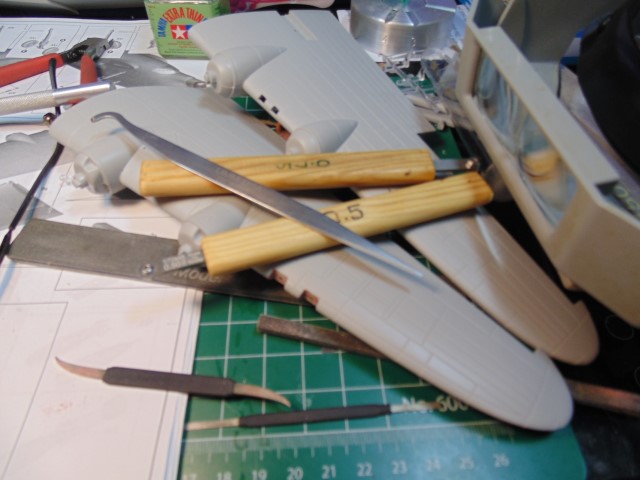
Using a fine file to remove the plastic detail. Then it was polished smooth for the best fit of the PE bezels.
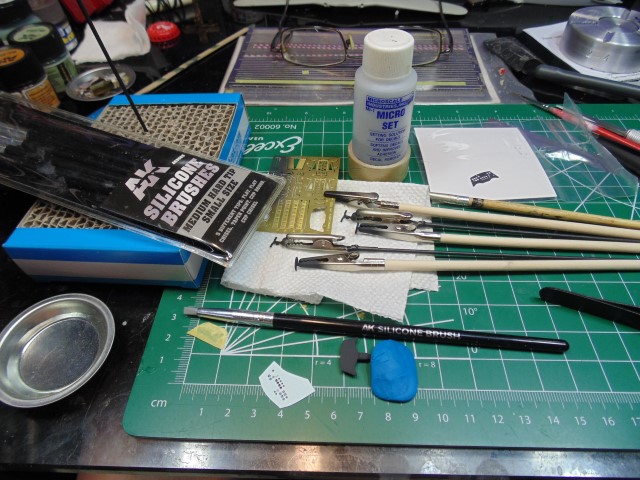
Gotta love Cartograf decals. I’m using NATO black for all my details. Silicone brushes are great for positioning the decals.
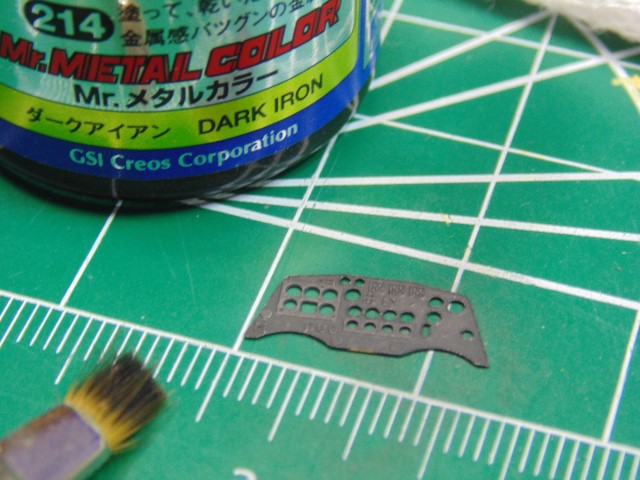
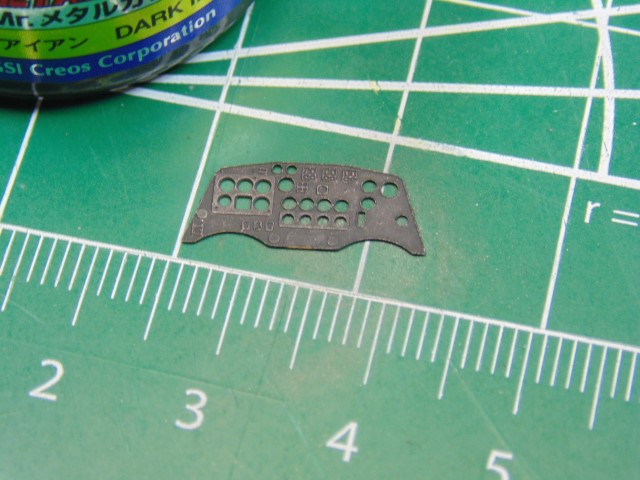
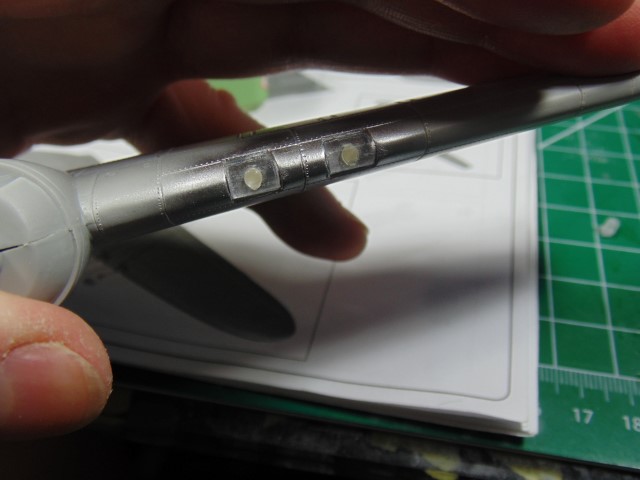
Some 214 highlight the bezel frames. Otherwise they’re impossible to be noticed.
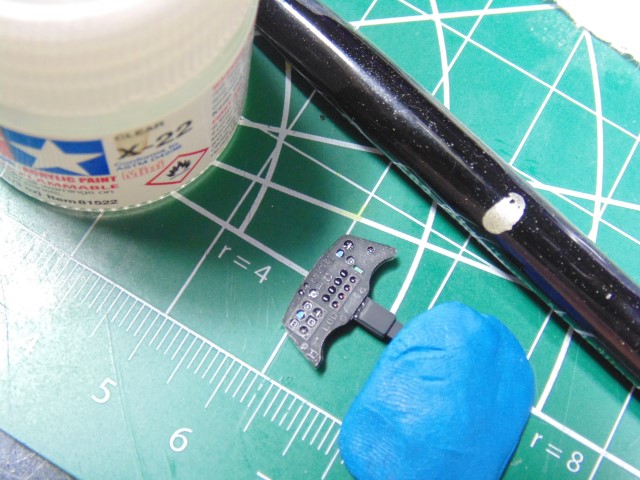
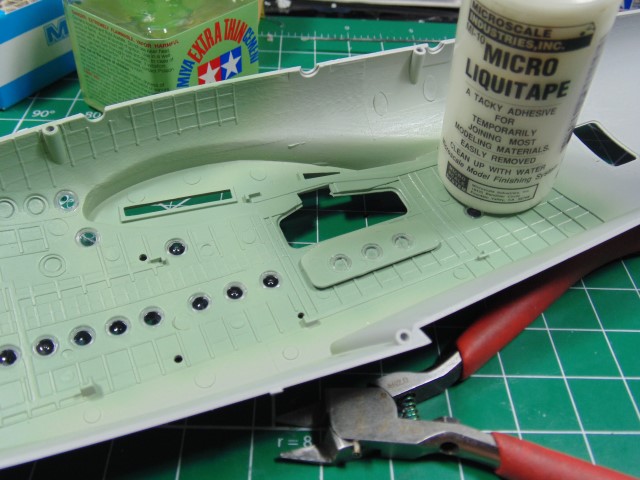
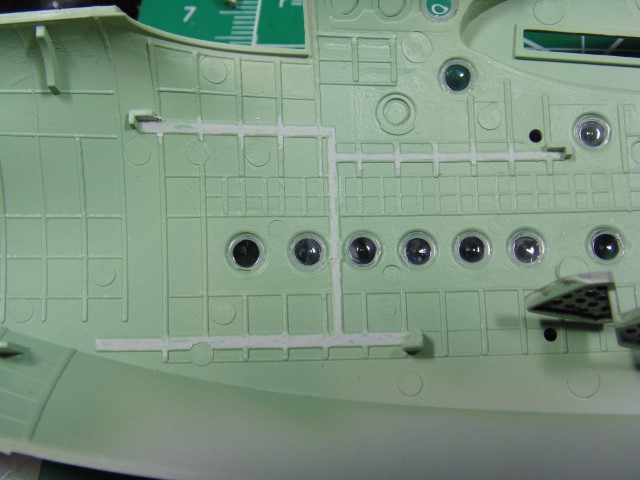
Once the decal was completely dry after an hour a decent coat of X-22 will let you see the proper placement, plus adds a lens effect and glues it in place.

Later, run some CA along the edges to ensure it stays put. Looks pretty good, yes?
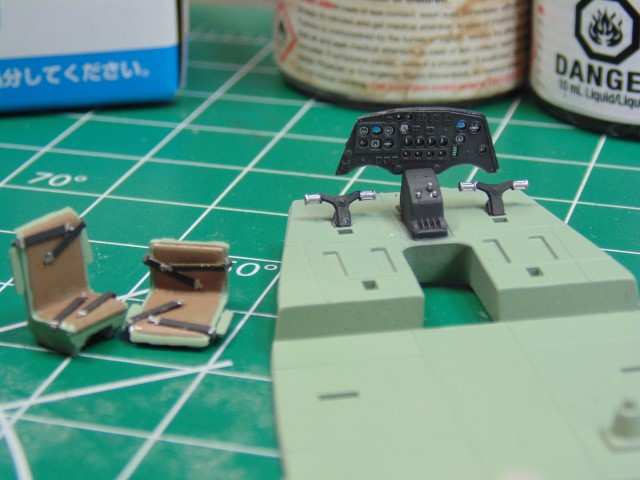
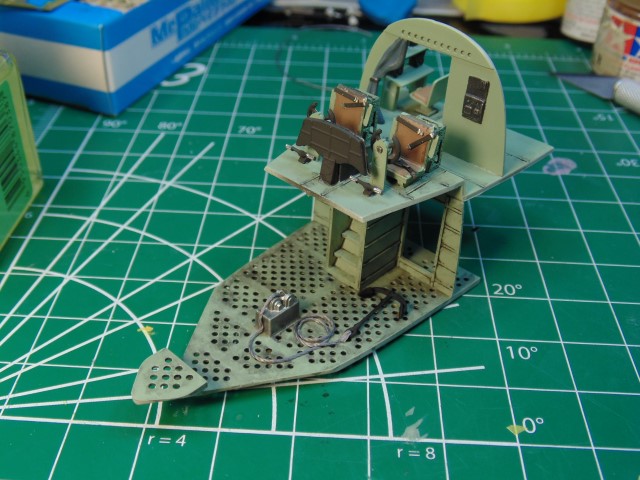
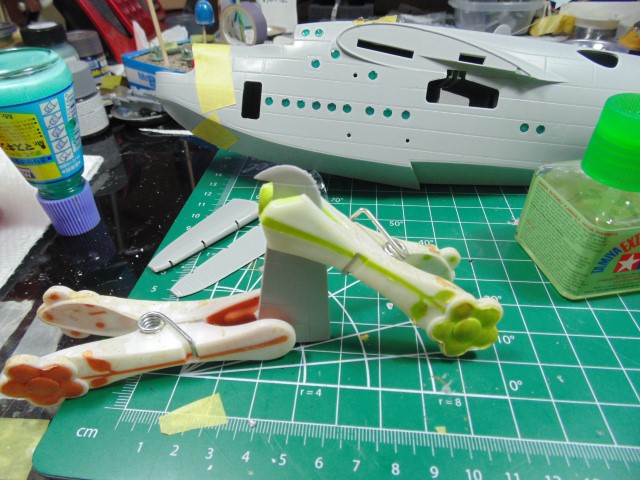
The harness parts… well they are what they are.
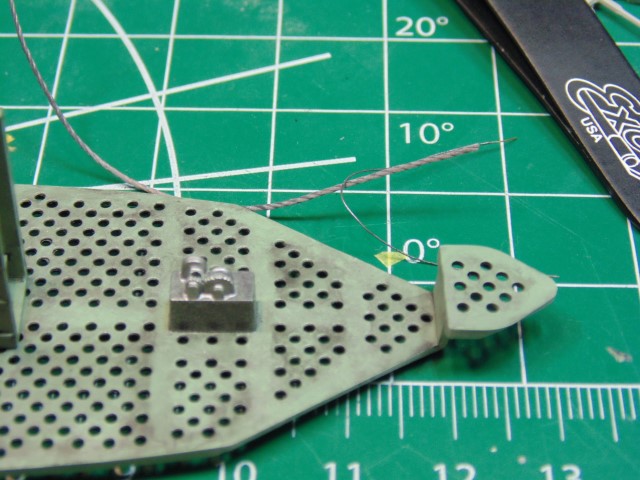
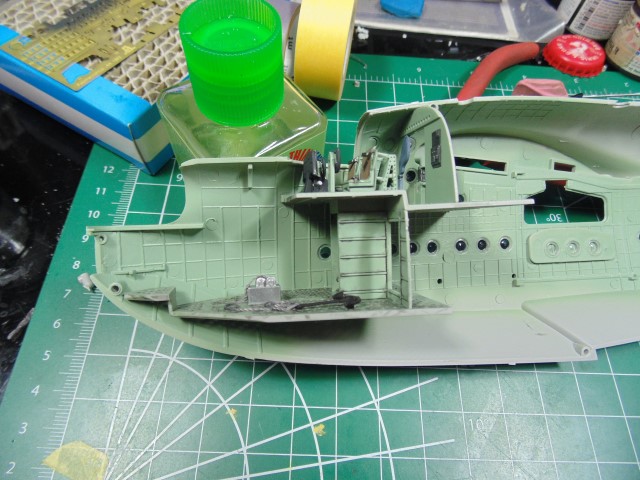
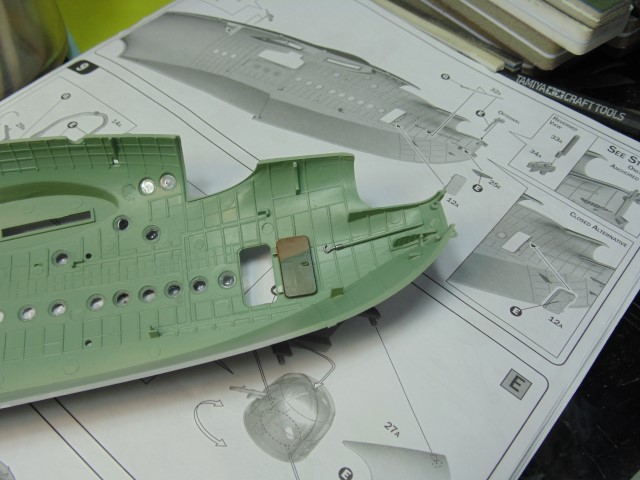
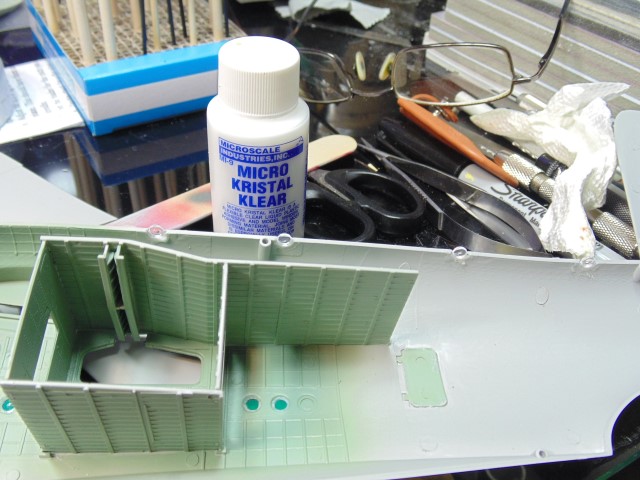
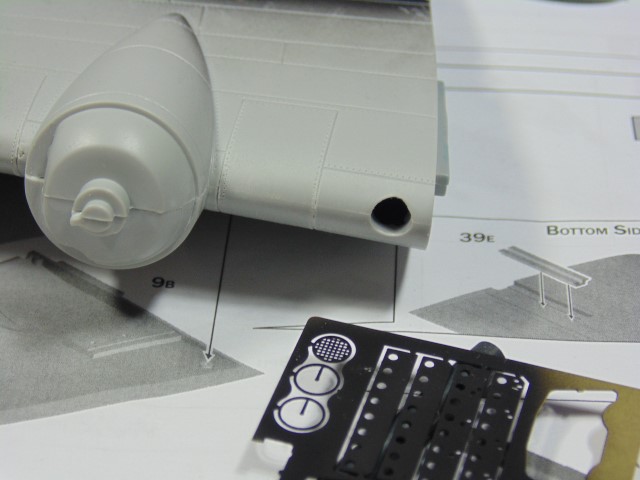
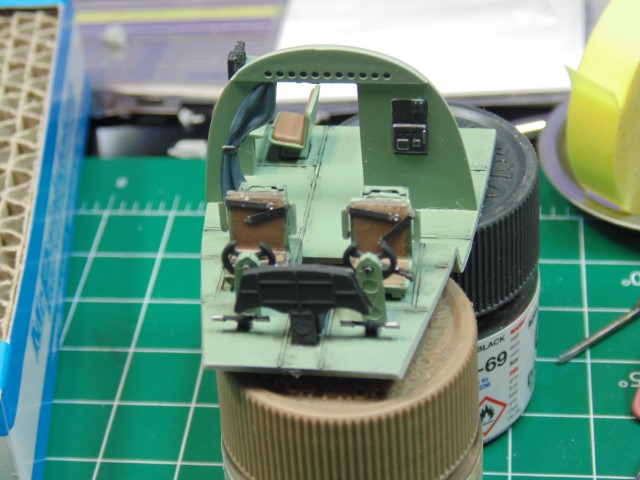
The floor really needed some filth to knock back the solid interior color. The seat PE fits perfectly. Scuff the the paint away from the brass and plastic if you are only putting one coat of paint on.
I put the plastic parts on instead following the instructions and inserting them in the PE.
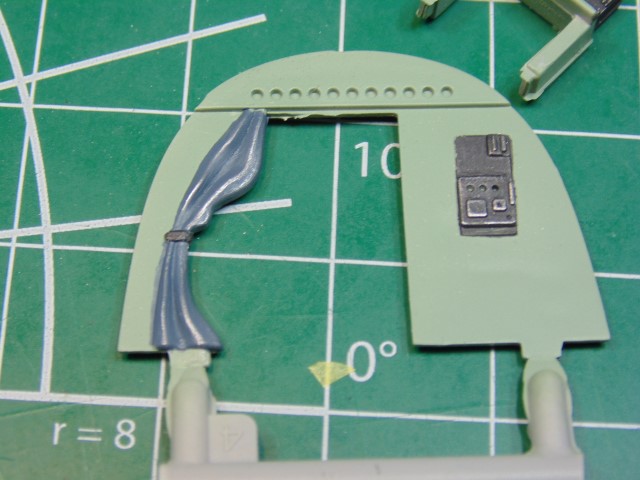
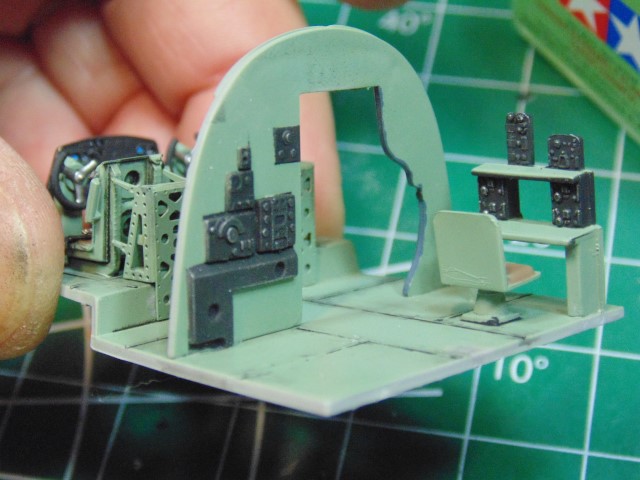
Some serious detail for a 1/72.

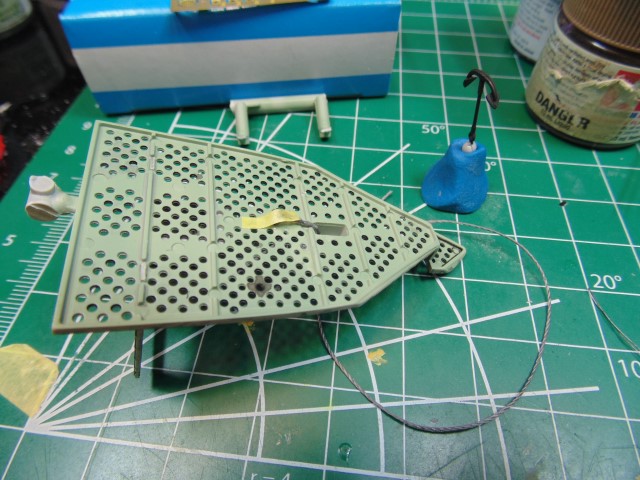
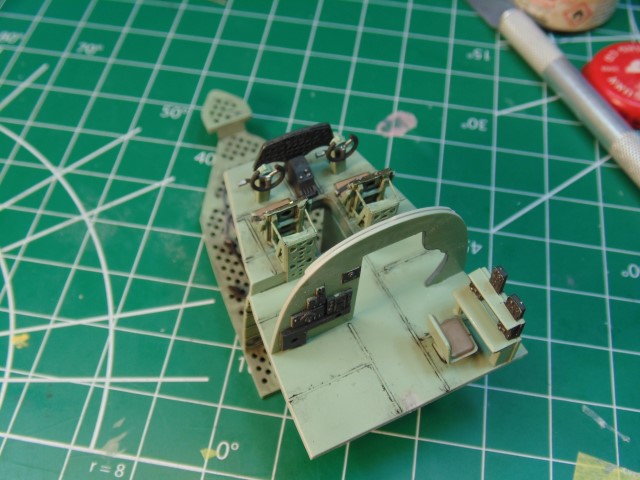
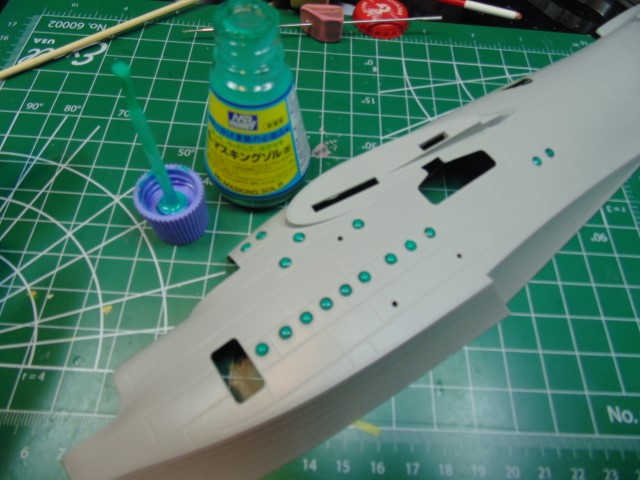
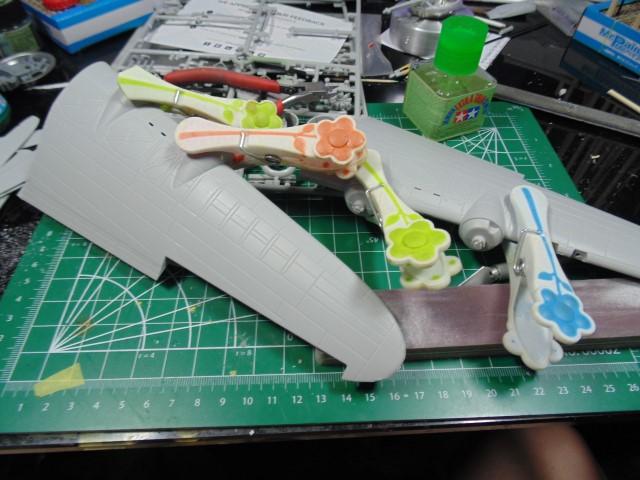
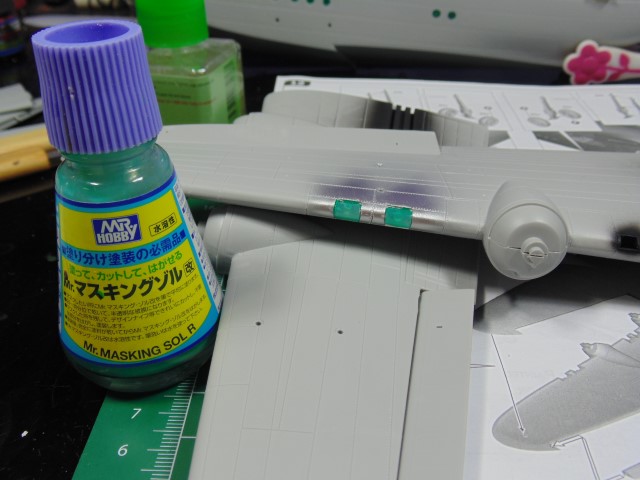
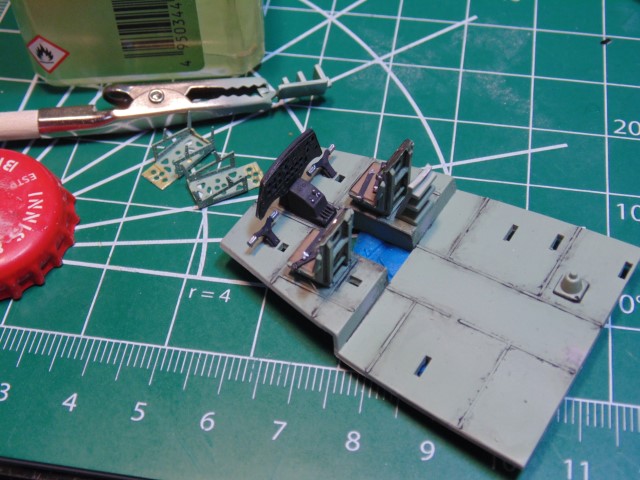
Medium blue for the cloth curtain door. Now for some detail masking.
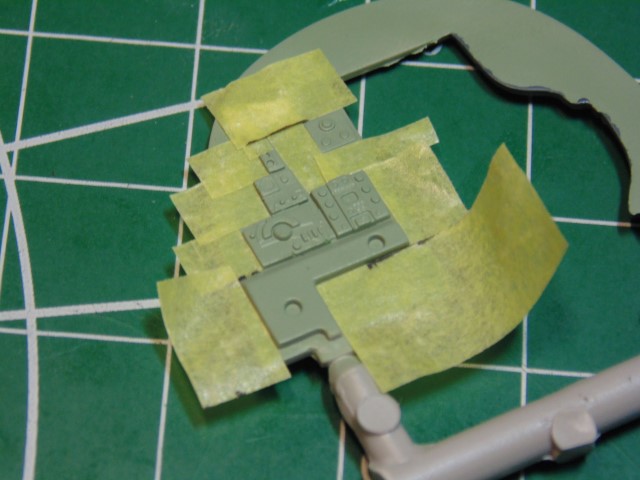
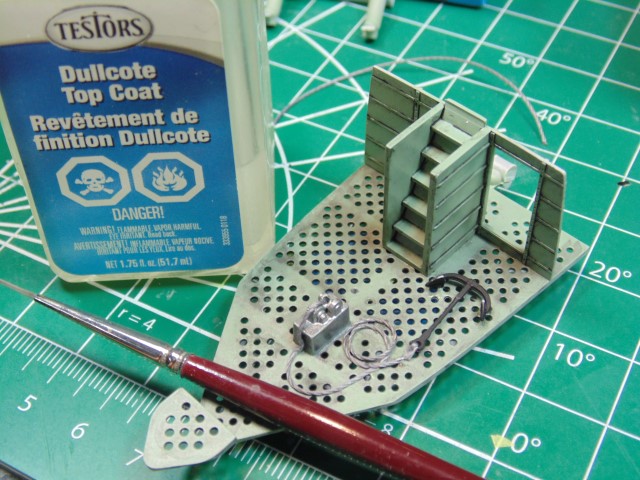
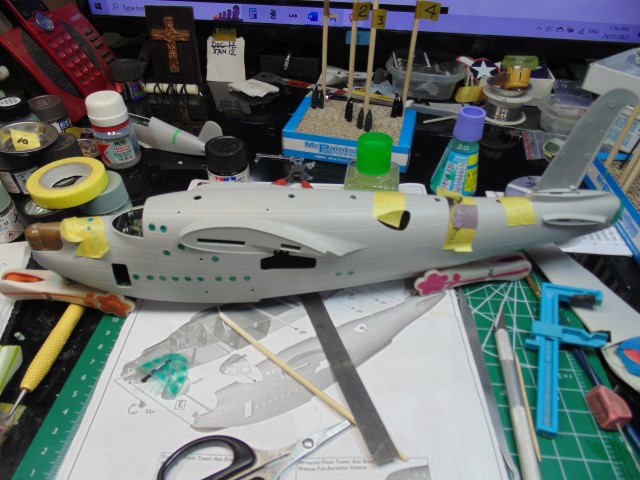
Only takes a half an hour to mask off the electronics.
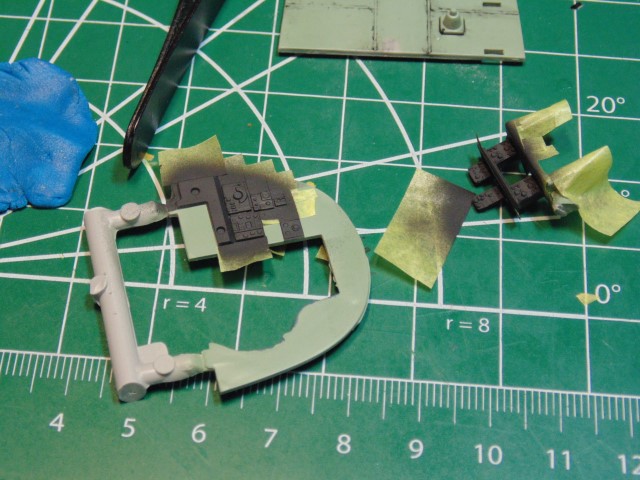
Sure it takes some time to mask and spray, but looks much better than hand painting.

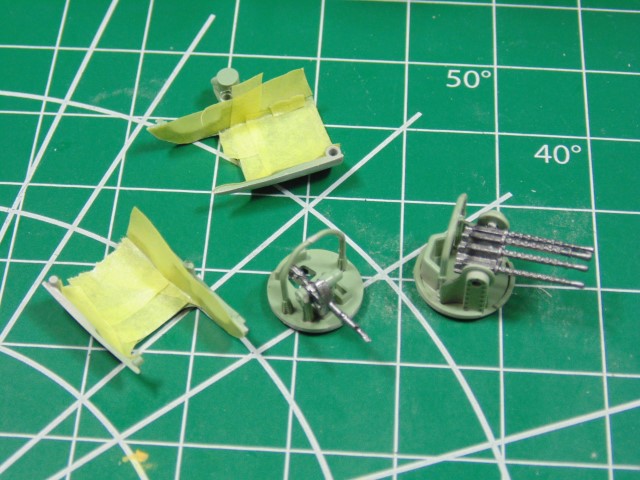
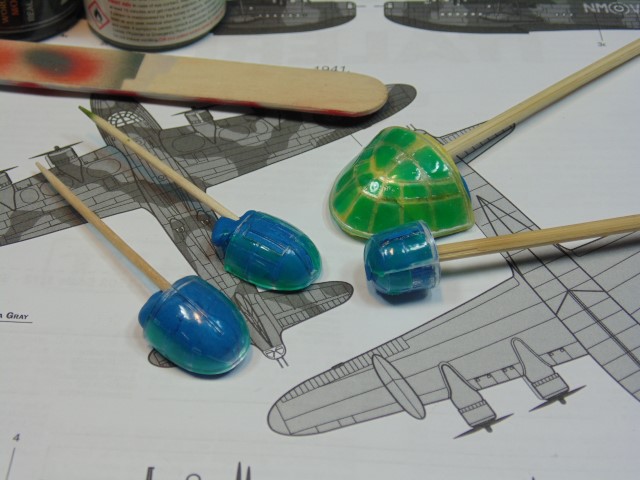
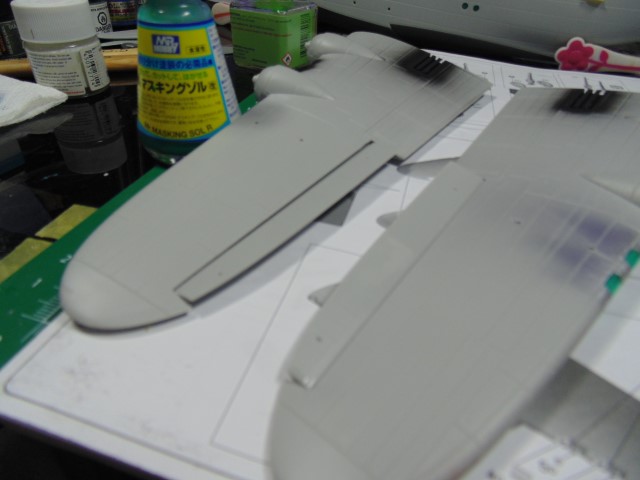
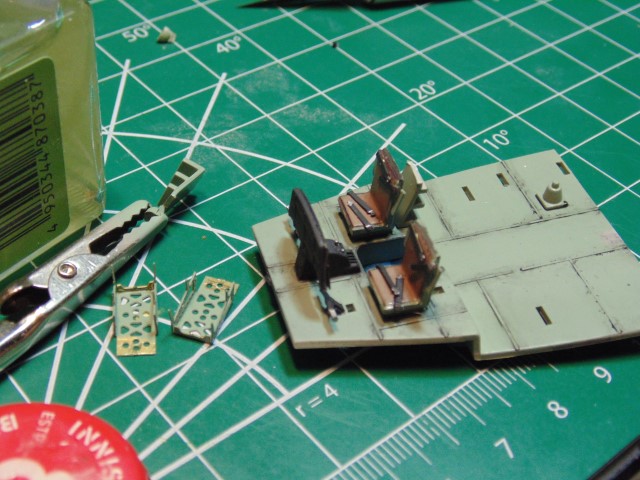
Here’s the before shot of the unmasked parts prior to being soft/dry brushed.
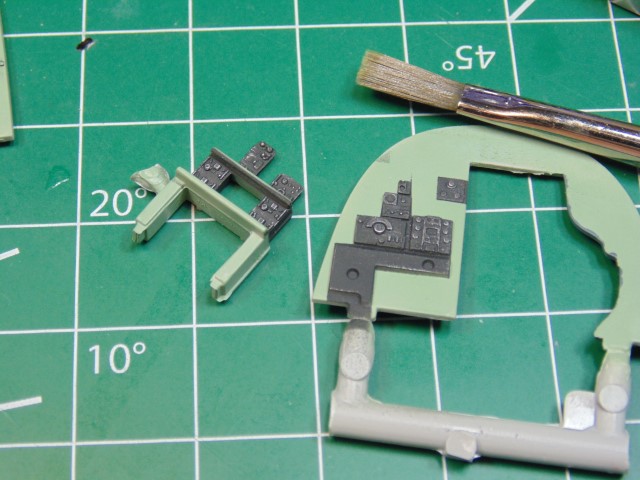
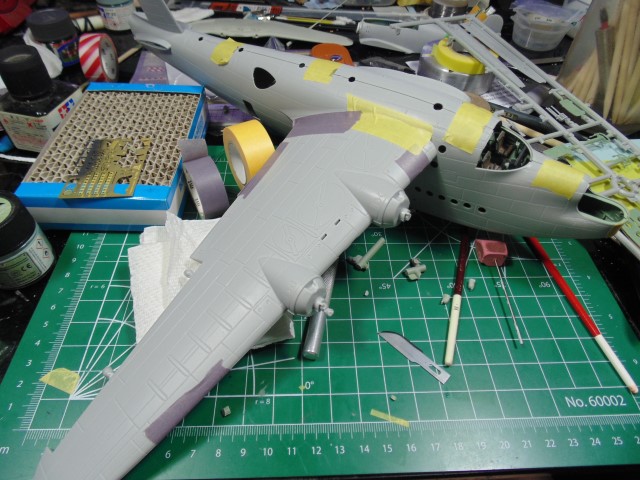
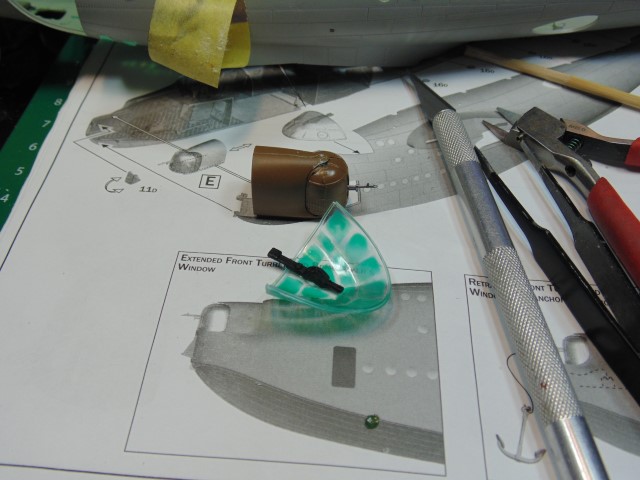
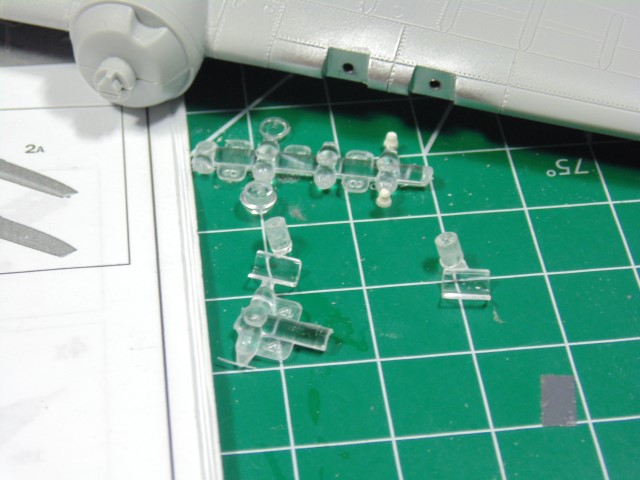
Look, I have no clue at this point how much of it will be seen. Italeri do make very clear windows, so why not.
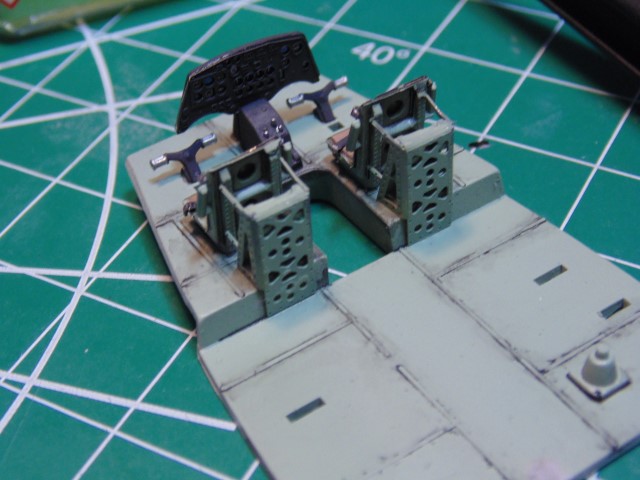
Besides, it’s rewarding and fun to add high tones of silver.
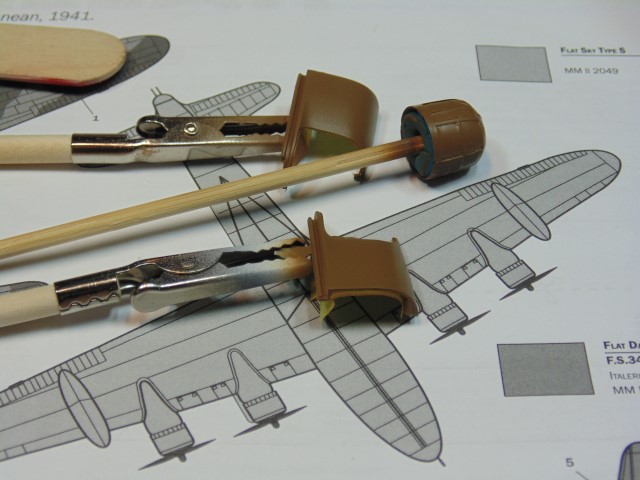
Don’t sweat the minor flaws or bit of flash here and there which will truly never be seen.
There you go @ColinEdm we’re off and running. I have have 5 other projects on the go for clients, but will work yours in from time to time.
Thanks for have a look everyone.