Lovely update HG, thanks for showing it all and how you think it through.
1 Like
Very cool watching it all come together HG!
1 Like
@ColinEdm do you want a soft edge or hard one for the camo?
1 Like
Either one well work well HG ![]()
From what I can see I think a hard edge will be fine if its not too much trouble.
1 Like
Thanks to the Lord my health has improved. Gonna work me arise off to get you updates.
Using only half a dozen oil tones on these engines because they are so small I don’t want any viewers to strain their eyes.
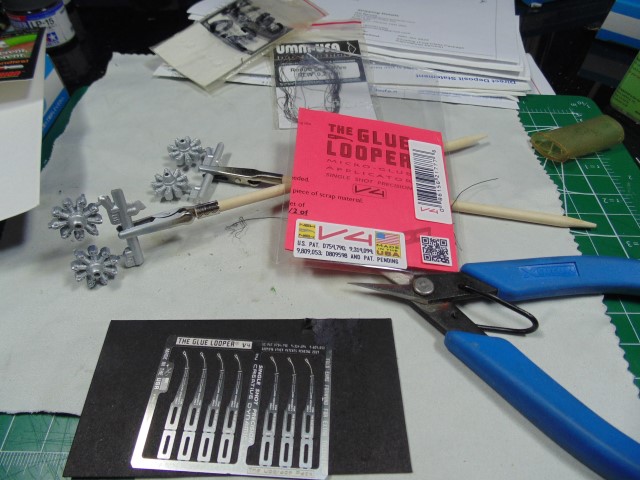
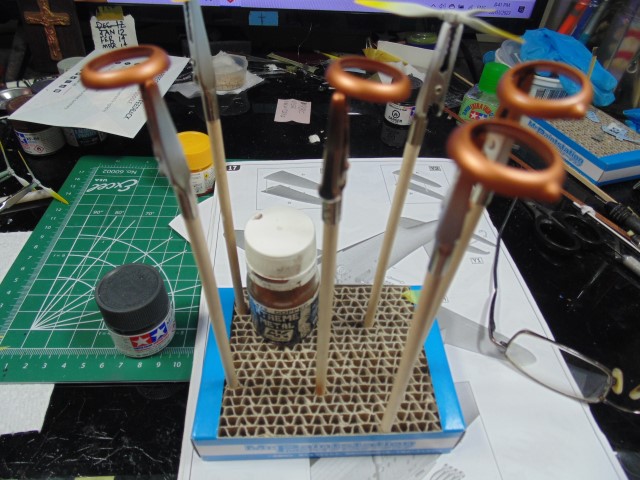
I bought these CA applicators specifically for this project (normally I make my own). Buy some extra handles my friends. As deep as the plastic holes are they still needed to be drilled out. A 0.3mm will do the job. Not a fault of the model maker because he didn’t know HG was gonna upgrade it.
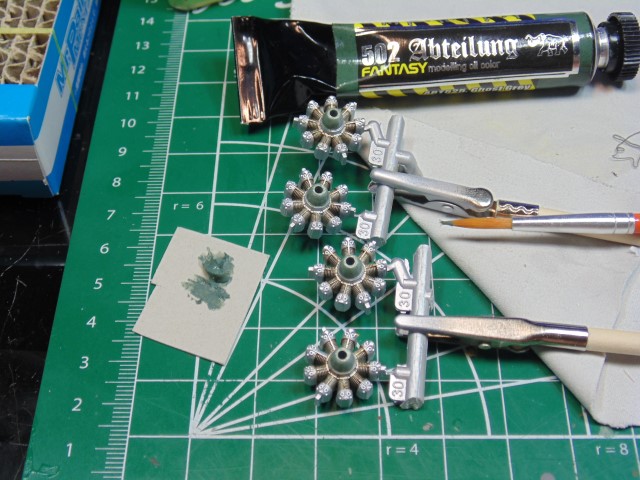
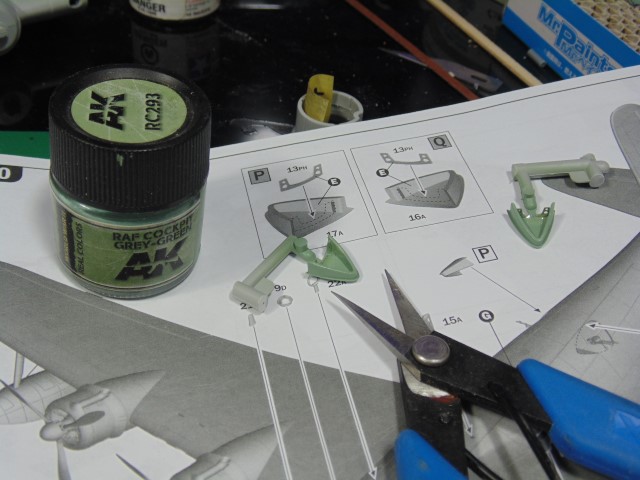
Feathered on a little grey green. Don’t know how accurate it is, but looks decent. Use your own judgement when to paint and when to add details. I like to paint first, but that’s just me.
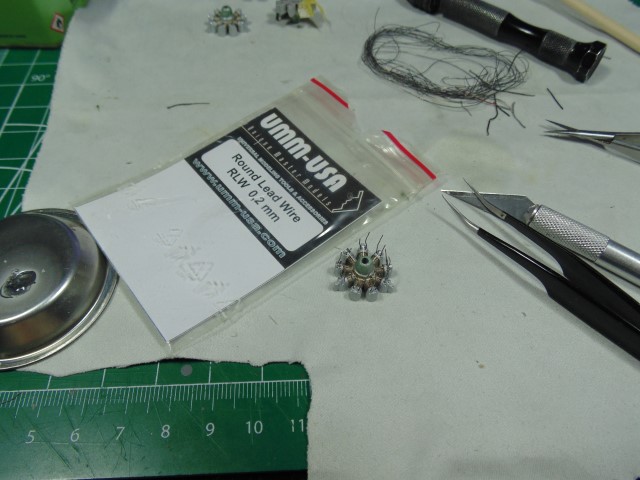
Italeri have really upped their molding detail and fit over the past decade. They DO NOT pay to say this, but I’m impressed. Now let’s further the details. Contact John at UMM for fine flexible wire and tools.
Here I’m trying to pull off, in 1/72, engine detail. 90 percent will be hidden, yet the 10 percent will be hopefully appreciated.
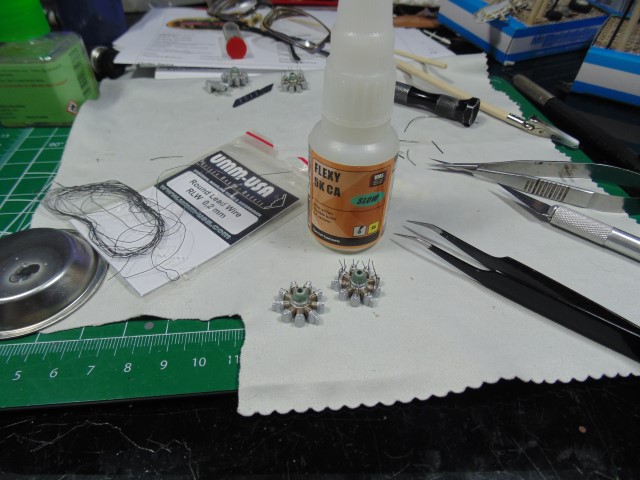
The slow acting VMS CA is perfect for you guys and gals worried about it clinging too quickly (you bet, been there too often). Ultimately the idea is to add some interest for @ColinEdm and his mates.
8 Likes
Always a treat and never a chore tuning in for an update ![]()
1 Like
Great to hear that, HG! ![]()
2 Likes
Glad to hear you are doing better and are back at it, looking good!
3 Likes
Awesome work. Great detail
1 Like
Hi Sunderlandians,
Time to map out the camouflage pattern.
A short update but took some time. Naturally, there’s a few steps involve with aligning the cowls. It meant dry fitting the engines, cowls and front bezels. Not hard work really, just regular parts clean-up.
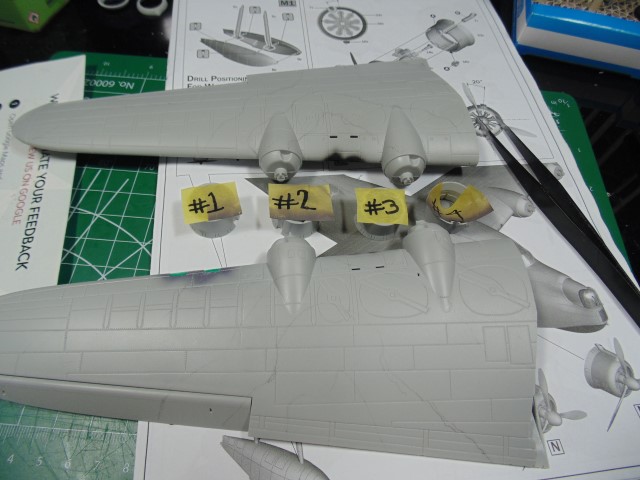
Marrying up the cowls and numbering them to make life easier for painting. Use a light hand with the pencil. I prefer a mechanical pencil because of the soft touch. If you have a different method for sussing out ways to plan camo patterns, I’m all ears.
Thanks Everyone!
6 Likes
Thank you!
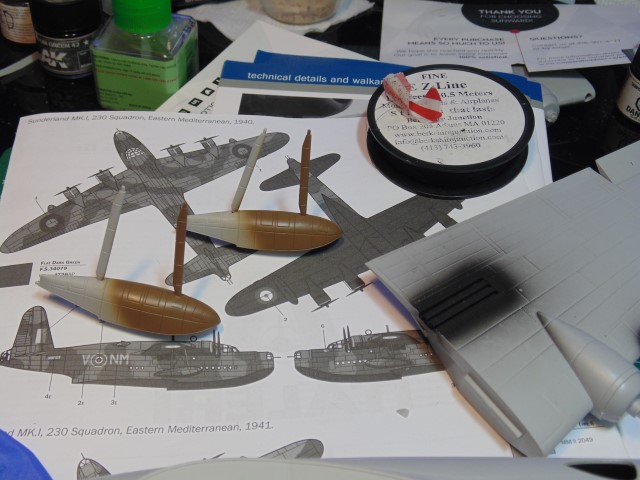
Time for an update on @ColinEdm Sunderland project.
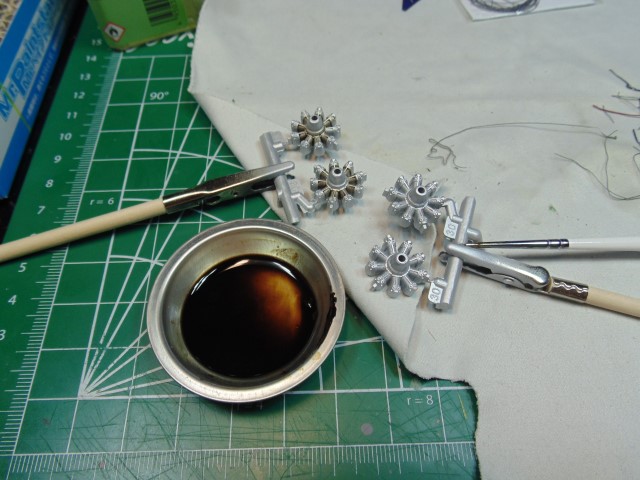
With the F35A project complete I’m enjoying my Sabbath day off to have some fun. The tips of the props are yellow, but I might mist some white to knock it back.
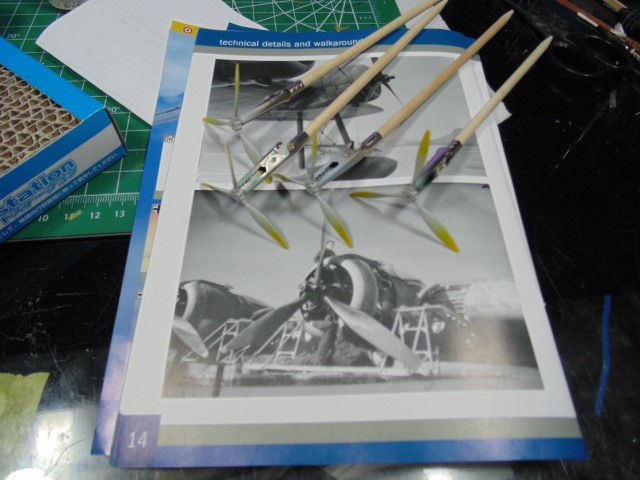
This copper looks toyish now, yet will get darkened with oils later.
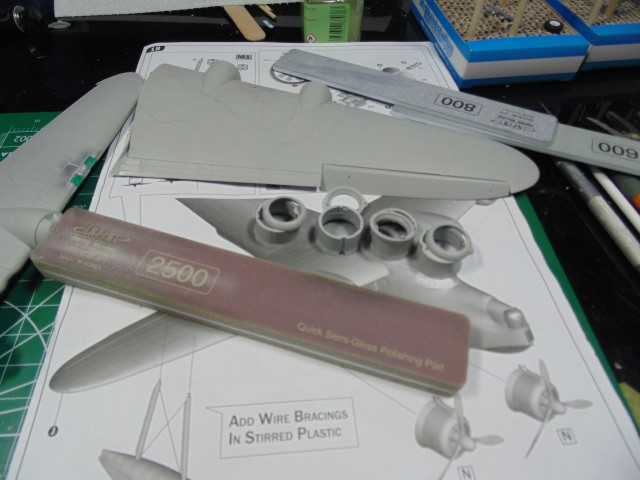
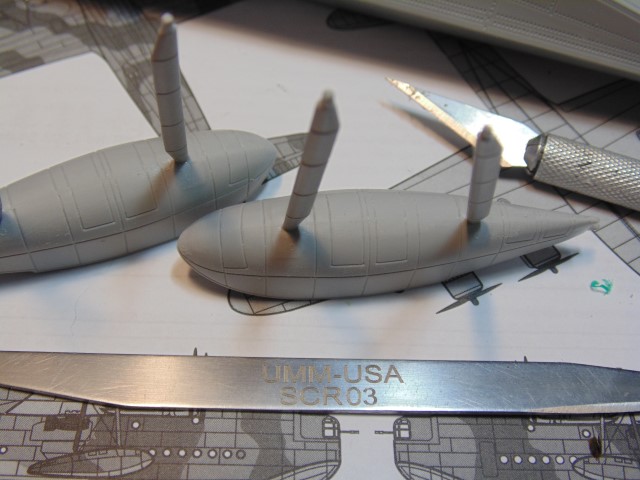
The pods need cleaning up and will have the “X” rigging attached prior to being installed.
Naturally they will be painted first. Huge complements to Sunward Hobbies for getting my supplies delivered fast. Thanks everyone!
7 Likes
Phew I was beginning to think one of (your) aircraft was missing. Hmm misting yellow with white…tricky…primrose result? I guess it all depends on the base yellow but would hazy pale buff keep the tone but reduce the intensity better? Sorry I’m an amateur artist, reflex reaction maybe inappropriate ![]()
1 Like
Hey Tim,
I used Mr. Hobby 329 yellow. I’ll mist a foot away the off-white with super low air-pressure in the gun. Hopefully the look will be like dried salt water.
Ahhhh of course, the ol’ crusty salt ploy. OK, back to my draughty garret. Fascinating build as per your usual ![]()
![]()
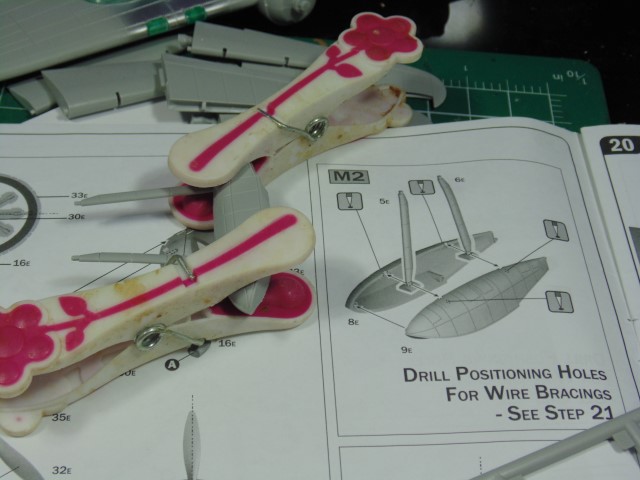
You have GOT to get more manly clothes pegs…
Great to see the Sunderland back in the frame… Nice steady progress…![]()
1 Like
Hi Friends,
Another update on @ColinEdm Sunderland Mk.I 1/72.
Some PE to add detail to the upper gun port wind breaks. I’m on the fence if I should add weathering because it won’t be seen.
The panel lines need some help after sanding. Use the tip of your scriber to remove unwanted material. UMM-USA tools are very sharp, thusly you might want to have a bandage close by HA HA.
You may want to consider stuffing the gaps to prevent the interior from being corrupted with the exterior colors overspray.
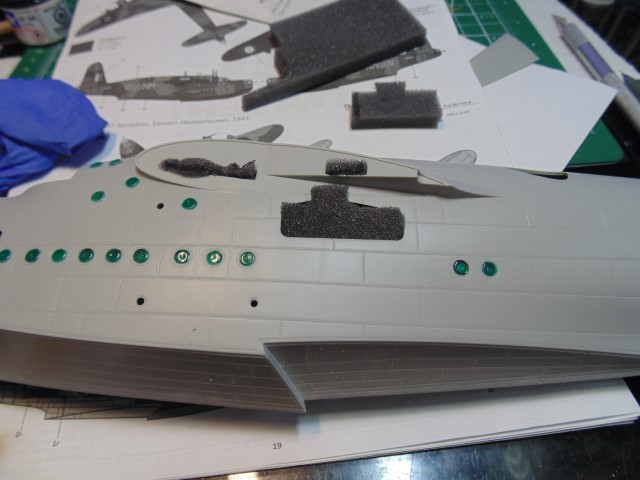
I’ll be painting the float pods separately because the camo scheme is different from the body. This way I can align the posts and get my ez-line cable worked out.
How this bird got into the air still makes my head shake.
More when time permits. Huge thanks to Sunward Hobbies https://www.sunwardhobbies.ca/ for shipping my purchases quickly. Also, to John at UMM-USA UMM-USA for shipping my tools so professionally. All the best everyone and God bless.
7 Likes
Hi Roly,
My wife and daughter died while holding colorful flowers in 2001. The clothe pins are out of respect to them… my beloved angels. Thank you for having a look and God bless.
8 Likes