Was able to get a little bench time yesterday.
Couldn’t get a good photos of the painted housing and shock installed but in my eyes I felt better about the muted color. With the green Academy and Airfix plastic, not as needed.
Was able to get a little bench time yesterday.
Couldn’t get a good photos of the painted housing and shock installed but in my eyes I felt better about the muted color. With the green Academy and Airfix plastic, not as needed.
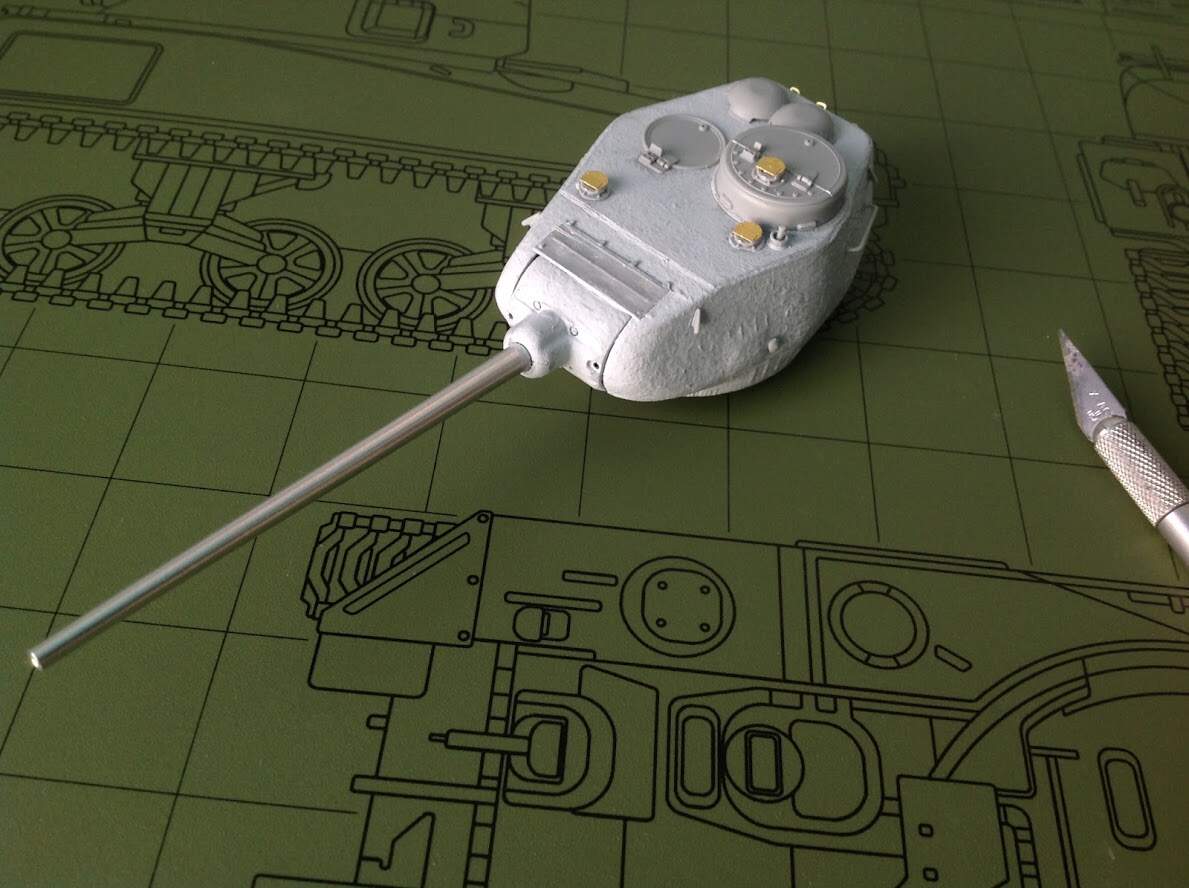
So that cylindrical thing sticking out of the right front side of the upper hull parallel with the ground. I think that’s where the antenna attachment is on earlier vehicles. Was that common on T-34/85s? Or any rules about when it should be there?
I’m working on the miniart kit for the miniart group build and attaching it is optional, but they give no guidance (not that I expect it in kit instructions).
That is the early location, after a short time period all 85’s appear to have the antenna mount in the turret in front of the cupola.
Hope that helps.
It would be a same not to do this kit too, like showing the before and after with the academy kit.
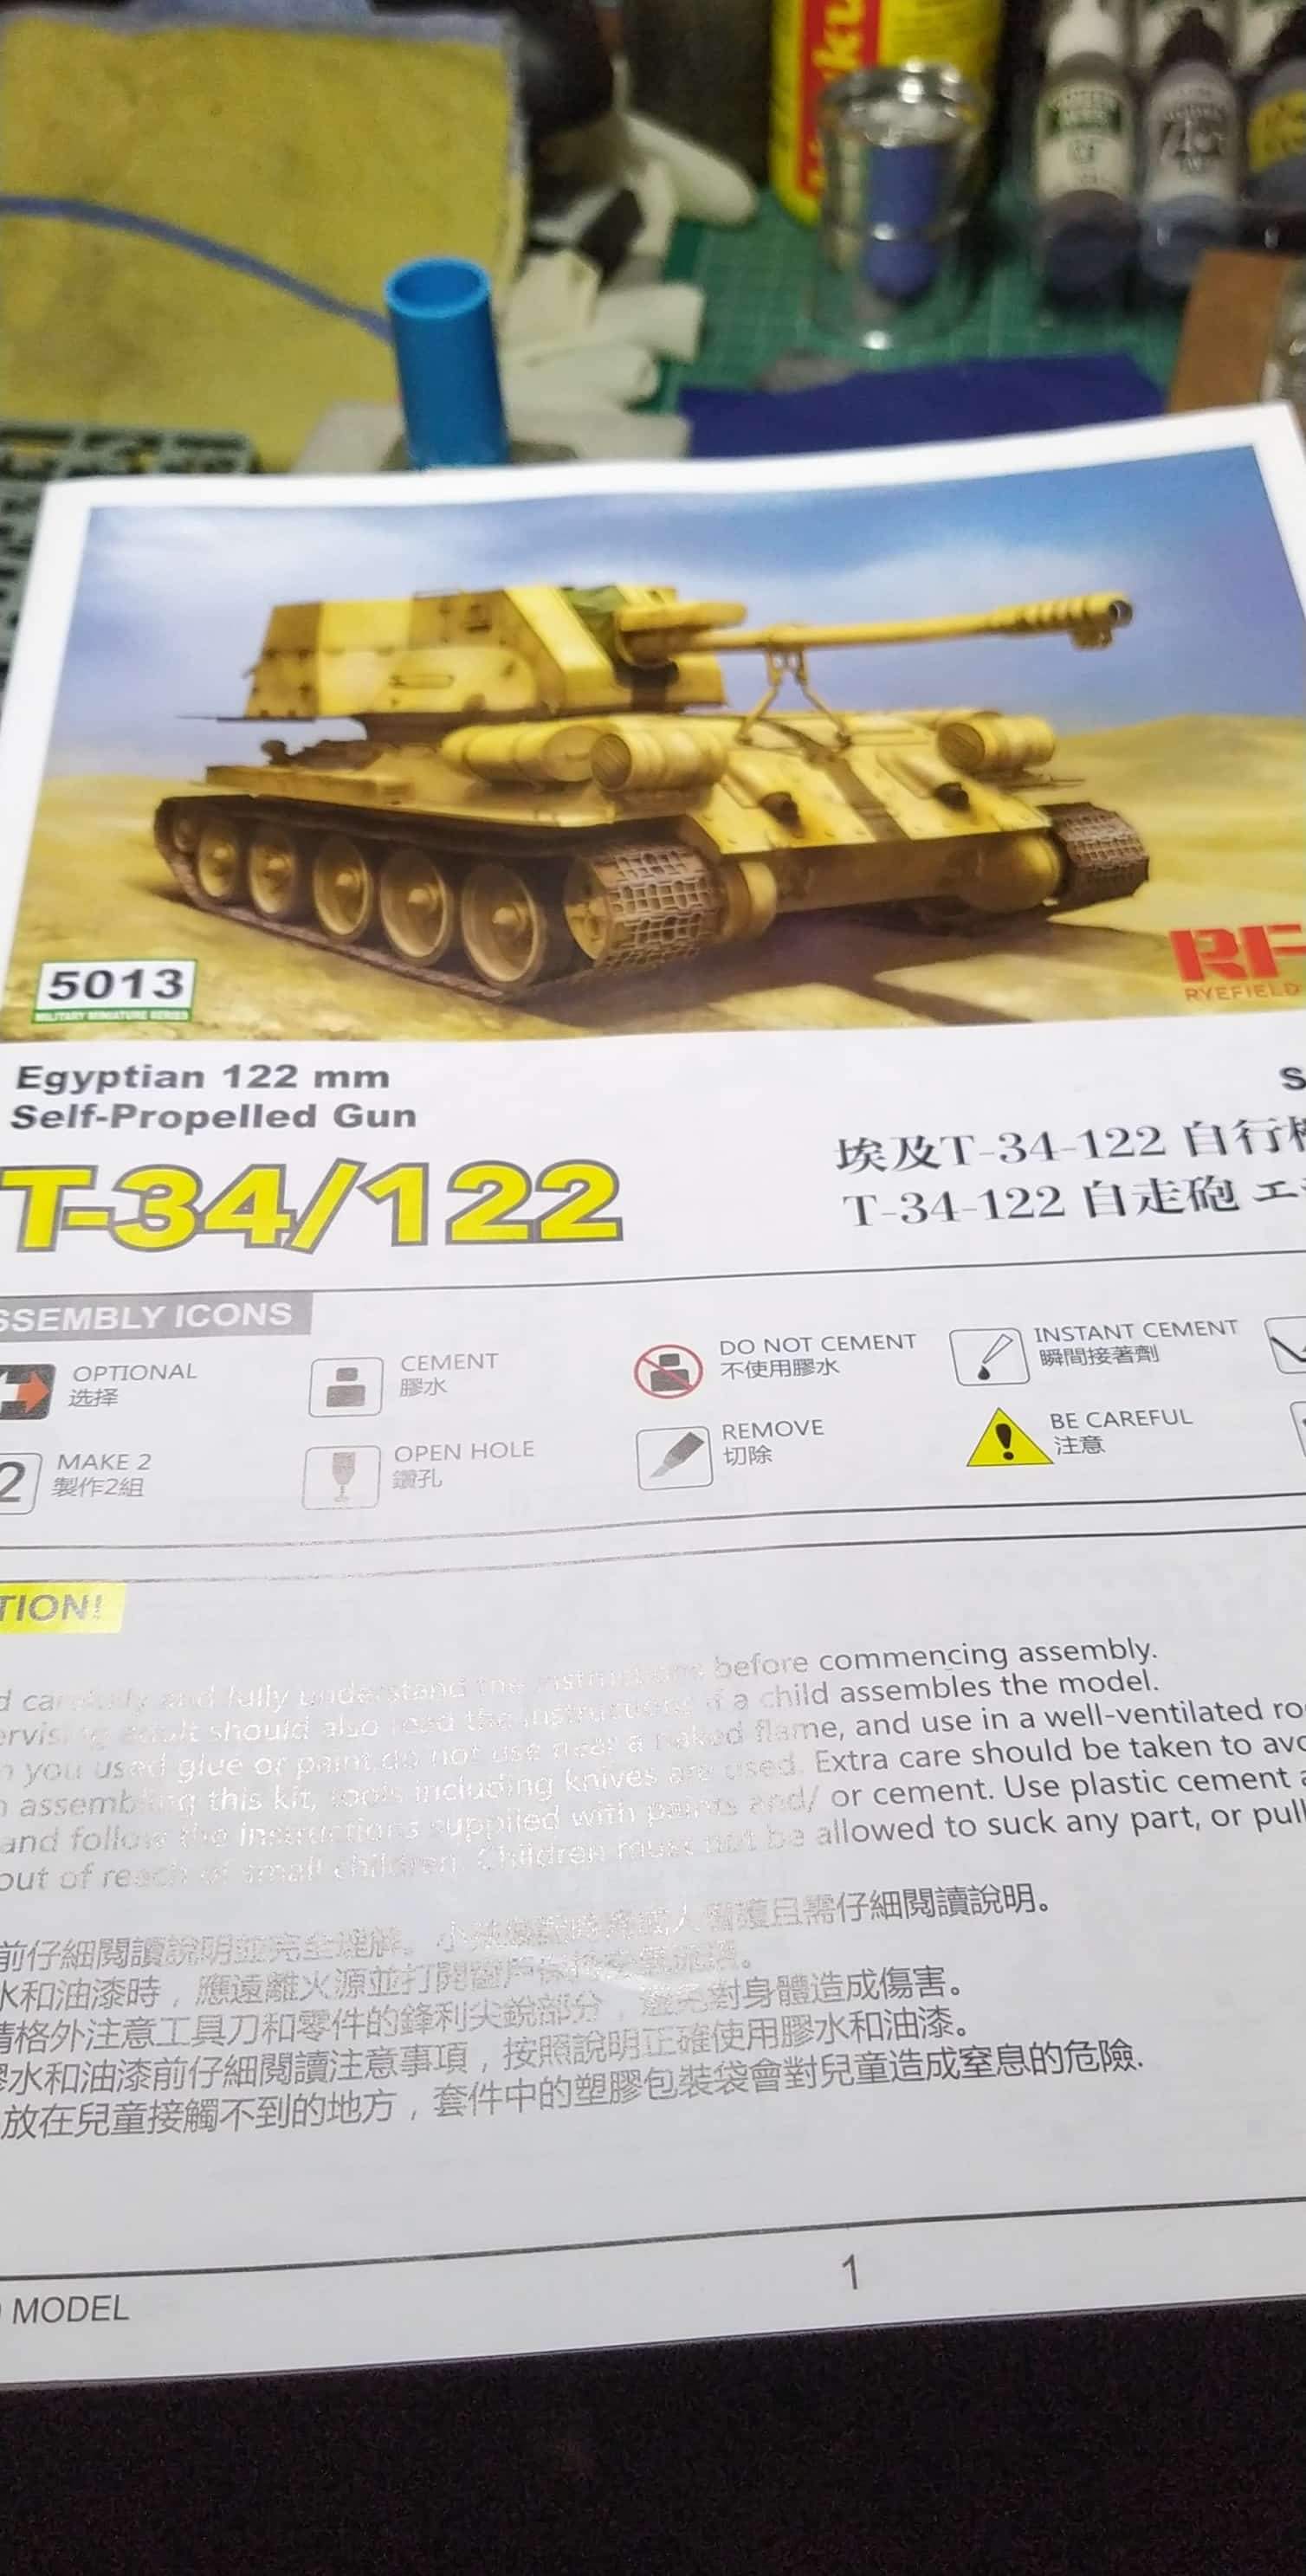
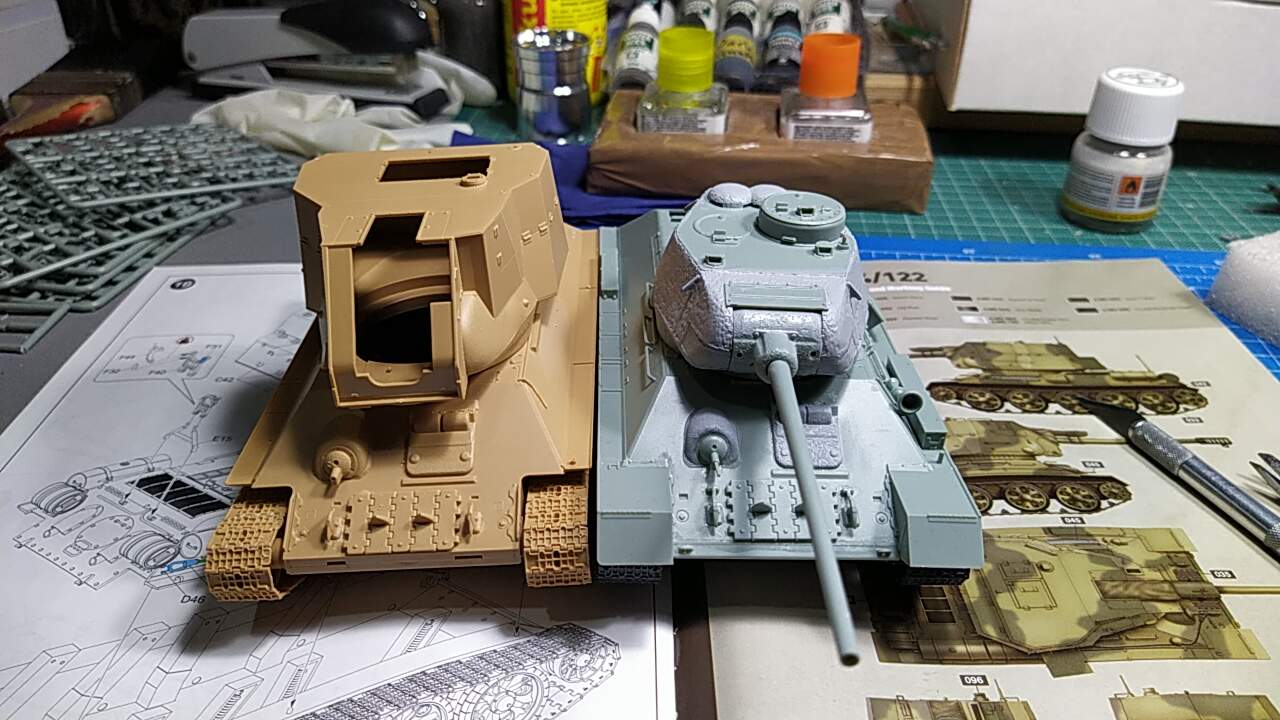
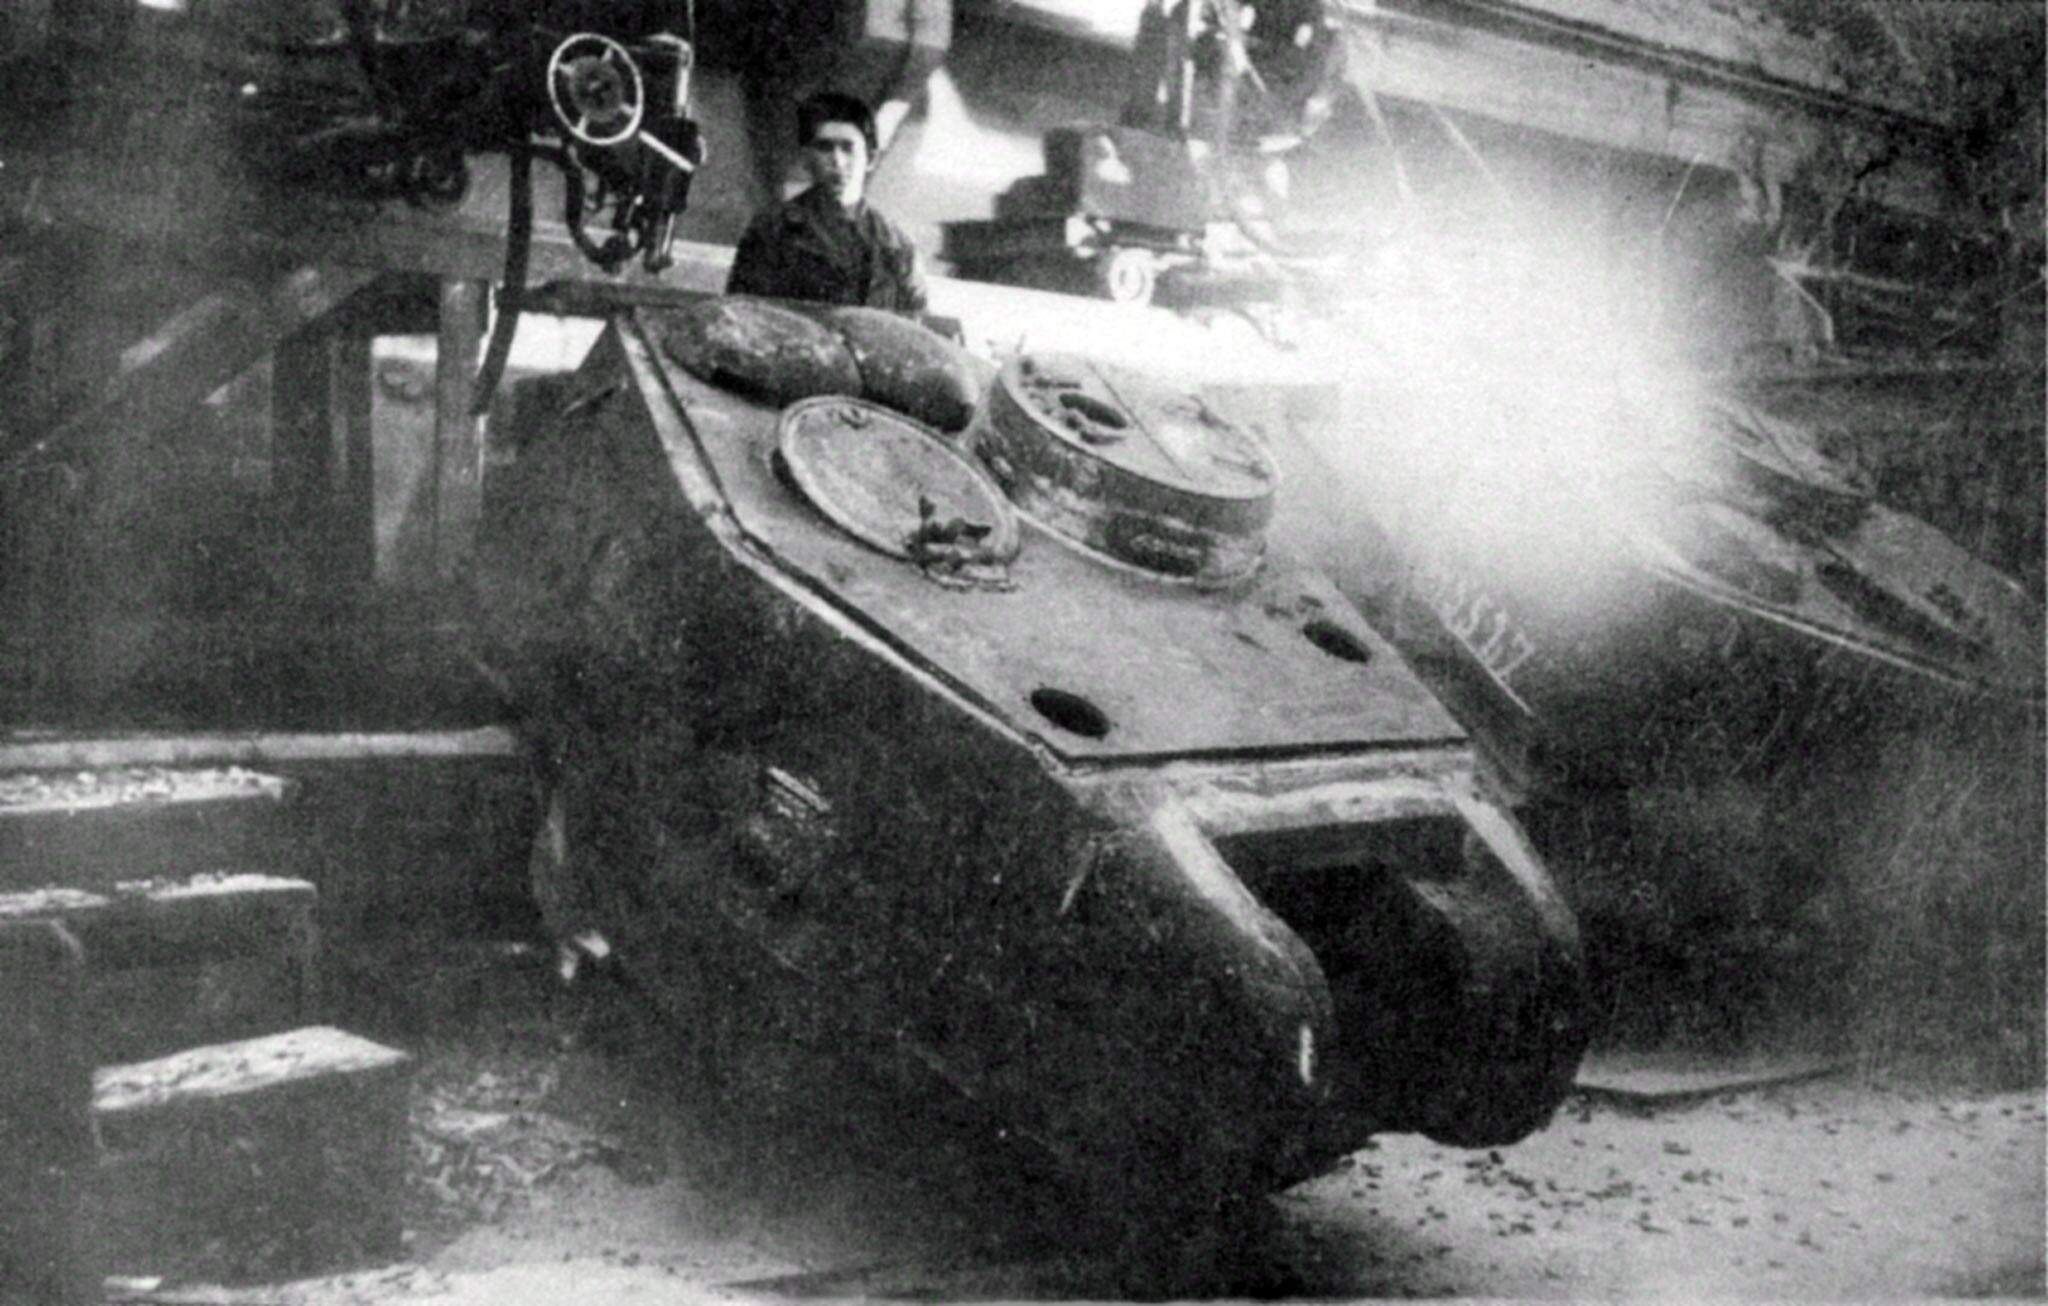
So RFM Egyptian T-34/122
There are two vehicles surviving. I opted for the one with the starfish wheels. More details to follow…
Only very early vehicles had the antenna on the hull, most prototypes and not from all factories. I wouldn’t use it.
Yes, that does, thanks!
I have a picture of the vehicle I’m modeling and it has an antenna on the roof. So I’m going to leave it off.
Looking forward to seeing the big turreted 122 being done
this is a fun looking campaign…
I might try it out!
Cheers!
L
Please do, all are welcome.
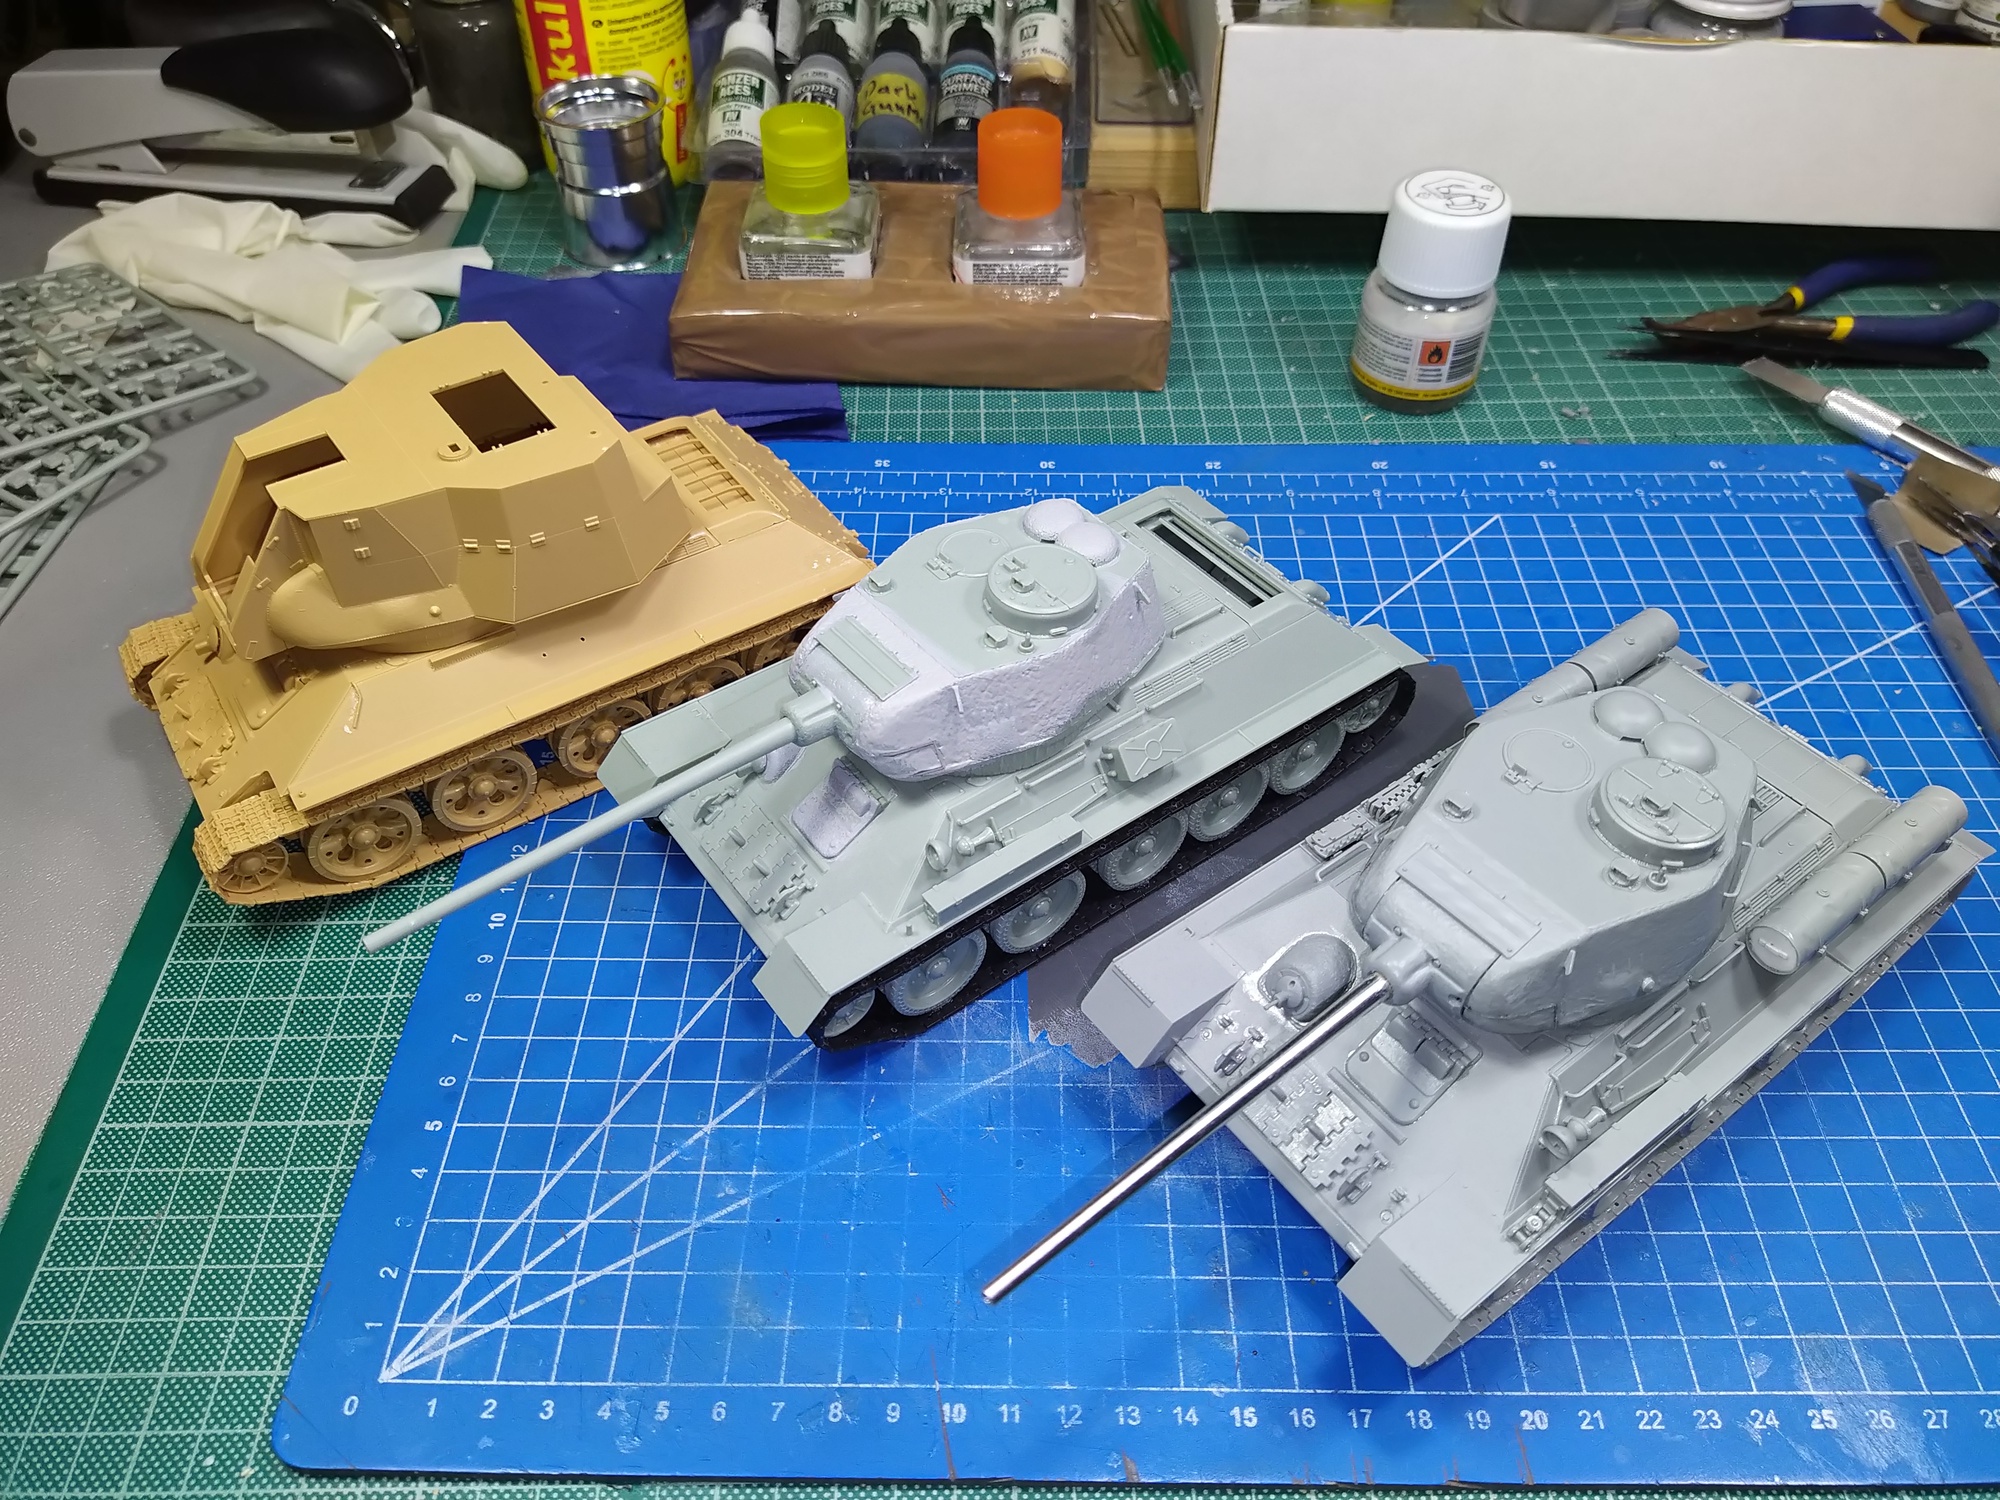
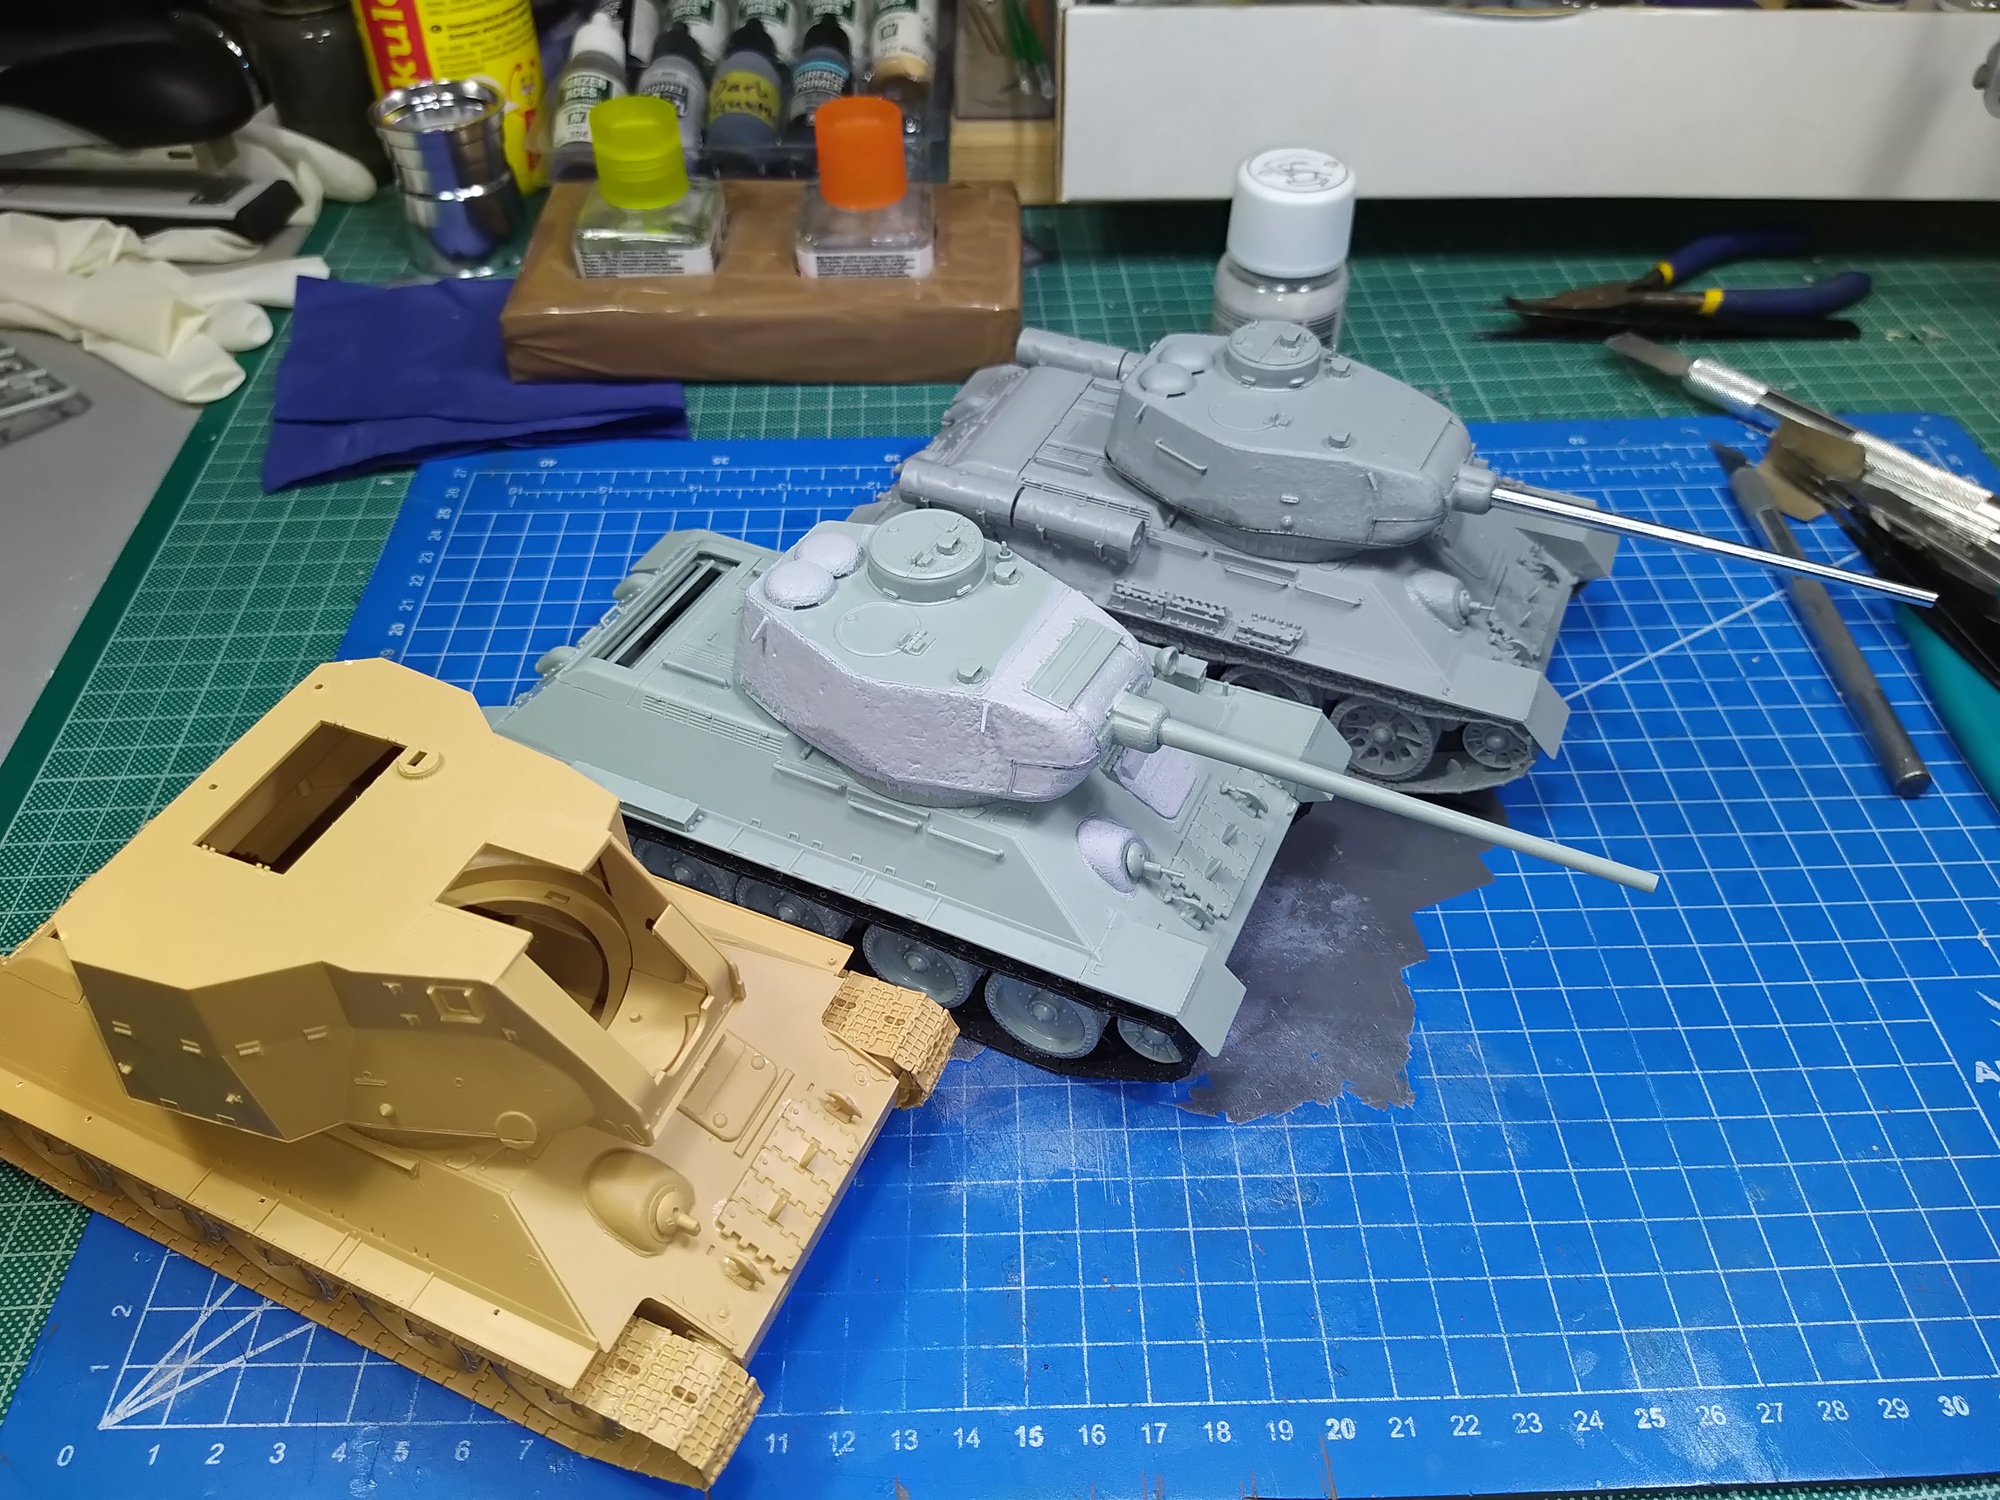
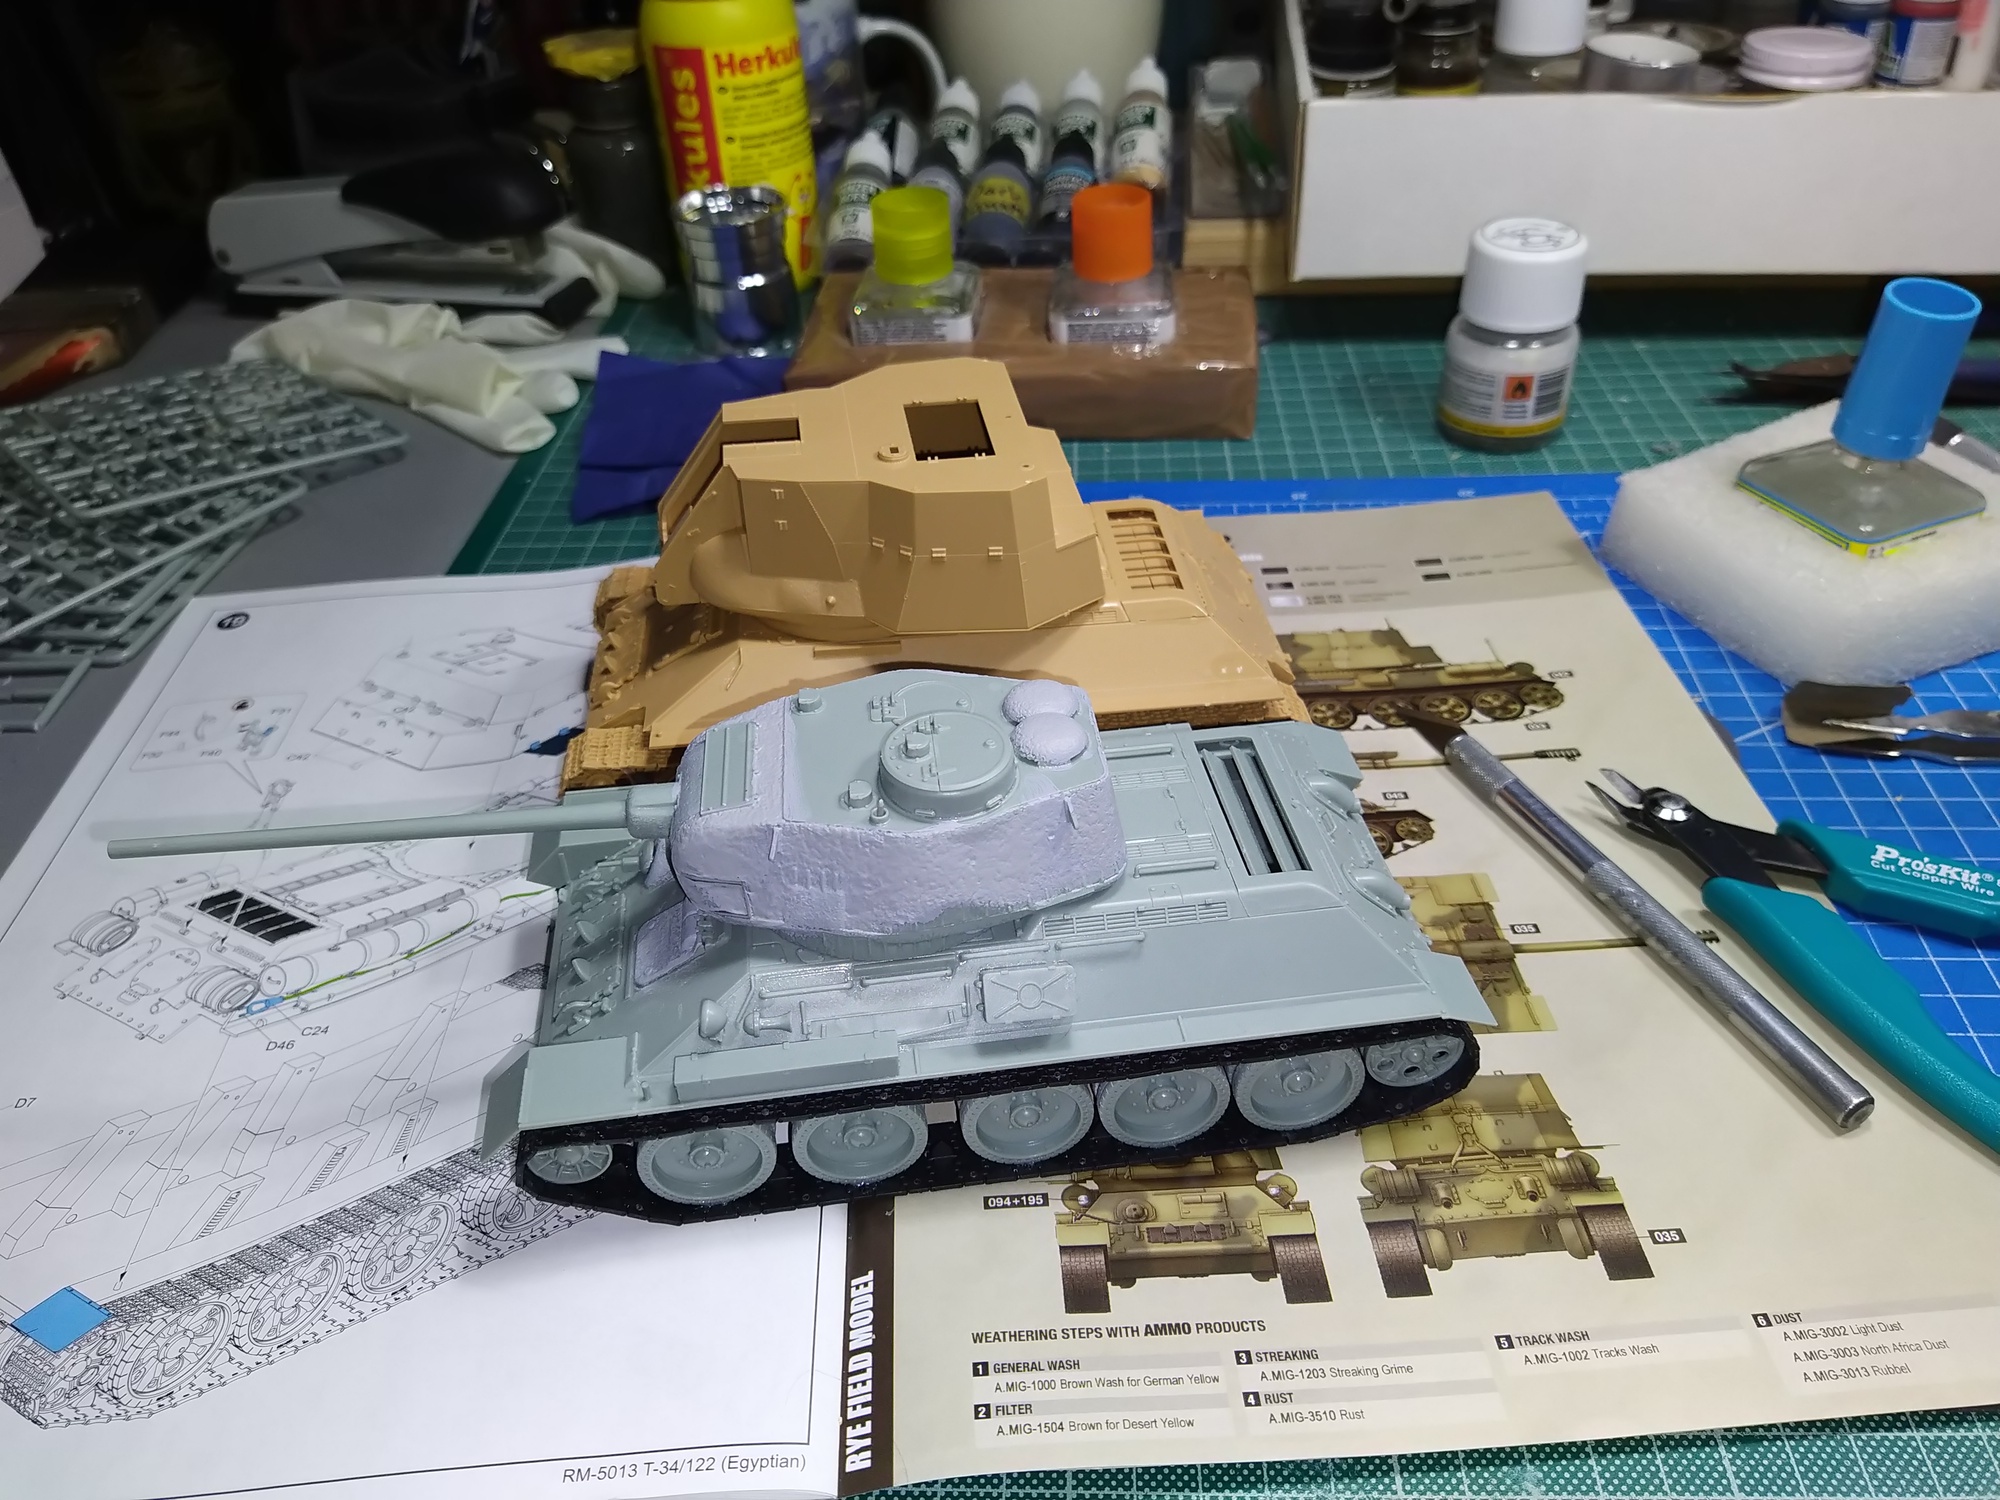
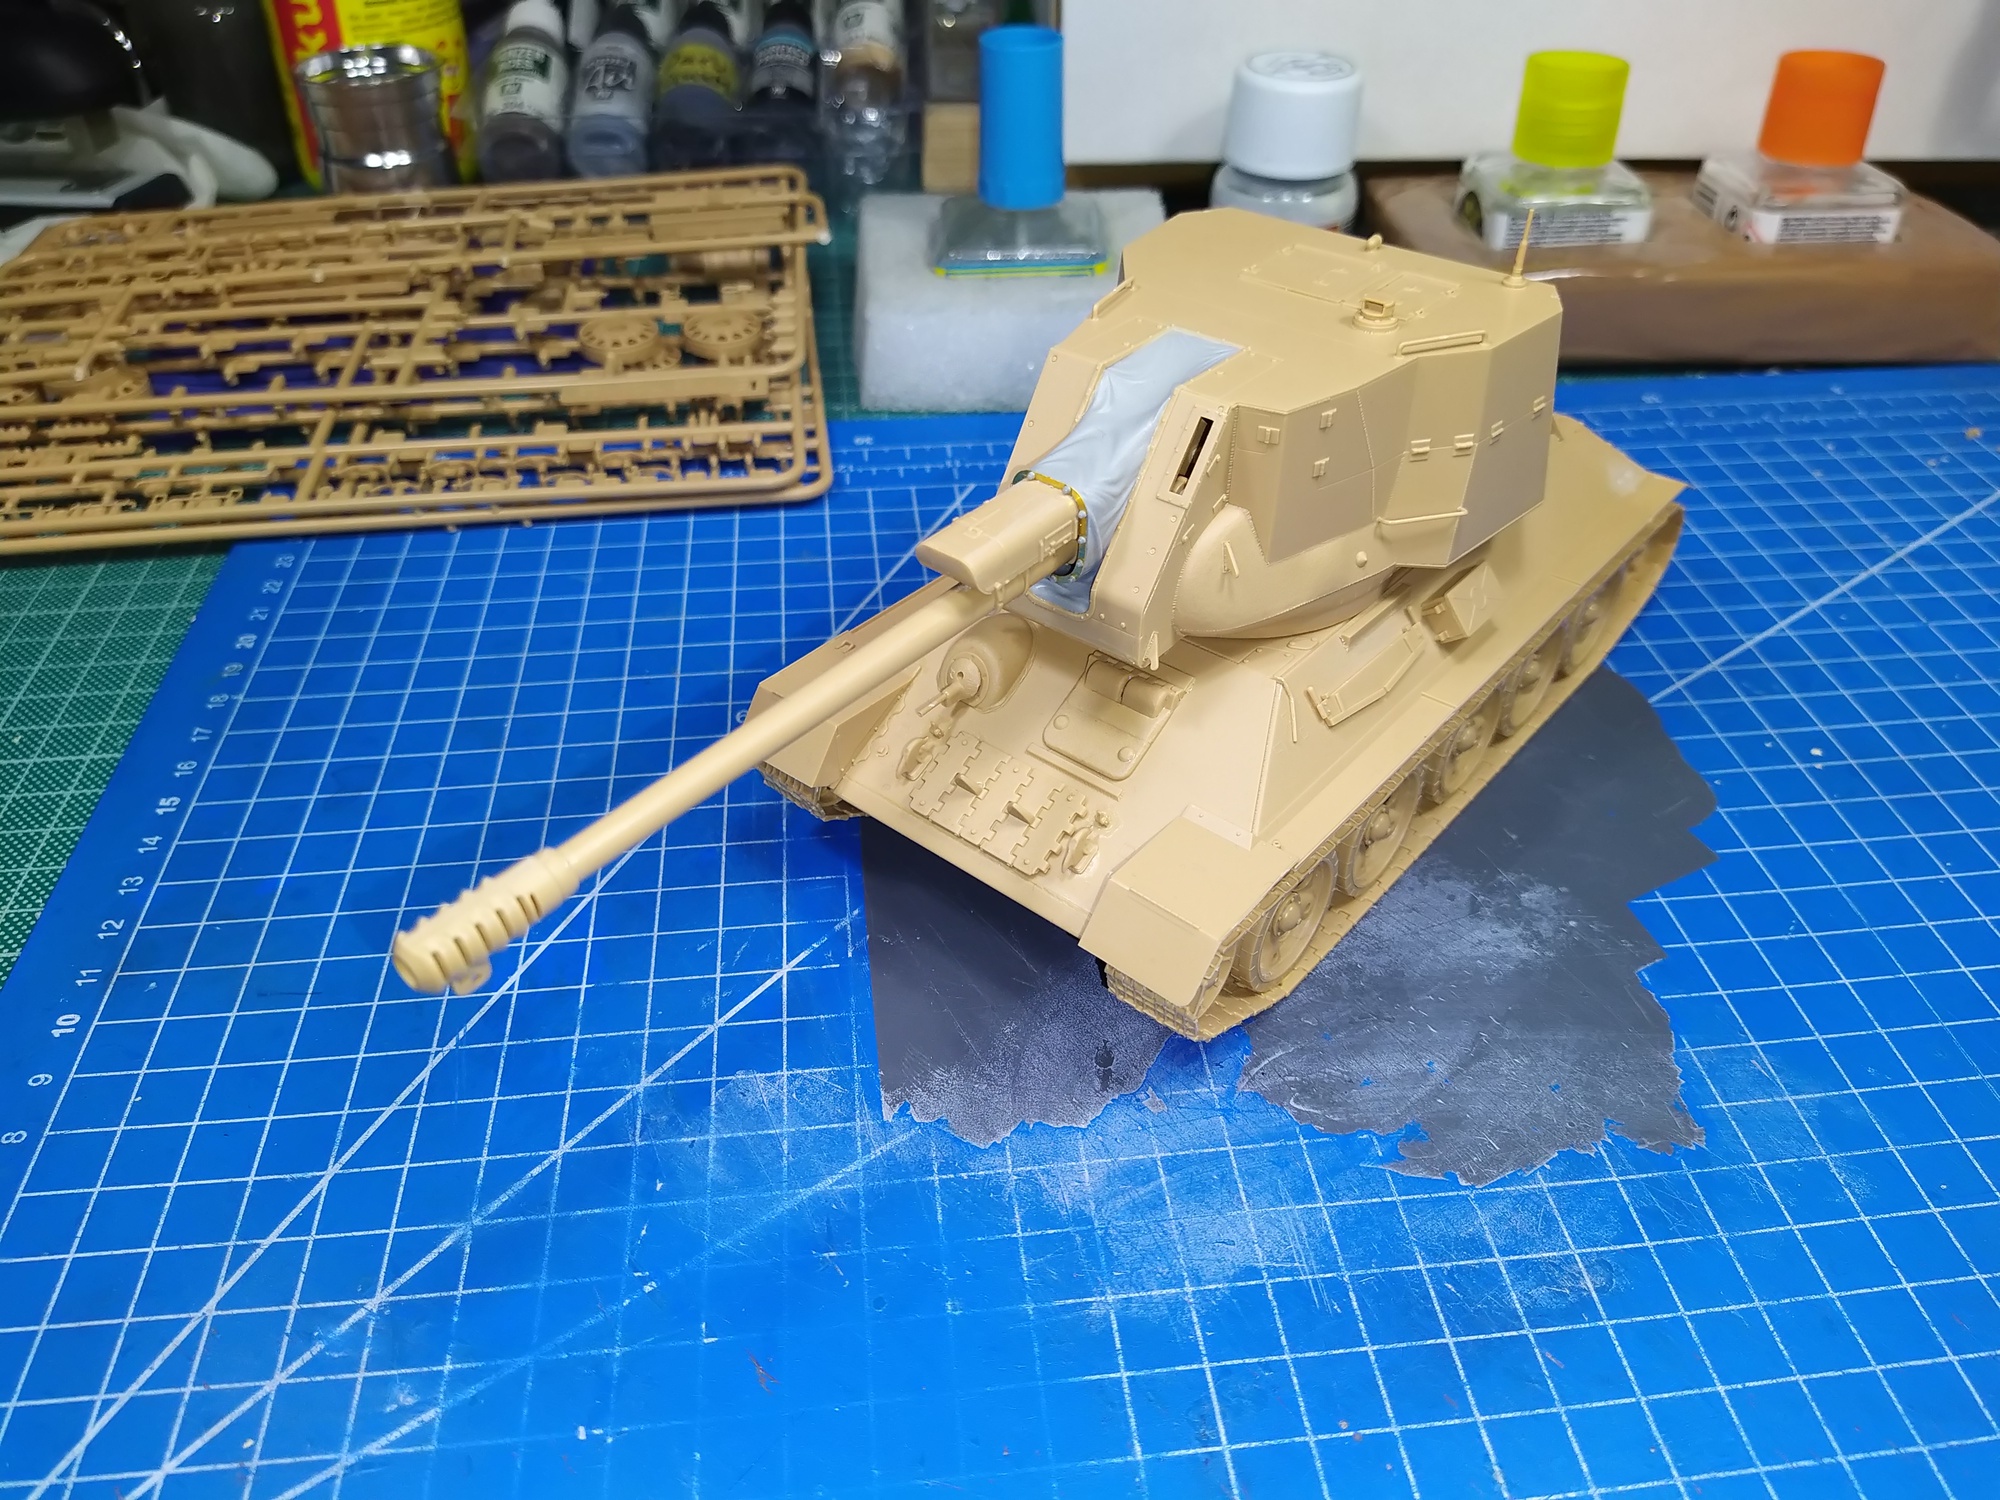
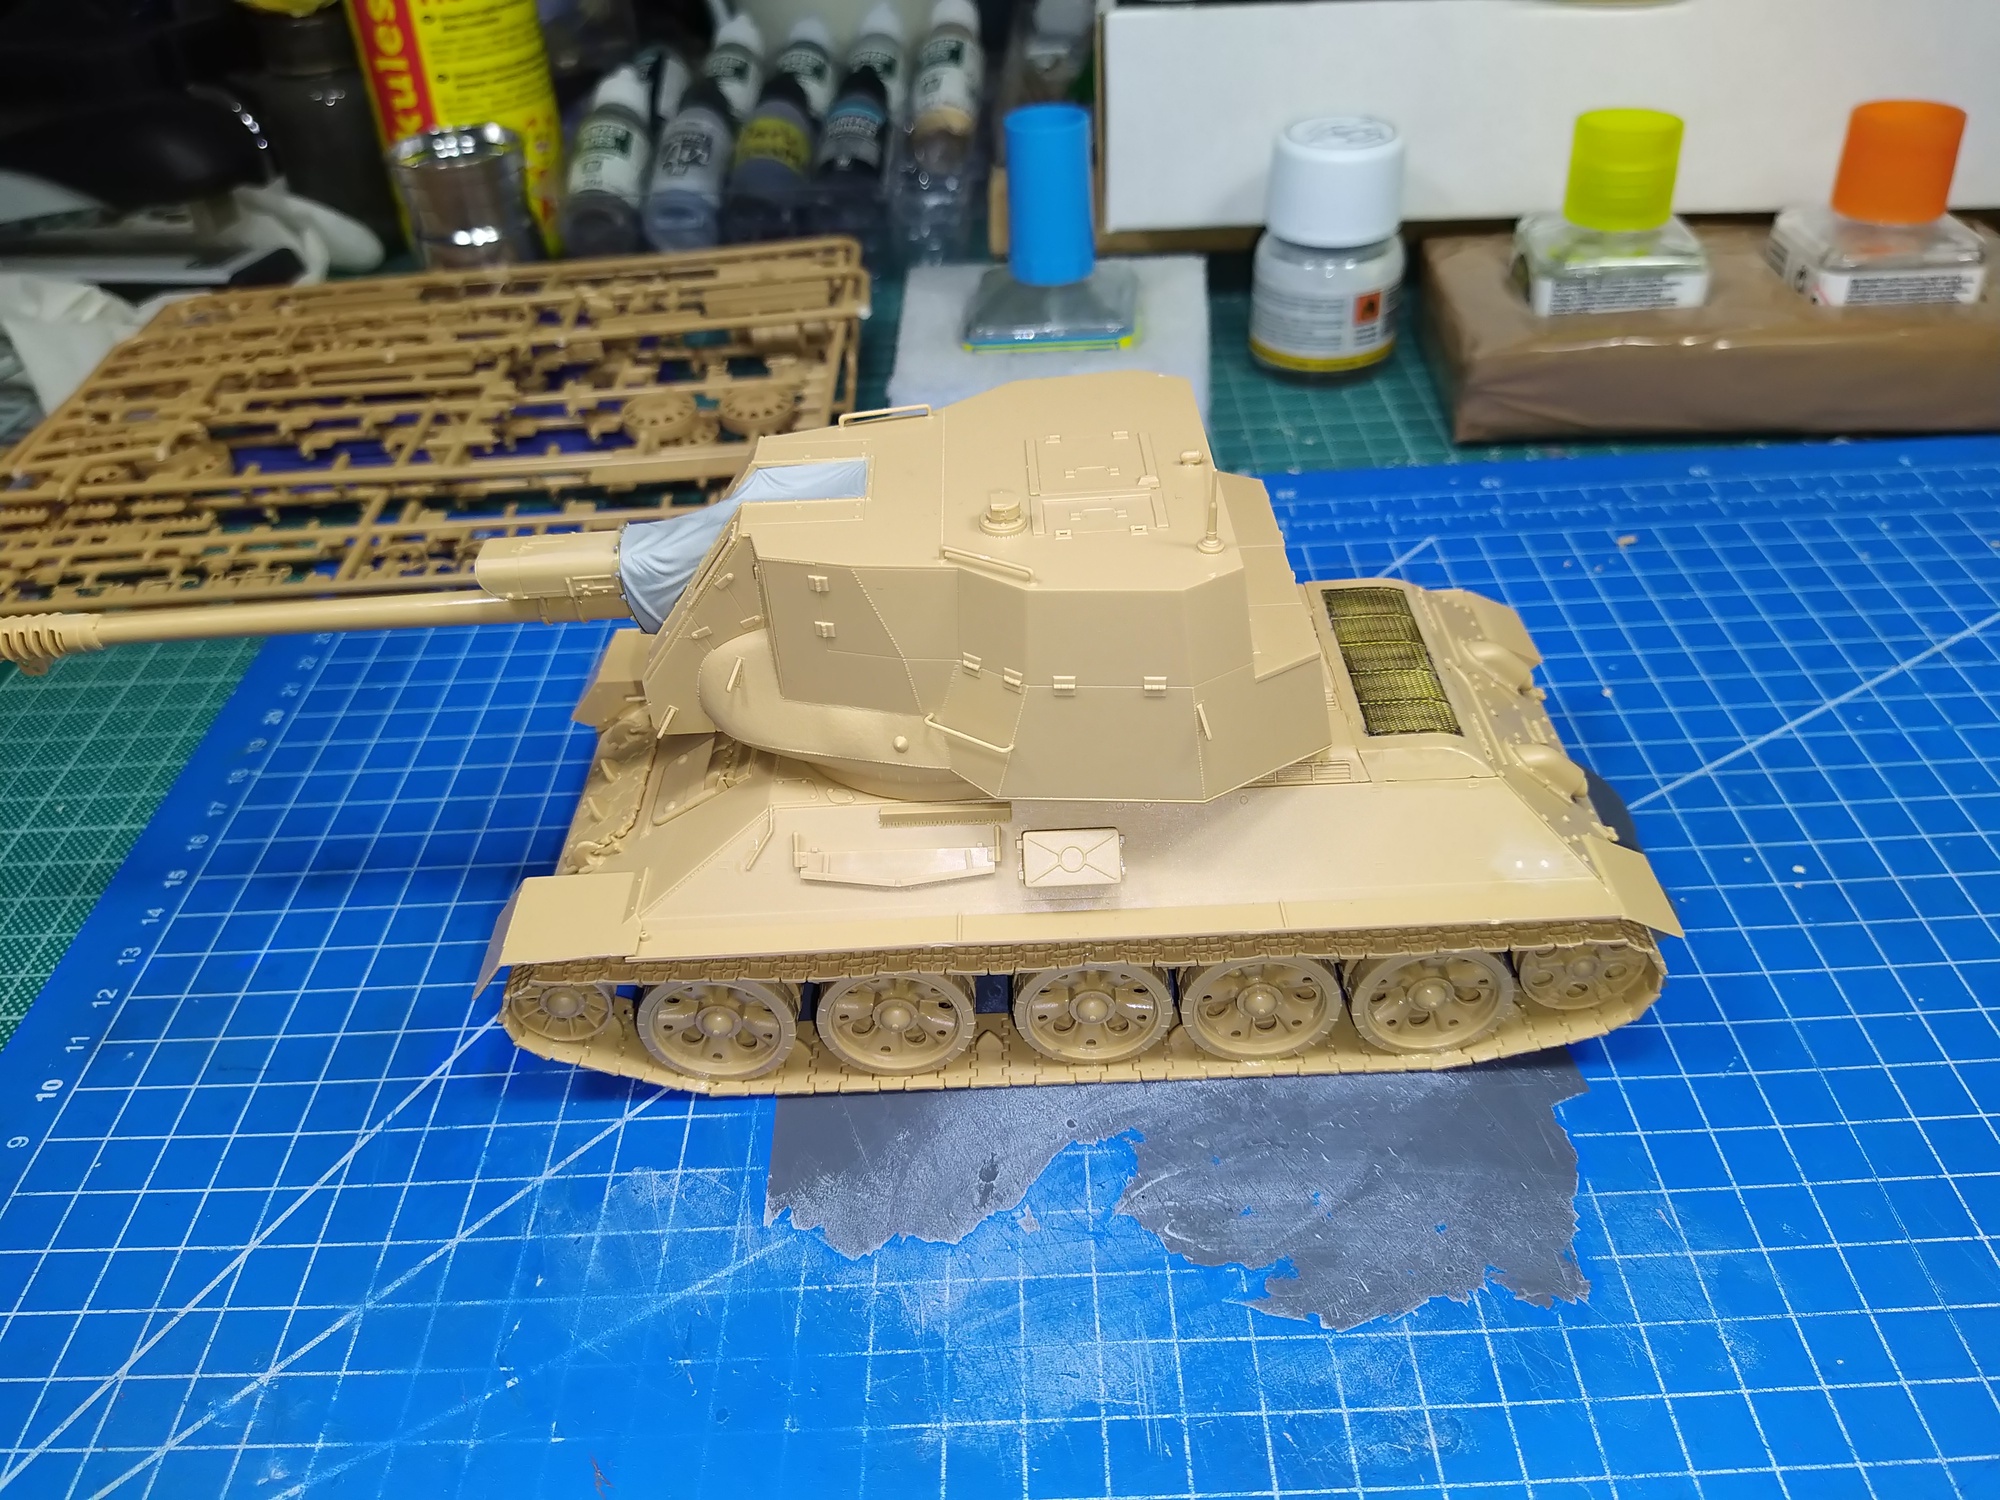
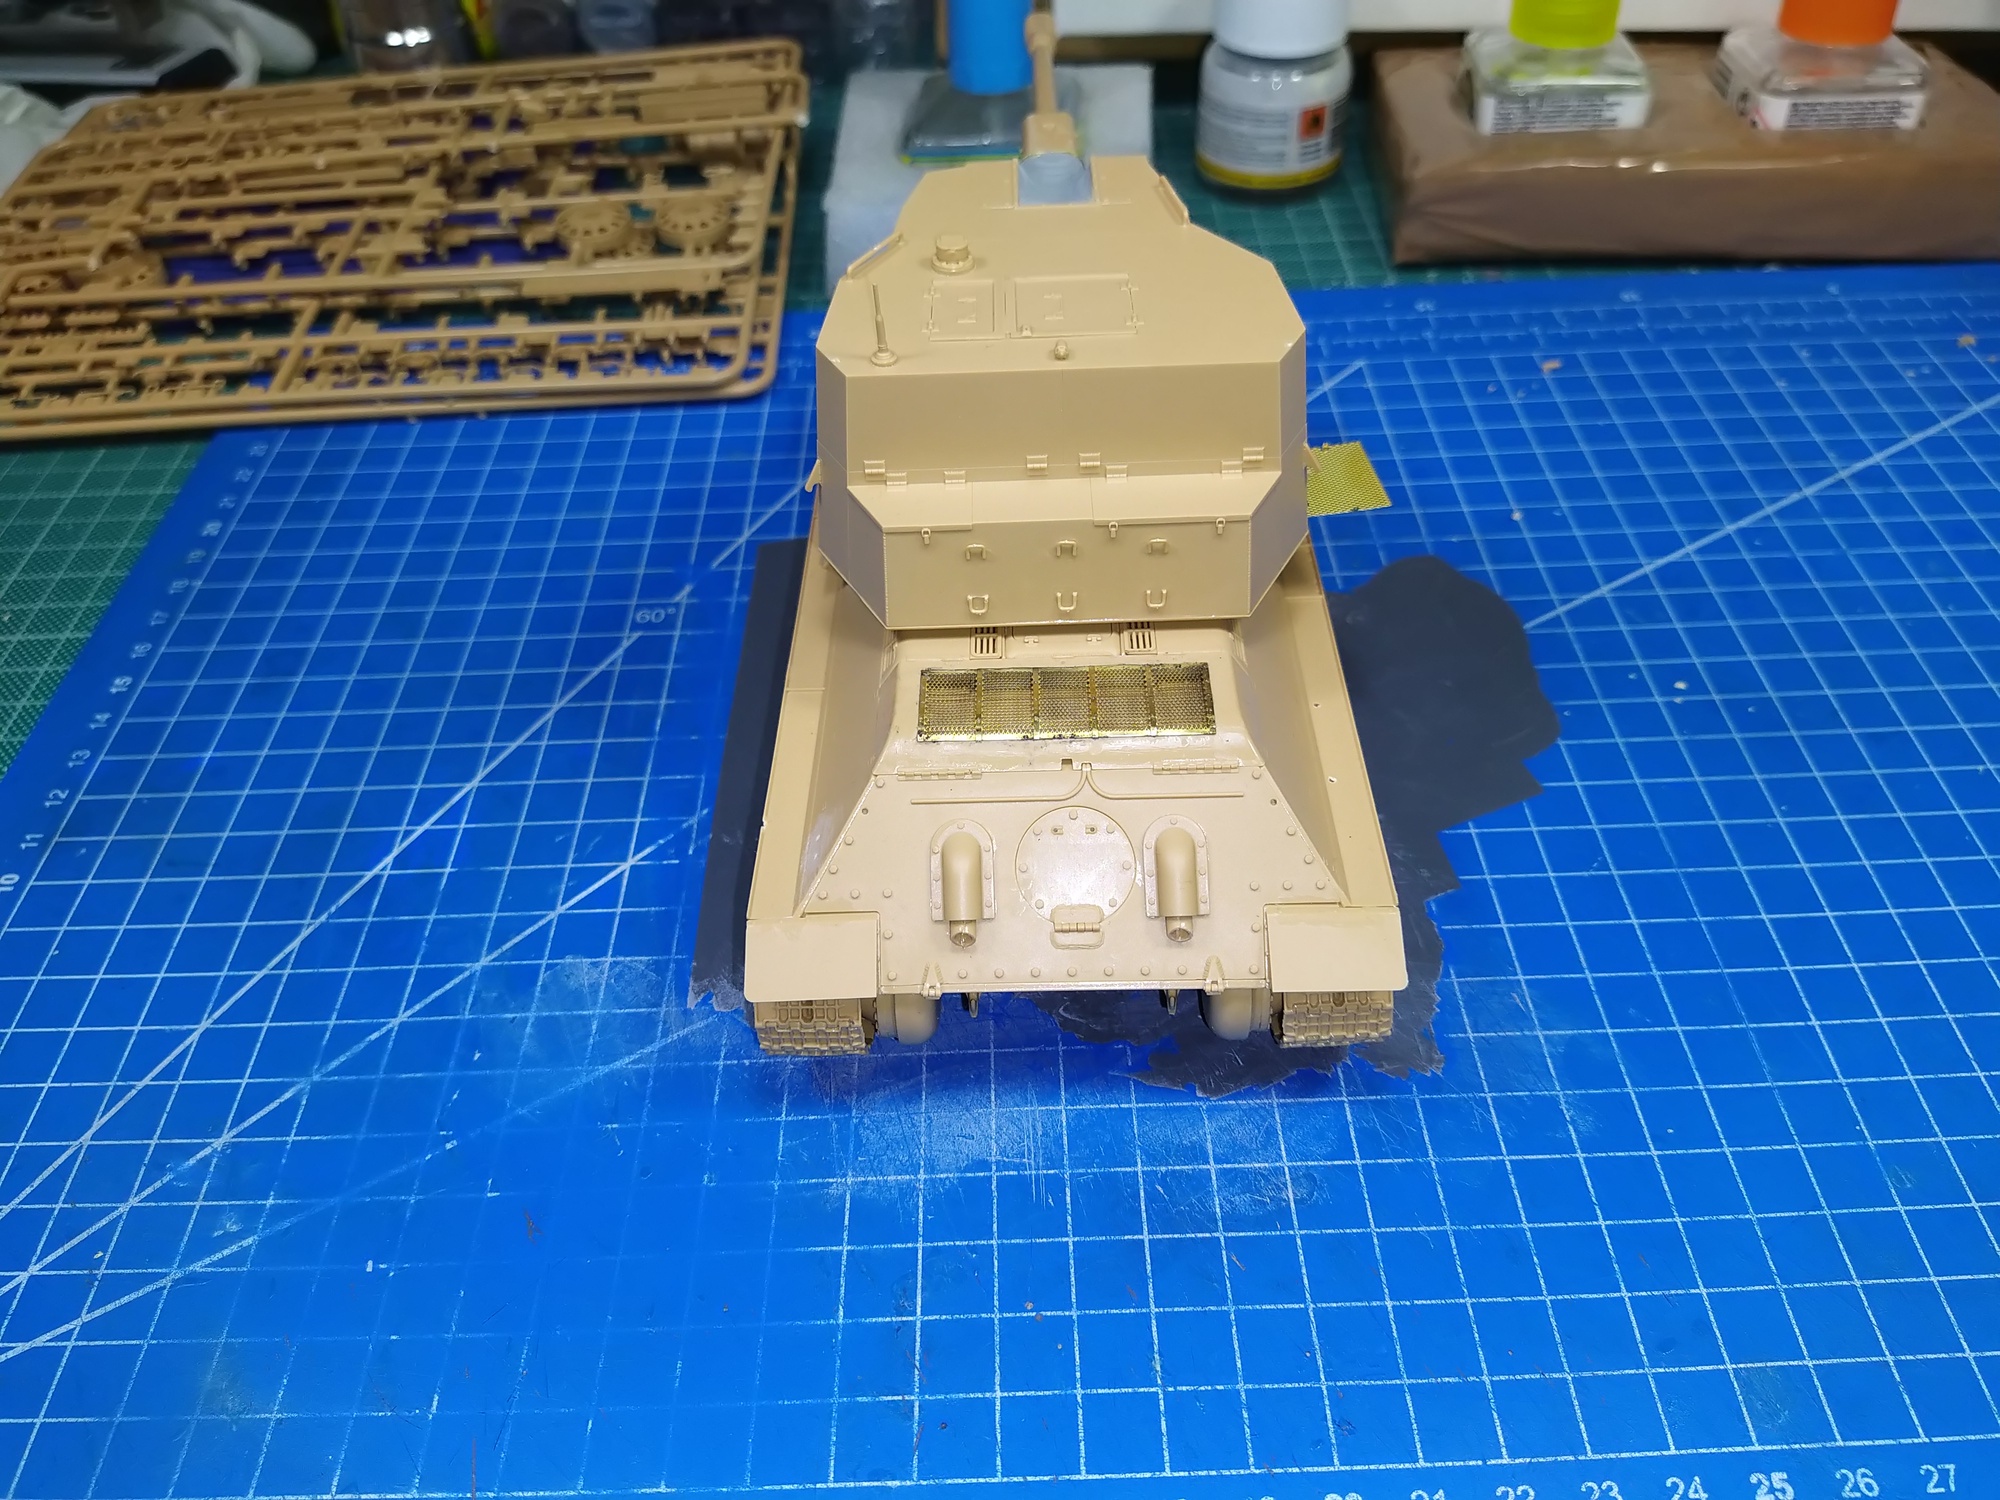
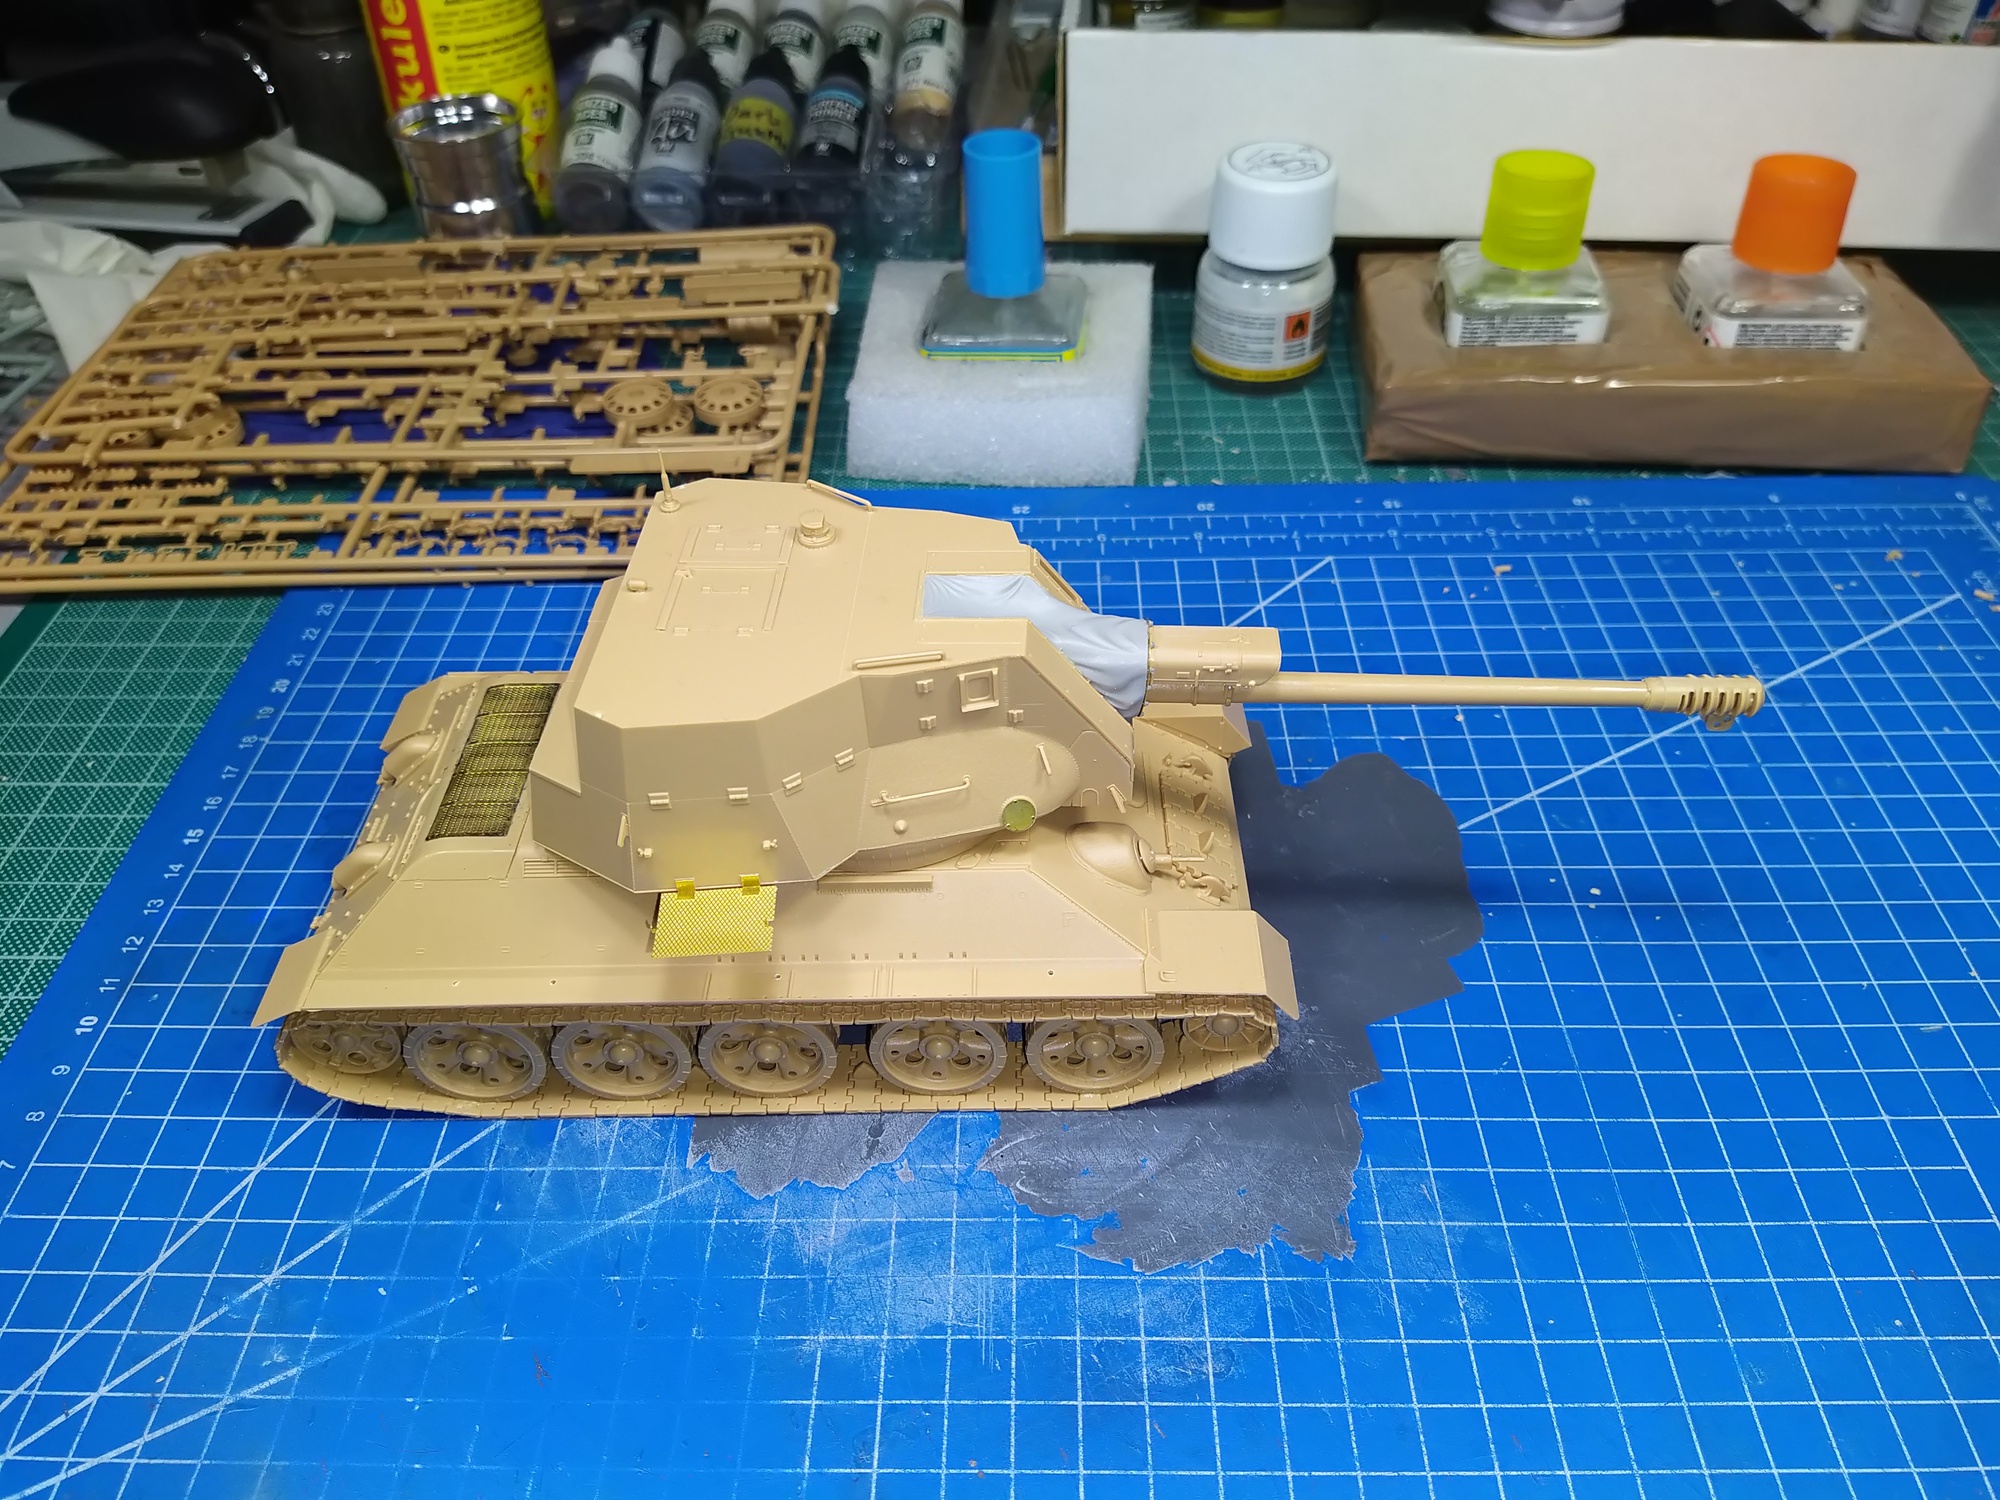
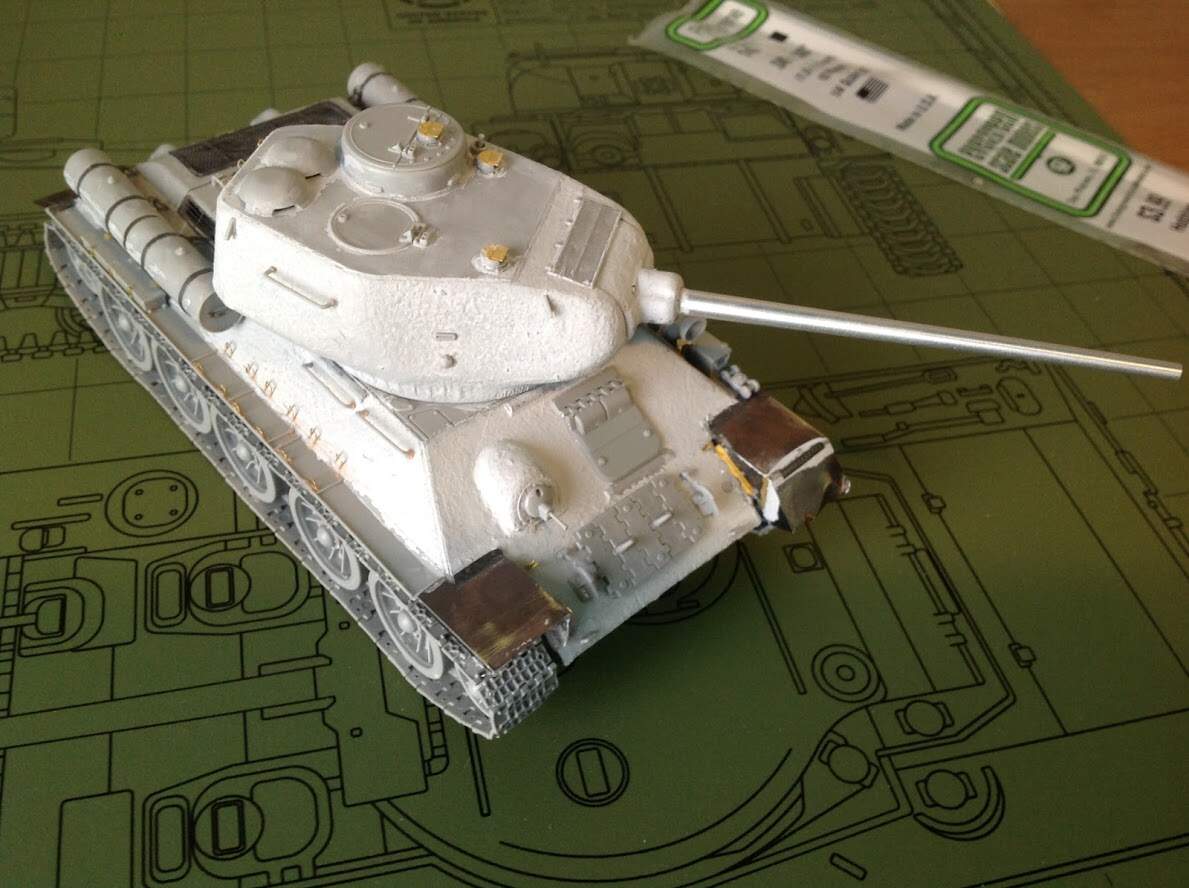
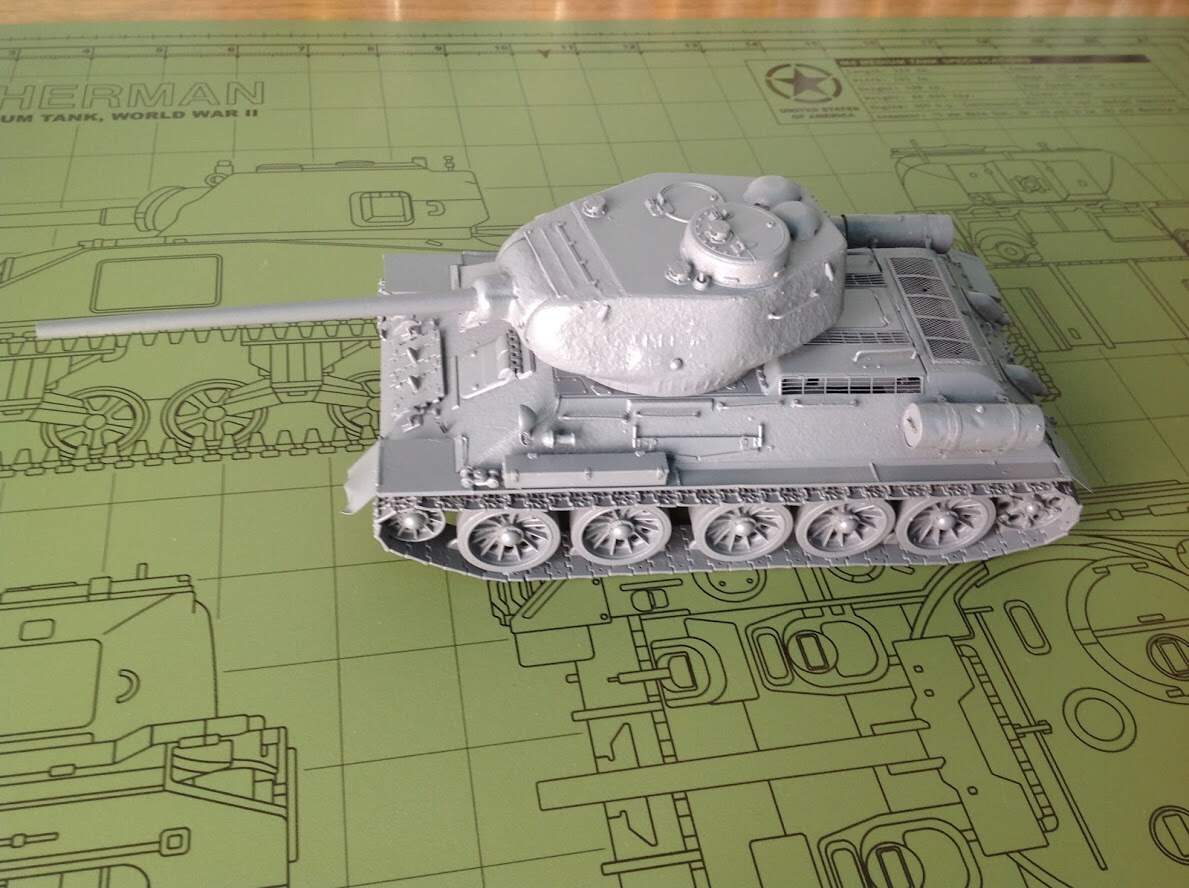
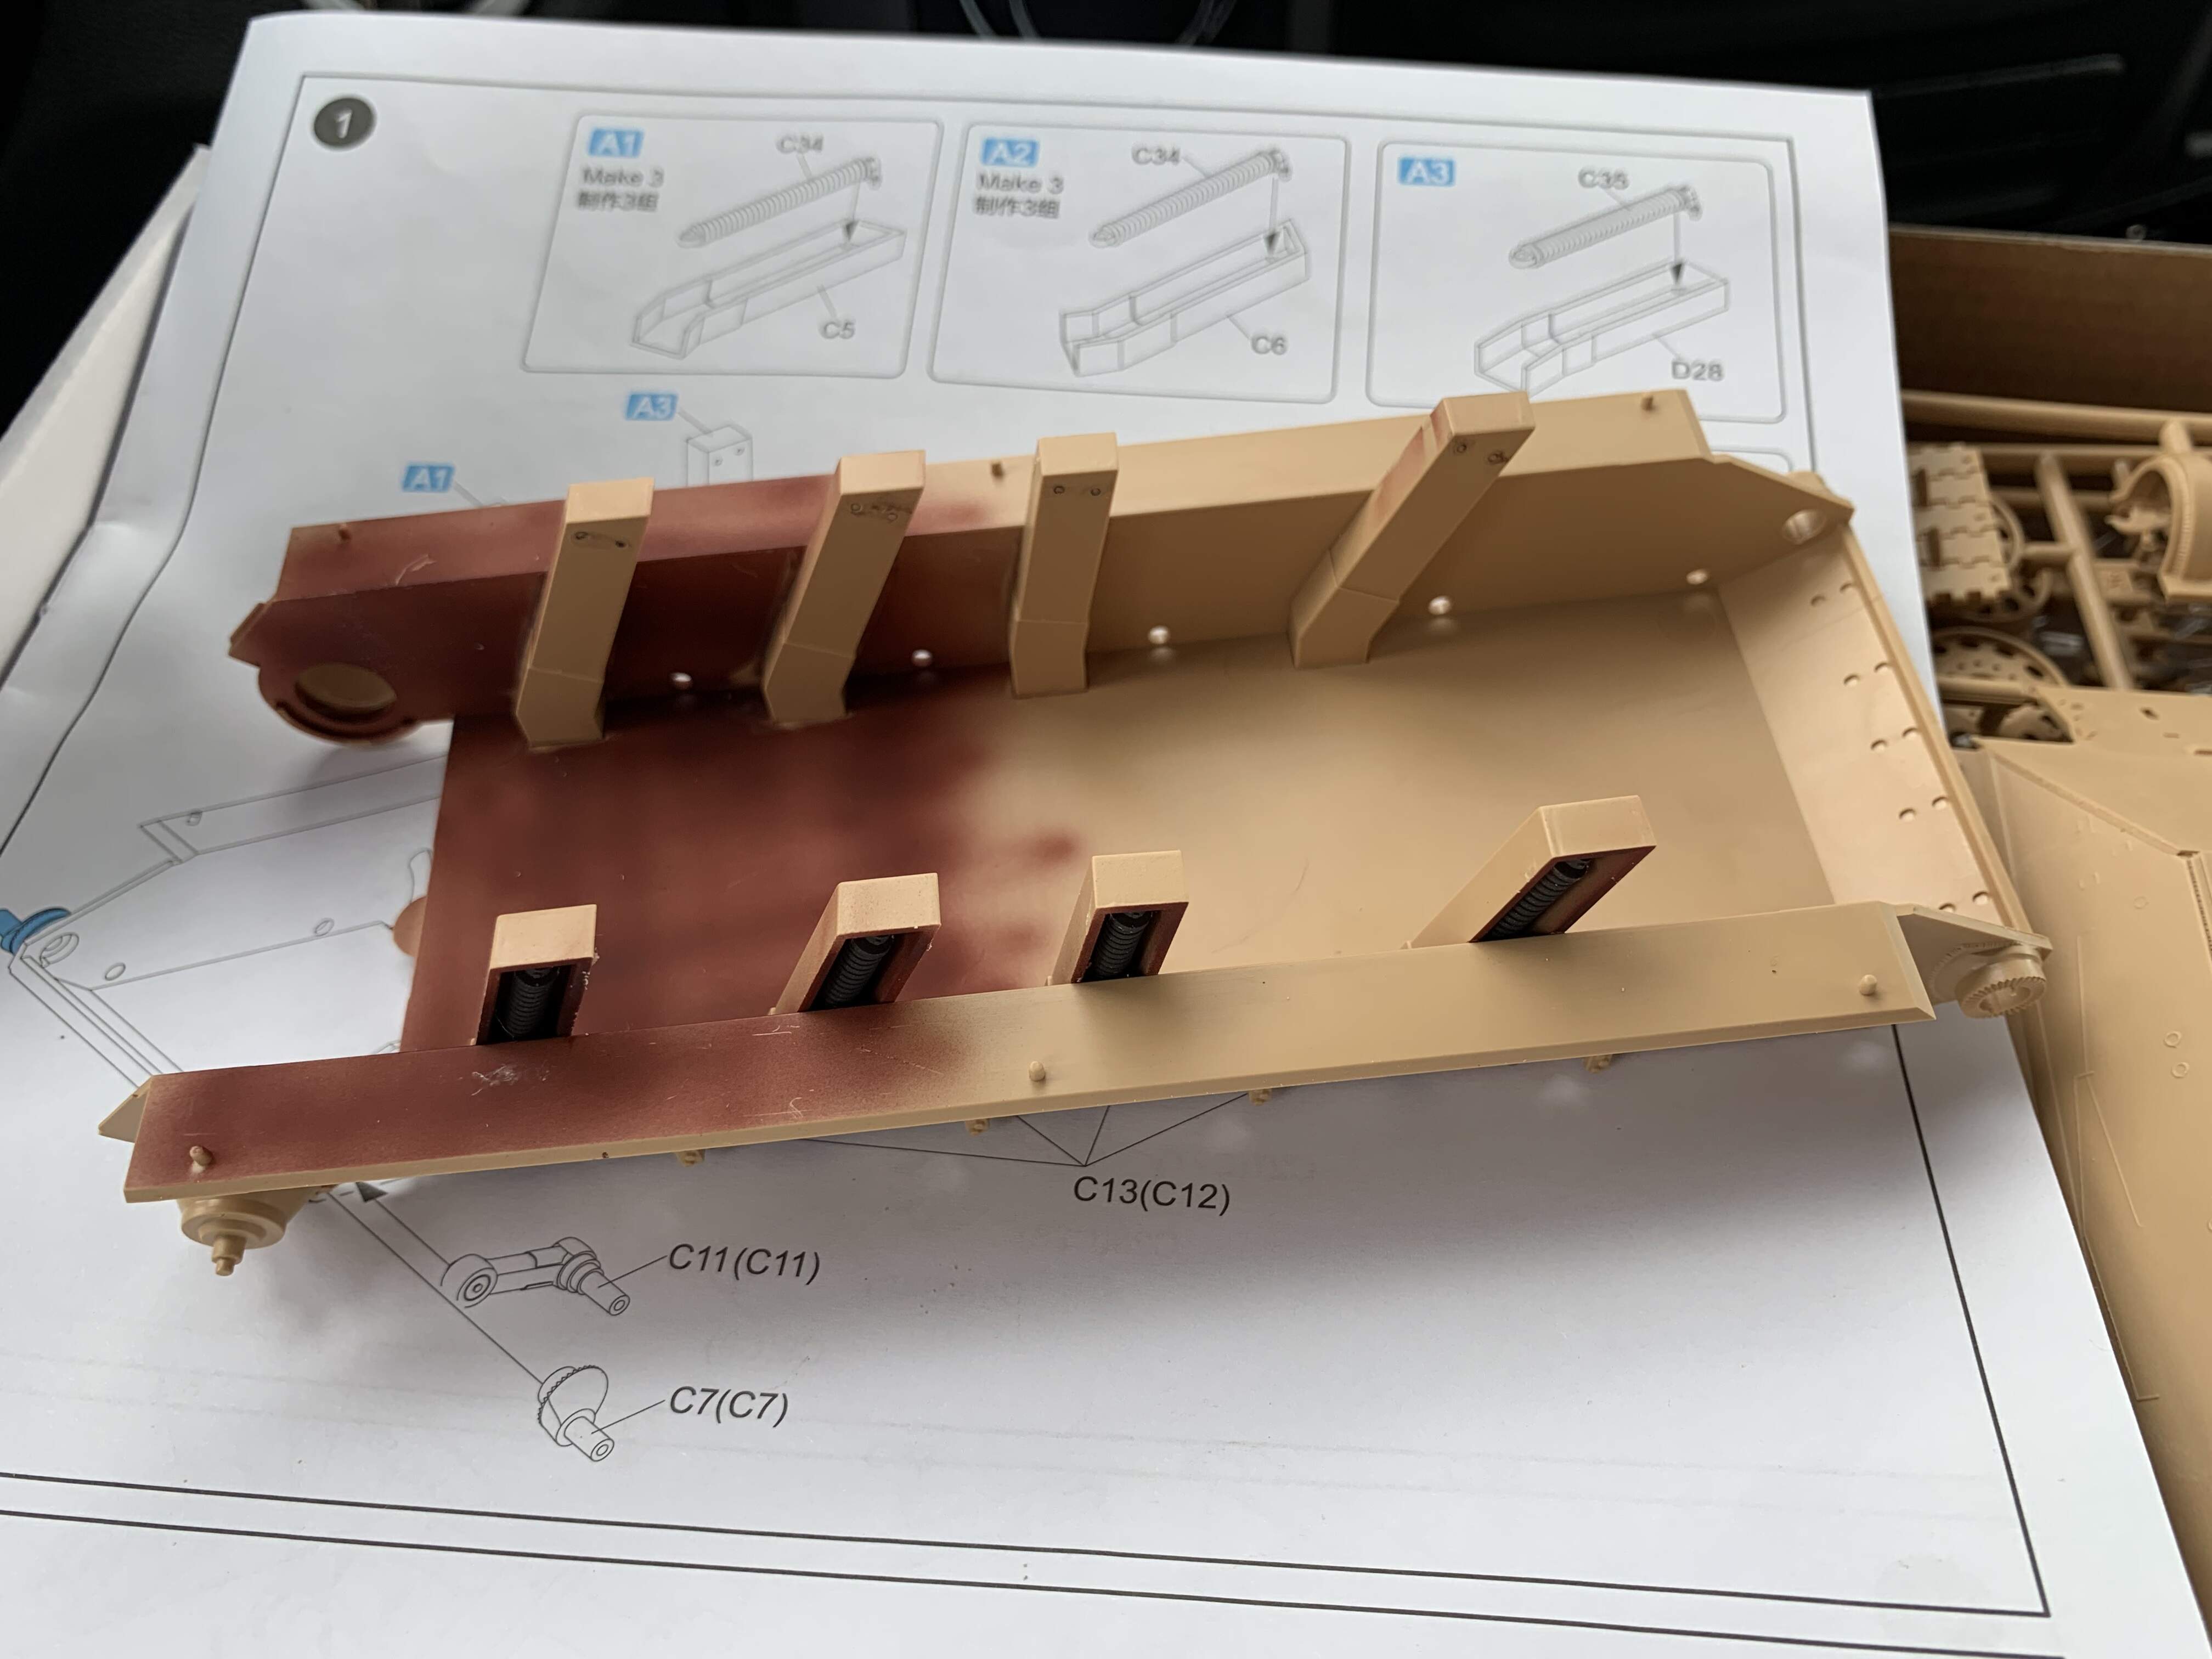
My progress for today. More details added to the dragon kit, the academy kit is still missing all the detailing and additions to make it a more accurate Egyptian vehicle and the RFM kit still needs a lot of work.
Some helpful info for any of us building a Soviet T-34/85.

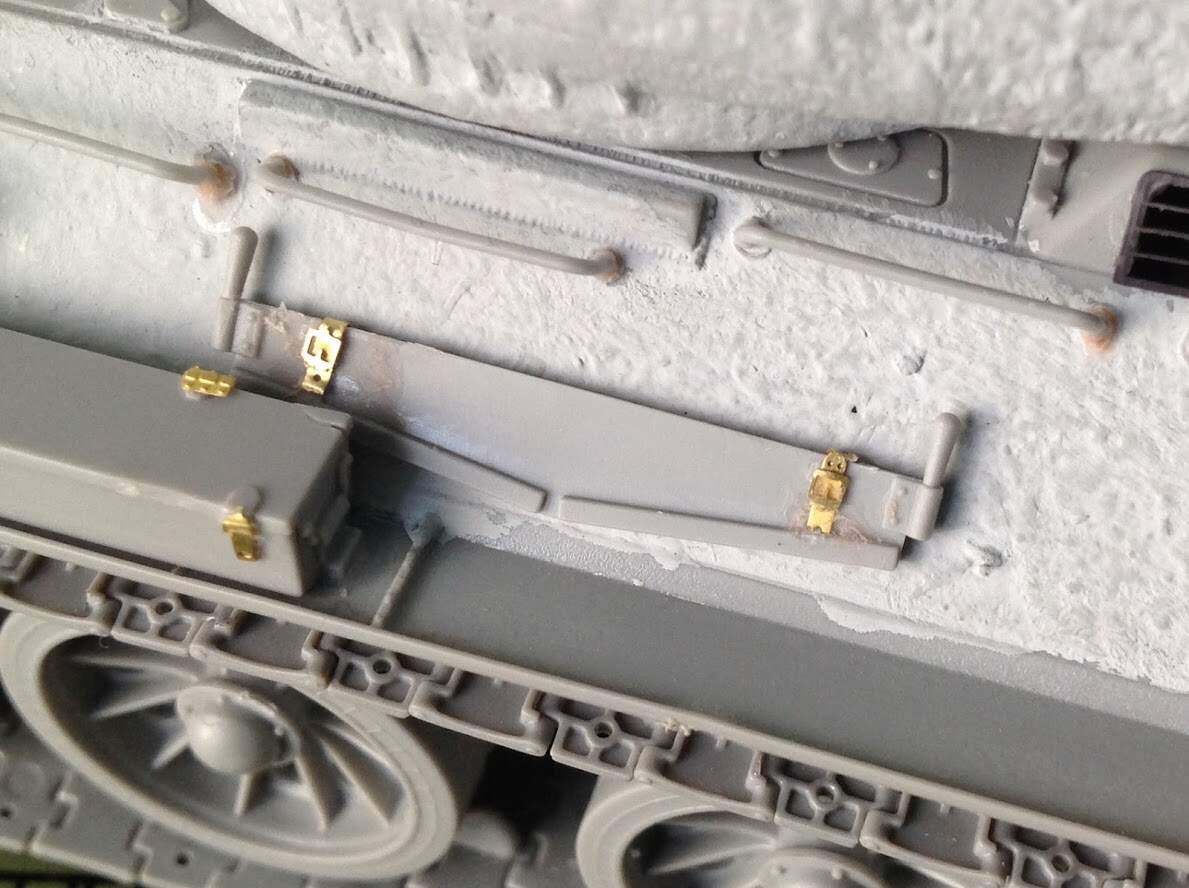
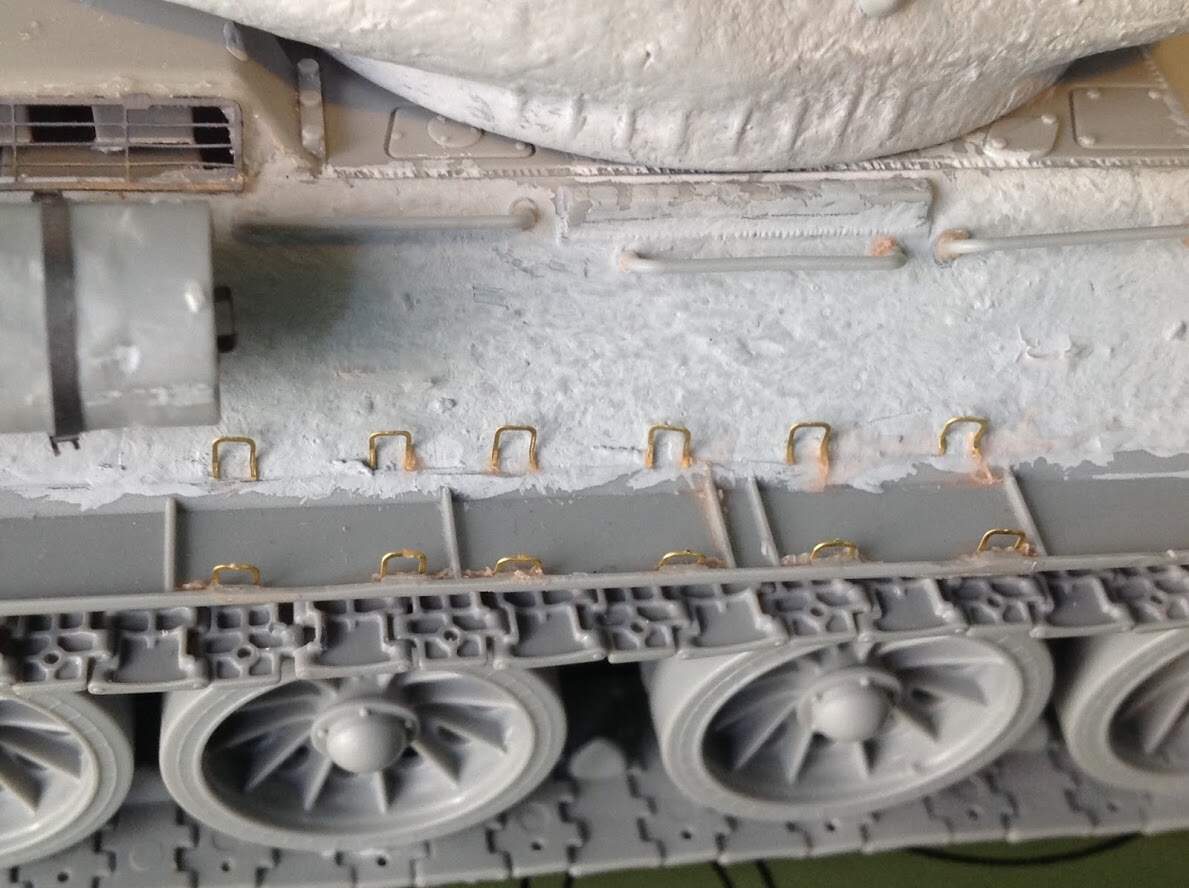
Edit: Small update on my T-34, I was really happy with how it was coming along till I watched this video because it turns out I built and spent 2 hours installing the fuel drums wrong… and when I tried to remove them the all PE mounts broke apart… luckily I have the Eduard PE set which comes with the mounts so I will try to re do them.
Part 2

Him getting out of T-34 is how I feel it looks like when I get out a M1 drivers hole. The task is accomplished but it doesn’t look pretty and I too would prefer getting out the turret for either tank.
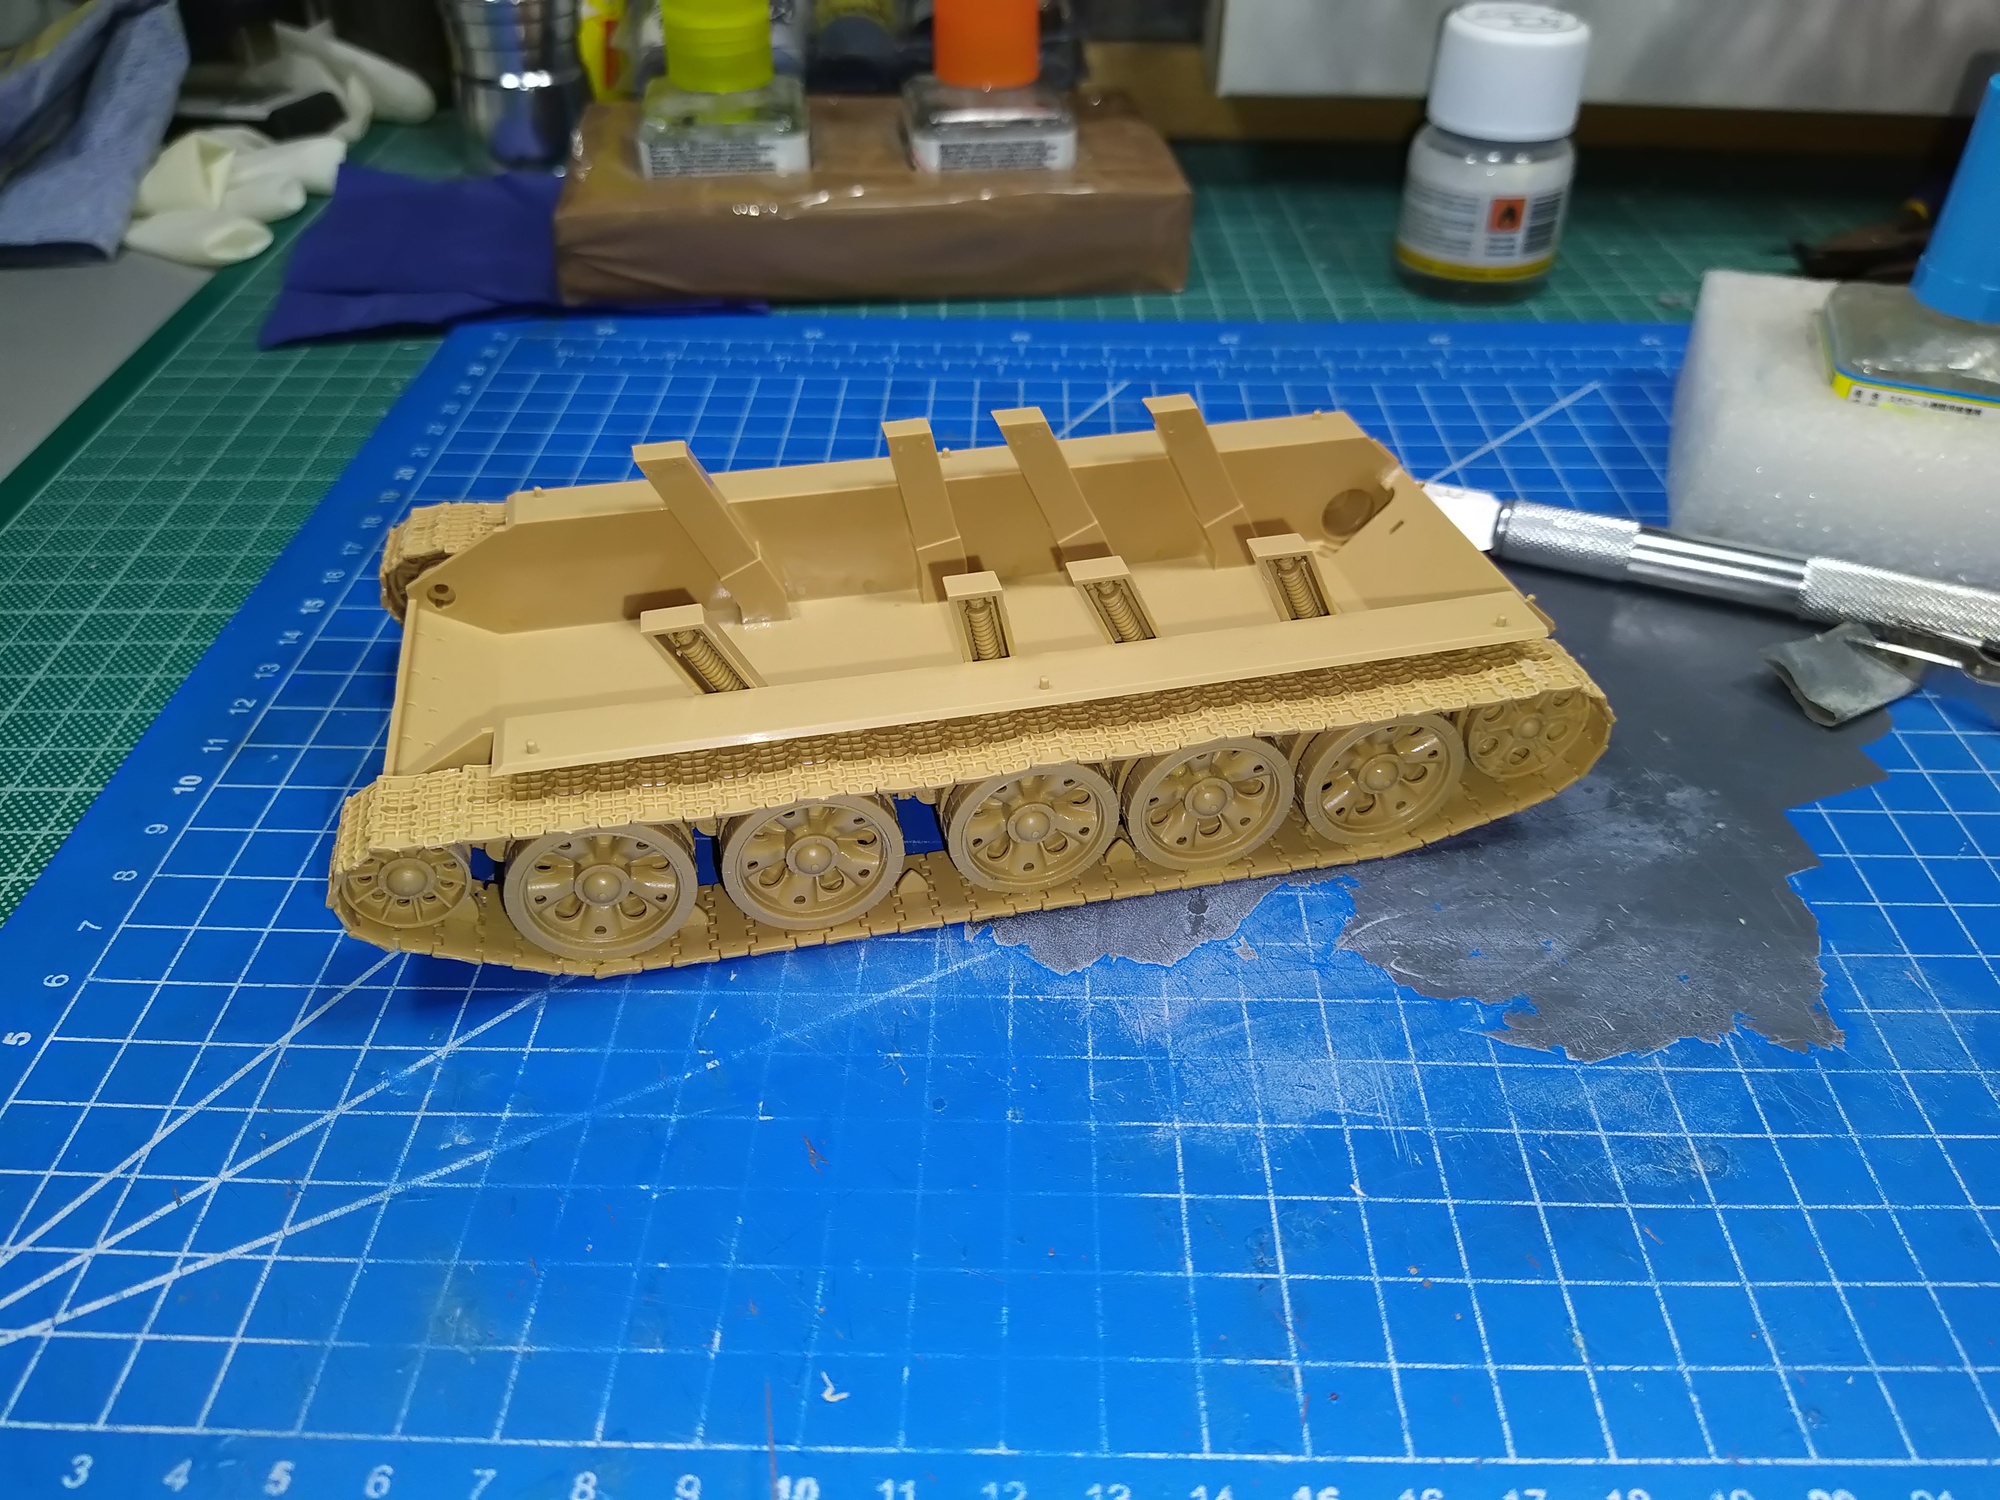
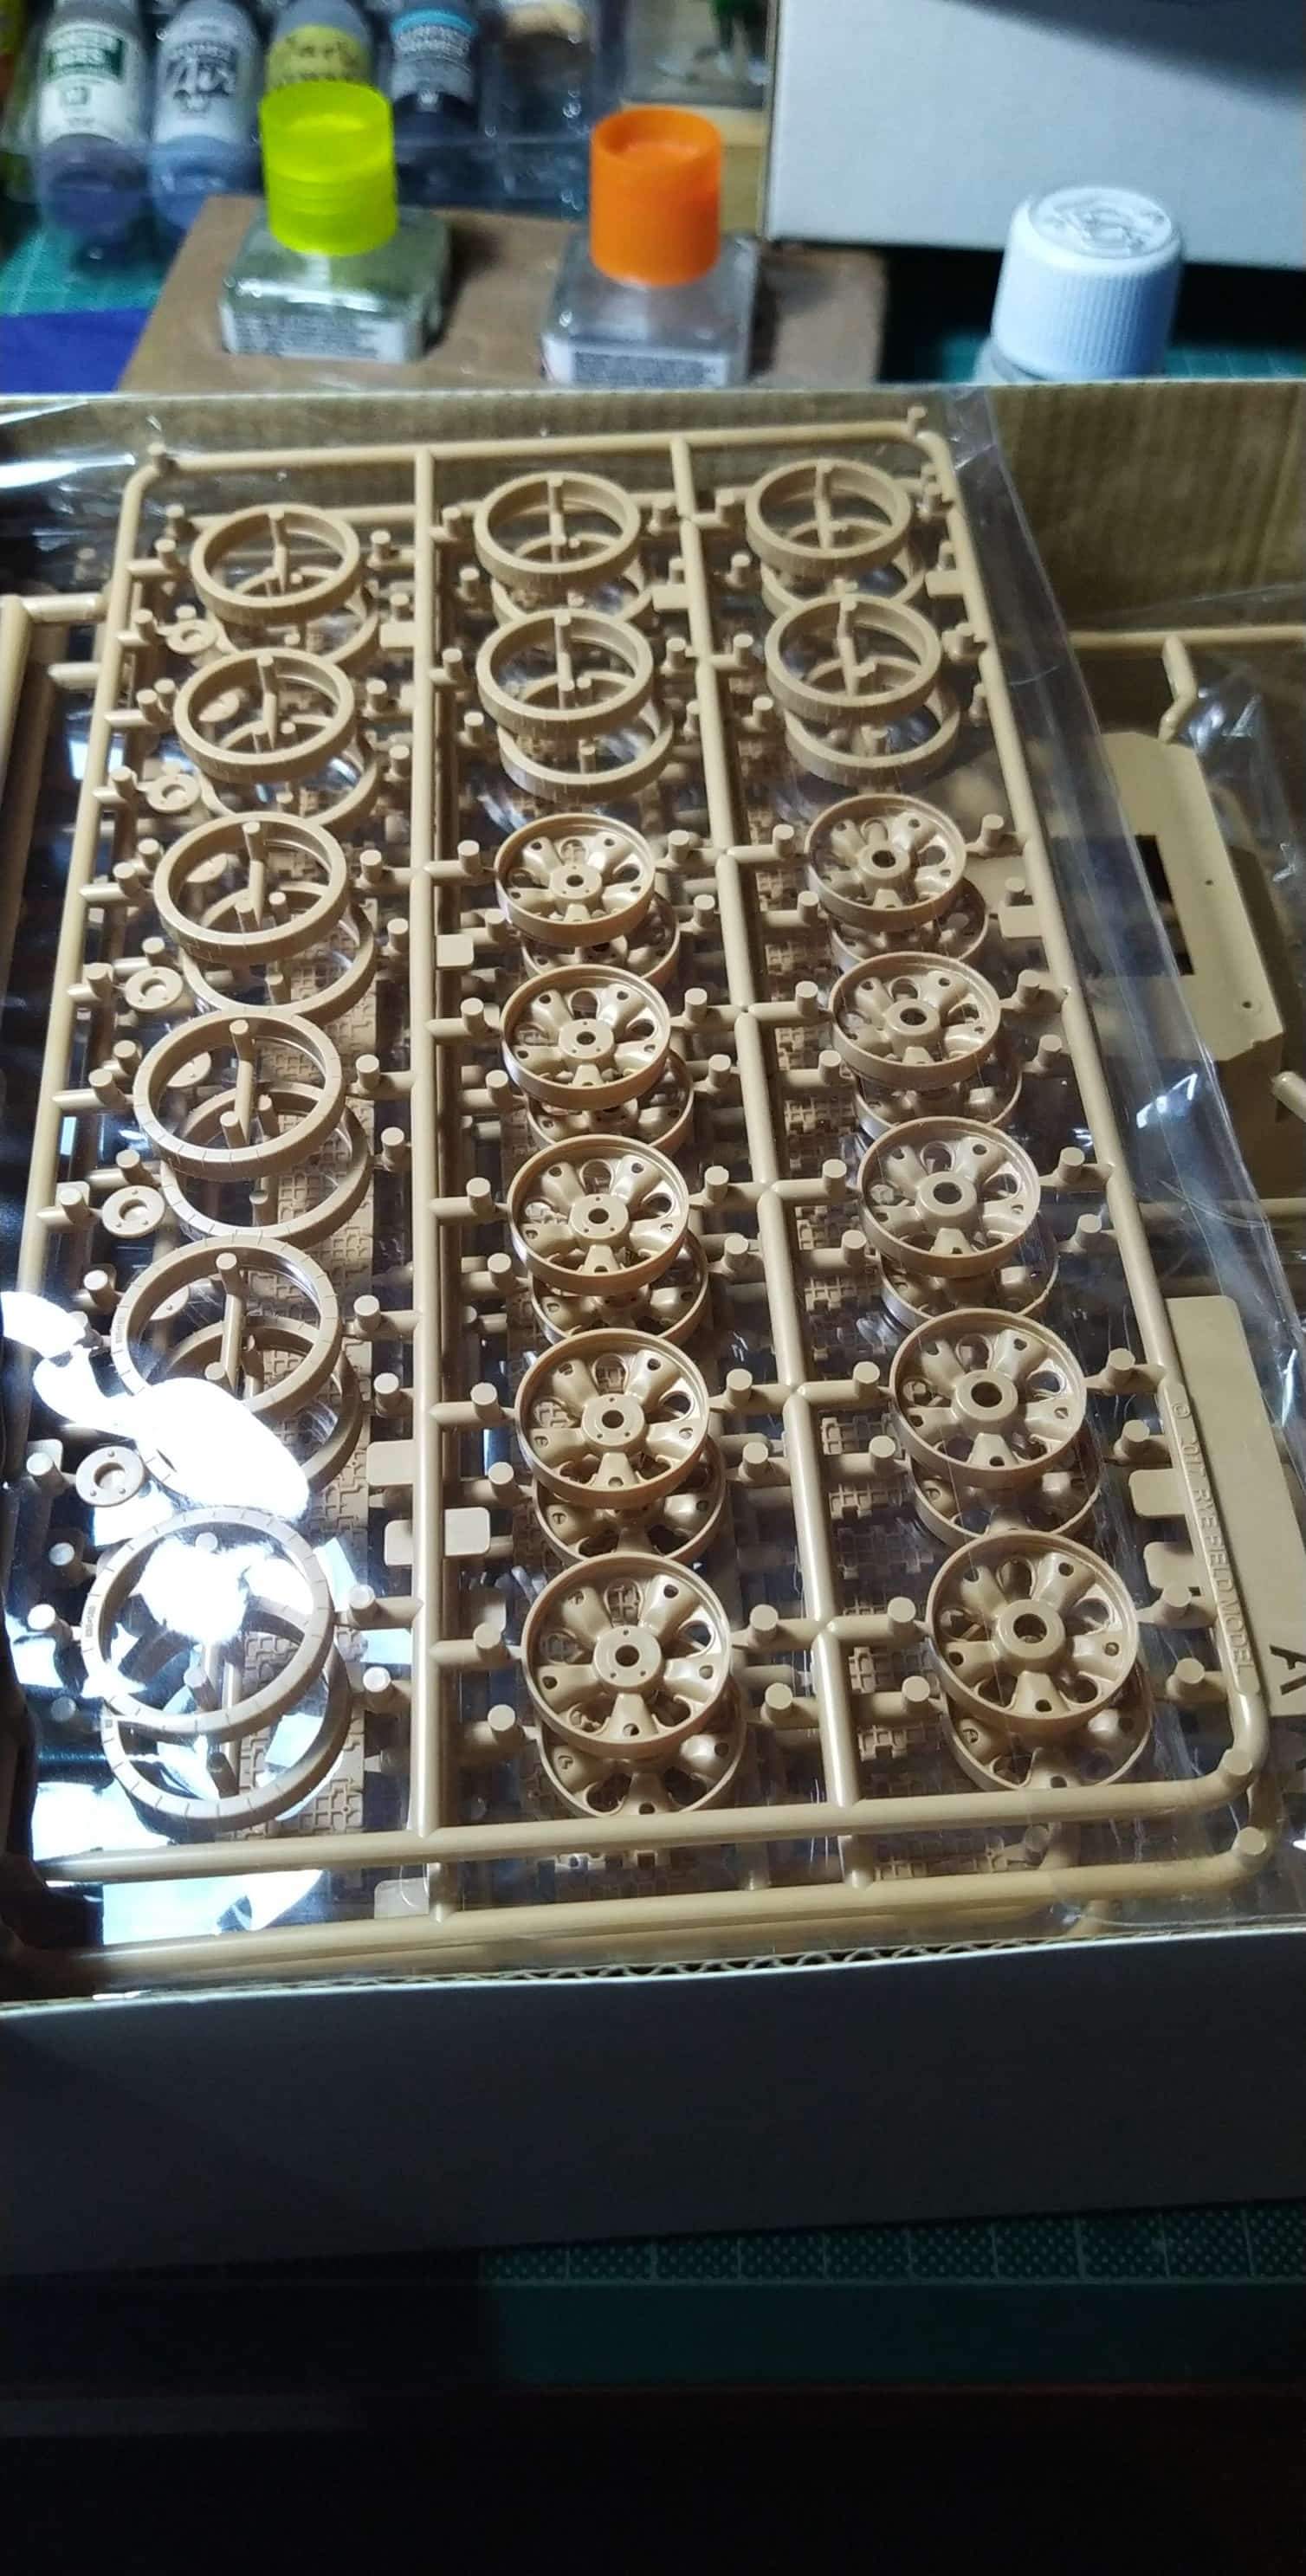
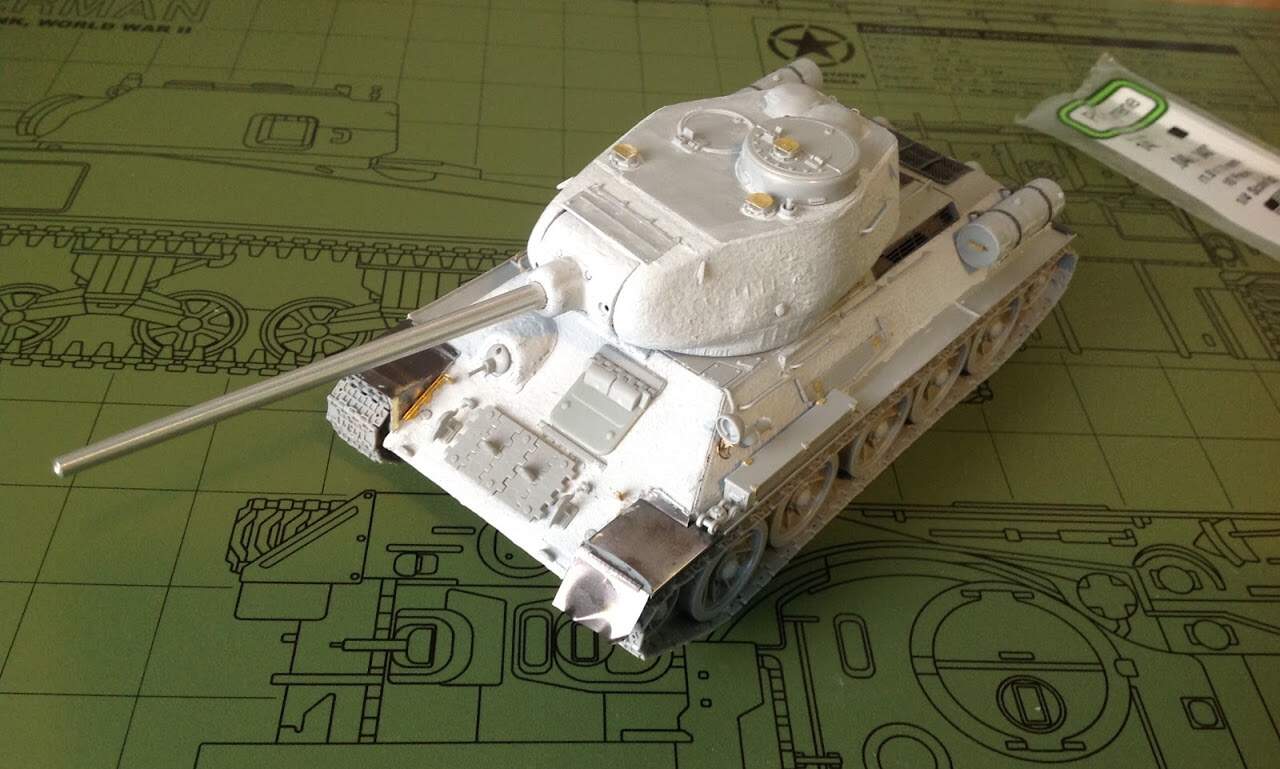
Did some work on the RFM kit. Very nice engineering and fit and well researched kit.
As I mentioned previously there are two surviving vehicles. One with starfish wheels and one with dish and spider wheels. The later has been modified a bit whilst the one with the starfish wheels is more or less in the condition it was found.
RFM provides the necessary parts to build both vehicles. Take in mind that both hulls are soviet made vehicles so in step 5 page 6 of the instructions DO NOT drill the two holes shown on the top right of the page, at the rear left of the upper hull.
For the starfish wheel variant:
In step 7 page 7 use parts D19, D20 for the fenders and DO NOT use parts D36,D42.
Instead of part D40 use part D41 for the horn/siren.
In step 9 page 8 use parts C19 (soviet exhaust caps).
In step 12 page 10 install the tool box
In step 13 pagee 11 install the box for the fuel pump (upper page option).
Some omitions from RFM:\
Work on detailing all three of my T34s continues and I have an AFV Club kit smiling at me in the back of the stash… 


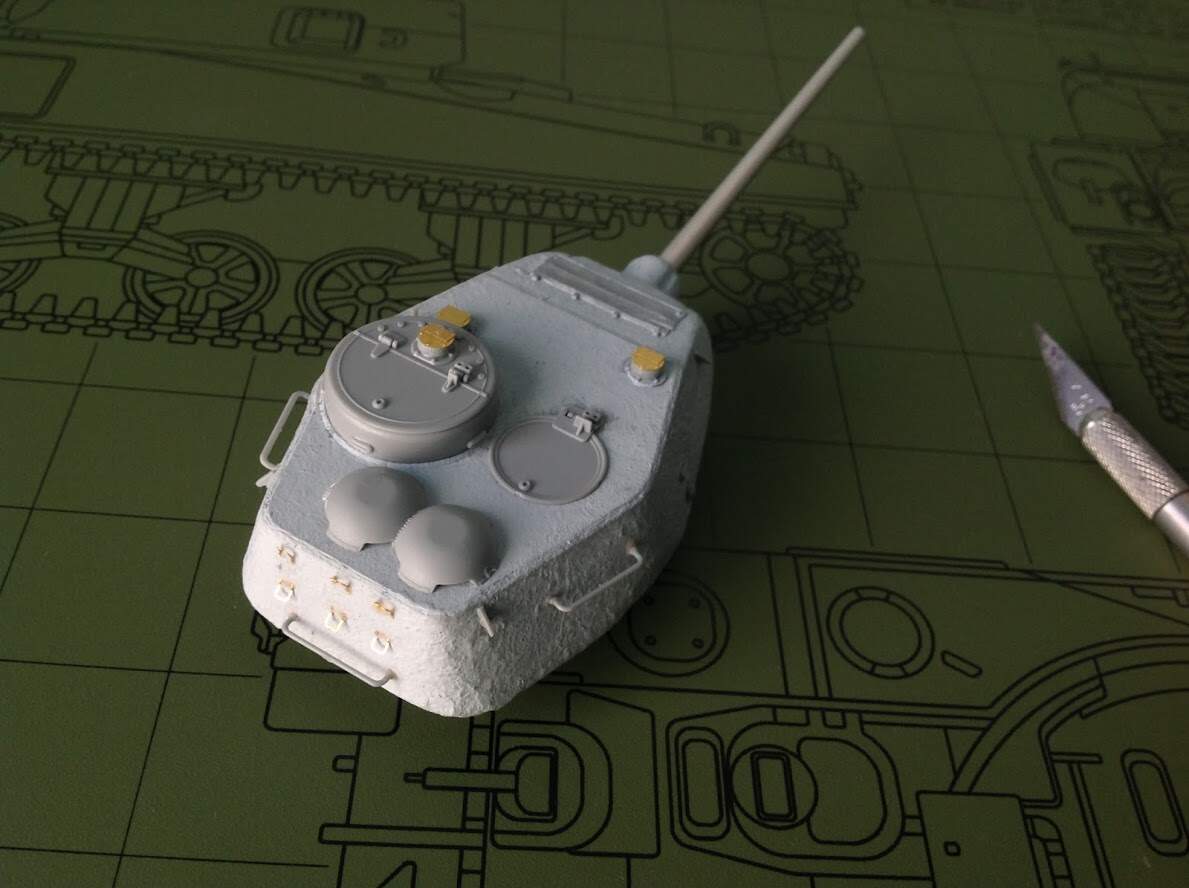
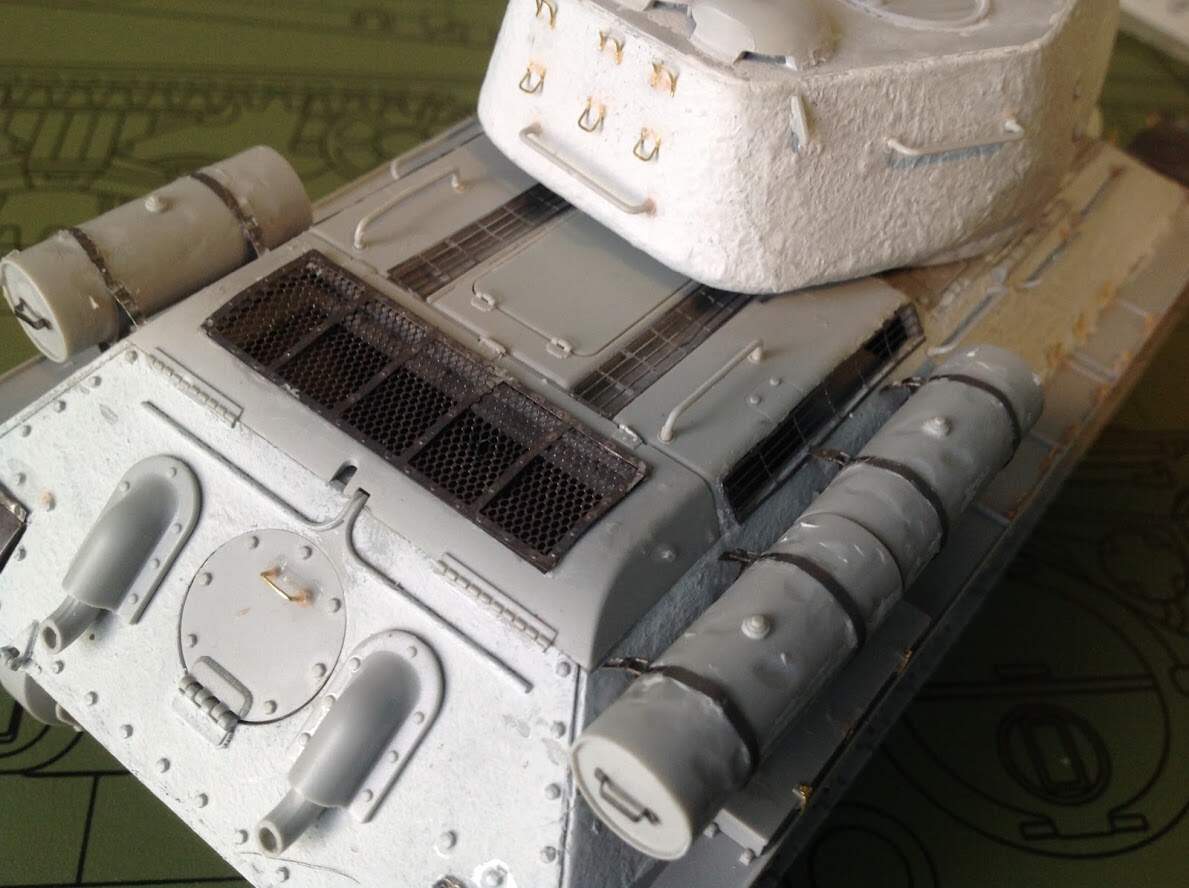
Nice work on the turret. Careful with the cast textures, the roofs were usually rolled steel plates and not cast pieces on most soviet tanks of wwii. 
Ooh ok thanks for the info, Ill try to remove it with some 91% IPA.
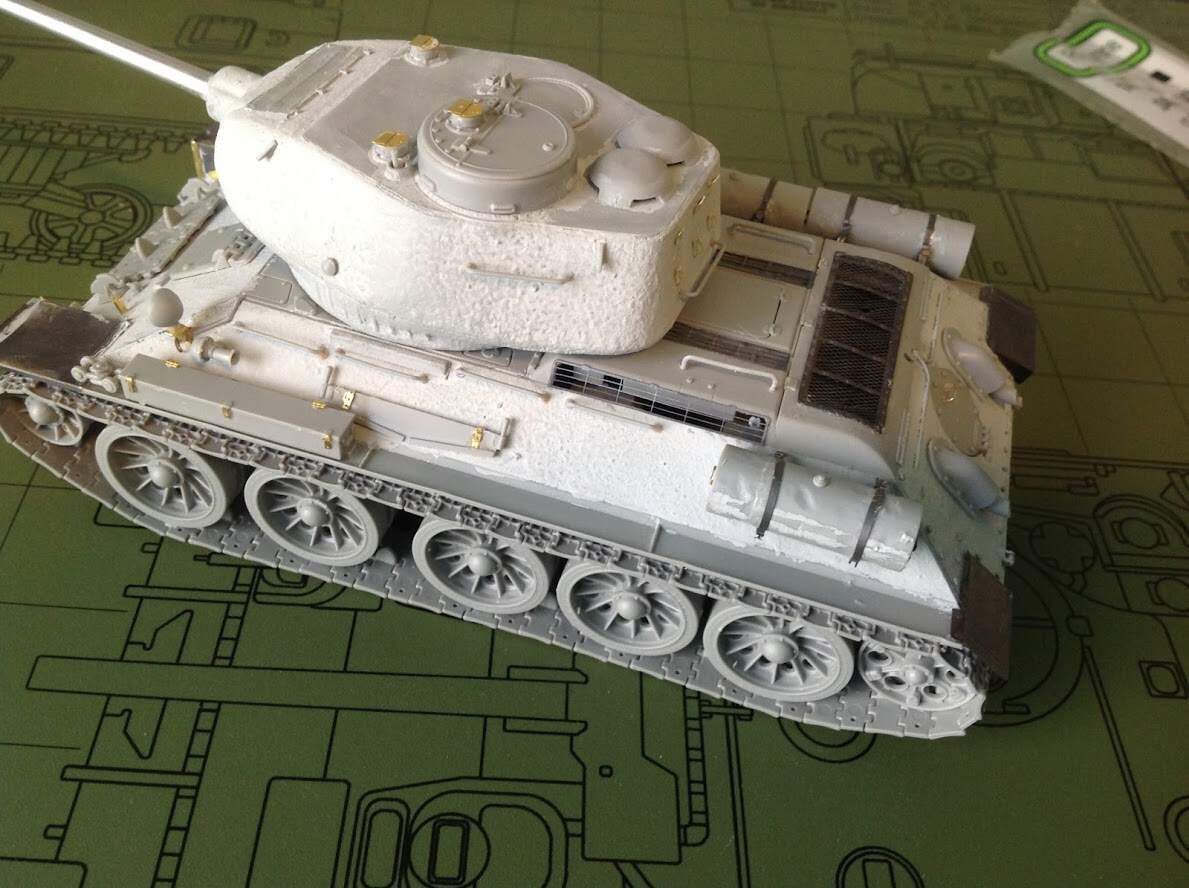
Here it is, Ive finished all the building, applied all the PE, replaced some handles with copper wire and while I had it out added the headlight wire also I removed the armor texture on the roof. I just noticed now that I have to add texture to the cupola.
Edit: So I built up some the armor from scratch and was really happy with it then when I test fitted it I noticed it covered up all my PE work… so I will be building my '34 with out bedspring armor. Later this year (hopefully) I will build another with BSA.
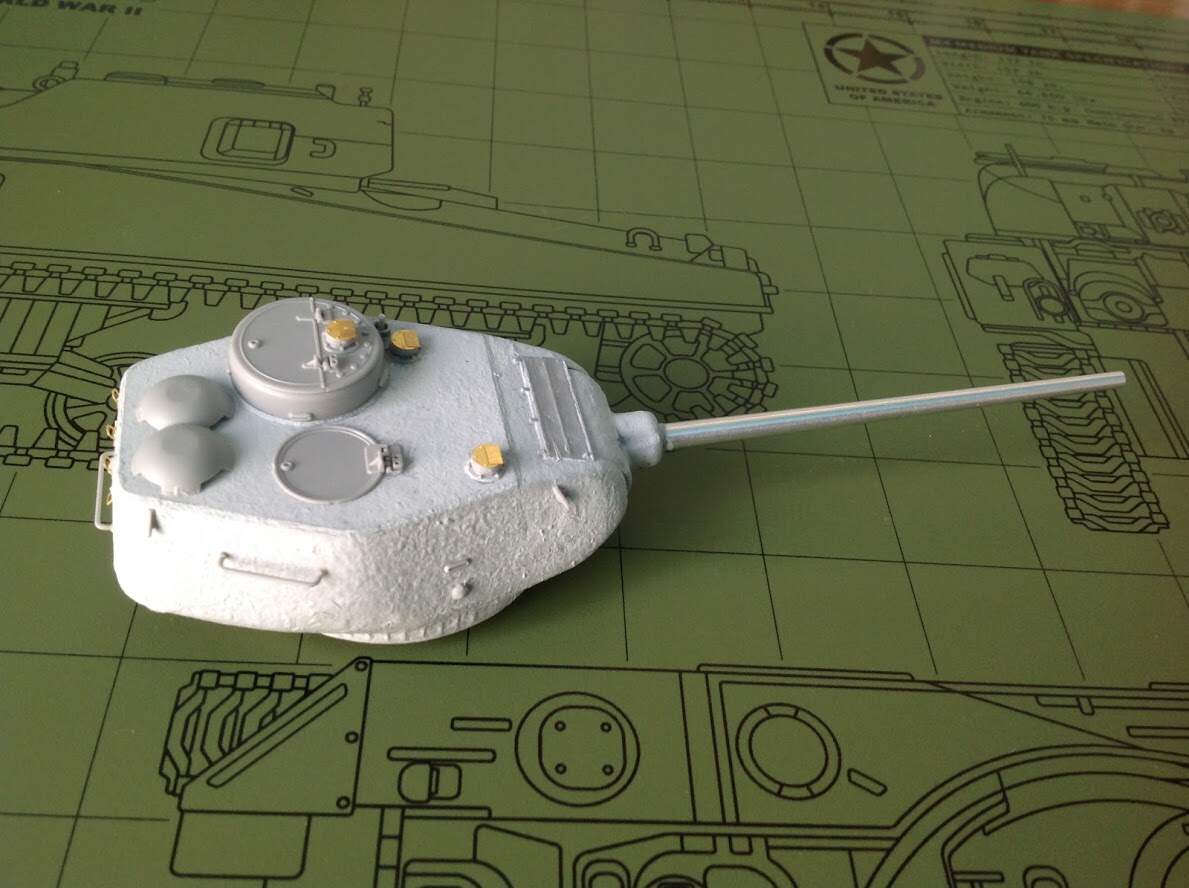
@Panzer_modeler Ezra, very nice work on the Dragon T-34-85. Most impressive!
Thanks Wade!
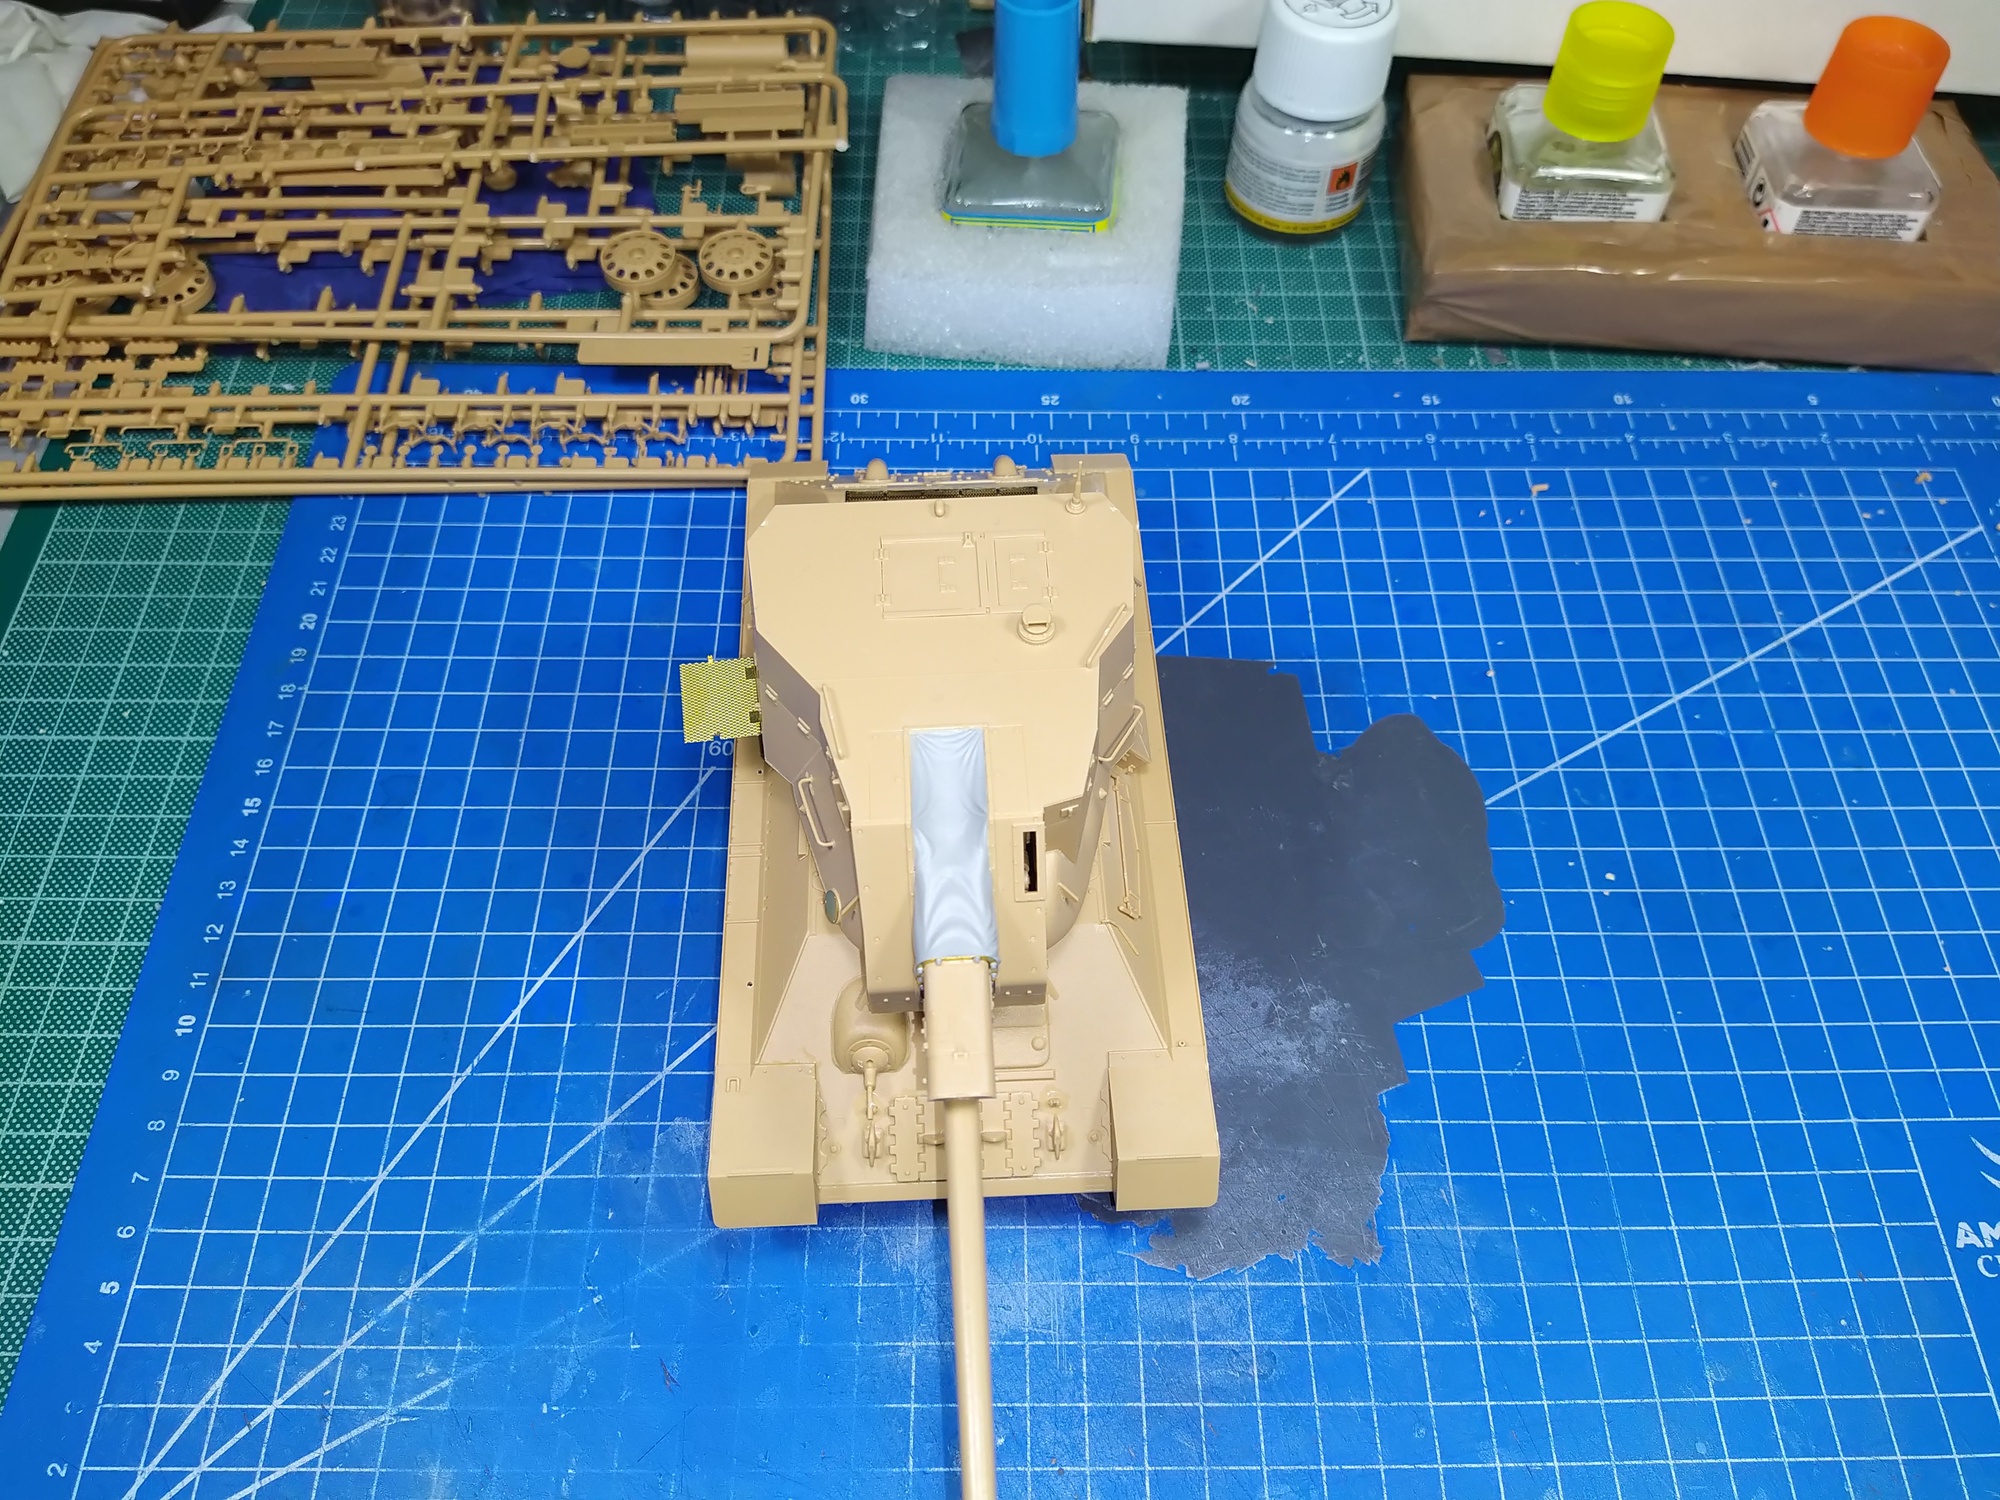
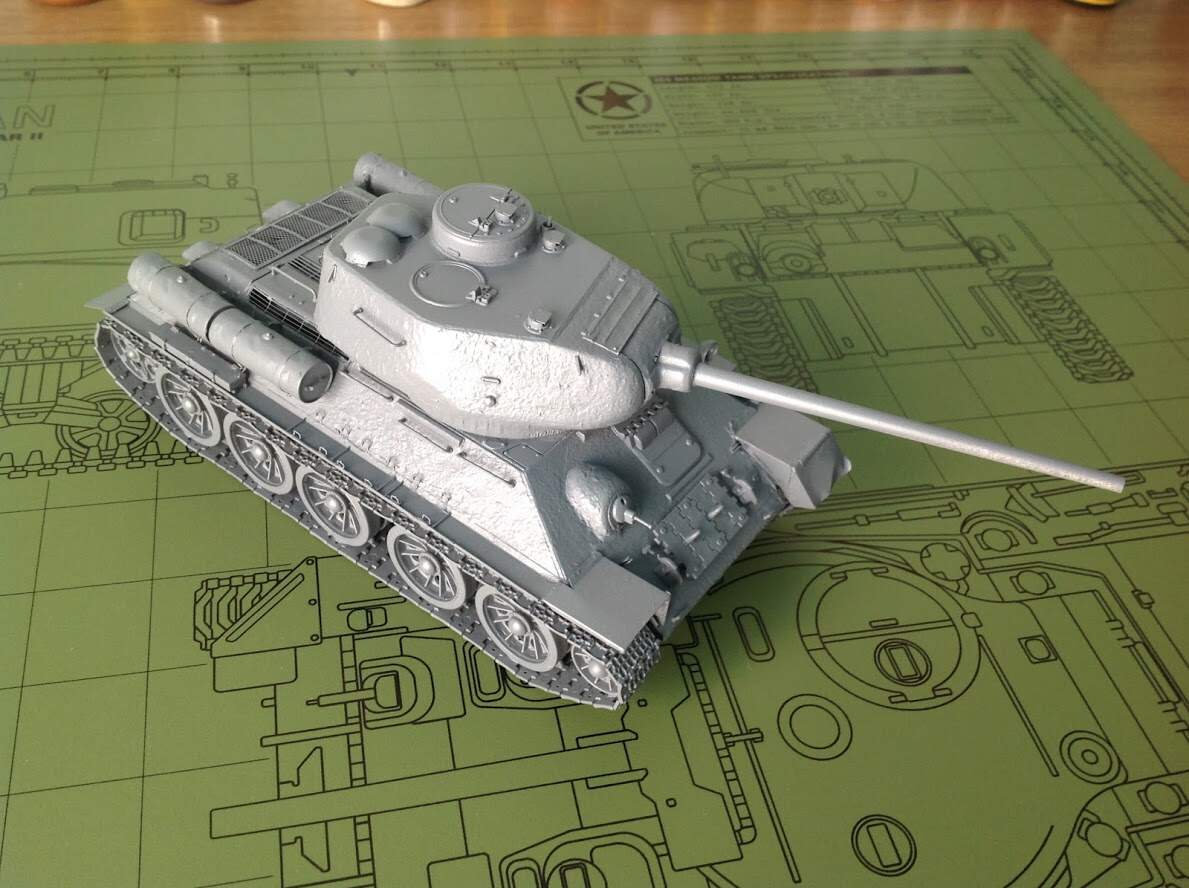
Shot some primer on the T-34 this morning.
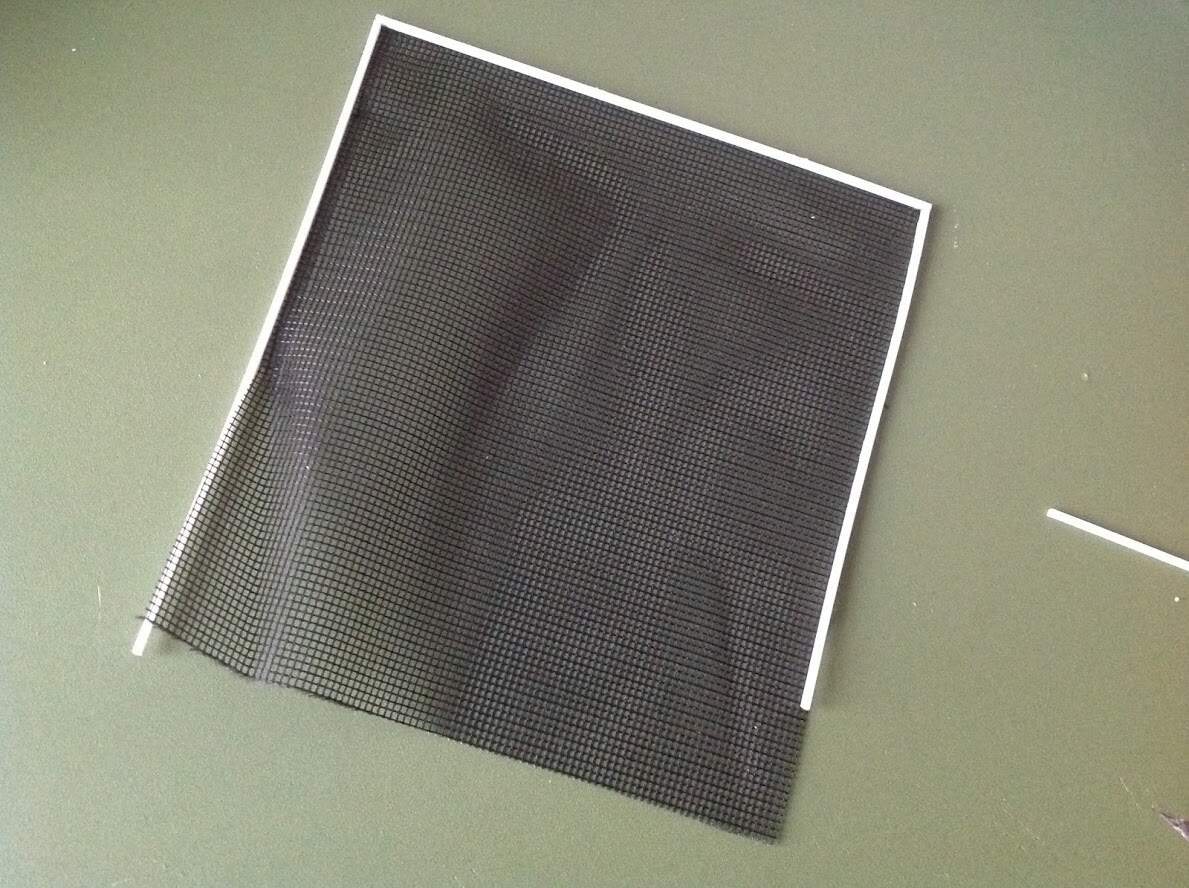
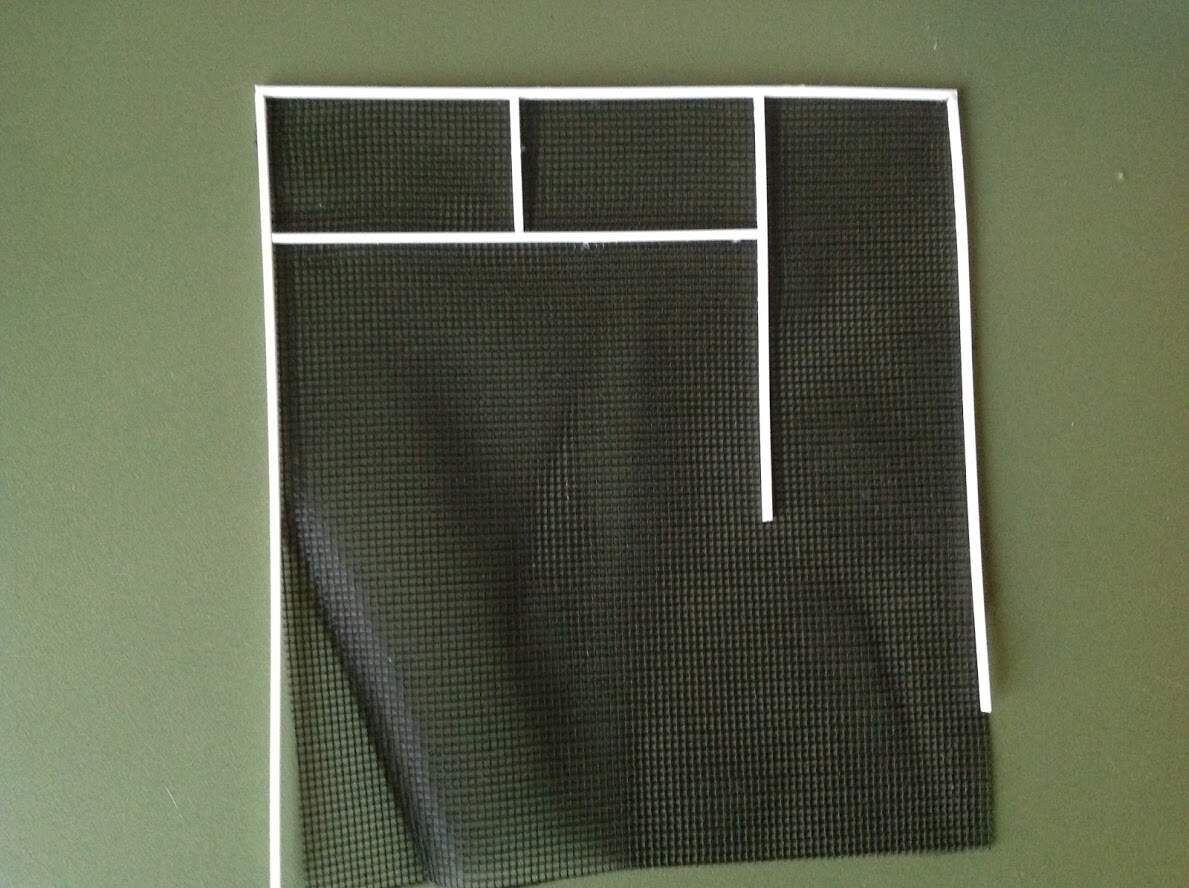
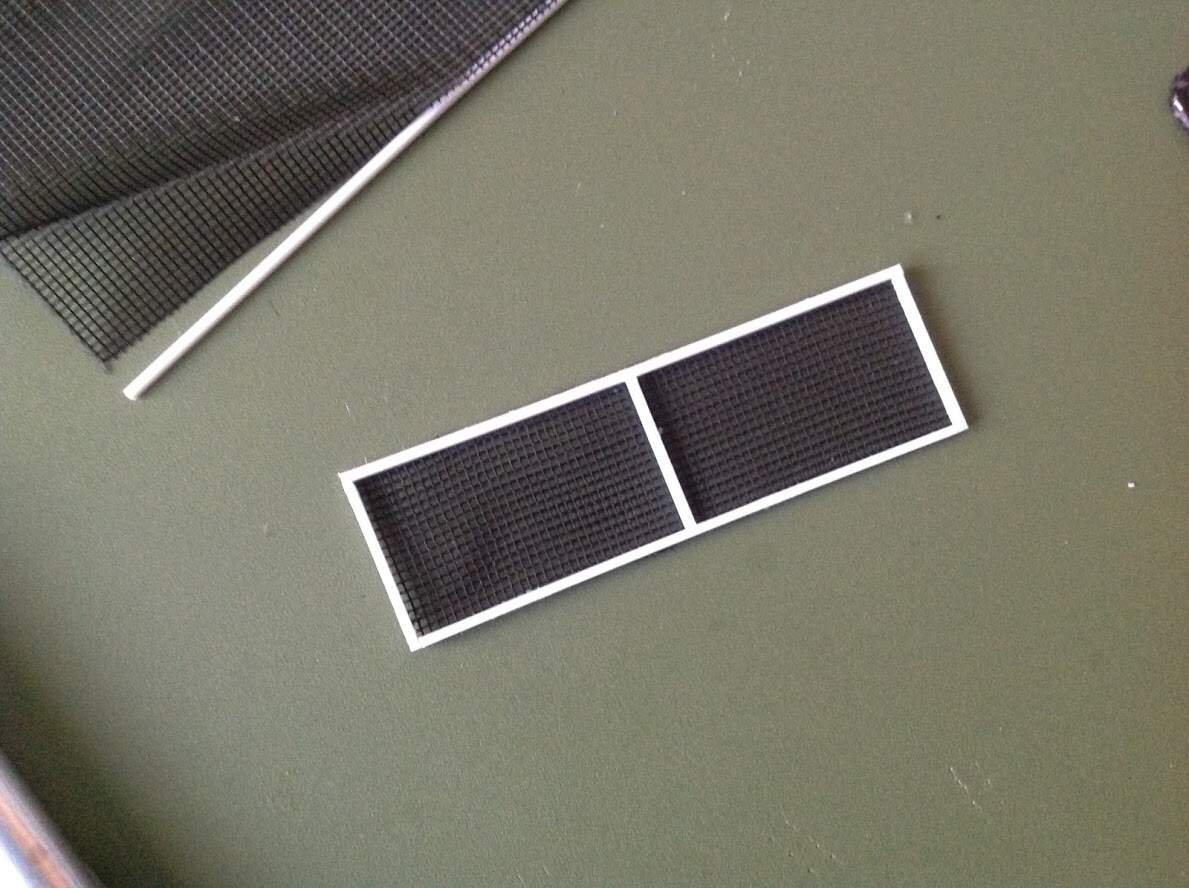
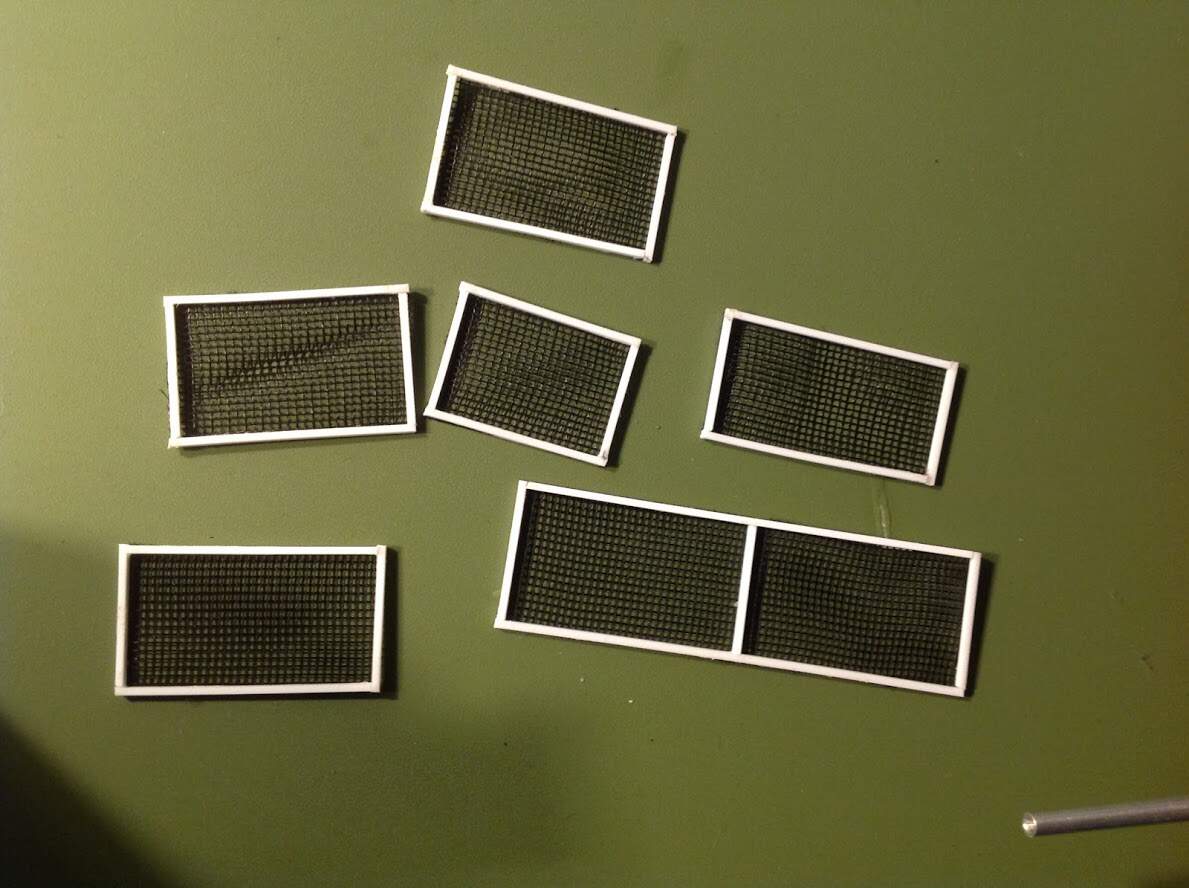
Im not using it, but this is how I made the bed spring armor last night.
I started of by framing off this mesh I had left over from a previous project with Evergreen. (Note flipped over cutting mat.)
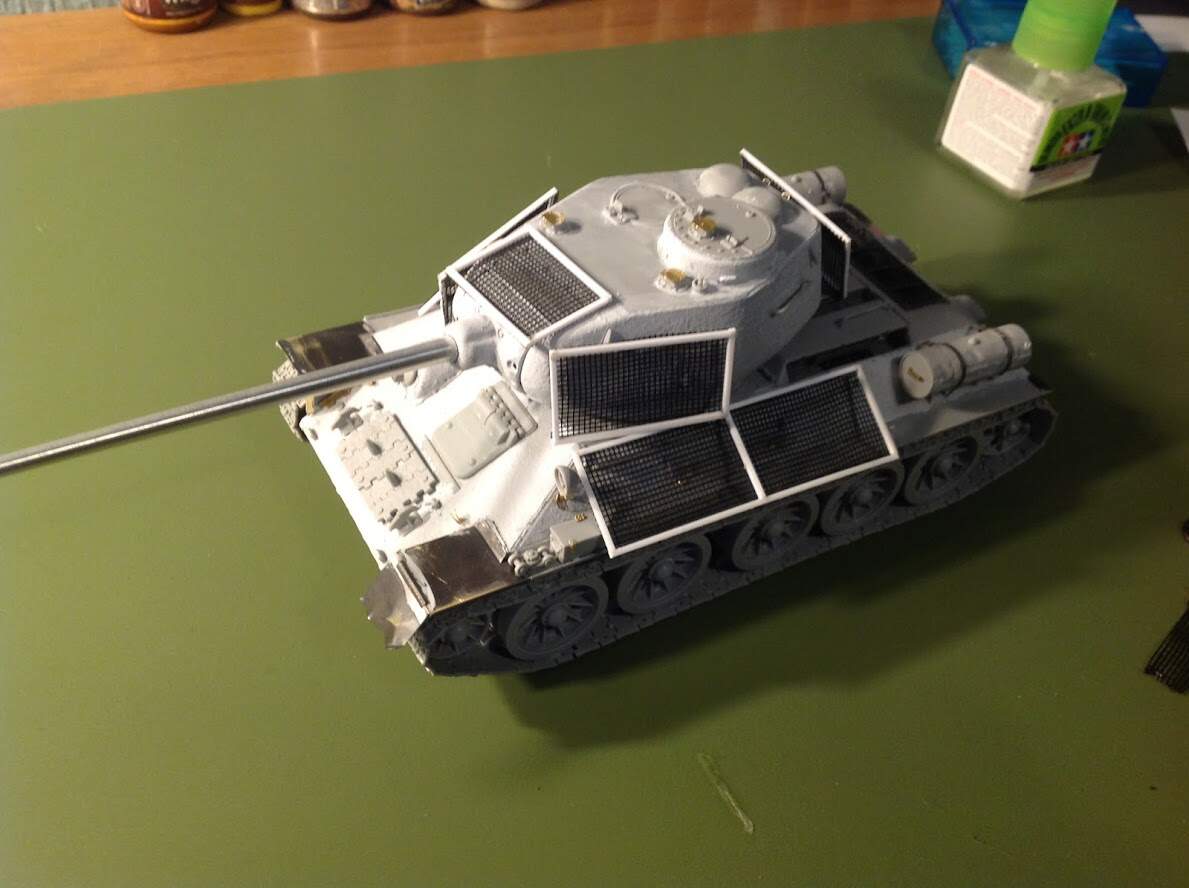
Then a test fit on the model. (without BSA legs.)
I honestly may still use it, I will see when the model has been painted.