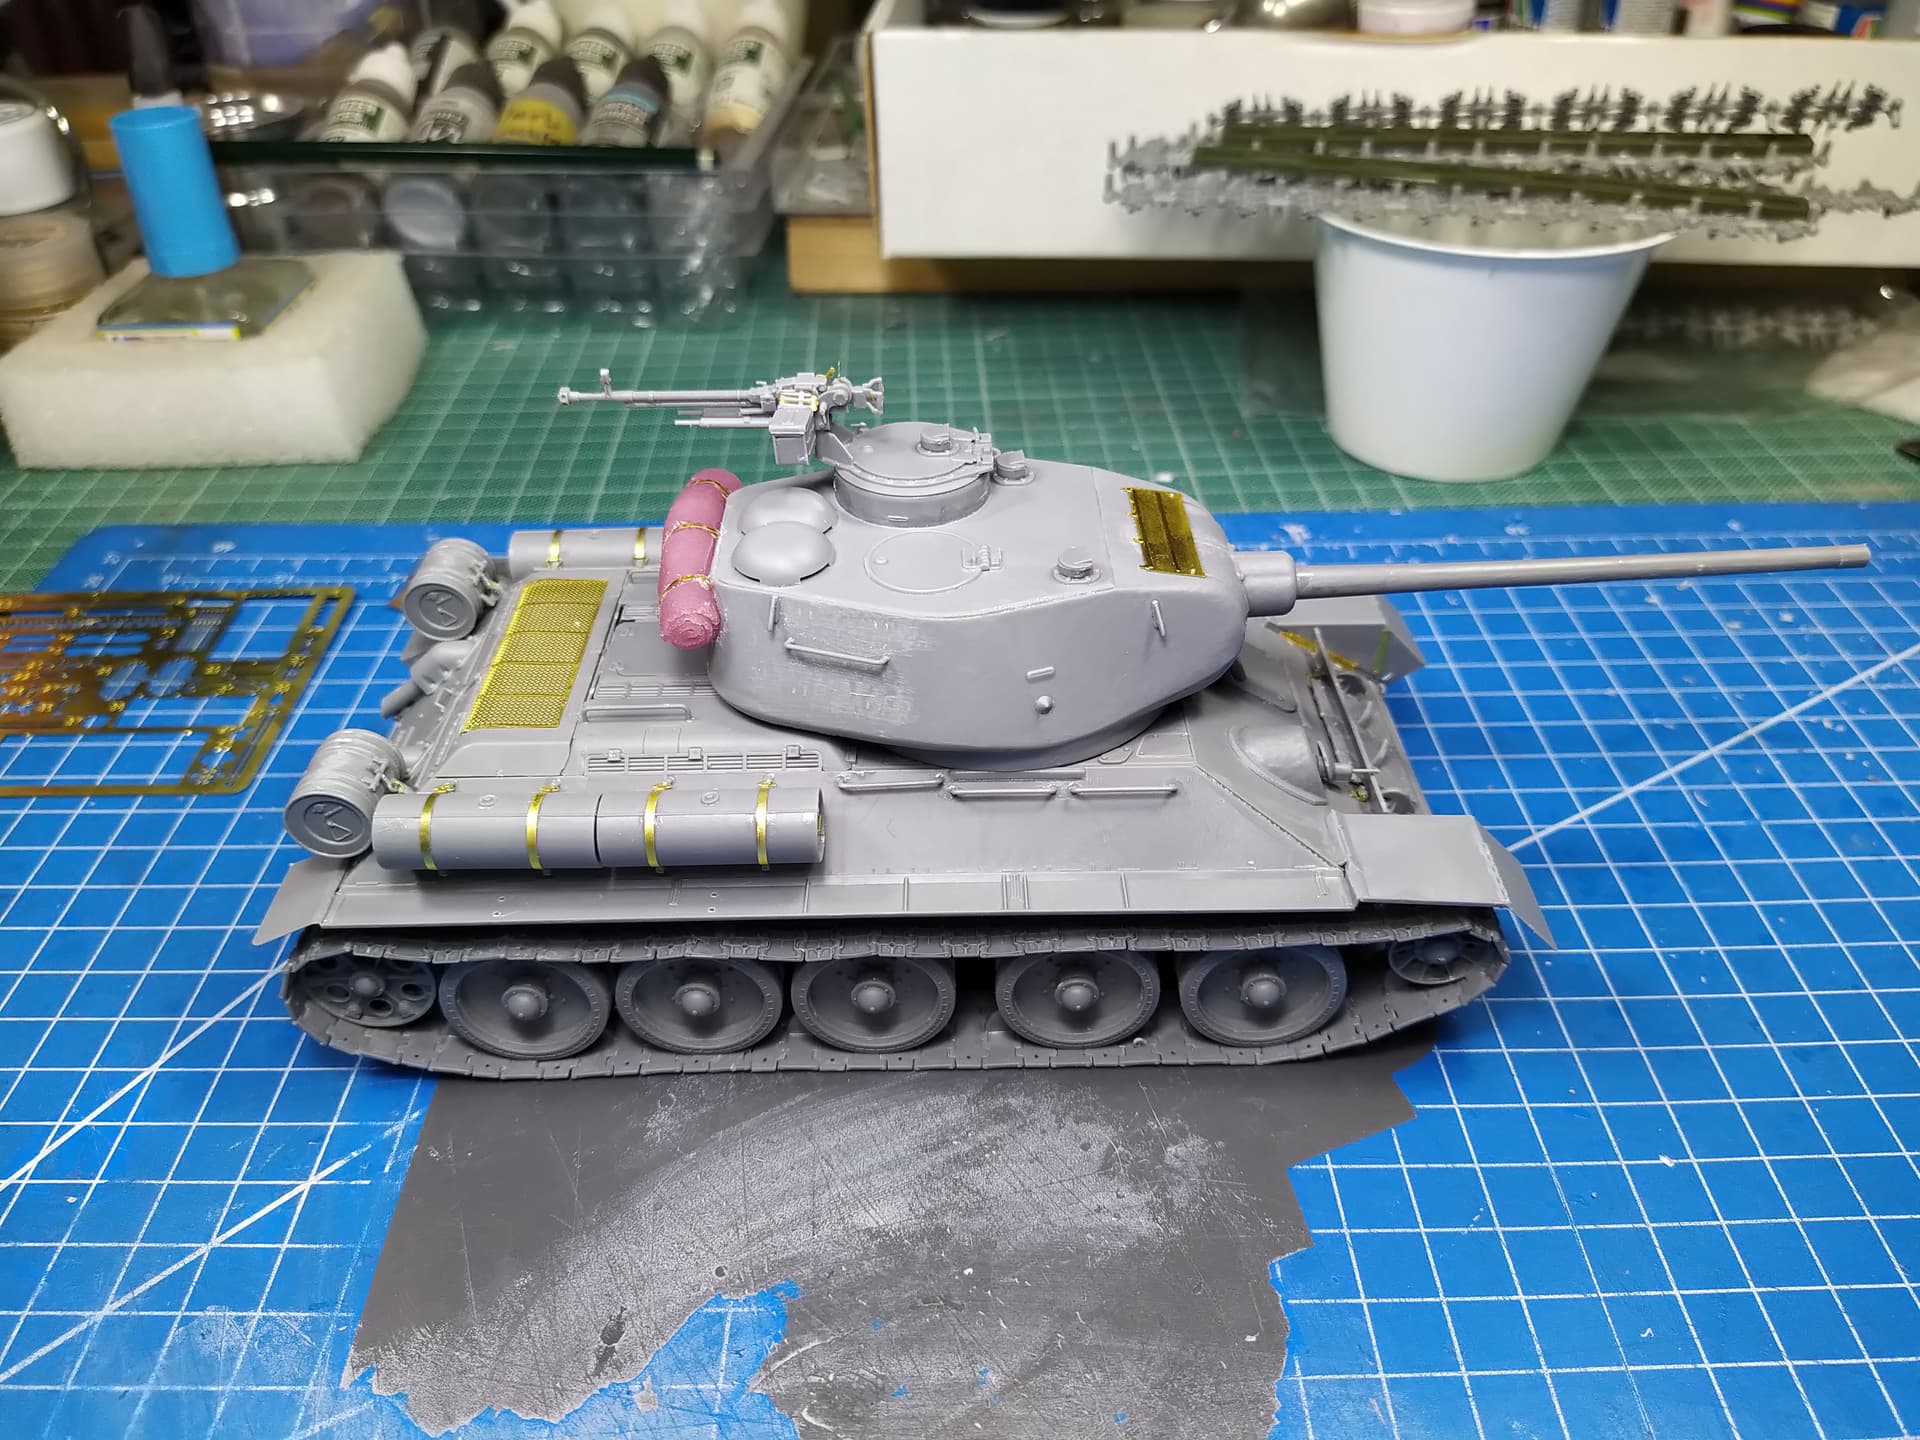
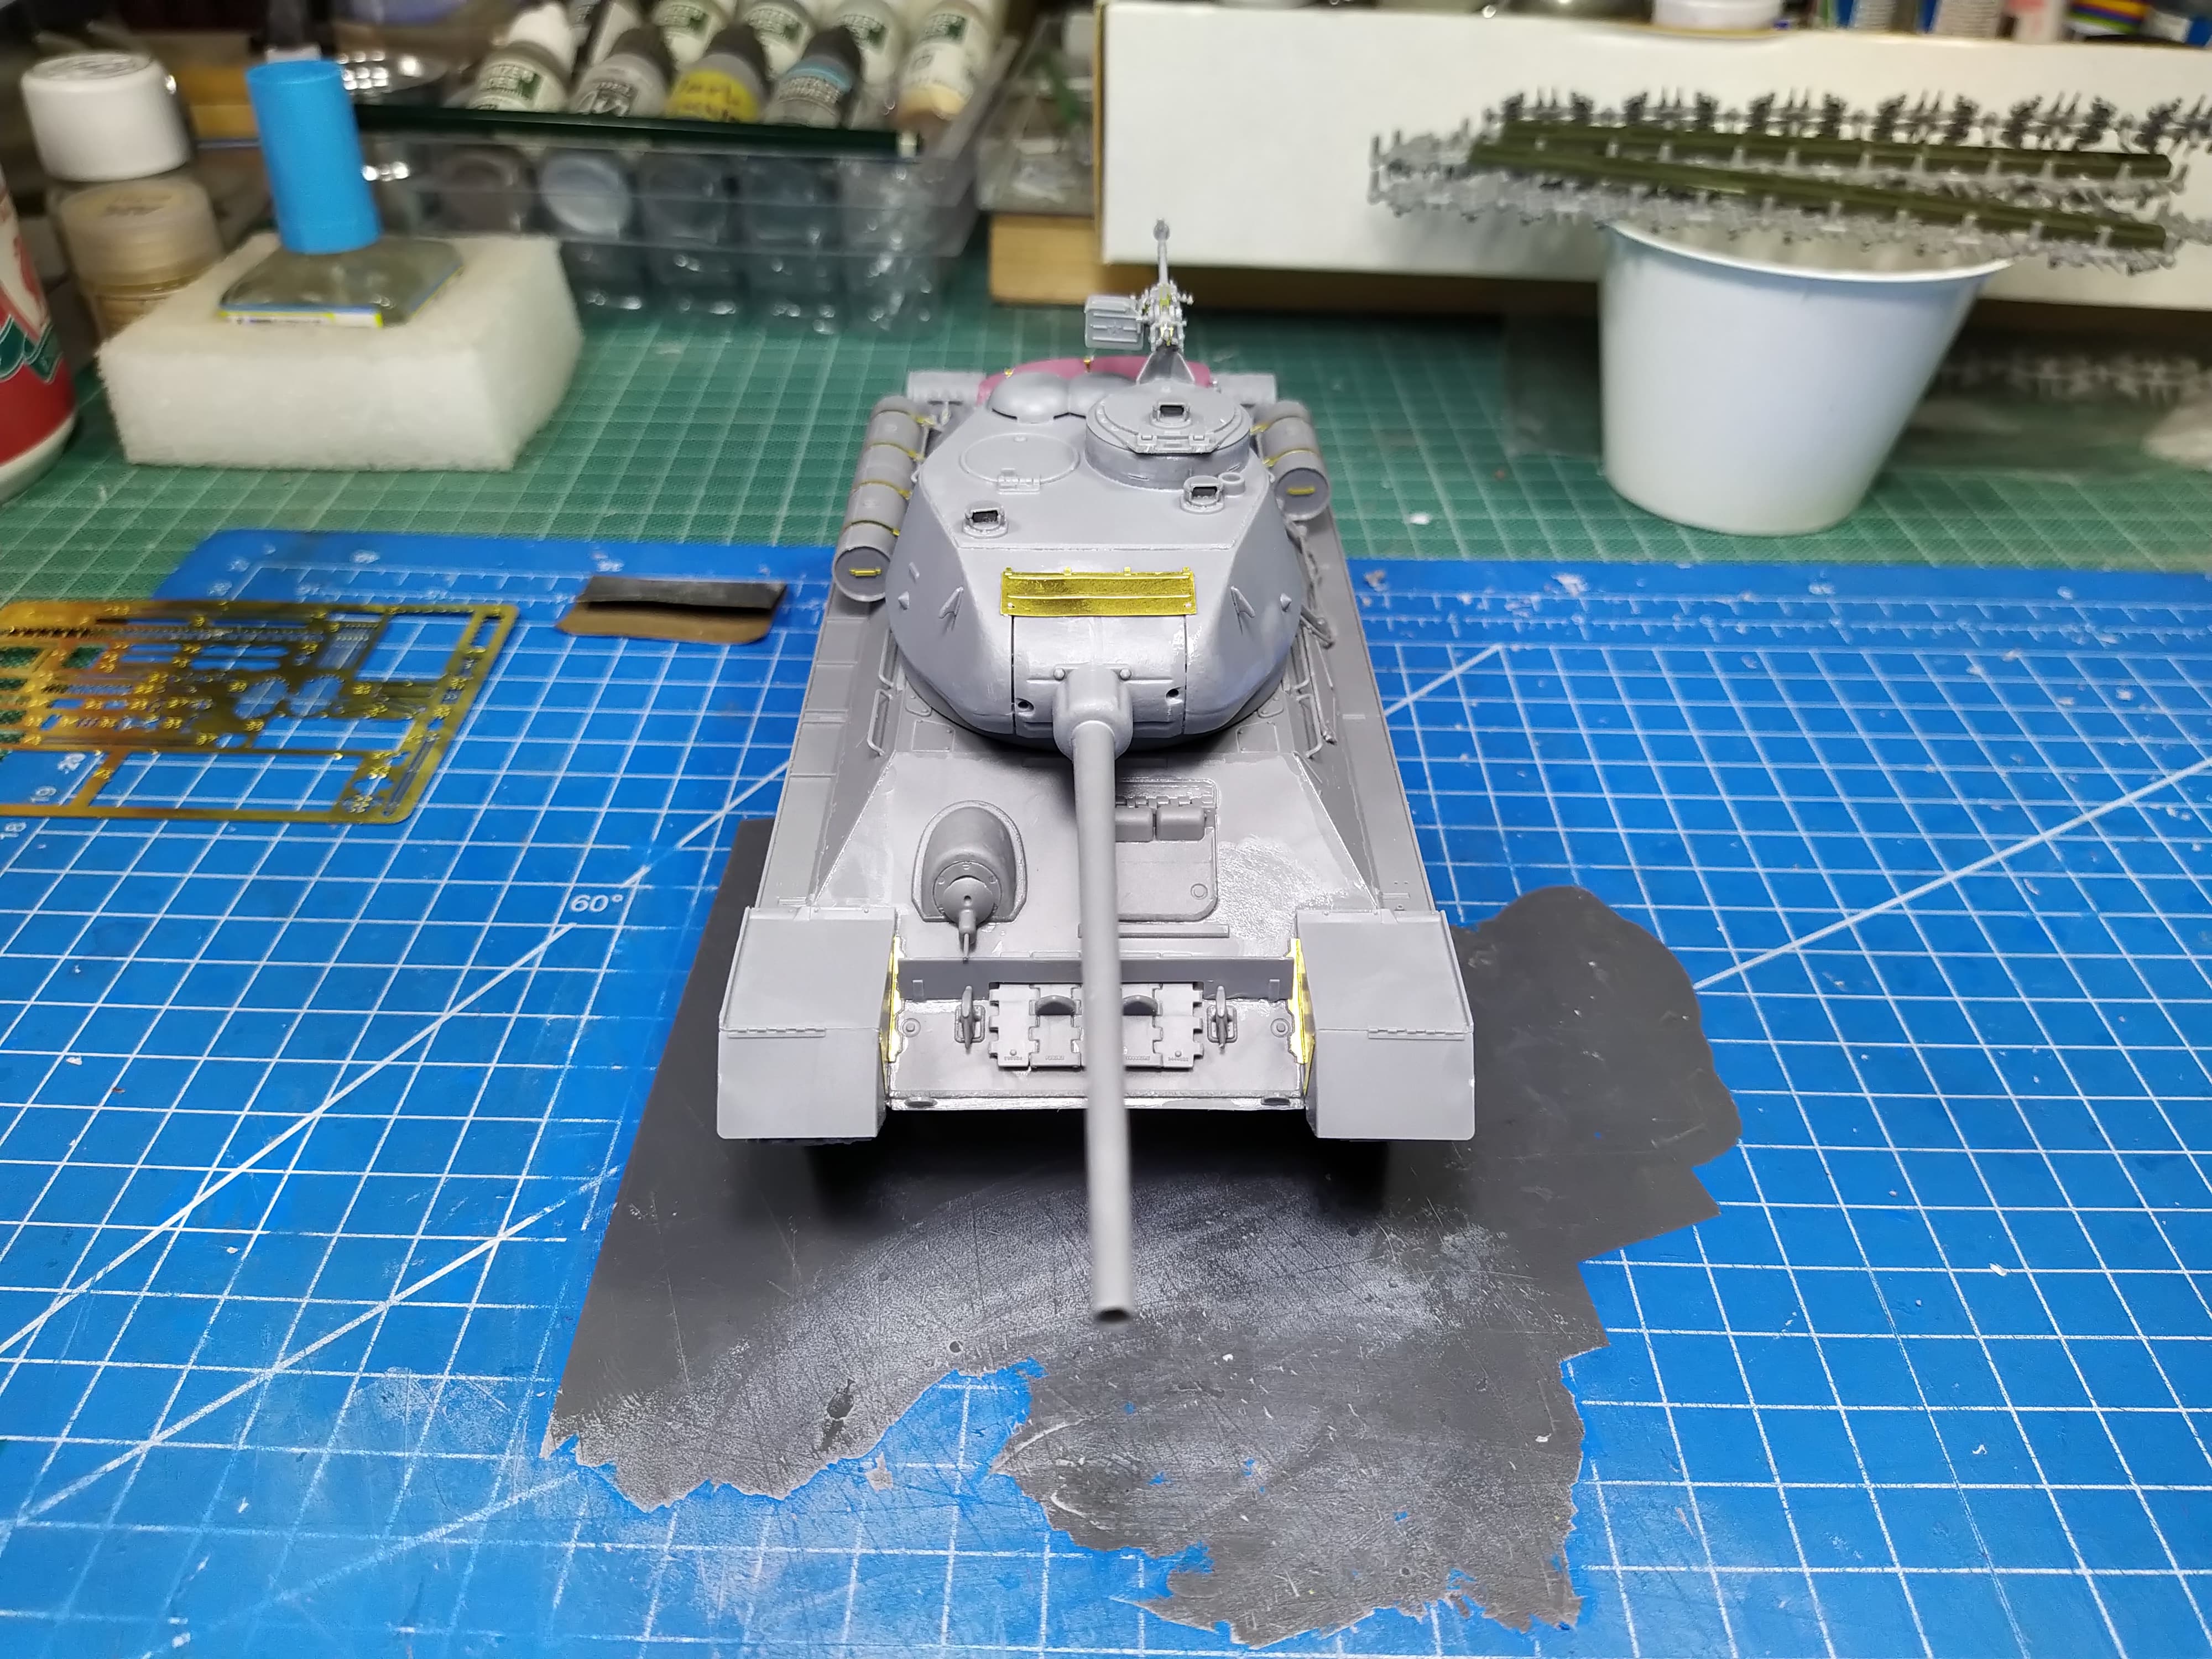
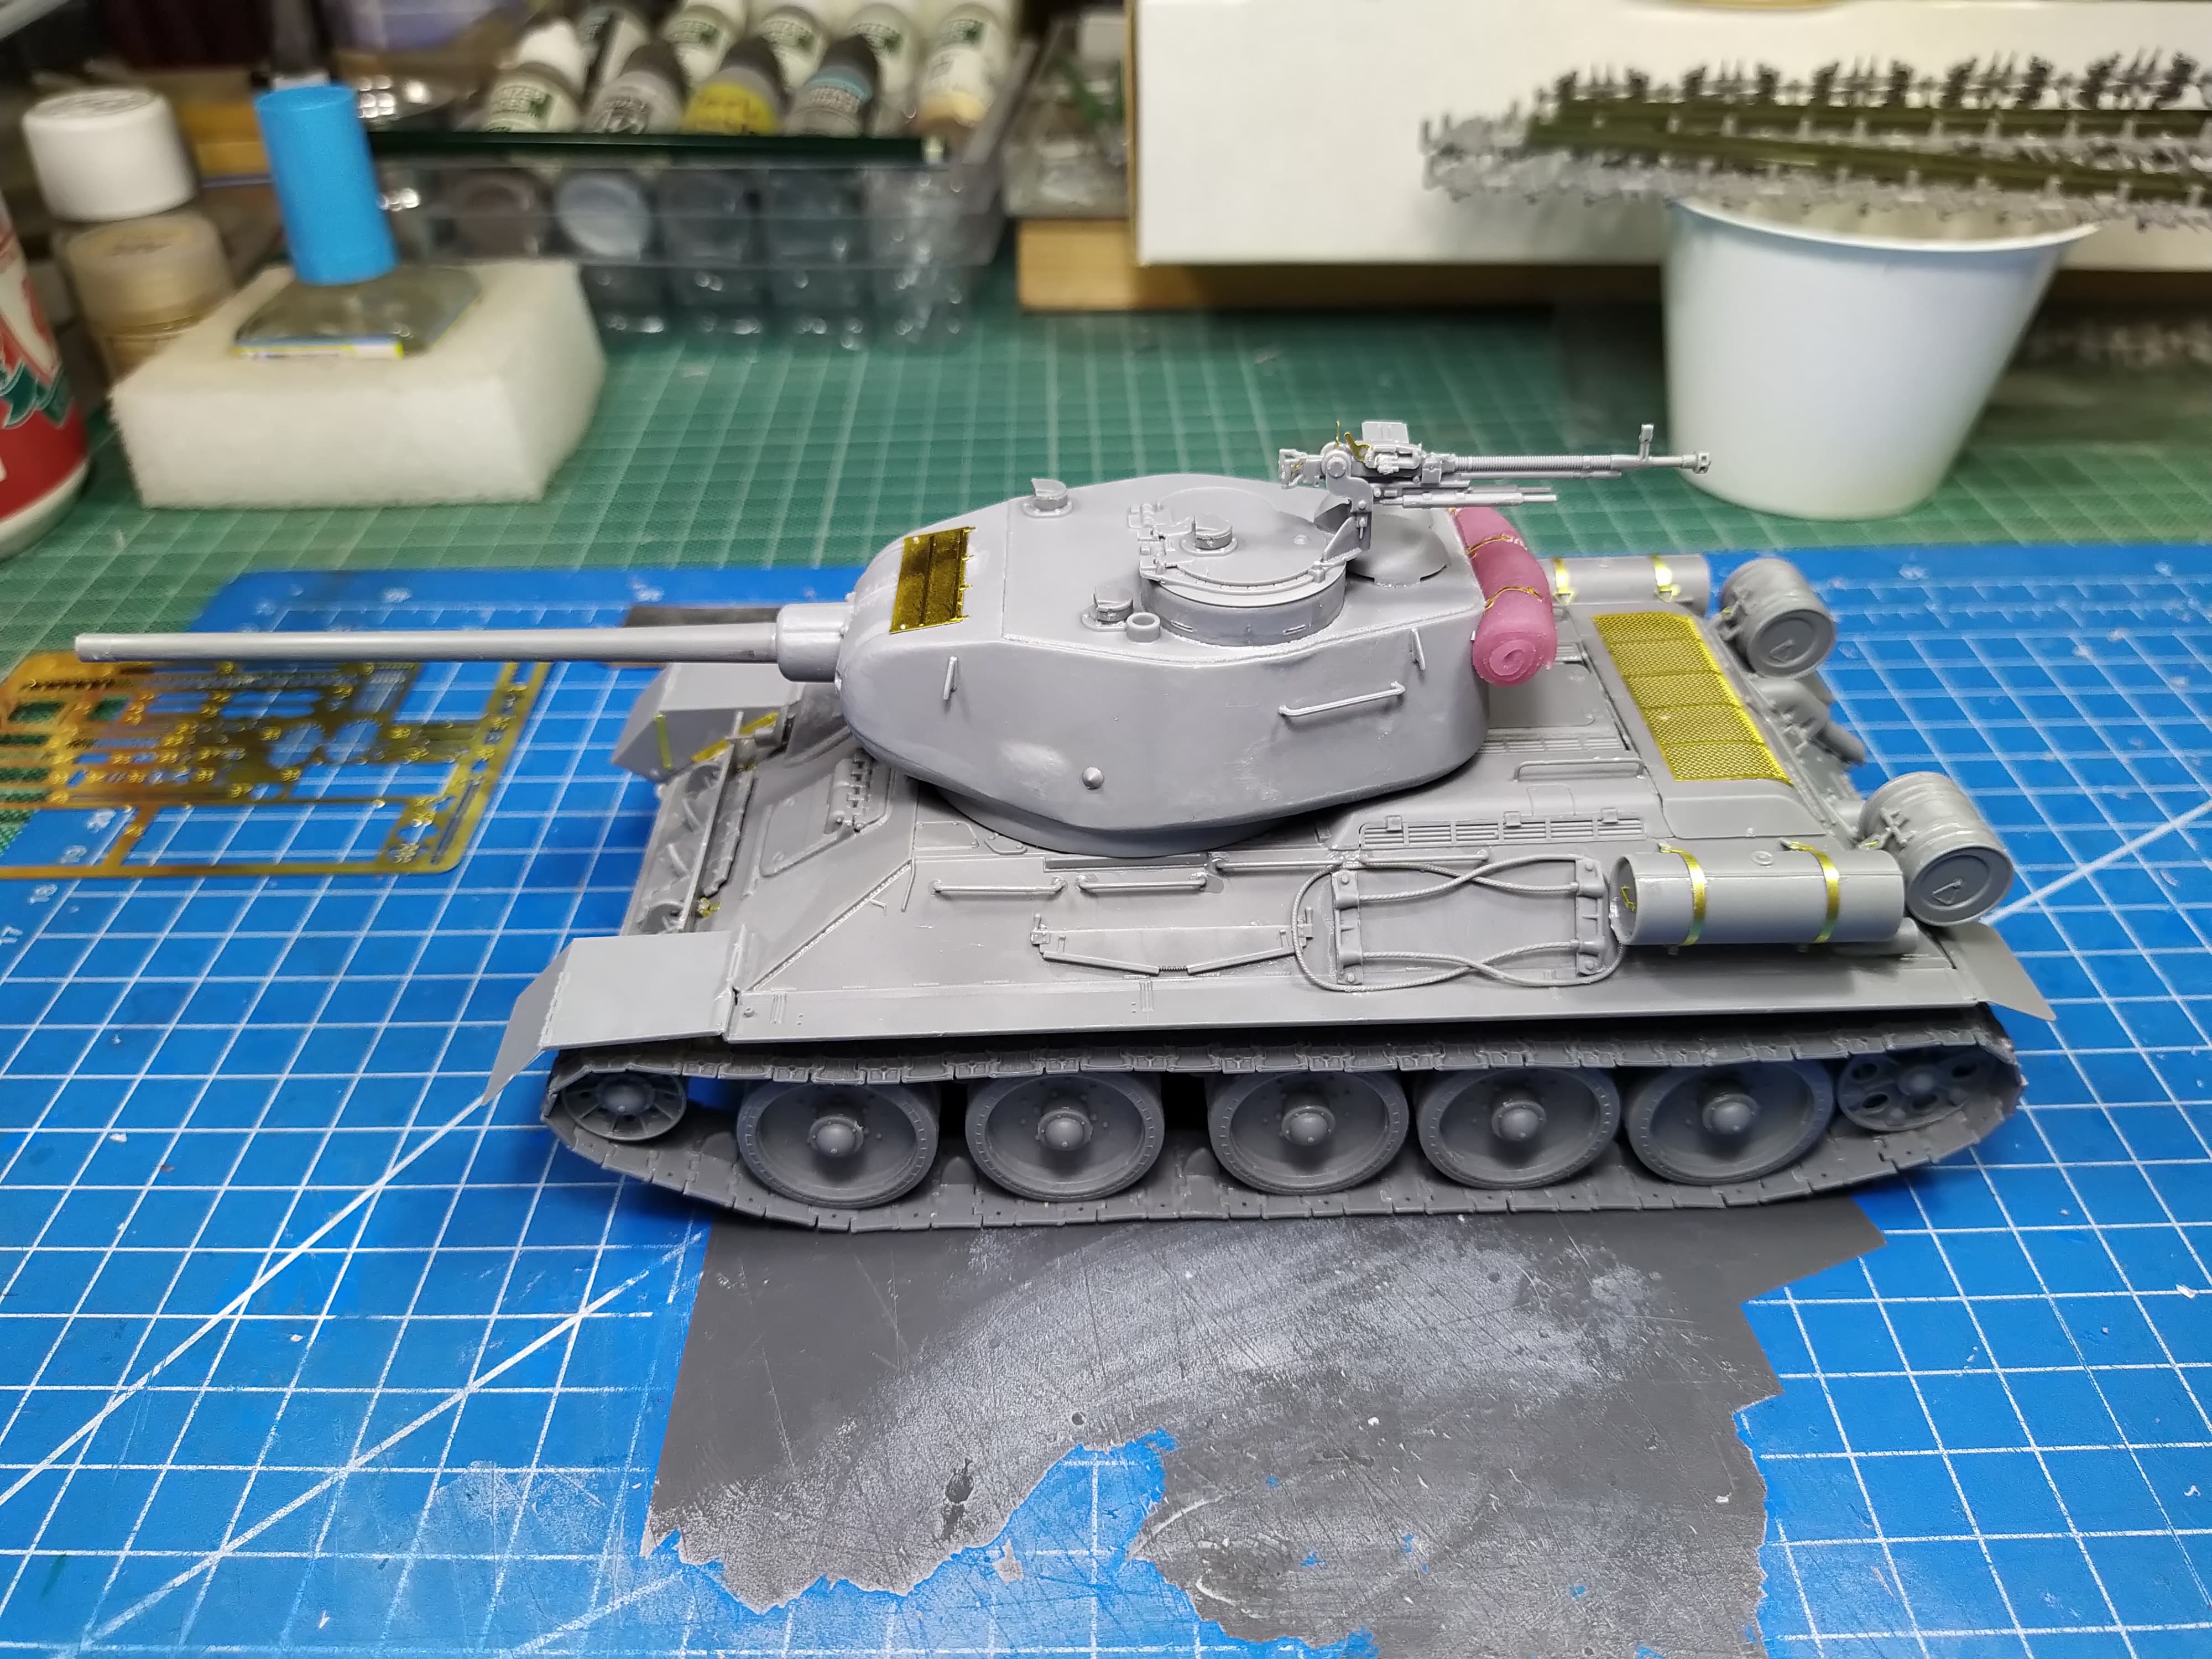
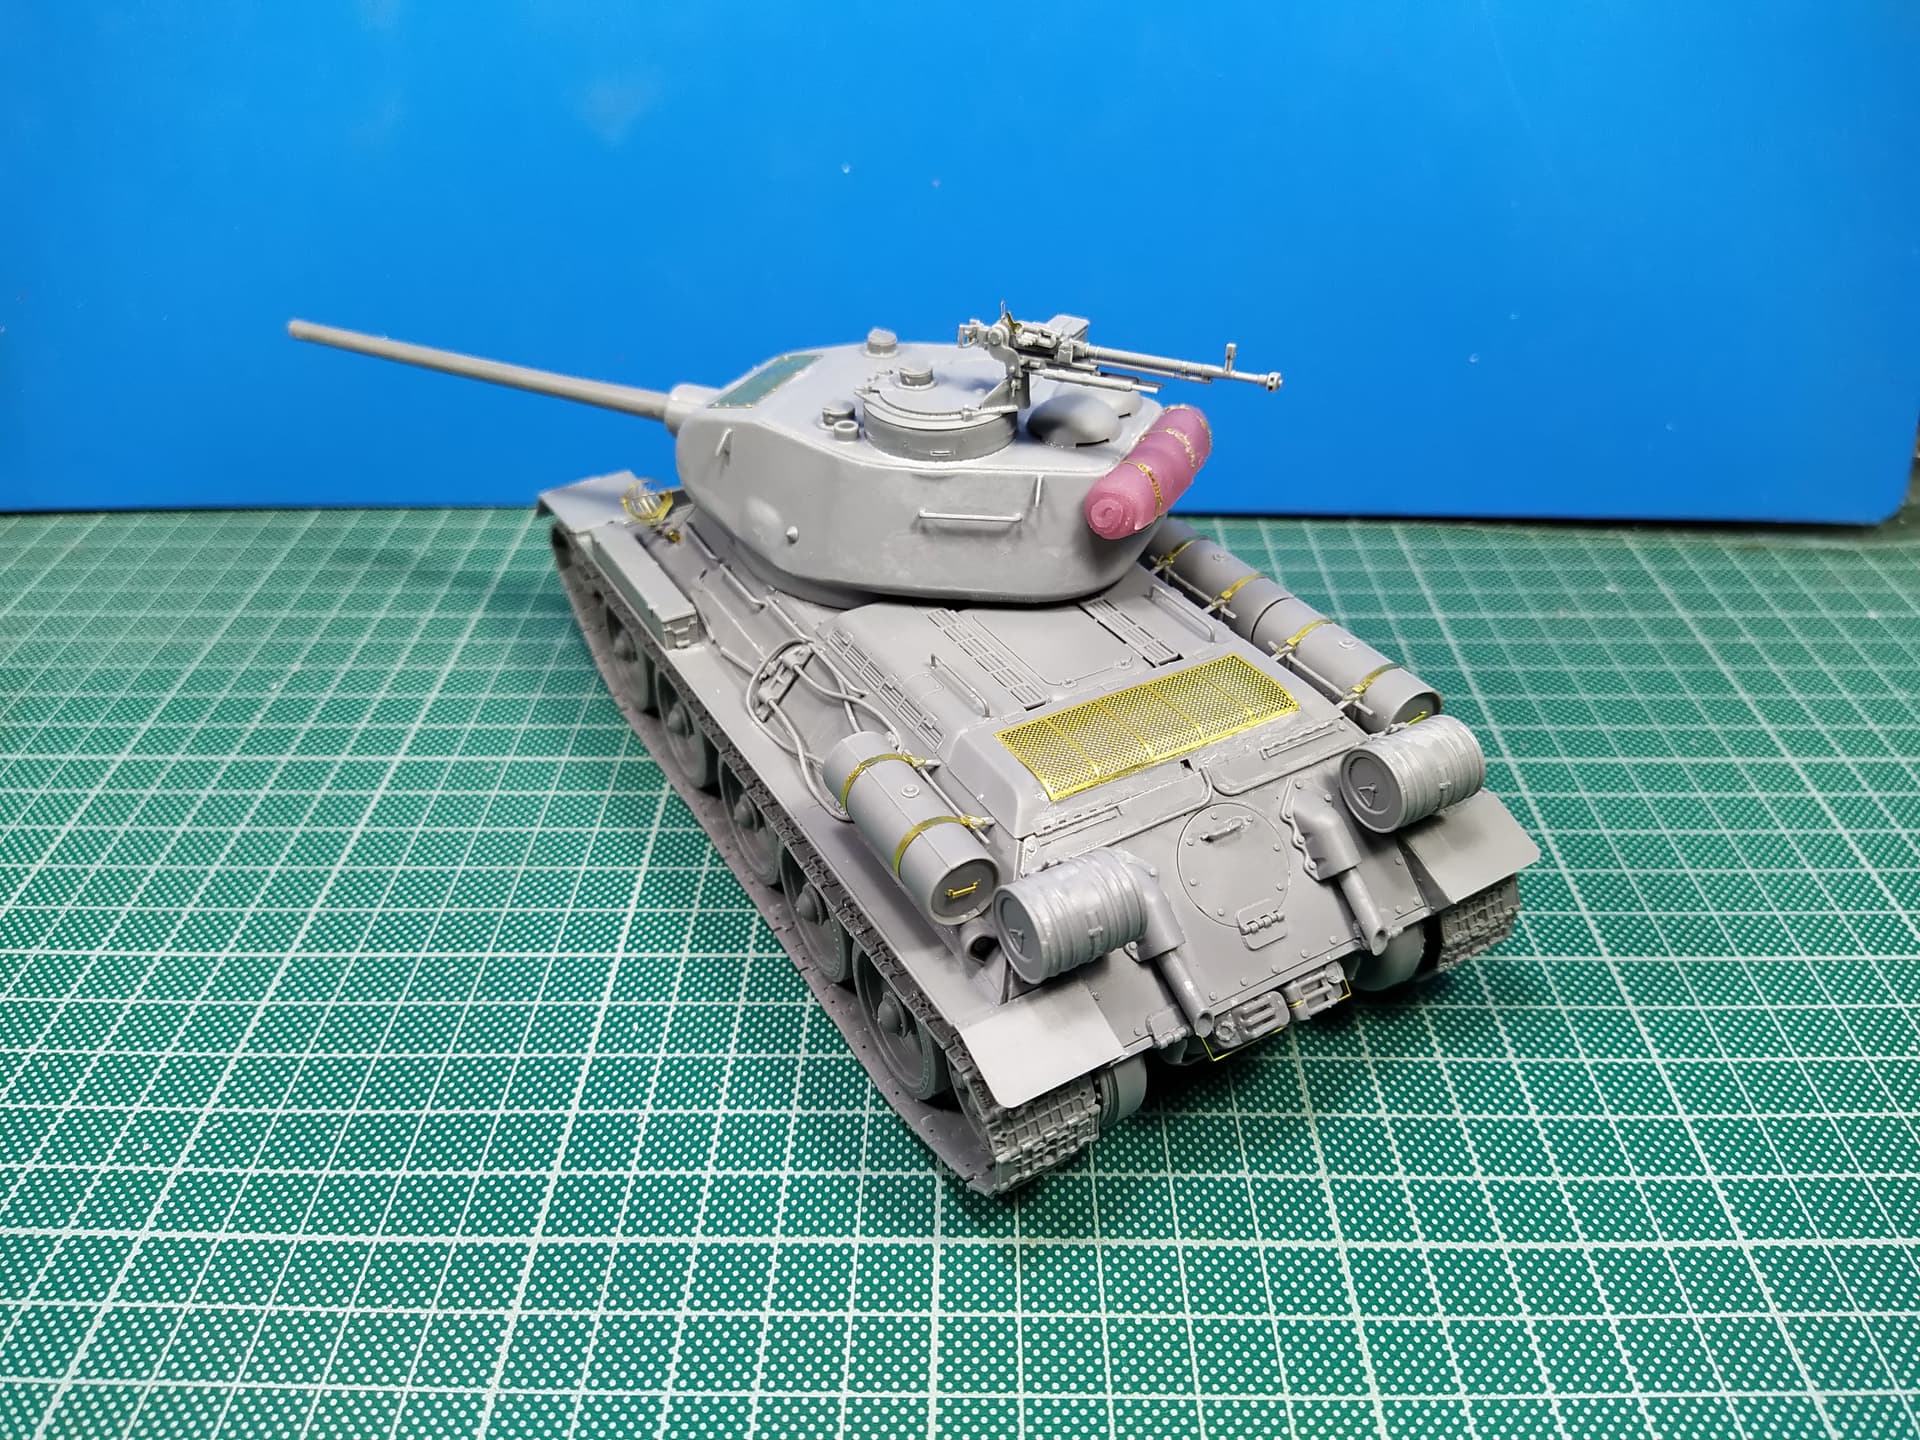
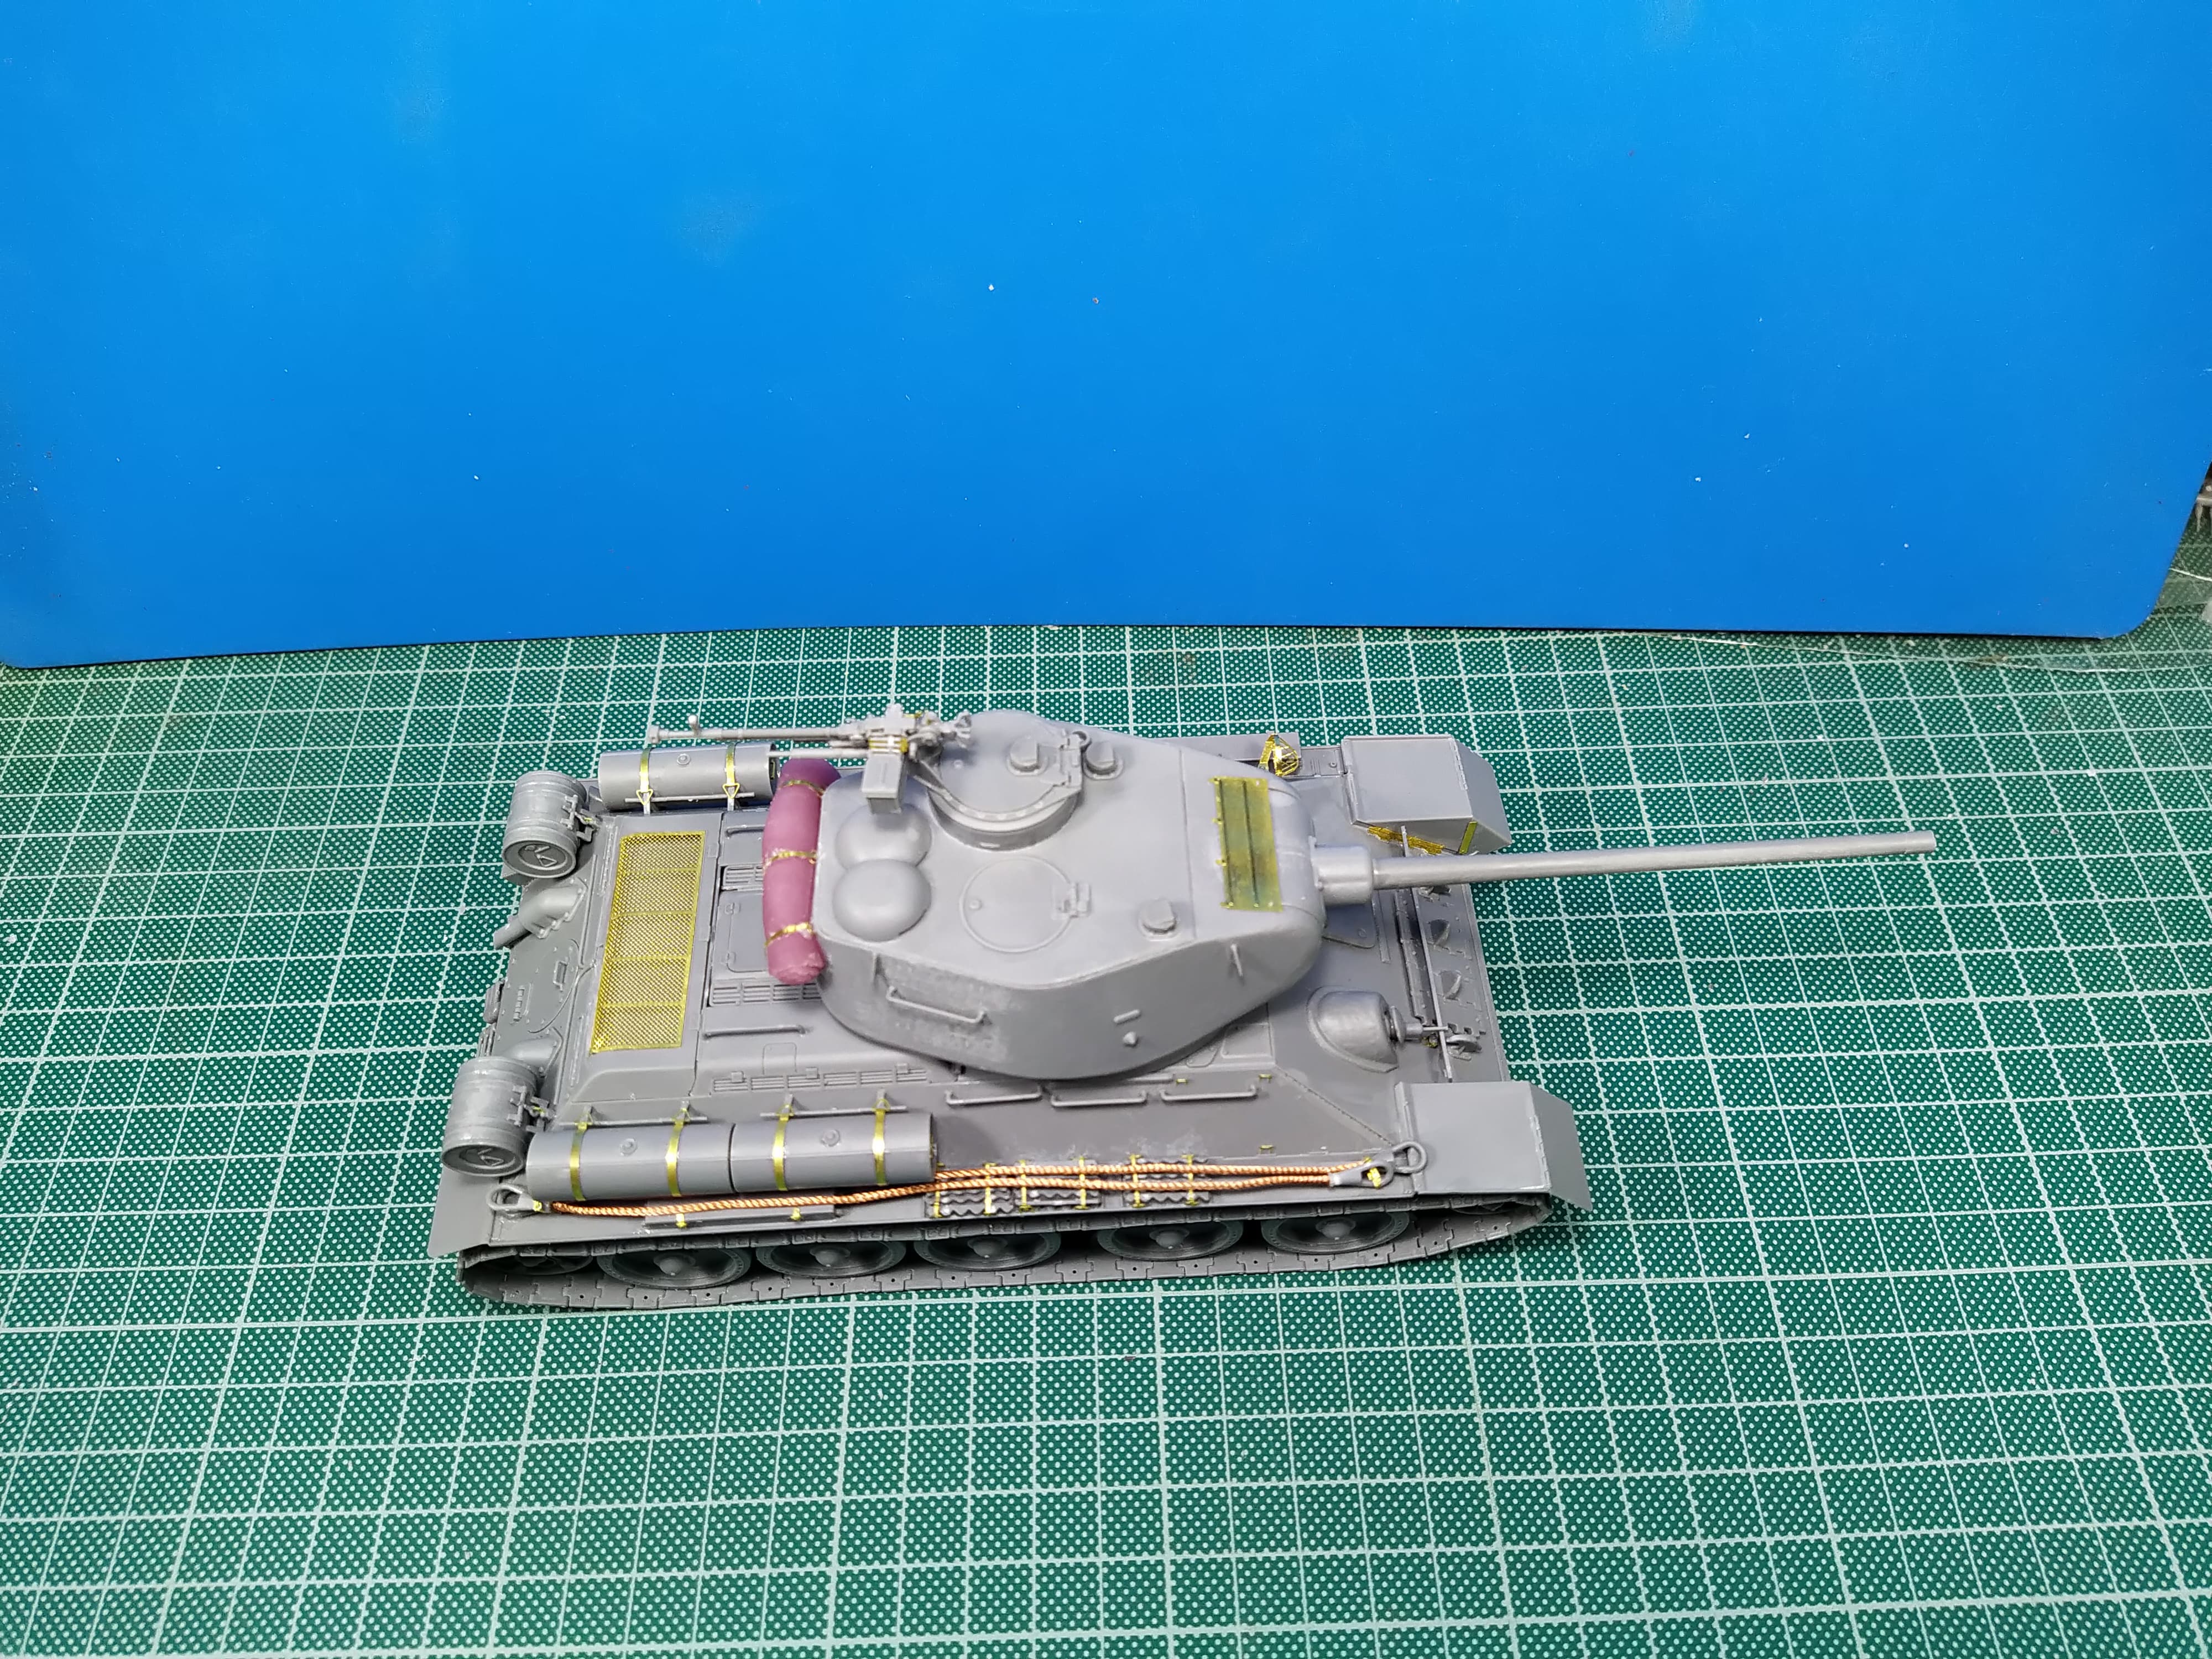
I am happy to report that I could finish the build works by this weekend and now the black primer is applied to the hull, too. There are plenty of nice details in the kit and lots of challenges with the PE parts. I spent a good afternoon only on the towing cables to ensure that the securing belts are nicely linked to the U-shaped tiny parts on the hull which broke up several times. Finally I could tackle all parts but it was really a big challenge. Not a kit for the rookie or inpatient modellers.
Unfortunately I had no chance to start applying the base 4BO color so that is a step for the future. I am looking for the painting step!
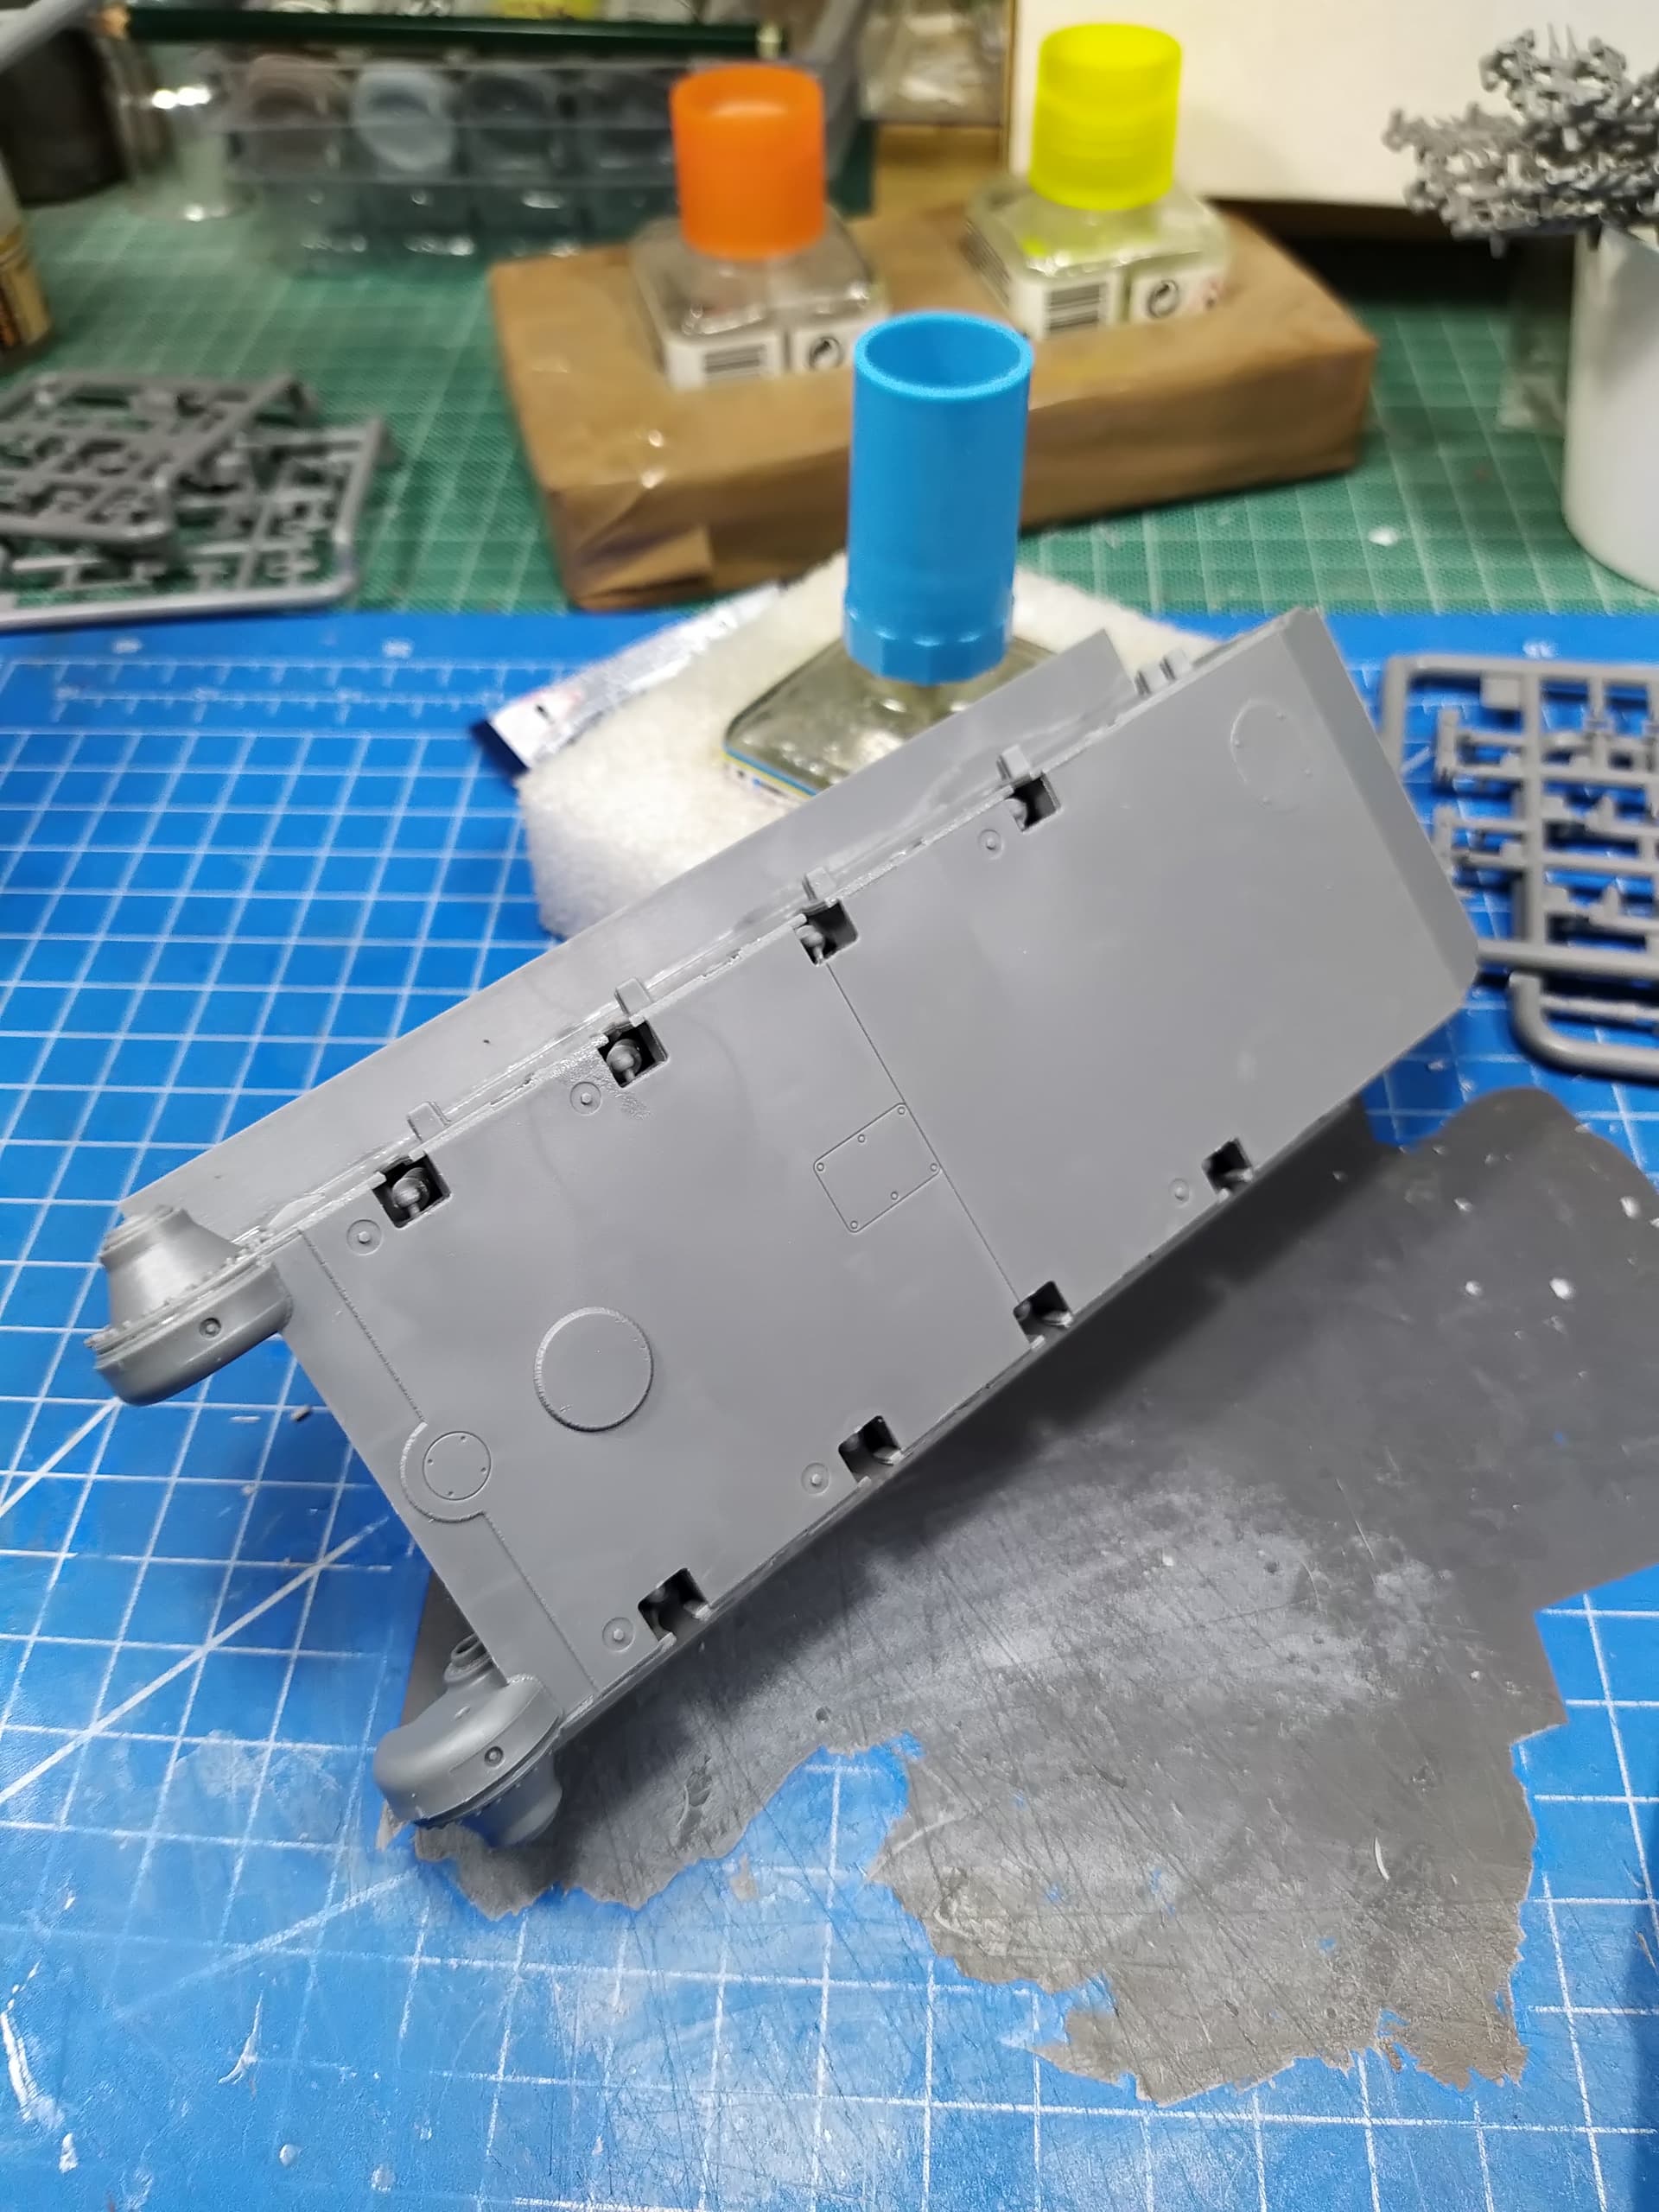
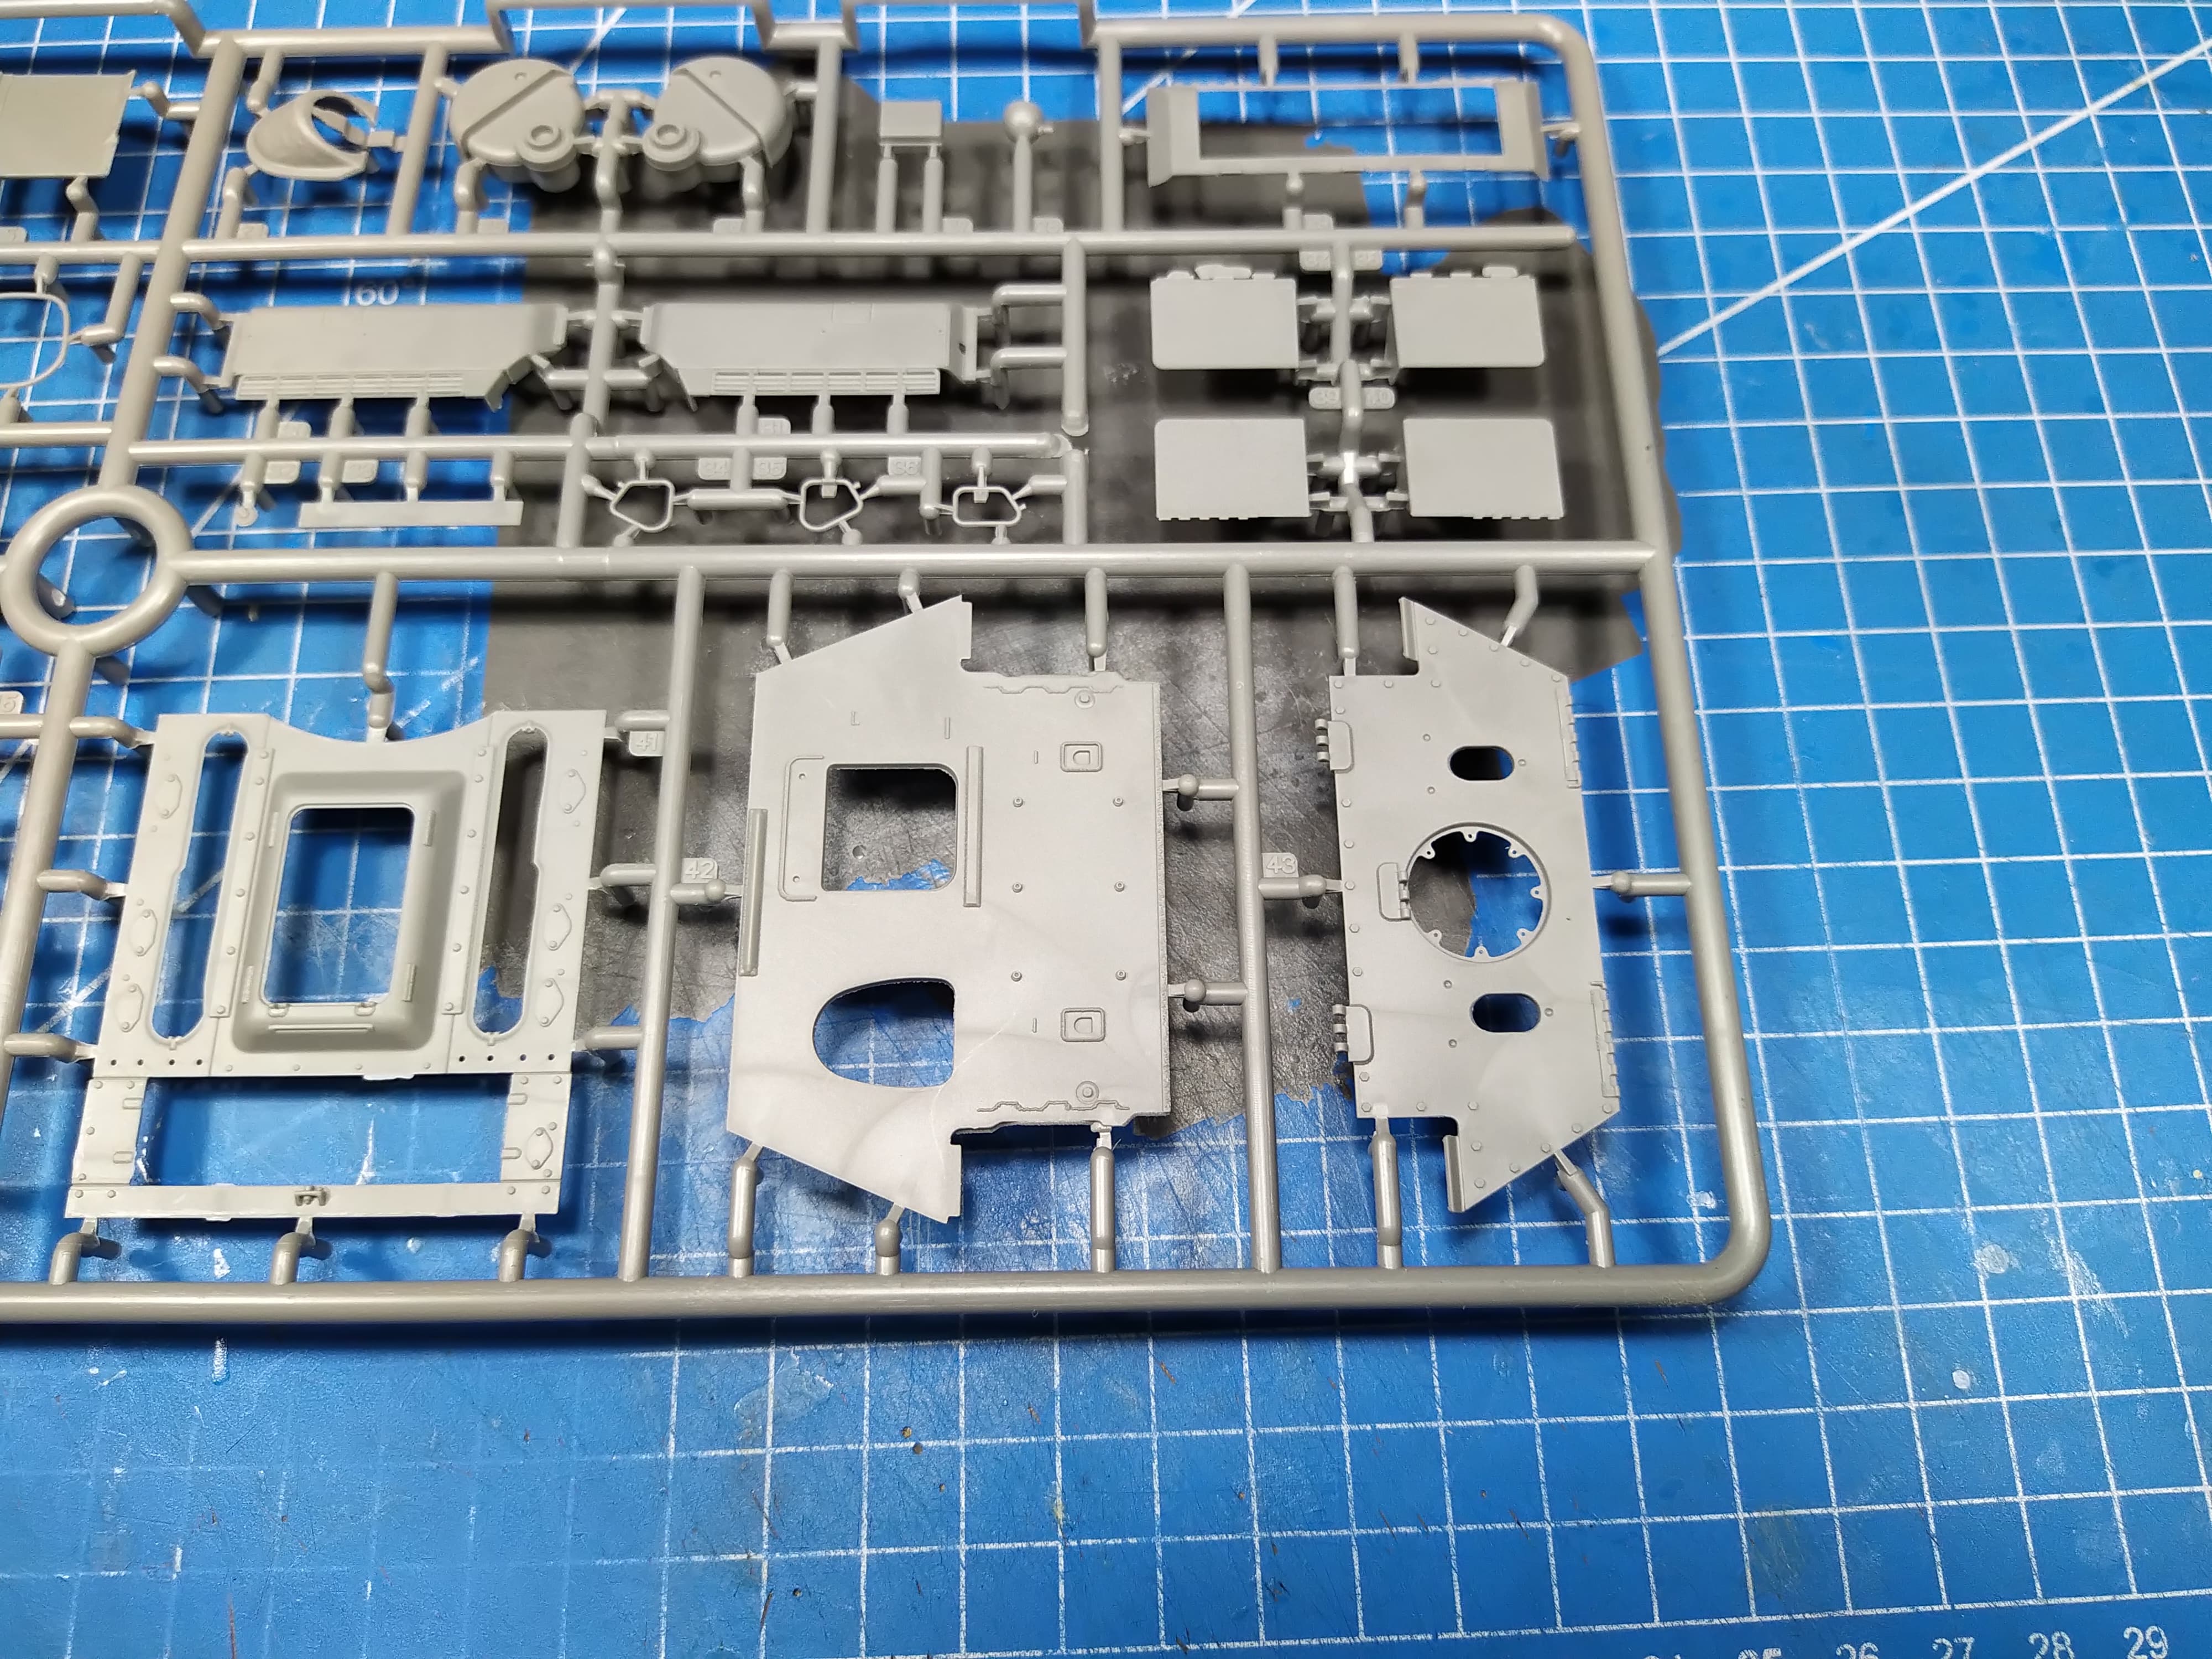
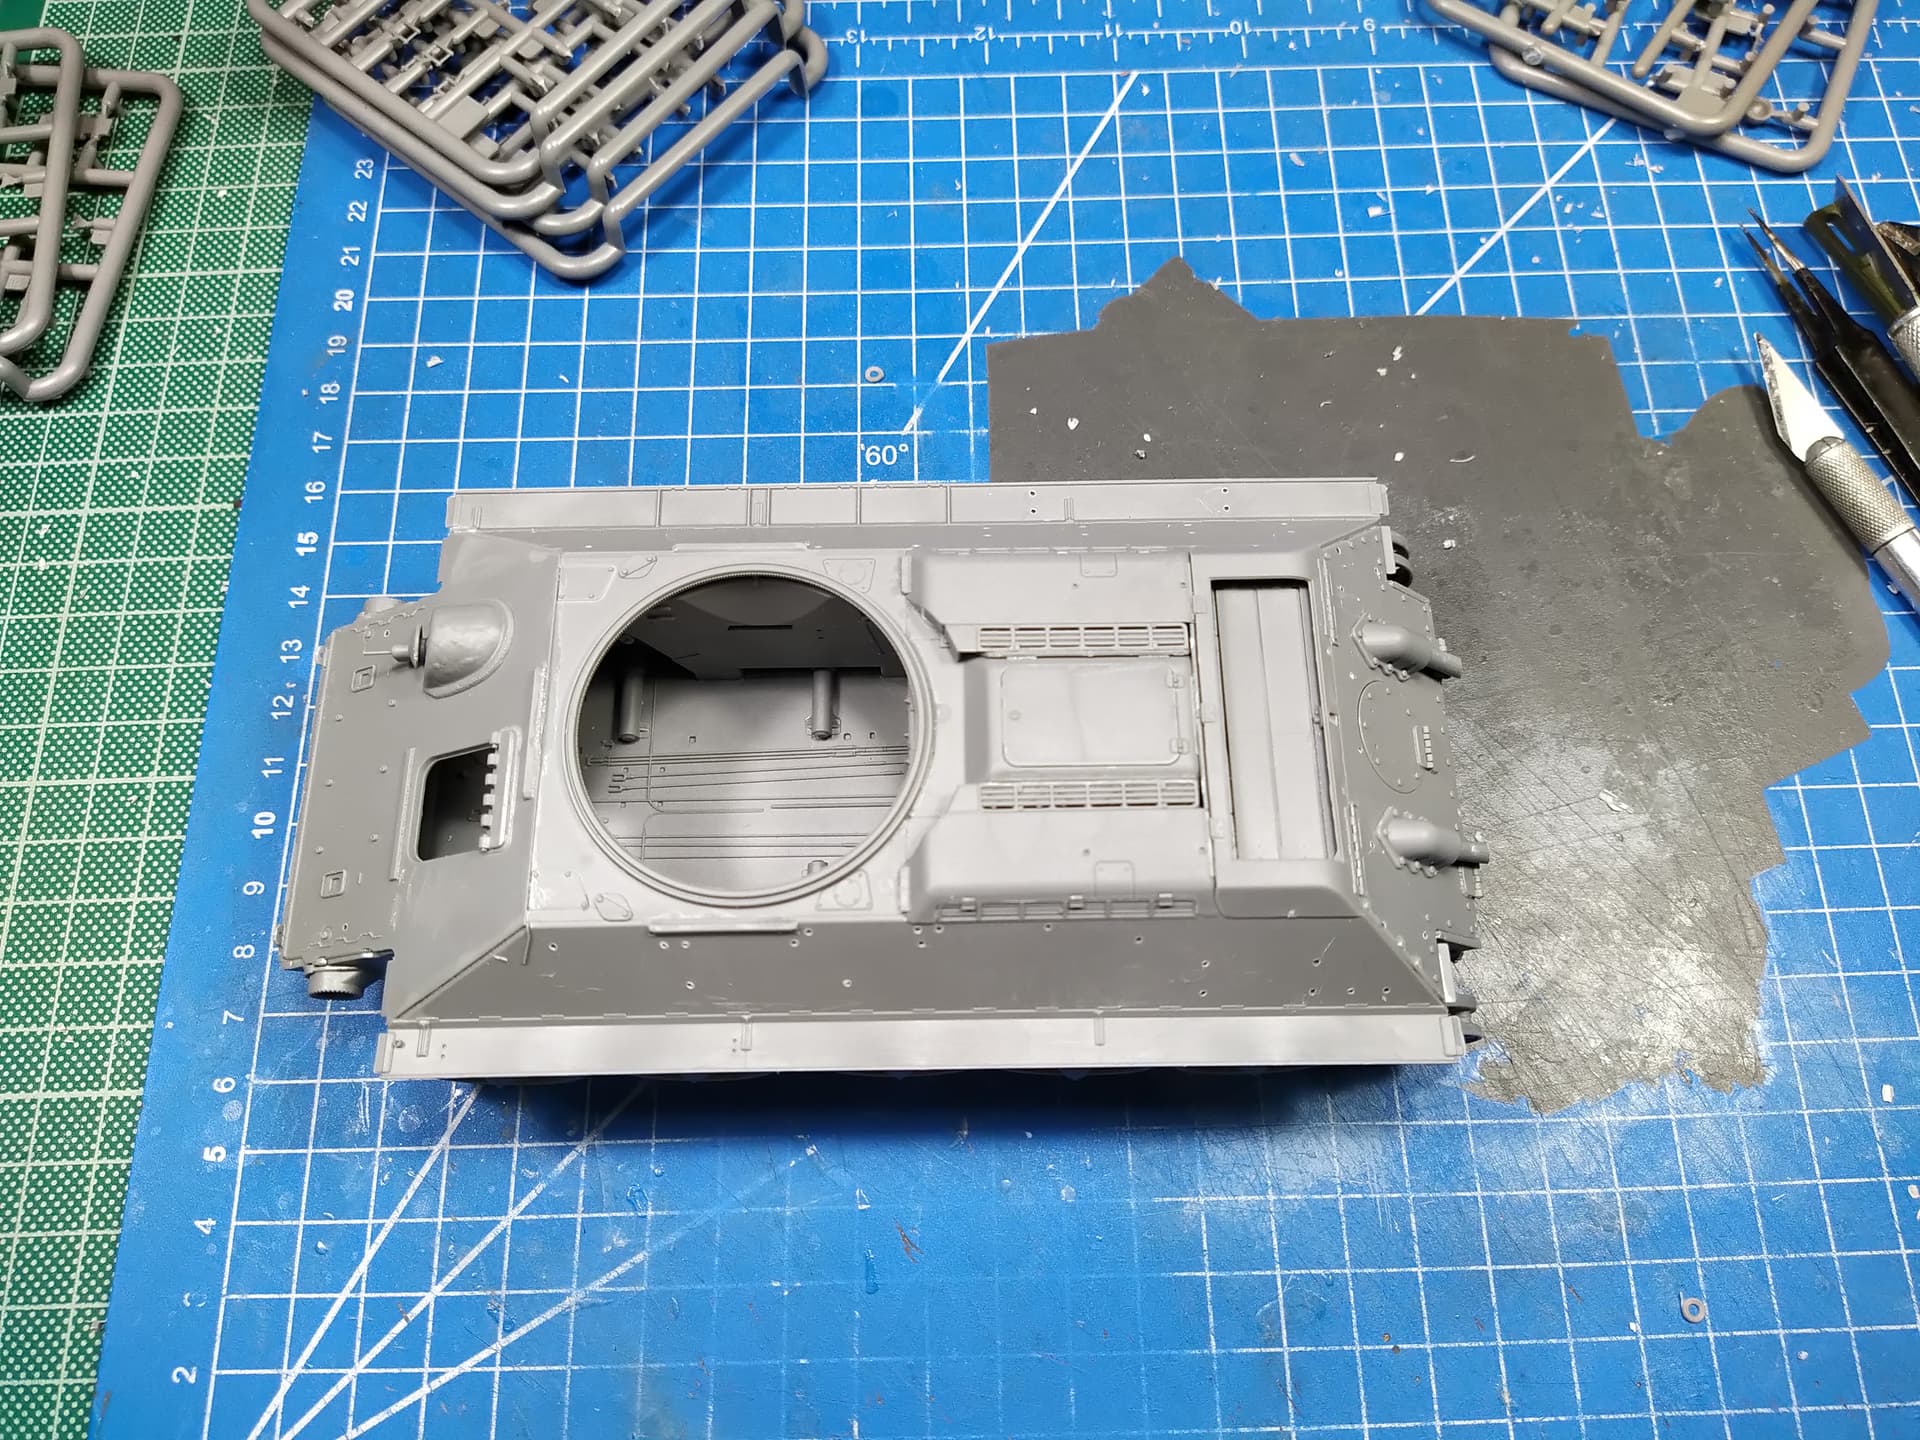
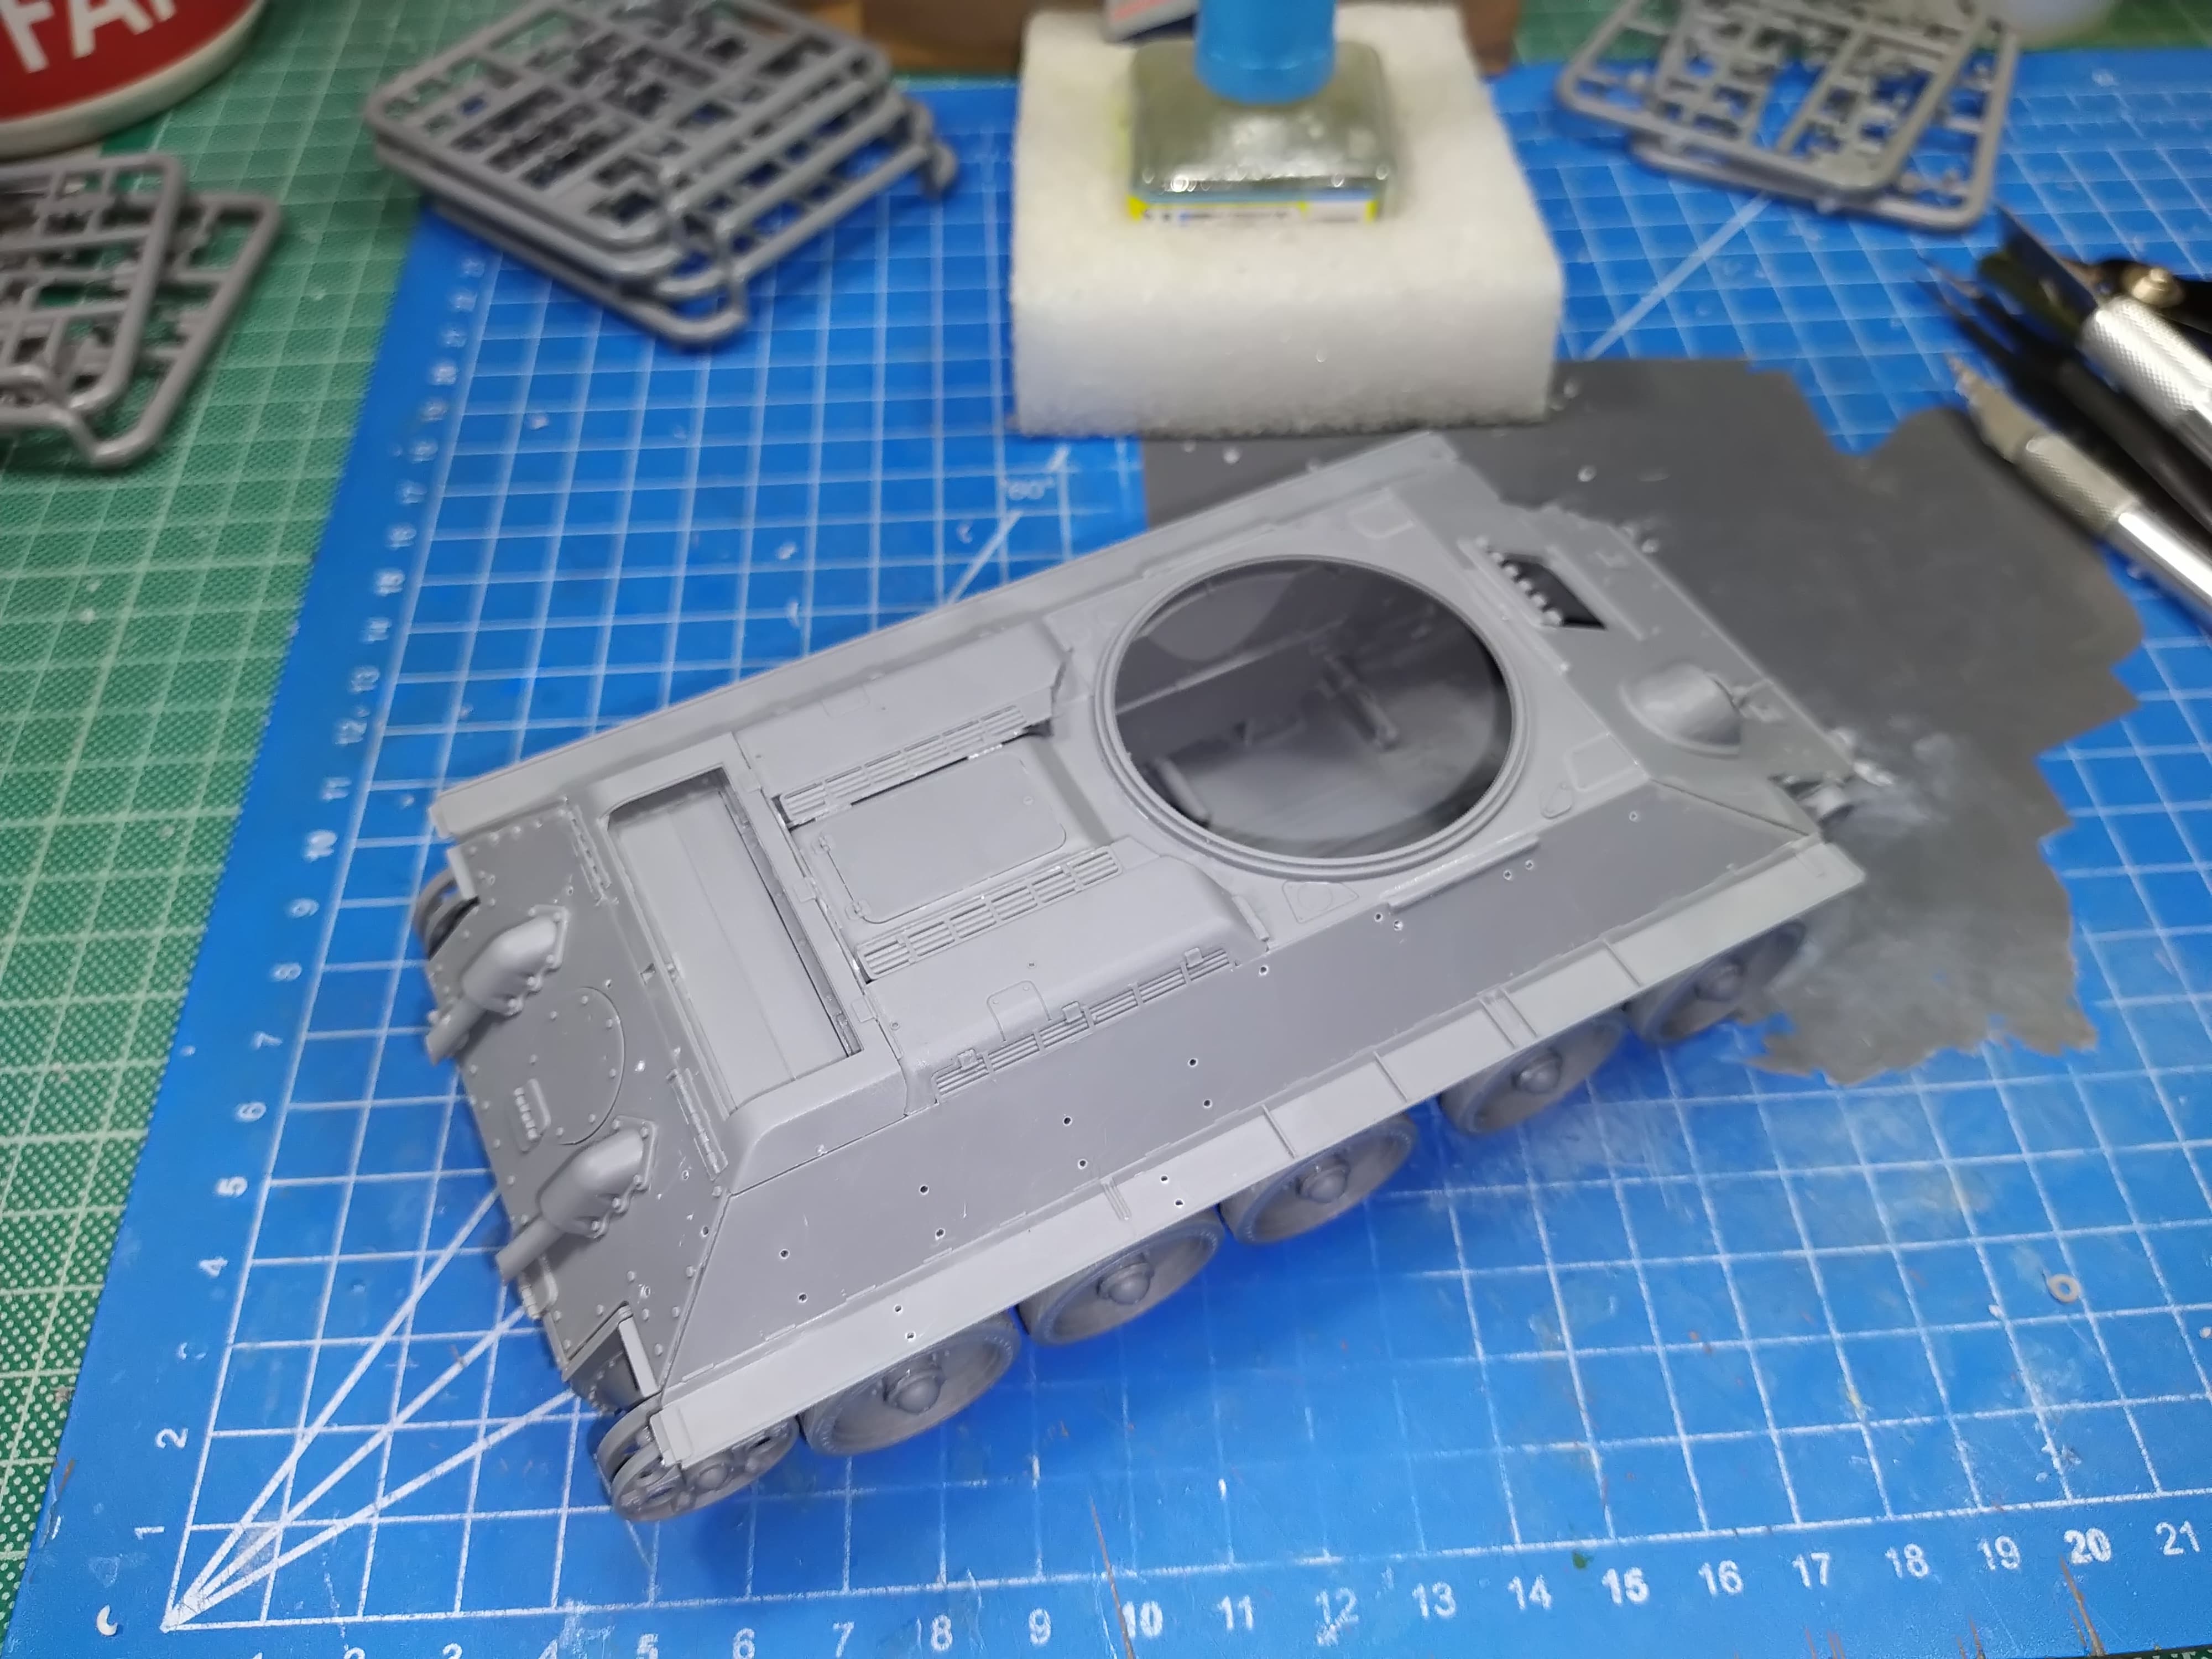
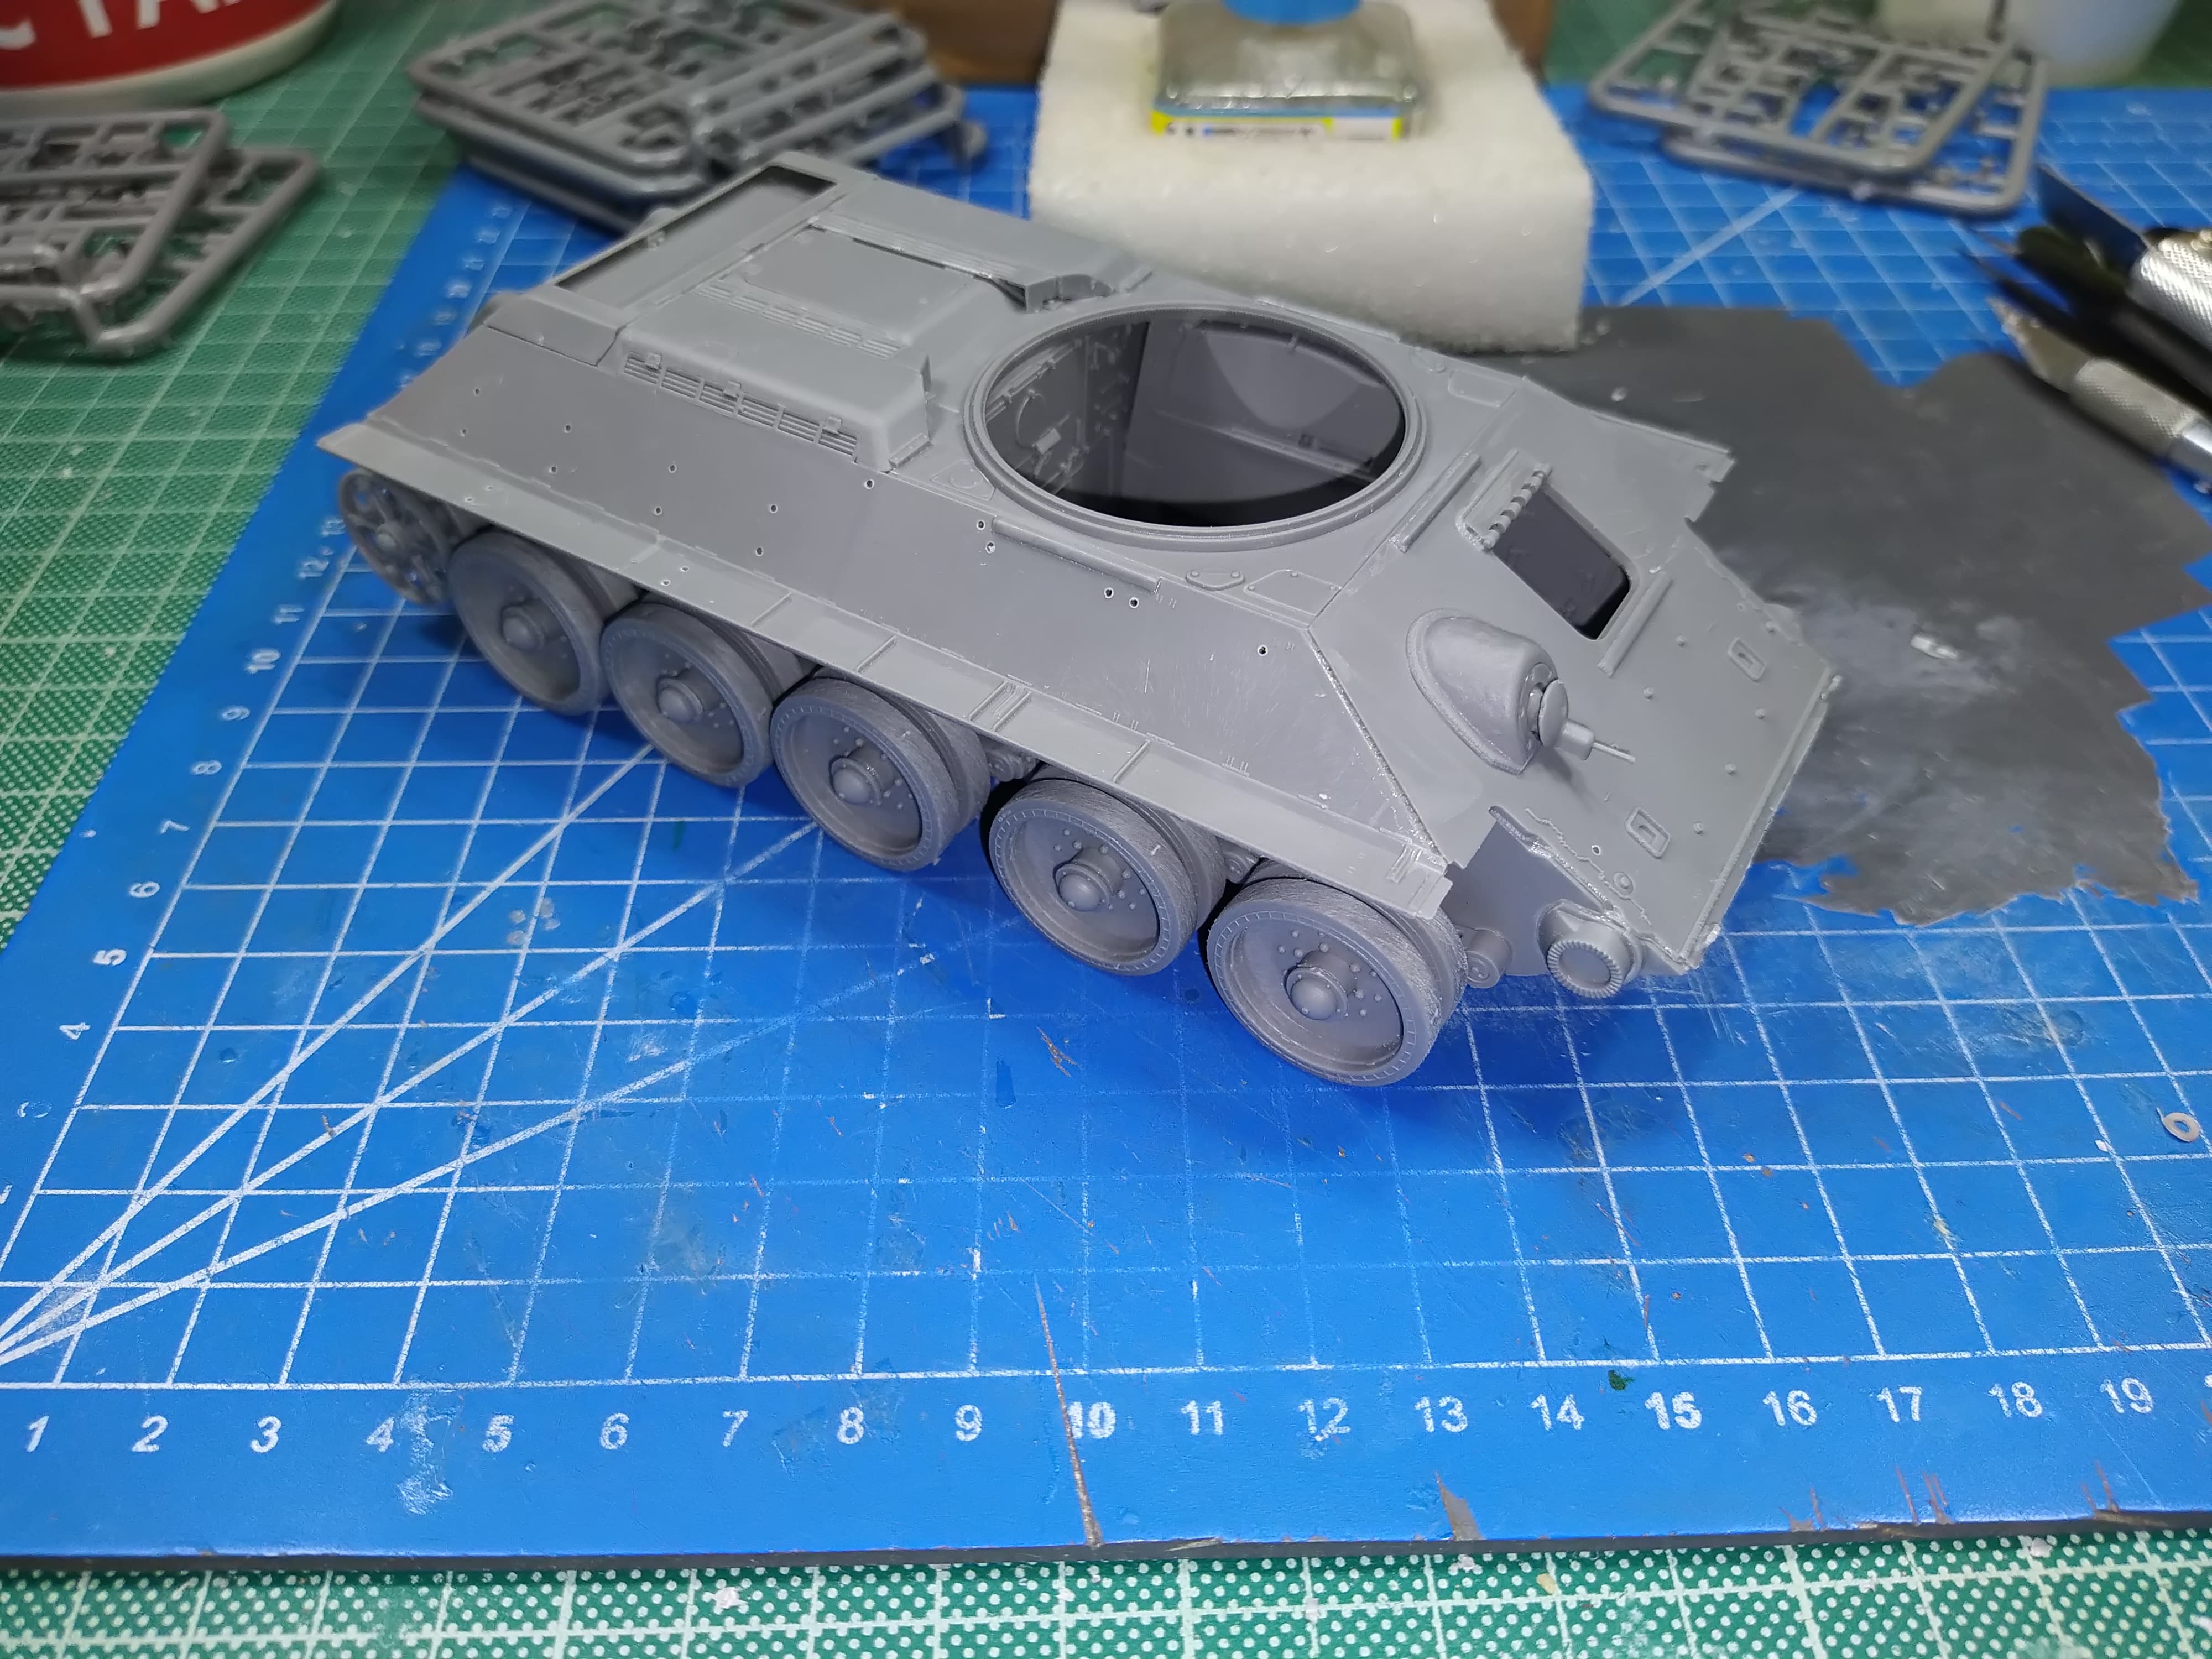
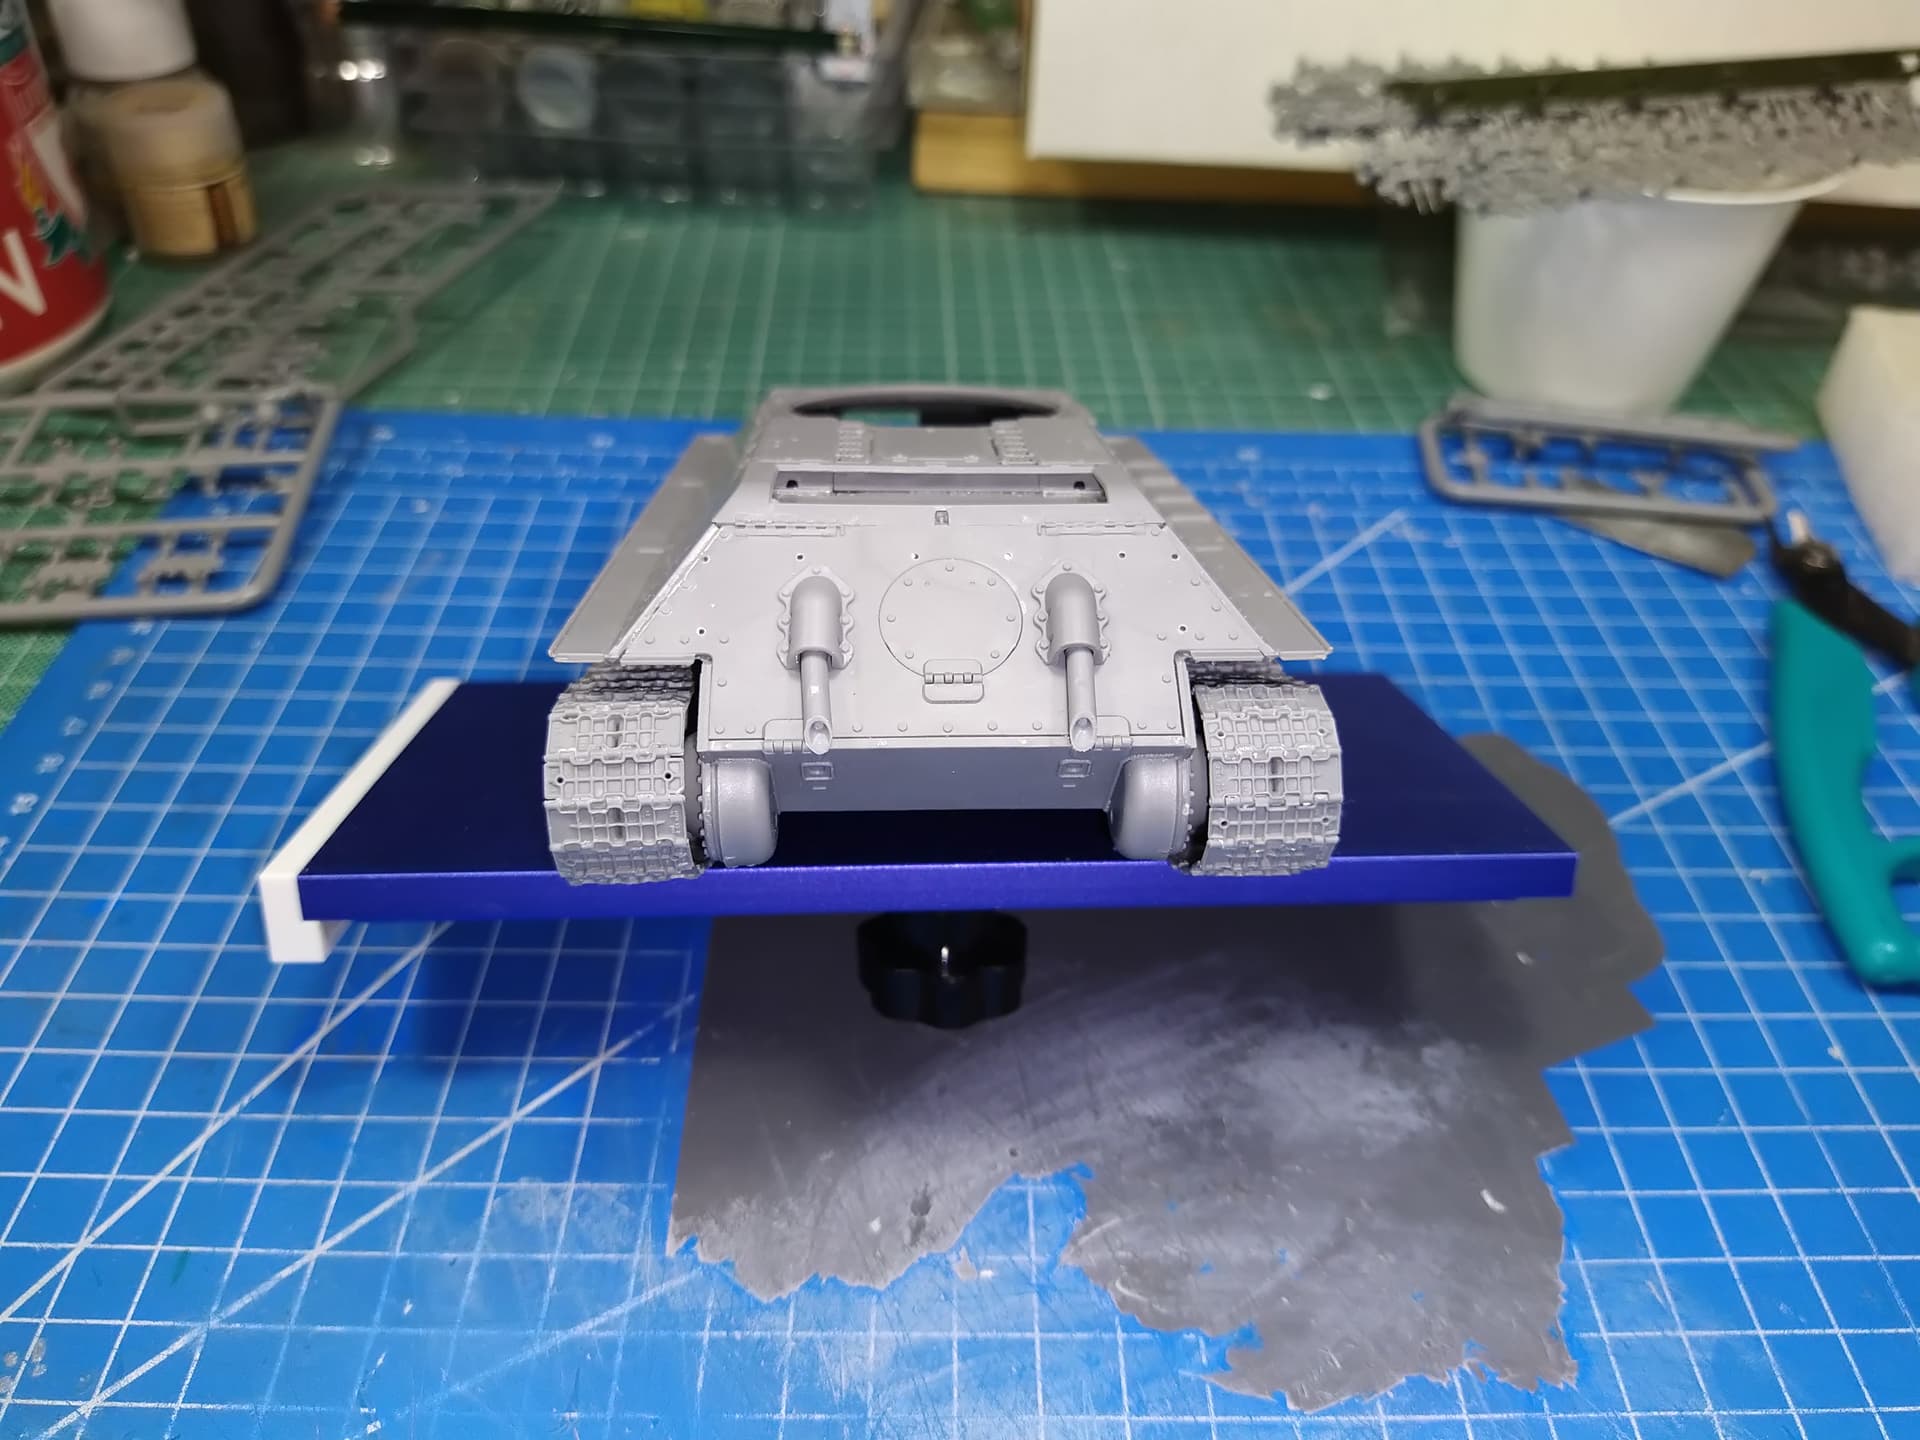
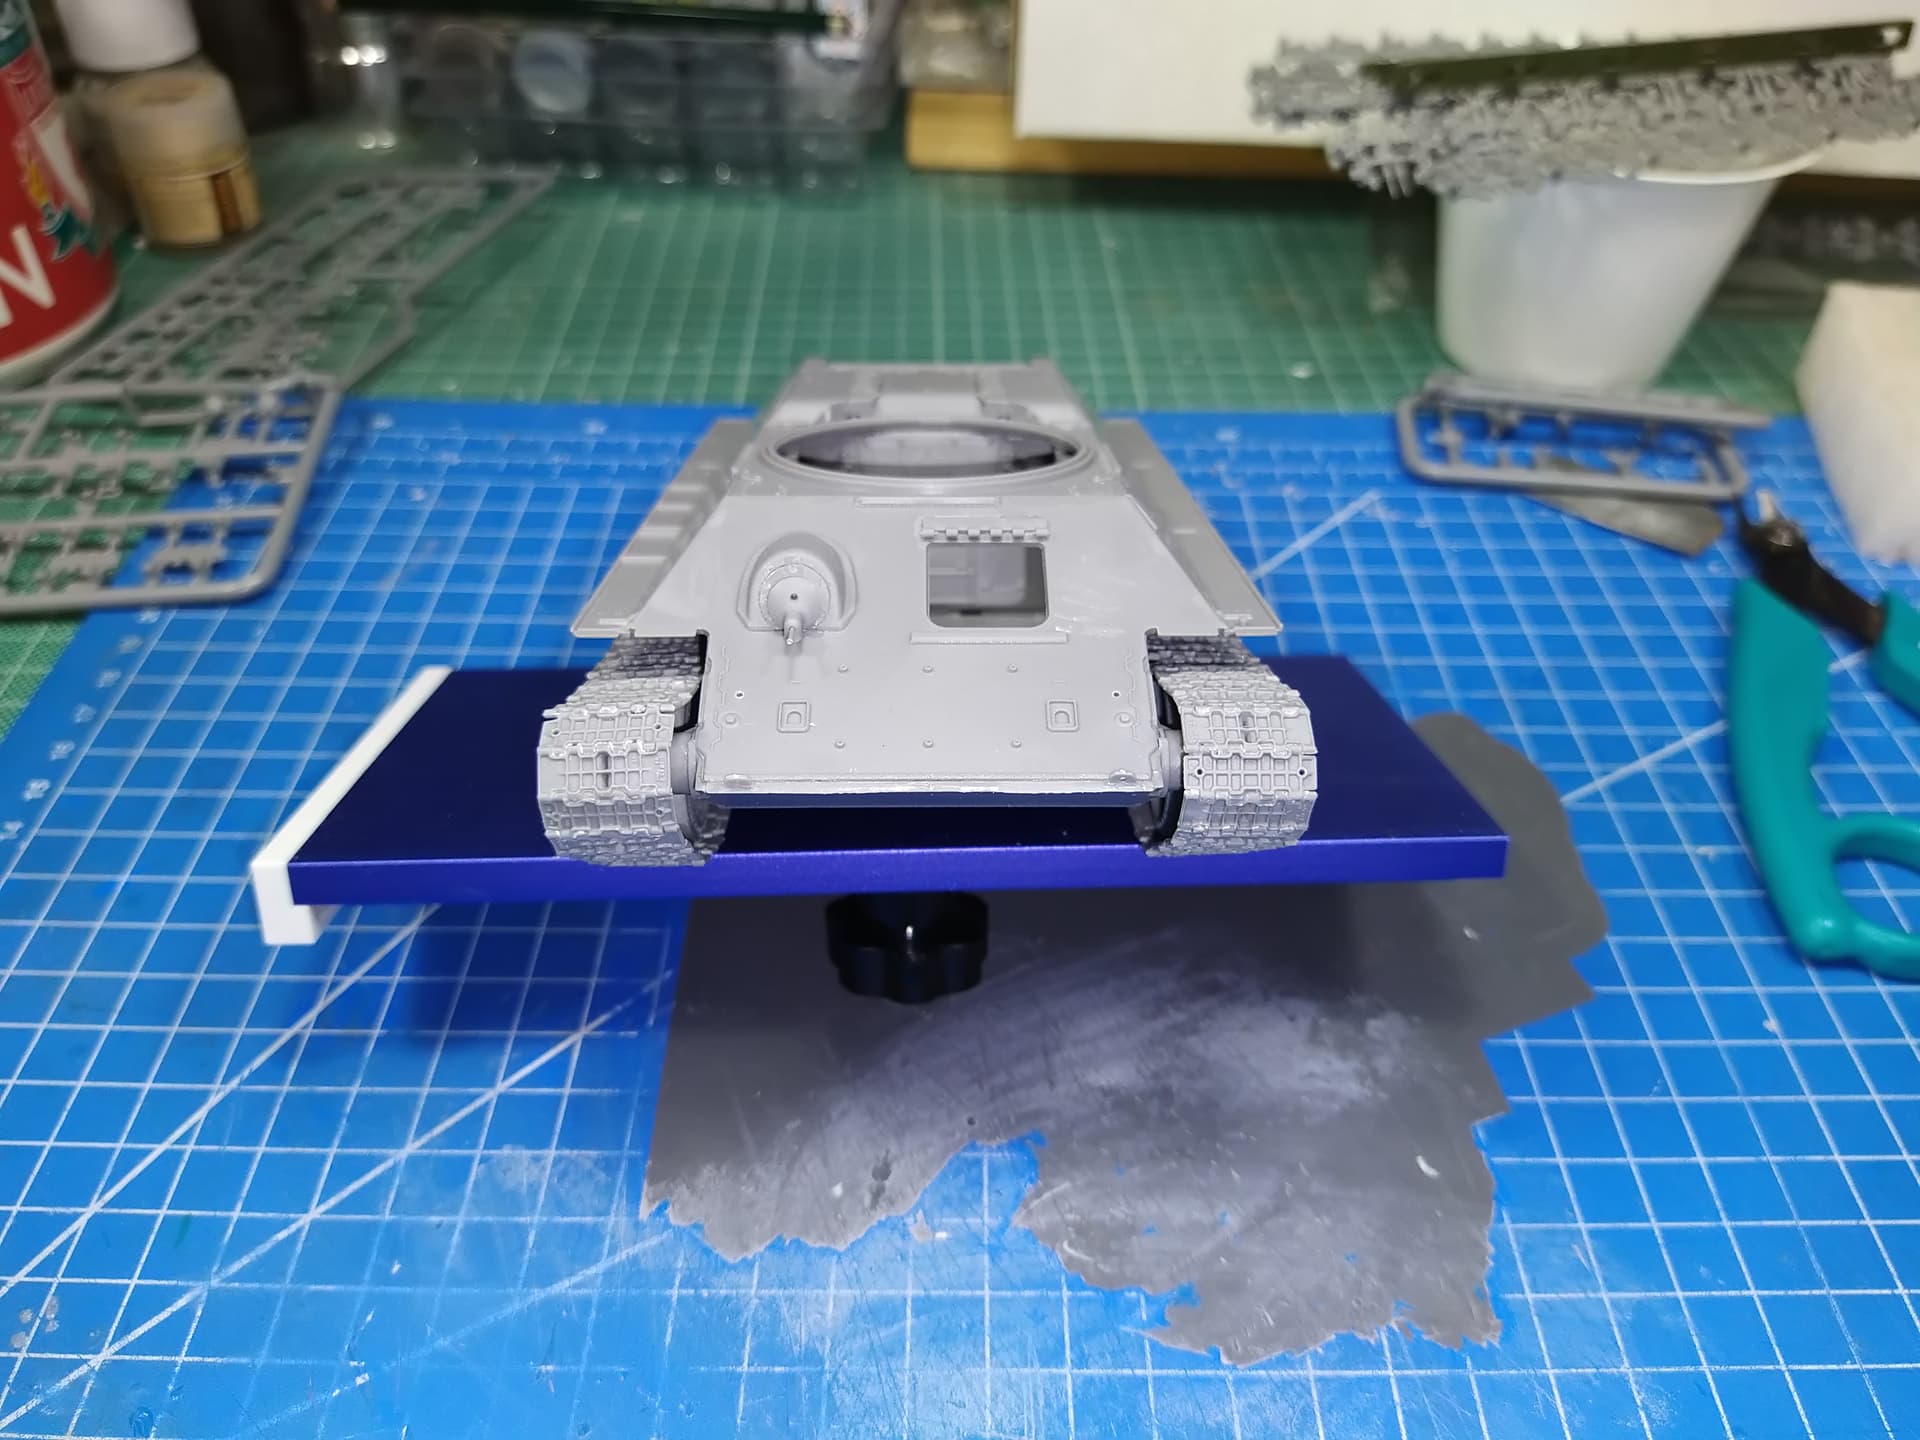
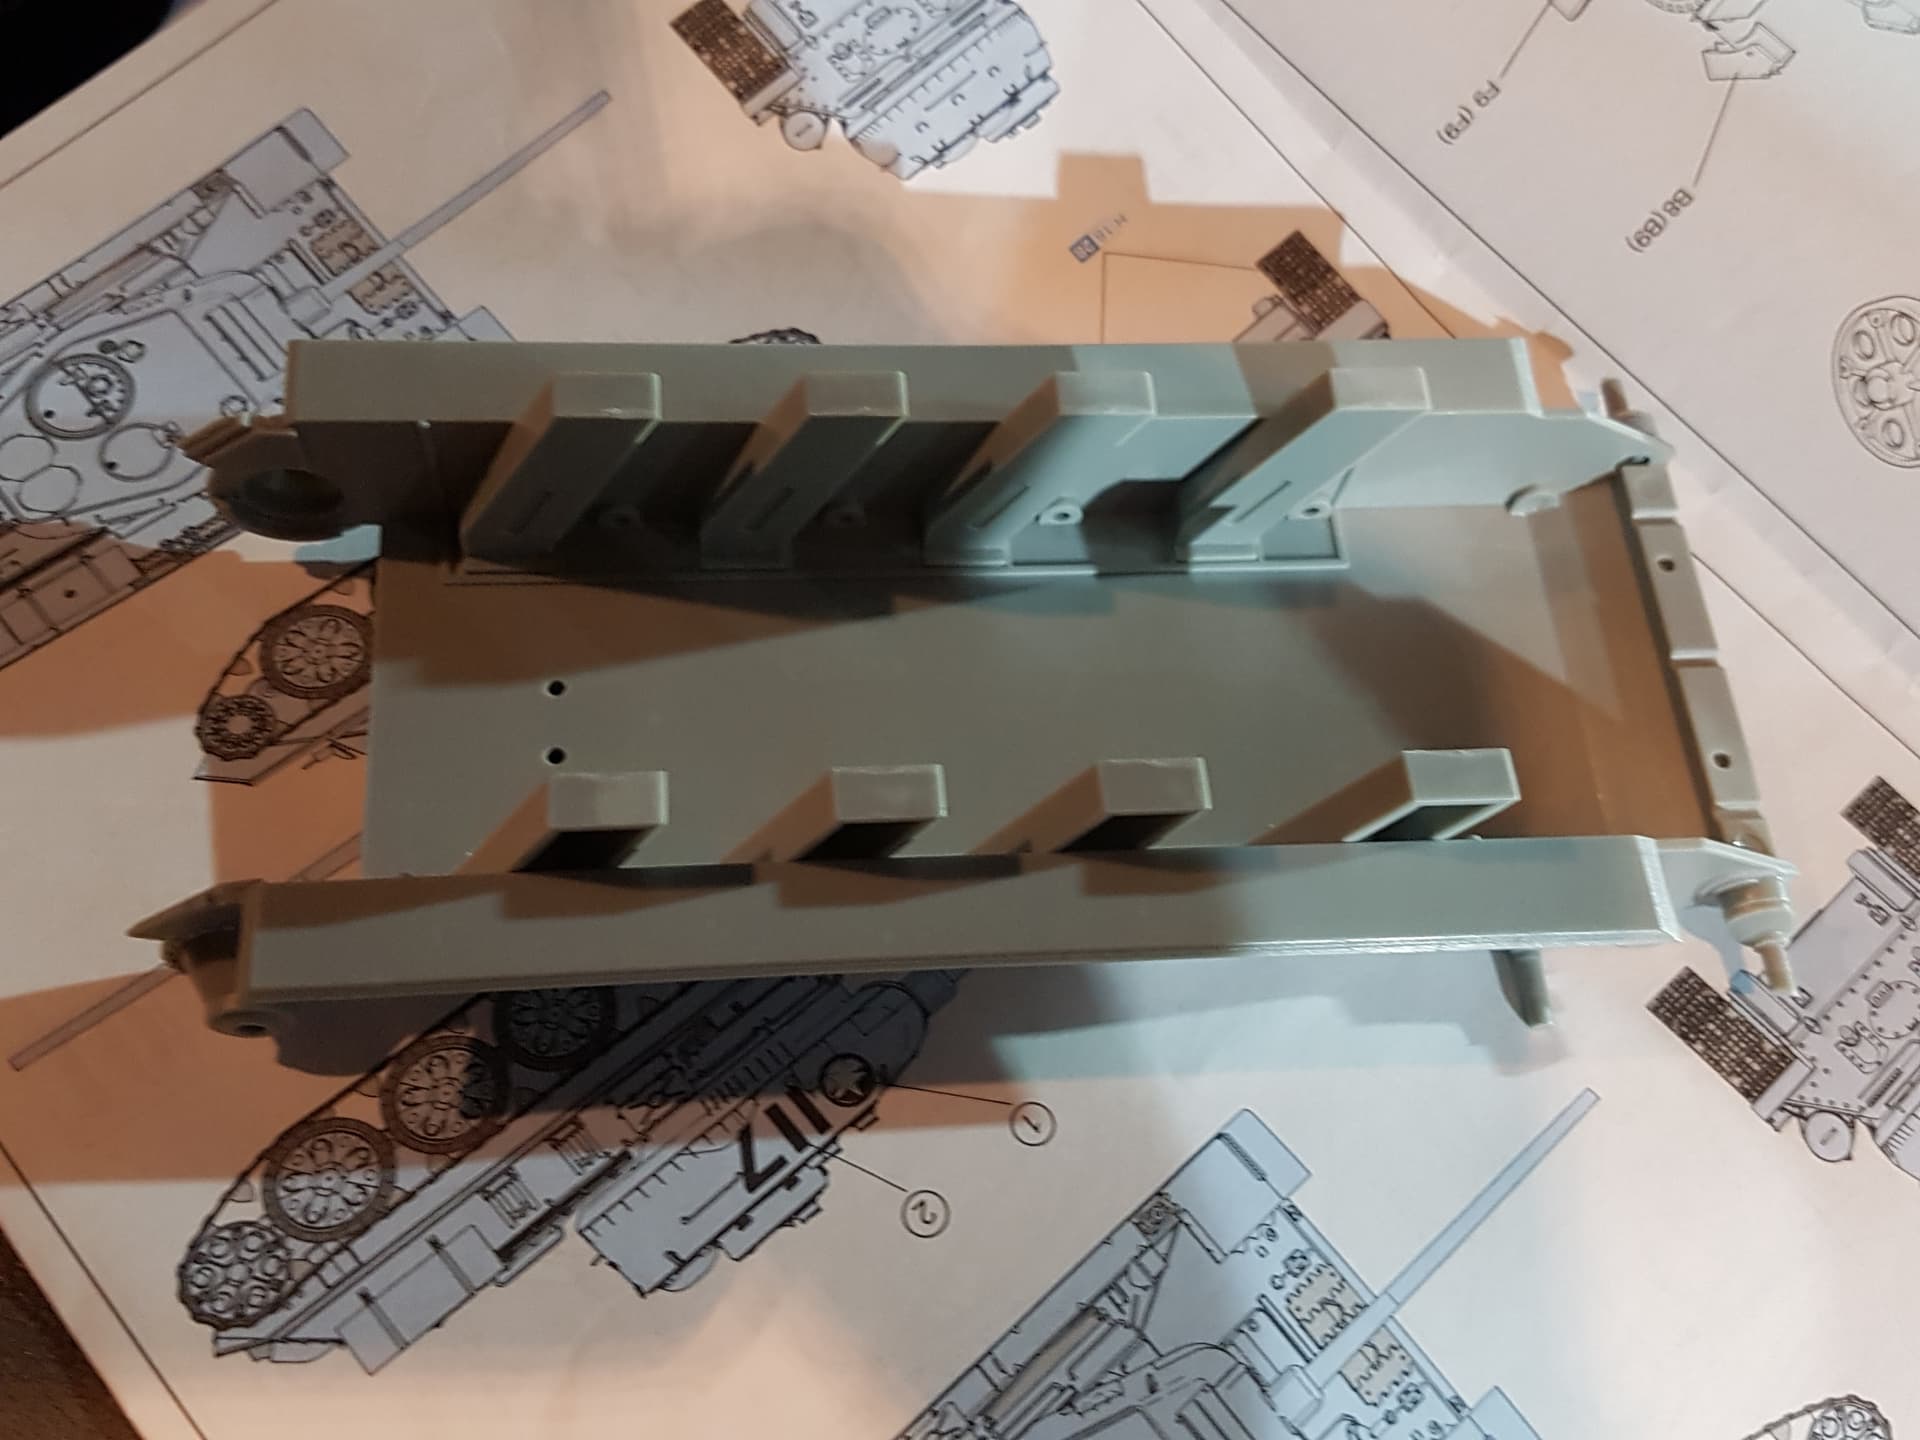
Progress report: Basic hull parts assembled. The fit is excellent and with some dryfitting you can have an easy and relaxed build.
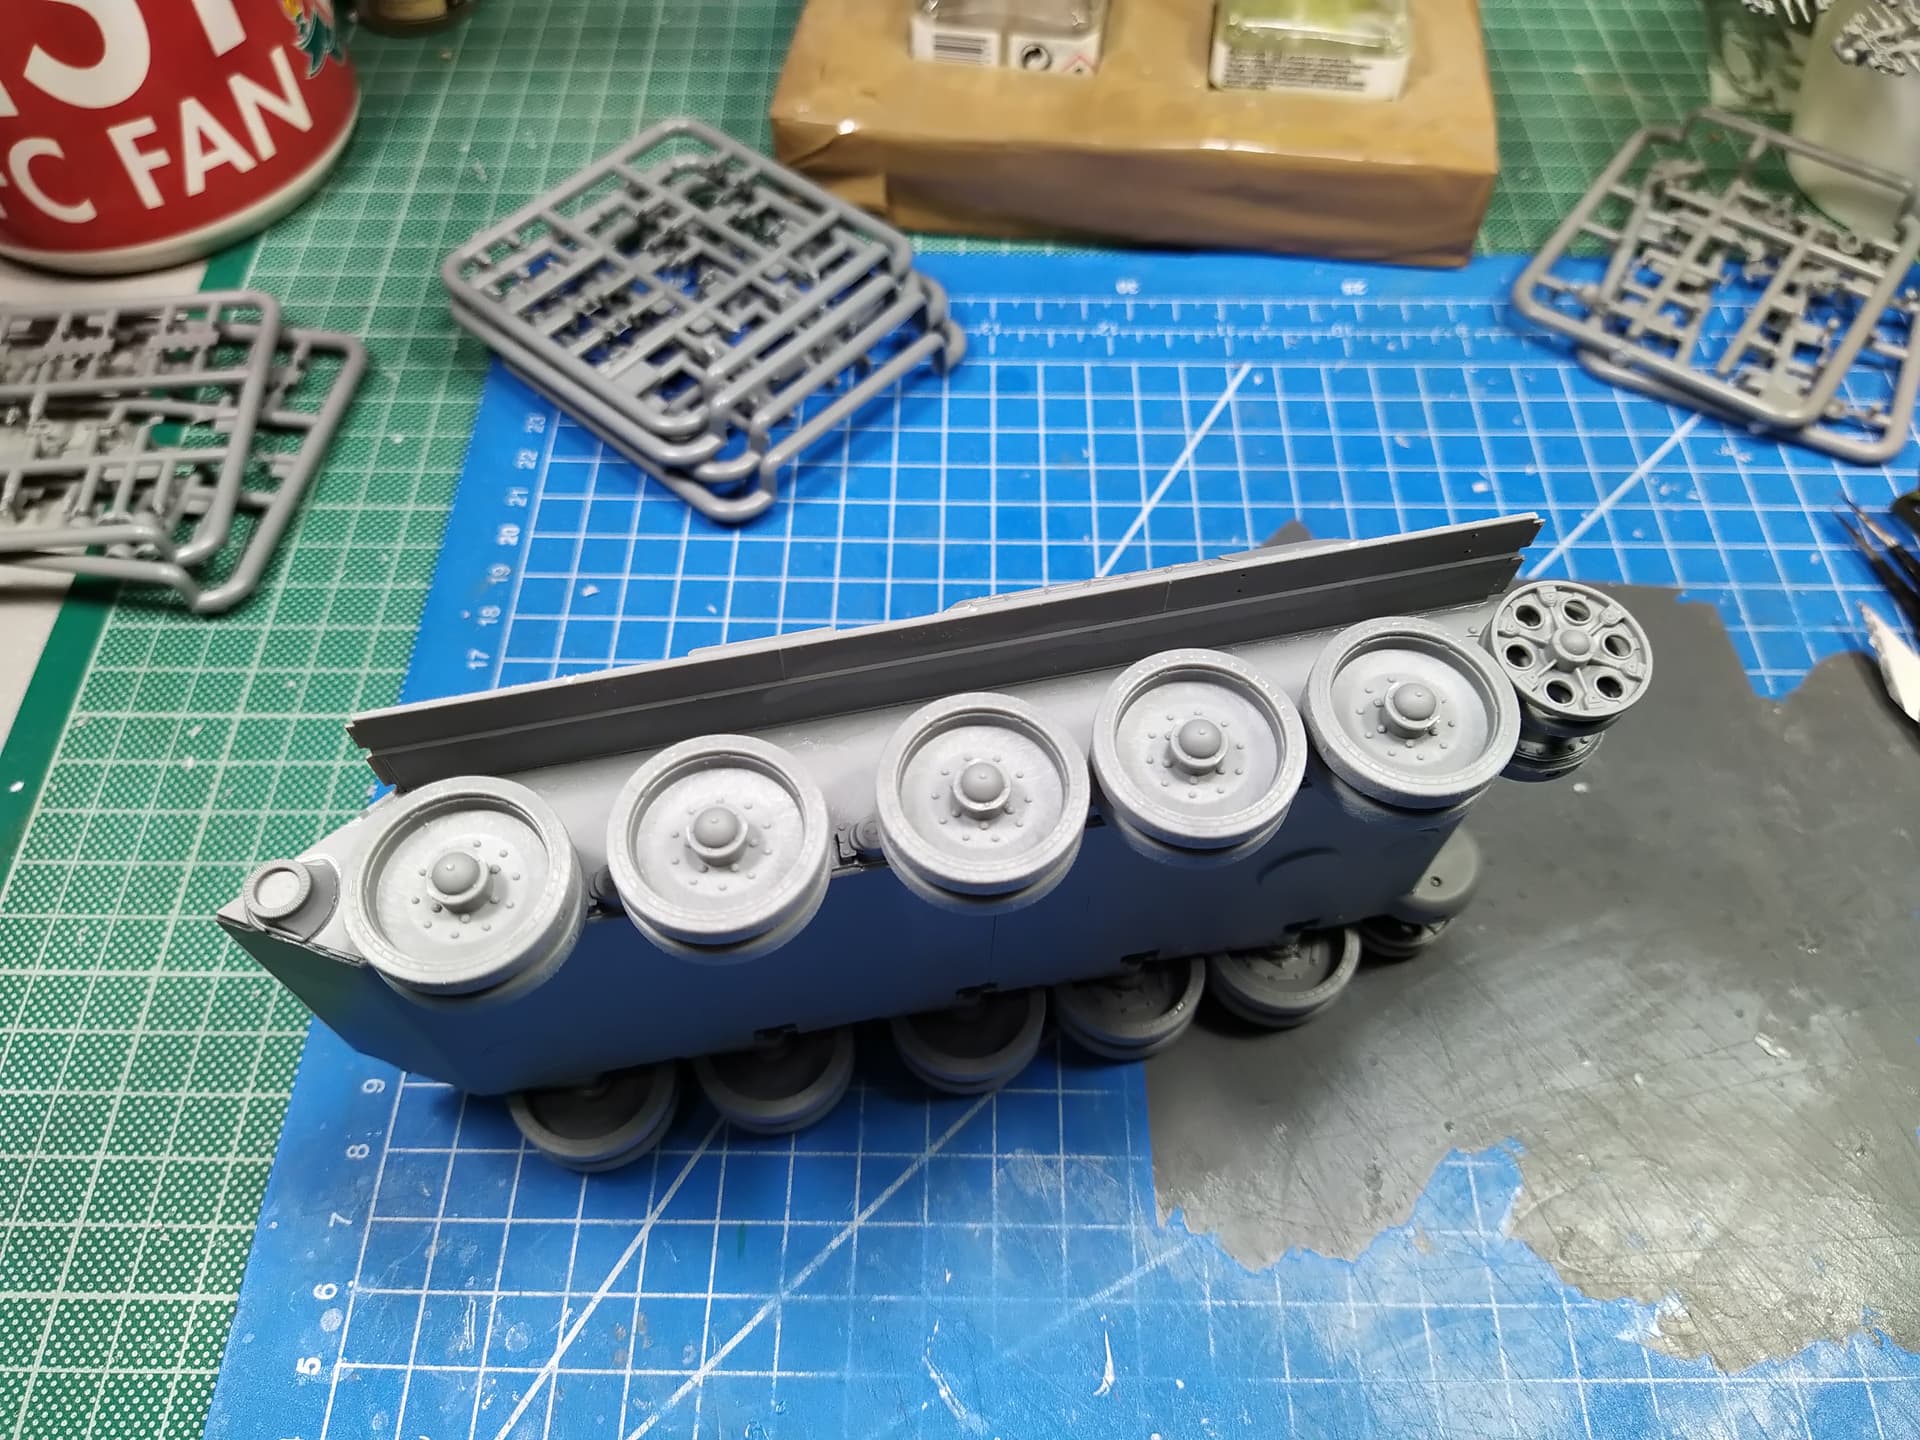
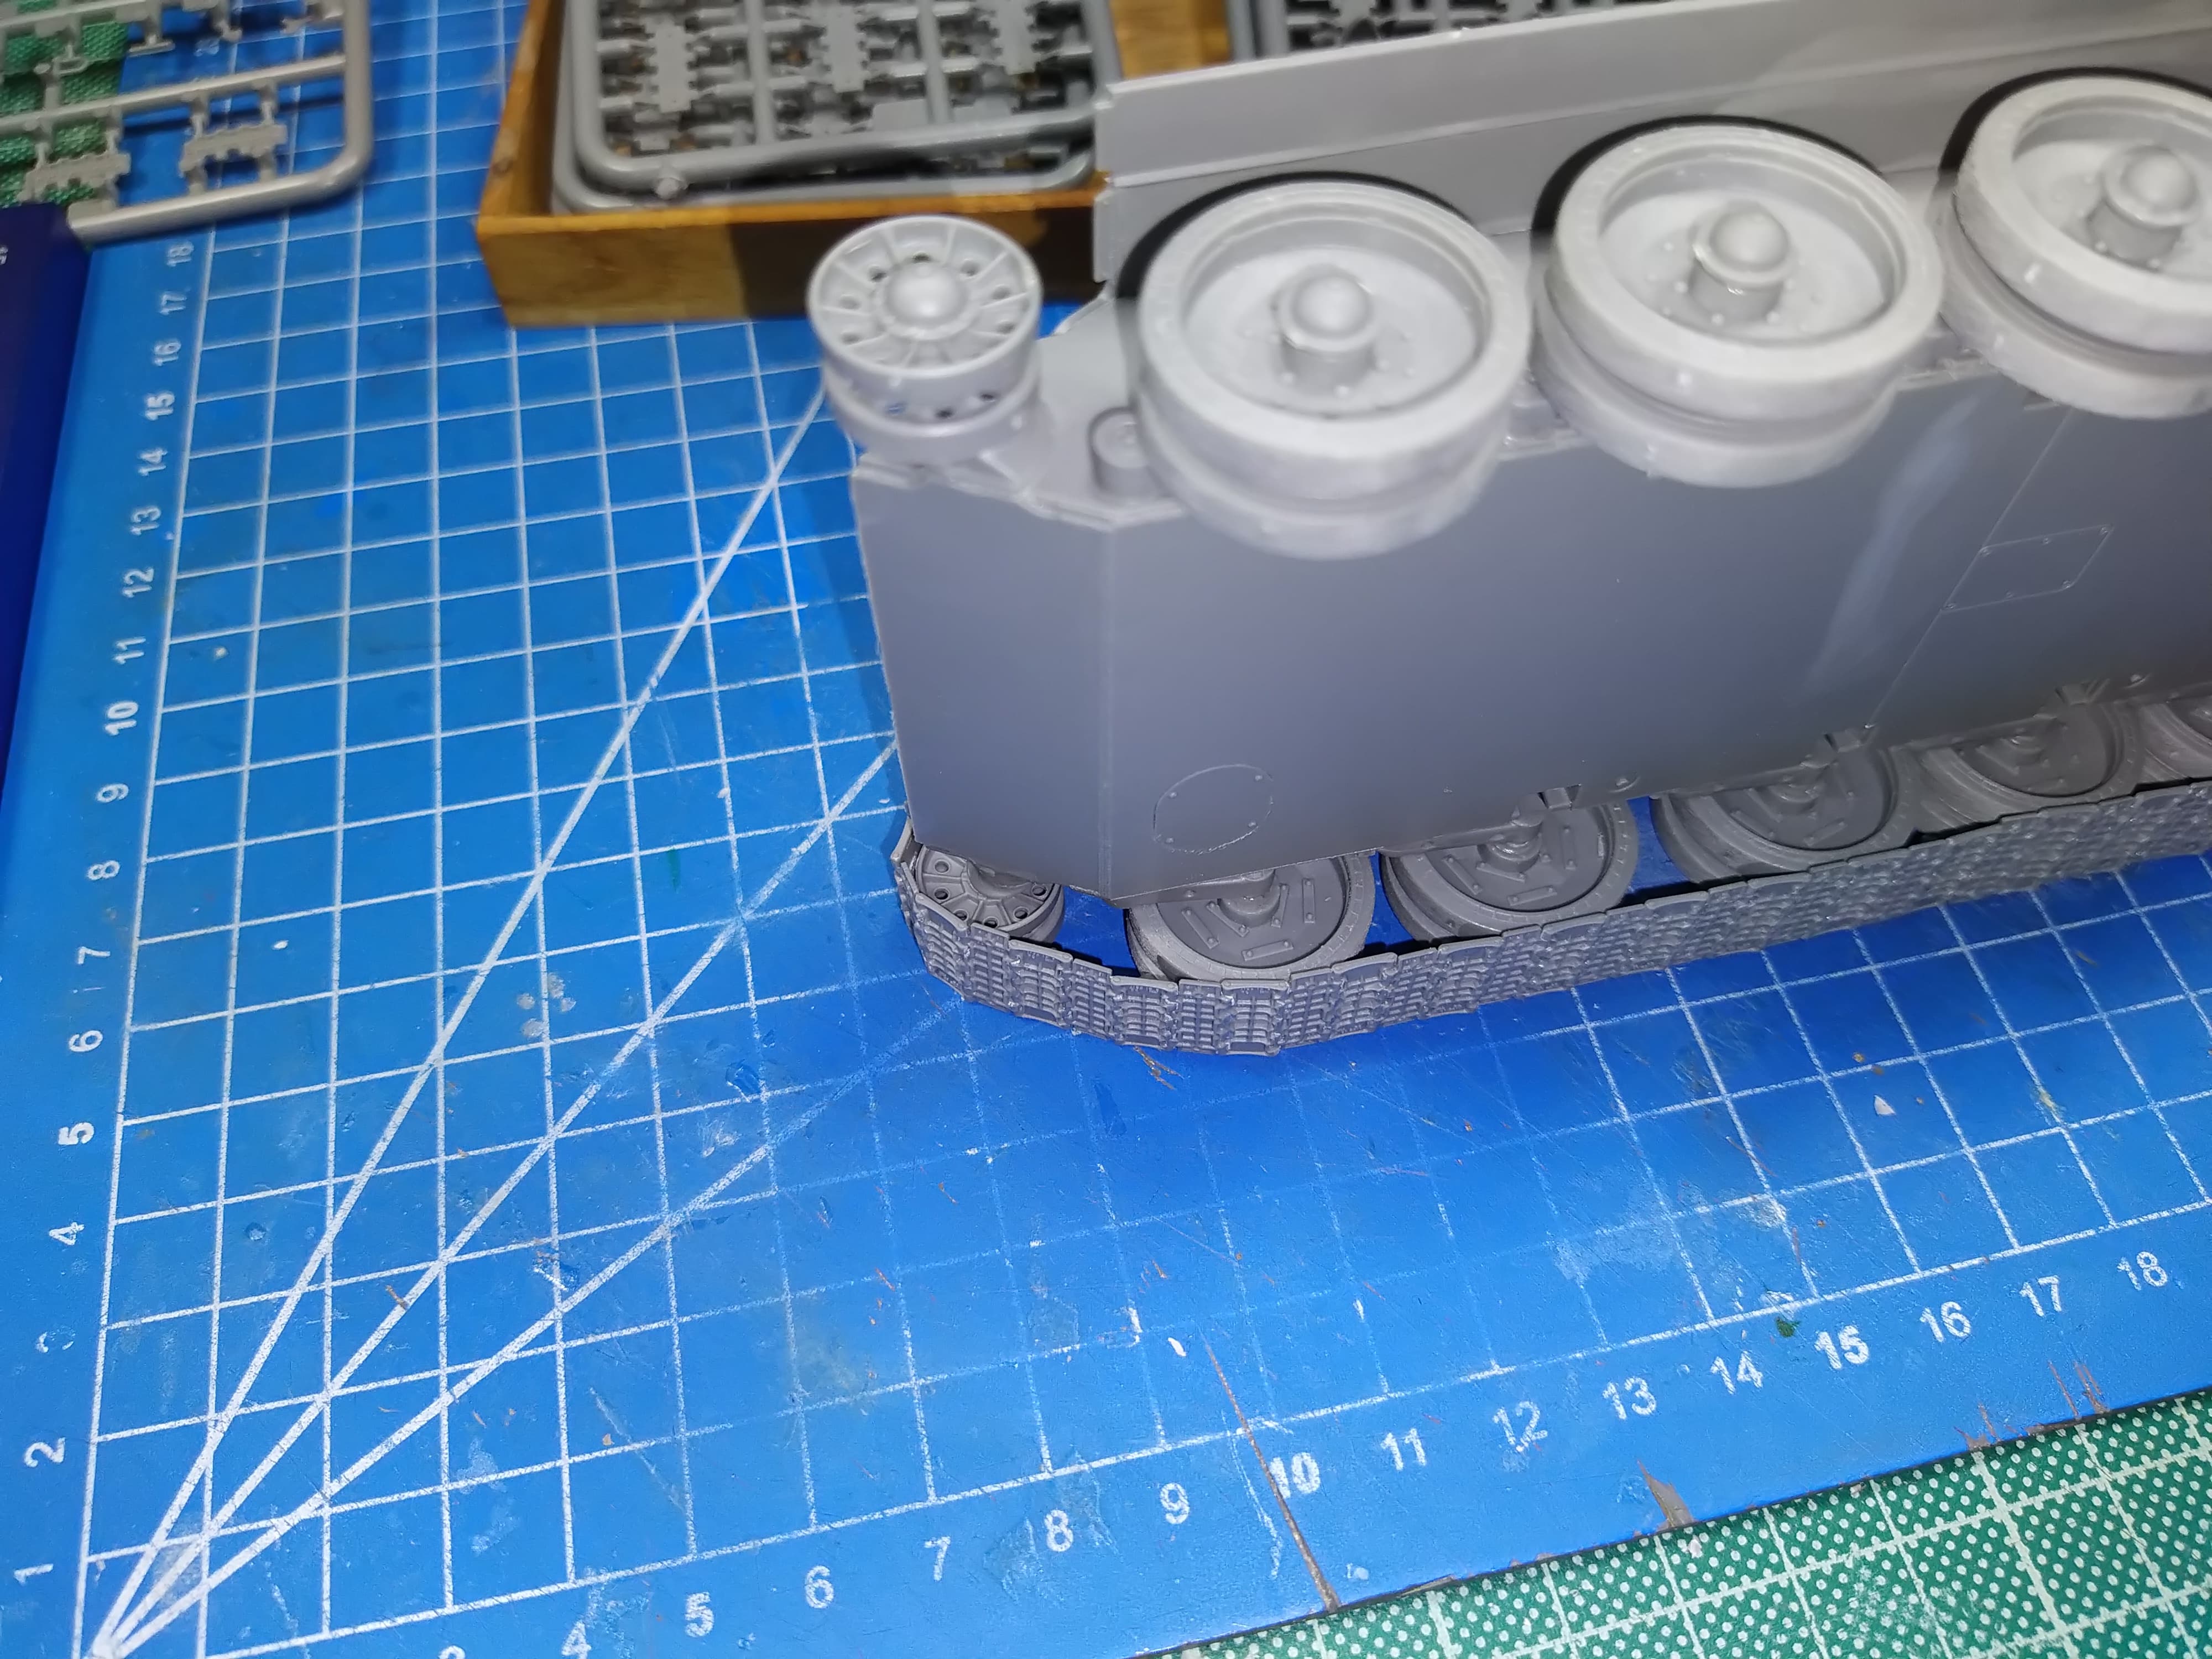
Until you get to the wheels. The engineering of the kit is pretty poor since the wheel axles are a different part from the suspension arm and require a lot of attention. Things are made harder by the mold seam around the middle of each axle part. The hub caps are a different part that luckily I left for after installing the wheels on the suspension, since the hub caps dont fit on the axle ends so some trimming was required. Had I fitted the hub caps on the wheels prior to mounting them on the axles might have caused some nasty misalignment.
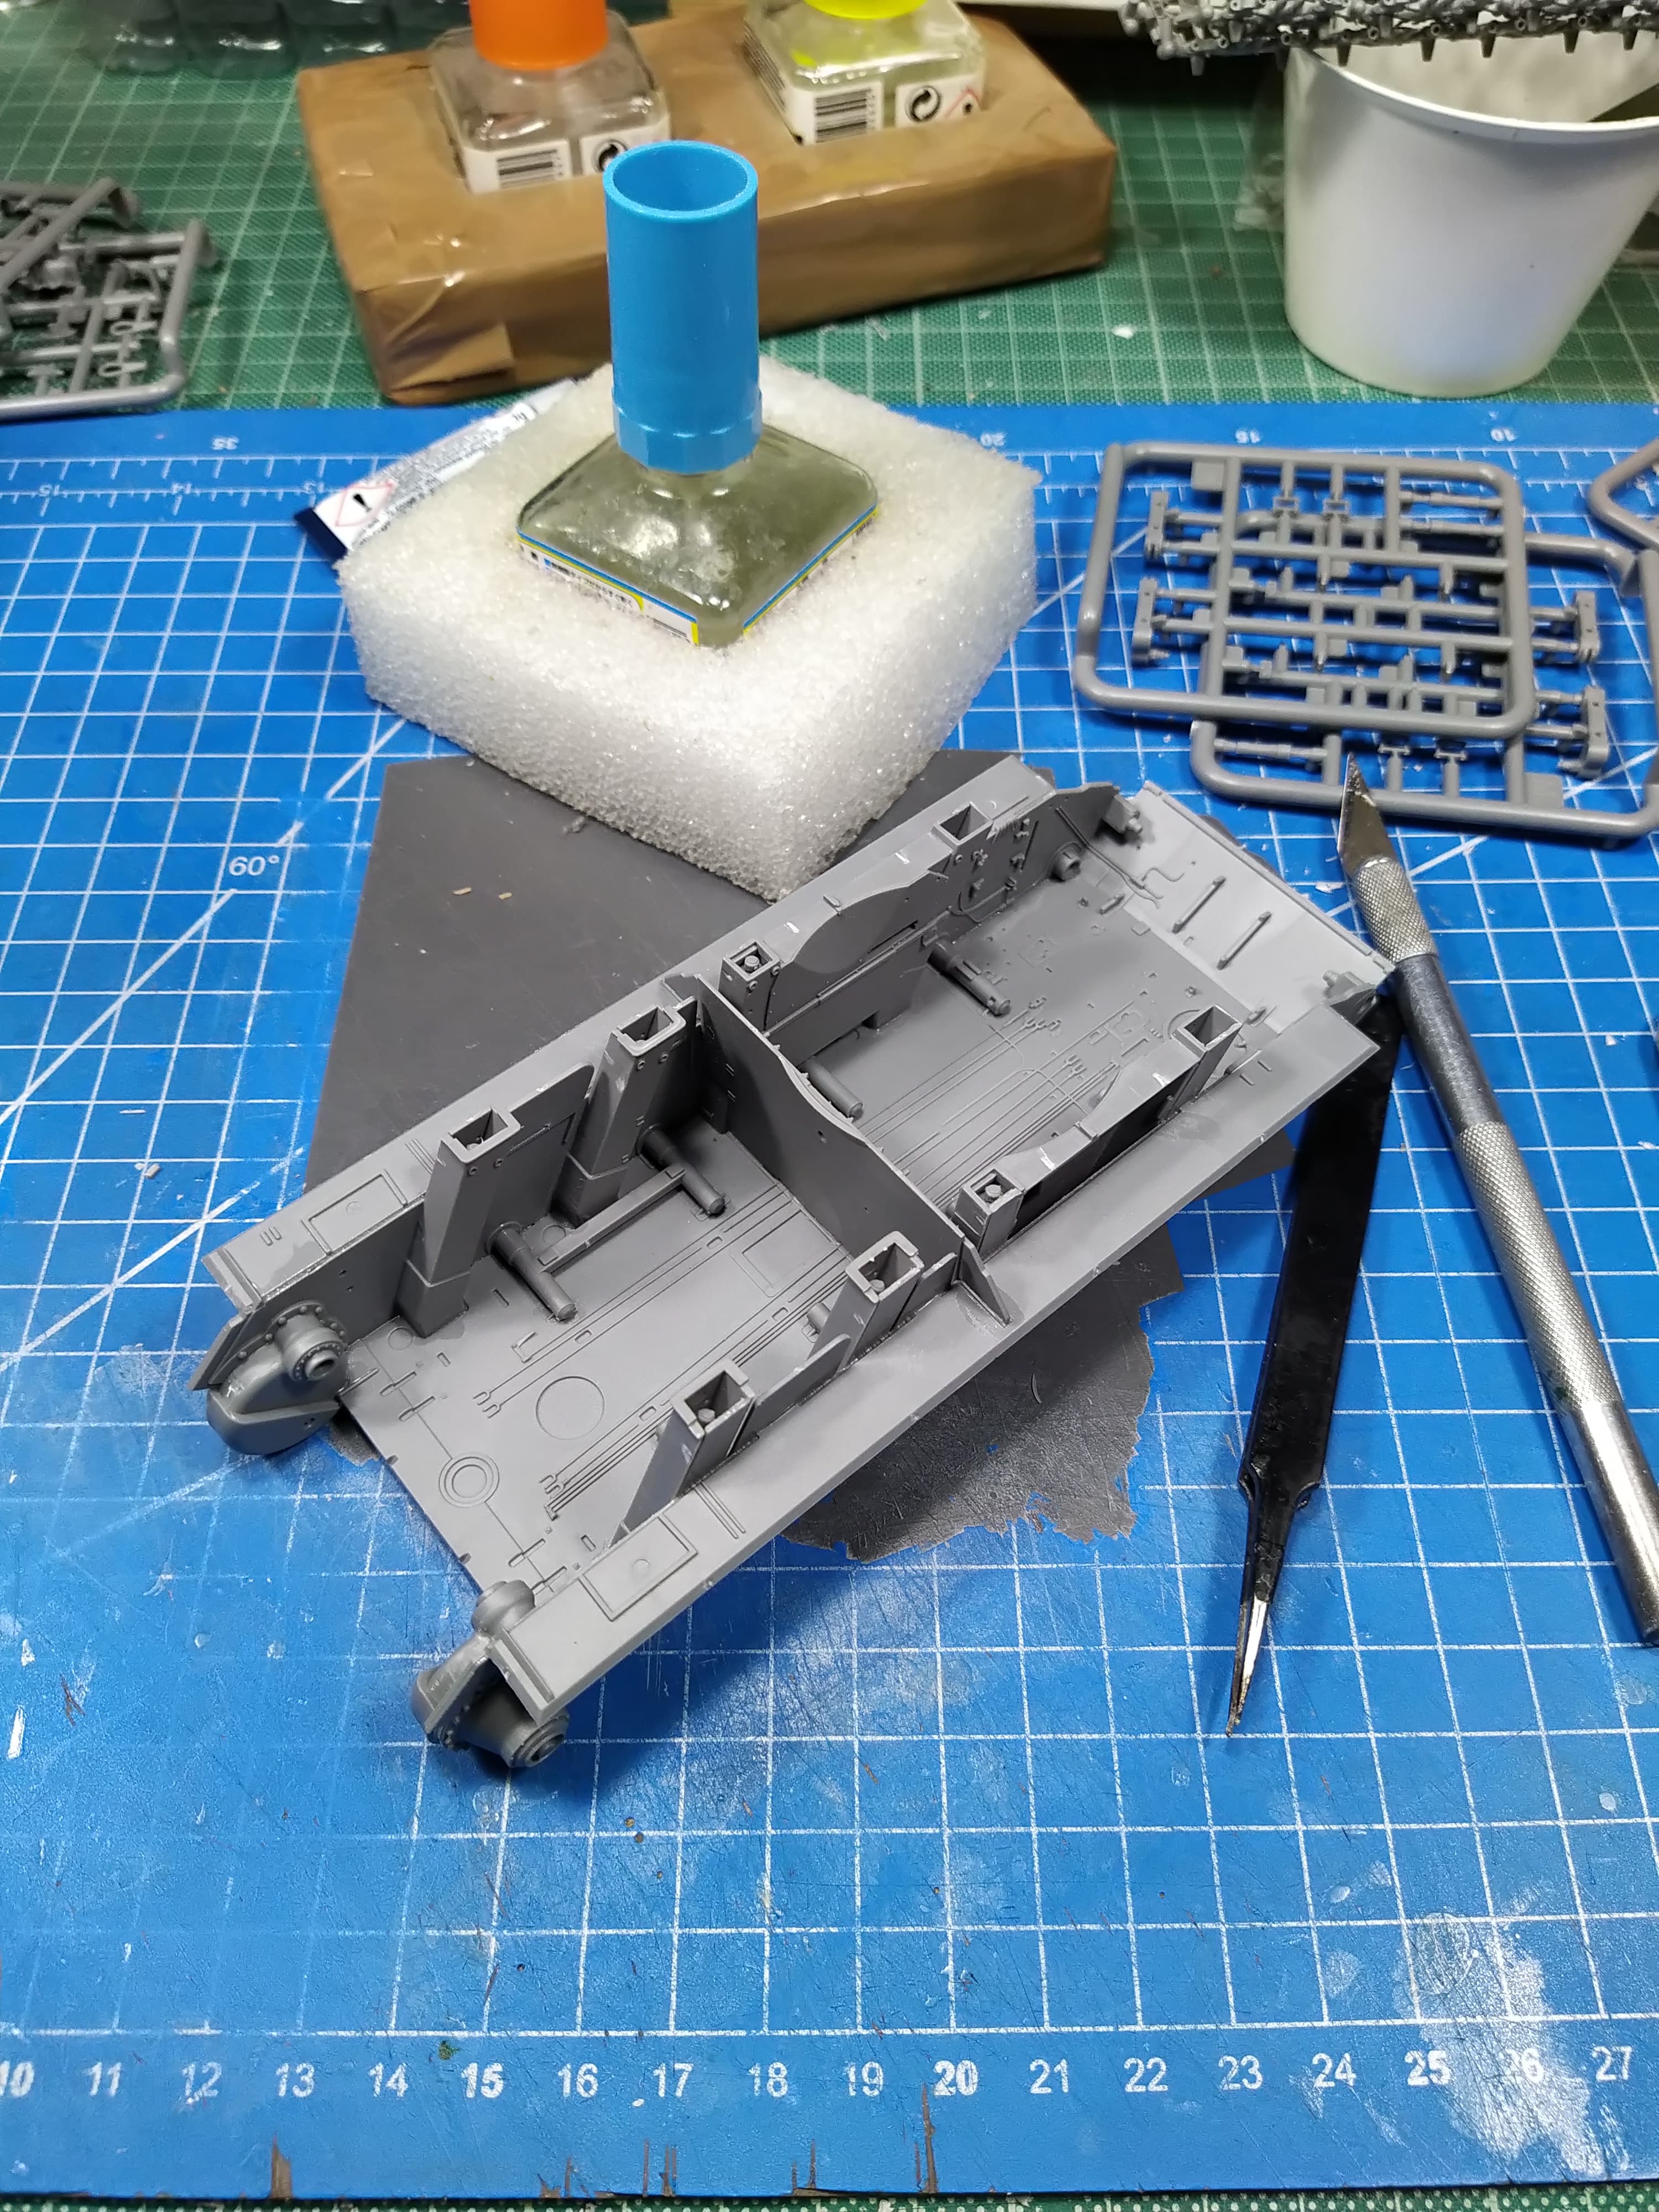
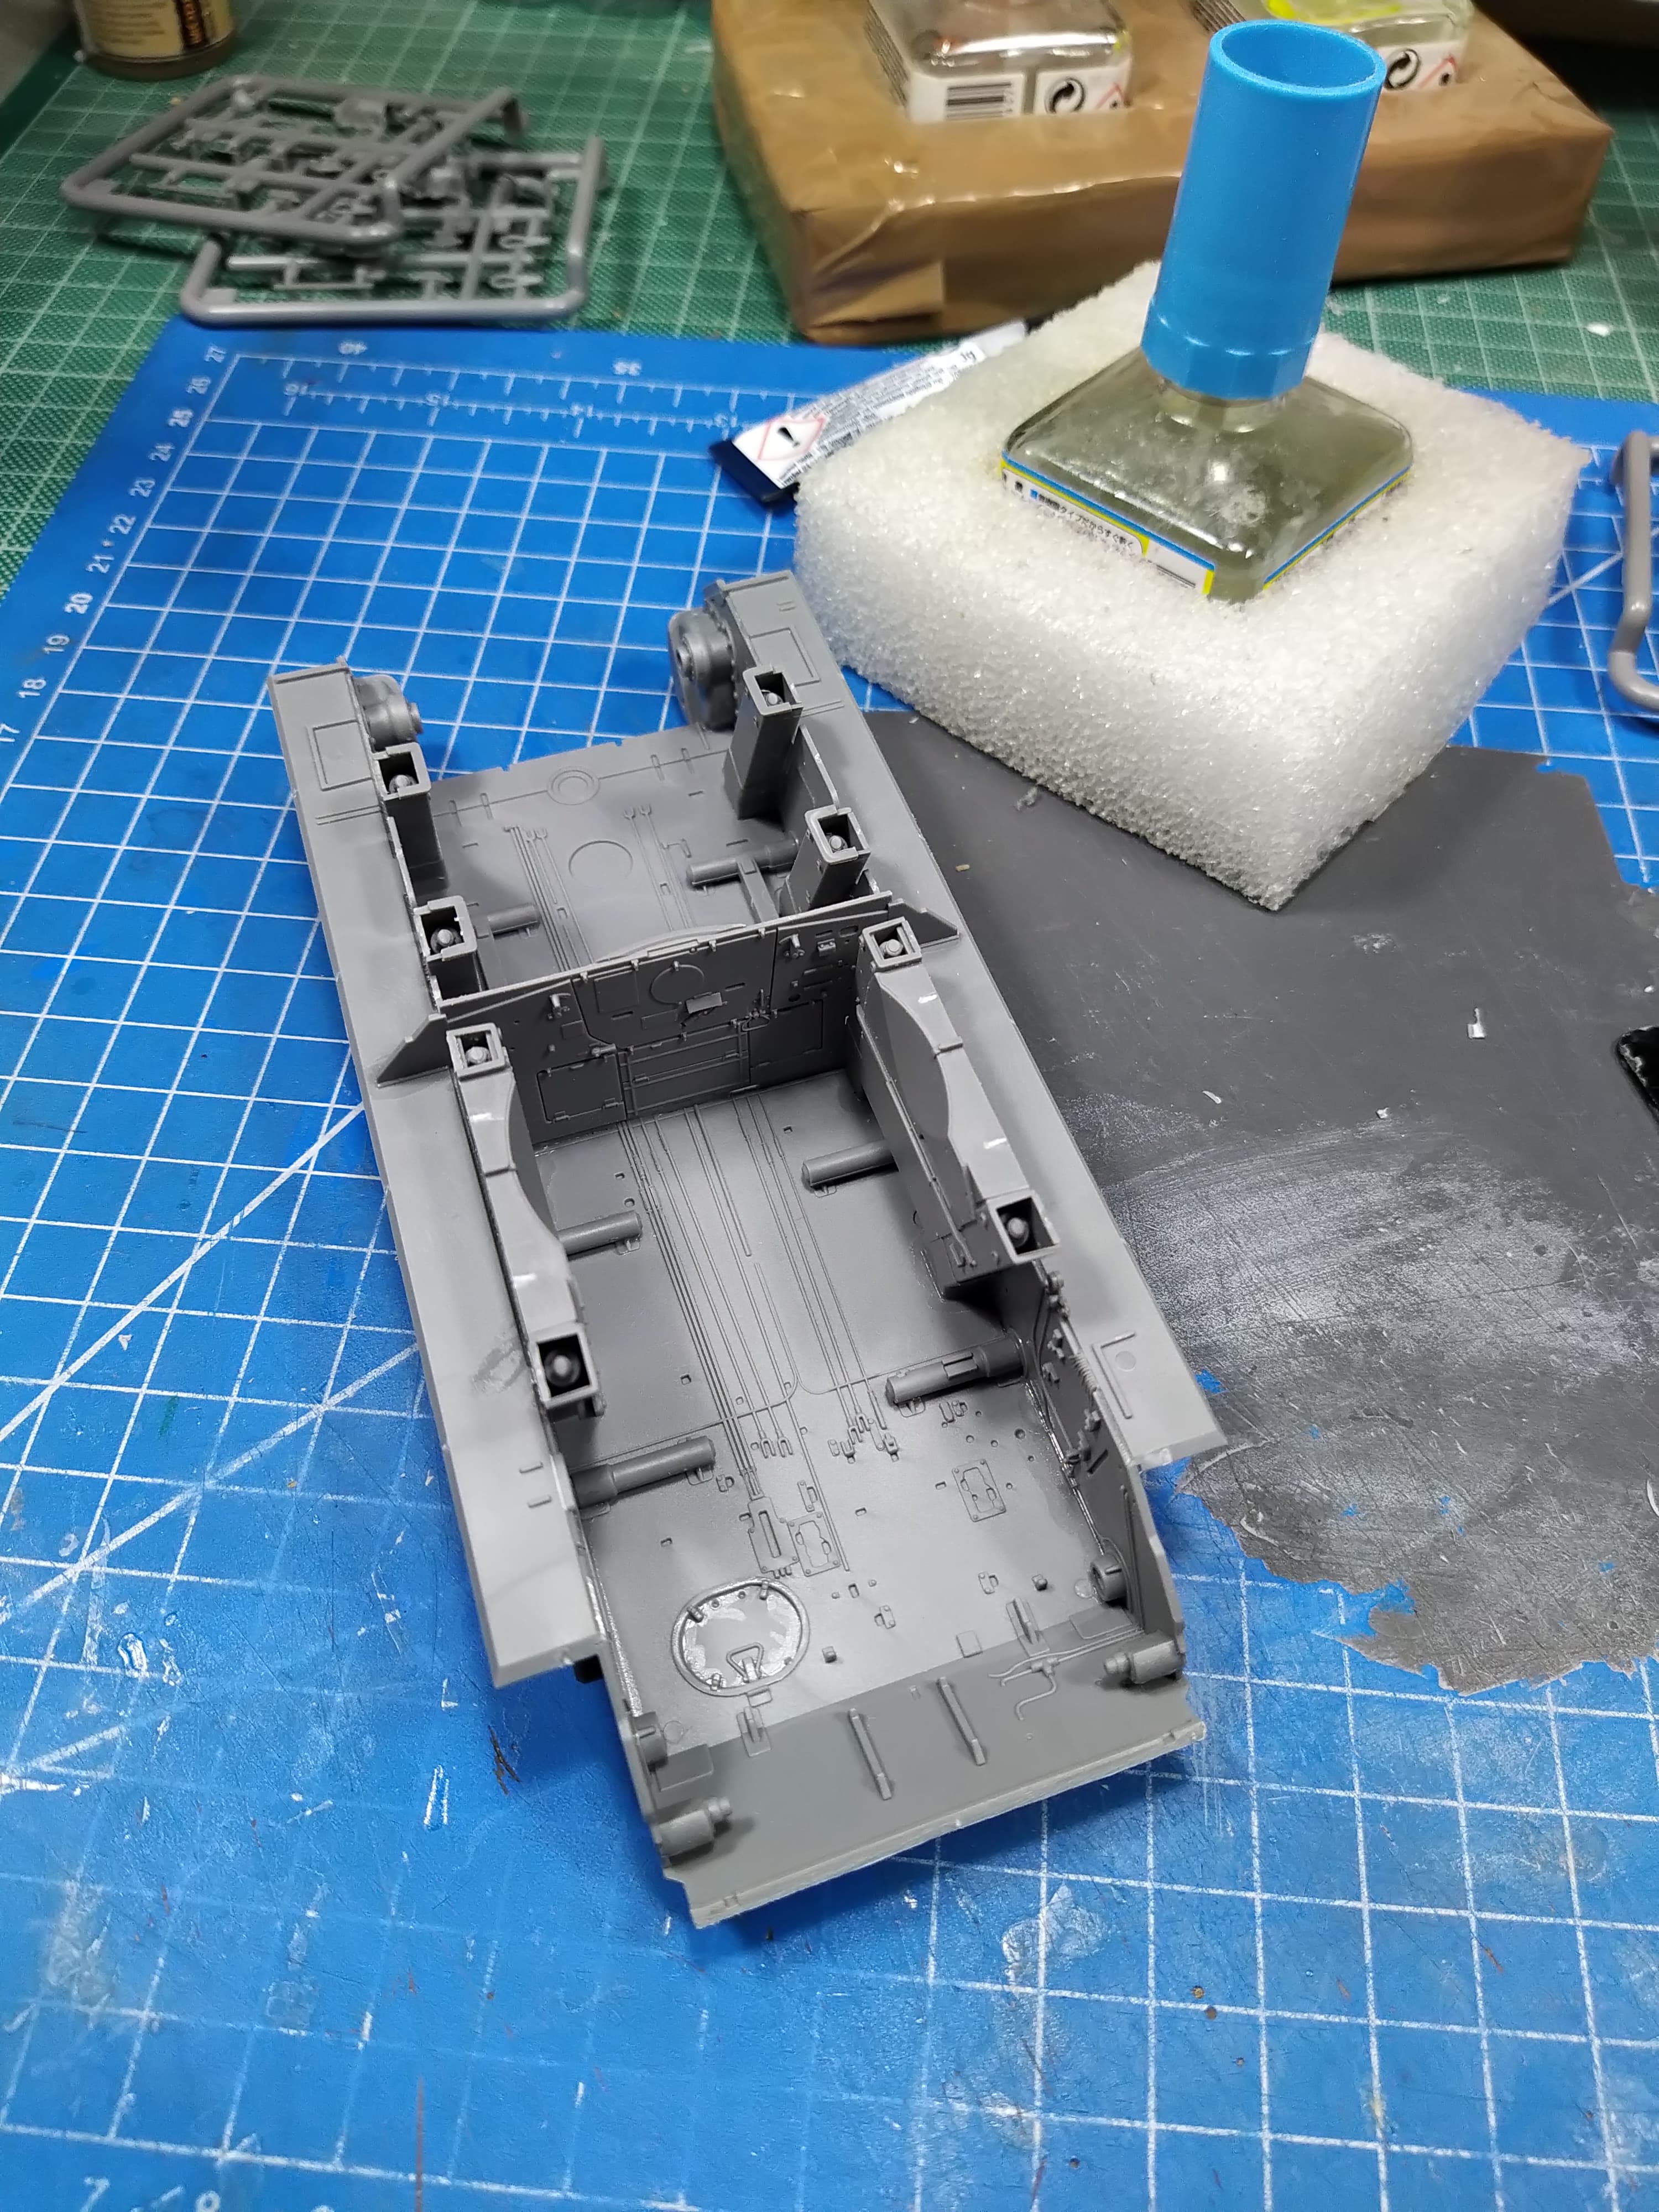
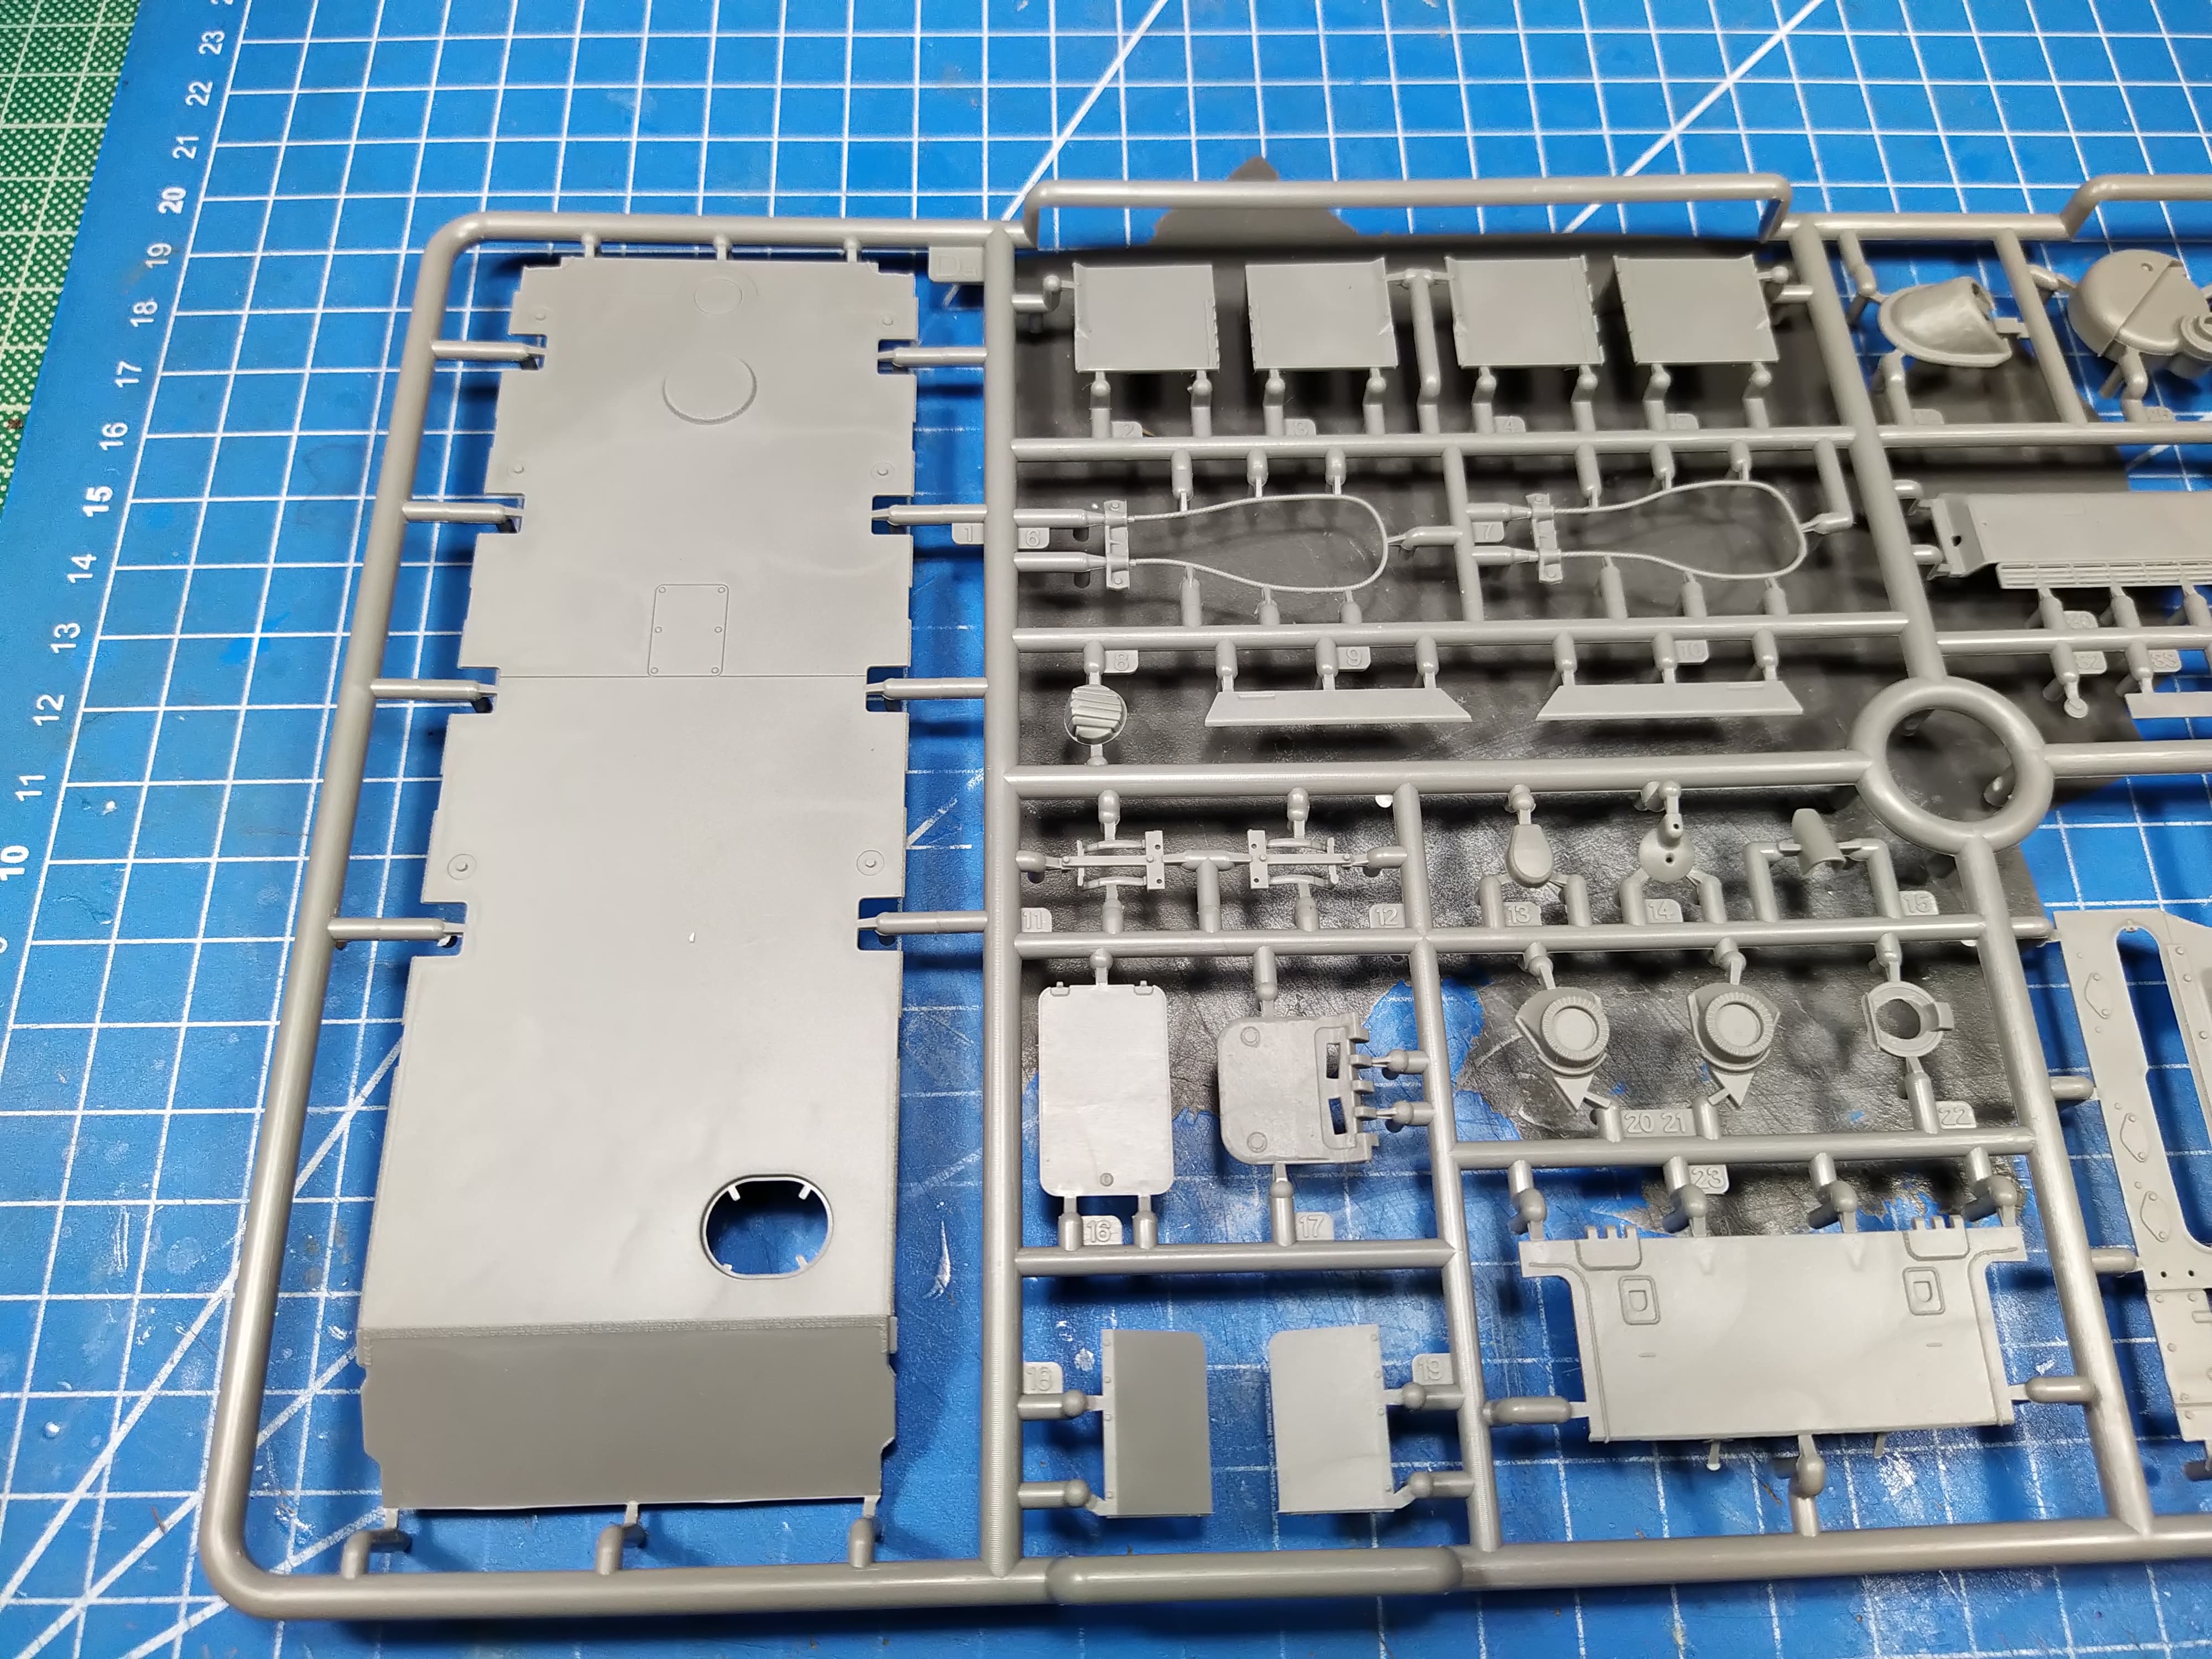
The engine deck parts were easy to install. I am generally leaving out the detail parts for after the basic hull assembly and the track/wheel/suspension assembly.
Nice build so far! What is your plan for painting-weathering versus the tracks-assy? I faced lot if challenges when building mine as there was a need for an extra link which is not possible (have to use a pair). Finally had to reposition the idle wheel a bit to so the job.
However this may be because my tracks were built incorrectly and little bit loose.
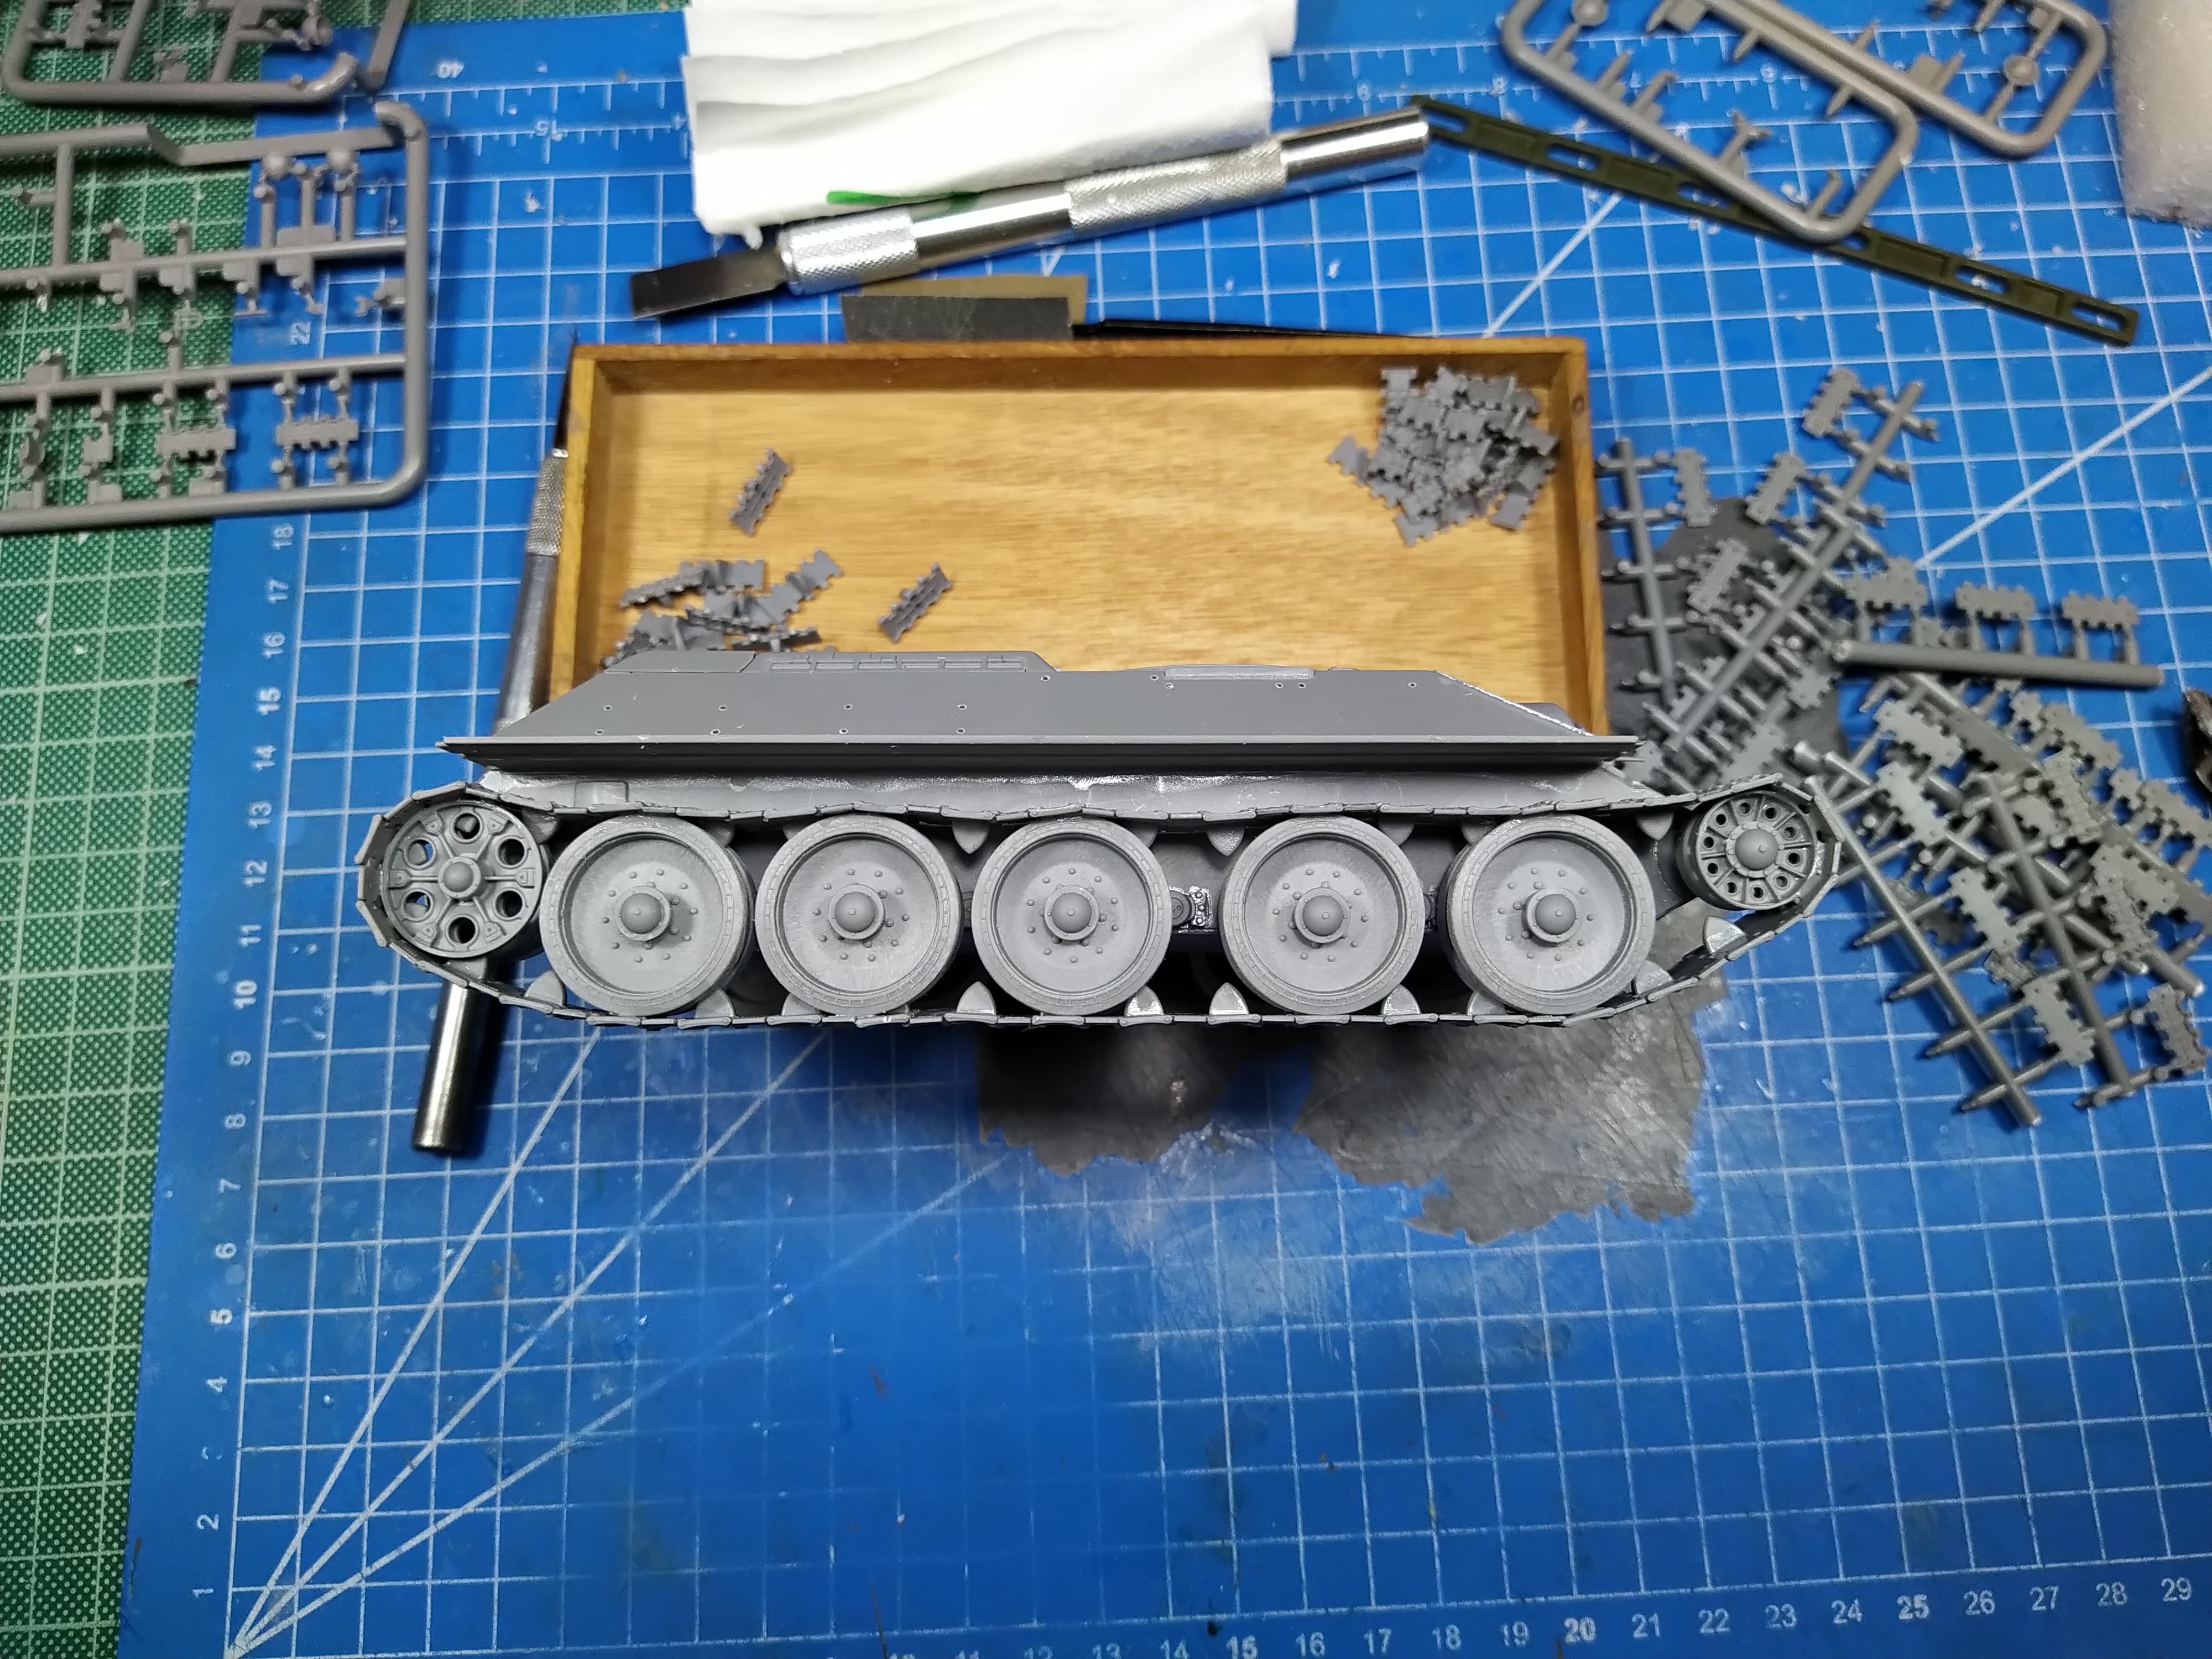
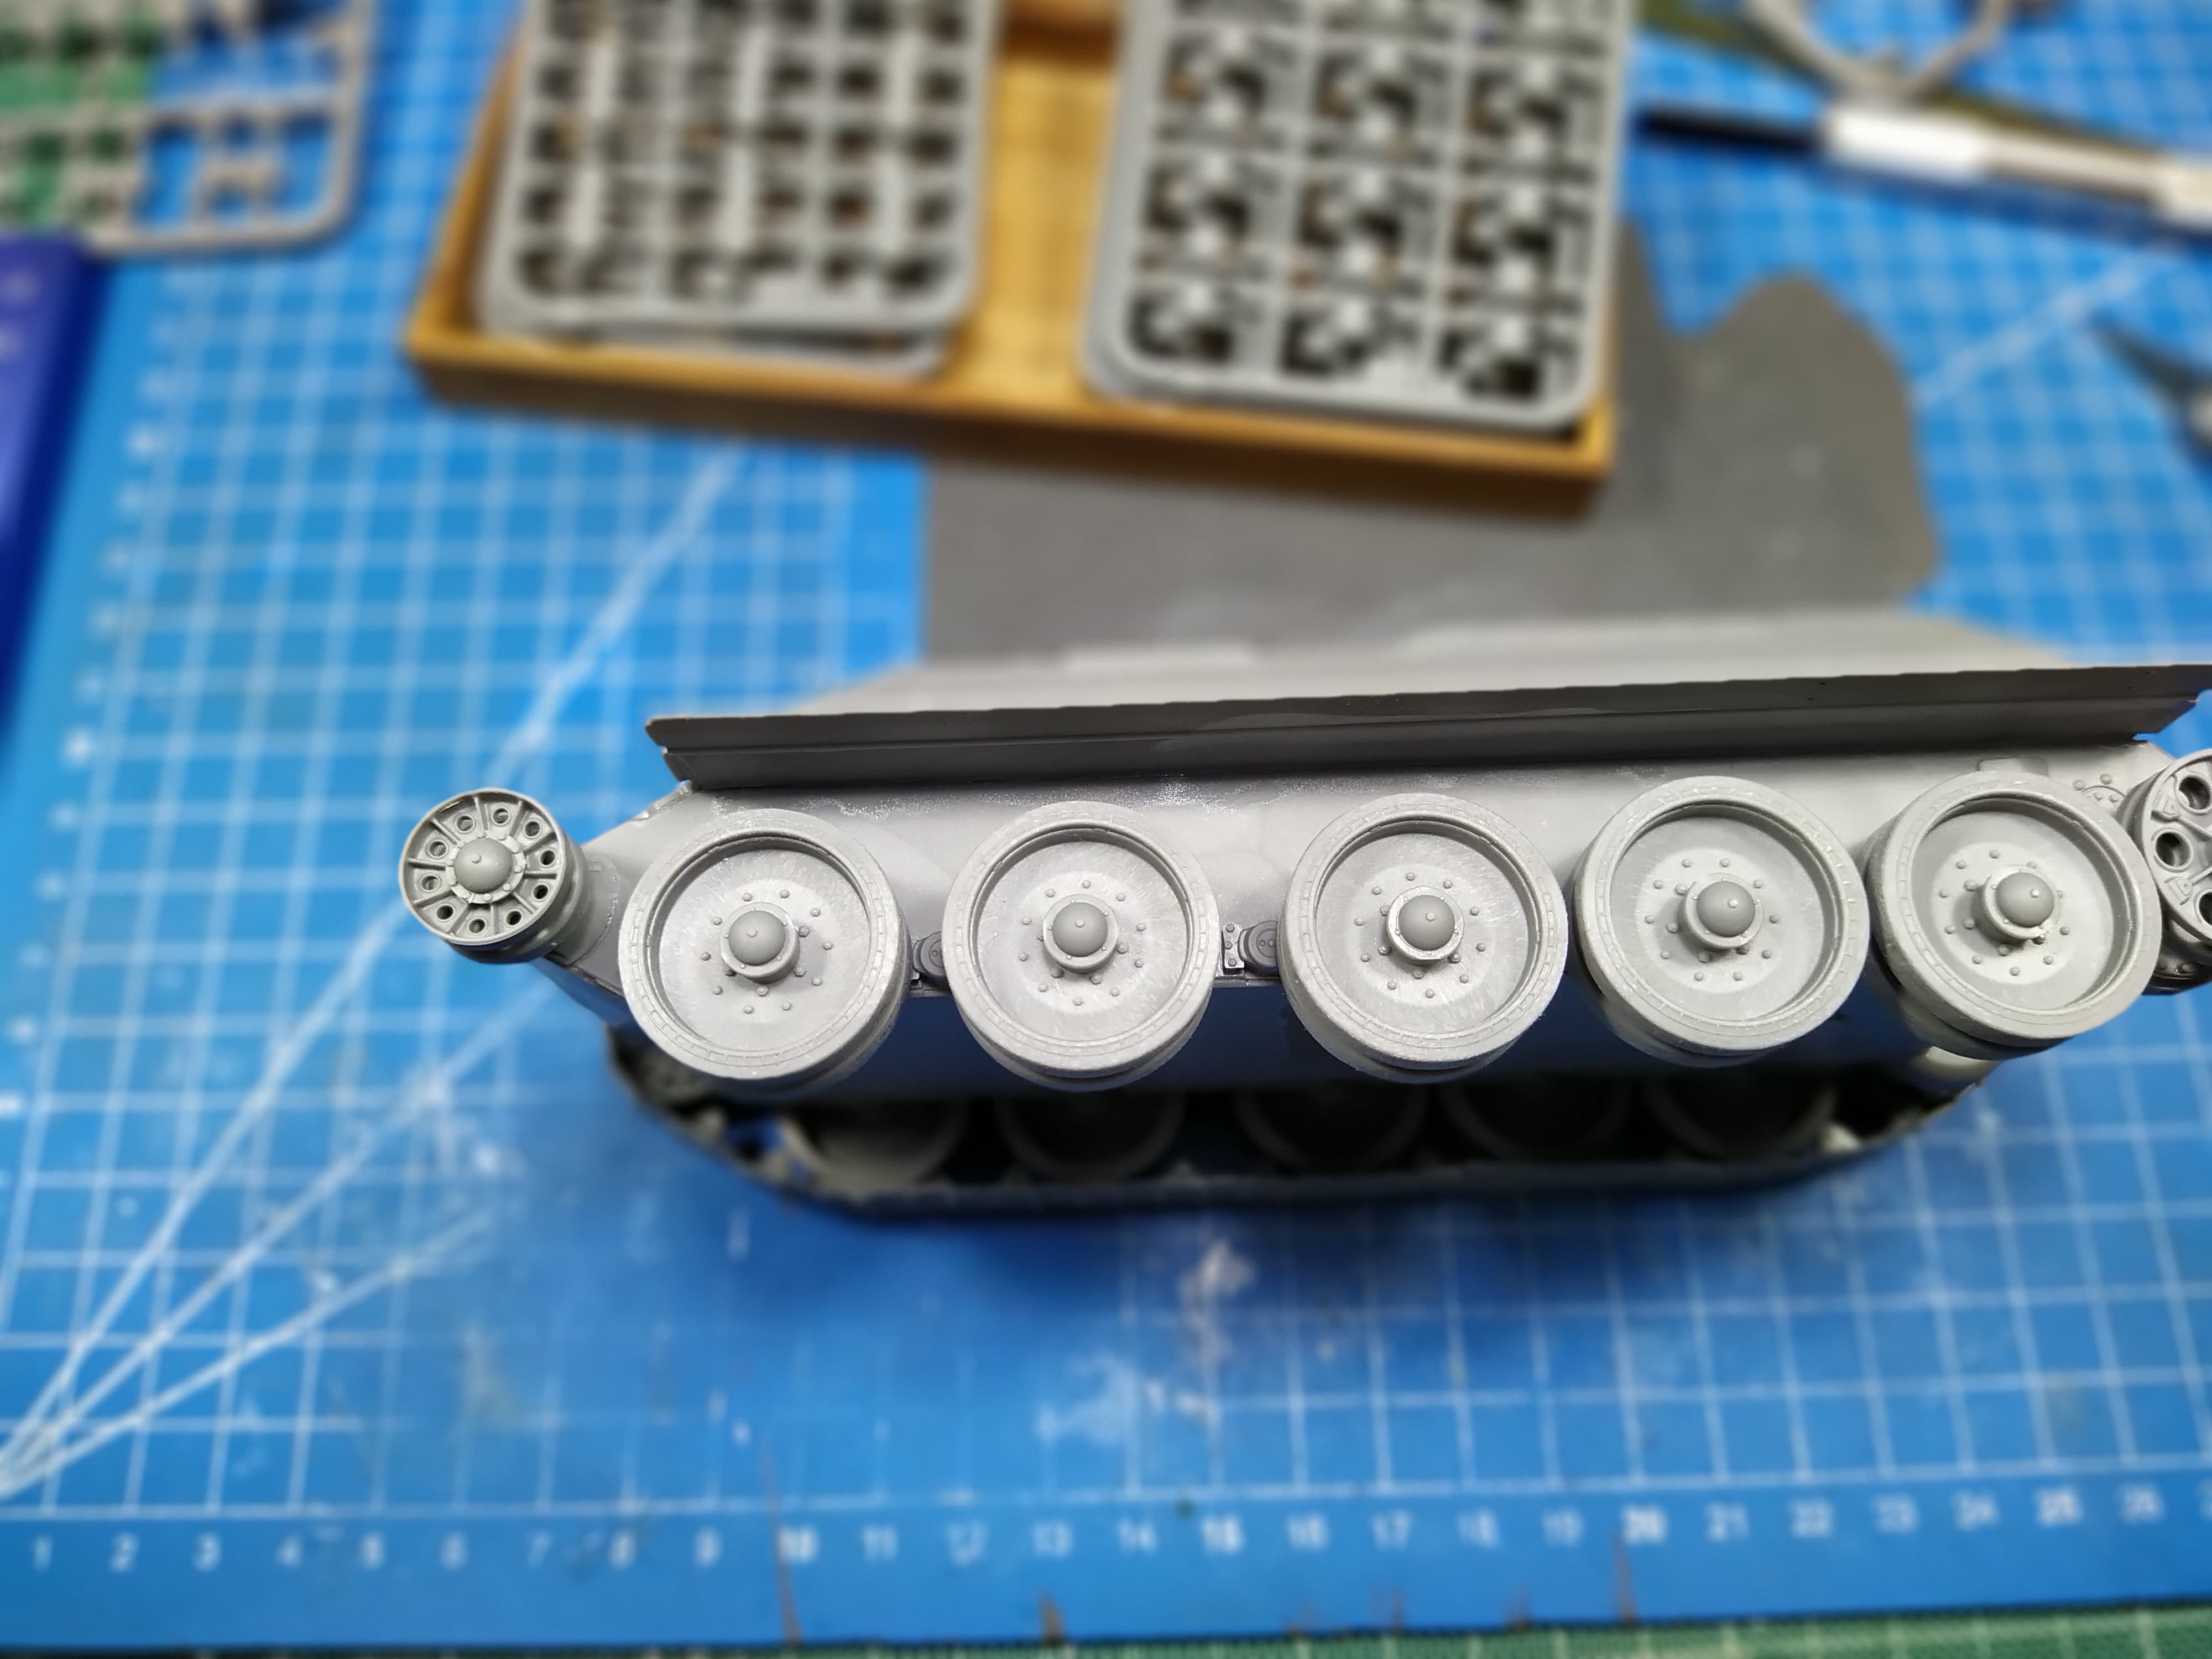
I have left the tensioner wheel off and will position it when I am ready to install the track. I am always having the same problem as you with T-34 tracks, it is either a link short or too long. Most of the times I add a link in a position where it might not get noticed (usually cut the one end straight).
For painting/weathering the tracks: I usually have no issues with doing it already glued on the vehicle, it is just more time consuming/tedious
It is a smart idea to leave off the front wheel. I glued it first so had to cut off and reposition when the tracks were glued and installed onto the wheels but it came out pretty OK.
If I would do something differently, than I would let the glue dry a bit longer so a stronger bond would not let the track-links separated during the installation.
ok folks, I’m late to this part but I have been busy running some campaigns myself lately.
I plan to submit this Dragon 1/35 North Vietnamese T-34/85M if that’s ok but I need to some research on here about the kit, is it any good? As well as finding out if these tanks actually saw combat during the American war.
Welcome David. I think the kit was decent for its time and looks the part when done but surpassed by newer offerings. This was before Dragon got crazy with multiple sprues. I think the .50 is only meant for the Croatia scheme.
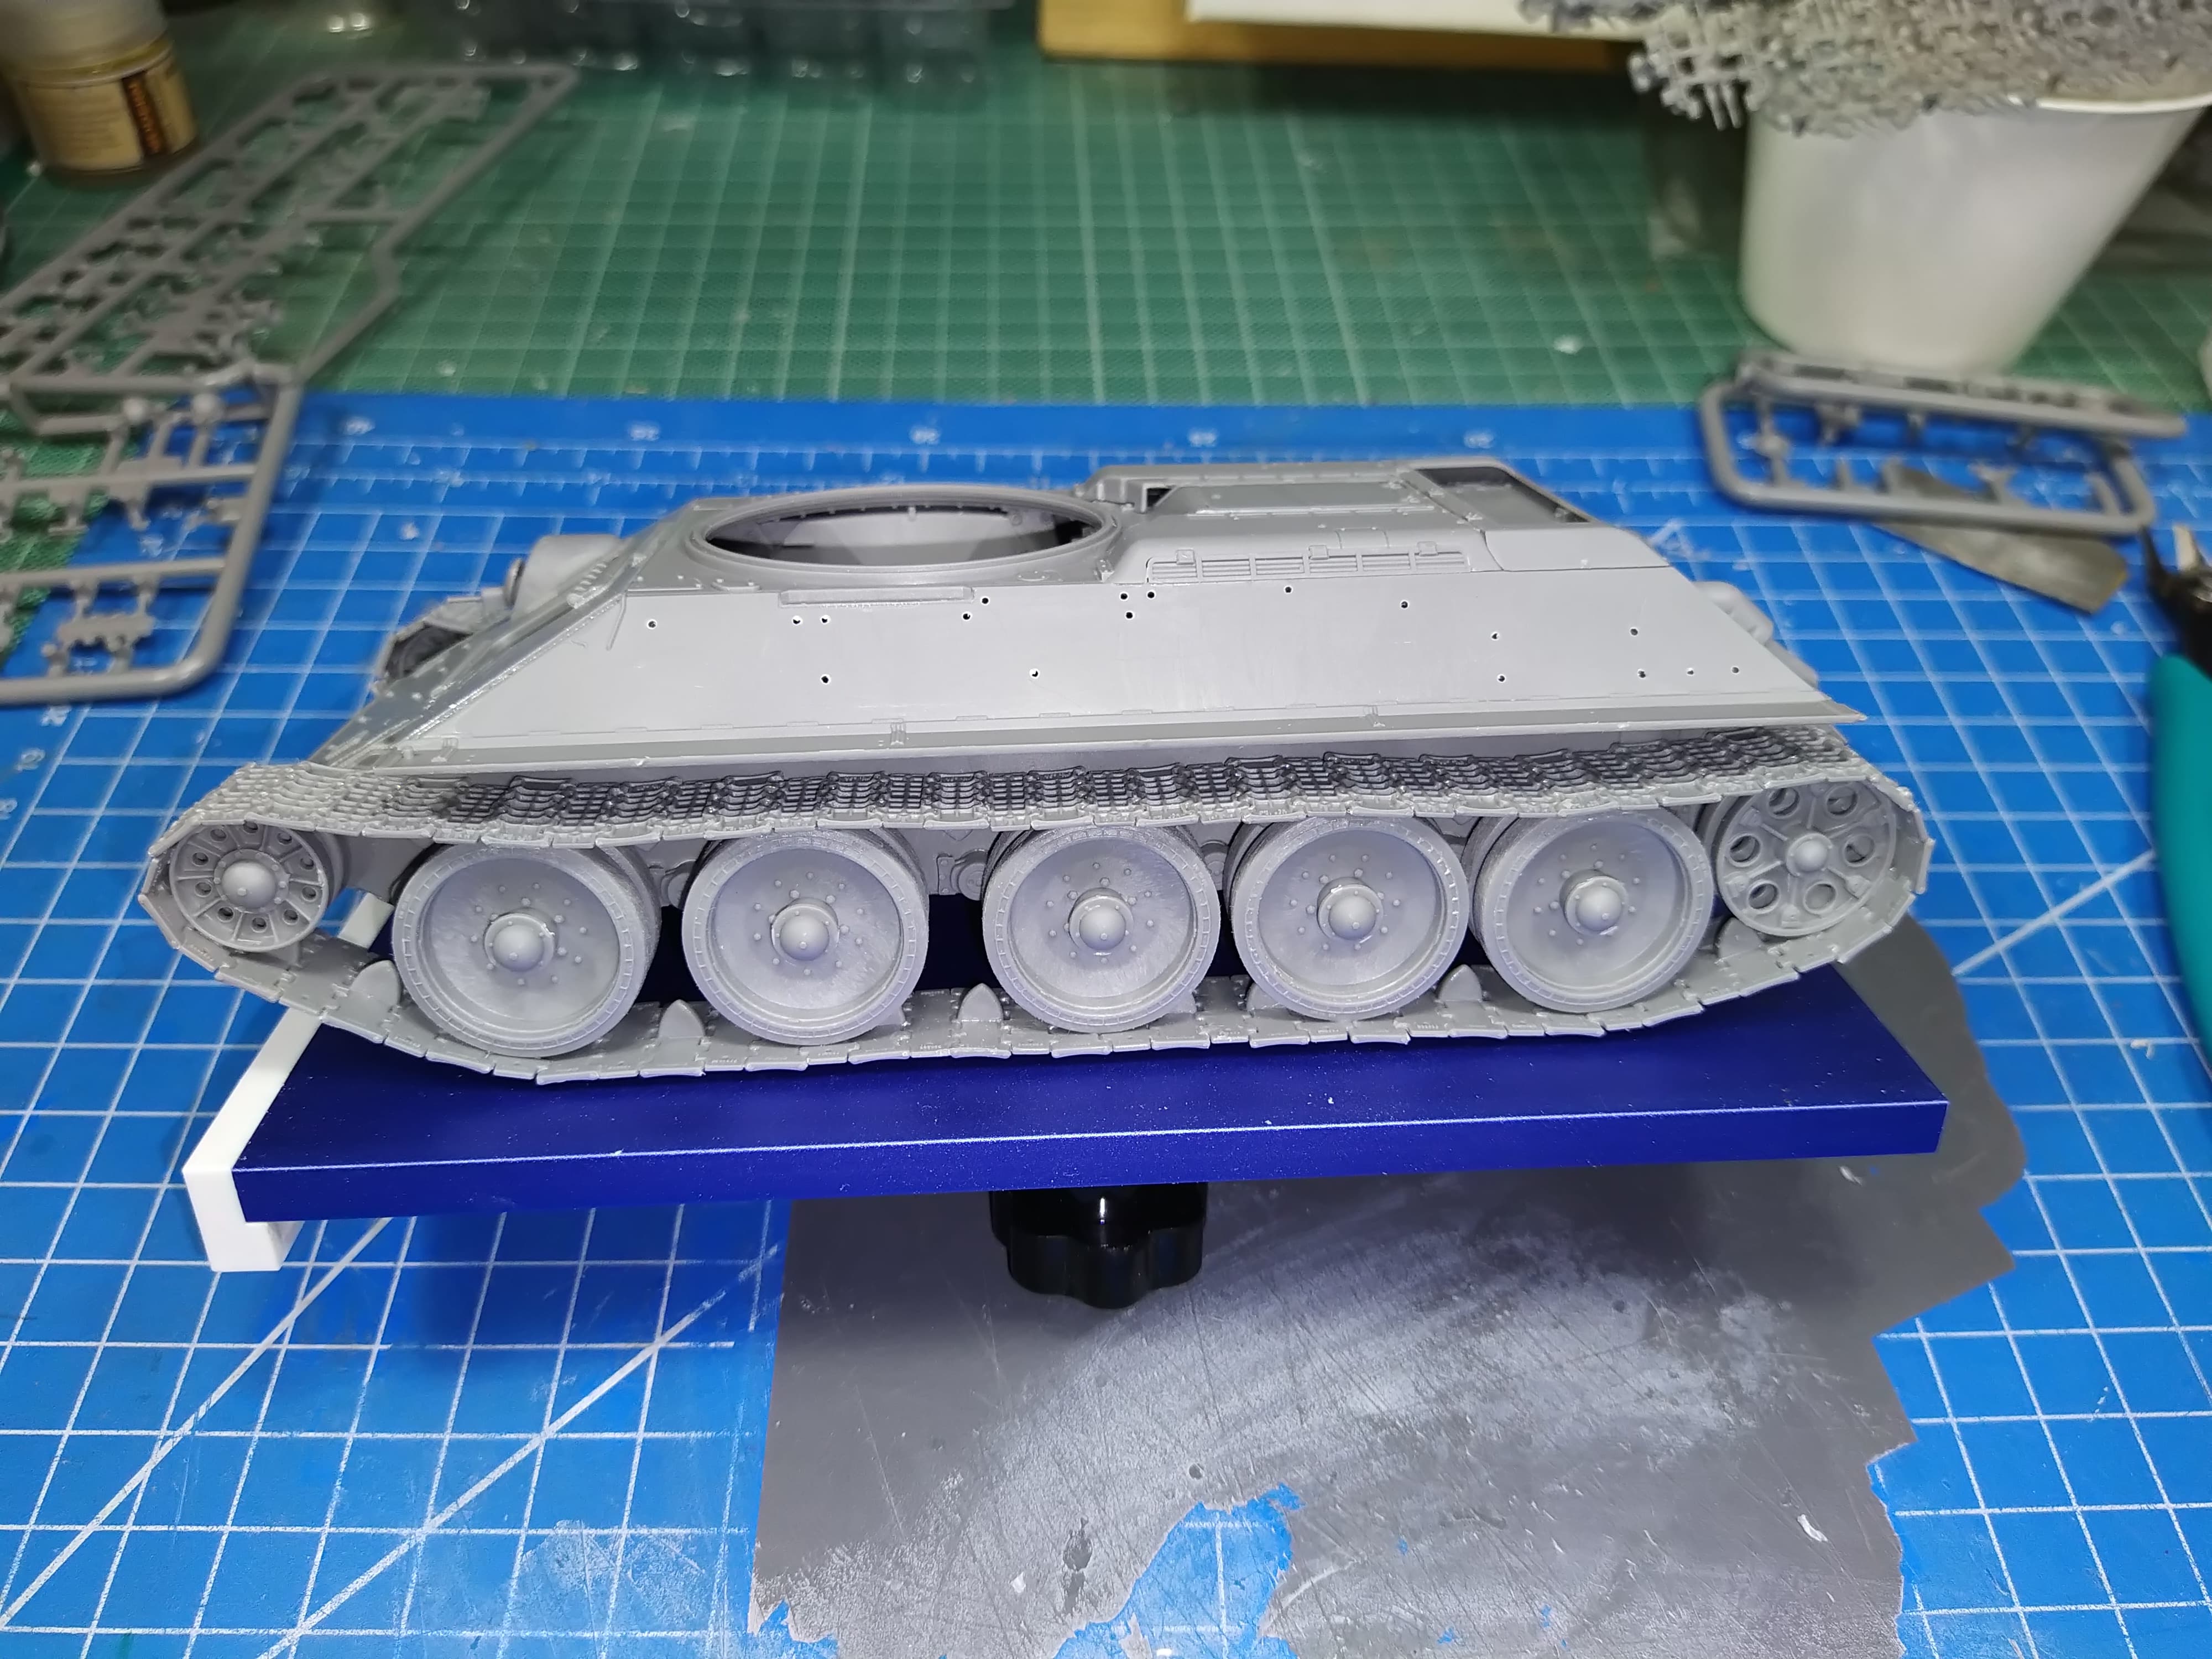
I decided to stick to the instructions and use 72 links per side. In order to achieve a decent track run/fit the tensioner must be positioned so that it is pointing at the front, with the axle almost horizontal.
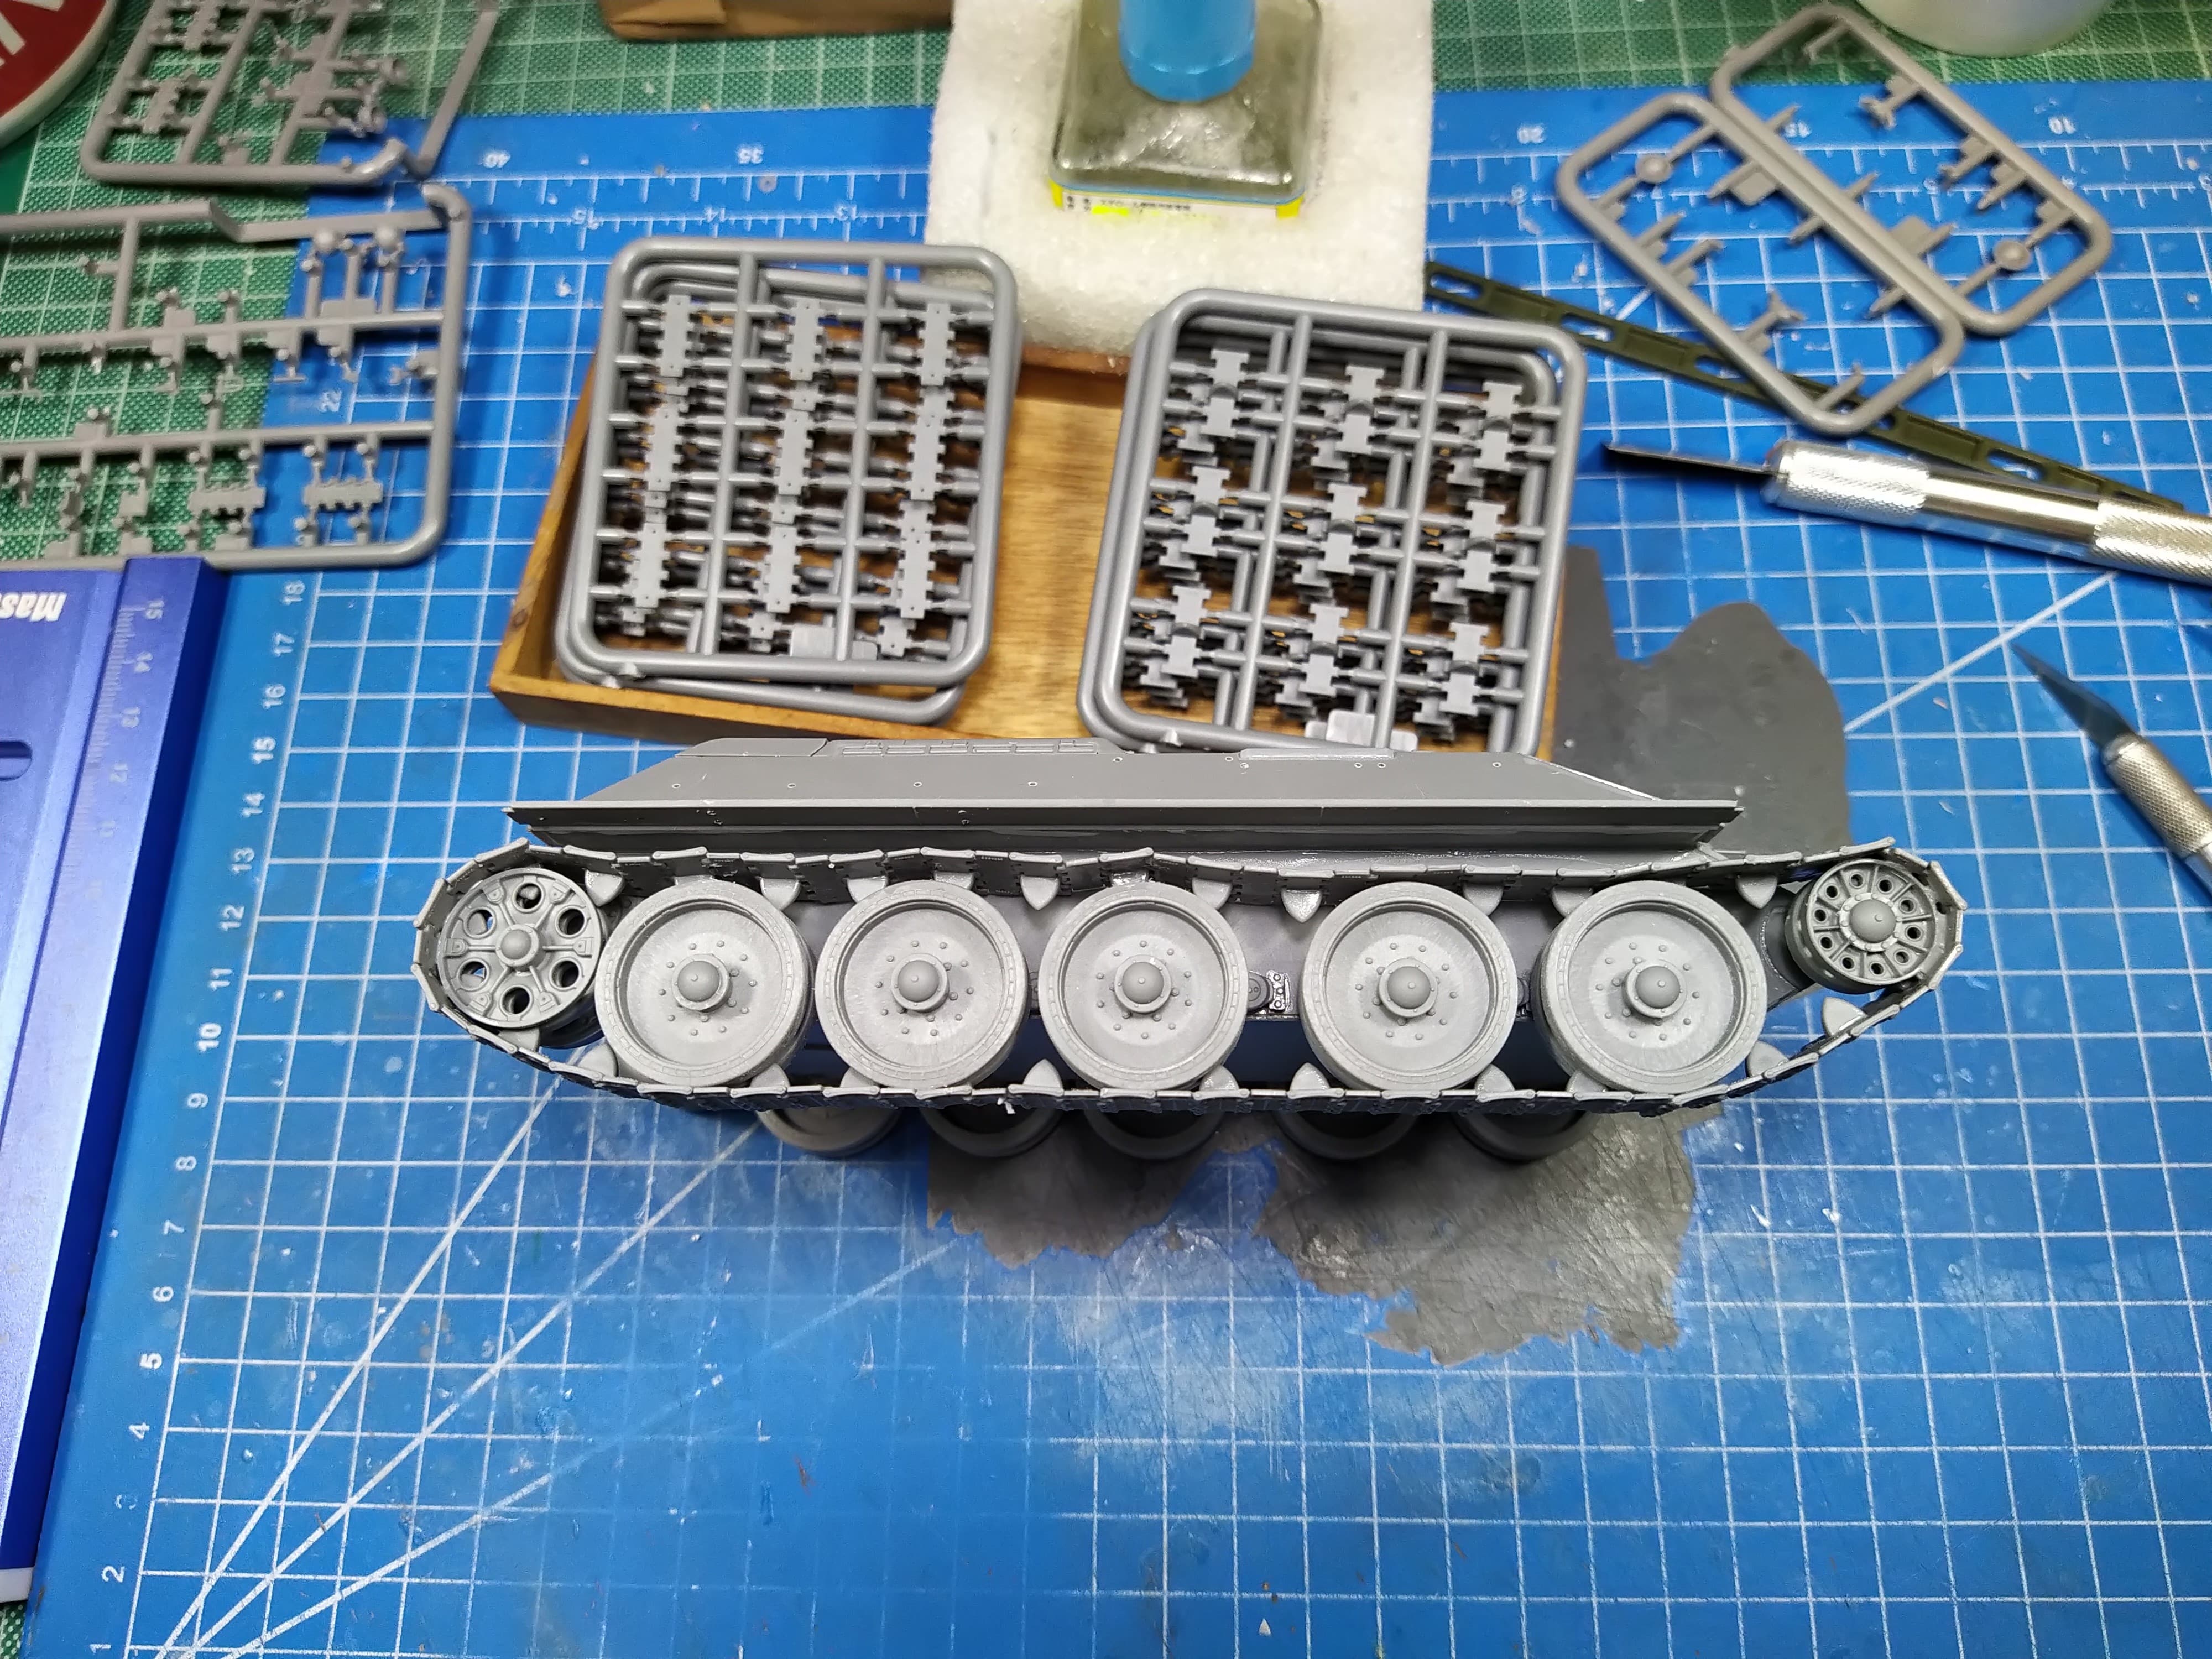
I did the right side first, in the photos you can see it is not my best work but it is ok. I also took a photo of the track not completely in place, where the top run is on attached to the wheels.
The left side was easier to do.
One important thing is the fit of each link with the other. One needs to be extra careful to clean and sand the link ends from any flash or sprue gate left overs, as these have a huge impact on the total lenght of the track and hot it will sit in the end. Also there should be little if any gap between the links, so as not to add to the track length. Avoid squizing the links together because it will result in a slightly shorter track run.
Hello!
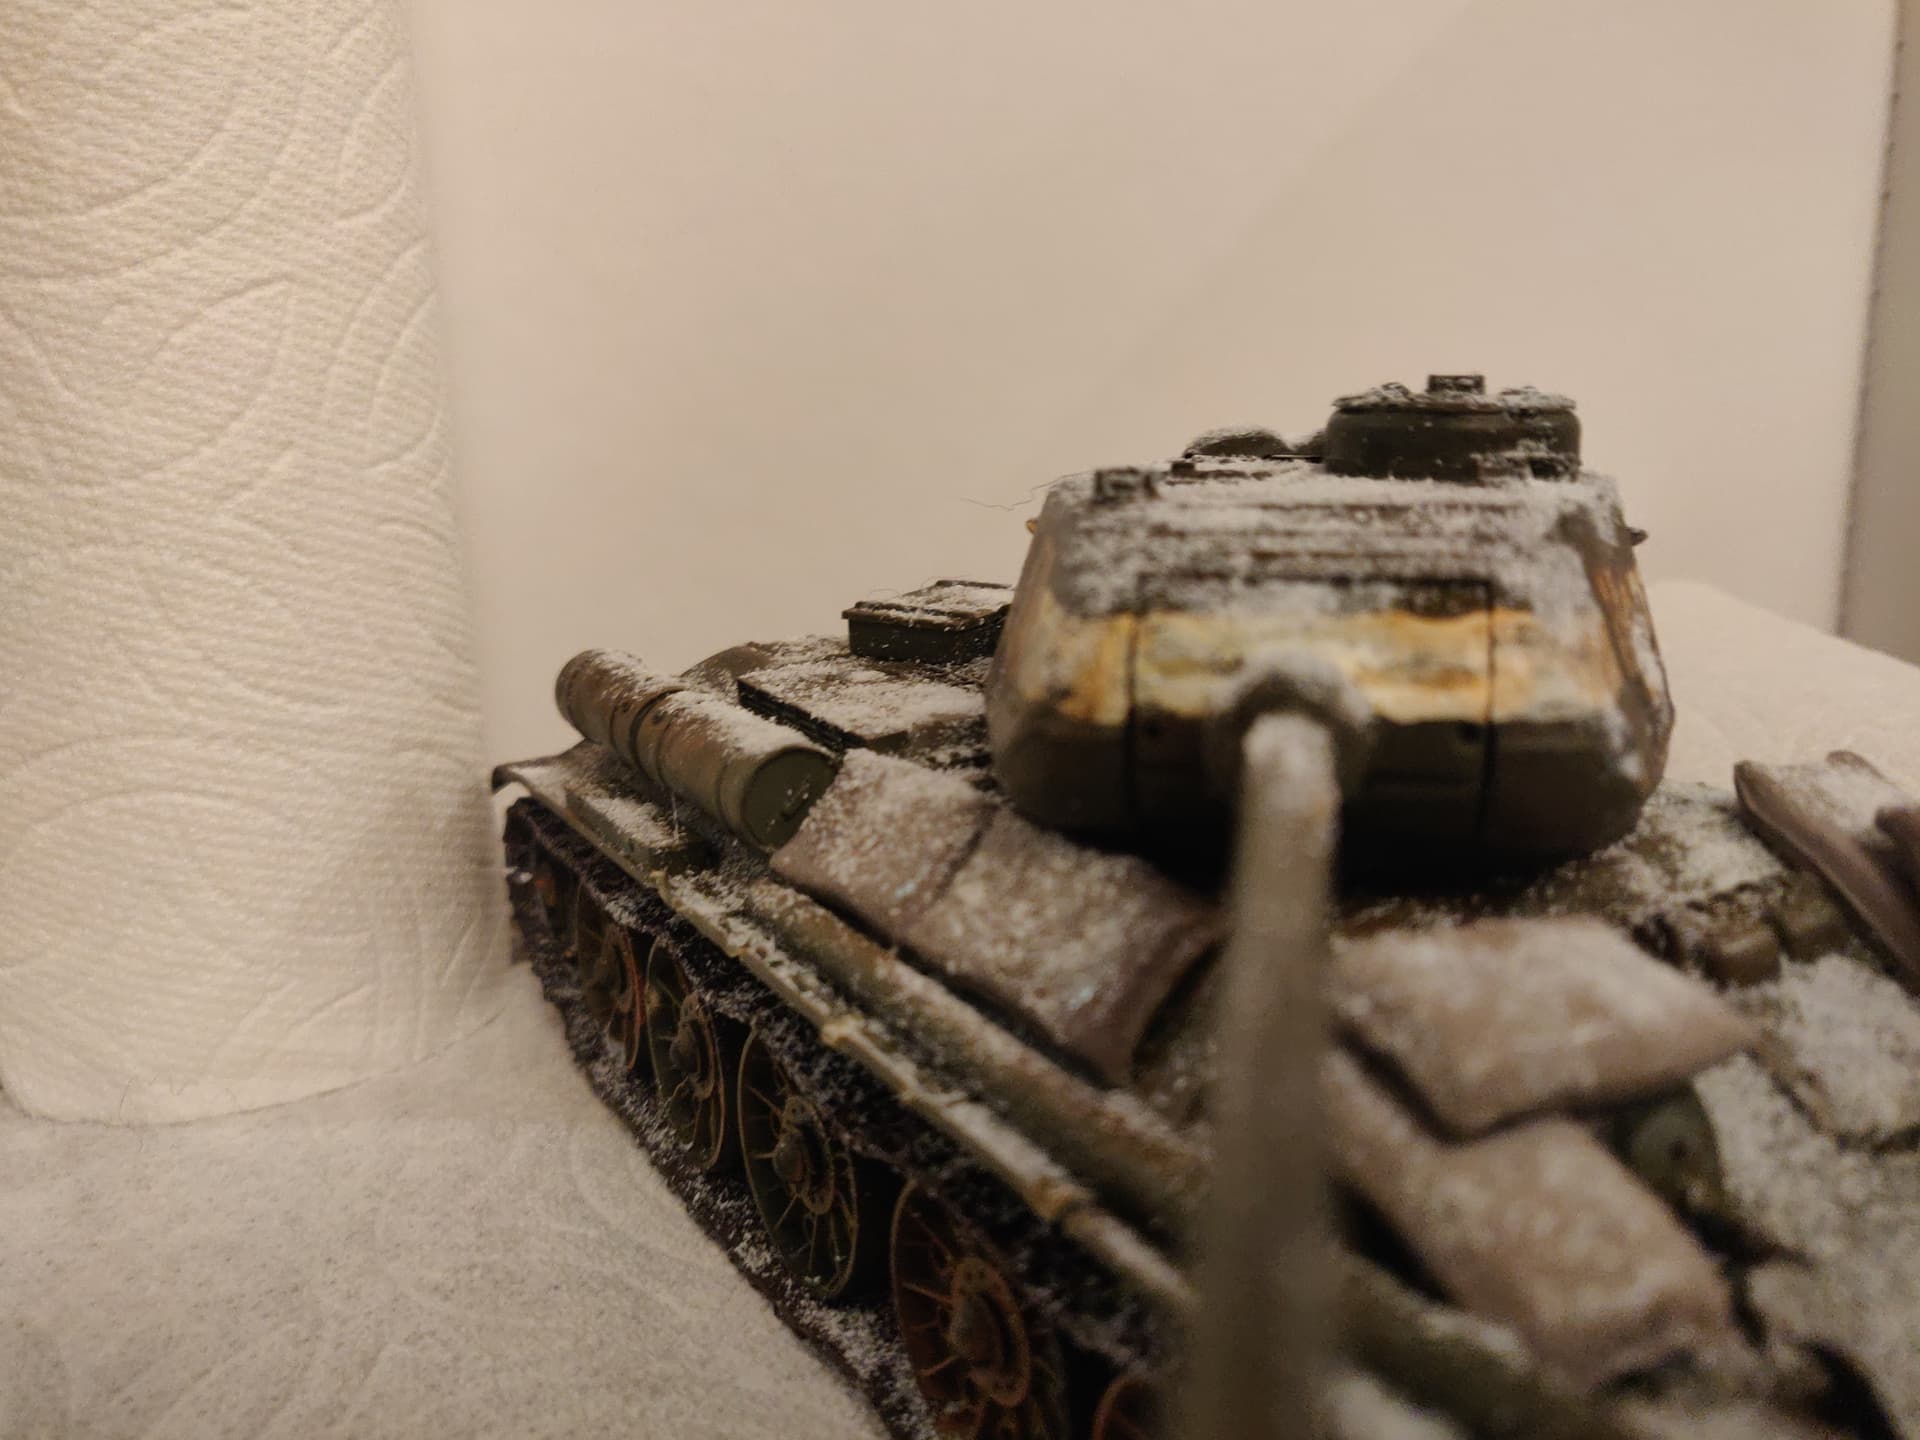
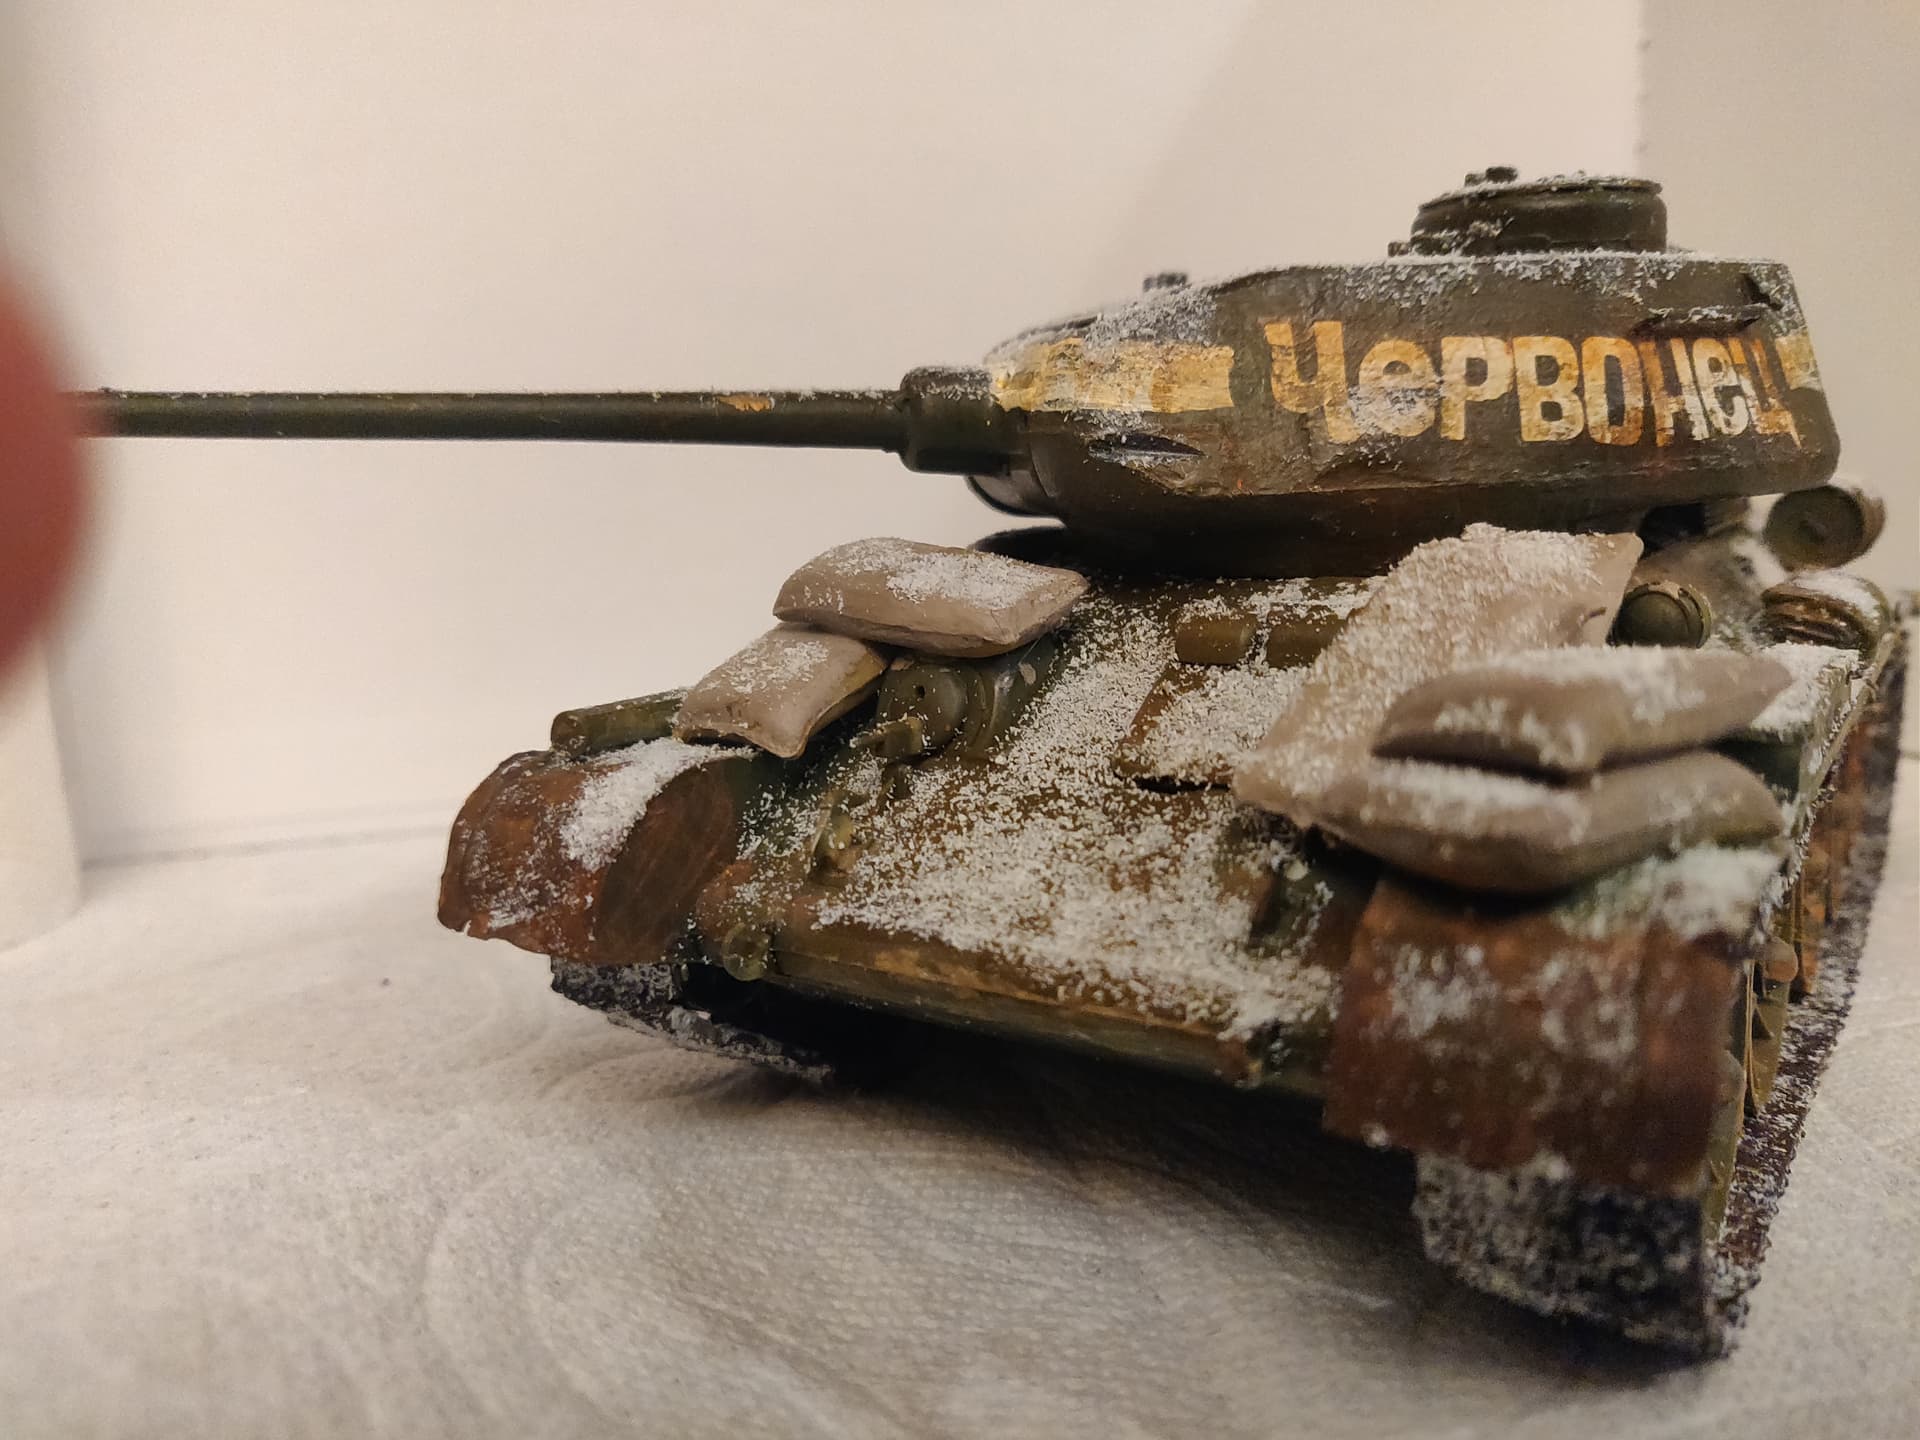
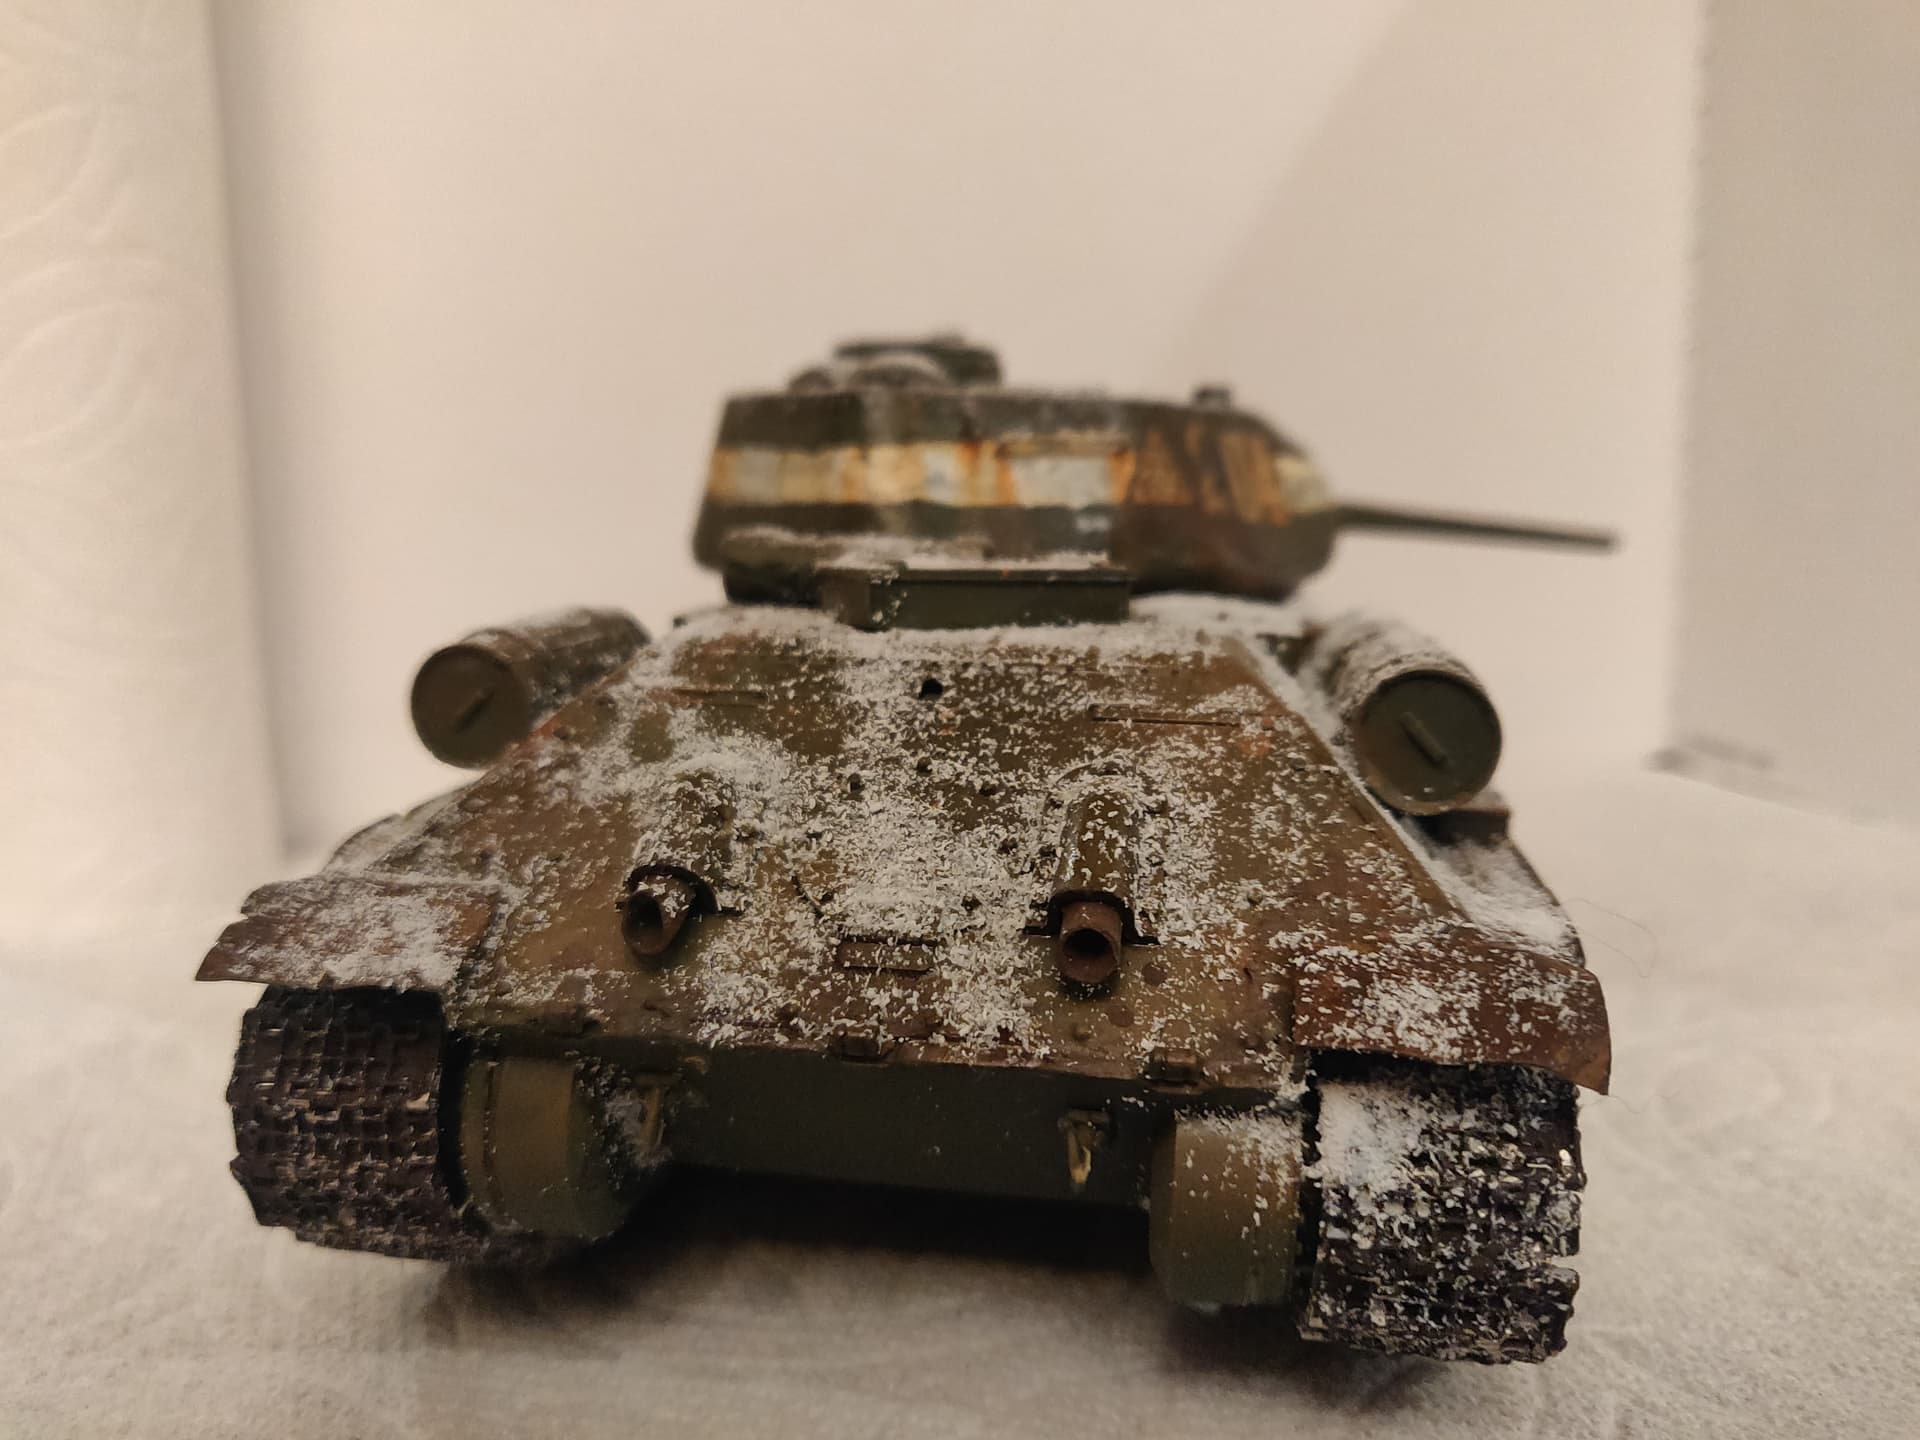
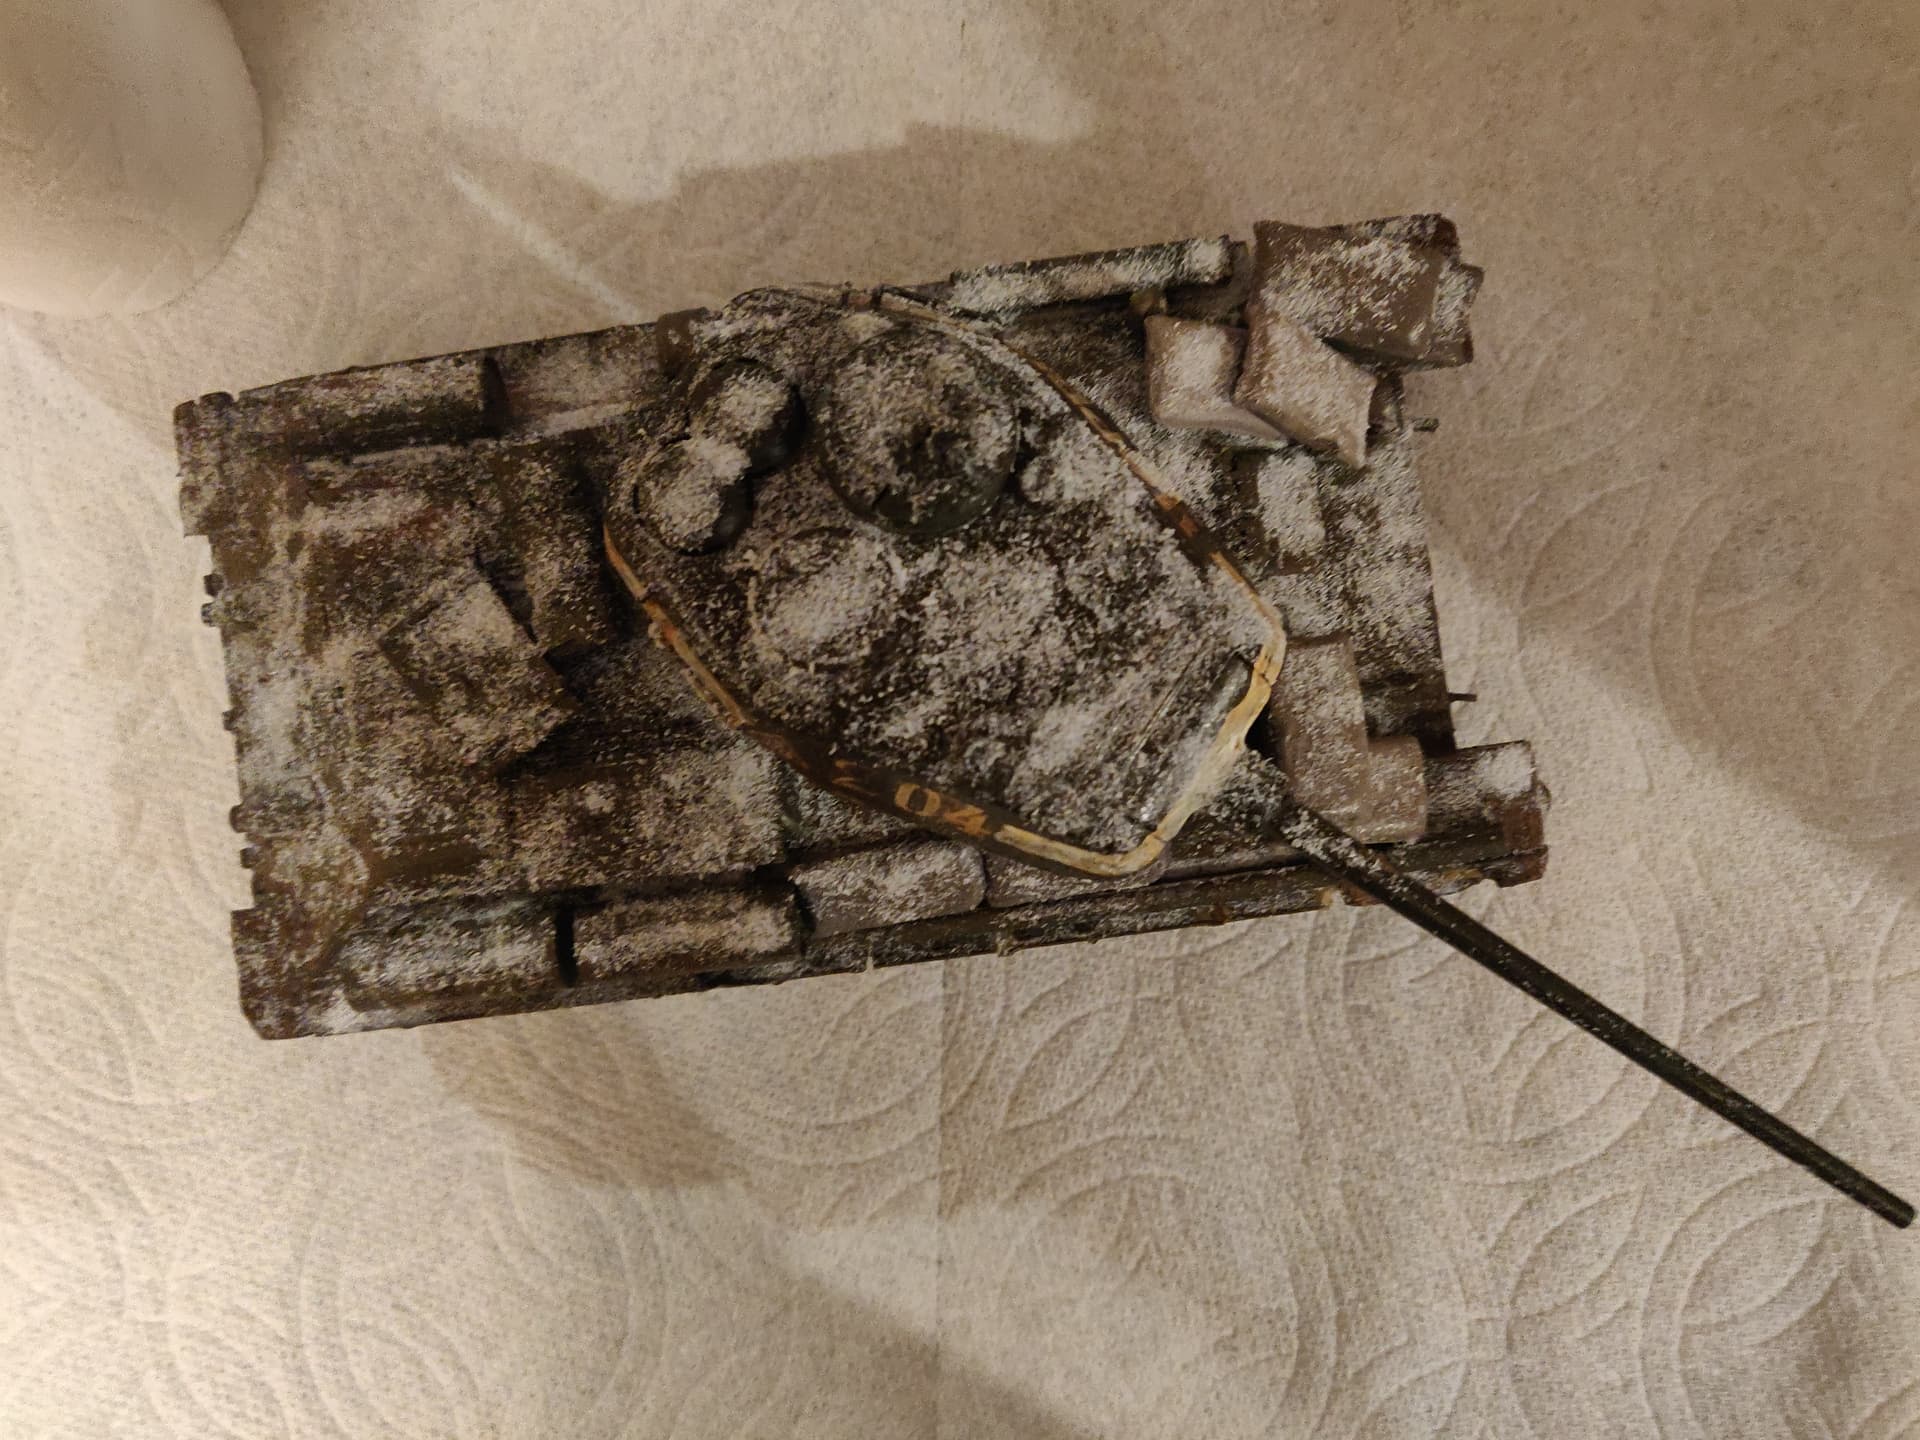
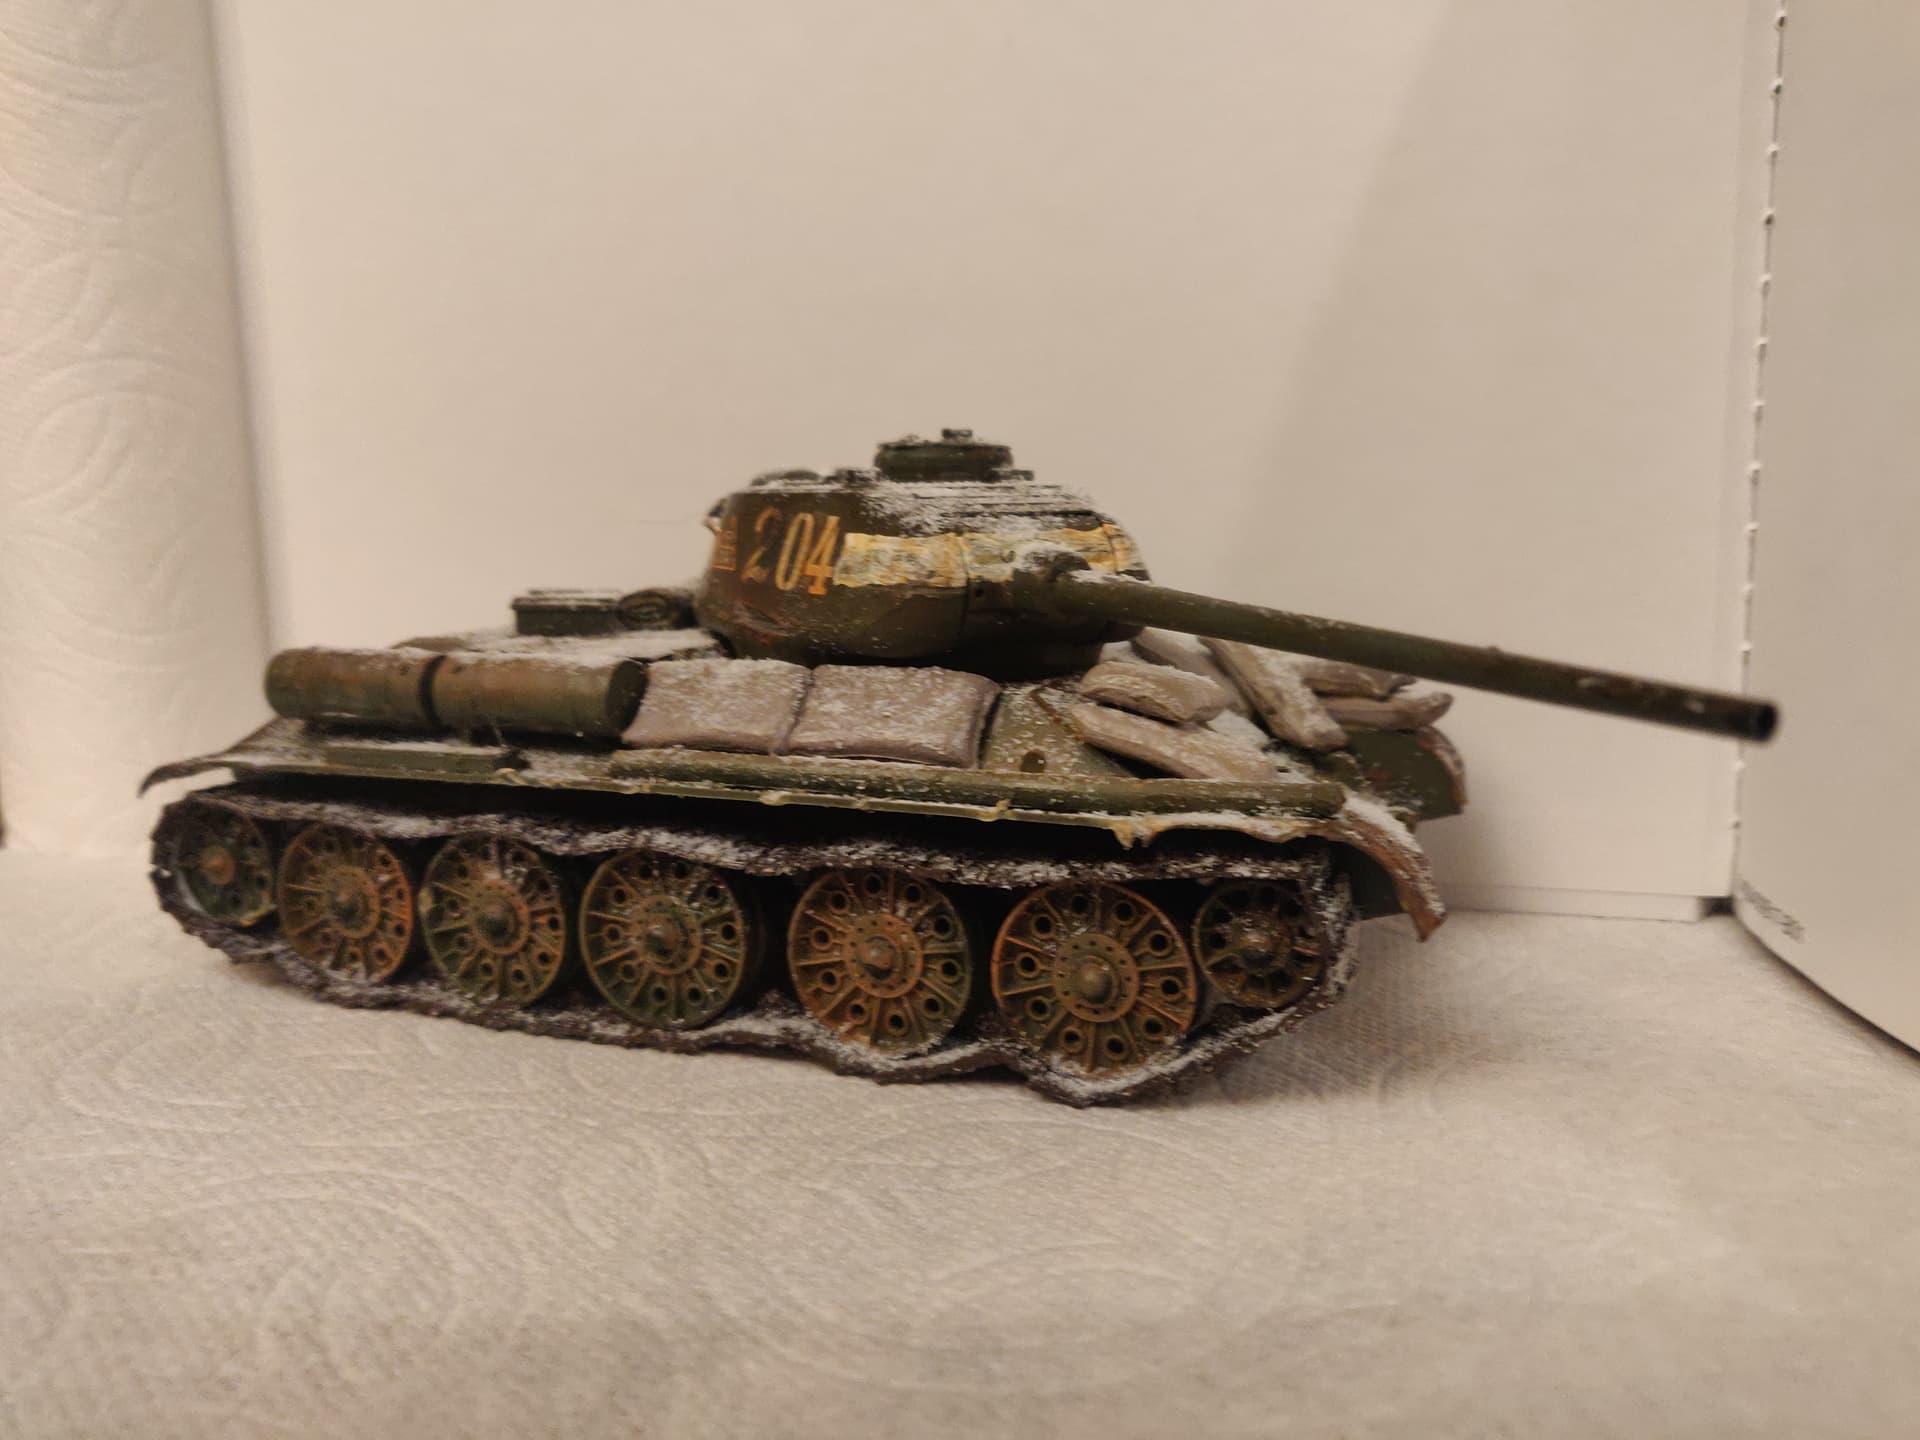
Finally, after, uhh… some time, I have finished the T34. And, as you can see, I am NOT the best person for that kit. I messed up the chassis, (that sucker’s from a T34/76) had to putty the last 14 track links, (ran out of wire) and add snow to hide hideous imperfections. All in all though, it was fun!
As always, I got some pics.
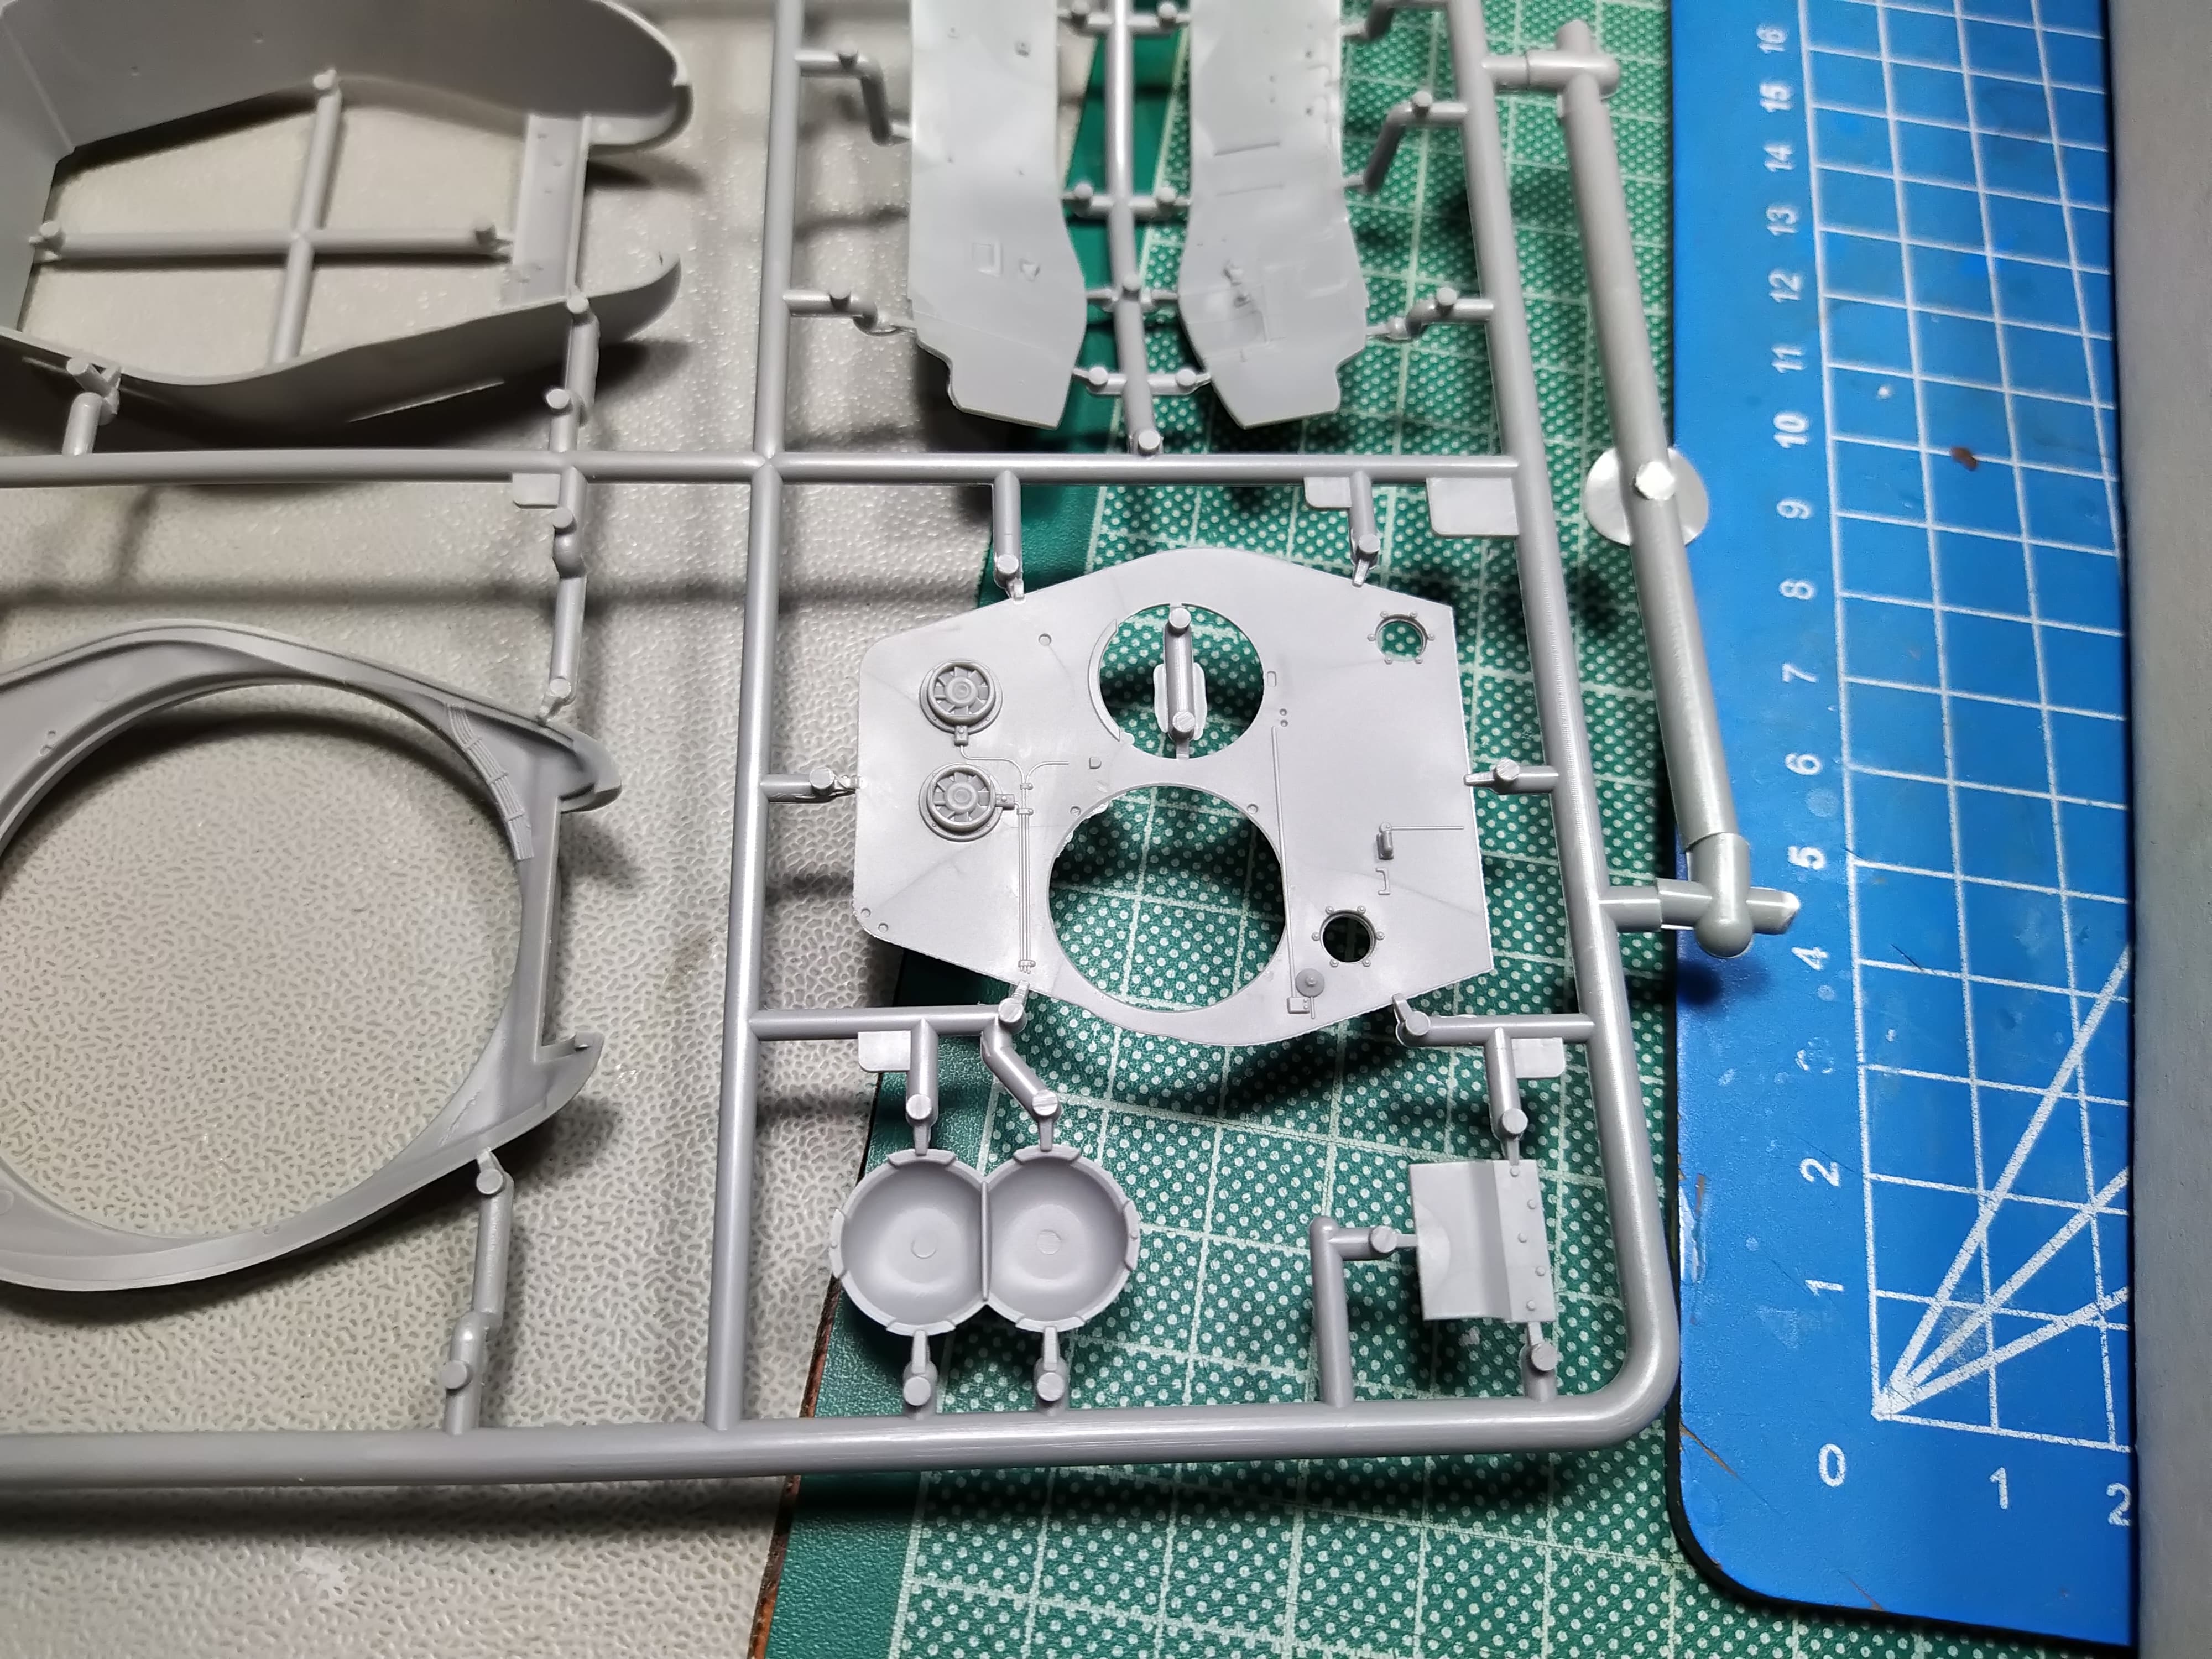
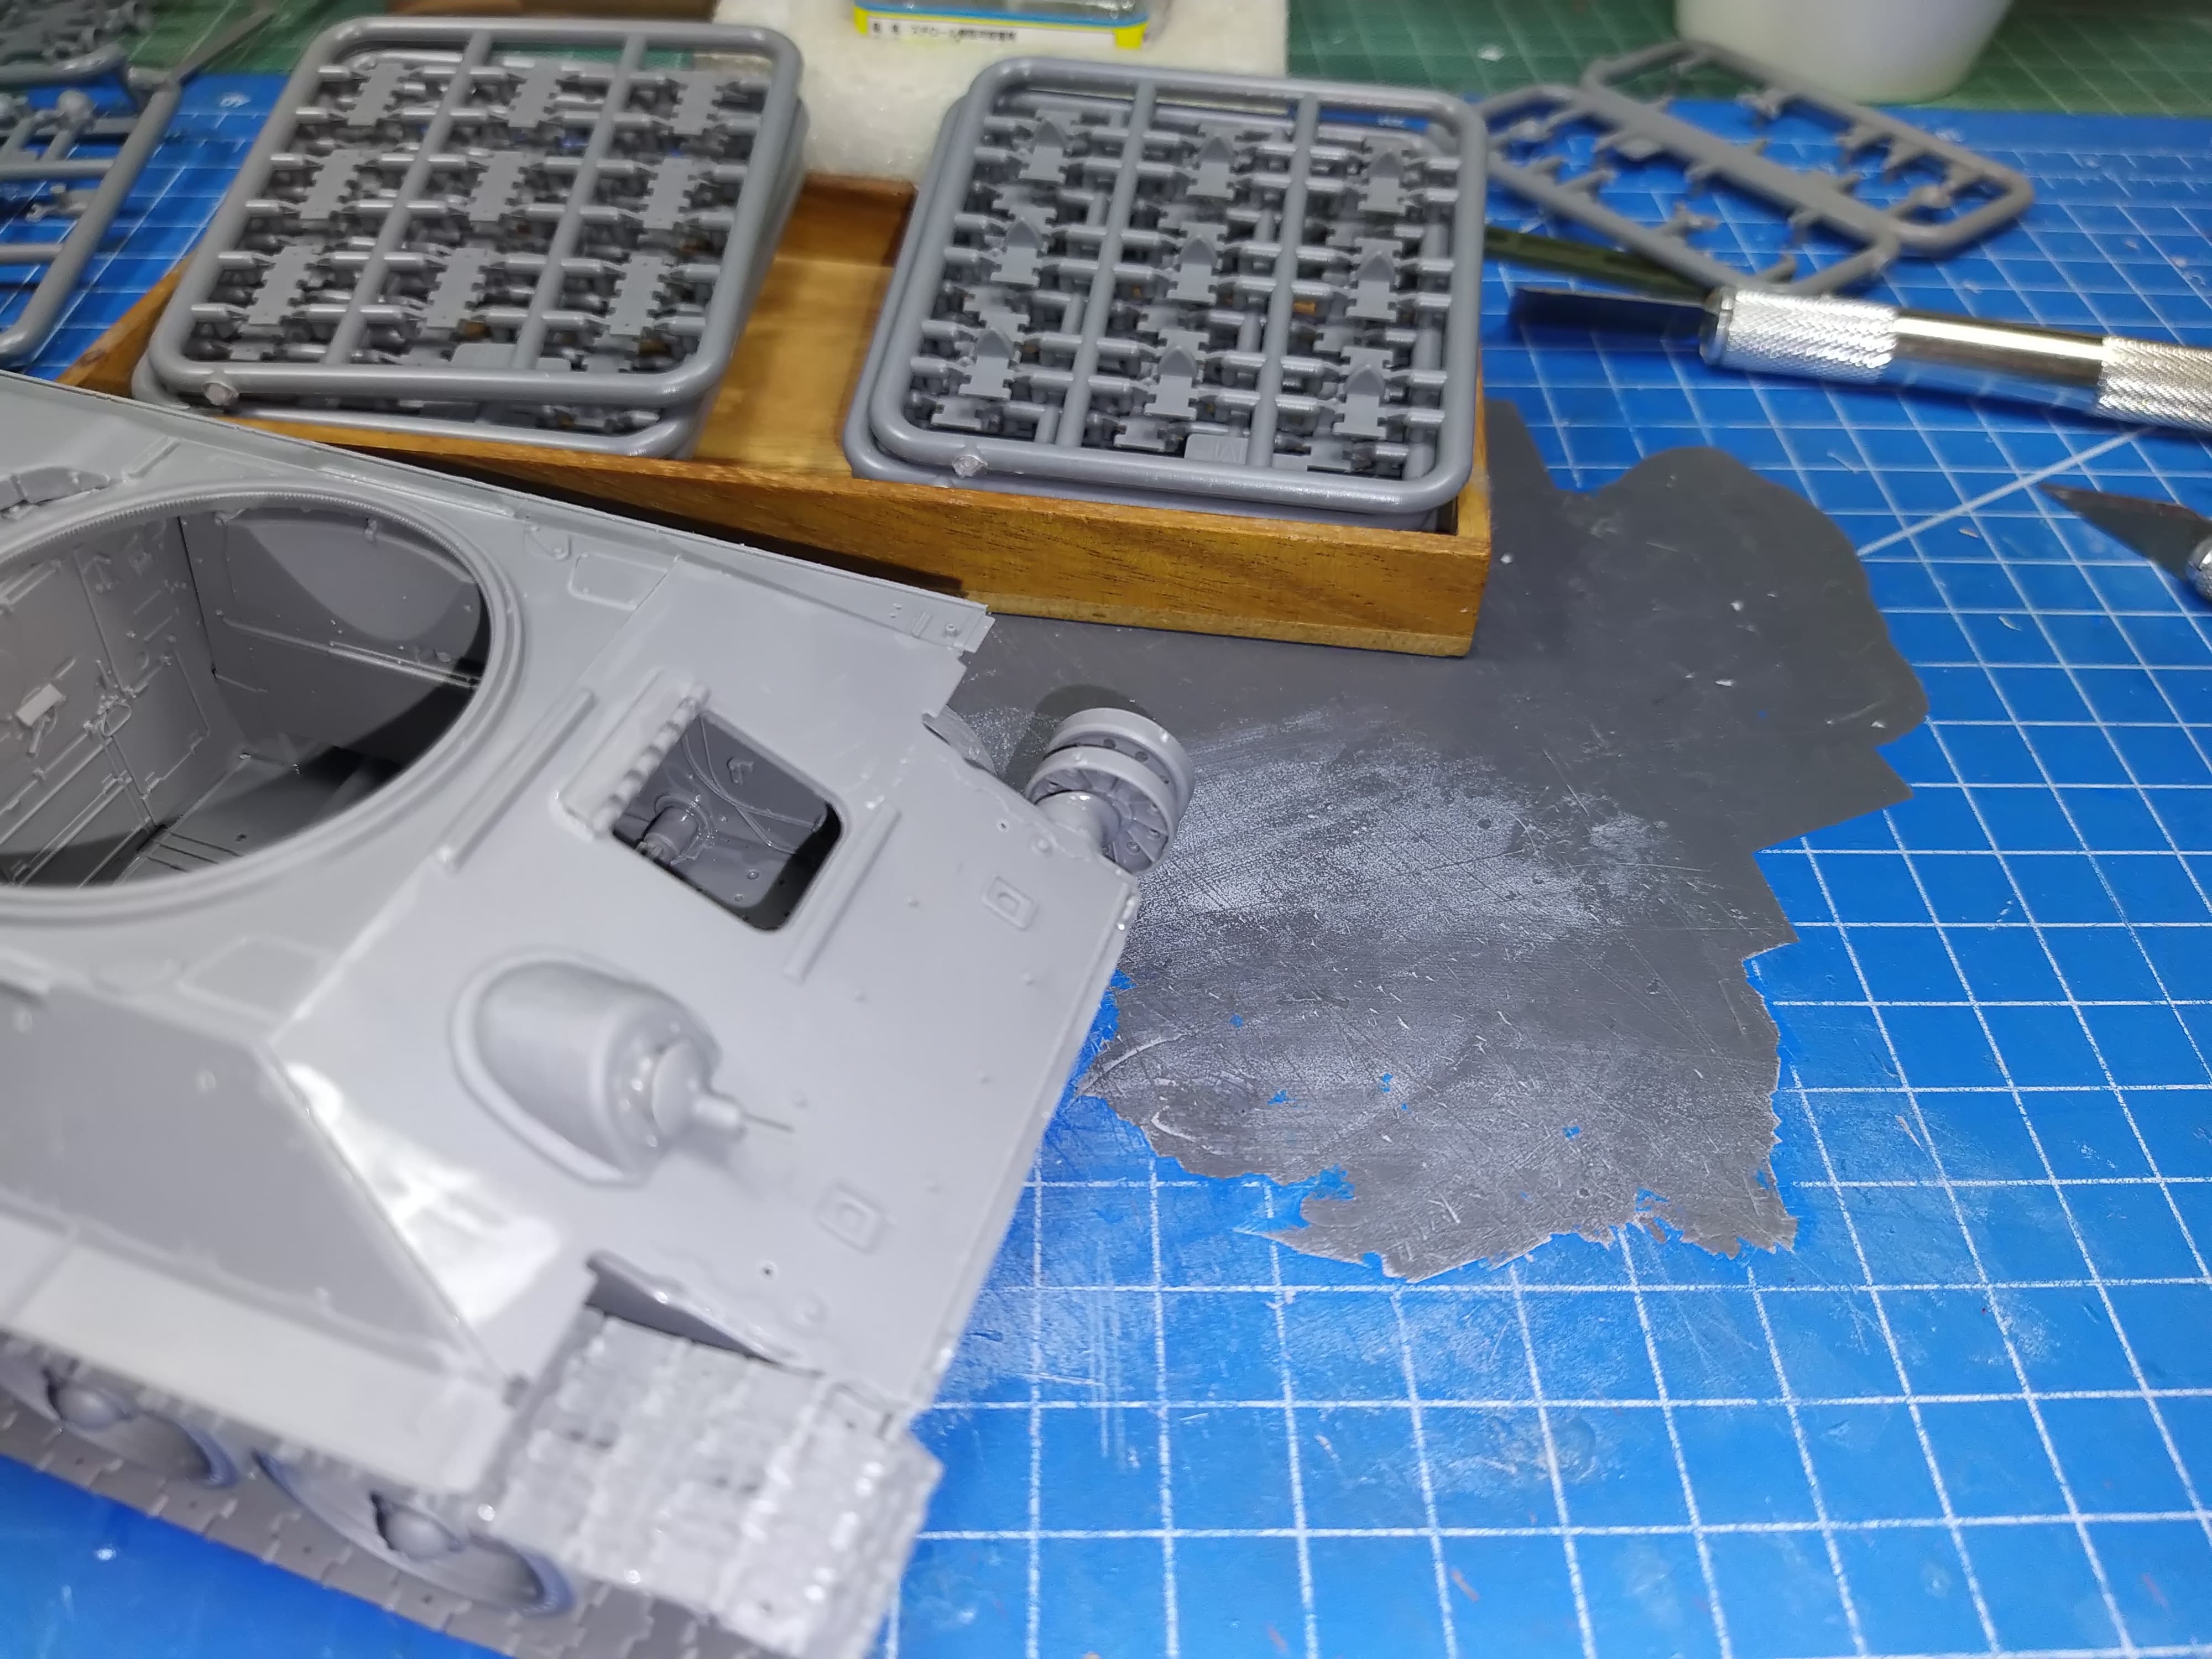
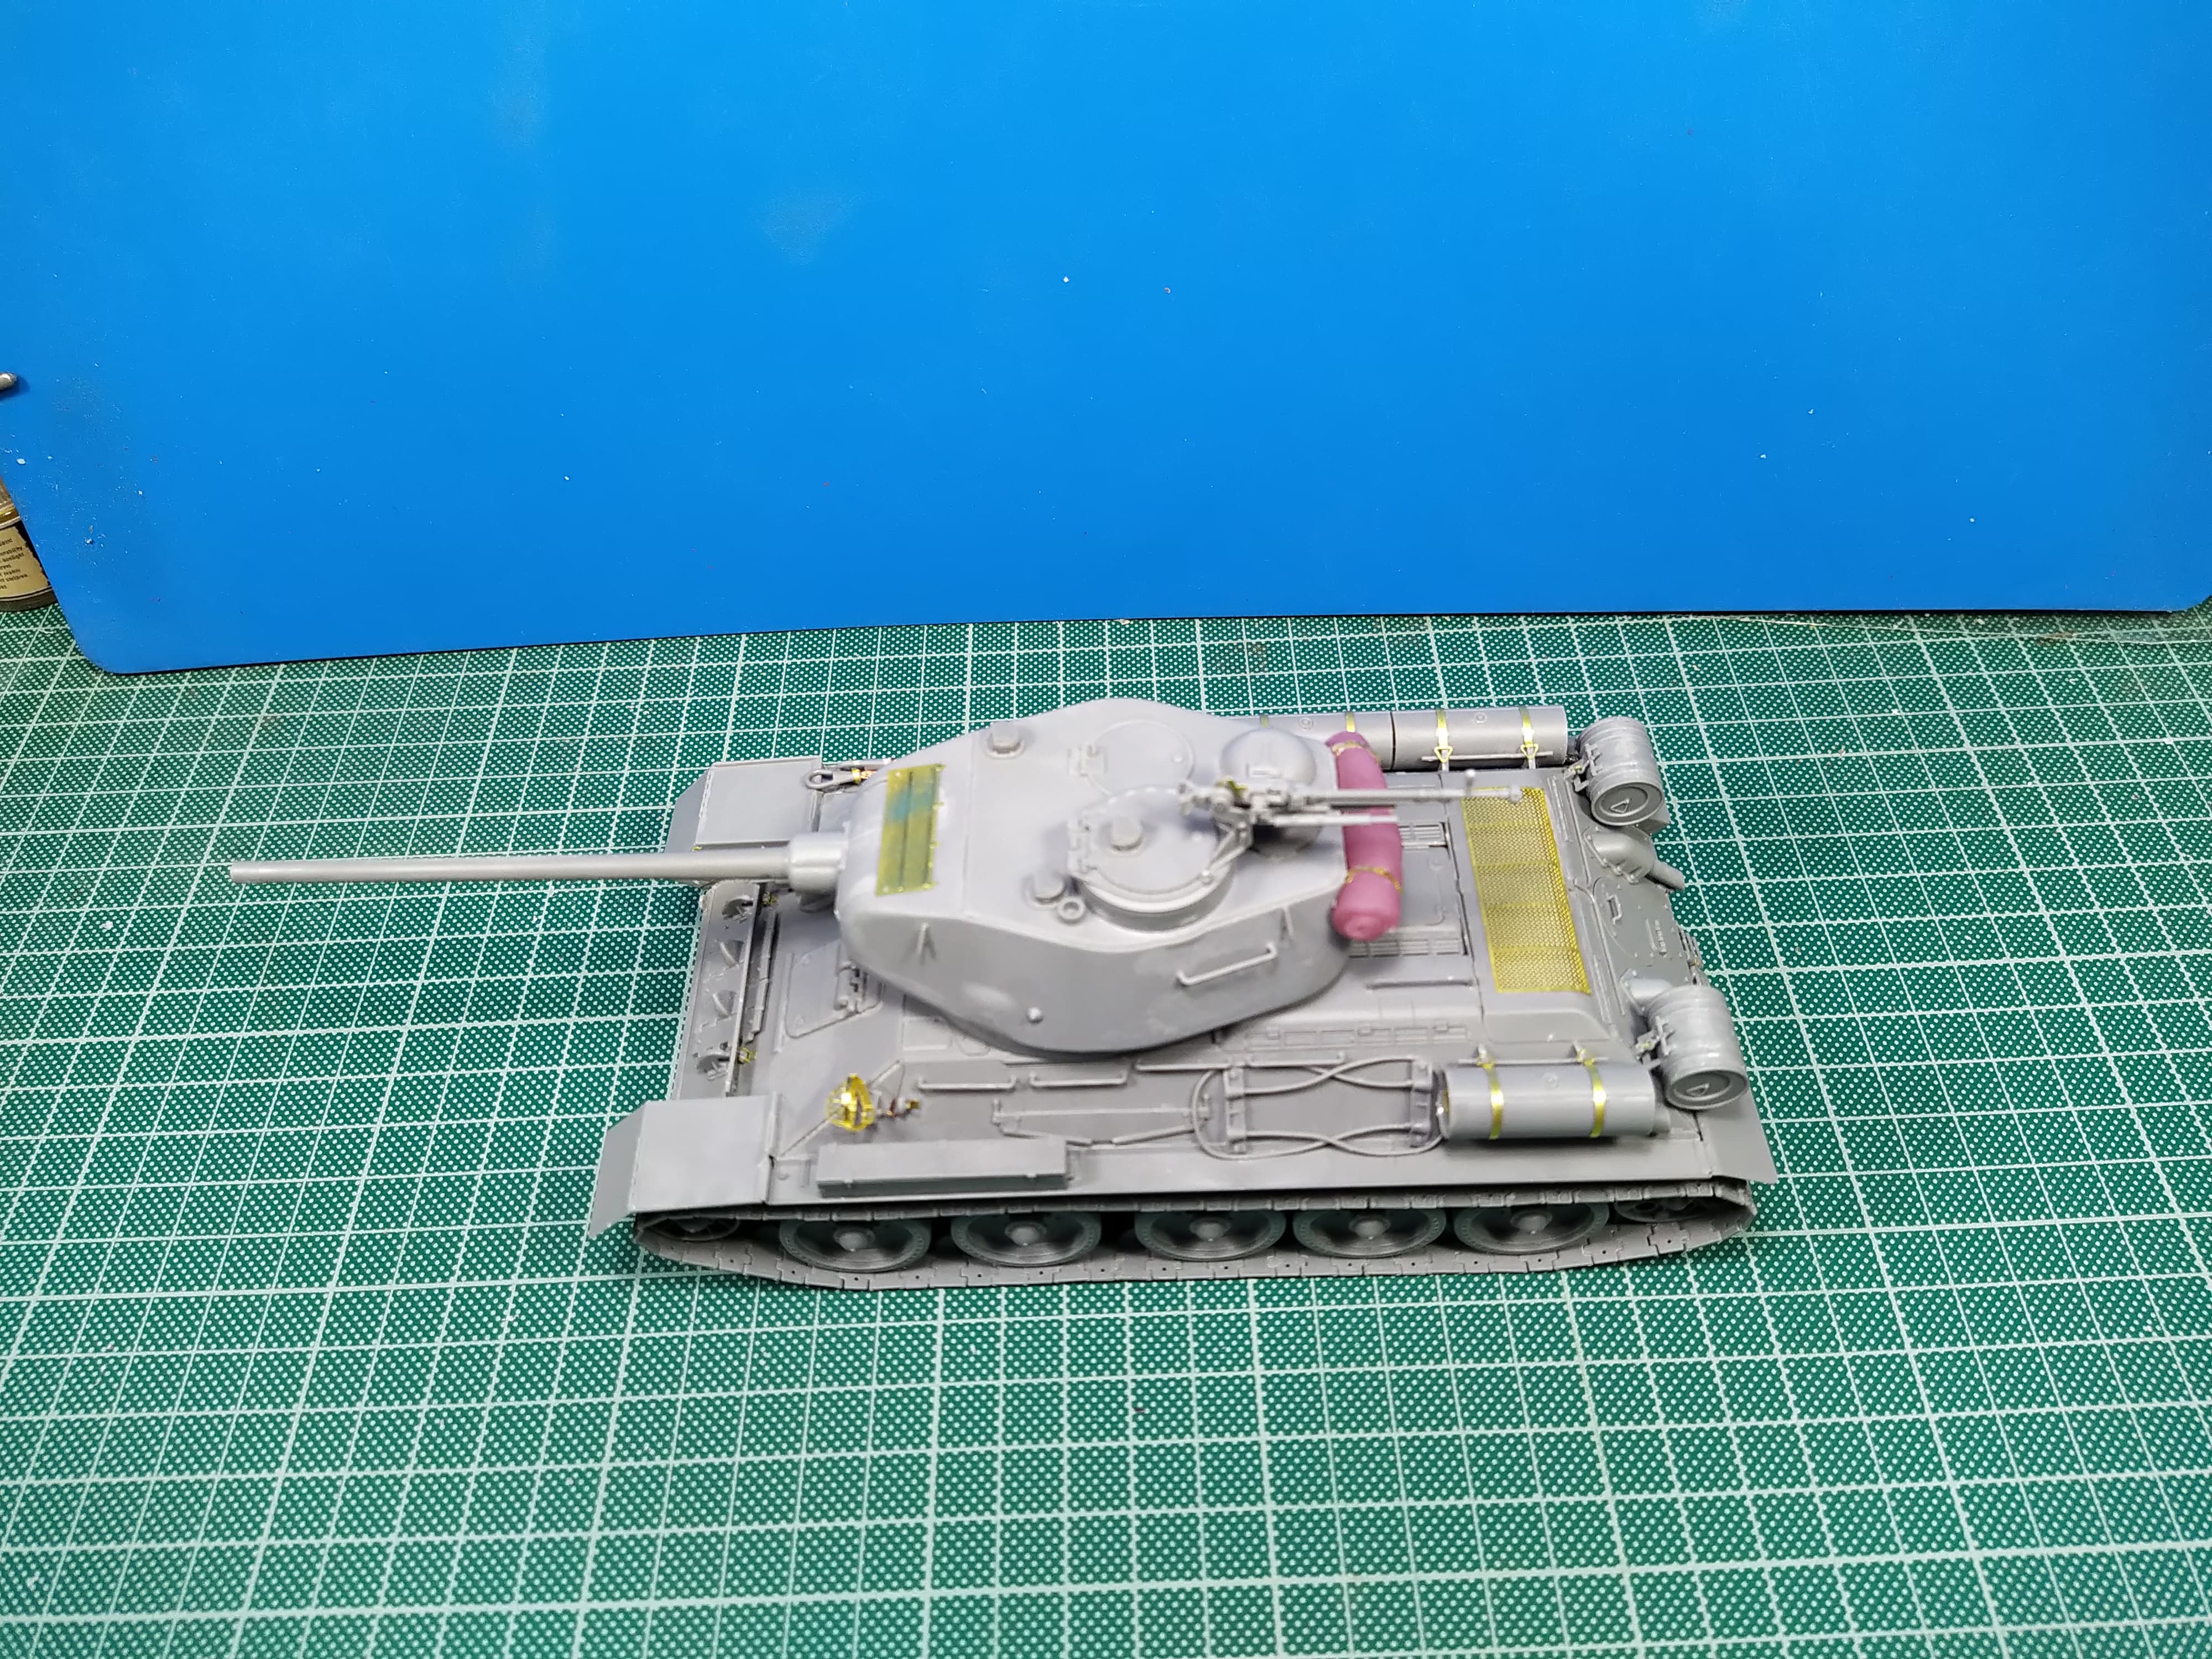
The turret assembly is pretty straight forward with the exception of the gun pivot mount on the interior. The whole gun/breach/mount is only aligned after you add the gun mantlet at the front. Luckily I thought of it and had no issues with the gun position.
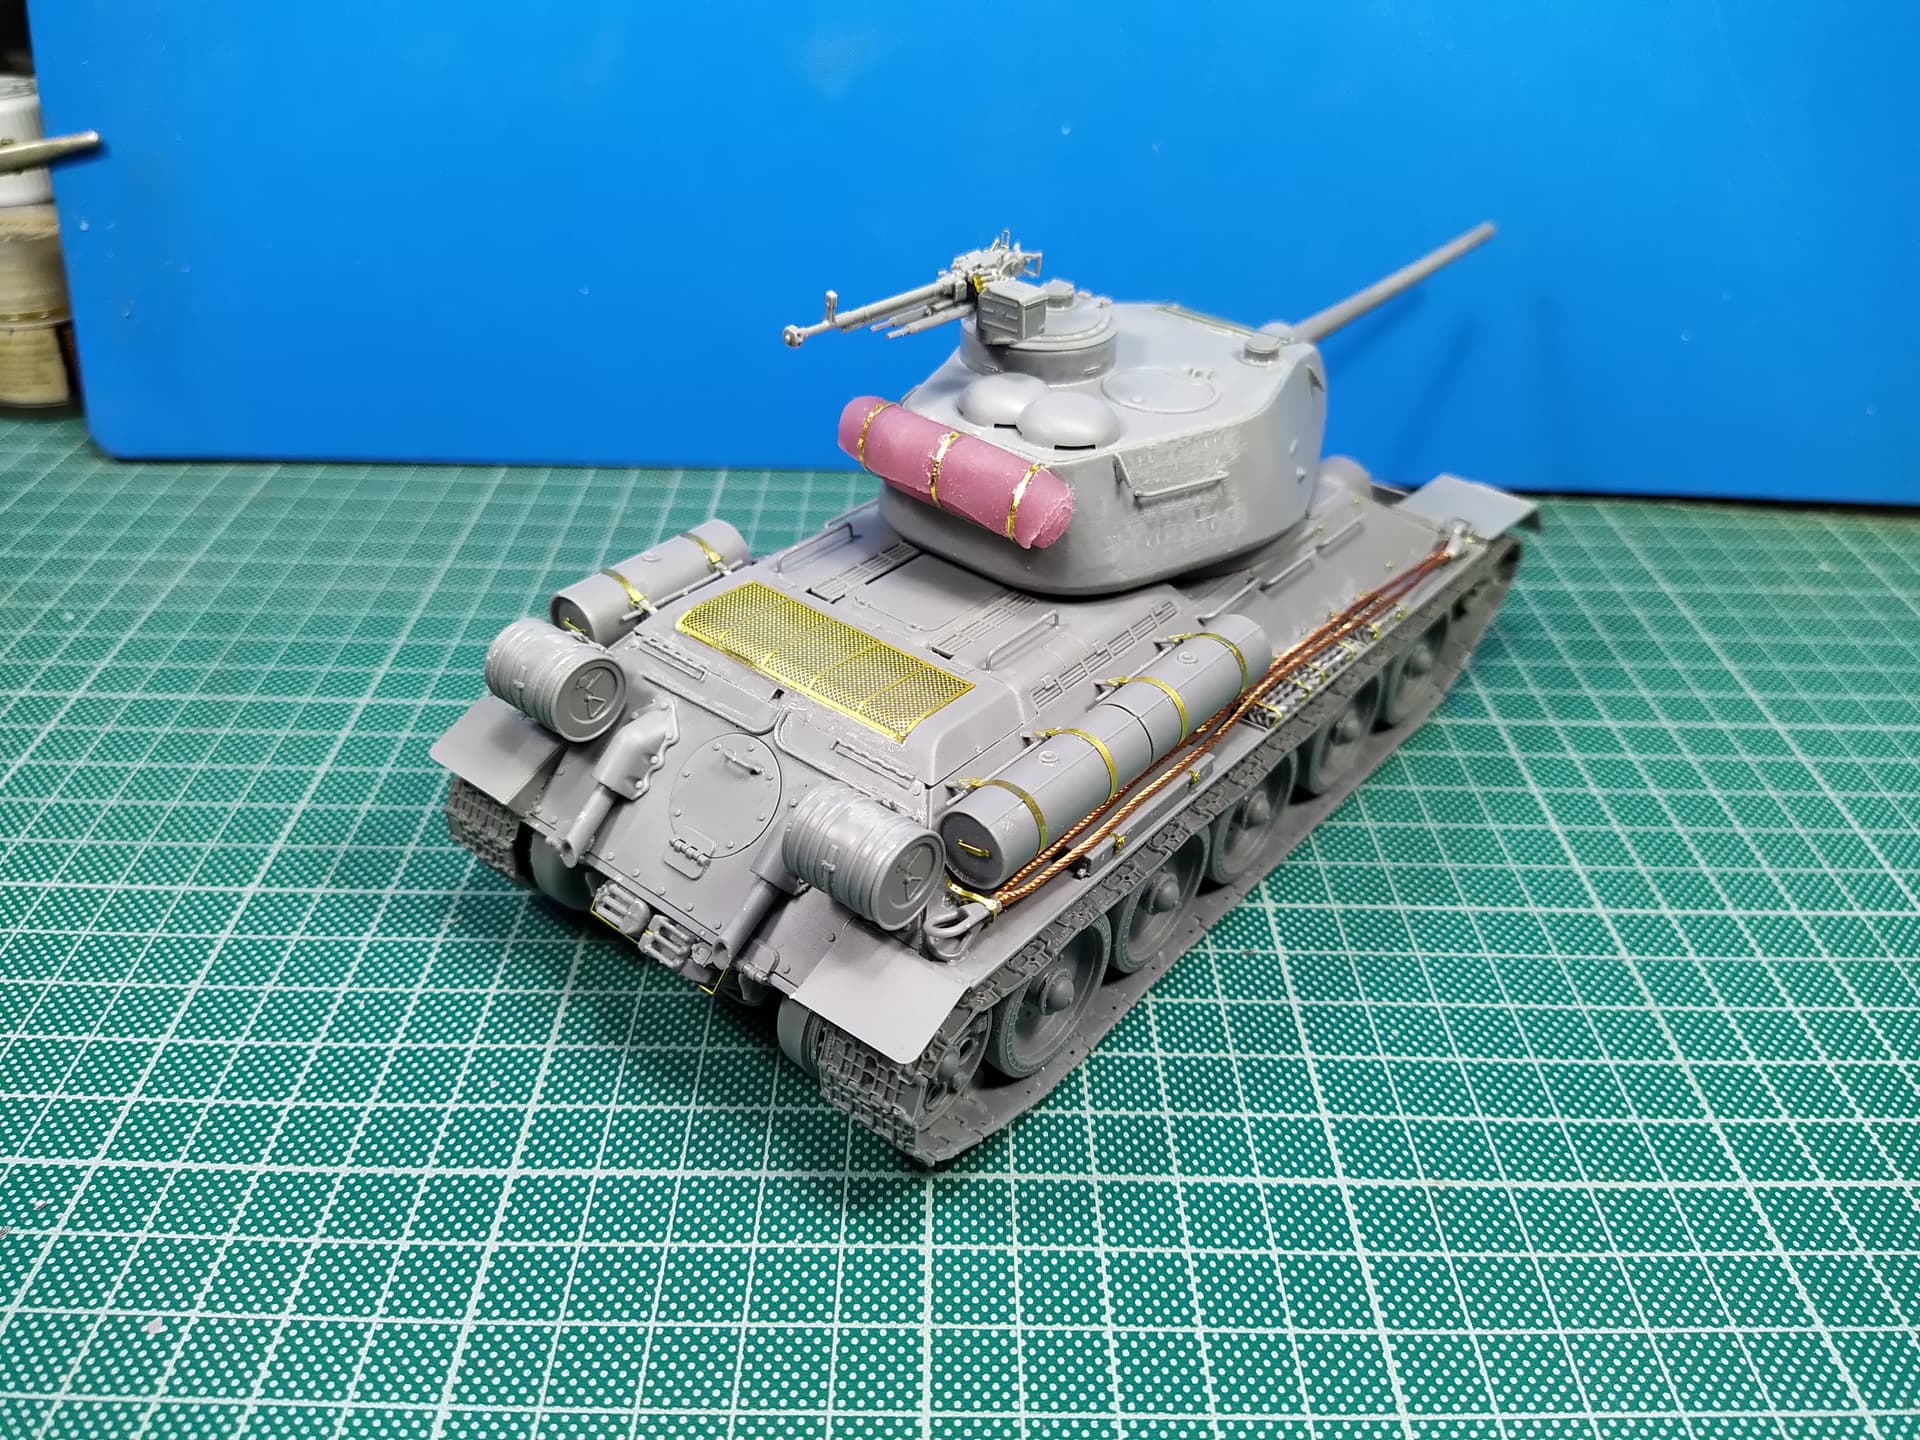
I decided not to add the extra track links at the turret sides since the vehicle I am building didn’t have them.
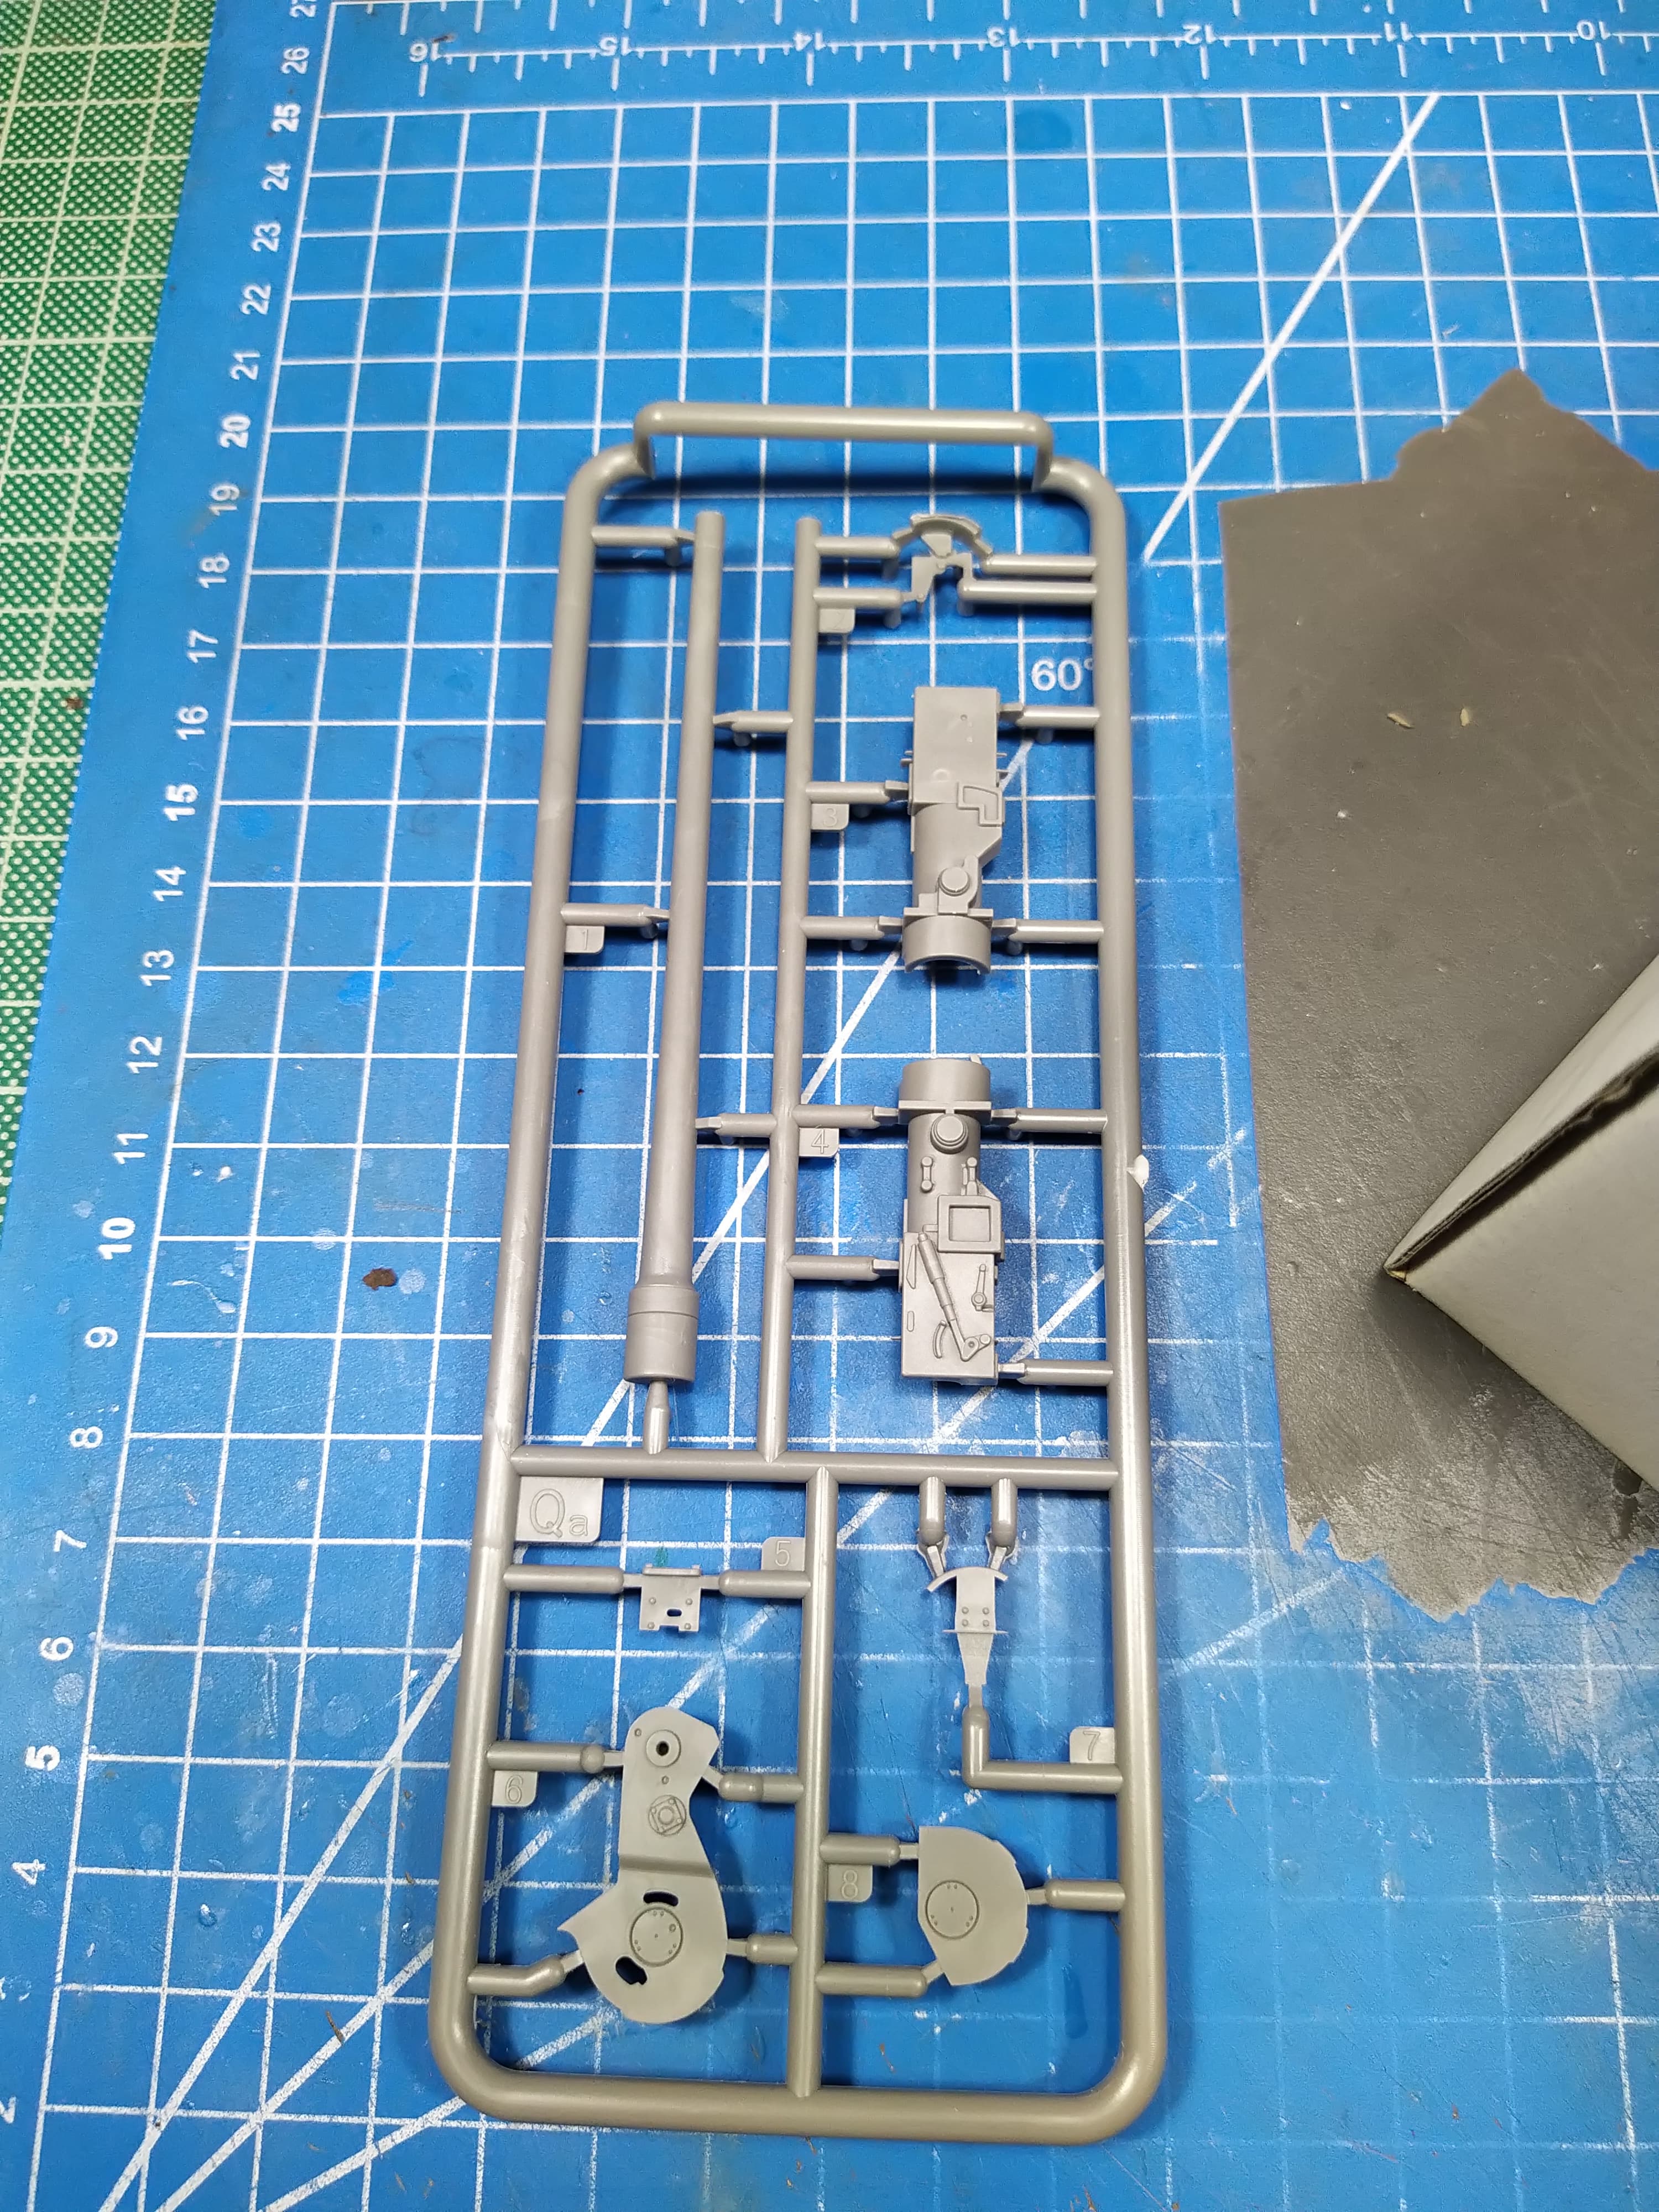
The smoke barrels on the hull were an easy and pretty straight forward assembly, unlike the T-54 kit equivalents.
The grab handles are pretty brittle and break easily when removing from the sprue. Same goes for the wire rope parts.
Fuel Tanks were easy to assemble and mount.
The fenders were a bit tricky to figure out their exact position.
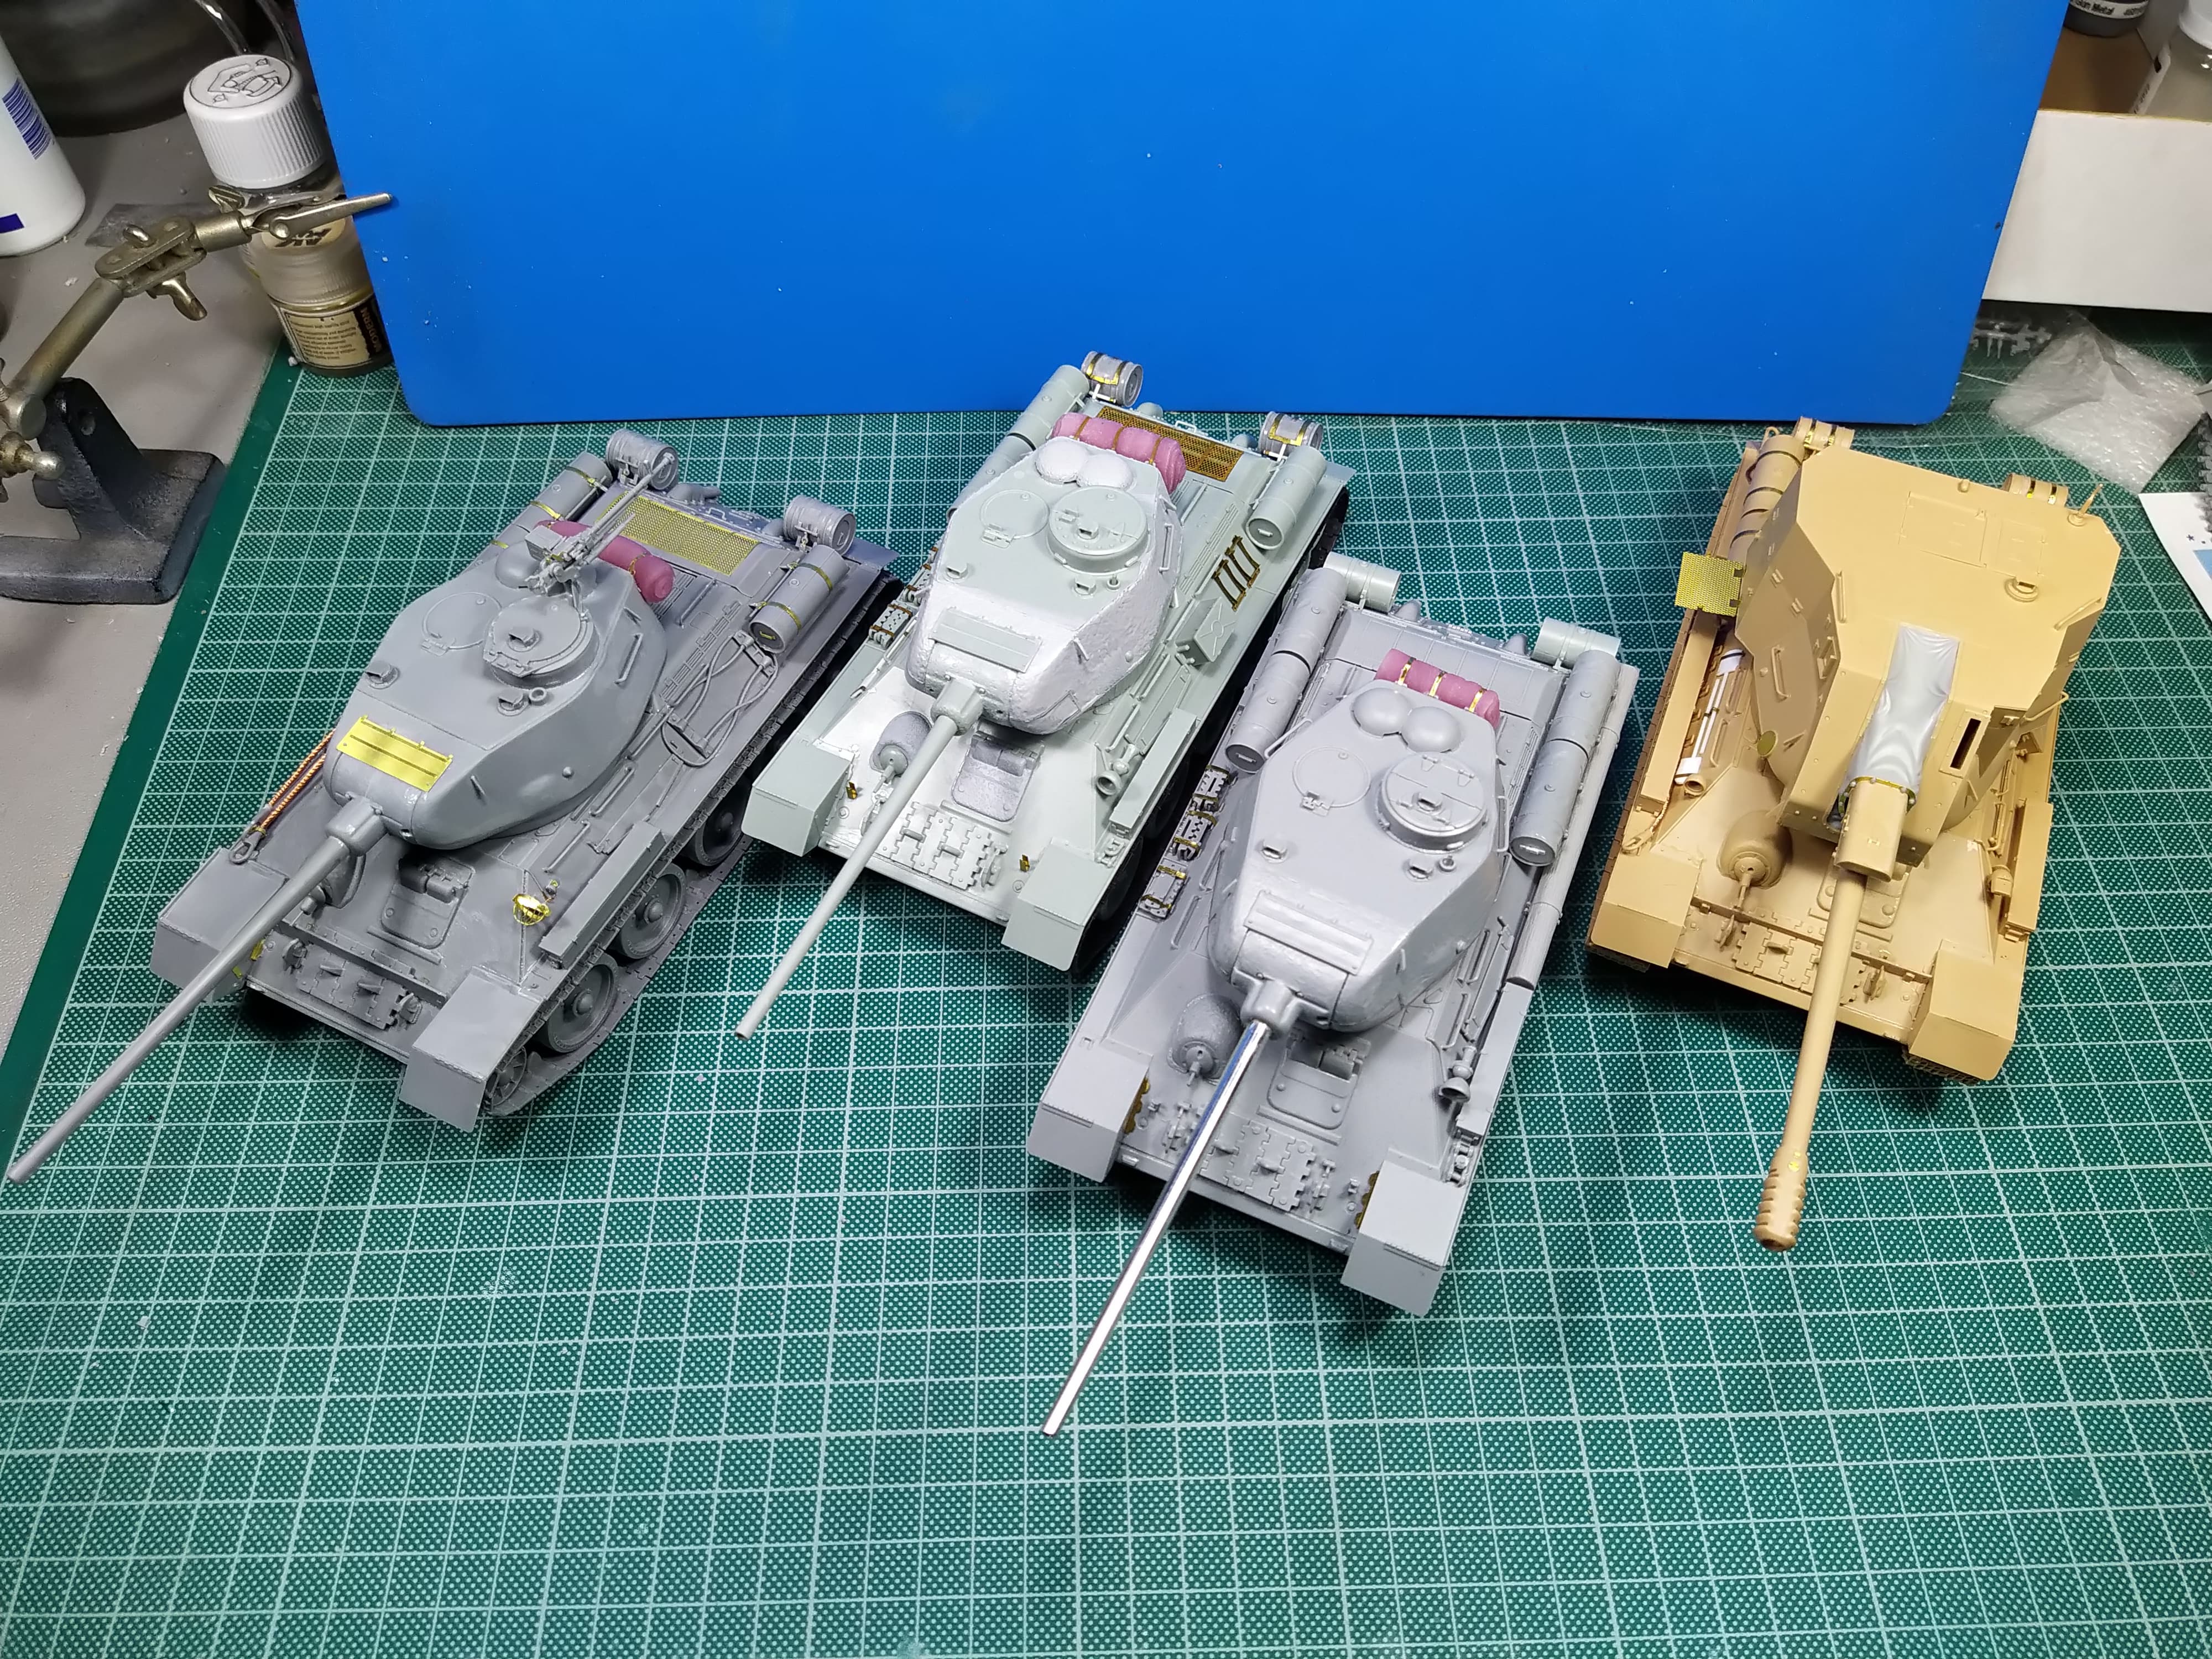
All and all an enjoyable procedure, I wouldn’t prefer this kit over the RFM one though, unless I was after a specific variant only available by MiniArt.
I could paint a base color this weekend and painted some details. Next step is to apply a protective varnish and some dust on the bottom and suspension before I take challenge with the tracks. I am already frightened…