Great finish Nikos! I love the dusty look.
Beautiful build, Nikos!
A bit more progress on my T-34/85. Going to be heavy mud on the suspension. The tracks and road wheels are horrible 


4 Likes
UGH. 5678910characters
1 Like
So colorful here !! 
1 Like


Looks great, Nikos. Nice job on your first figure!
1 Like
Thank you all for the likes and the comment.
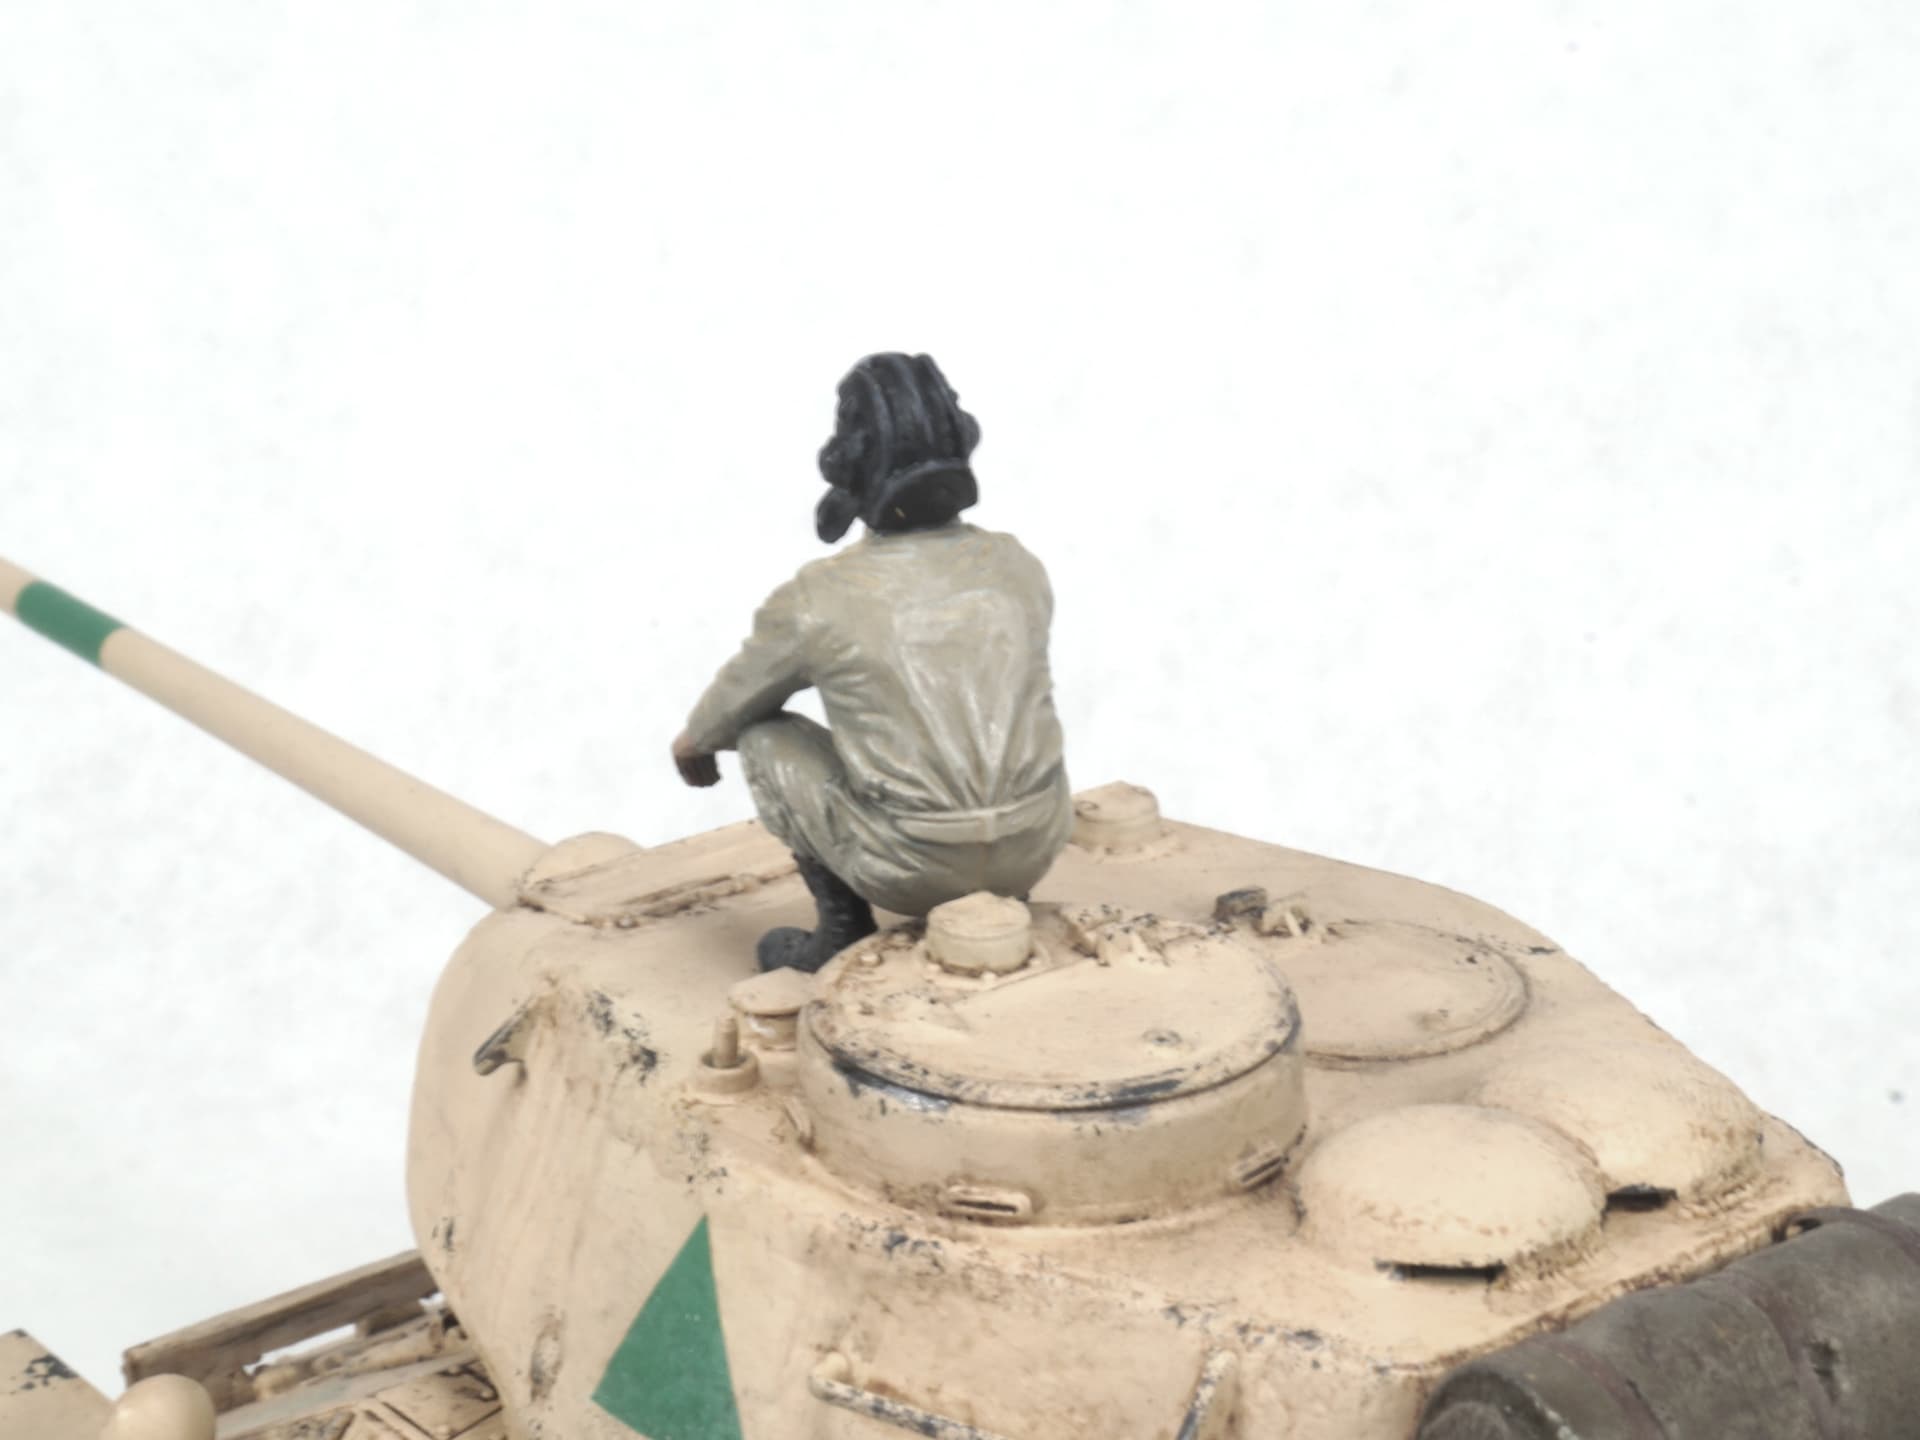
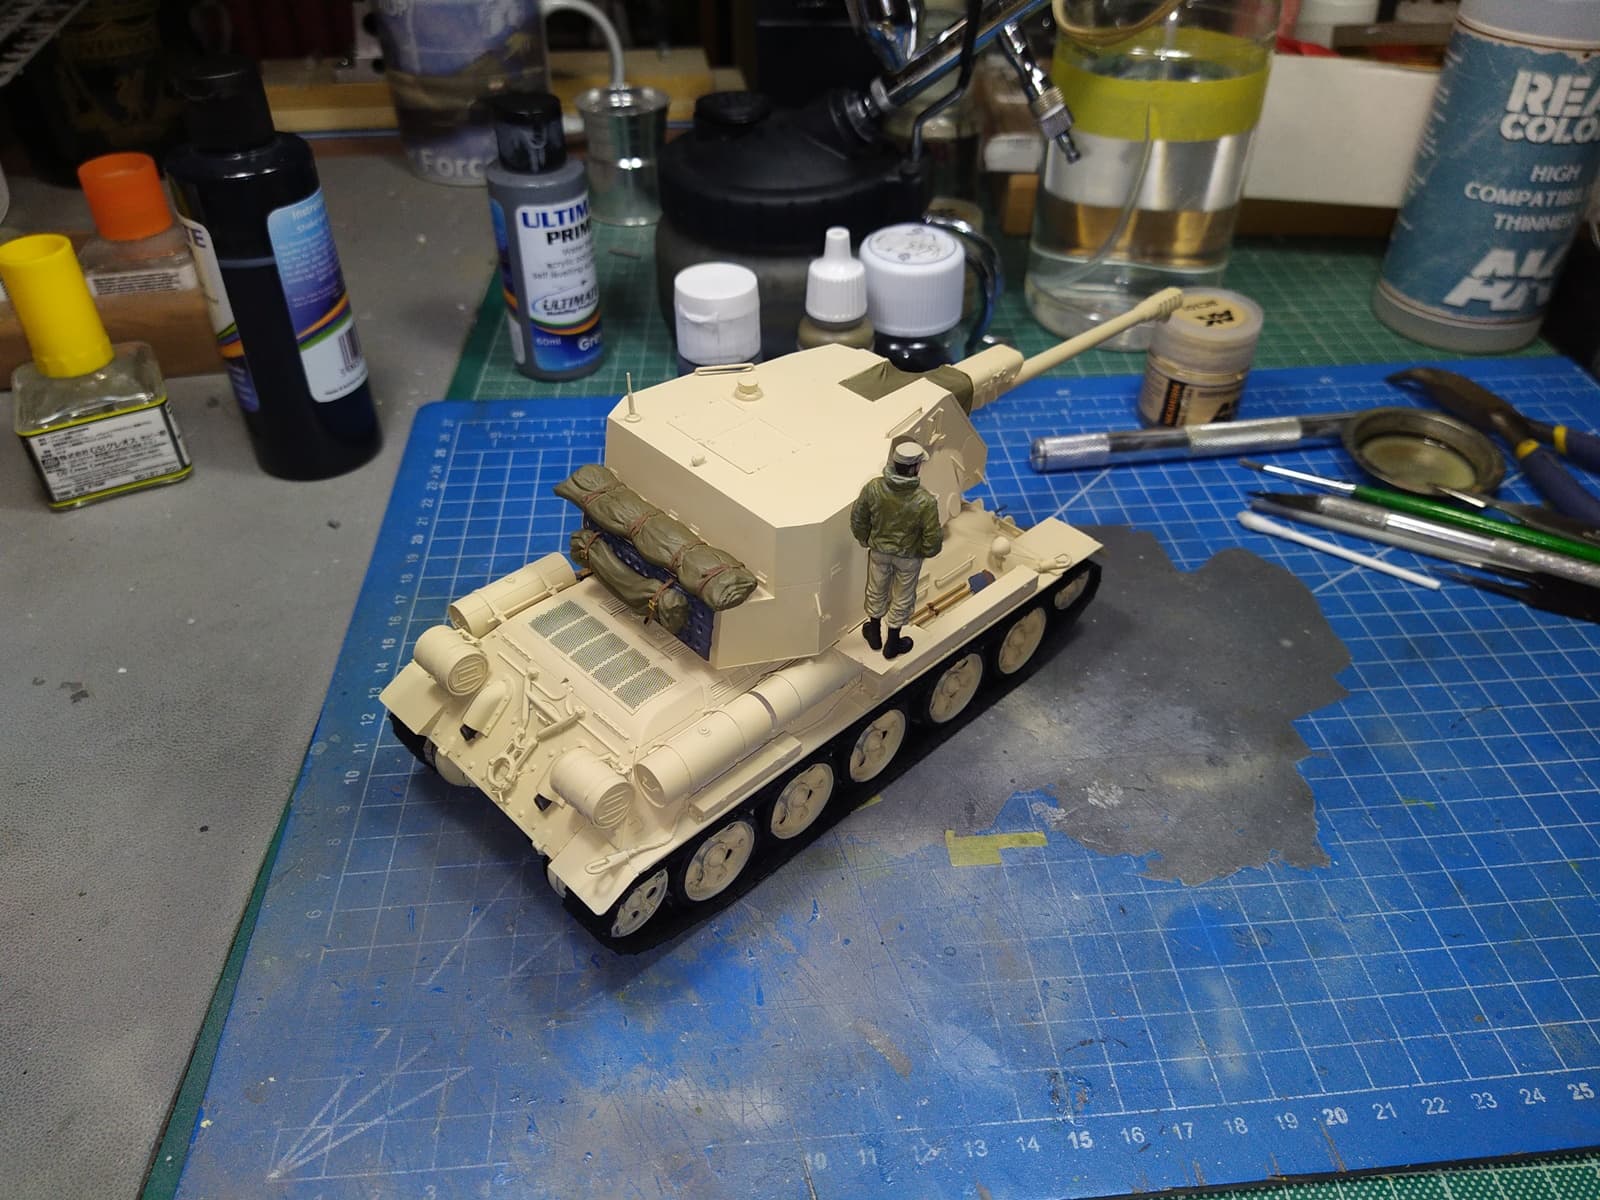
This is the scenario for the T-34/122. No weathering or anything done to it yet but all the basic painting is done and the figure is ready.


7 Likes
It looks terrible! ![]()
2 Likes
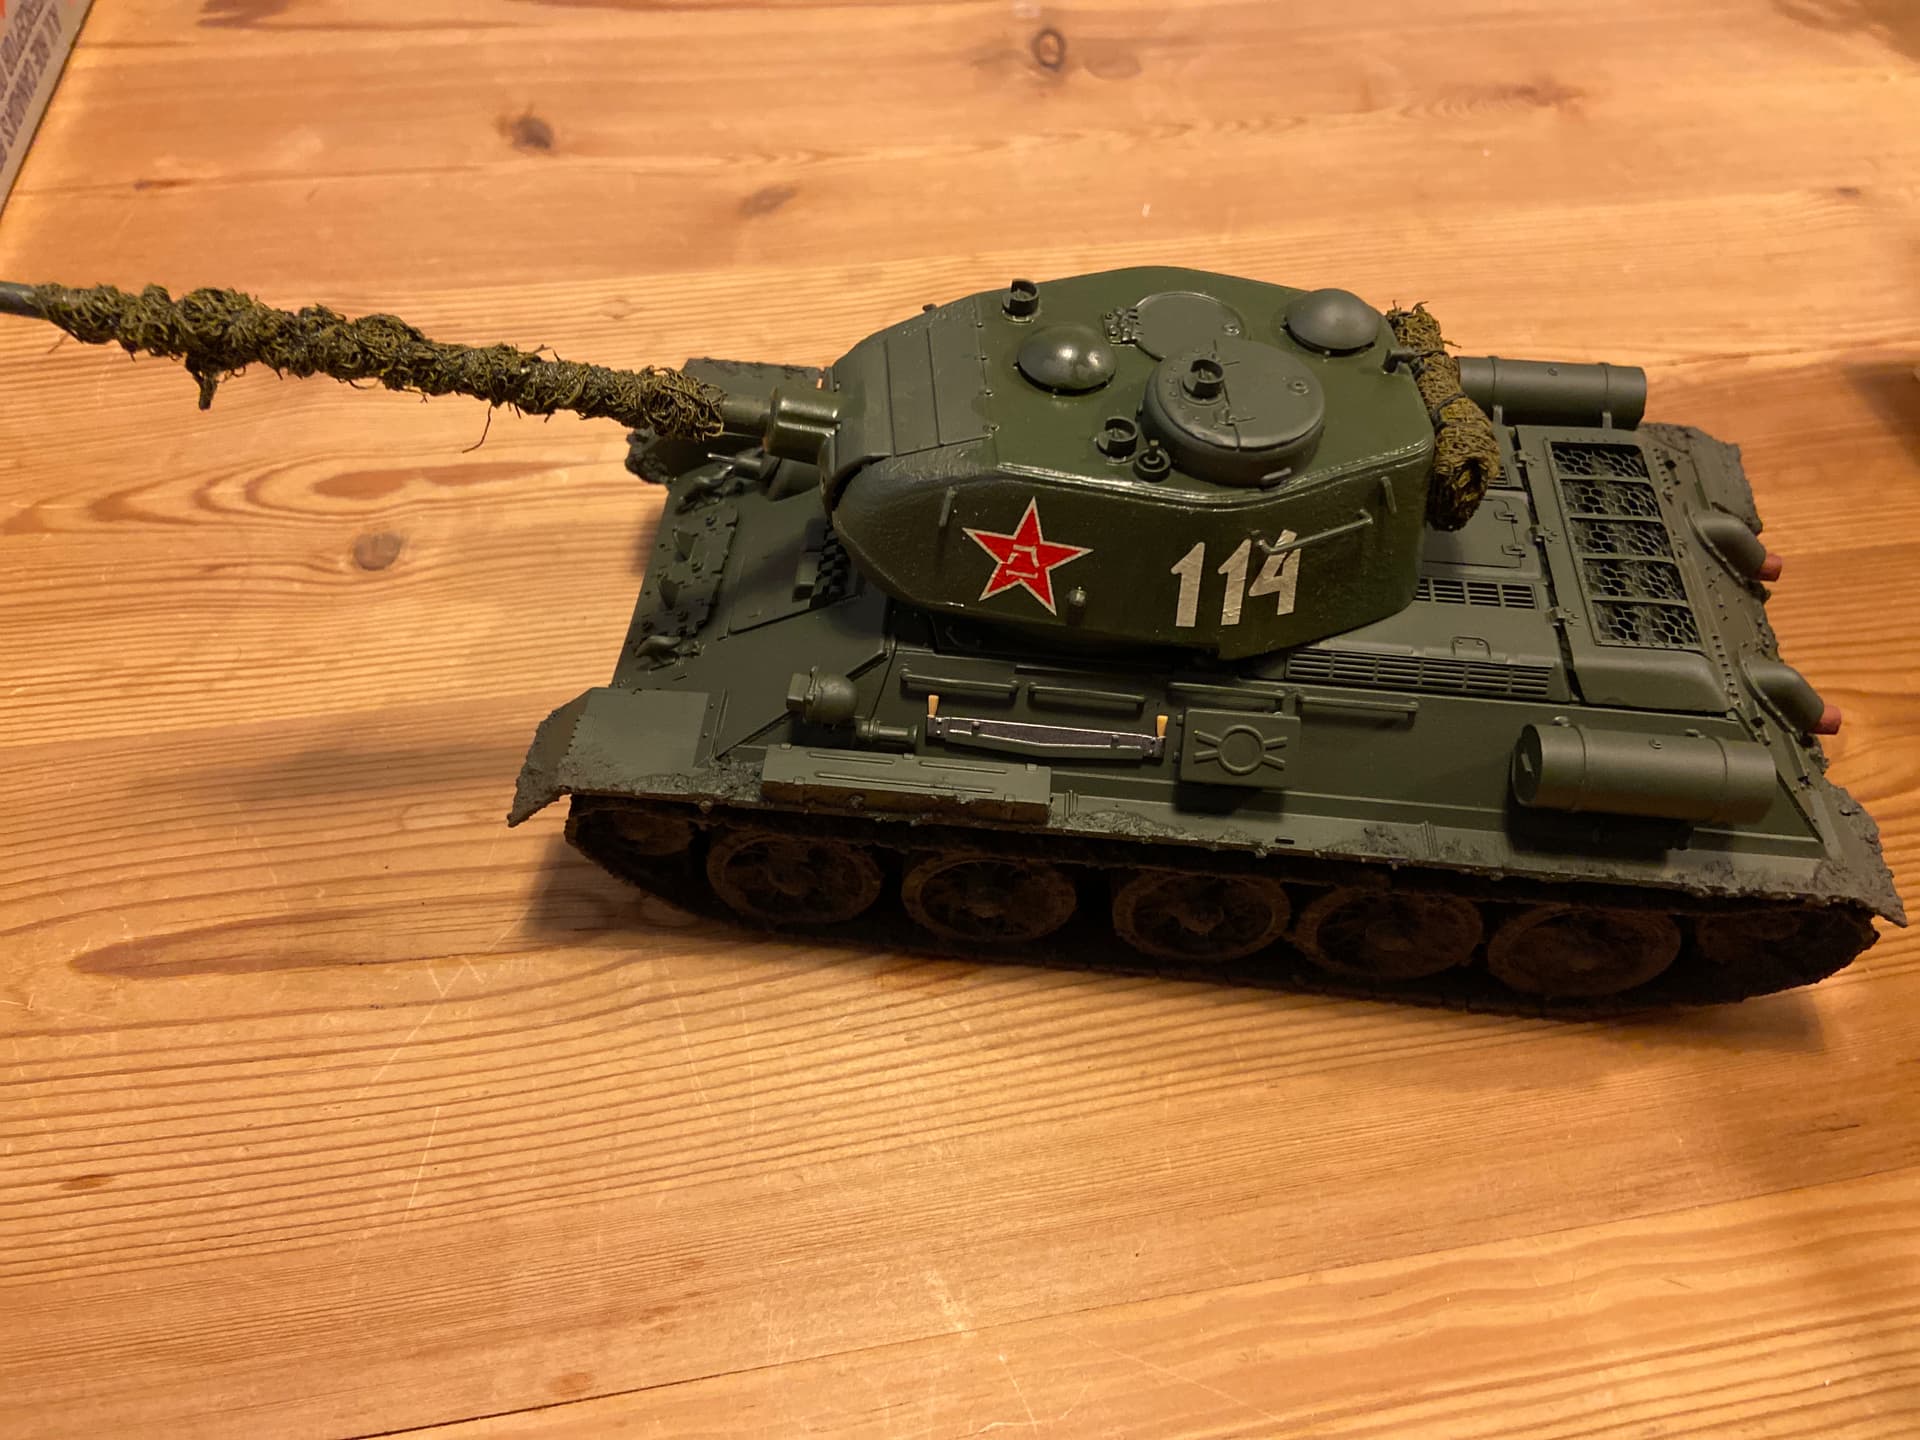
Some more work on my Maquette T-34/85. Suspension is absolutely horrible.
Wheels are different height of the ground, so all suspension arms had to be adjusted.
Every wheel has deep sink marks along the rubber tire ![]()
Every track link have two pin marks and the fit is somehow different for each link, so some twist slightly right, some slightly left.
In a weird way I am enjoying the build. I still expect to get something decent out of this although it will require a very muddy suspension and running gear ![]()
![]()
More to follow soon ![]()

9 Likes
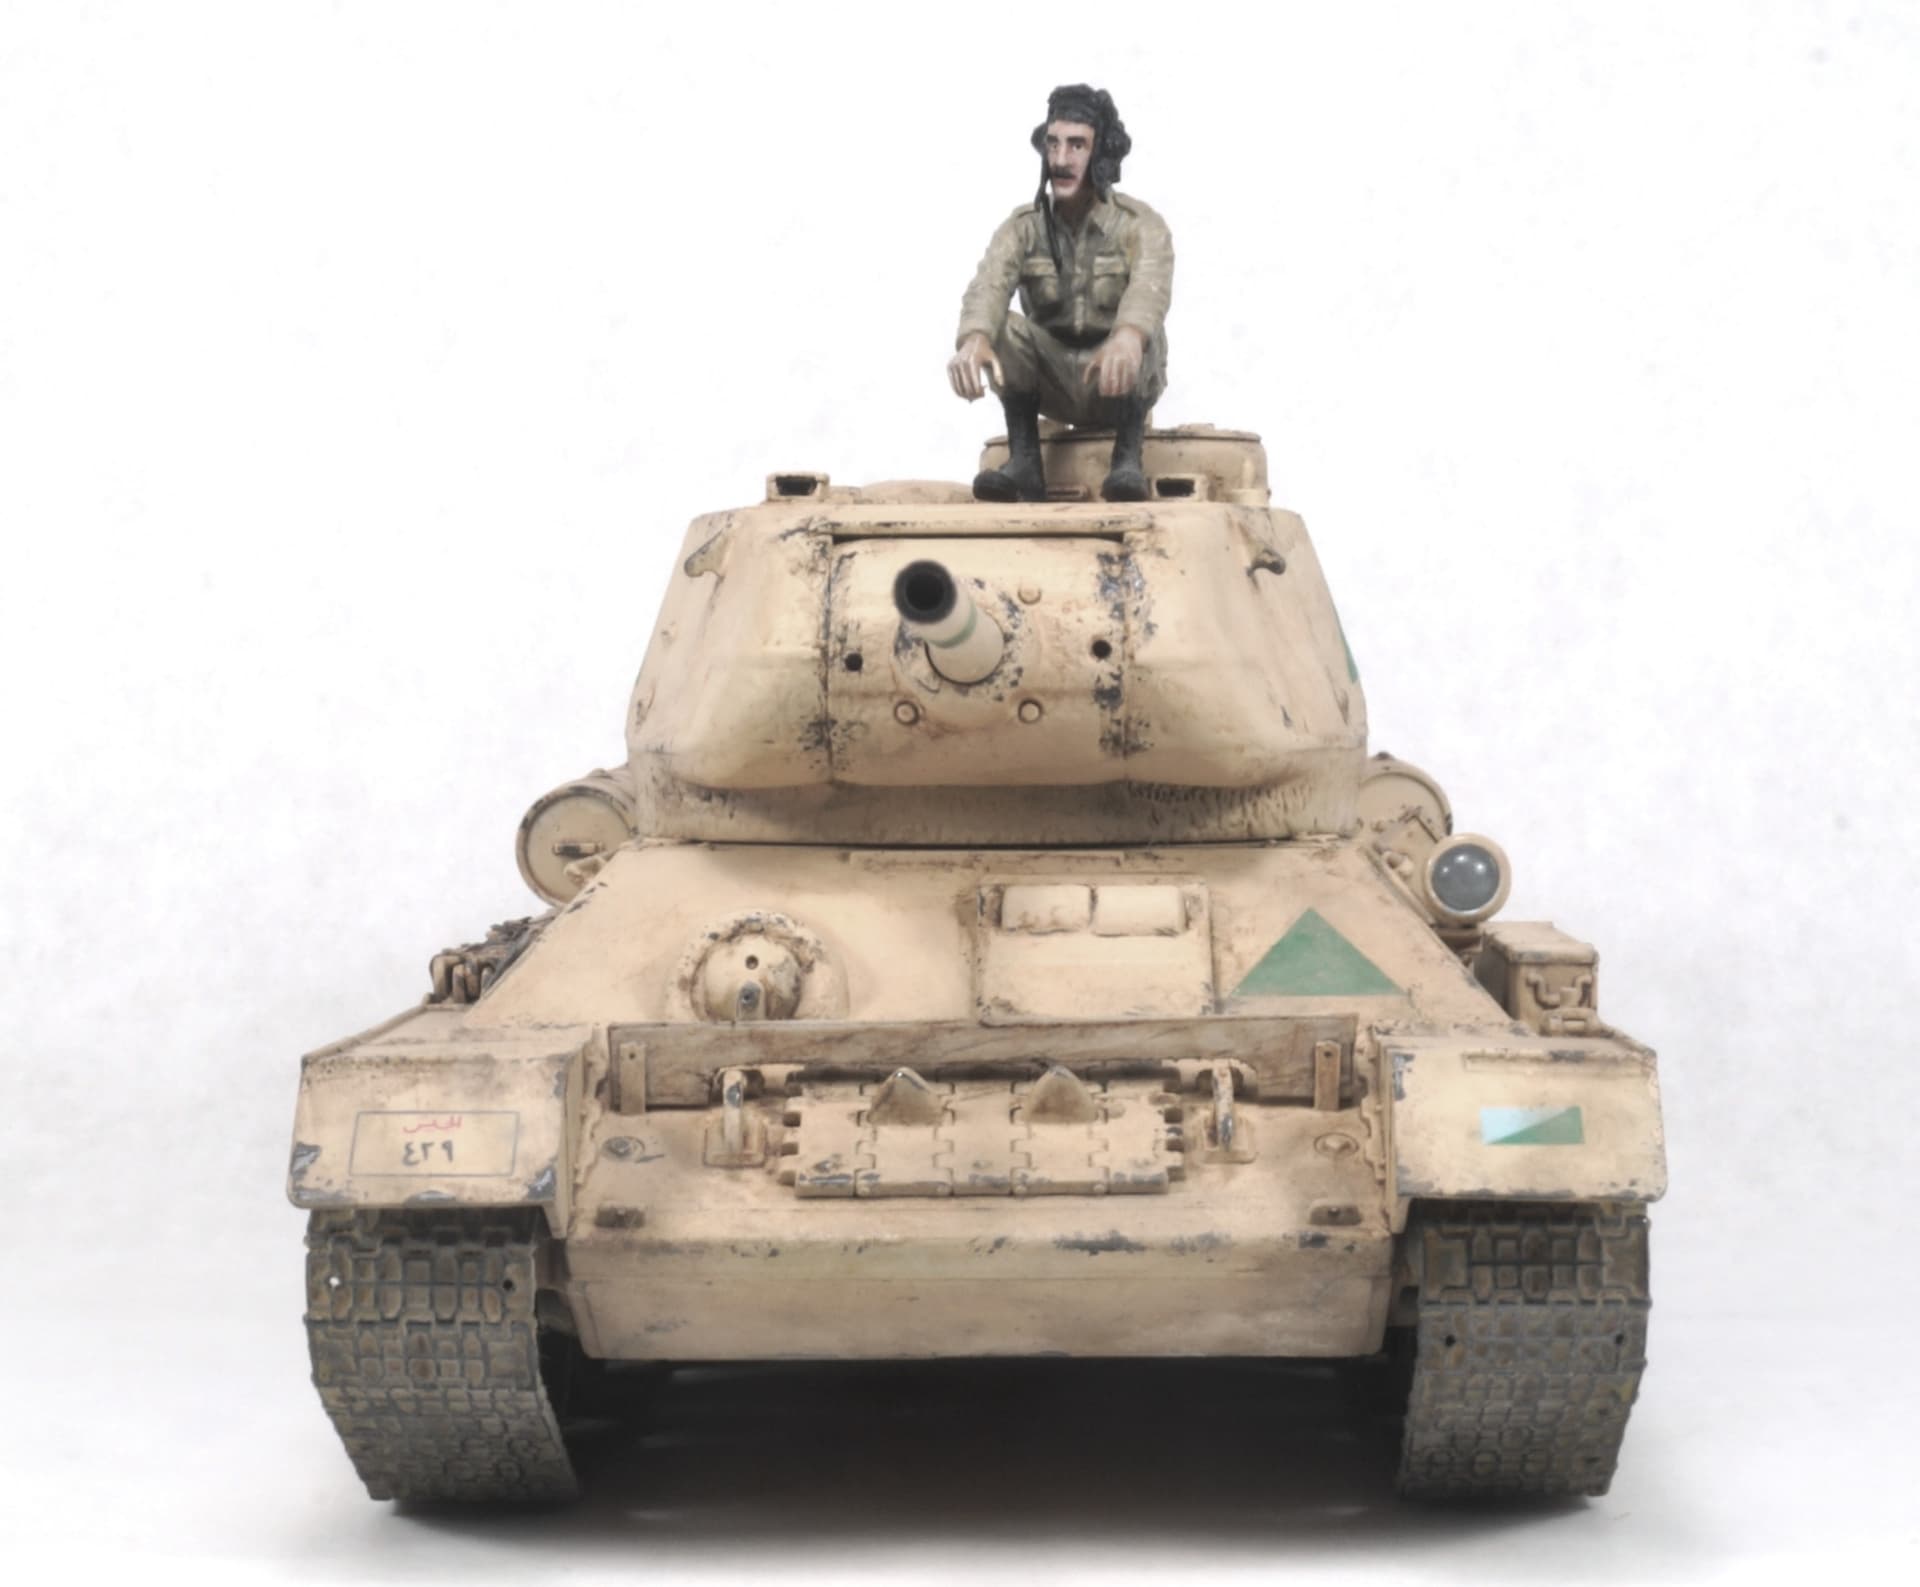
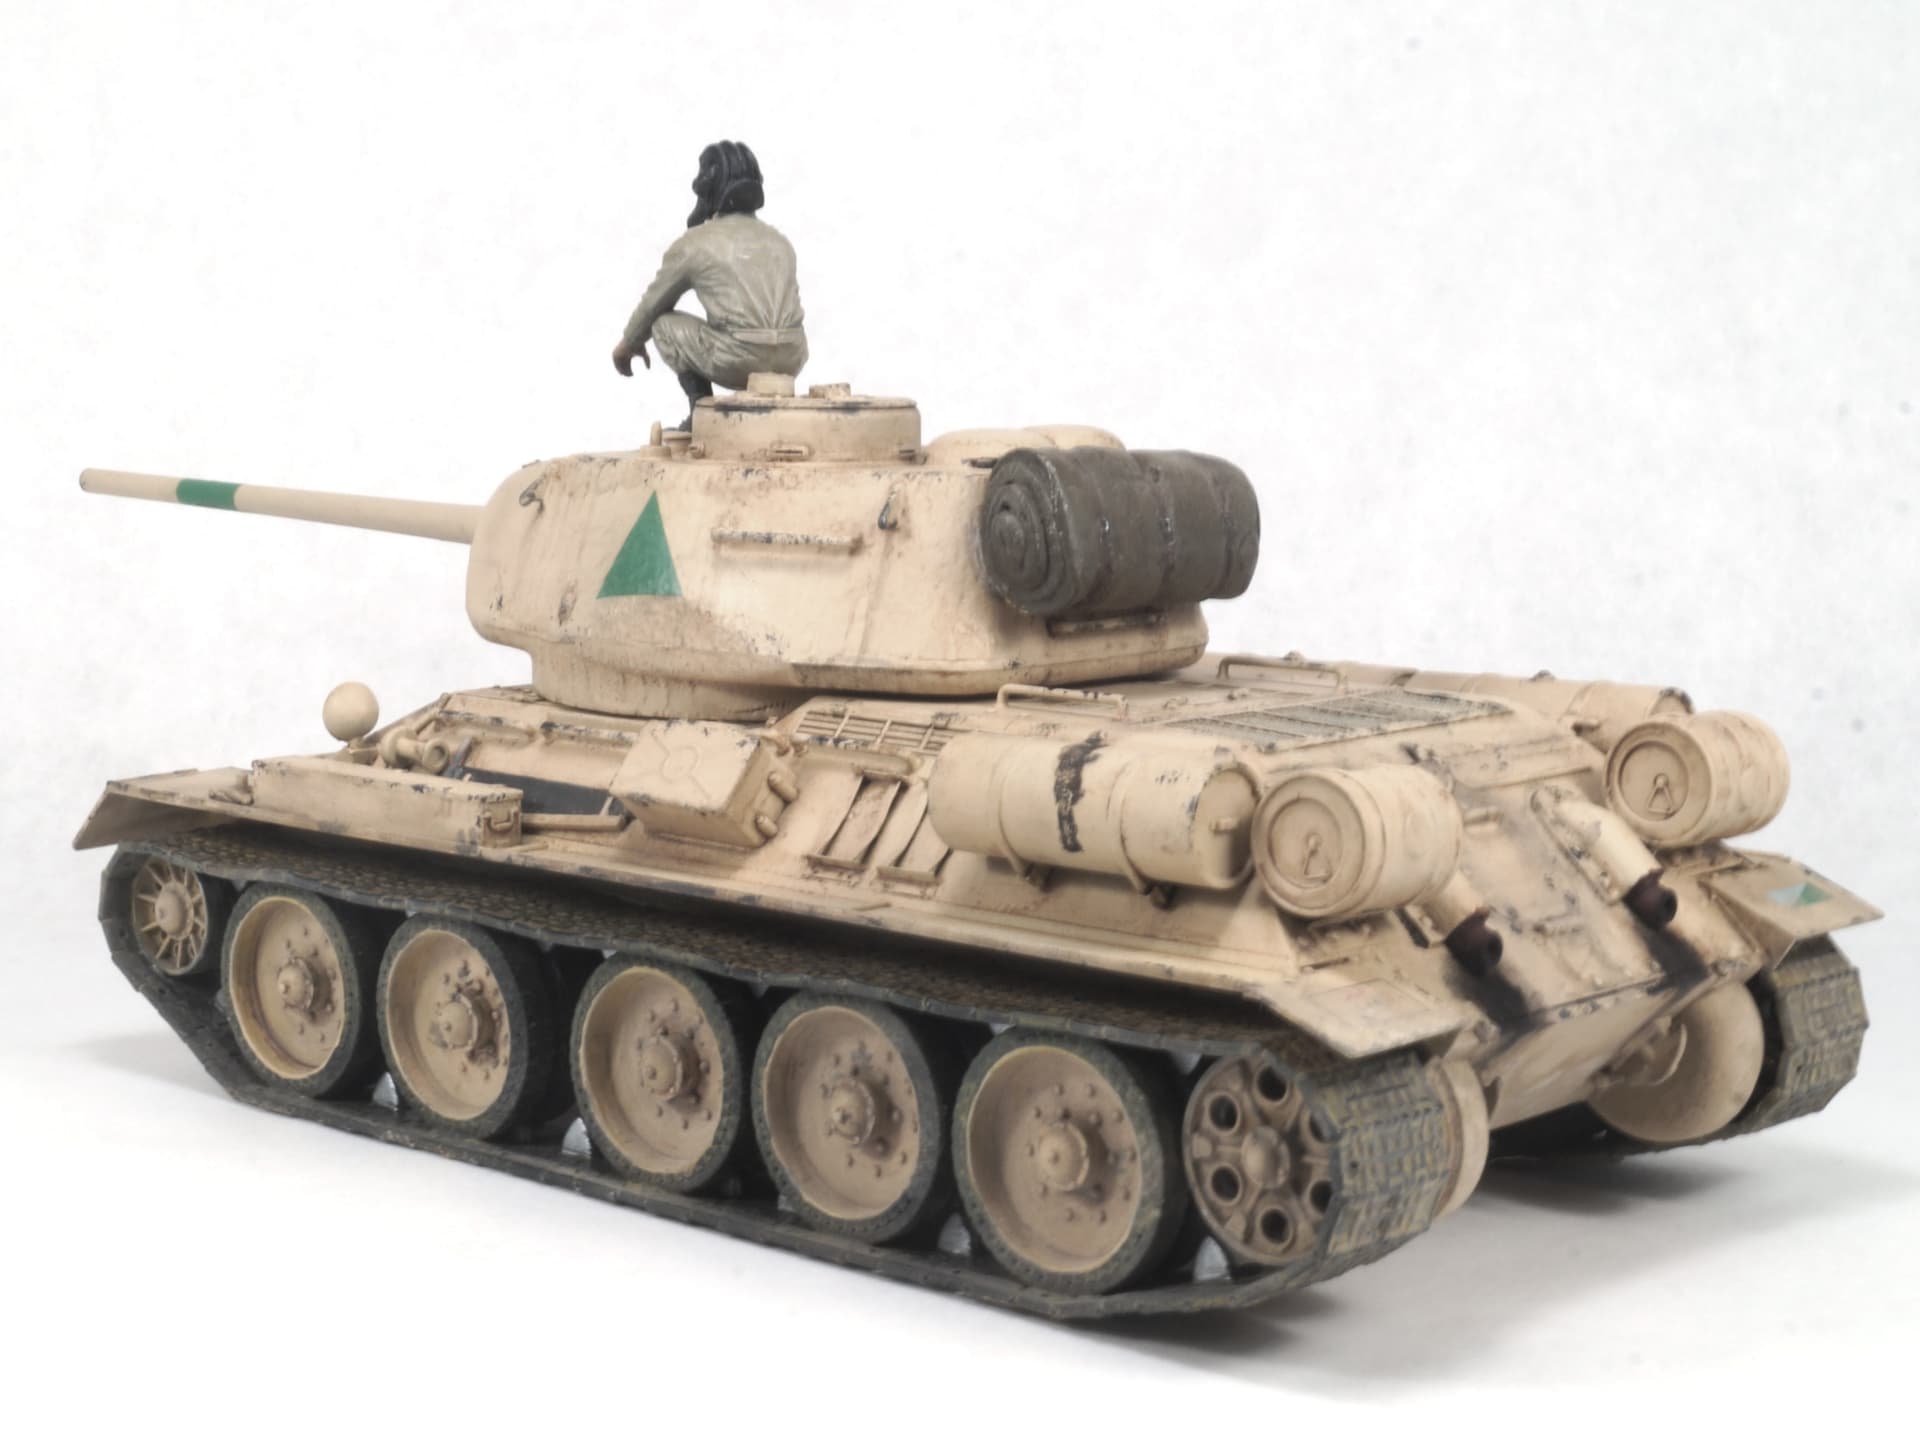
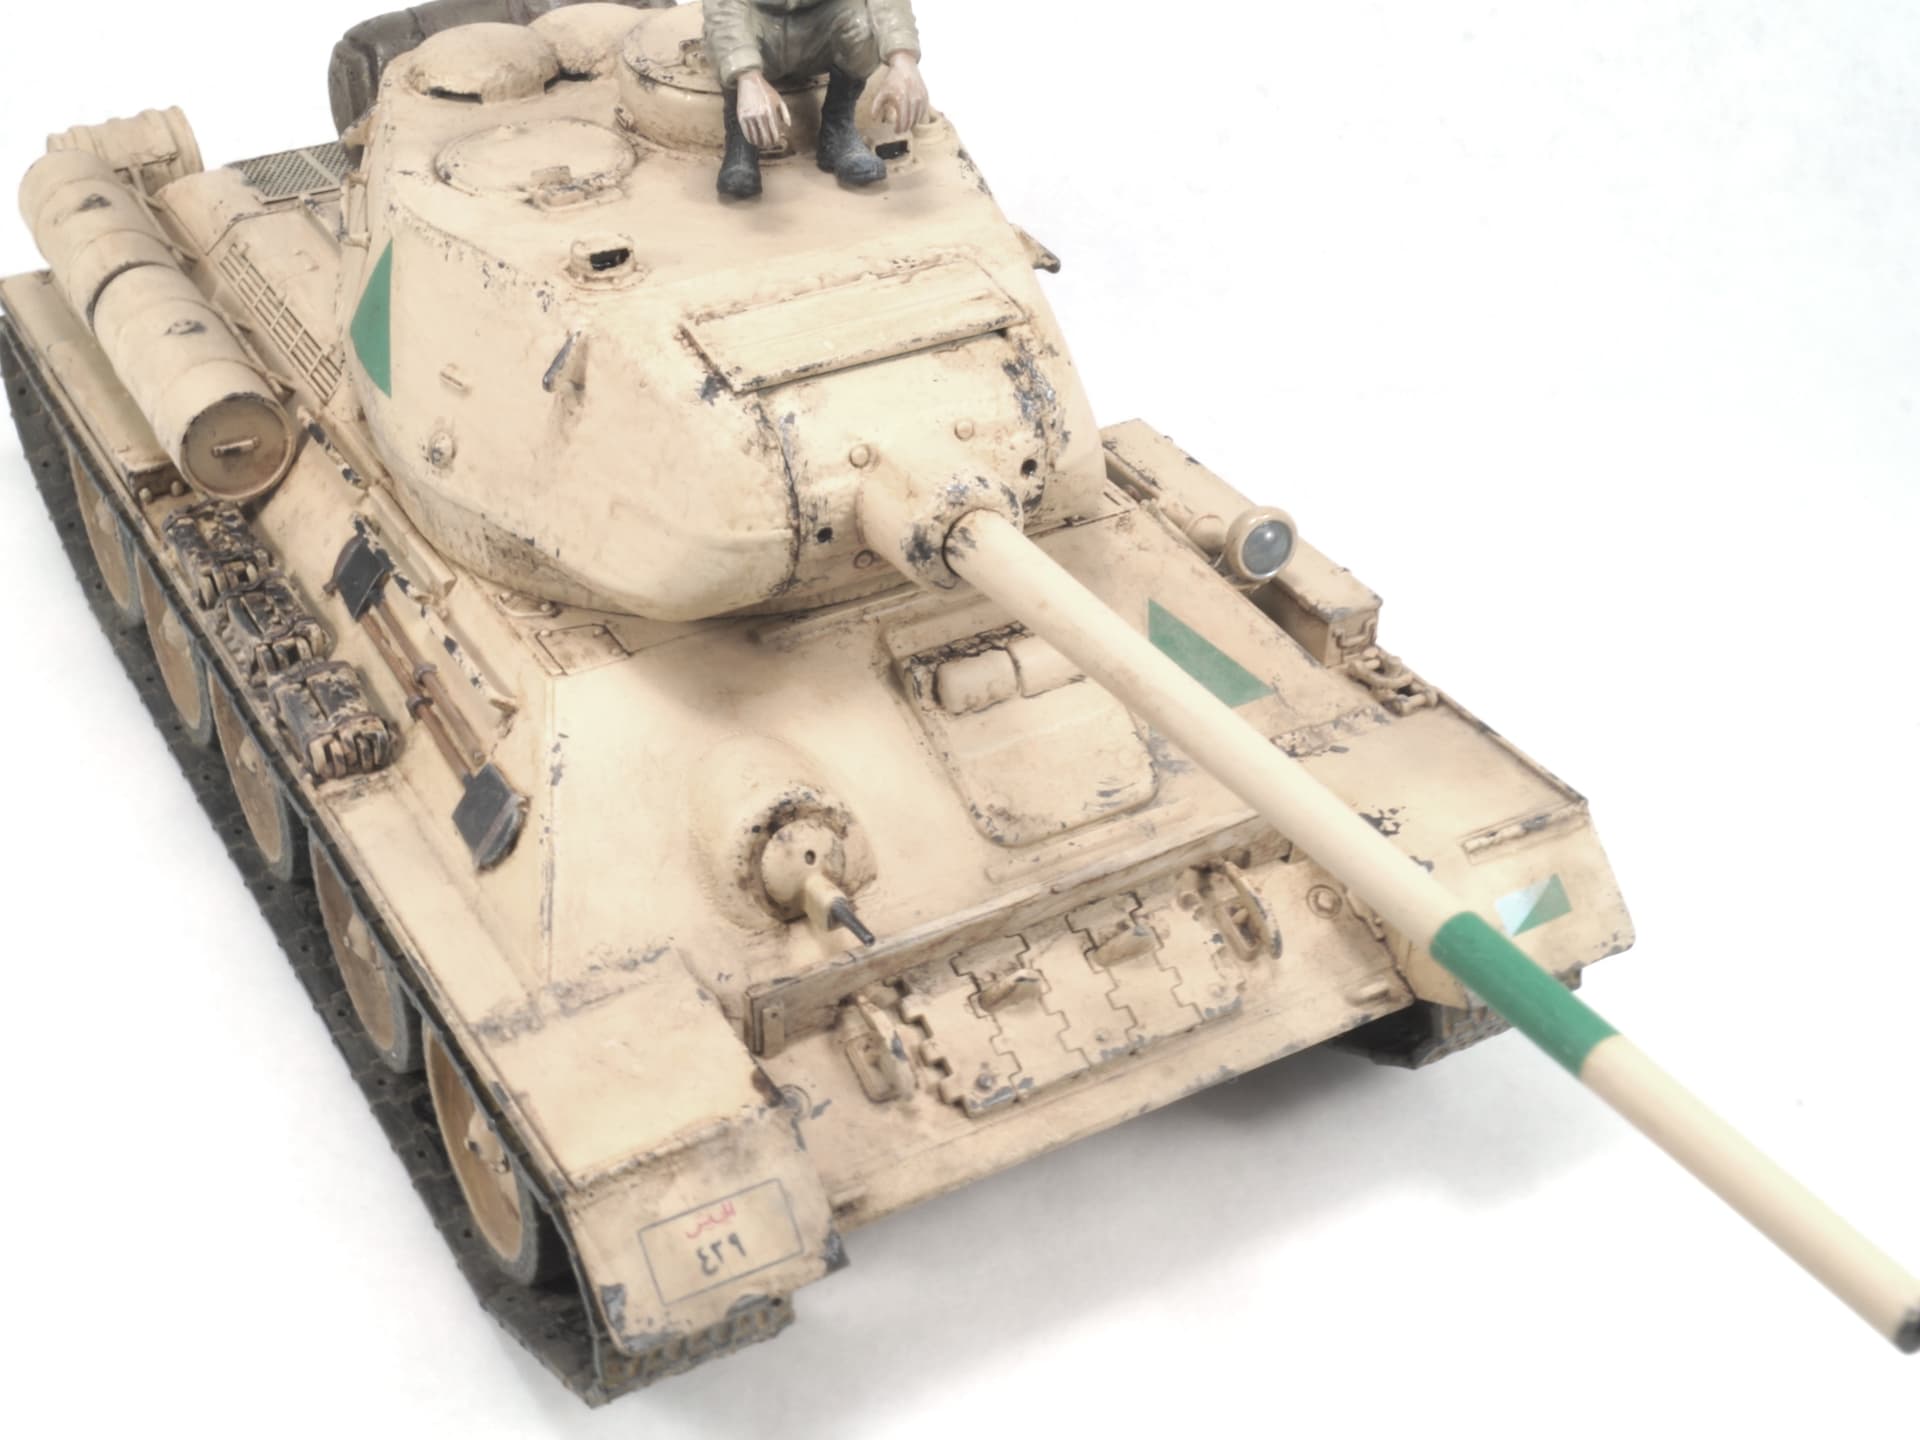
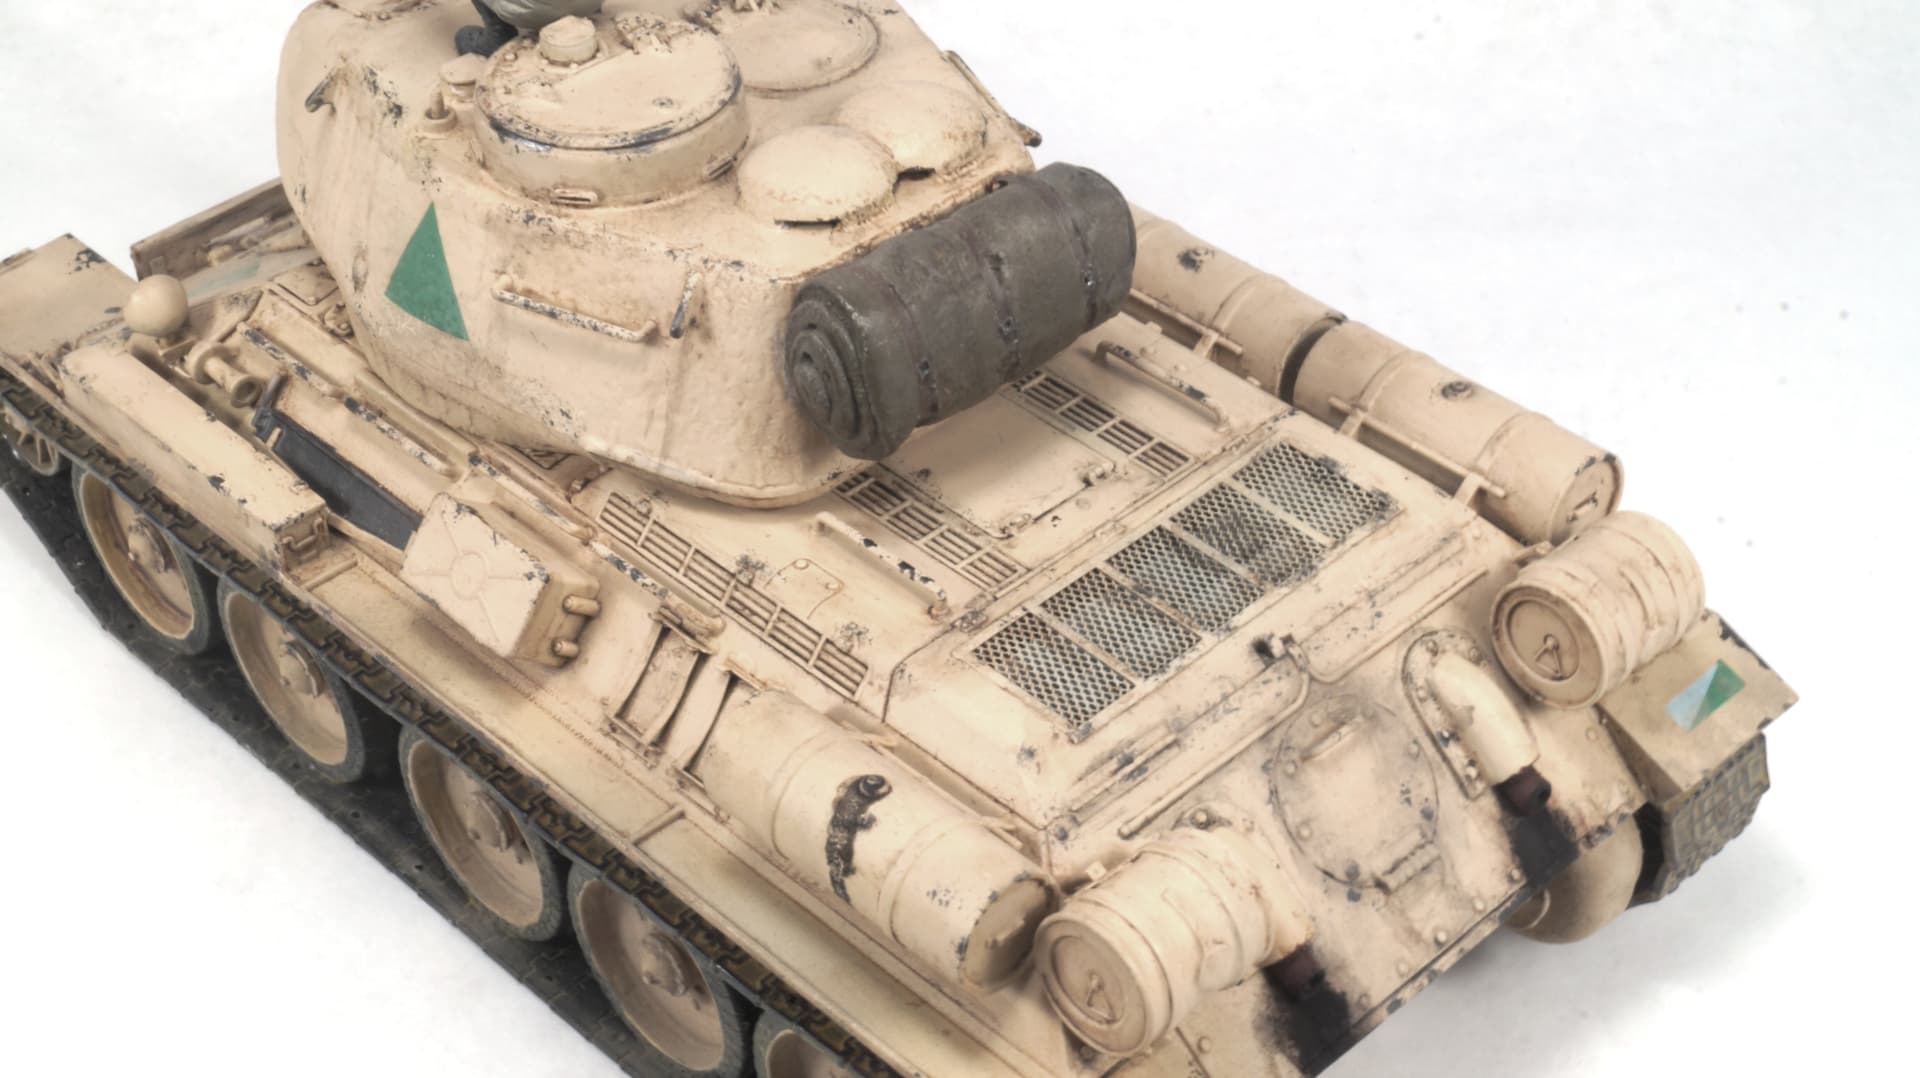
Another one done, I dont know why the headlights look opaque, they are clear with silver interior.

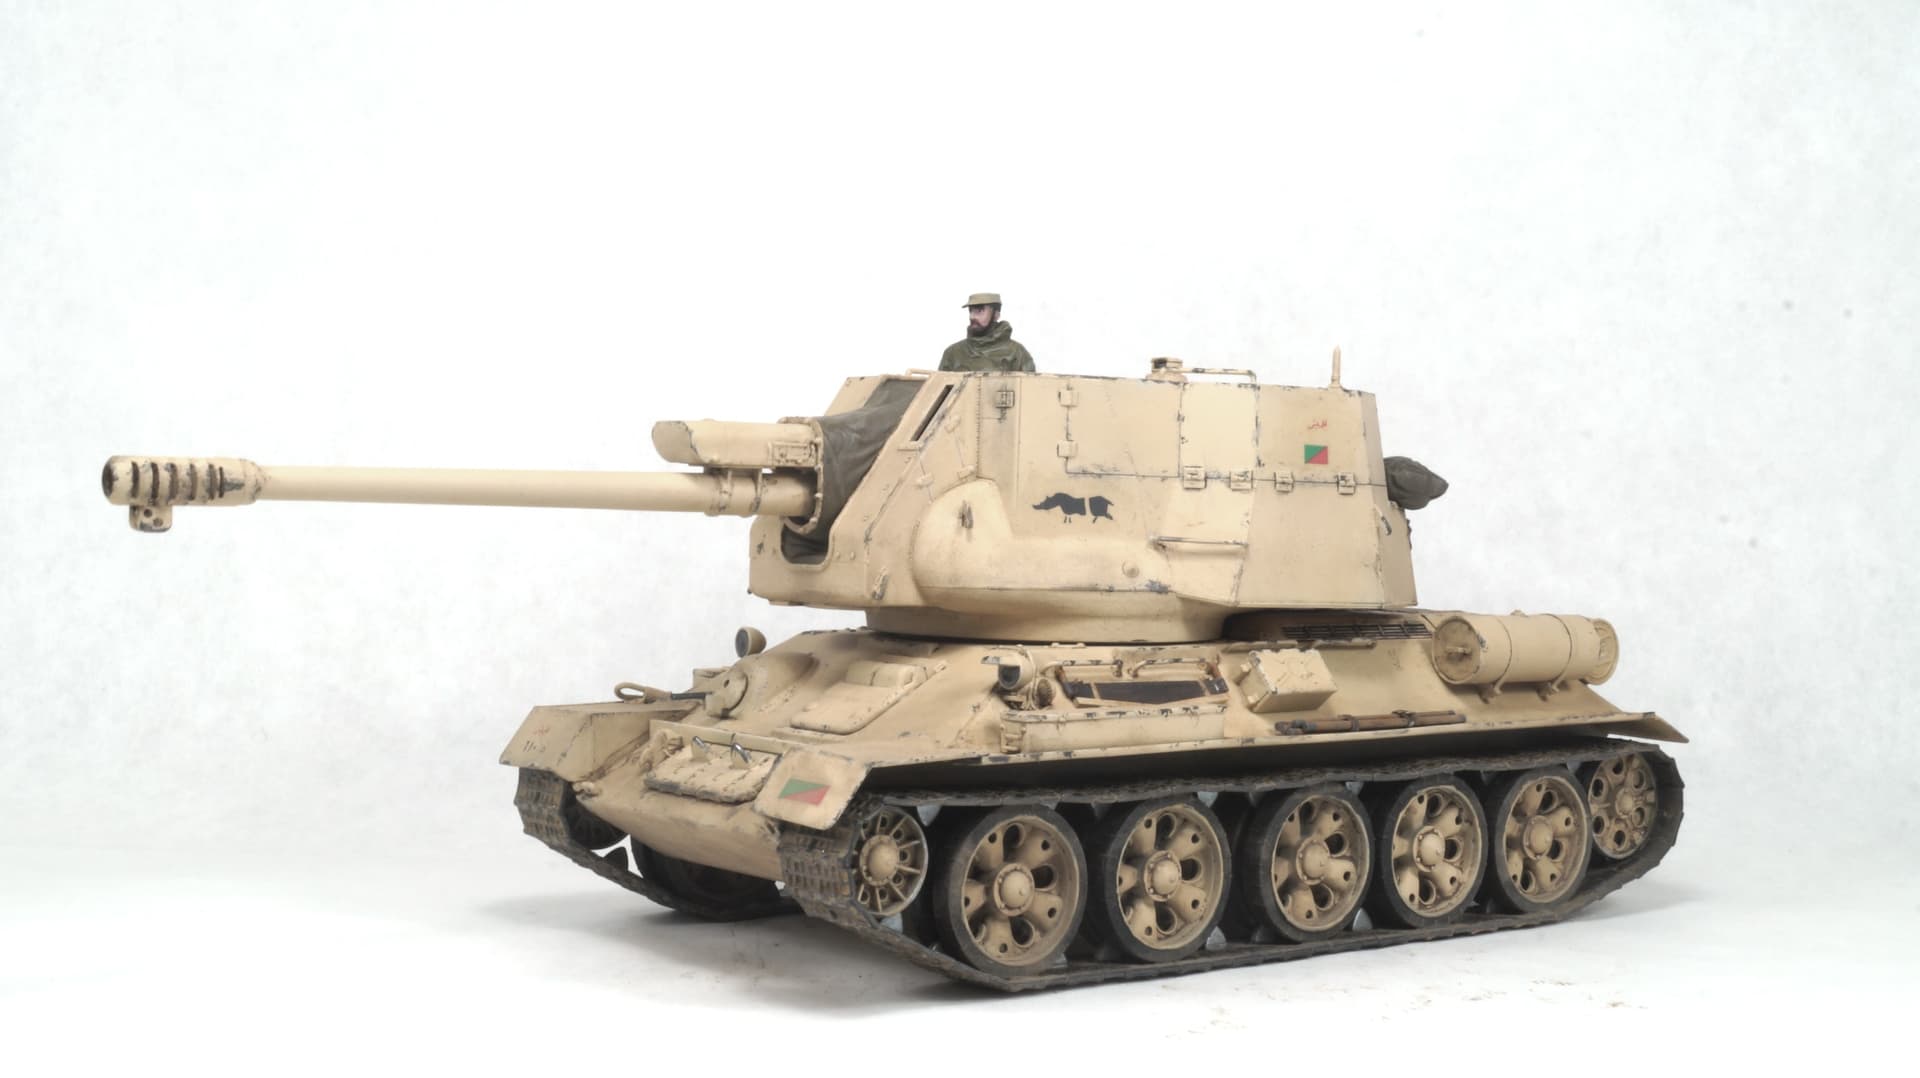


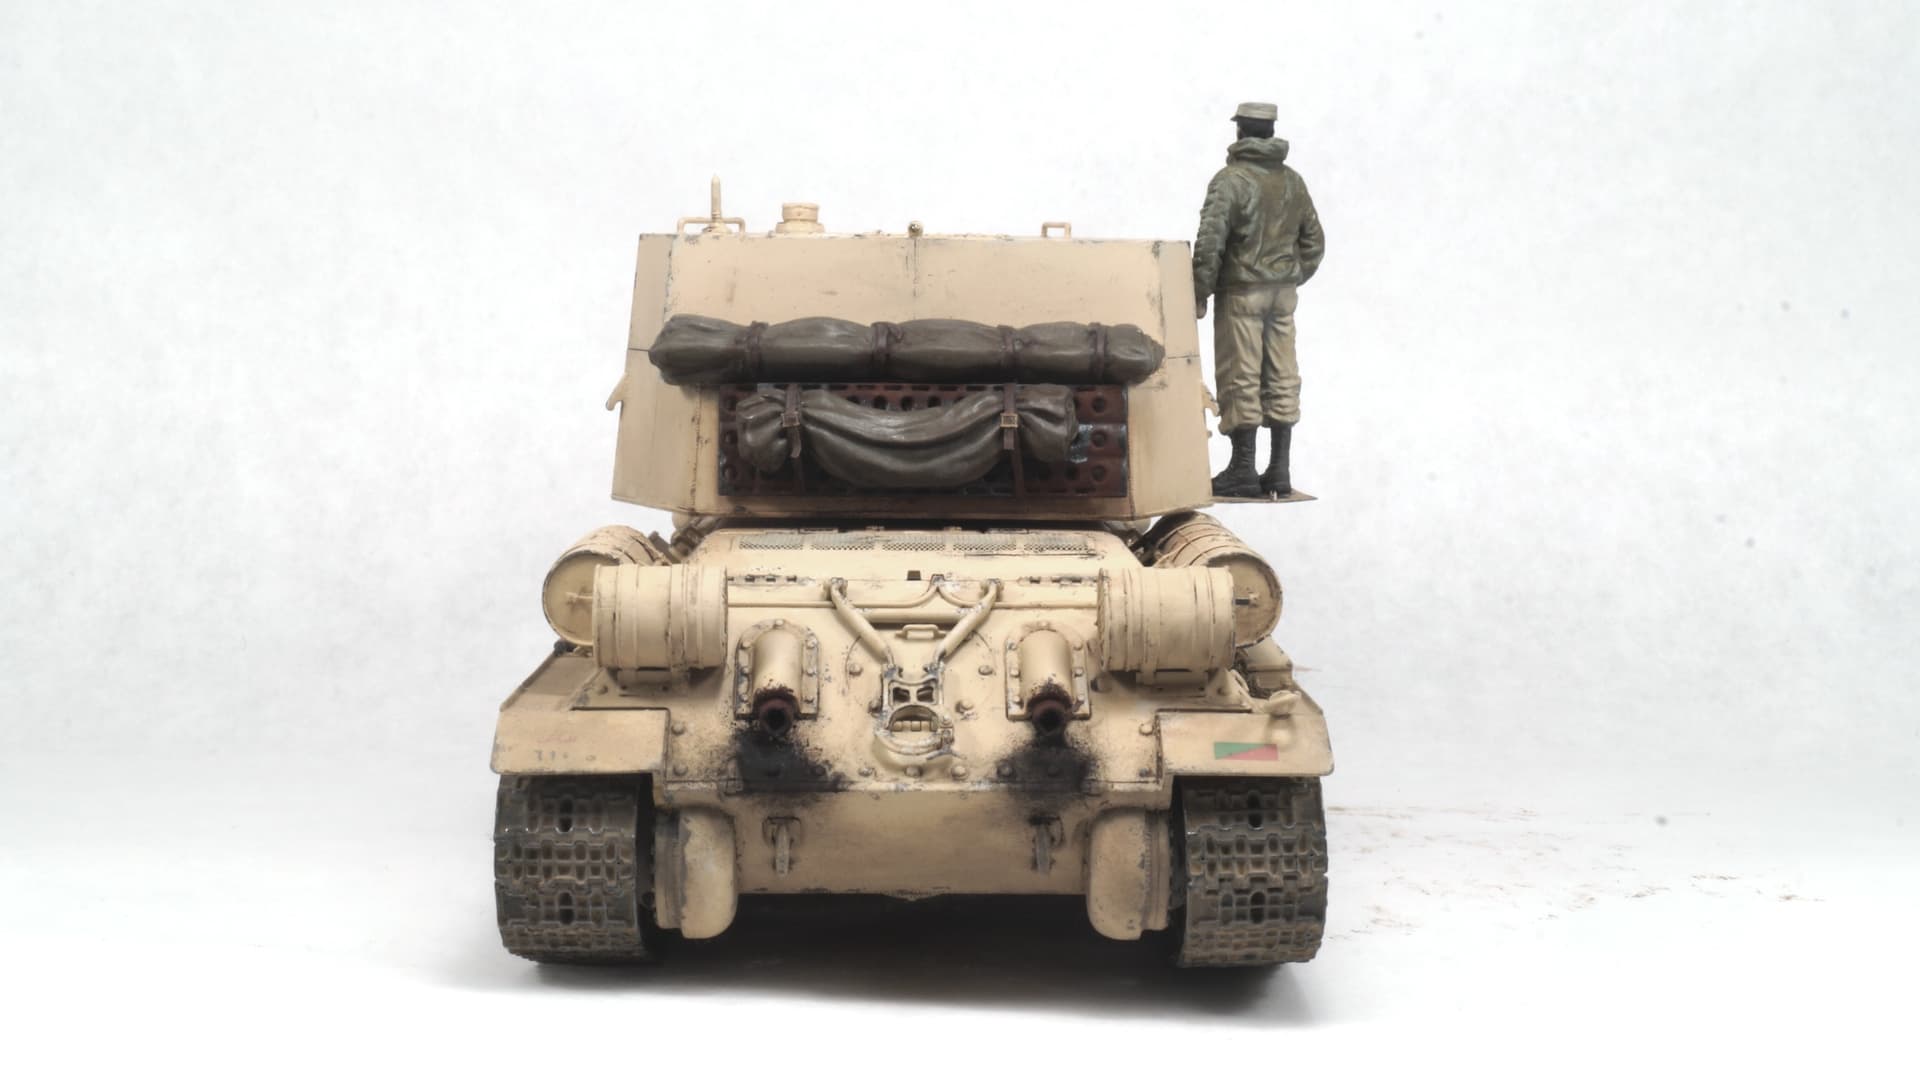
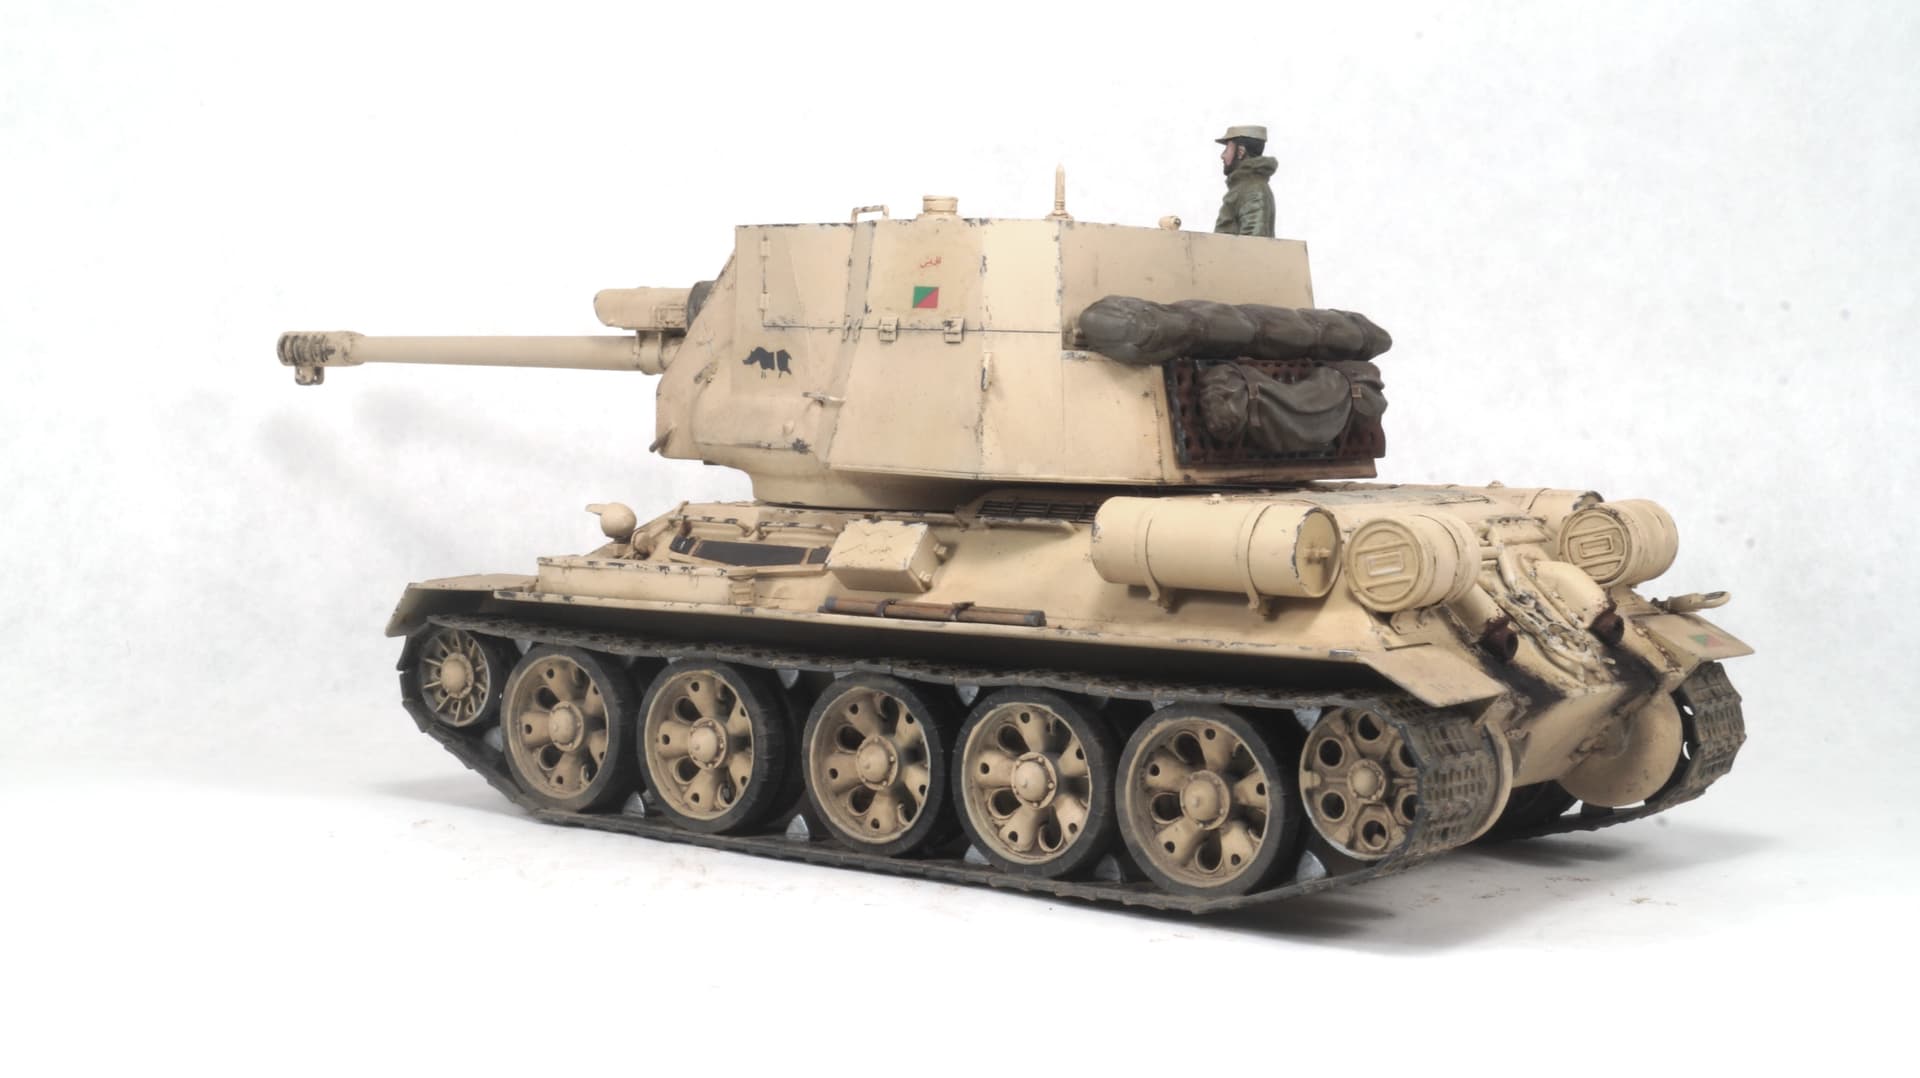
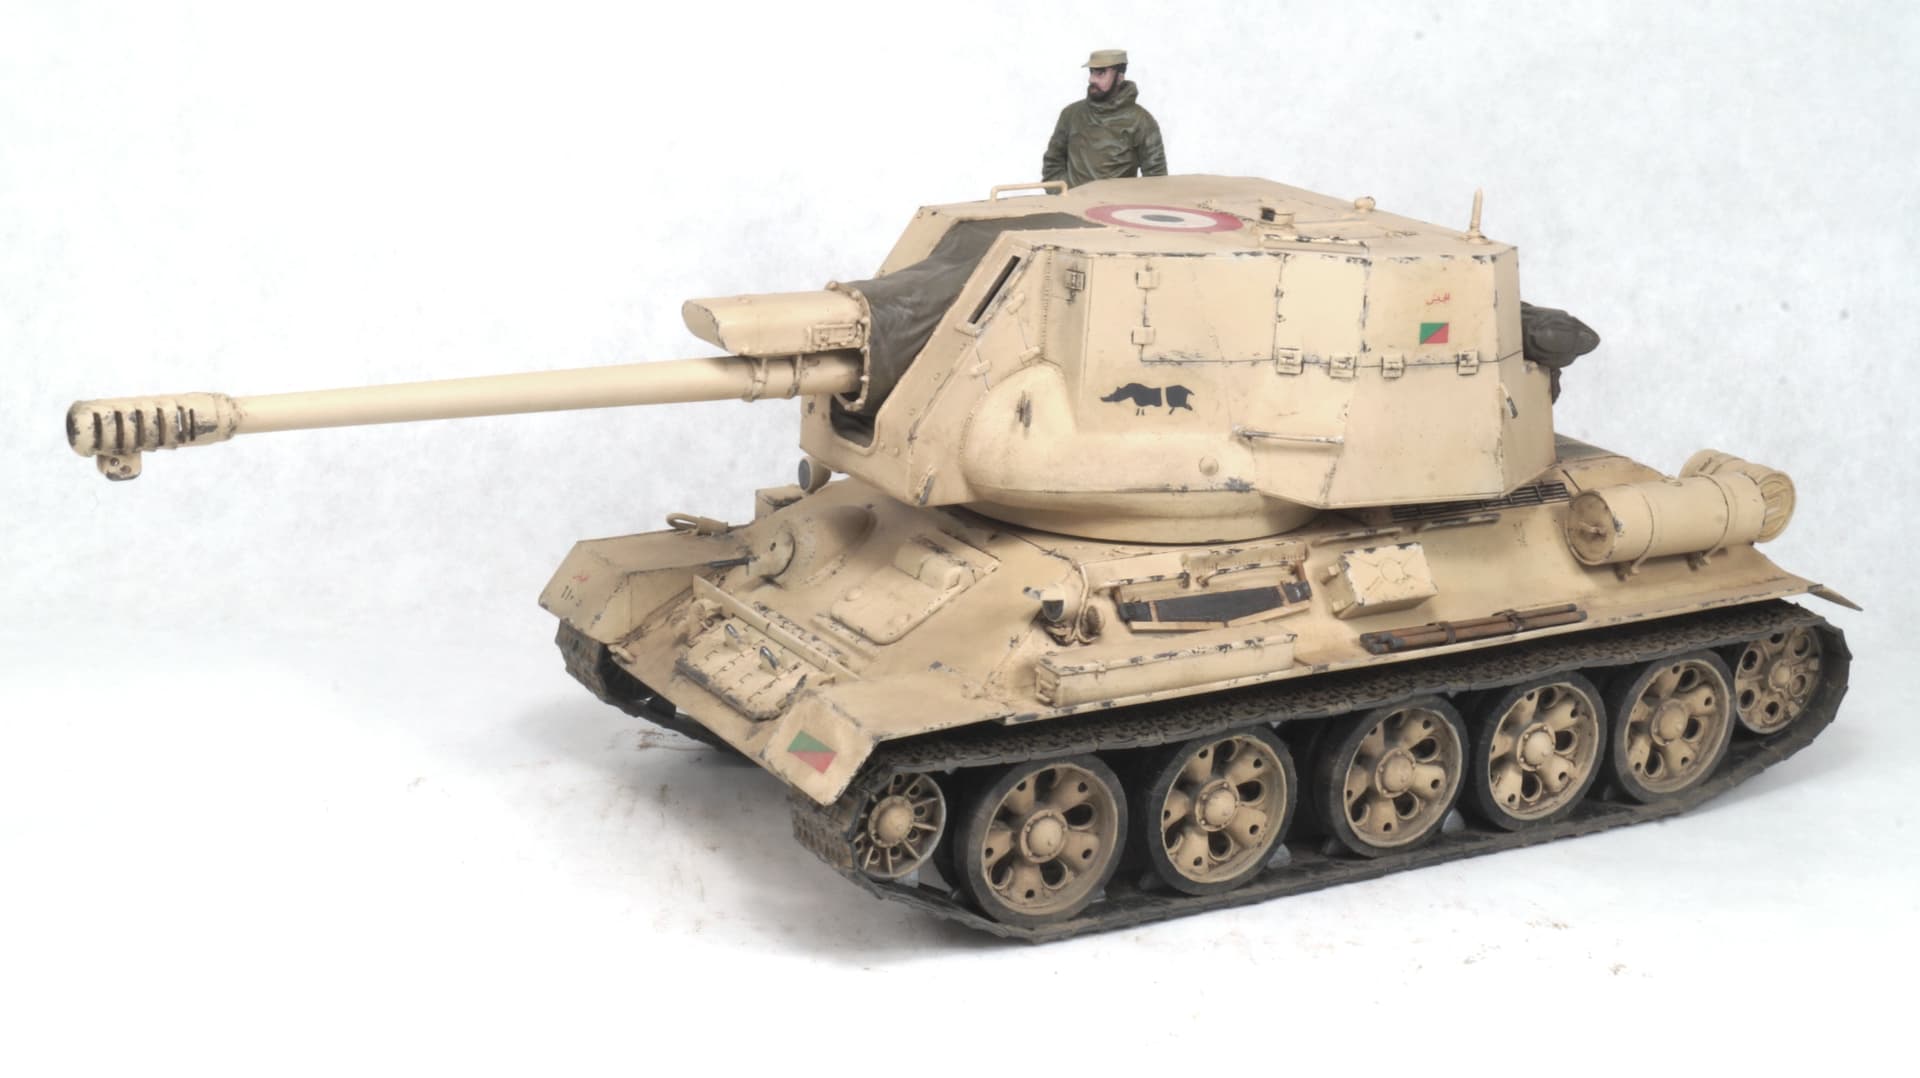
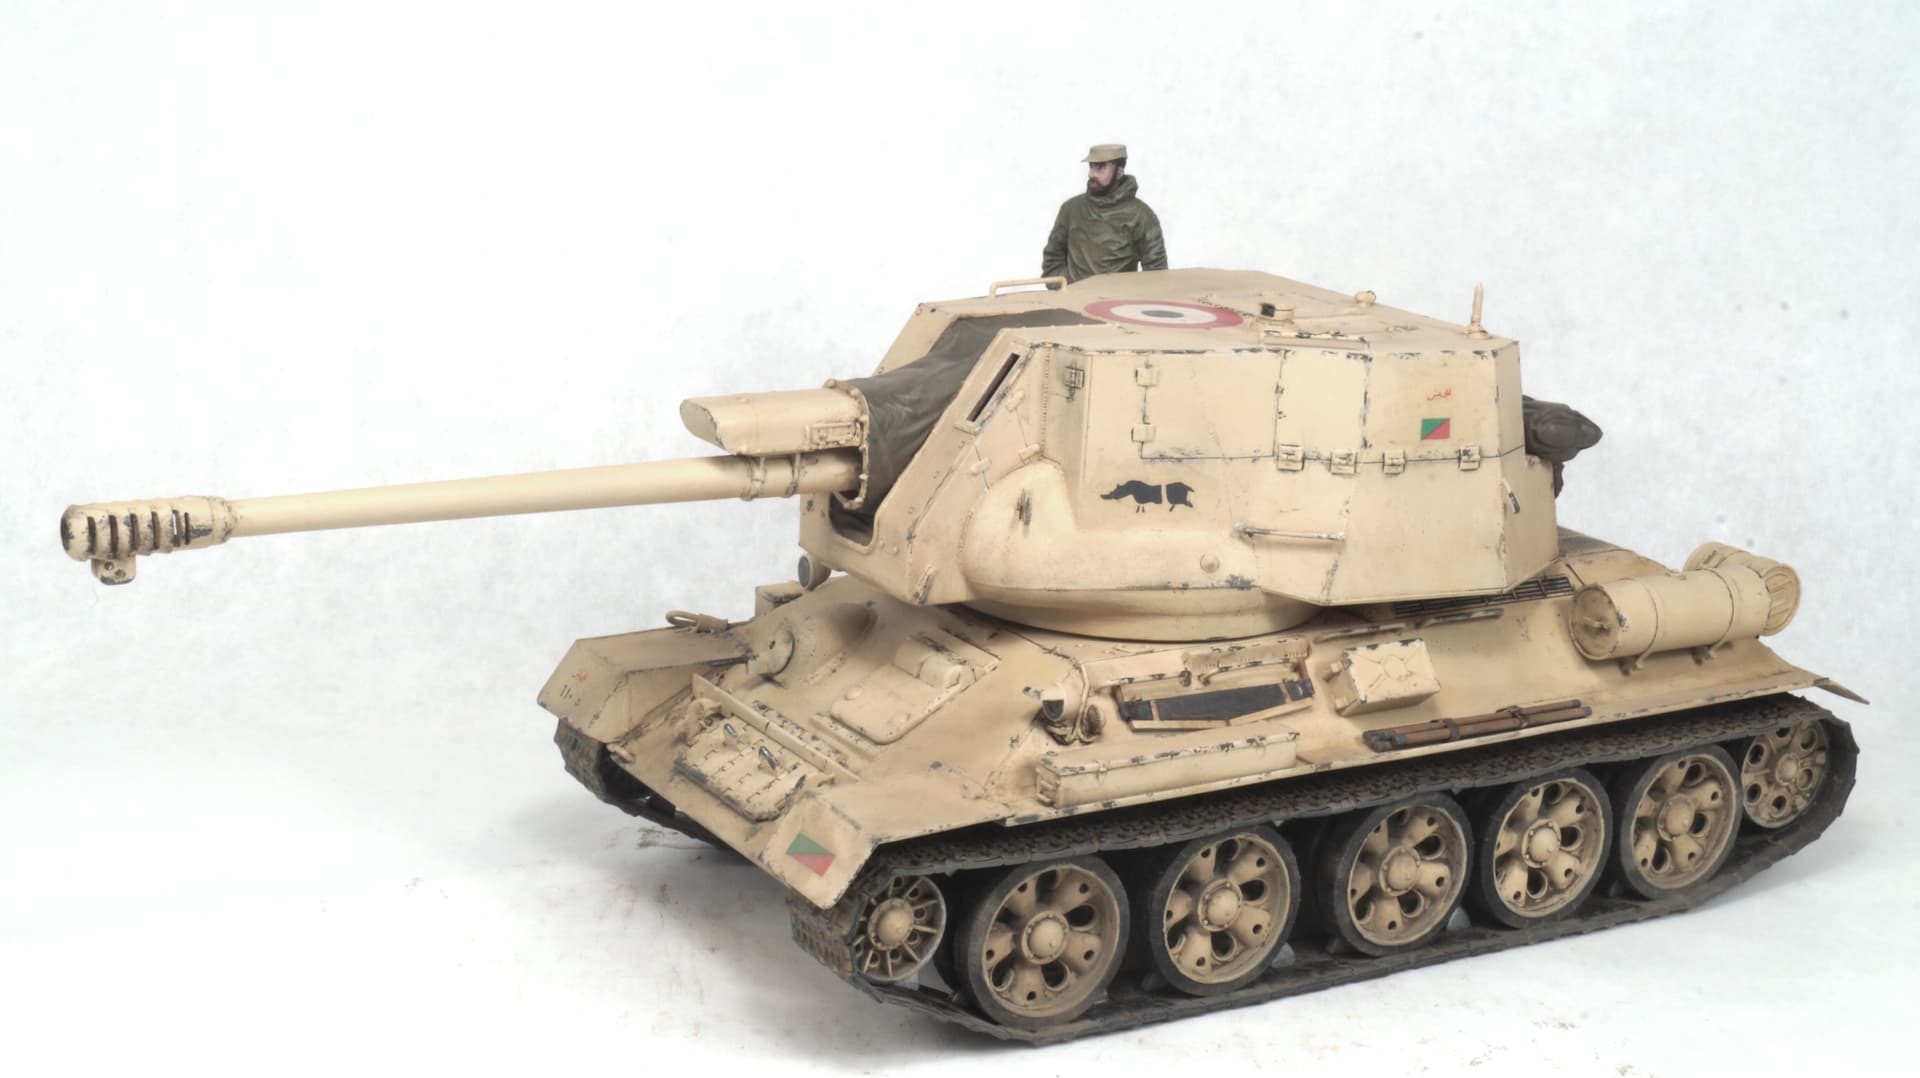


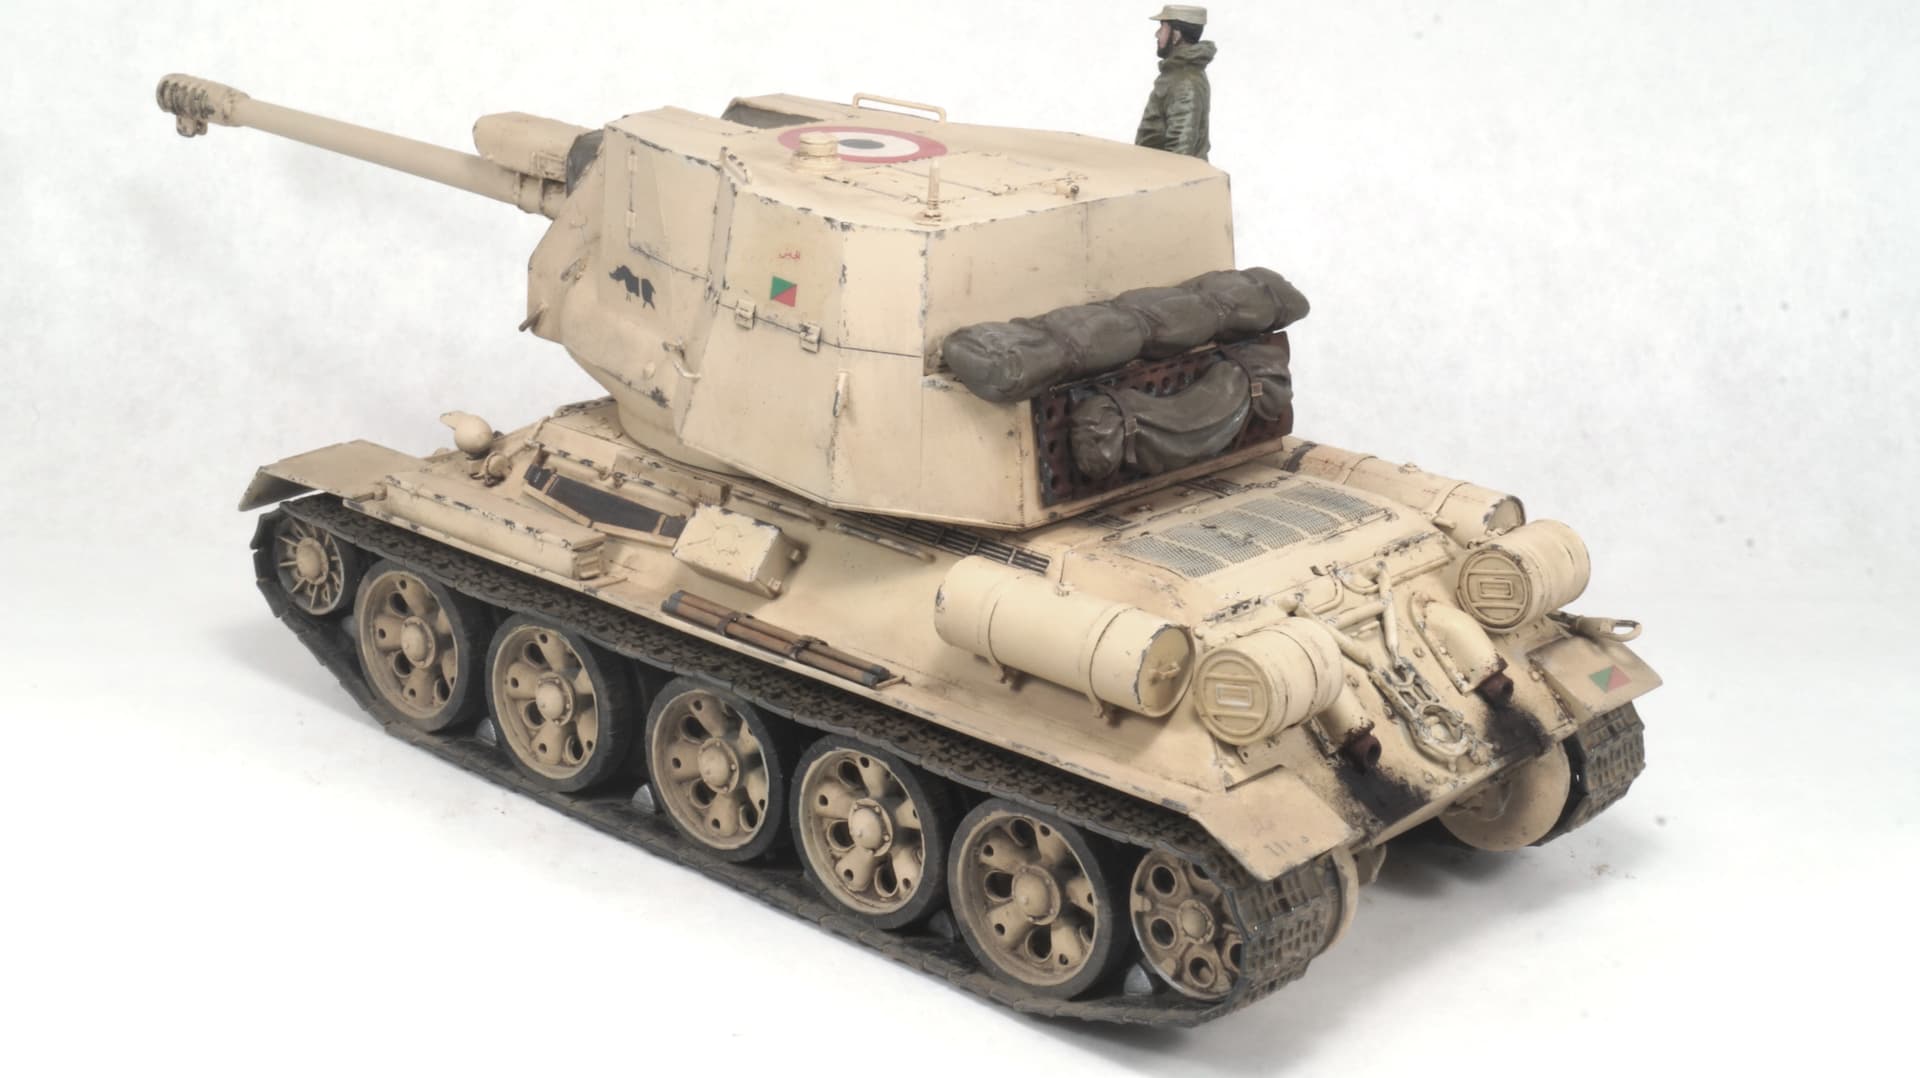

The decals are actual Egyptian markings used on T-34s and the roundel was seen on a BTR-152.
Comments and suggestions are always welcome and appreciated.
9 Likes
Another great build, congrats. ![]()
2 Likes
Another great build from you, Nikos! Looks great!
I have made some more progress on my T-34/85 - the mud level is increasing ![]()
Pictures to follow soon ![]()
2 Likes
Just finished it up. Don’t know why it always turns out I finish last minute.


The kit came with a turret marking that had a blue and red background and the yellow star which I knew was wrong. Decals from an old Trumpeter T-54 came to the rescue. The Dshk mounted on the side mount like one a saw on a monument T-34/85 somewhere in Vietnam.
5 Likes
Congratulations, that is a fine looking model. ![]()
More progress on my T-34/85. I can call it done now, but I would like to weather it some more.
@Tank_1812 Ryan, Is it possible to get another week?
Then I can add more weathering and get some better pictures.
3 Likes
Not a problem.
1 Like
Thanks, Ryan! ![]()
![]()
1 Like
This turned out to be an absolutely amazing group build and thread. I’m embarrassed to say that while I was included in the group of participants in one of the first posts of this thread way back in early 2021, I’ve not completed either of my T-34/85s, the Italeri or the first RFM, though I’ve been working, slowly, on the Italeri kit. Congratulations to all of you who built some incredible tanks!
I actually have a question for what I presume will be some T-34 experts here. Did all T-34/85 tanks have 3 auxiliary fuel tanks on the sponsons, or were there cases where only 2, or maybe even just 1, fuel tank was mounted? Frankly, I wanted to keep at least of the plastic Italeri aux fuel tanks for another project, but I wanted too verify that having less than the usual 3 aux tanks is/was something seen in the real world.
Thanks for any help on this!
By the way, I have been working on getting tracks ready for both of my tanks. Just yesterday, I completed my first aftermarket RFM plastic articulating tracks for one of my T-34/85s, and I’d previously primed the Fruil metal tracks I have. I must say that while the RFM 3D printed tracks are really well detailed, the process of assembling them is a huge pain in the posterior! While some folks complain about the assembly of Fruil tracks, with metal wire, they are a piece of cake next to the 2 fragile printed pins that you need to attach each individual cleat to the next cleat on the RFM plastic tracks. The pins are terribly fiddly to remove from their ‘base’, and then inserting them into the cleats is a hit and miss process where sometimes they go in easily, and many times, you need to drill out the openings to get the pins to fit. Just an FYI to anyone who hasn’t used these tracks before and are considering them.