Yes, I am keen to see how you do a burnt out tank. Are you going to lose the hatches?
cheers
Michael
Yes, I am keen to see how you do a burnt out tank. Are you going to lose the hatches?
cheers
Michael
I have just finished the build of my Miniart kit with applying the protective frame in front of the lamp on the left side of the chassis. It was a huge challenge as the Miniart photo etch parts are worse than fragile. The final result is a bit deformed but I think that is pretty realistic as it was surely hit a couple if times.
Painting is also done as well as the semi gloss varnish. Decals applied, too.
I plan to complete the wash and highlight tomorrow and make some photos; also report the kit ready in this campaign.
Tamás
Dear Friends,
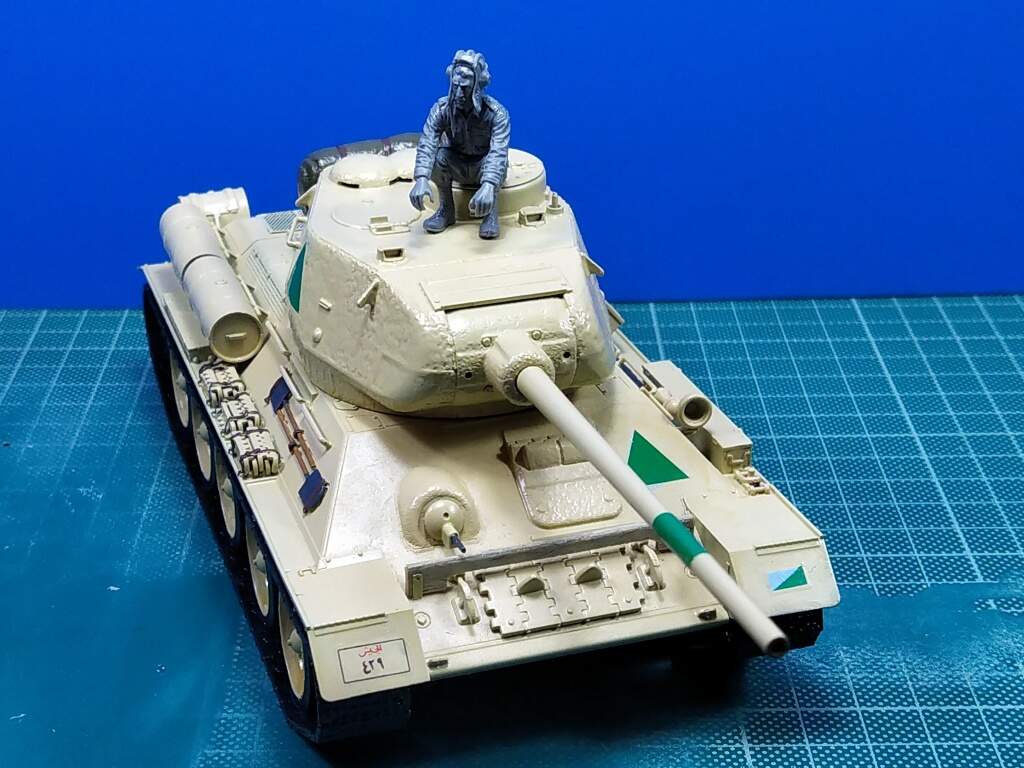
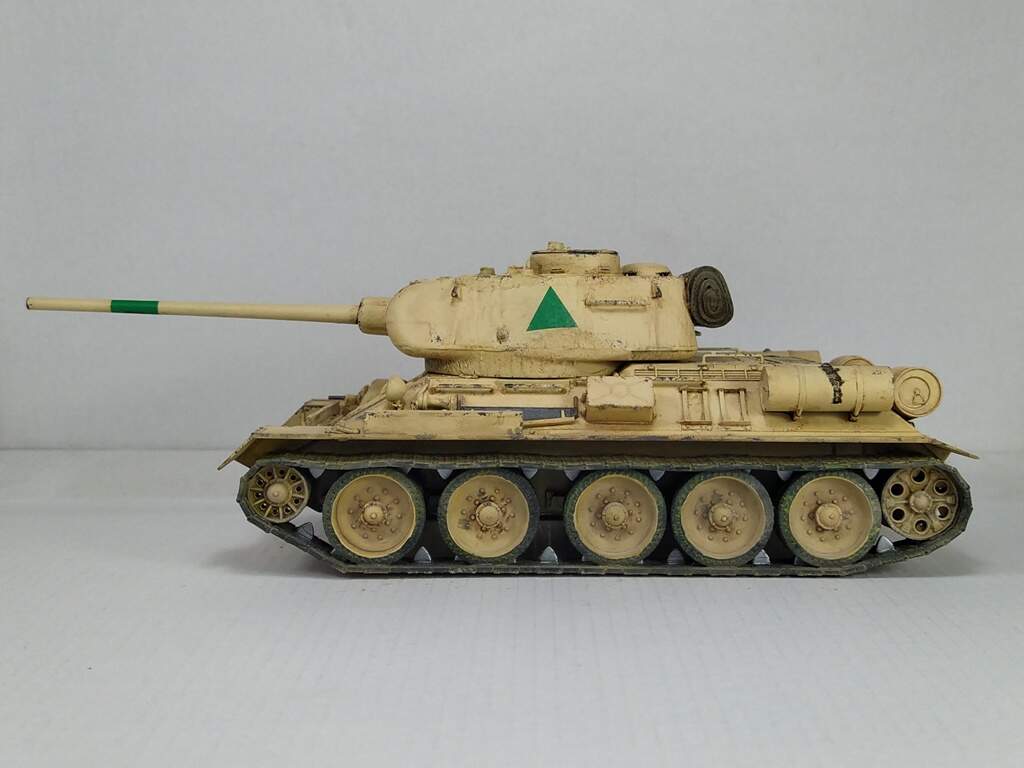
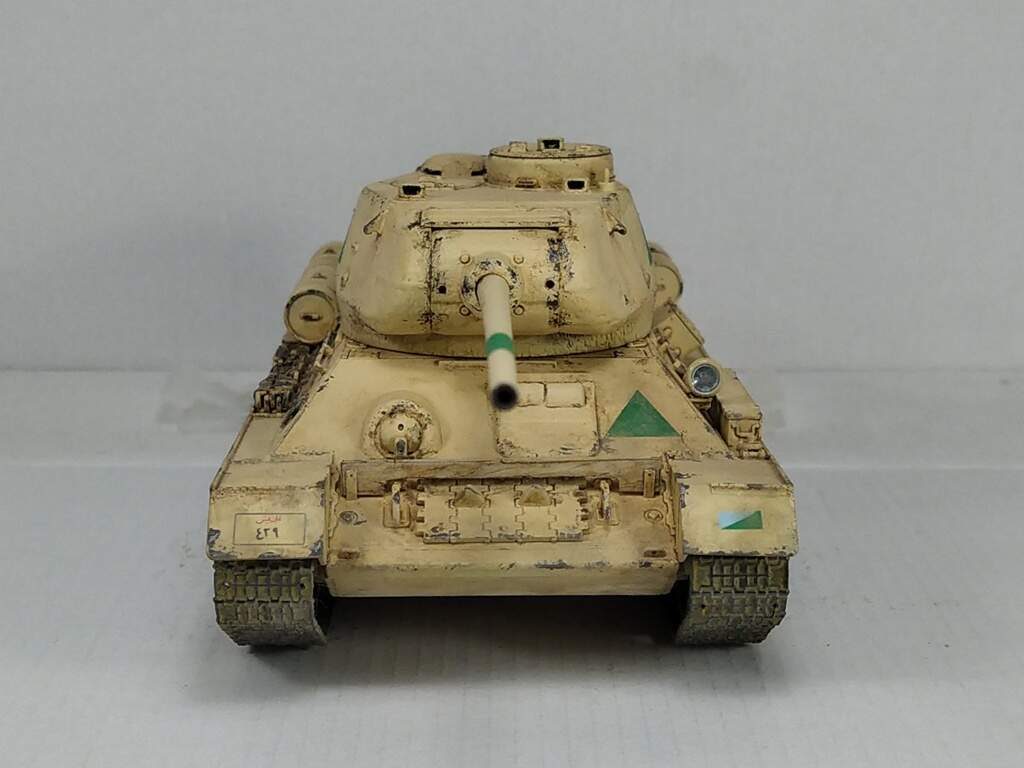
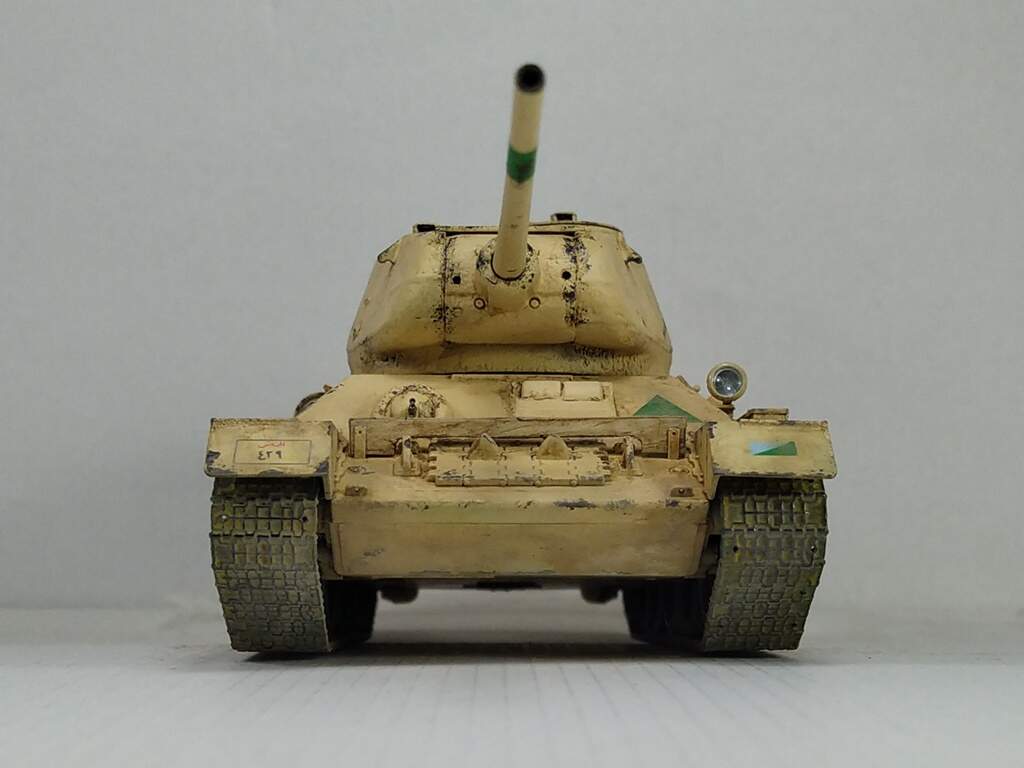
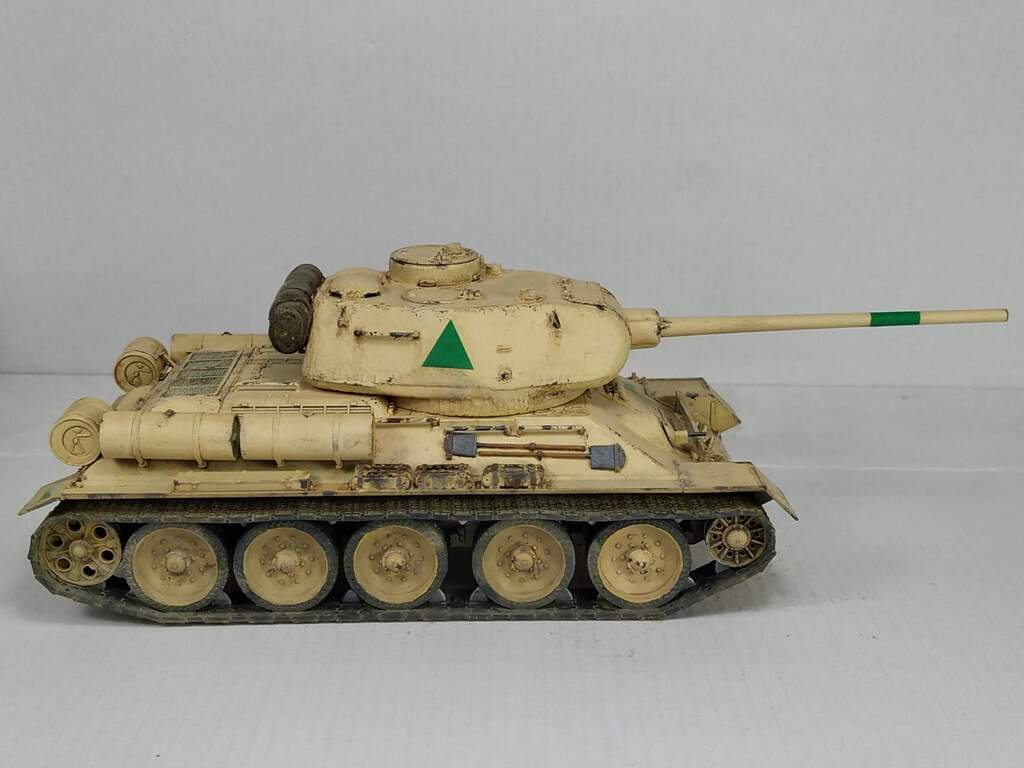
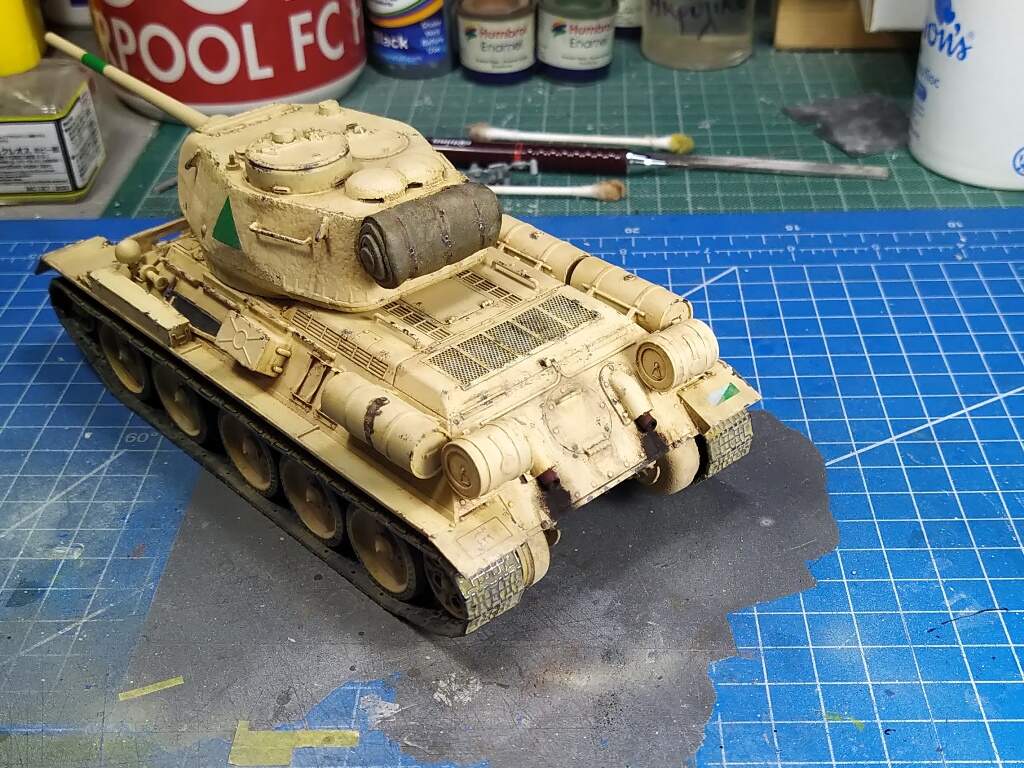
As promised in my previous post, please find here the photos I took about the base painted model. It has received a nice coat of Vallejo Model Air Russian Green 4BO (71.017) over the black primer. I used a bit over-diluted paint so I could control the shade over the different panels of the tank. More layers added to the centers and less over the recessed-increased panel lines and welding lines. After the basic paint was done, added decals. The small triangle in the circle belongs to the original unit where my father was a tank commander, the number is used from a/m decal set for a WWII KV-85 tank and the closest possible in number and font type according to his former mates. Finally sprayed a very diluted coat all over the tank to unify the entire paint cover.
After this dried through, sprayed some light coats of Mr. Hobby Semi-Gloss varnish mixed with flat varnish (5:3 or so ratio) that resulted a beautiful creamy shine. I simply loved it!
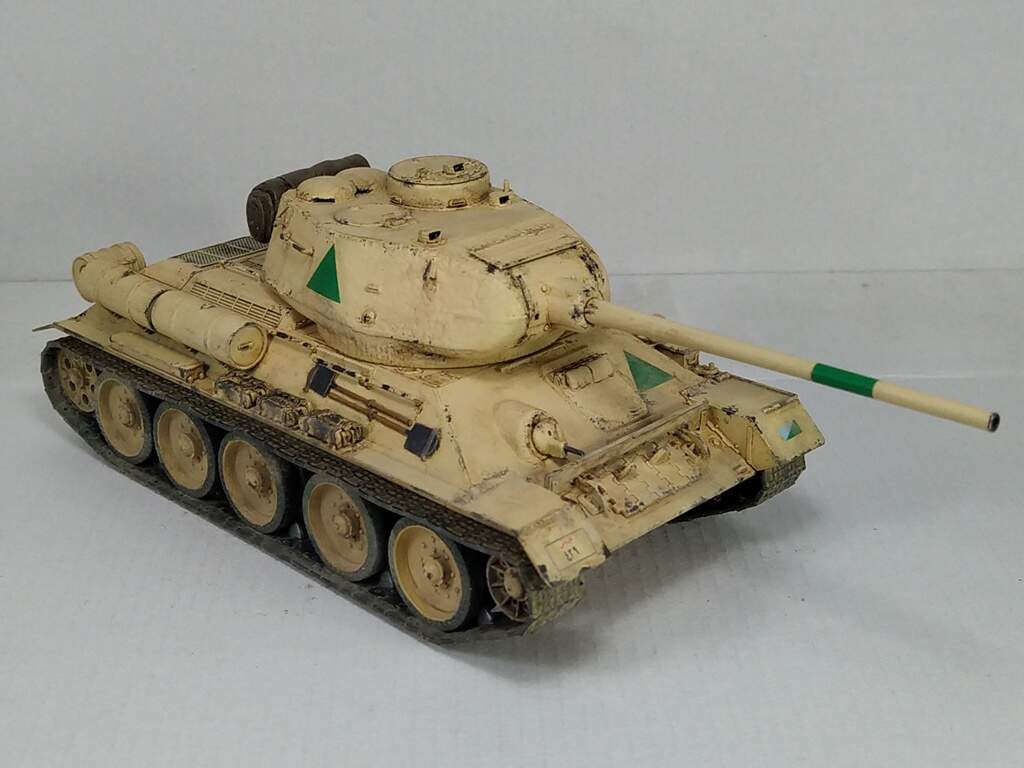
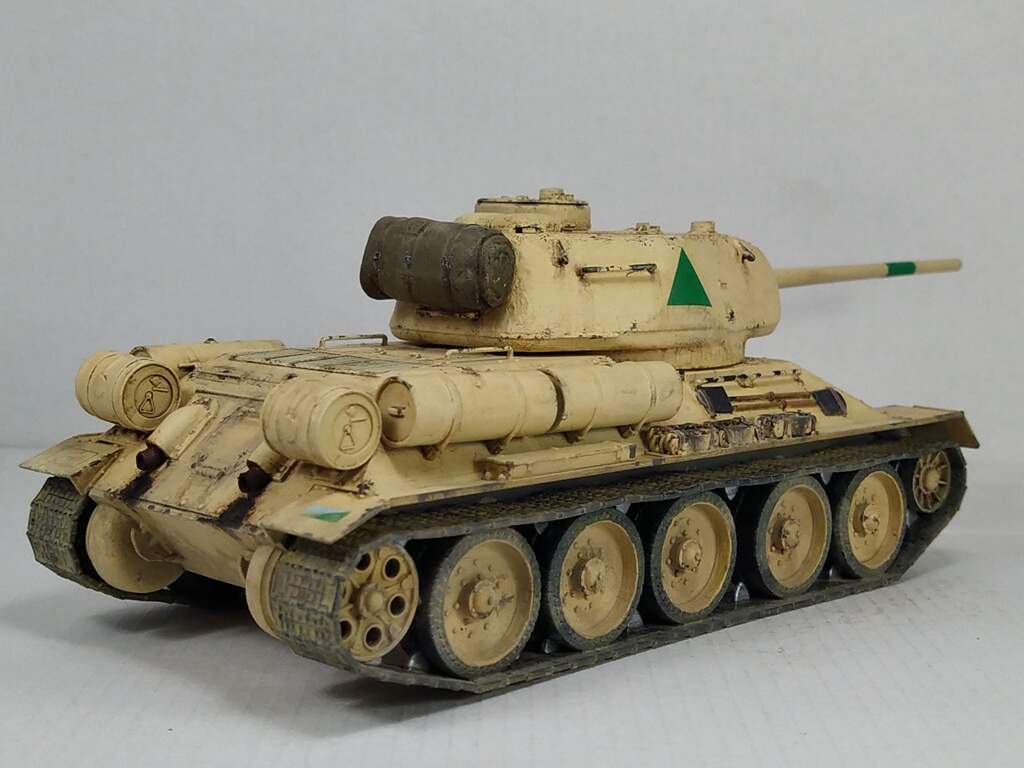
A couple of days later I painted the panel and welding lines as well as the screws and other parts with some artist oils (black, burnt amber and sienna in various ratios) and randomly applied to everywhere to provide some natural look. Next day corrected some missed areas and followed it with dotting technique and filtering.
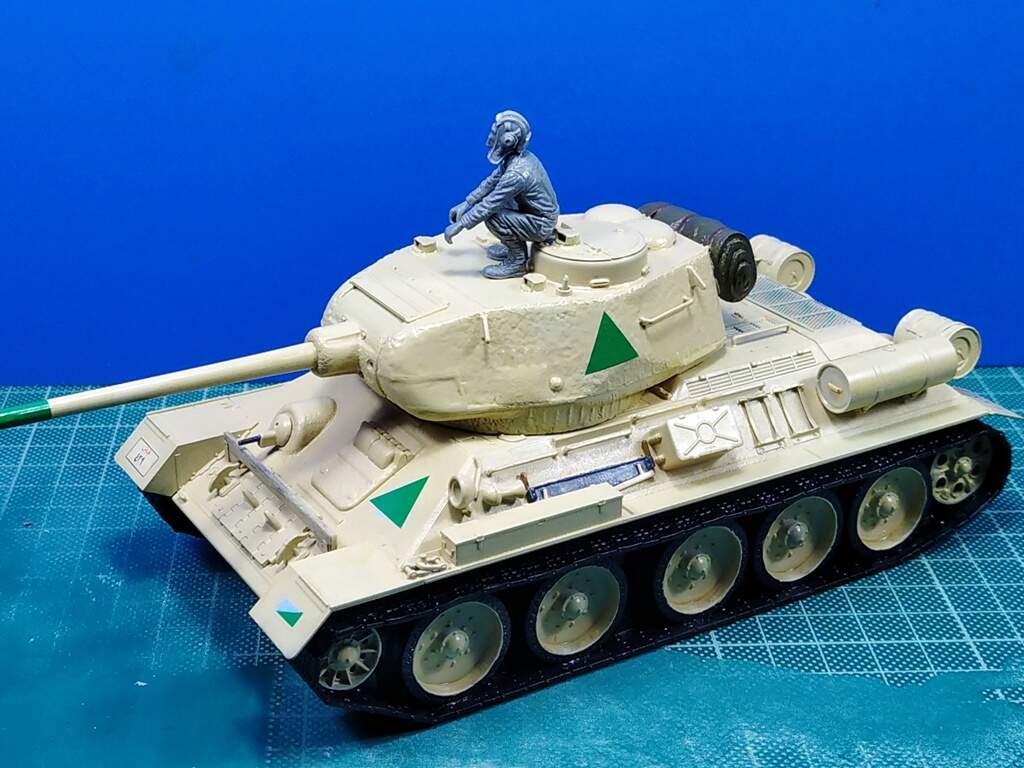
Actually my purpose was to provide color variation and increase the panel center fading effect. So I used Permanent Dark Green, Permanent Yellow and Payne’s Grey colors. The front fenders, the mid panel over the engine and the turret top flat areas were layered with highly diluted yellow and some green (filters) to enhance both targeted effects. The sides received green filters and some yellow dots which was also washed. Basically I spent some 2 hours with this fun and the result was really outstanding to my eyes.
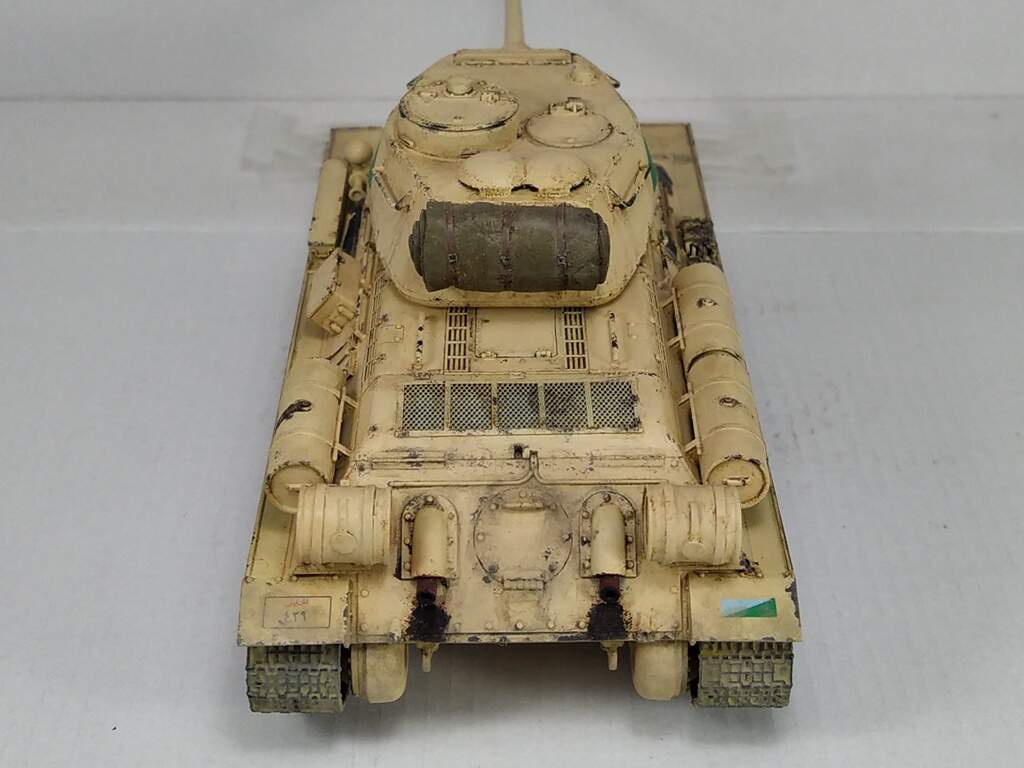
After a bit of drying some good old drybushing applied using MiG Light Green Khaki. It looks very good to me.
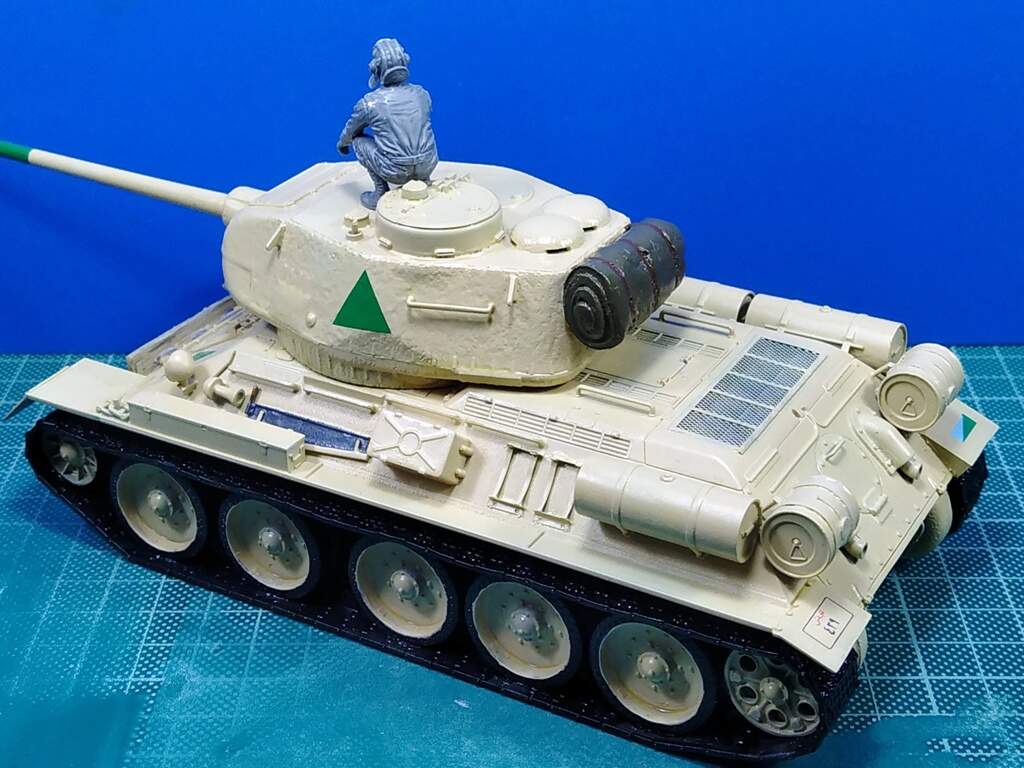
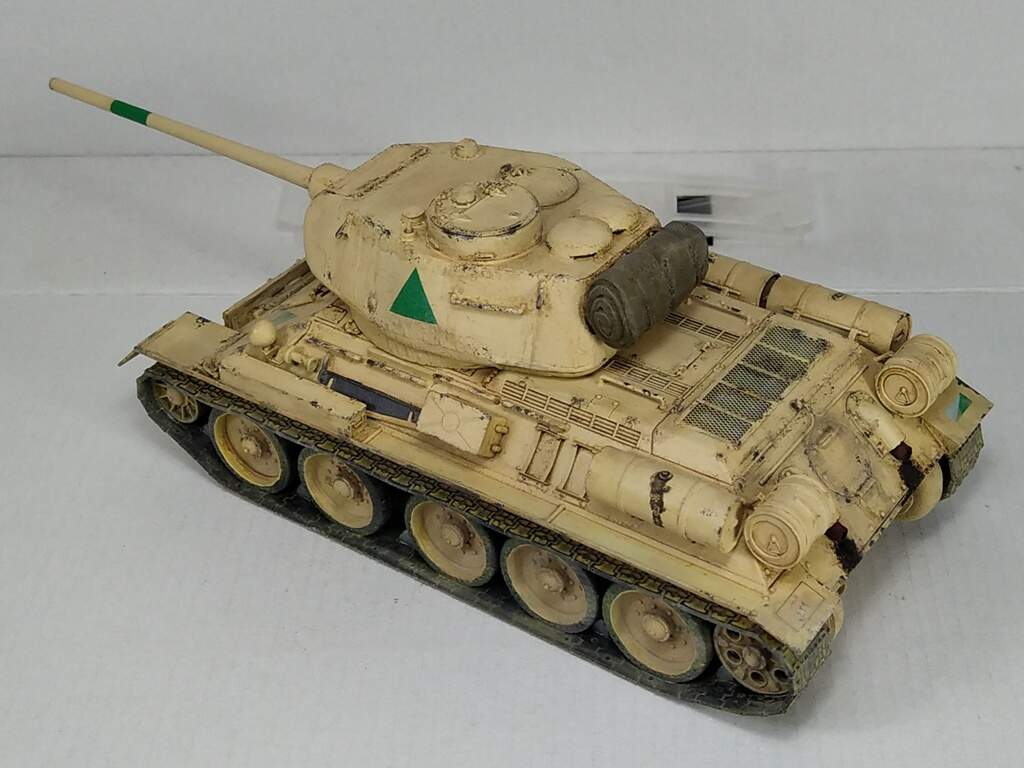
One day later sprayed the entire model with a nice coat of Mr Hobby Semi-gloss spray. The result was a disaster because the varnish turned out very glossy (against the earlier cover I did). This glossy look did hide all color details and all my efforts taken earlier. I was really disappointed. So this morning I applied my mixture again using my airbrush and it recovered every detail. These photos show a bit lighter color than on the model, but they are interim progress report anyway. New and last post will have proper pics.


I plan to complete the model with some oil leaks, smudge, a bit of rust and smoke, although I try to minimize the wearing effect.
Happy New Year and lots of fun with modeling to All of You!
Tamás
I have decided to include my UM 1/72 T-34/85 in my 1/72 diorama.
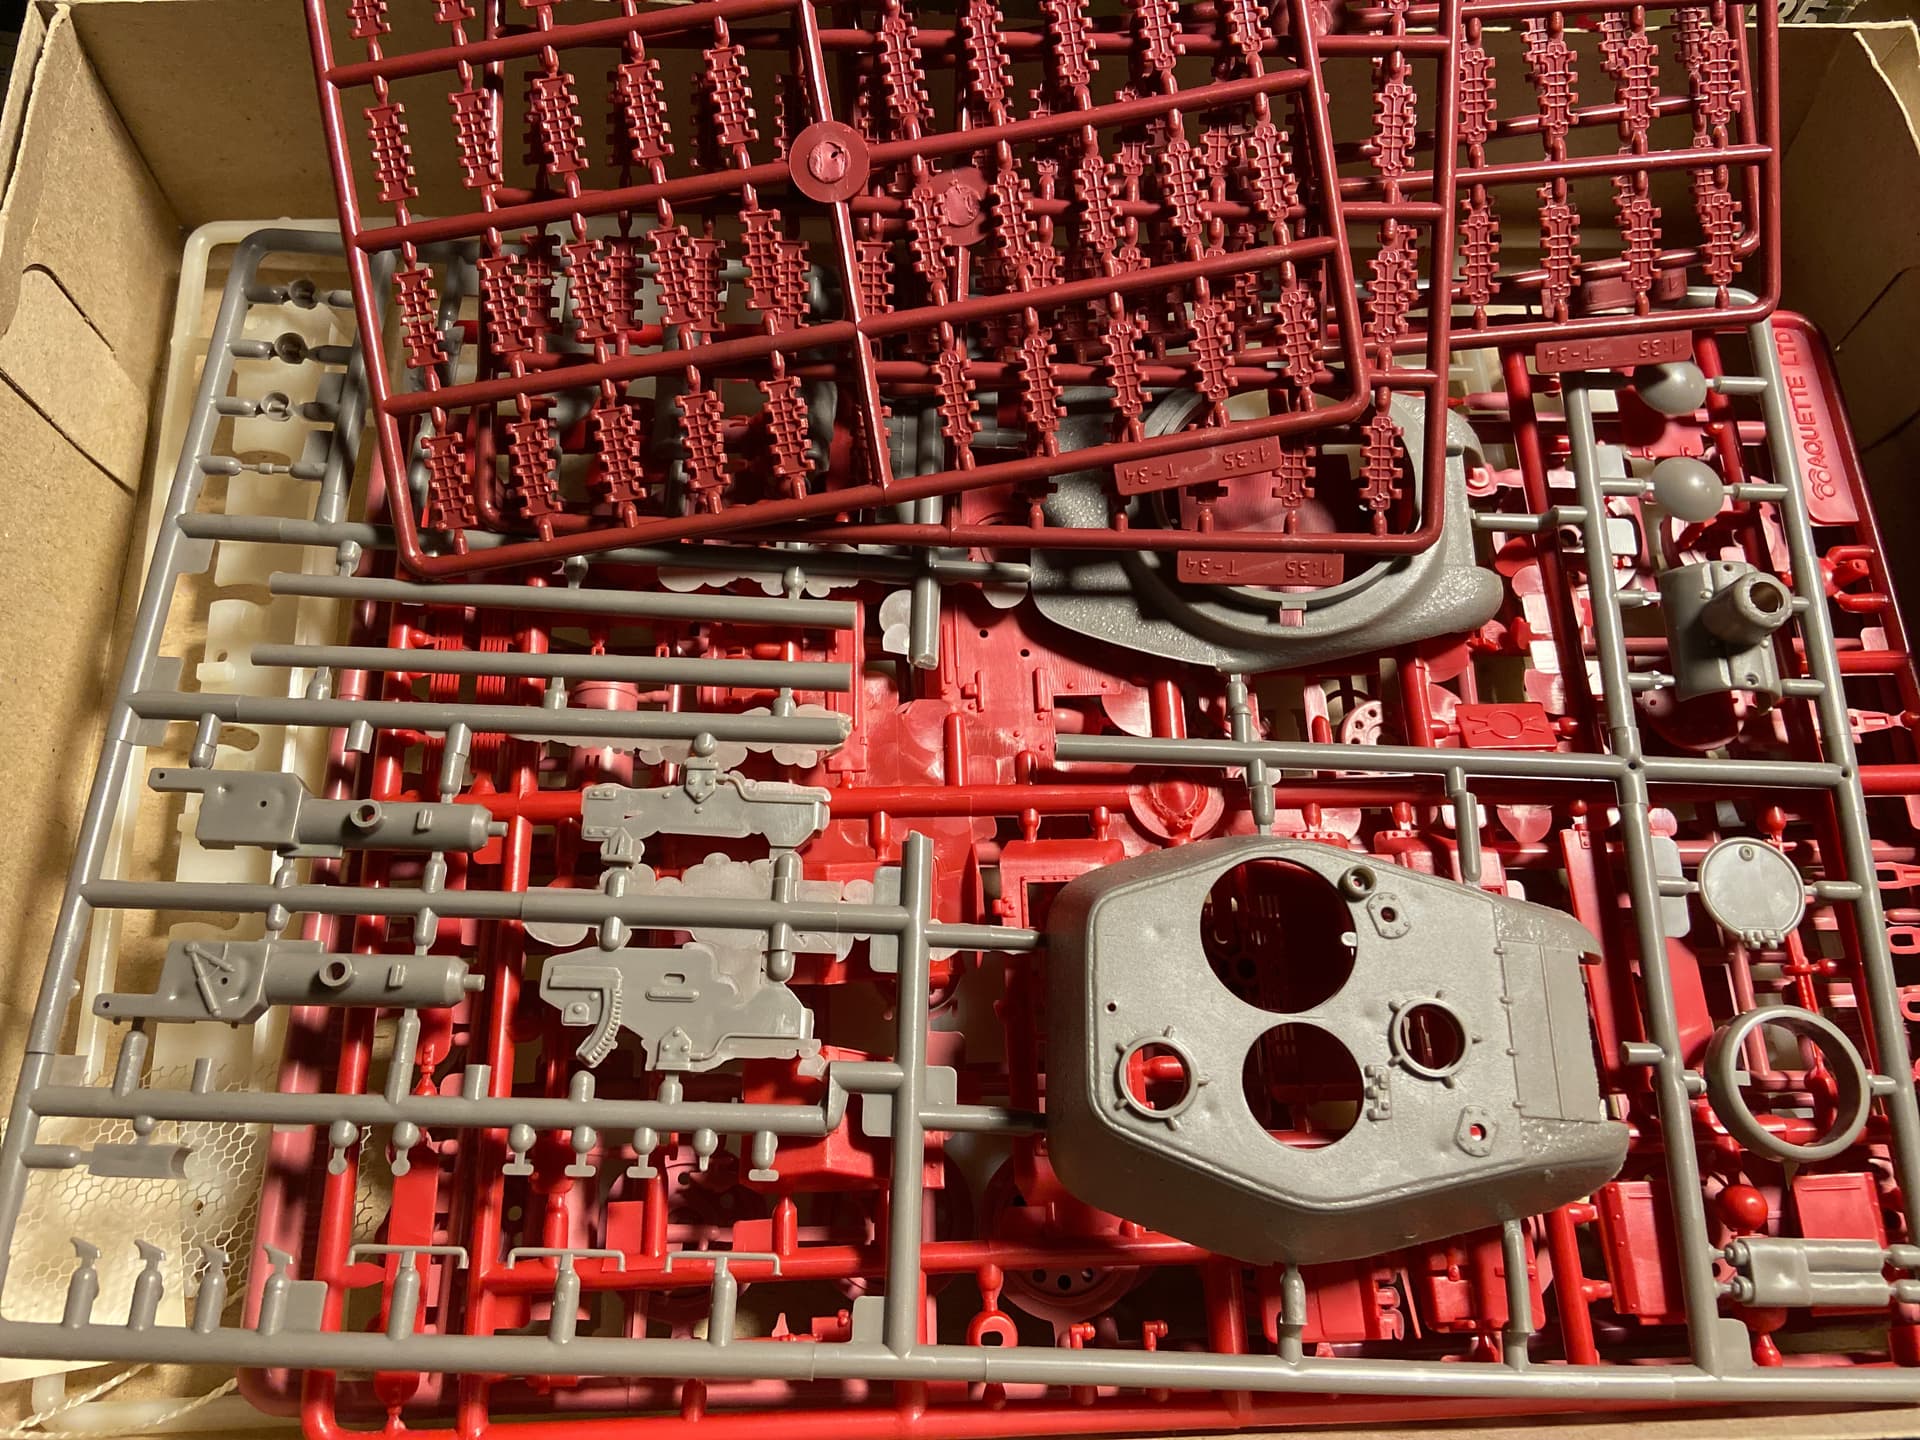
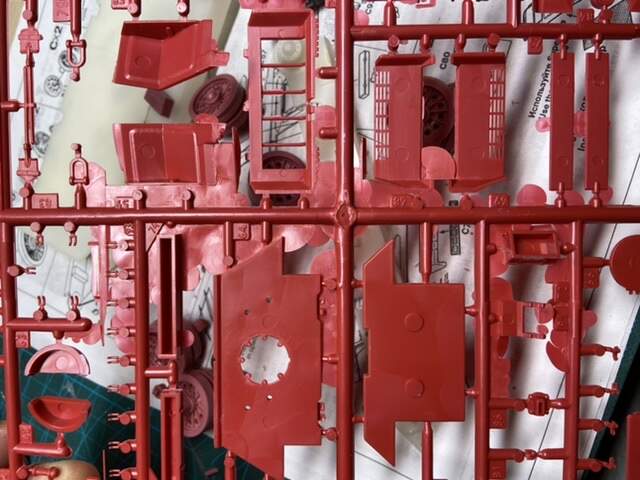
Therefore I have gone stash hunting to find another T-34/85. Surprisingly I only had two choices, a Dragon kit and the Maquette kit. I decided to go for the Maquette kit.
The plastic looks very brittle and the details a little soft. Some places have soft details and crisp in other places. It will be a bit of a challenge. I think I have some decals for North Vietnam that I will use on this kit.
More to follow in a couple for weeks. 
That is a manly kit!!! Good luck
Looks really nice thus far.
Did you have any issues with the gun/breach/mantlet assembly? I struggled with mine.
Many thanks Nikos!
Actually I had no any issue at the mantlet at all. The Miniart engineers did a great job so if you carefully and precisely follow the assembly manual and do some “dry tests” before gluing, all parts shall fit perfectly.
Sine this build I highly recommend Miniart kits over any other brand. Good design, beautiful details and impressive look at the end.
Tamás
Question: Is one allowed to enter one kit in two campaigns at the same time?
That is up to the campaign leader, I have no issue with it.
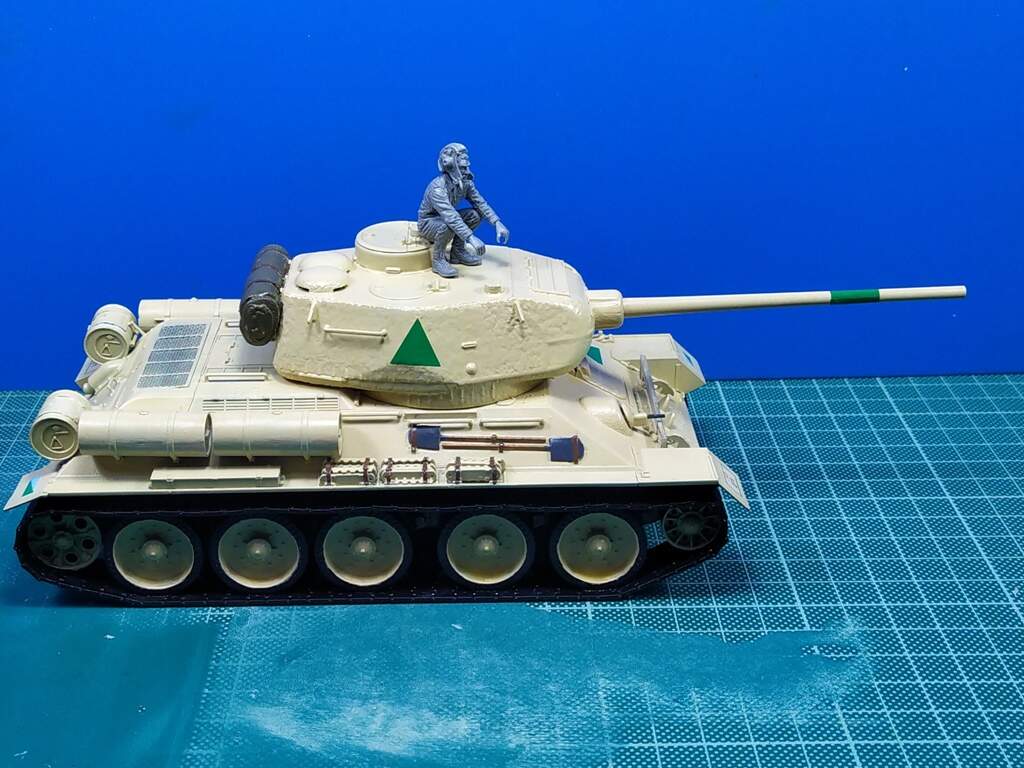
Details painted, decals added (AK Rea Colors dont like MrSofter) and I assembed a Miniart figure. Next is a gloss coat and chipping, washes, fading etc
@bwilt, it is normally not allowed to enter the same kit in several campaigns. In the end it is up to the campaign leaders of the two campaigns in question. Both of them have to confirm it.
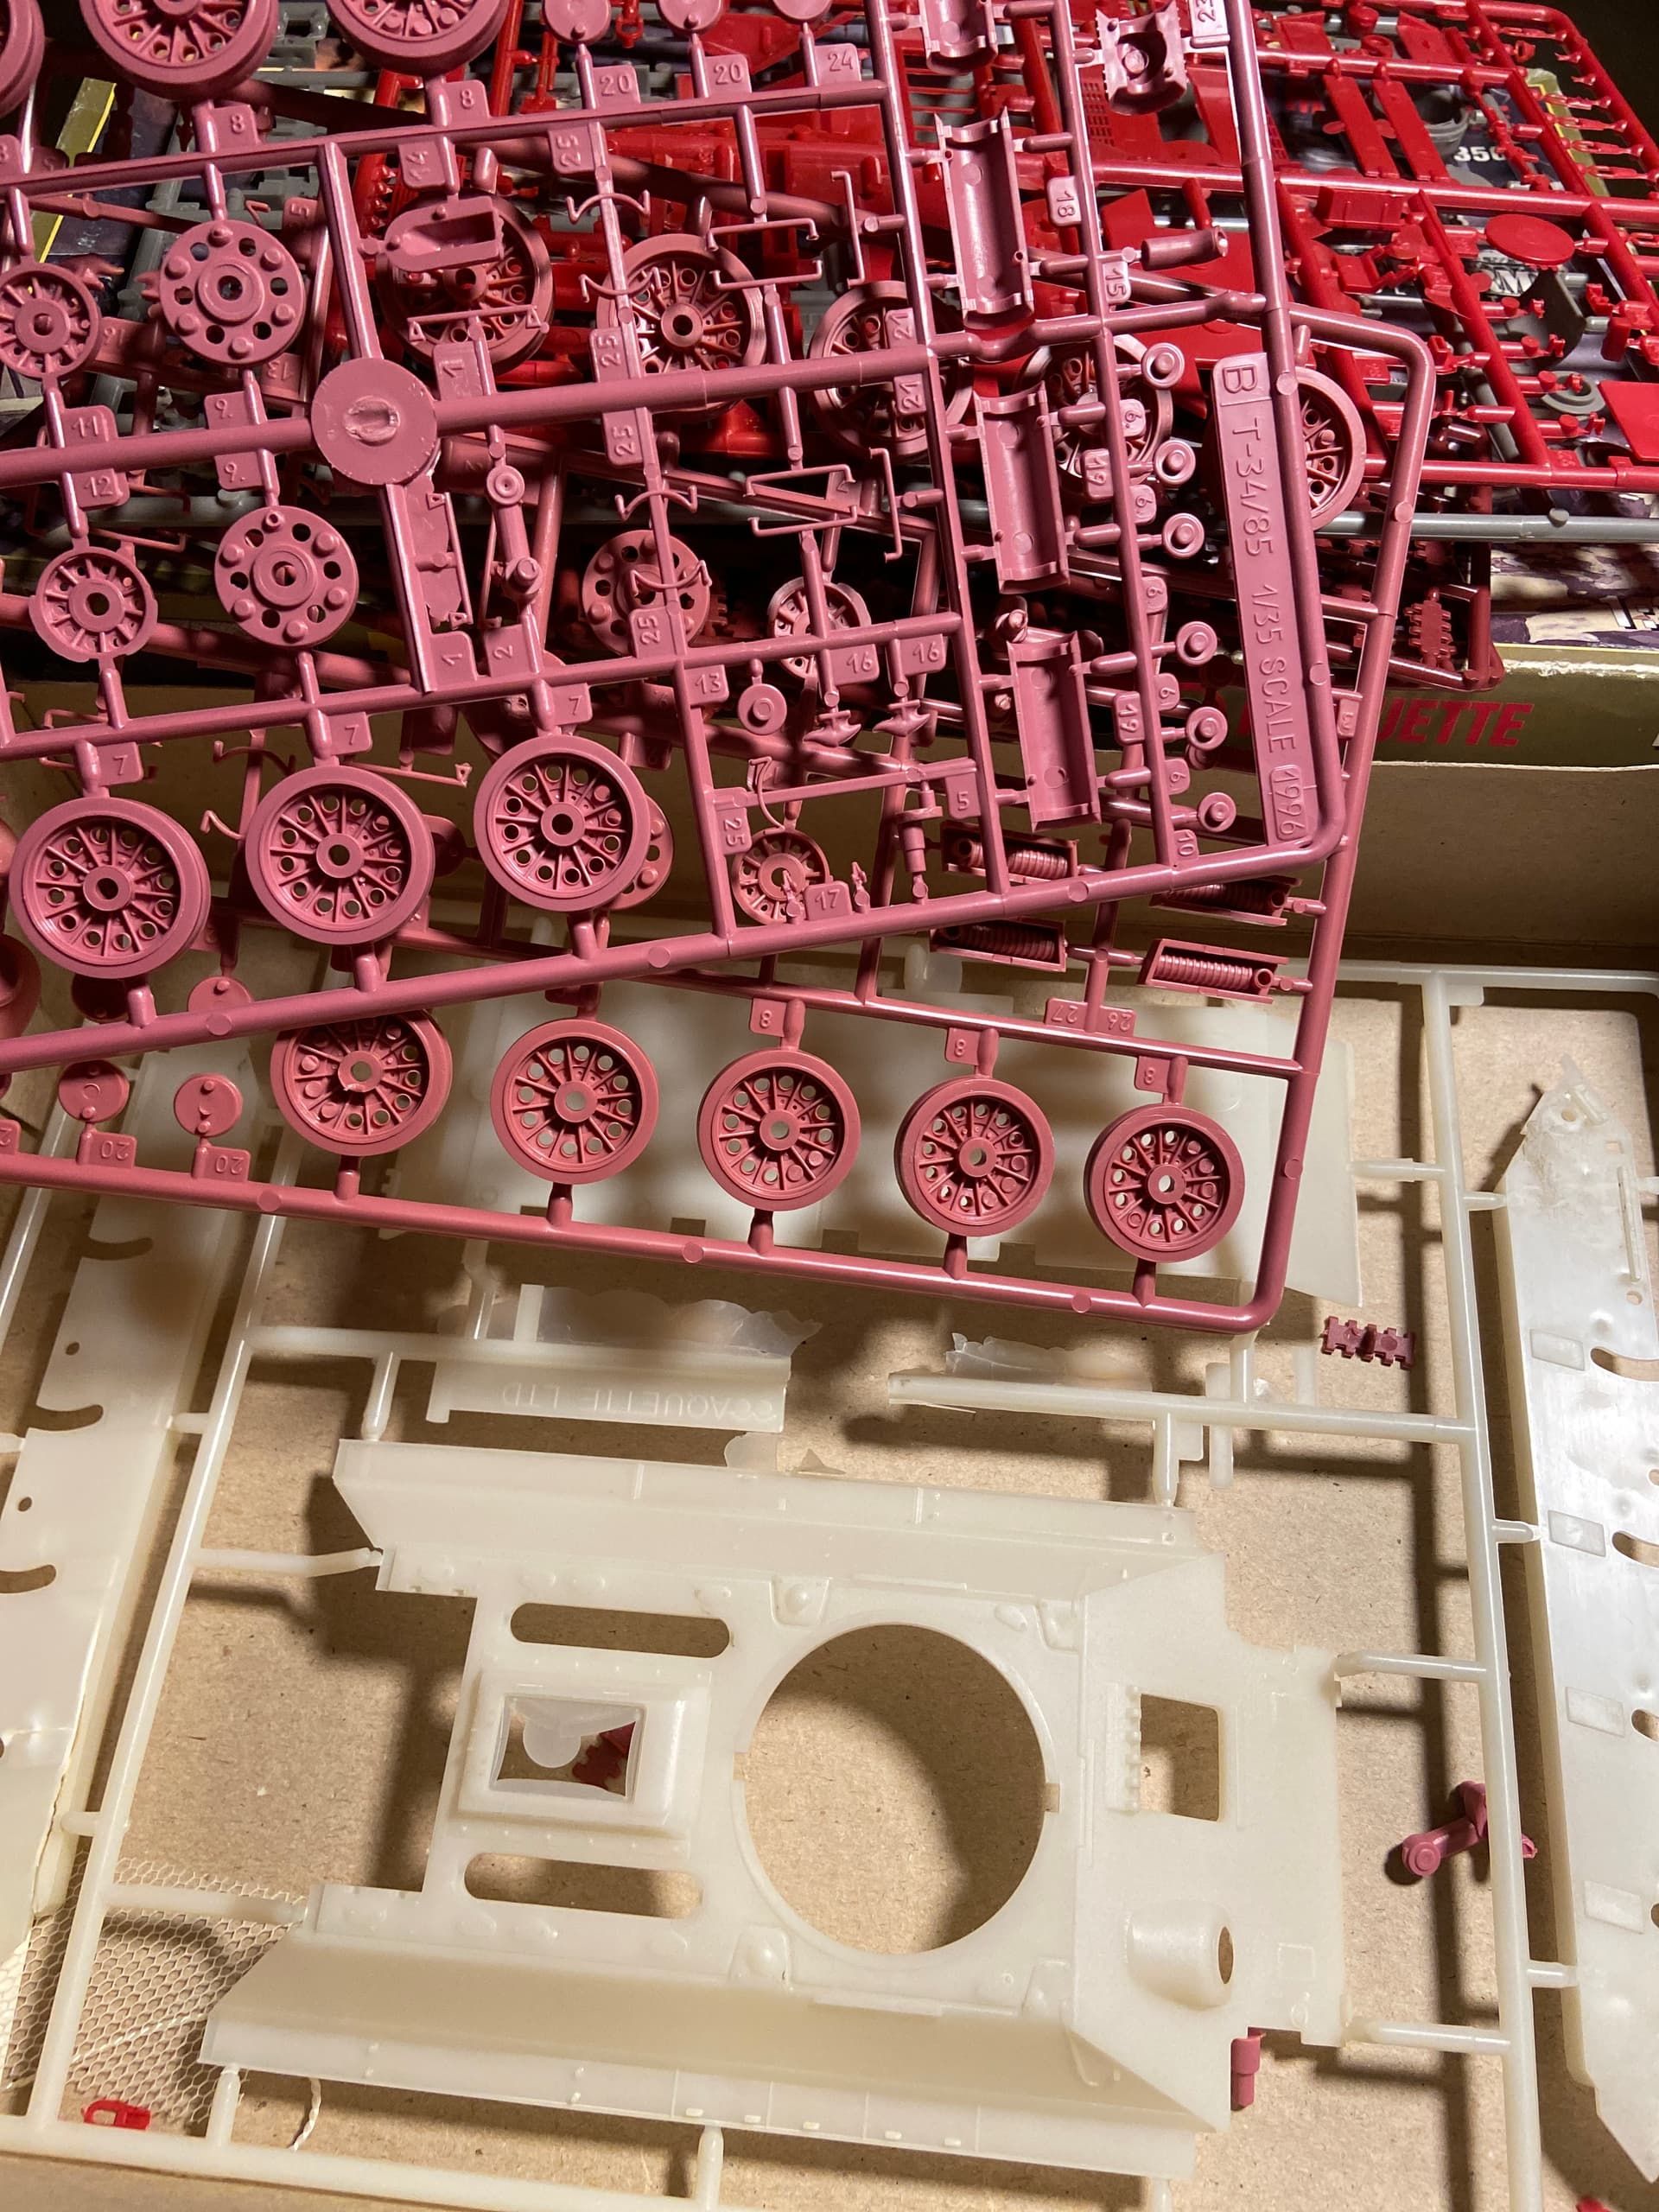
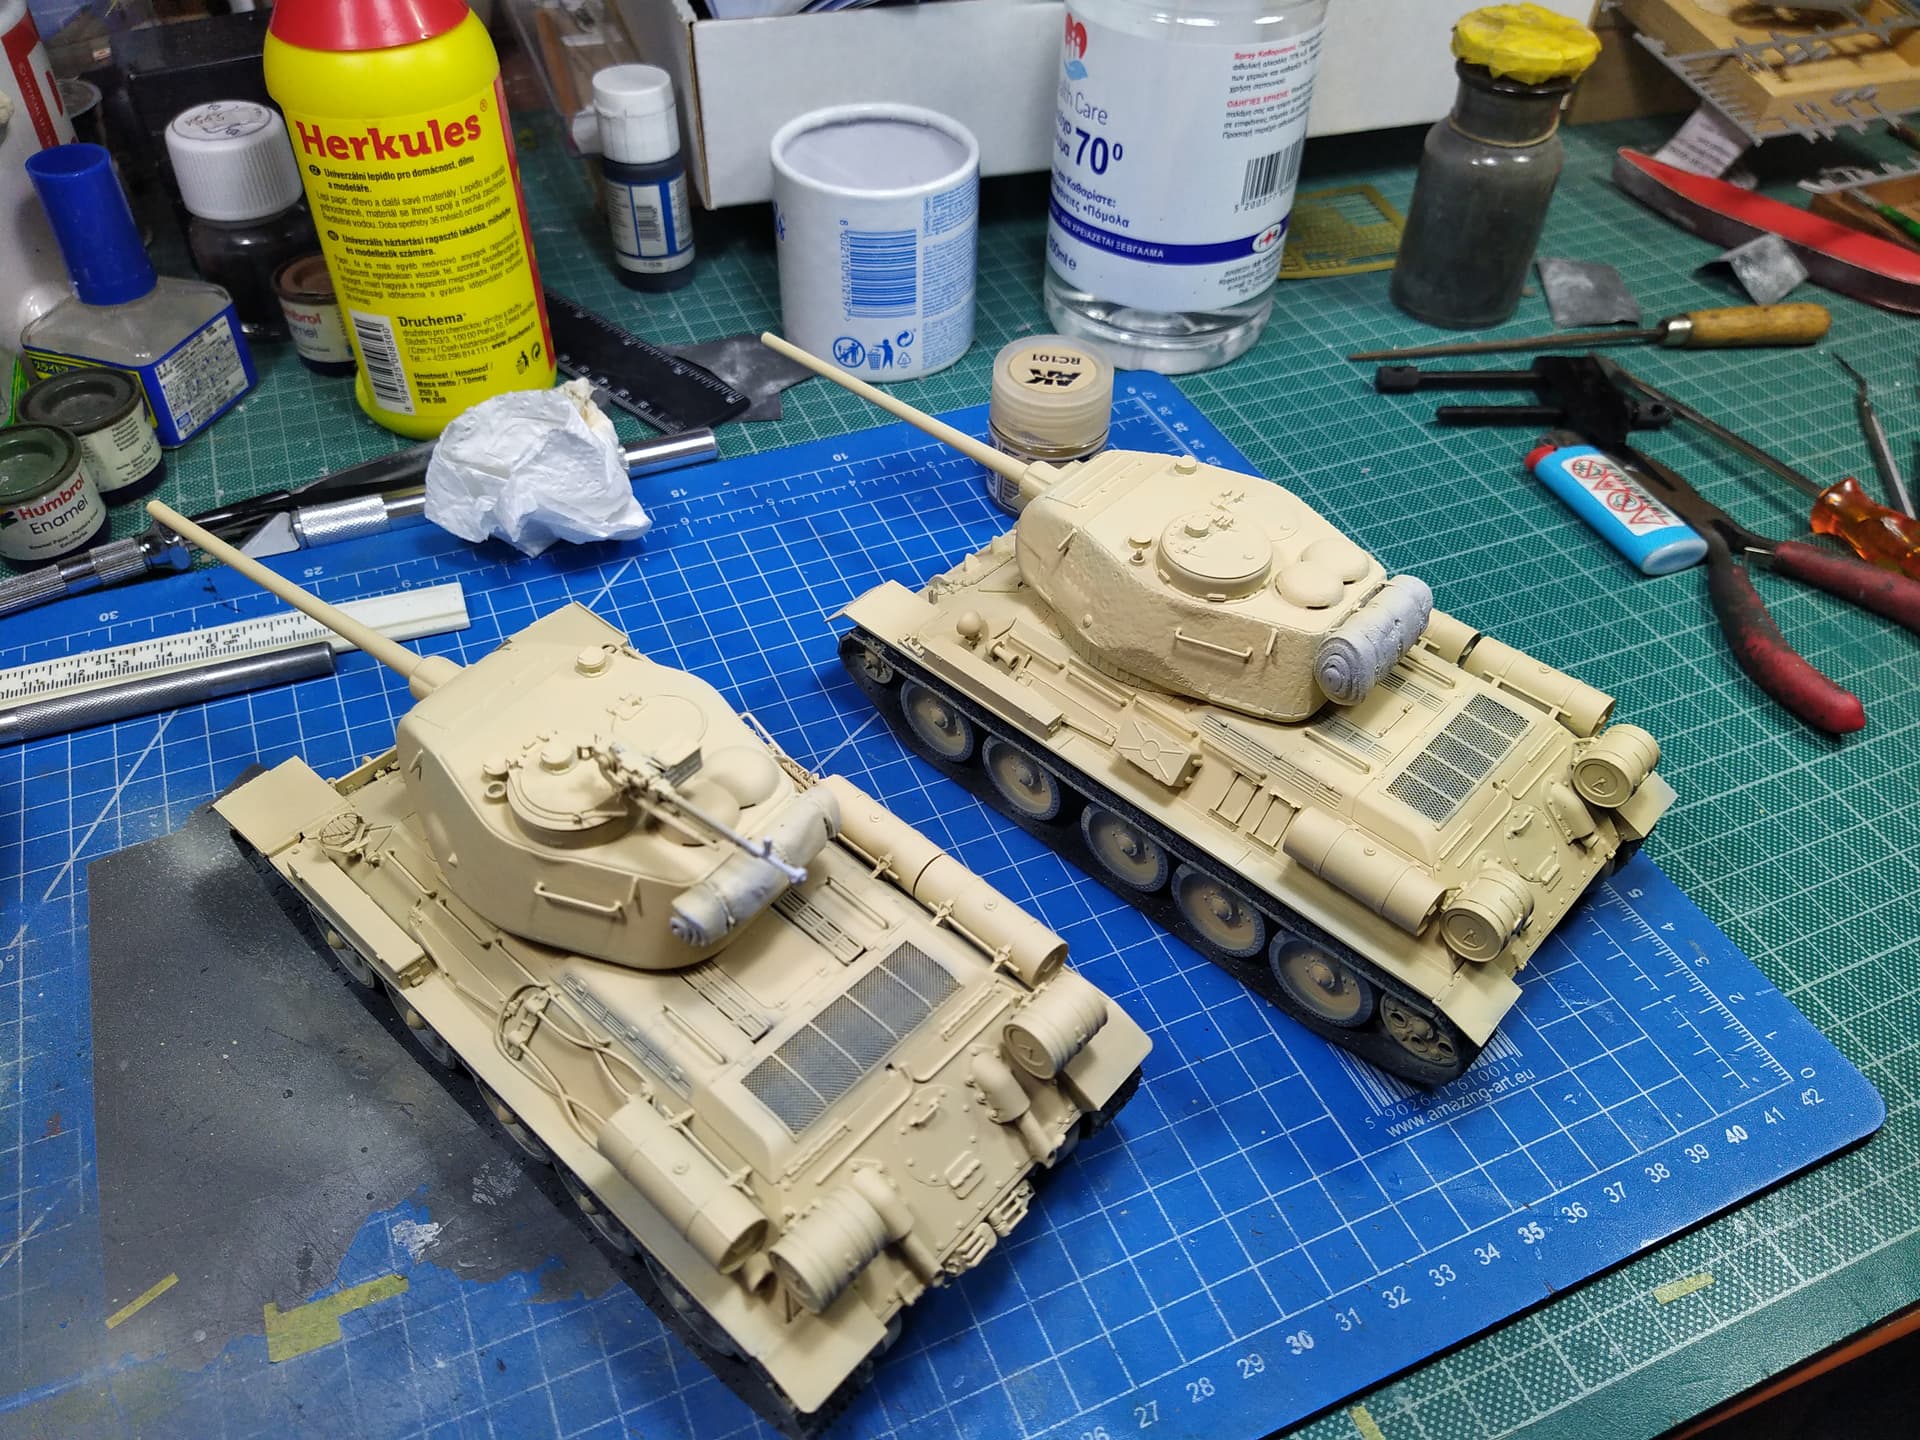
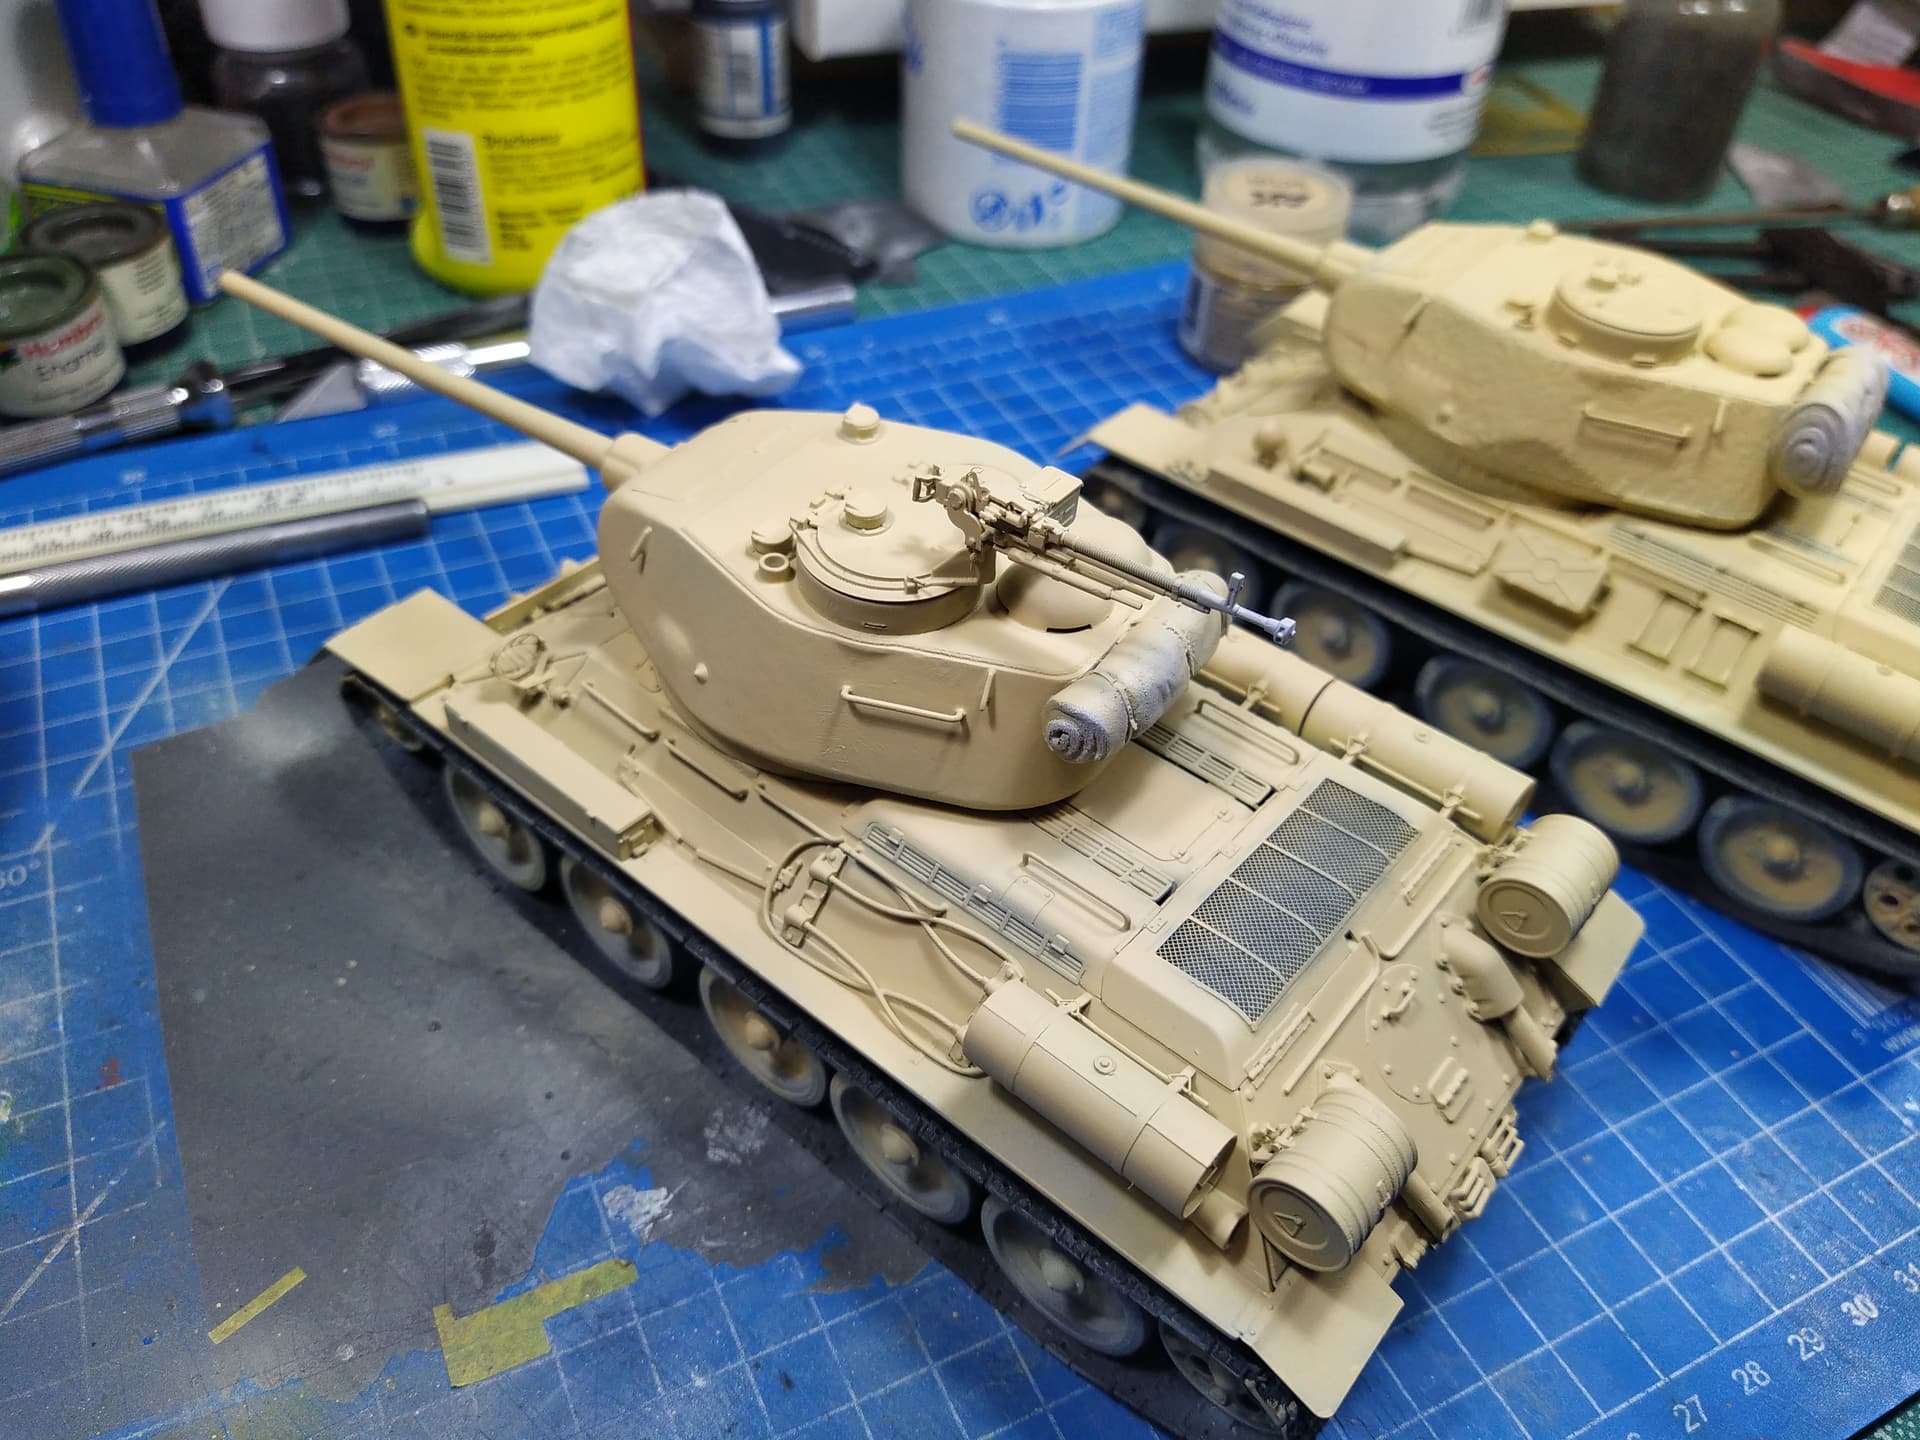
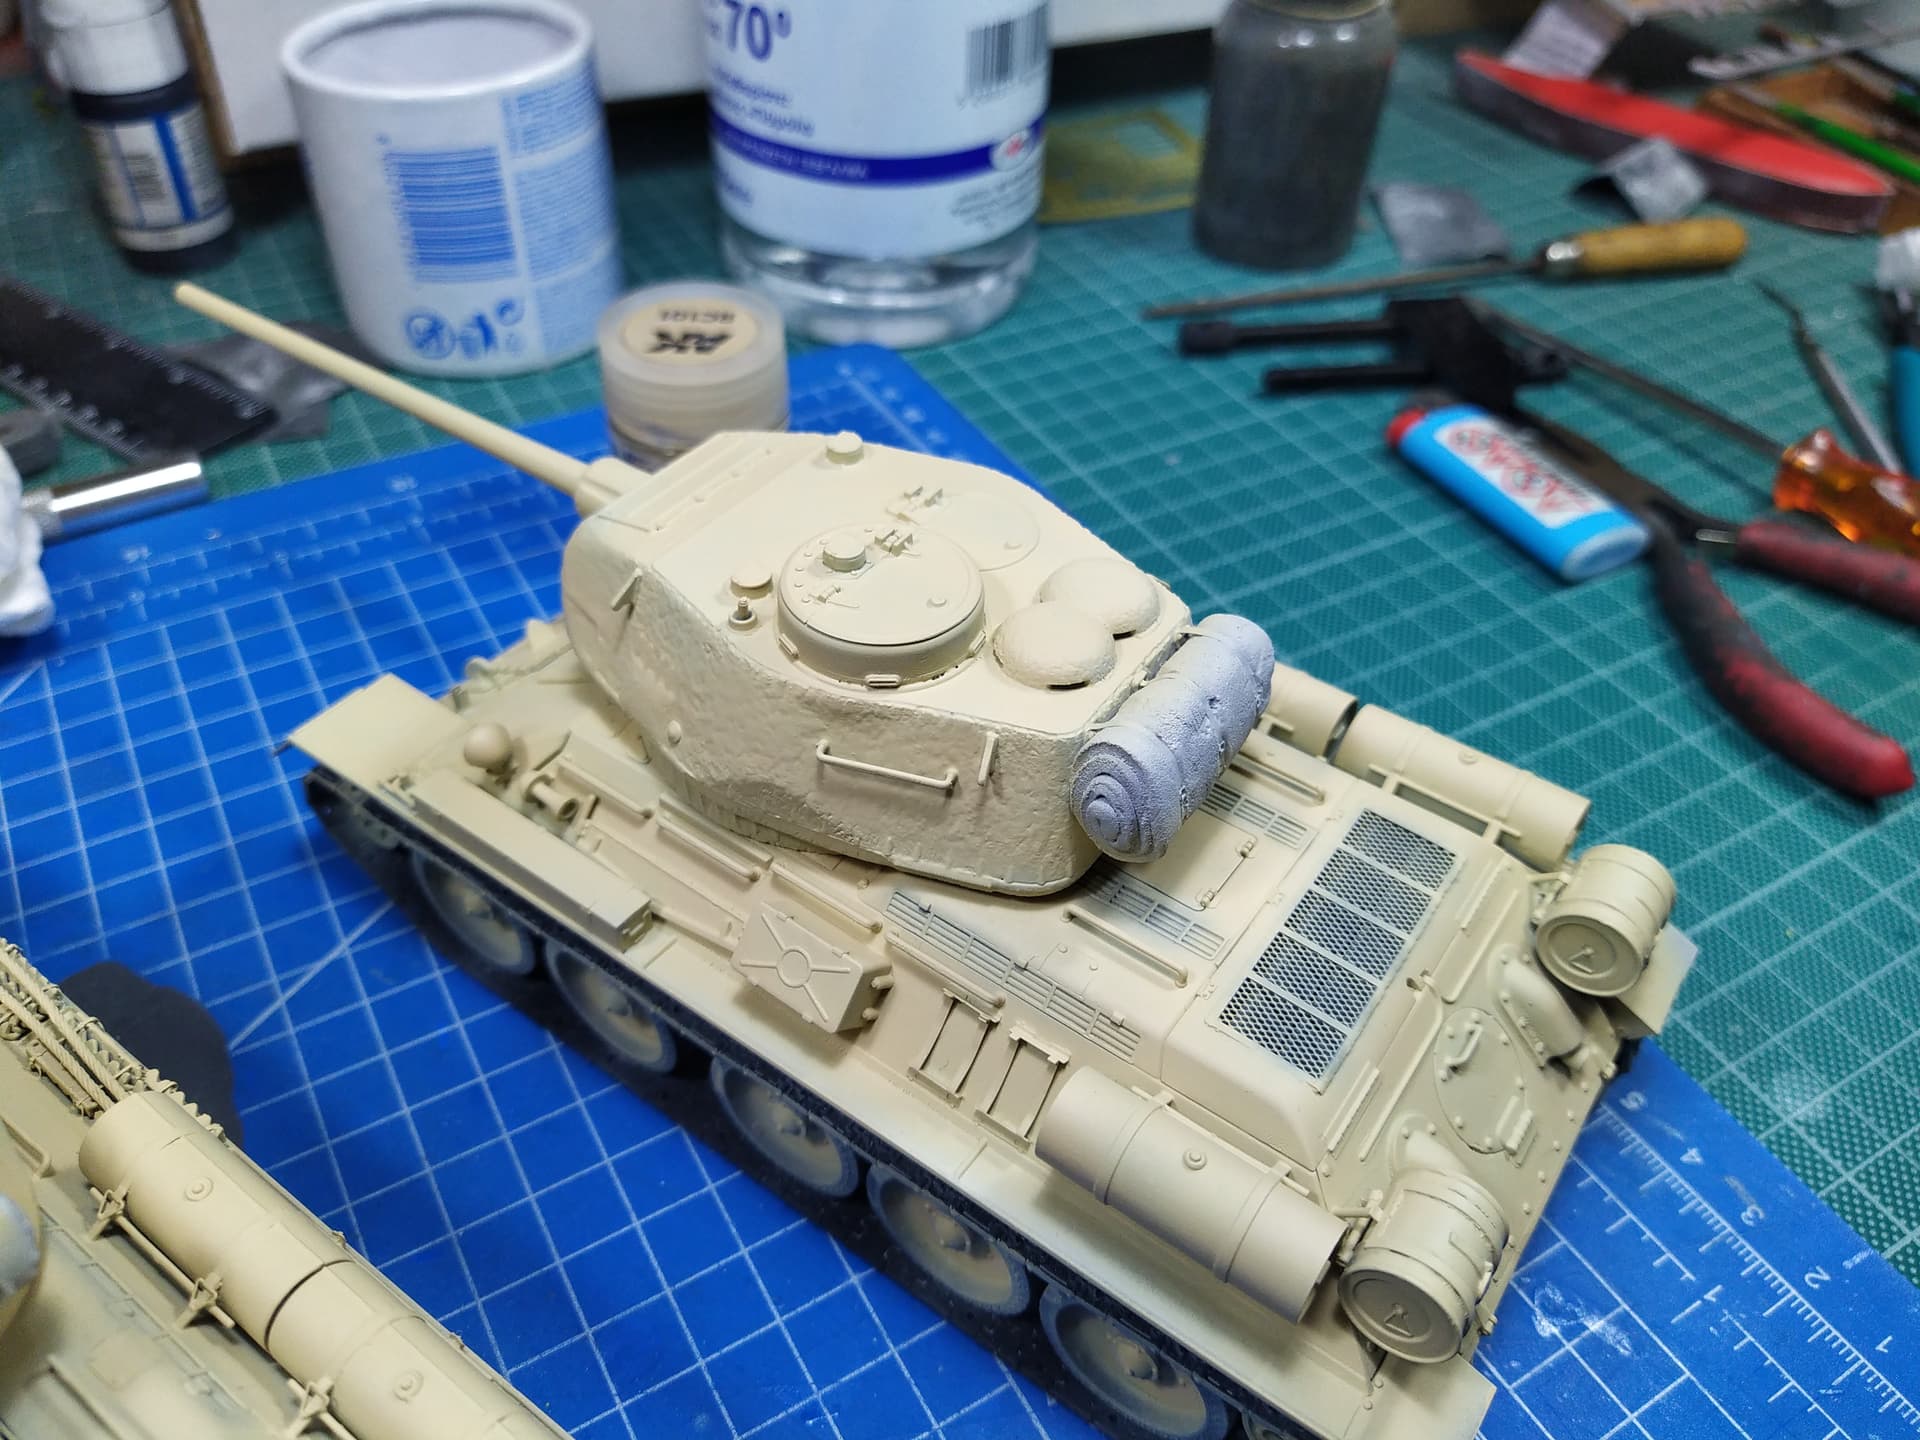
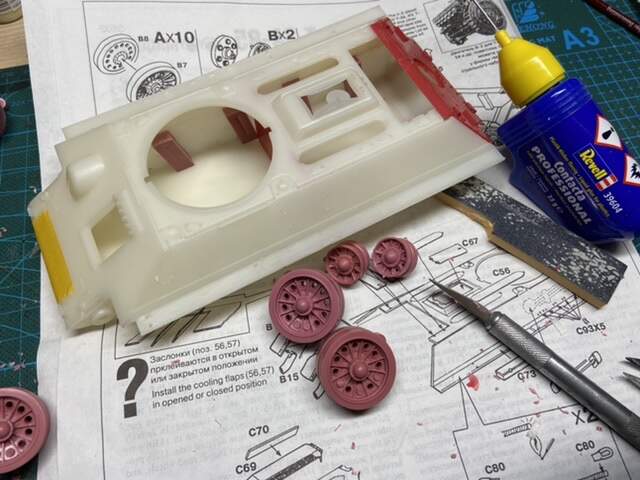
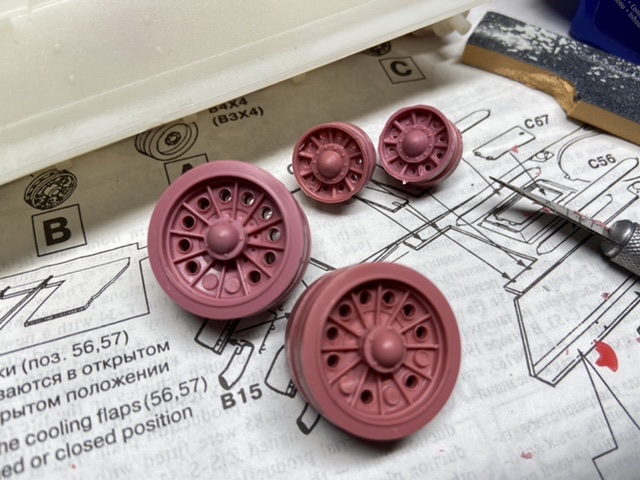
A little progress on my very old Maquette T-34/85.
It is going together decent, but flash is very heavy and the plastic is very brittle. However, it does react well to revell’s plastic glue, so it works ok right now.
The wheels also need a lot of holes (re) drilled.
WOW!!Respect for you!! 
Wow! That’s a heap o’ crap you have to put up with there!
Thanks for the comments, guys! Indeed the challenge here is to make a silk purse out of a cows ear. 
Really like that MiniArt tanker. Looks awesome!
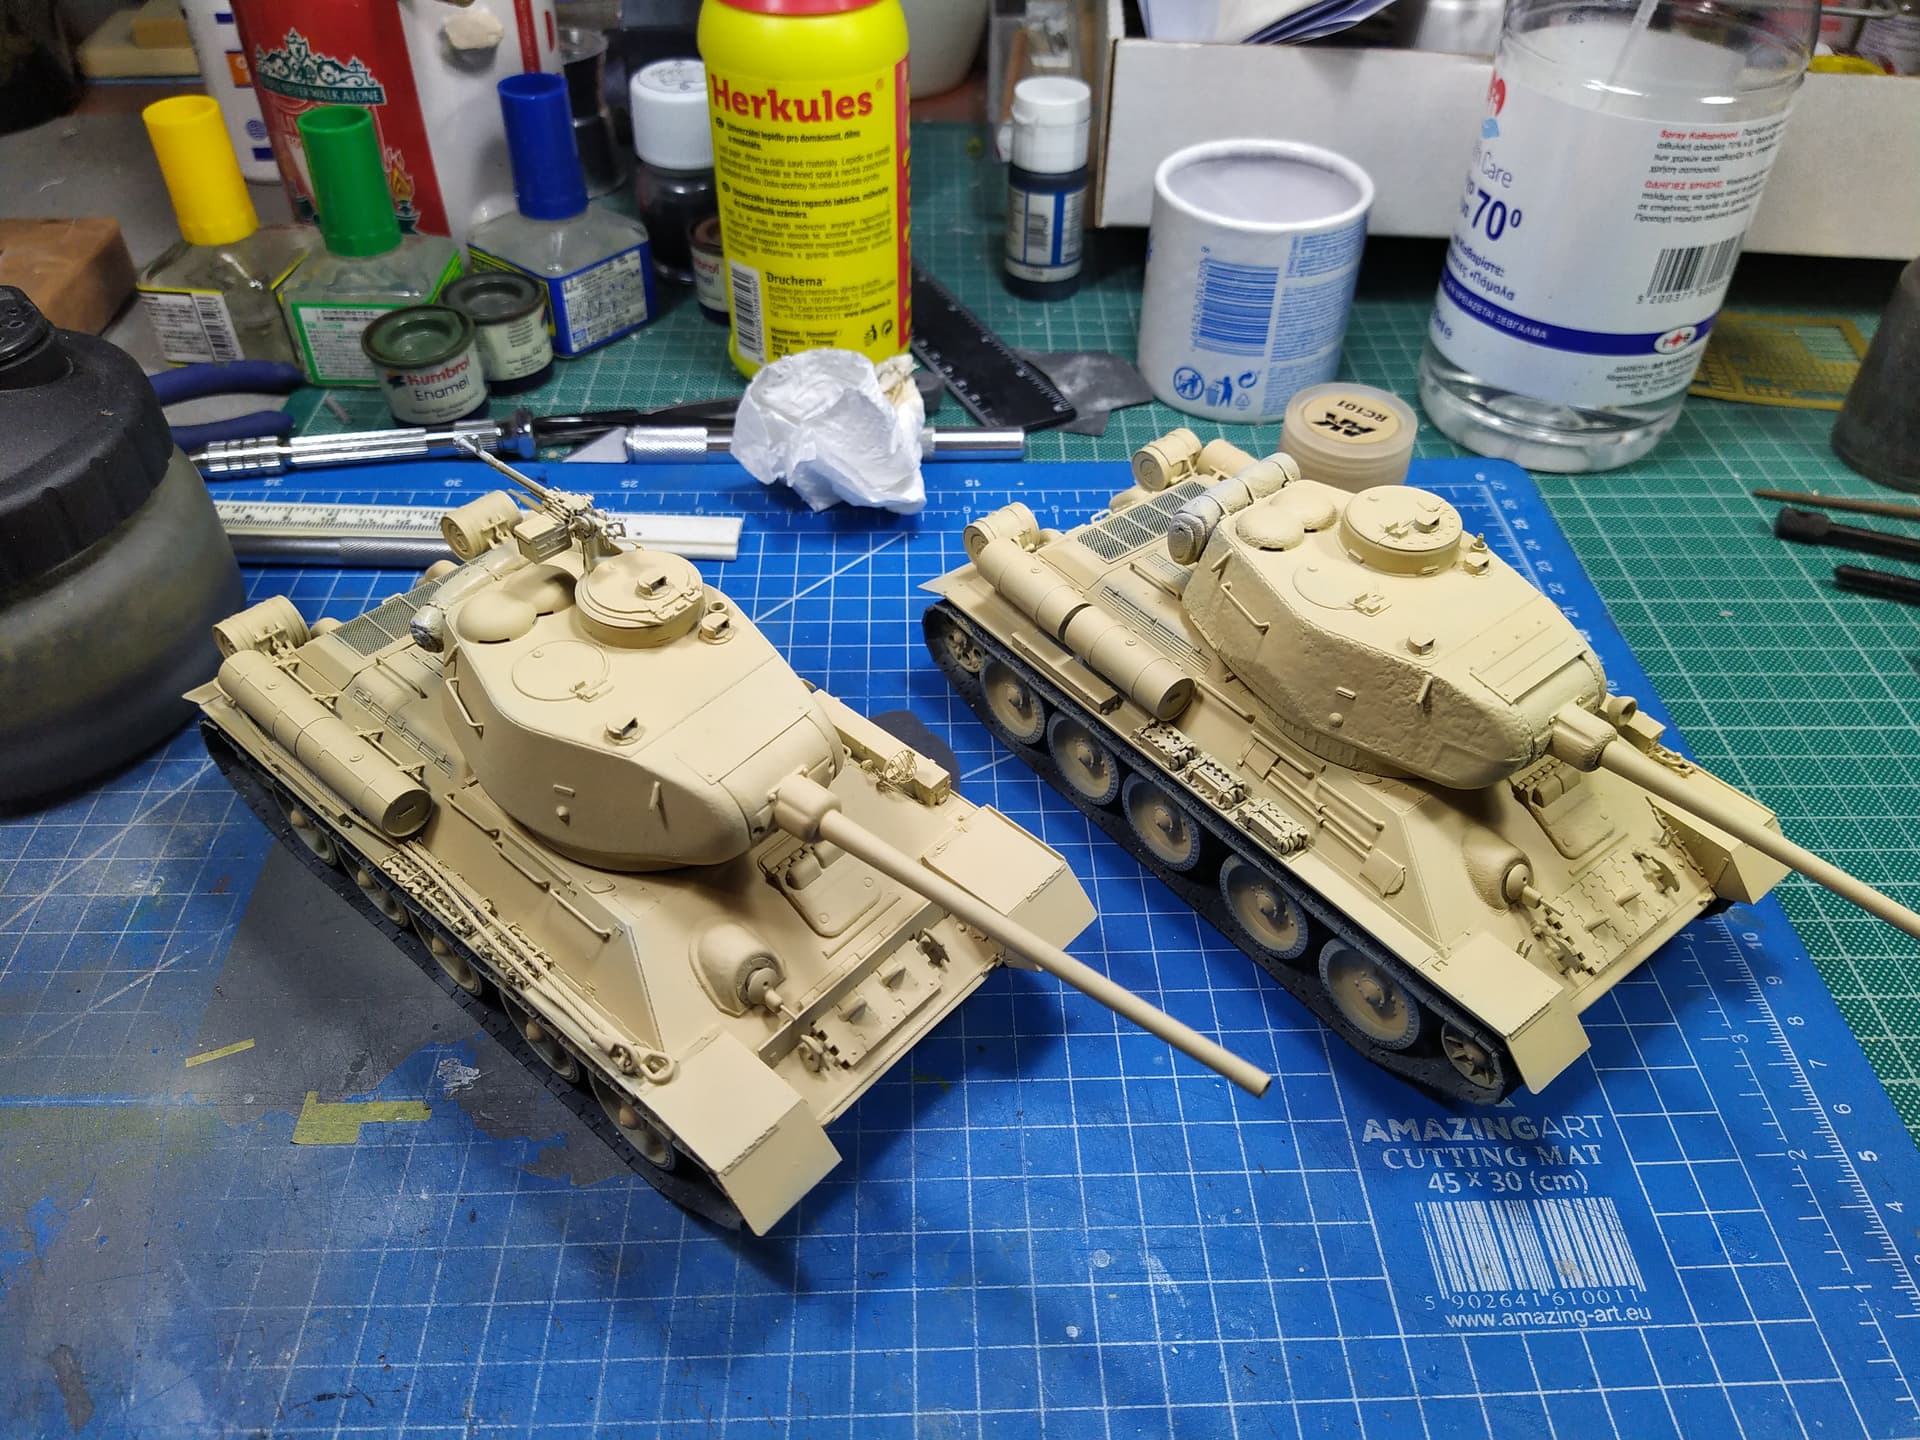
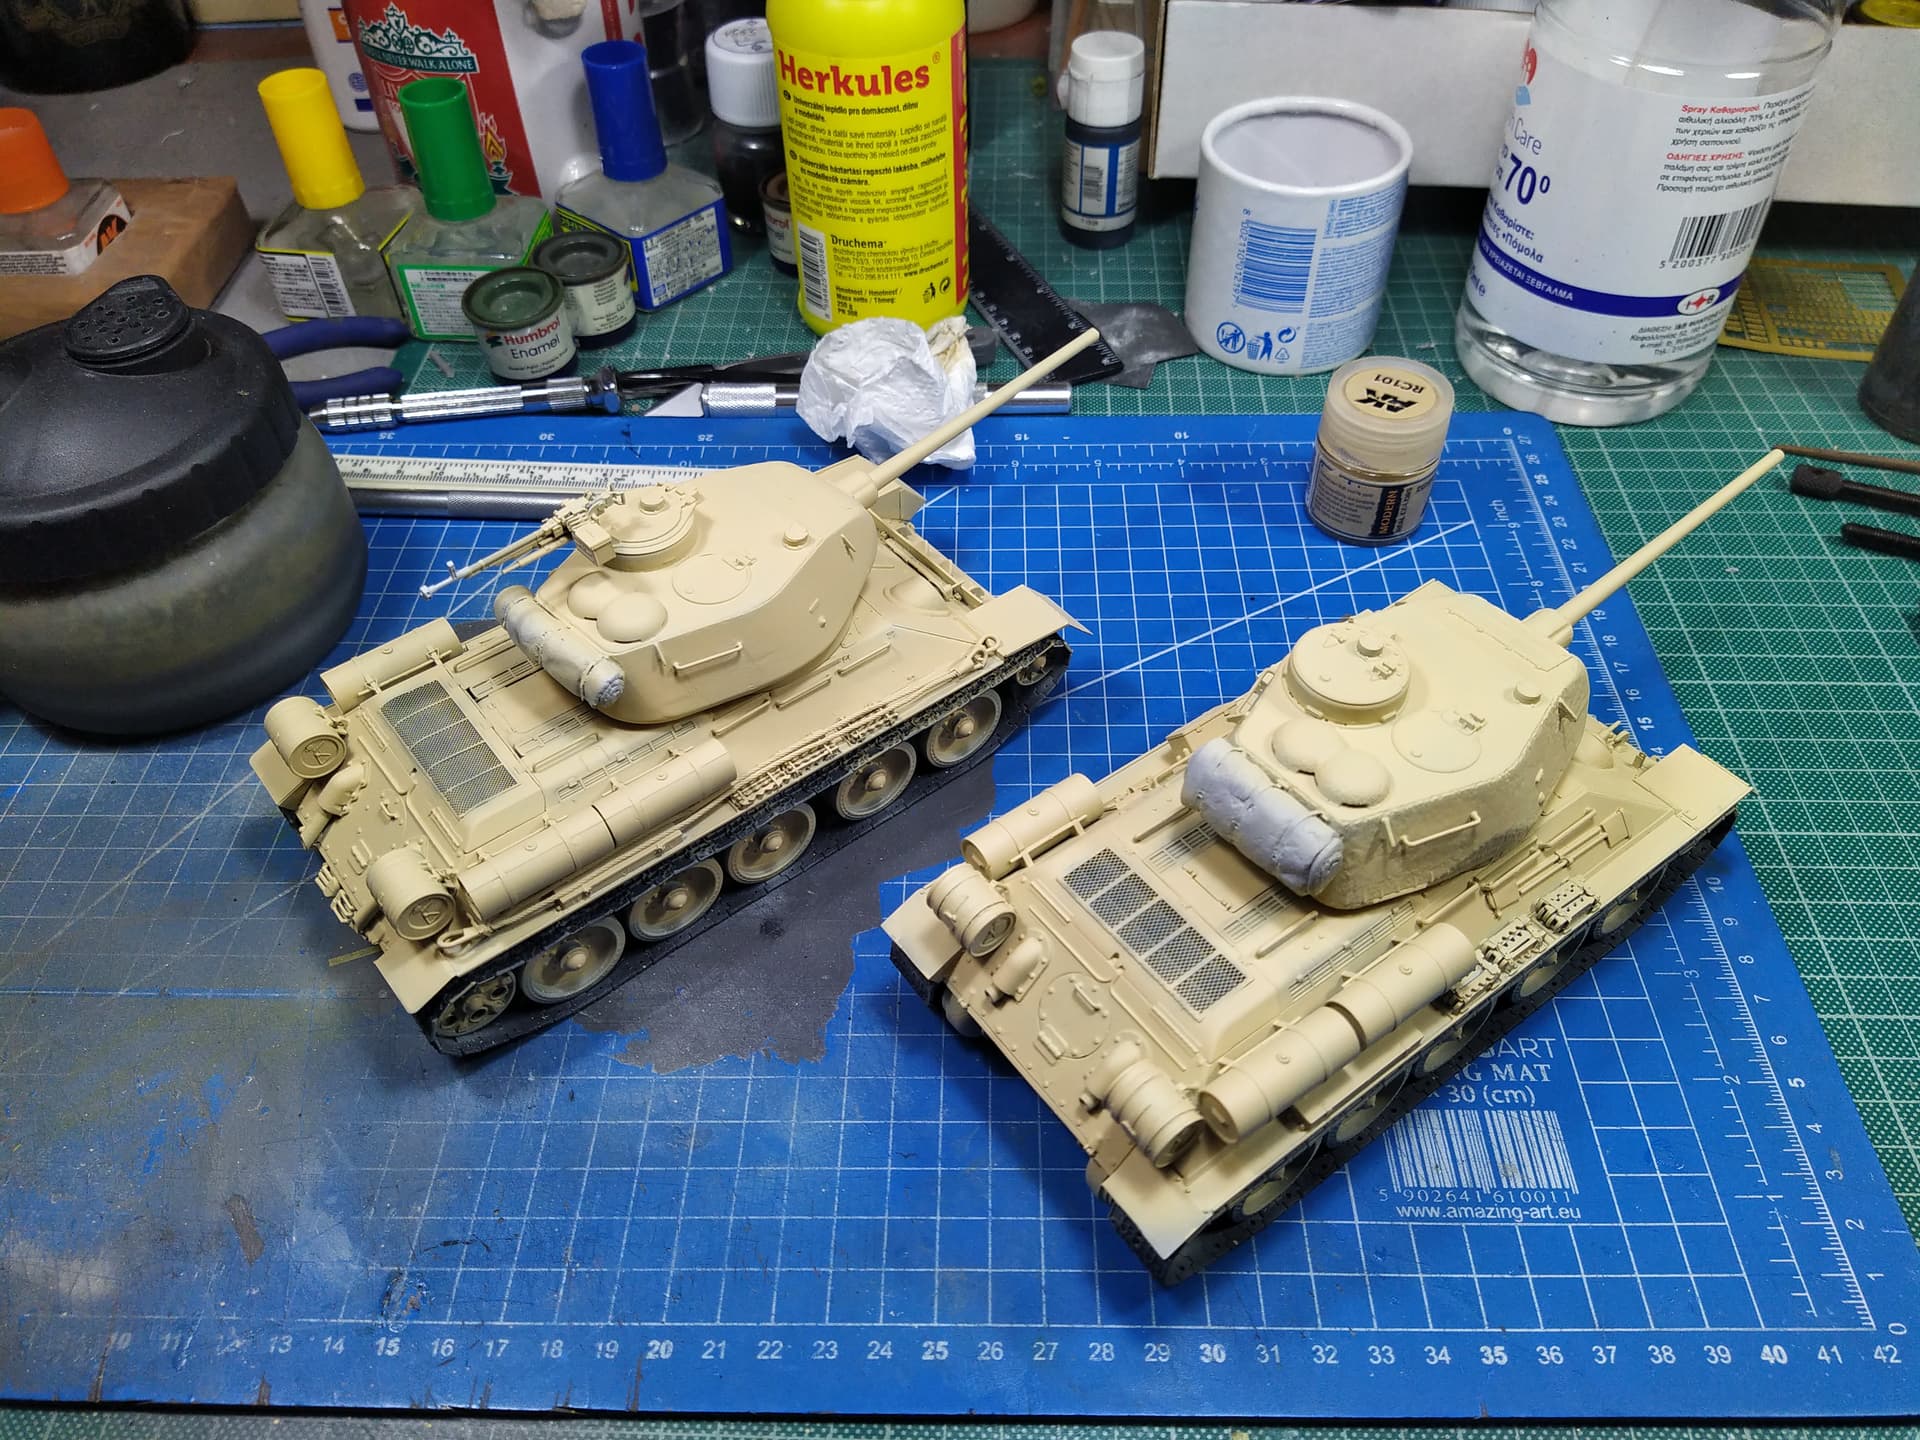
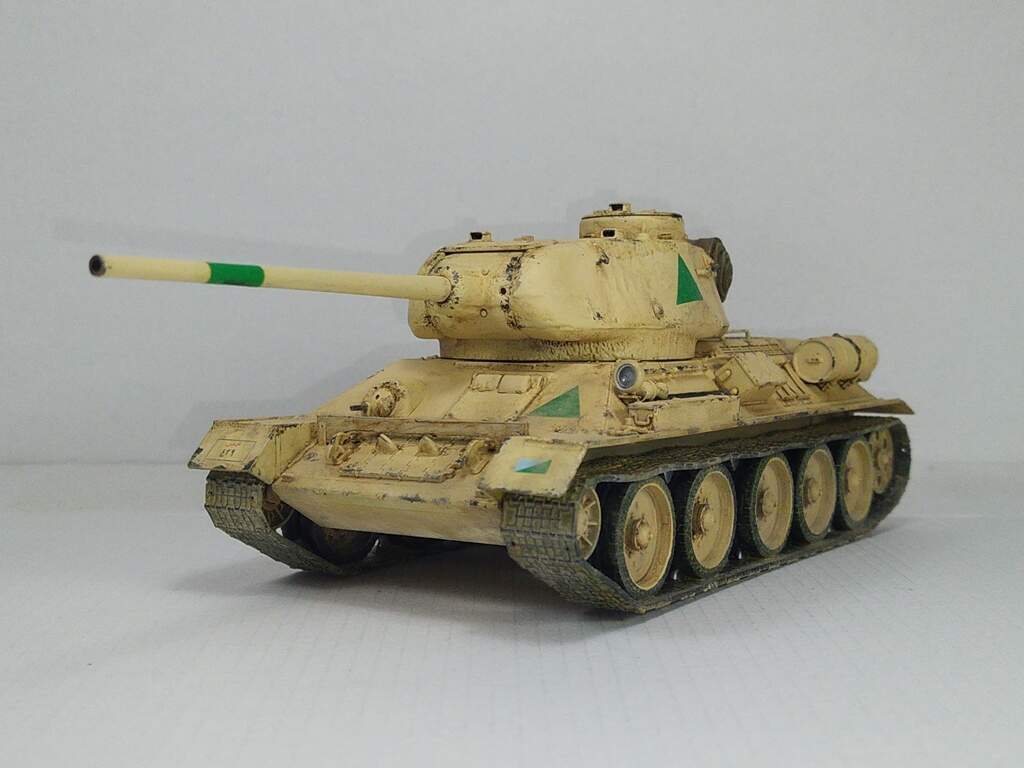
I am calling this done, first of three. The figure is still being painted. Crappy phone photos here but I plan to add a photo feature once the figure is done.
I just noticed that the exhaust shoot needs some improvement…
Comments and suggestions are always welcome.
Congratulations Nikos, I think it looks pretty good even with “bad” photos. 
That really looks very good!!