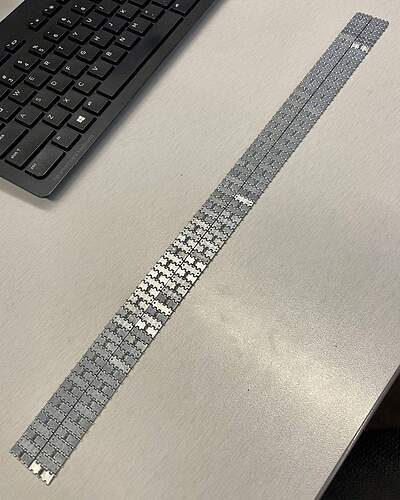
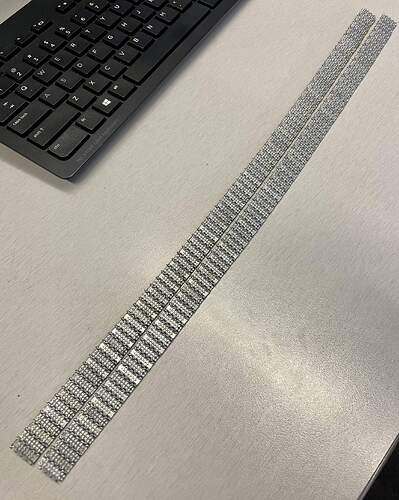
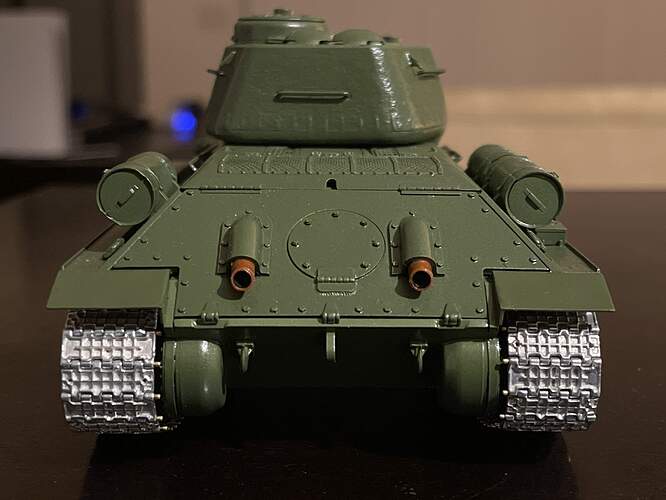
That is, given that the behavior of the pins is unpredictable, it is possible to do this and that. And in any place on the track. Then you don’t have to cut off the heads. Leave it as is.
To be honest, I never even thought about this question! And did not pay attention! Although I have already looked at more than tens of thousands of photos! I’m used to the fact that everything should be smooth, straight, parallel-perpendicular!
P.S. Very often people see what they WANT to see! This is me talking about myself.
There. It’s done. 160 track pads, in two sets of 80 per run. Plus a couple dozen extra pins leftover.
I’m debating now whether to paint or blacken the tracks, then burnish and add rust washes.
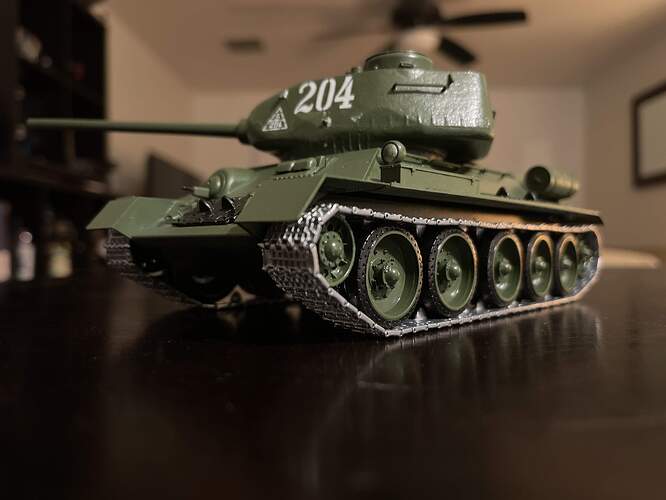
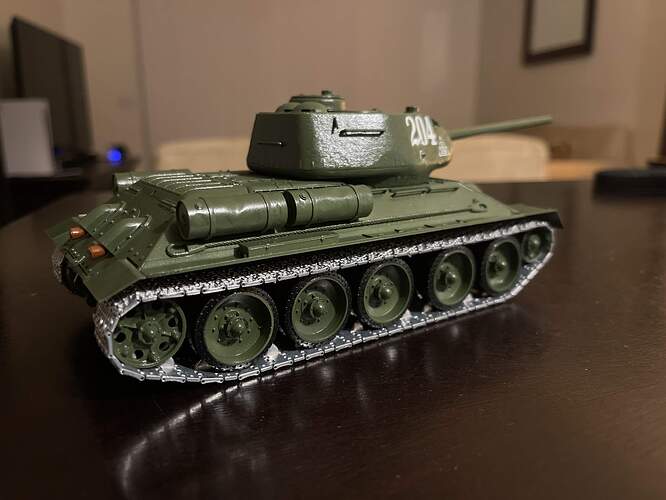
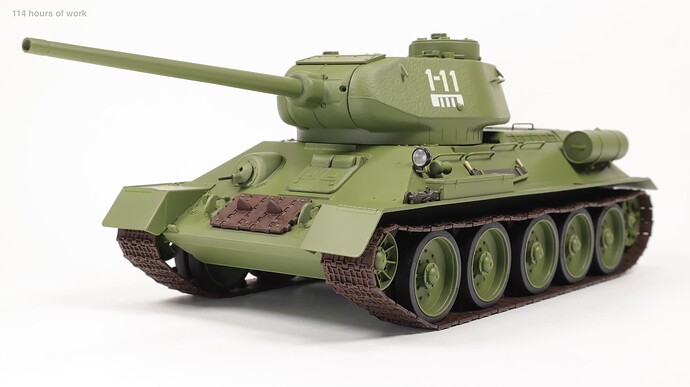
Seeing it installed I have to agree with Vlad’s earlier opinion, I would leave the pins alone for most of the track but those few you can see on the front and rear, I would trim them somehow. They give the appearance that they would strike the hull. The other less fun option to set all the wheel further from the hull. As it’s your project, it’s your choice.
Yeah those pins appear to not clear the final drives.
Yeah; I will be trimming those pins to get everything flus and movable. i noticed that as well. it makes it just a tad more difficult to fit the tracks properly around the drive sprockets.
Ryan’s idea of moving all the wheels further away from the hull is also interesting. Personally, I welcome the decision to trimming.
Vlad, just curious which T-34 is your favorite?
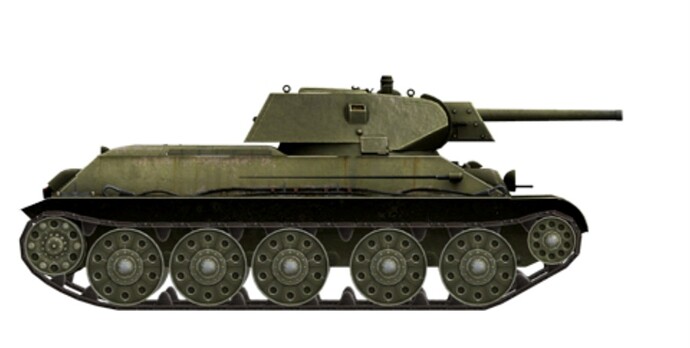
While I really like T-34-85’s my favorite looking T-34 is the 1942 STZ T-34-76 with angled chin. Seriously cool looking beastie in my opinion, one of the best of all in WW2.
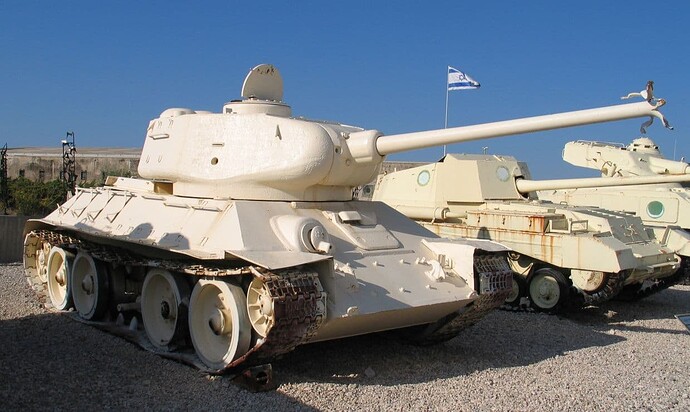
Mine has always been the T-34/85 Model of 1944.
Like this Egyptian model, captured by the Israelis in 1967. On display at Yad La-Shiryon.
Wade!
There is no favorite as such. For me, they are all good and interesting in their own way!
I have another thought. ![]() It has some classic stuff in it! And sometimes, when we see some modern tank, we exclaim - “What is this - a tank? It doesn’t even look like a tank. Here is the T-34 - yes, it’s a tank!”
It has some classic stuff in it! And sometimes, when we see some modern tank, we exclaim - “What is this - a tank? It doesn’t even look like a tank. Here is the T-34 - yes, it’s a tank!” ![]()
I do like them all but have really liked the early 57mm.

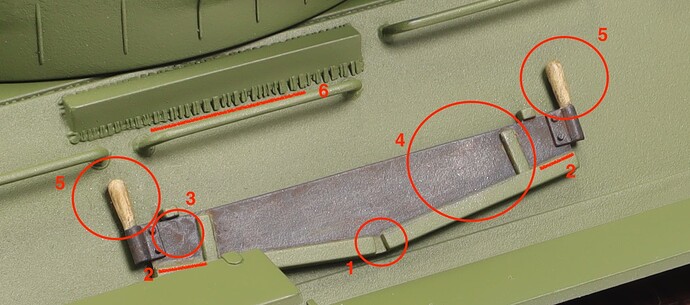
A small interim analysis of the current work.
All the same, how useful it is to view close-up photos!
I want to redo everything! ![]()
There are a lot of mistakes!
- The saw is not painted between the sections of its mounts.
- During the painting of the mounts in green, due to poor-quality masking, I “climbed” onto the saw.
- When shading the rusty wash, I missed a small area.
- Small particles of metallic - poorly cleaned brush!!!
 Remains of paint on the brush from the previous work.
 - I don’t like saw handles. Very thick layers of Vallejo paint. It was very inconvenient to paint over. The surface of the handles turned out to be heterogeneous, and bumpy.
- Was inattentive during assembly. The section of the weld was left unglued and is now “hanging in the air”.
I think the saw looks very good ![]() .
.
The handles have a nice wood grain look that I would be delighted to duplicate! Likewise the saw blade looks great to me as well. The washes, pin washes, filters, dry brushing, pigments, gloss, clear flat etc of the weathering and finishing process mean one shouldn’t fret over painting tools in my experience.
We can always find items we want to do a little different or improve next time around but we shouldn’t let that steal the joy of the moment for the current project in my opinion.
I’m redoing the handles! ![]()
Vallejo is sanded with great difficulty. But still - sanded.
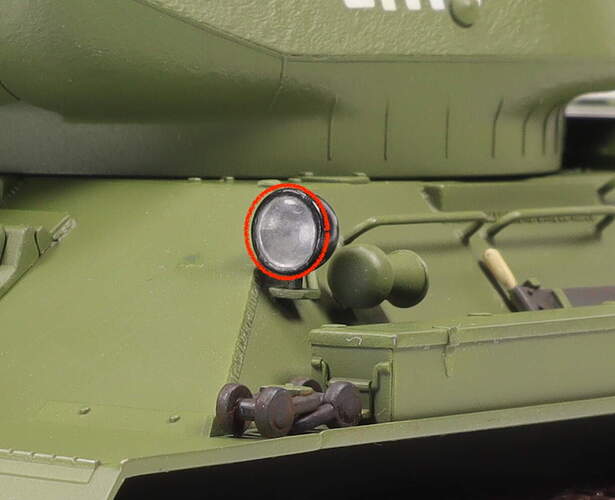
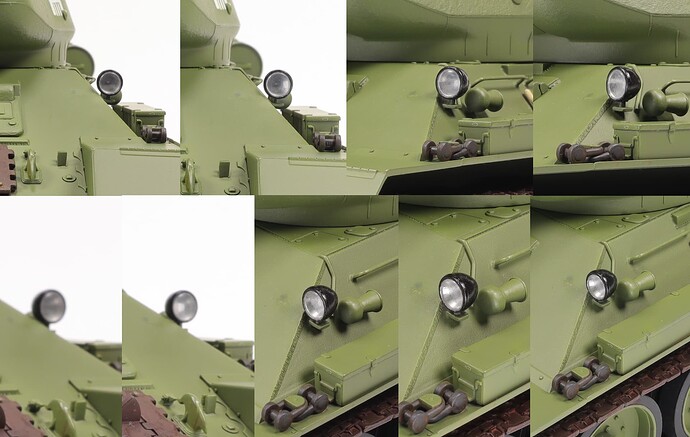
So, the headlight.
Let me start off by saying that I had a small setback. In the process of fitting the lens to the headlight housing, the adhesive part of the masking tape that I used to mask the lens chemically reacted with the plastic of the lens and left unremovable traces on it! This is not the first time I’ve run into a similar problem. I have seen a case where the adhesive part of masking tape reacted chemically with an acrylic sheet! Just a day the tape was on the acrylic sheet, but its glue literally ate through the surface of the acrylic and left clearly visible depressions on the sheet! What is this? Poor quality tape? Features of plastic/acrylic? Don’t know. As a result, it was necessary to grind and polish the lens. Of course, some of her wonderful transparency is gone. Making high-quality grinding and polishing on a lens of double curvature with a diameter of 4 mm turned out to be problematic for me.
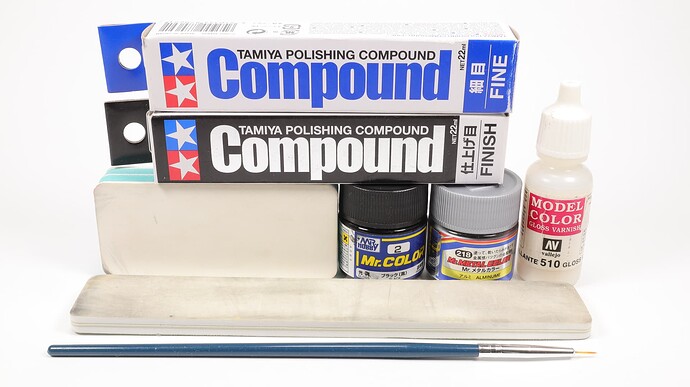
Also I repainted the reflector inside the headlight. Used metallic Mr. Hobby Mr. Metal Color 218 «Alminume» . It seems to me that the reflector was not so silvery. All the photos show that it looks more like aluminum.
I did not delve into the features of the structure of the headlight, but, logic suggests, it is unlikely that any other material for reflectors was used in the 40s. Most likely, it was a stamped reflector from a thin aluminum sheet.
Next, with the same metallic paint, I painted over the edge of the lens. I did this so that through the end of the lens I could not see the defects from the processing of the headlight housing and the glue with which I was going to glue the lens to the housing. It seems to have succeeded. Through the lens, only the smooth butt end of the aluminum color is visible. And everything else (processing defects, varnish, which spilled the junction of the lens and the body) remained invisible.
A little about varnish. Of all the varnish and adhesives I have, the only varnish that didn’t react with Mr. Hobby’s metallic was Vallejo’s 510 acrylic vinyl gloss varnish. Everyone else just ate the metallic, turning it into a hazy mass. Yes, Micro Crystal Clear is the perfect solution, but I don’t have it now, so I had to use its distant cousin.
As a result, the lens “glued” well, and there was protection against the penetration of any washes and white spirit into the headlight during further weathering. Those excesses that fell on the visible part of the lens were removed almost immediately after pouring with a cotton toothpick slightly moistened with the original Vallejo cleaner.
Next - masks!
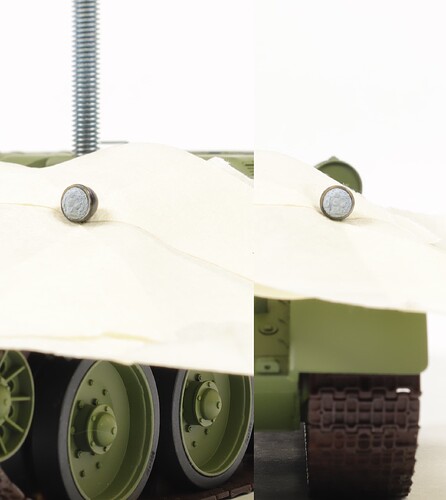
Since I did not have a mask of the correct diameter for the lens, I had to do it with the help of Blu Tack. It was not easy to do this on an already glued headlight. It didn’t work out very well. And after painting the headlights in the main black glossy color, the uneven edge around the entire circumference is clearly visible. Hopefully, some kind of water-based wash will hide this flaw.
After painting in black glossy color and removing the masks, I polished the surface of the lens again.
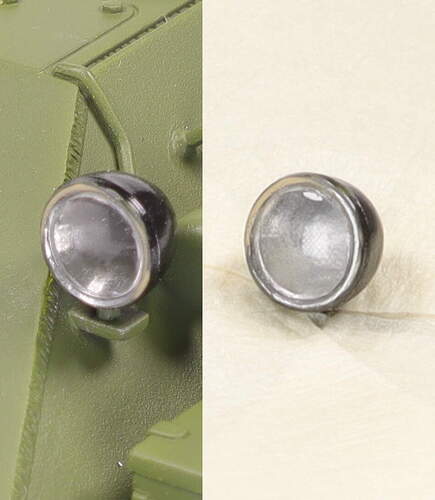
Final photos from different angles of light.
The headlight looks great and I like the black color. Excellent work as always. ![]()
![]()
