It turned out to be a very convenient thing! ![]()
2 Likes
Dan, I didn’t have the opportunity to hold the Academy kit in my hands, but I wouldn’t idealize RFM so much. This kit (5079) also has its shortcomings. I will try to talk about them after completing work on the model.
2 Likes
That’s a Czech or Polish postwar tank.
1 Like
Well, I am still building my first RFM T-34-85, but I am probably halfway done and so far I love it and find it easily the best T-34 kit I’ve built.
The Academy T-34 76mm hex turret is quite good in many areas but weak in others and is not close to RFM in quality. I haven’t built Academy’s T-34-85 Factory 112 yet although what’s in the box is not spectacular.
2 Likes
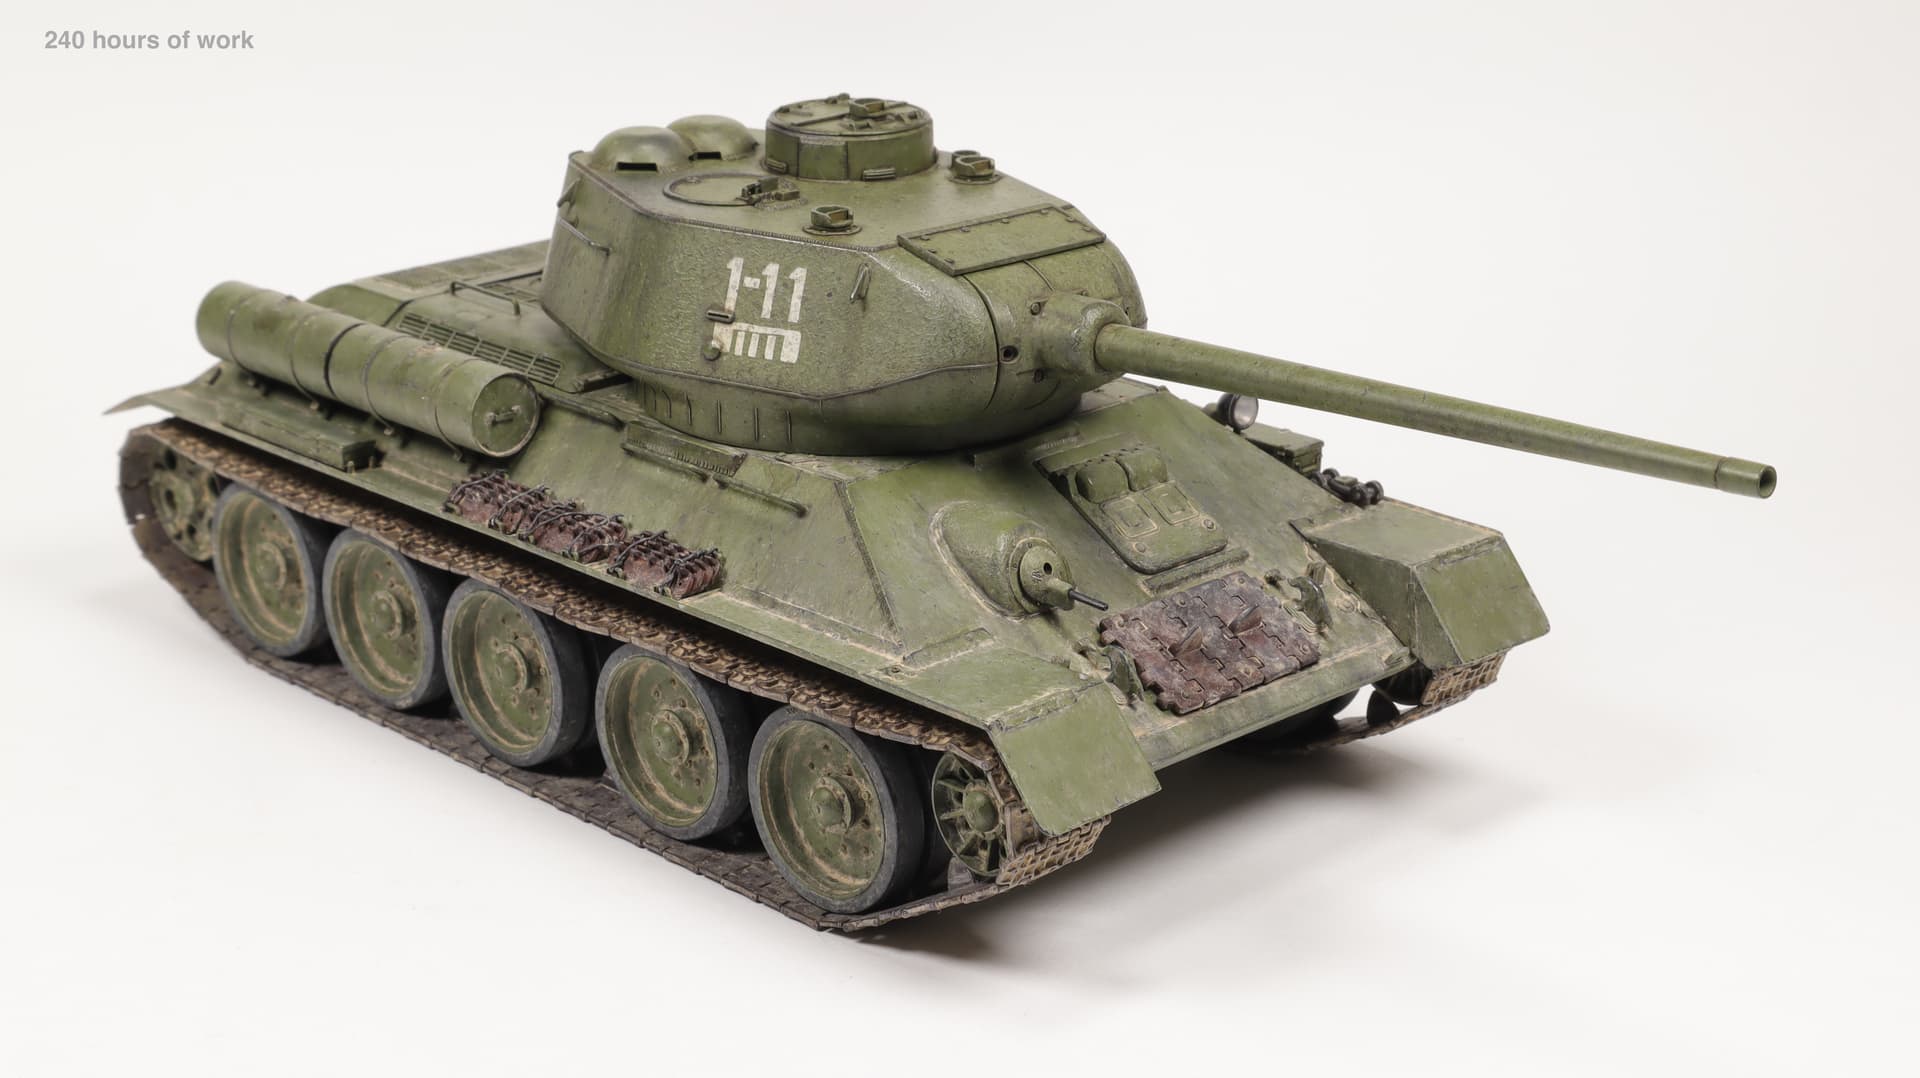
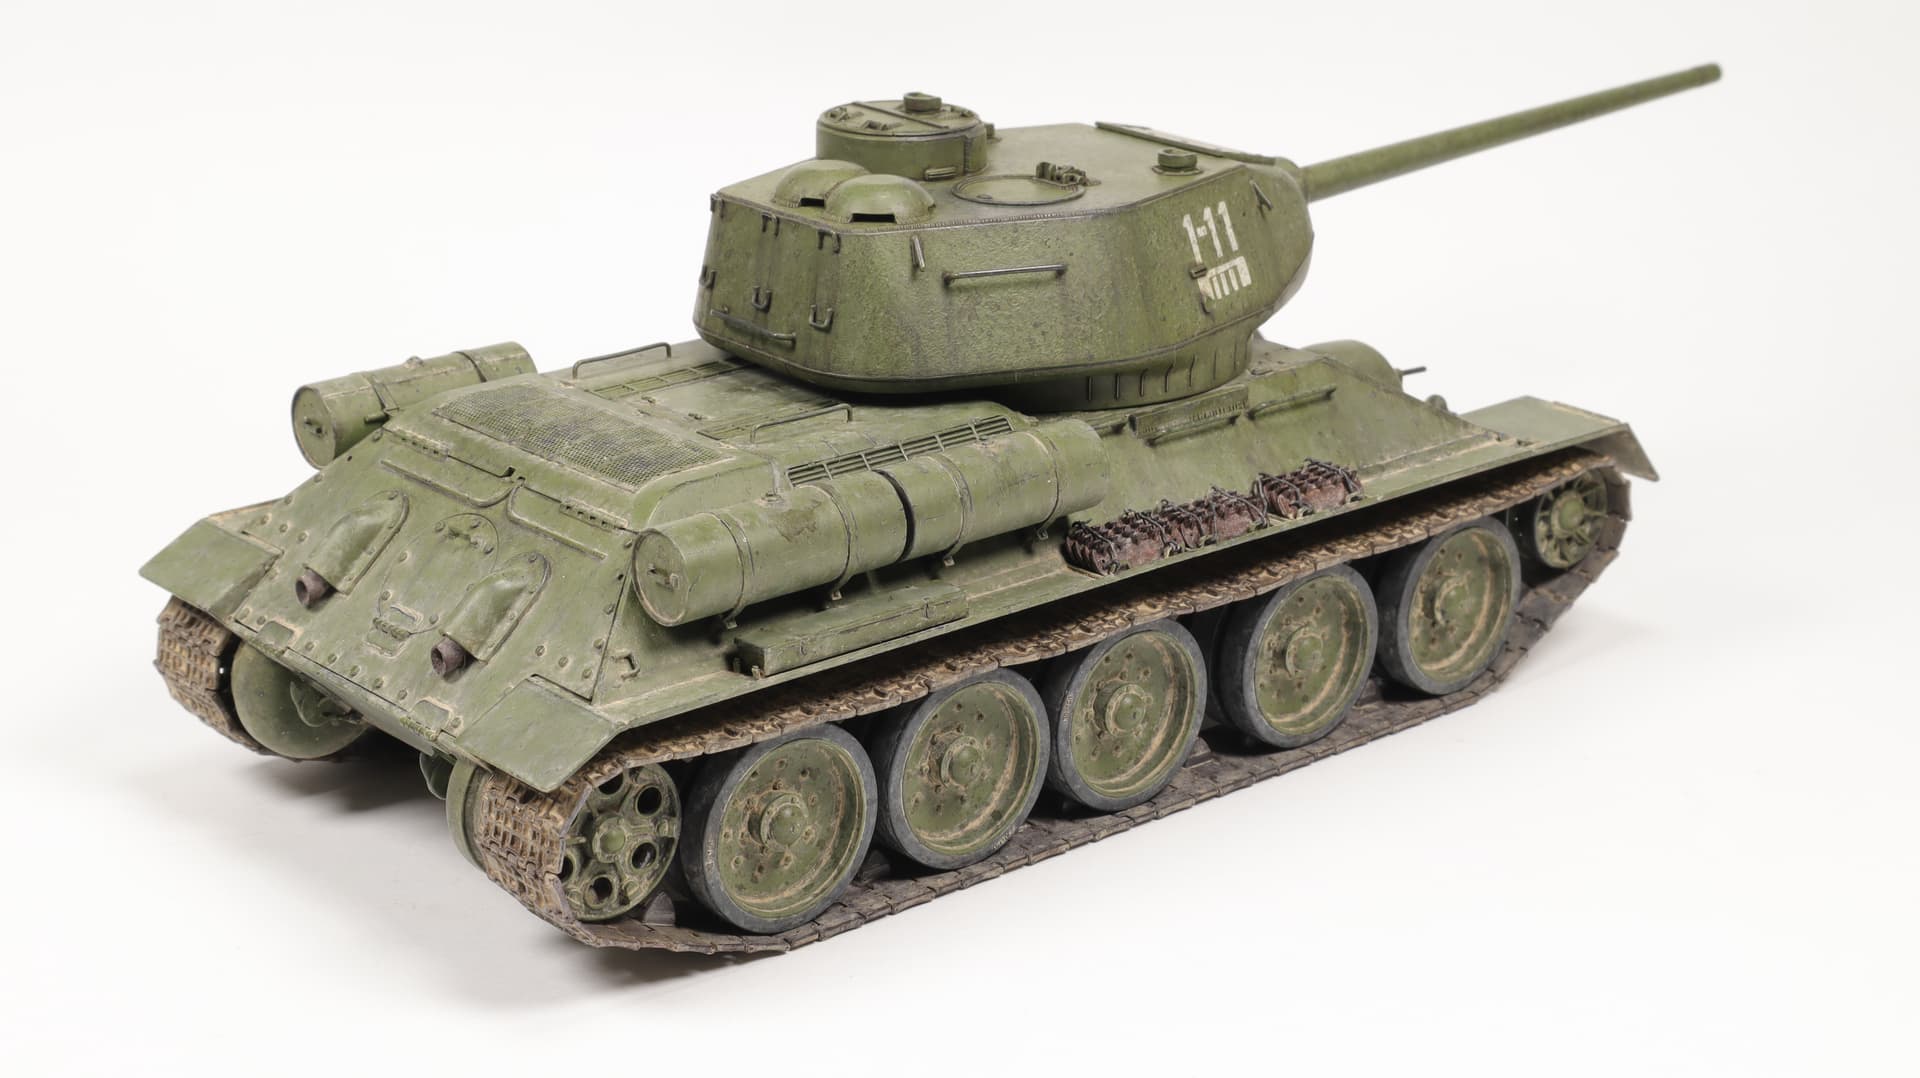
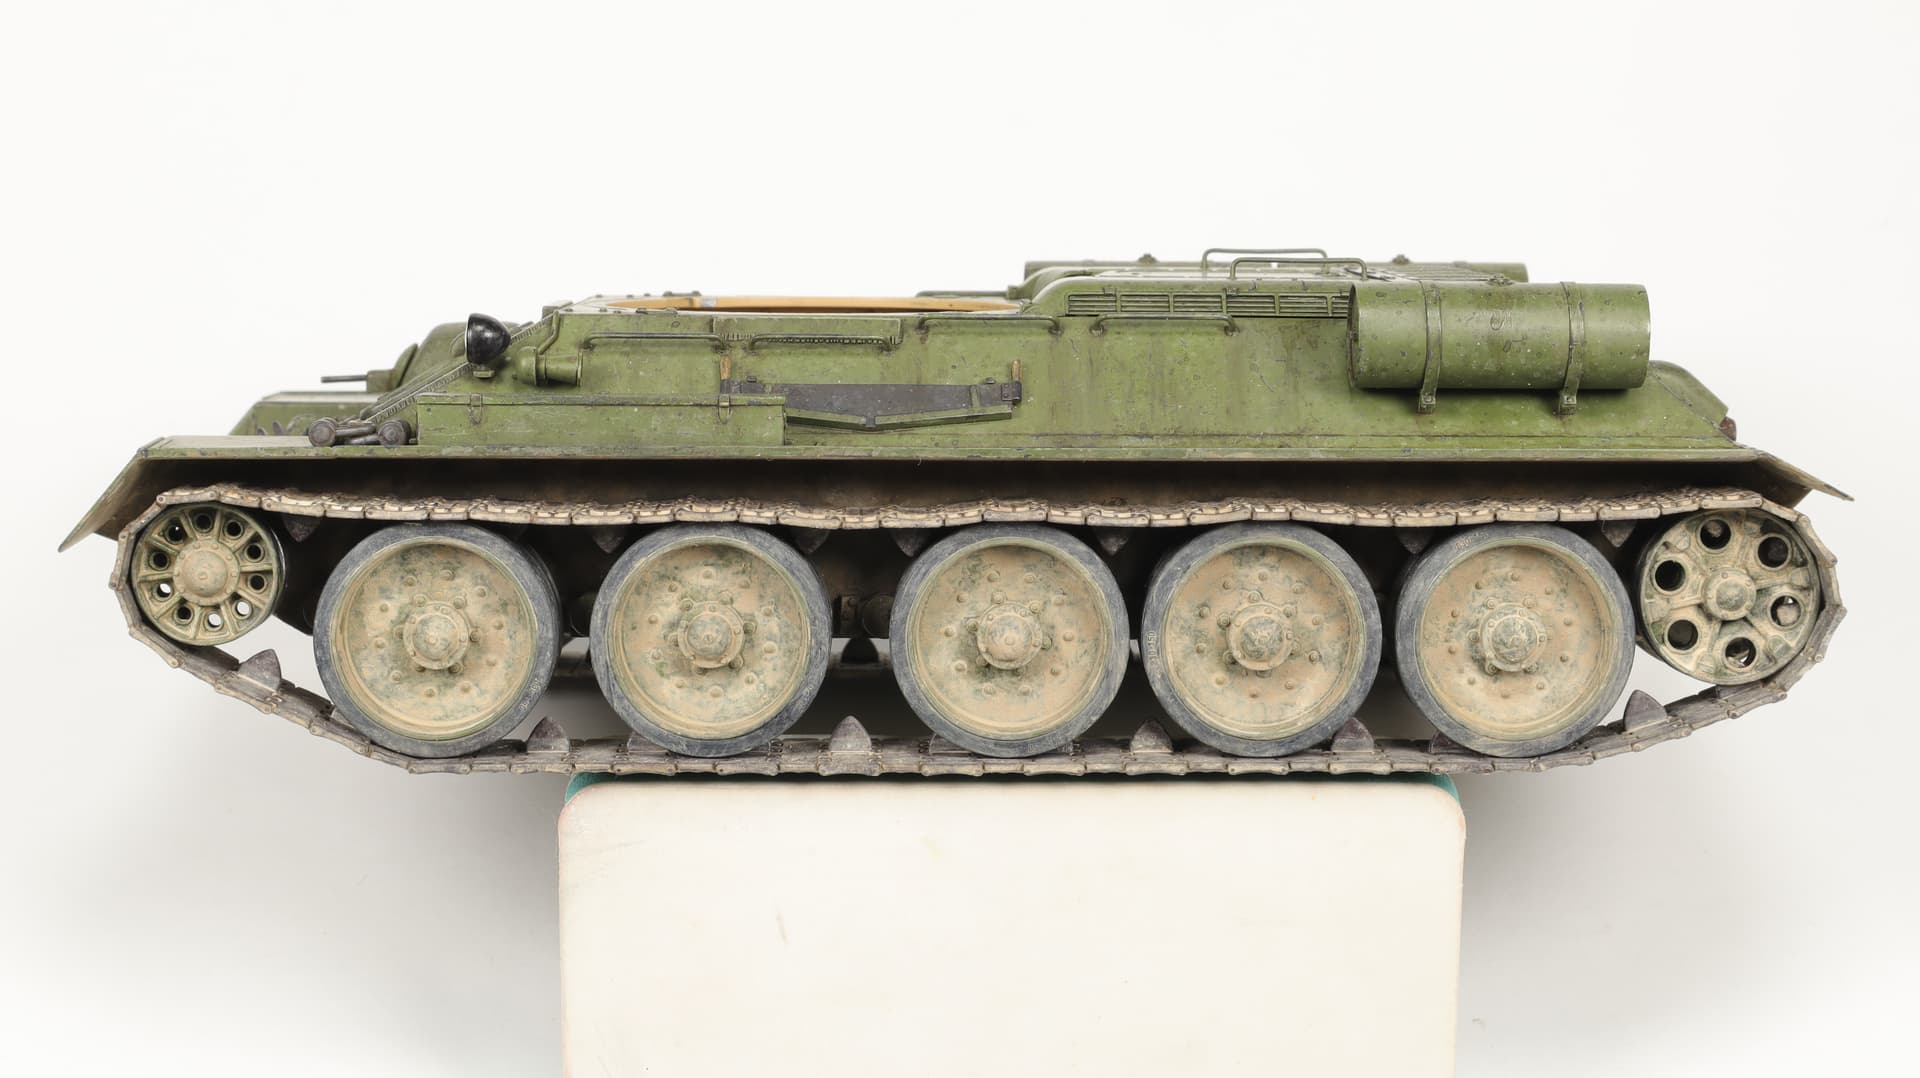
209 hours of work.
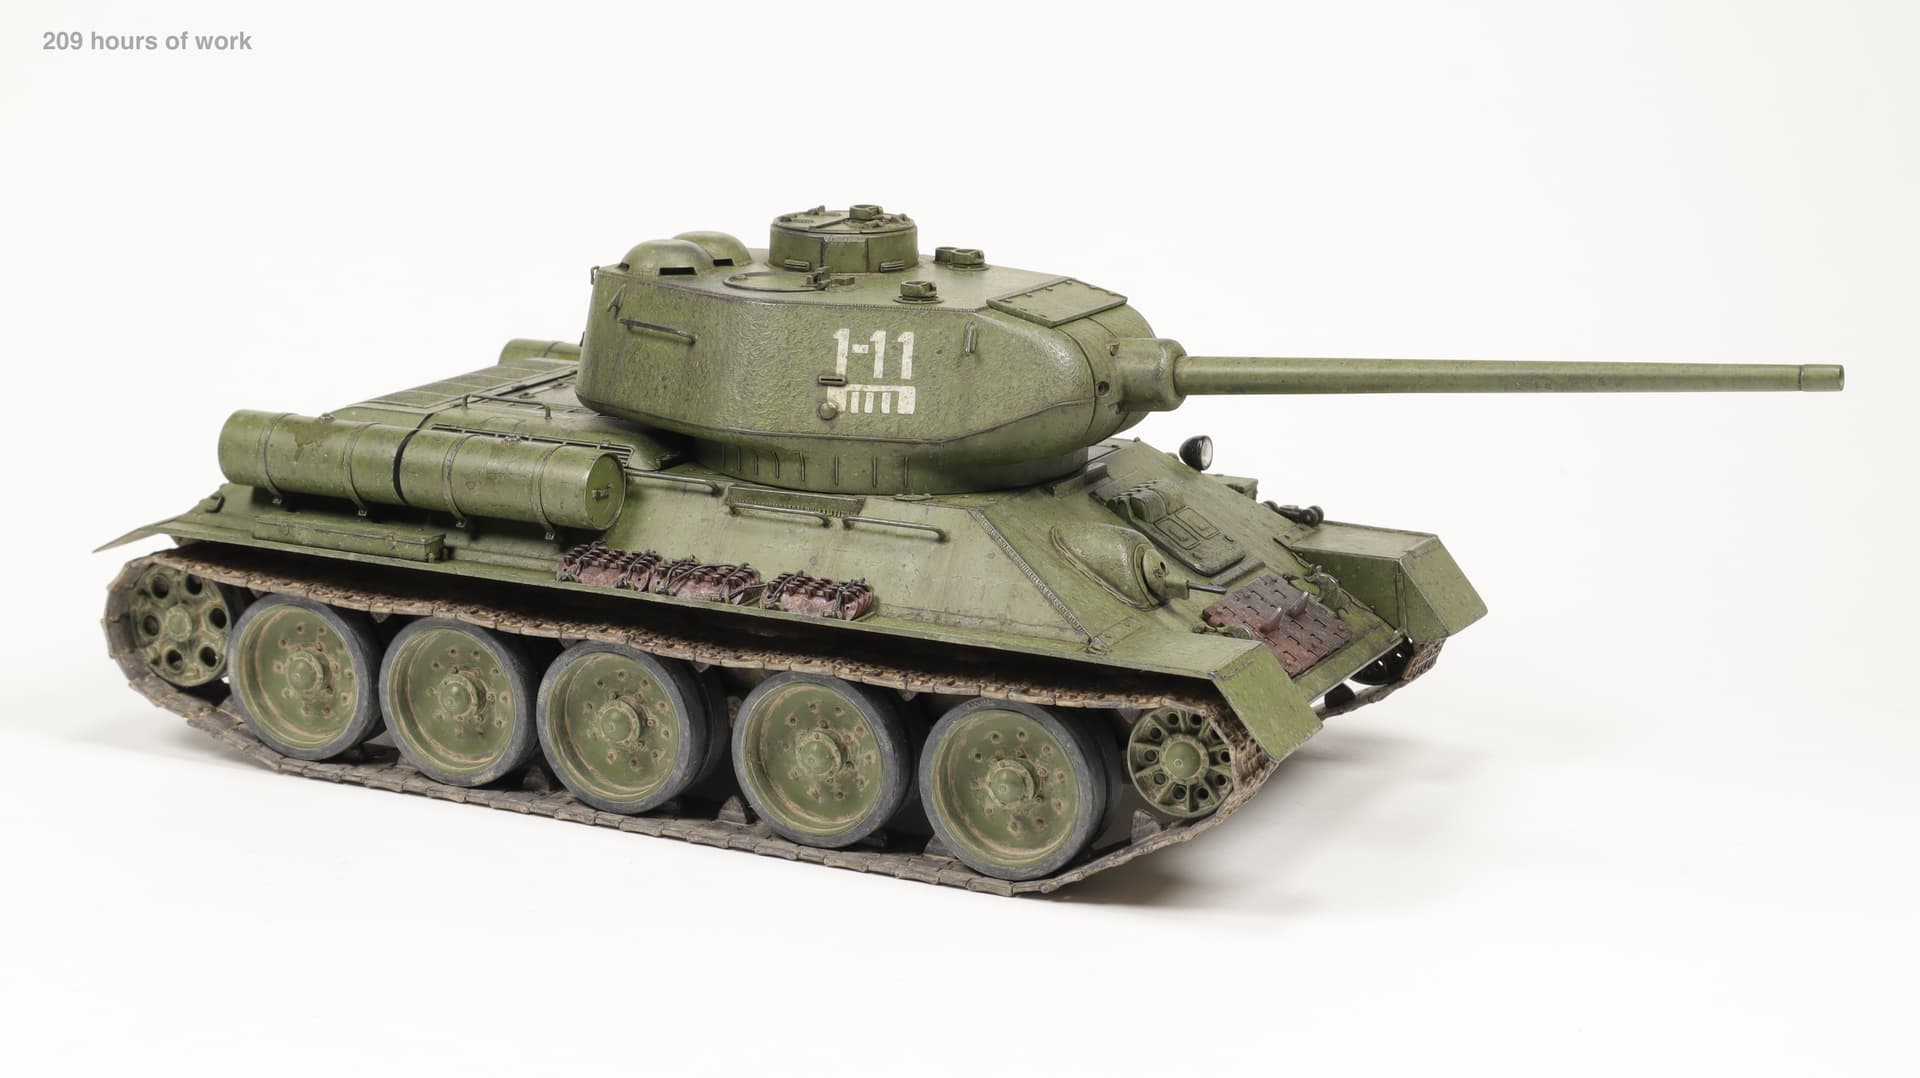
Two more hours of fantasy on the topic of weathering.
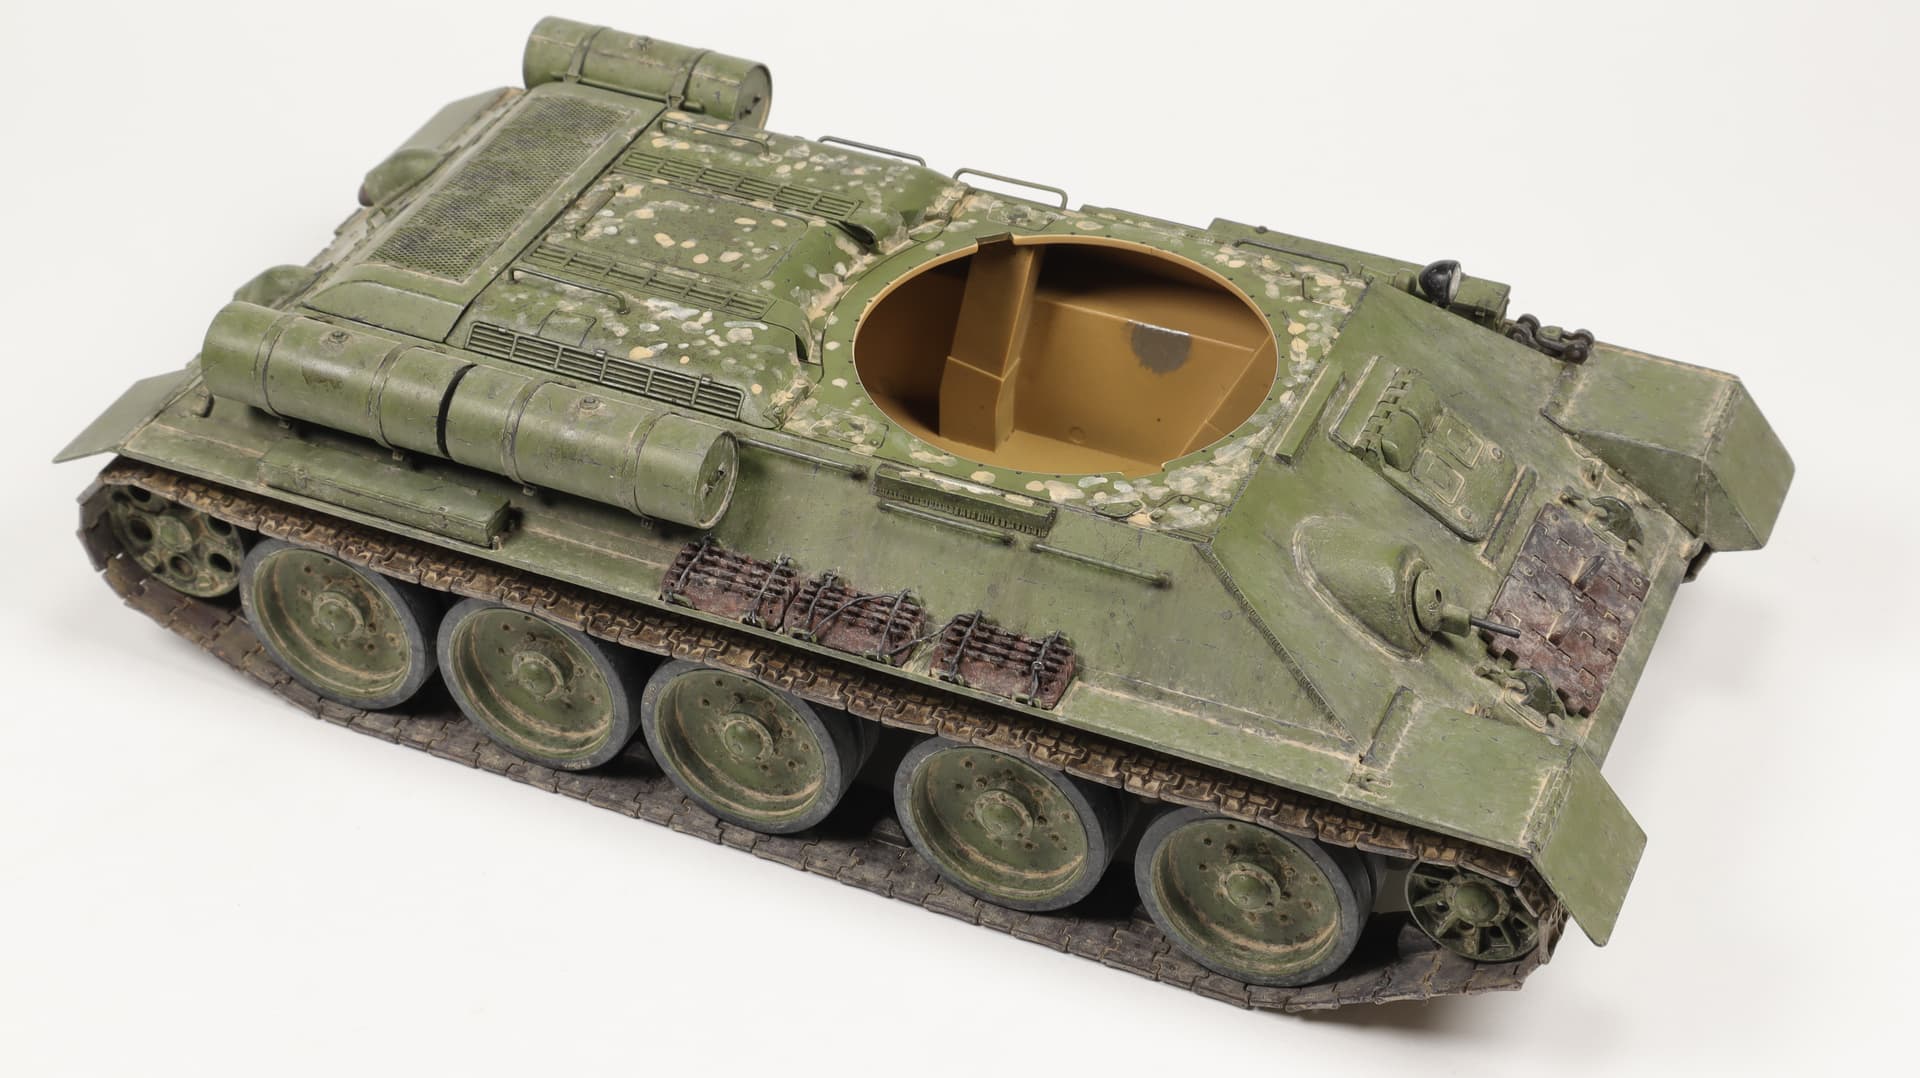
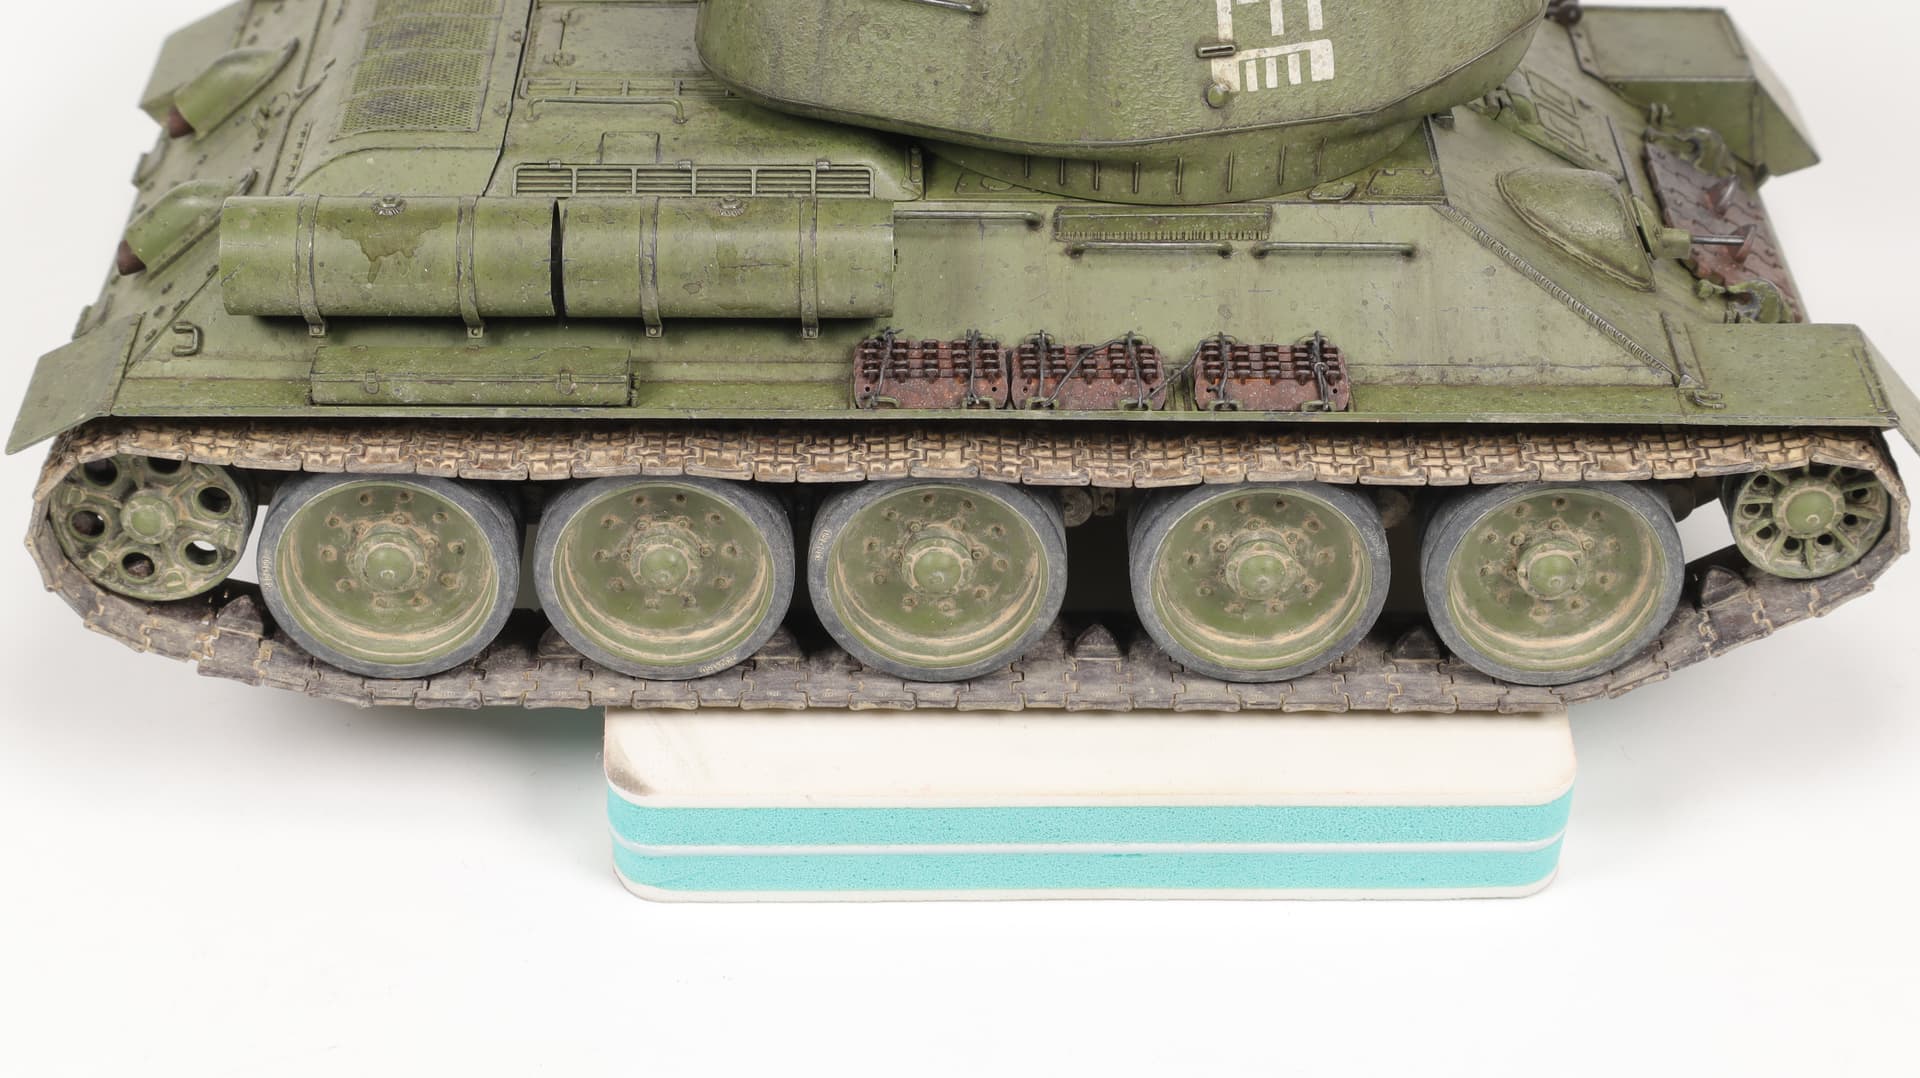
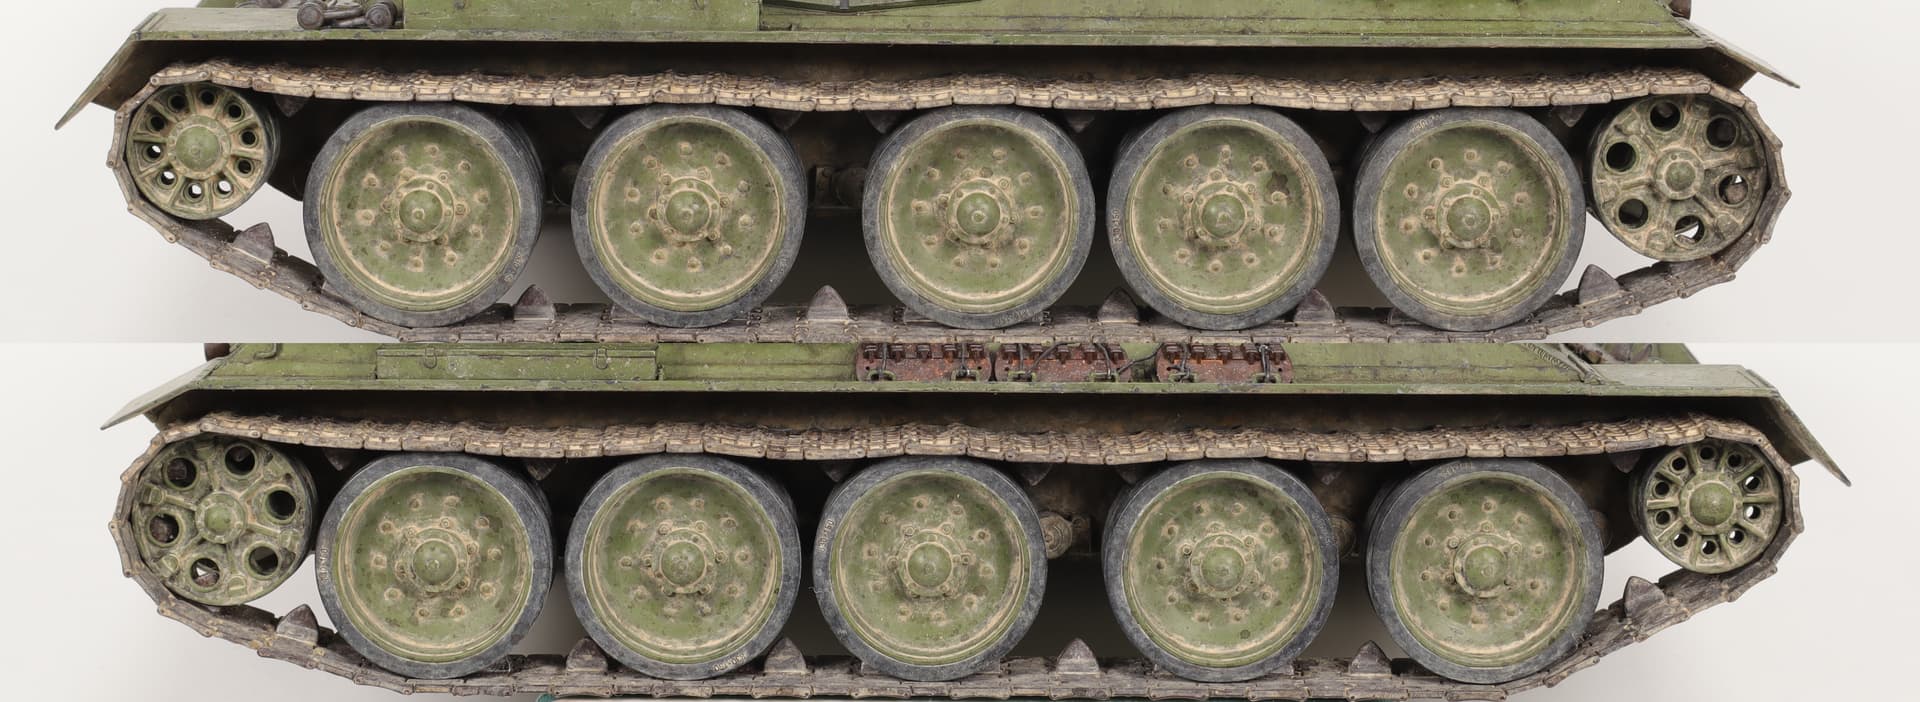
The task was to do weathering on the chassis and align the color scheme of the lower part, tracks, and chassis. So far it looks terrible.
If in the photo it is even more or less tolerable, then in real life it looks disgusting. Too light, no contrast. Everything merged into one incomprehensible mass.
Hurry up. I wanted to do everything at once. It didn’t work. But it was necessary to do as I had done before - layer by layer, without haste, controlling everything.
Well, I’ll continue further. There’s more to come.
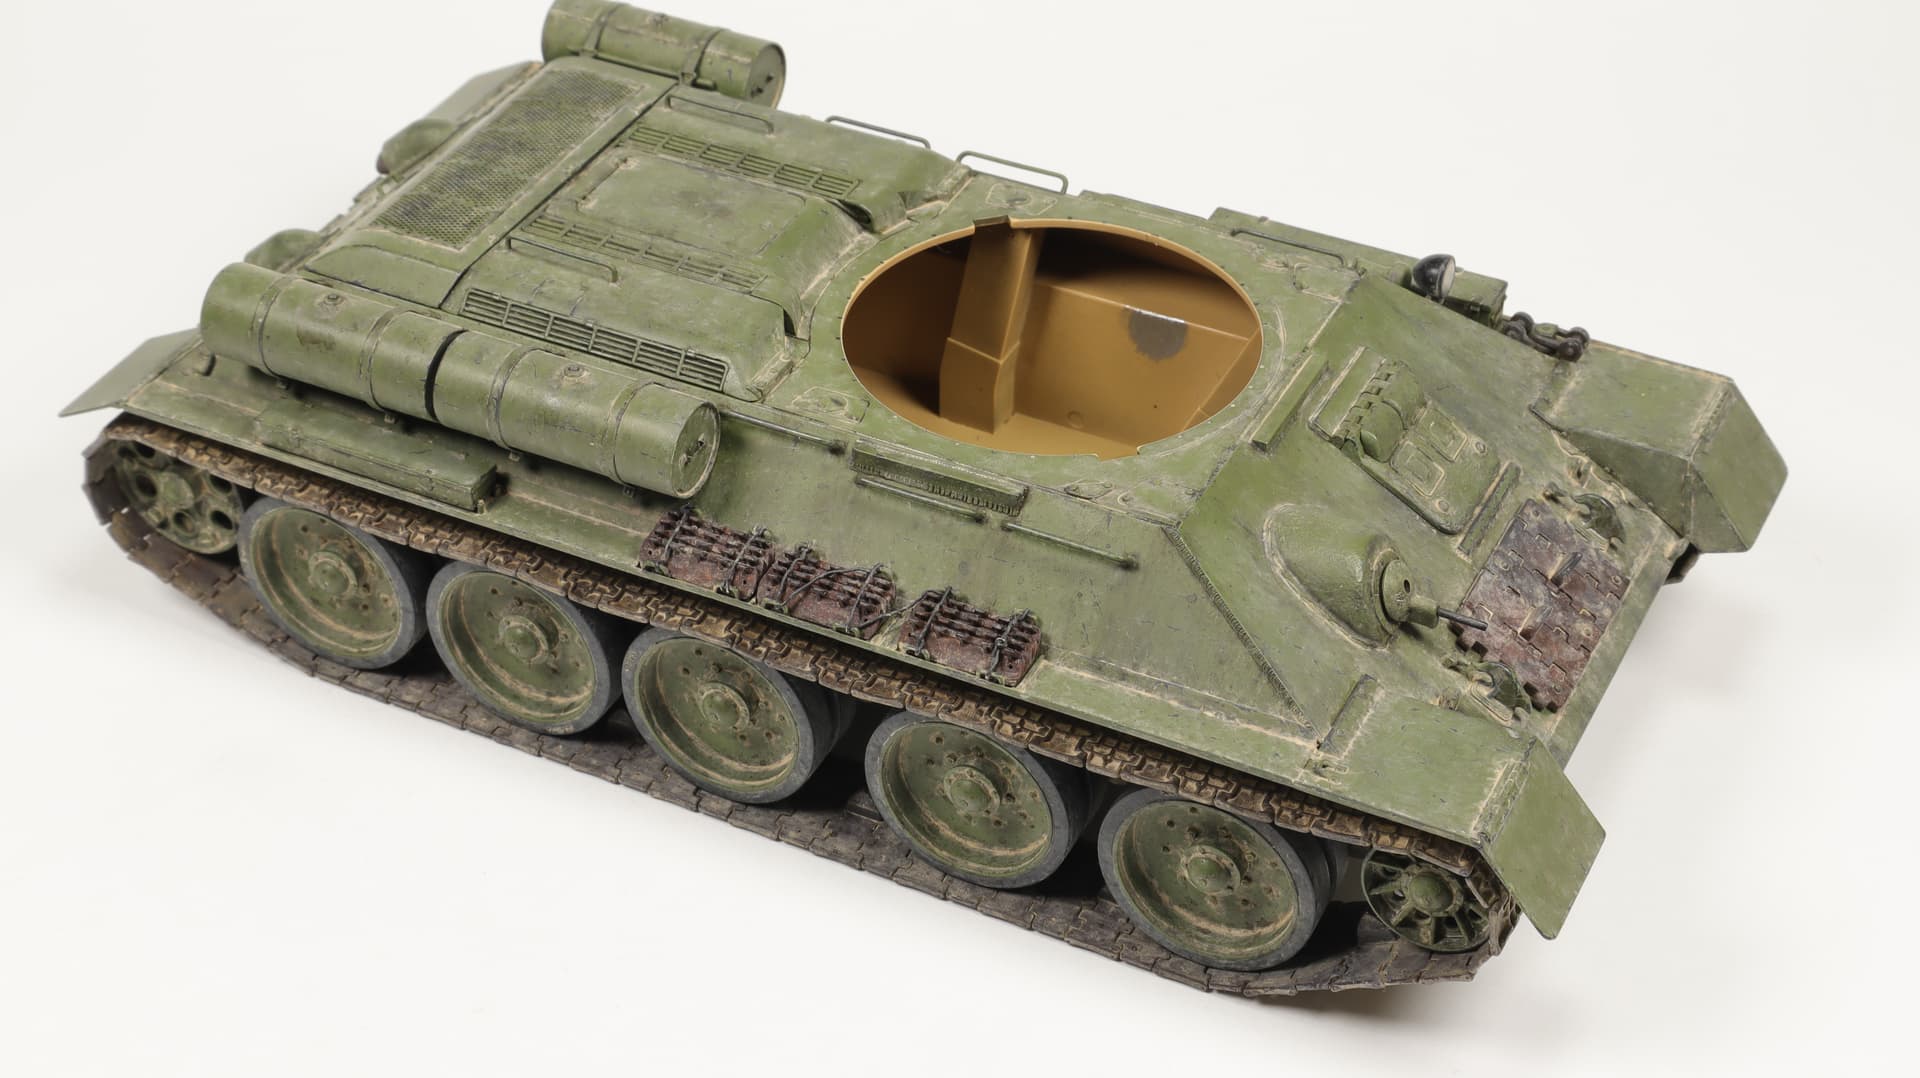
So far I’ve only done the right side.

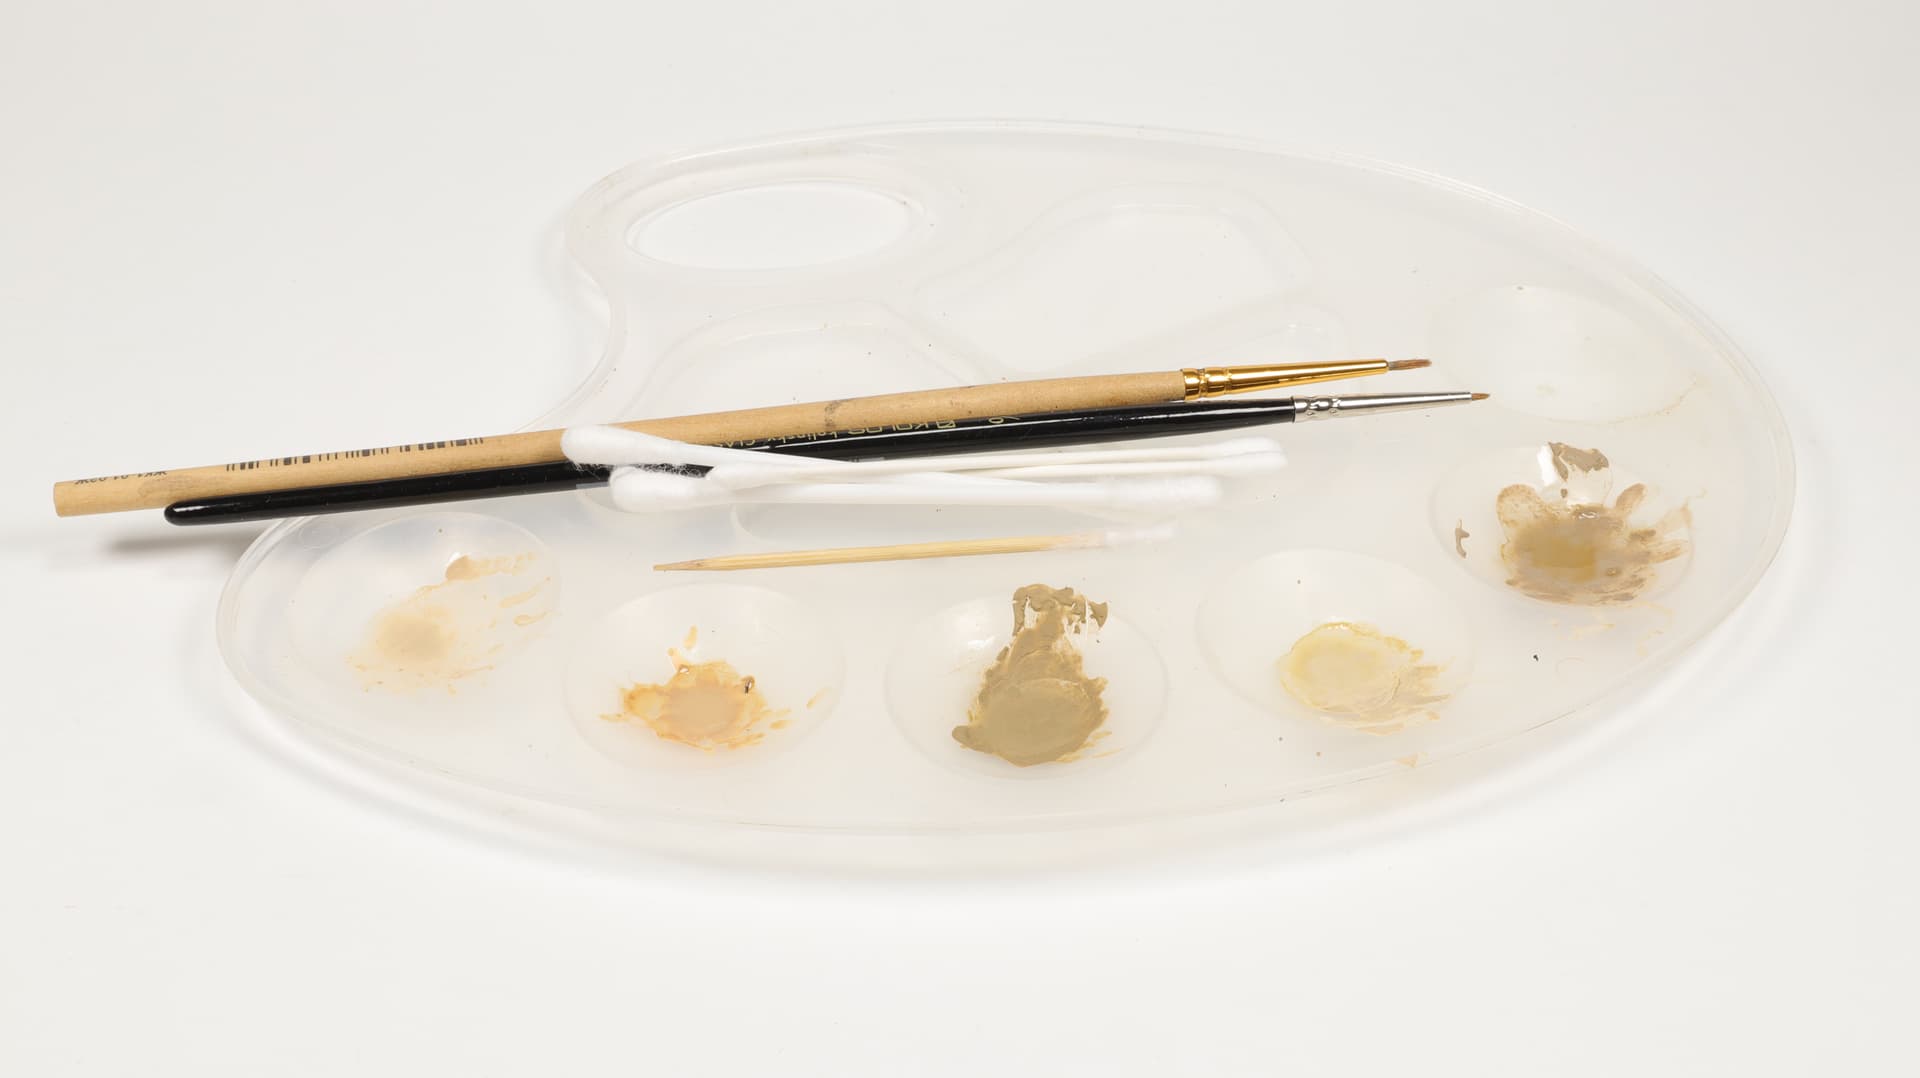
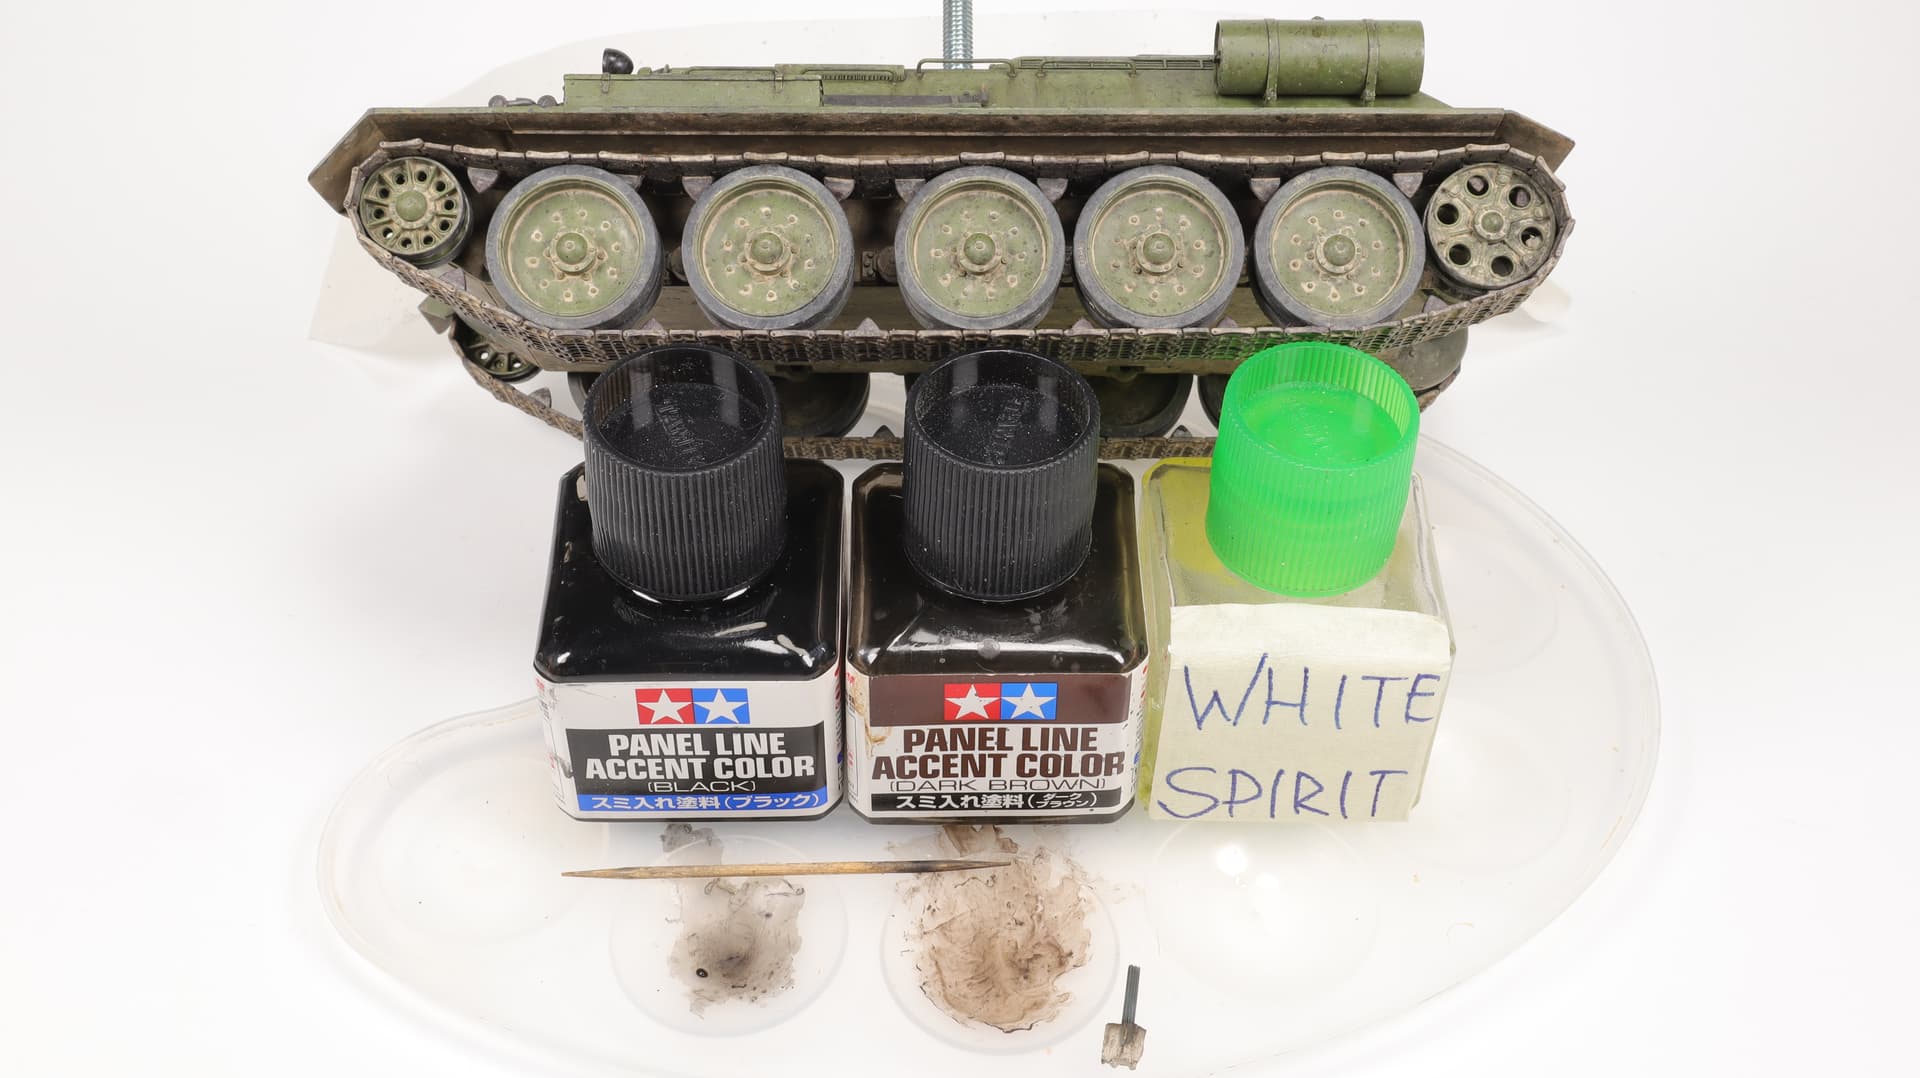
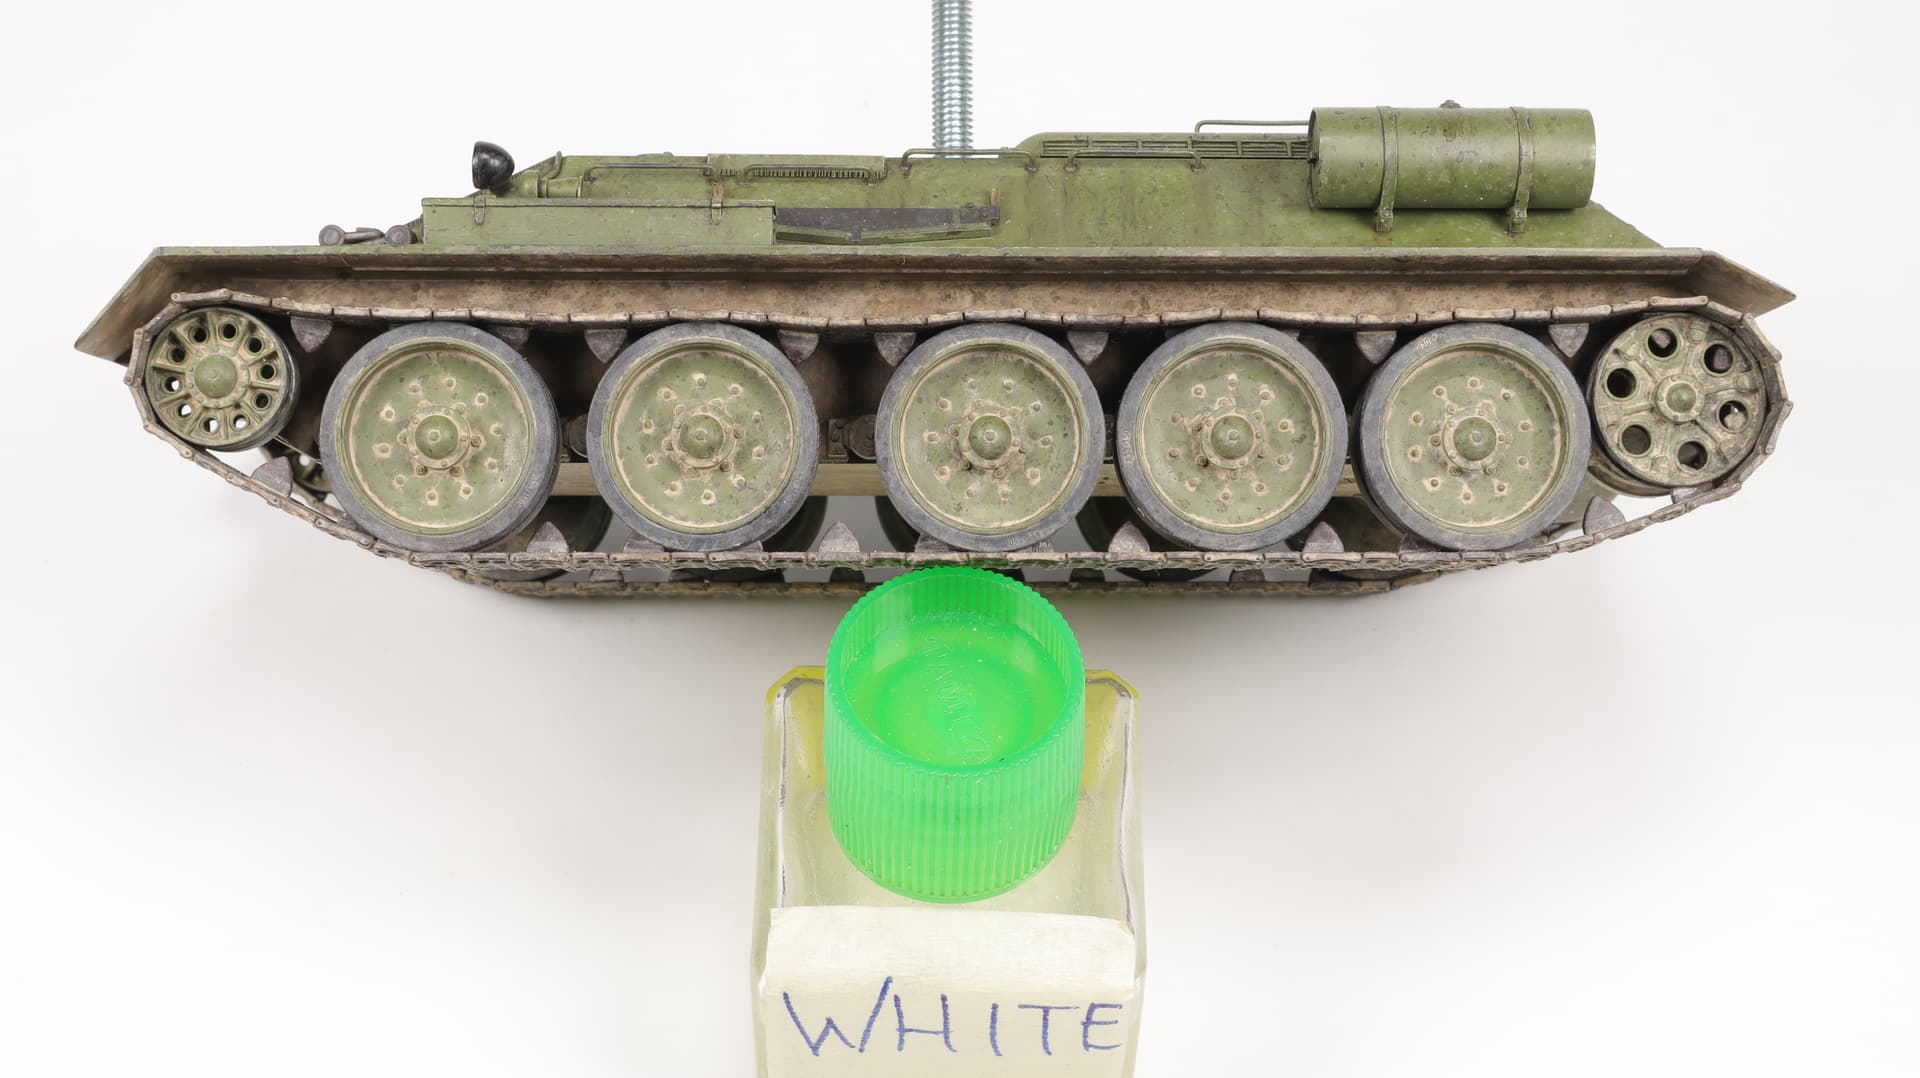
This time I used this. Numbers indicate the order of use.
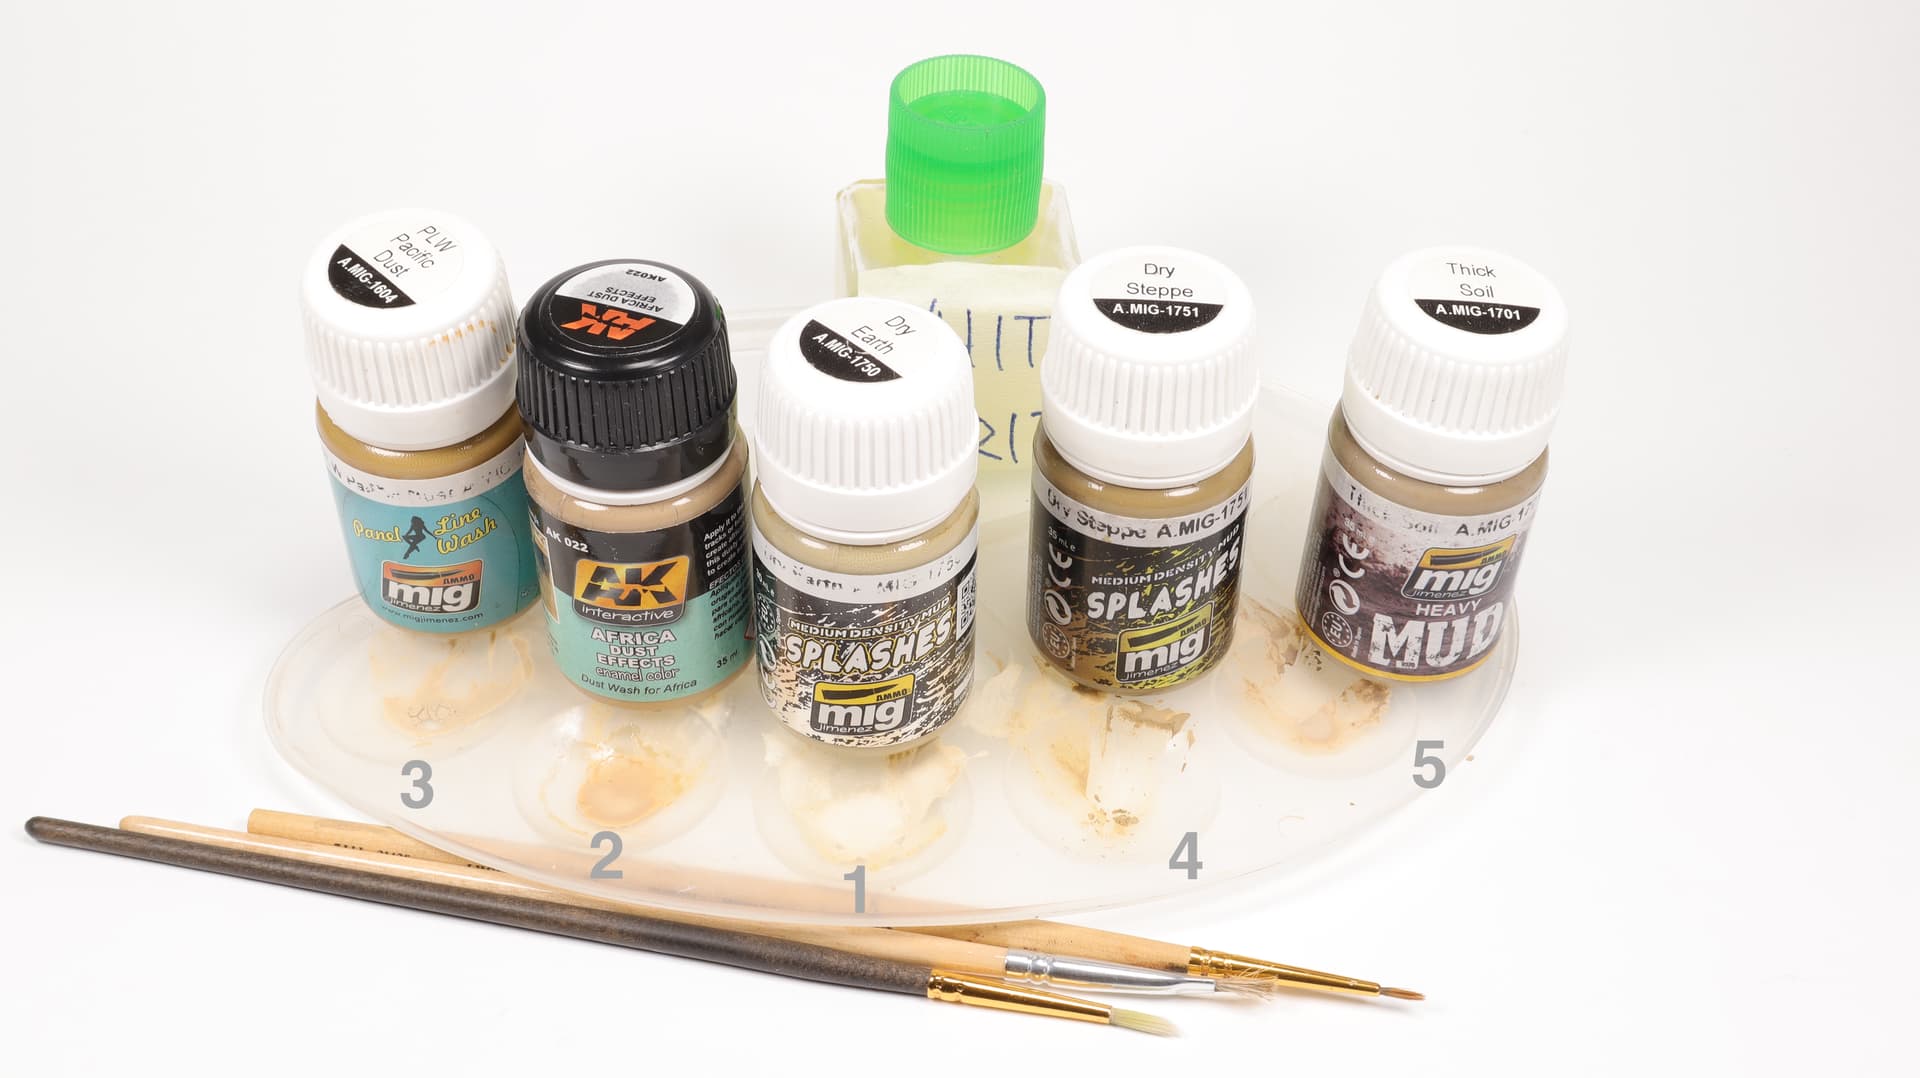
First, I applied everything with poking movements. Then I shaded and removed the excess. In the end, I additionally used cotton swabs to remove excess.
And as a bonus to the work done - another bad thing:

Couldn’t stand that amount of white spirit
5 Likes
almost an off topic question, but need an answer. Just what is the difference between the RFM T34-85 and the ones the Chinese used in Korea? Thinking about a diorama of the famous M26 / T34 tank battle with Bob Dillon’s M26 and a T34.
gary
1 Like
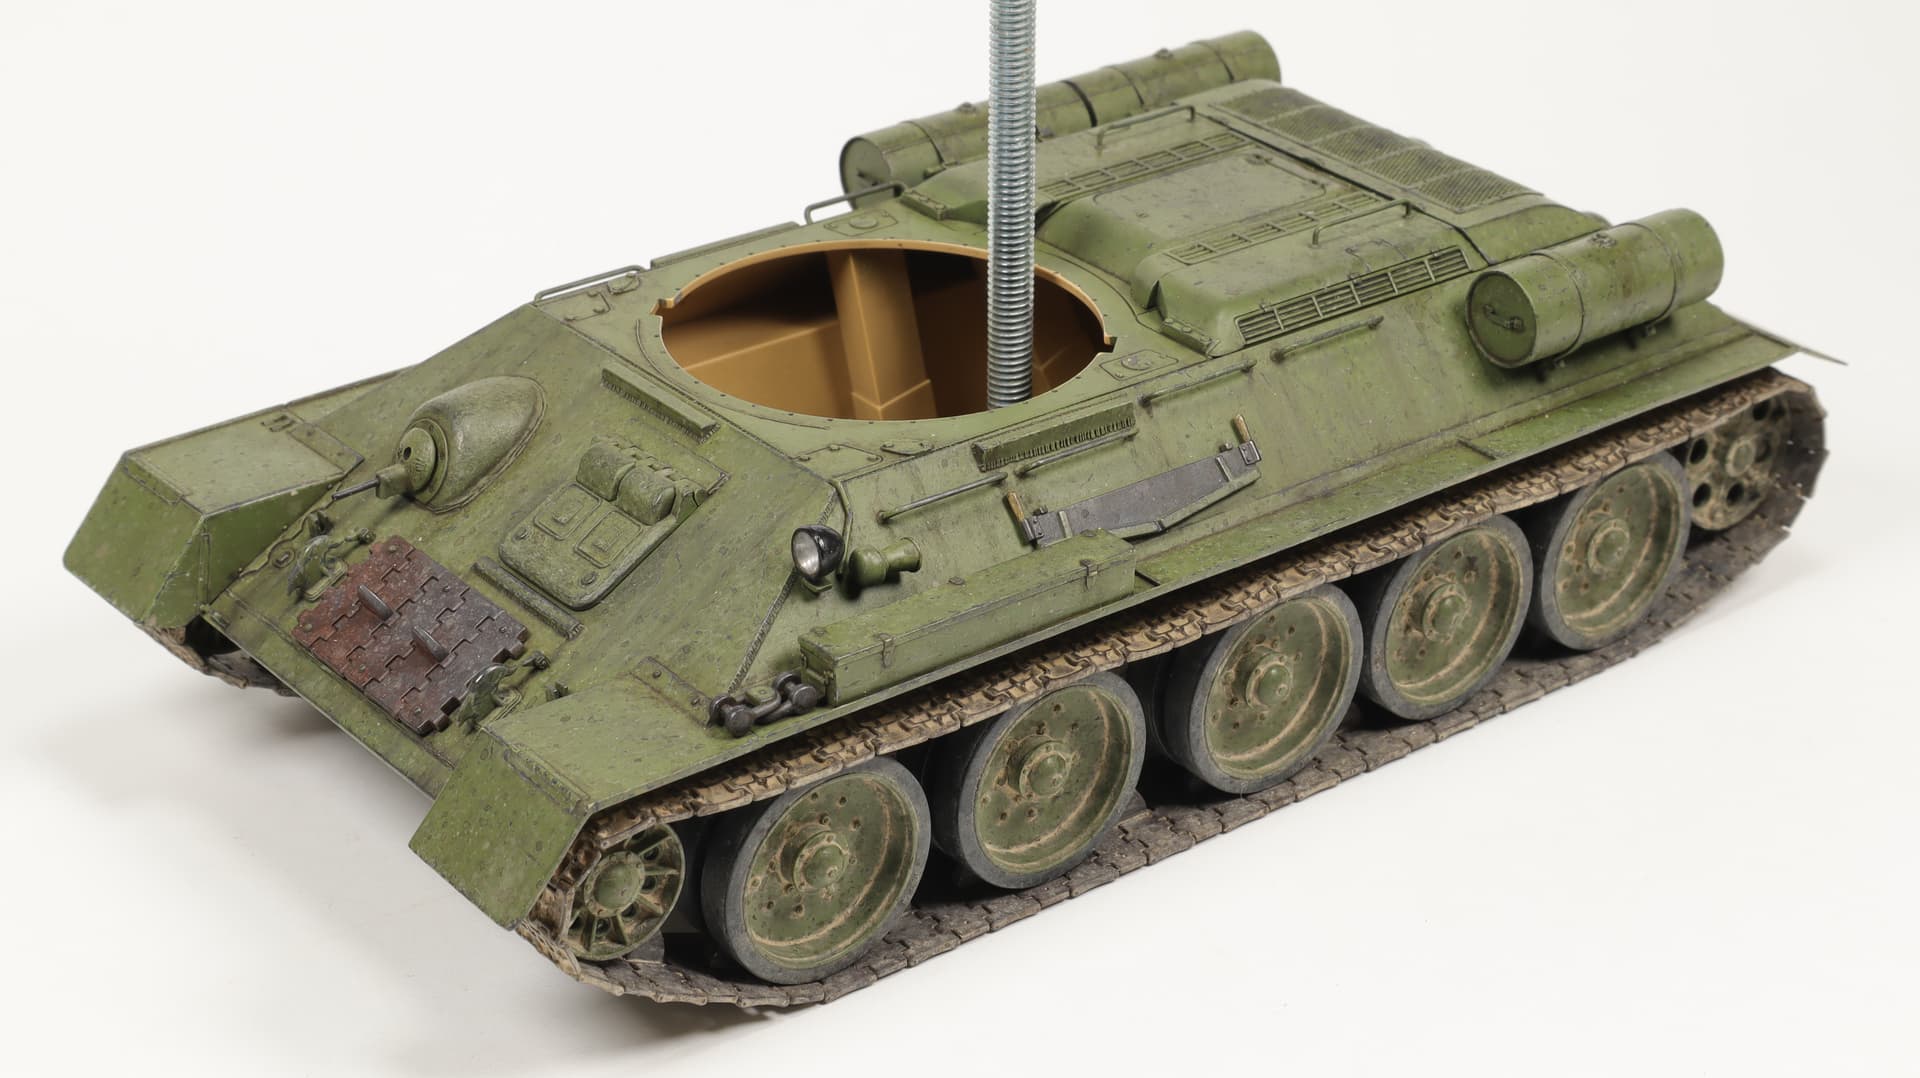
Probably quite a bit, but the easiest way to tell the difference between a T-34/85 and a postwar one is to look for a square bulge on the left side of the turret. Thats where the turret drive is on a postwar T-34.
1 Like
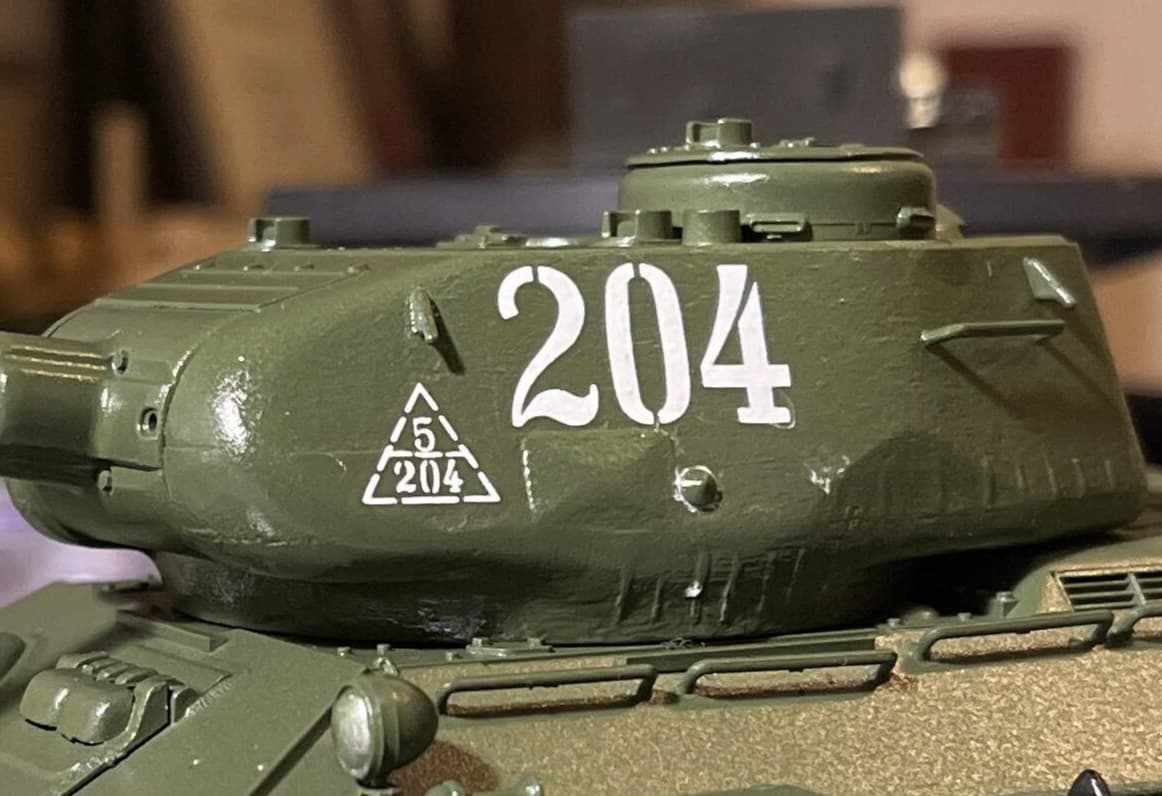
You mean the squareish bulge right below the “204” turret marking on my build, like @DanT34 said, either a Polish or Czech manufactured, postwar model.
3 Likes
212 hours of work.
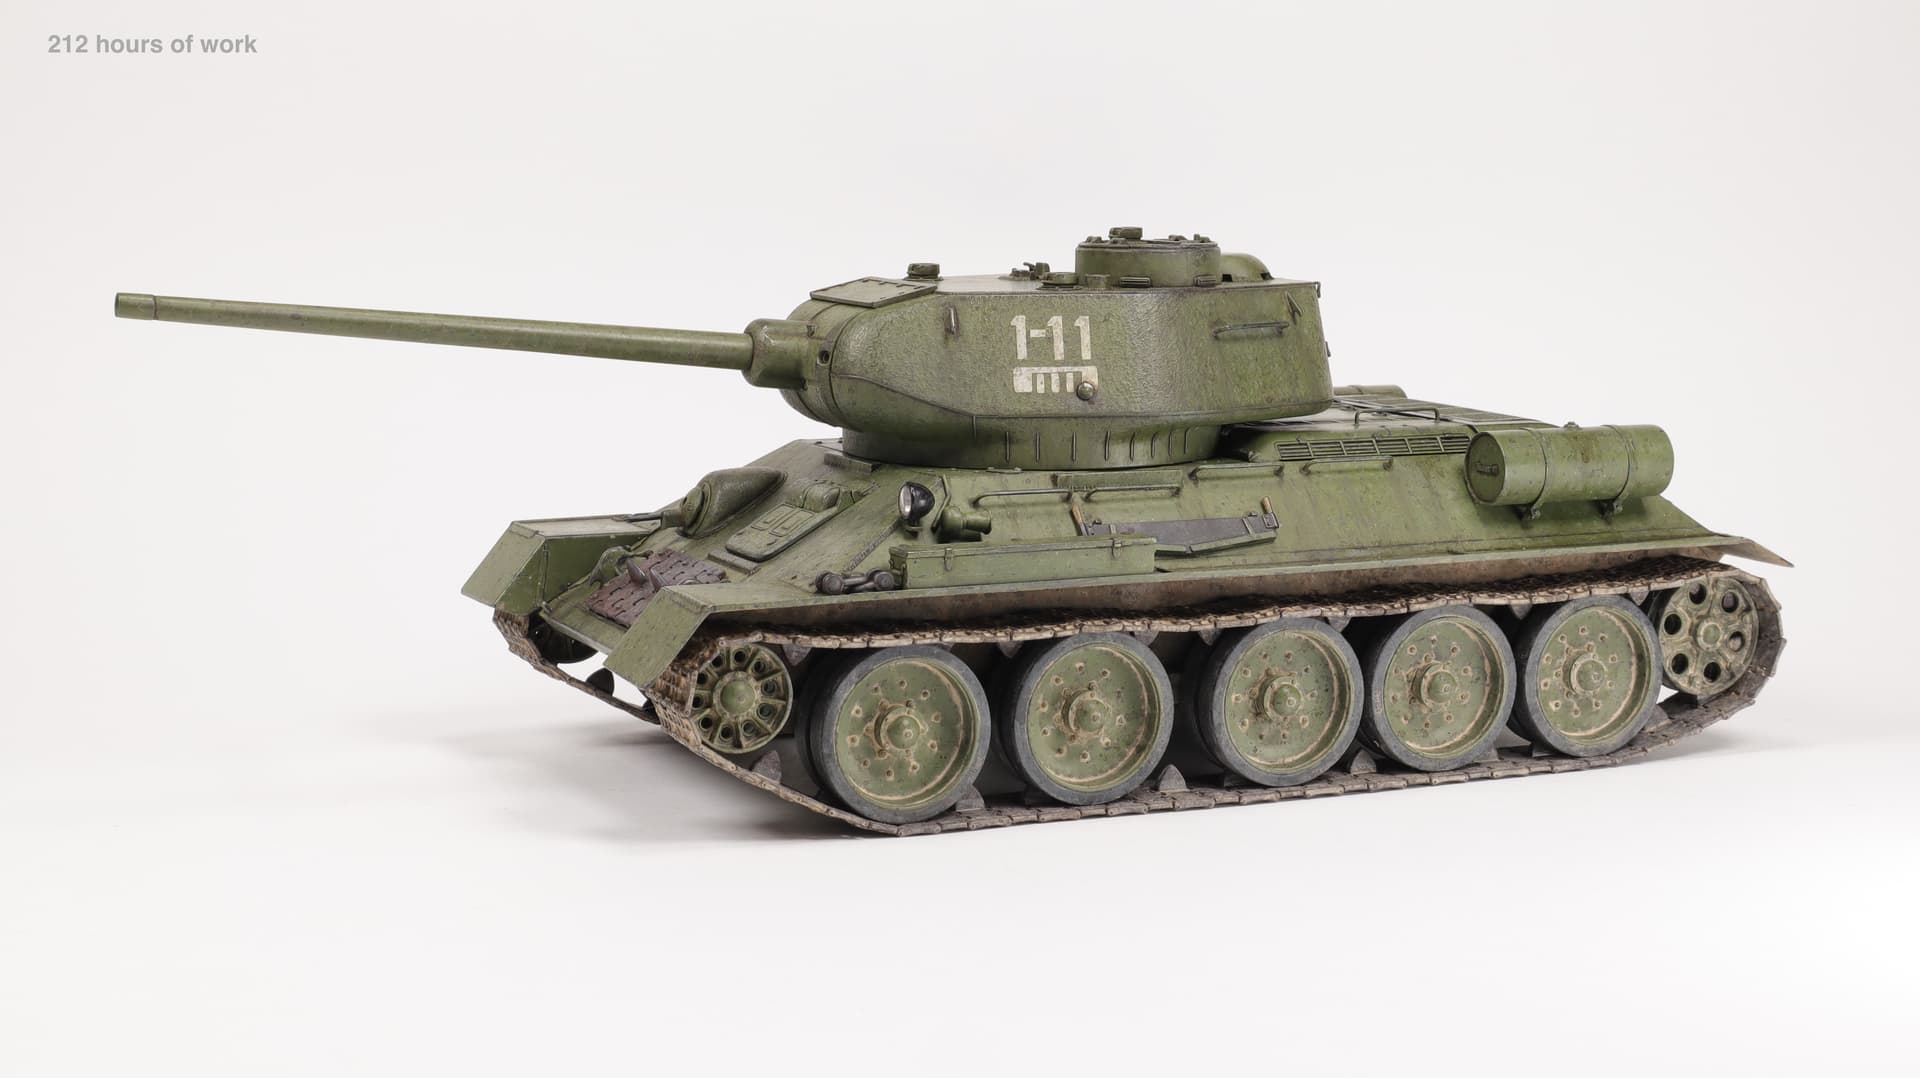
Three more hours of work.
I did weathering on the left side.
Step by step:
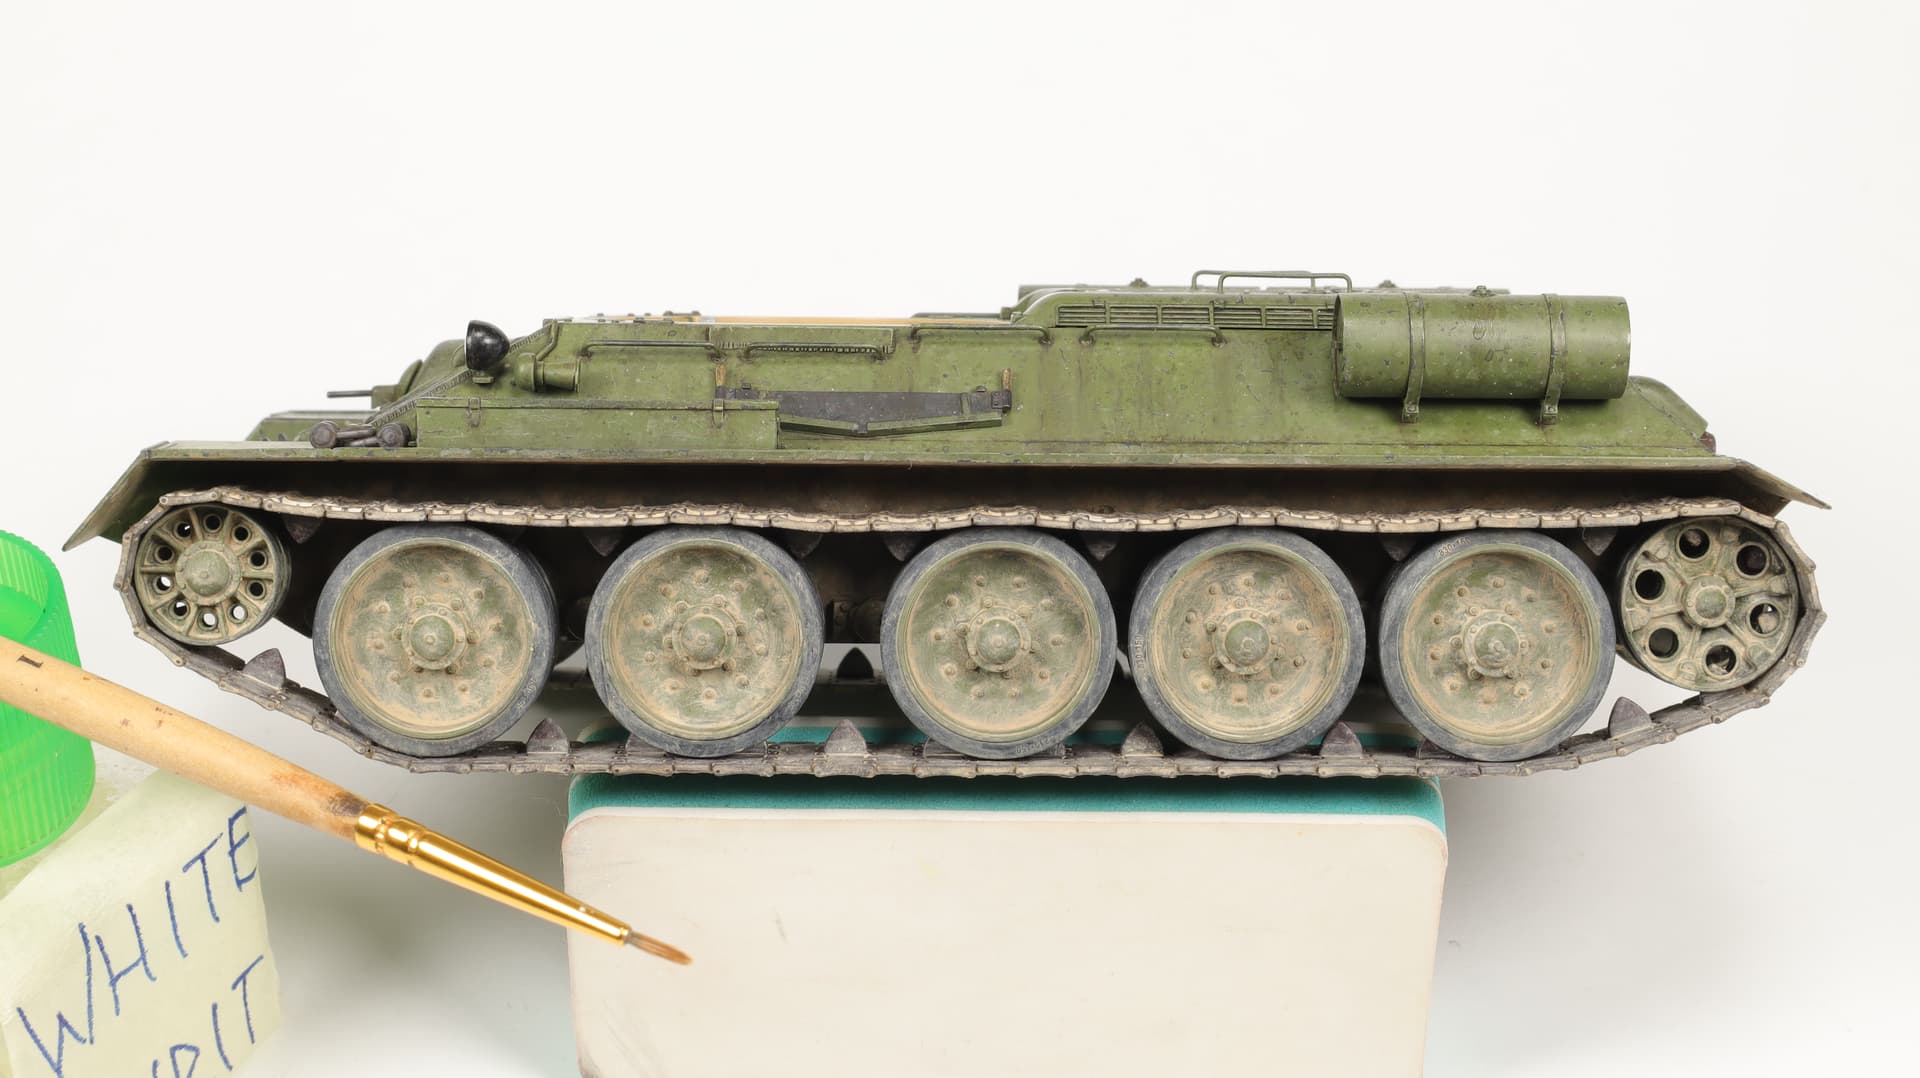
It was not possible to repeat the same as on the right. On the right side, it turned out somehow more natural. And on the left, the dirt looks a little too “right.” On the left side, the dirt turned out lighter.

The magical micro-splashing of Tamiya washes begins to improve the situation ![]() :
:


4 Likes
The wheels are looking great! Love it!
2 Likes
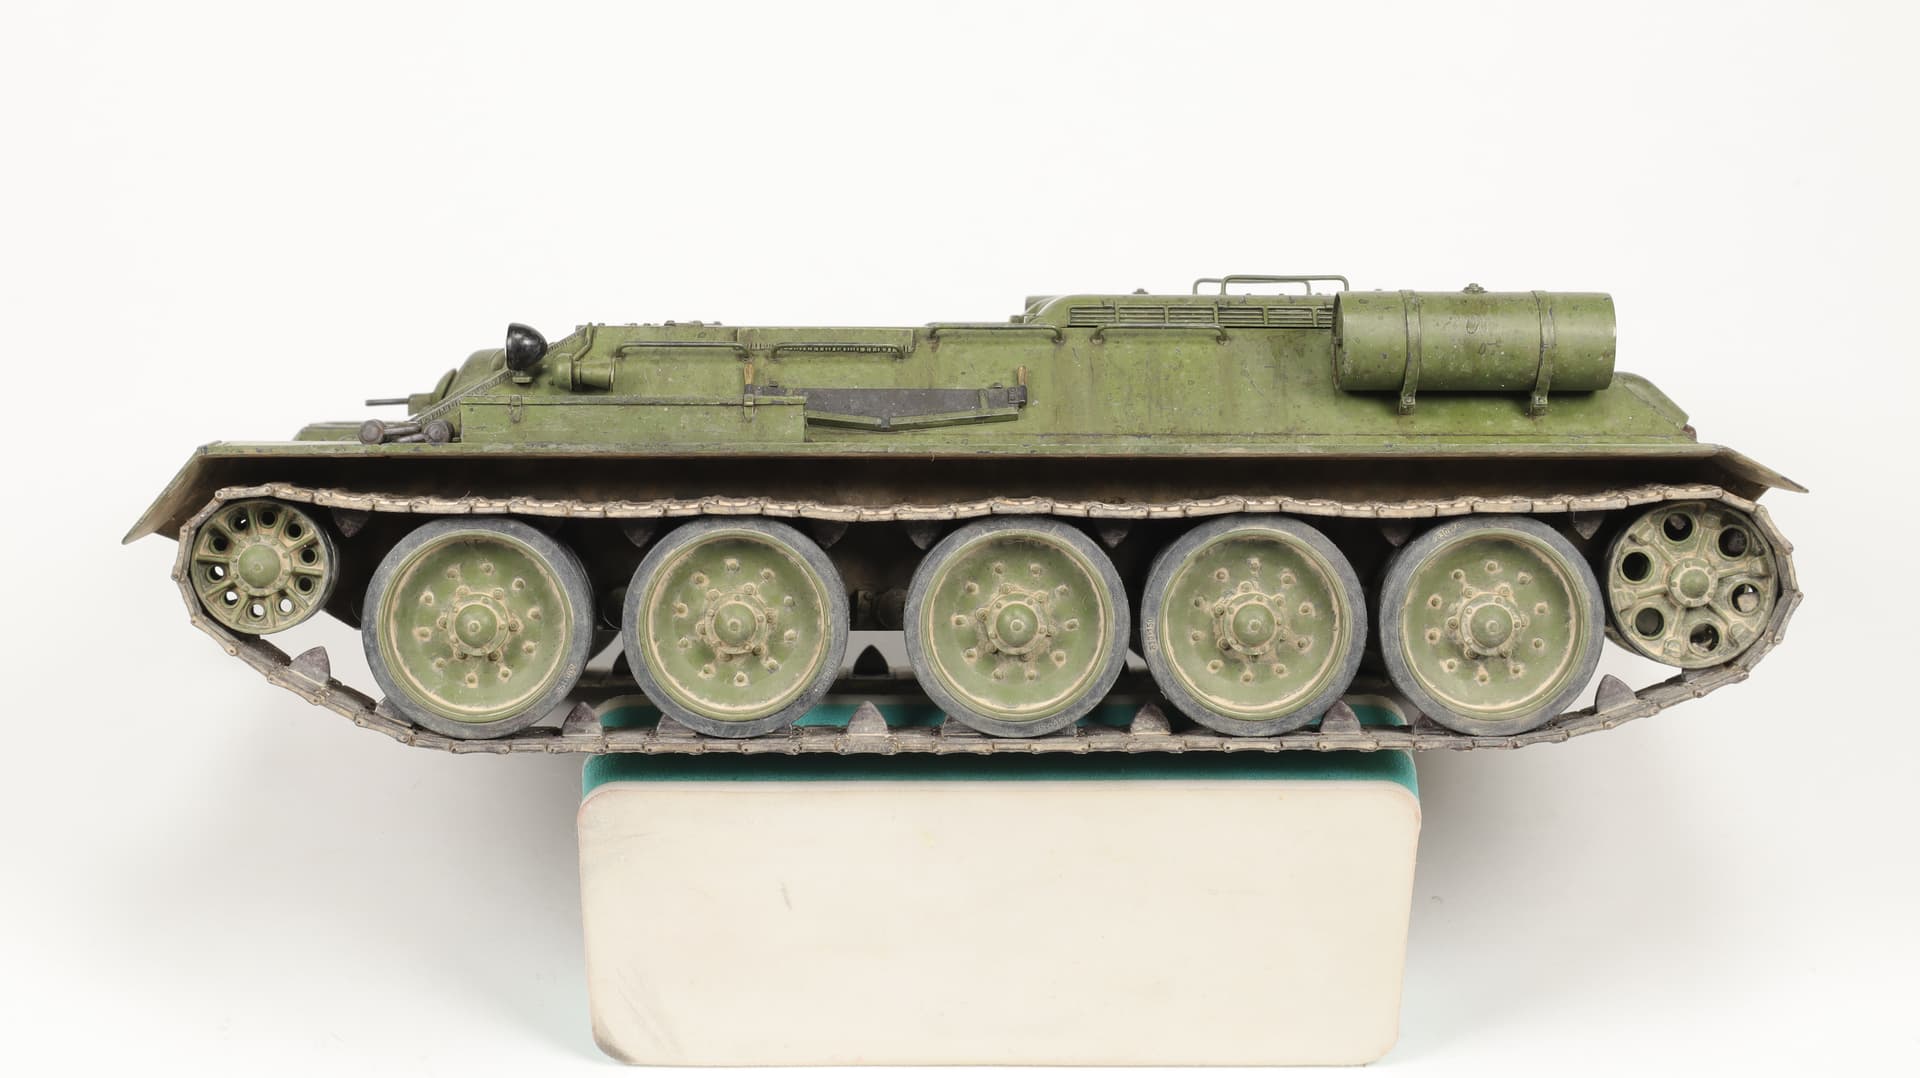
215 hours of work.
An attempt was made to make the shape of the mud and its color scheme on the left side the same as on the right side. It turned out so-so. And wasted three hours!
5 Likes
Hello everyone, friends!
After another break in work, I continue.
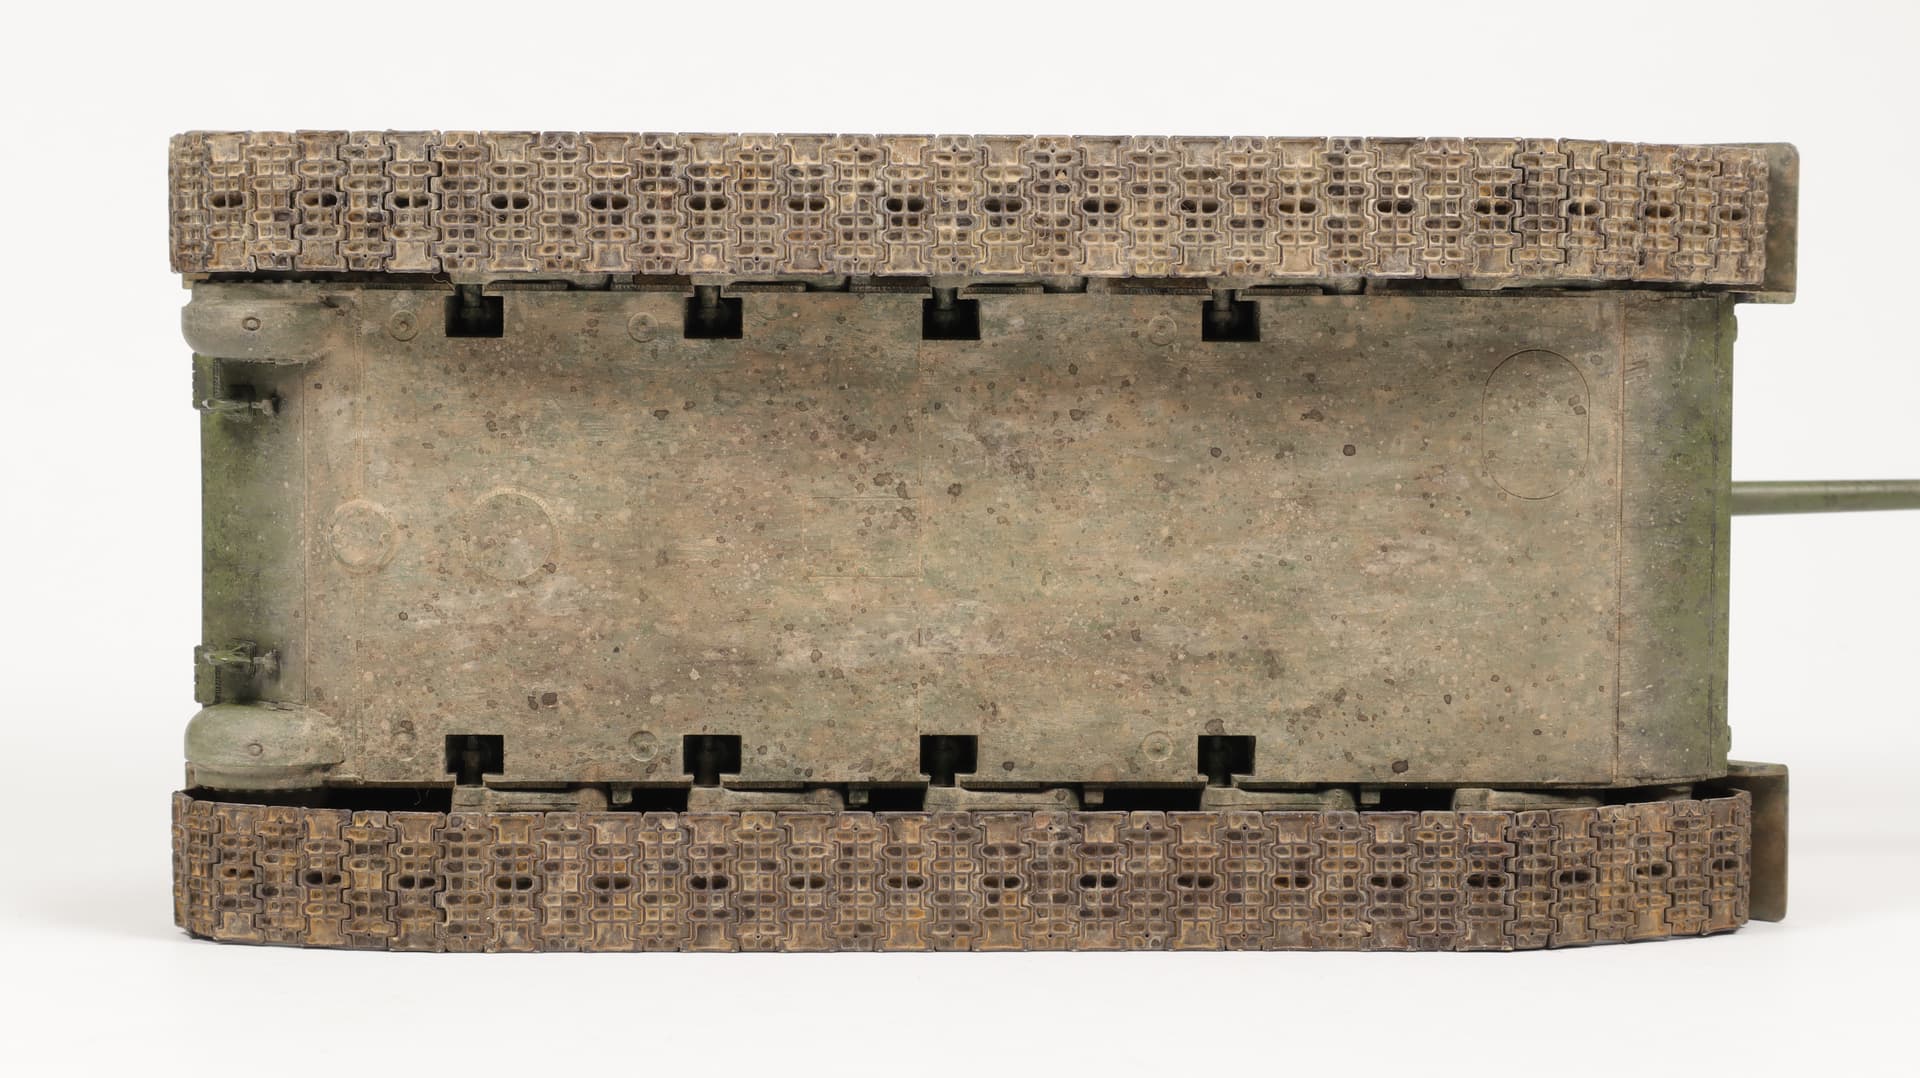
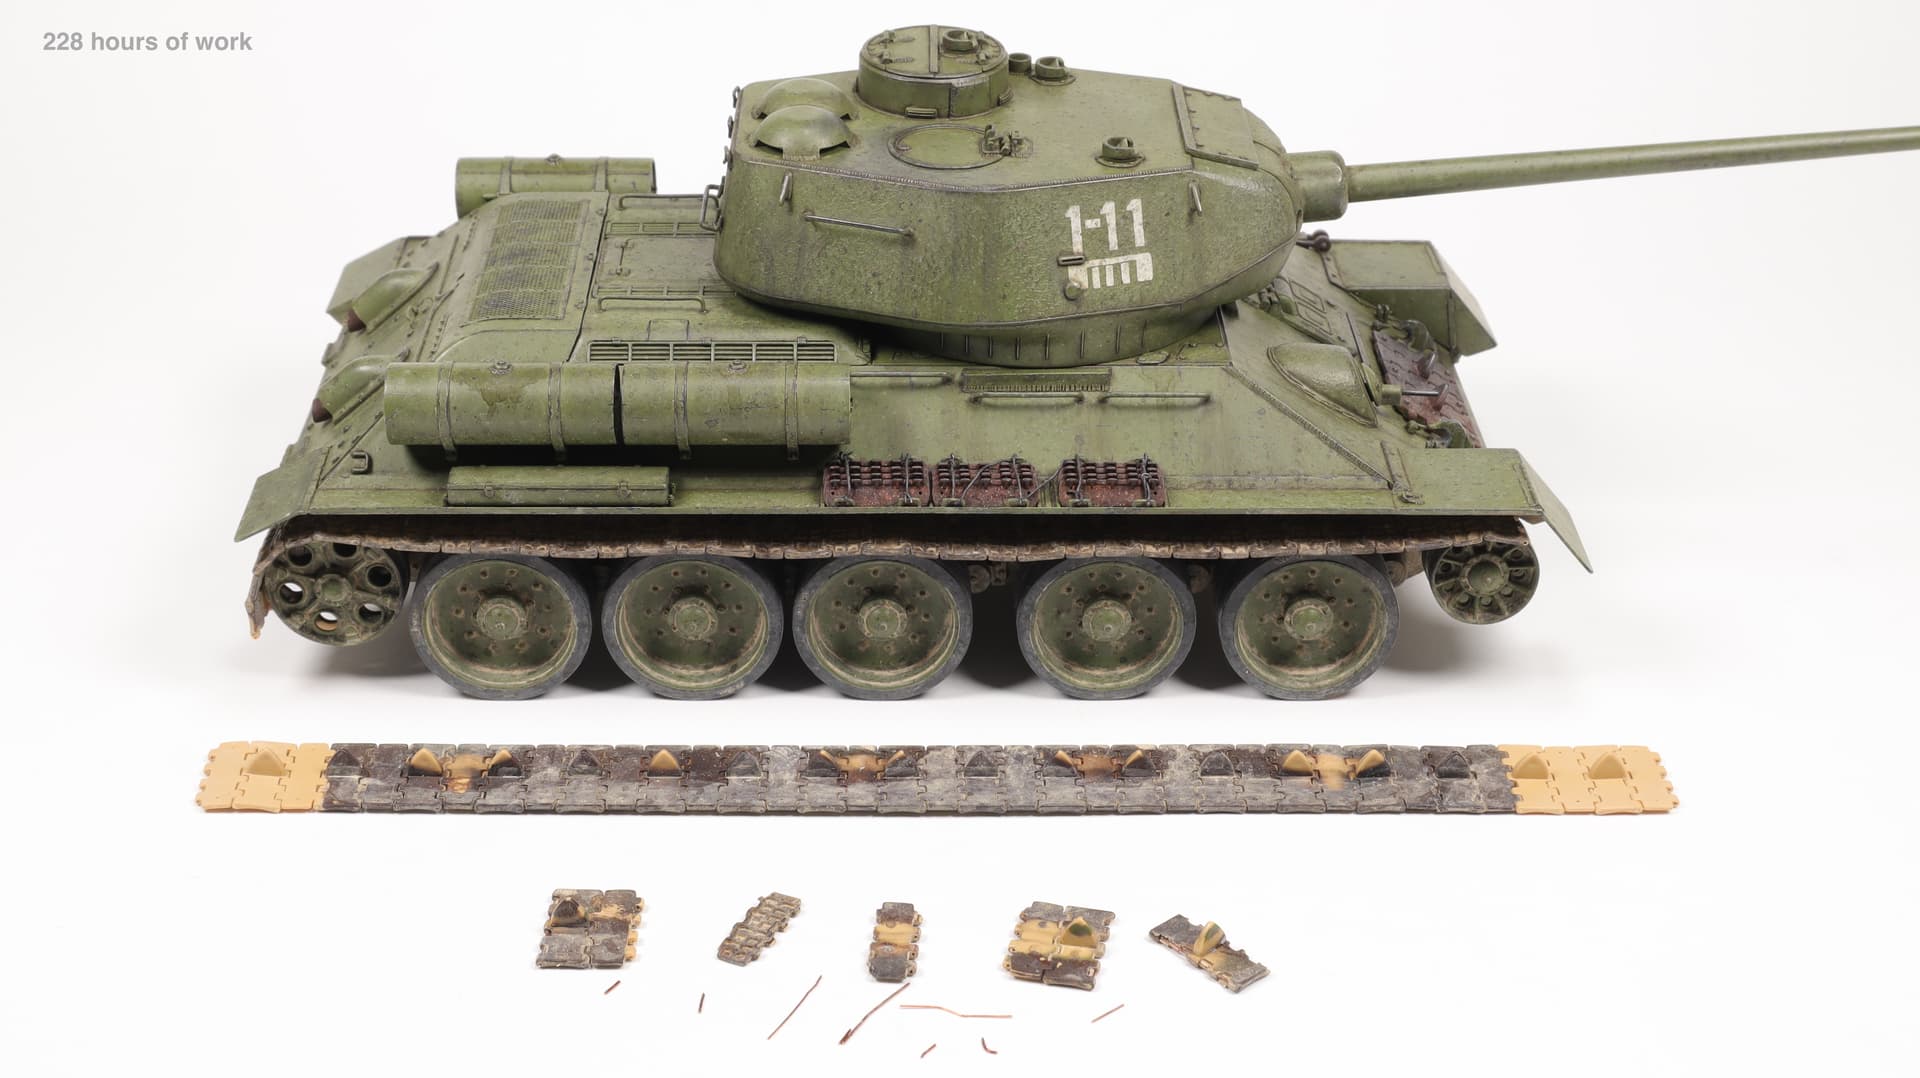
Another trouble. Tracks that crumble right in your hands.
On some, it was possible to restore the hinges. But some there was no point in restoring. I had to install new ones.
13 hours were spent on this!!! ![]()
At the same time I figured out the cause of this problem. This is a too-large diameter of the holes (0.4 mm), thick wire (0.25 mm), and short pins. The tracks fit very tightly to each other and had little mobility relative to each other. As a result, the washes and white spirit that got inside the hinges did not dry out for a long time, having a destructive effect on the plastic.
I made the following conclusions for myself.
- The tracks must have very good mobility relative to each other.
- The holes in the hinges must not be larger than 0.35 mm. Wire diameter - no more than 0.2 mm.
- The holes in the hinges must be through, and the pins must be full-sized, the width of the tracks.
- The weathering process must be carefully controlled - do not allow too much white spirit or washes to get inside the hinges.
9 Likes
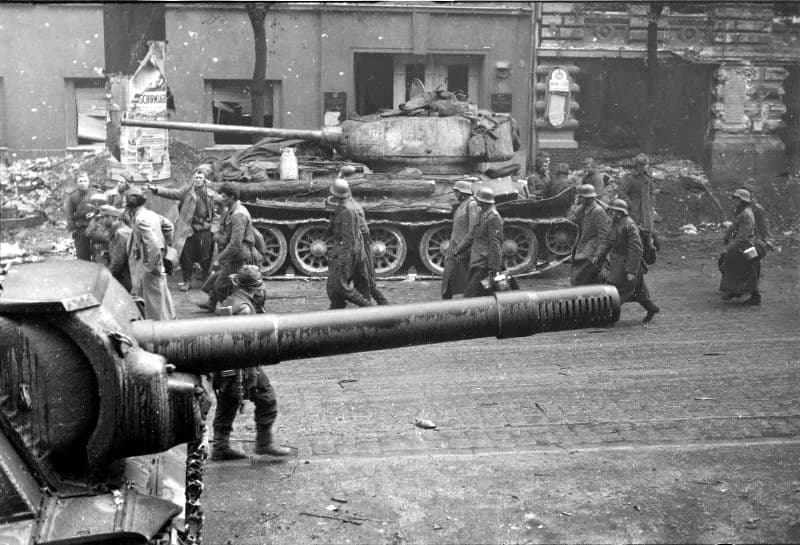
The turret-rotation motor bulge is a late-war feature, not a post-war feature. Here’s a 3rd Guards Tank Army tank in 1945; note the bulge is present.

5 Likes
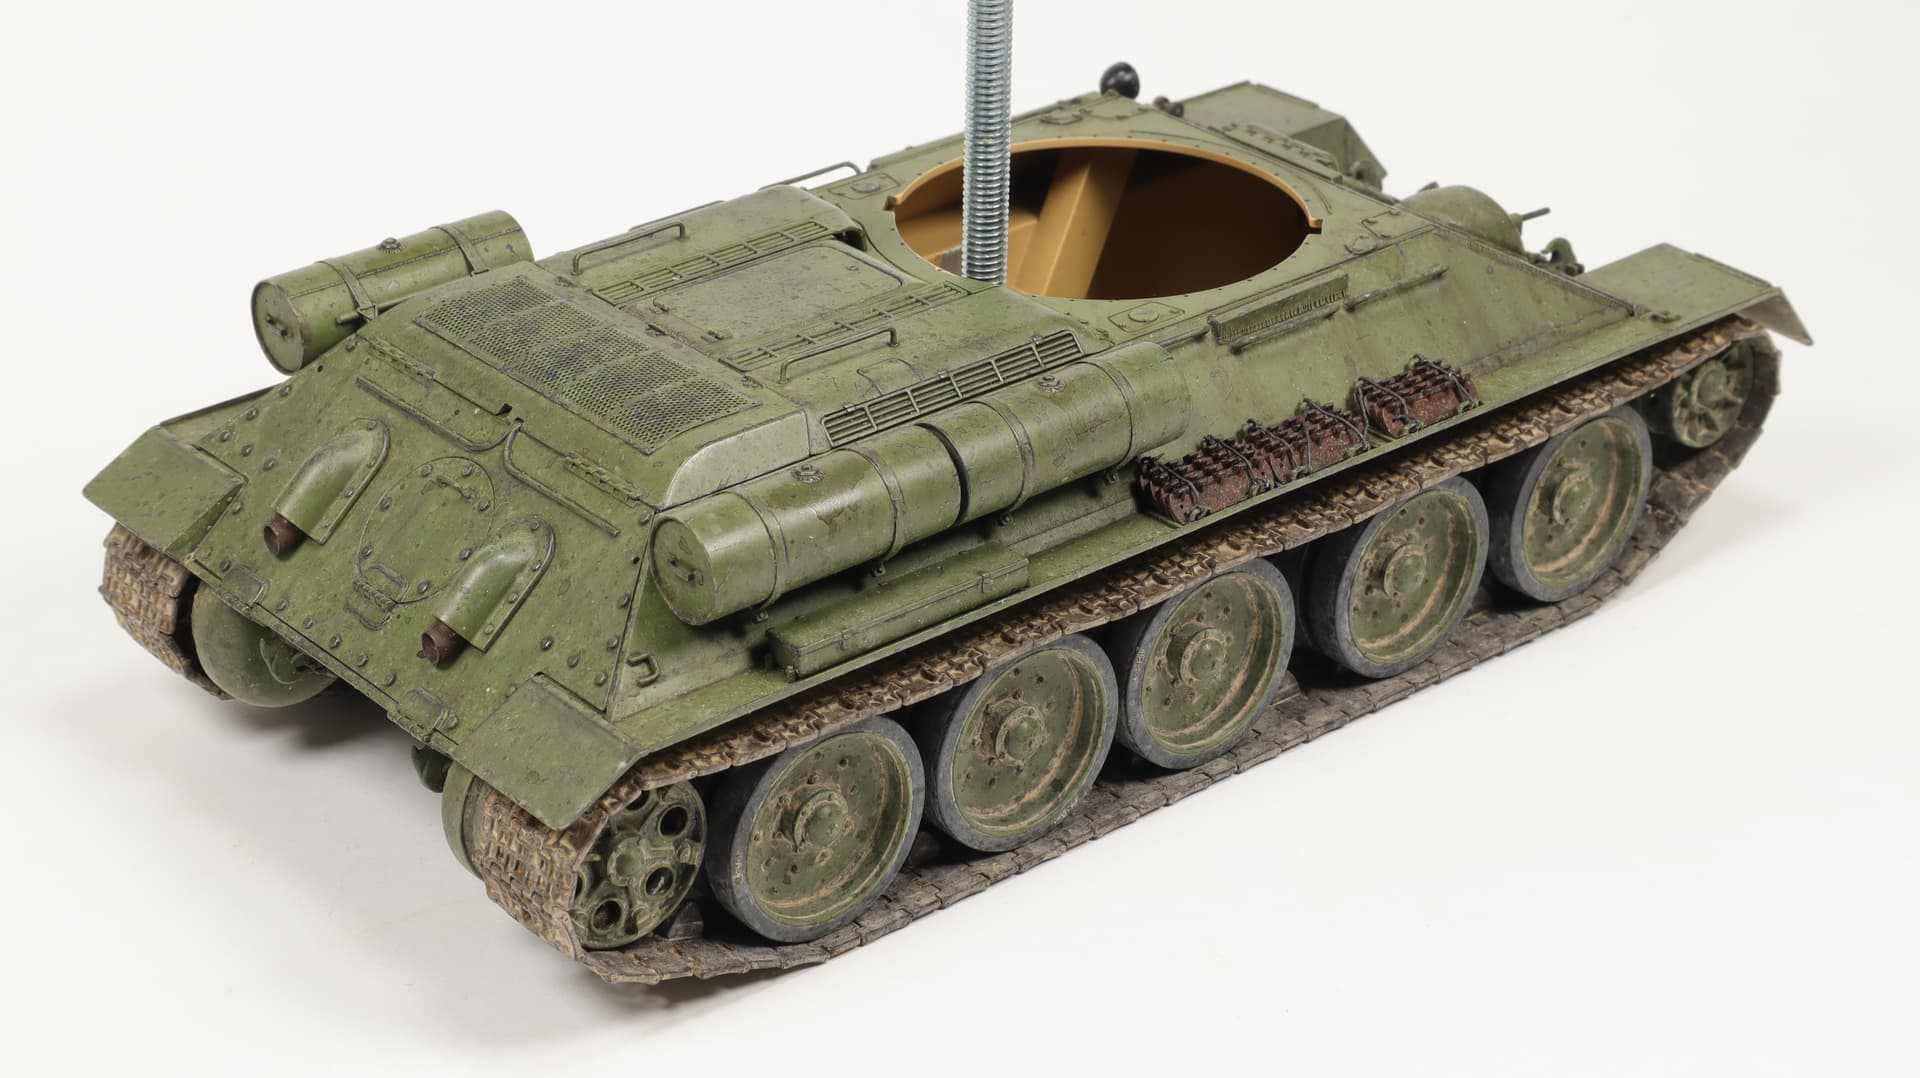
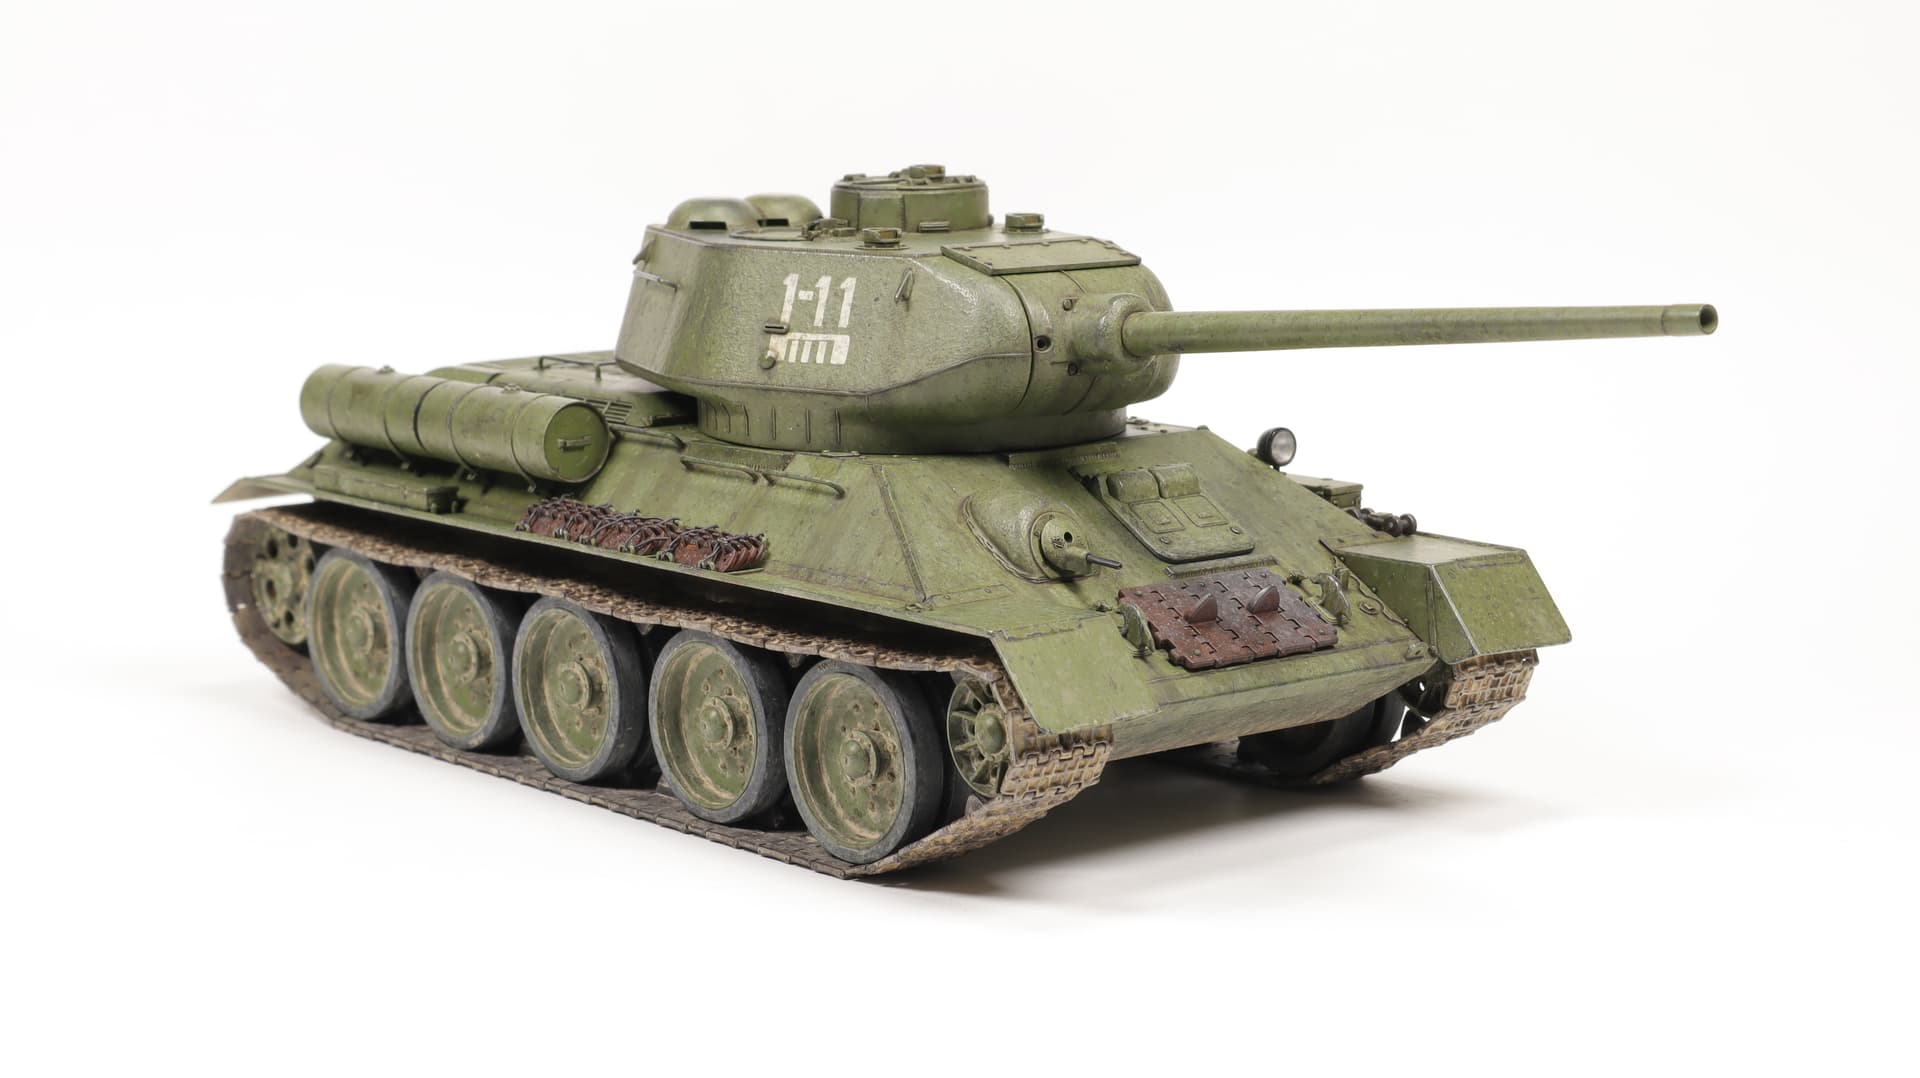
232 hours of work.
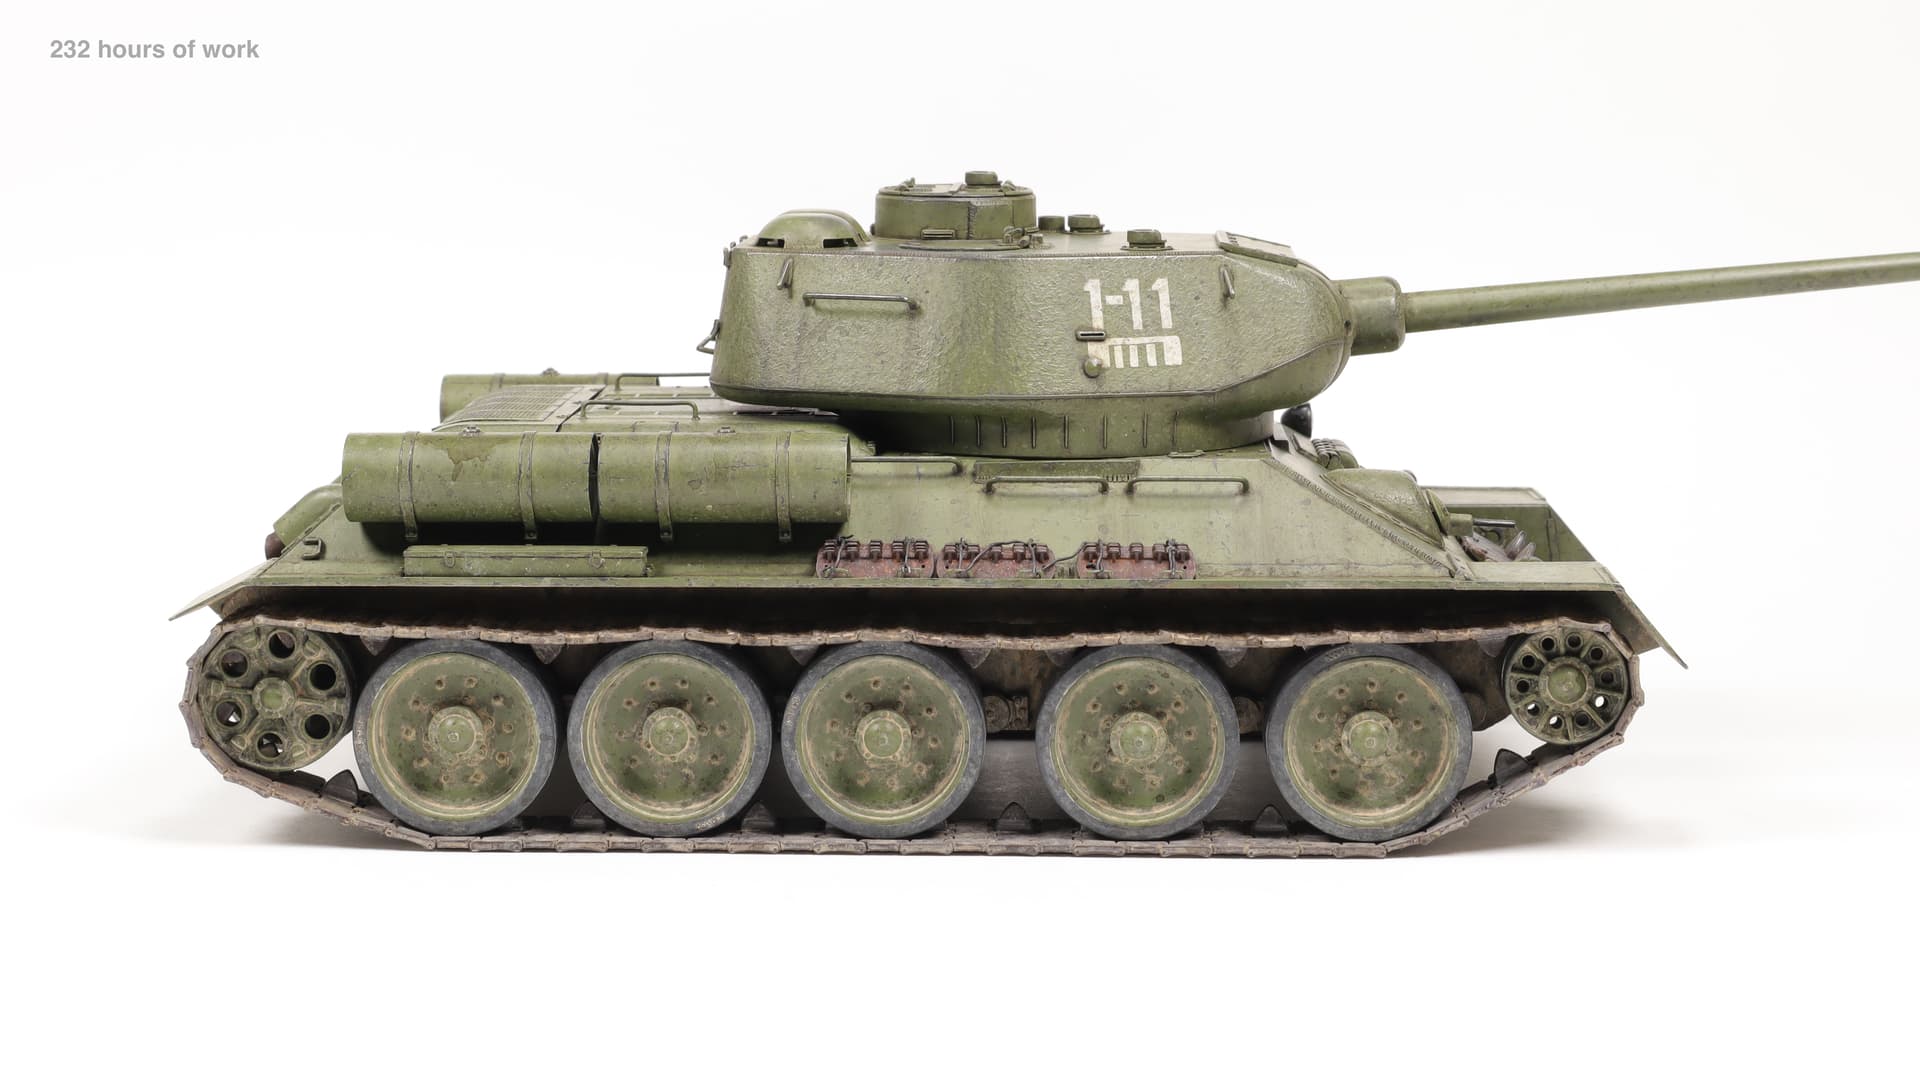
It took two hours to paint and weathering.
And it took two hours to install.
Unfortunately, the saggings of the tracks could not be repeated. I will not redo it.
To avoid further troubles, I applied glue to the points of contact with the tracks (on the drive wheels, idlers, and road wheels).
14 Likes
Vlad, that’s a fantastic save and amazing repair!
Your dedication to sorting the T-34-85 is inspiring when I’m frustrated with my current project.
A+++
4 Likes
Thank you, Wade!
I am very glad that what I do benefits other people! And inspires them to continue their own projects!
3 Likes
I agree with Wade. Your build, despite the setbacks, has been inspirational. Incredible attention to detail and thorough from beginning to end.
Outstanding job, Vlad. ![]()
3 Likes
Thank you, Reynier!
There isn’t much left! The project, which spanned almost a year ![]() , is nearing completion. Hopefully, I’ll finish it before the end of the year!
, is nearing completion. Hopefully, I’ll finish it before the end of the year! ![]()
4 Likes