![]()
![]()
![]()
![]()
And none of them know how to write instructions!
Ken
Unexpected surgery.
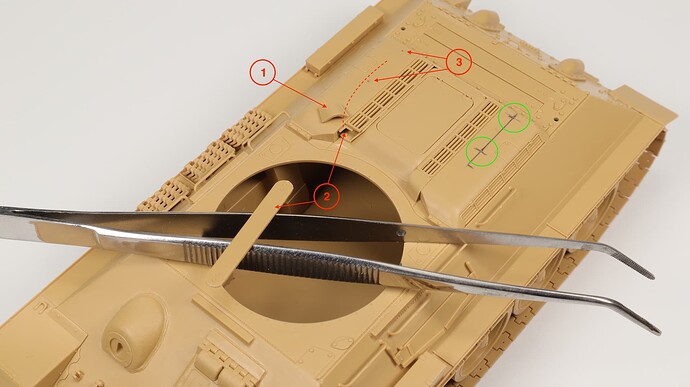
I forgot to pre-drill the holes for the handrails.
Result - 2 hours spent on:
- Cut off the part.
- Using tweezers with curved jaws, climb under the armored cap and break out the air intake flap.
Through the cutout under the tower with a flashlight, highlight the places for the holes. - Mark them with a pencil and drill holes. Transfer with a ruler to another armored cap.
And all this for the sake of two handrails, which could be simply glued without any holes!
 Question - how long will I build this model?!

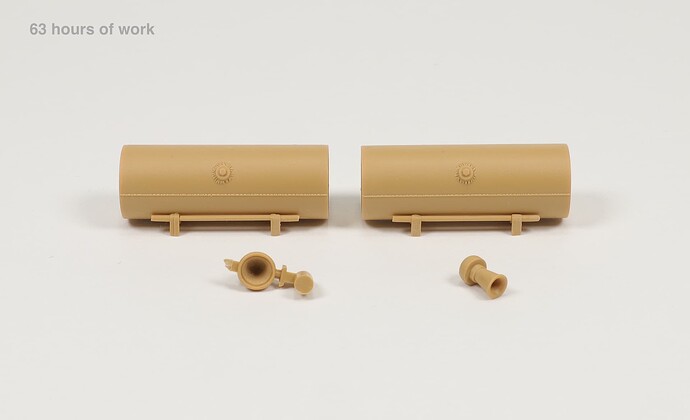
63 hours of work.
Mold displacement is present on almost all parts. It has to be constantly removed.
Headlight. The only detail where I deviate from the out-of-the-box assembly and then glue some glass. Well, I can’t paint a piece of plastic with silver and think that this is a headlight.
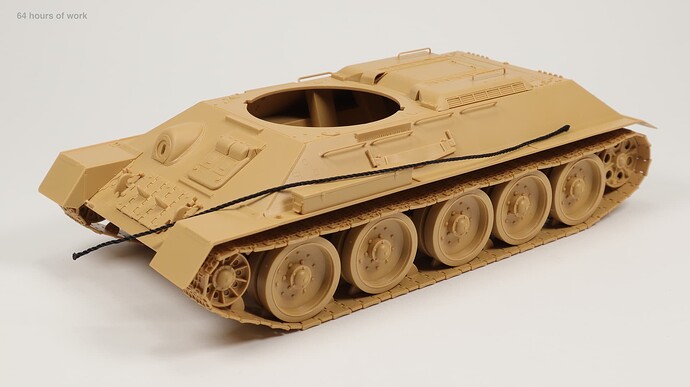
64 hours of work.
I’m getting the handrails in order. I try to make them round in cross-section.
The nylon thread from the set was impregnated with liquid PVA. In the process of impregnation, I constantly untwisted and twisted along the fibers, and across - between the fingers. Without losing its elasticity, it gained some strength and became round in cross-section. Before that, it was crumpled and flat in places.
Looking good! ![]()
![]()
![]()
Thanks Wade!
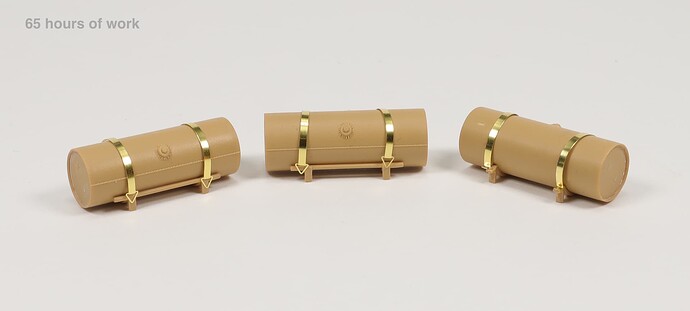
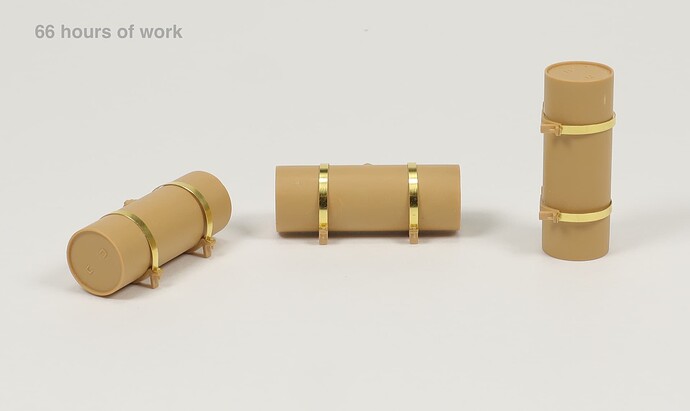
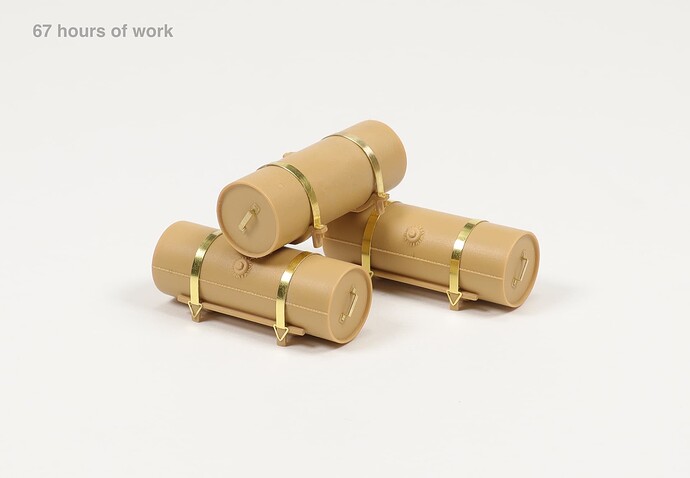
Somehow, these fastening tapes were given to me hard.
It seems nothing complicated, but somehow I did it all for a long time.
Still looking sharp on the build. Looking really good.
Friends! I would like to ask you a question about the quality of my photos.
I’ve looked at them on three different monitors, and I see that some kind of nonsense comes out. It is clear that I am far from professional photography, but I want the photos to be of more or less normal quality.
Therefore, the question arises - how bad are they? What would you, being, for example, the art editor of a publication, correct in them?
I really want to hear your comments. I need it very much. To understand in which direction to learn the art of photography.
All your images look good to me; I can see great detail on the closeups.
Does the background in the photo on your monitor look white, or with any shades?
It looks different on different monitors. At home, it is with a gray tint, at work on one monitor - with red, and on the other - with blue. At the same time, I look at photos of other modelers on the same monitors, and on all monitors, the white background looks almost the same - white. This means that I am doing something wrong.
What about the refresh rate on you monitors? What’s the resolution on them?
Home - 60 Hz. But at work - I don’t know. I’ll check. There, however, the monitors themselves are already ancient. But, purely subjectively, they show a normal picture.
And what about color? Sharpness and contrast? Some of the photos I take in haste. Not always everything works out.
I post them in high resolution. Maybe I need to reduce them in size before uploading?
They look good to me. ![]()
