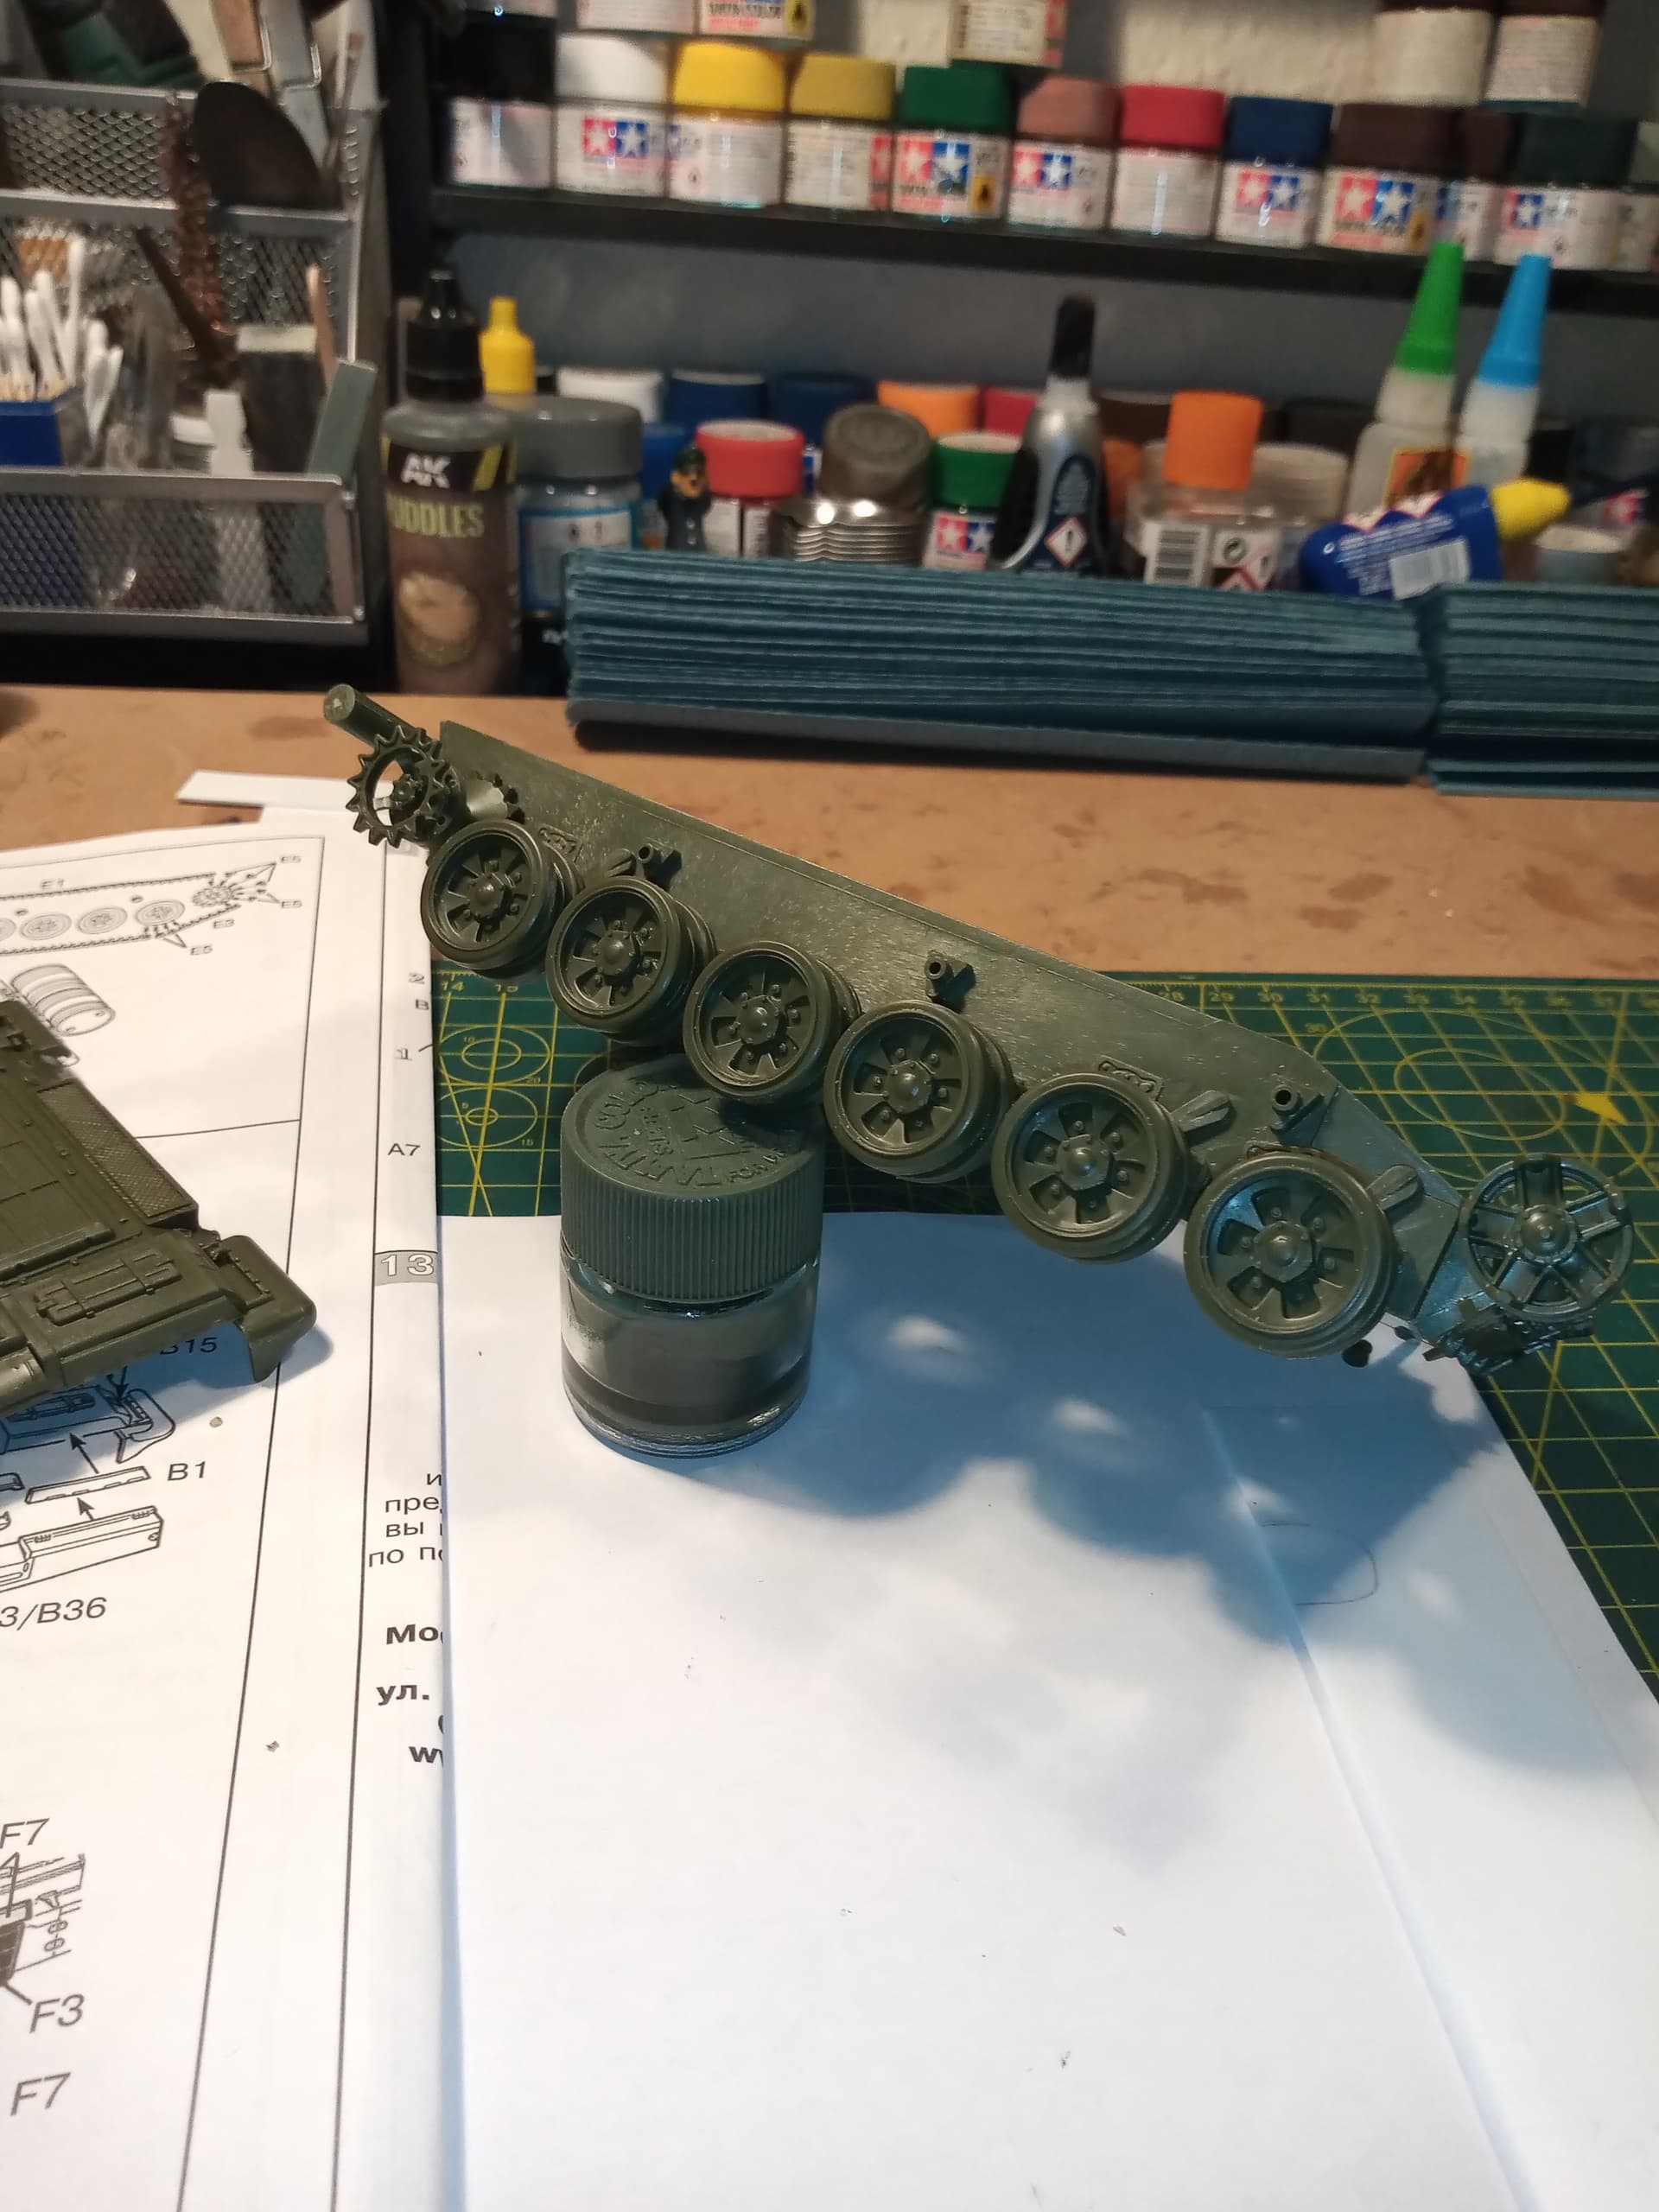
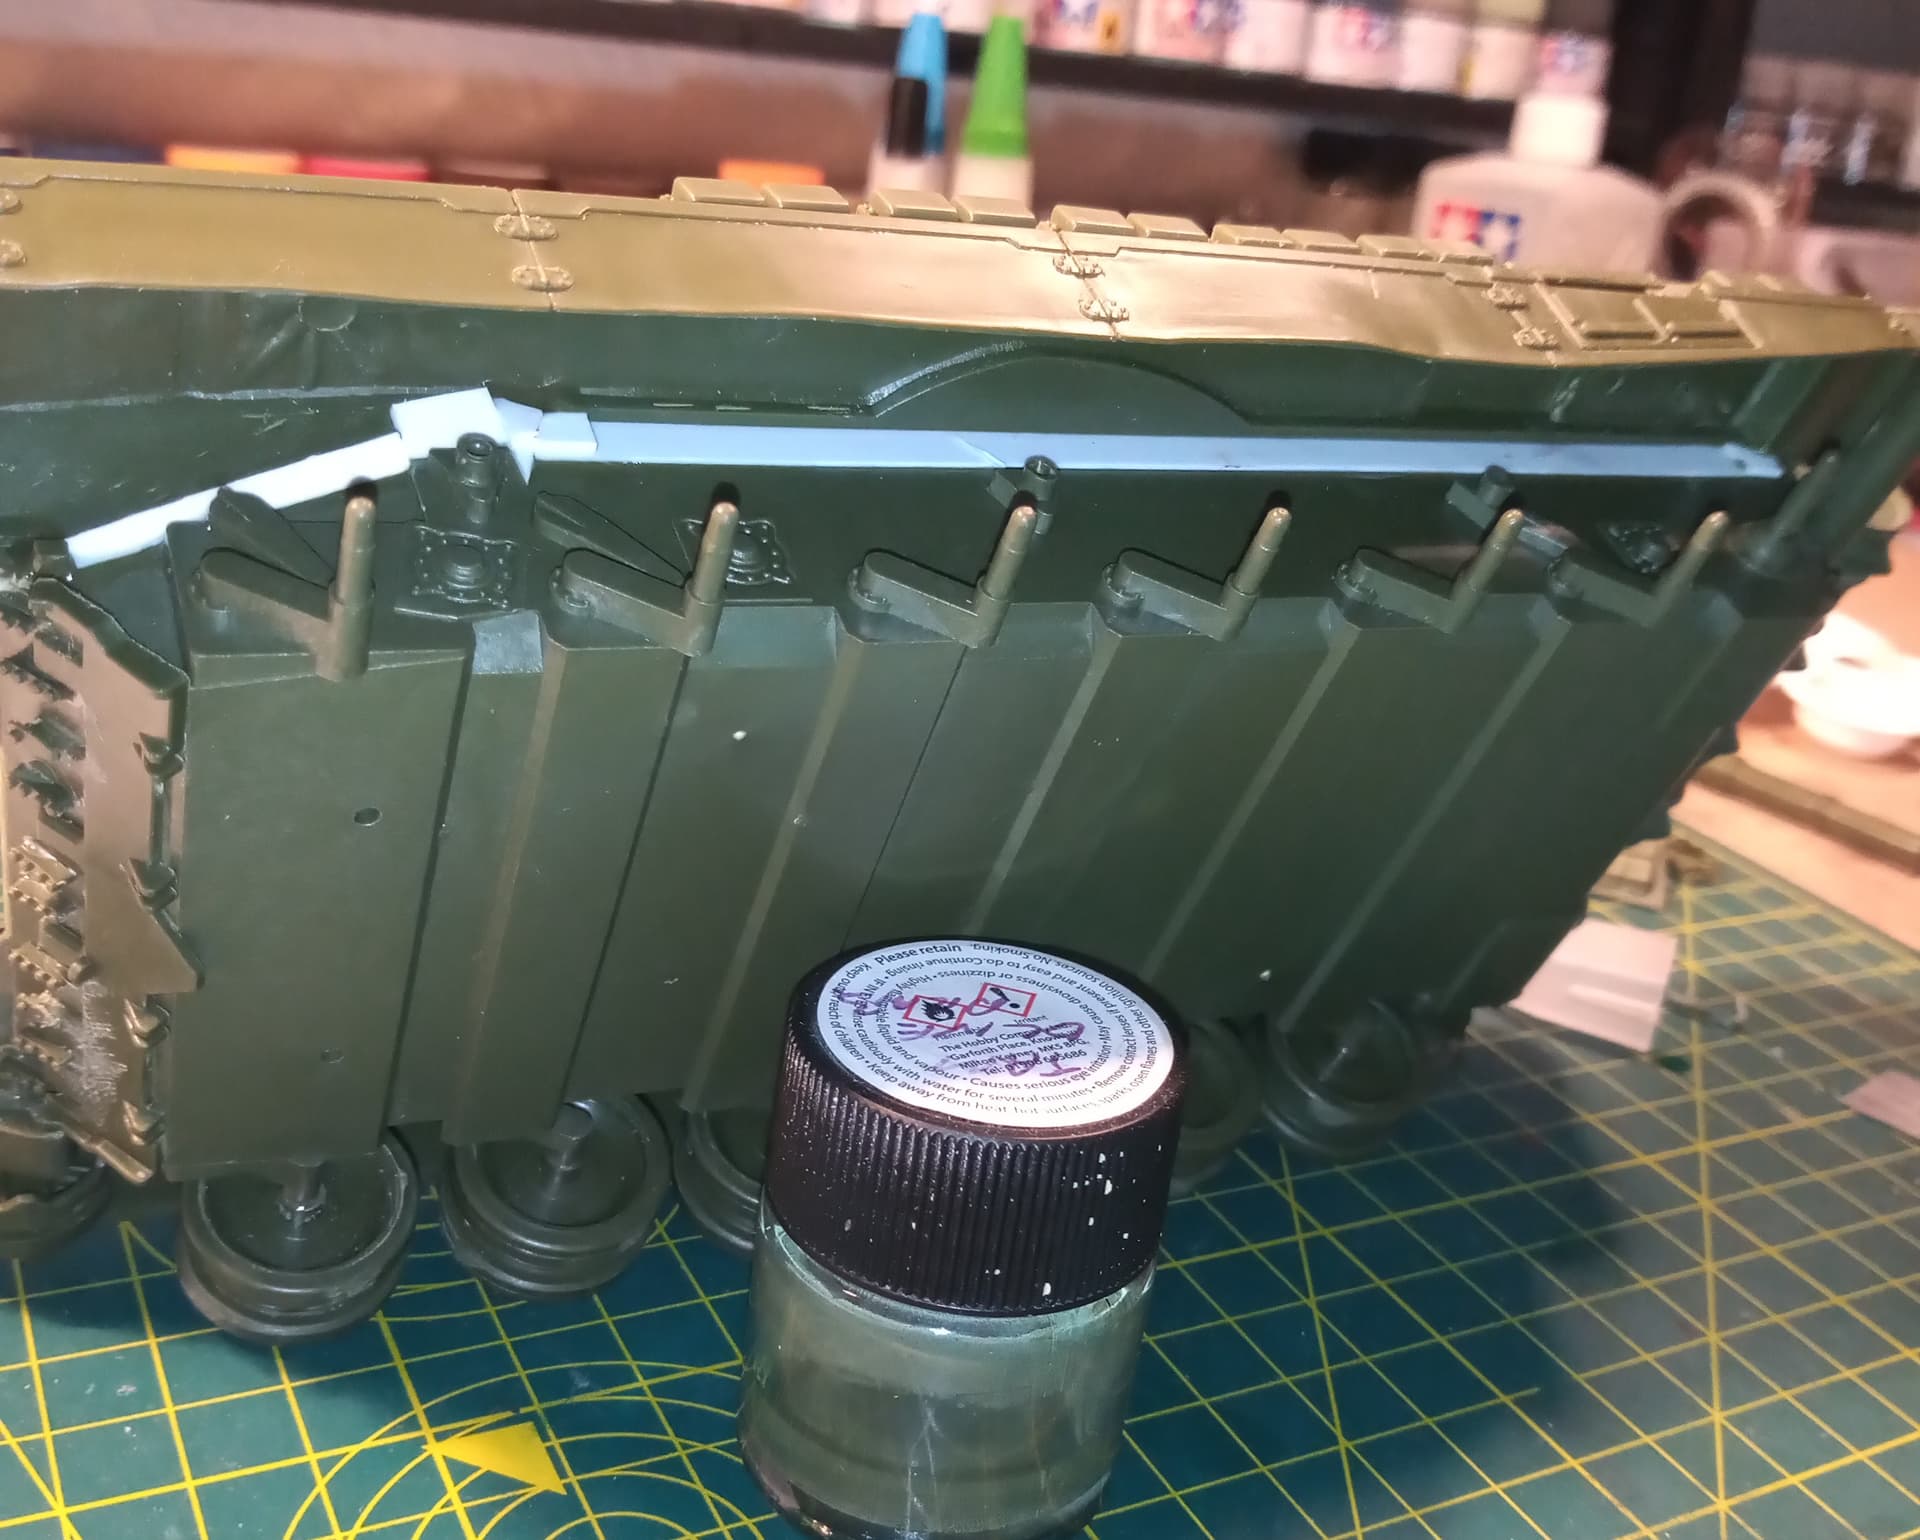
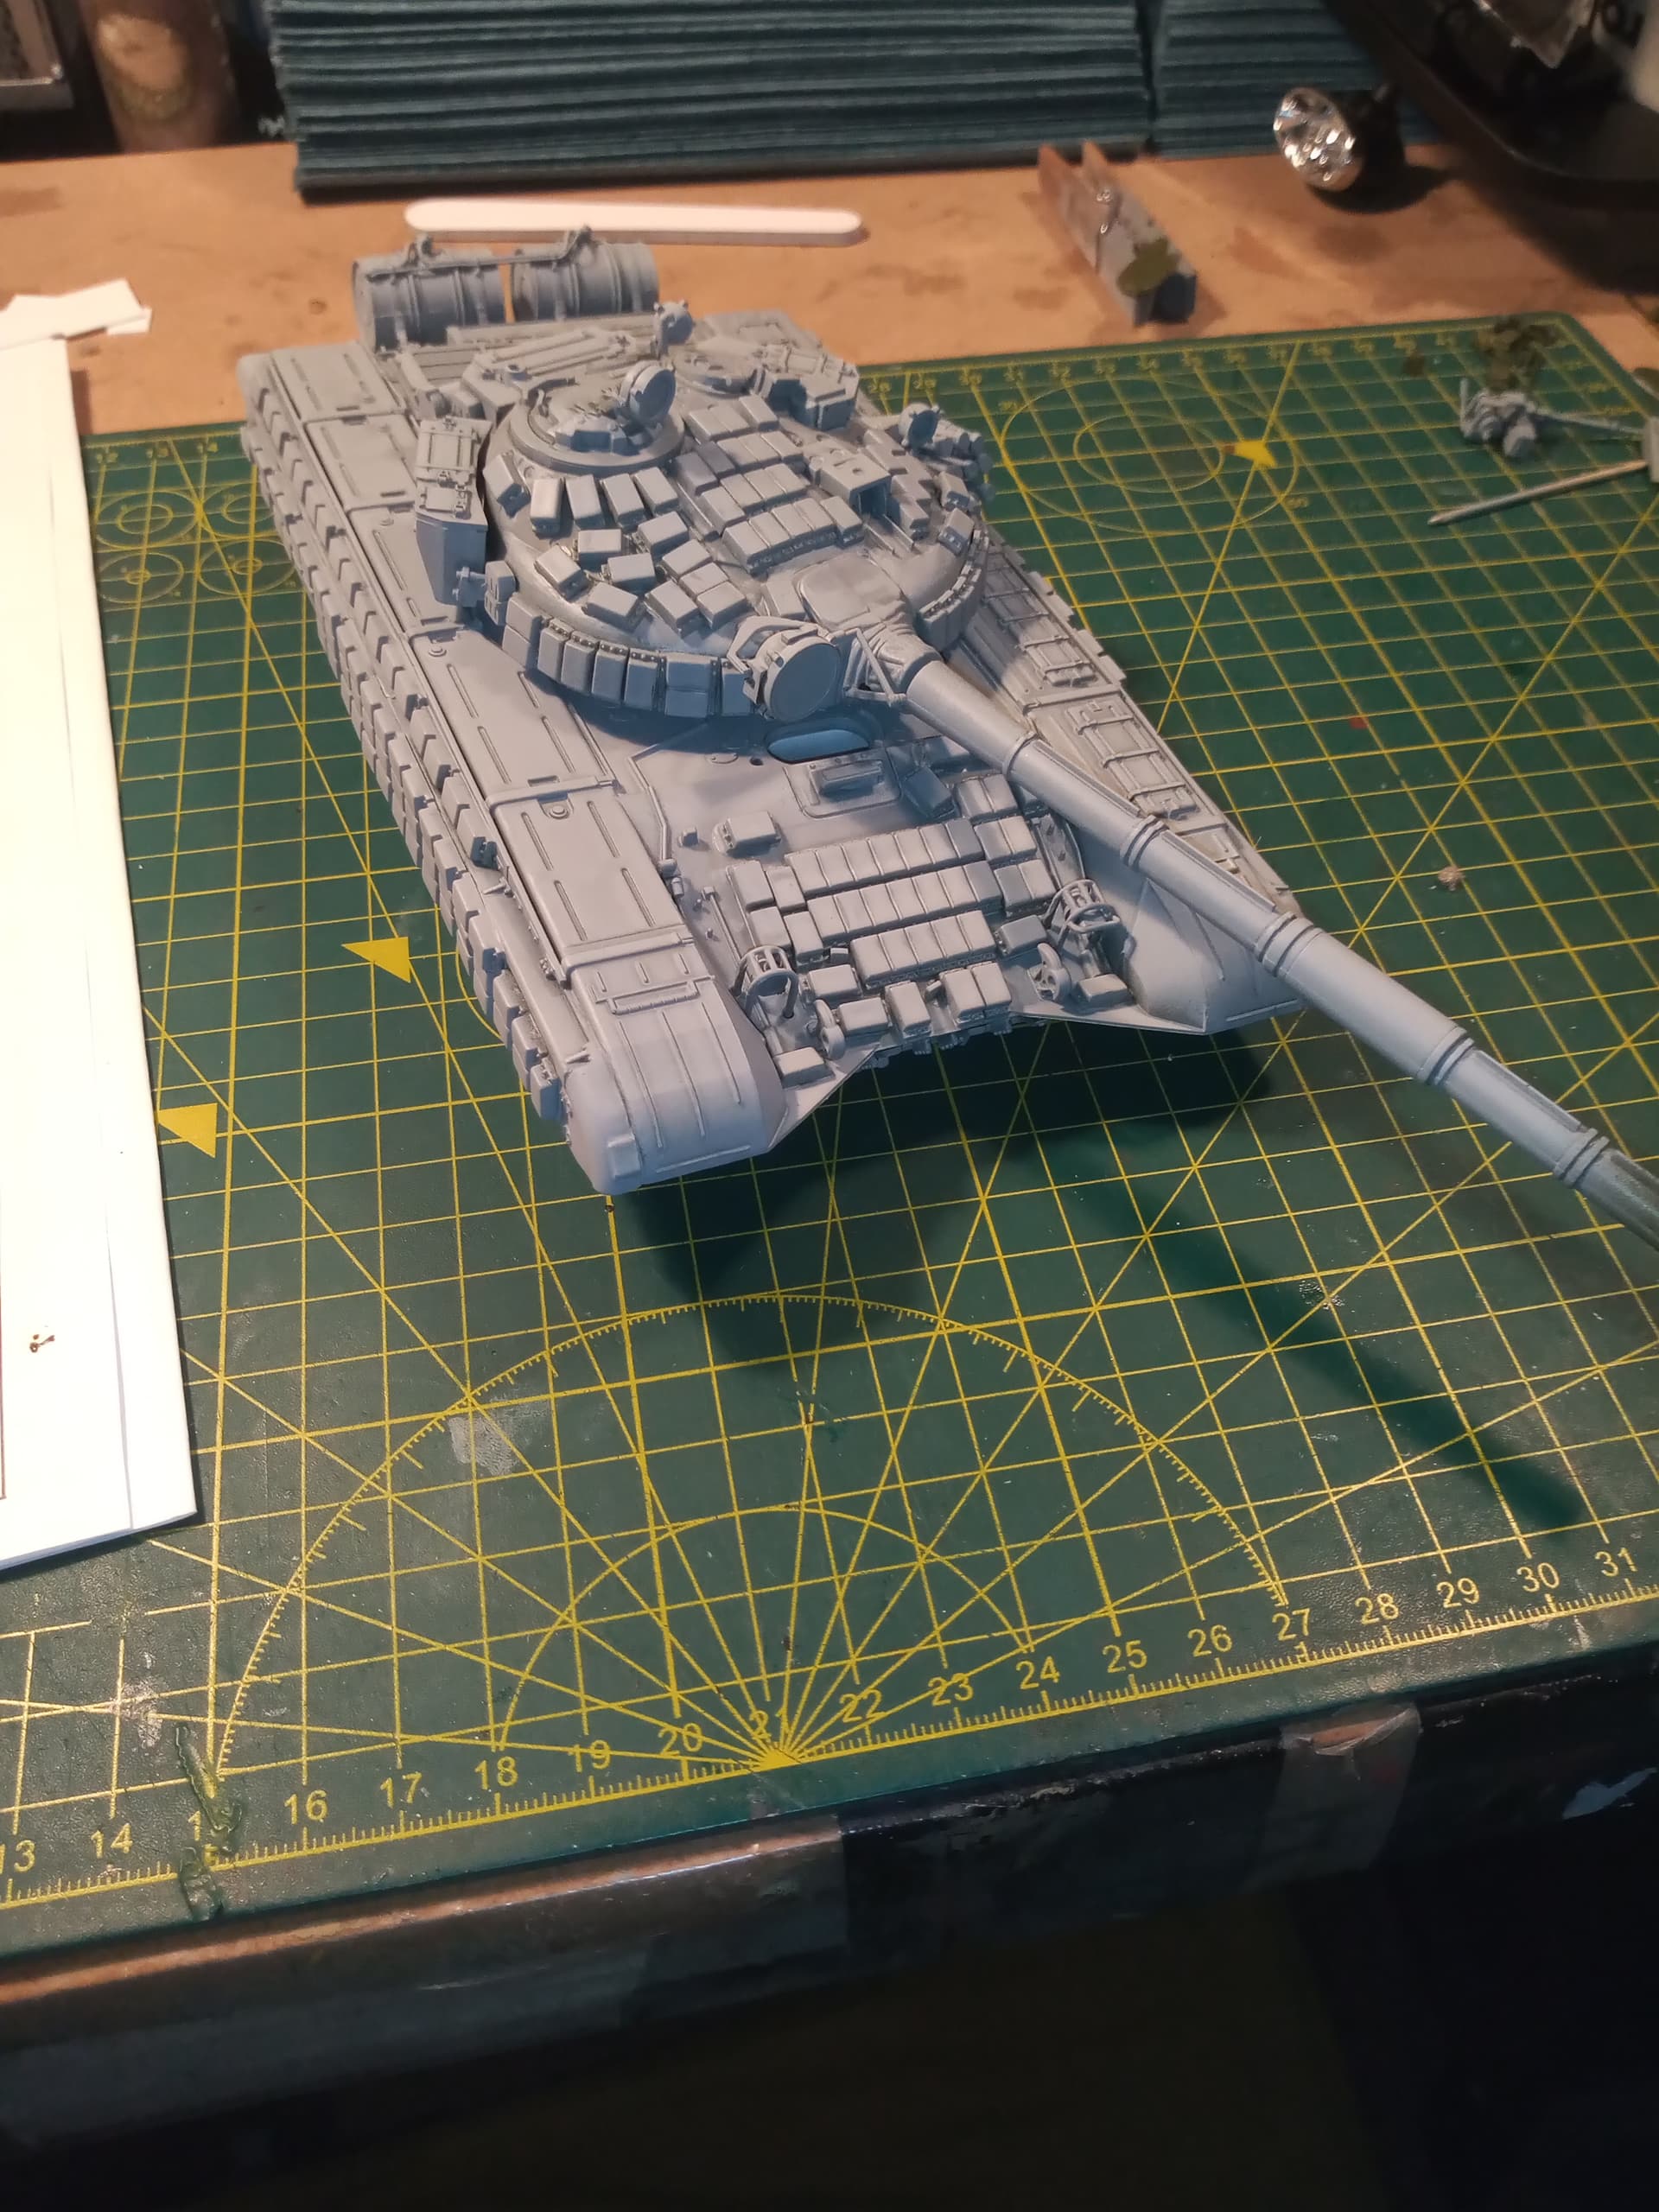
RH side running gear complete…and the rear plate is on as well along with all the bits and pieces apart from the external fuel drums. I am leaving them off and just having the mounting points fitted.
Luckily I am not doing the left hand running gear…that will be submerged and at an angle …
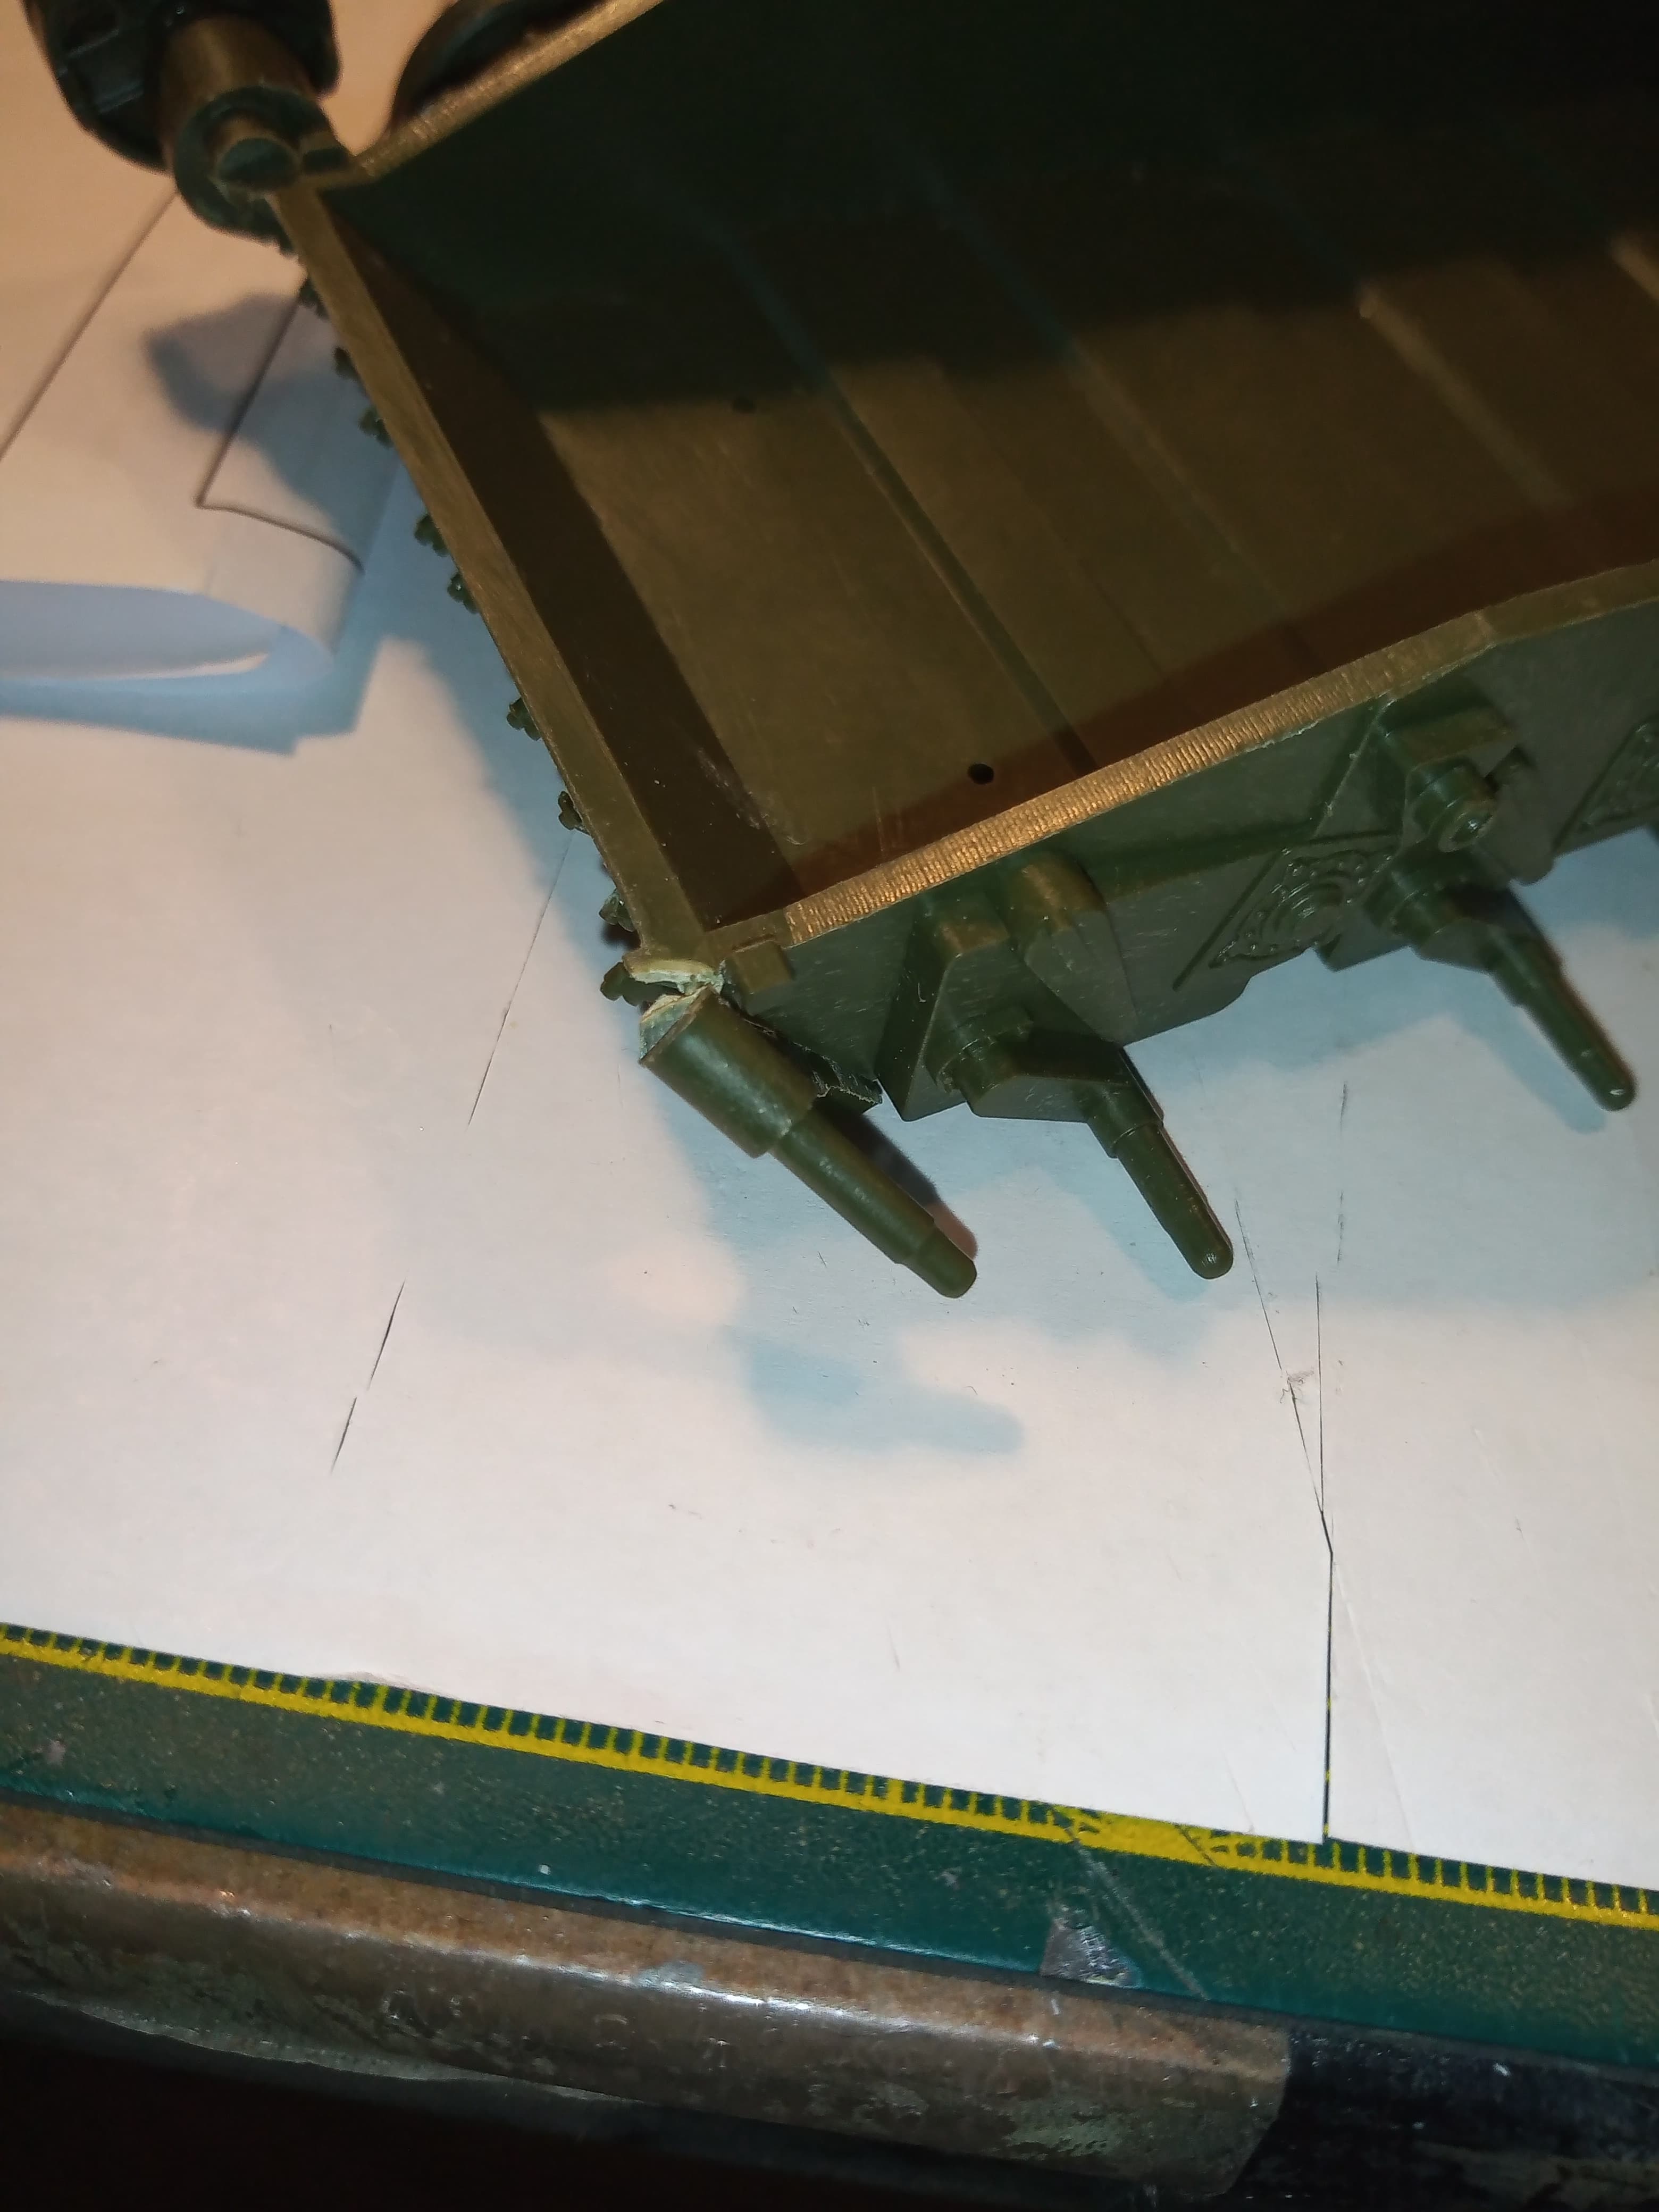
Luckily, as this was snapped when I opened the box …the front idler axle …
I’m presuming the ‘boxing off’ the drivers hatch/turret ring is because all hatches will be left open, or possibly the turret displaced, and that you’ll put a ‘lid’ on top of the box walls so that the water will only flow inside to the depth of a few mms, ?
Yeah, the turret will be on, but the acrylic pour may seep under the bottom of the turret and the box there will just catch it… The drivers hatch will be open and I want that small area totally full of murky dirty water
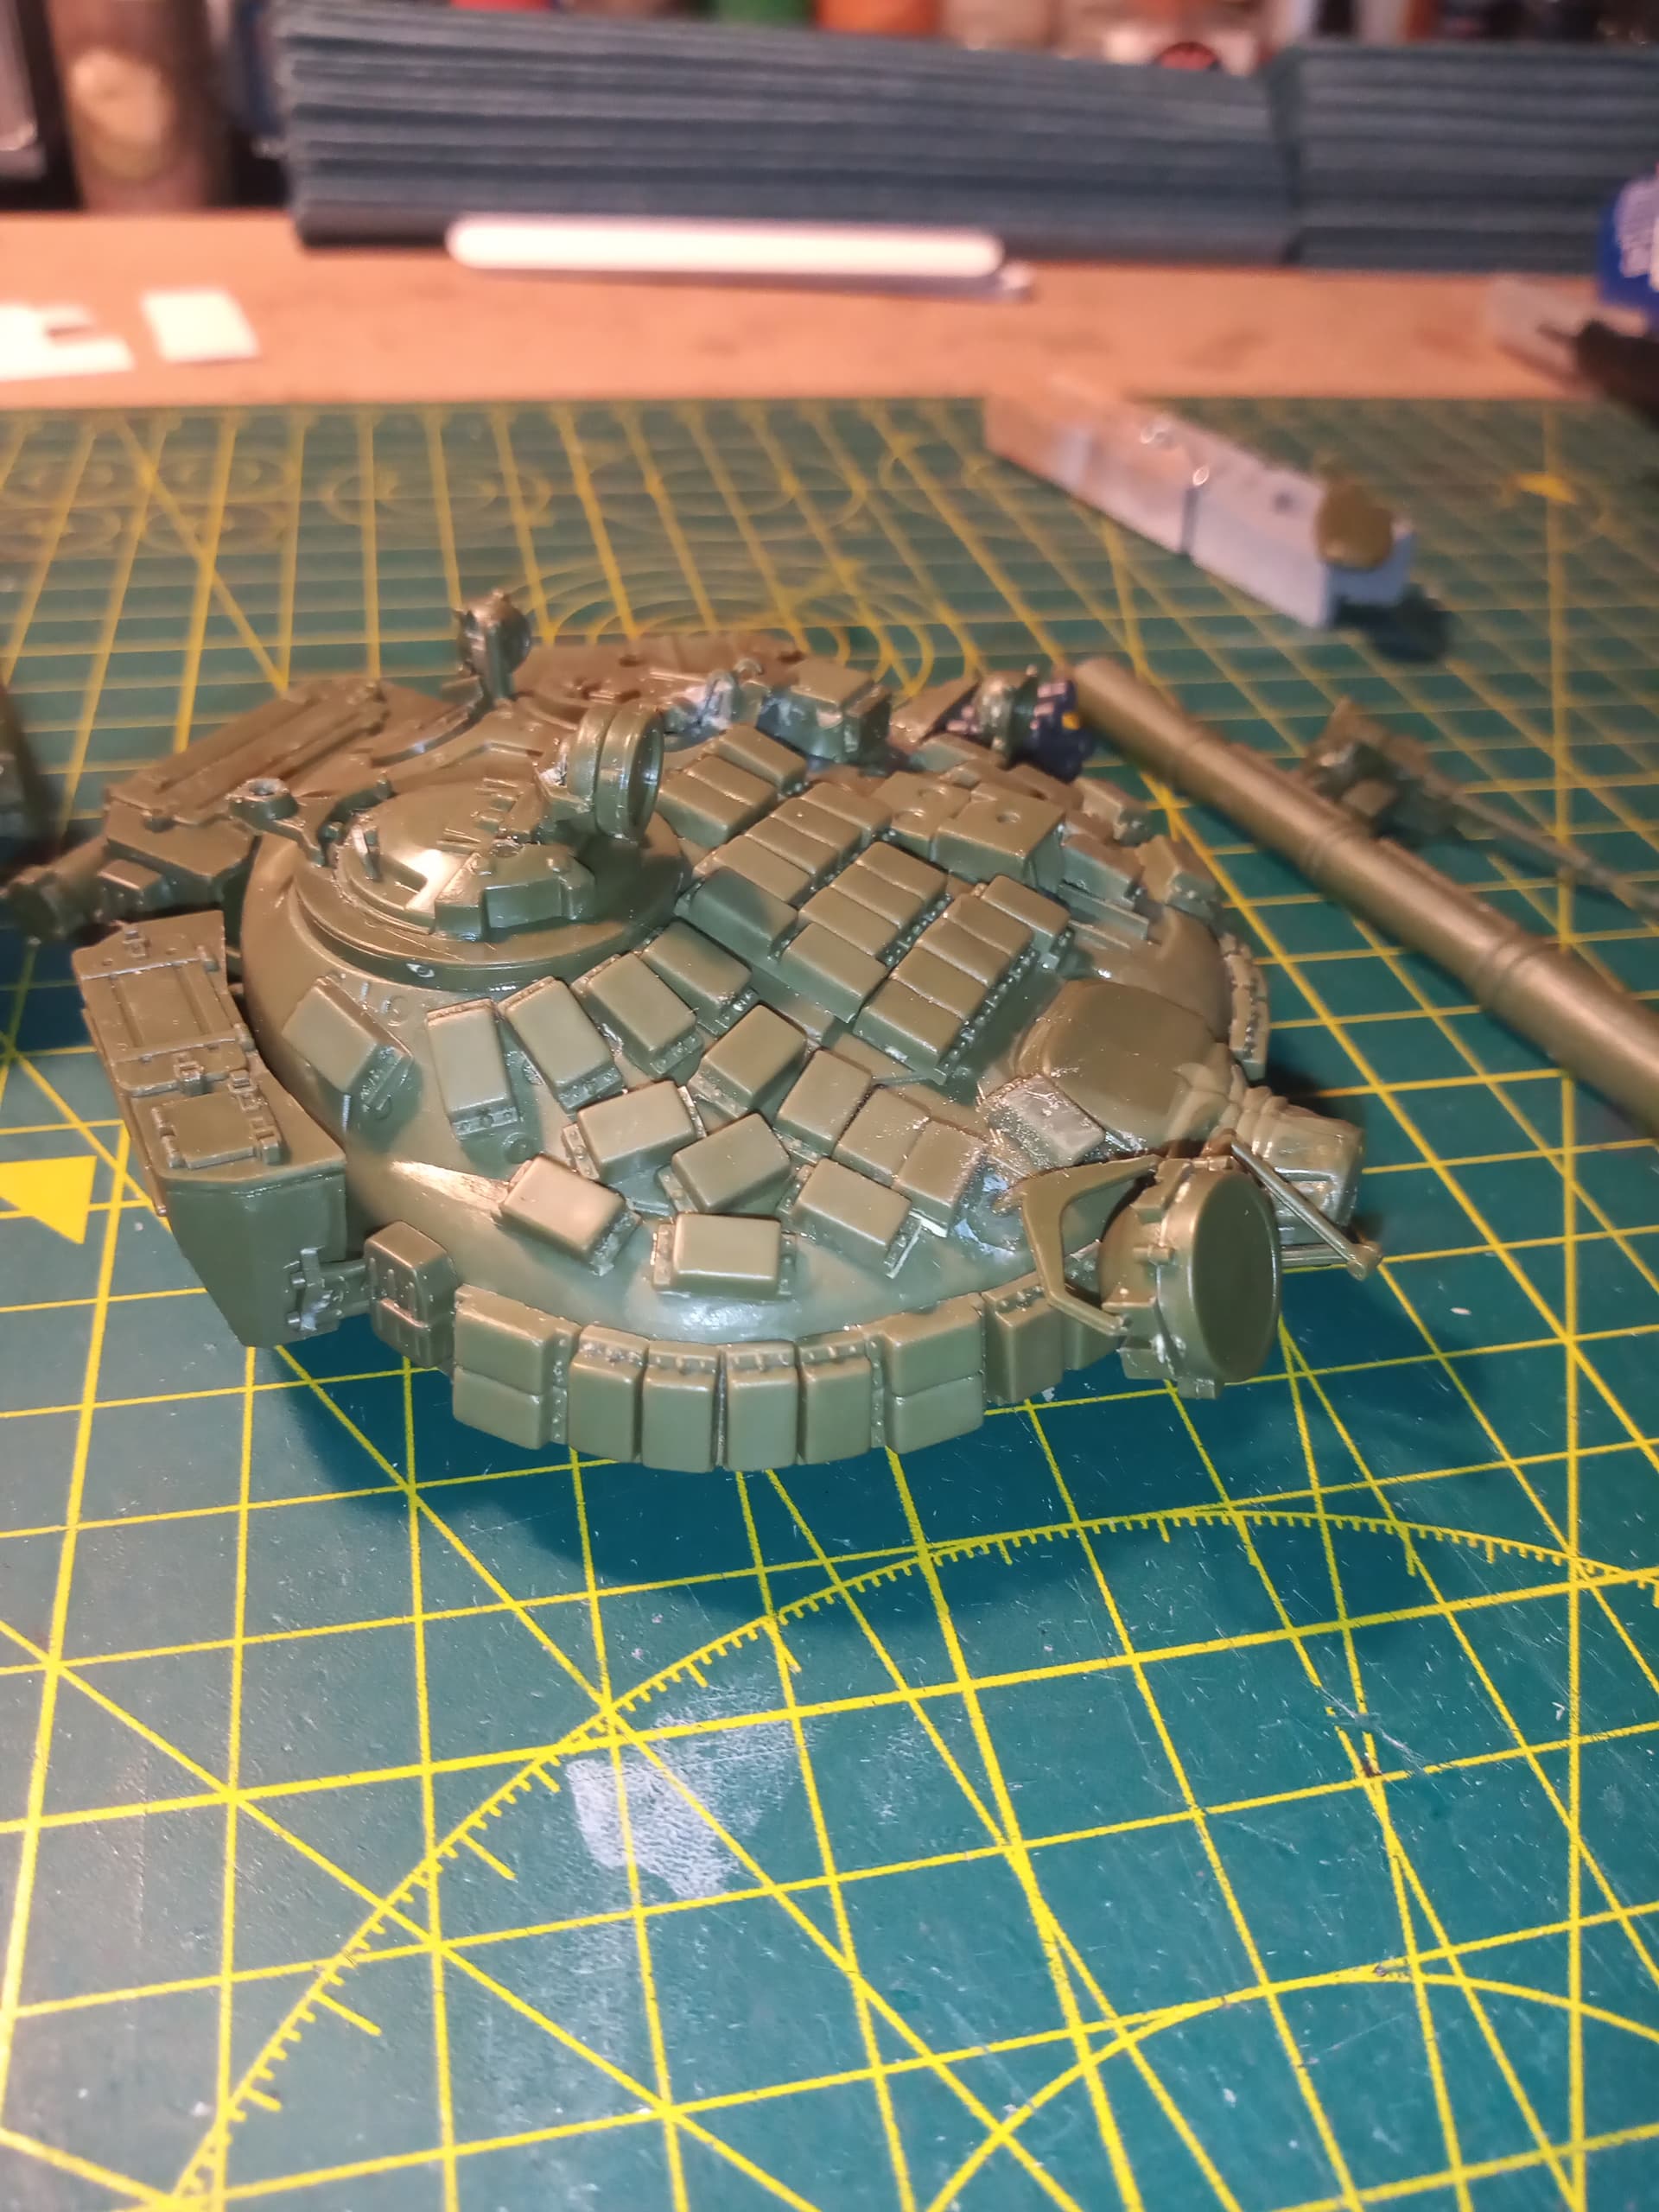
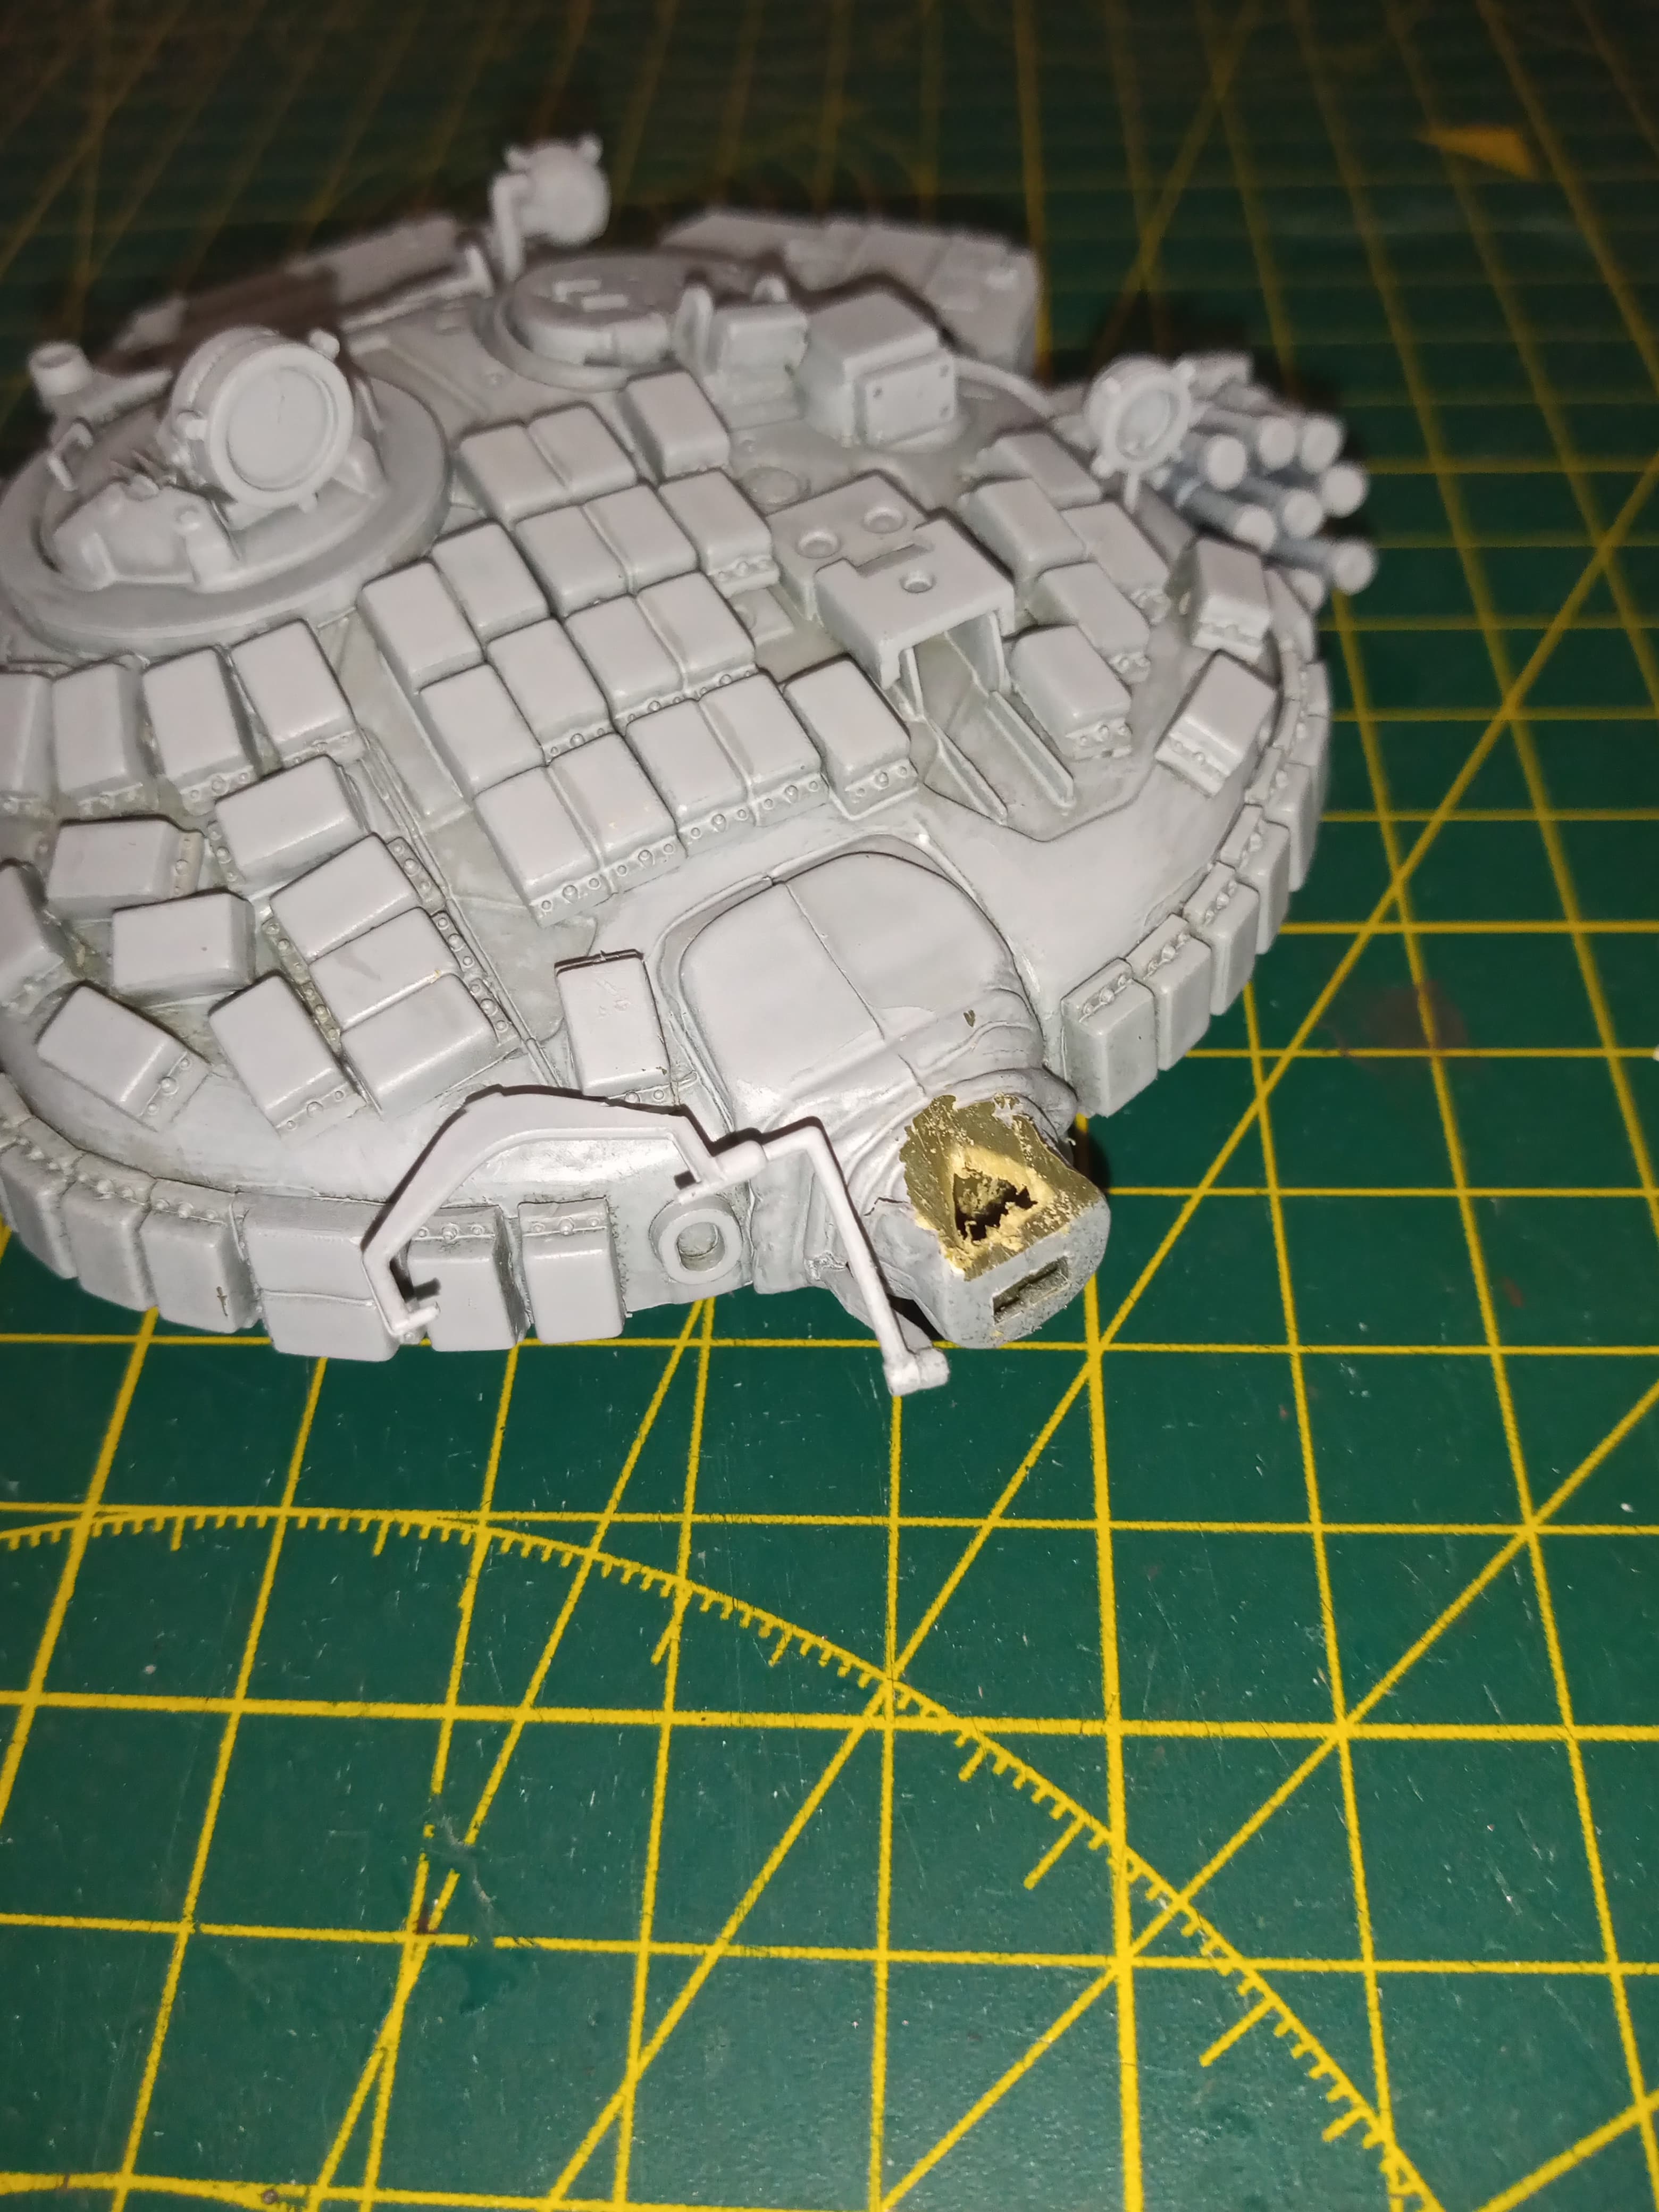
As I am not showing the LHS, I have added extra ones from those onto this side … I have seen many images of extra blocks added to vehicles in theatre so I thought I may as well do it here as well.
Ok, so now Jim has sorted the site issue out … ( Thank you Jim @staff_Jim ) we are missing a few of the updates. I will redo what I can, and what I can remember so we are back up to speed a bit later today … If you can …become a patron or donate to help this site out … I think it is massively worth the effort to give our support
I few posts got lost over the last few days, so I will re-add what I can remember…
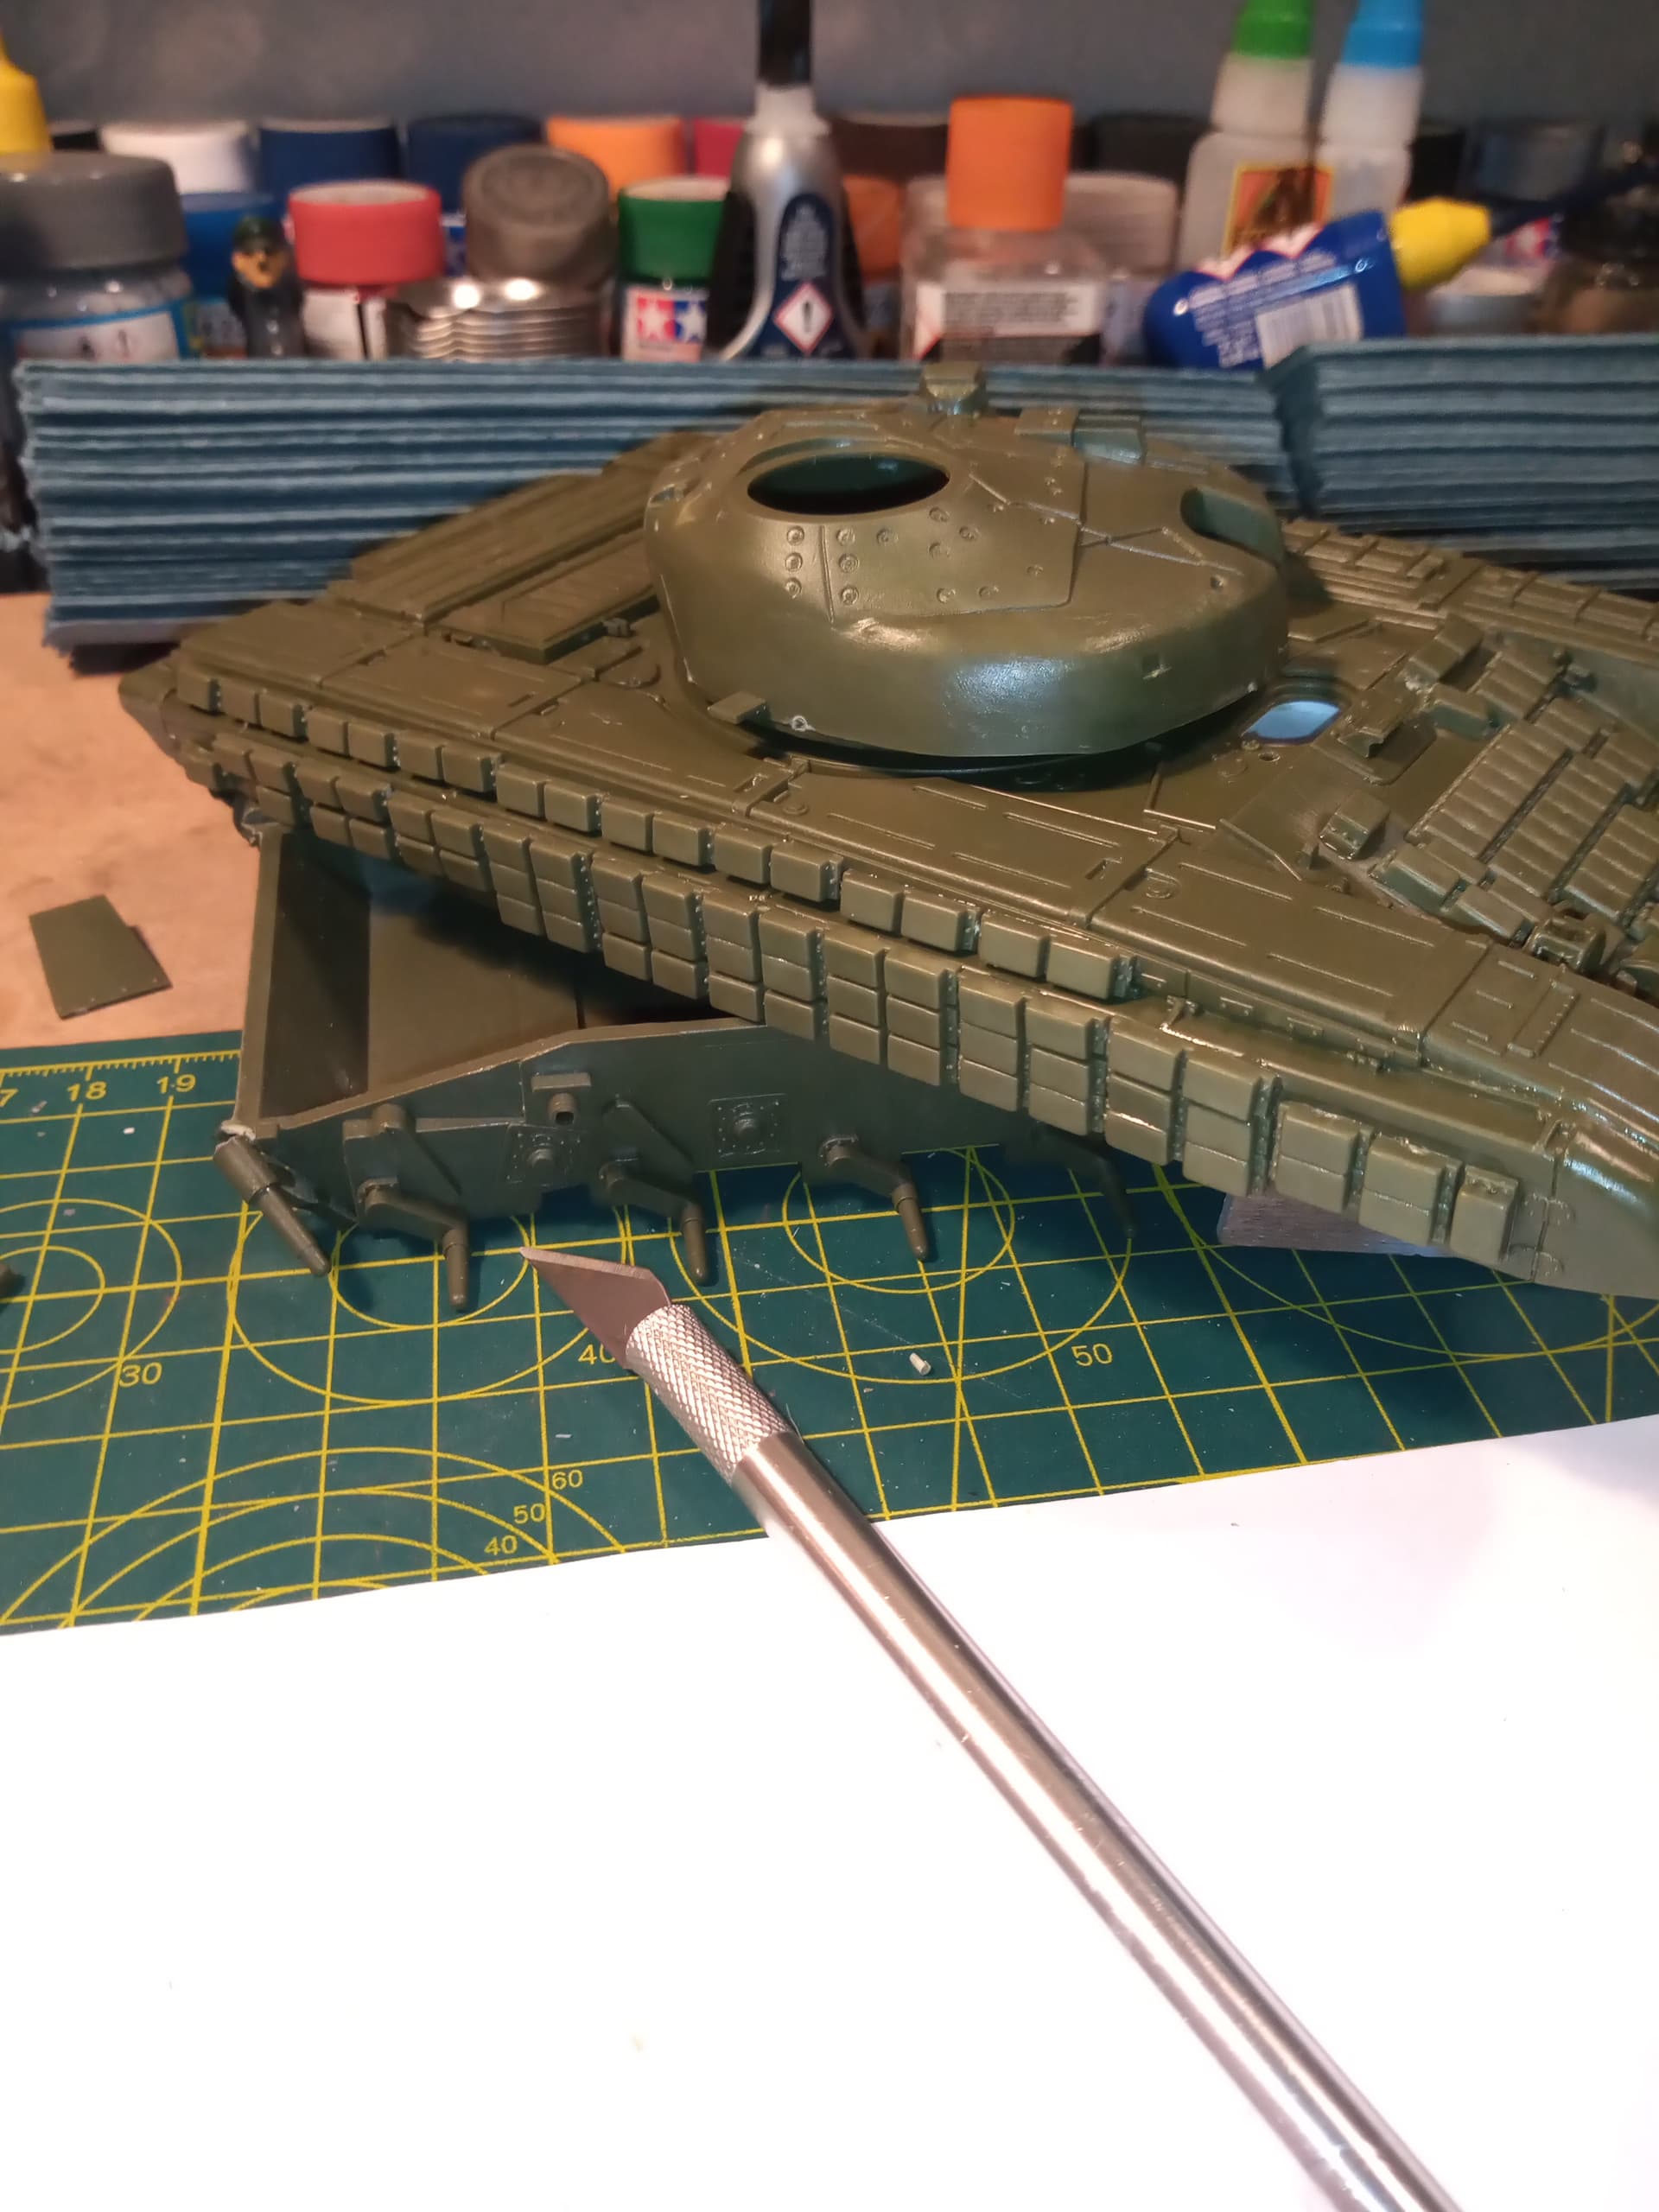
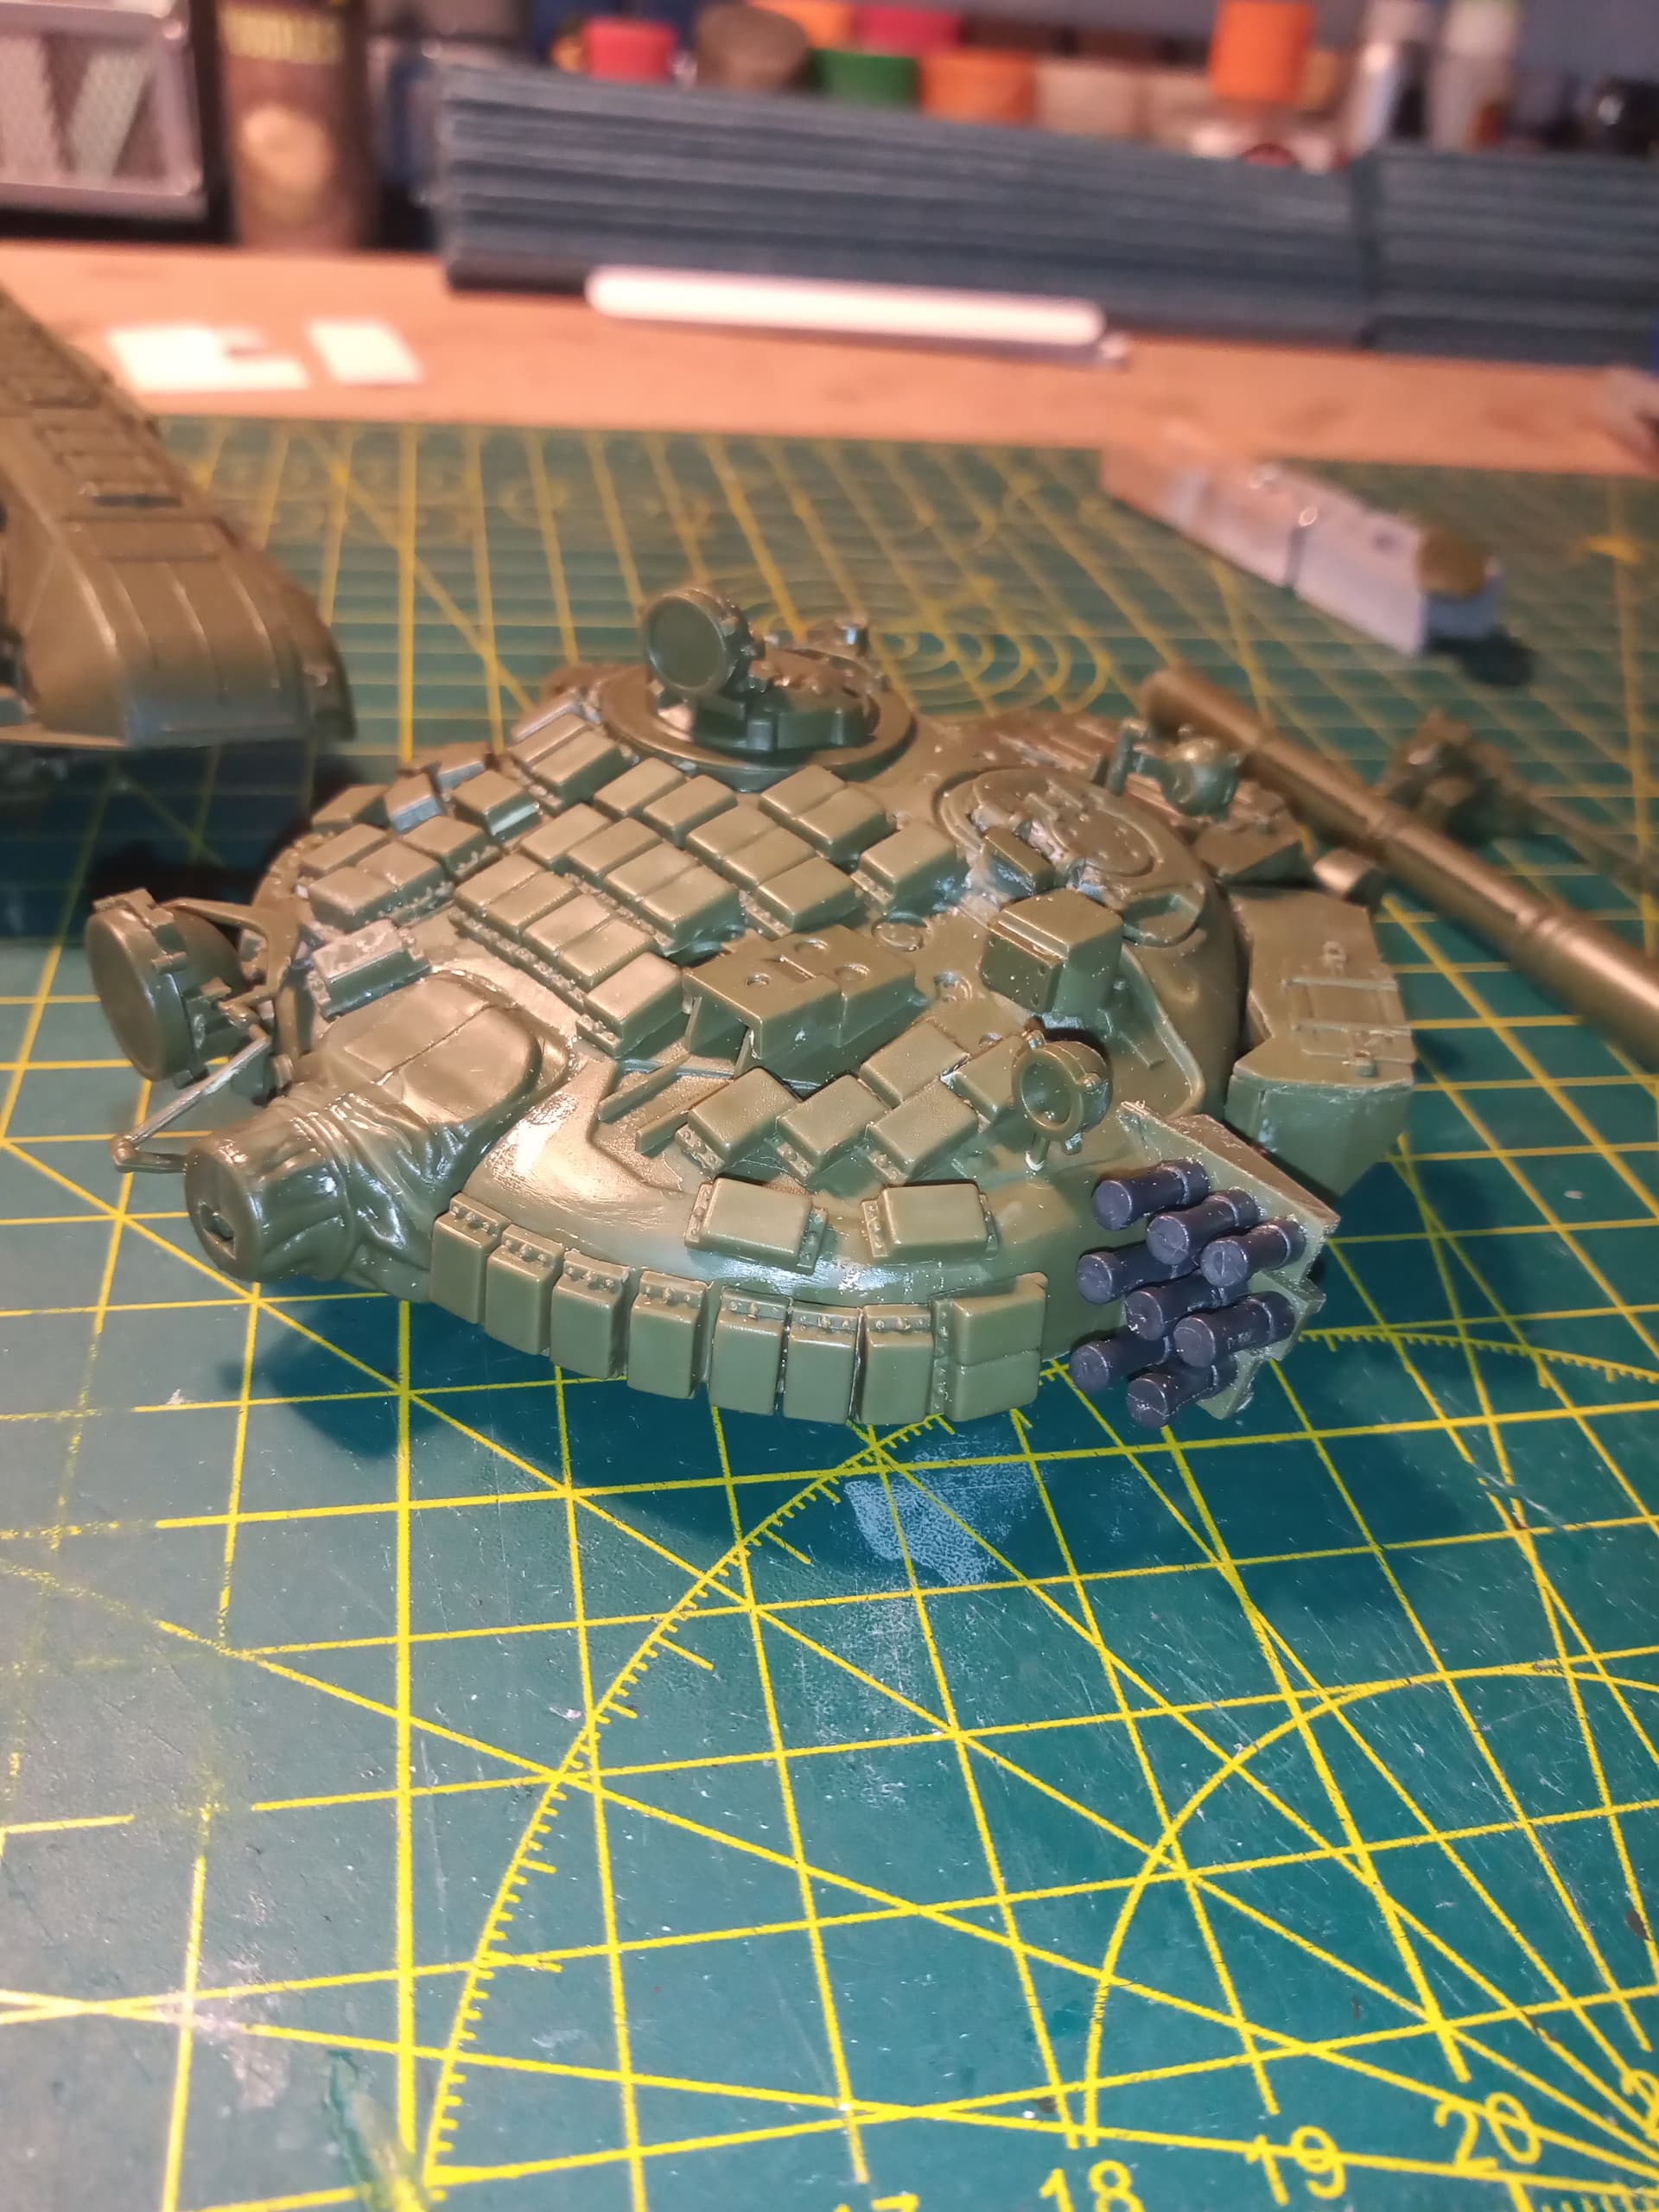
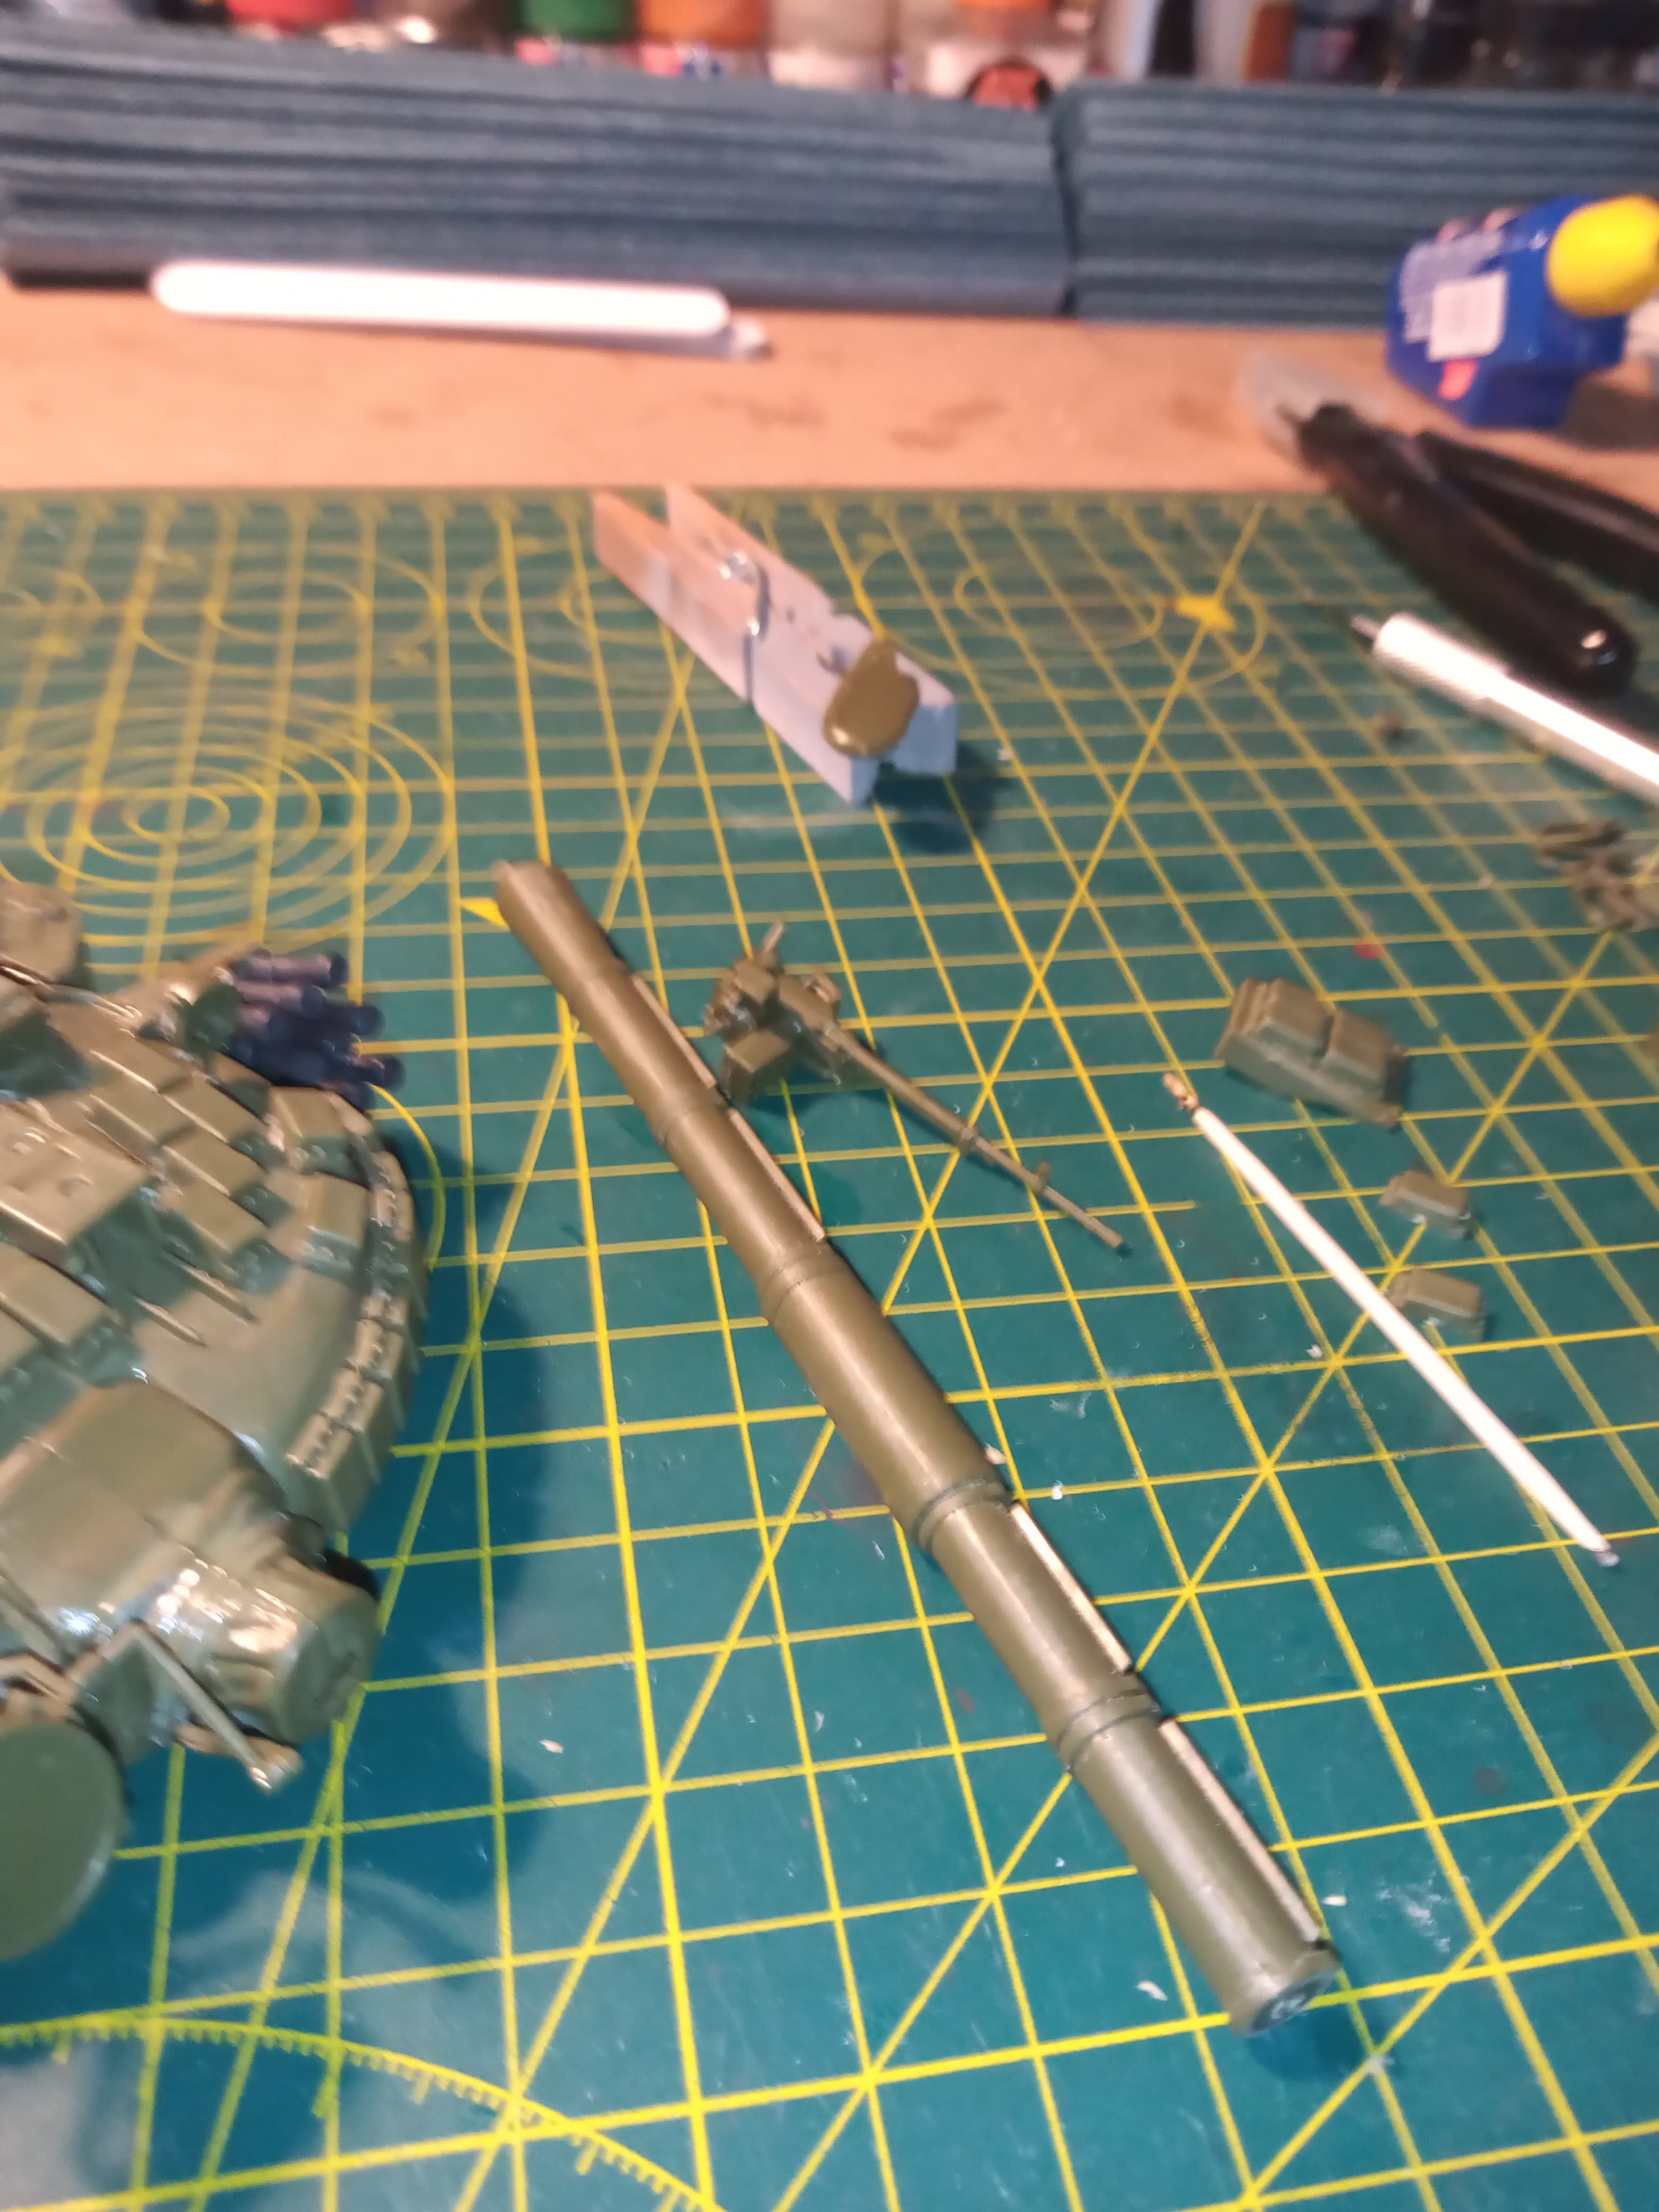
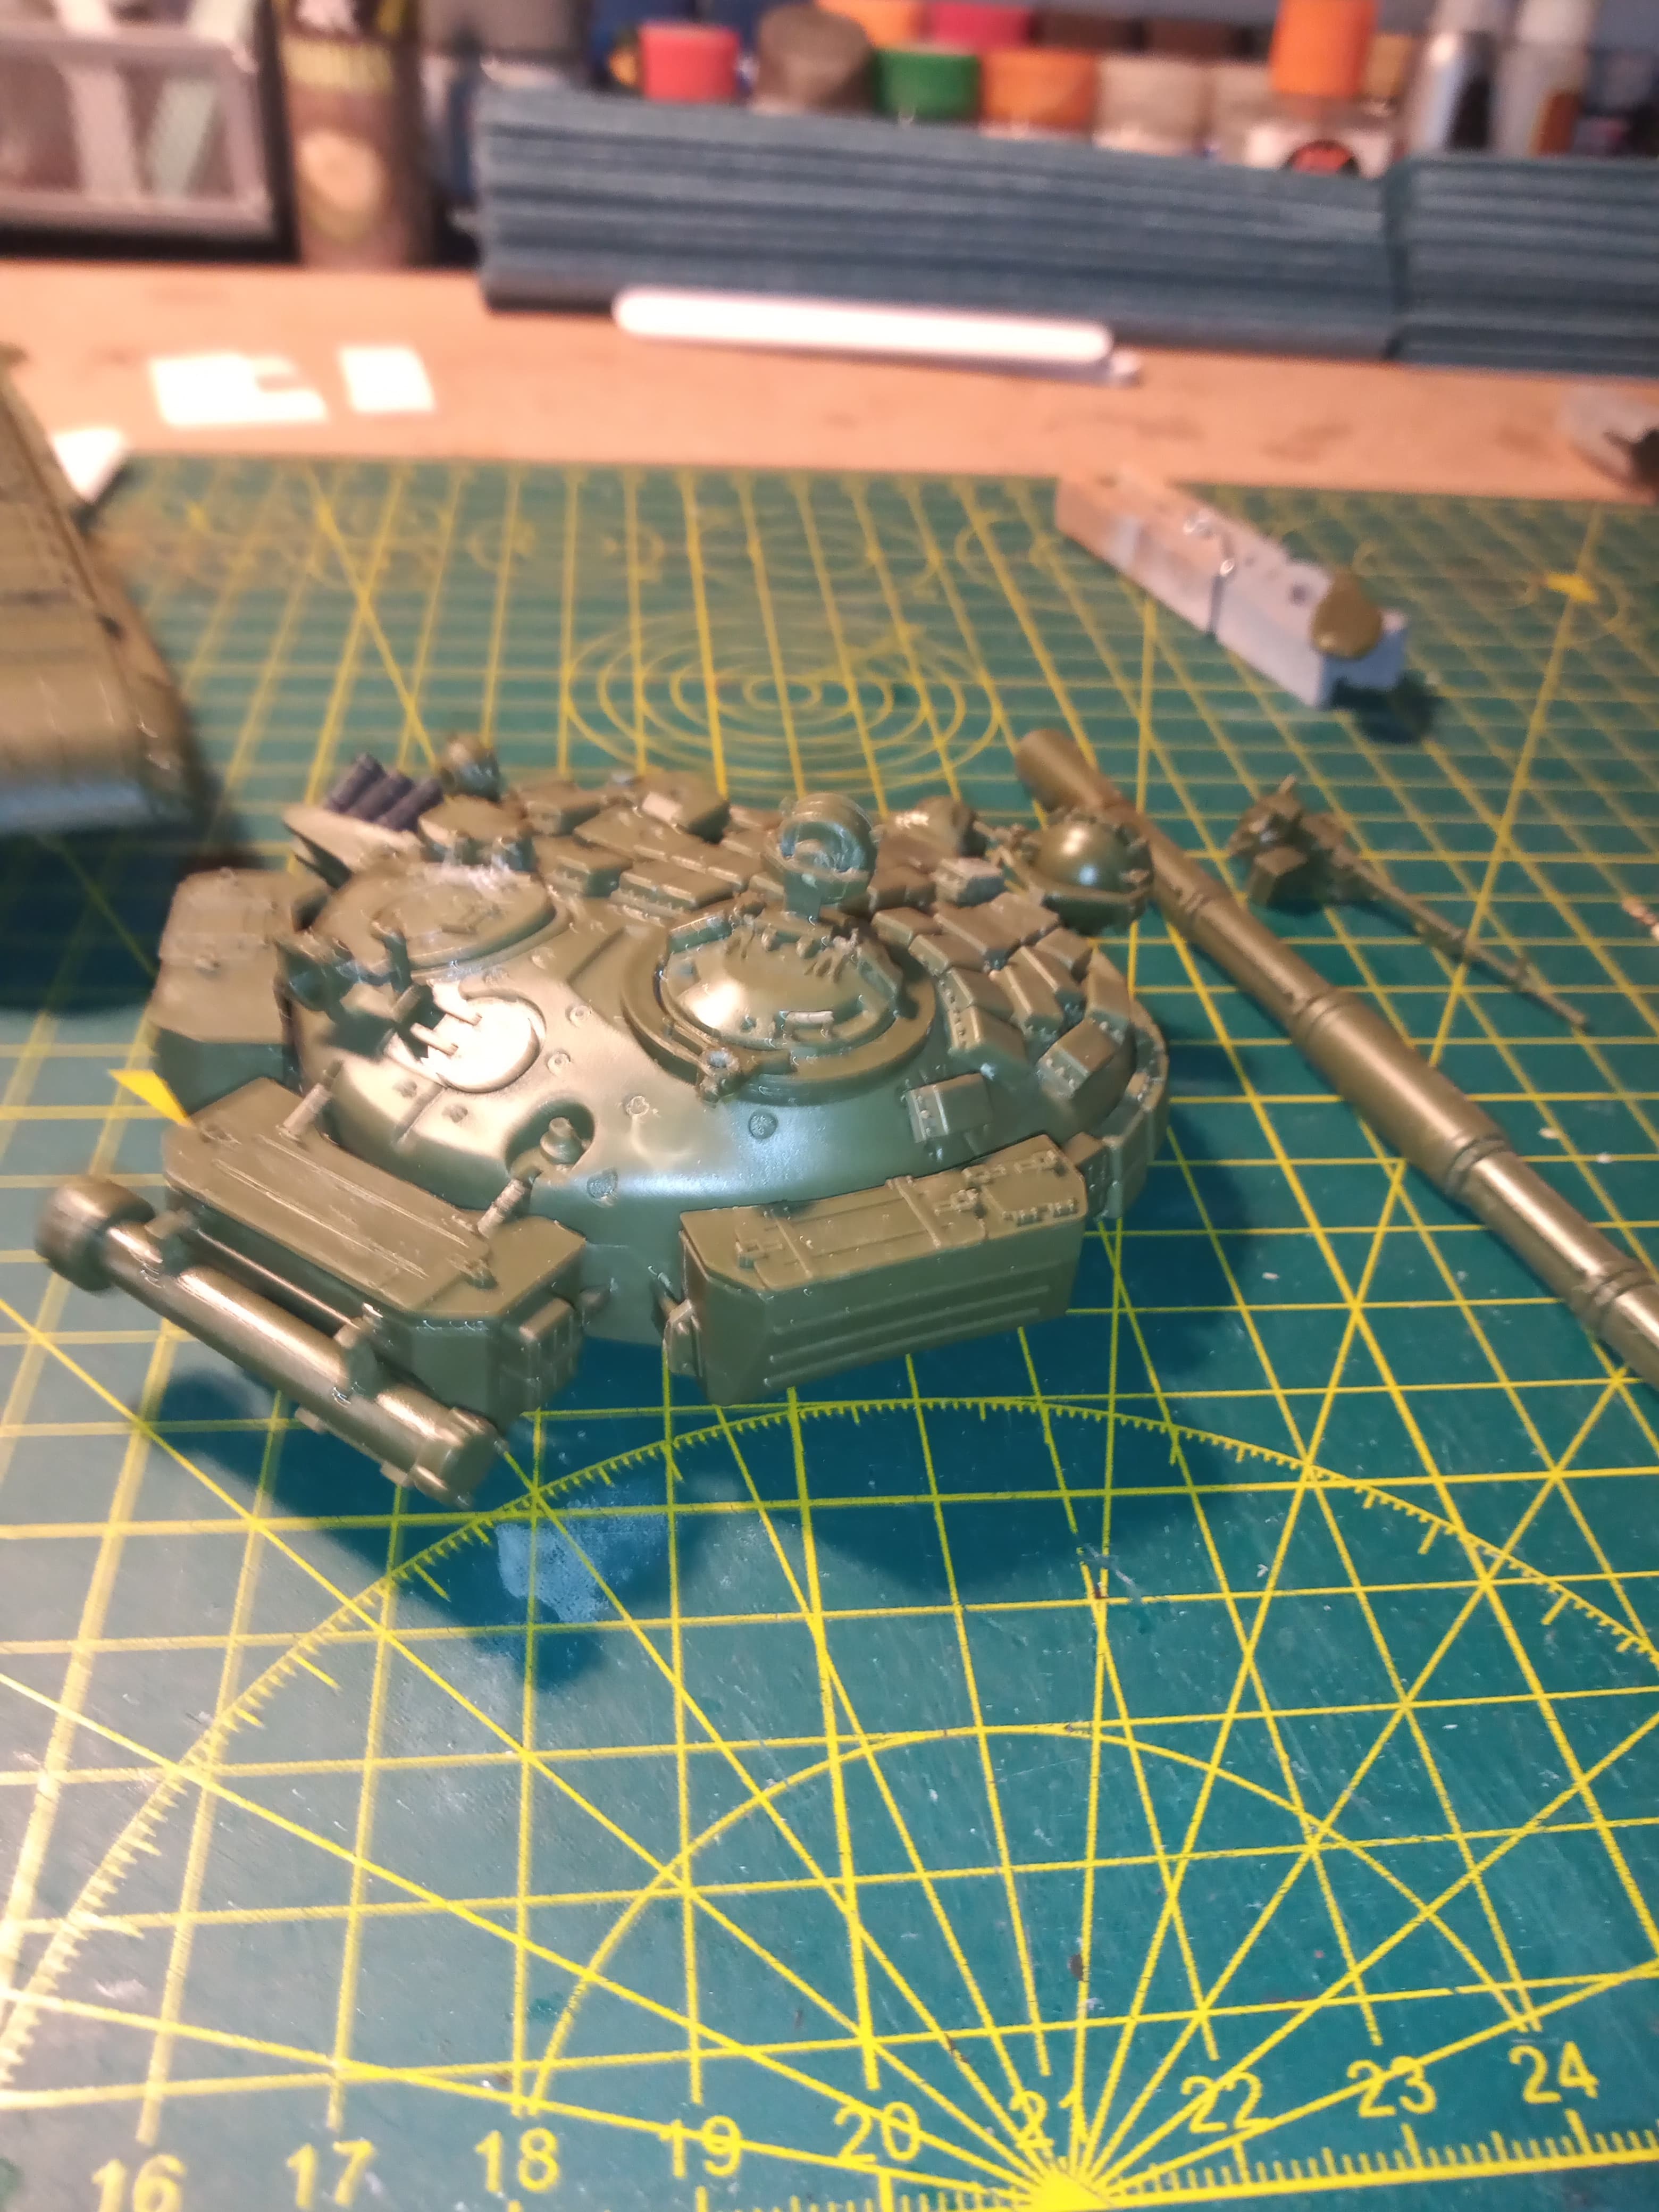
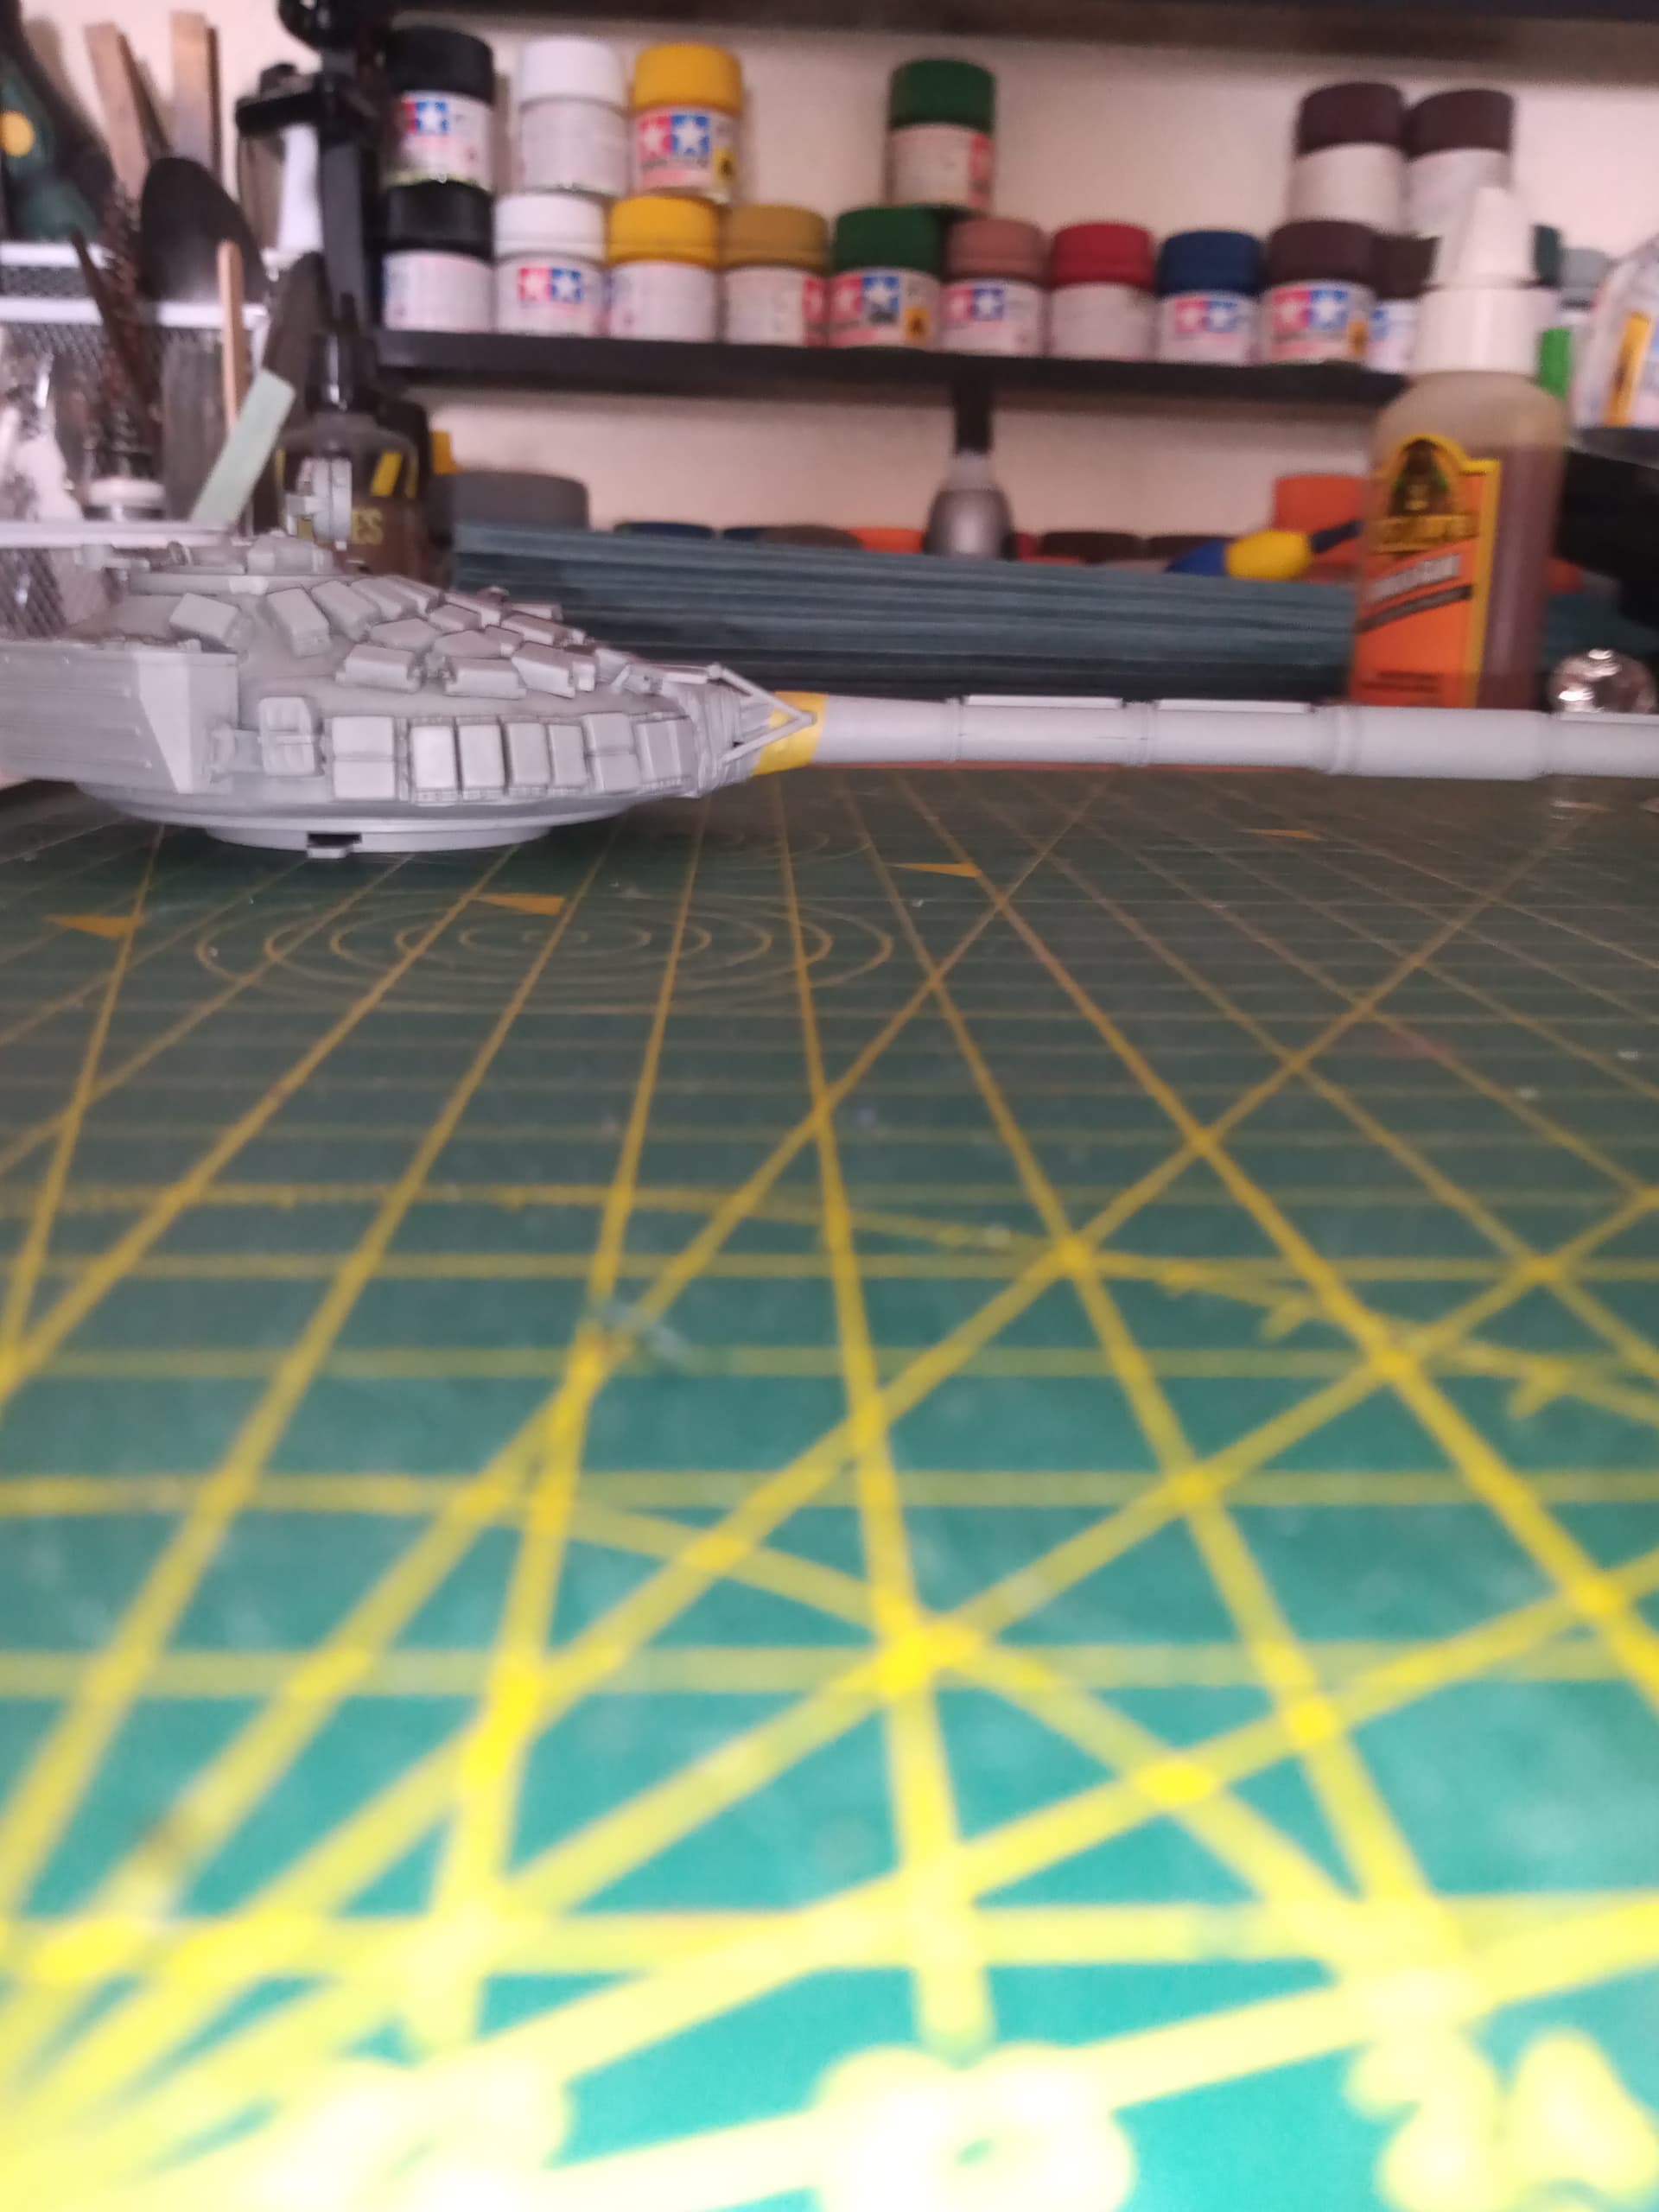
Turret is built up apart from the barrel and Comd MG
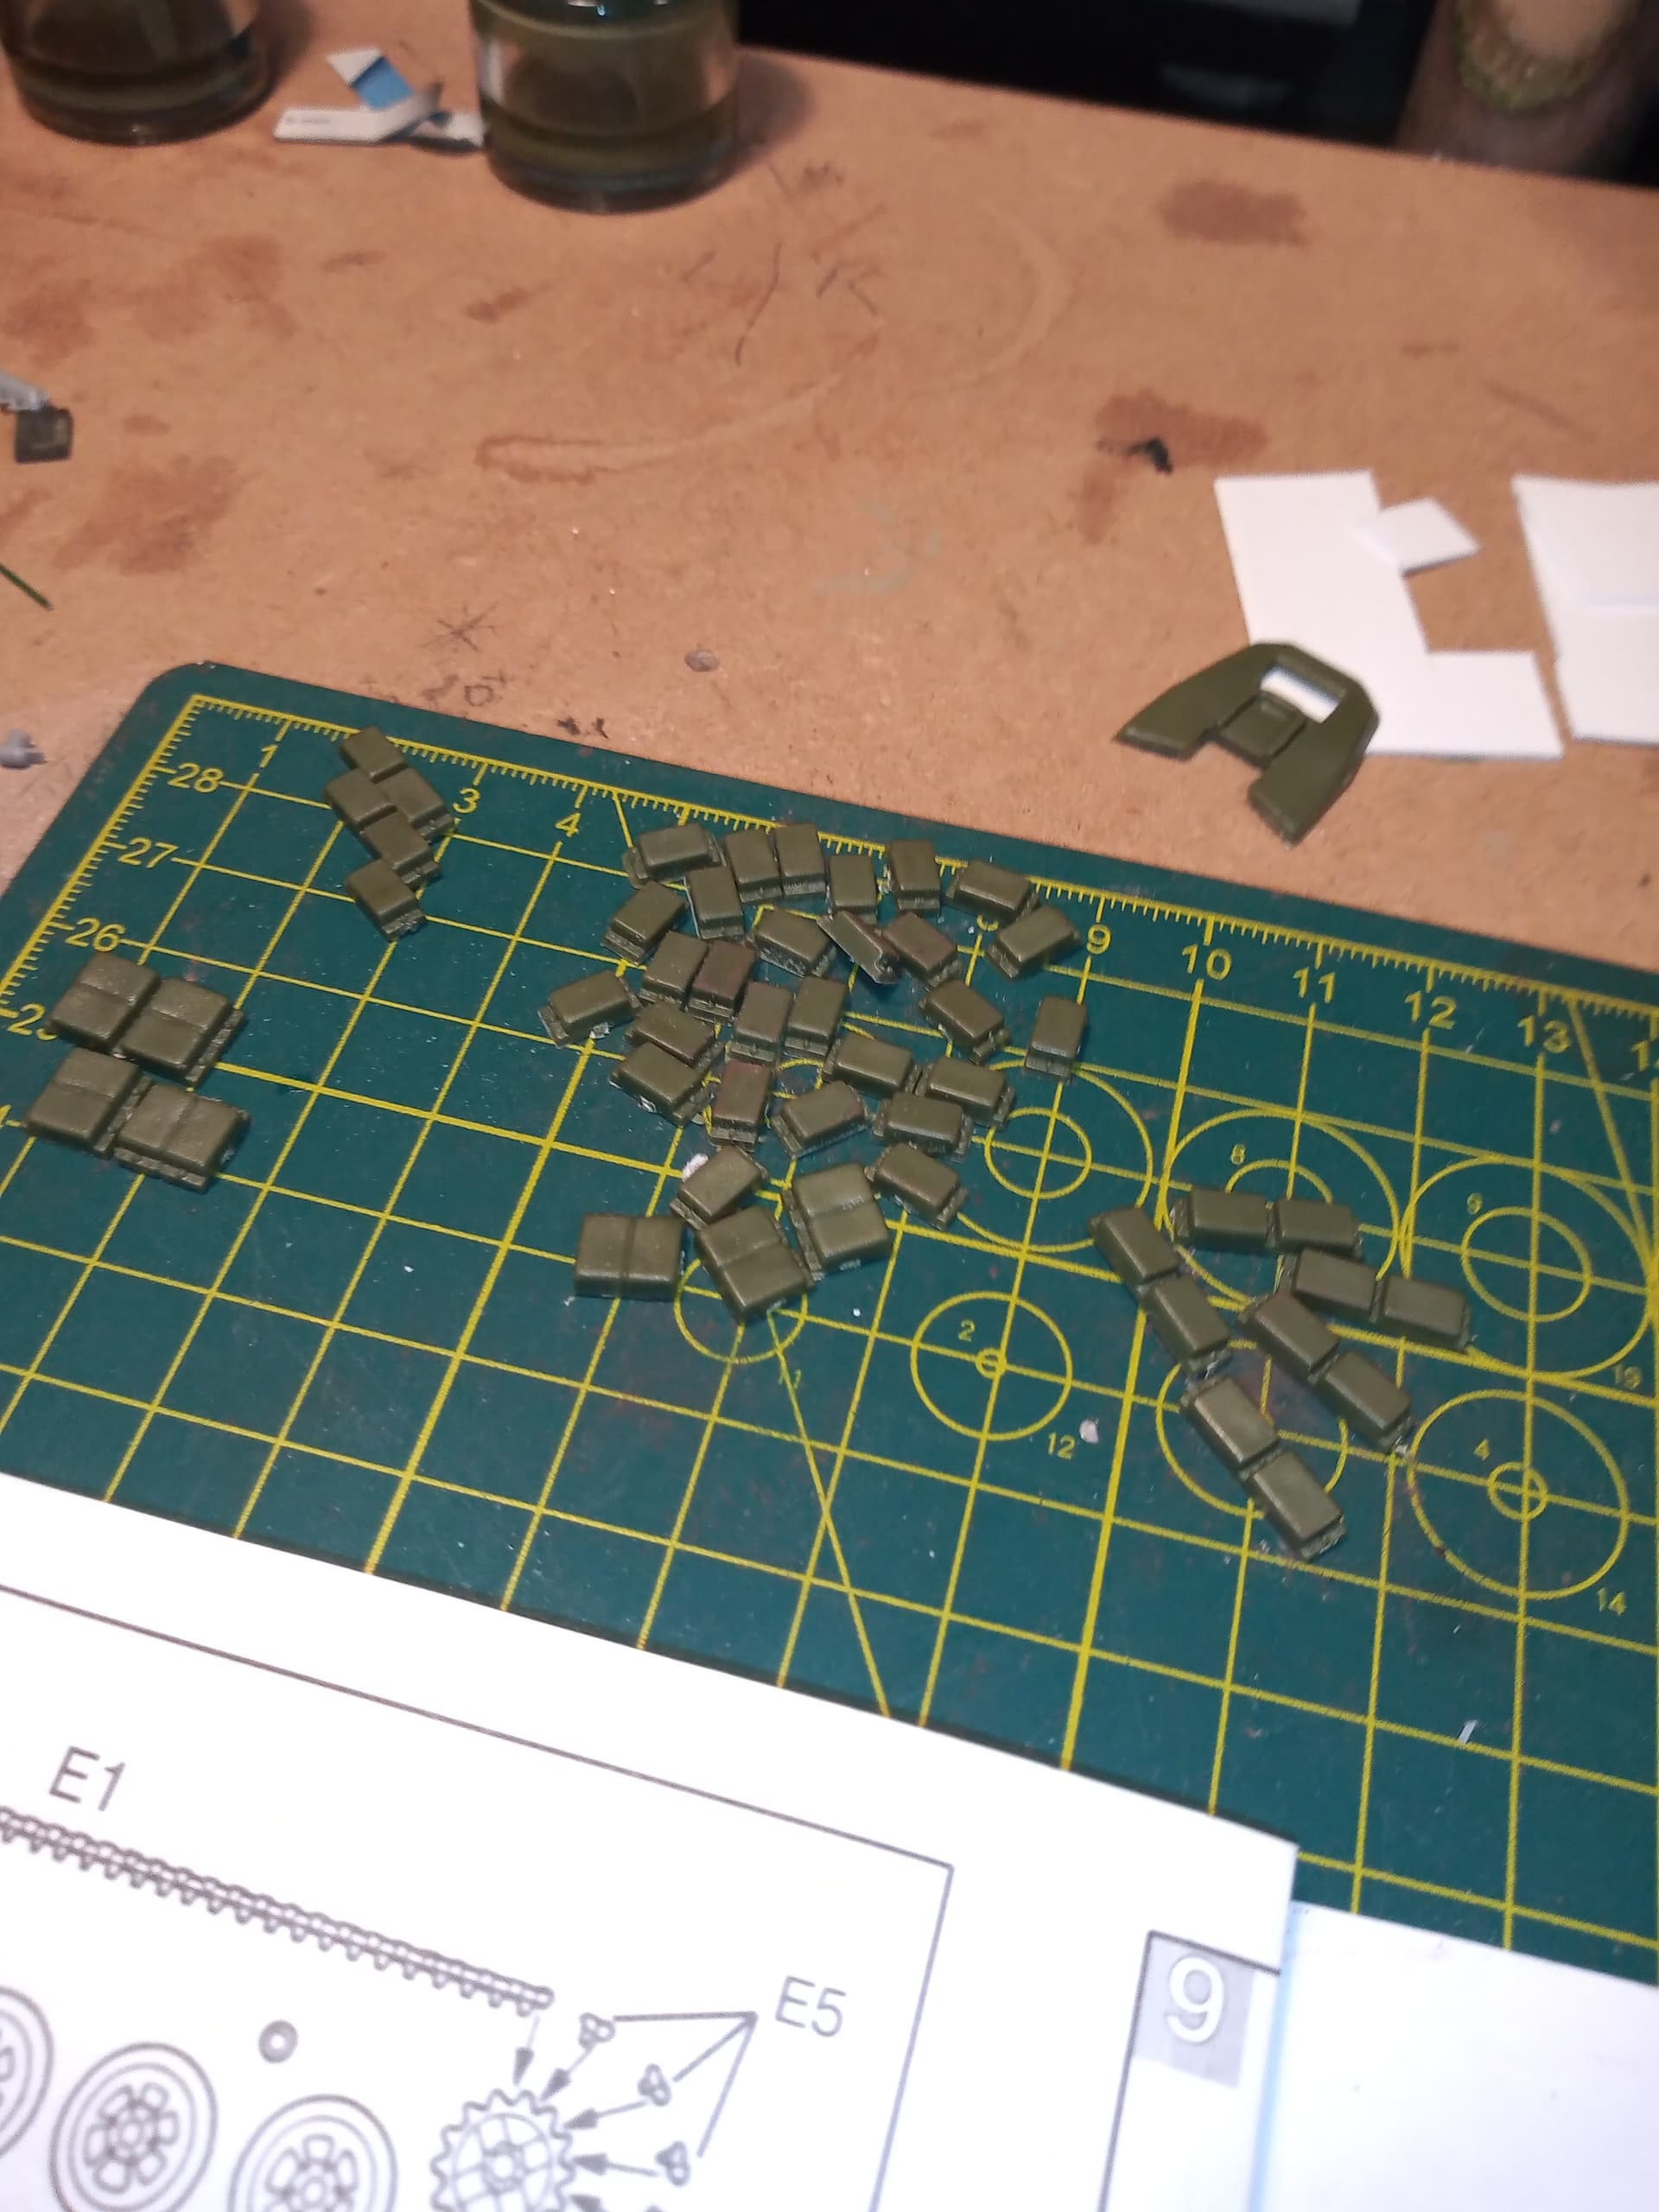
ERA were added, but the instructions didn’t marry up with how they actually fitted, so I improvised… And added extra blocks which have been seen on various real wagons in the war …
As I alluded to above…this kit is a pig … Soft detail all over, gaps on nearly everything, mold lines, sink marks, pour stubs, things not fitting correctly… To many issues to mention … I would strongly suggest just removing the ERA sprues and putting the rest in a bin…
Even the ERA blocks have issues… every single one you can see in the above images needed sanding, trimming to some degree to make them ok.
Thankfully… Most of the hull will be submerged if the plan works out…
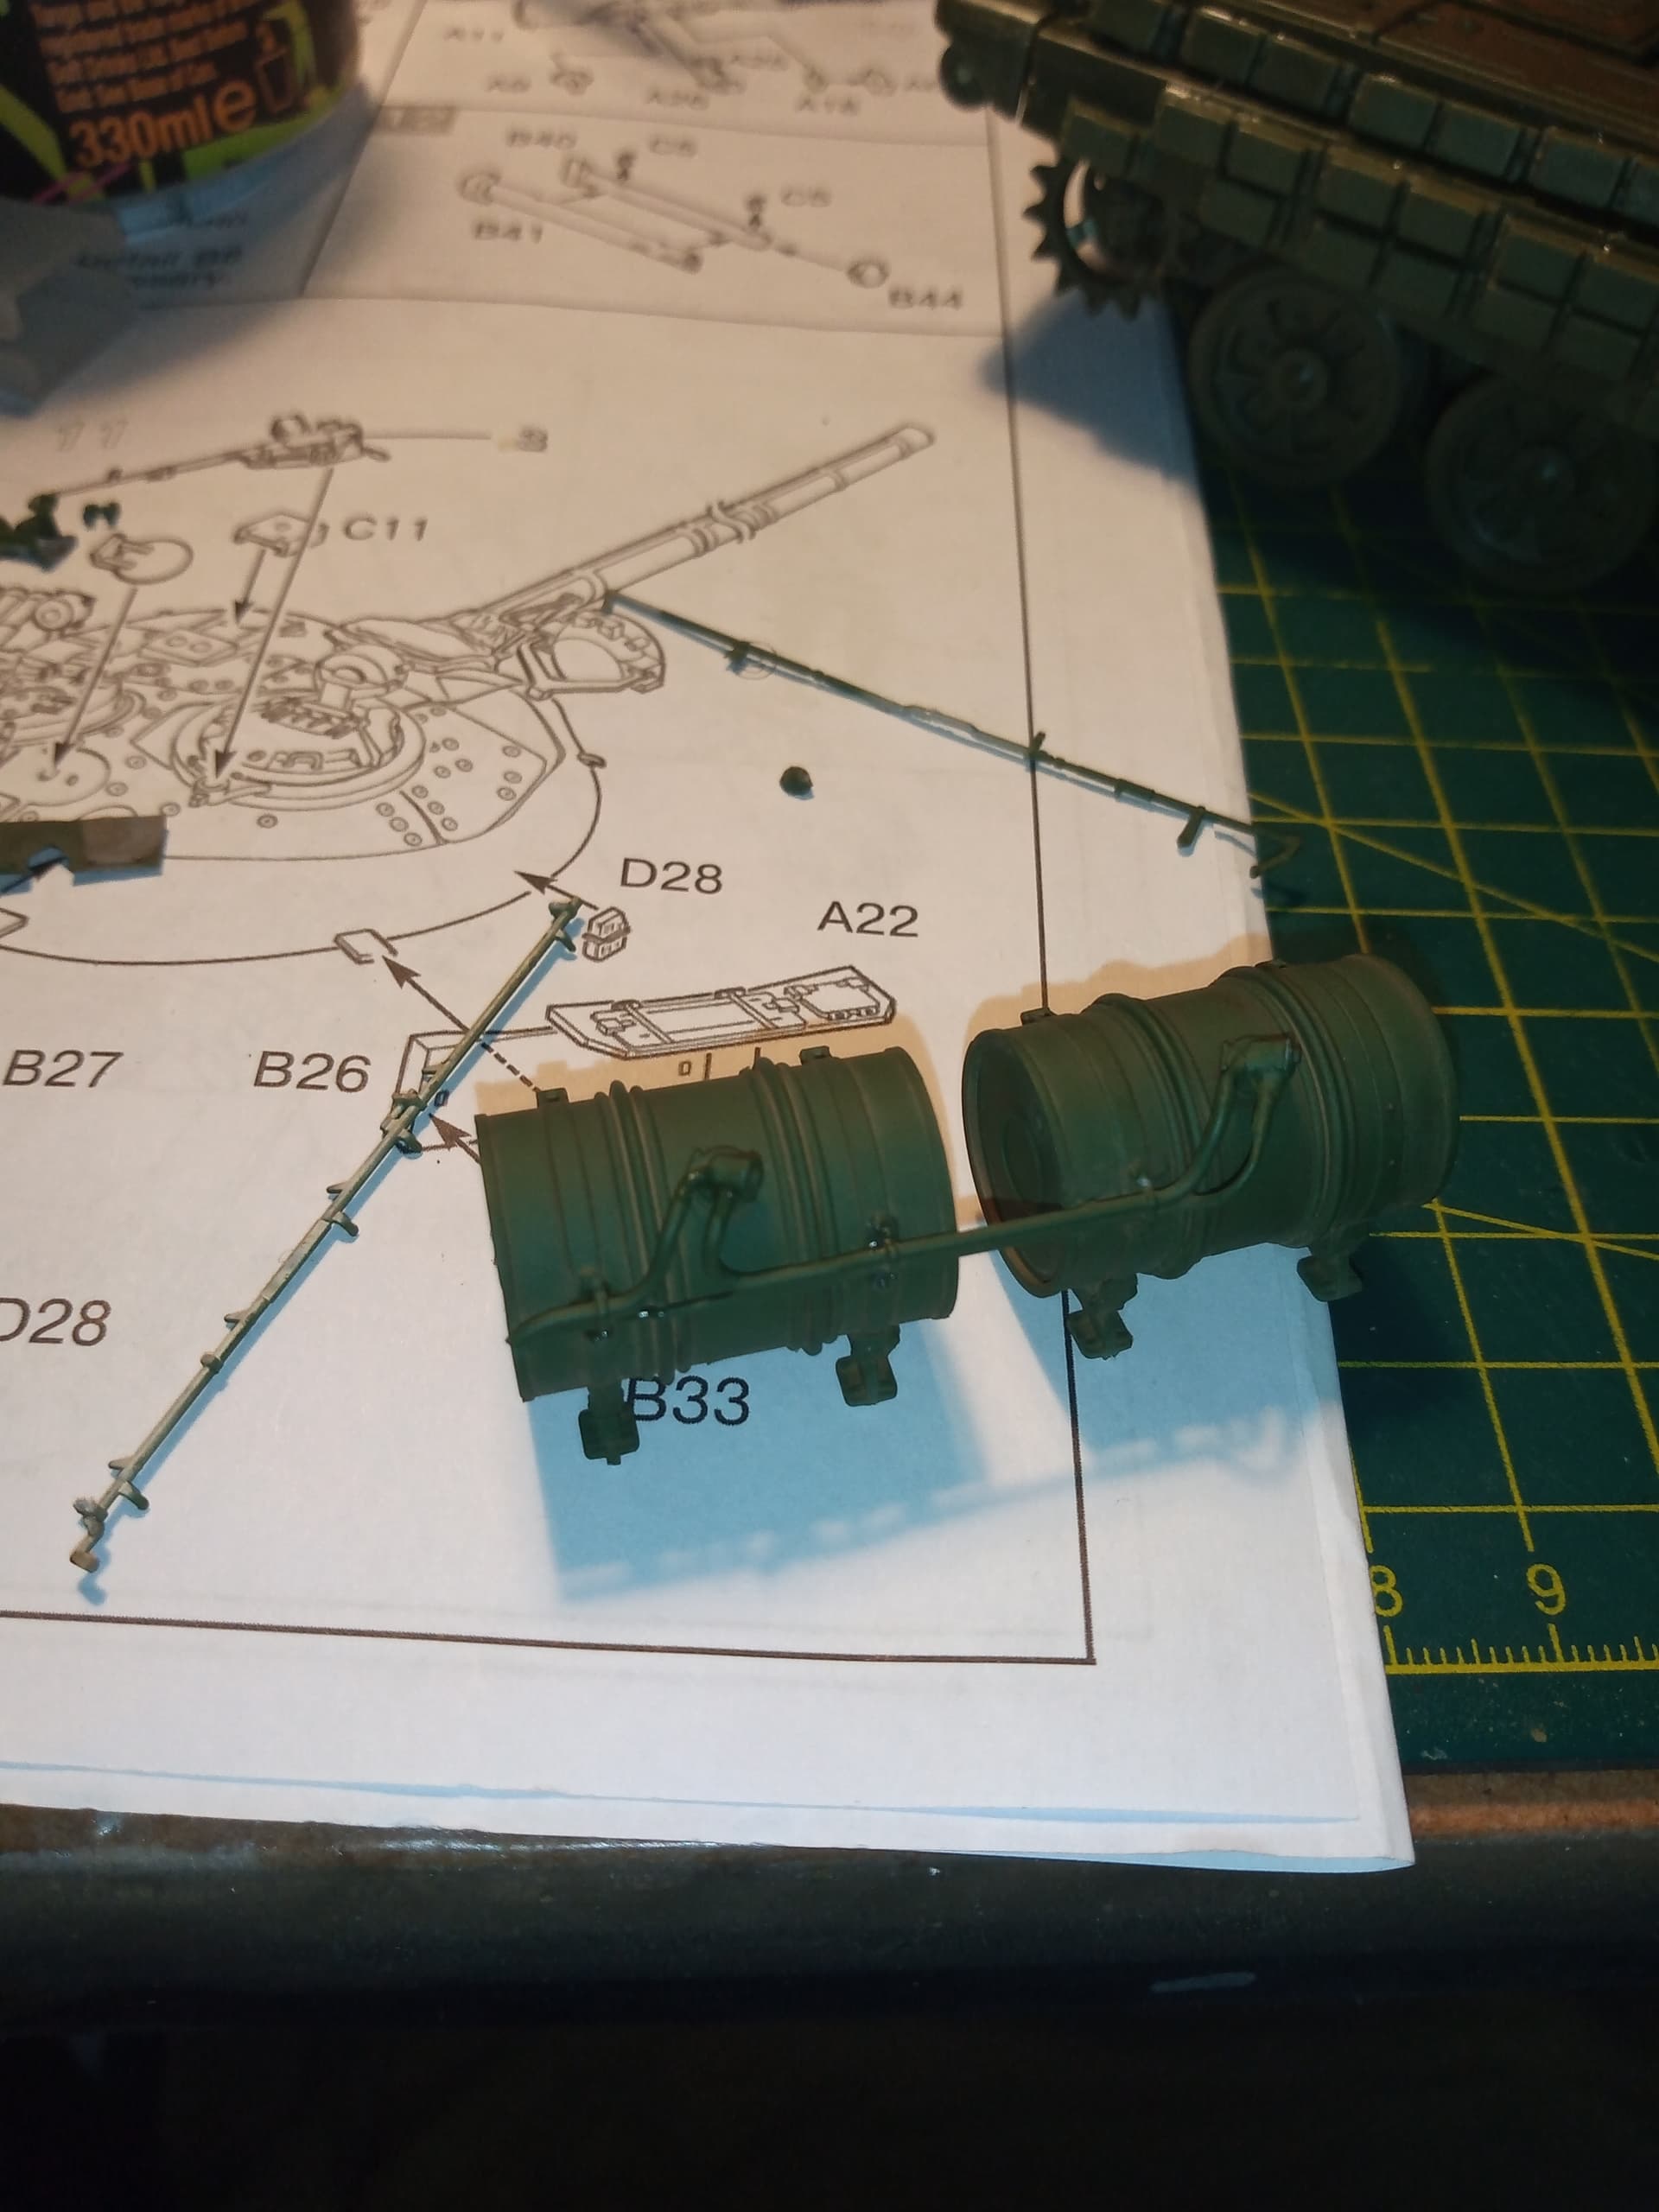
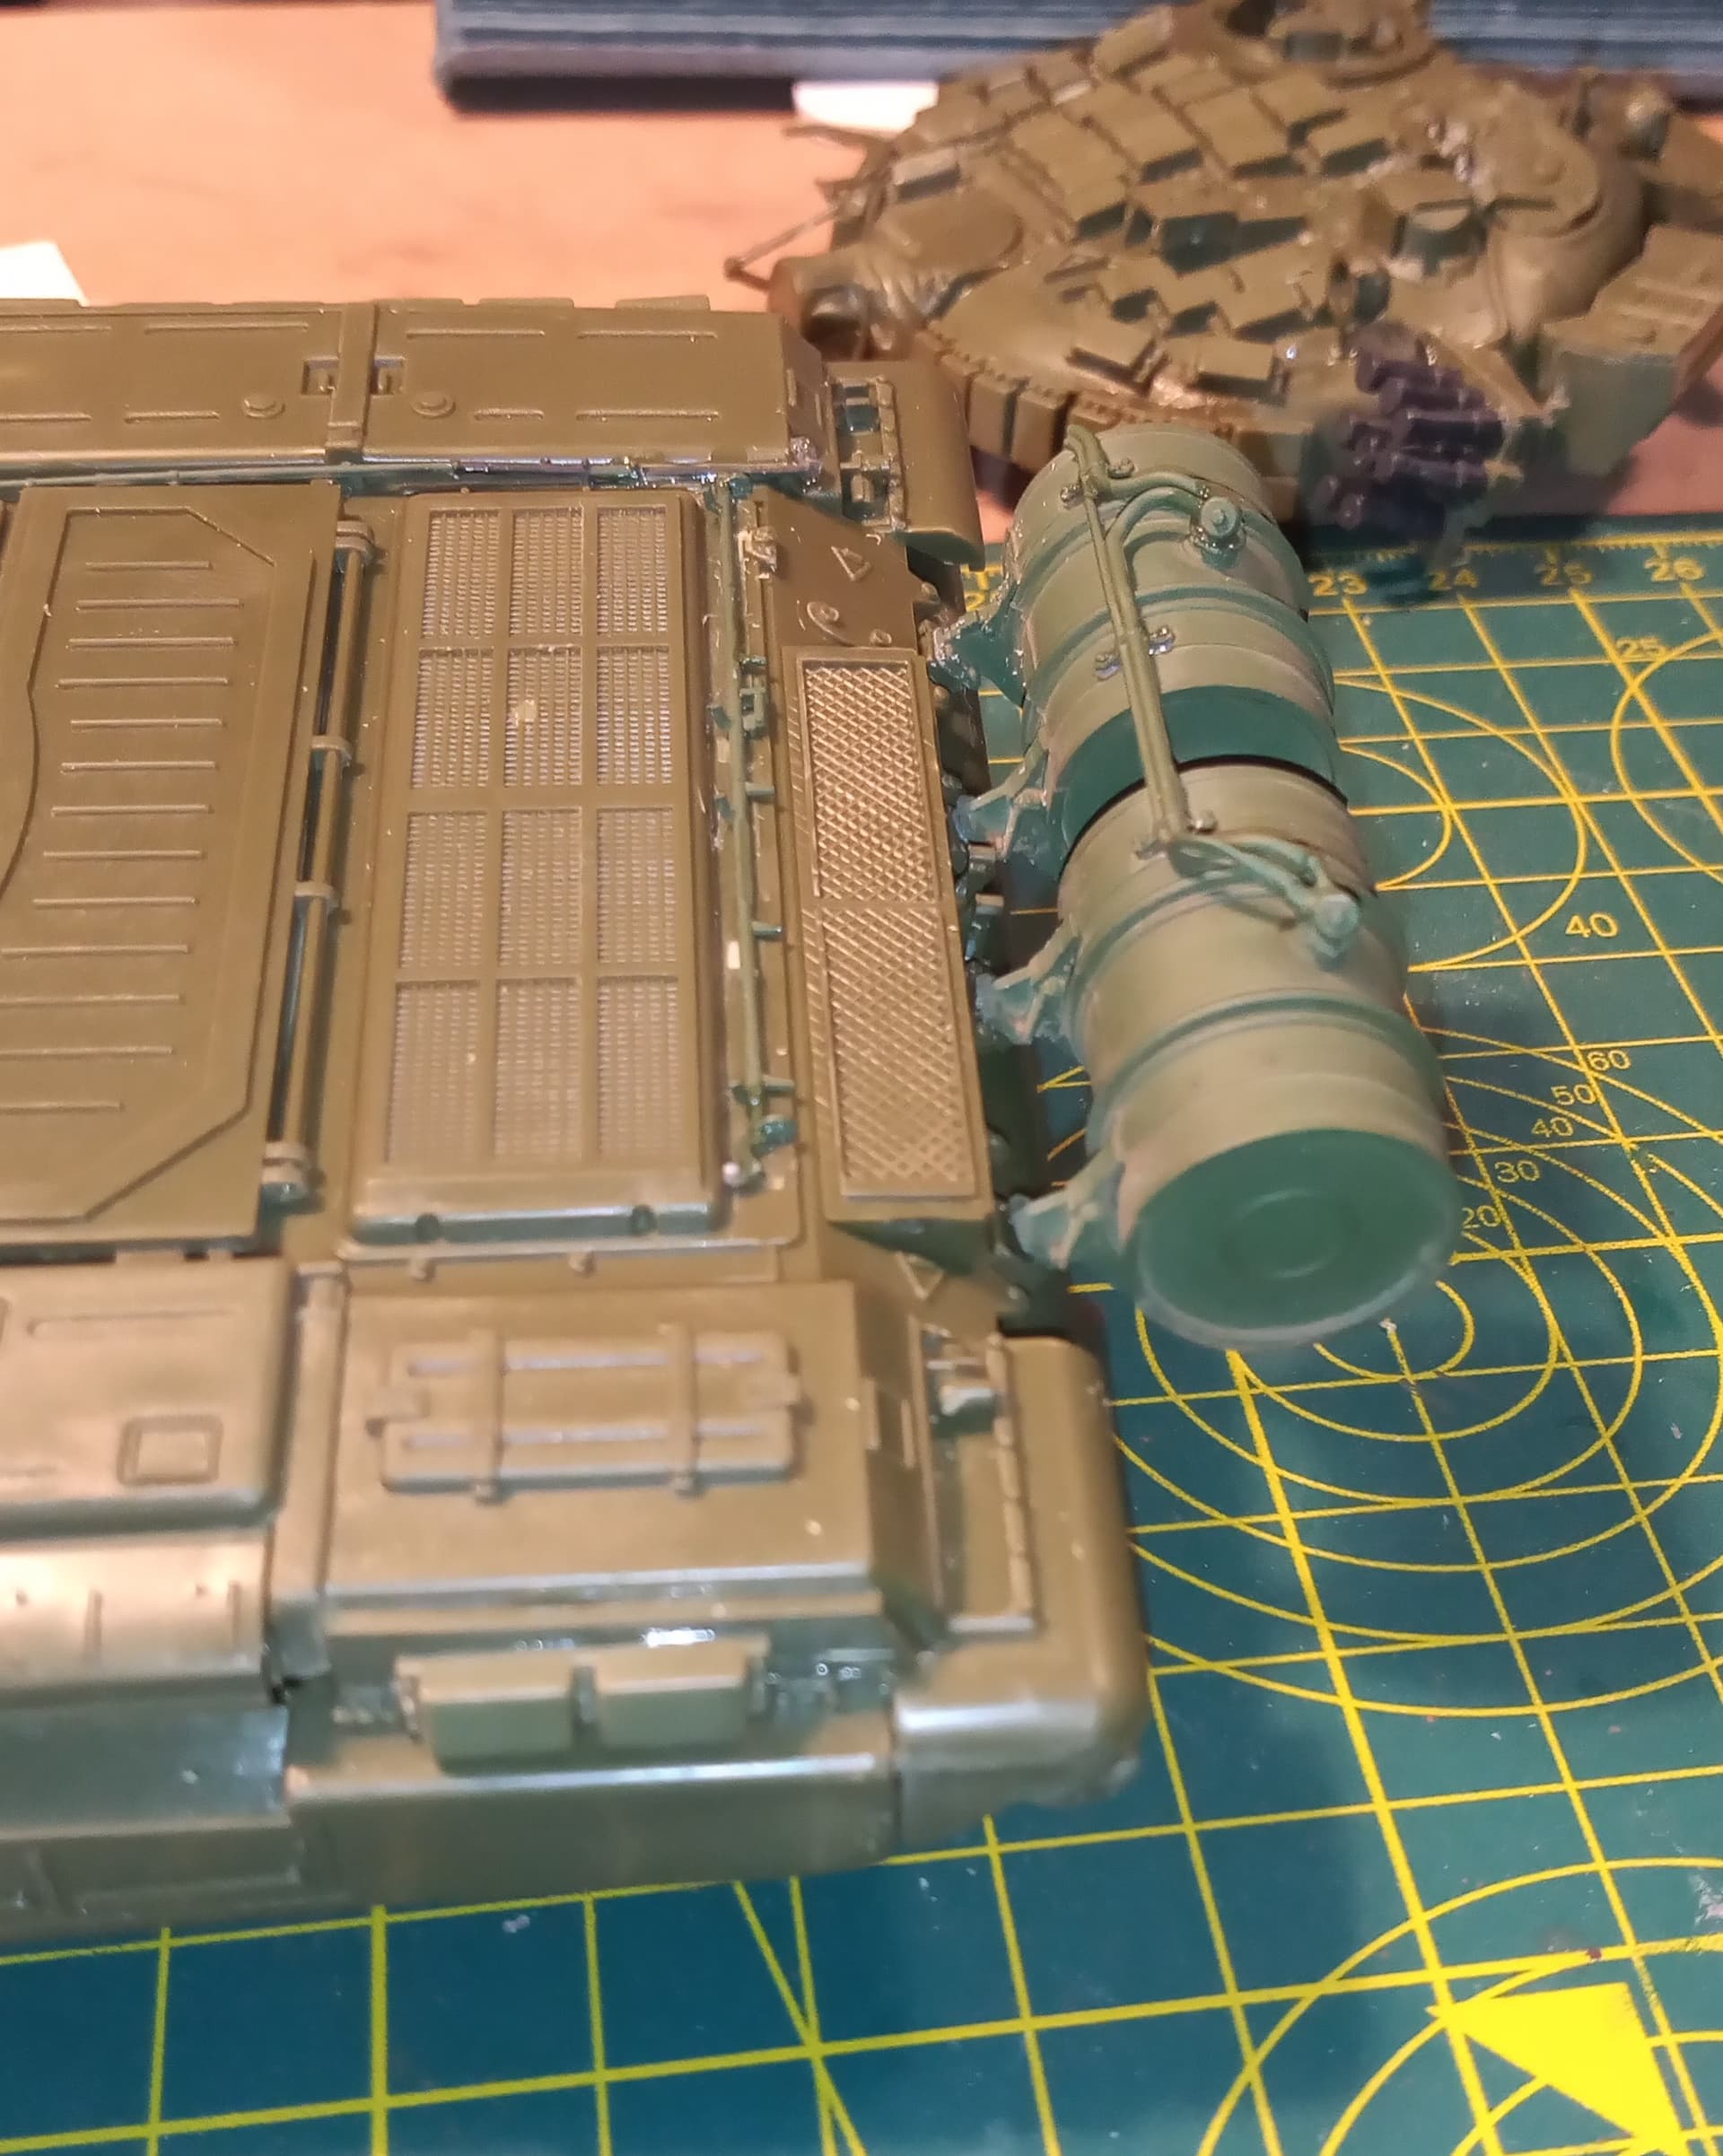
I have stolen the external fuel drums from my T90 and going to fit them onto this, along with some fuel lines I was also able to remove …
Still need to fabricate the 2 fuel pipes from the external tanks to the rear sponsor tank… I snapped that bit and lost it . Will try to get this primed tomorrow… And also start on the base scene …
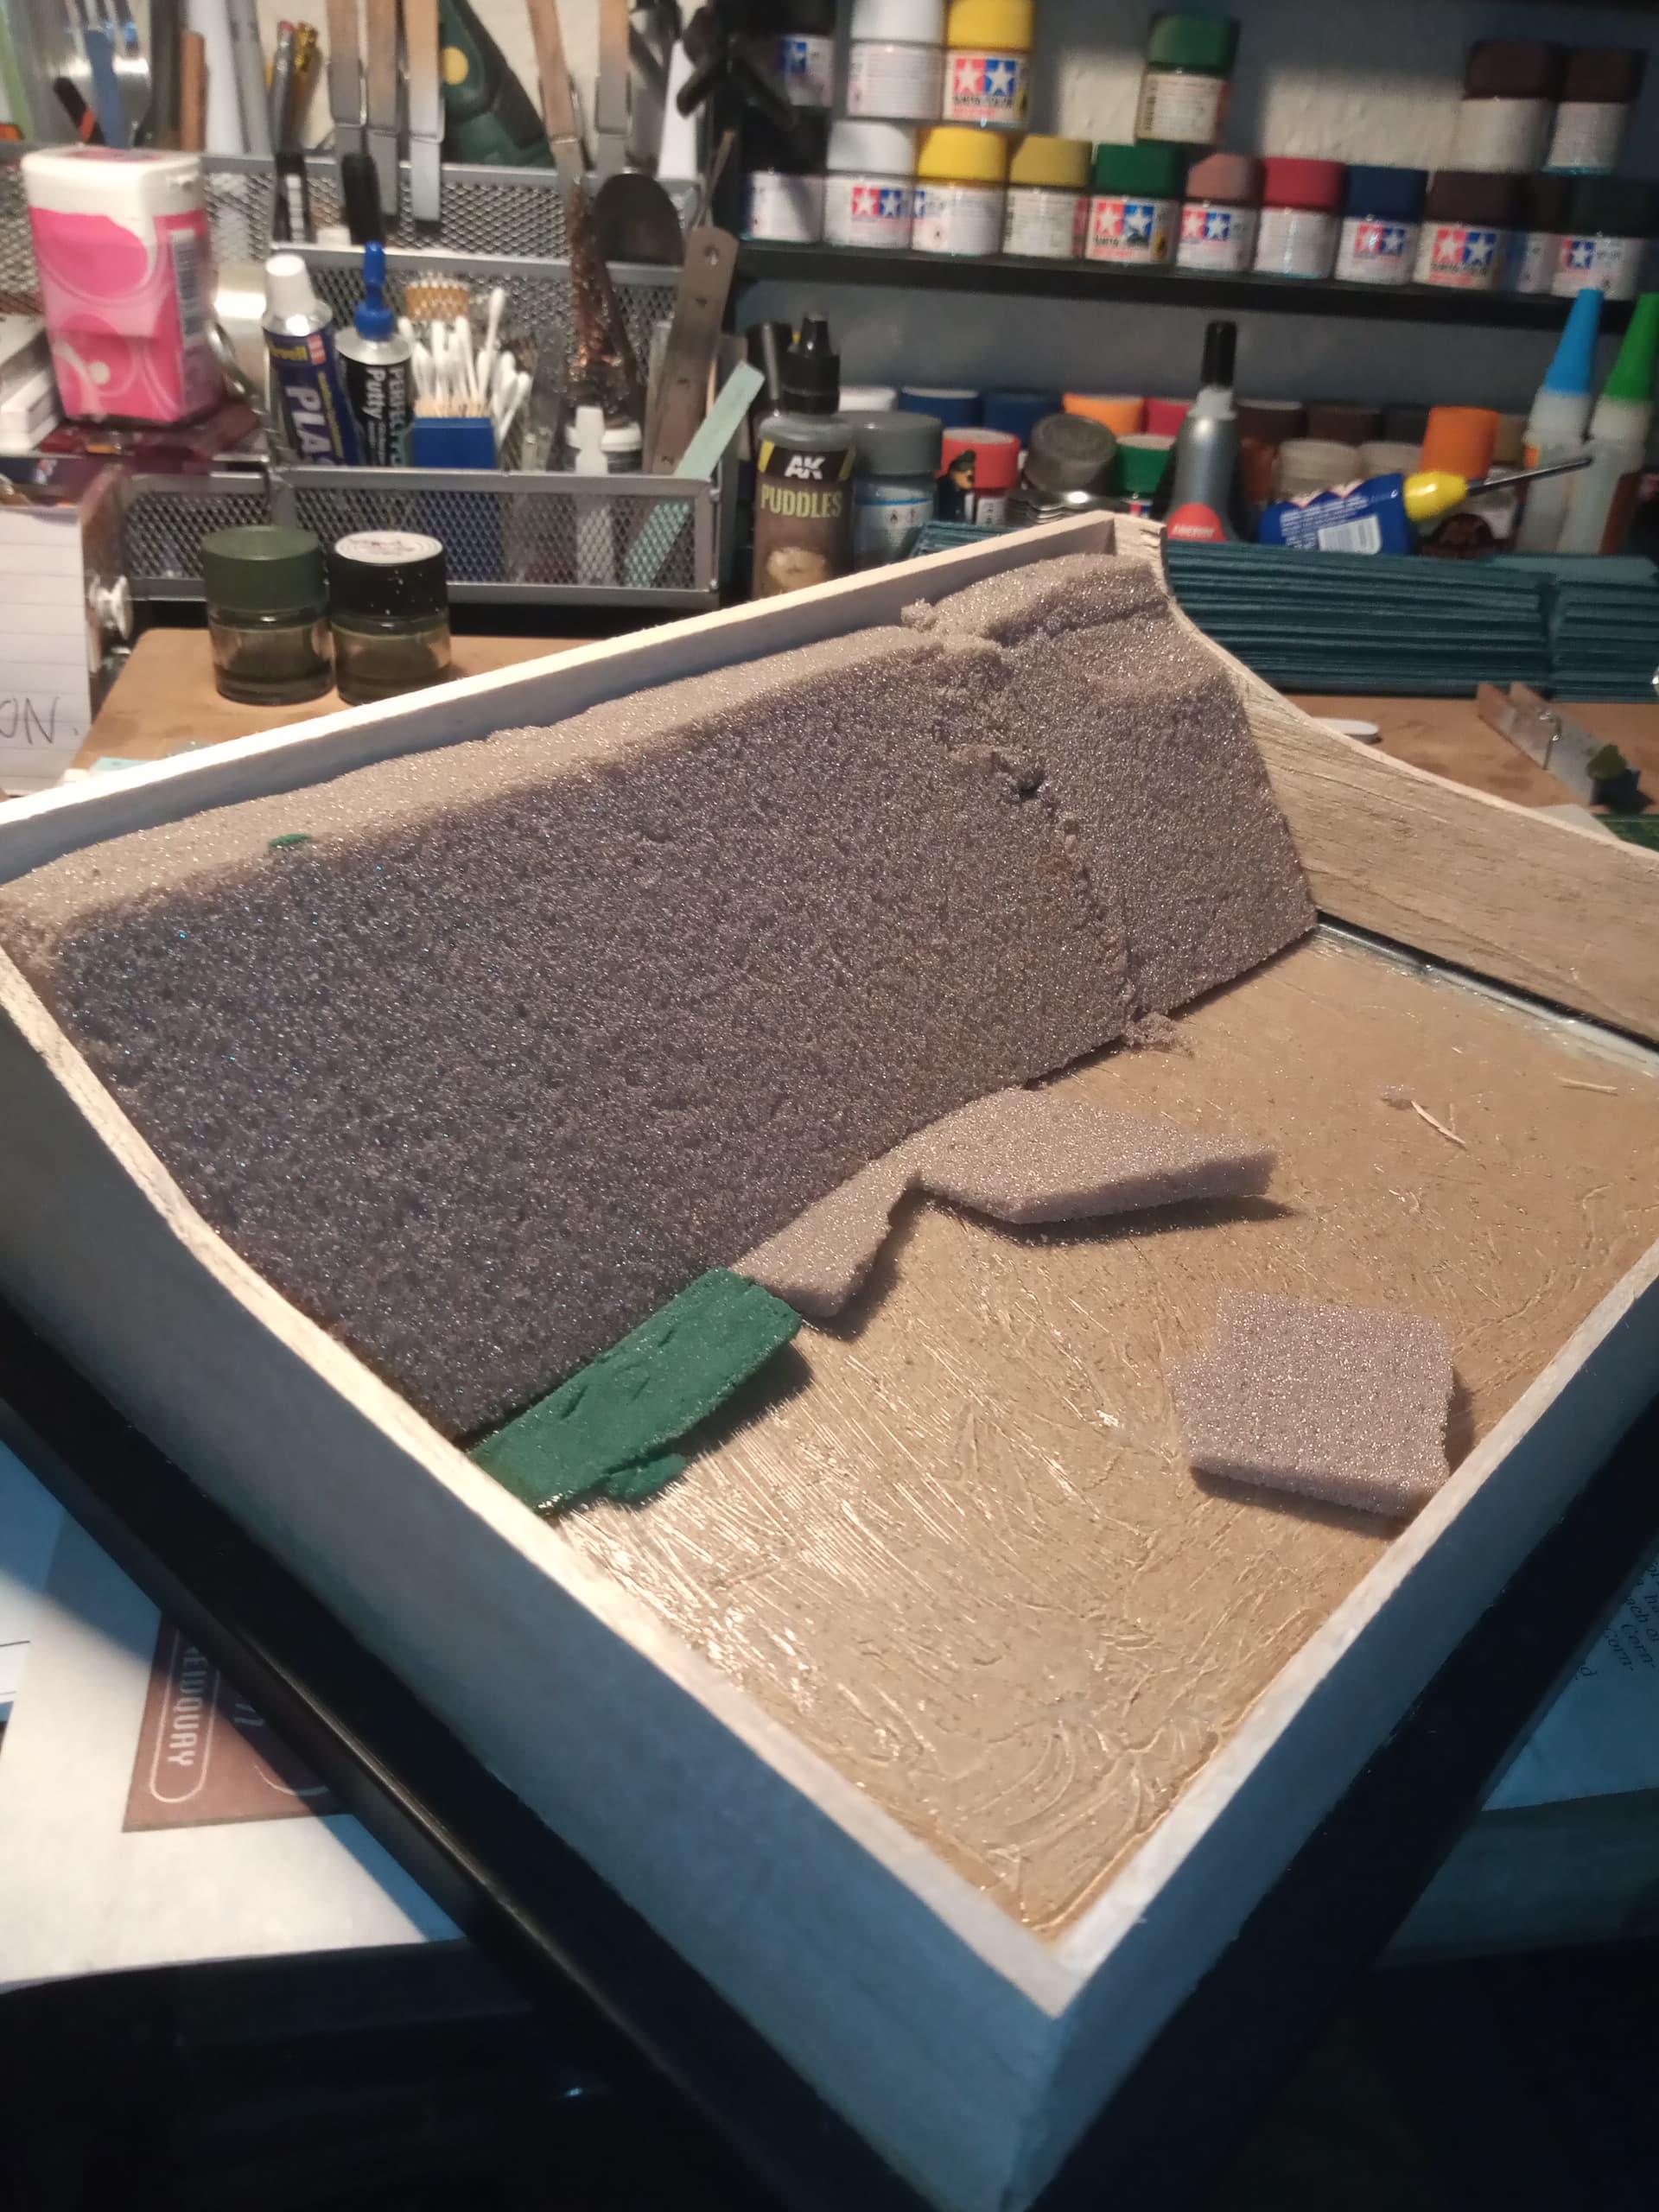
A general fit of the wagon in the box. The rough area where the cocktail sticks are on the bank will be hacked out a bit so the wagon sits slightly flatter. That way I can get the drivers cab submerged but visible, and a small area of the turret under as well.
Just an idea, and it may prove difficult after everything else is done, but maybe trim away that front corner right at the end, so that you don’t cut too much off now? Not sure if that makes sense!
Lol…great minds think alike …
I going do some groundwork for the bank and get some earth texture on it. Get the wagon fitted or at least measured up for the area it will sit in, the paint that fully up. I will not be cutting anymore of the balsa until the wagon is secured in place and at least 2 or 3 levels of the acrylic pour have been done so I can judge the amount of balsa that has to be cut away …
Looking really good John, , will the finished model be clean, as if it’s only just slipped in, or will it be silted up, as if it’s been submerged for some time…if that makes sense?
I will be doing this one dirty and muddy/silted up … Will be ordering some of the AK effects, slime, grime,moss etc …
Good question Bert …now you’ve mentioned it, I may look at getting some water type plants to liven it up a bit … Not sure where to look for those though… There will be some debris around the tank from the current as well…build up of twigs, small branches etc.