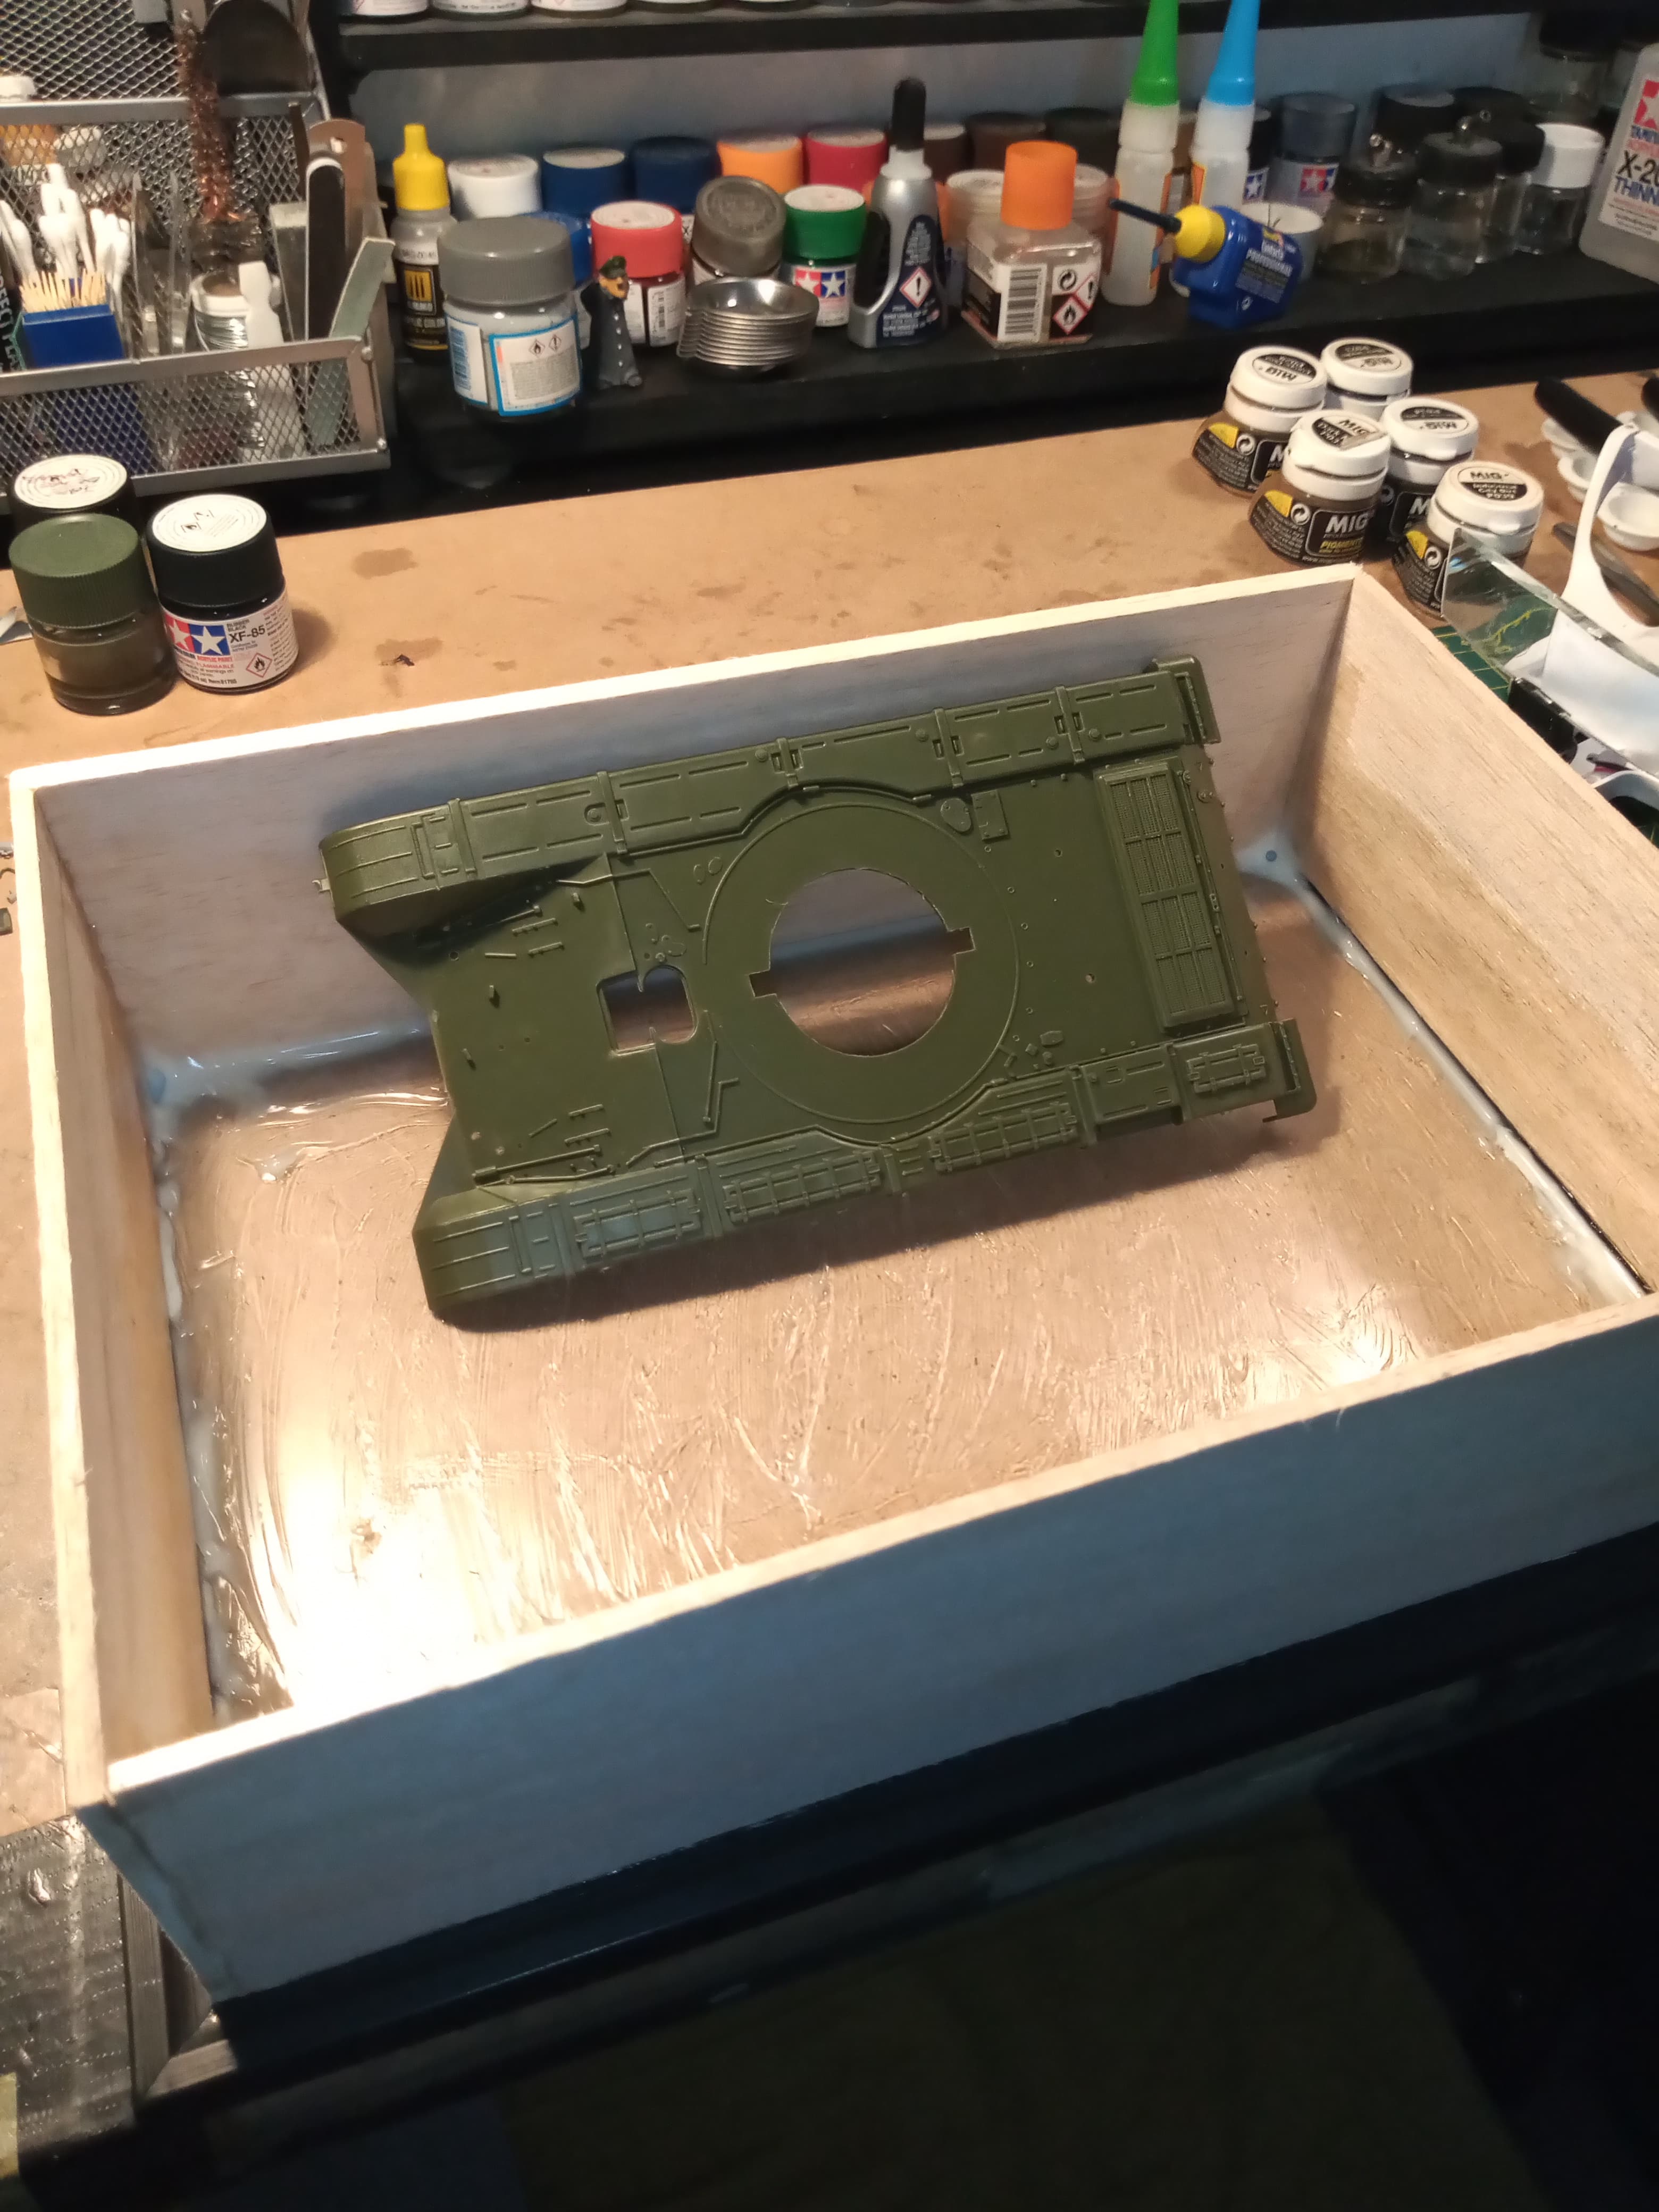
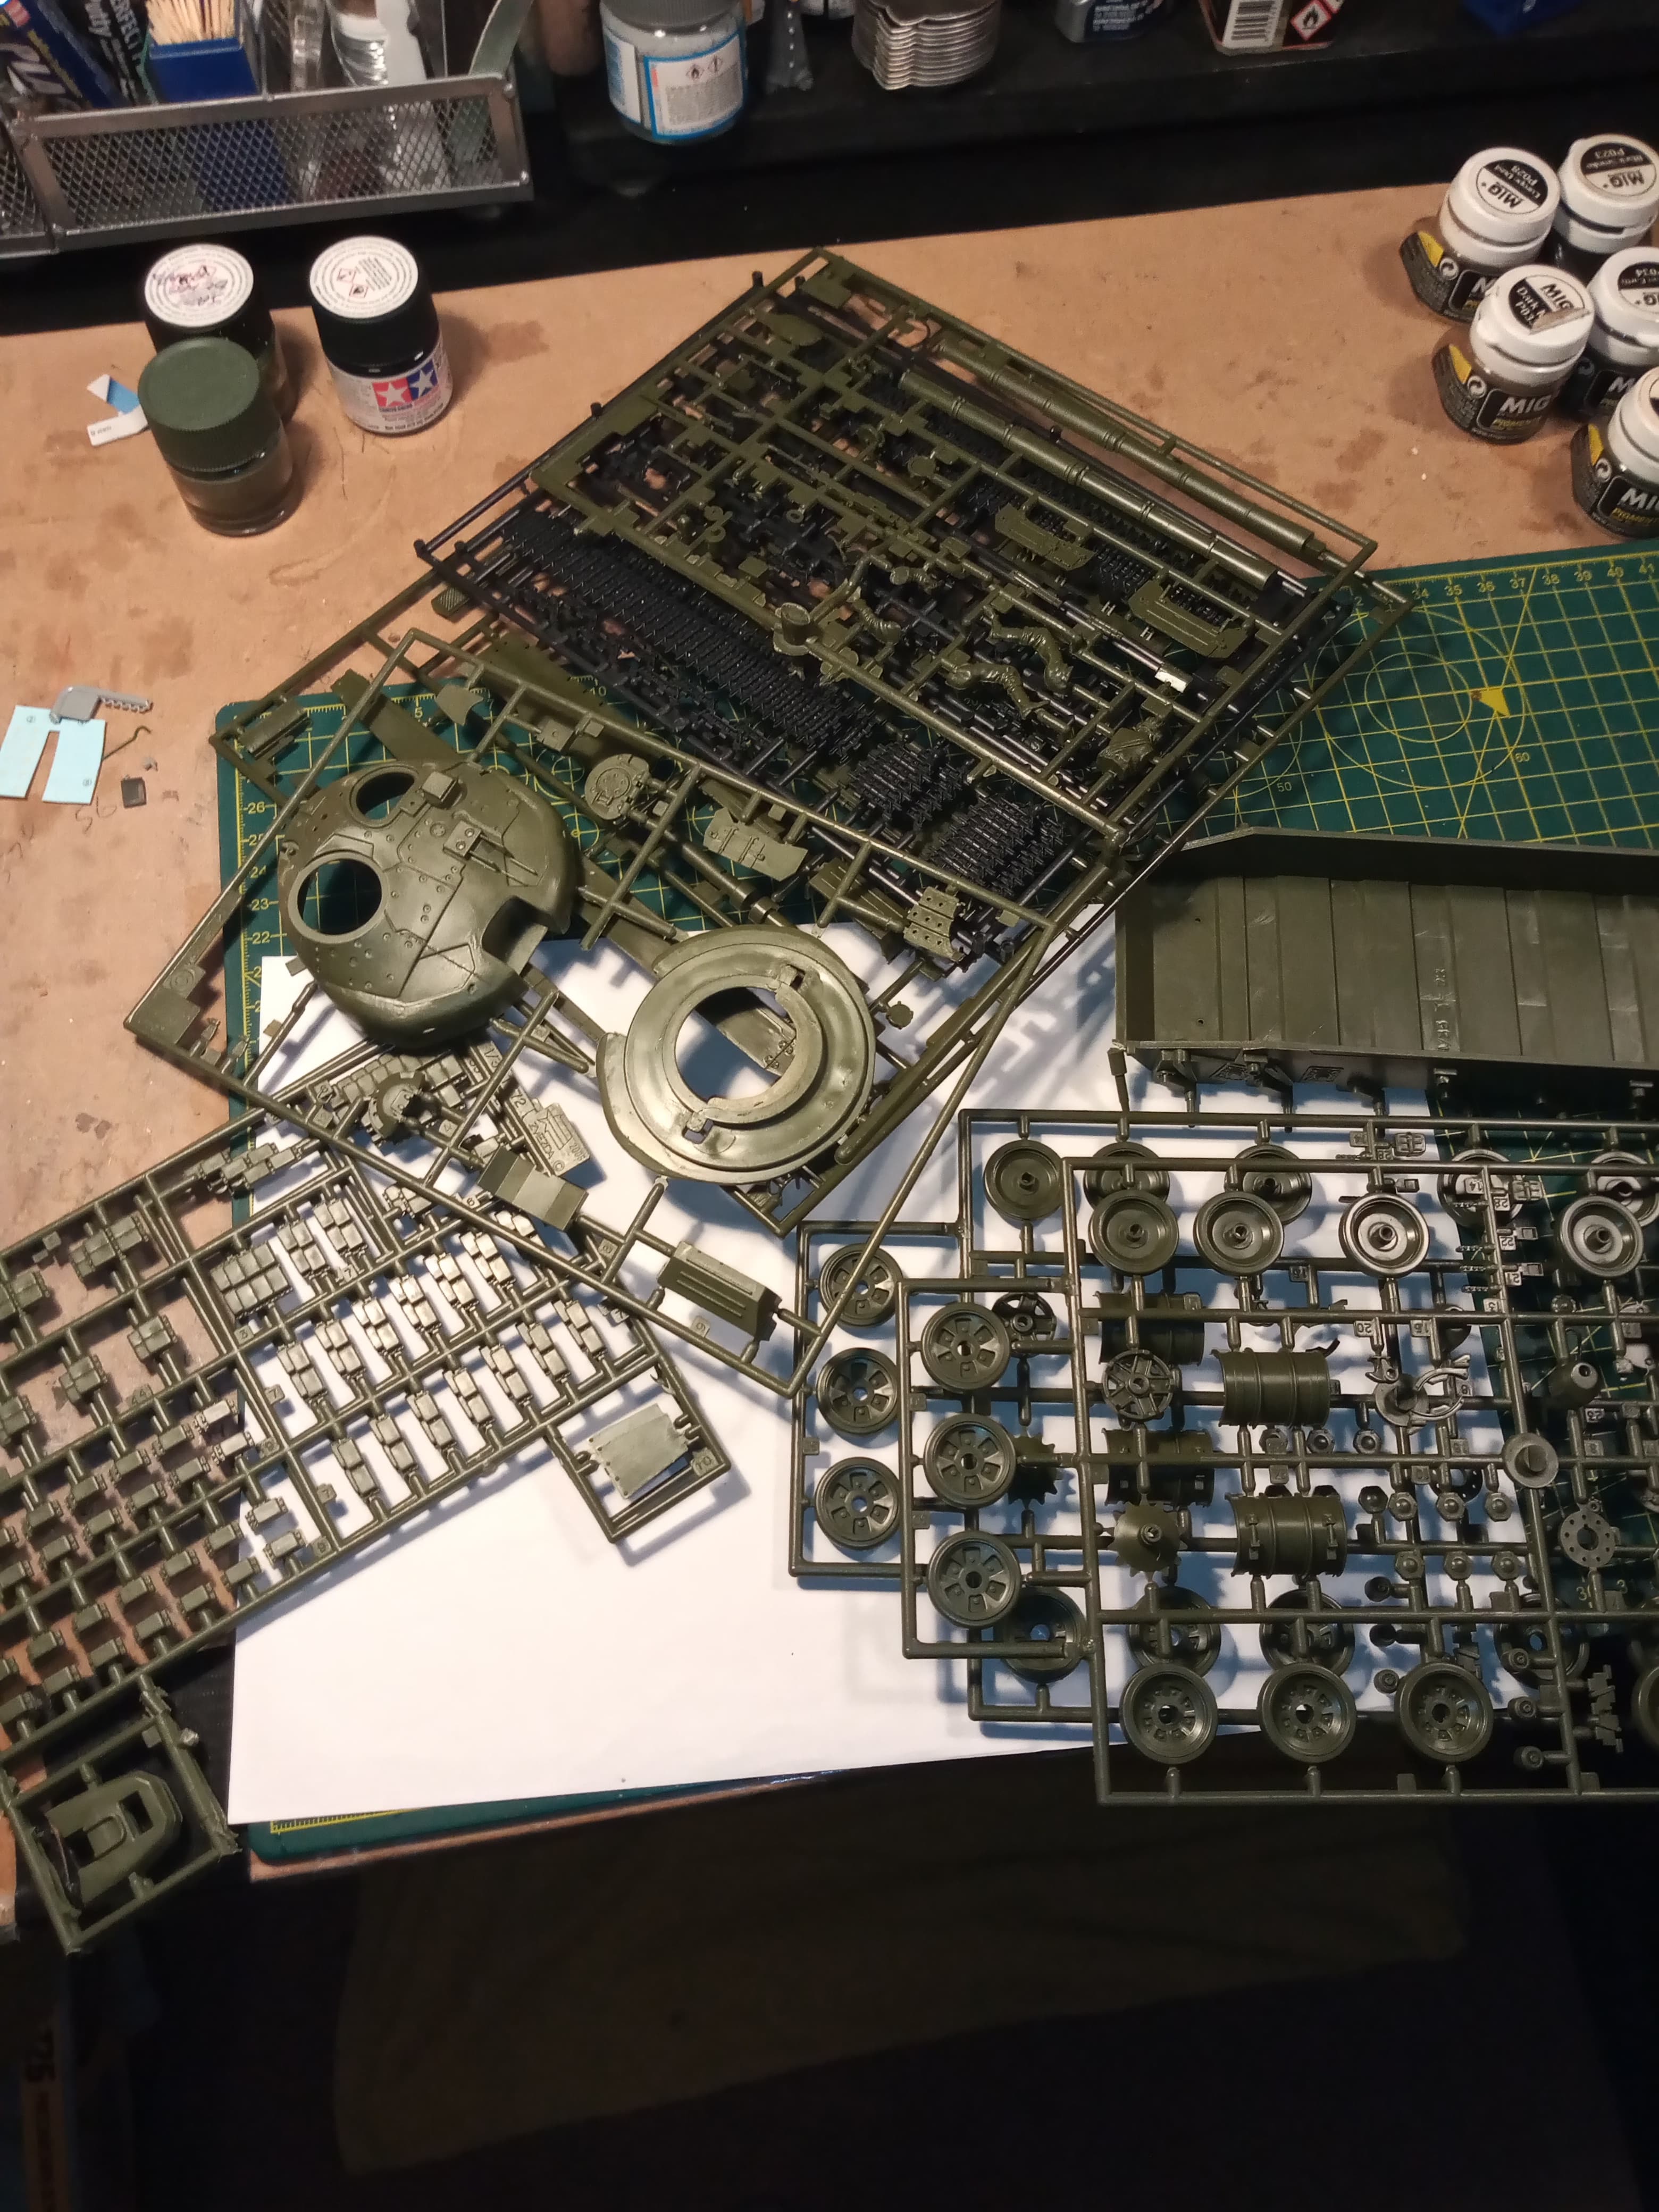
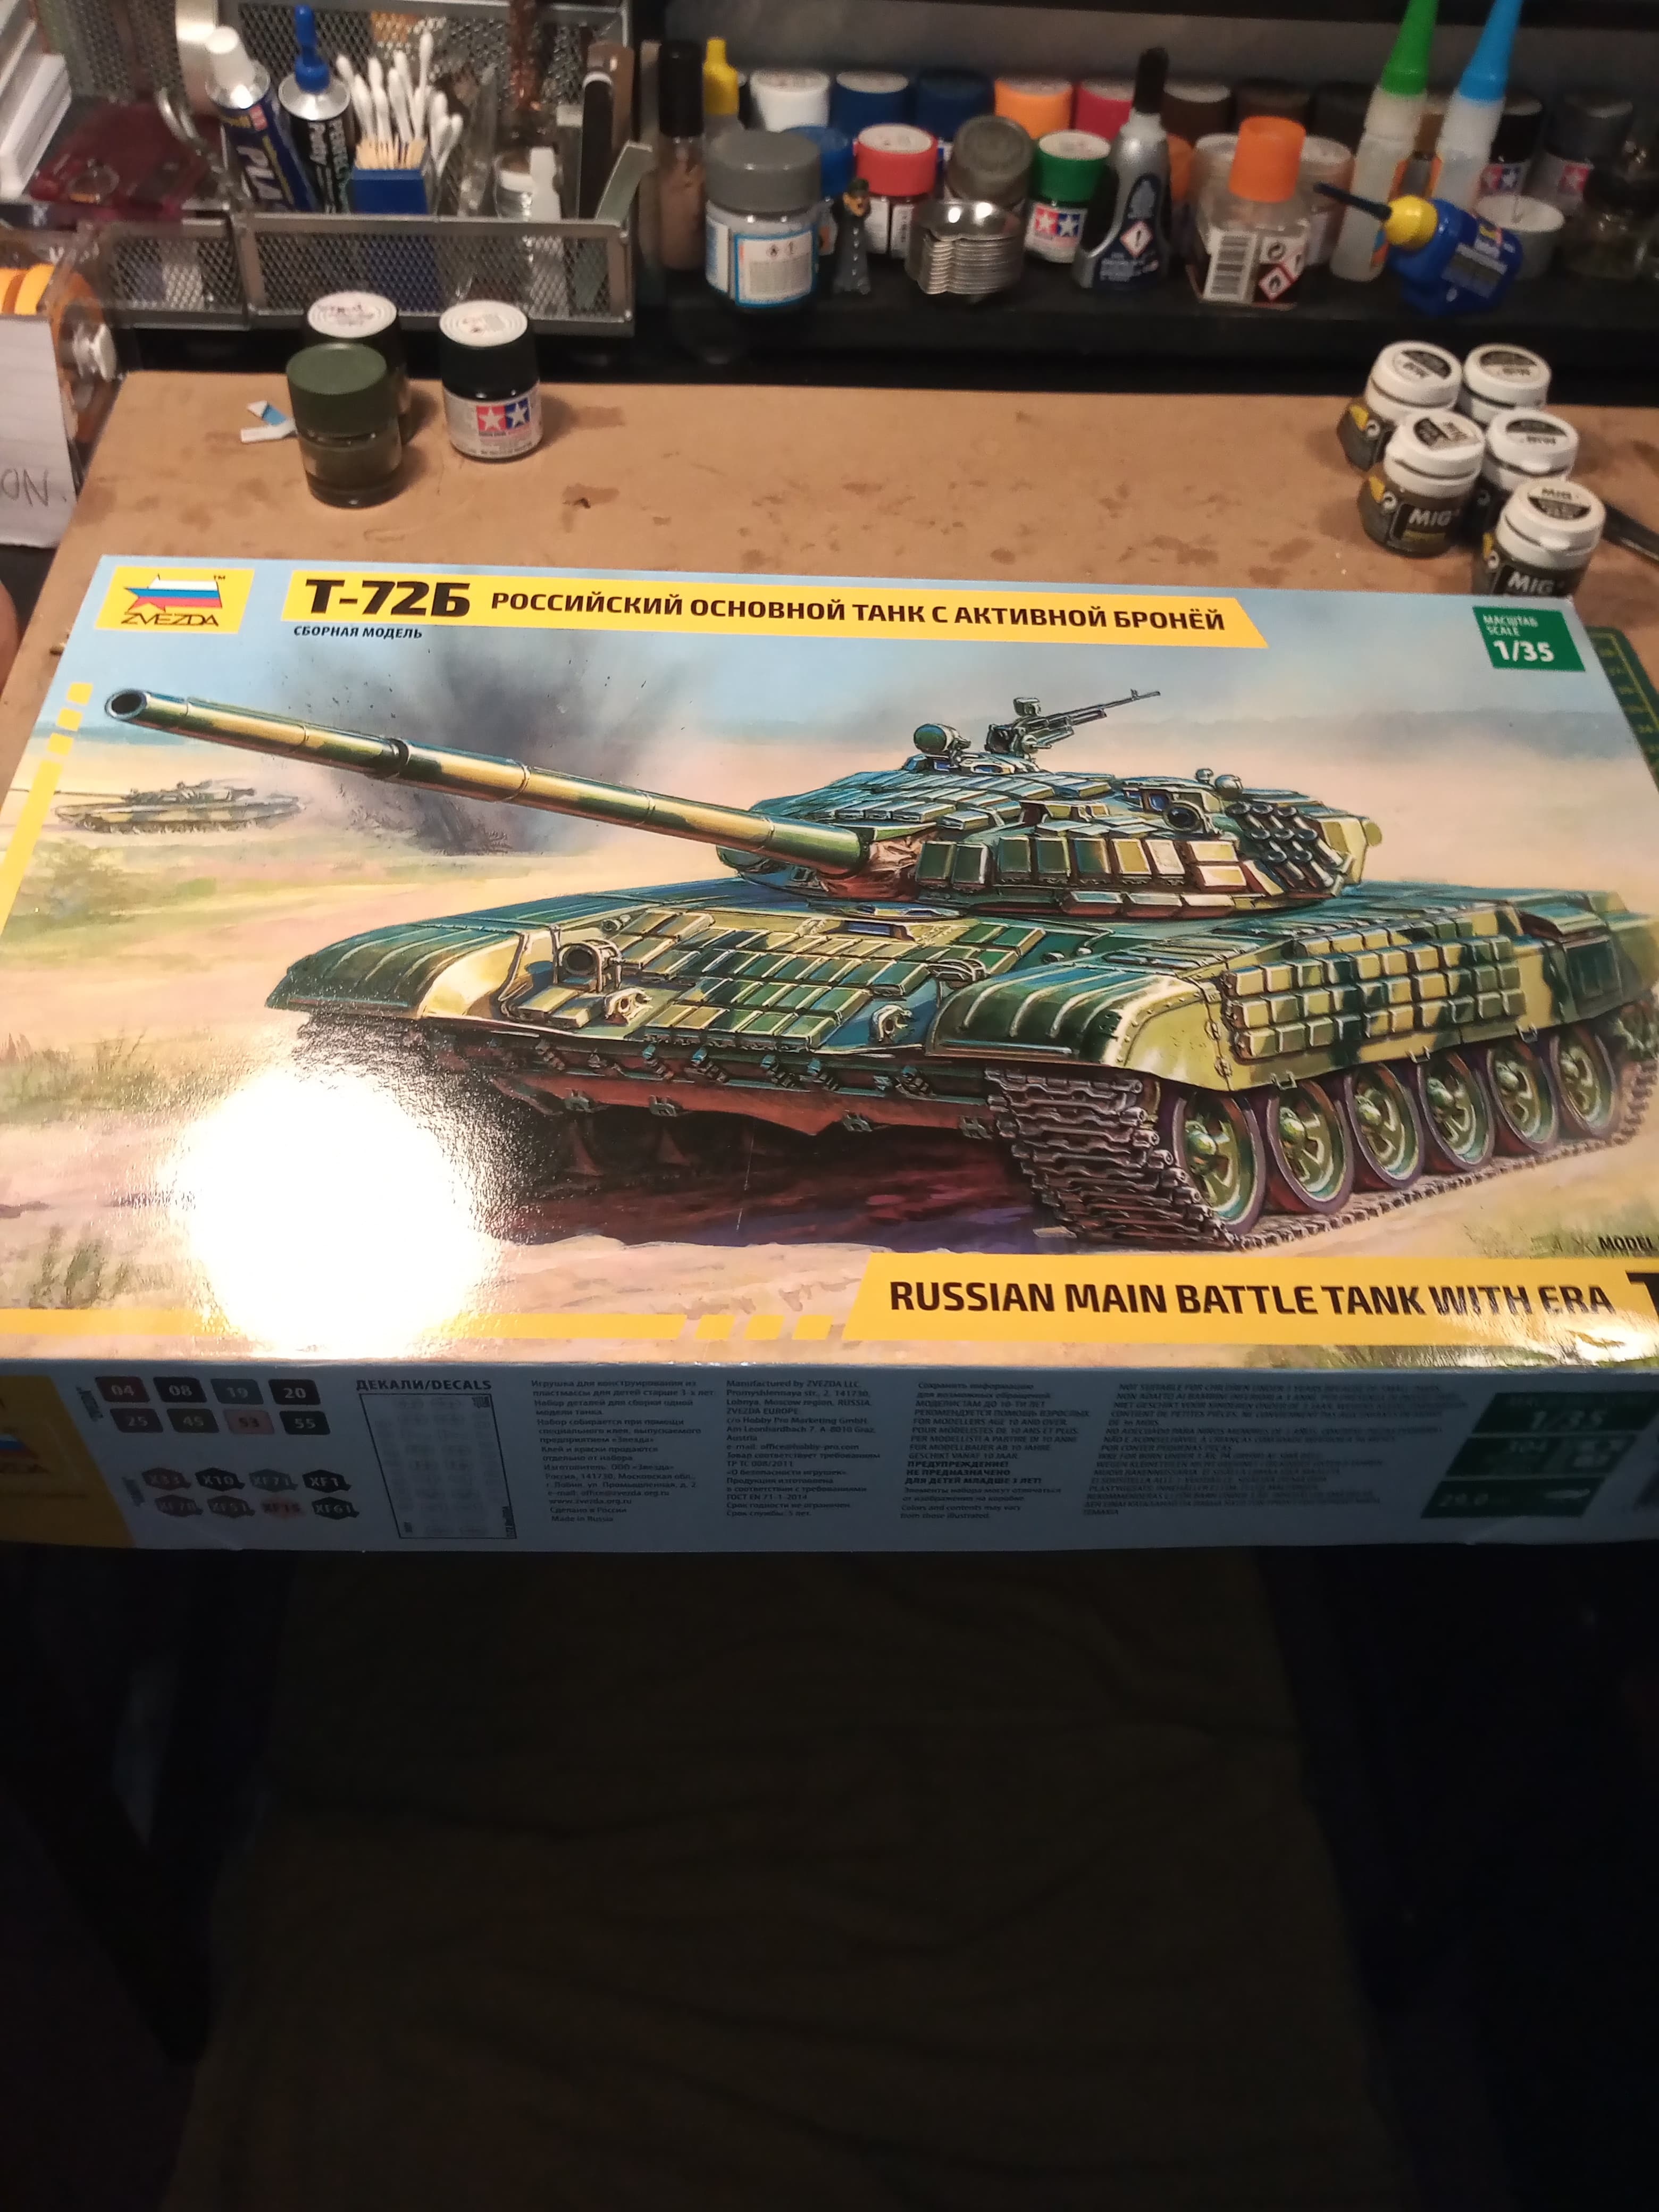
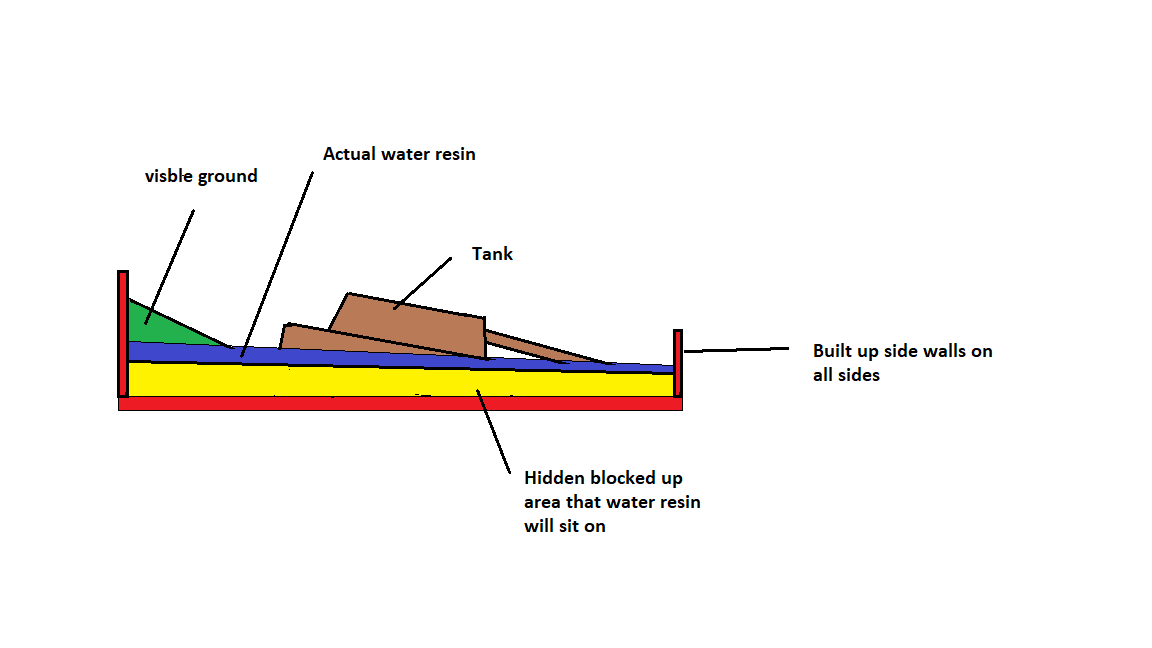
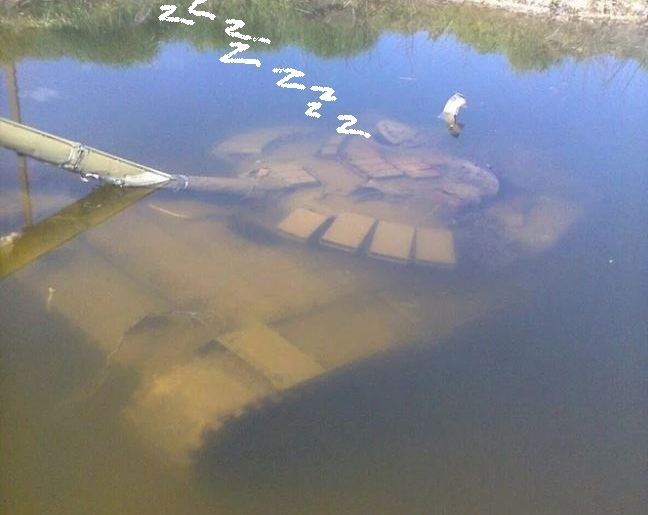
Ok. A new project. It’s the Zvezda T72 B, OOB for the vehicle, but it will be shown as 3/4 submerged after being blown off a track or sliding down an embankment.
The LH running gear will ot be getting built at all as this side will be fully submerged and the turret will be slewed to the left with the barrel 1/2 underwater.
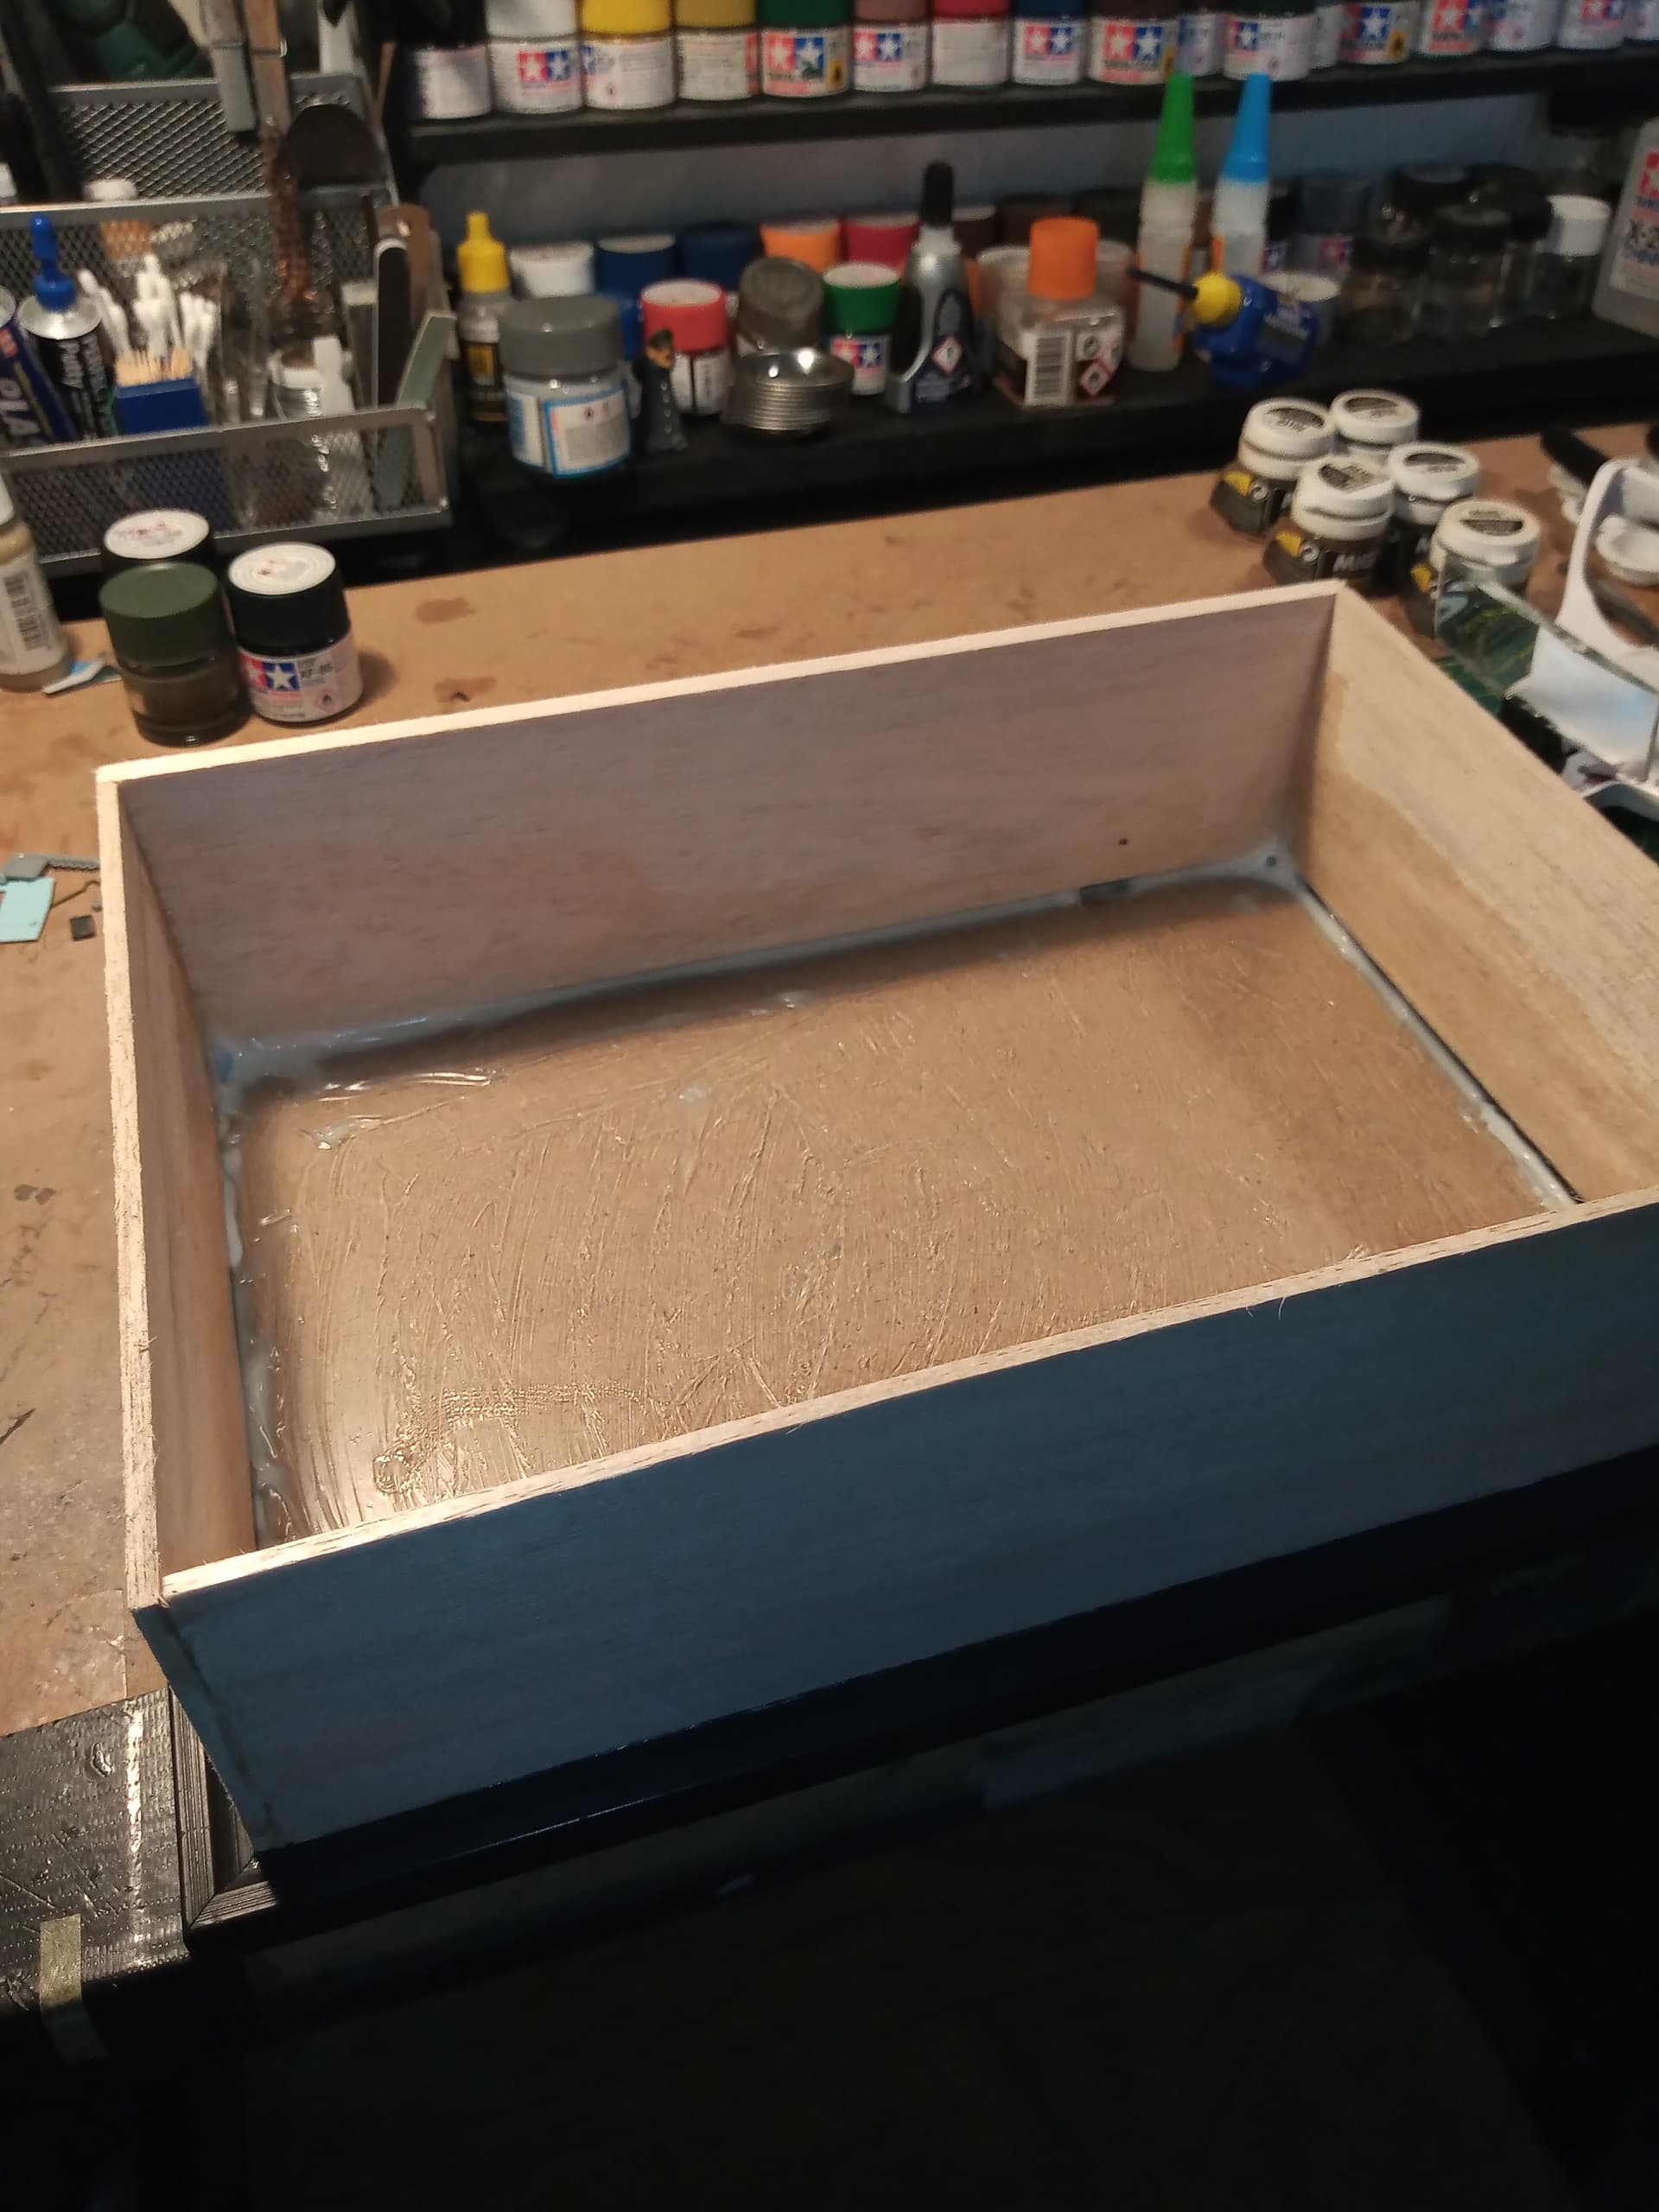
This is the box built up and the hull inside it to show the size.
This is going to be impressive John, the box is much larger, and deeper, than I imagined, even with the ‘blocked’ area there’s still going to be a substantial pour of ‘water’.
Are you going to be using two-part resin, or are you going to try Leo’s (Biggles50) artist’s pouring acrylic method that he used to good effect in his Advice for making a running stream post?
It is a big box, but the sides will be getting cut with a diagonal and the front (barrel side) will be getting cut down as well…
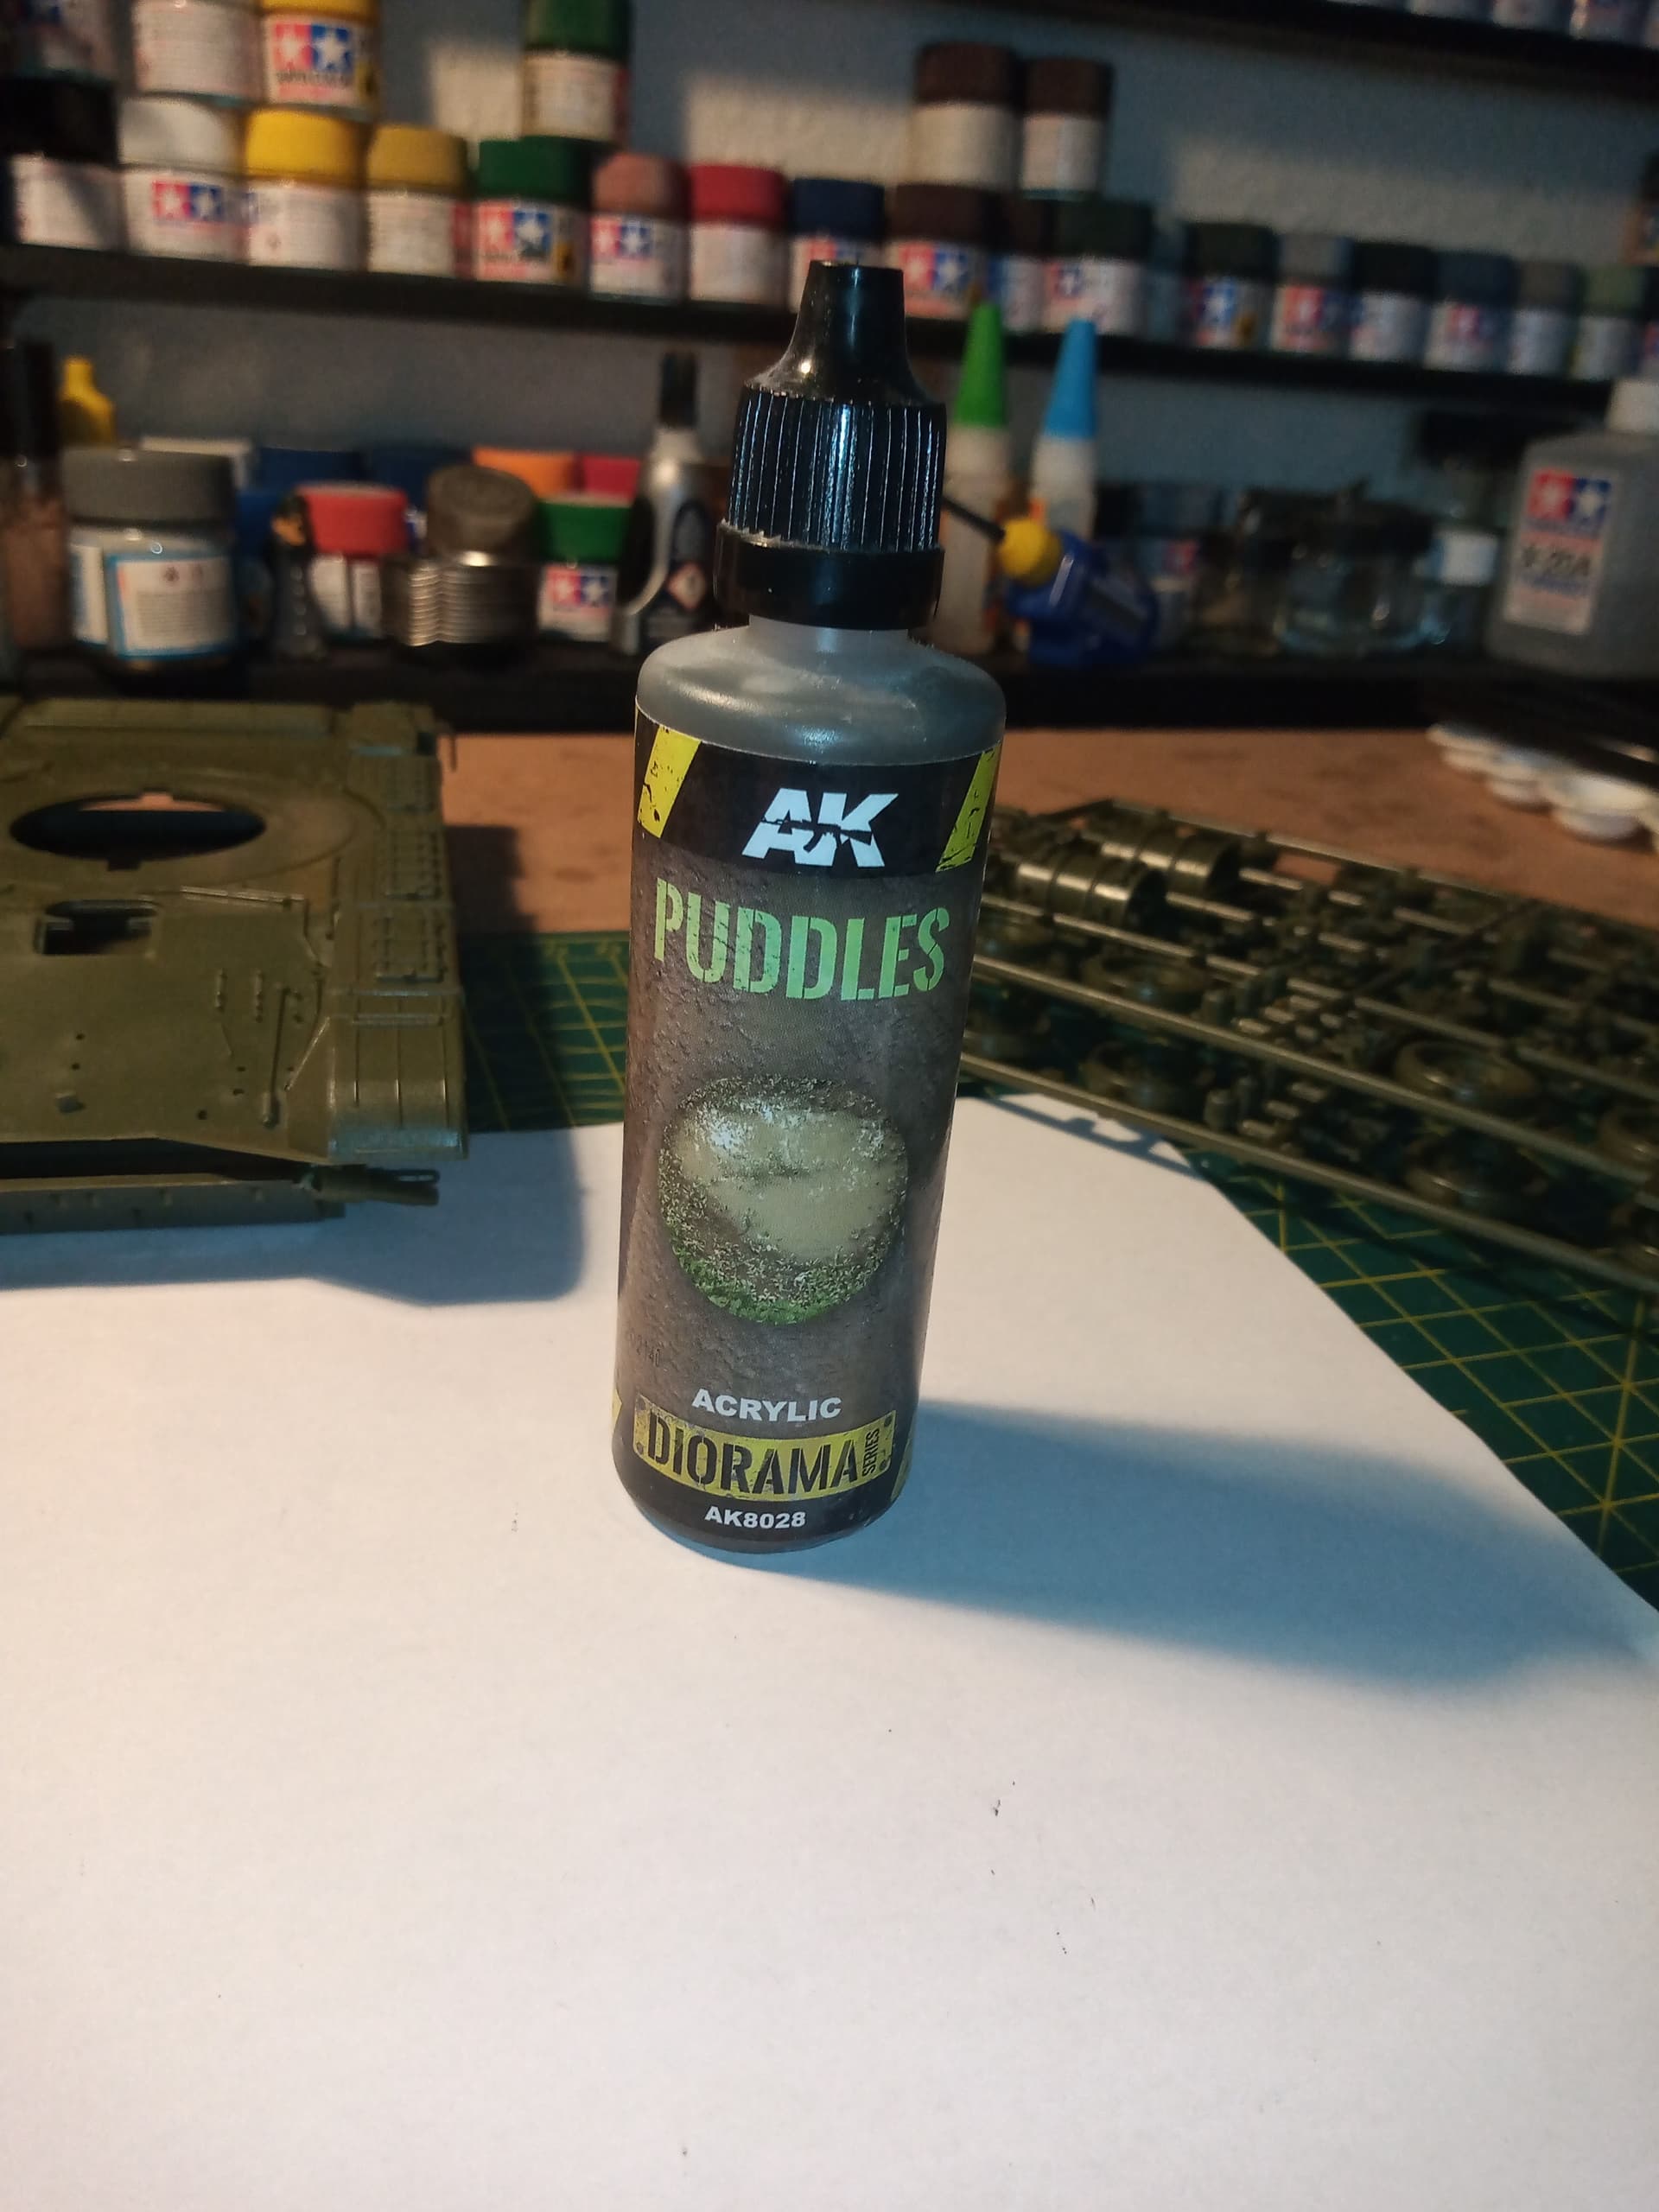
I’m going to be going with Leo’s @Biggles50 idea of the acrylic pouring medium…I’m still looking on Amazon for one… I presume they do a clear one ?
I will also 100% seal any holes on the hull before I start pouring the water effect, so that doesn’t seap into the hull as I pour and I will box off the drivers cab as I will have that hatch partially open and some water visible in that area…
Ingenious idea. I’ll follow this one for sure. I wonder if it’s worth very slightly colouring the “water” with a green/muddy dye. I think it would have to be extremely dilute for realism, and so that you could still see most of the tank. Just an idea.
That is an option, but for this one I won’t need to add any colour to the acrylic pour medium… Once that has set and is level, I will be using this as the very top layer of water from AK …
That will probably be a layer of 2 or 3 mm… It is perfect for this type of effect, it cures dirty, but you can still see through it just enough to make out submerged details…I may need to get another bottle though…
AK also do a still water as well, it has a very slight dirty tiny to it, and again you see submerged details, it also comes in a larger 200ml bottle, but the place I usually order from is out of stock or I would probably use that…
Wow! Fantastic idea John and it looks like it’s going to be grand! An ambitious project for sure. Good luck in uncharted waters…I know you’ll do it up right! I’ll be following.
Again, I have to warn about using pouring acrylic in a scene like this. For this kind of depth where you want to submerge the better part of a 1/35 scale tank, will take several pours of a few millimeters at a time (no more than 1/4 "), and will take a few days between pours for complete hardening. I would try it in a 1/72 scale scenario first.
I got about a liter-size bottle of clear pouring acrylic at a local art supply store. Cost me about 30-odd dollars. Prices will vary. The brand I got was a store brand (DesSerres), originally a Quebec store, but now has branches across Canada.
Cheers Bert, I was just going to ask if it was ok for me to start this one
Thank Matt, always good to have you along buddy …
Thanks Leo, I will be very careful during the pour phase… Using smoke and mirrors, I am trying to minimise the amount of pouring medium I have to use… But regardless will definitely be going in tiny steps …
It just so happened that I did a side-by-side comparison on a build a few months ago and found his stuff to be sooooo much better than Gorilla Glue Epoxy: ‘Bob Smith Industries Quik-Cure Epoxy’
Just a suggestion from the peanut gallery in case you’re considering 2-part epoxy.