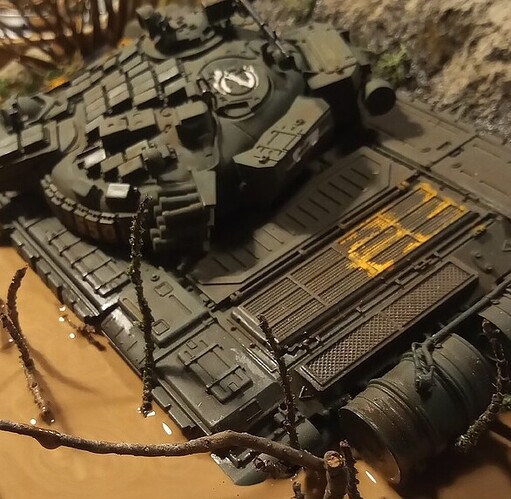
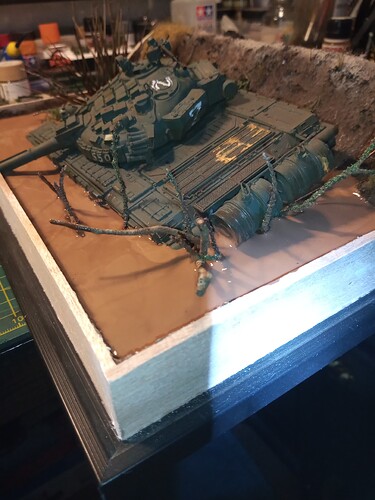
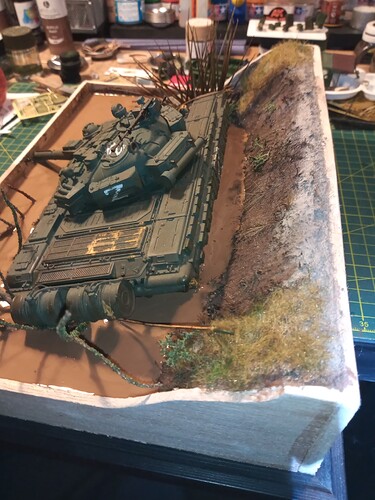
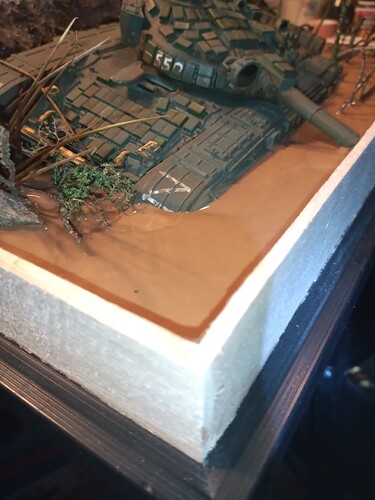
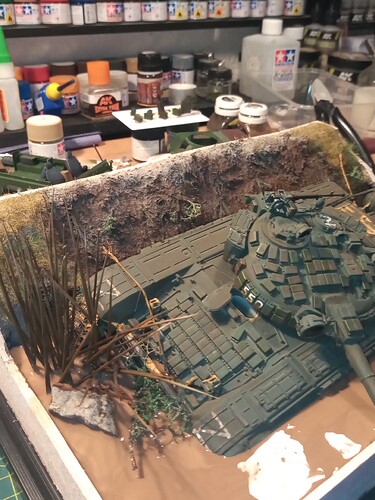
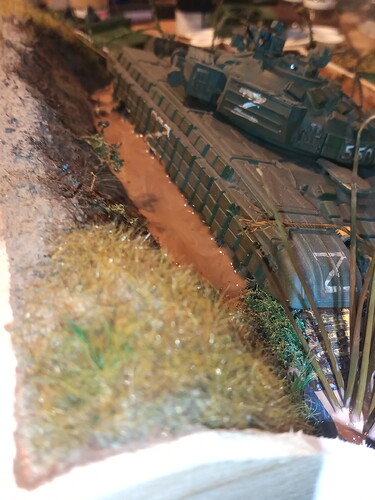
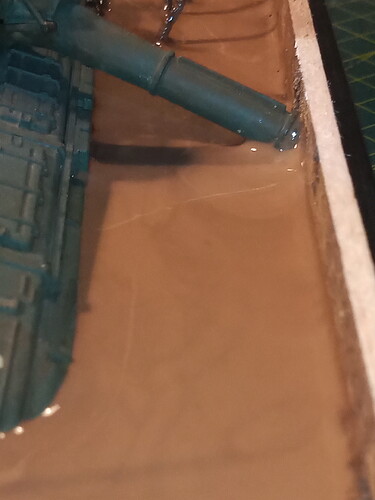
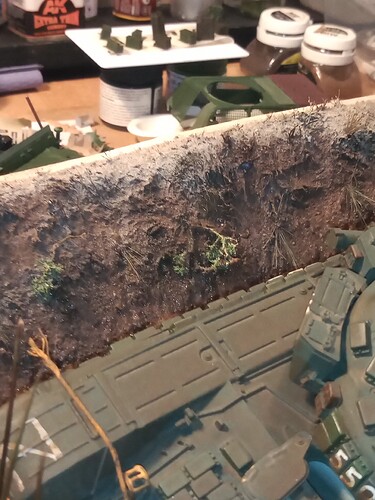
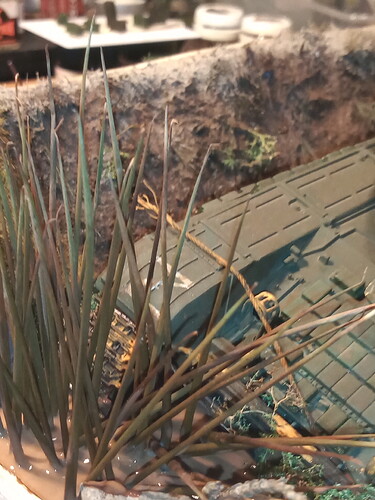
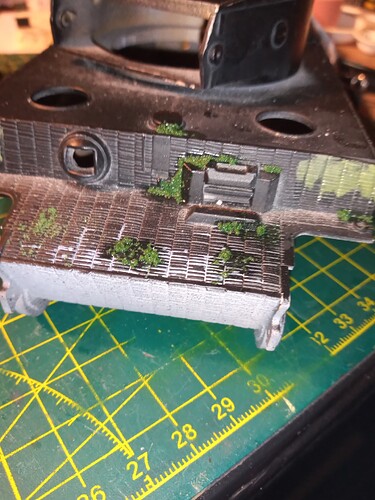
Its taking a lot longer than originally envisaged … I think it will be worth it though in the end ![]()
Your results are looking fantastic John. Good on you for sticking with it for the long haul. Well, it’s not like you don’t have anything else to work on!
I know the feeling ![]()
But I bet it will look great in the end ![]()
Going to start doing some detail work on the hull and turret now while the acrylic sets … more rust and moss/grime build up.
Johnny, the T-72 is looking fantastic!
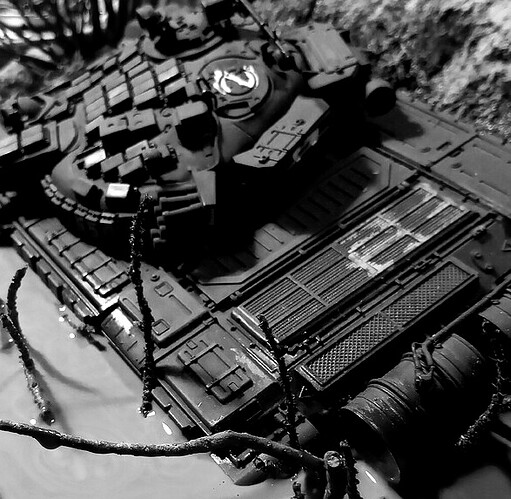
Had to play with a couple of photos…
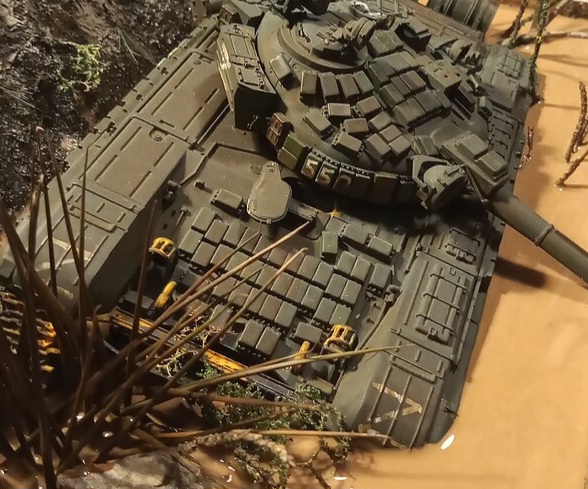
Images from the recon drone…
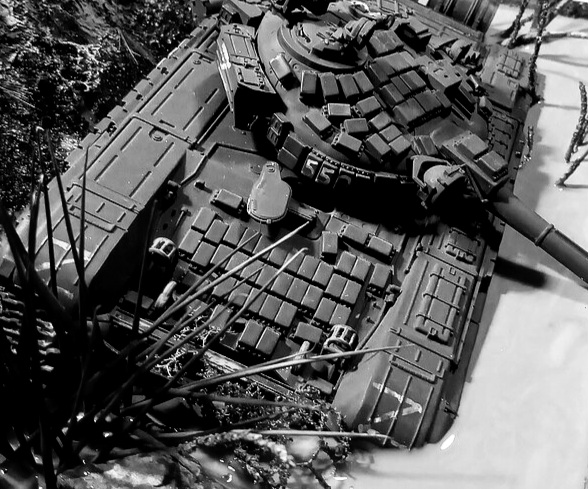
A+++
Thanks Wade…really like those black and white shots …![]()
![]()
This is a very ambitious project and well executed. I have never attempted to do a water dio before, so I have no experience to draw from. Will the water darken as the acrylic sets? The color of the water (as it appears in the photos) seems very light compared to the very dark mud of the embankment.
![]()
Yes I was wondering too - I guess it’s plausible the water’s been churned up like that. Maybe I’ve dreamt this but I thought the final pour(s) will be semi-transparent with dark greenish tinges, to give more depth & maybe blend with the bank more.
Thanks Mark and Tim @Namabiiru & @Dioramartin … Mark, I have never worked with this much pretend water before either, so it was a full on learning curve for me as I went, and to be honest, when I first started, the idea was that the scenario had just happened and the bank was fresh mud/wet earth and the wagon had slid down into the water …
A bit later after I had done a few pours and I started adding a few of the rust areas on the 72, and I wondered about the various colours and how they looked against each other.
I am going to be adding more rust and dried earth deposits on the wagon, so I think the exposed bank will need to be toned down a bit, and I will add either real earth (finely sifted) or earth pigment to give it a more dried out look and blend the wet look in nearer to the edge of the river area.
Ref the water /acrylic colour as it is at the mo, again, I am not overly worried by it as from when I go out walking with the hound (and that usually involves many different areas of flowing water) I always see so many colour variations from semi clear/ green tinge/completely brown and cant see a thing through it…
In real life, the colour is actually a bit darker on the acrylic, and I think it is possibly due to the phone camera and internal lighting that makes it out to be a bit lighter than it actually is. Once complete, i will also be doing some outdoor shots as that usually shows it all off better.
Regarding the final few pours Tim, I will be using that AK puddles medium as that gives you a bit of a depth view, about down to 2 - 3mm … and that has a browny/green tinge to it, so you will have more of a real water effect and I can introduce some gentle flow patterns into as well as it dries out … HOPEFULLY !!!
Have to say I don’t envy you about this John, for something which at face value seems like a breeze you’re showing how in fact it’s something of a nightmare. Good to know I wasn’t dreaming about the final pours, but like Mark I’ve zero experience of making water-effects so my comments are entirely theoretical - you’re a better man than I etc.
I’ll always be in the cheer-squad for daylight photography, I think the unknown there is likely to be how much reflection you get (which may well nix whatever depth effects you’ve attempted!), but whatever the reflection factor, it must by definition be realistic.
New pour …
The turret is now secure on the hull, so I can now start adding some moss and green slime to the hull.
The actual colour of the pour is about 2 shades darker than what it looks in these photos. Once dry, it’s the colour of rich milk chocolate…and with a nice sheen.
Have also added 2 snapped recovery ropes, and rusted those up, and I also started to add rust areas, but not done those pics yet.
Began the process of adding pigment to the destroyed bank and it’s beginning to tone down to a more realistic colouring.
Going add some pigment build ups in certain hull areas to represent silt, and some form of green slime hanging from the branches in the river …
Looking better and better with each new pour and tweak.
Looking good John, yep there can never be enough slime - ask G-Man. FYI I picked up a Dio Police transmission via my toaster (apparently they’ve got a new drone after Wade/Armor Buff shot the last one down) querying whether ropes rusted… ![]()
Thanks Karl … appreciated ![]()
Fantastic progress John. This is all worth the effort with all the little extras you’ve got going.
Thanks Tim … ref the recovery ropes (cables); yes, they will rust over time.
A close up, not the best image sadly.
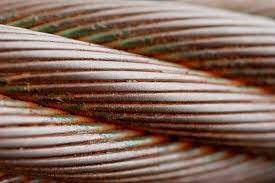
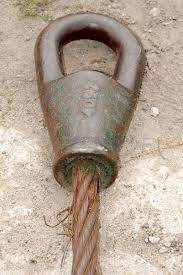
The problem with recovery cables, mainly modern ( and cold war) and seeing rusty damaged ones, is the inspection process that are carried out on them. Any signs of rust or even minor damage and they get cast and new ones demanded, so they really never see the light of day after that. Straight to the scrap metal skip they go …
When I would carry out a monthly inspection on my wagons, if any of the recovery kit looked iffy for signs of rust or damage, then I would note it, get a Recce Mech to come and check it out from an SME point of view, and they would then normally condemn the piece of kit (recovery cables, A frames, straight bars, shackles etc) there and then or see if it could be cleaned and used safely. Just one strand on a recovery cable that is broken would mean the whole cable is condemned and classed as unsafe.
So the real issue for us is just finding images of damaged and rusty cables (modern ones)…
All that said, I will be adding a final wash on the rust areas to tone them back a bit as the AK stuff I am using is coming out bright at the moment … ![]()
That’s looking absolutely brilliant John, great eye for detail my friend, ![]()
![]() .
.
G, ![]()
Thanks G, appreciated as always buddy. I like how it’s looking and although it’s the first big bit of water I have tried to do, I am happy how it’s going … I think the AK puddle effect will give it a far better and in depth look once that’s done ![]()
Trying to see what the AK moss texture turns out like. You can mix it with white glue, so I did that and have applied it in small areas on the old test bed tiger 1…
It’s wet now, wills see how it dries and what the colour ends up like …
AK moss texture … looks good, must remember that one…
This build is turing into a real masterclass on how to make a water diorama
