Well I started it I’m not trying to steal anyones thunder , but you all know when I start something I always finish it.
So Here Goes.
Regards
Donald
Well I started it I’m not trying to steal anyones thunder , but you all know when I start something I always finish it.
So Here Goes.
Regards
Donald
Sweet! Along for the ride.
Impressive how quickly and purposefully you work. I’m looking forward to youre reports in the next few days
Here’s some questions.
Here’s some questions I’m not shure if any of them are right.
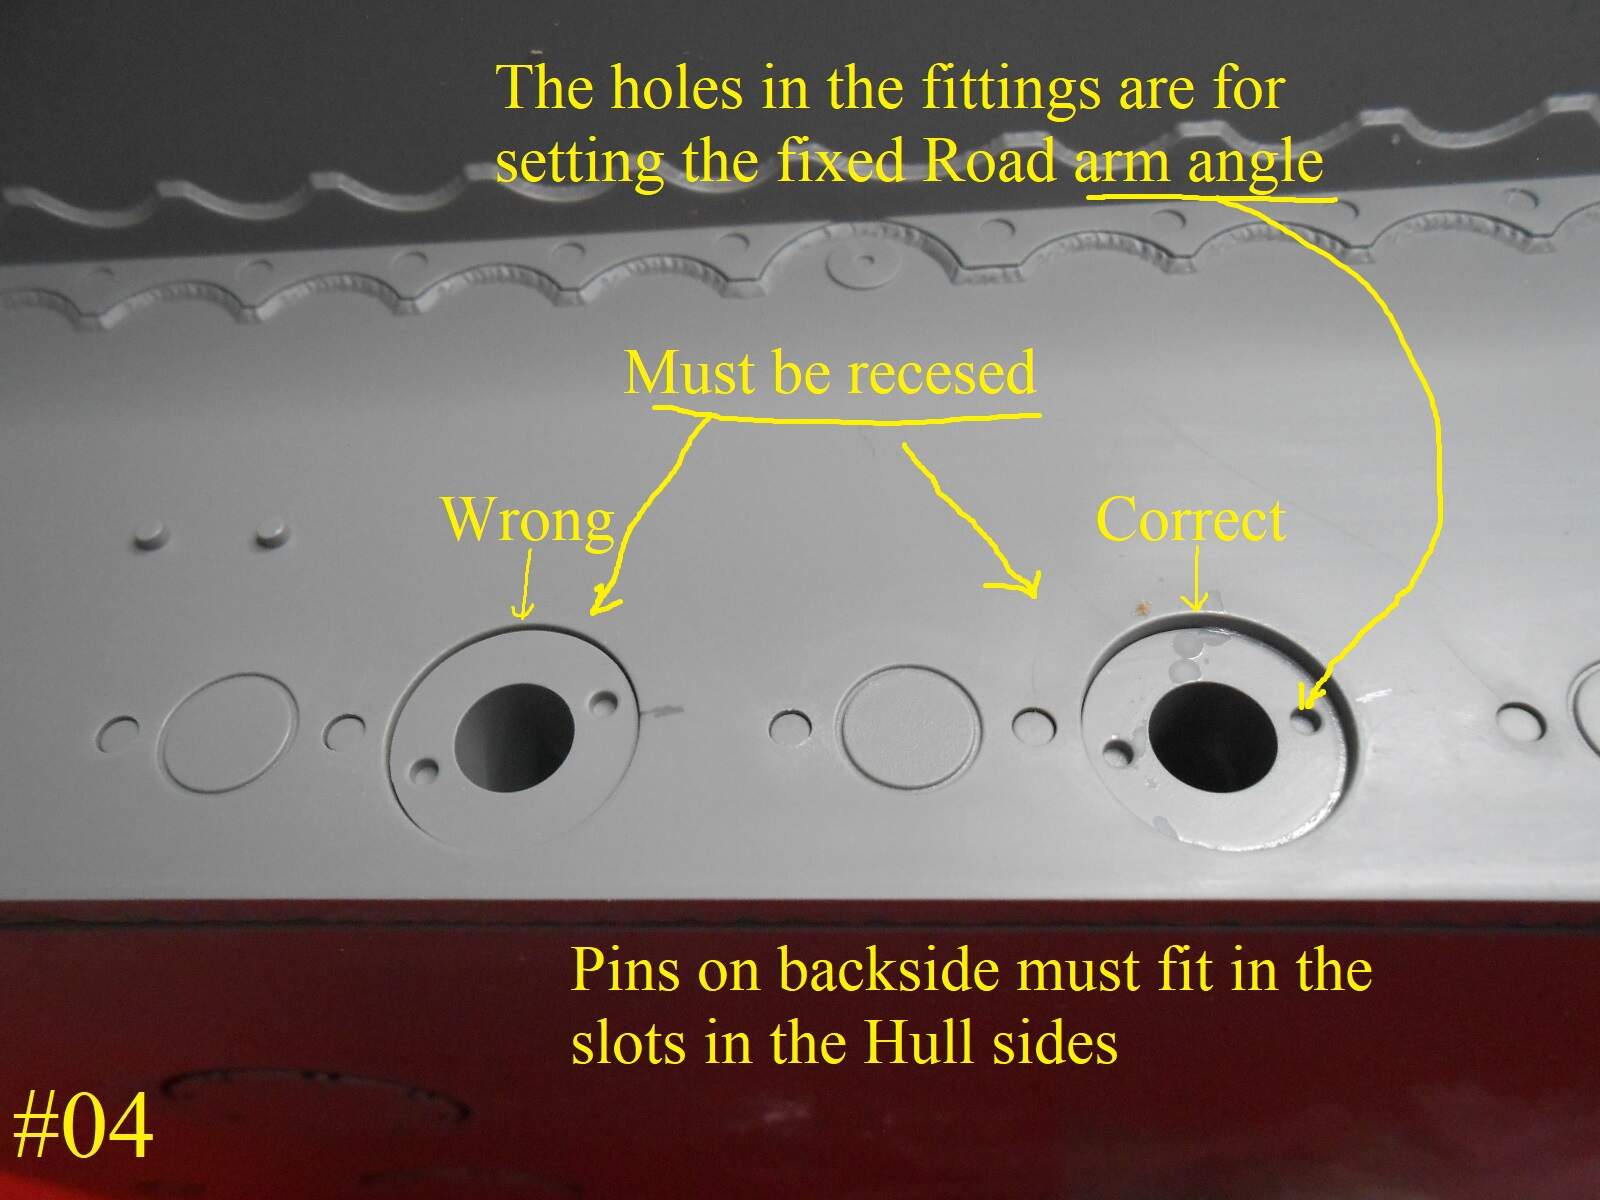
I mounted the parts R26 corectly to the hull, it’s easy to get them misaligned , the pins not fitting into the recesses in the Hull.
Pic. #4 shows them recesed as they should be.
If they are off the arms wil not be at the correct angke resulting in a higher or lower stance of the hull.
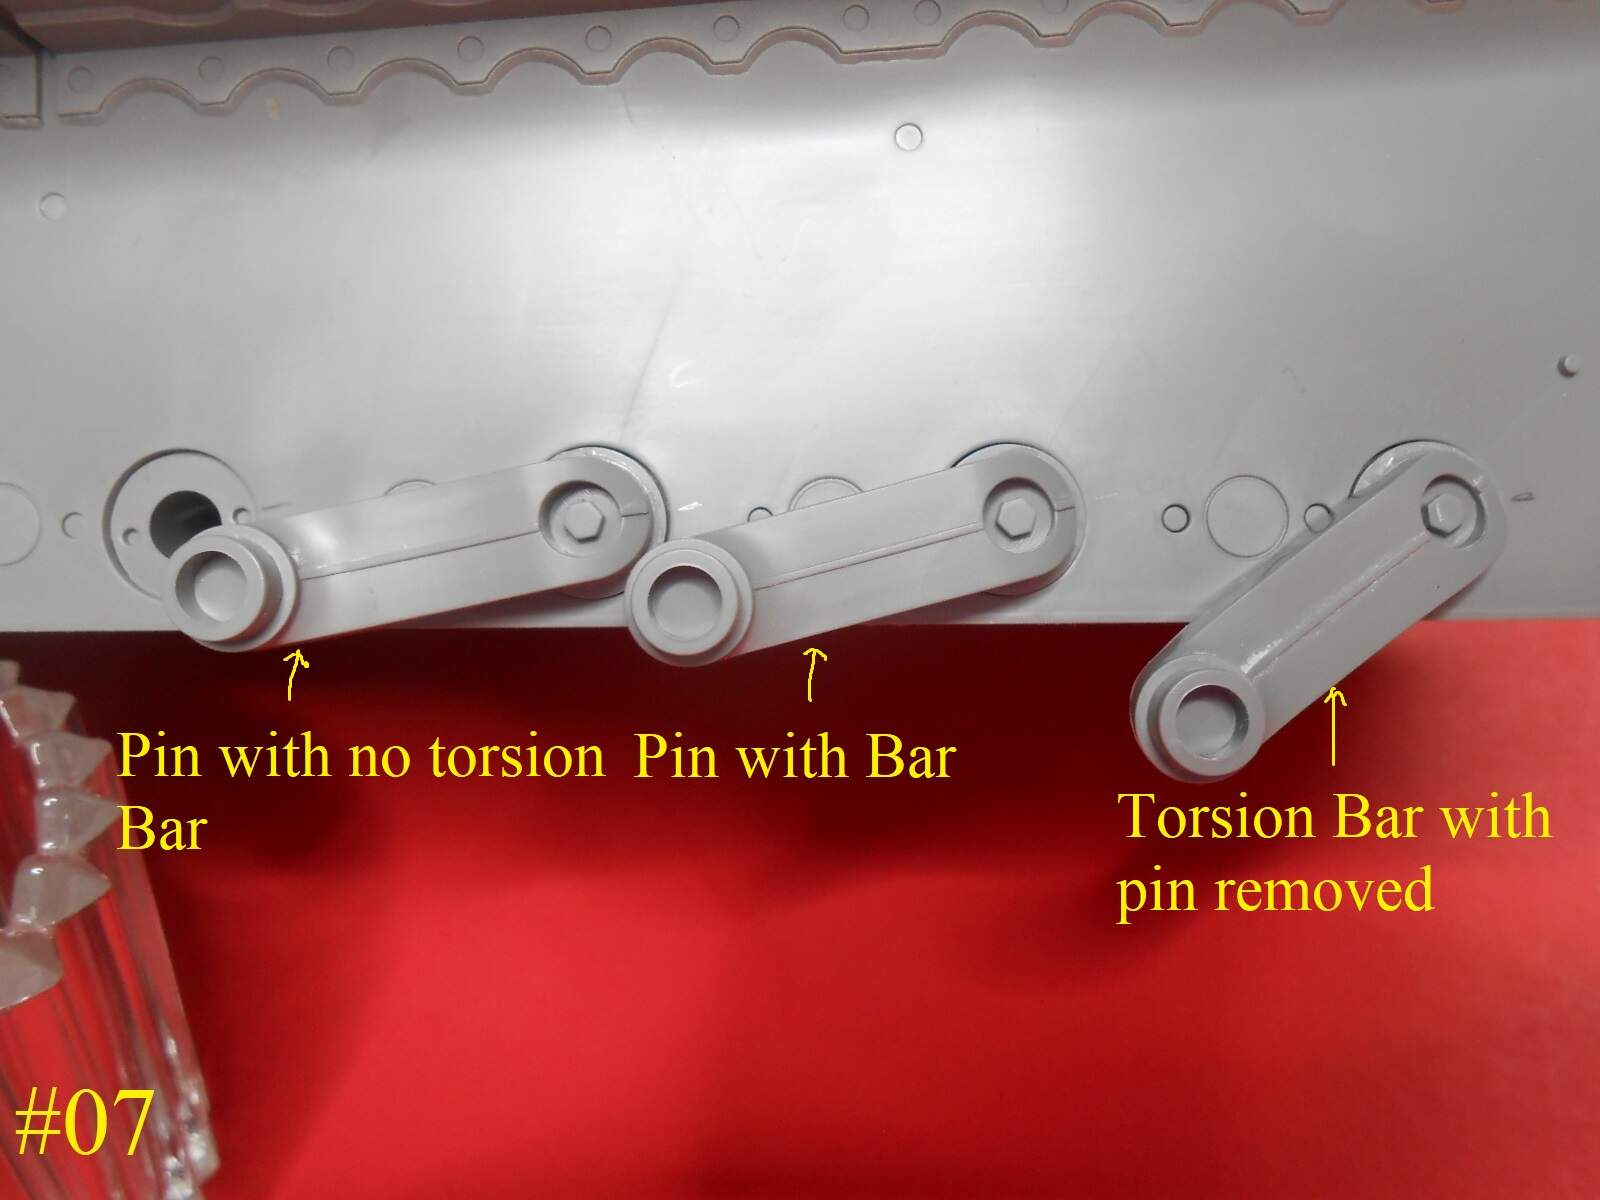
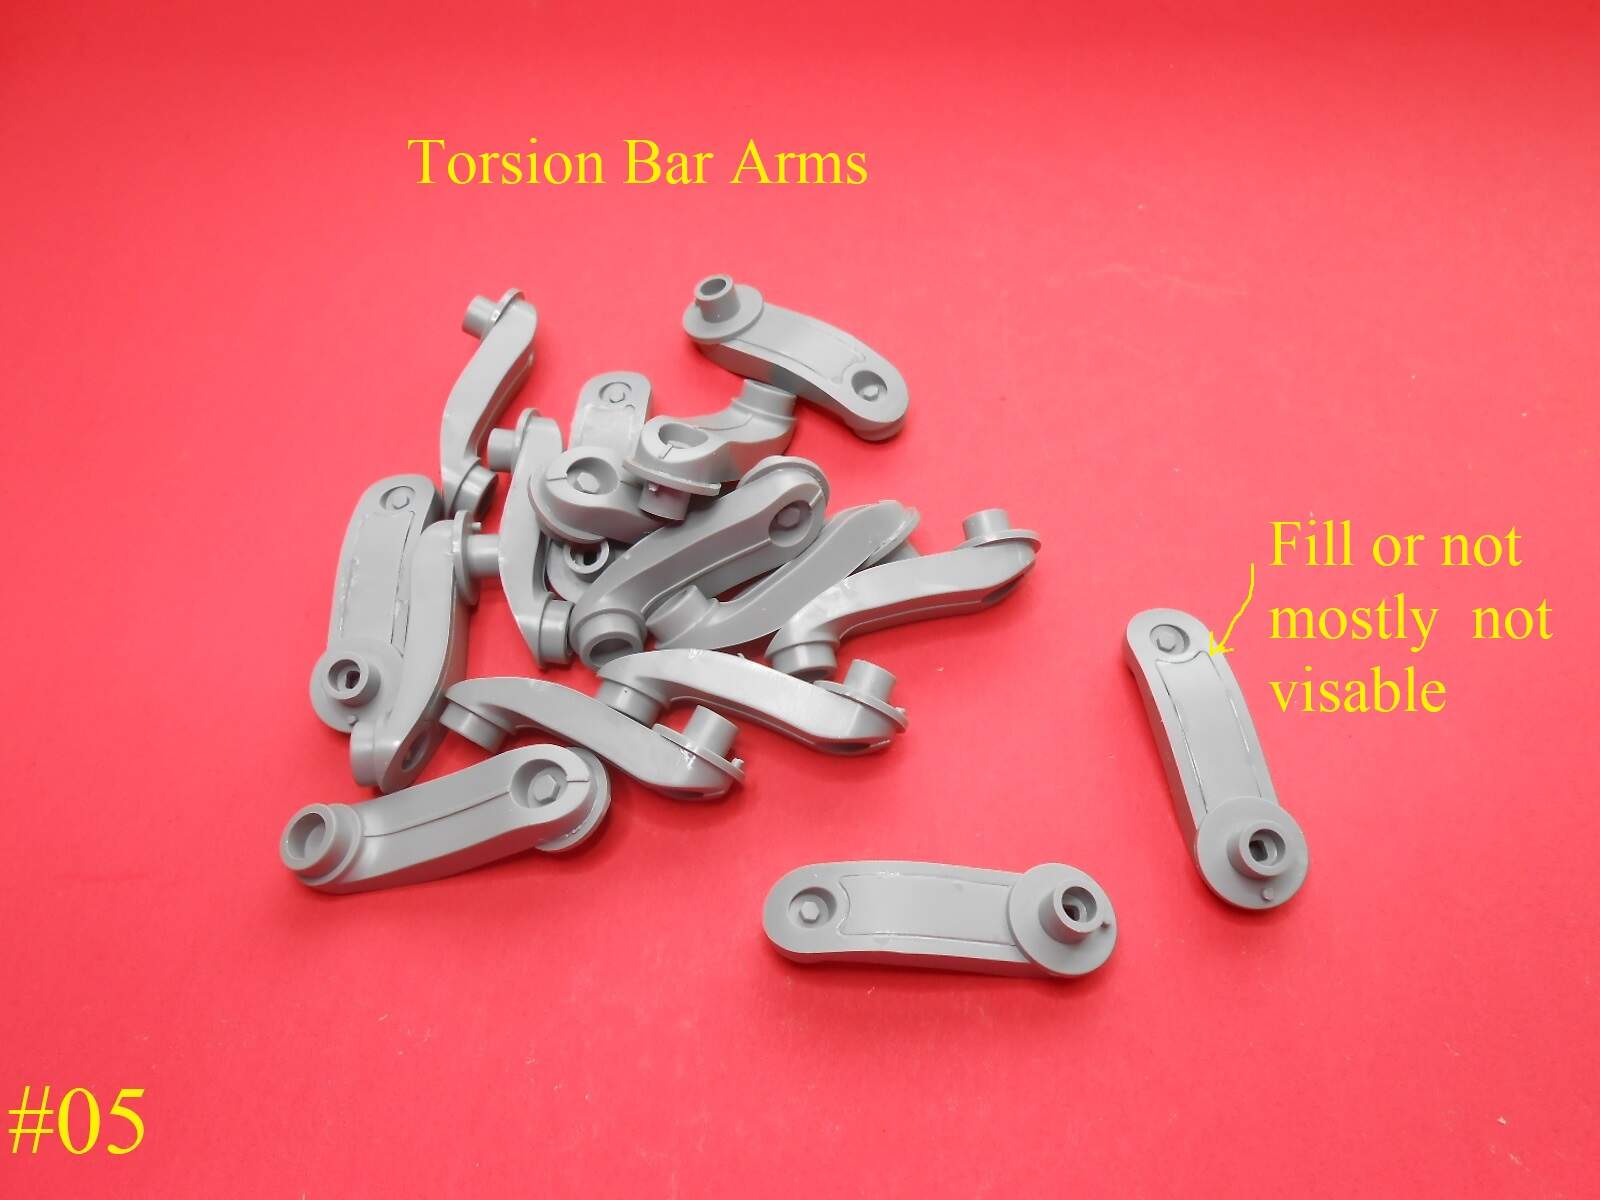
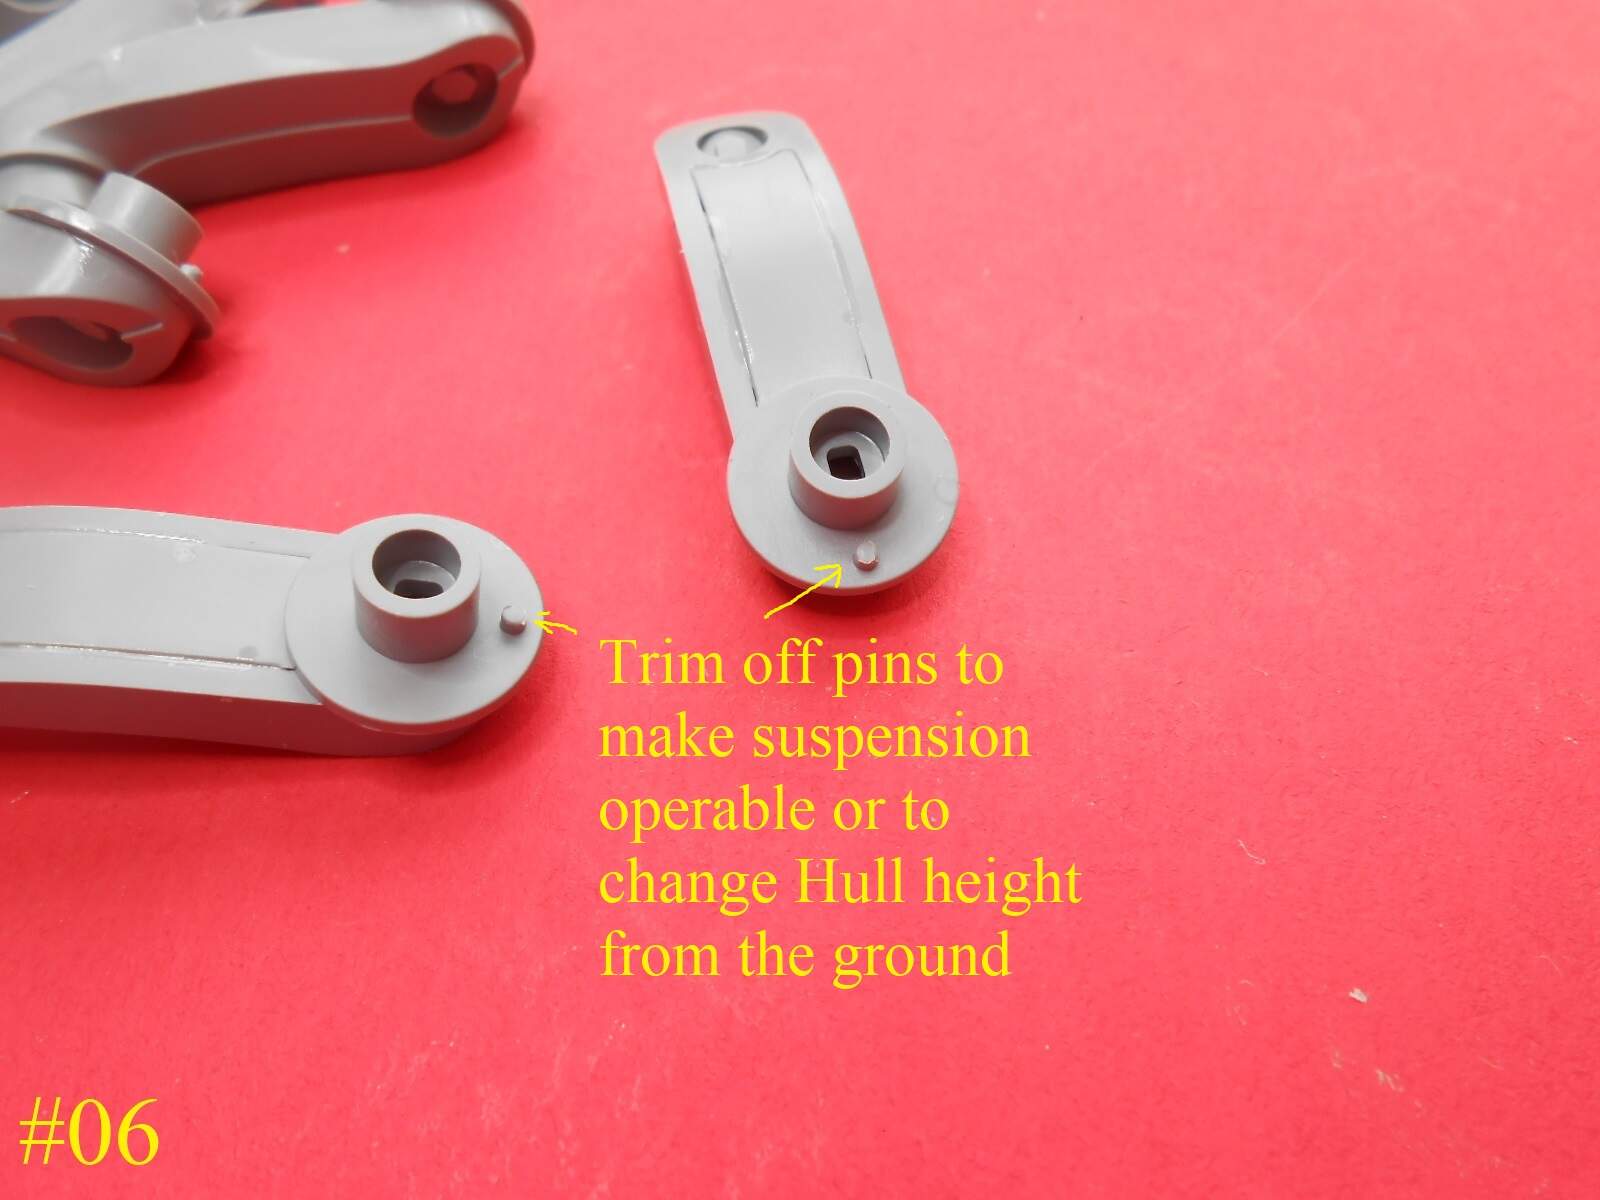
If you remove the pin the torsion bar will pust the axle down see Pic. #07 far right.
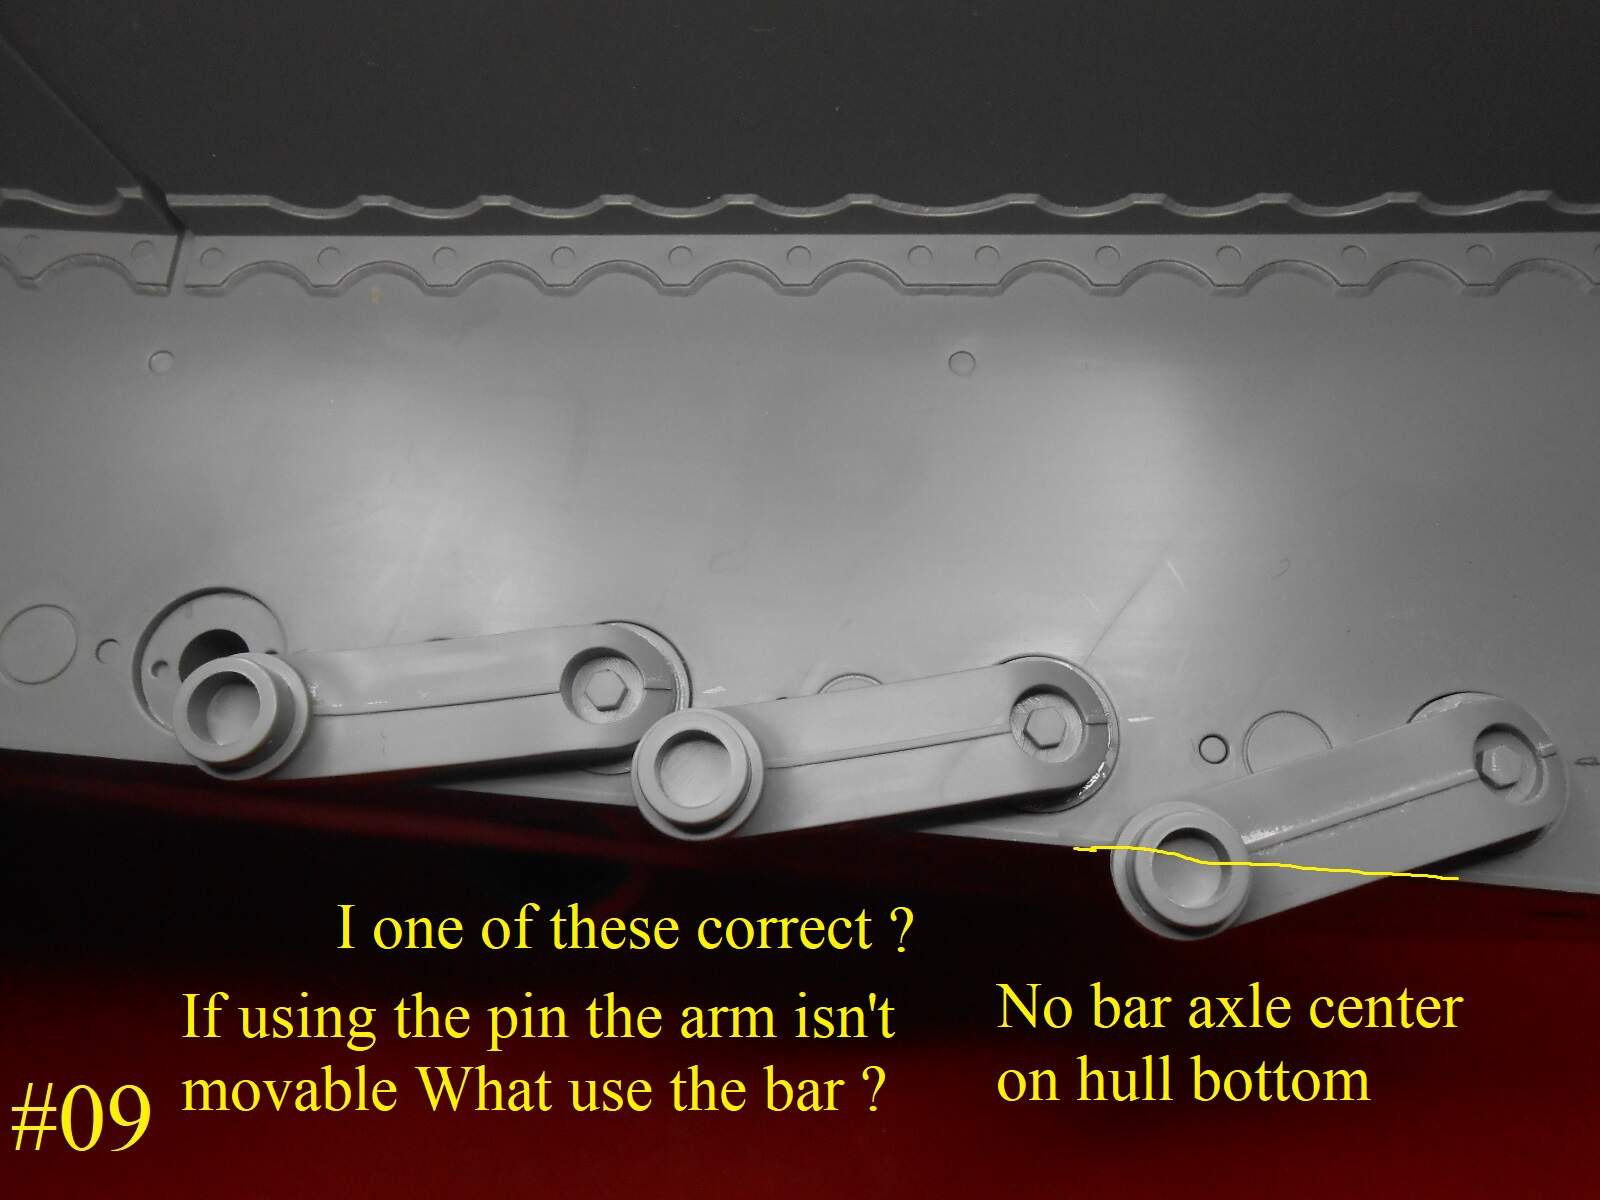
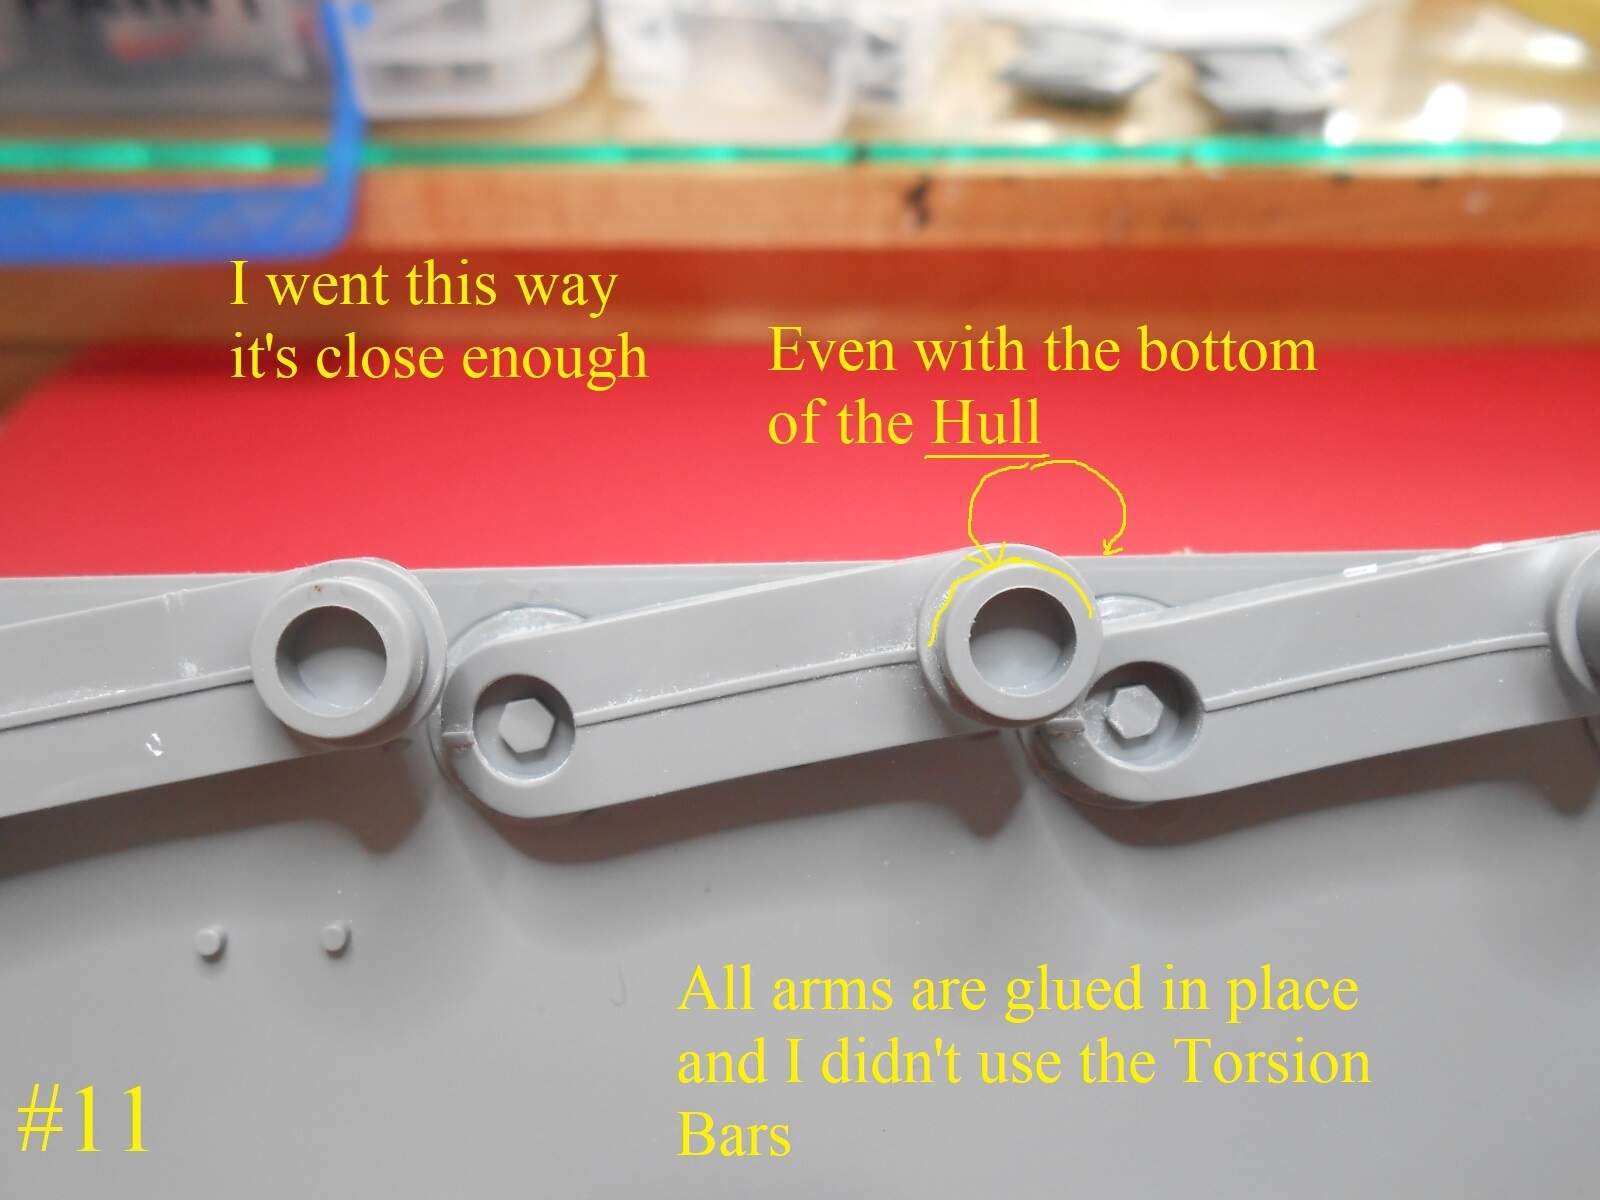
If you leave the pin and don’t use the bar & just glue the arm in place you can adjust the arm more acuratly.
If you use the pin there’s no reason for the torsion bar.
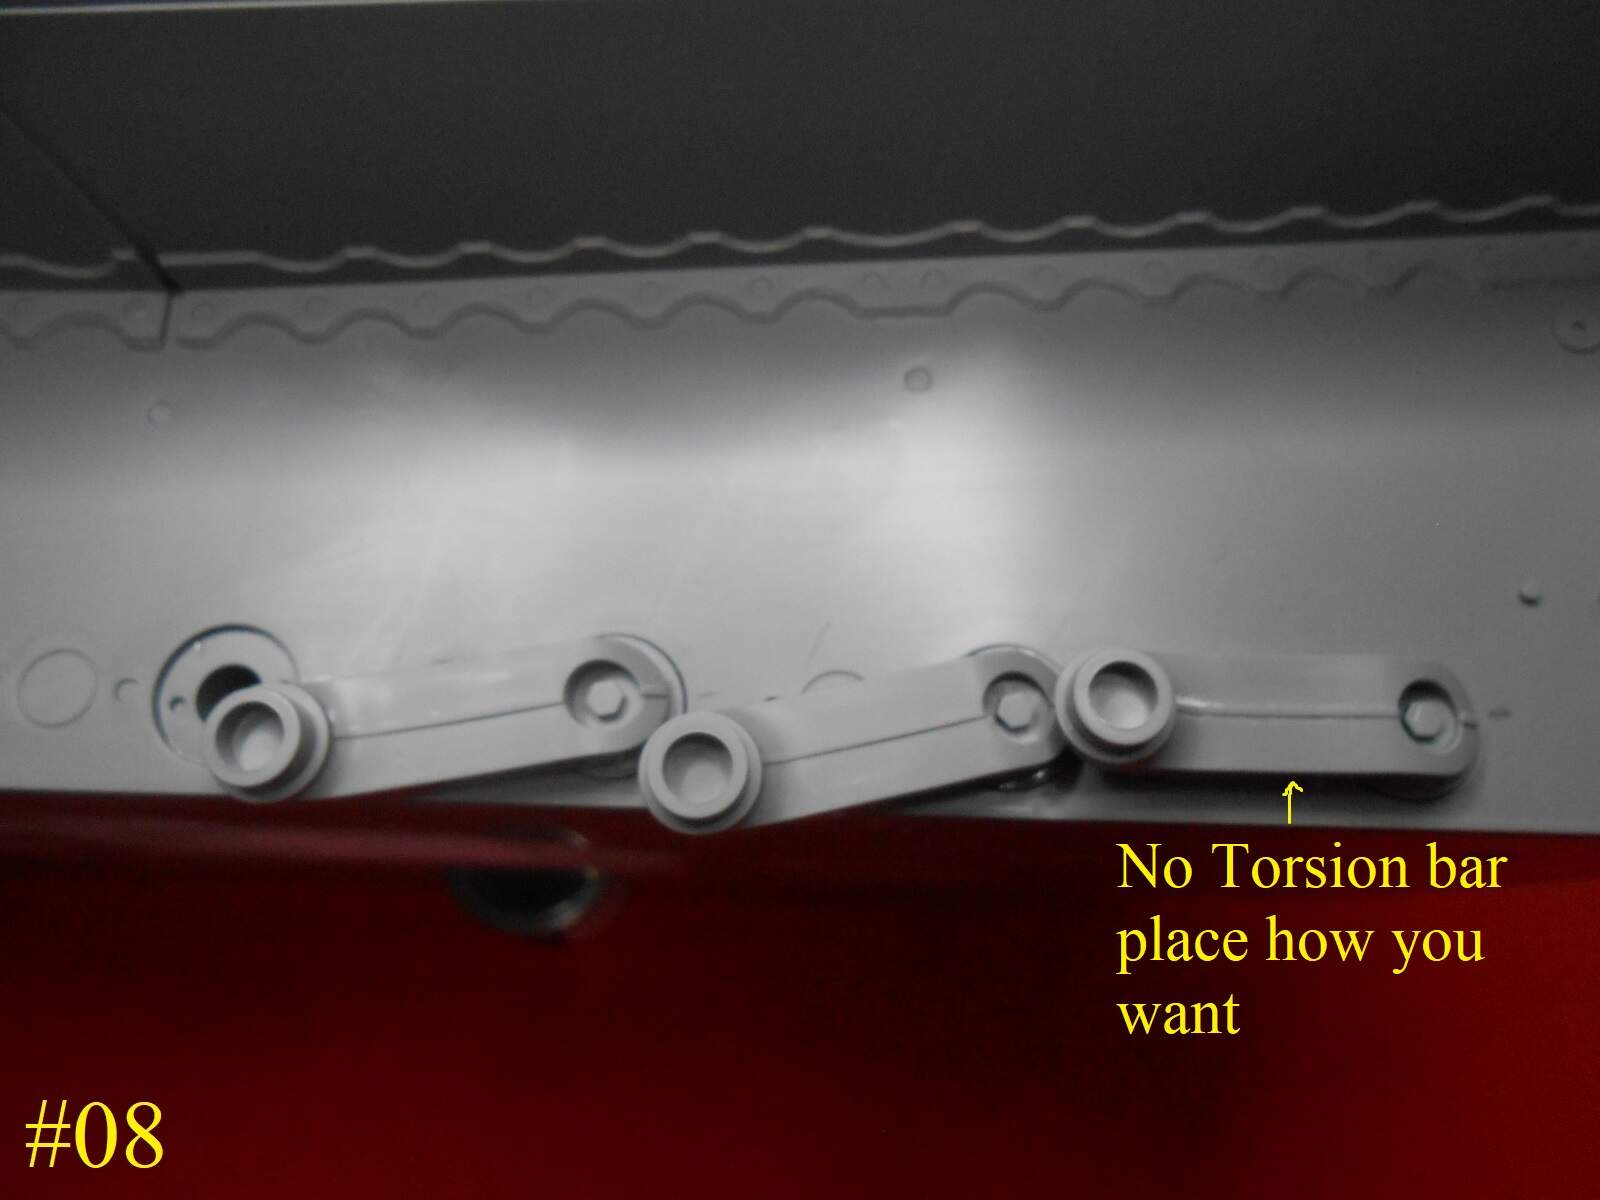
Of course you could remove all the pins and then adjust the heights to fit un even surfaces, you would have to glue them in place to fit.
What do you think David ?
Pretty sure Andy said in the build video of his, that if you want the suspension to be static to leave the pins on, if you want the suspension to work, cut them off and sand flat. Gives the builder the option to do it either way.
Whether that choice made it into the instructions or not, I am not sure.
I was wondering about the center of the axle in relation to the hull bottom
Donald
I don’t have the kit, so it’s a little hard for me to give advice on this.
The designed clearance between the ground and the bottom of a Tiger 1 hull plate, was 470mm.
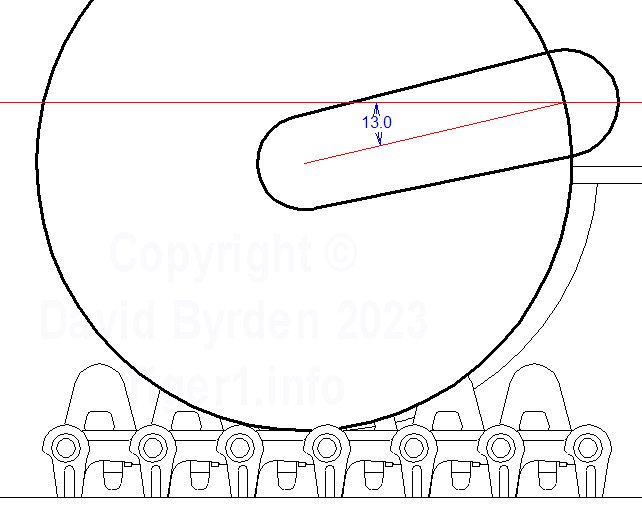
Using my own drawings, which are accurate as far as I know, the swing arm would be at 13 degrees to give you that clearance. Like so:
BUT… you don’t have a real Tiger in front of you, you have a model that may be “off” by a millimeter or two. So it’s probably better to set the height that looks right, not necessarily the one that is right.
The “ride height” of the tank is most visible at the rear, where the track runs from the top of the road wheels to the top of the idler wheel. Here is a CAD image from the kit itself;
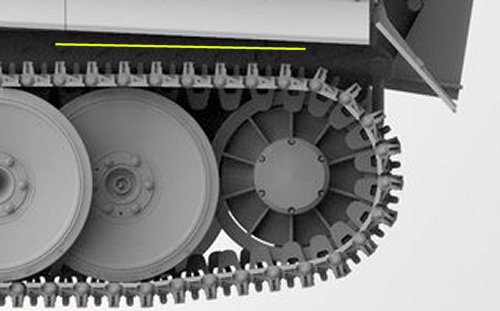
The idler’s own arm is centered in this image, i.e. hanging vertically down. And as I marked with the yellow ling, the track runs straight on from the road wheels to the idler wheel. I’ve seen that in many Tiger photos too - because I look closely at this place to determine if the tank has this idler wheel or the 1944 small one.
So, you can presumably insert your own idler on its arm without gluing it? In fact you should not glue it until later, because it sets the track tension.
And if you can put in a few wheels, and lay a run of track across them, you can experiment with getting this height.
David
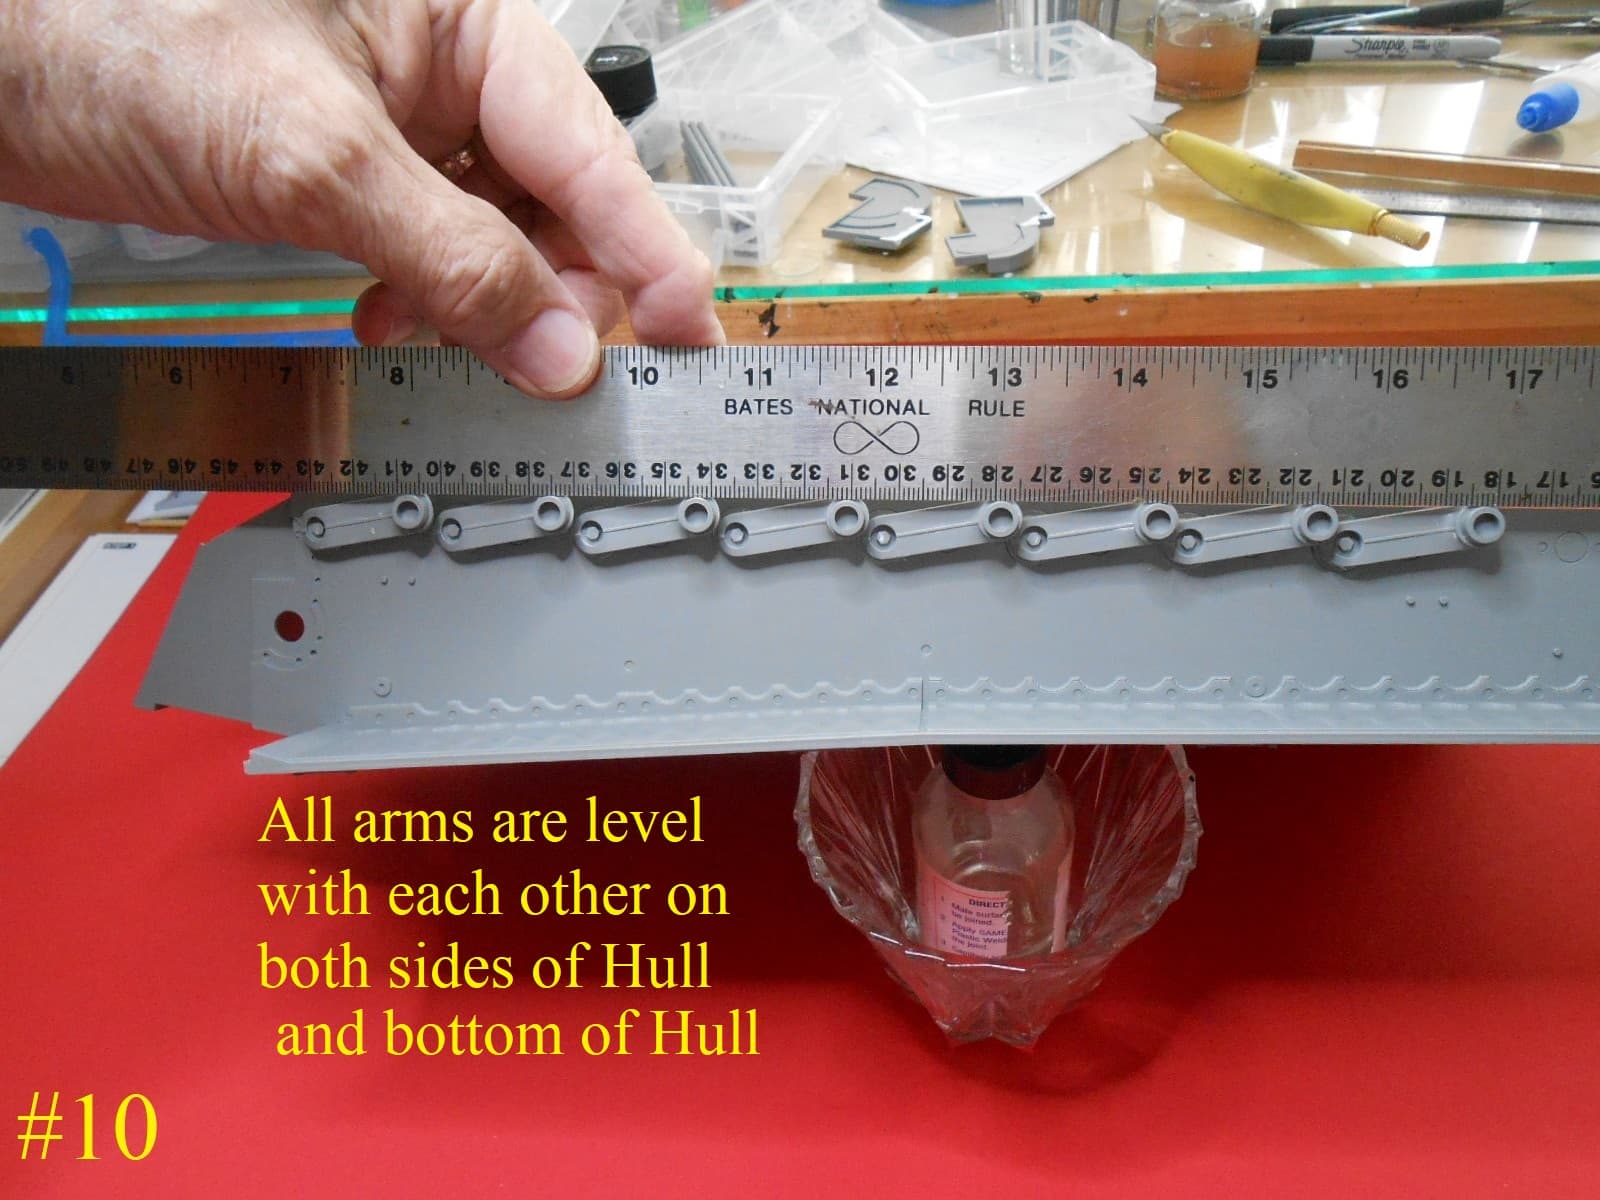
I have gon with the pins in the holes.
The fit is very sloppy so I used a strait edge to get them all lined up both sides together.
David , your drawing looks correct except you have the pivot point of the arm at the hull bottom , the way I have the arms look to be about 13 deg.
Regards
Donald
Sorry, that red line is not meant to represent the hull bottom, it’s a marker for the torsion bars.
David
Appreciate all this insight being given here,it will be helpful once I start definitely got this one bookmarked.
Thanks Donald for jumping right on this one ! Mine came last week. What a mountain of plastic !
I’m going to get the instructions and start adding notes to them based on your labor of love.
David, thanks for the 13 degree tip for setting the road wheel arms!
Looking again I see what you mean , it looks like I have them in just the right place ?
Donald
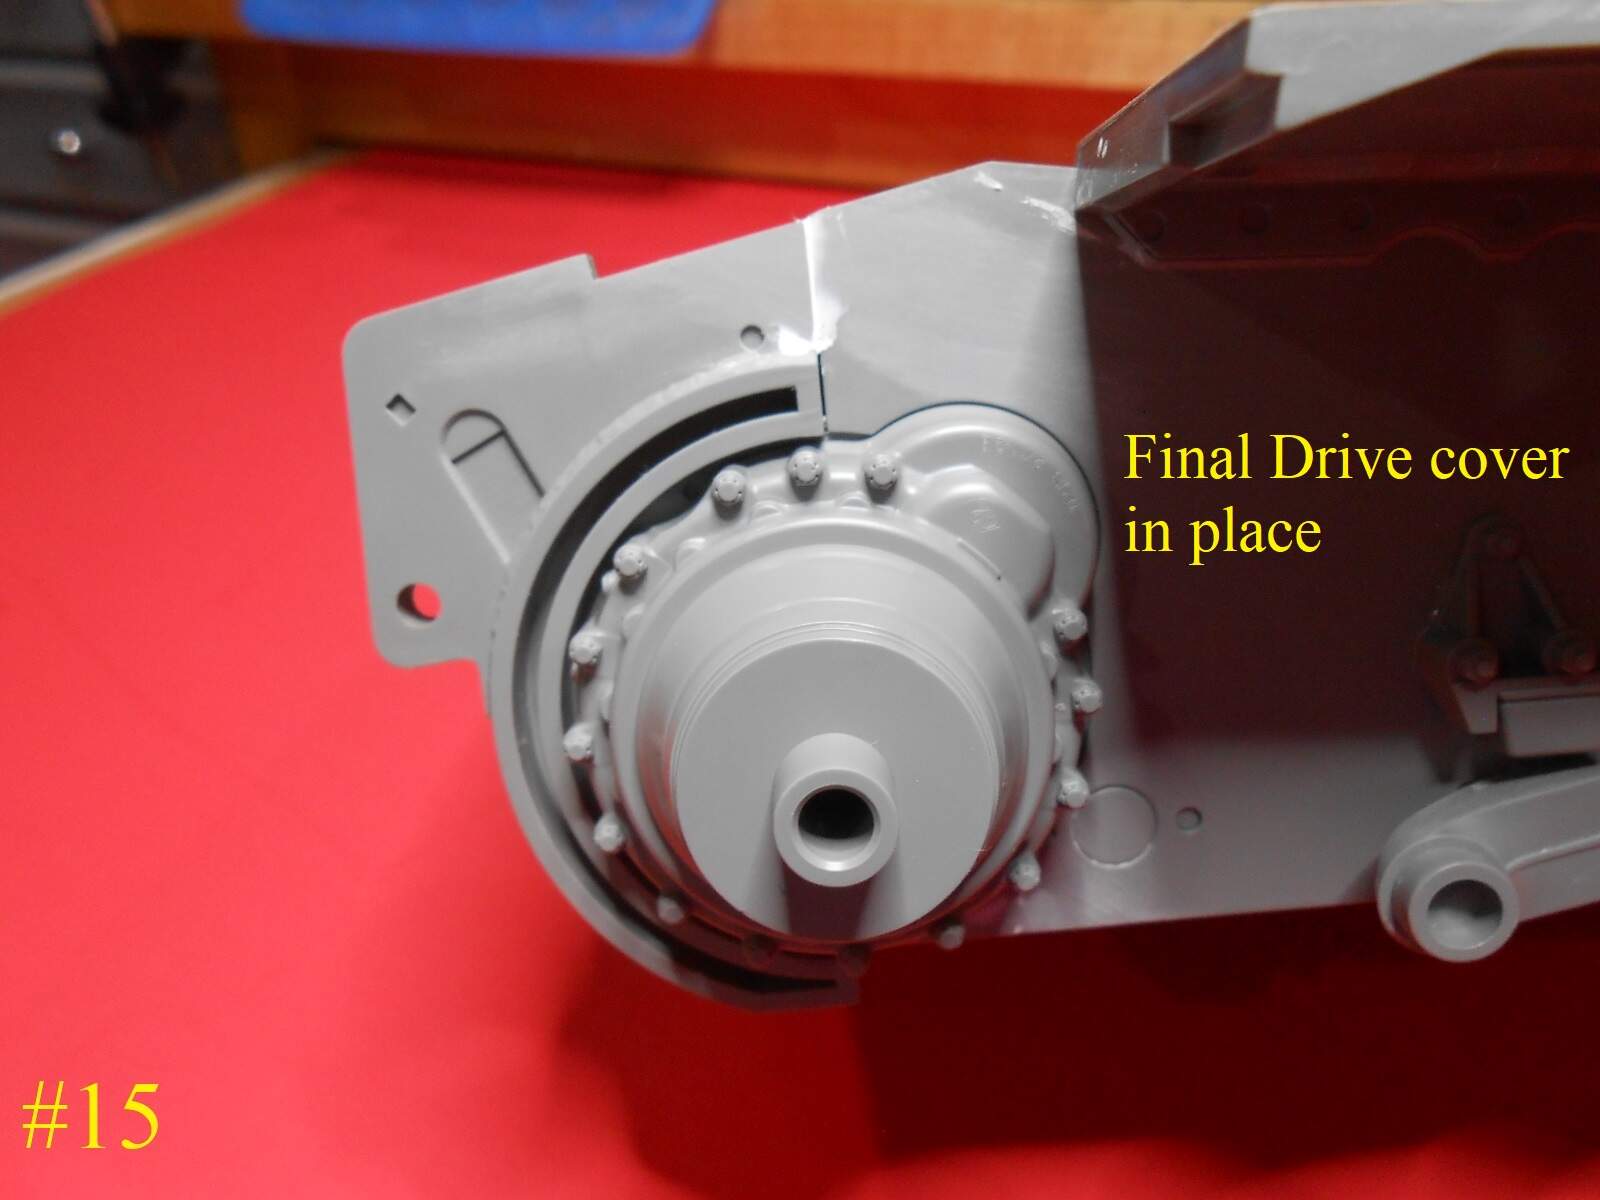
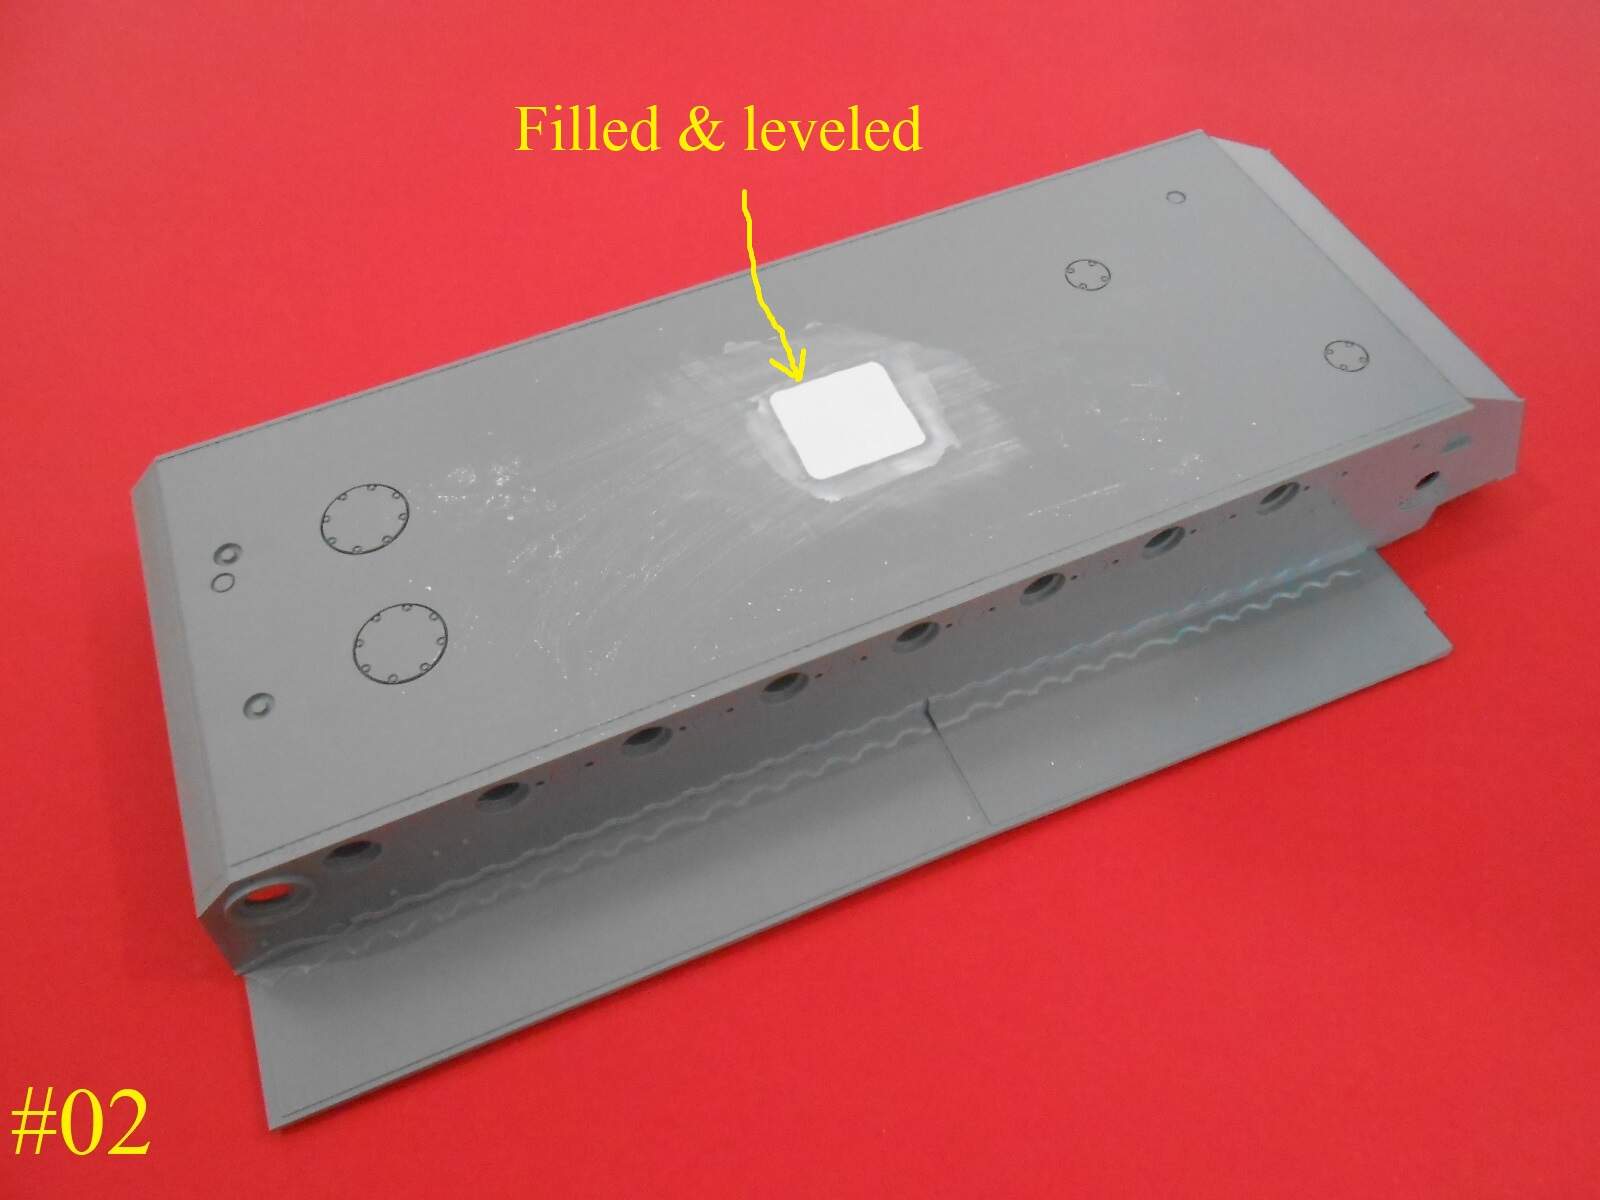
It’s easier to fill and sand the seams now before the covers are installed/
Going to work on the upper hull next , the wheels and track will be done later.
You all know from my previous builds how I work.
Regards
Donald
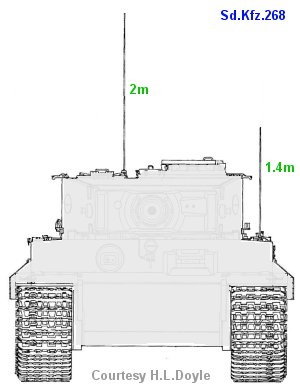
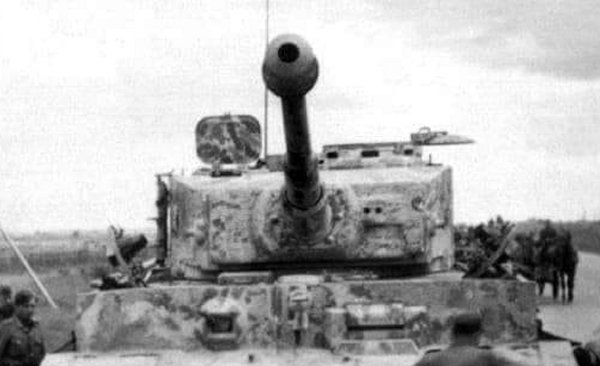
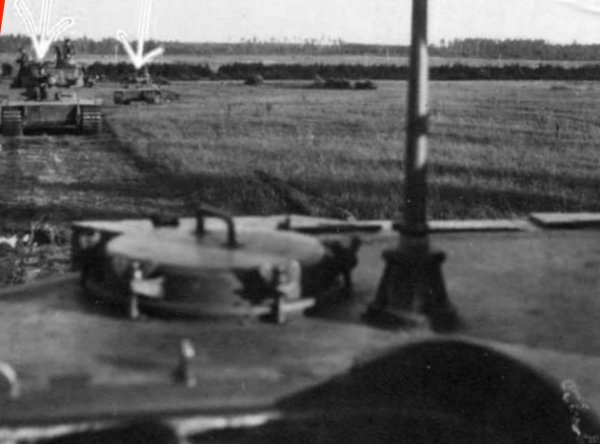
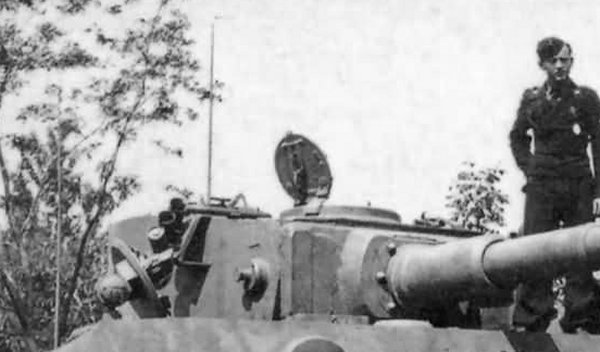
I got my tiger today. Take a look at the instructions, this antenna on the turret, I have never seen that before
ask David , but I’m prety shure it’s for a command version
I have a book of tiger versions, including the comand-version, there is not a single picture with this kind of antenna. I will check some more books, maybe there is a picture anywhere
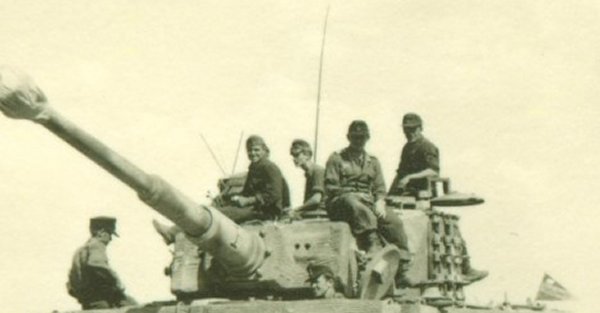
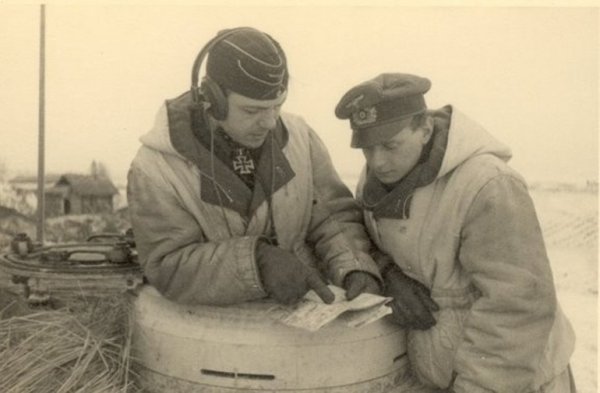
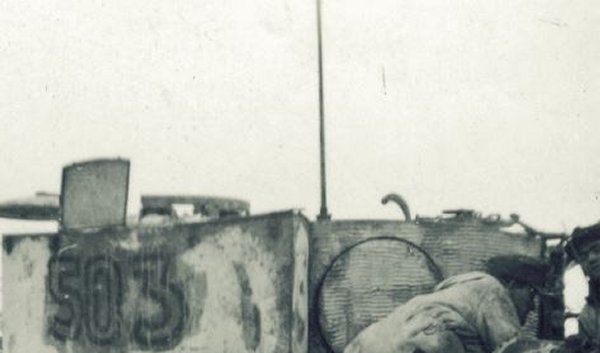
This might be what you are looking fore.
![]()
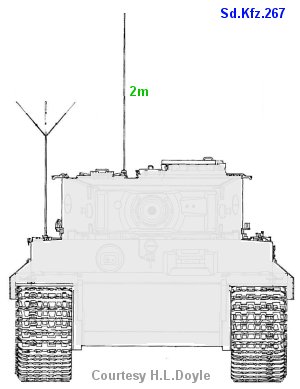

I found this for Whitmans Command Tiger.
Regards
Donald
There are many such images.
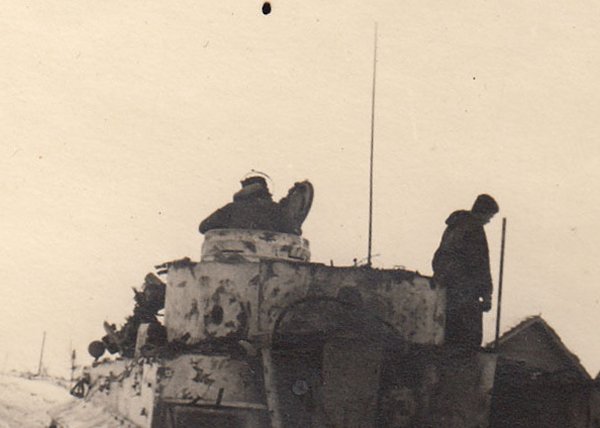
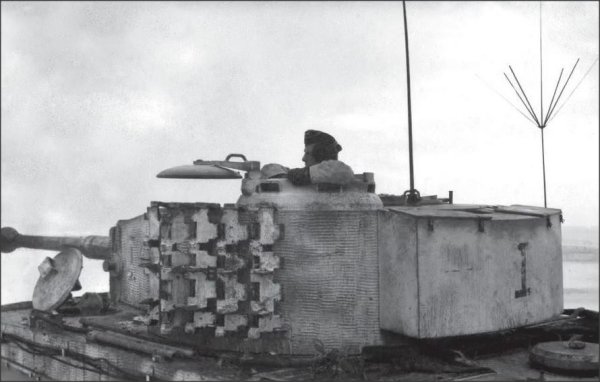
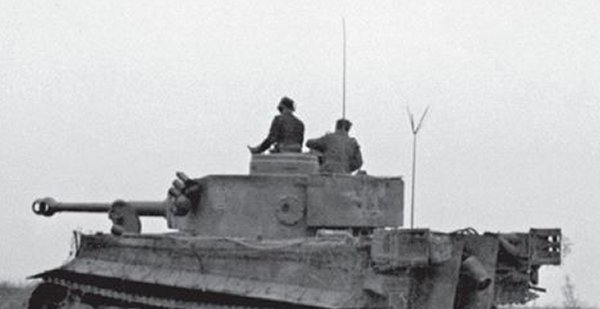
David
Okay, so I was looking in the wrong book. Thank you for this