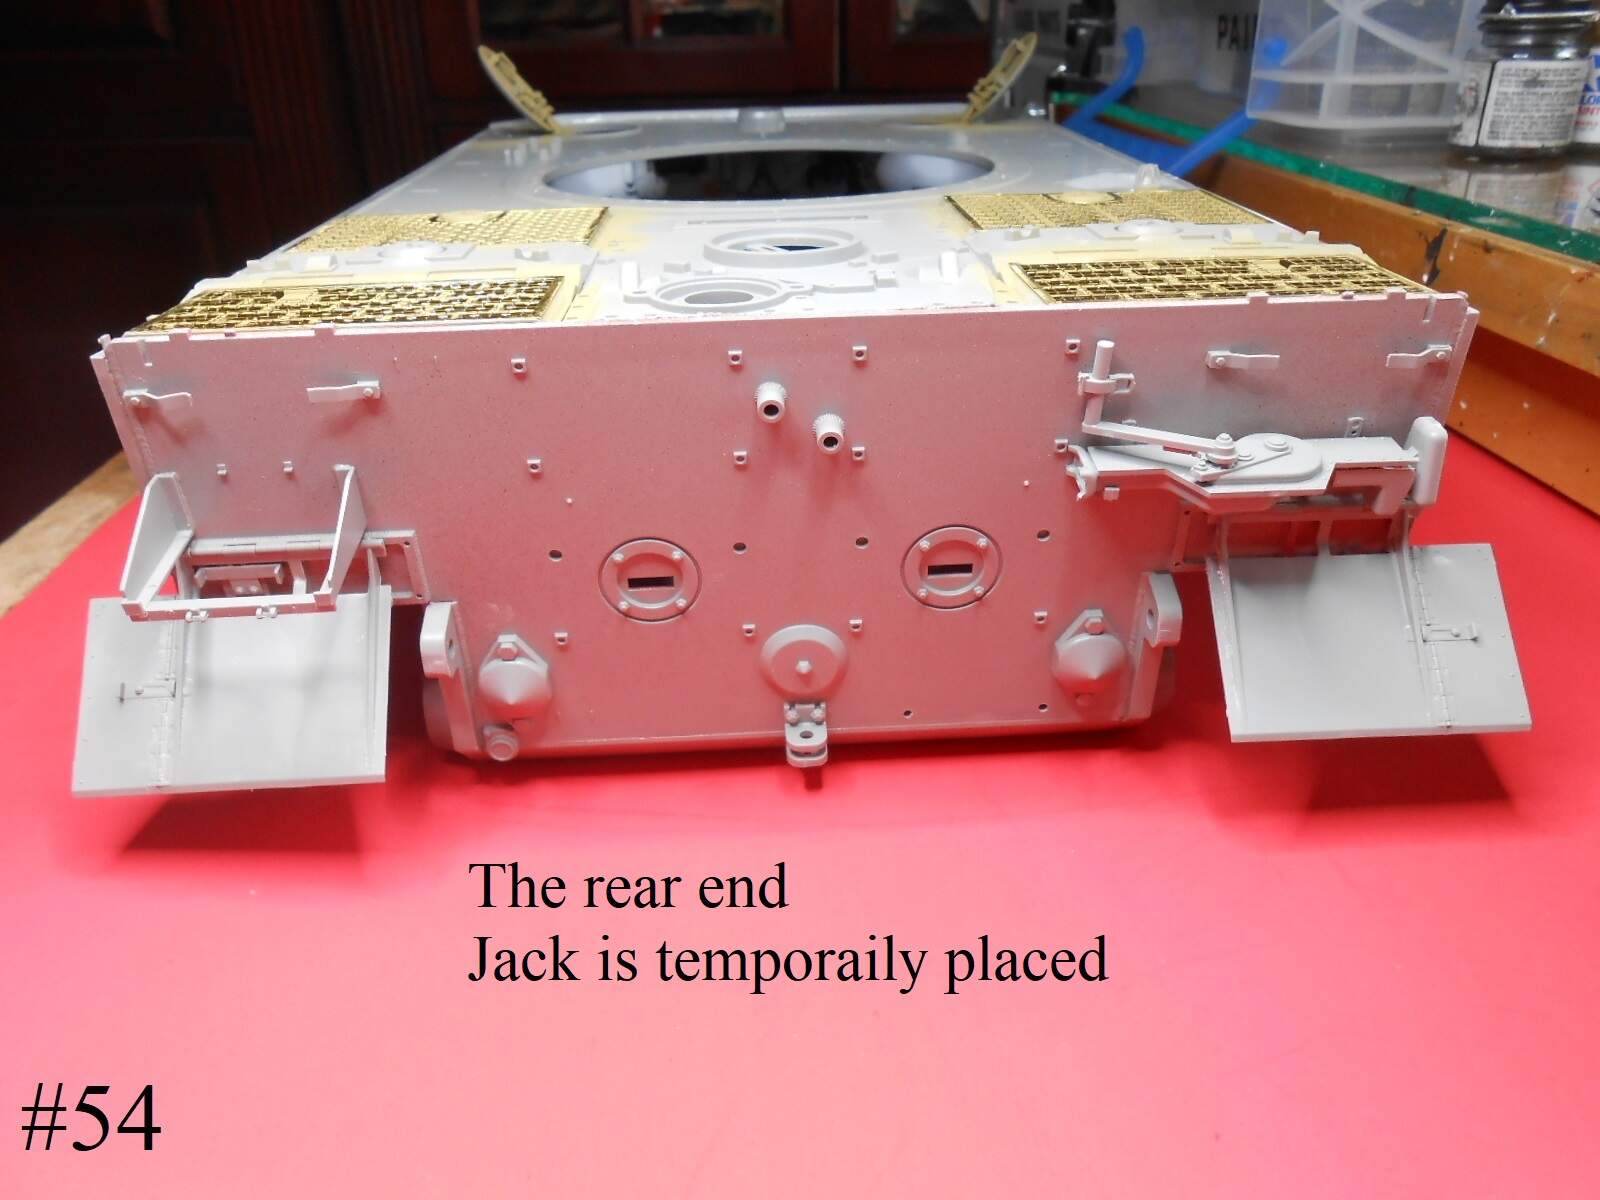
Heres a little more.
Finished for now
Donald
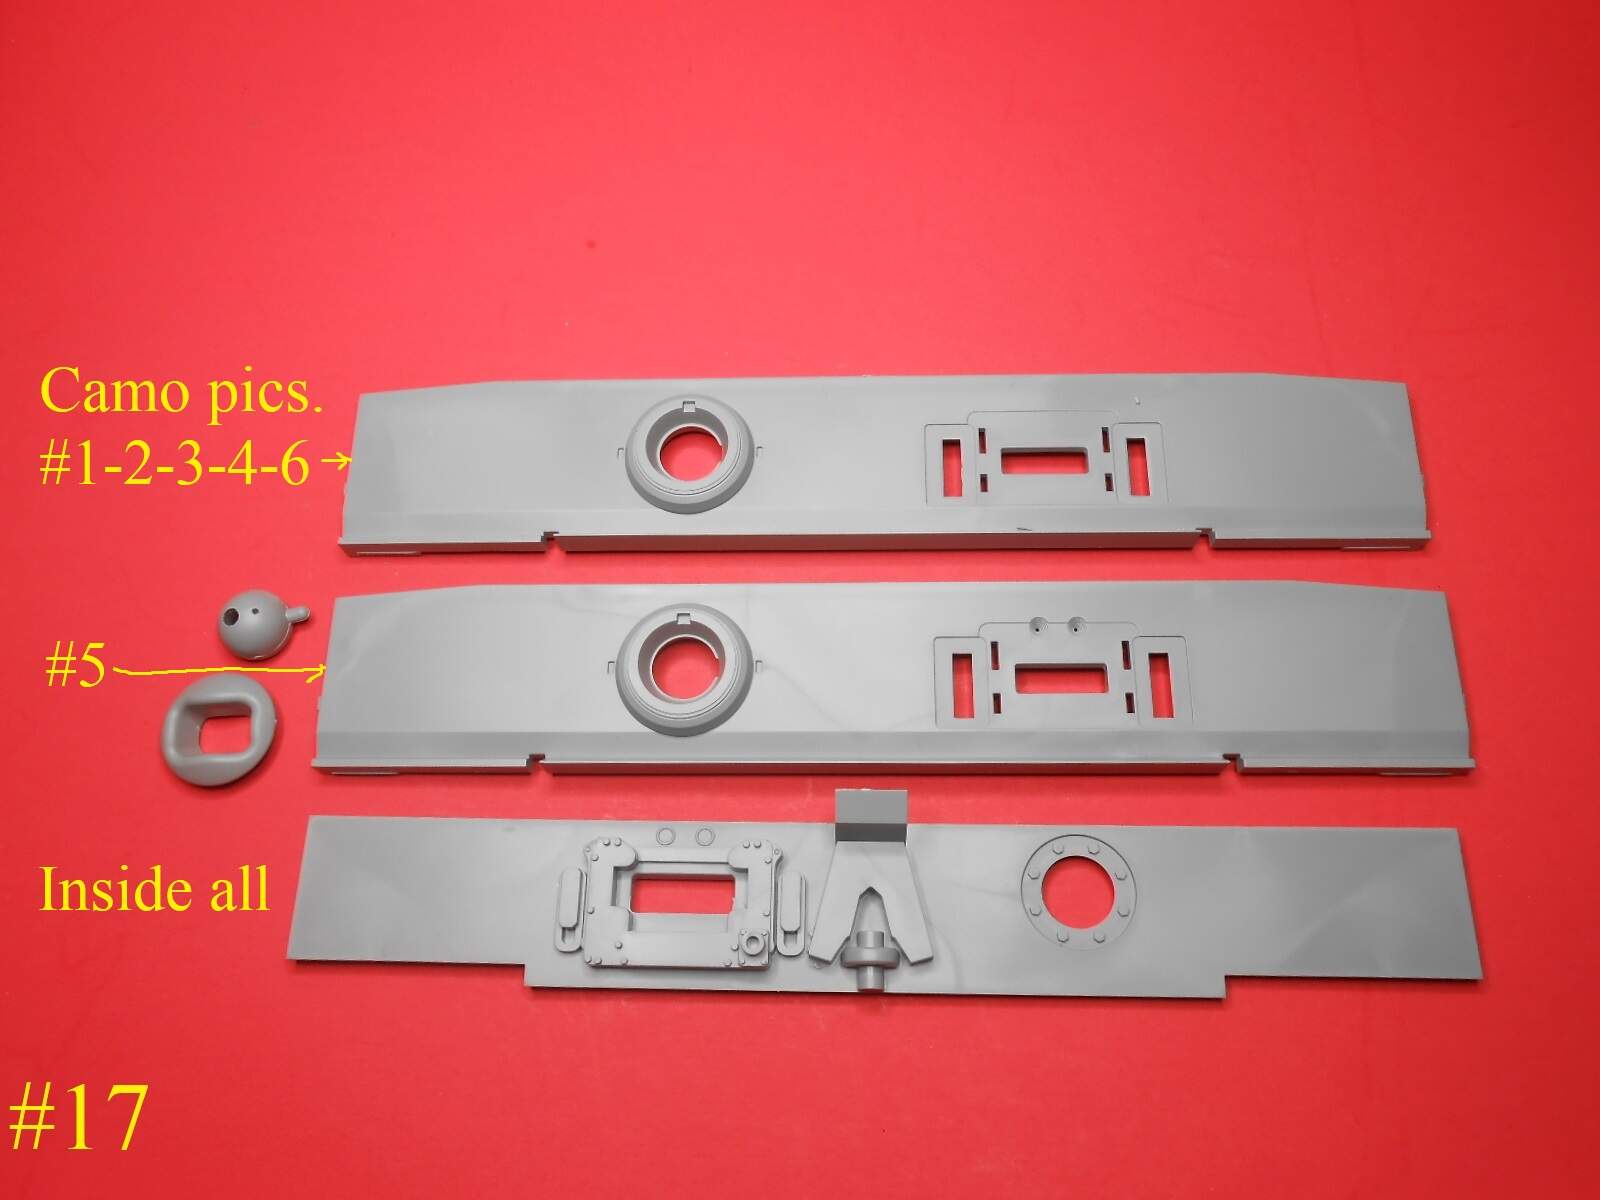
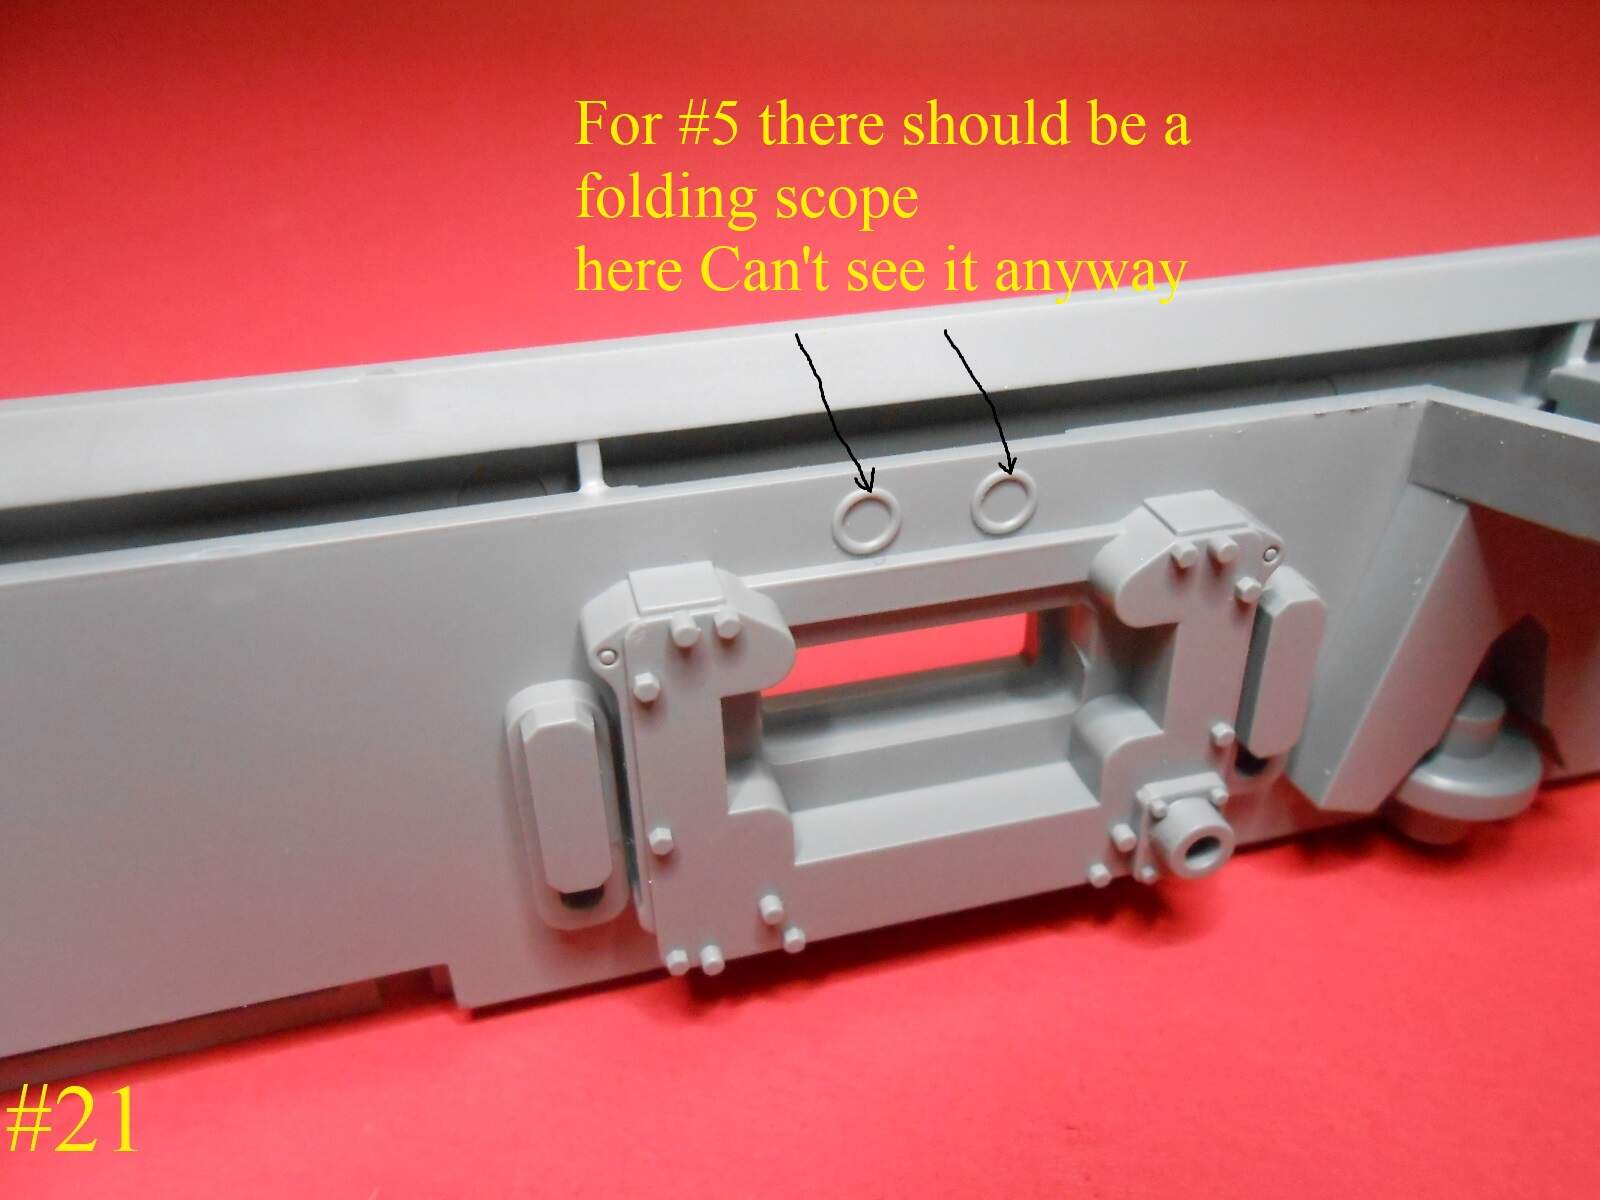
The instructions specify the front wall with eye holes, for option 5, as you pointed out.
But I think they’re wrong. Because this is the actual Tiger “211”.
Anyway, it doesn’t affect you.
But just to let you know, I wrote my own list of features for the decals.
David
So how am I doing so far?
Donald
Looks like the build is going well and being nicely documented to me. A++
As good as every time, your builds are always exiting and I always enjoy to look at them
I’m building and posting mine as well. Do you have any warpage in yours? I had to force the hull out to get the bow to line up. Everything is dry fit on mine now.
Thanks
Andy
Nope no problems at all.
Donald
Fabulous demo.
As per usual.
Great start, as usual!
Dave ![]()
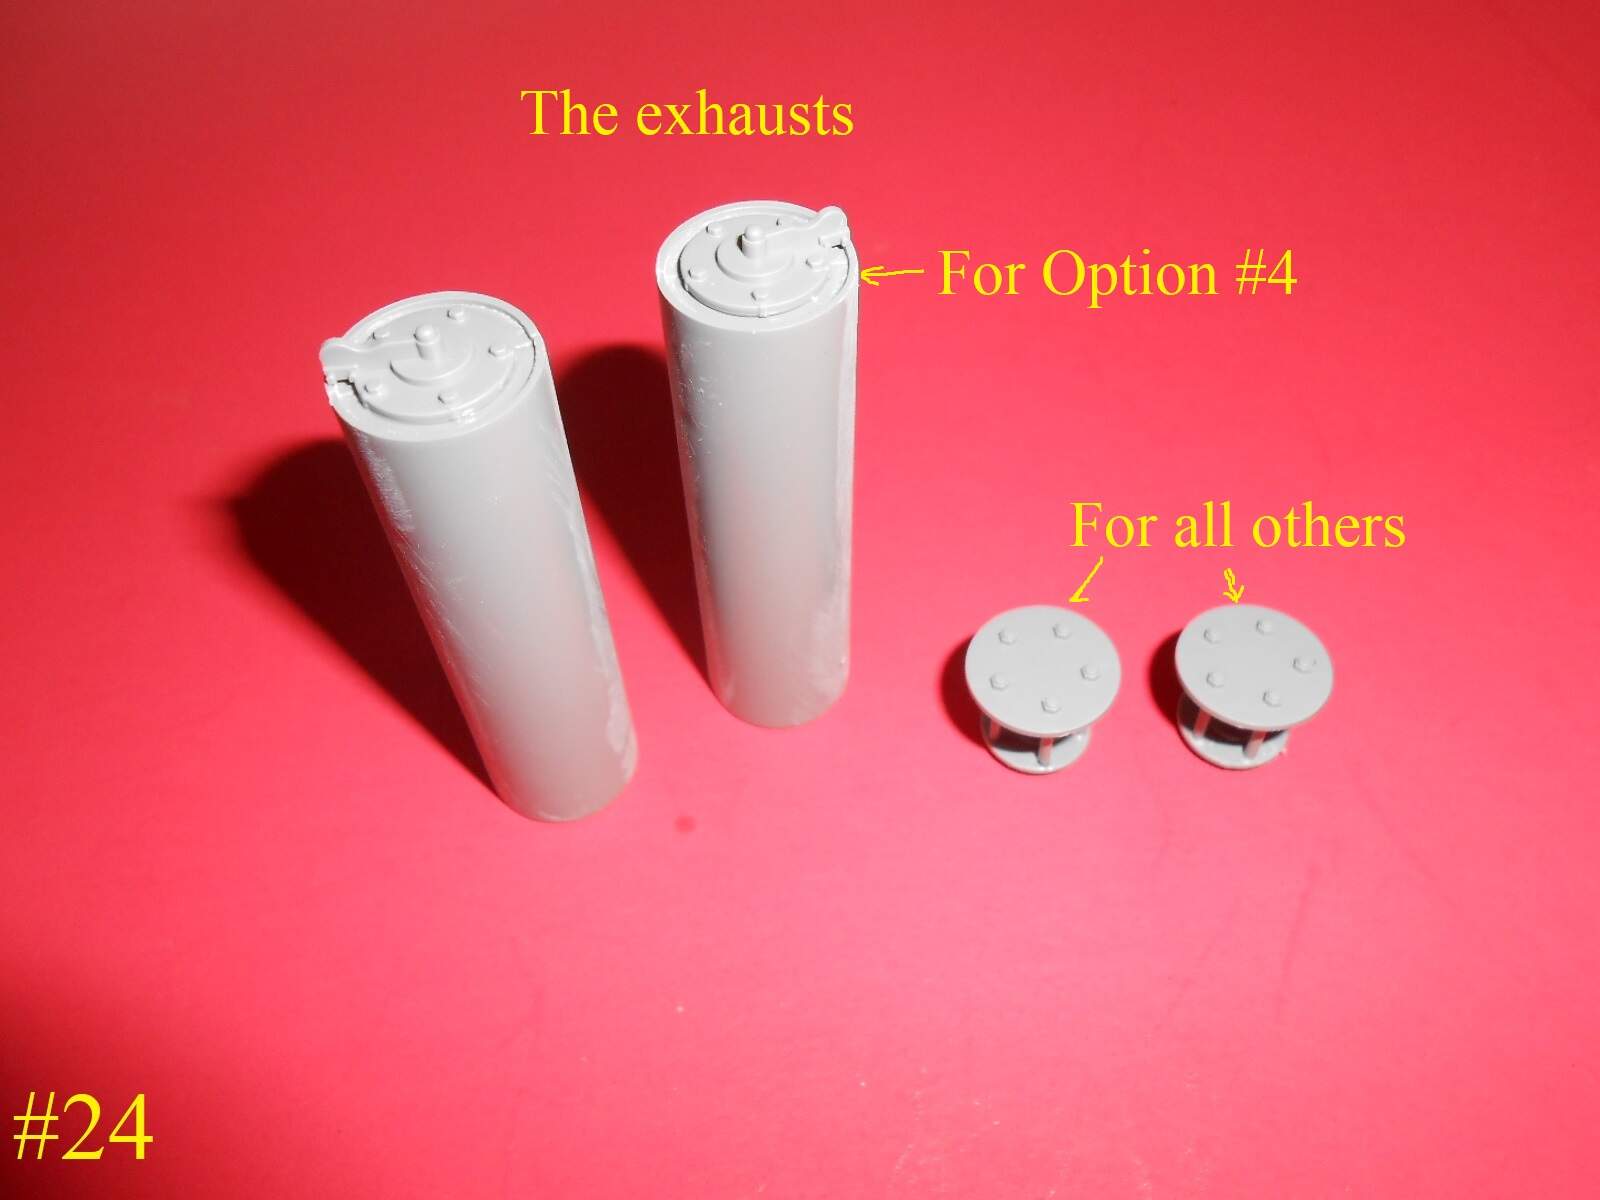
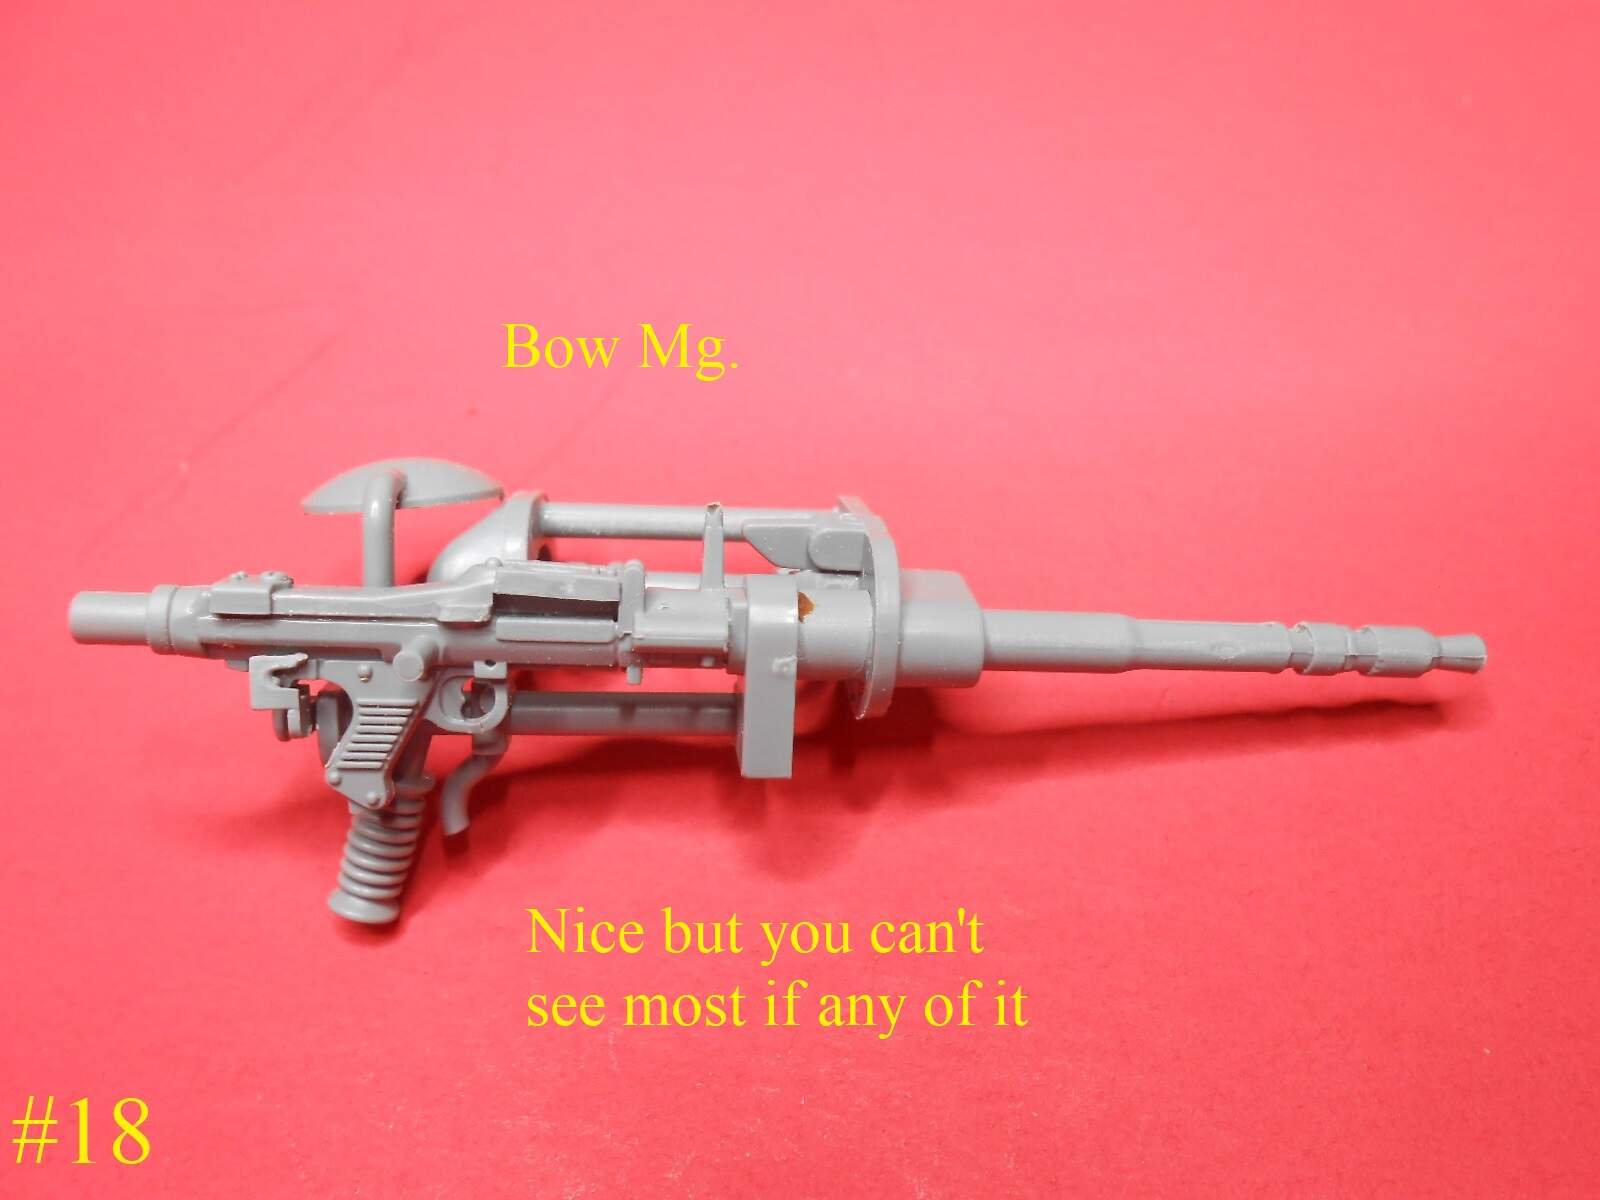
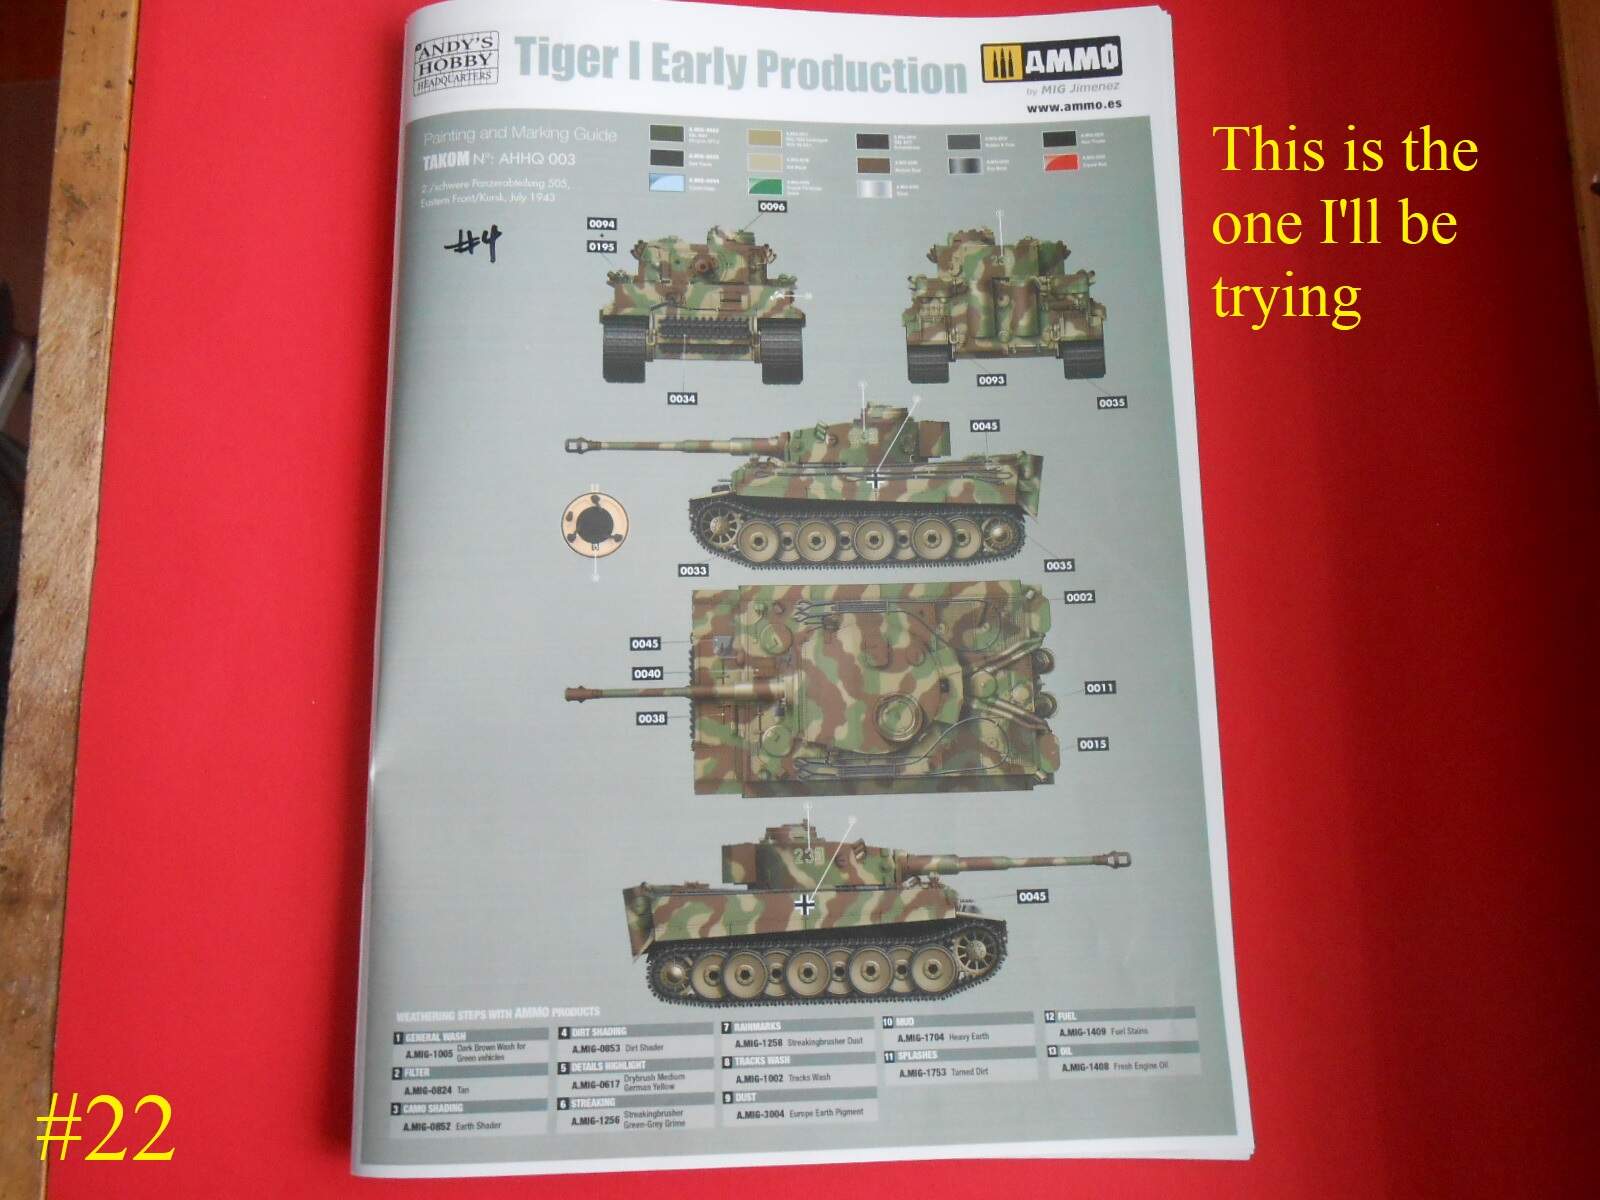
Regarding the exhaust caps. Where does it say to use no cap for decal option #4 ?
I’ve seen the instructions offering them as alternates but without an explanation (Step 9).
The paint-scheme artwork shows the cap installed on all of the Tigers - as I would expect.
David
If you look closly at the colored Pics of the options you can see the flaper valve covers they can’t be seen on the others.
It’s just what I see.
The tops of the exhausts are shown as being flat except for # 4
I just checked again all the Pics. except for #4 show the 5 bolt patern on top #4 has what looks like a round part with a small arm.
The instructions don’t say which one to use.
I’m just going by what the Pics. show.
Donald
Fantastic! Great pictures, exciting to follow. Thanks a lot.
Ah! Thank you.
Well, the instructions are wrong about that.
David
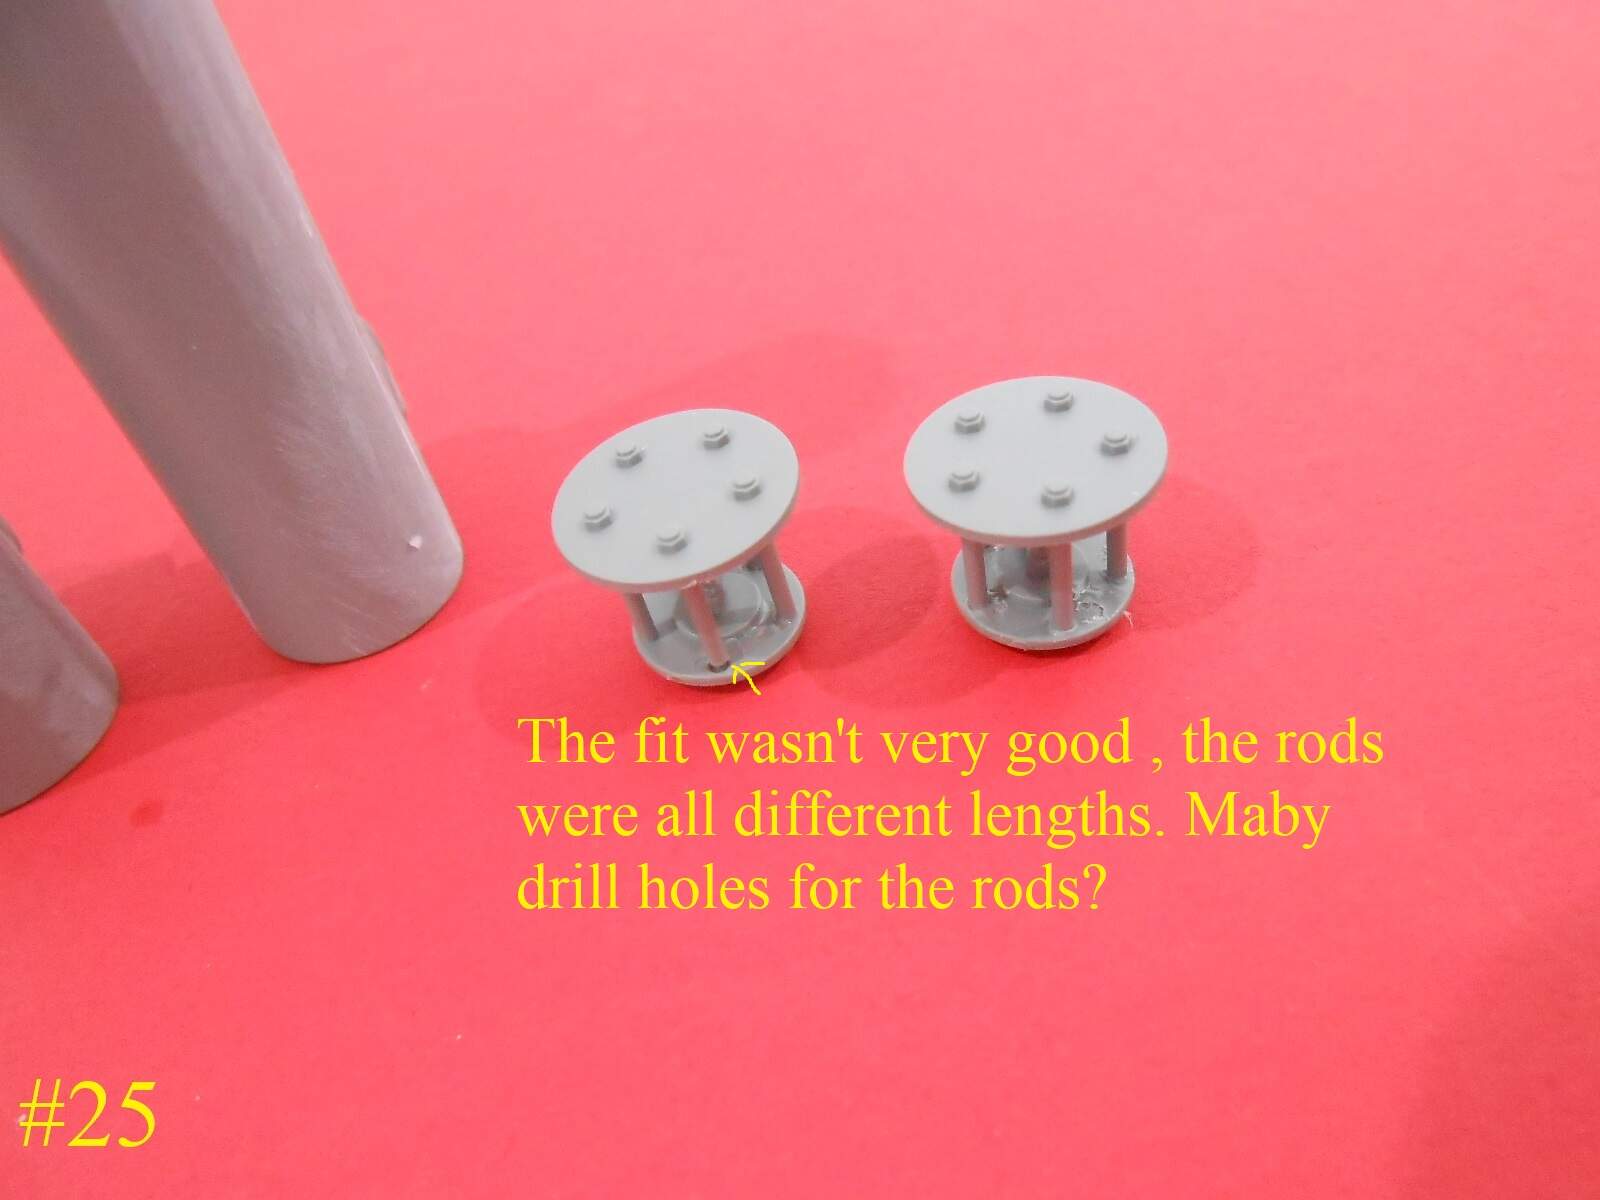
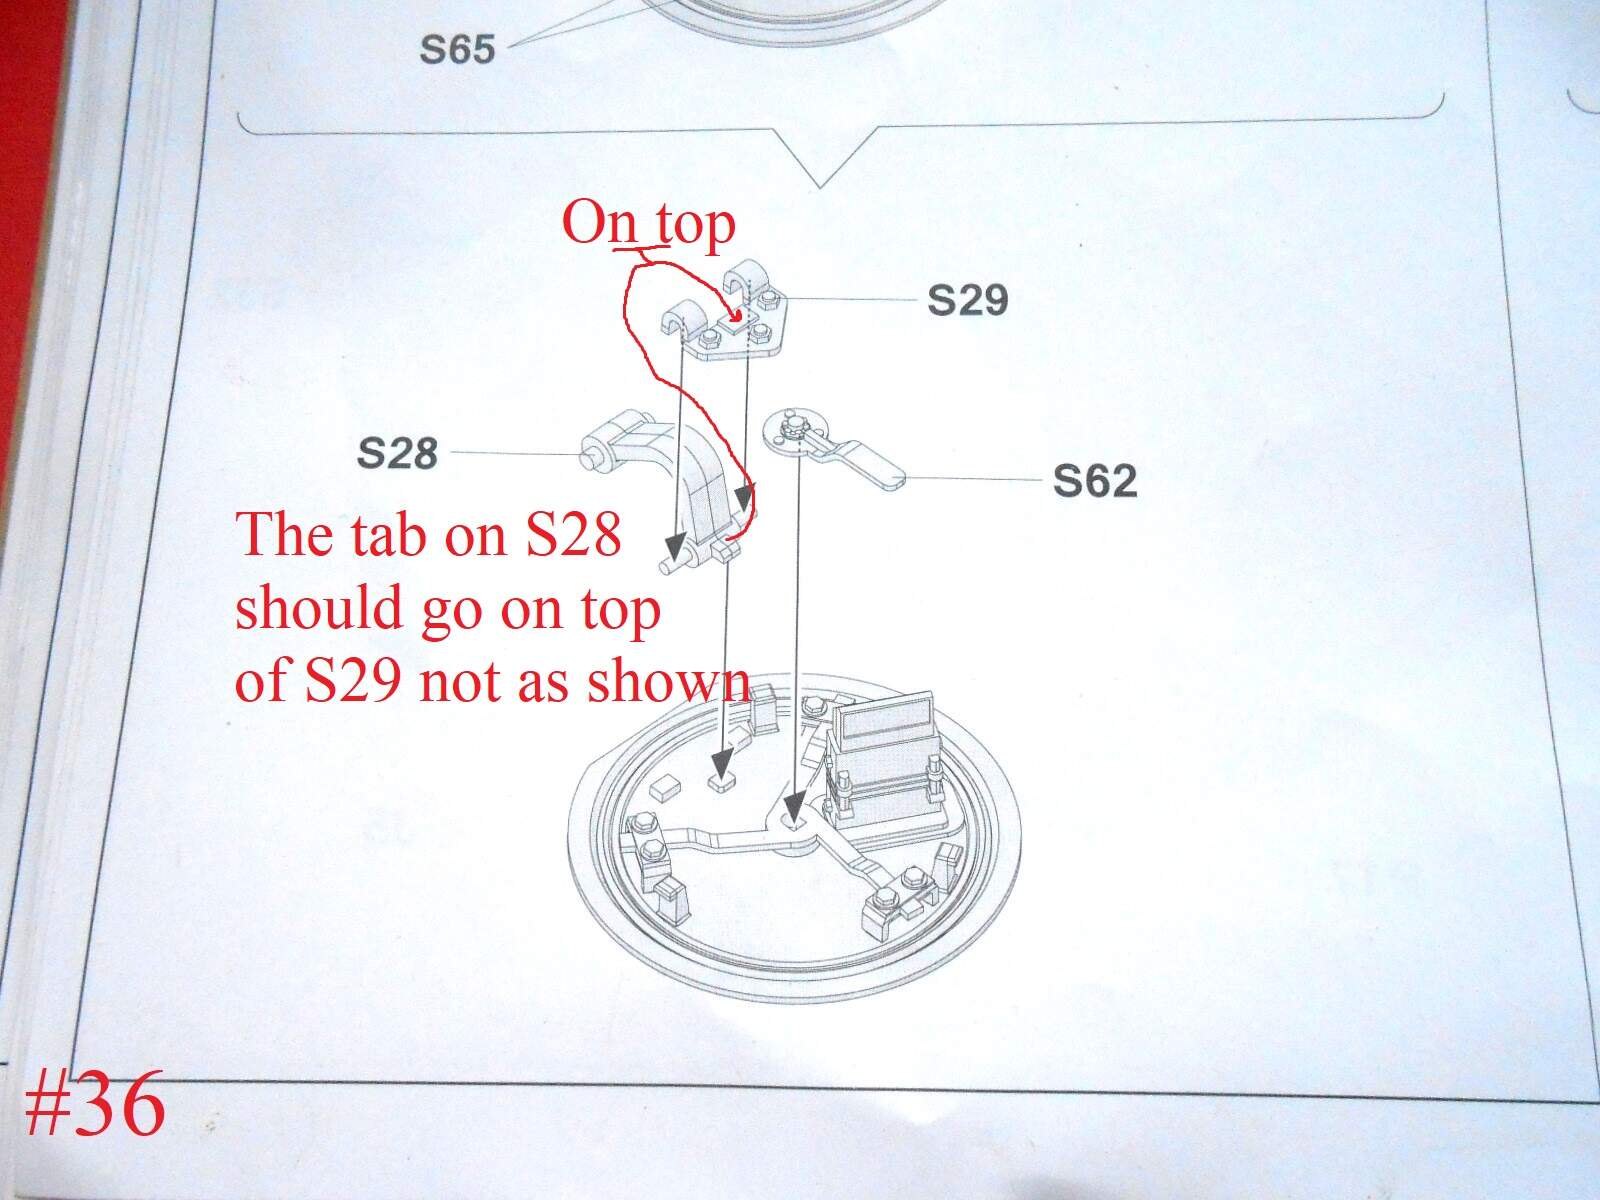
Just following the instructions here , I’m not a Tiger expert.
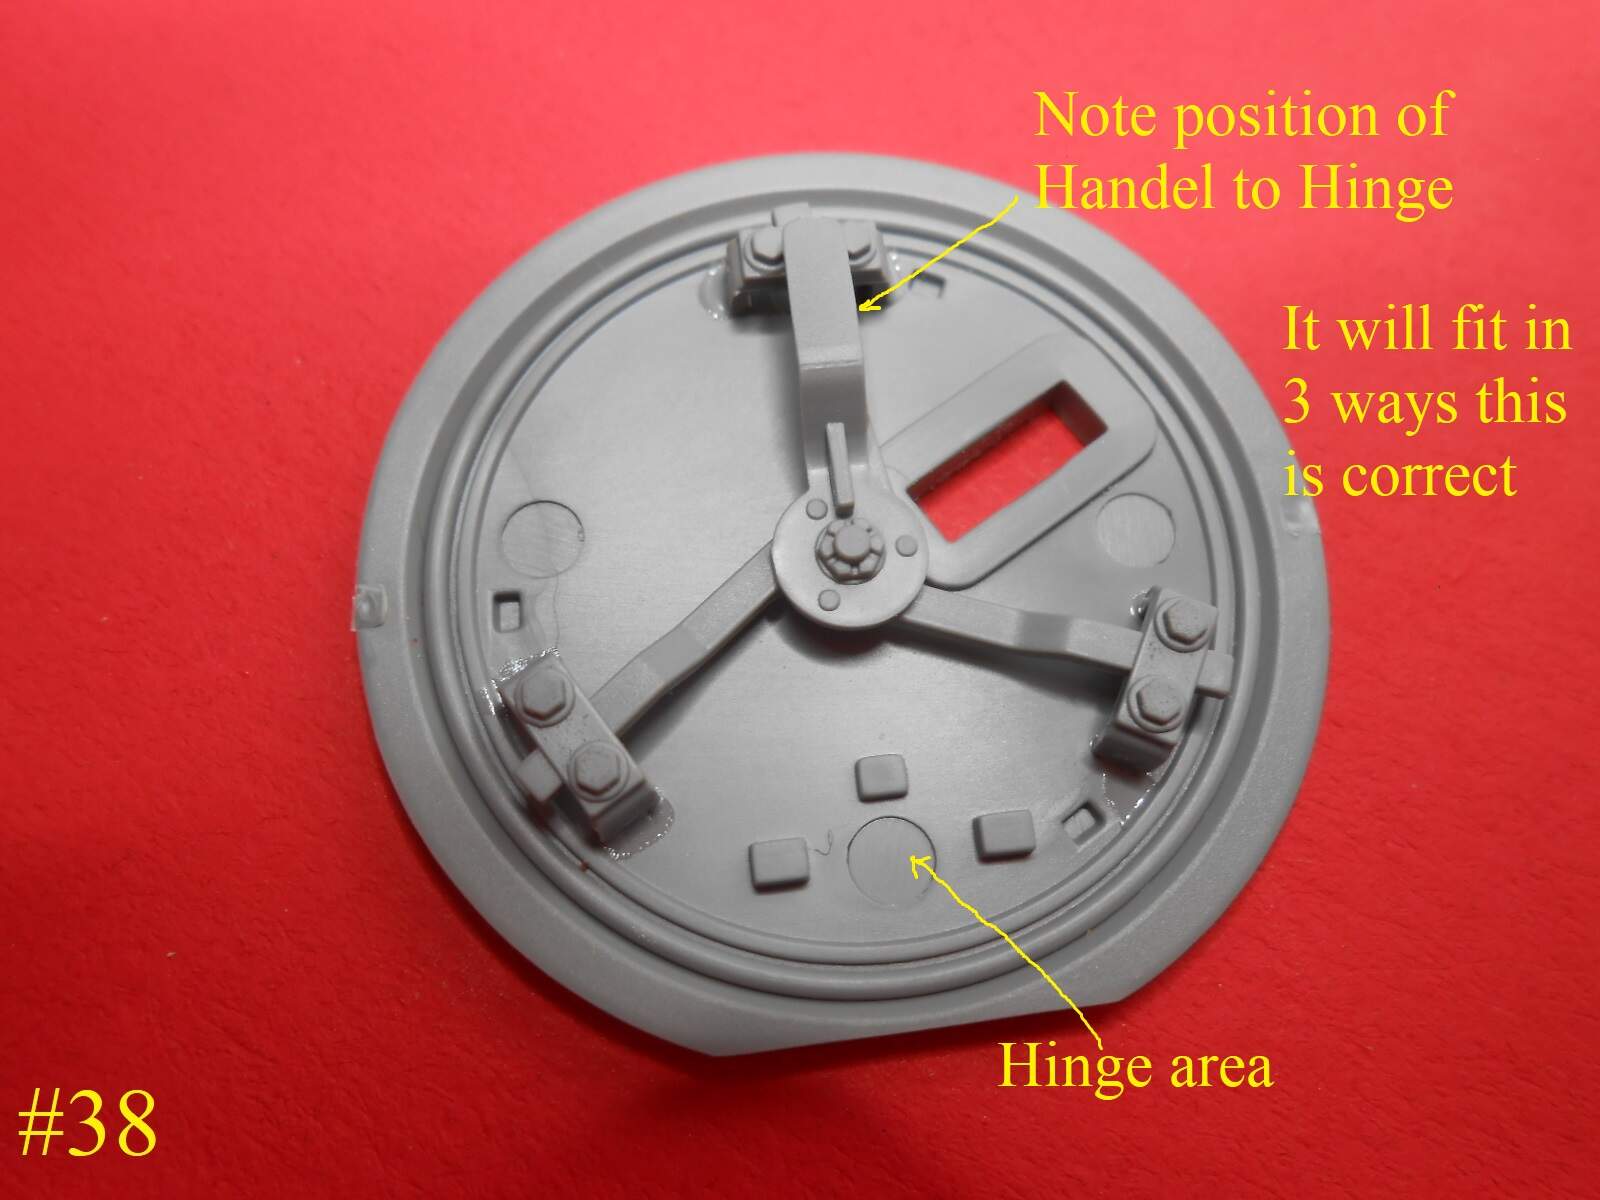
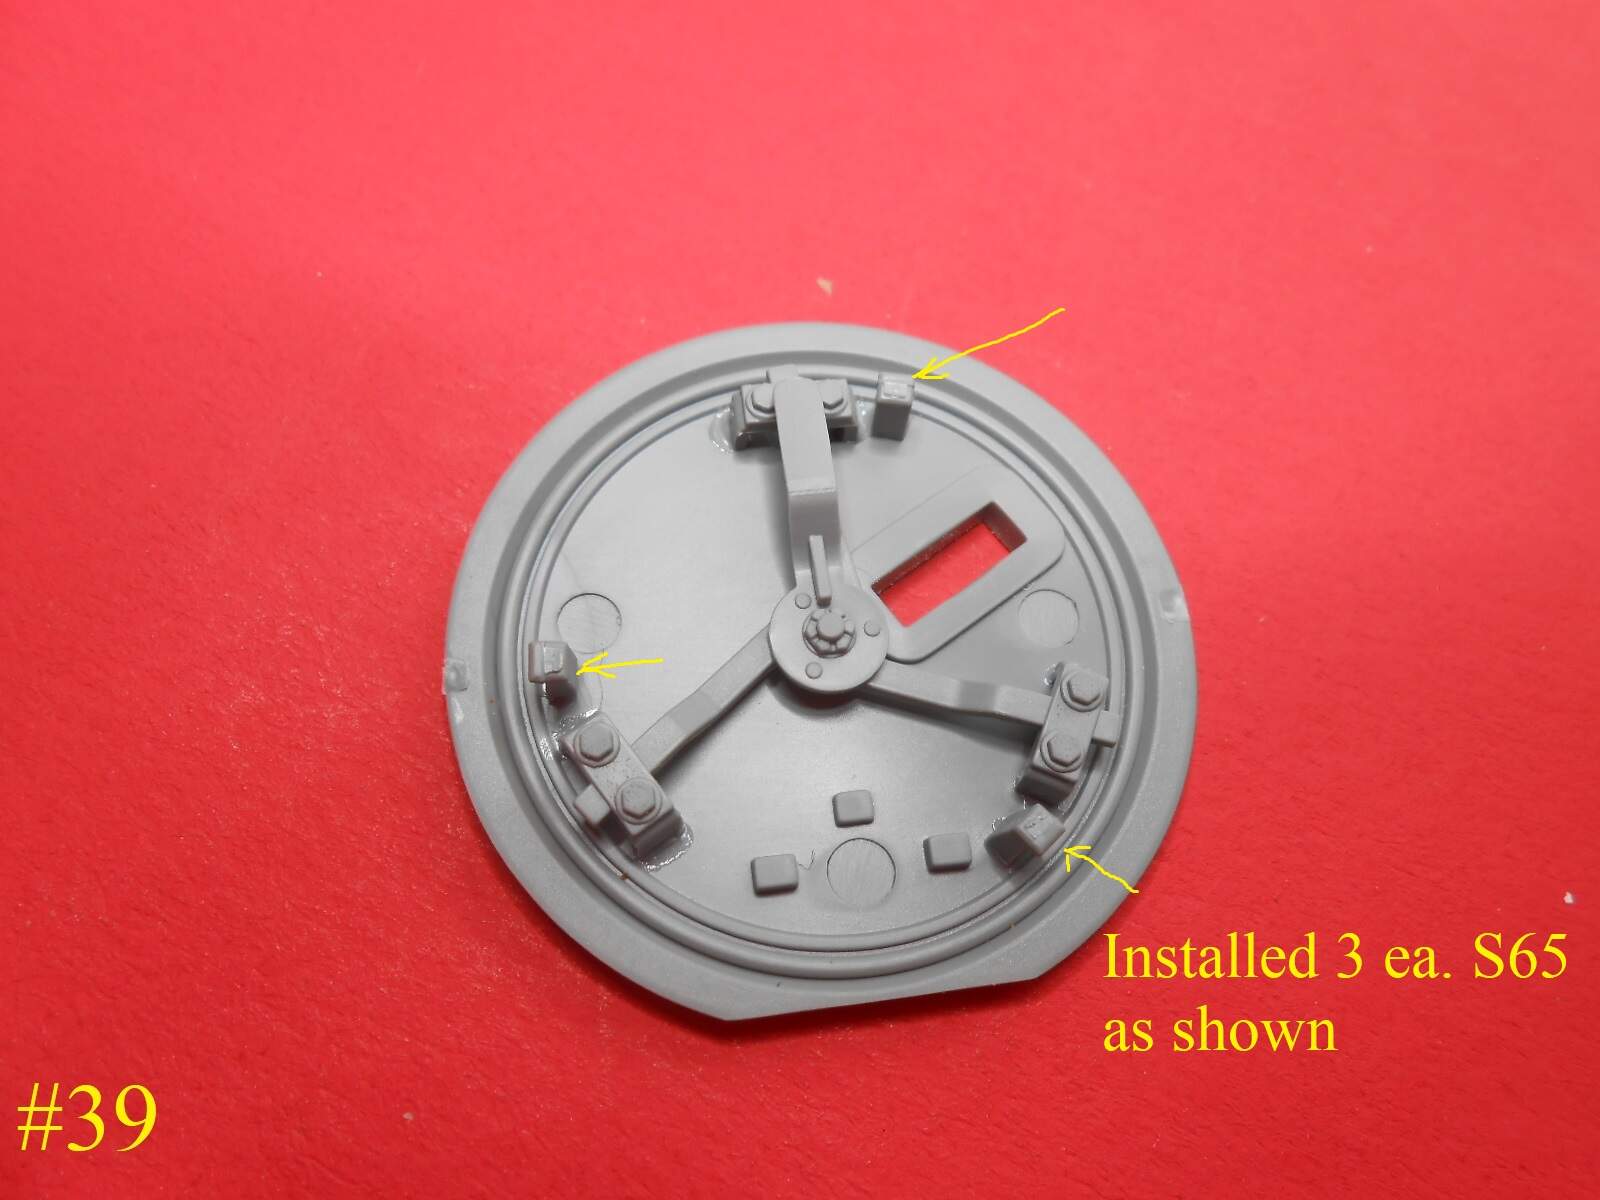
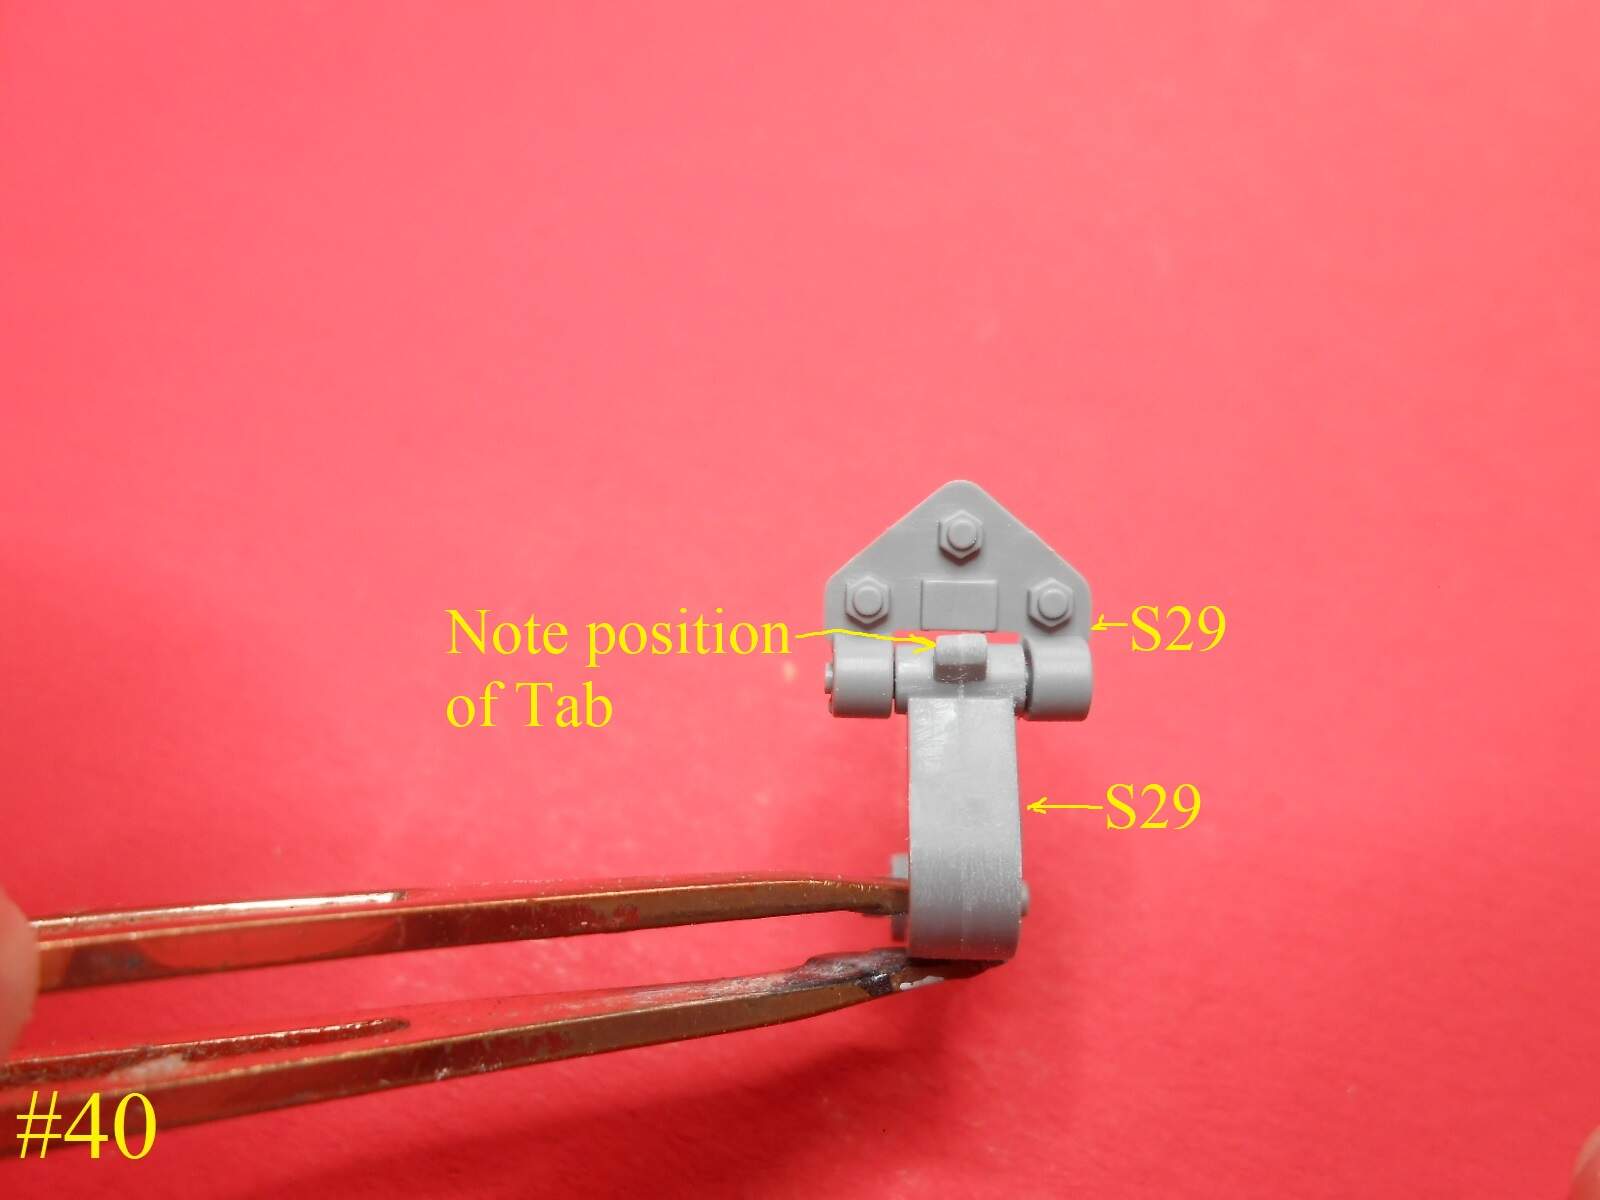
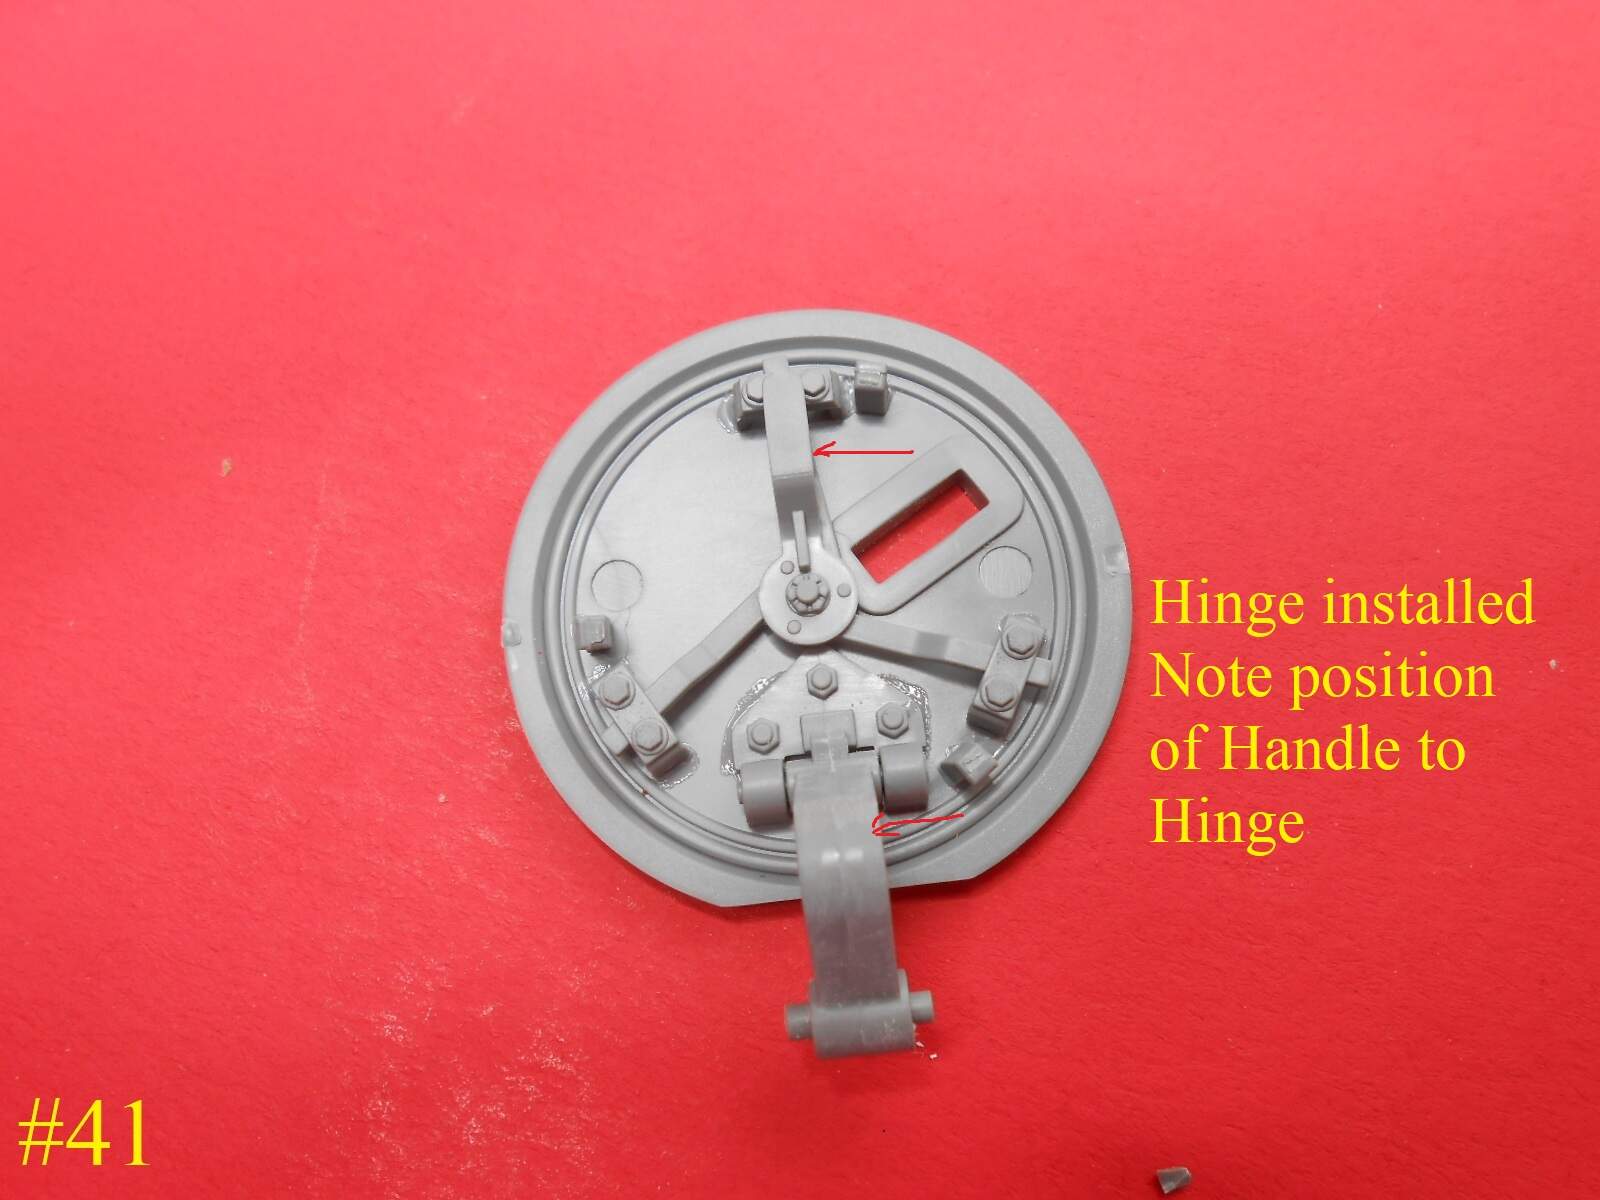
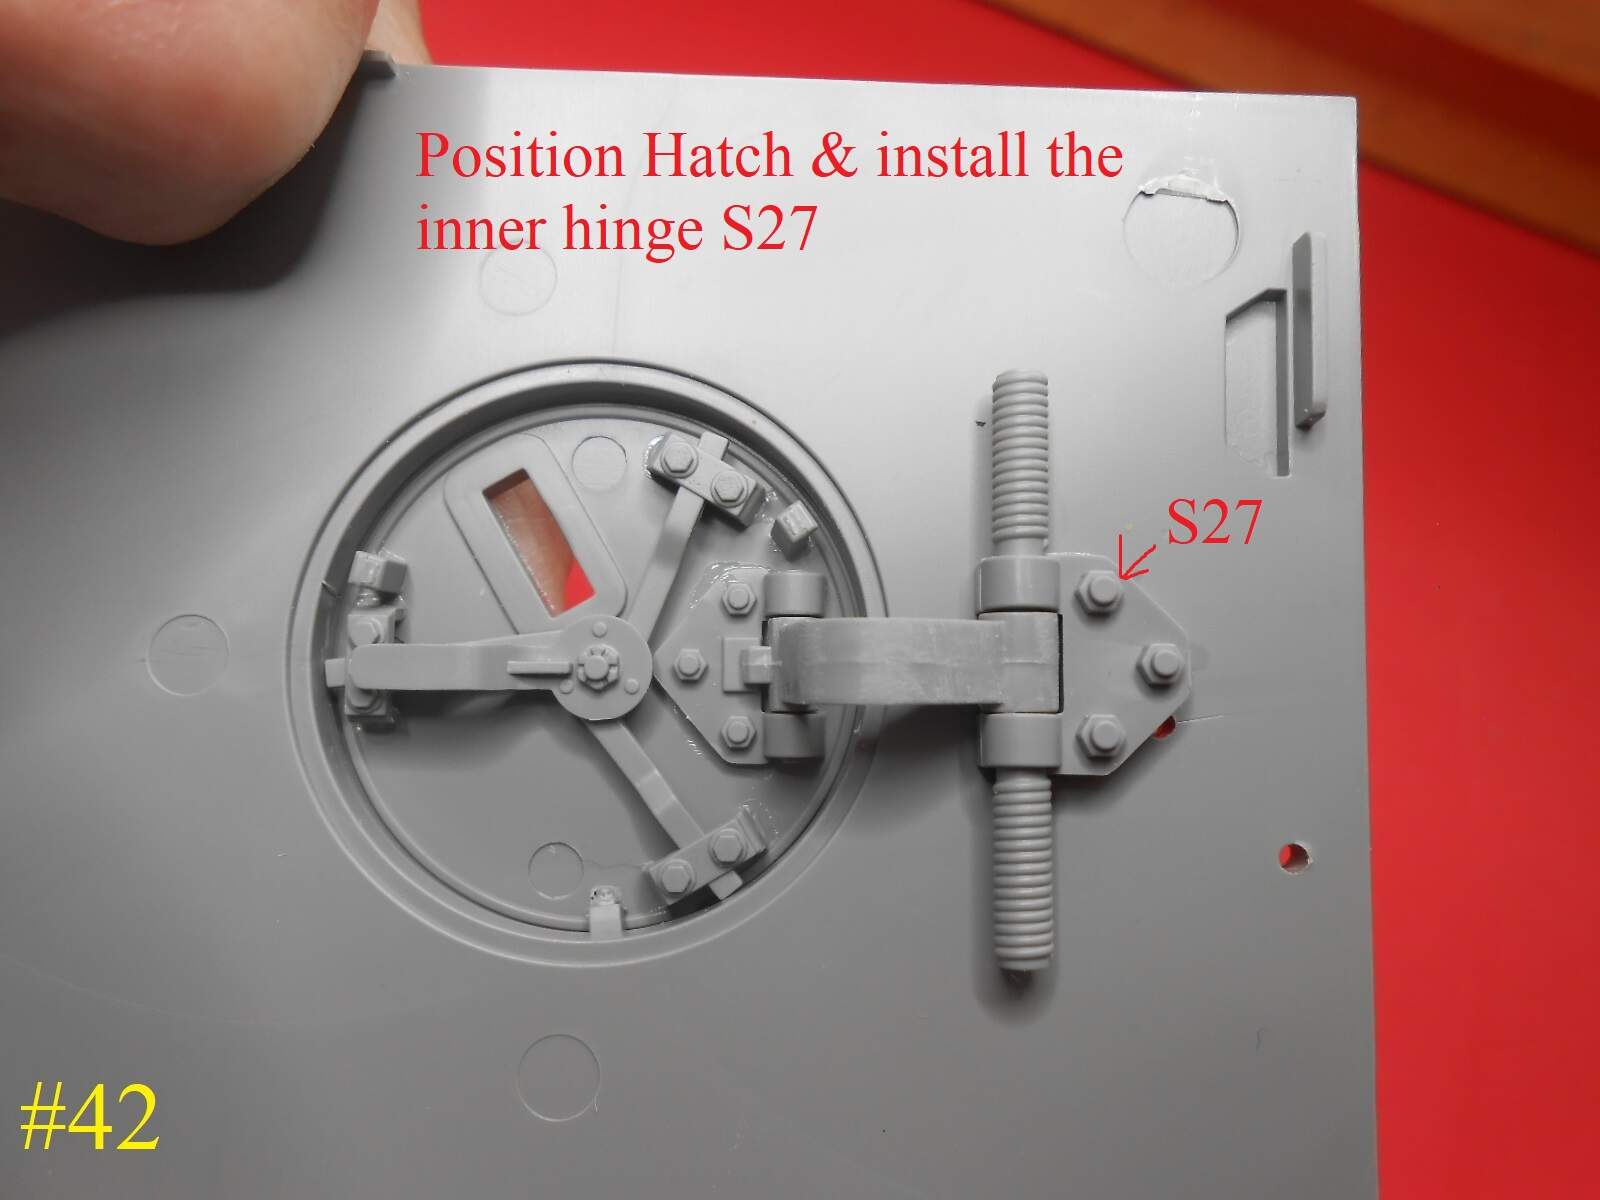
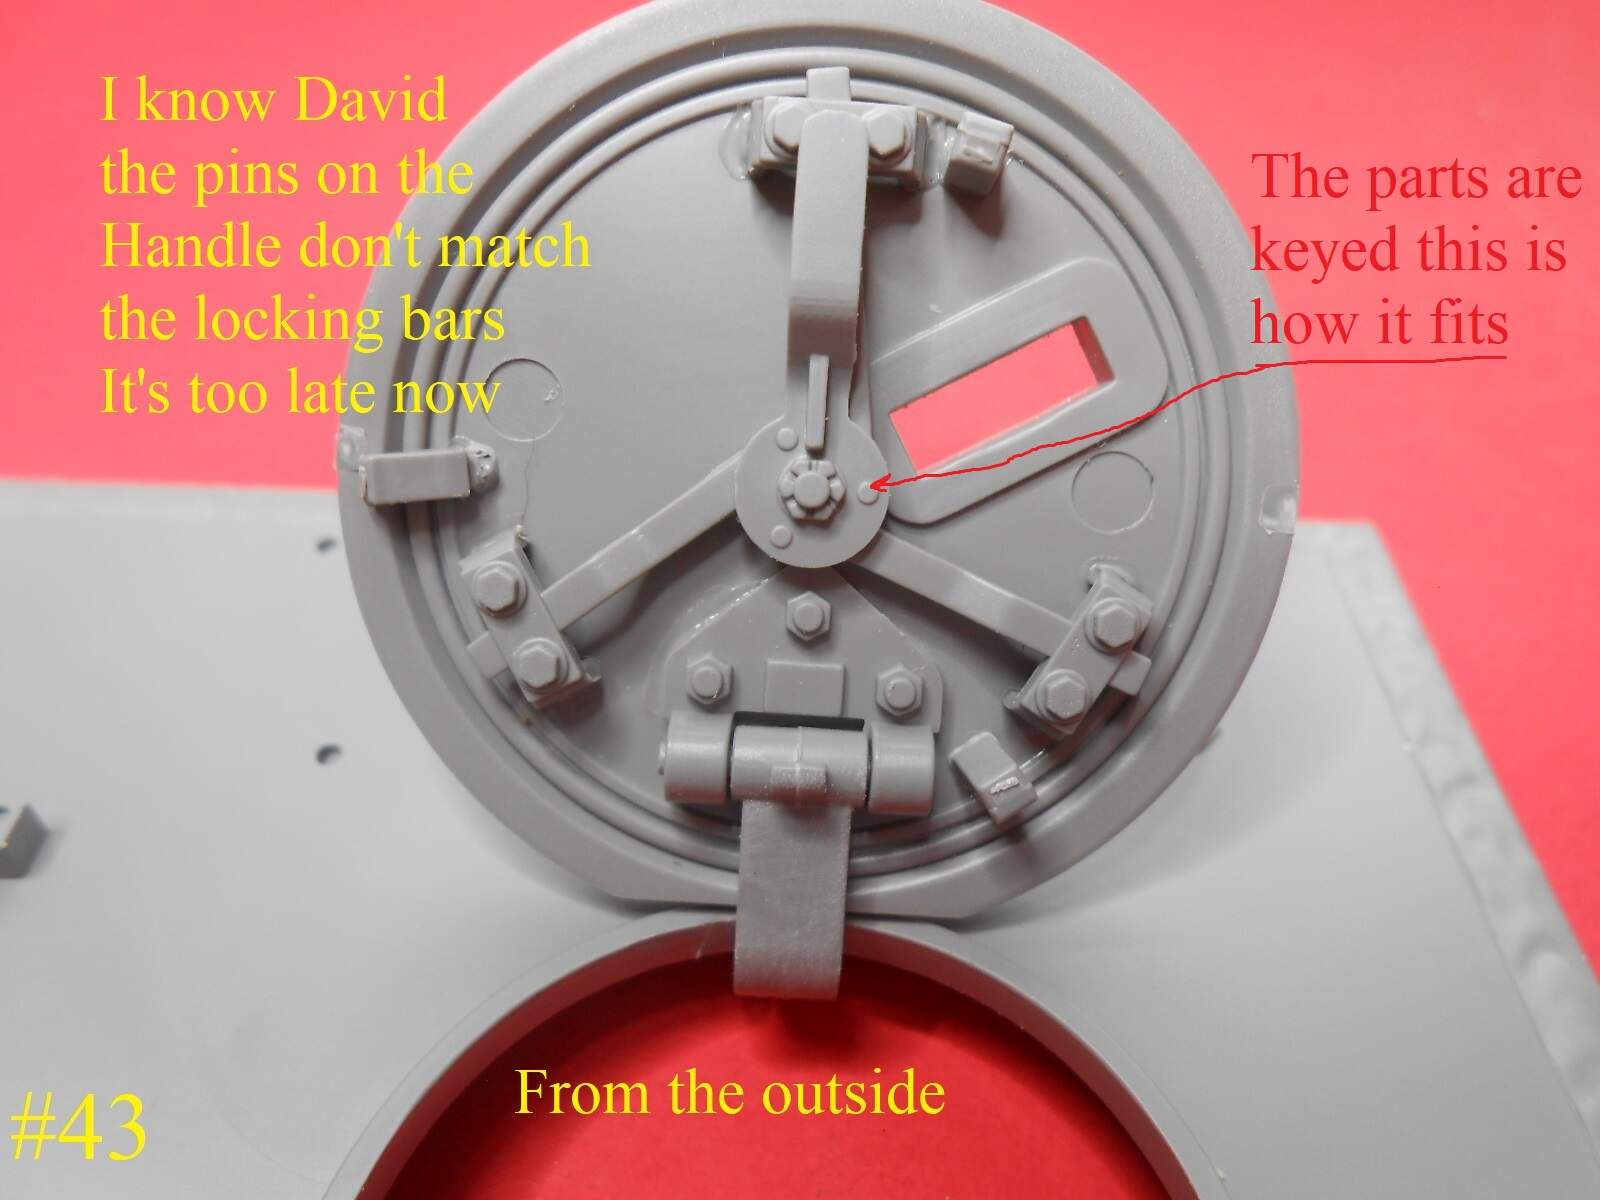
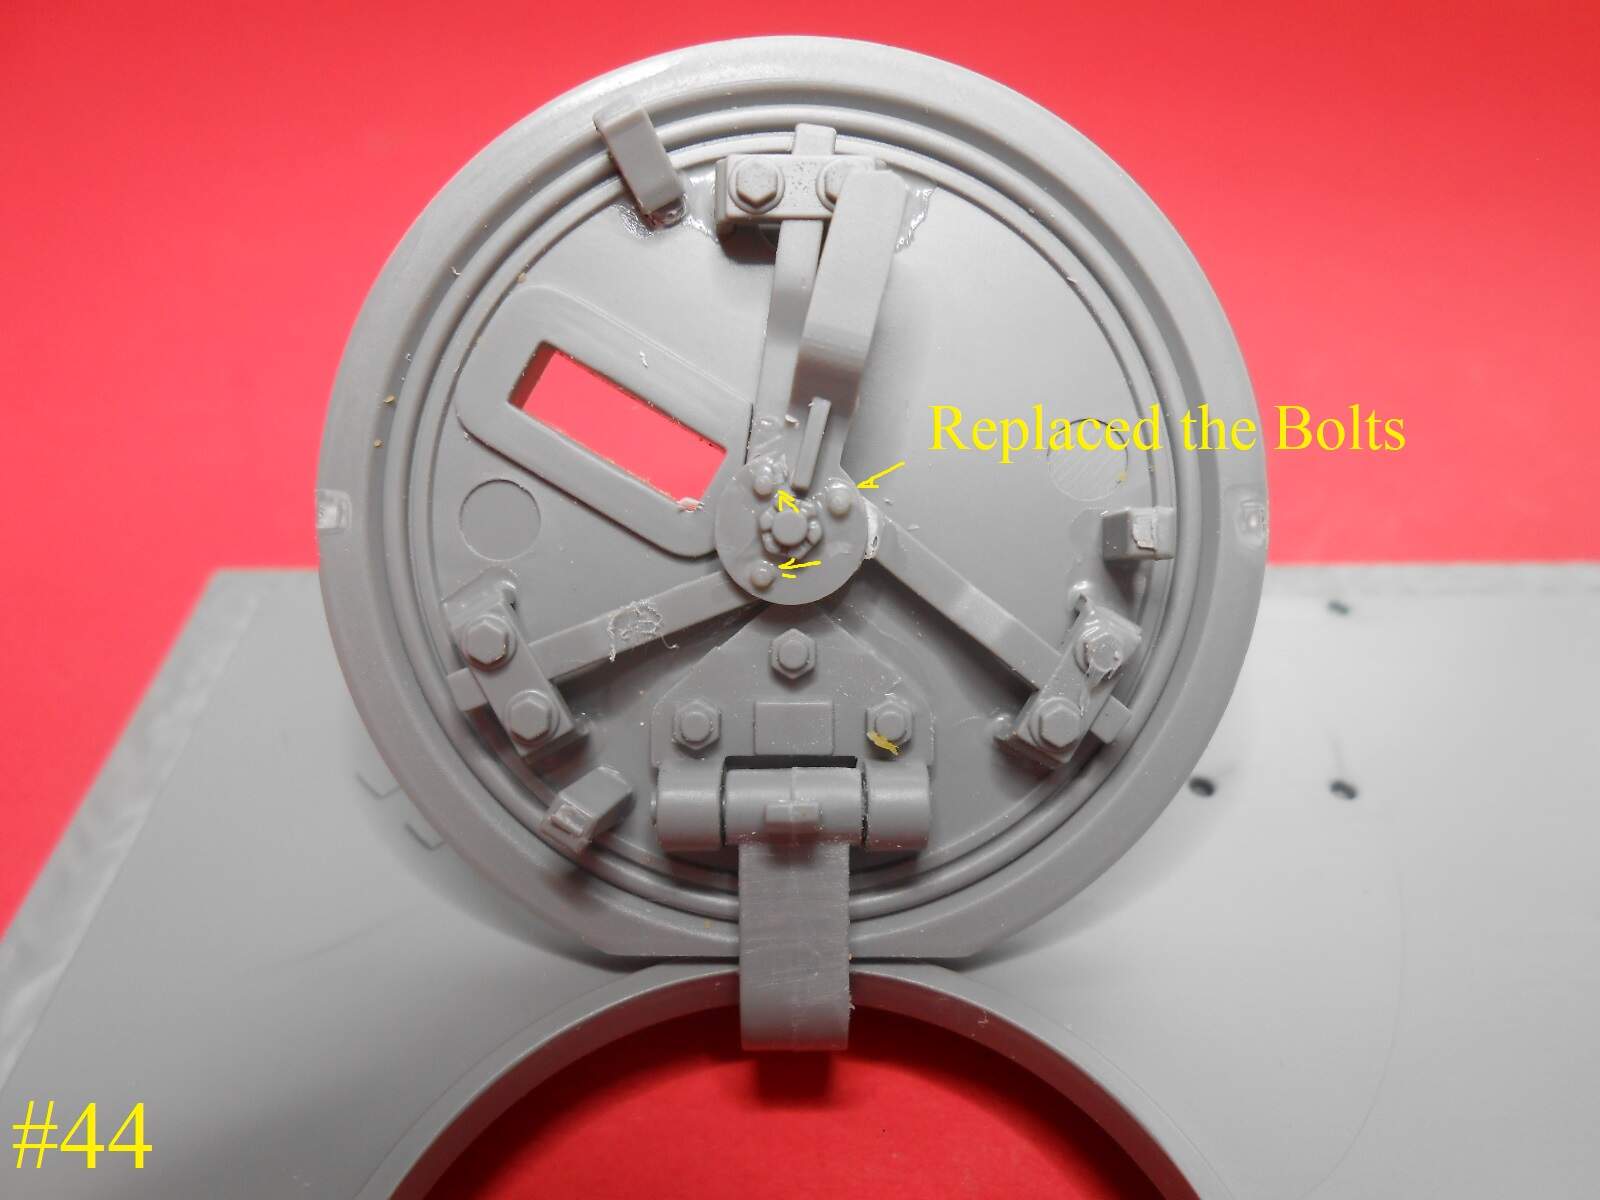
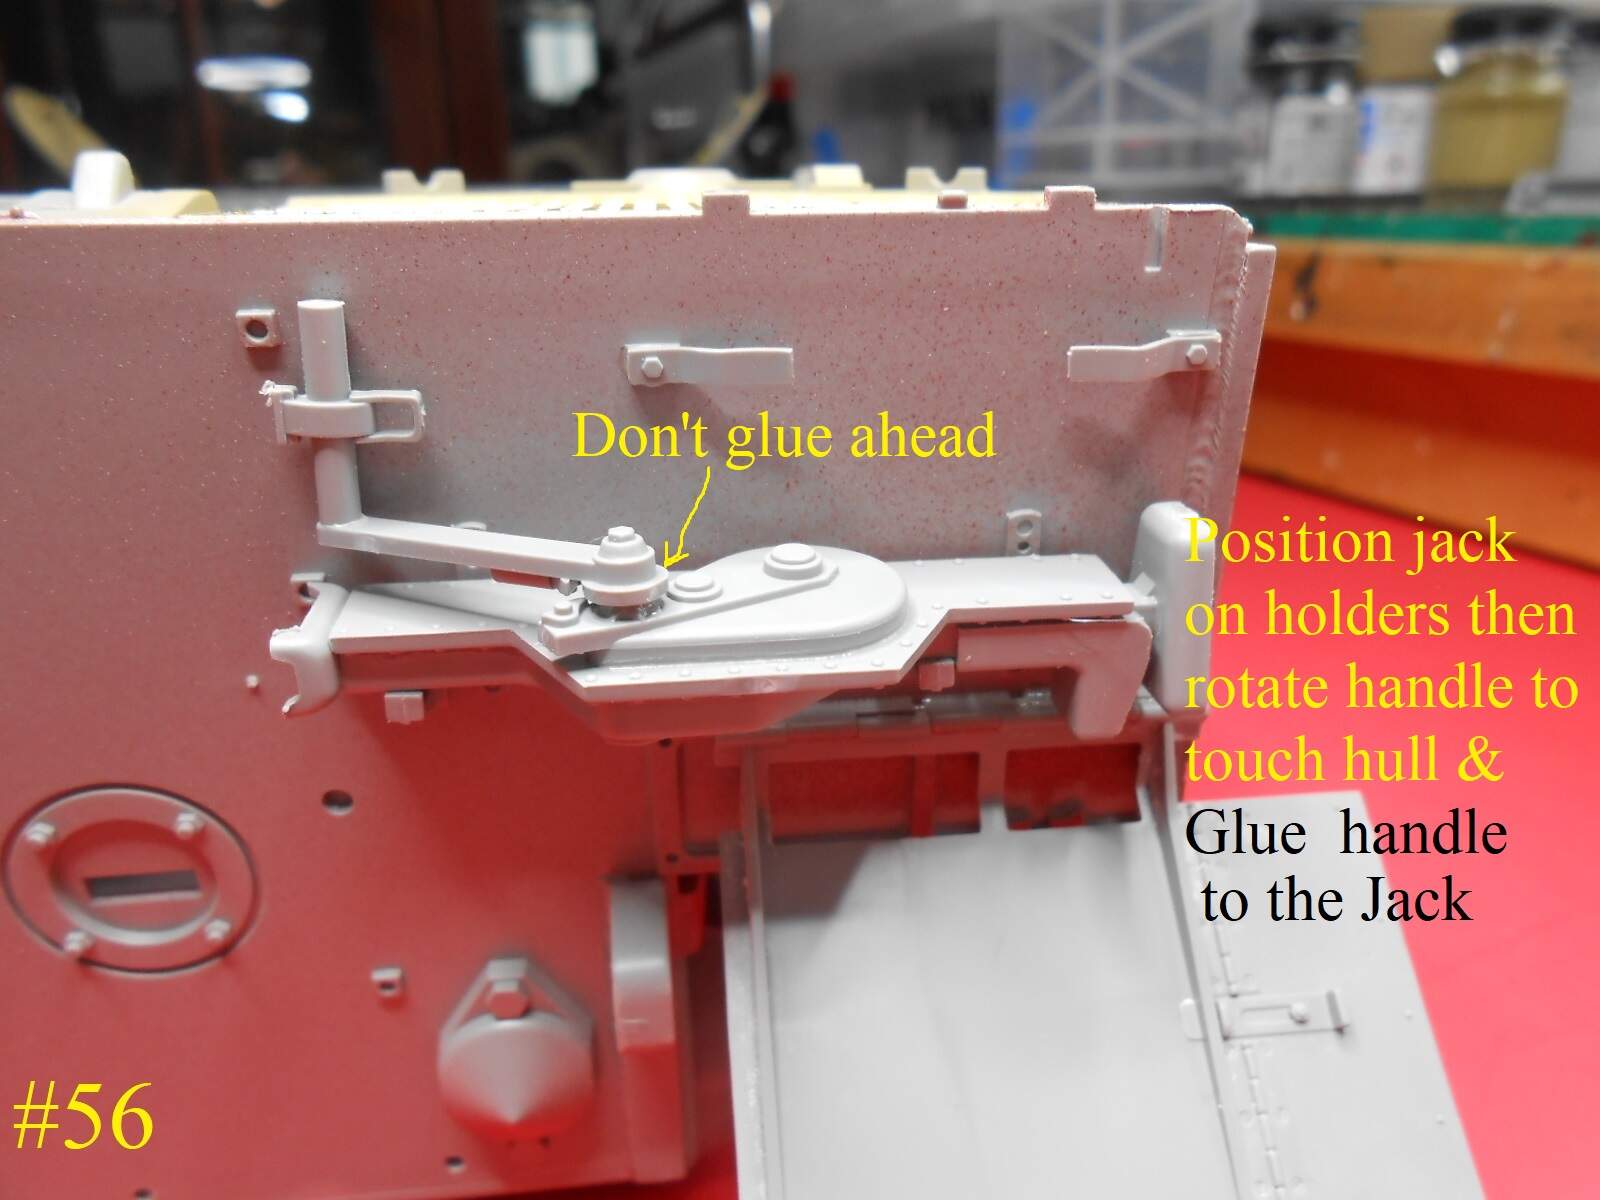
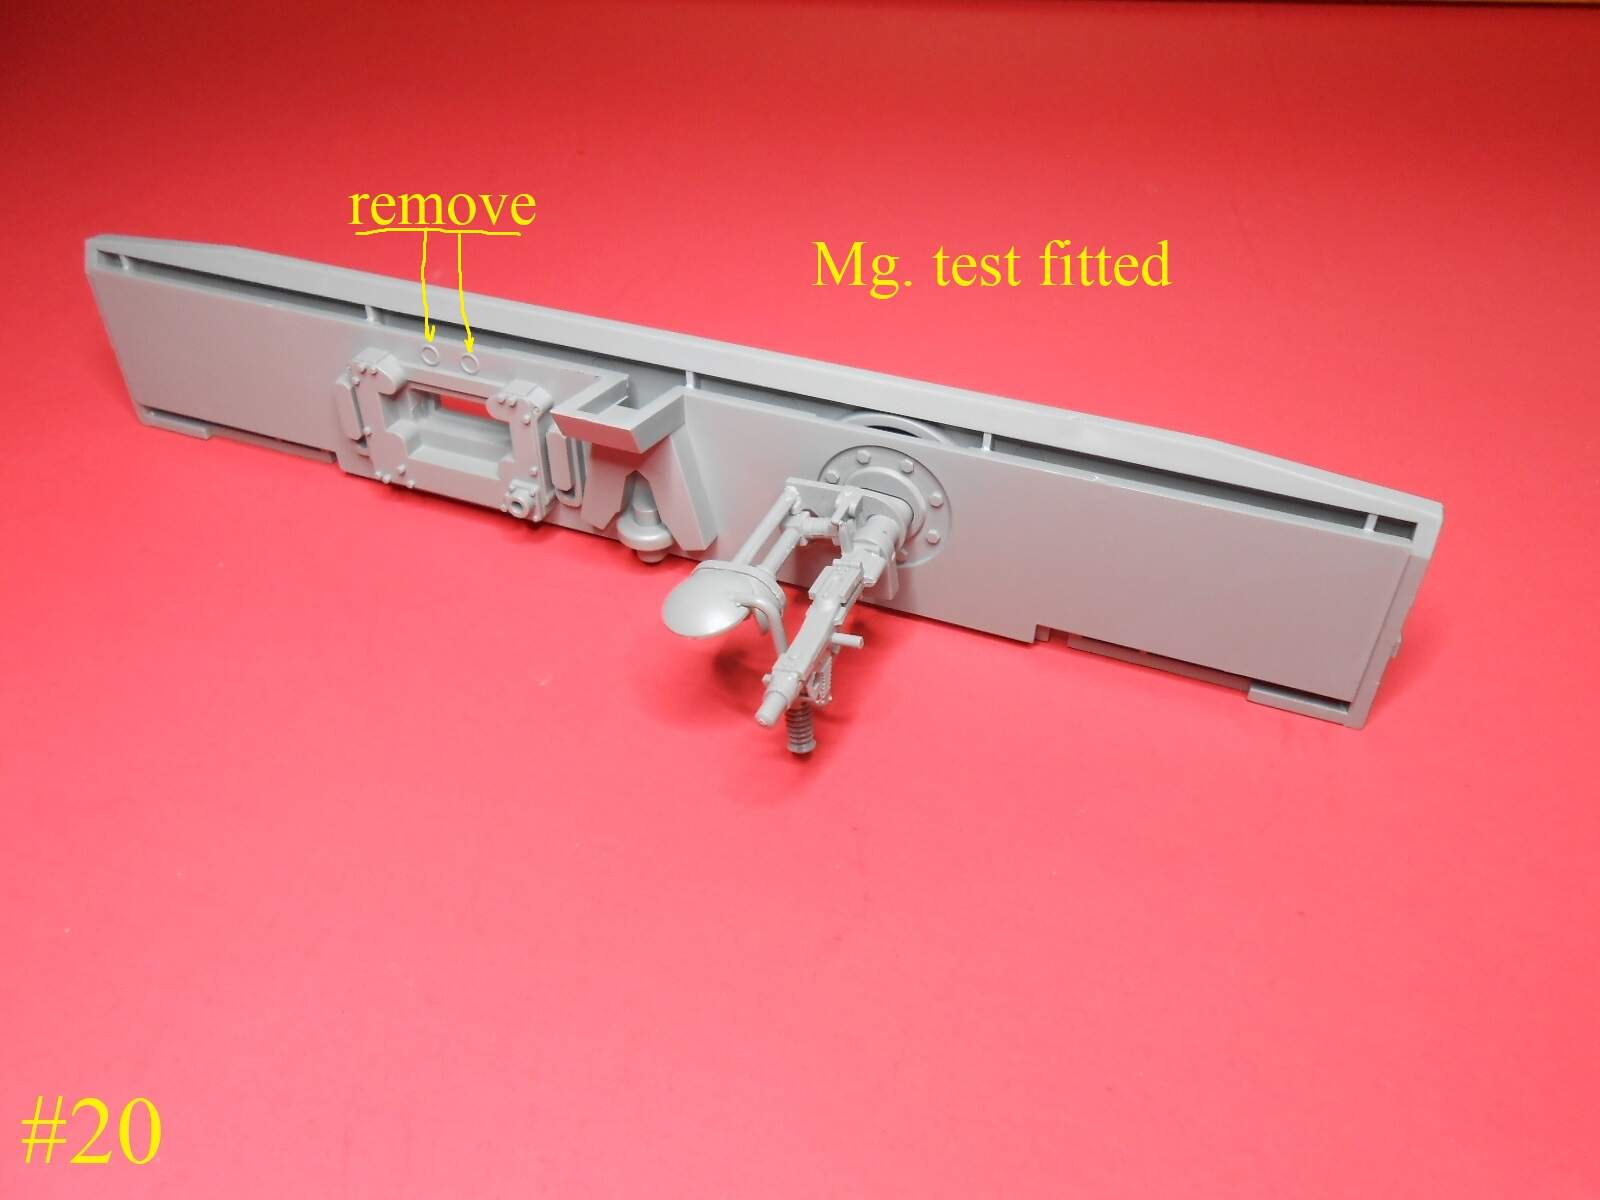
Now here is how I assembled the Front 2 hatches , and yes David I know there are some mistakes here.
I corrected the Bolt patern on the Handles.
Good for you - that looks like a difficult thing to fix. Do ask me if something coming up seems a little suspicious.
David
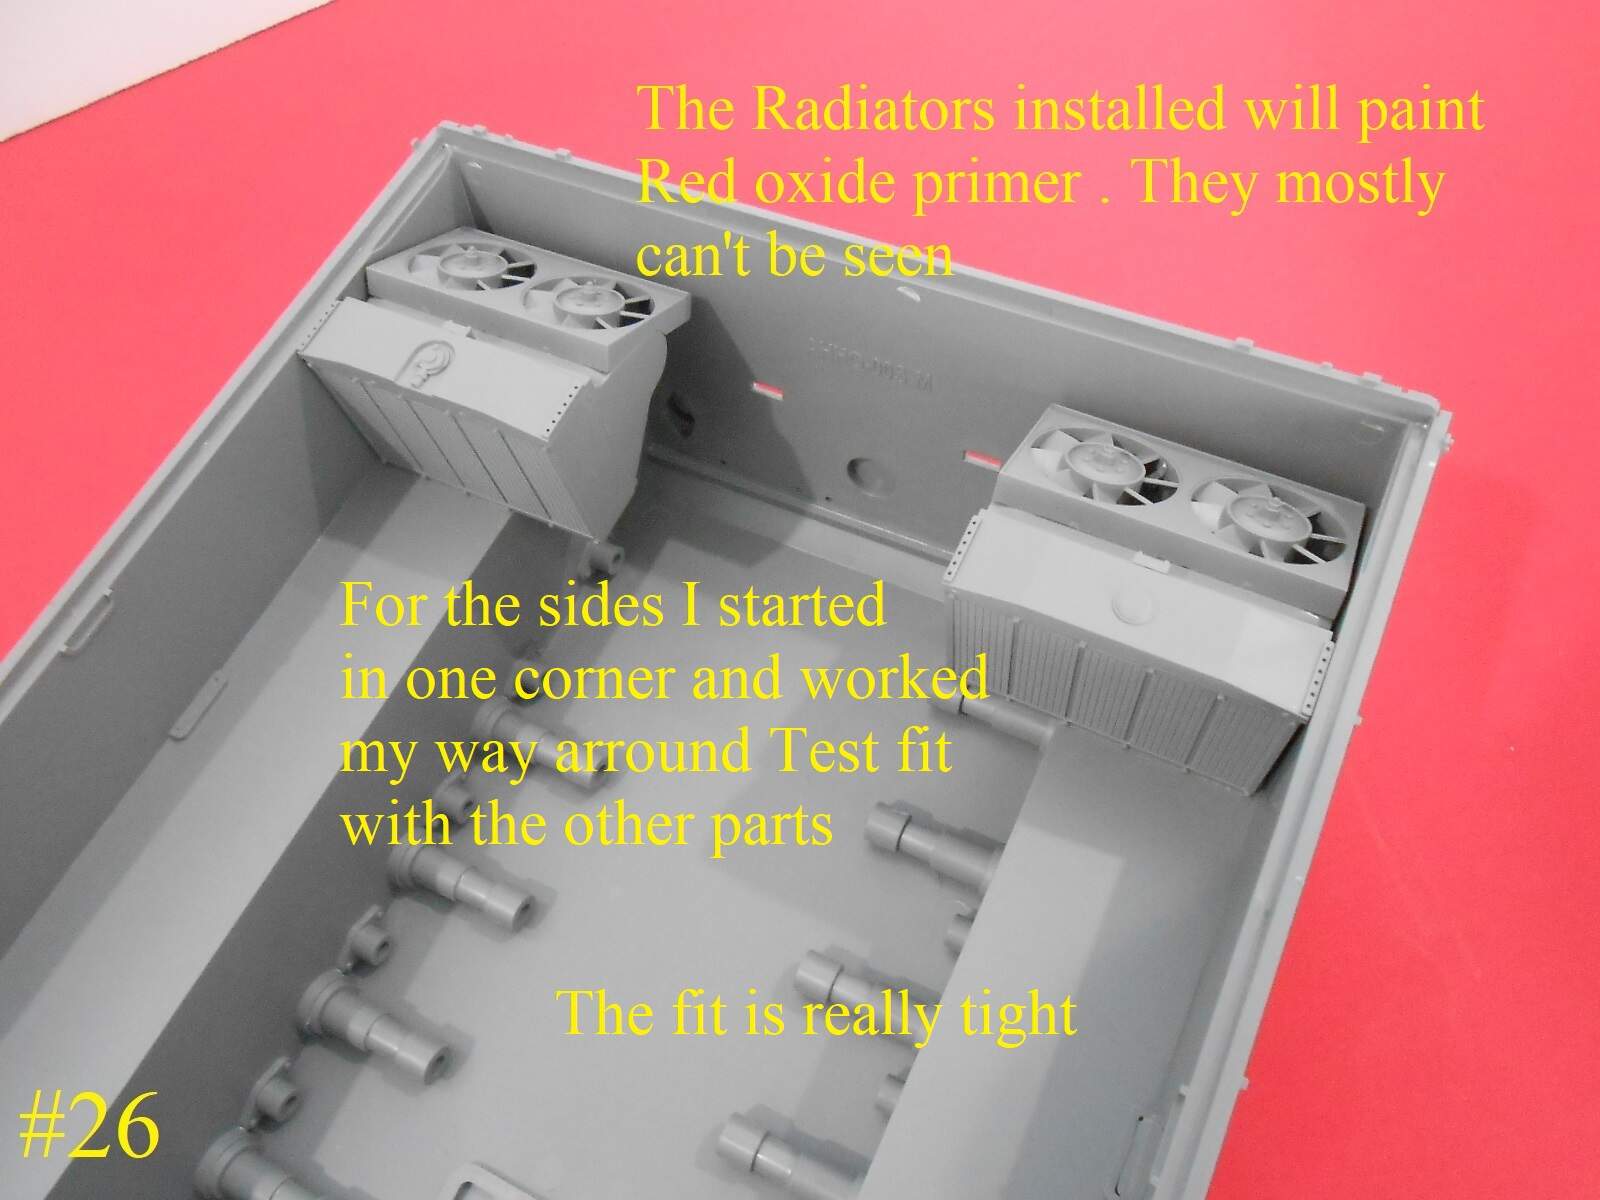
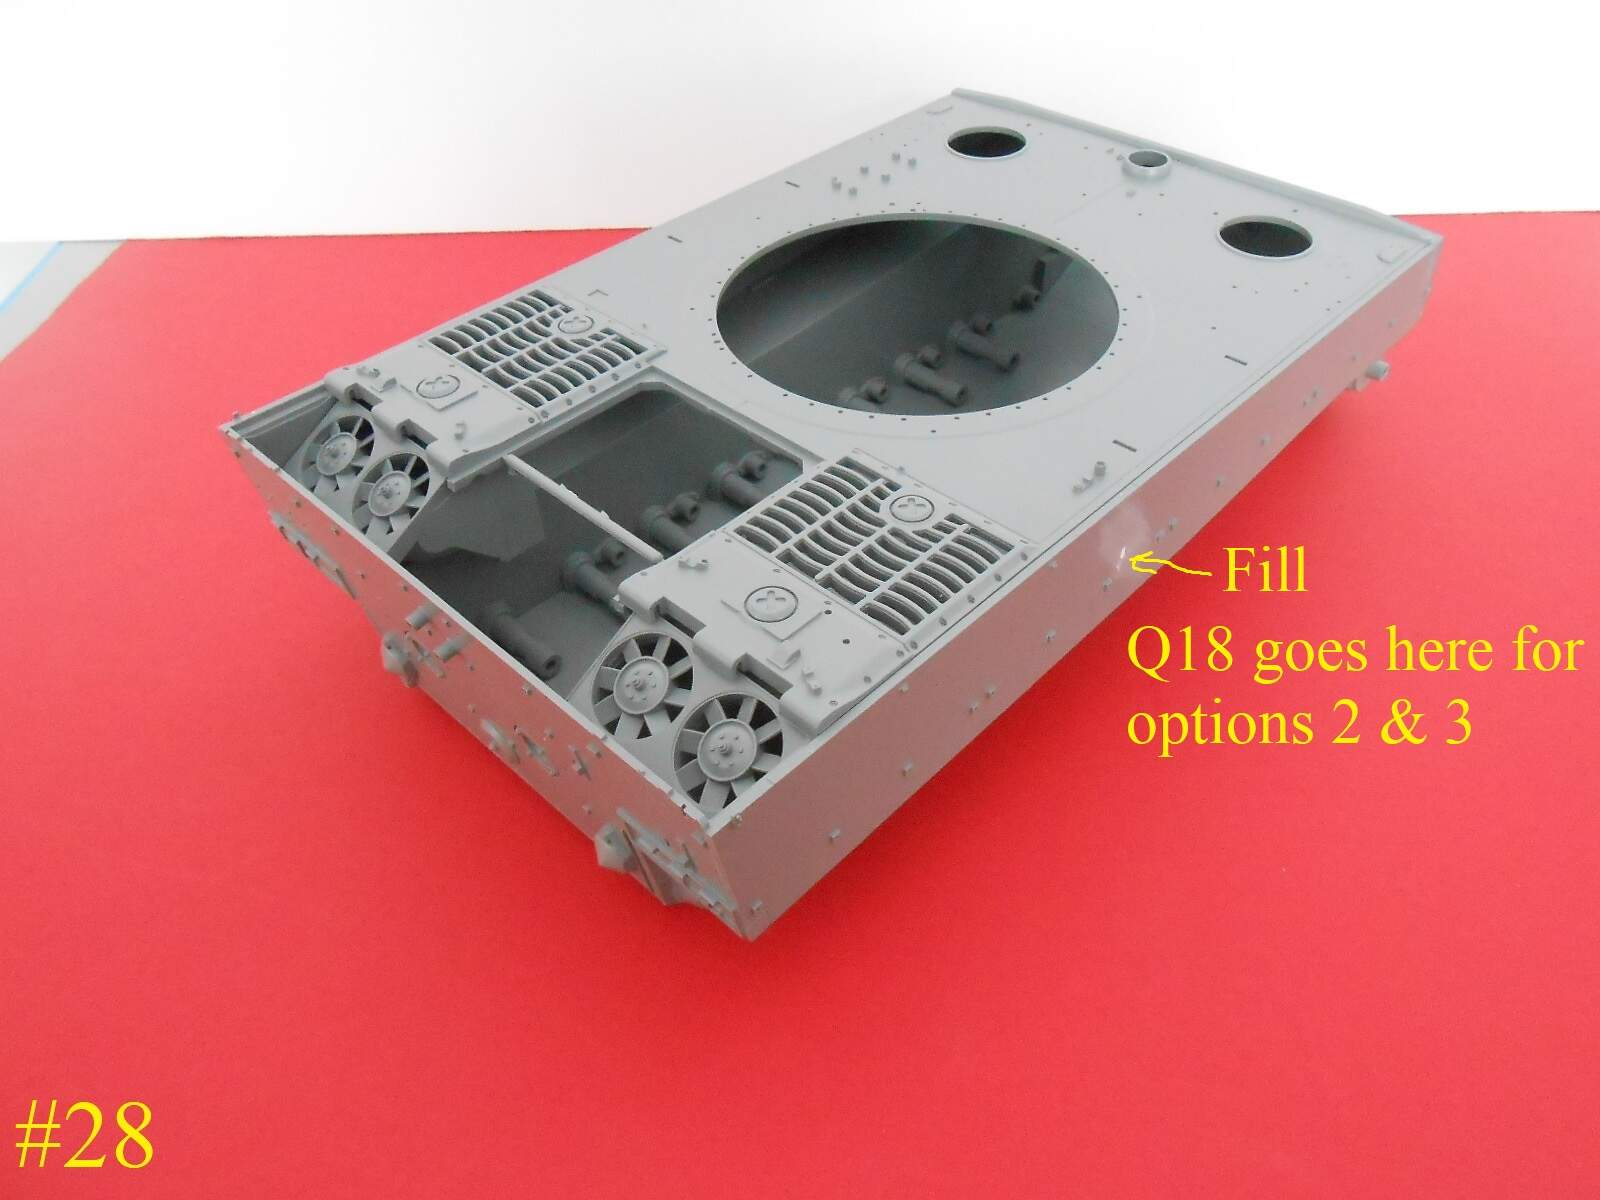
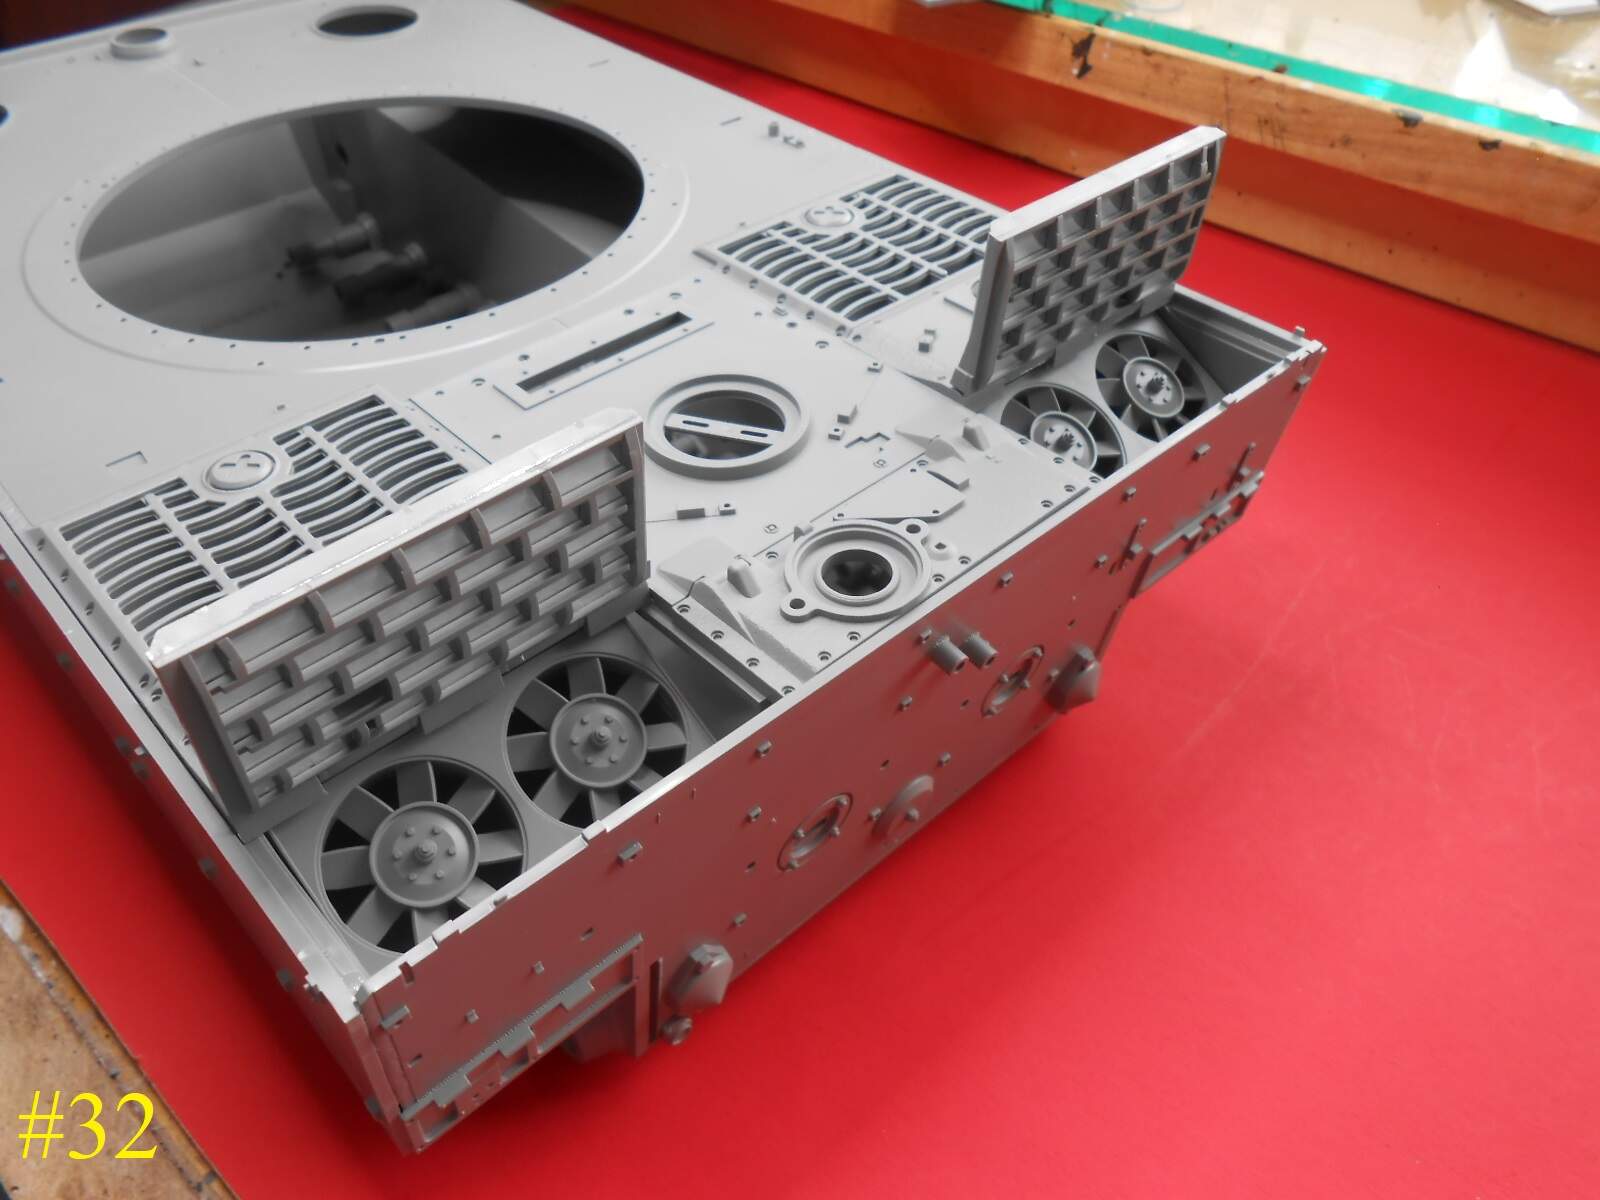
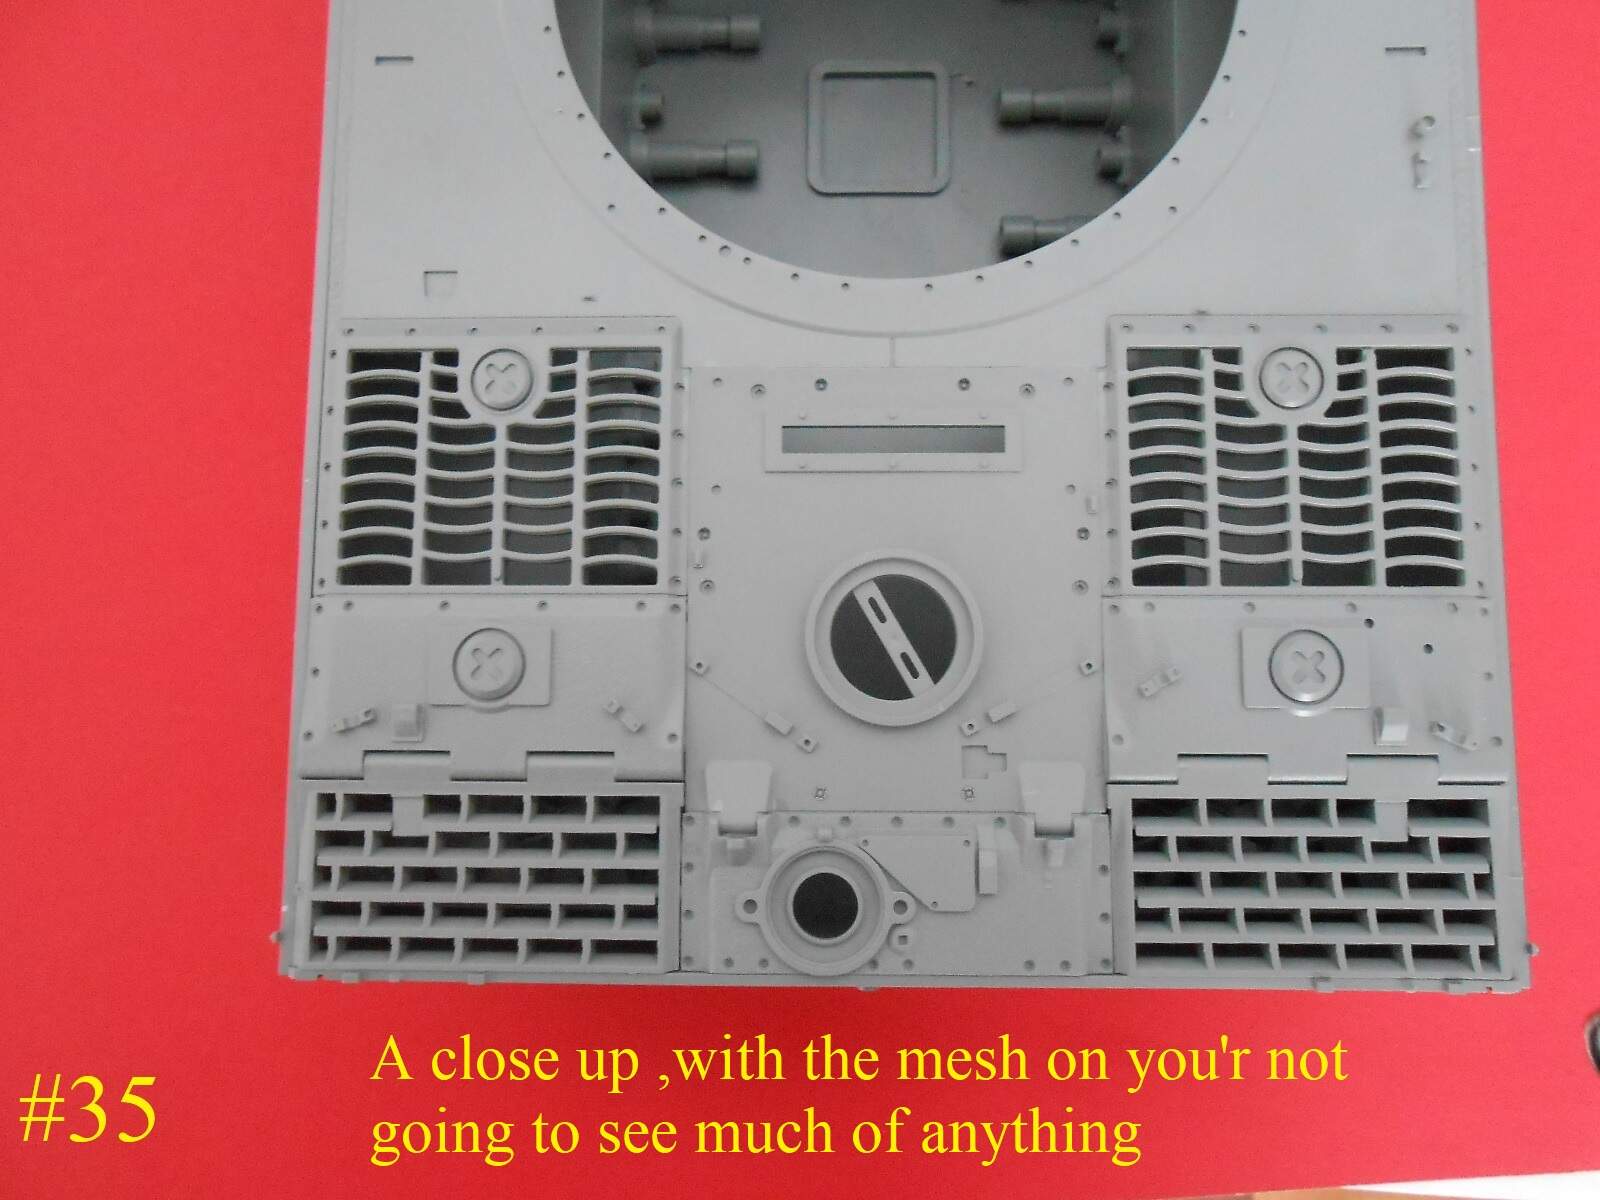
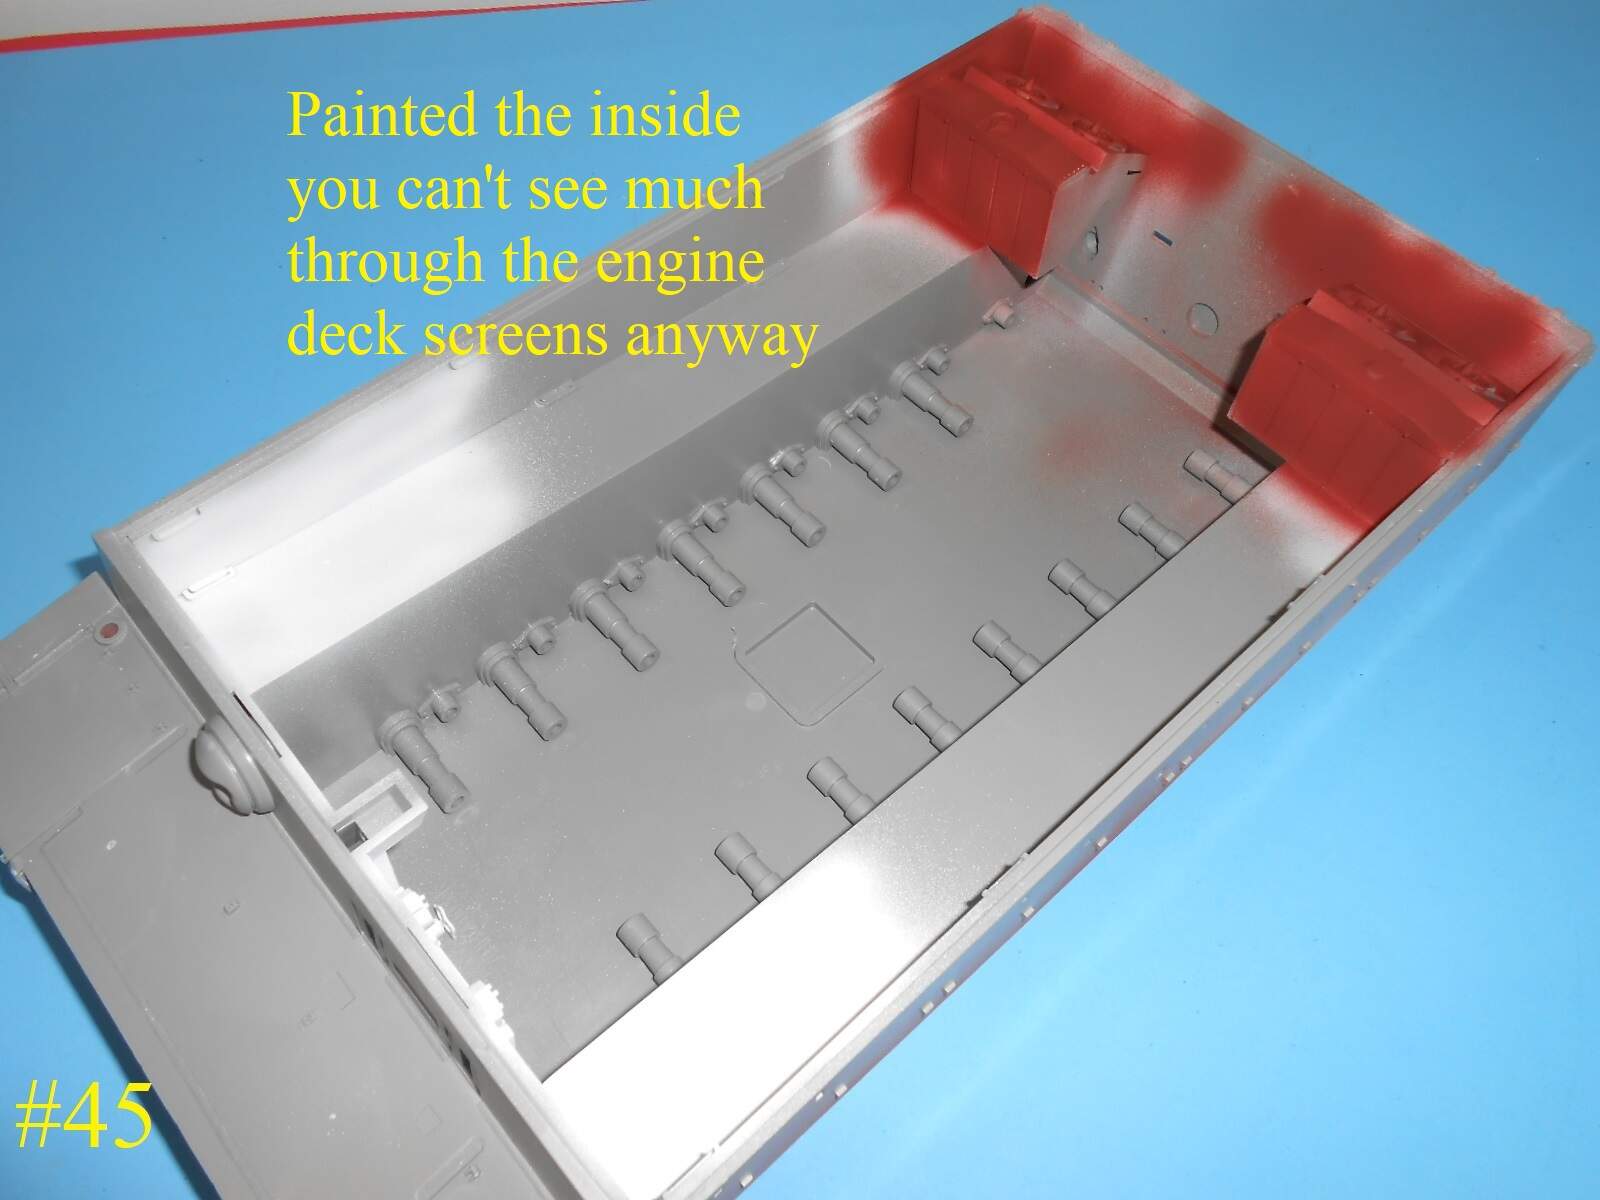
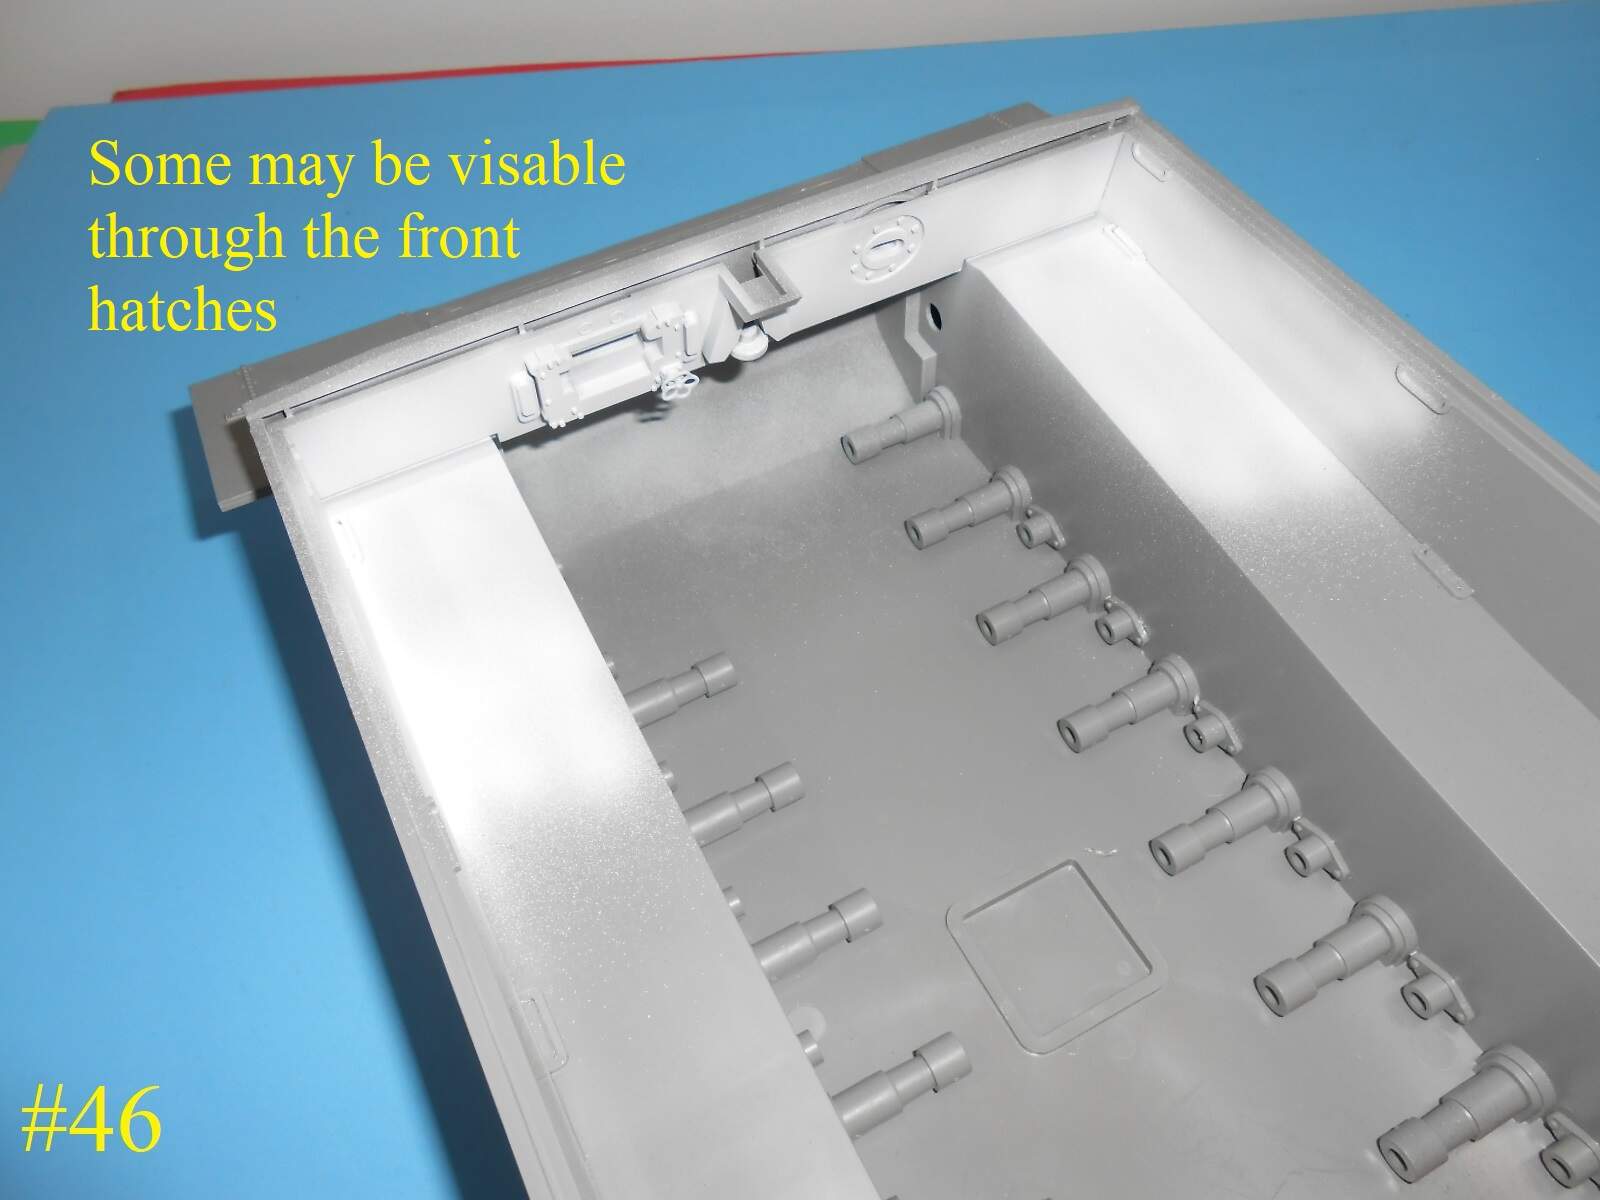
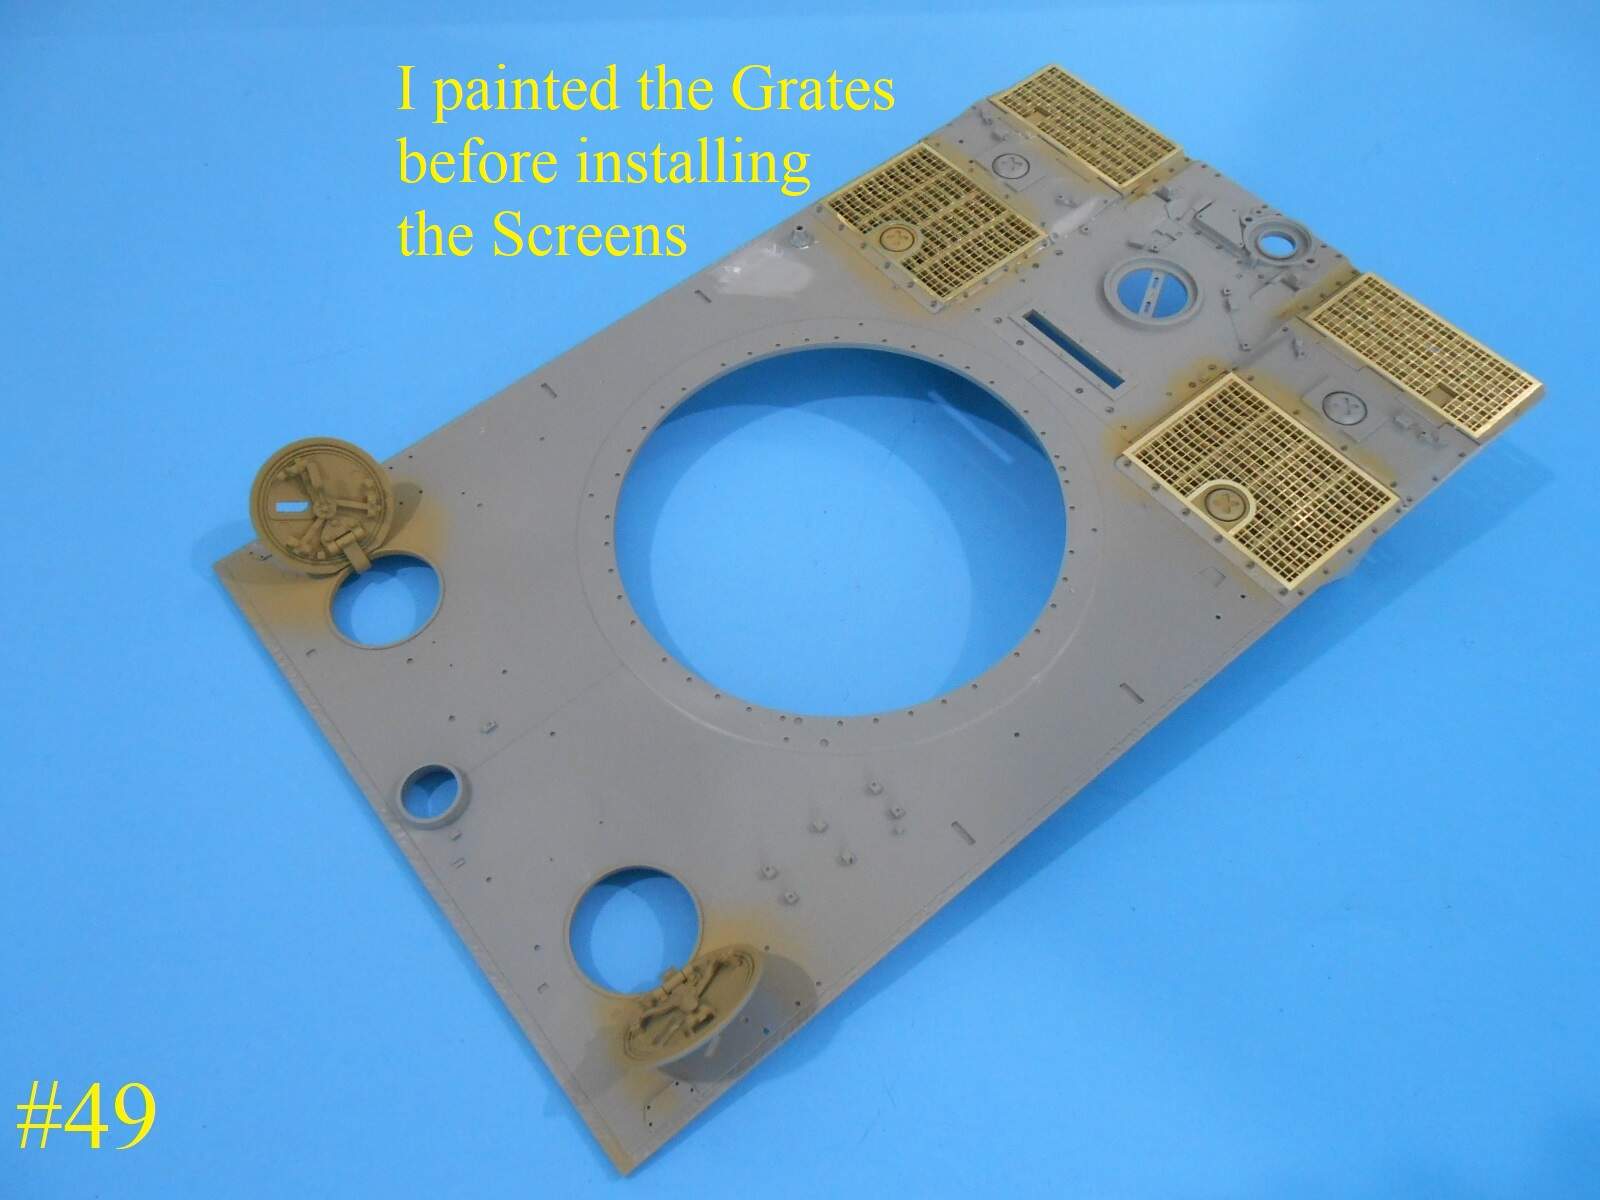
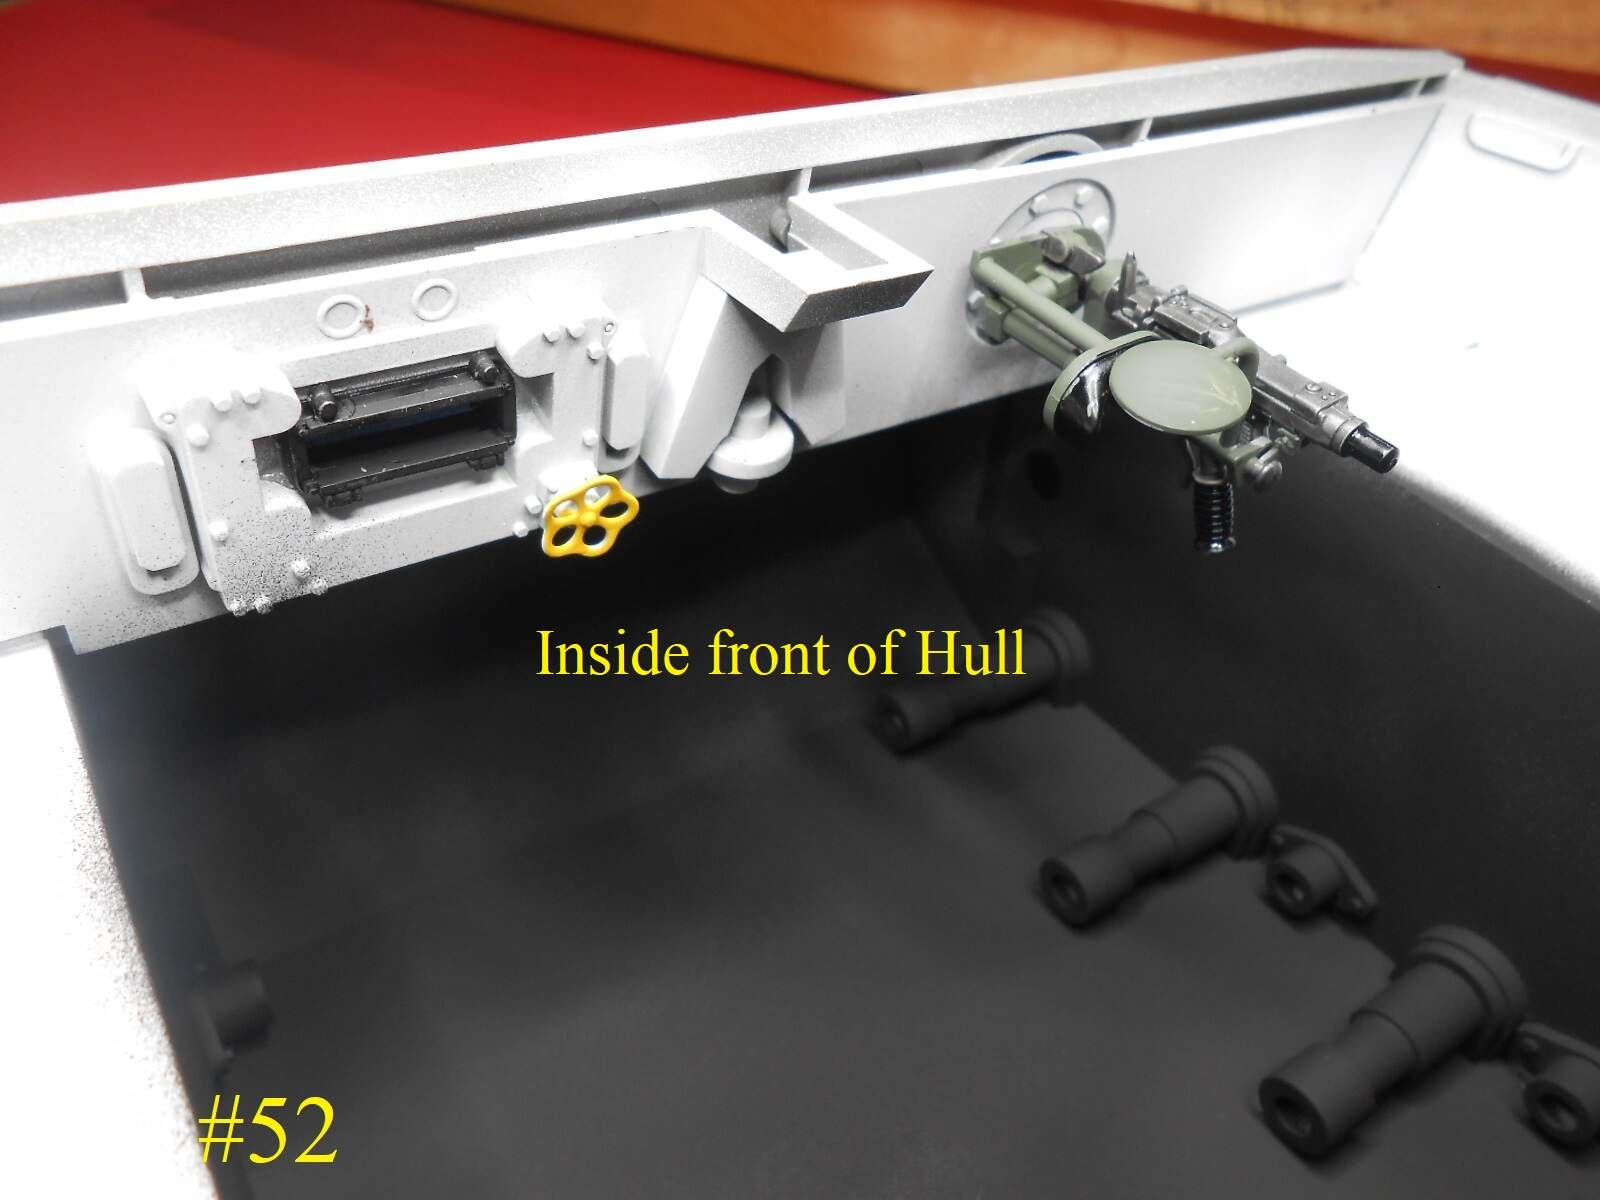
I did a little painting , almost all of the parts I painted might not be seen , It’s just easier to paint them now rather than try to paint them through the Deck Screens.
If my info. is correct the lower surfaces were just primed , the same for inside and backs of the road wheels.
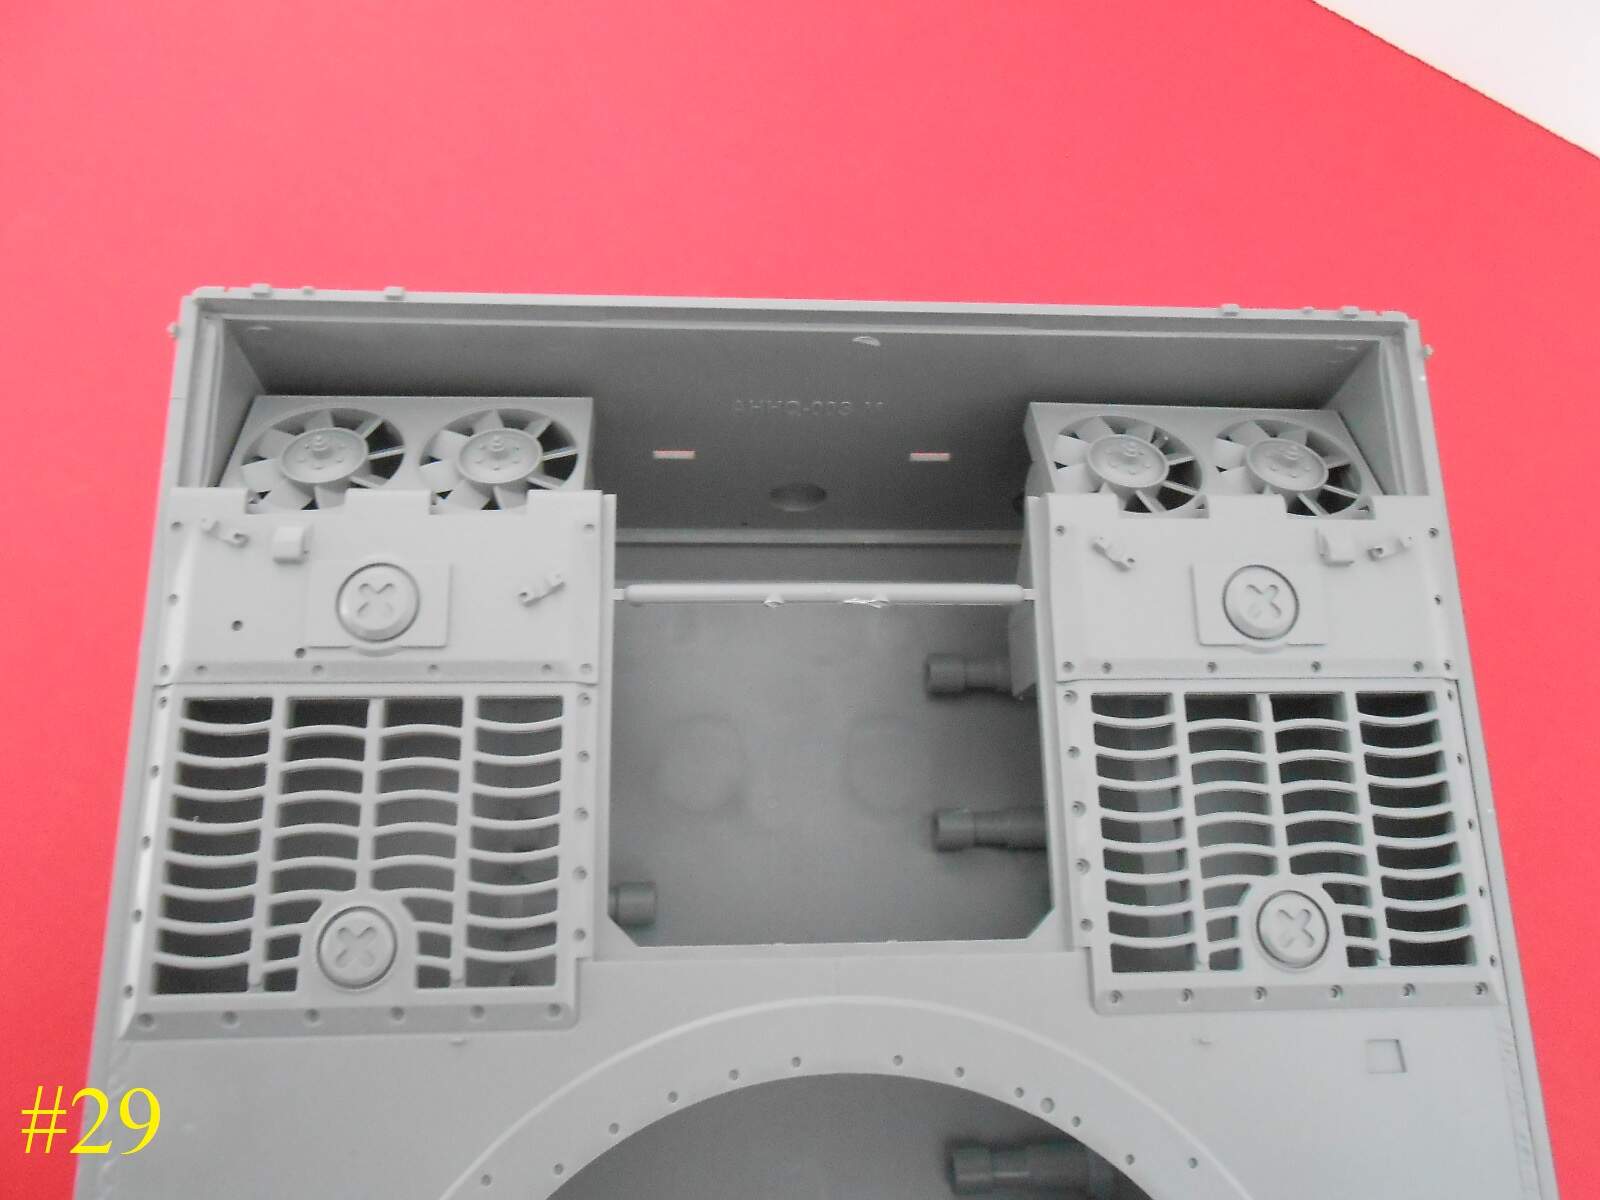
I have some more finished.
Finished for today.
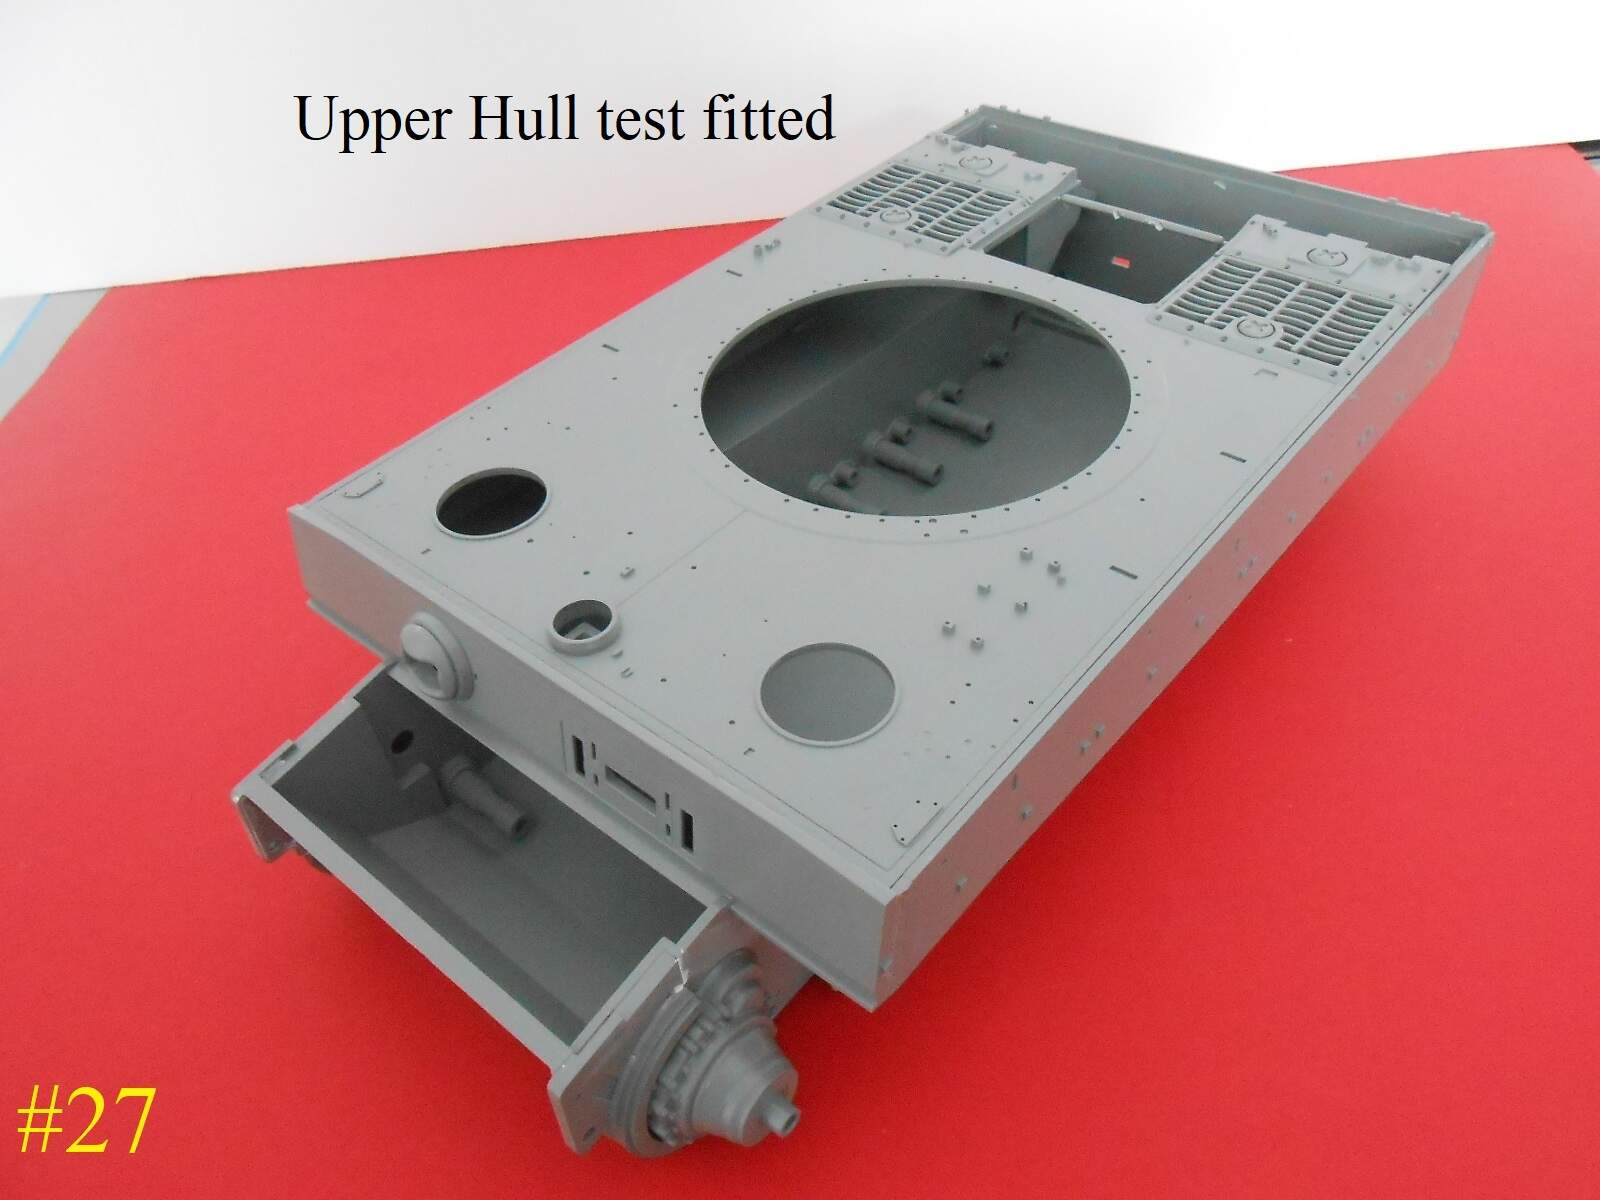
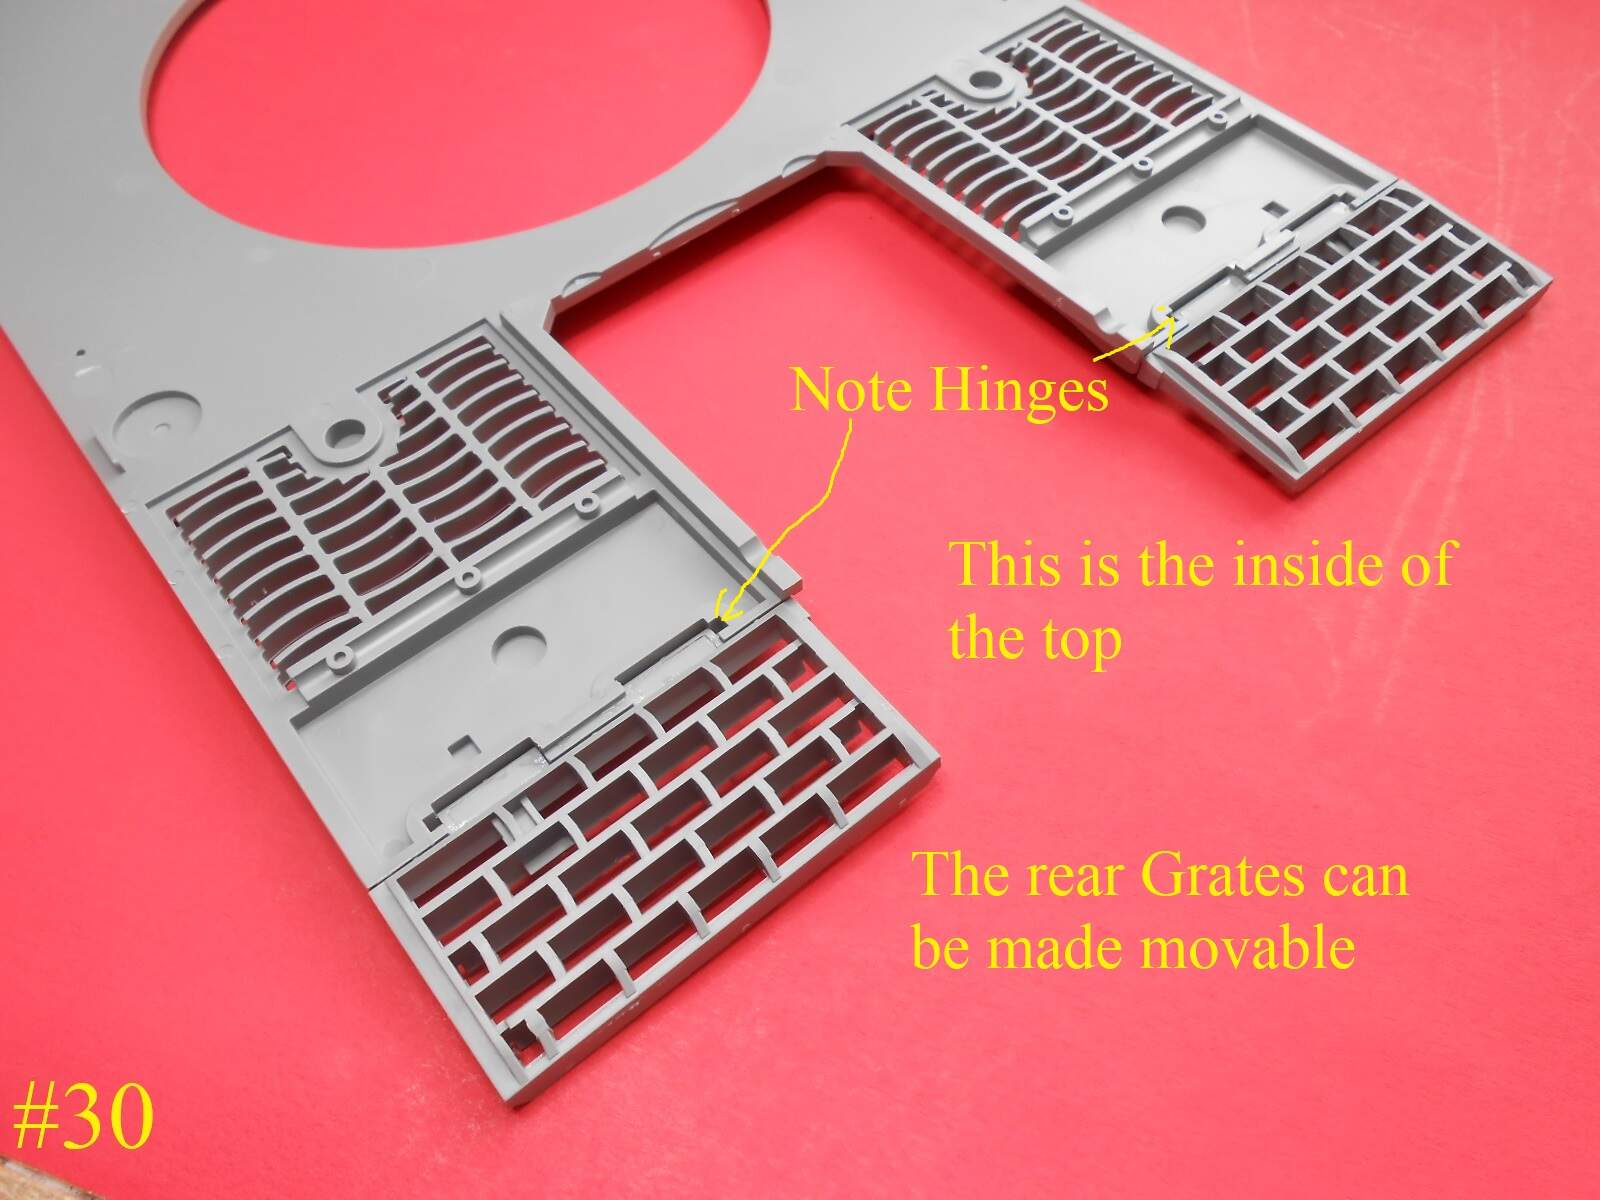
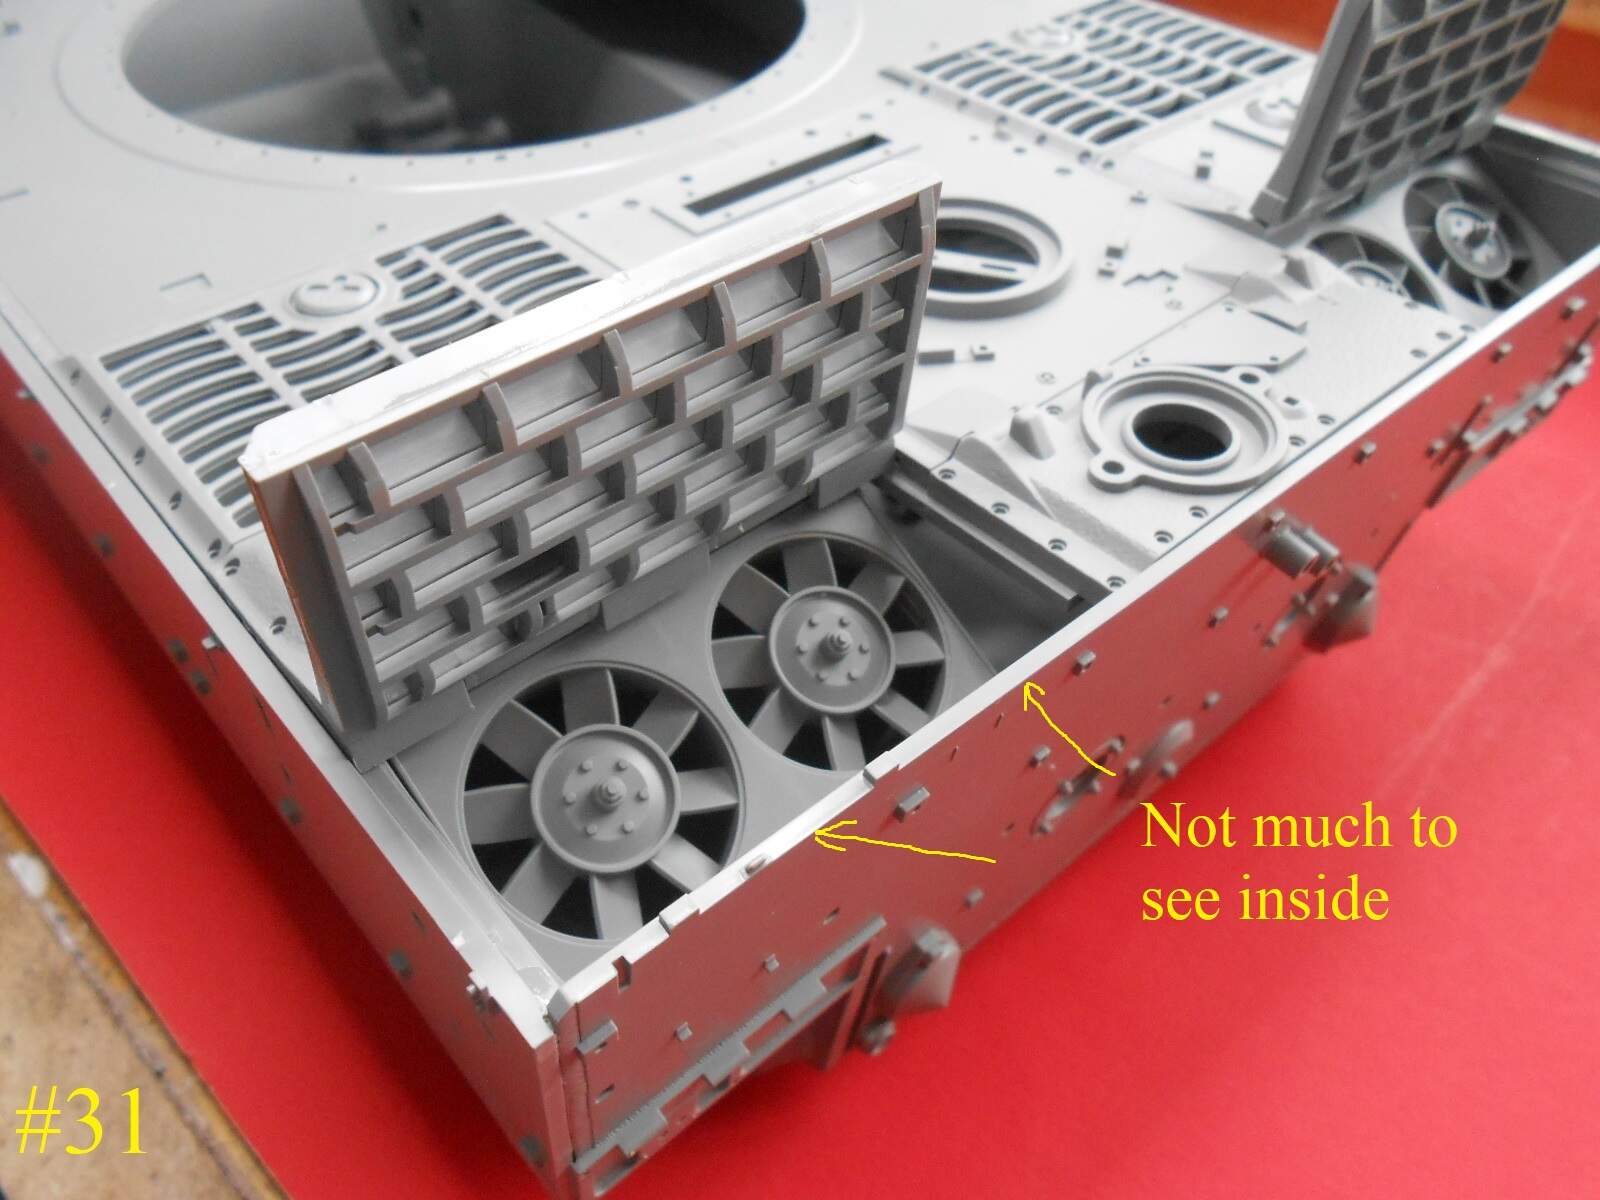
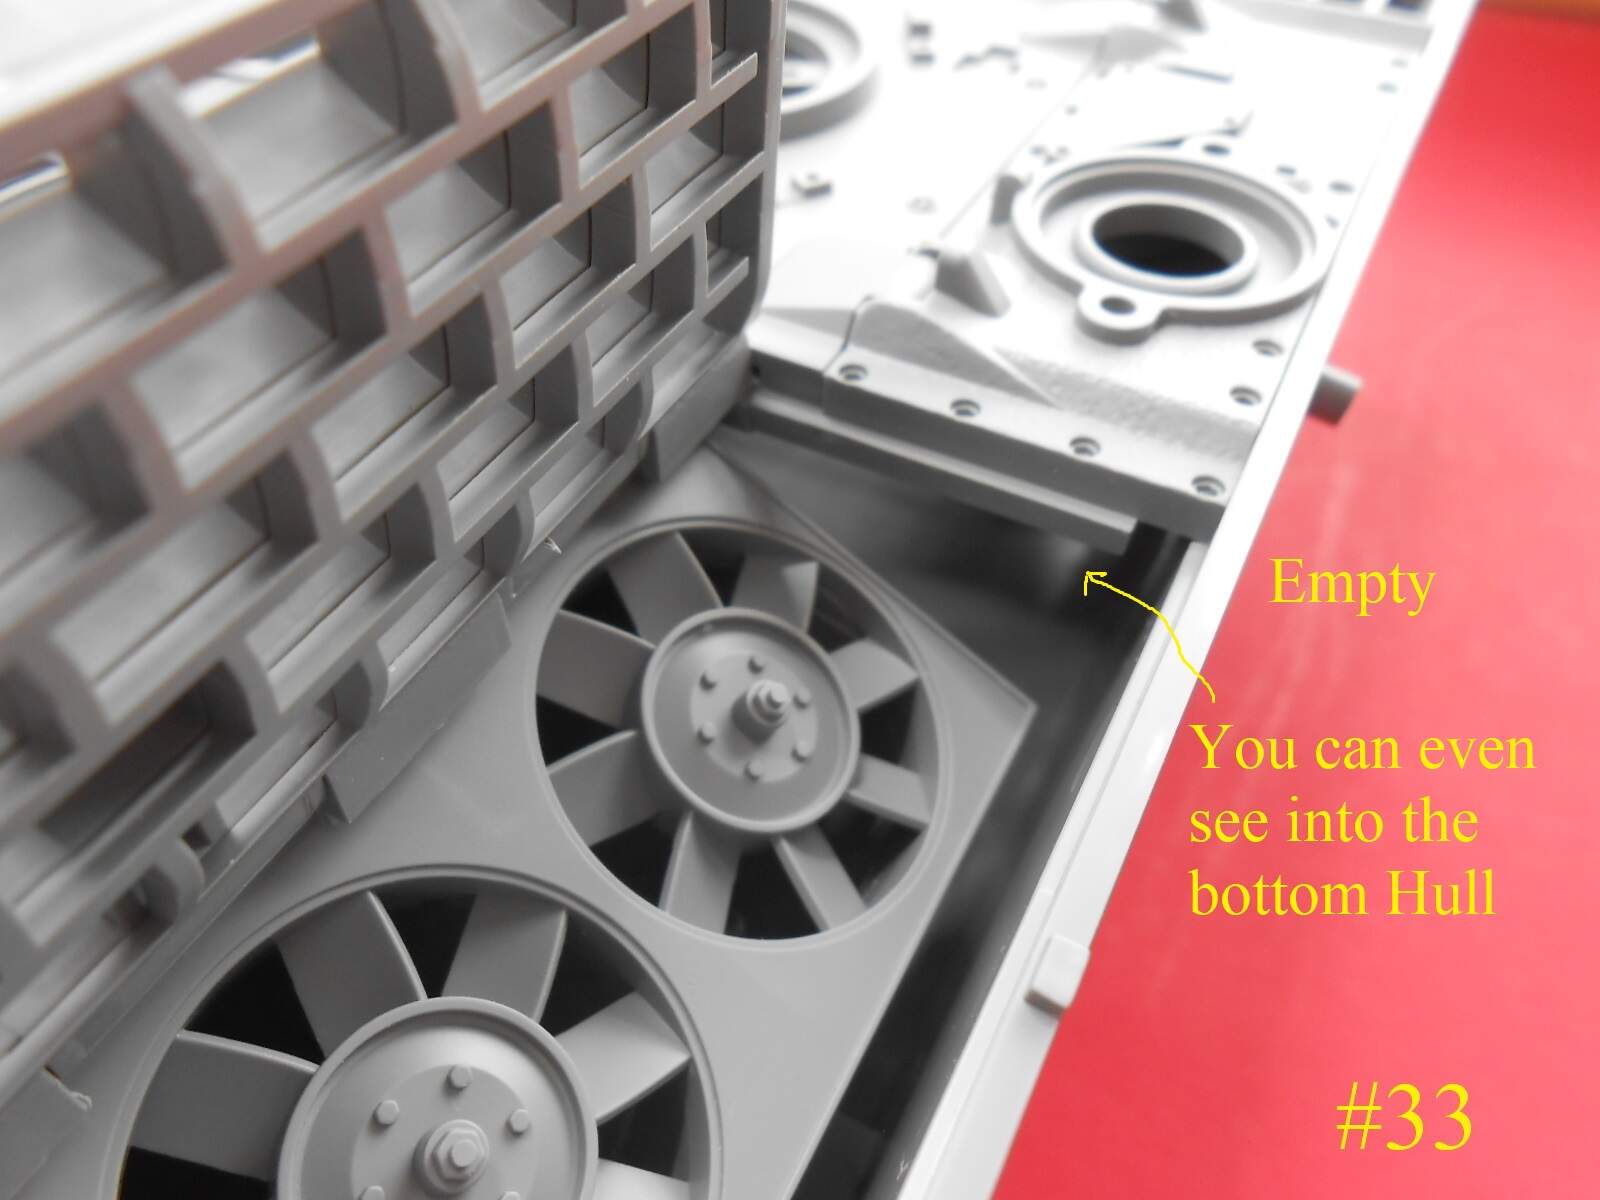
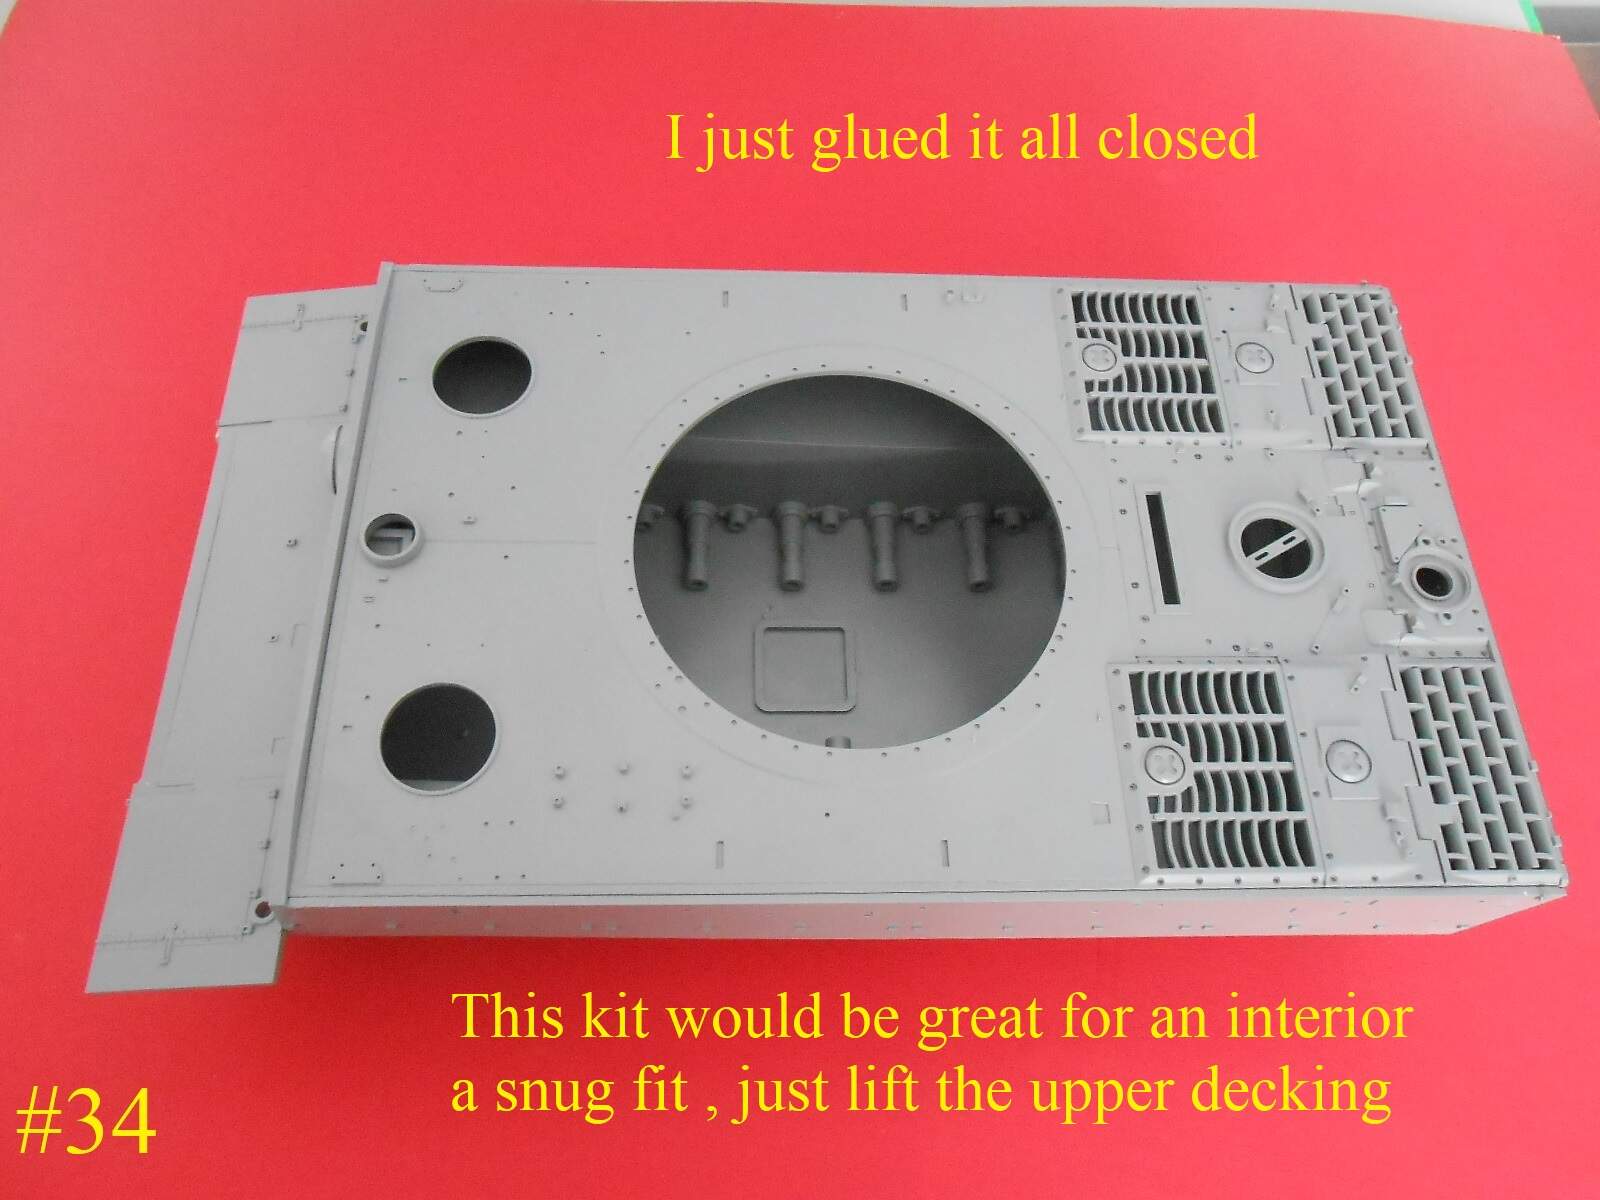
The top is a really tight fit.
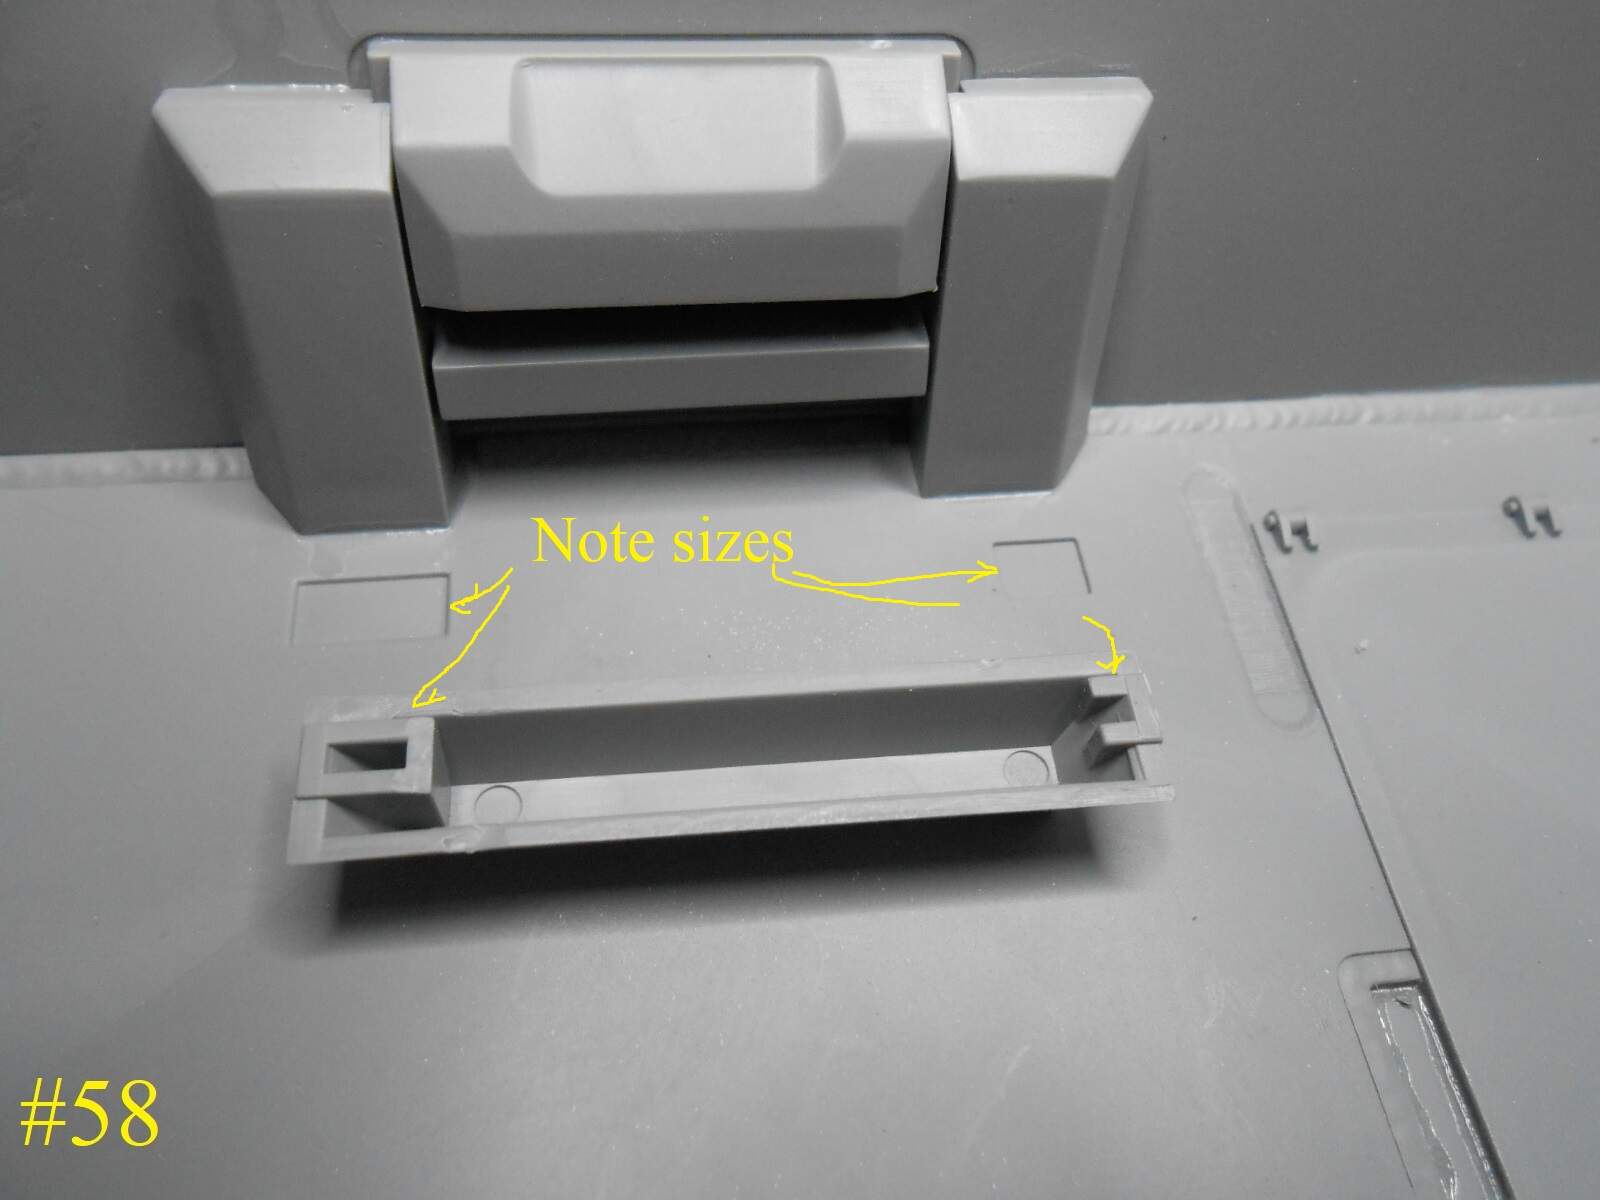
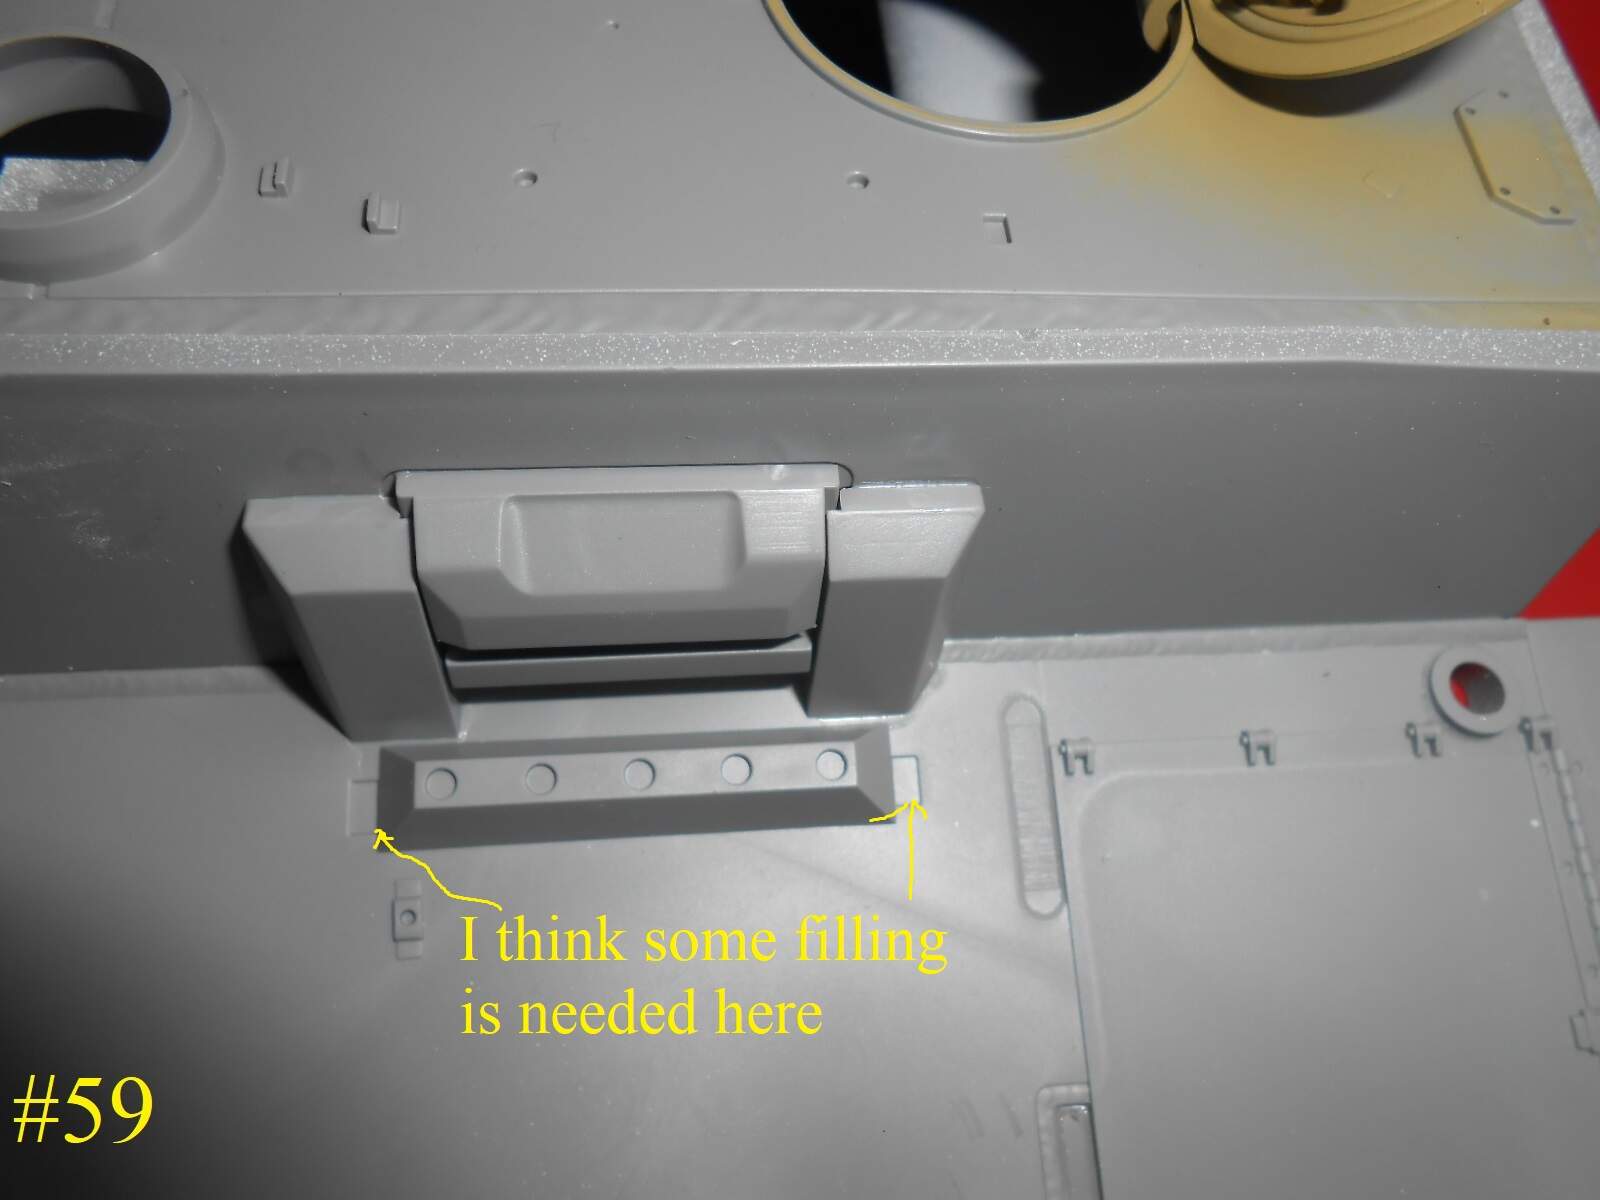
I think Pic. #58 & #59 show a longer armored bar is coming.
Well gotta go.
Donald
Your relentless,really enjoying this and benefitting
Thanks for taking the time to share.