No, those indents don’t show that a longer bar is coming.
They show that Takom failed to understand what they were seeing in photos.
And I believe it was just photos - nothing suggests to me that they sent a person to Bovington to look at “131”.
David
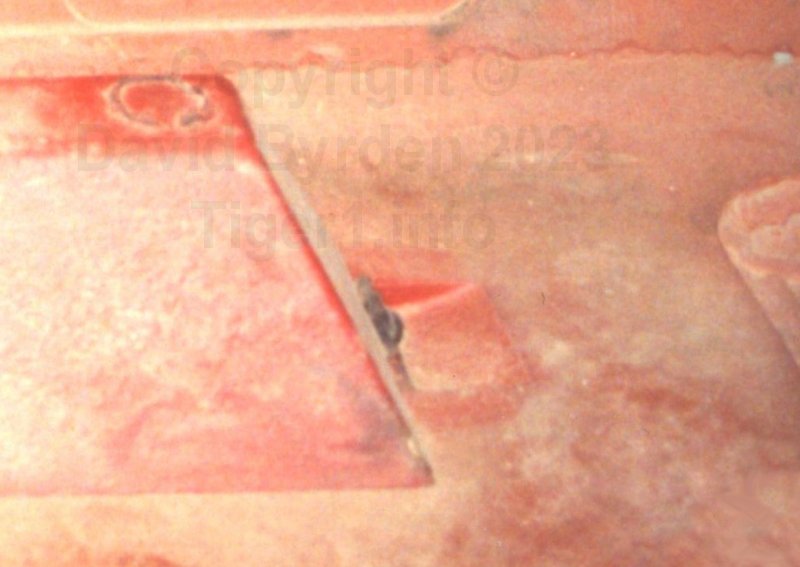
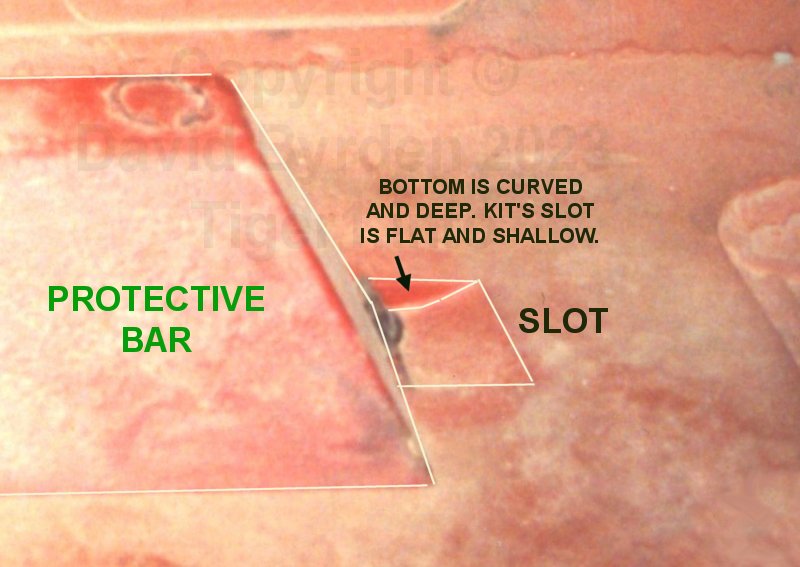
Those are what Donald was just talking about: the indents at each end of the driver’s protective bar.
Donald is right. Some filling is needed to get that slanted floor in them.
David
I try to see something on that picture, can’t find anything
Maybe this will help.
It’s just a tiny detail, you may not care about it.
David
2 Likes
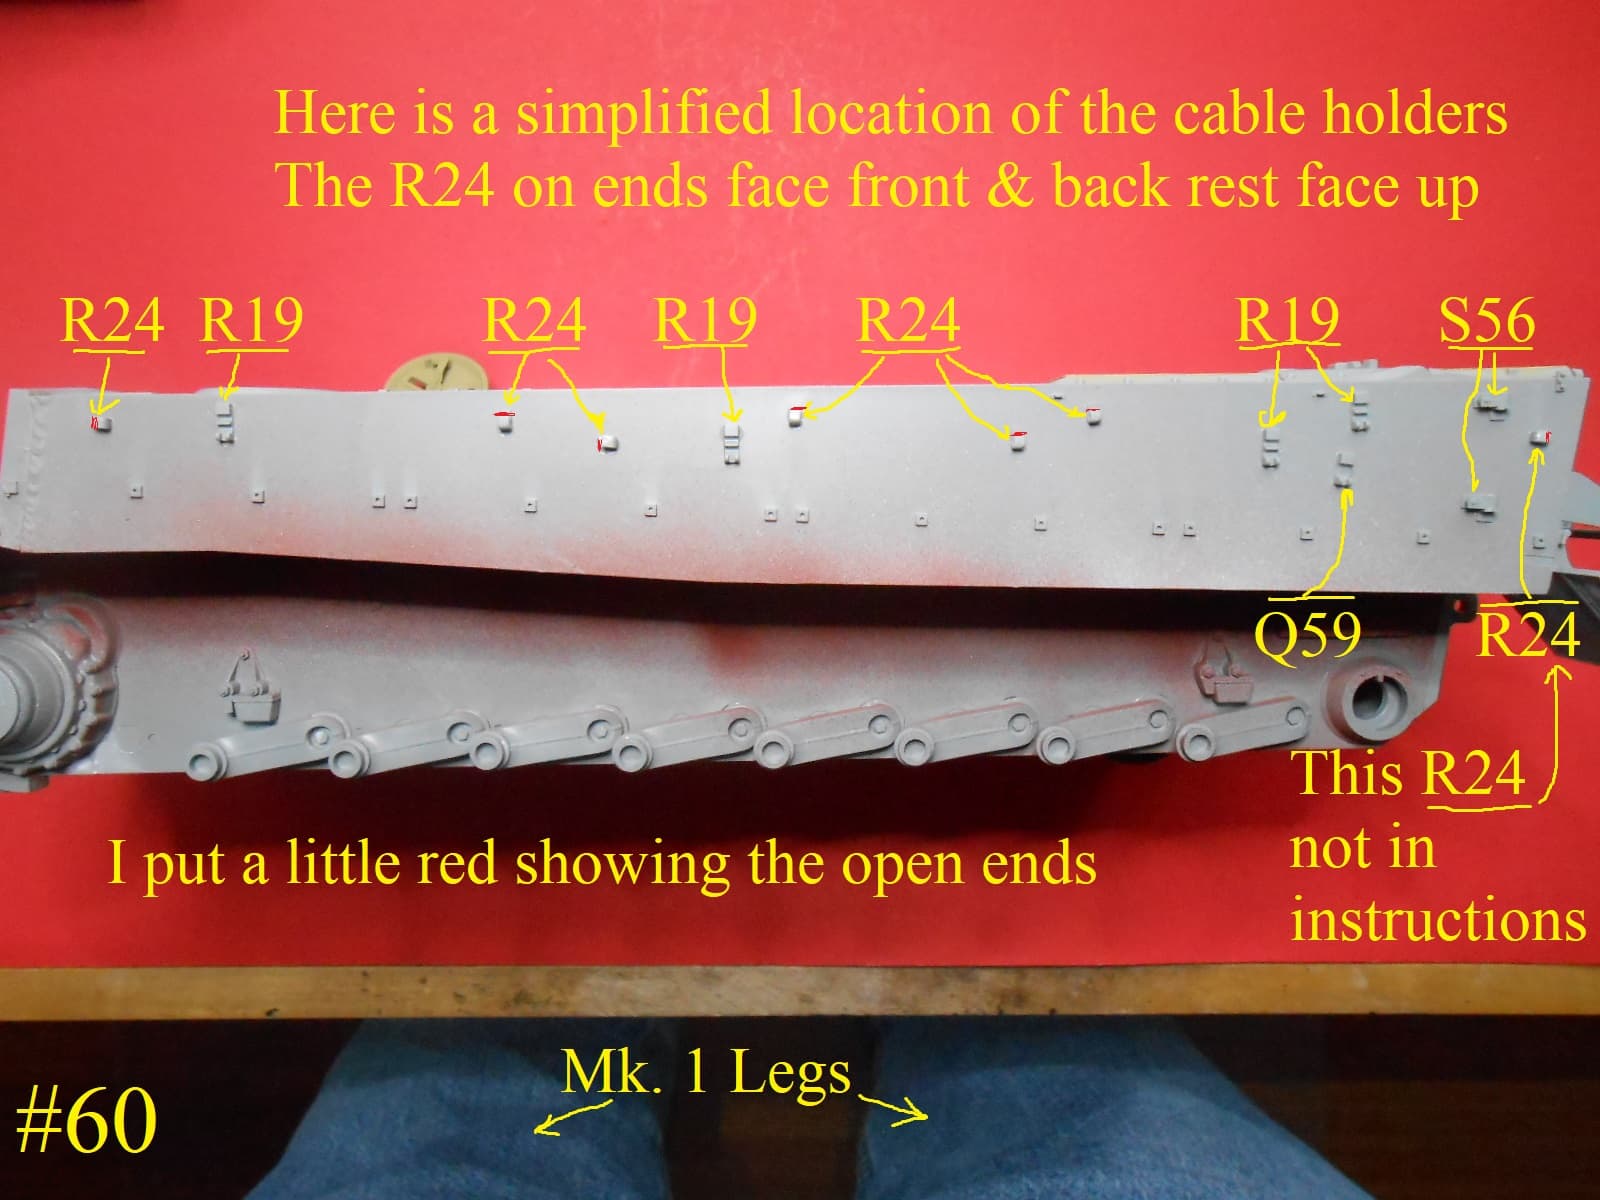
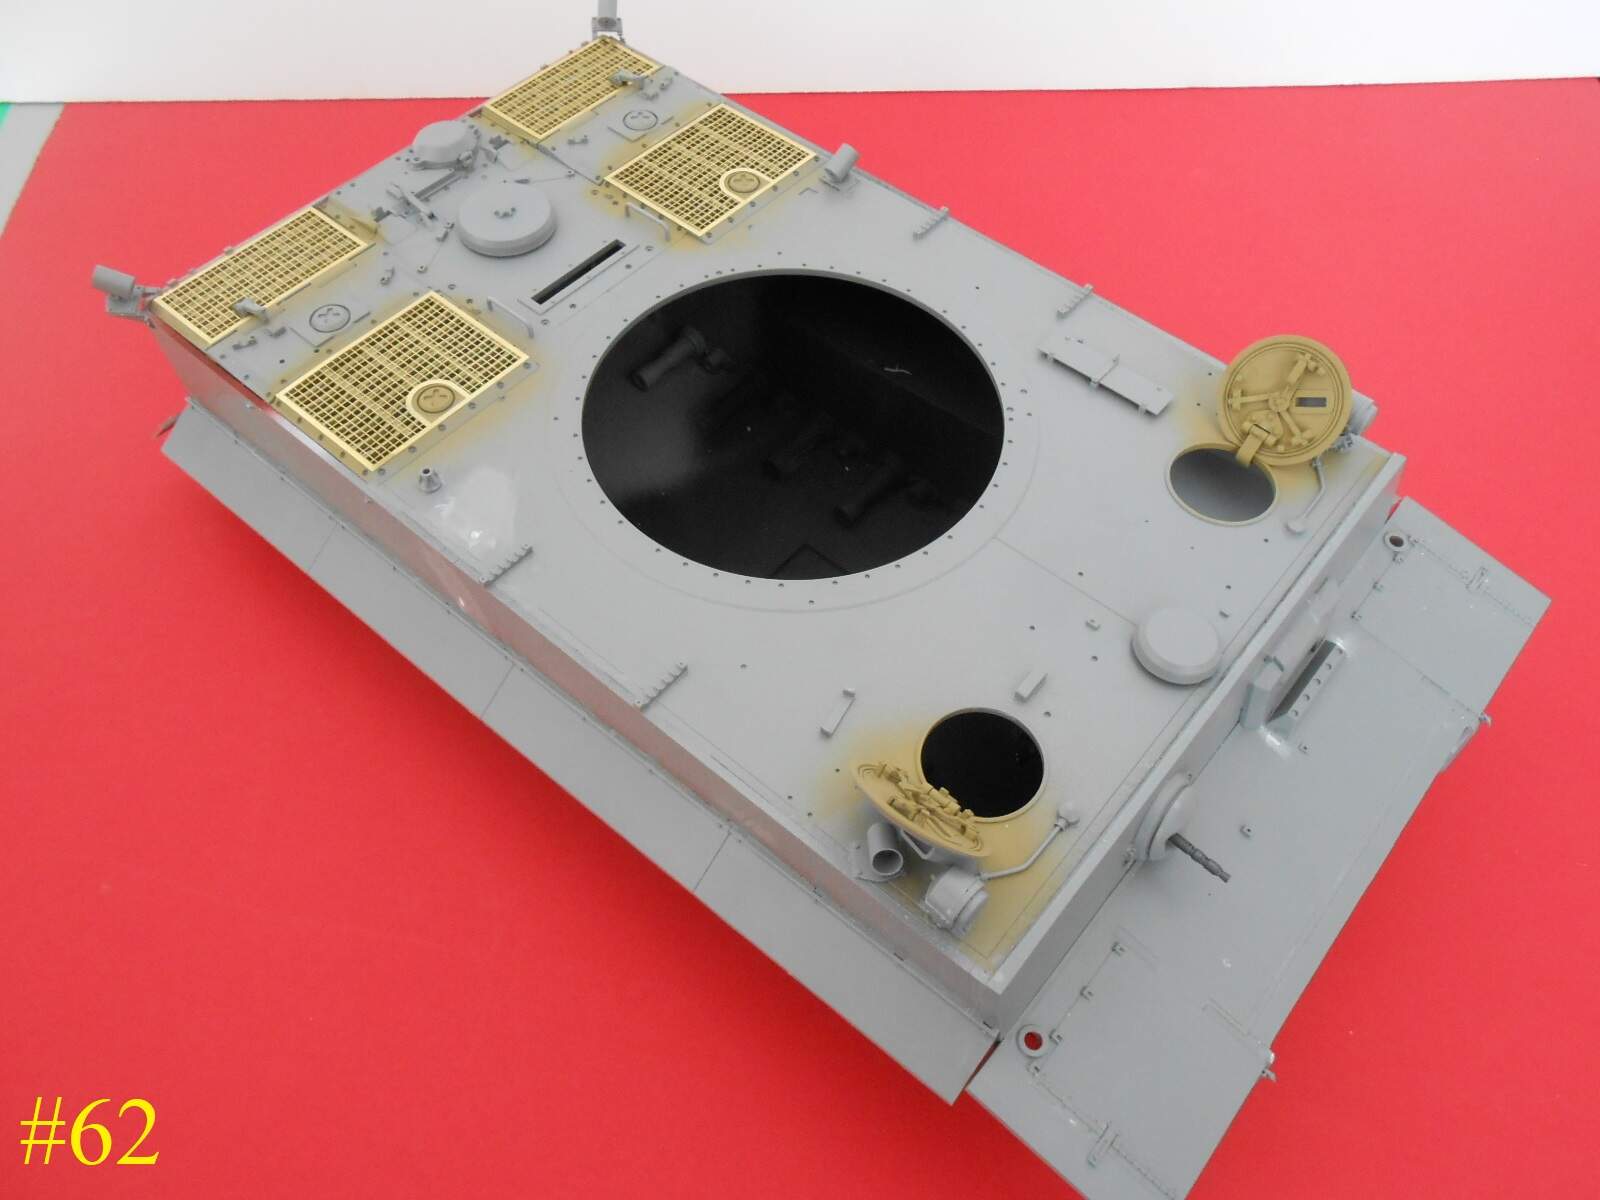
Here’s a easier locator for all the small cable hooks and suports on the left side.
The instructions left one off at the far rear , I show it here.
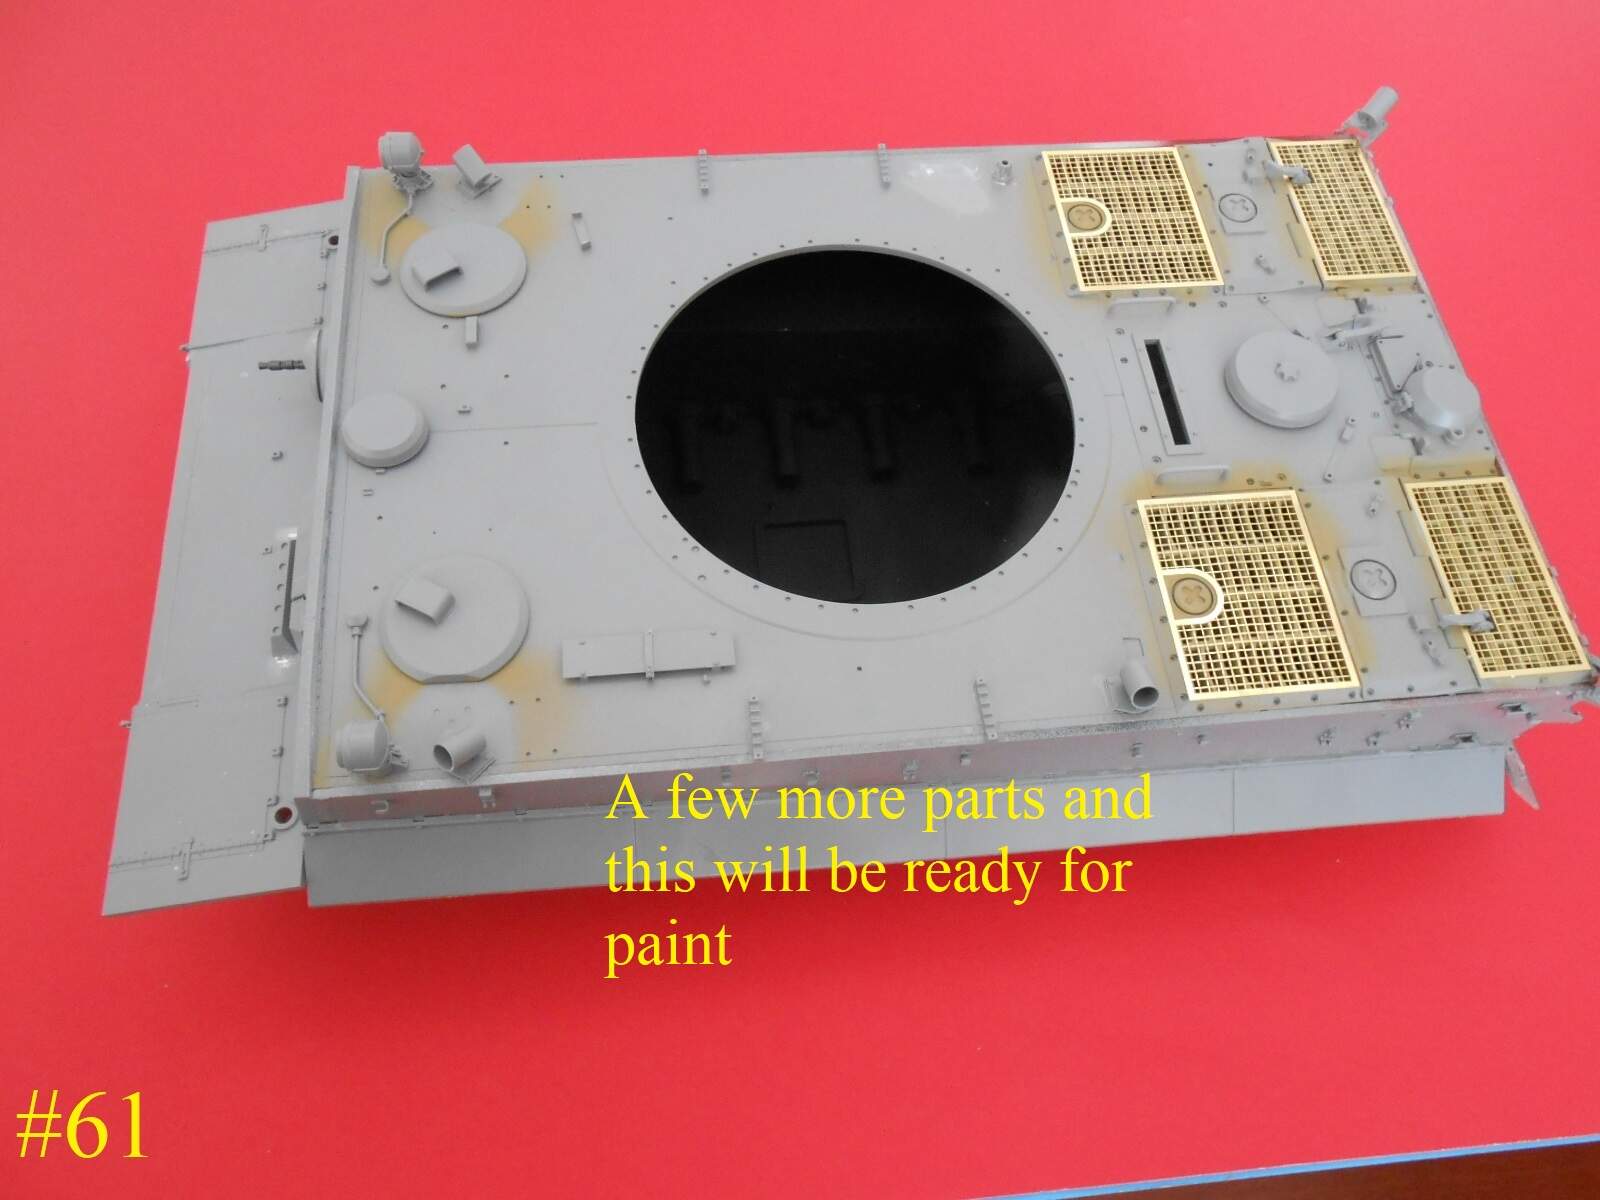
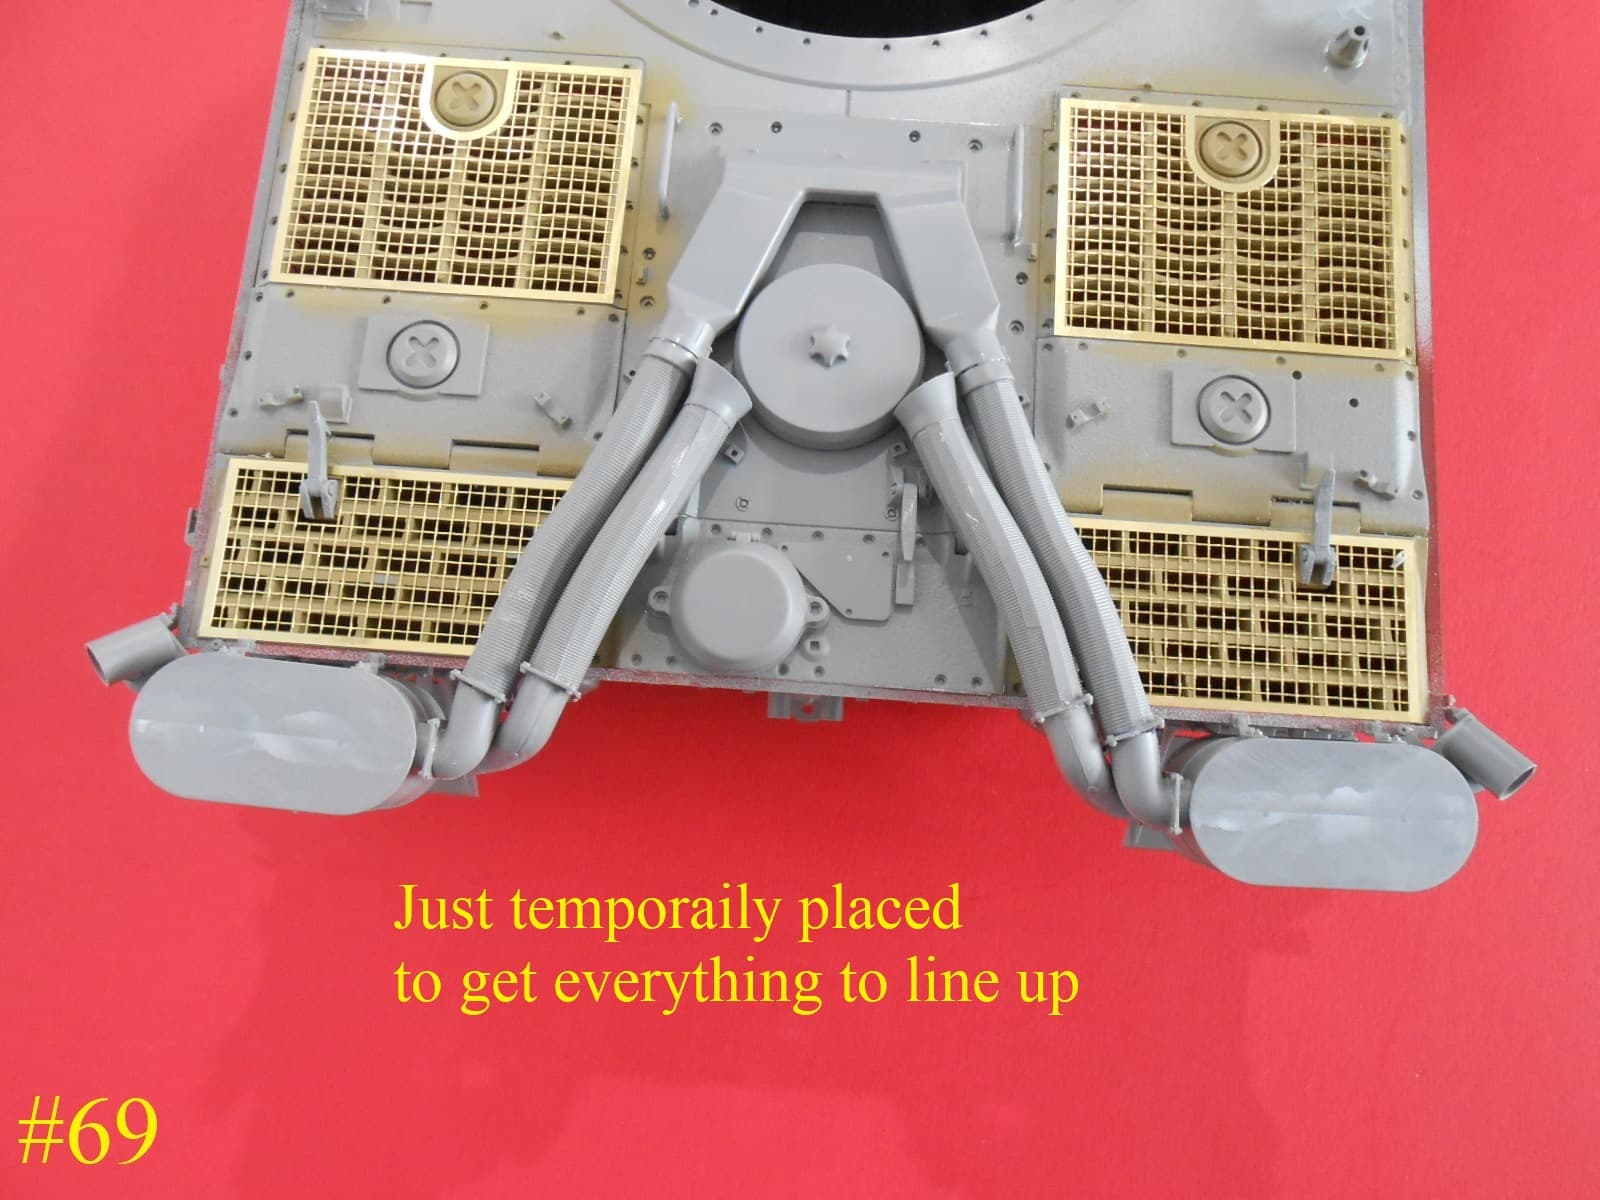
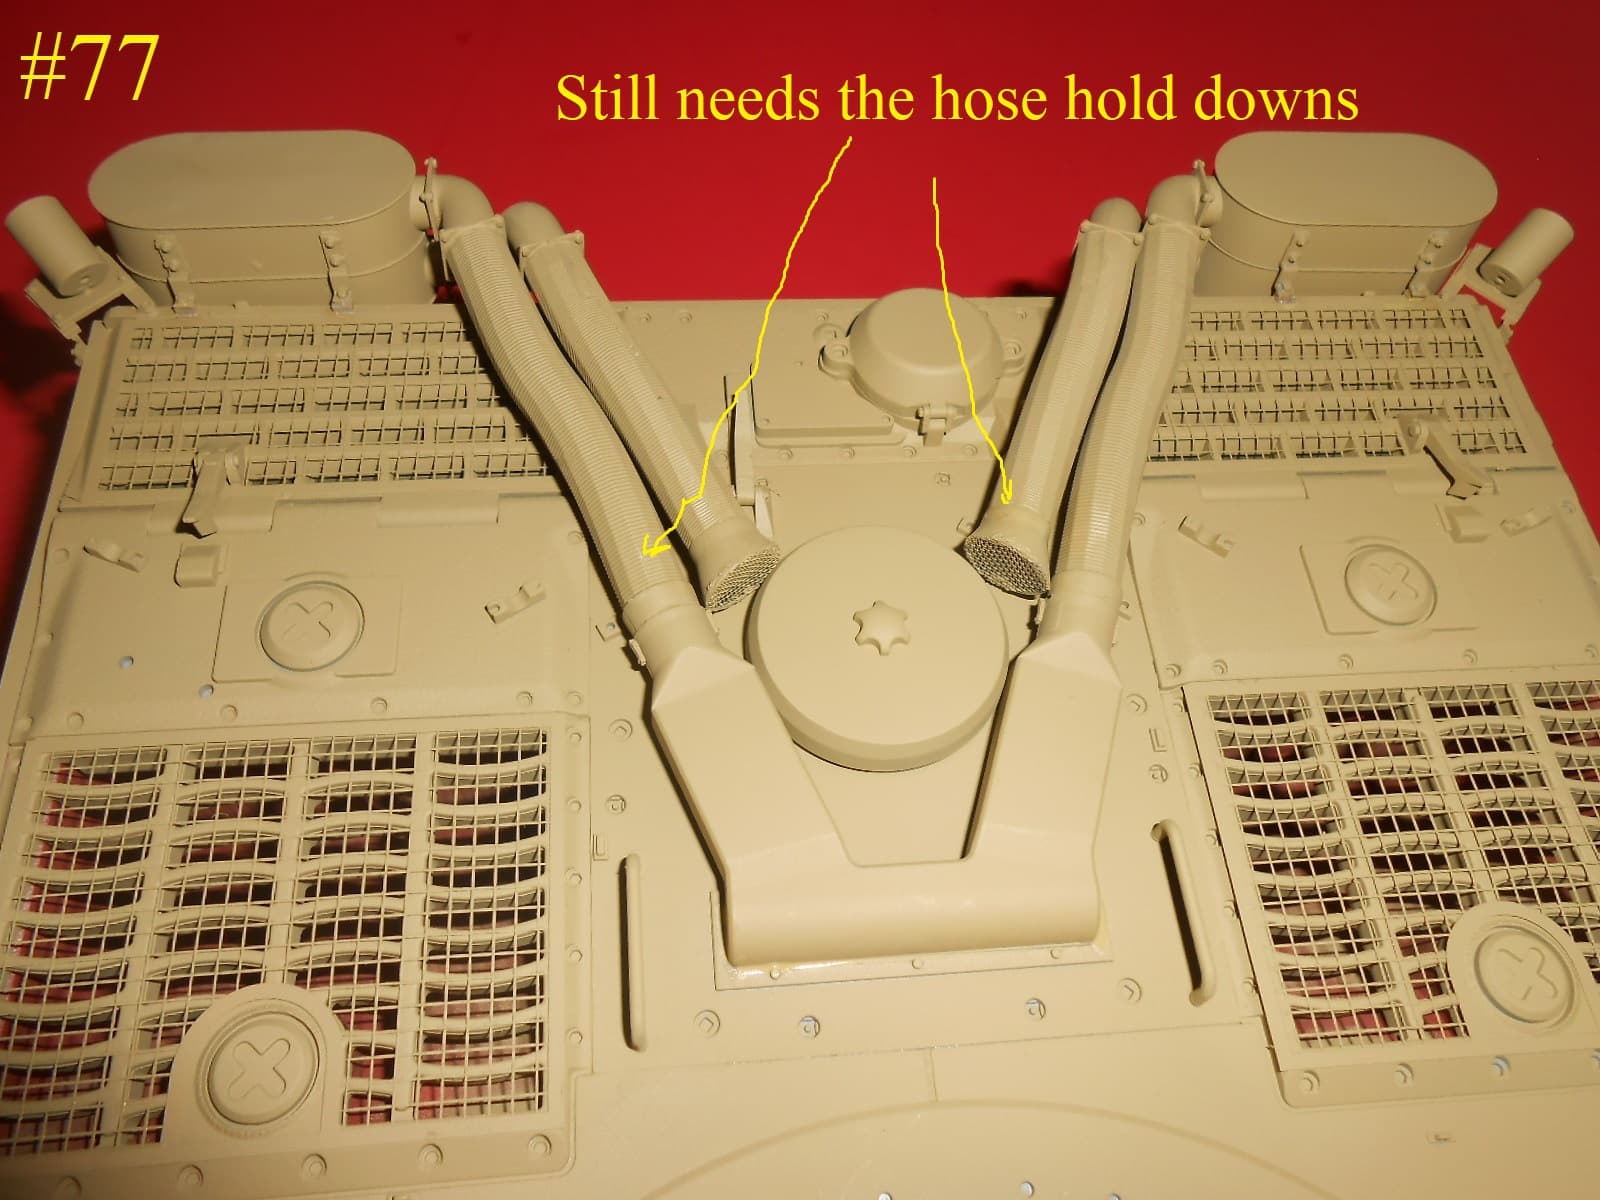
I have most except for the Pioneer tools installed. I just have to finish the aircleaners.
Thats all for today
Regards
Donald
3 Likes
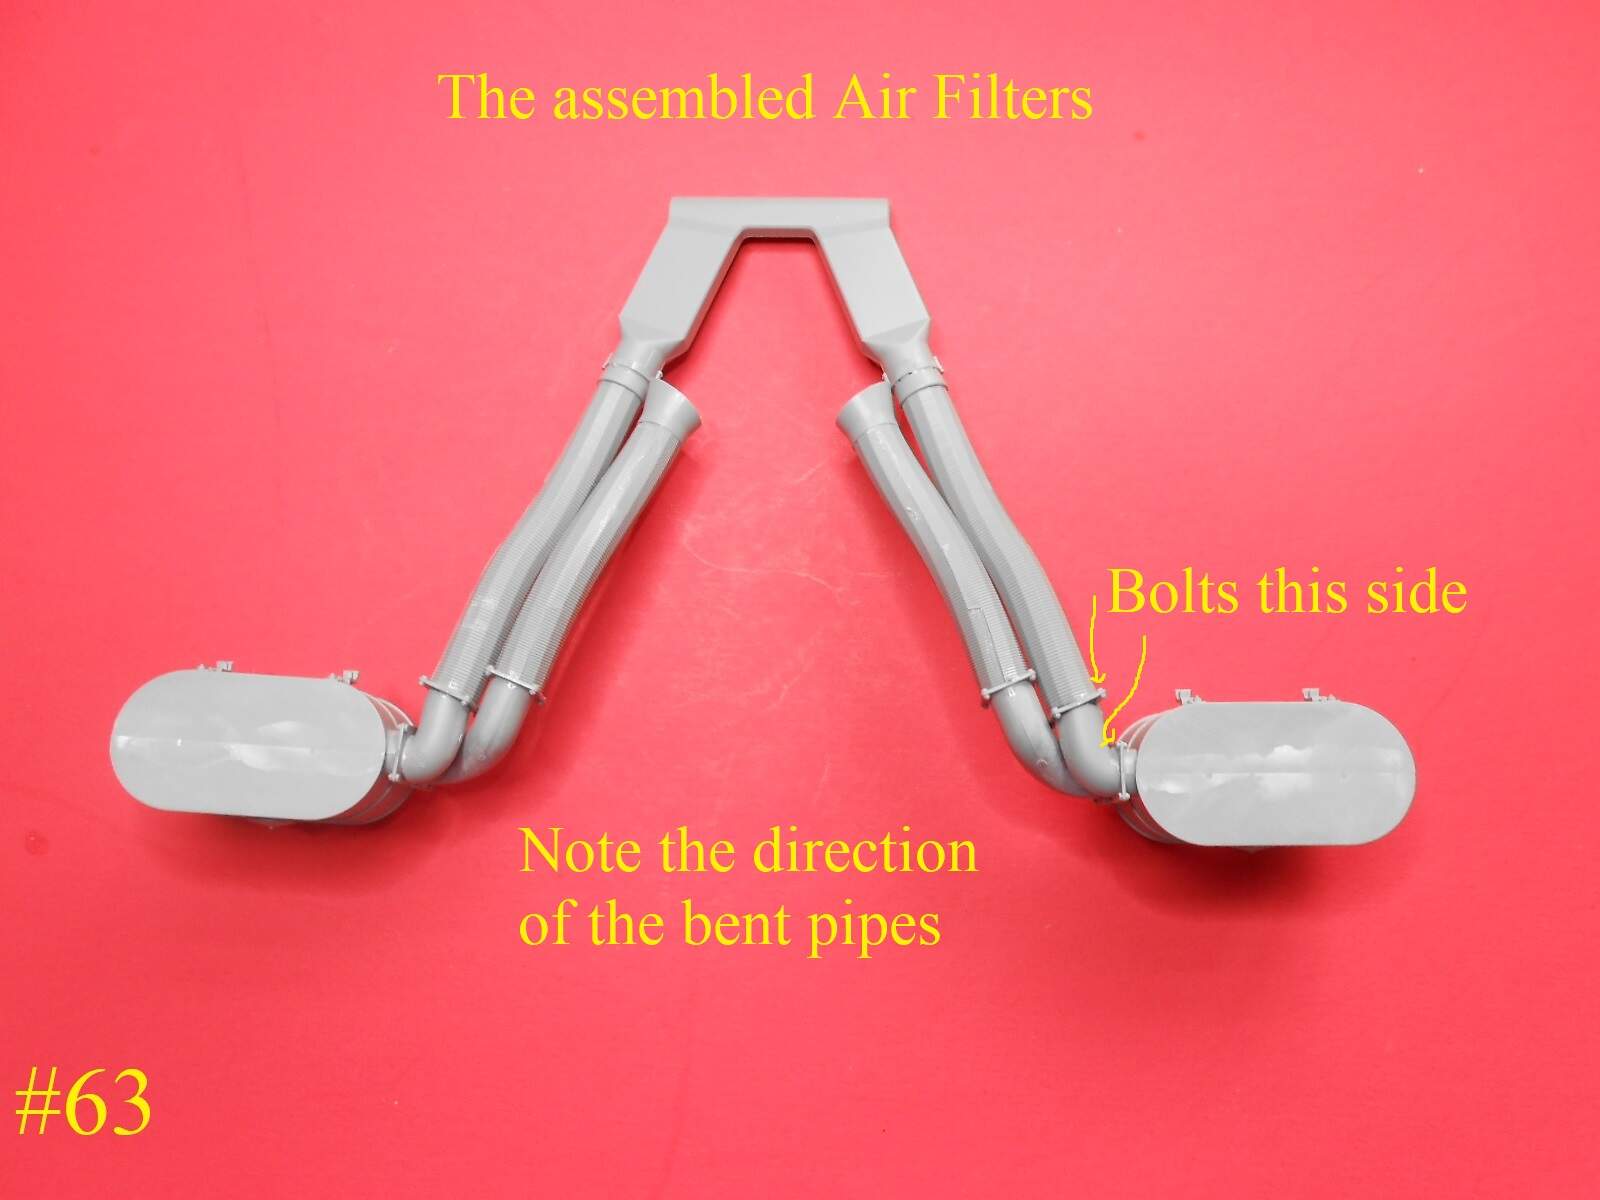
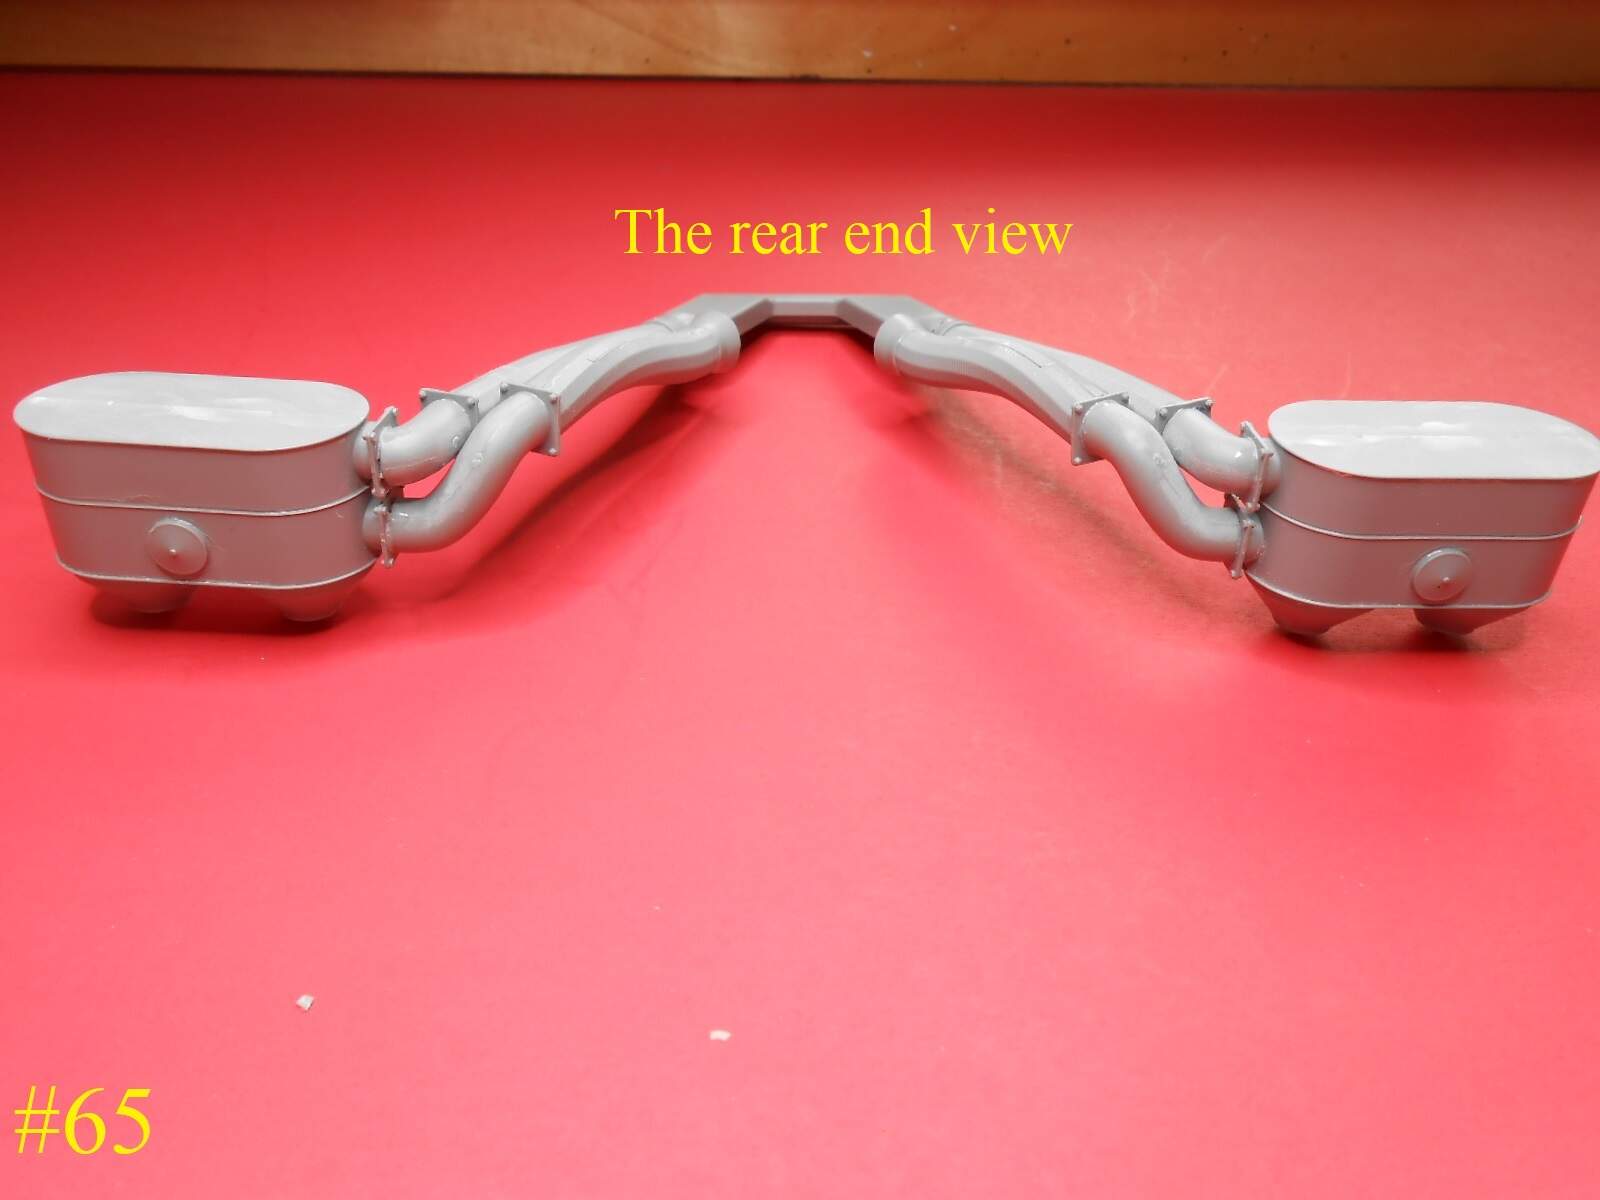
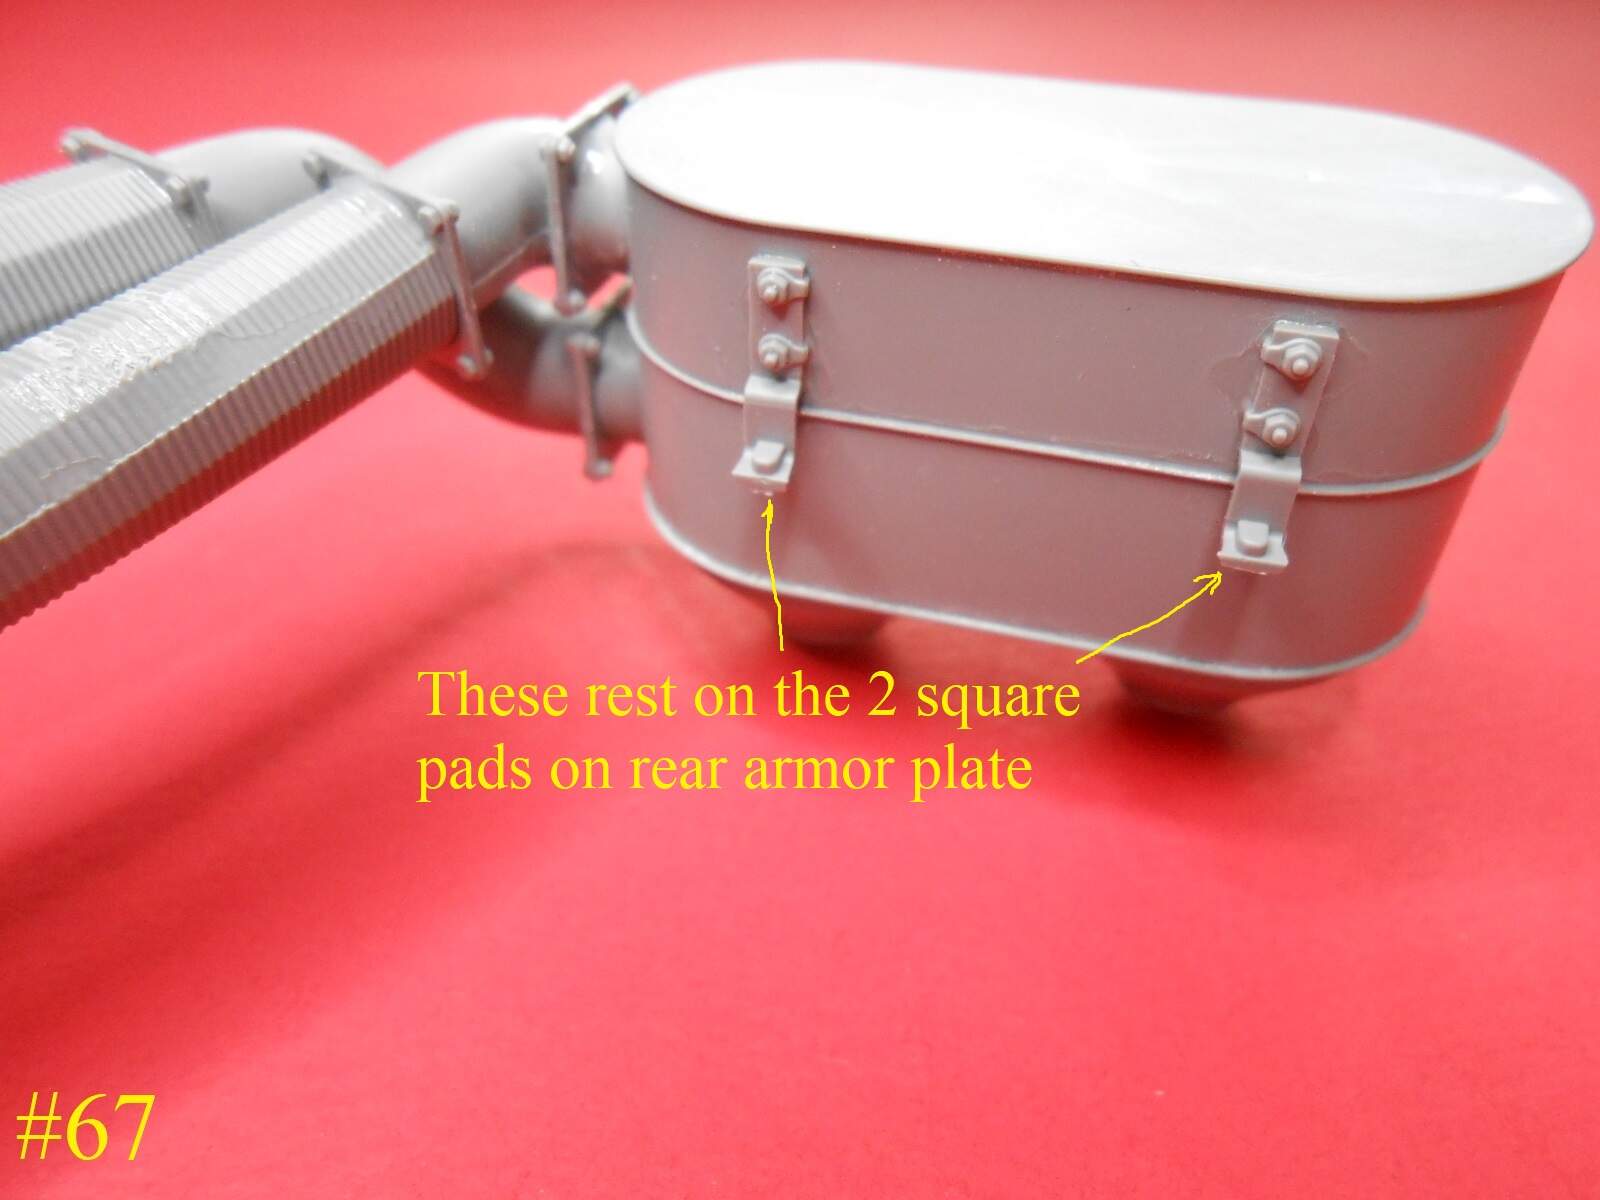
I have the Air Filters Assembled , i just tac glued them together then after
positioning glued them for good , just not to the Hull.
It’s easier to paint if they are movable while painting.
Some painting next.
Regards
Donald
7 Likes
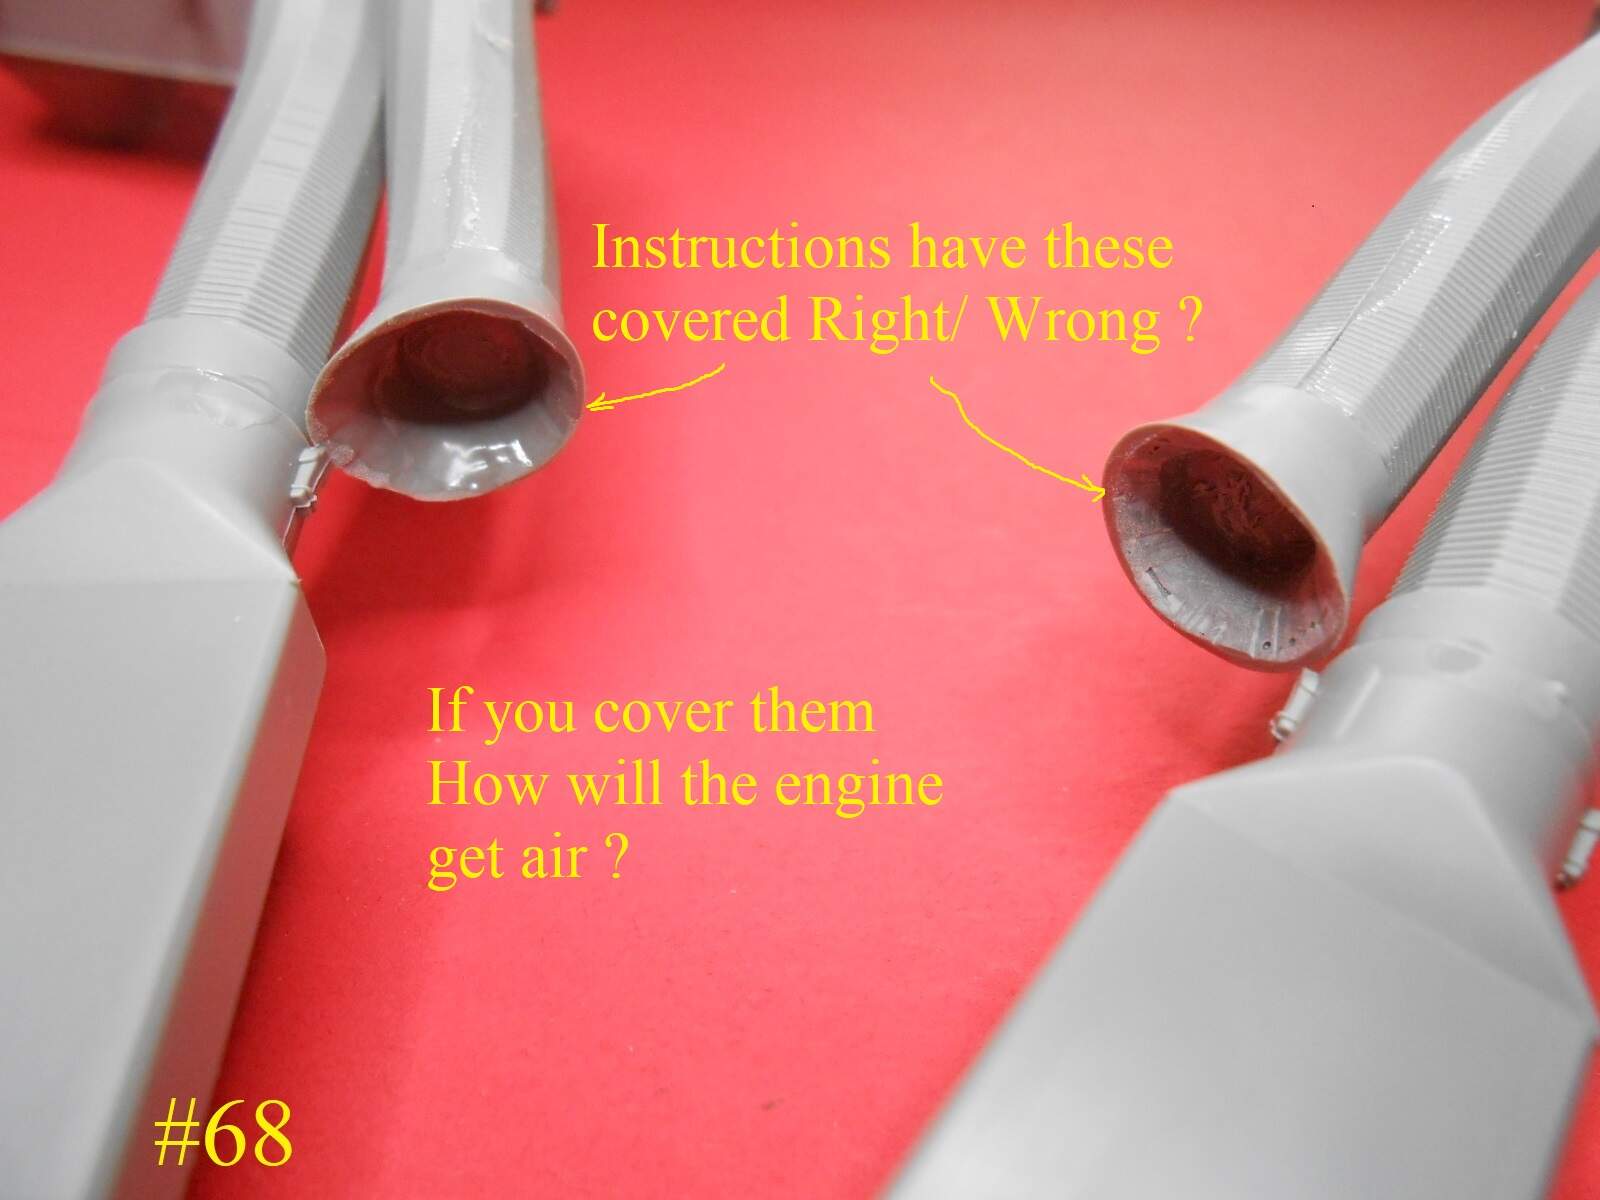
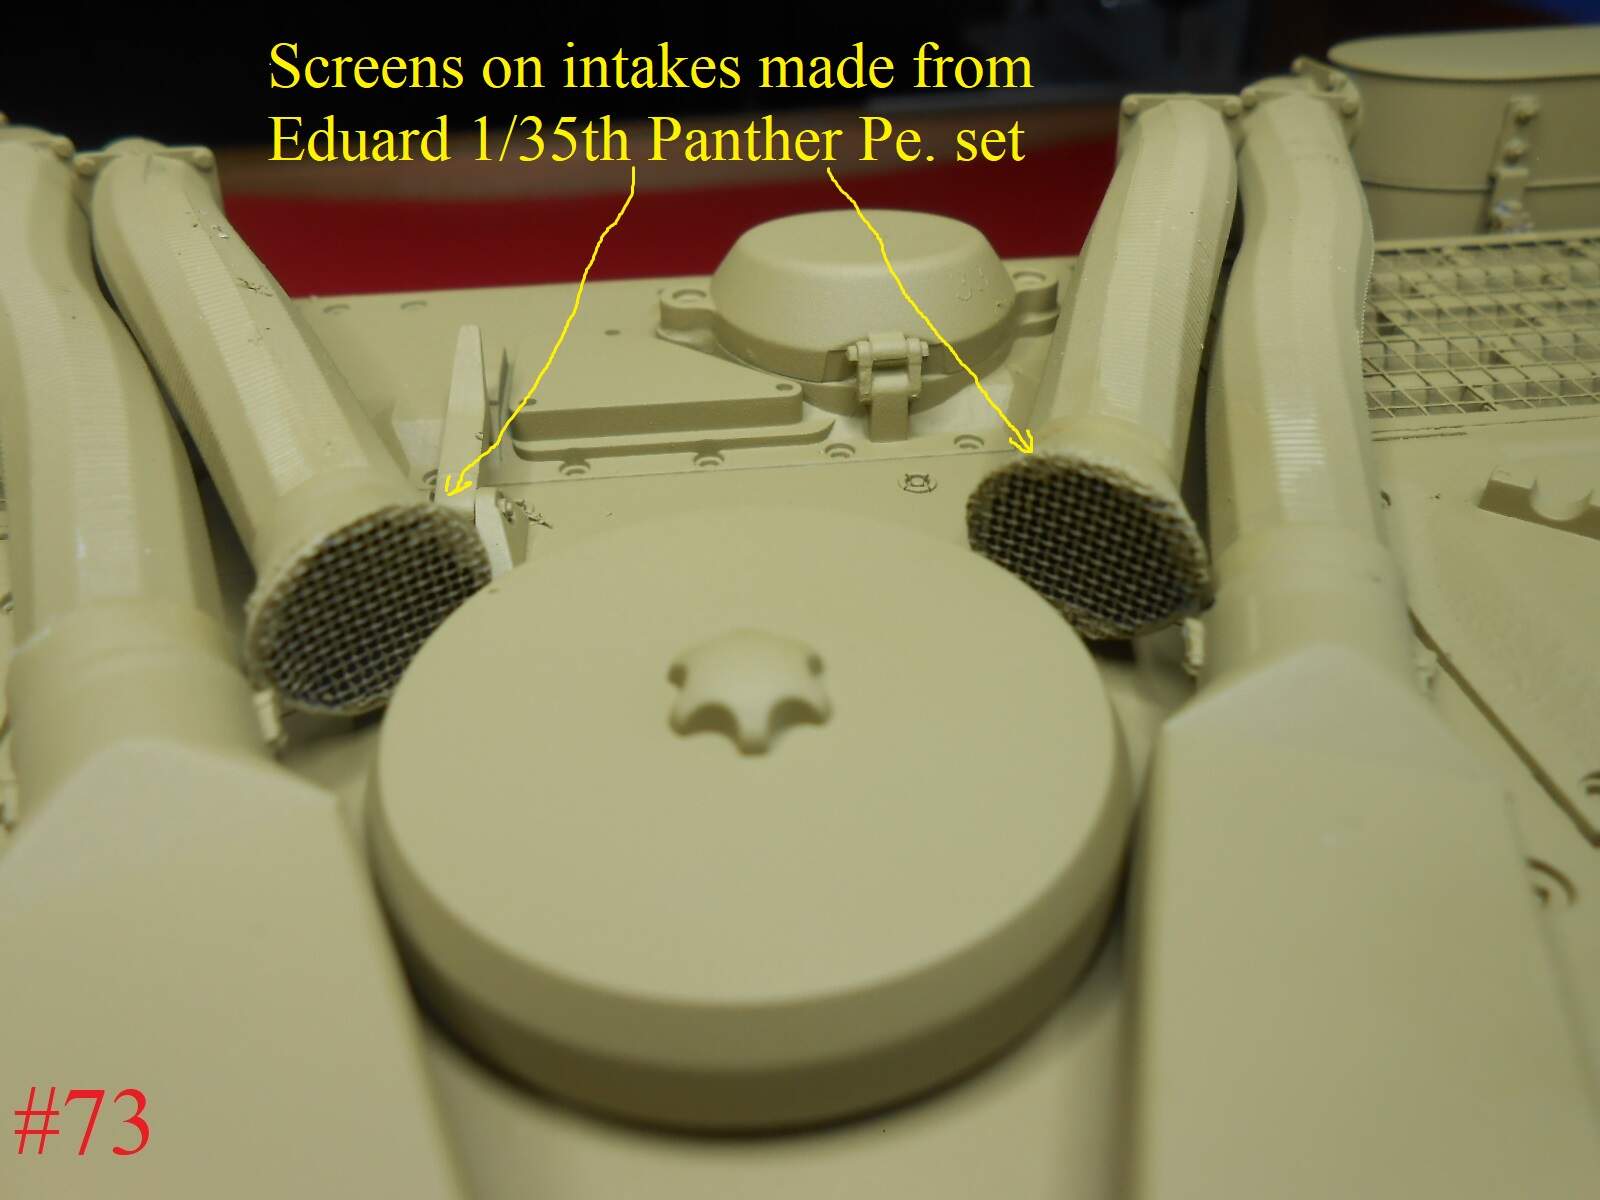
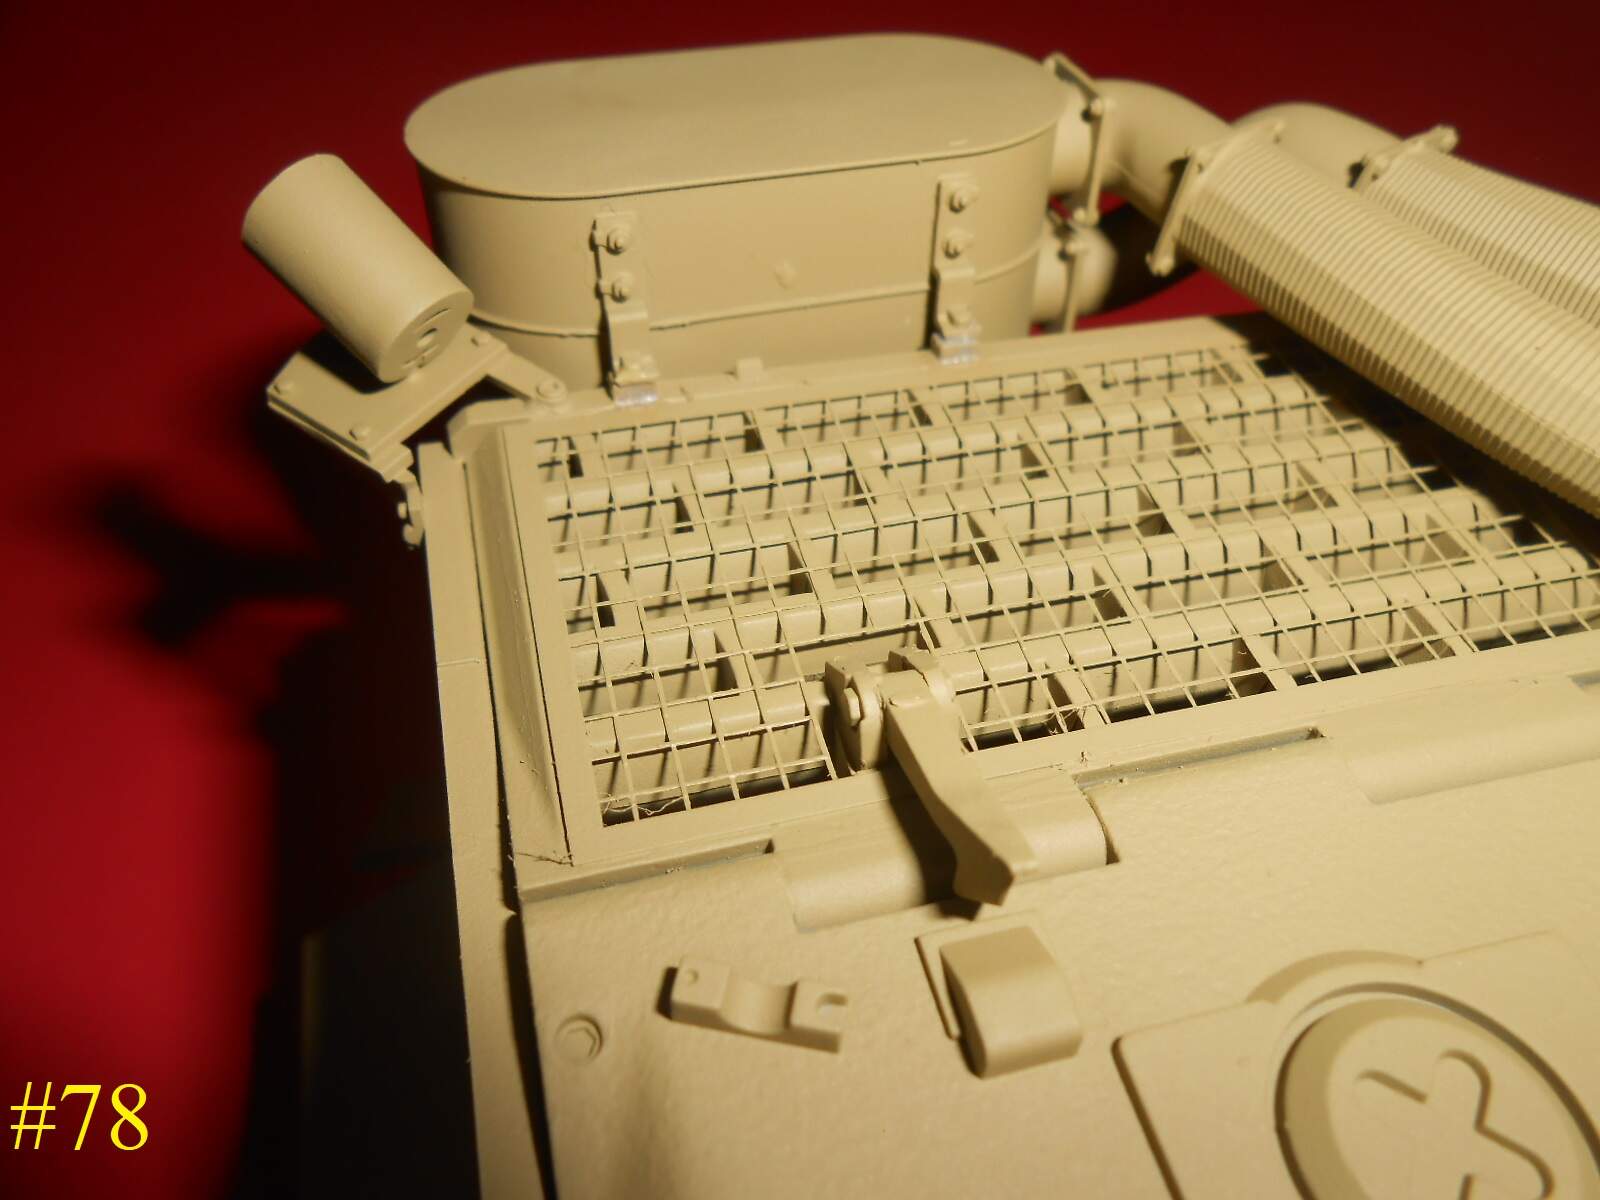
Those intakes were covered with a fine mesh.
David
1 Like
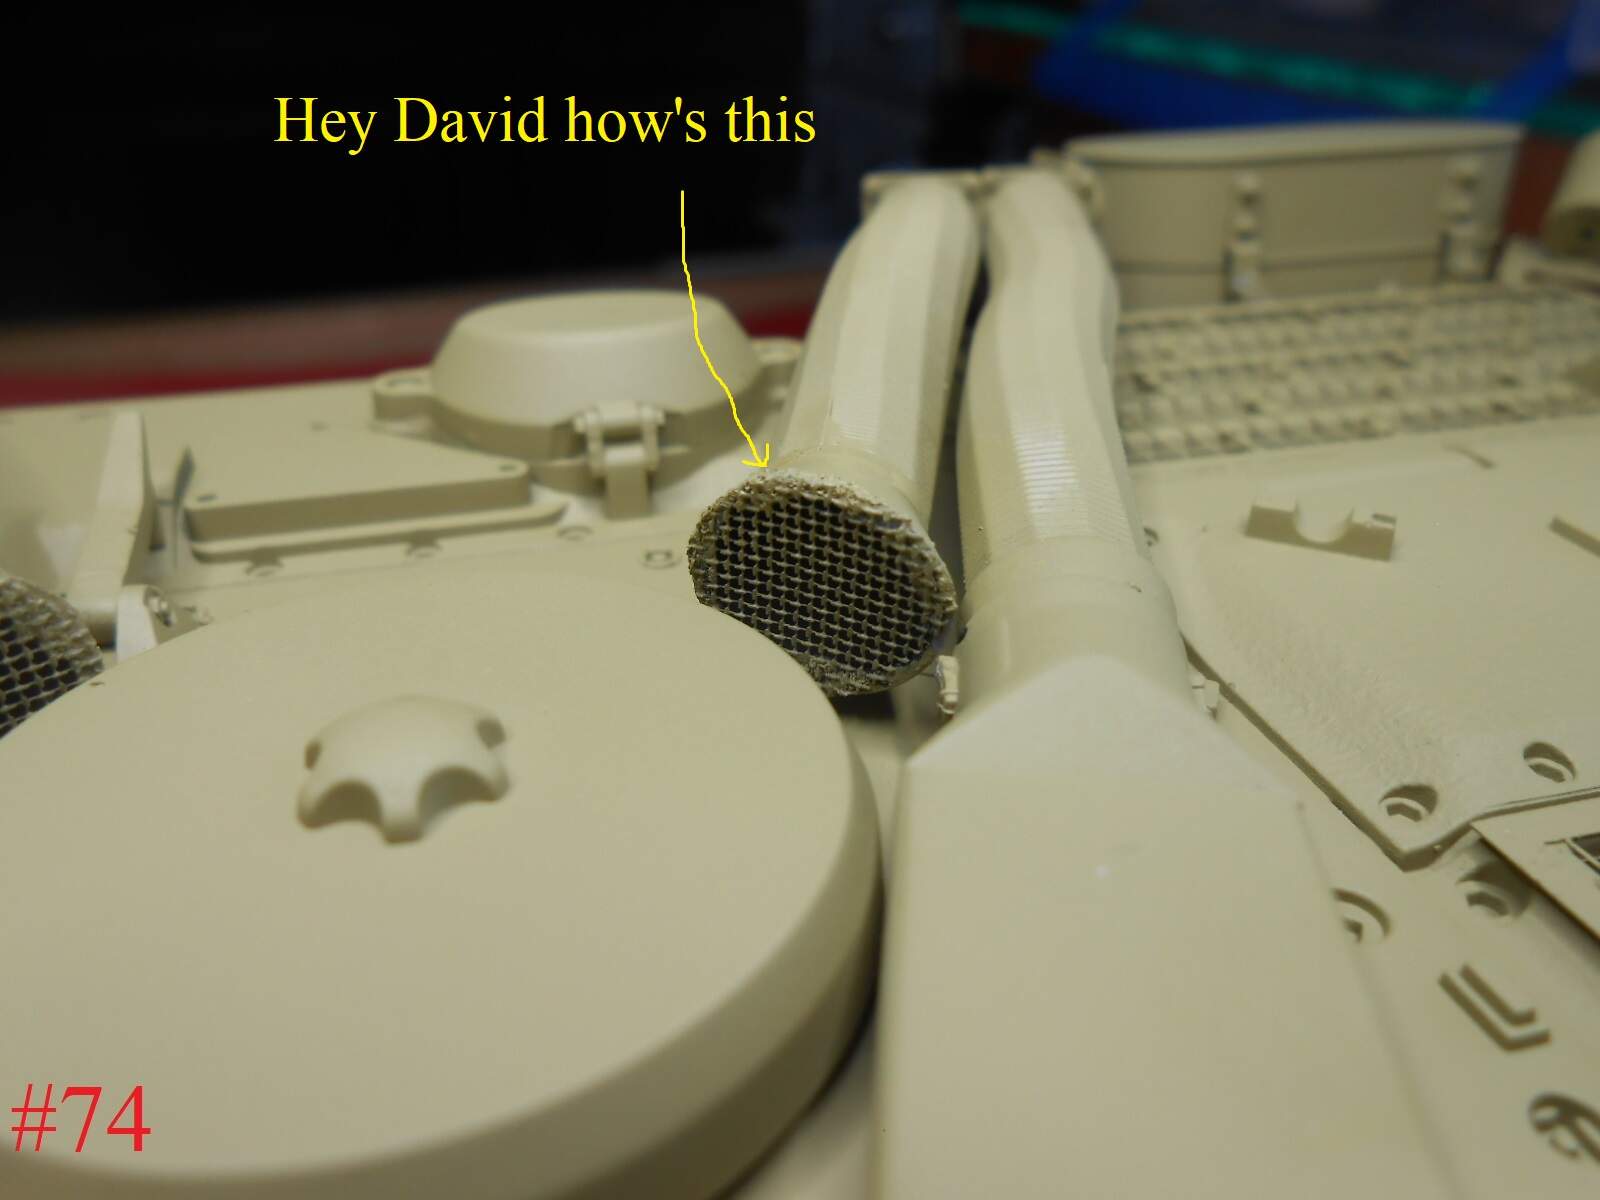
Hey David is this mesh too big?
Well it’s close enough I think.
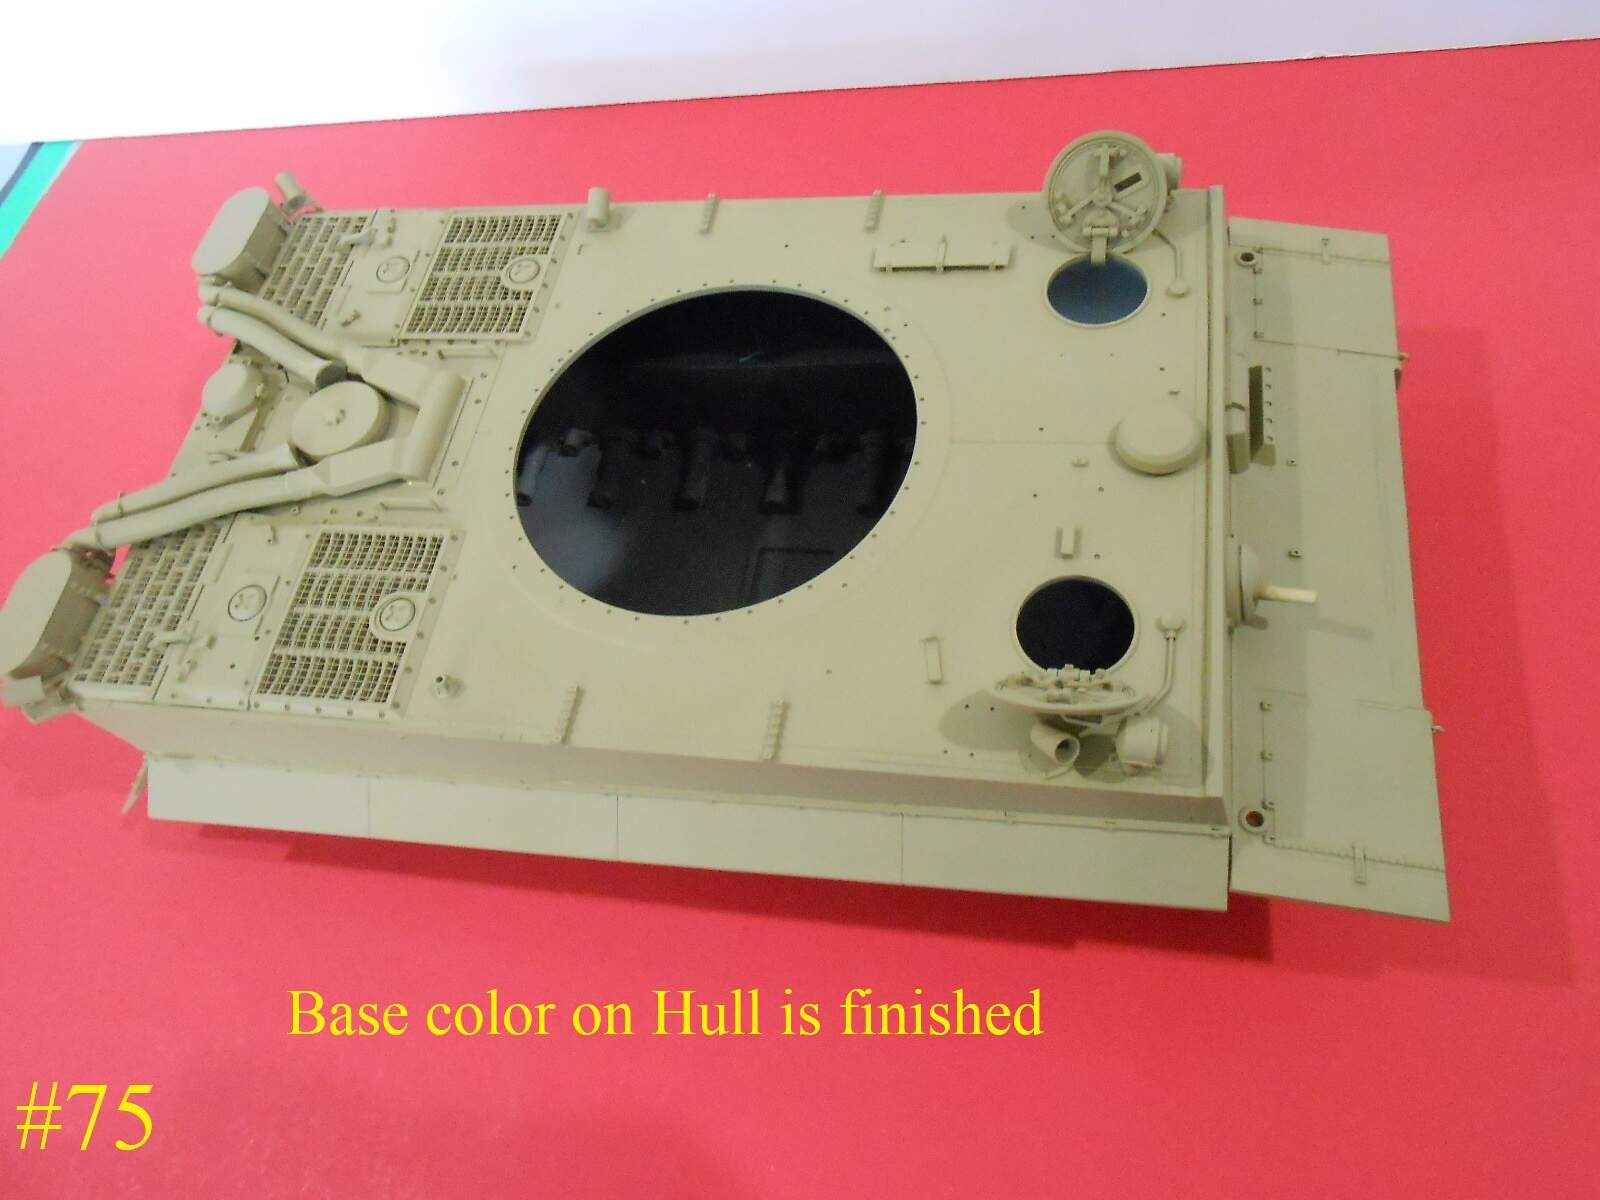
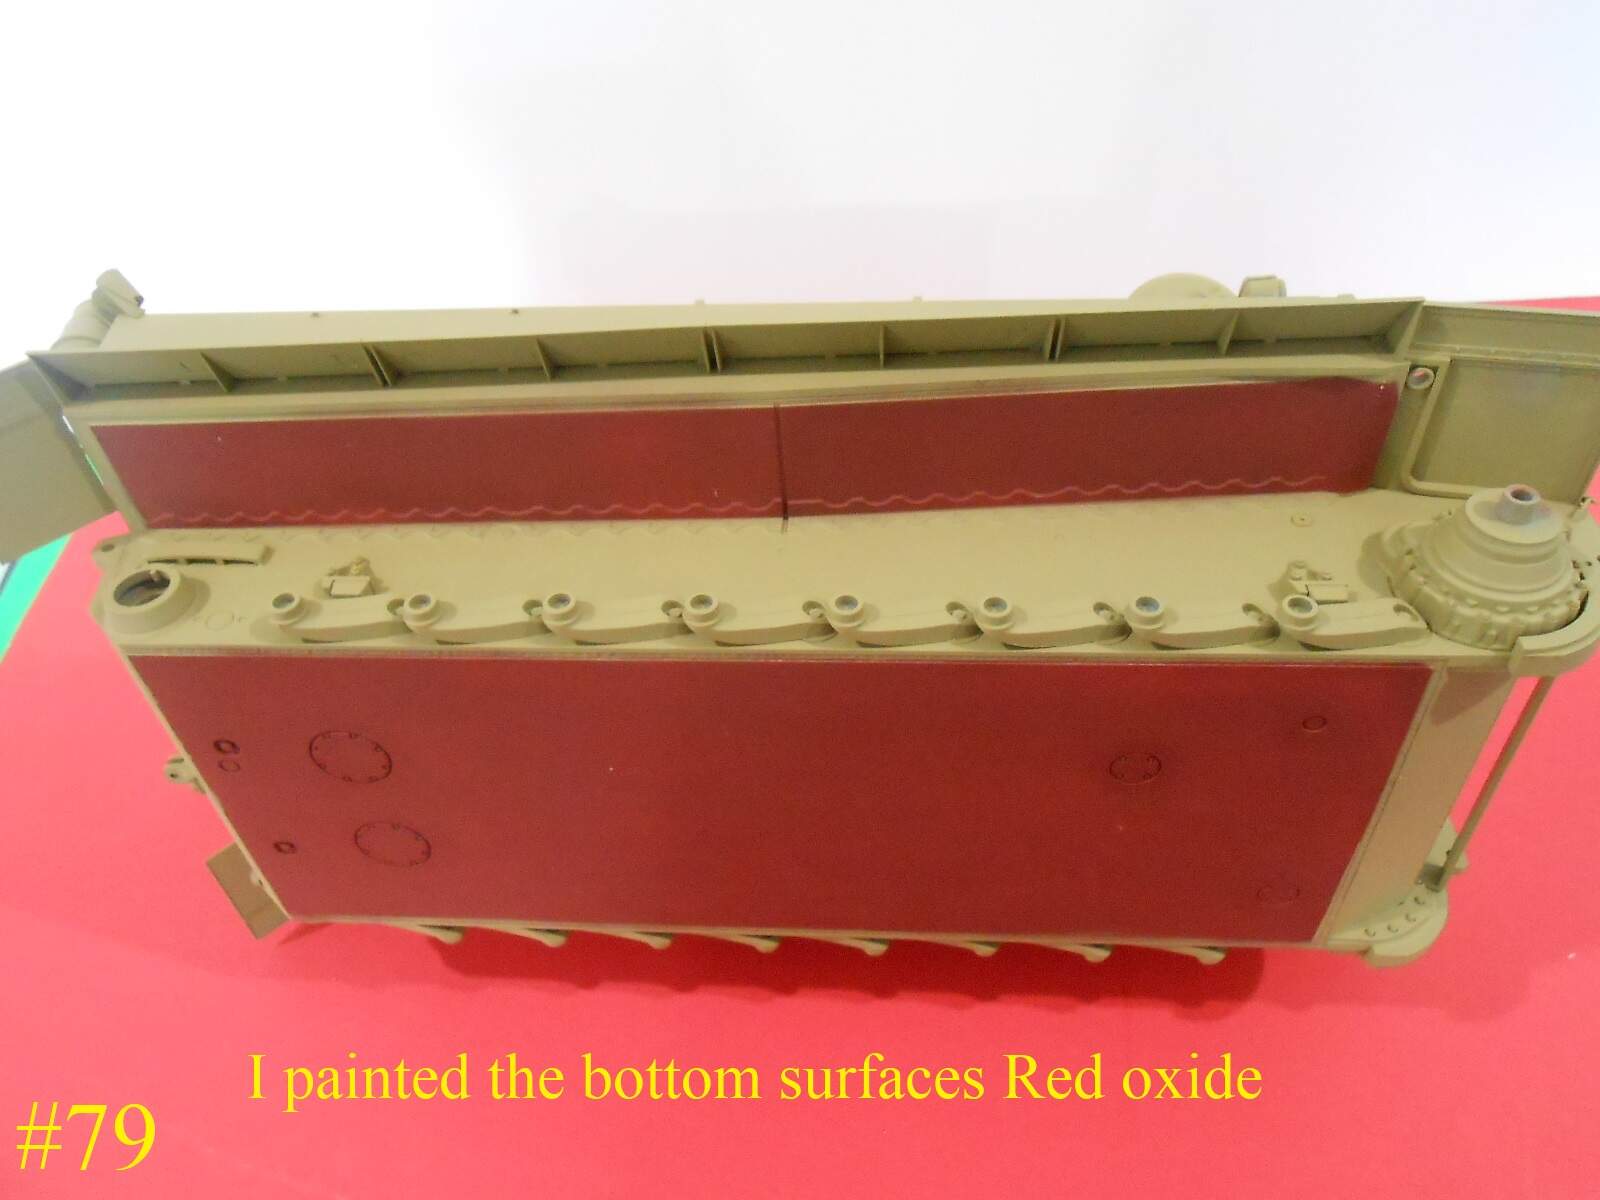
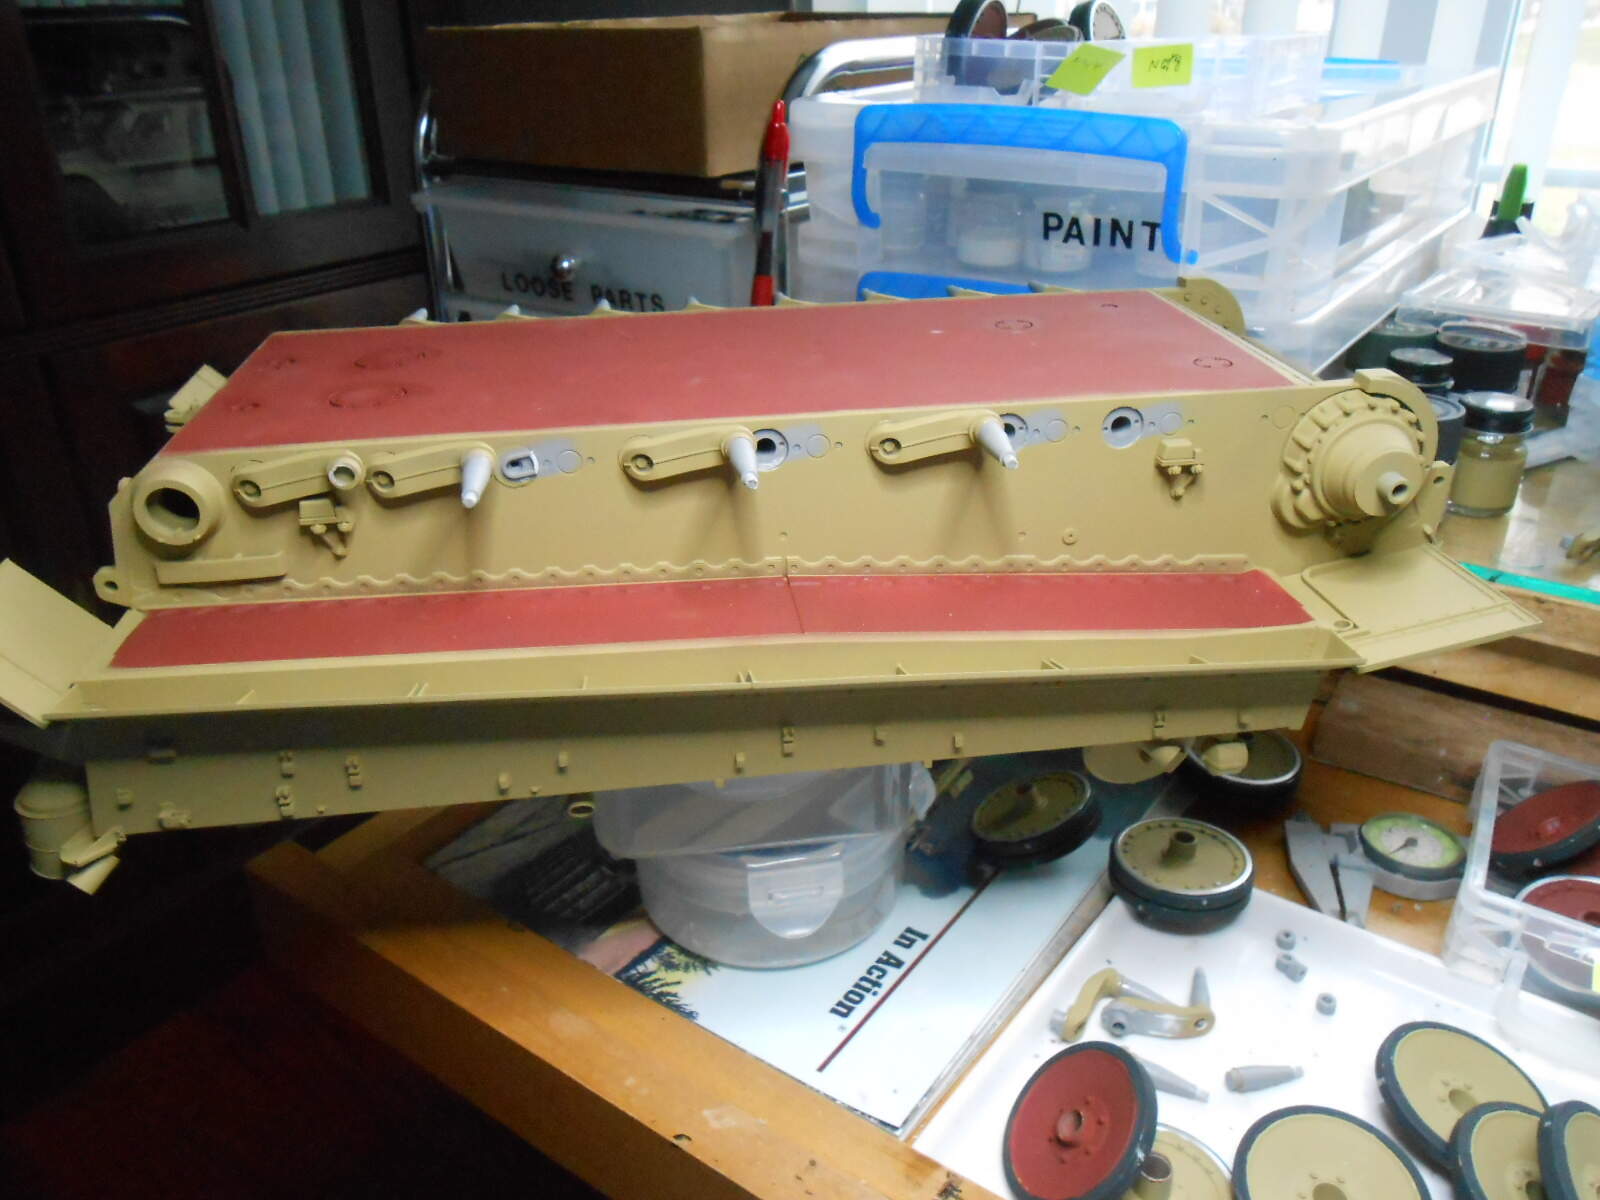
Now I know there are those of you that will say ( hey why is the bottom Red Oxide , well the reason is it’s hard to paint the bottoms and nobody is going to see them anyway. Plus it’s a waste of paint and the germans had nothing to waste.
Well this part is finished temporaily till the Camo.
Working on the wheels next
Regards
Donald
7 Likes
I’m actually not sure what size was the real mesh. Never saw a real sample. Only one bad photo.
David
Hey,what did you paint with,an airbrush or spray can,what paint did you use?
Just love following this step by step,thanks again
1 Like
I’m using Tamiya XF60 Dark Yellow for the base color straight out of the bottle .
Airbrushing without any thinning , The red-oxide is Tamiya Flat red with a 1/2tsp. of brown mixed in.
Regards
Donald
2 Likes
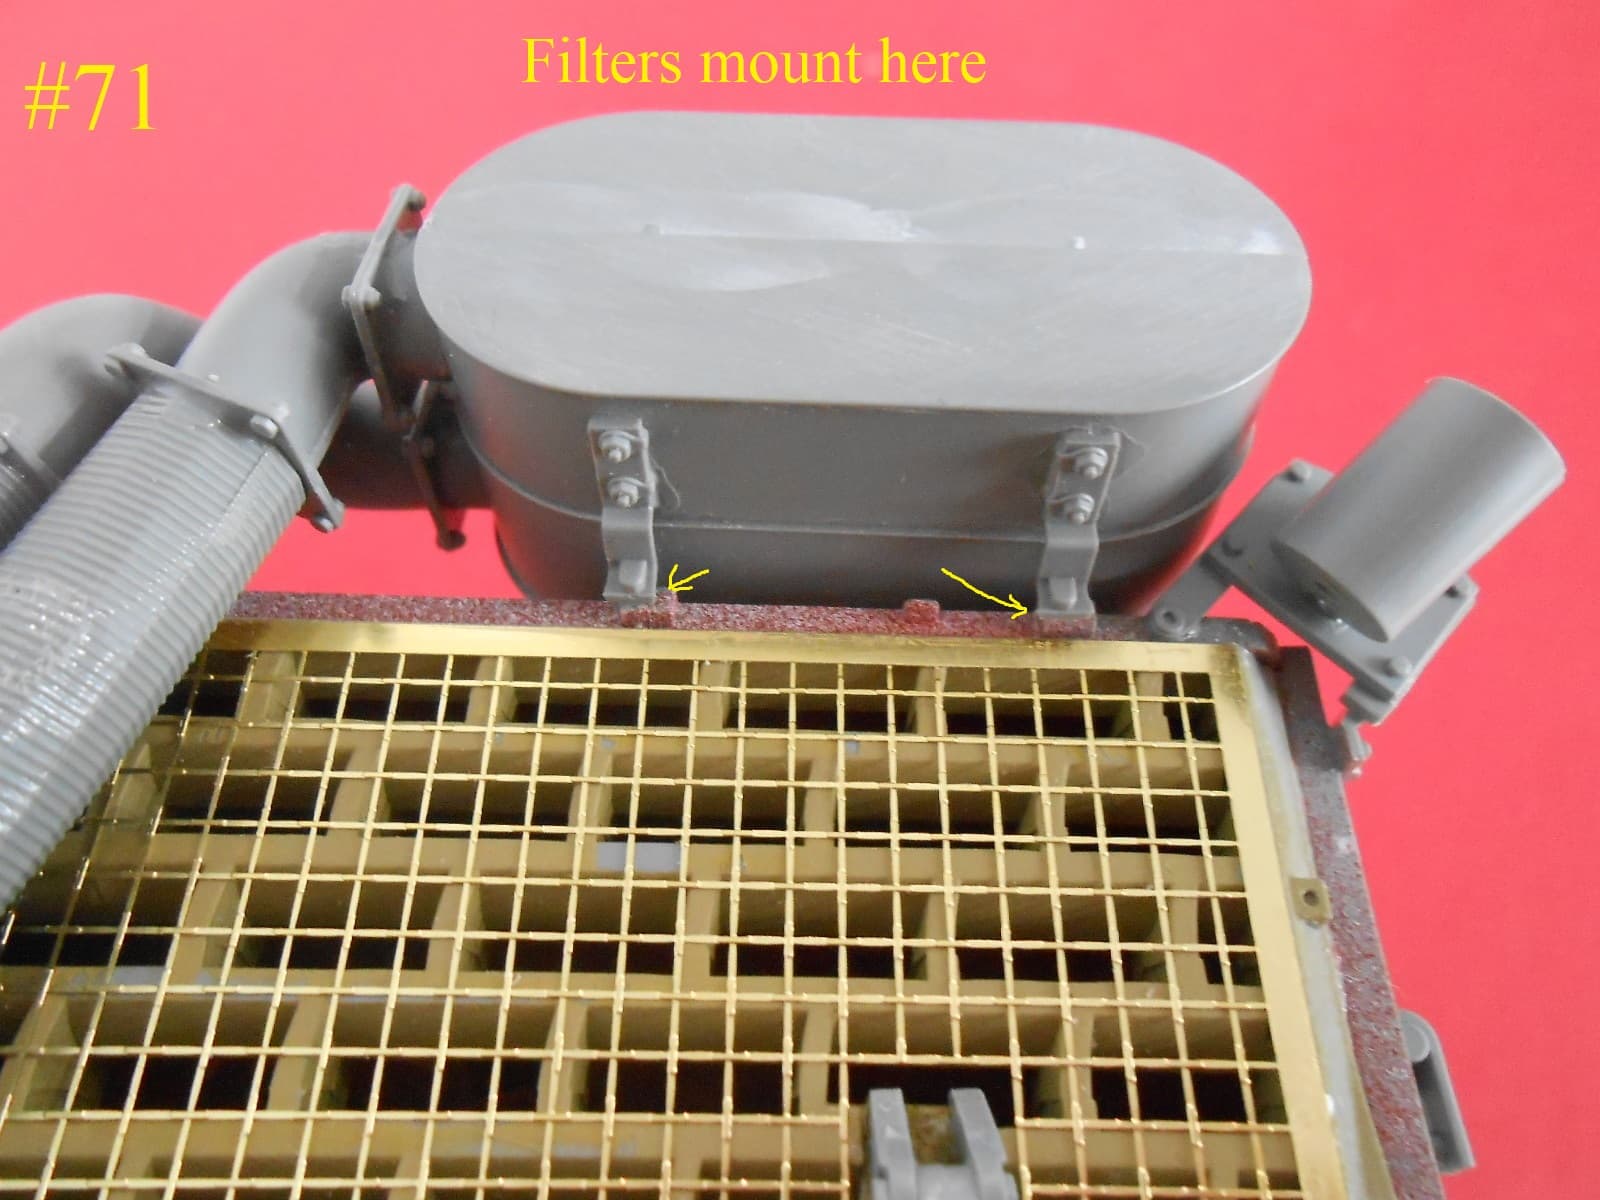
I used the circular mesh from Edwards stainless Pe. set for the 1/35th. Panther
I had it in the parts box and wasn’t going to build any Tamiya panthers.
It would have been easier if I placed it on the end before assembling the hose.
Regards
Donald
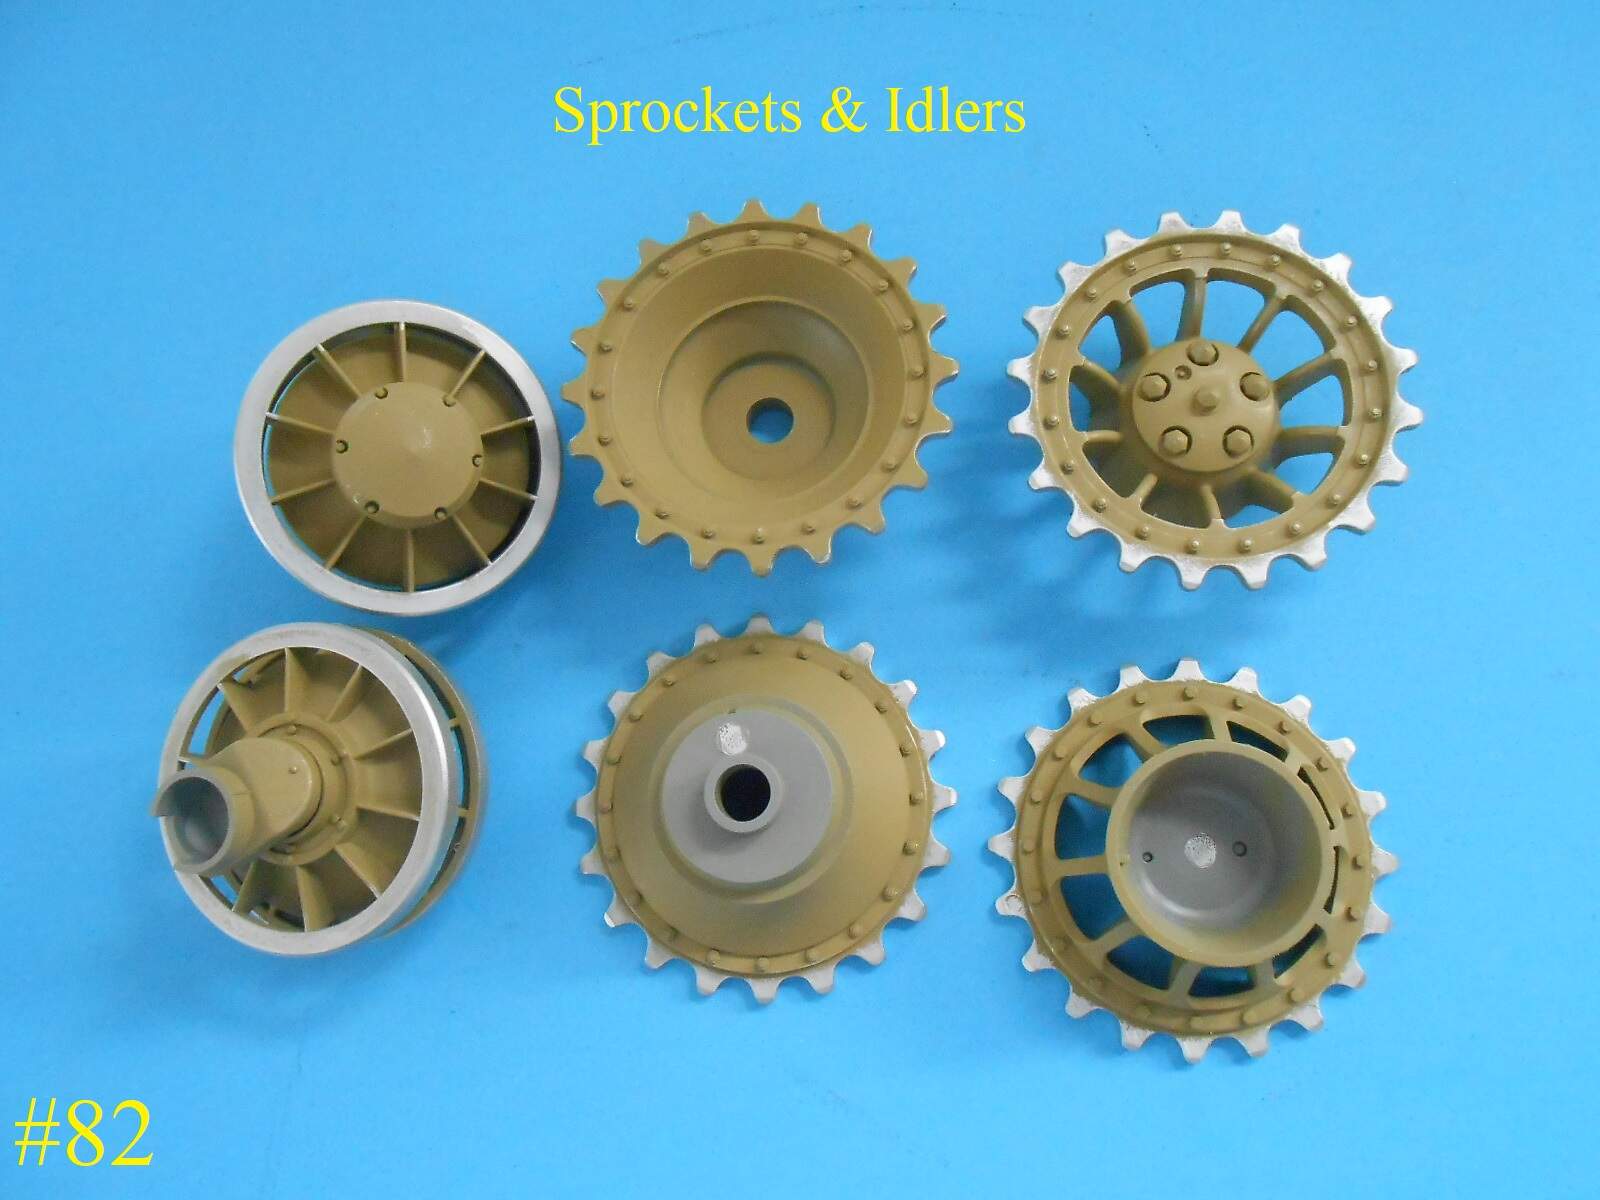
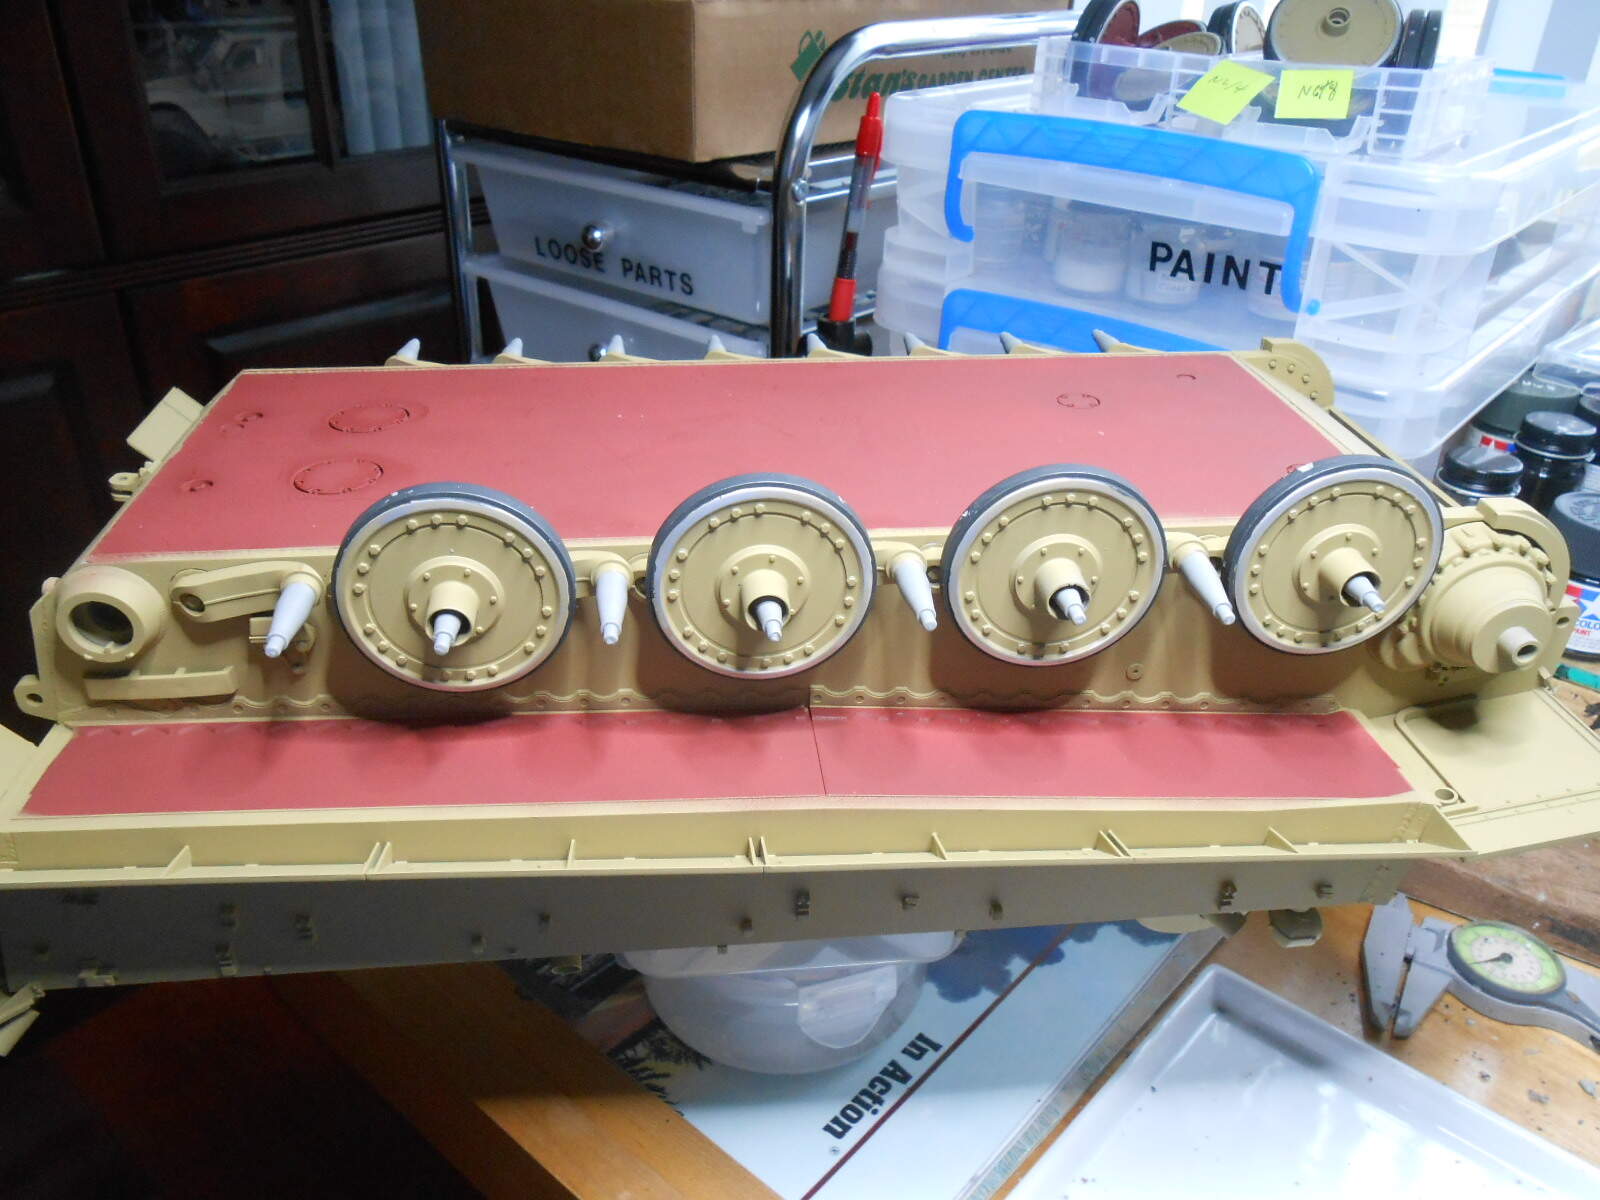
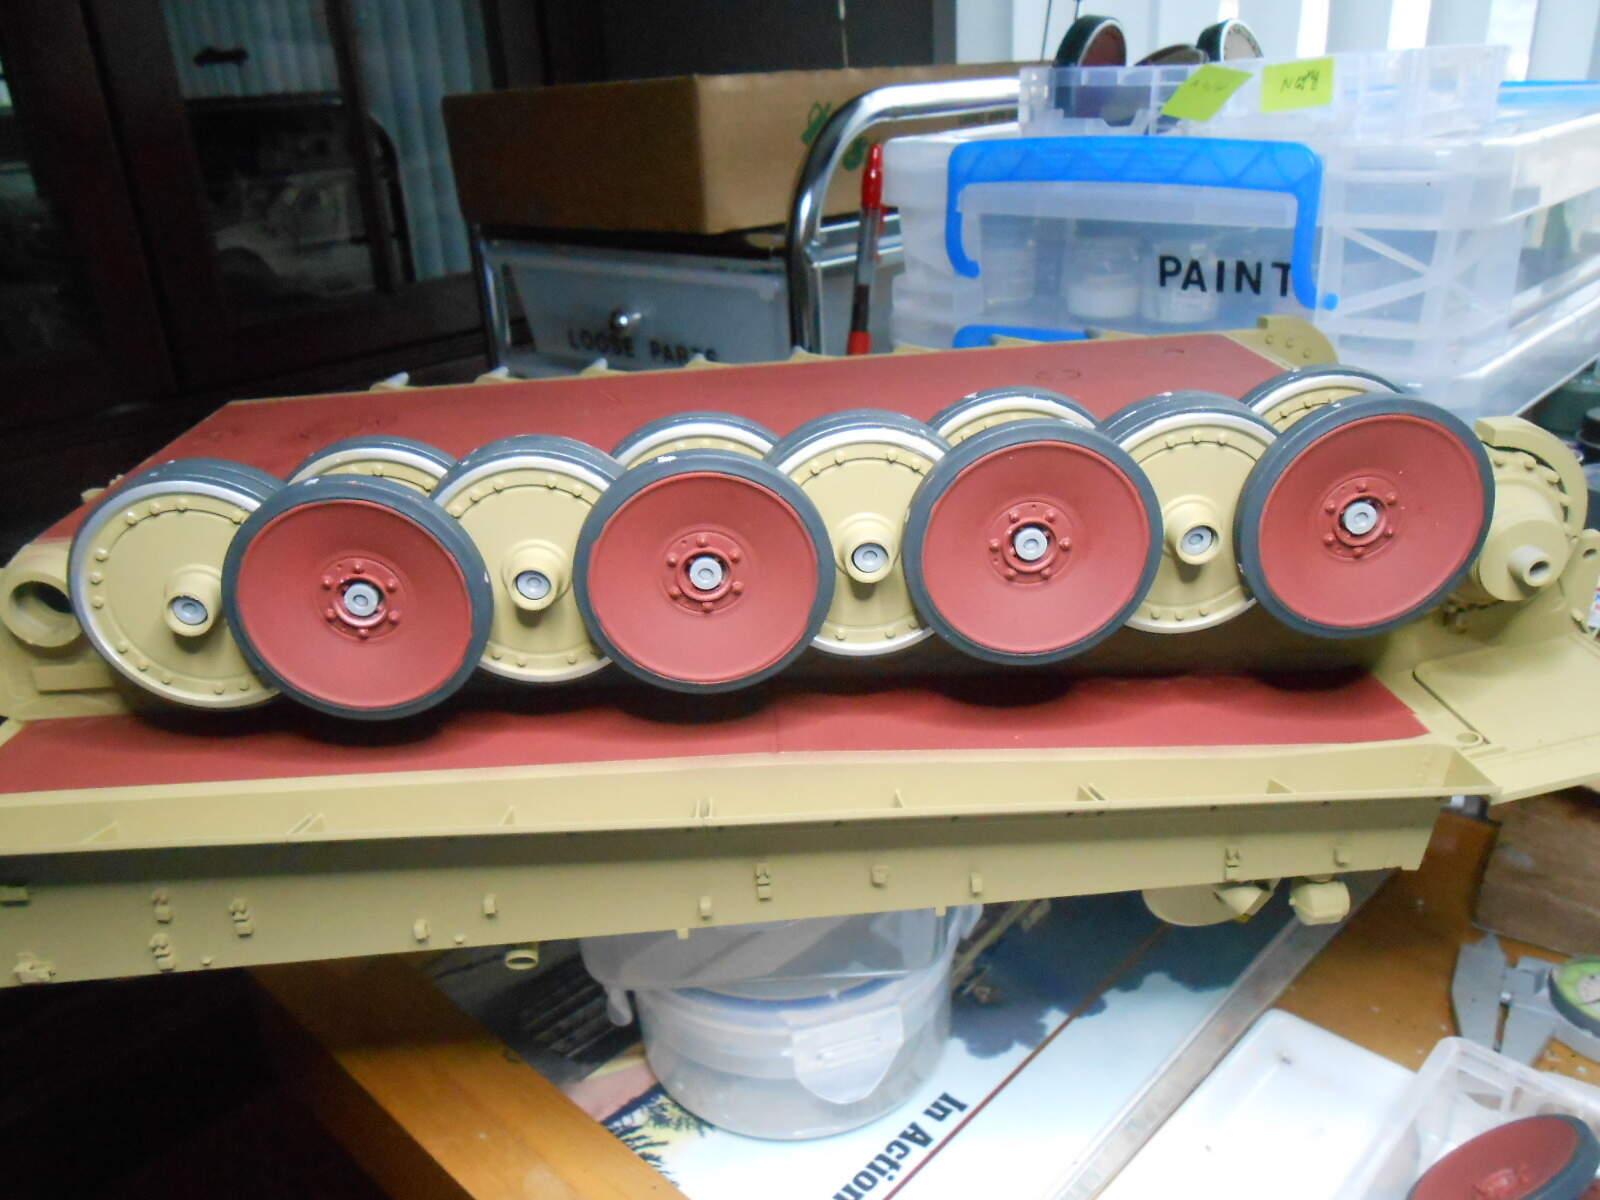
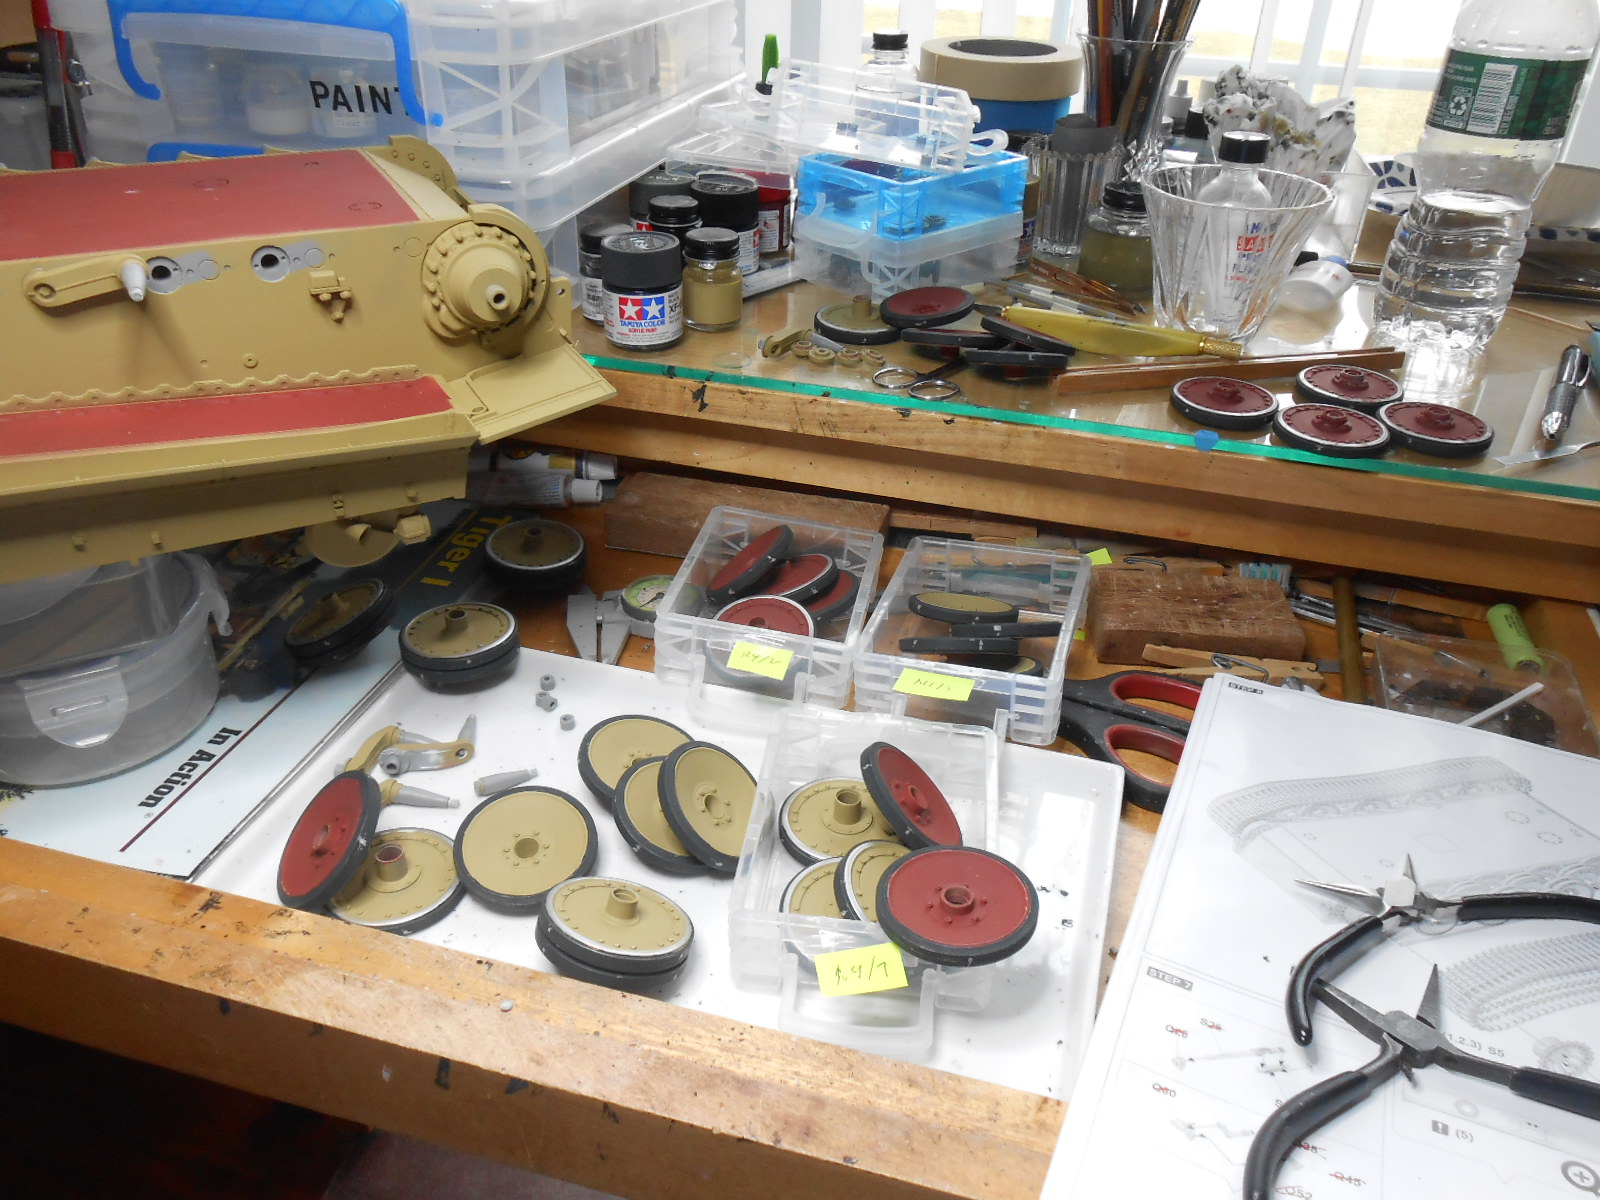
Here are the Painted Wheels and Sprockets.
Now for some clean up and a little touch up.
Regards
Donald
6 Likes
OOOpppsss! On past kits that had these indentations I’ve always filled them thinking it was some error on the manufactures end. Now I know, Thanks David !
1 Like
Donald, great progress and your production images are top notch!!! Many thanks !
My instruction sheet is full of notes because of your efforts. All your hard work and tips will make my build so much easier !
Thanks for sharing and keep up the good works !
2 Likes
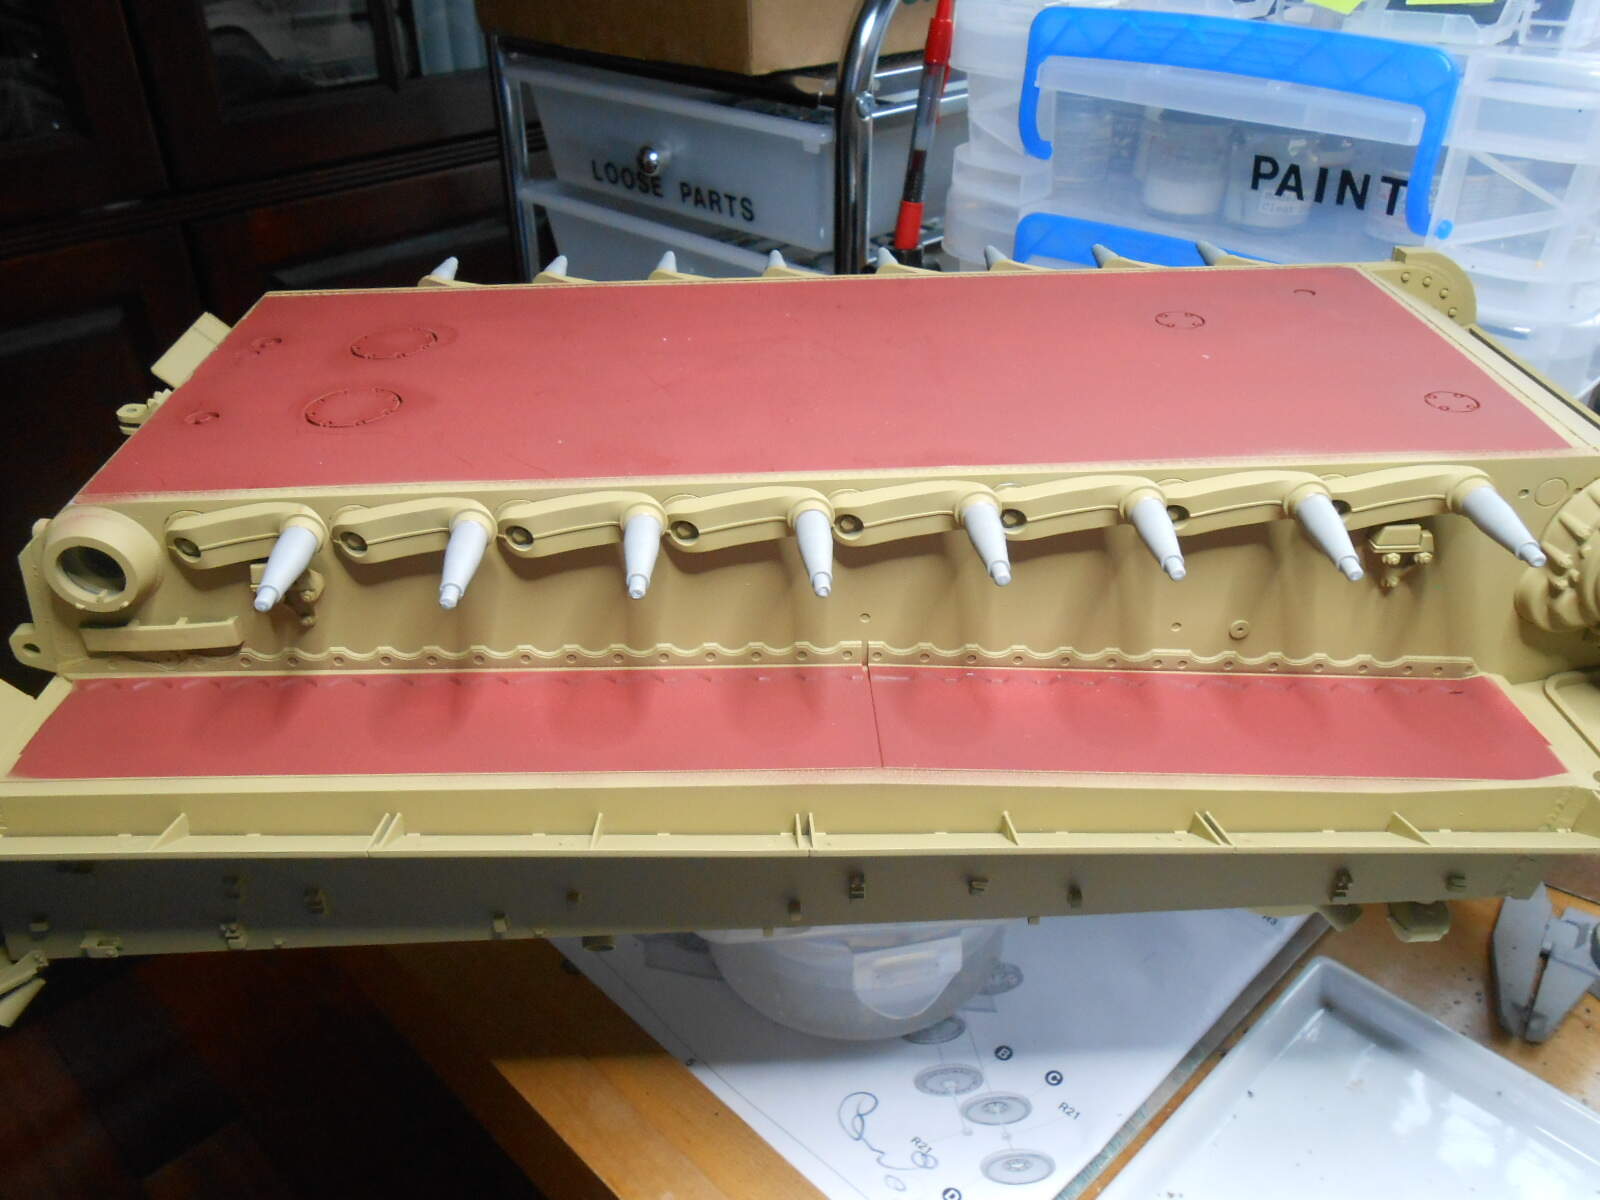
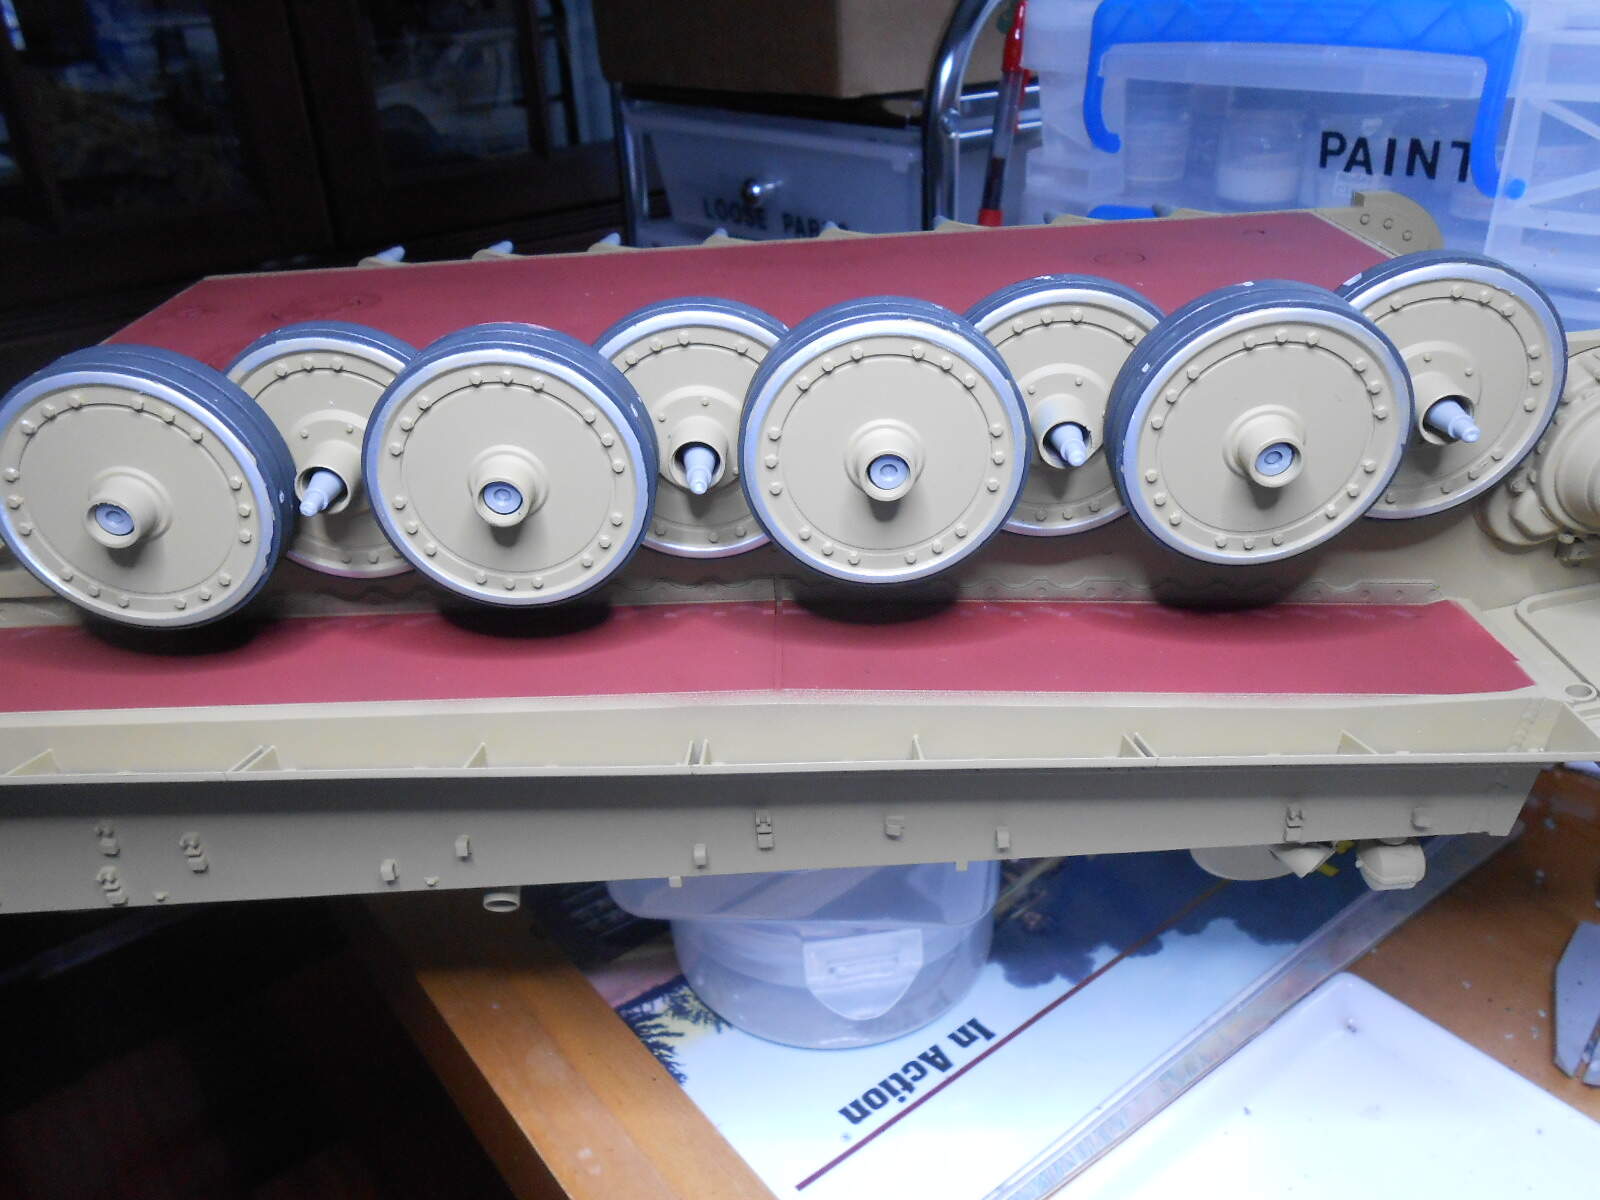
Now I install the wheels.
It looks pretty nice Yes ?
WRONG WRONG WRONG
I SCREWED UP BIG TIME
Anyone notice what’s wrong ?
4 Likes
They’re in reversed order front to back? Shouldn’t the idler at the rear fit between a pair of road wheels?
2 Likes