Seems like moving threads here before they get too far along is the thing to do. Is there a way to move a thread wholesale with all its responses?
Iwatajim’s Berlin Brigade build motivated me to do my own Chieftain. I’m working on a Mk 5/P in Iranian service. The painting won’t be nearly as interesting as the Berlin brigade, but I thought I’d take it slow, seek feedback, and hopefully get info, as I try to put this together. I’ve gone through Iwatajim’s build and learned a lot as I look at the instructions and the uncut plastic.
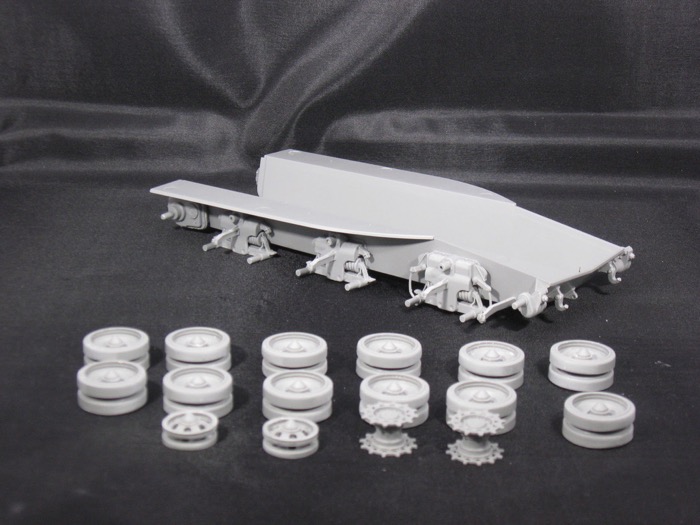
So far I’ve finished the running gear and lower hull. Very straightforward with the road wheels being particularly easy (no seam line to sand).
I will start working on the upper hull next.
In the instructions it suggests putting the tracks together now. In a previous build here, there were comments that suggested that during combat operations the pads could be removed and the tracks reversed for better cross country traction (https://armorama.kitmaker.net/modules.php?op=modload&name=features&file=view&artid=7438). I’m wondering if this was a British army practice or foreign operators did this as well. I’ve found a couple of pics of Iranian chieftains with no pads on the tracks, but at least one of those was a wreck. Not sure what to do.
1 Like
Hey Phil,
Just noticed this. I was hoping you would start again here as I think the old forum will be mothballed before completion. Looking forward to seeing more progress.
Cheers, Jim.
The last time I logged hours on it was 29 September! So today, I attached the pads to the tracks and am ready to assemble the tracks. I just need to find a good pic that will show me which way they go…
1 Like
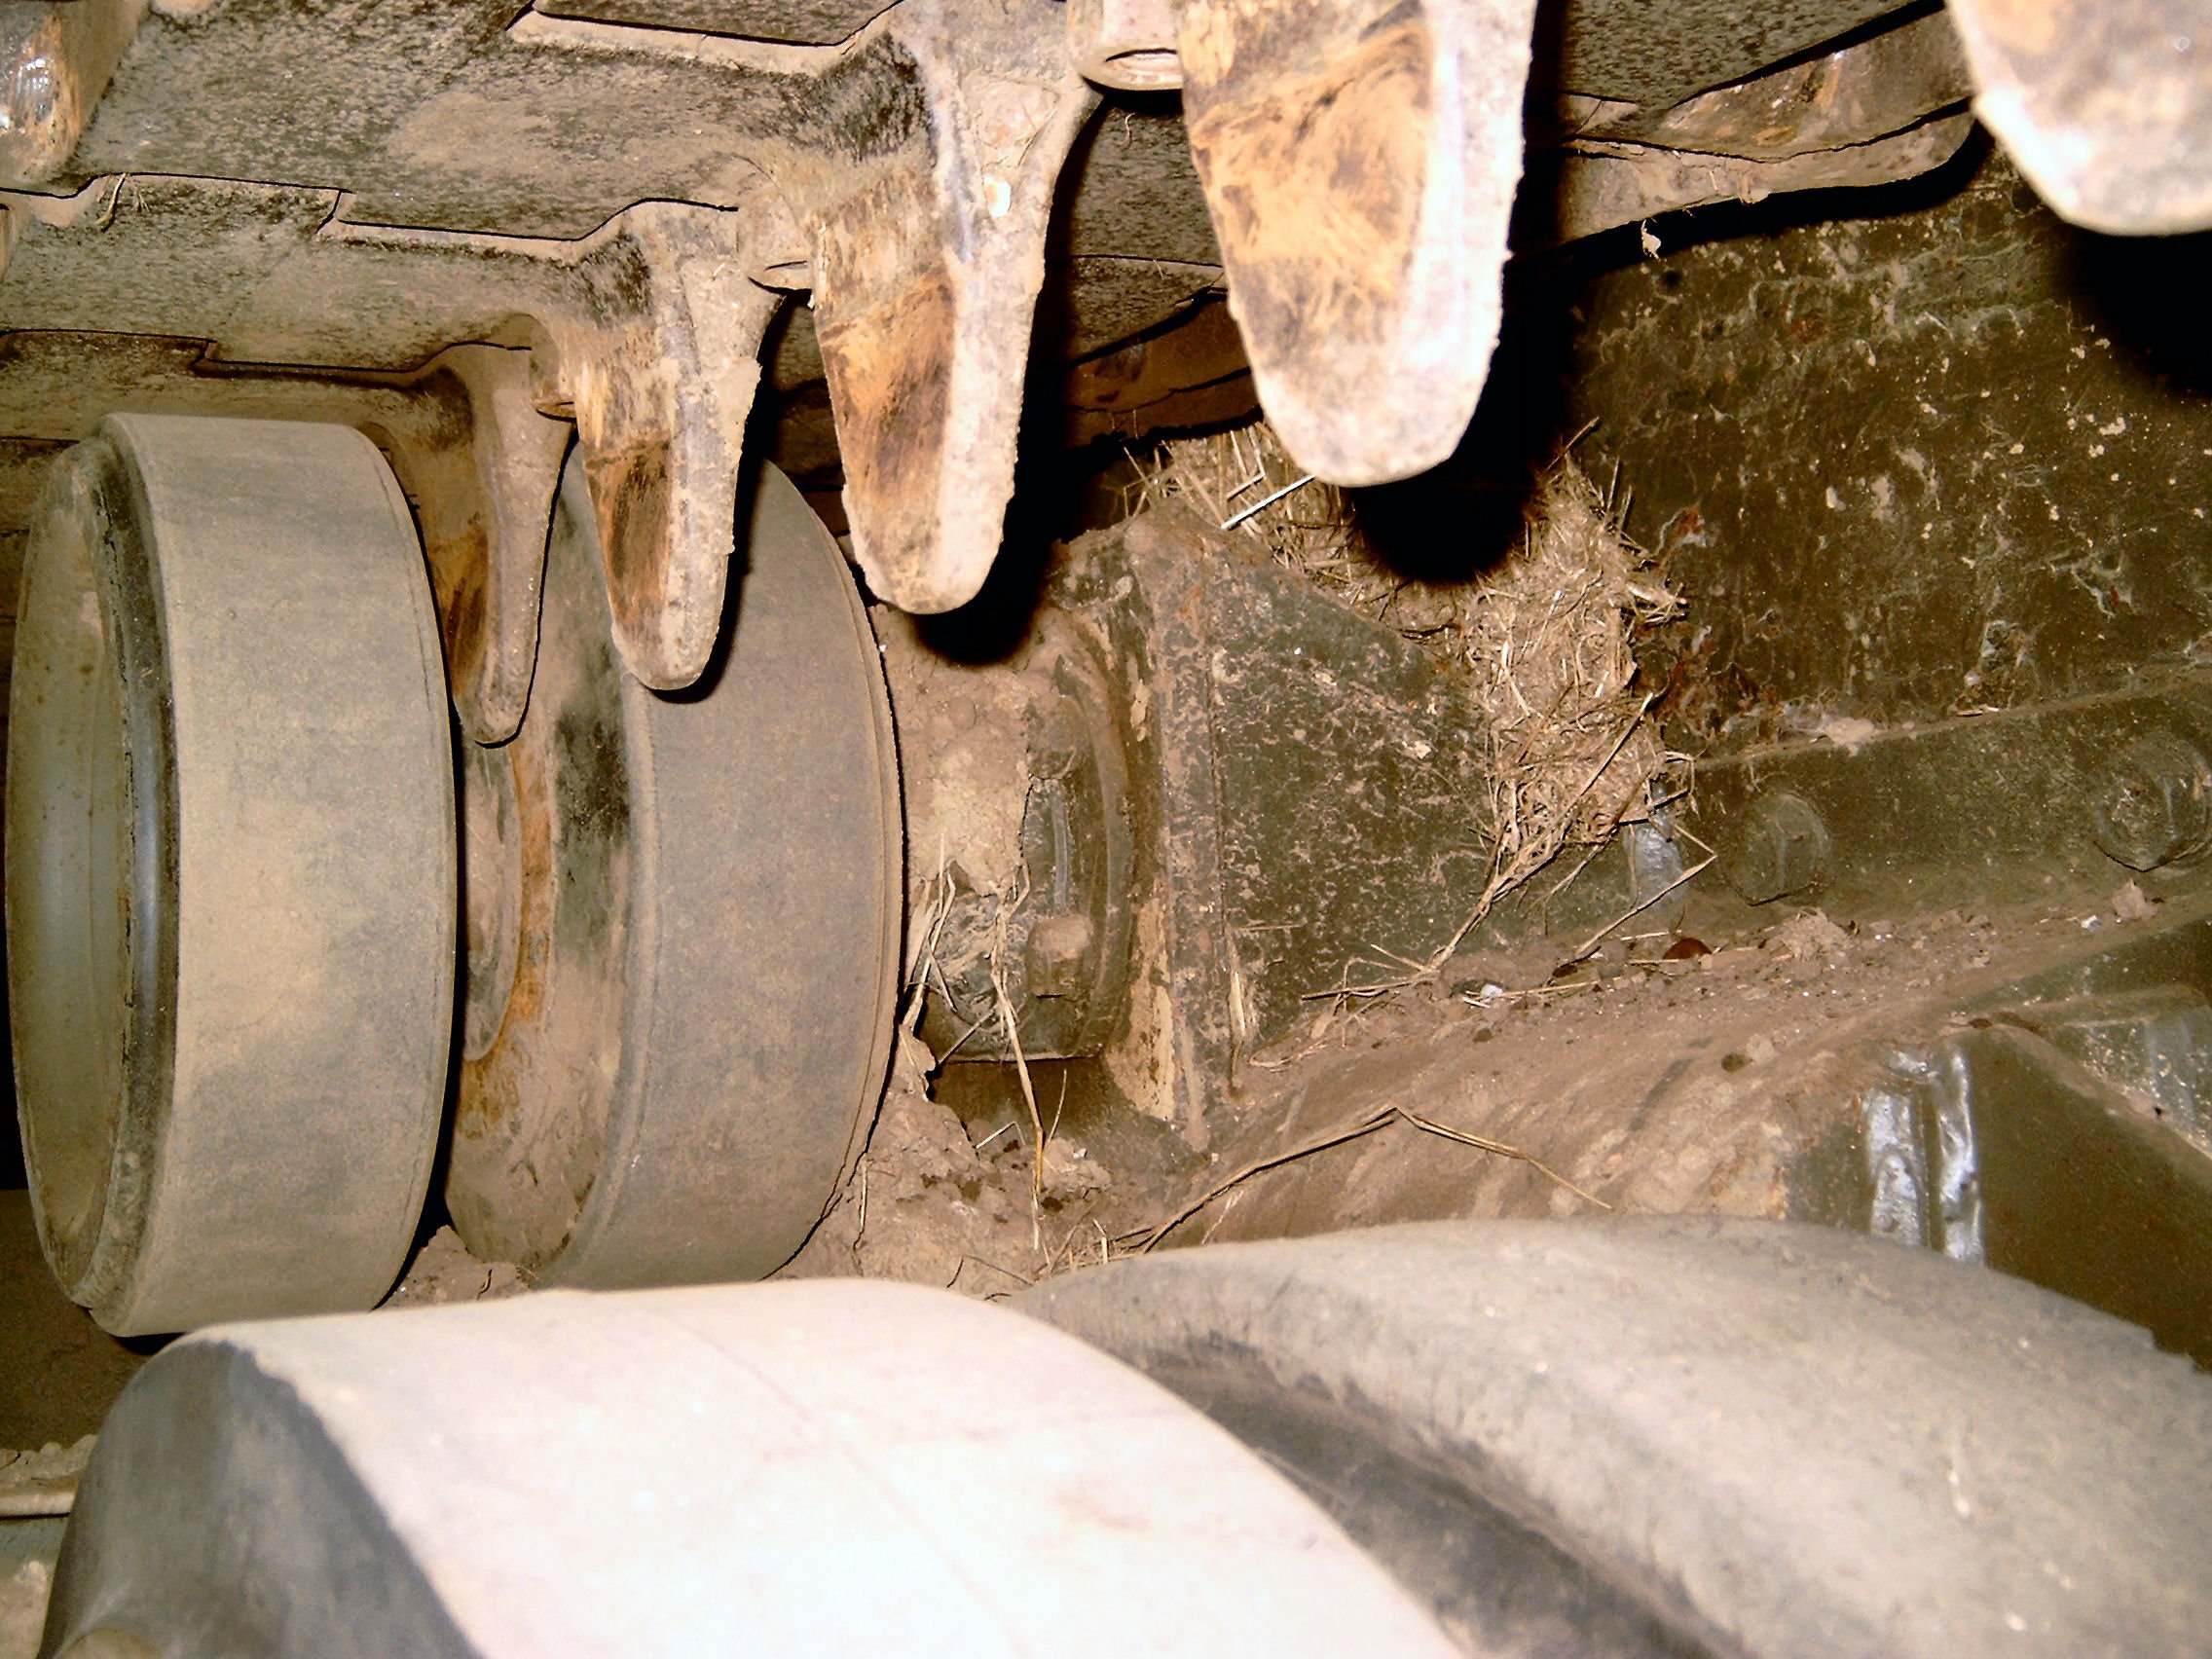
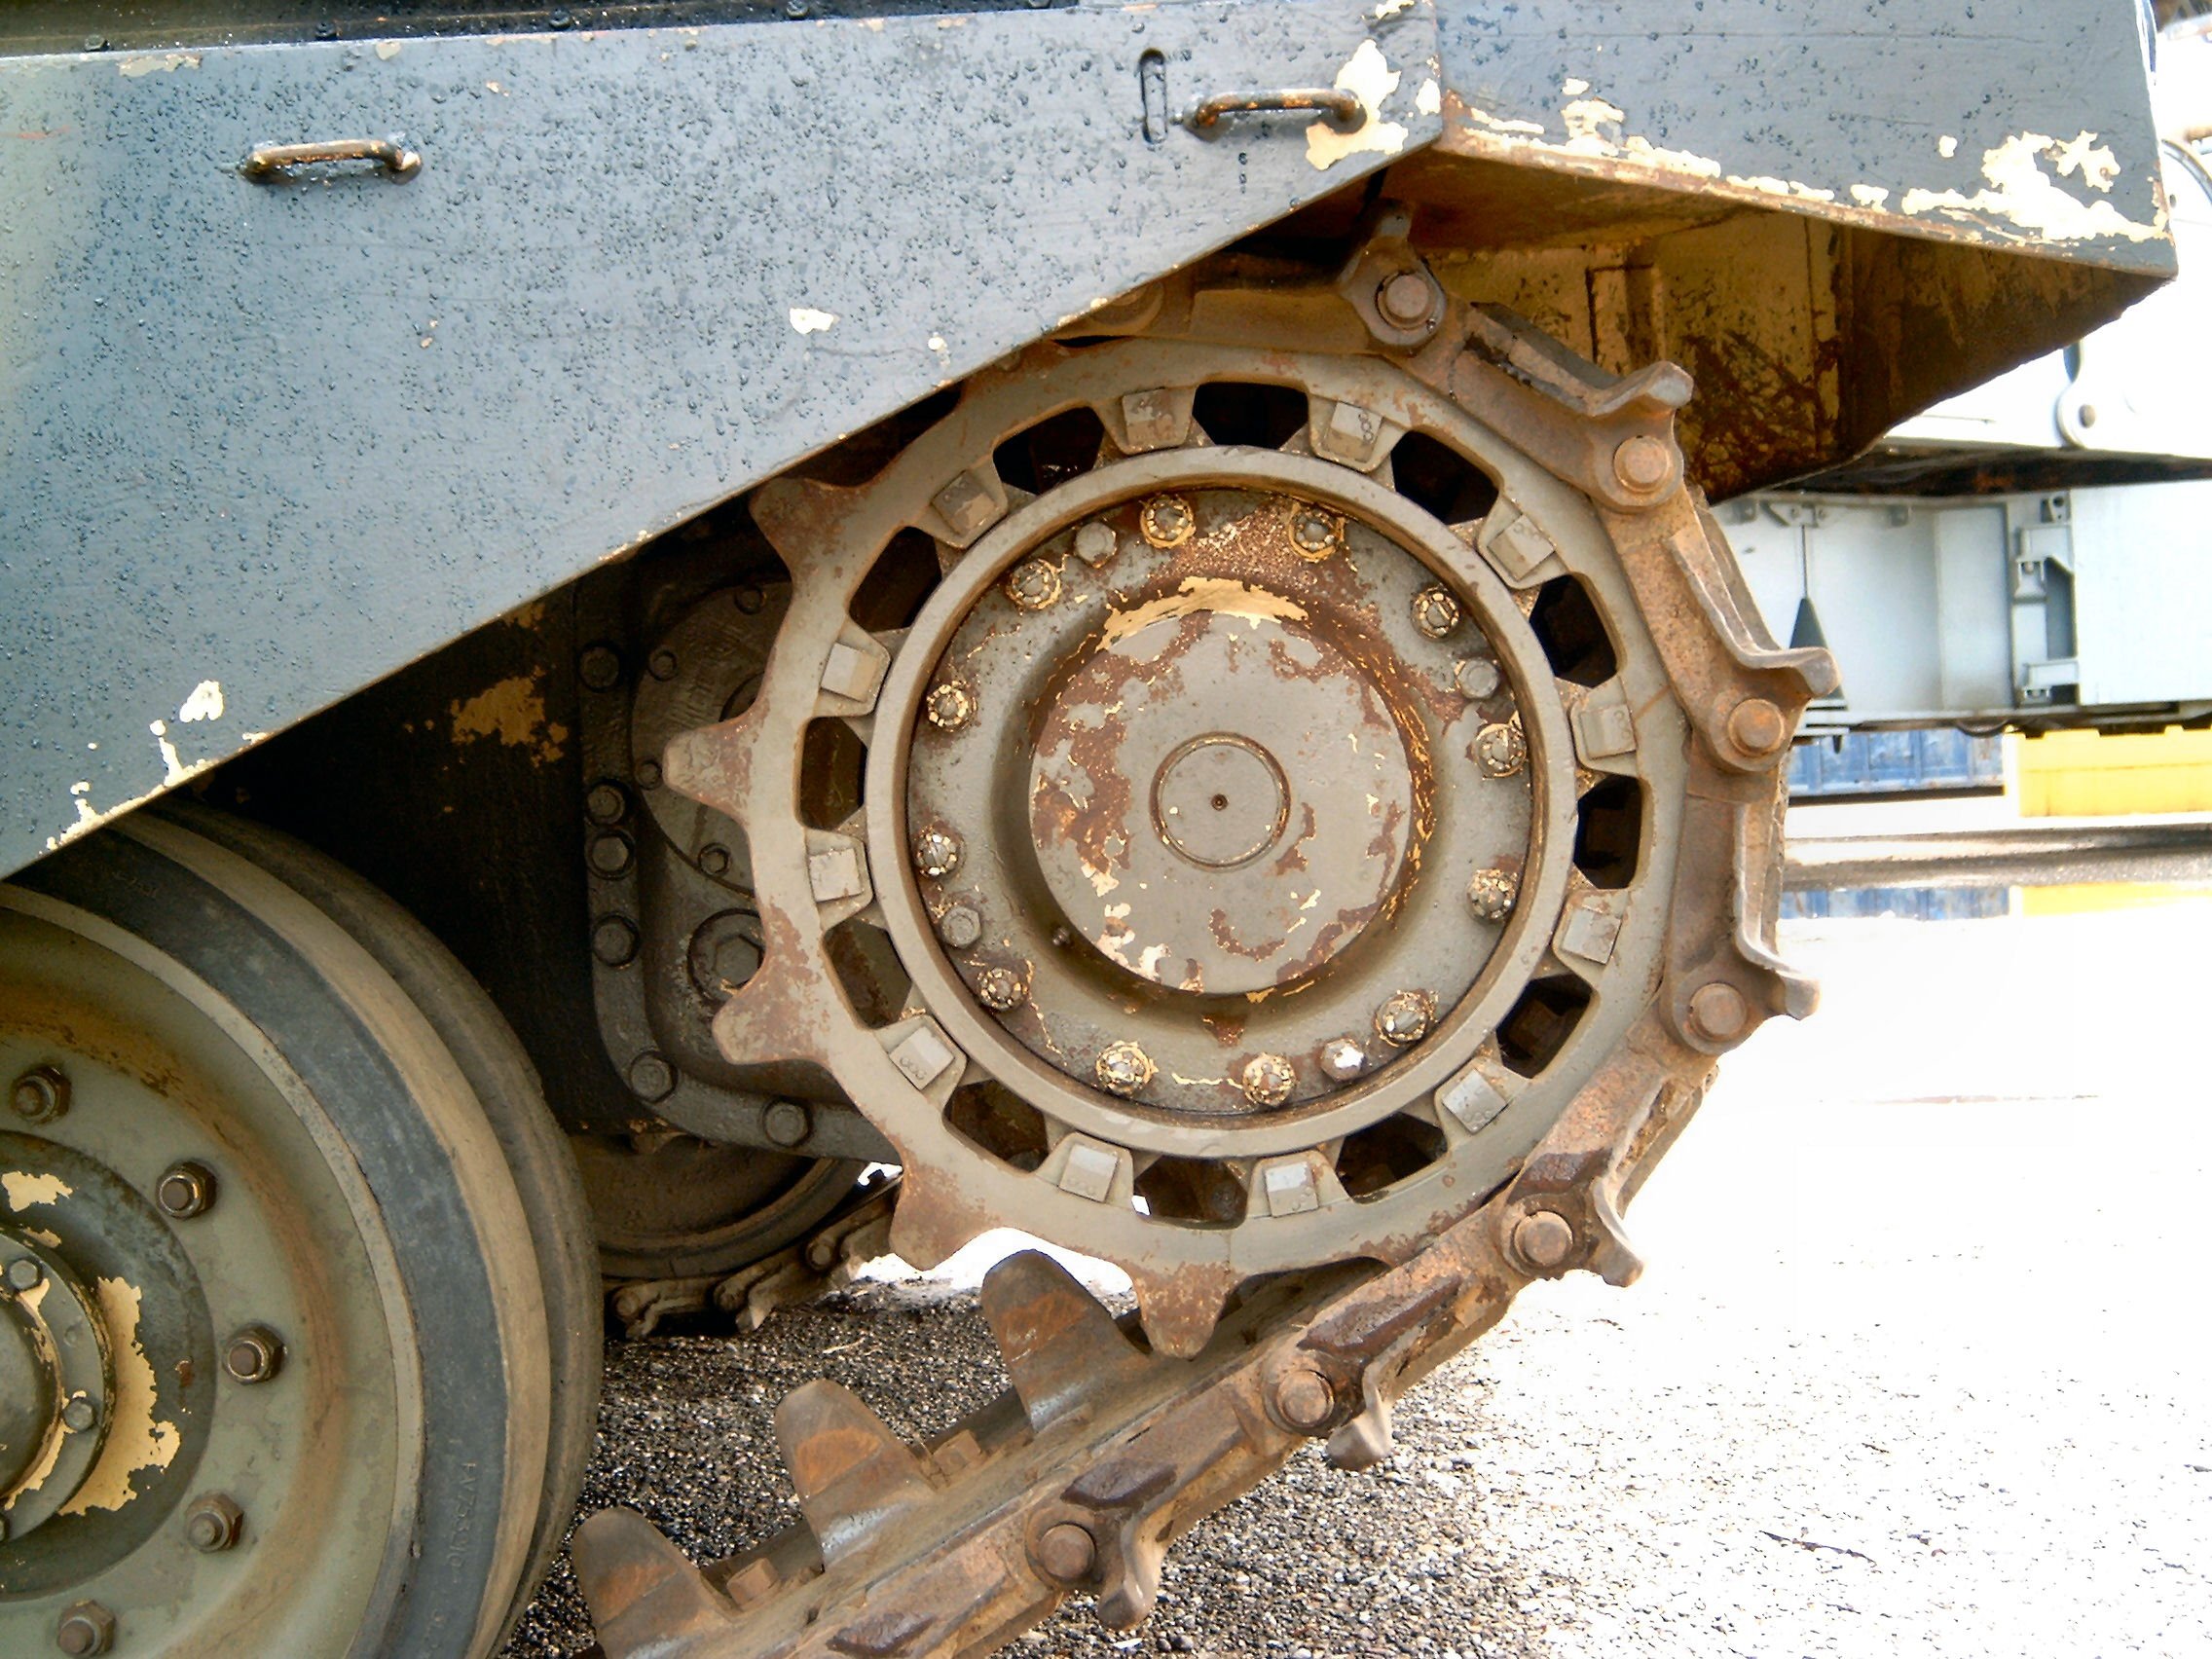
Picture for ref only.
That gives you a good shot of the track and how they go on. Main point of ref is the small triangle shape on the edge of the track spud.
John
2 Likes
There is a tiny knob on each track link just in front of (or behind?) the guide tooth. Should that be on there or is that a manufacturing artefact?
Phil, if it’s the bolts that @Stikpusher has shown in his 2 links then yes, they are for individual track pad renewal or removal.
Now I look at the kit instructions I see them depicted on the tracks, so yes, it must be those bolts. There are parallel ones on some (but not all) of the links out to either the right or left side so I thought it might be something from the casting. Nice detail.
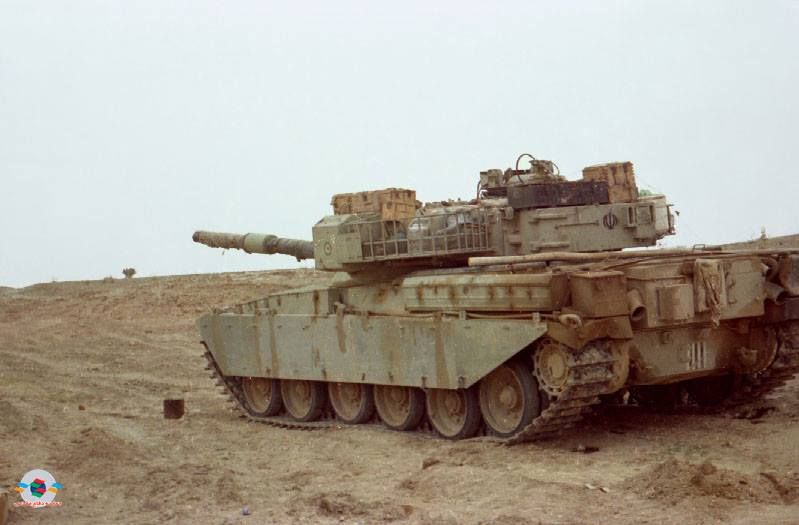
There are three pipes on the back of the tank that look like exhausts. Well, two of them look like exhausts, the third smaller one above the one on the right, I don’t know.
Would it be likely for these to be rusted out and pitted? I’m just wondering how much attention I should give to making the two part pipes look pretty…
Look and decide for yourself.
Phil, they are exhaust pipes. The 2 large ones are for the main engine. The smaller one on the right is the GUE exhaust, ( Generating Unit Engine). That was positioned on the left of the main engine In the engine bay. The GUE was used as a start up engine to boost the main and it’s primary function was the vehicle electronic systems which were all run from it.
They wouldn’t normally be rusted.
John
About those “headlights” - I guess that’s what they are. There are two on each side on the front of the hull - one looks silver. The other looks black. Is that something painted over a normal light, or is it some different kind of light? It looks the same on every picture I can find…
Silver one is a normal headlight. The black one is the infra red headlight. They can be painted a semi gloss black. The driver had his own IR nightsight which he could swap over with his normal day sight when needed. John
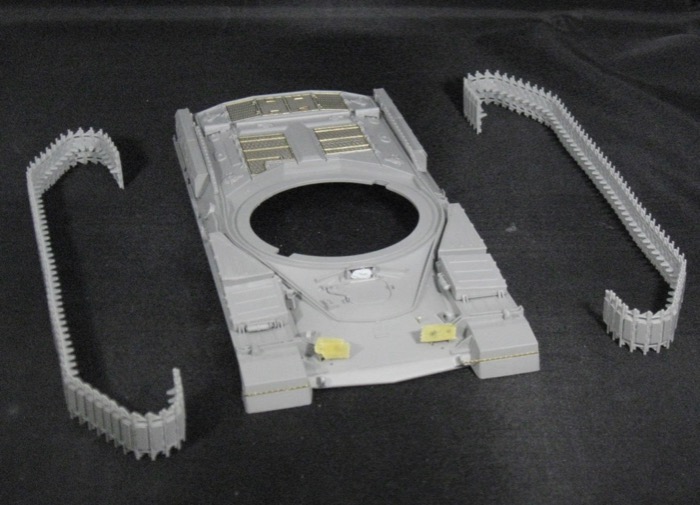
Working my way through the PE on the hull. Tracks are done. Started on the turret and noticed something that looked like a casting line on it, now looking for good turret pictures to figure out if I need to clean that up…
2 Likes
Good to see this coming along!
There’s a lot of glass on this. It looks like the instructions are calling for the periscopes around the cupola to be periscope green but no directions about the others. Should they all be green? If not green, clear?
1 Like
The armored glass in periscopes and vision blocks has a greenish tint, so yes green for all of those will work. Since you’re building a vehicle from the pre anti laser coating days you don’t have to worry about the iridescent coloring of those optics.
2 Likes
Yeah, I used the suggested paint on mine. Painted the whole block green except the face you see, left that clear, then masked and painted the main colour. Did this before finishing, I kept the upper cuppola and vision blocks separate until finished.
1 Like
She is almost ready for paint. I have one last assembly bit which is a puzzlement for painting. Takom includes a piece of rubber (?) - looks like the same material as the polycaps you insert that allows you to elevate the gun - to use as the gun shroud (where the gun attaches to the turret). I’m assuming I’ll need to stick it on with CA glue. But, does it need any special treatment for painting? (Haven’t stuck it on in case there is something I need to do to it before I attach it to the plastic).
I have loved building this kit. There are a couple of pieces of fiddly PE, but apart from that, this has been a great kit to build!
I would of thought just the normal primer and then if its the same as UK ones, then a paint like flat black or dark tyre rubber colour should do it Phil.

