I gave Ryan the overall sizes of the model and he’s going to review how to display it. So I will hold off on installing the acrylic cover.
work continues even though today is the day I would have been on the actual ship. I got a final officer’s cabin print that fits in all the right places, has two entry passages (although I’m still not sure of the positioning of the narrower on). I lost a couple of the seats and the large handwheel, but careful surgery and transplant from the reject ones that were still floating around the shop and I have now have a fully complete and successful print. I also added the sprinkler system cisterns. The system in the Iowas works by gravity and these tanks would flood whatever space that was afire.
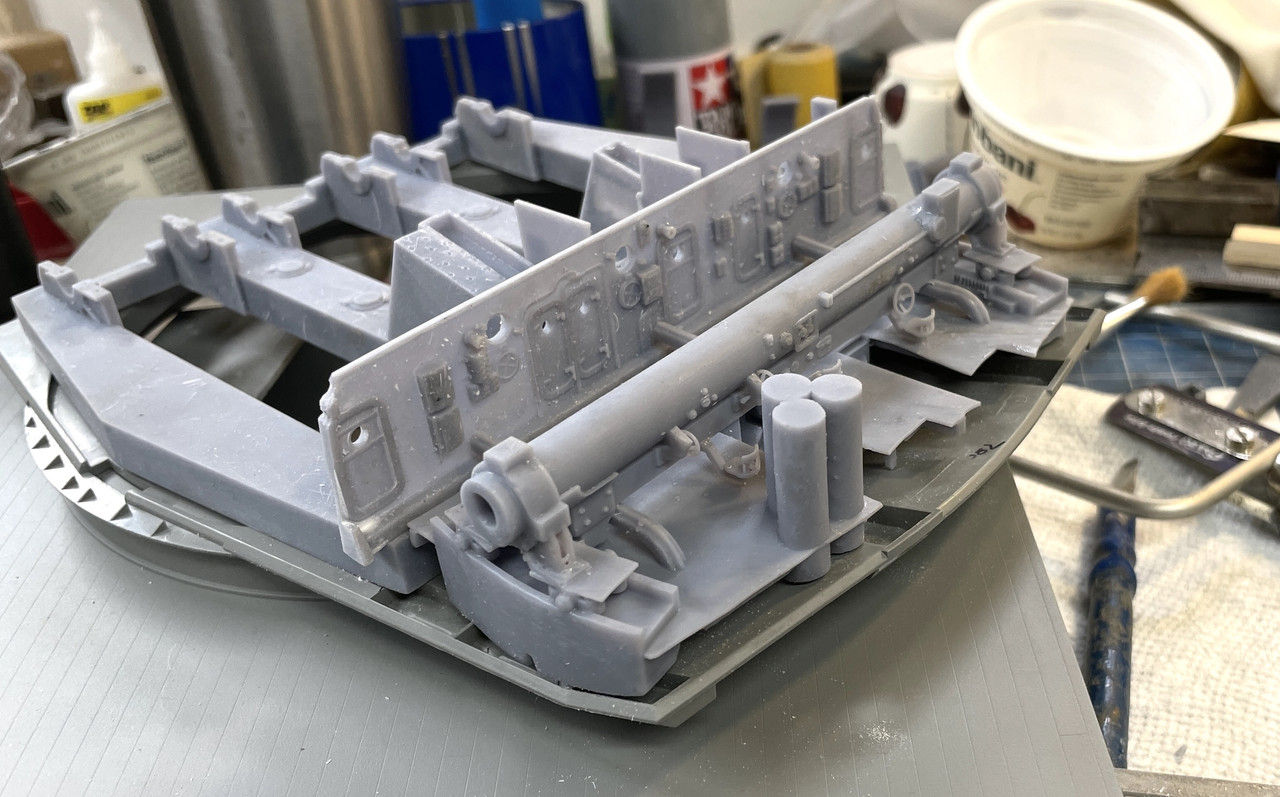
Another view:

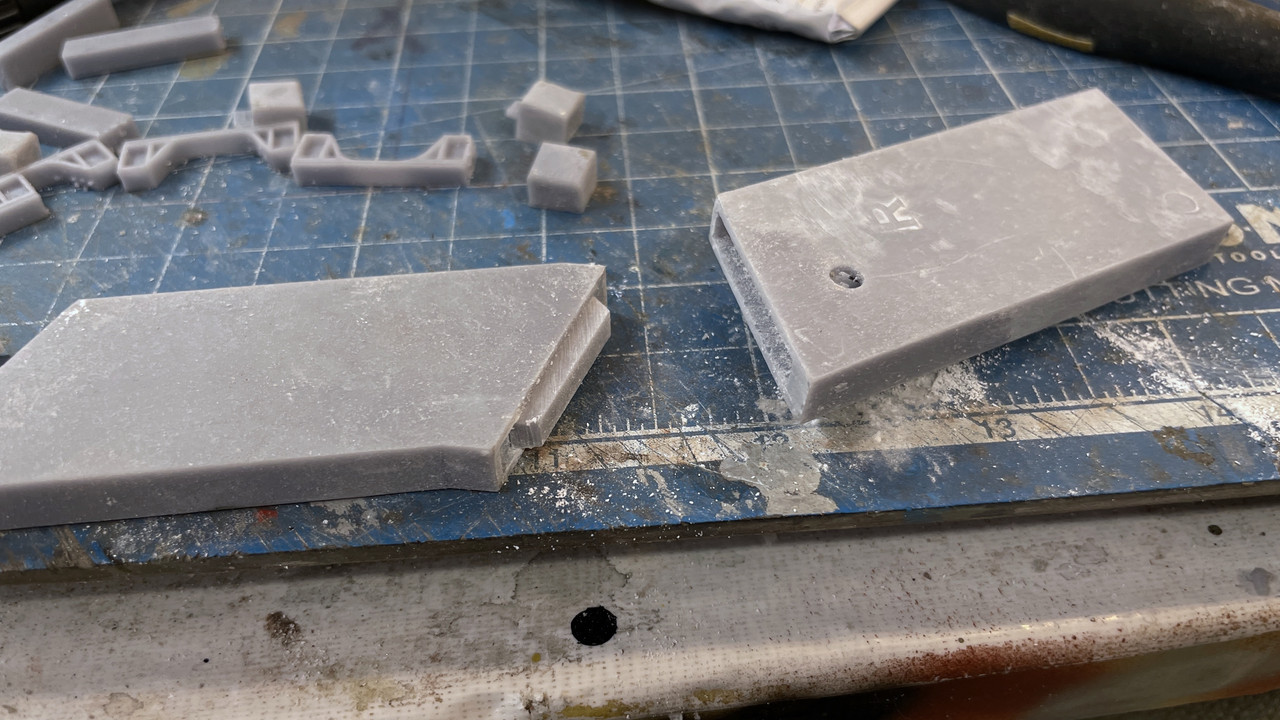
I finished up filing the cut edges of the gun house roof. Nothing really to show, just lots of craft work.
I got good prints of the upper two sections of the powder hoist trunks. I printed some keys that would attach the sections since I ended up making two female joints and forgot that one had to be male.
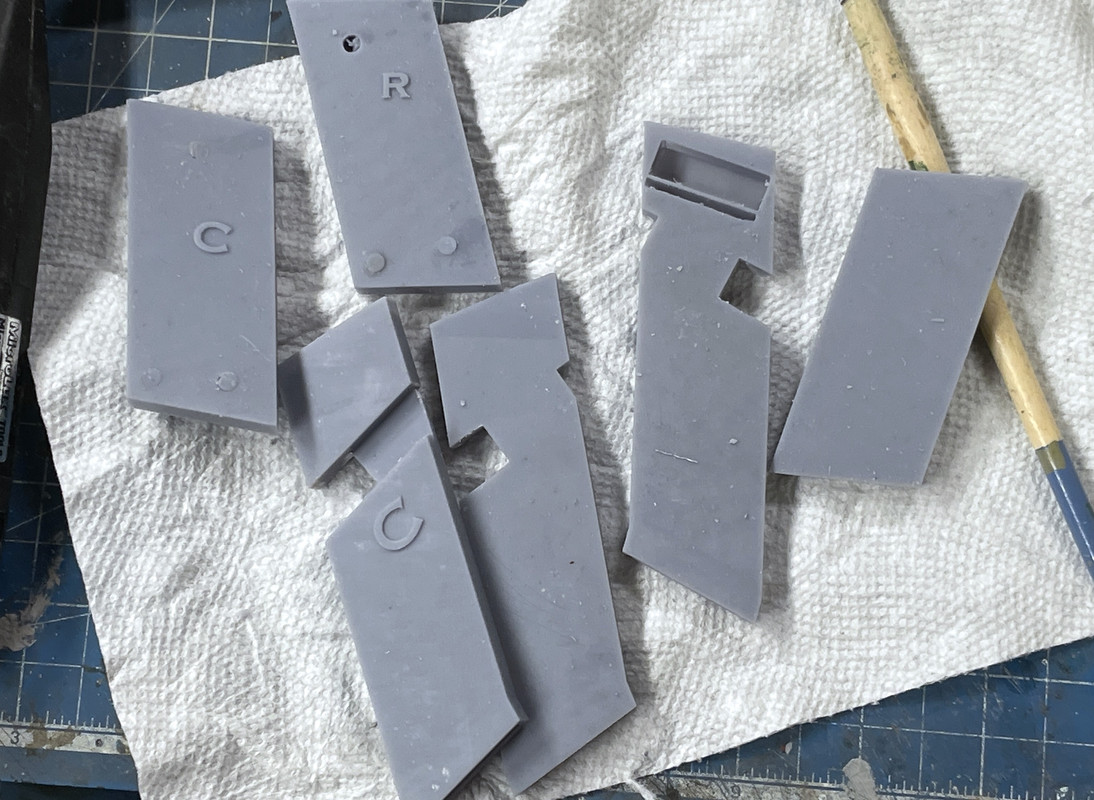
And here’s the separately applied assembly key.
I cleaned up and attached the four aiming station bulges to the gun house.

There’s a curved bridge girder that supports the cradle and shelf deck at the rear of the gun pits. I drew this and printed them, and put them on today. Again, I used Bondic as the adhesive. When possible, it’s the best possibel one to use since it literally welds the UV resin together with the same material. The fact that it stay completely fluid until the UV hits it (5 Seconds) is another benefit allowing adjustment. With CA, and the action of the UV resin acting as a catalyst the working time can sometimes be ZERO!
The ladder that comes up from the pan deck floor attaches to this part at its top.

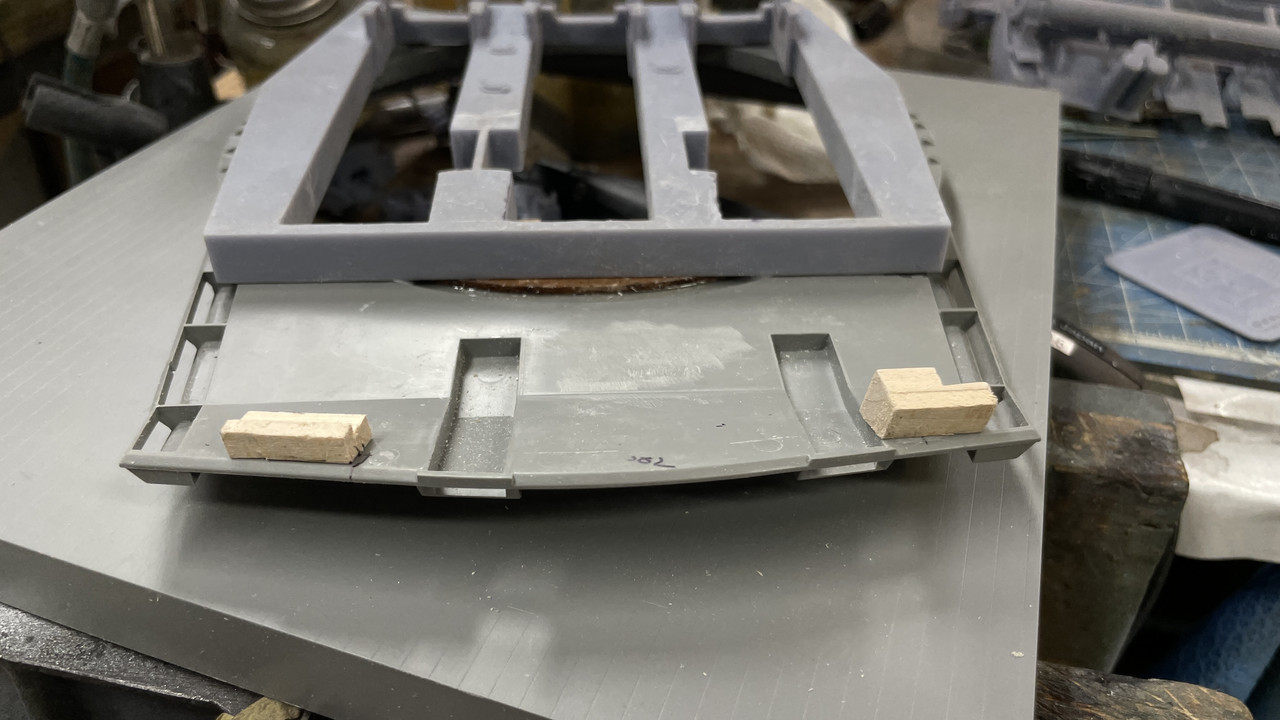
The last item today was preparing the parts to screw the upper and lower gun houses together. It’s a bit more complicated than I envisioned due to the interference of the officer’s cabin floor and sprinkler tanks with the mounting blocks. As a result, the blocks aren’t all that big and I will have to be careful in drilling and screwing the parts together.
I had to shape the blocks to conform to the rise of turret house floor rear. I then had to carve them to conform to aspects of the cabin floor. These will be epoxied in on a roughed up surface.
When I’m not in the shop, I’m probably on the computer (much to my wife’s chagrin). At least I’m doing it on a laptop sitting in my Eames chair in the great room keeping her company. I’ve got the projectile flats detailed with projectiles and all of the equipment therein. There is a motor-hydraulic pump-hydraulic motor arrangement driving a pinion which drives a ring gear that rotates the independently rotating inner projectile storage deck. This is controlled by a crewman to bring ammunition around to be par-buckled into the projectile hoist. The inner ring is for active storage. The projectiles on the non-rotating outer ring are secondary storage. That ammo would be moved inward as needed. This is necessary to keep up the 30 second firing rate of these guns.
The projectiles are slid across the smooth metal decks with ropes wrapped around gypsy heads thar are also driven by a motor in the inner circle of the projectile flat.
This is my rendition of the part of the flat that is connected to the gun house rotation. This keeps all the hoist trunks in line with the guns that they feed.
Just for fun, here’s what the cutaway looks like now. The work remaining is: Electric Deck Machinery, Pan Deck Finalization and Powder Handling Deck. Of the three, the latter is the least complicated (I hope).
Little by little, day by day, this monster is coming together.