As discussed here
I am currently building the Takom M103A1 so I thought to present you the assembly.
I will update this first post as I go, so as to keep things in order and make it easier for me to make this into a site build review if possible.
I will not present the kit parts and sprues as there are enough previews of the kit available online already.
General comments regarding the kit:
Excellent plastic, works really well with the glue mixture I am using (50% MrCementS - 50% Humbrol poly)
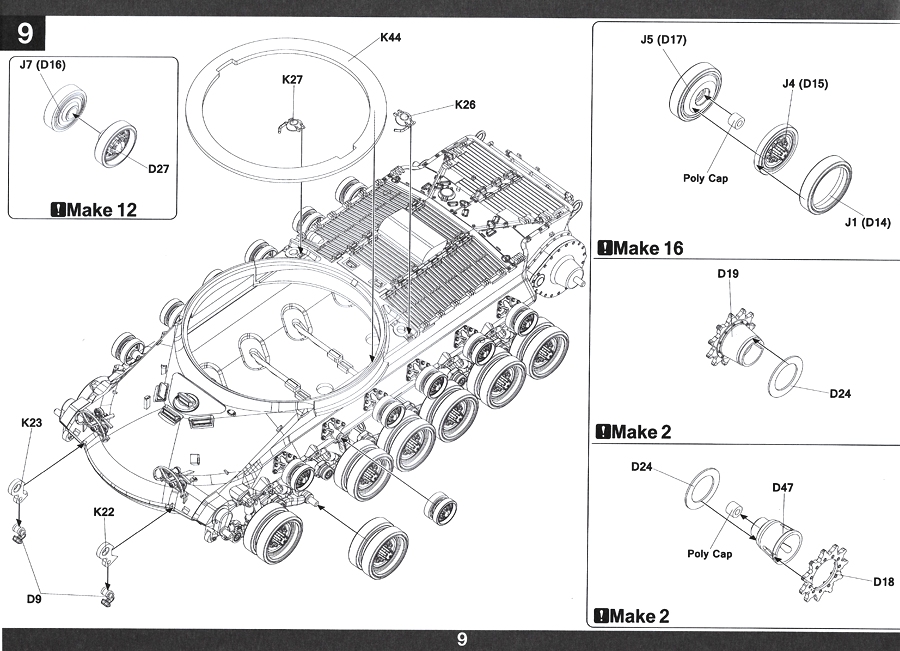
Excellent instructions, only complaint I have is that they do not present some options included in the kit (sprockets and other details).
The number or parts and sprues on the kit seems a bit overwhelming at first but the assembly is pretty easy.
You will have lots of goodies left for the spares box like wheels, machine guns, suspension arms, shock absorbers, springs etc.
There is no comparison between the Dragon kit and the Takom kit in any way. The Takom kit is far superior in detail and accuracy.
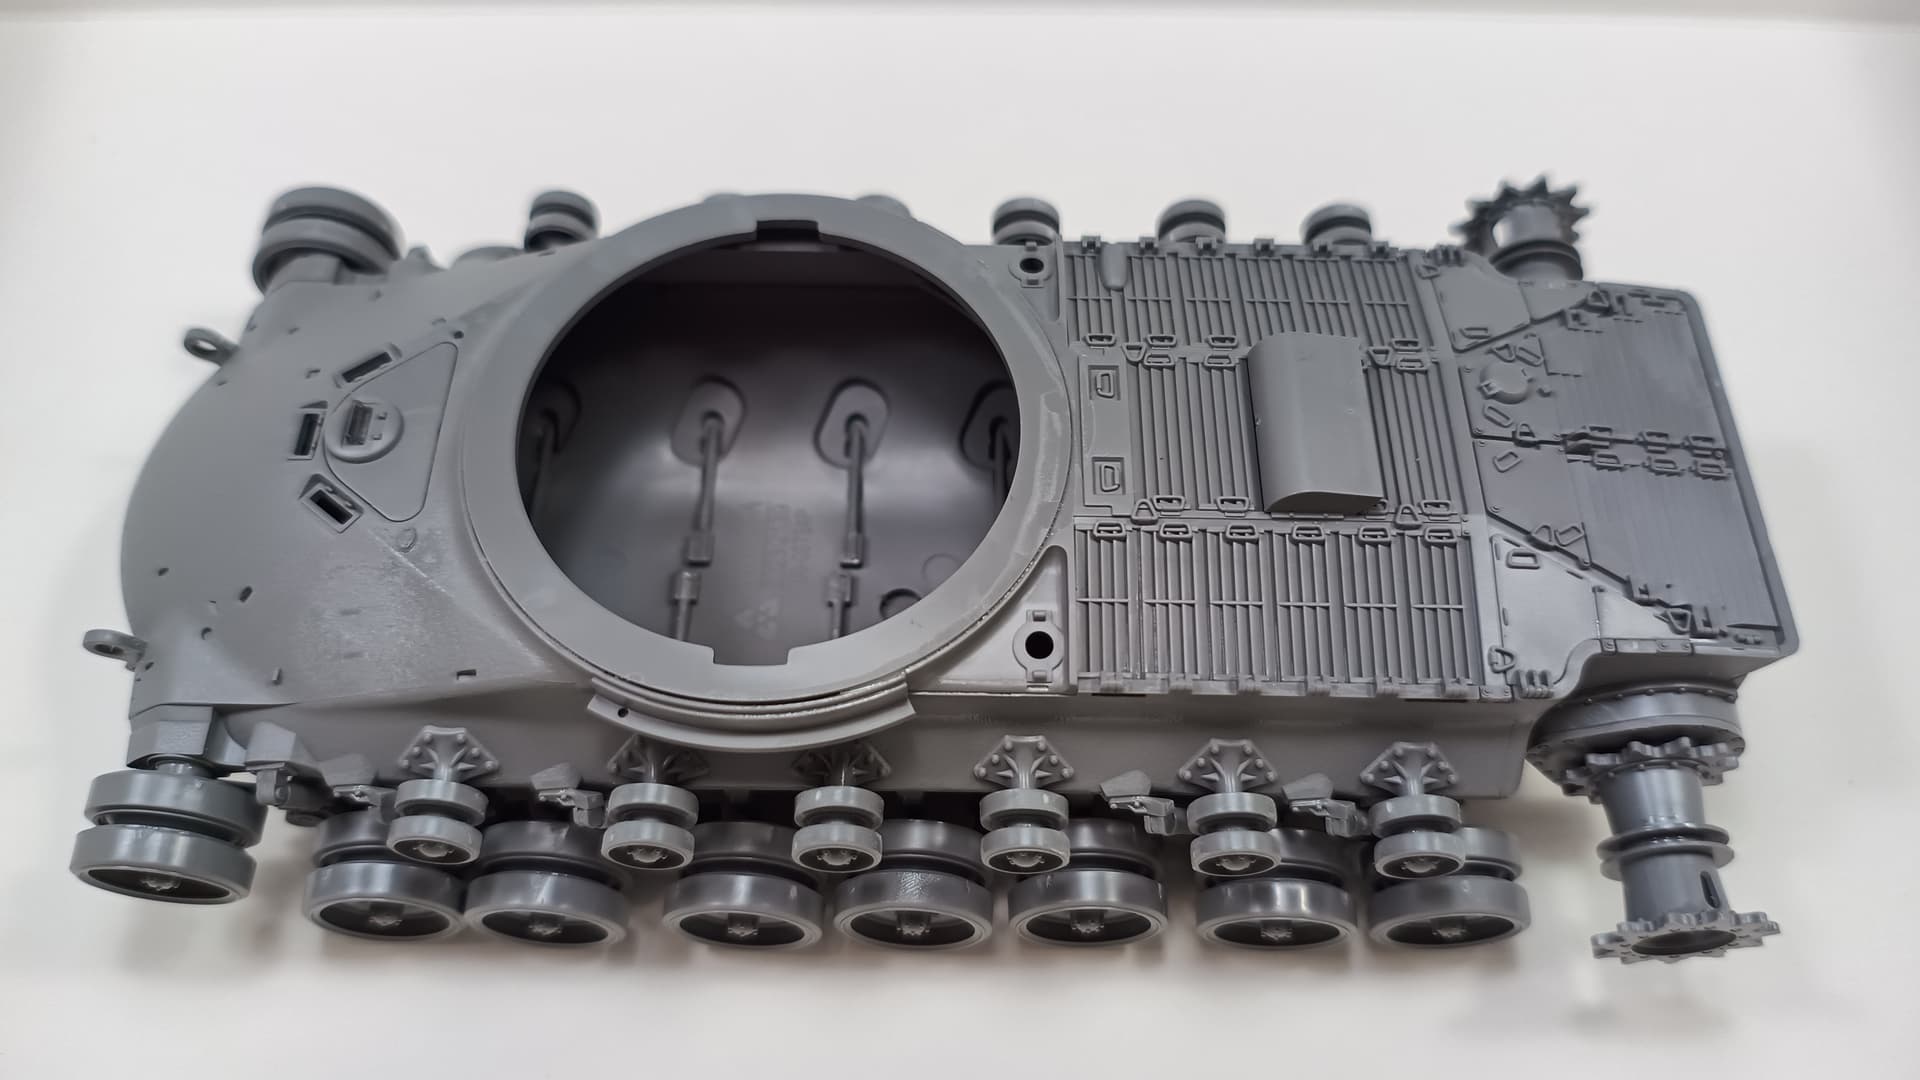
Step 1 of the instructions is pretty basic, lower hull assembly.
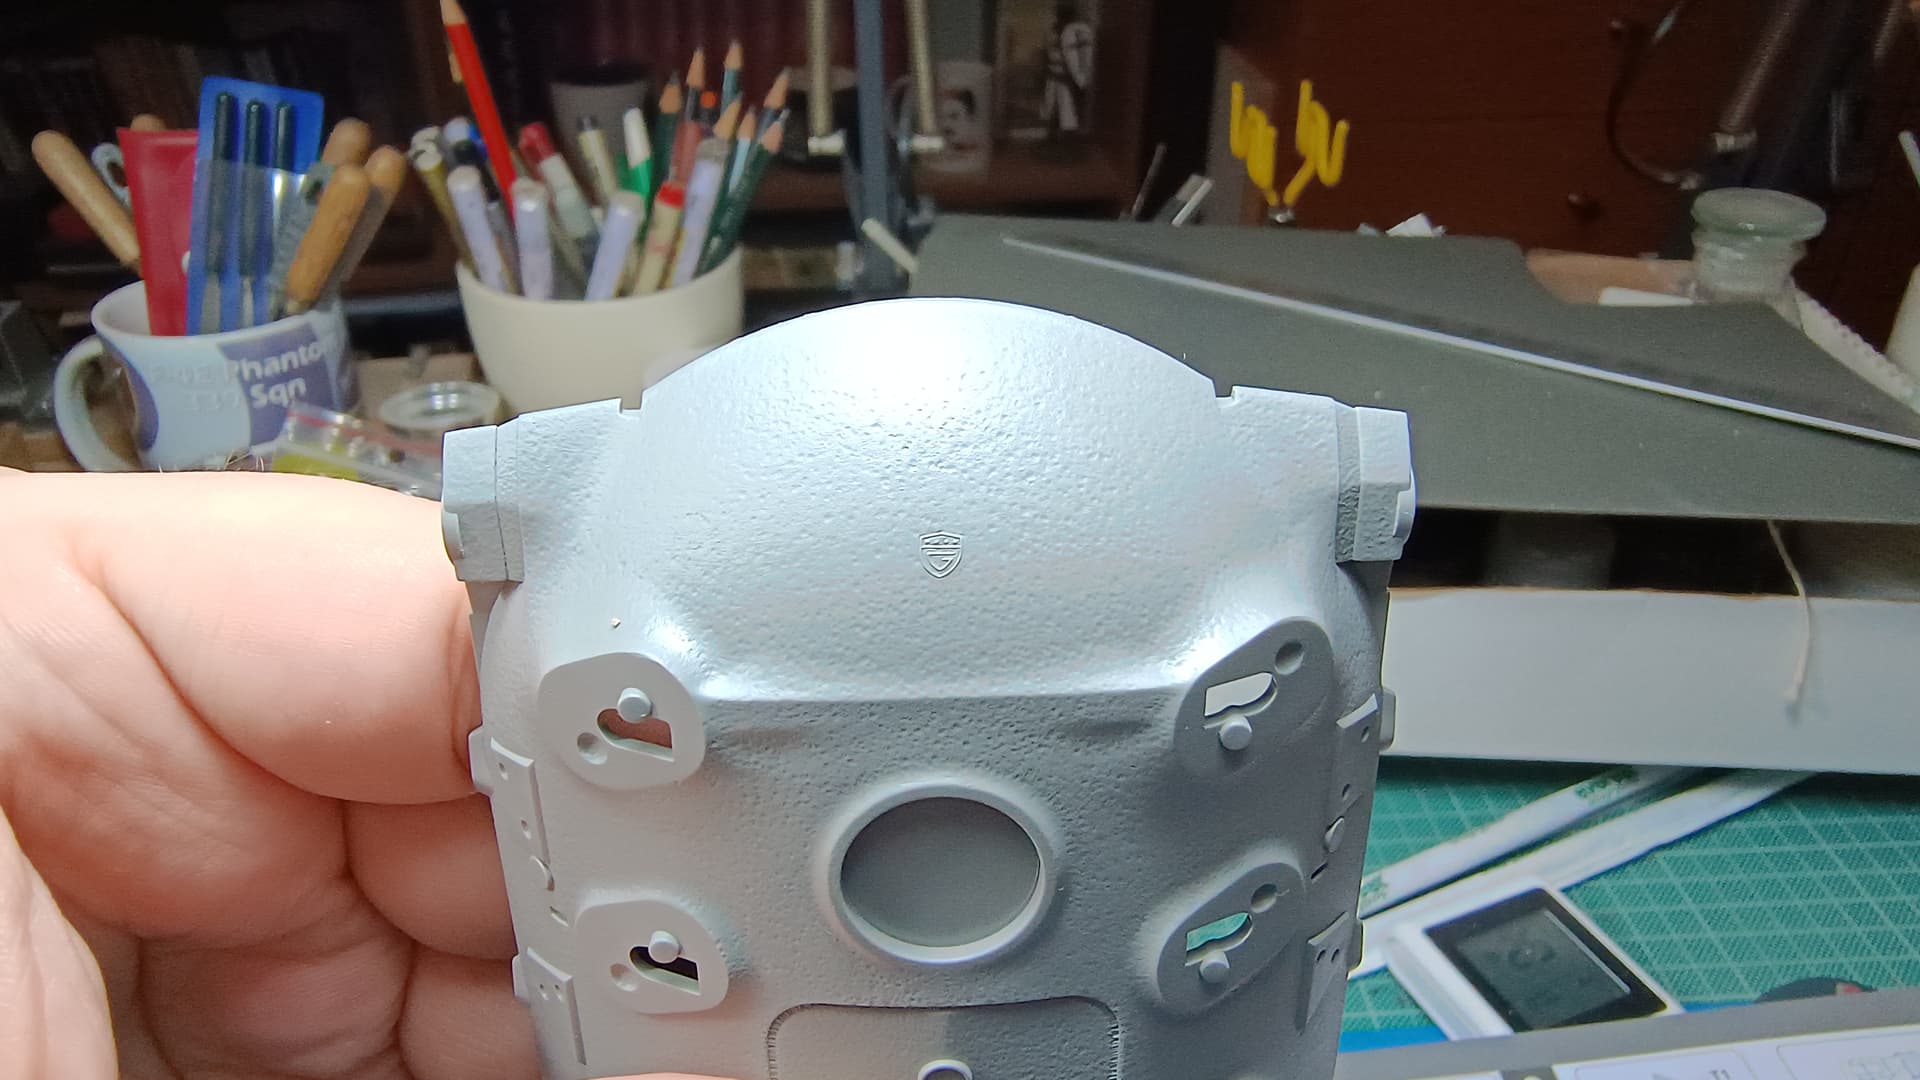
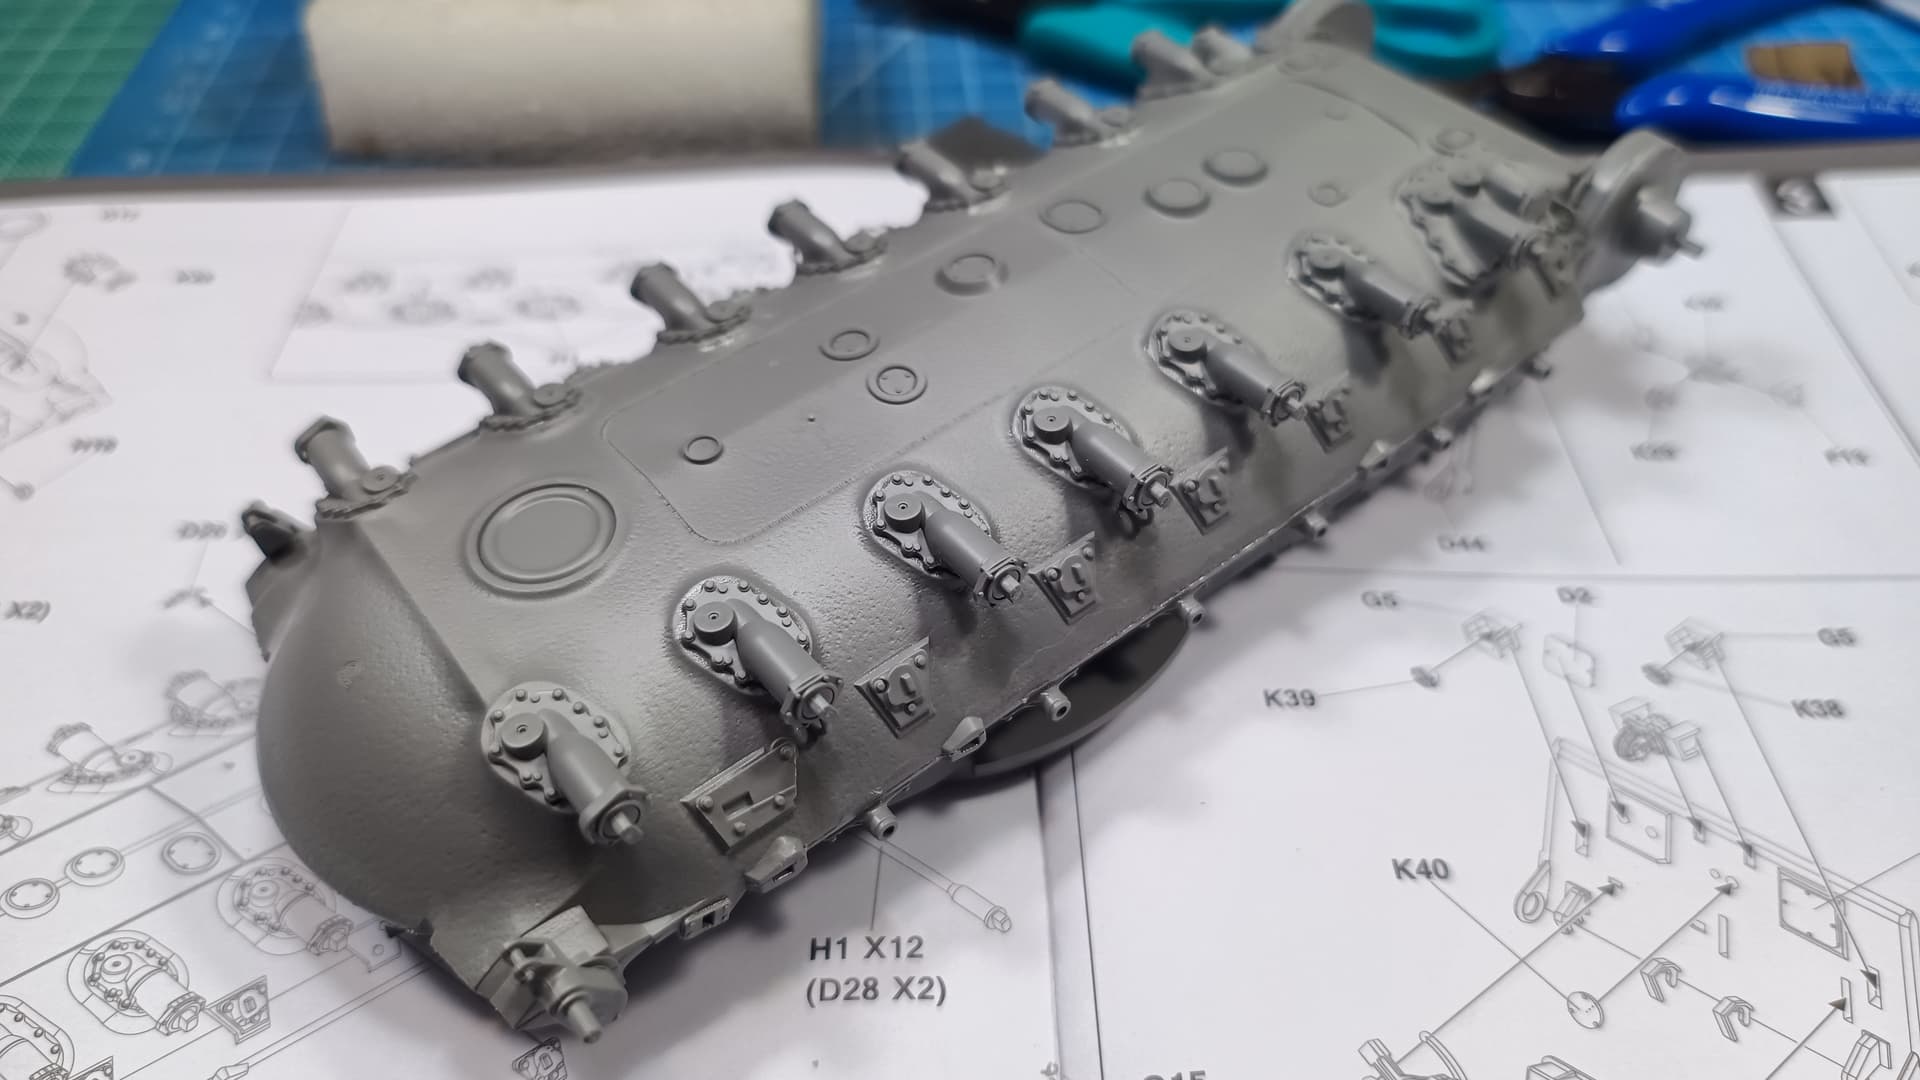
Some really nice molded parts. Some cleaning required but nothing major or difficult (mold lines, attachment points and some sink marks).
I have a doubt about the molded “bump” between the front suspension arms on the hull tub but this can be corrected if needed.
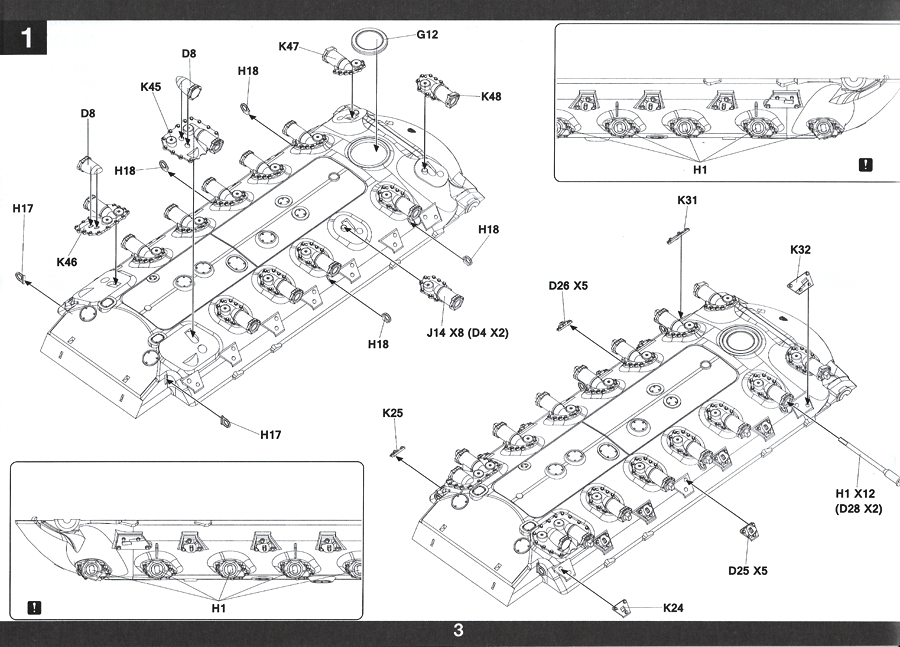
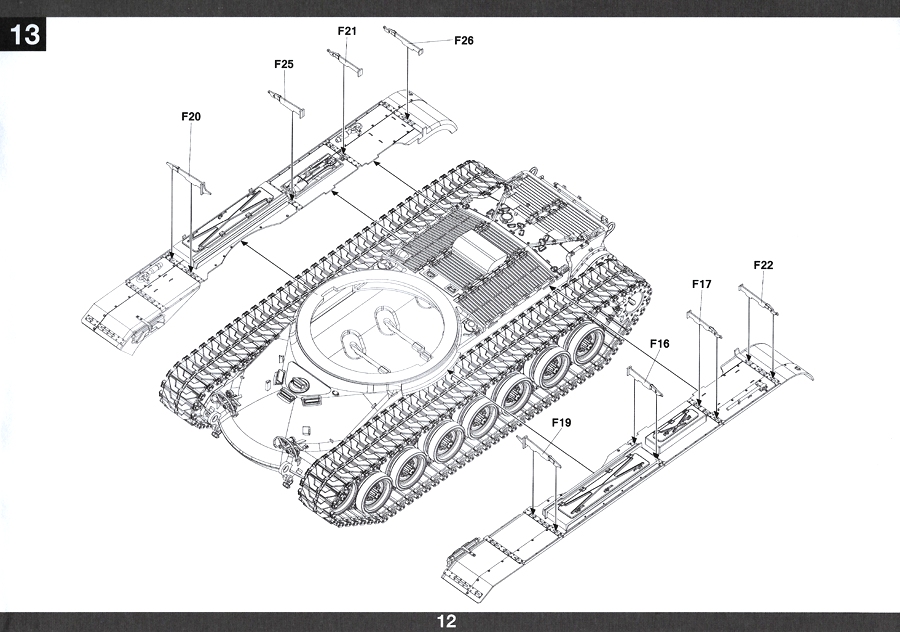
Avoid step 2 of the instructions, detail will be added to the hull after assembly of the main parts.
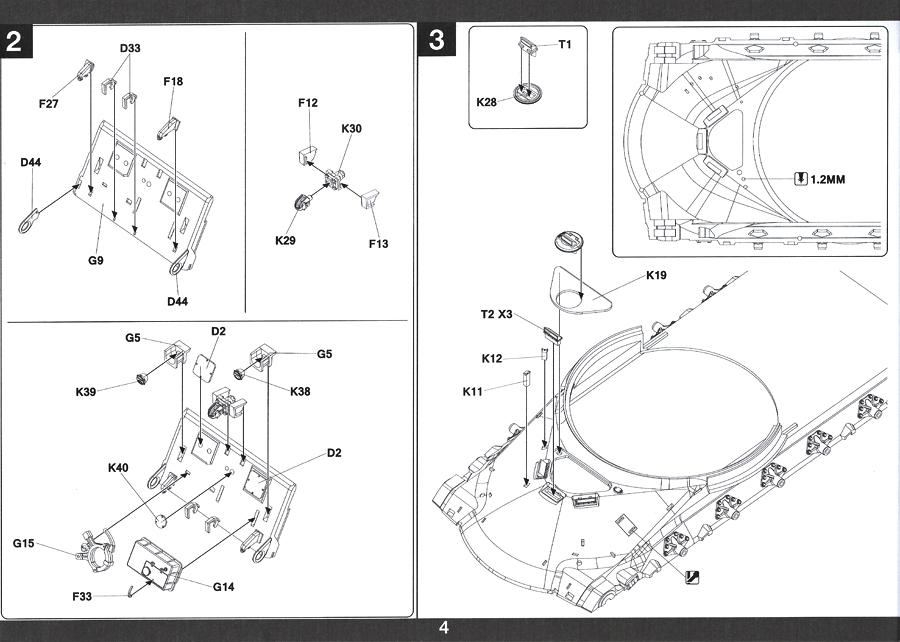
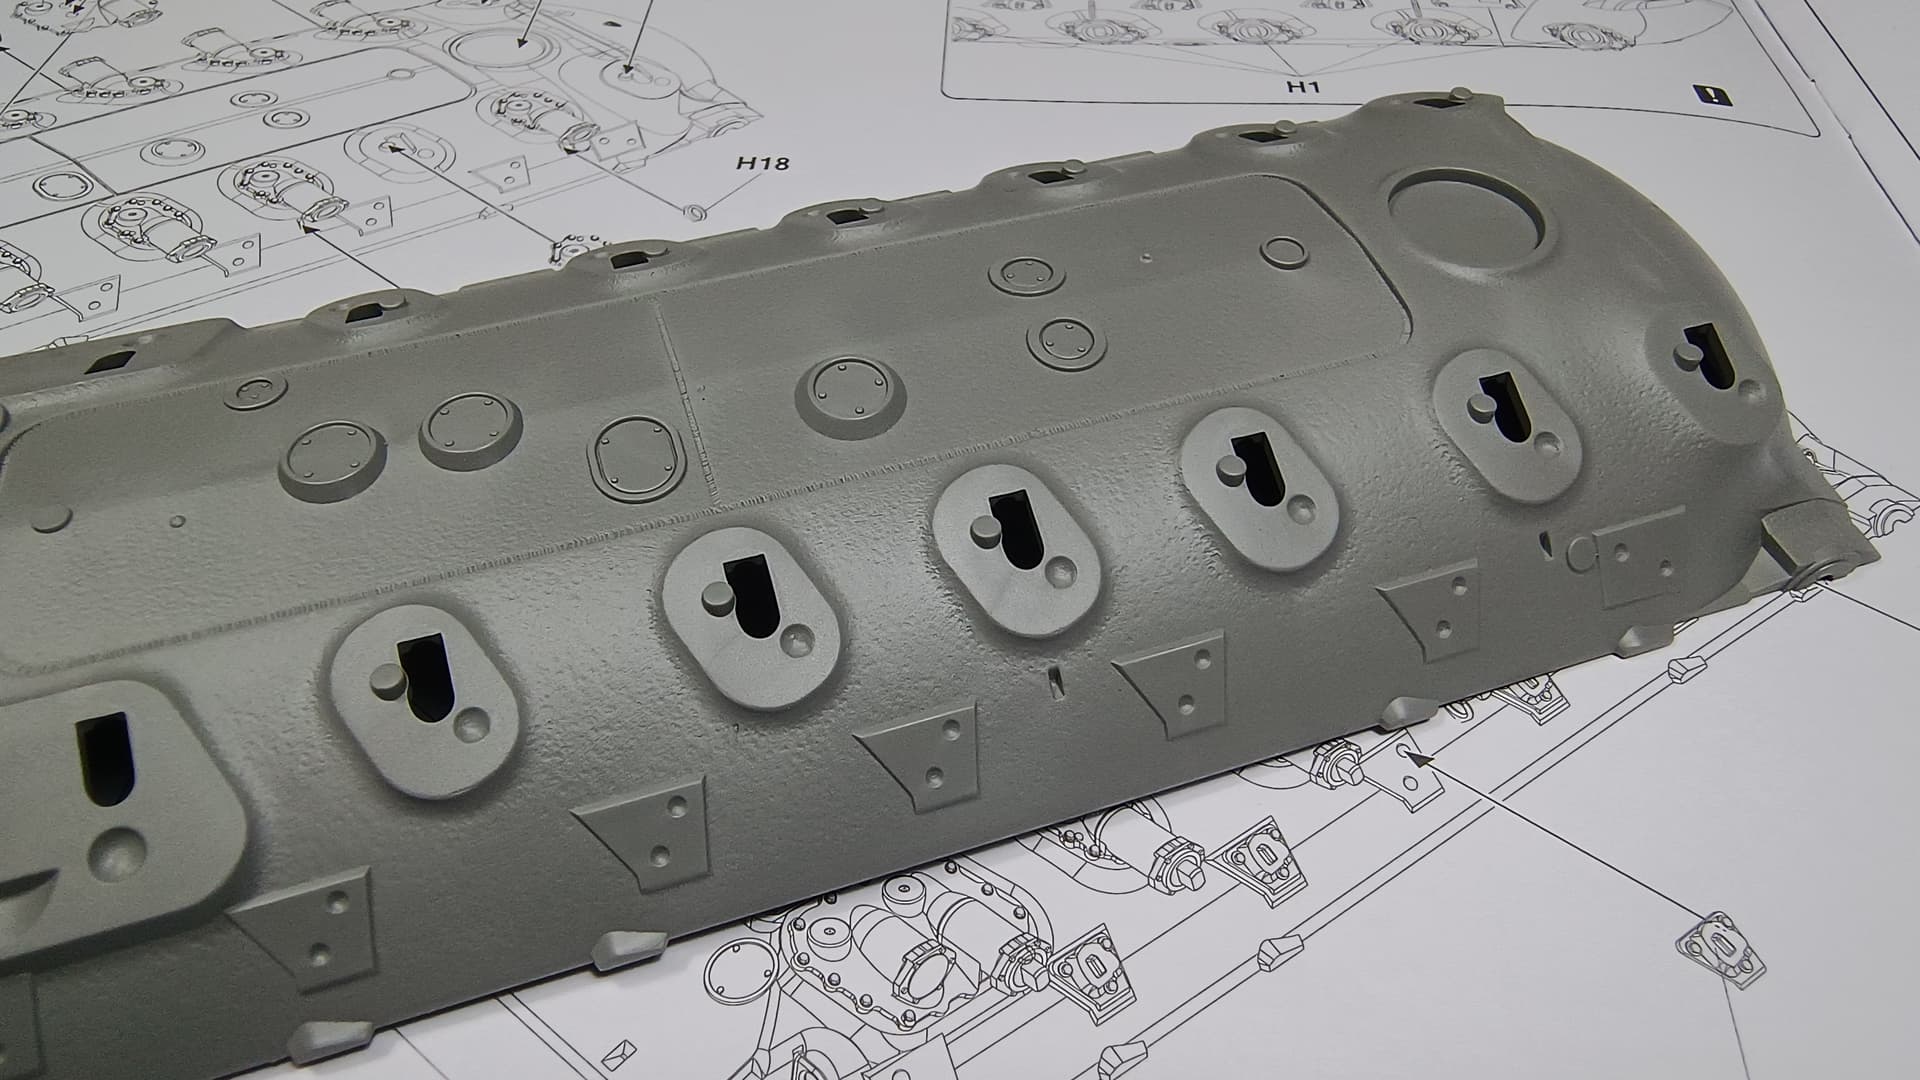
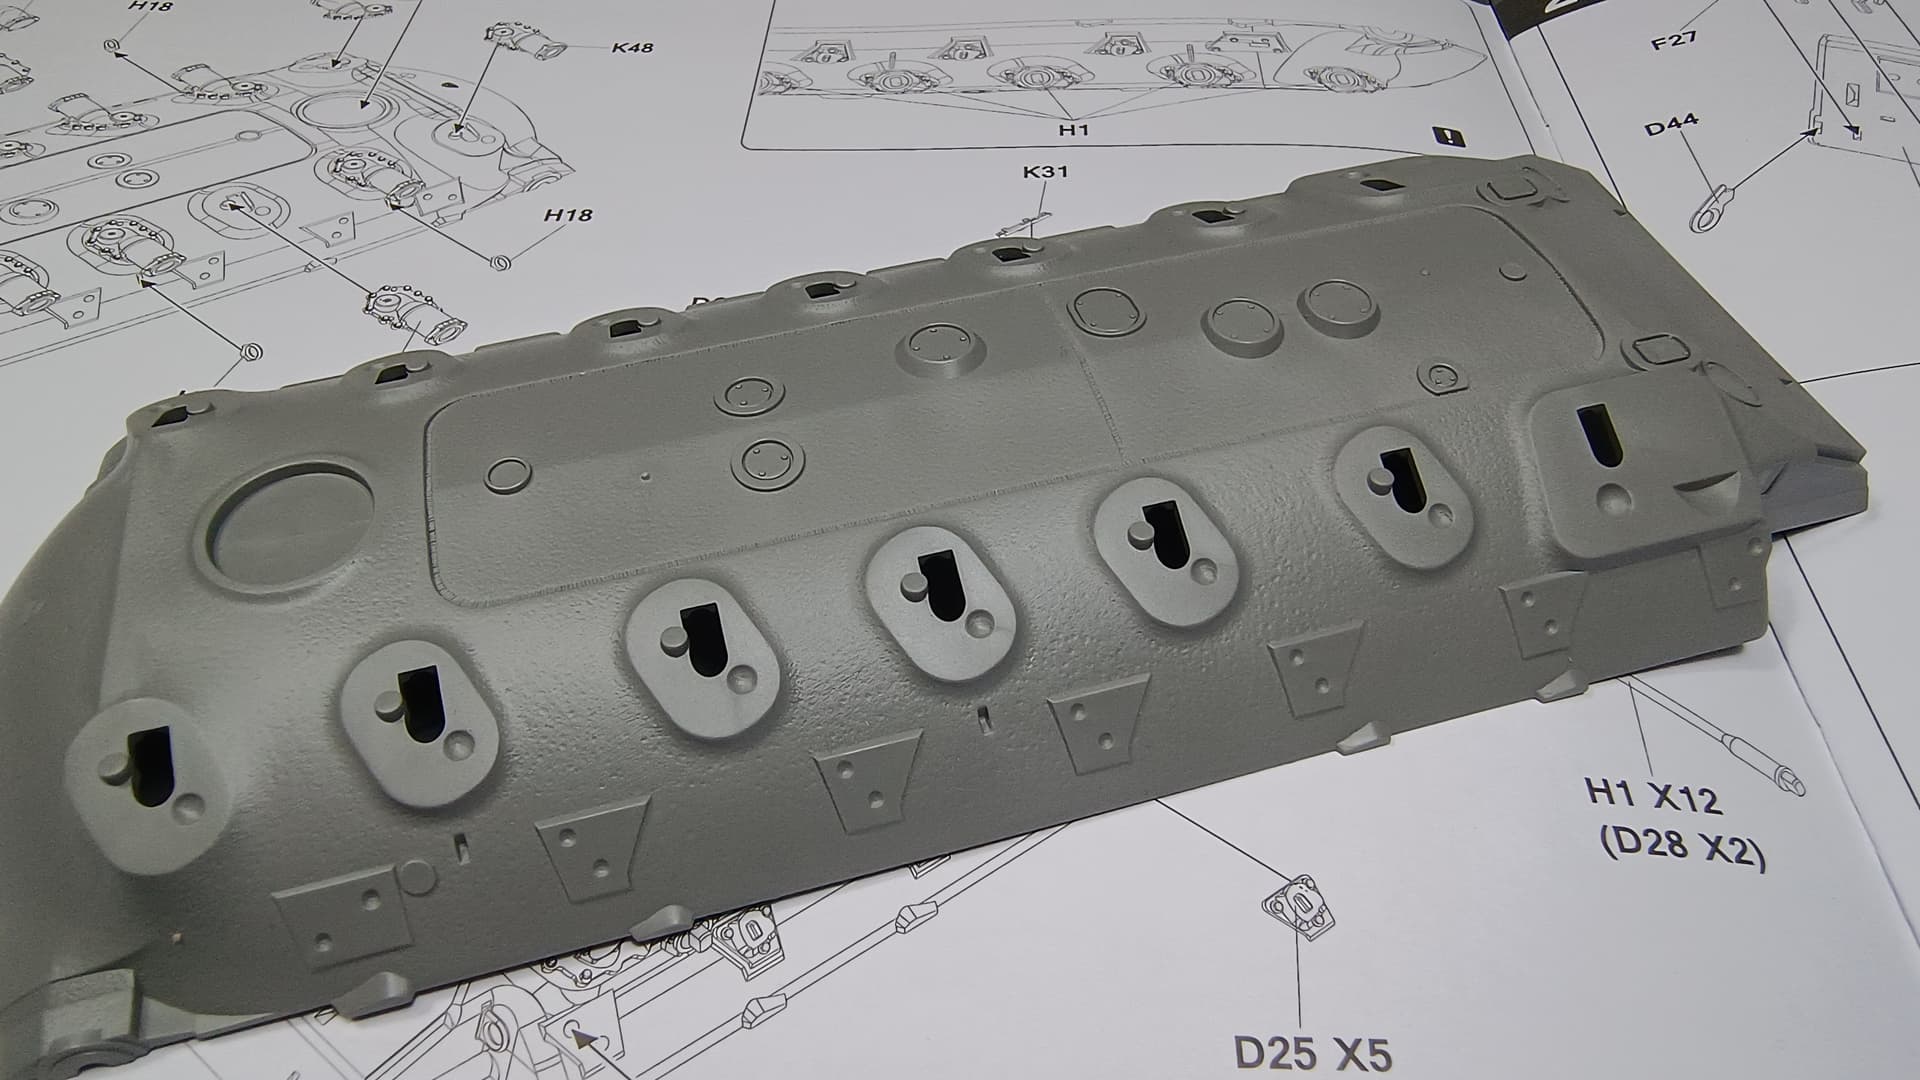
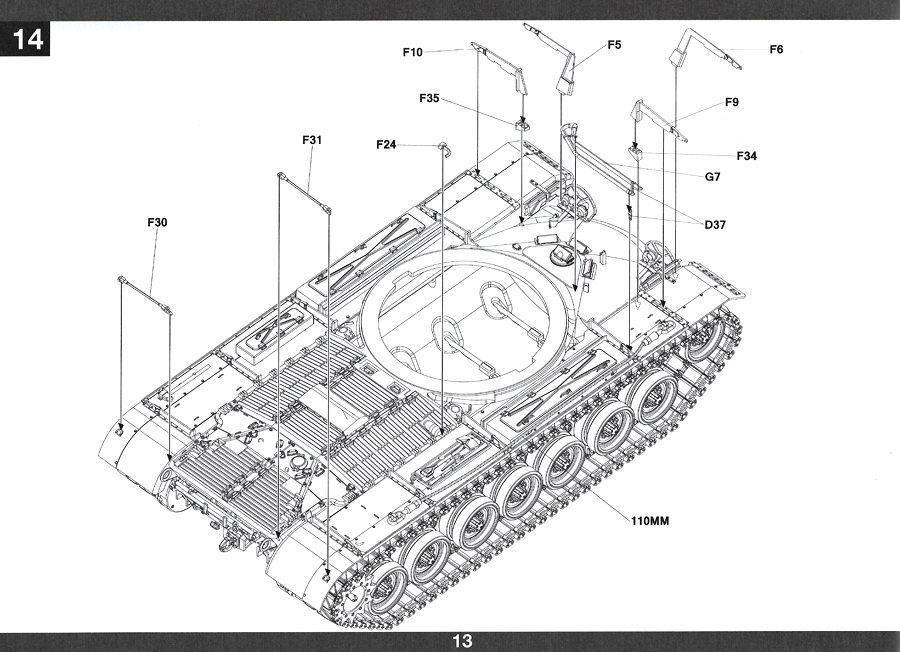
Open the hole is the upper front hull piece per the instructions but do not add other parts except the driver’s hatch and its periscope. Do the same for any other upper hull details, just do the main parts so as to get the hull and the engine deck assembled. Move on to the suspension assembly and detailing. This way you will avoid breaking or losing any small detail parts of the upper hull.

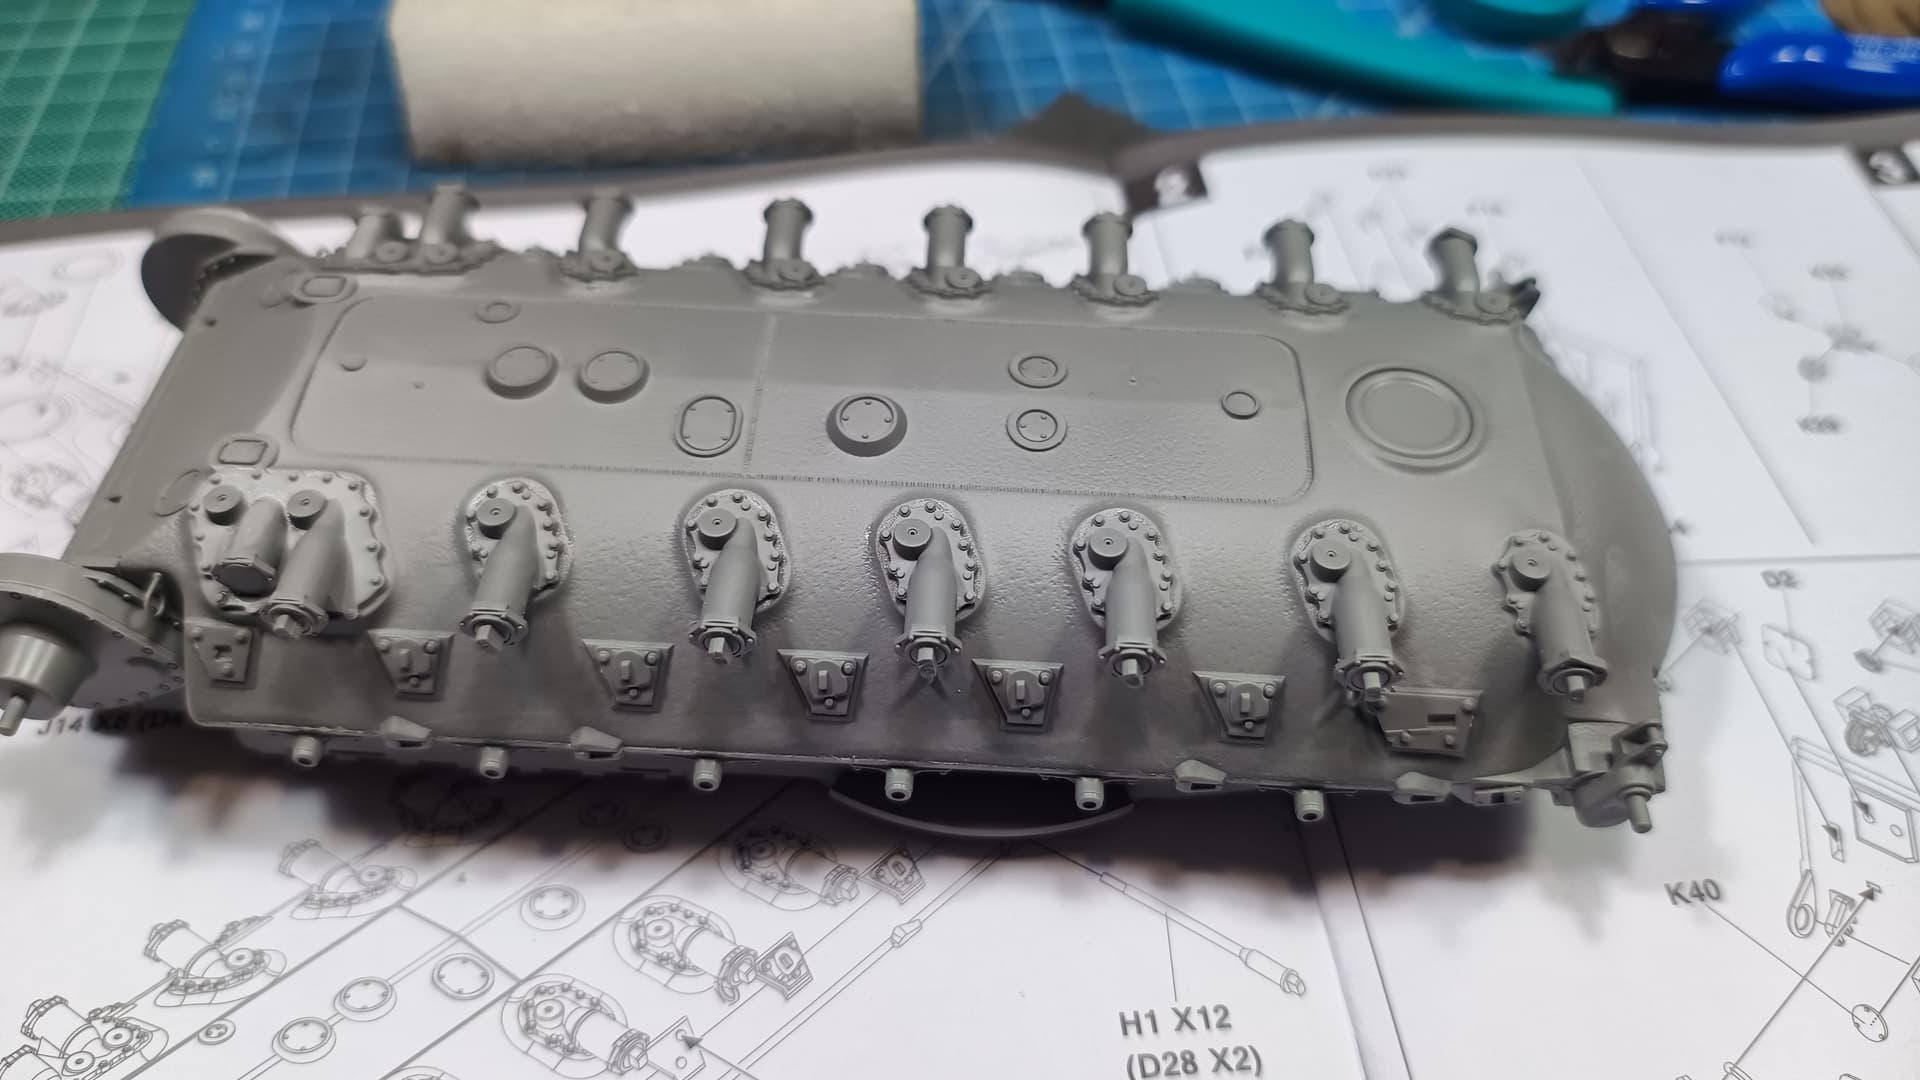
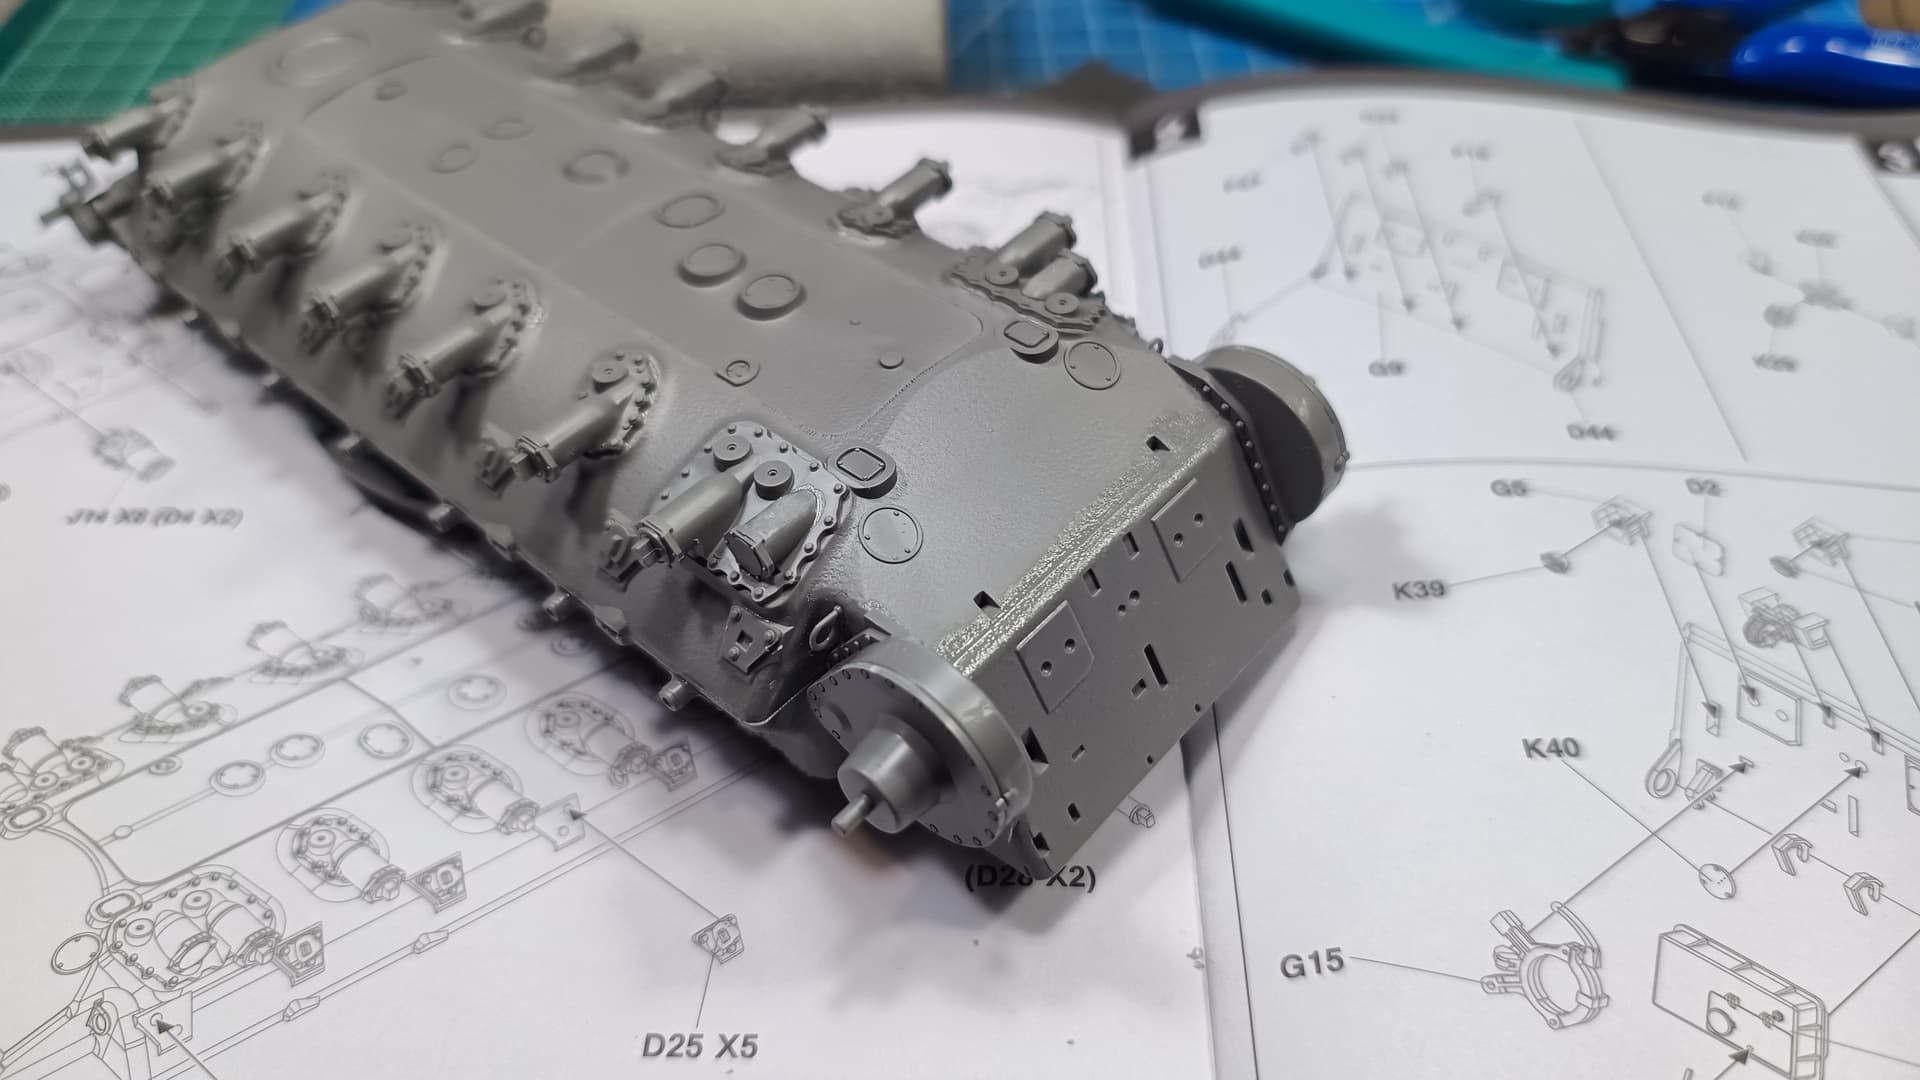
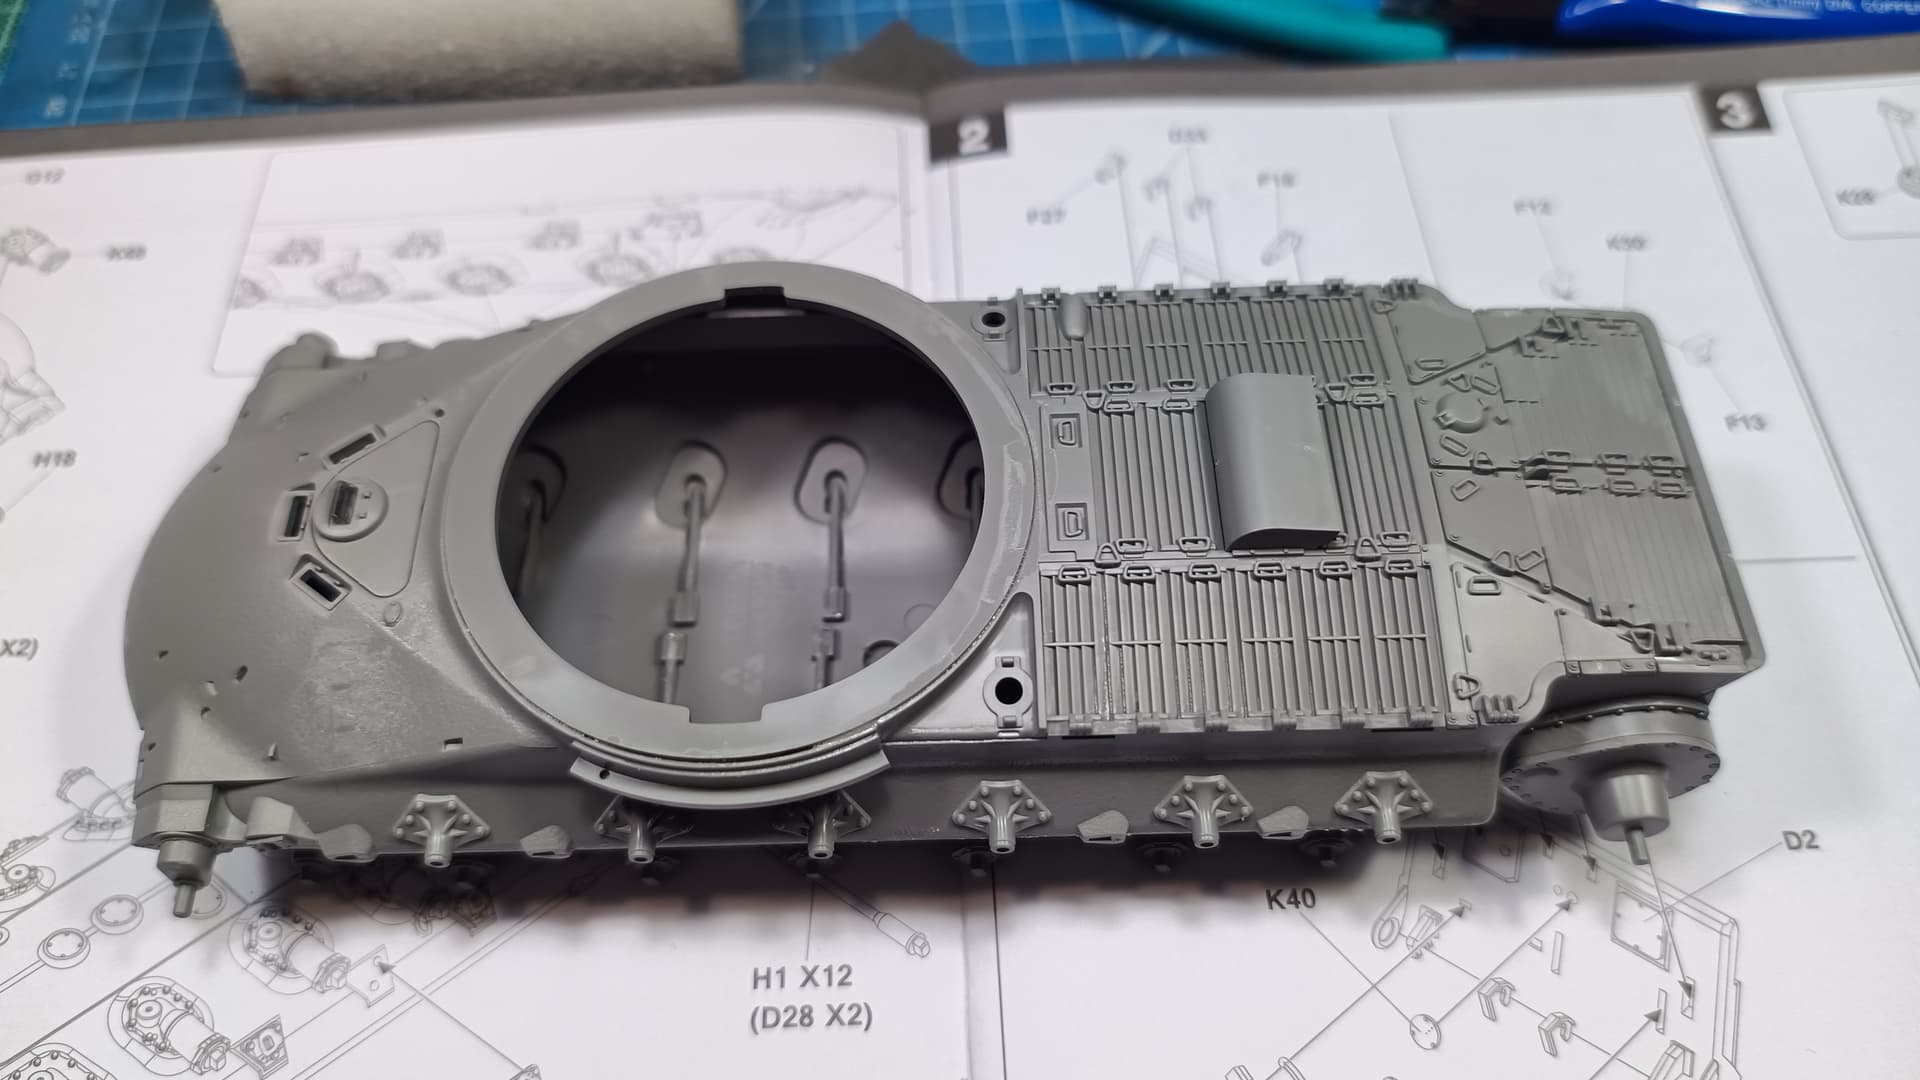
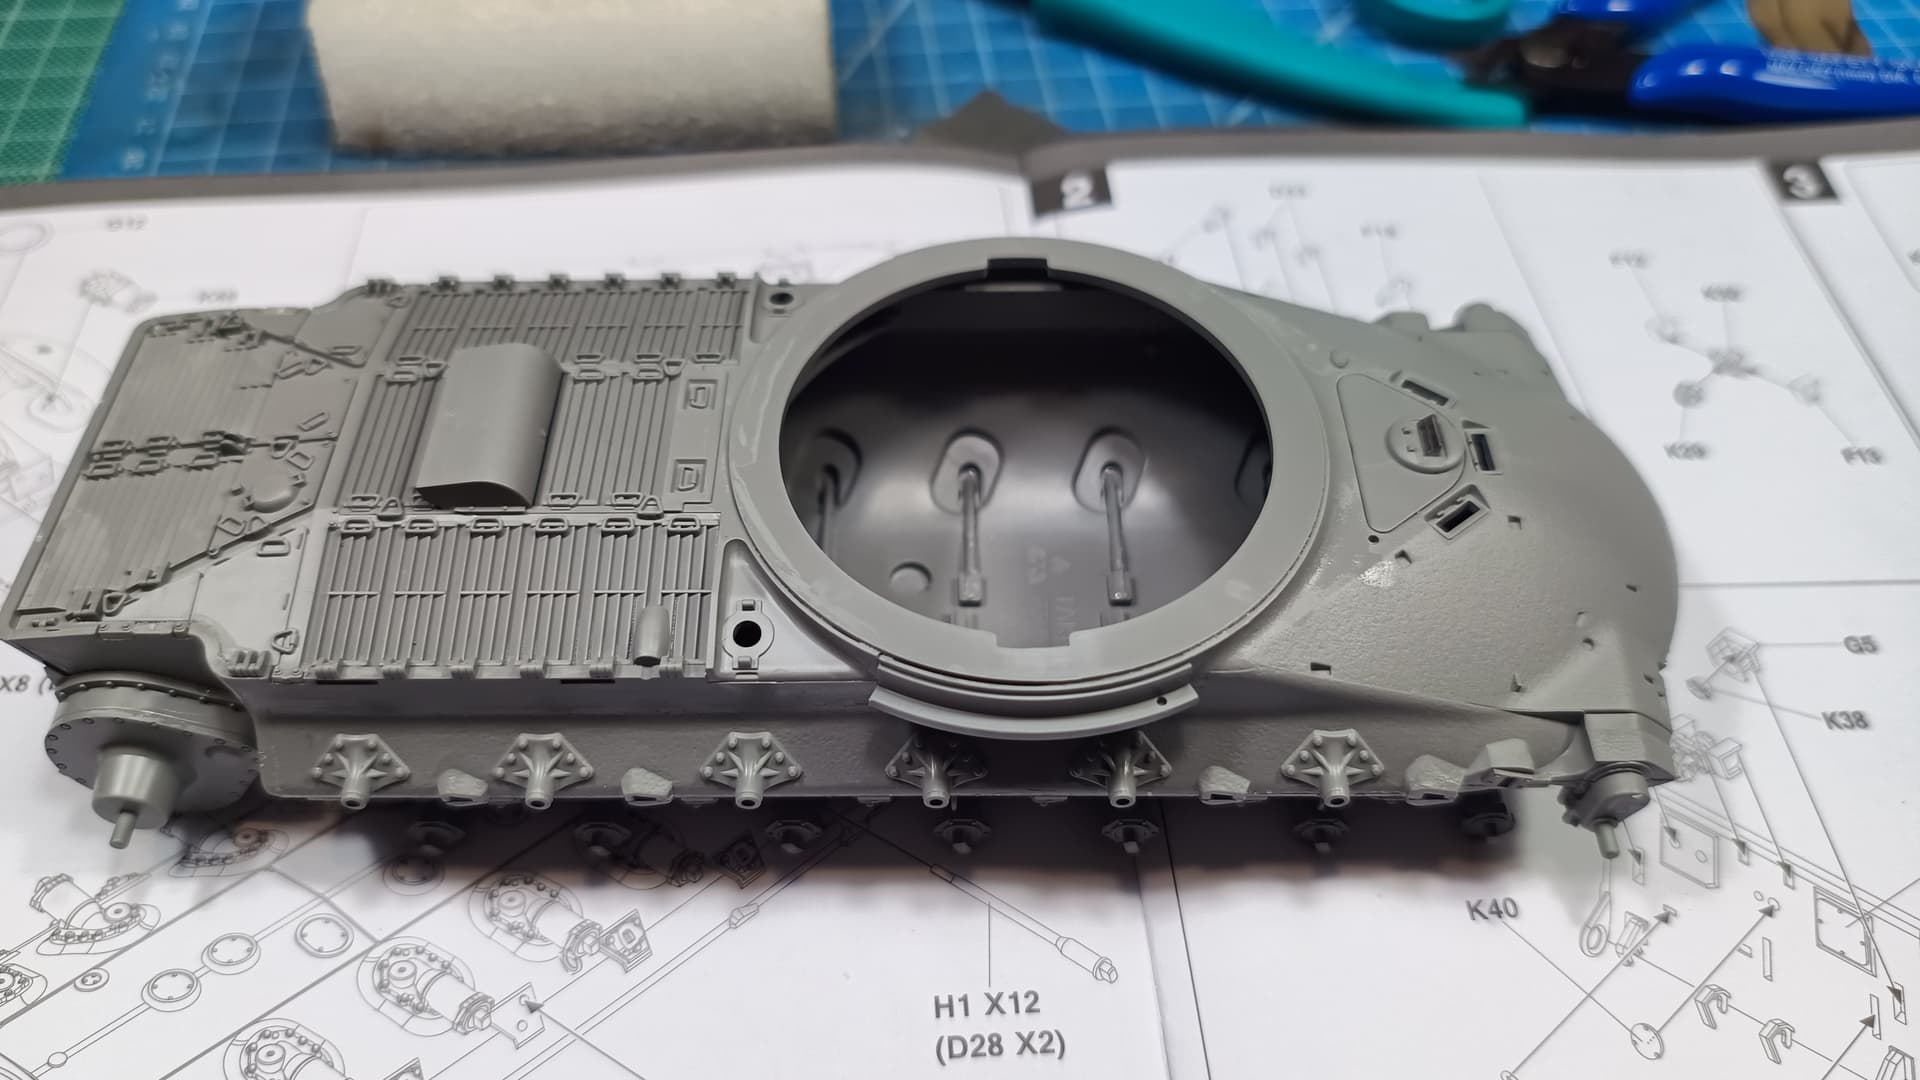
The hull halves need some attention when attaching them together so as to avoid sim lines. You can always go for the extra glue on the mating surfaces so as to create some melted plastic “squeeze” at the joints and clean it up later. I did not do that at the rear part of the lower hull where the backplate seats and I had to do some minor filling and texturing.
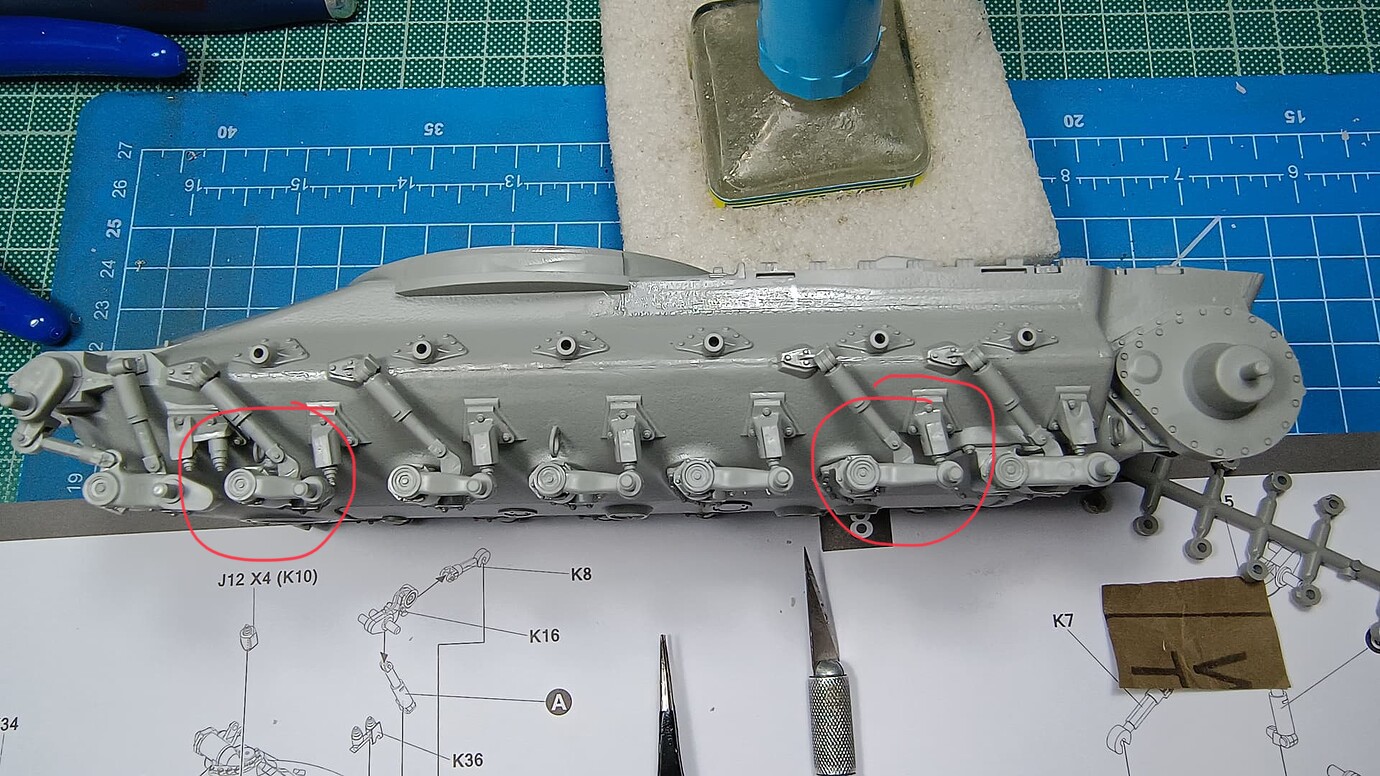
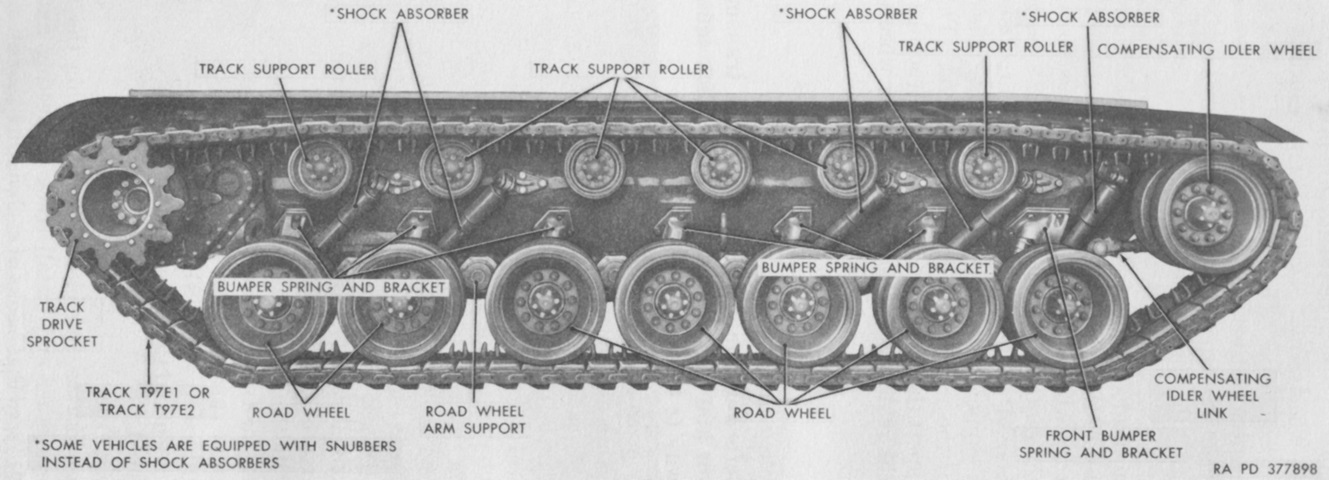
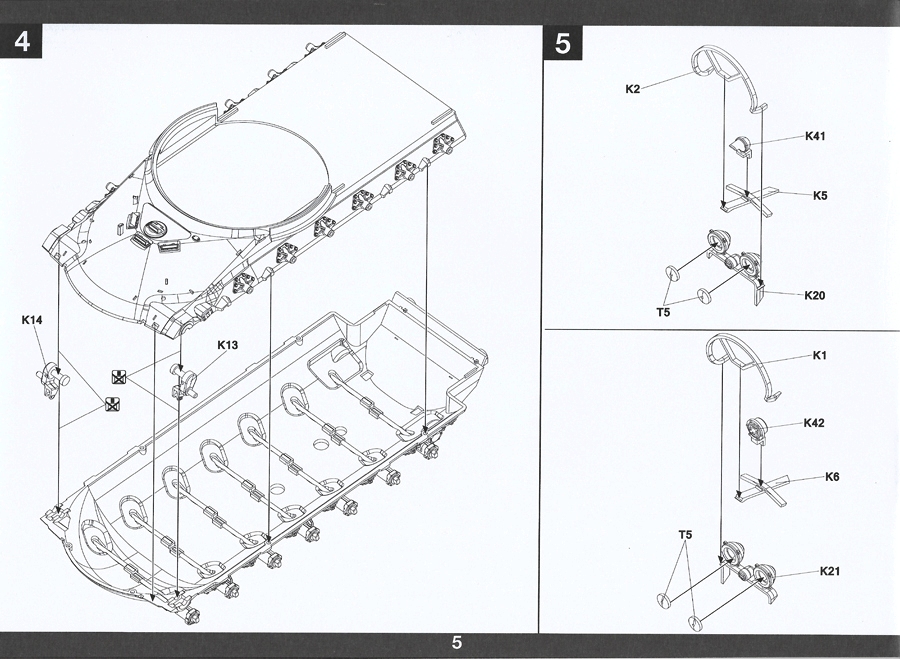
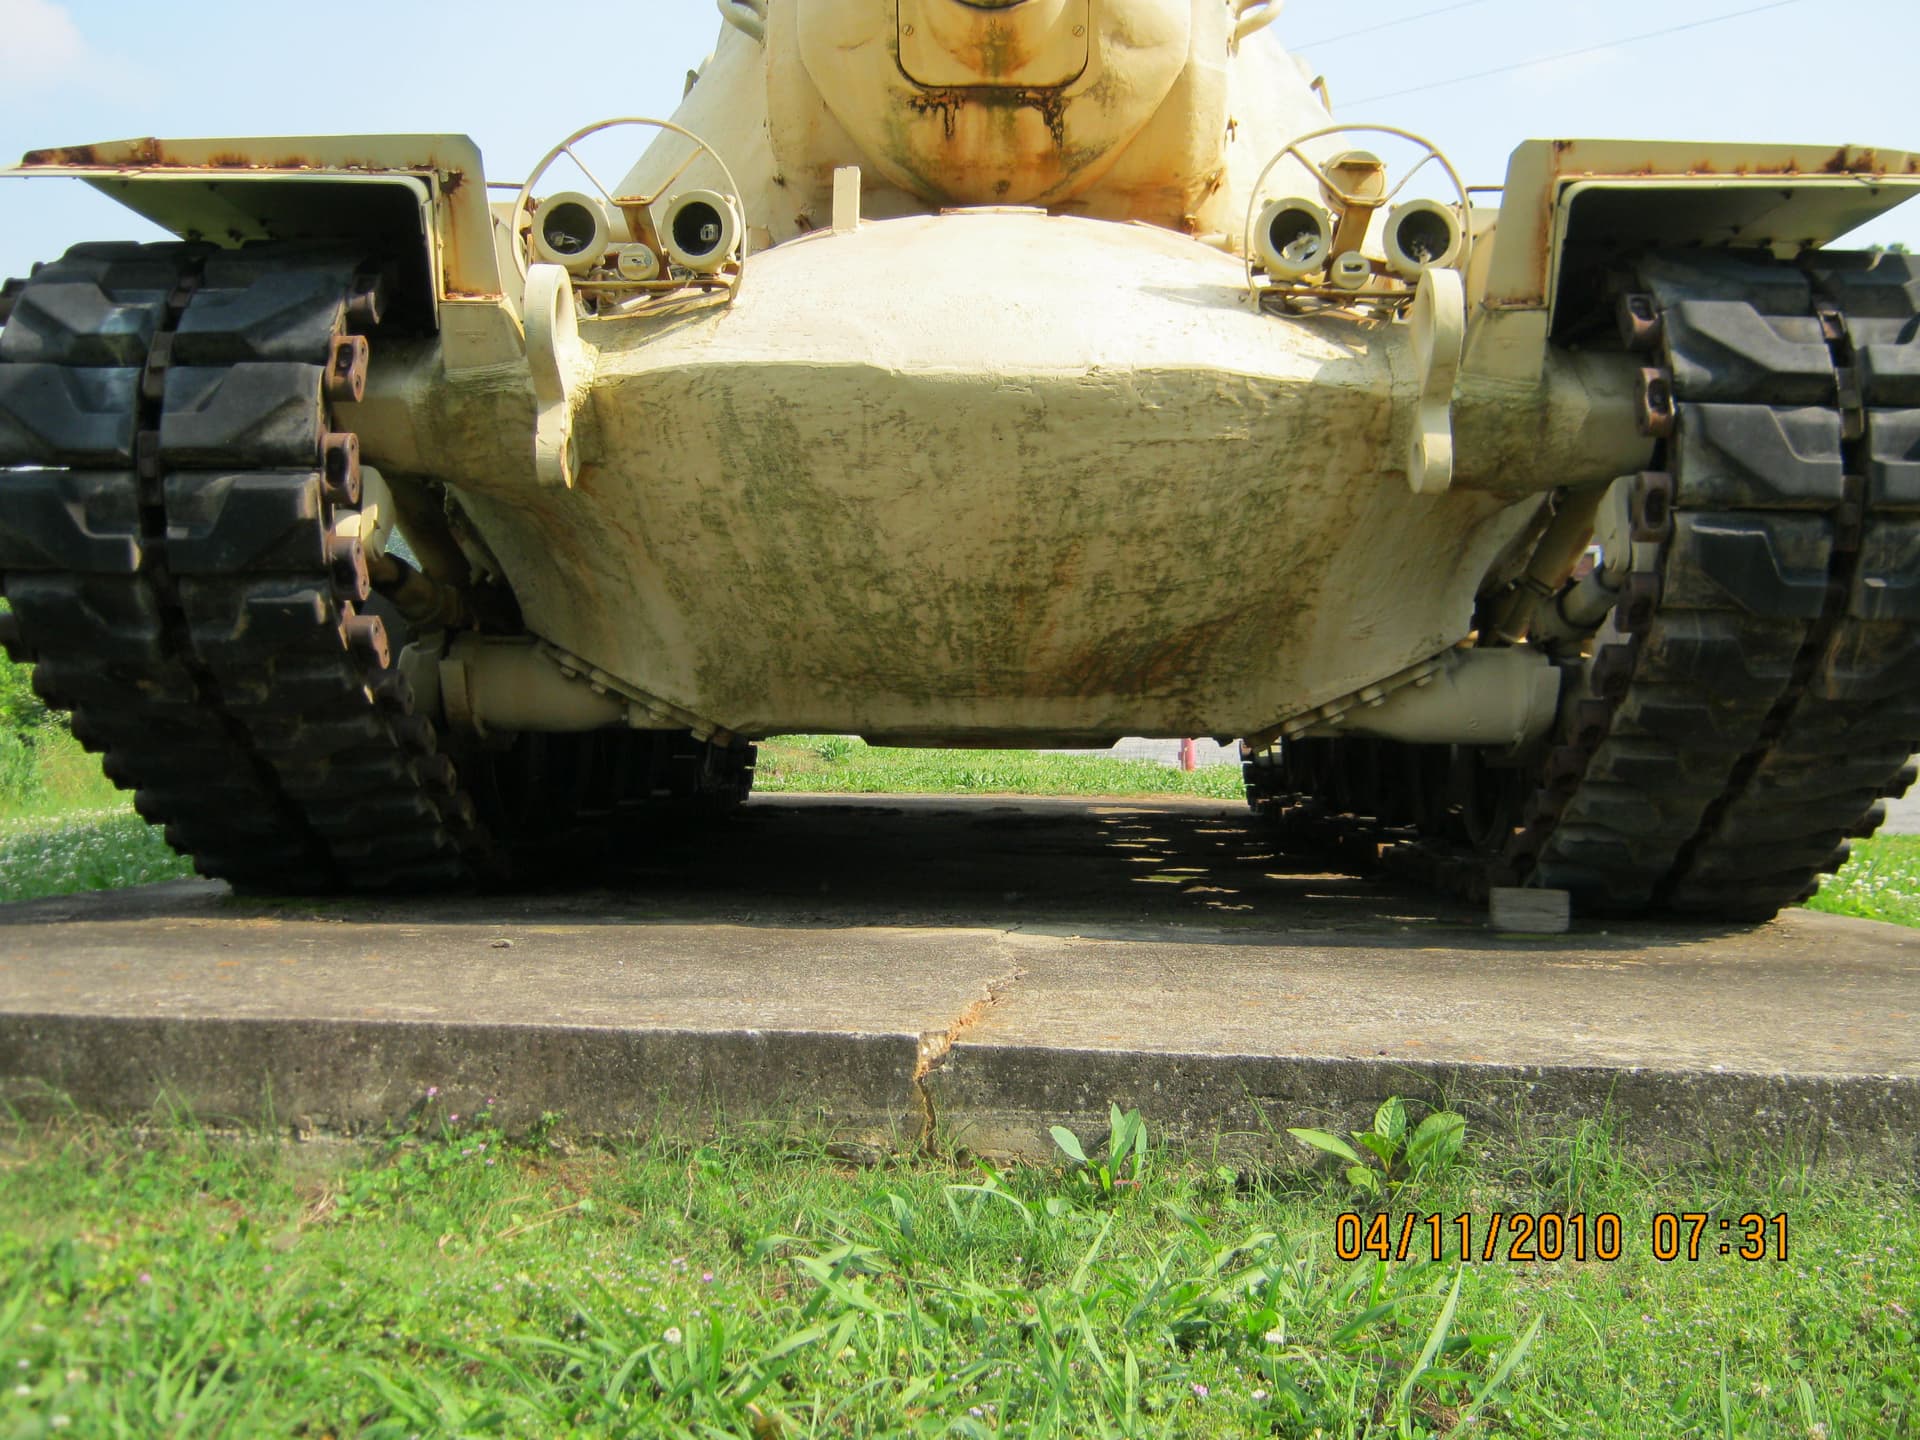
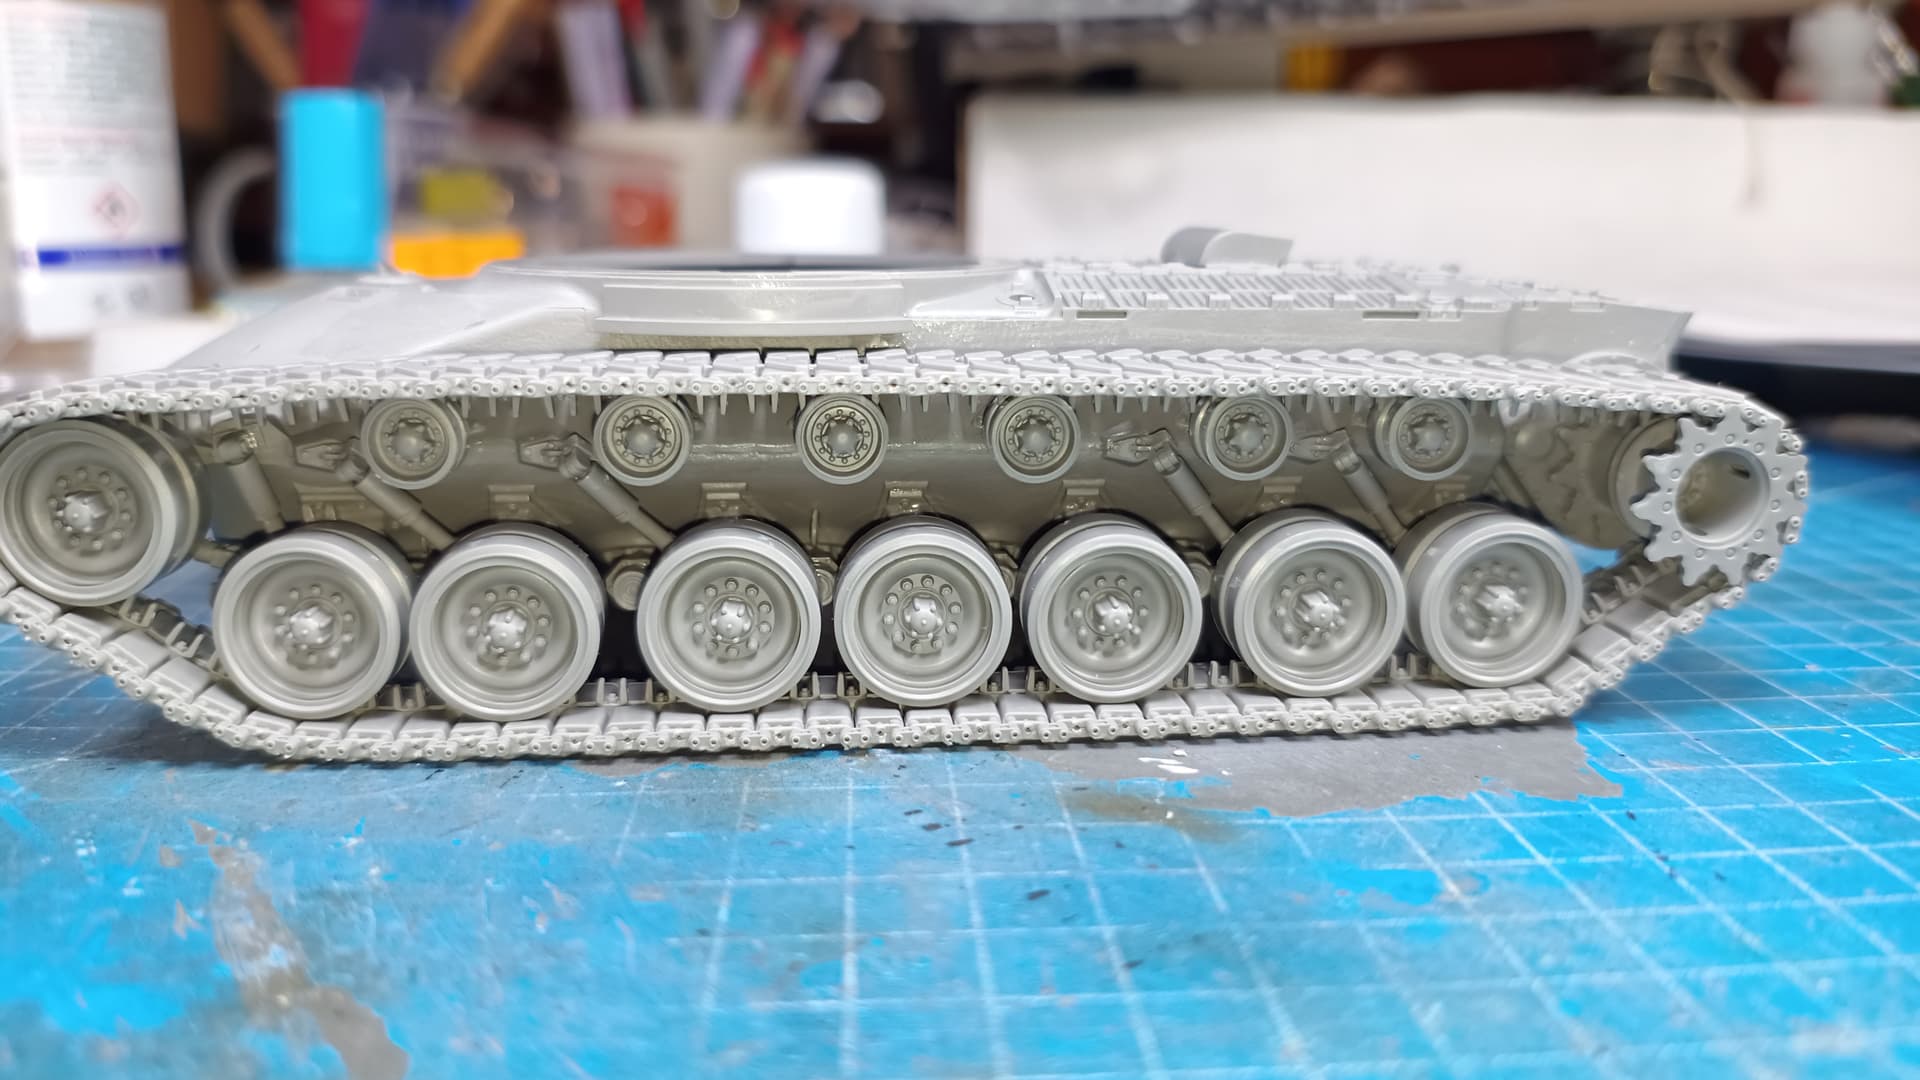
I have to admit I am not 100% happy with the engineering of the suspension parts, especially the arms and torsion bars. One needs to be extra careful so as not to misalign the arms. I should have been more careful since I managed to have the tank sitting a bit too close to the ground. Comparing to photos the suspension arms center should be about 2 mm lower than the torsion bars center. Mine are almost level, about 0.9mm.

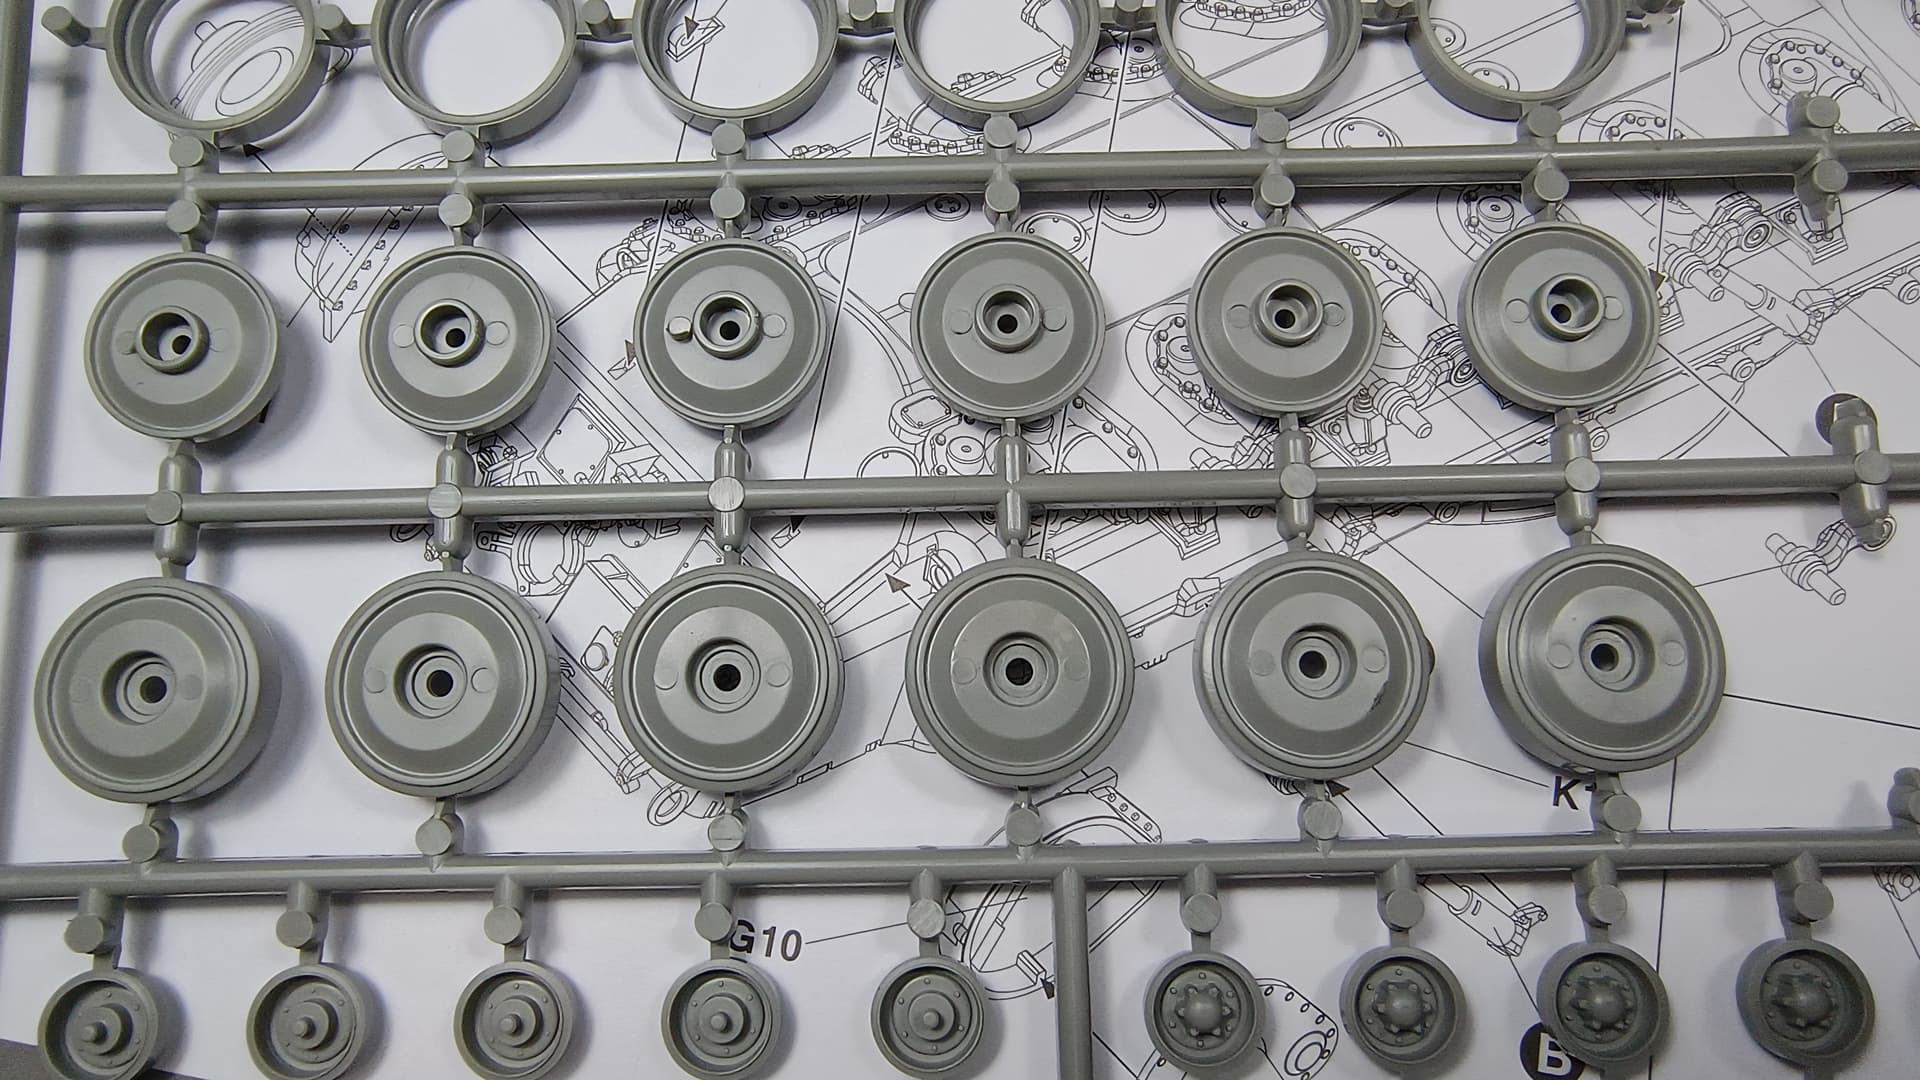
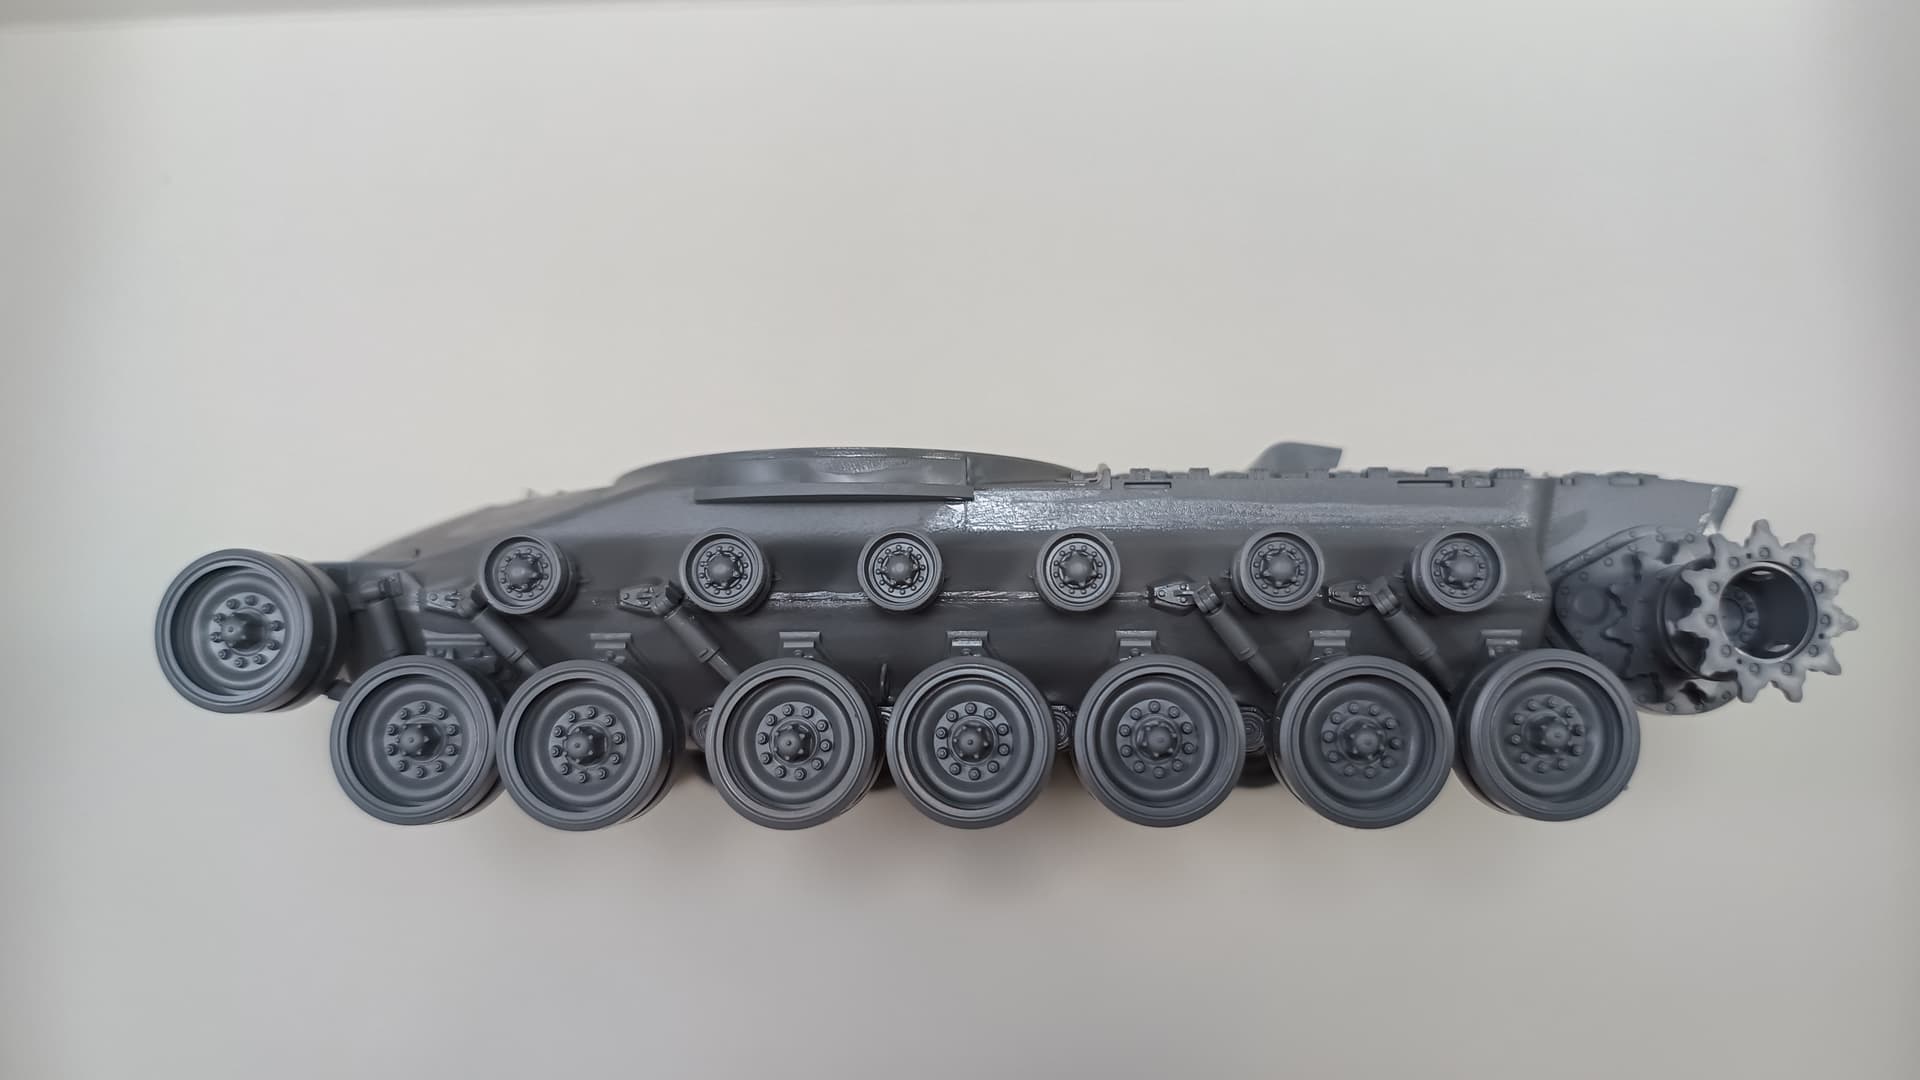
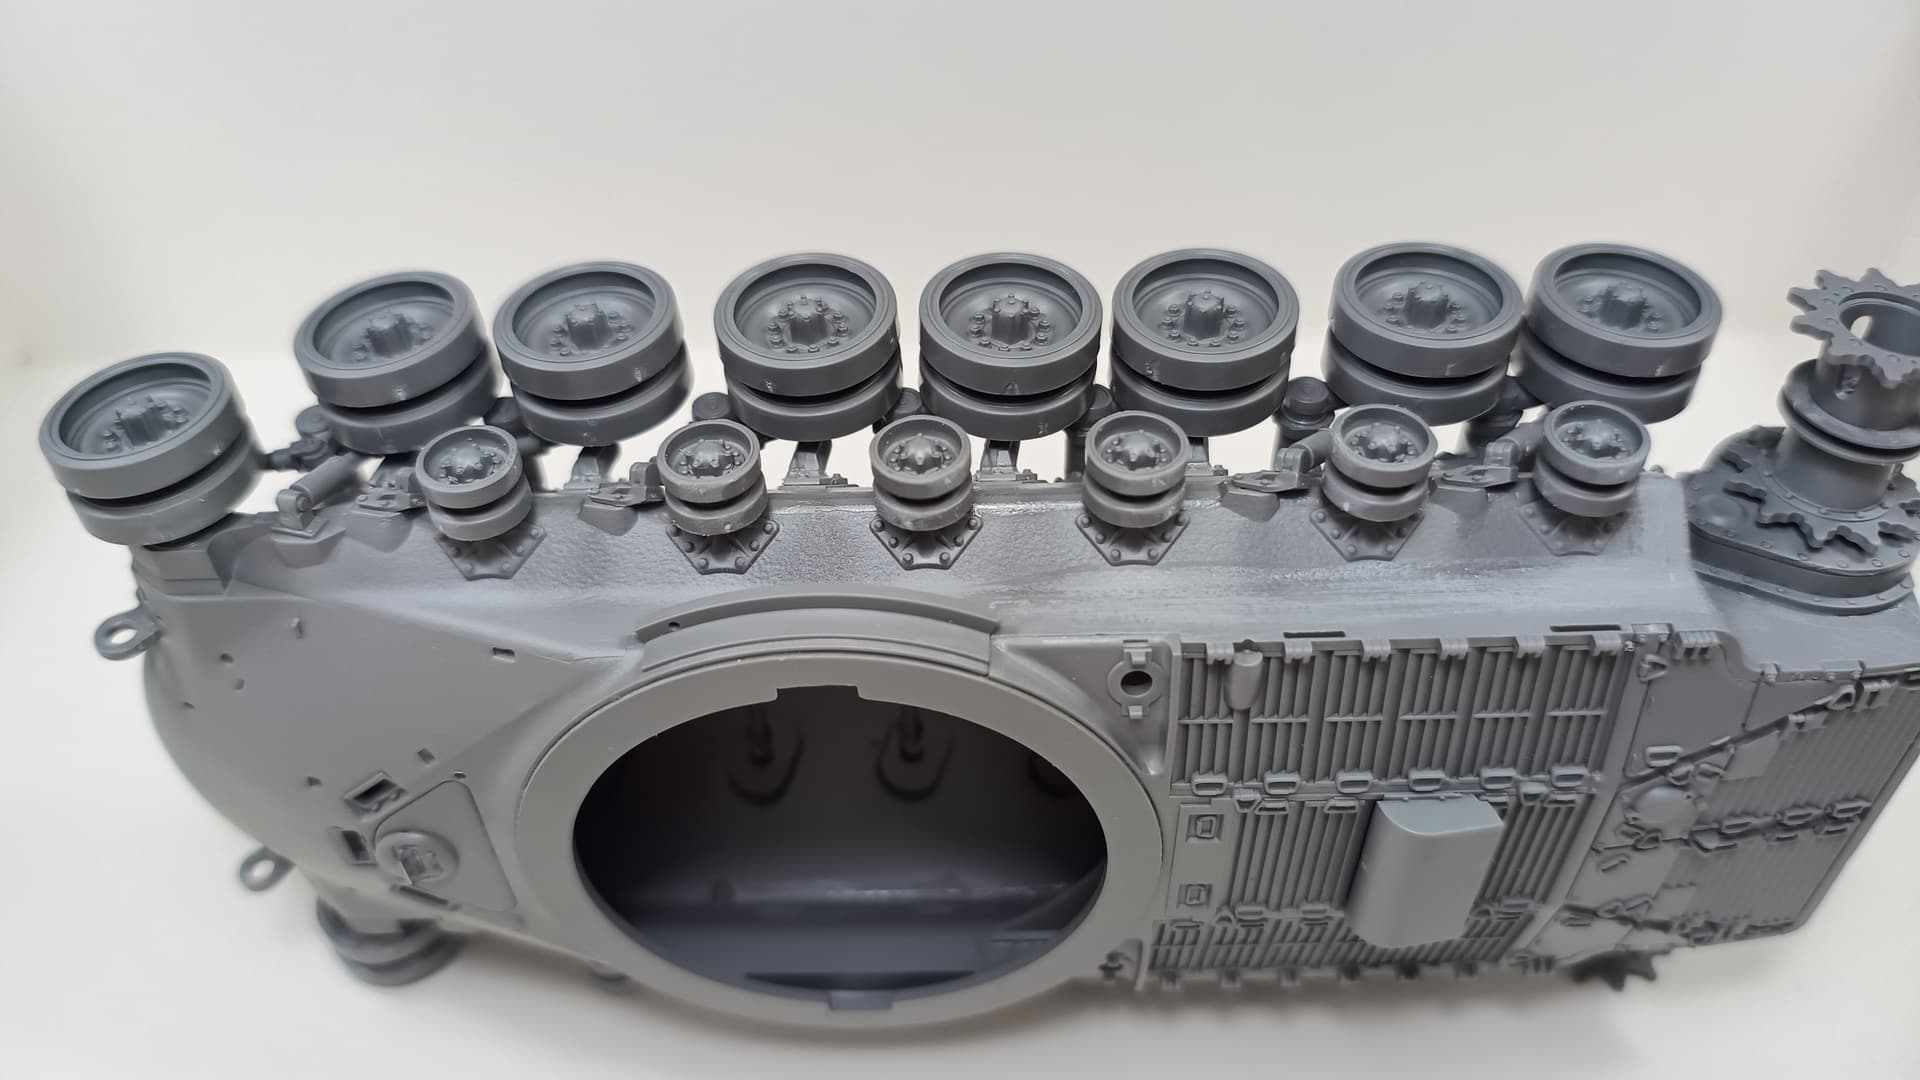
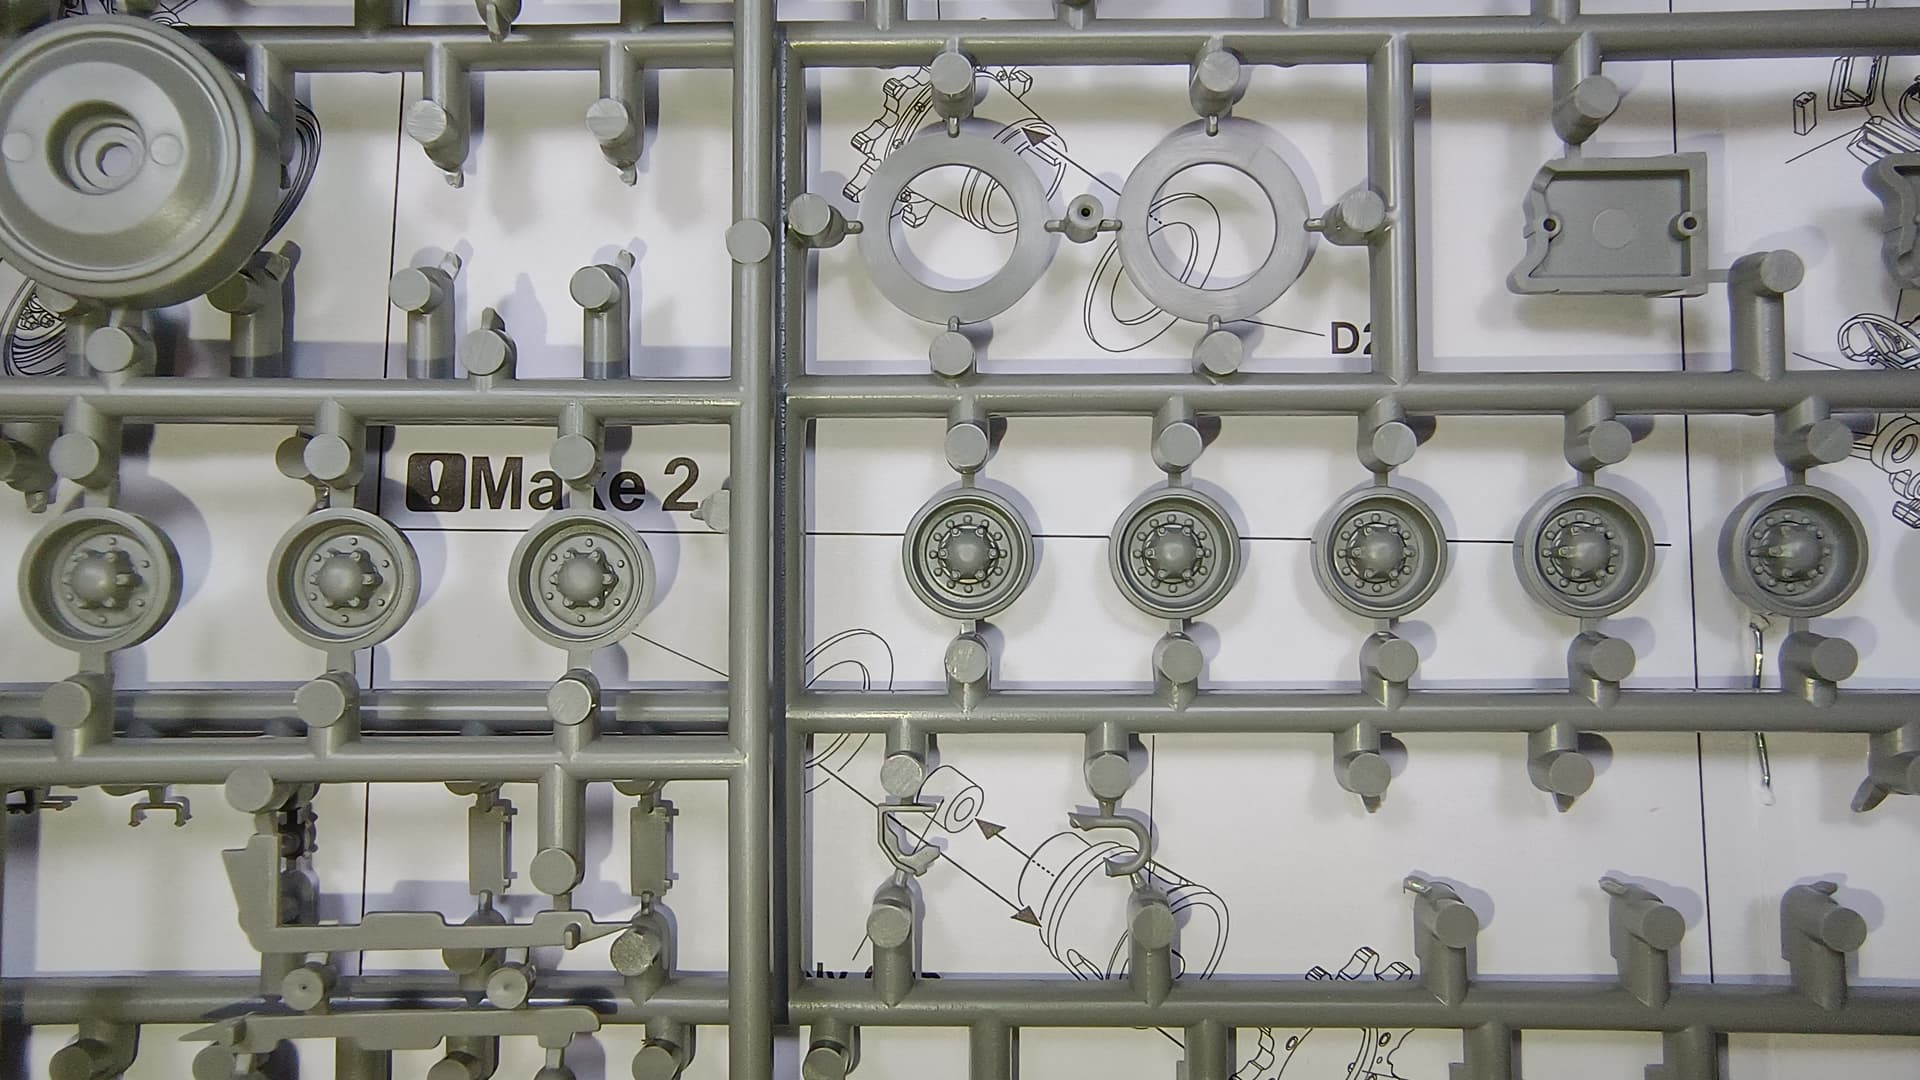
The wheels are a three part assembly plus a poly cap. No mold lines here to sand, just the sprue gates needed to be cleaned and some sink marks on the inner wheel surfaces that can easily be dealt with your hobby knife.
End of part 1. ![]()
Part 2
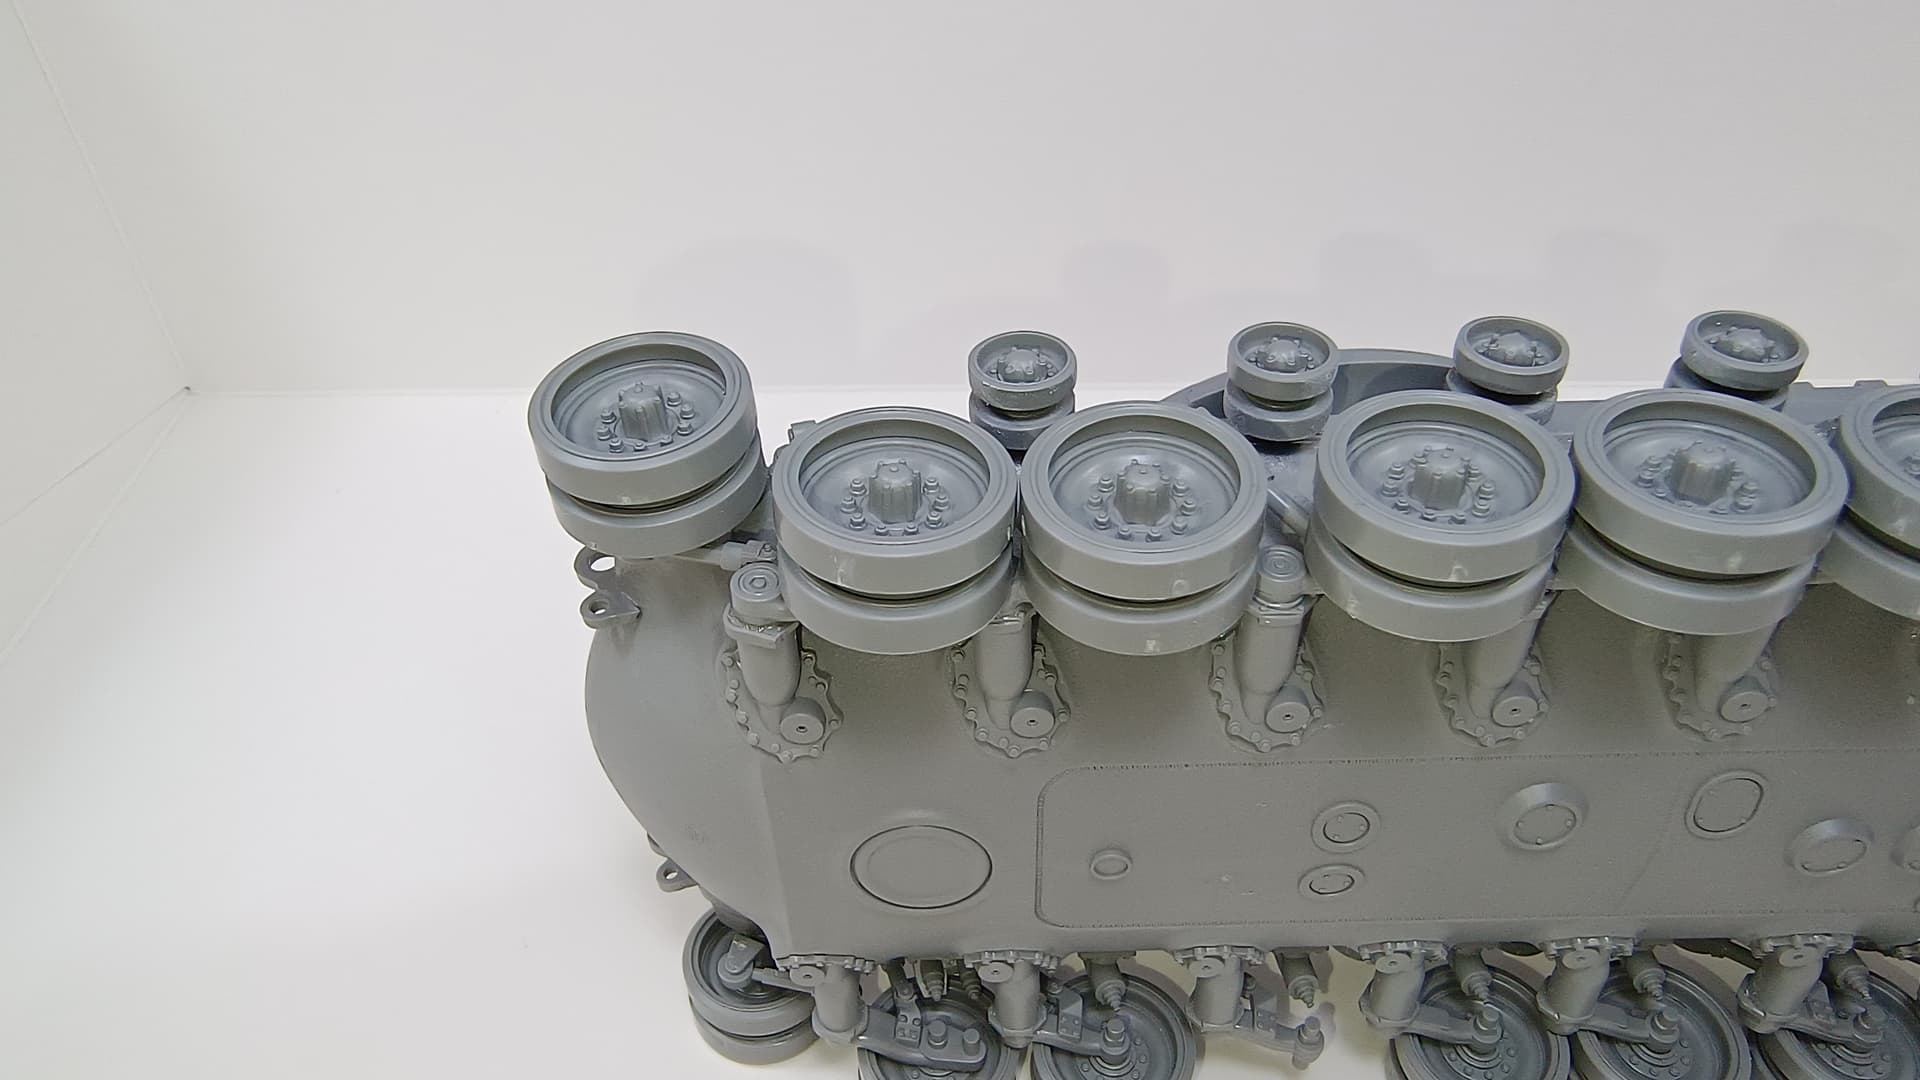
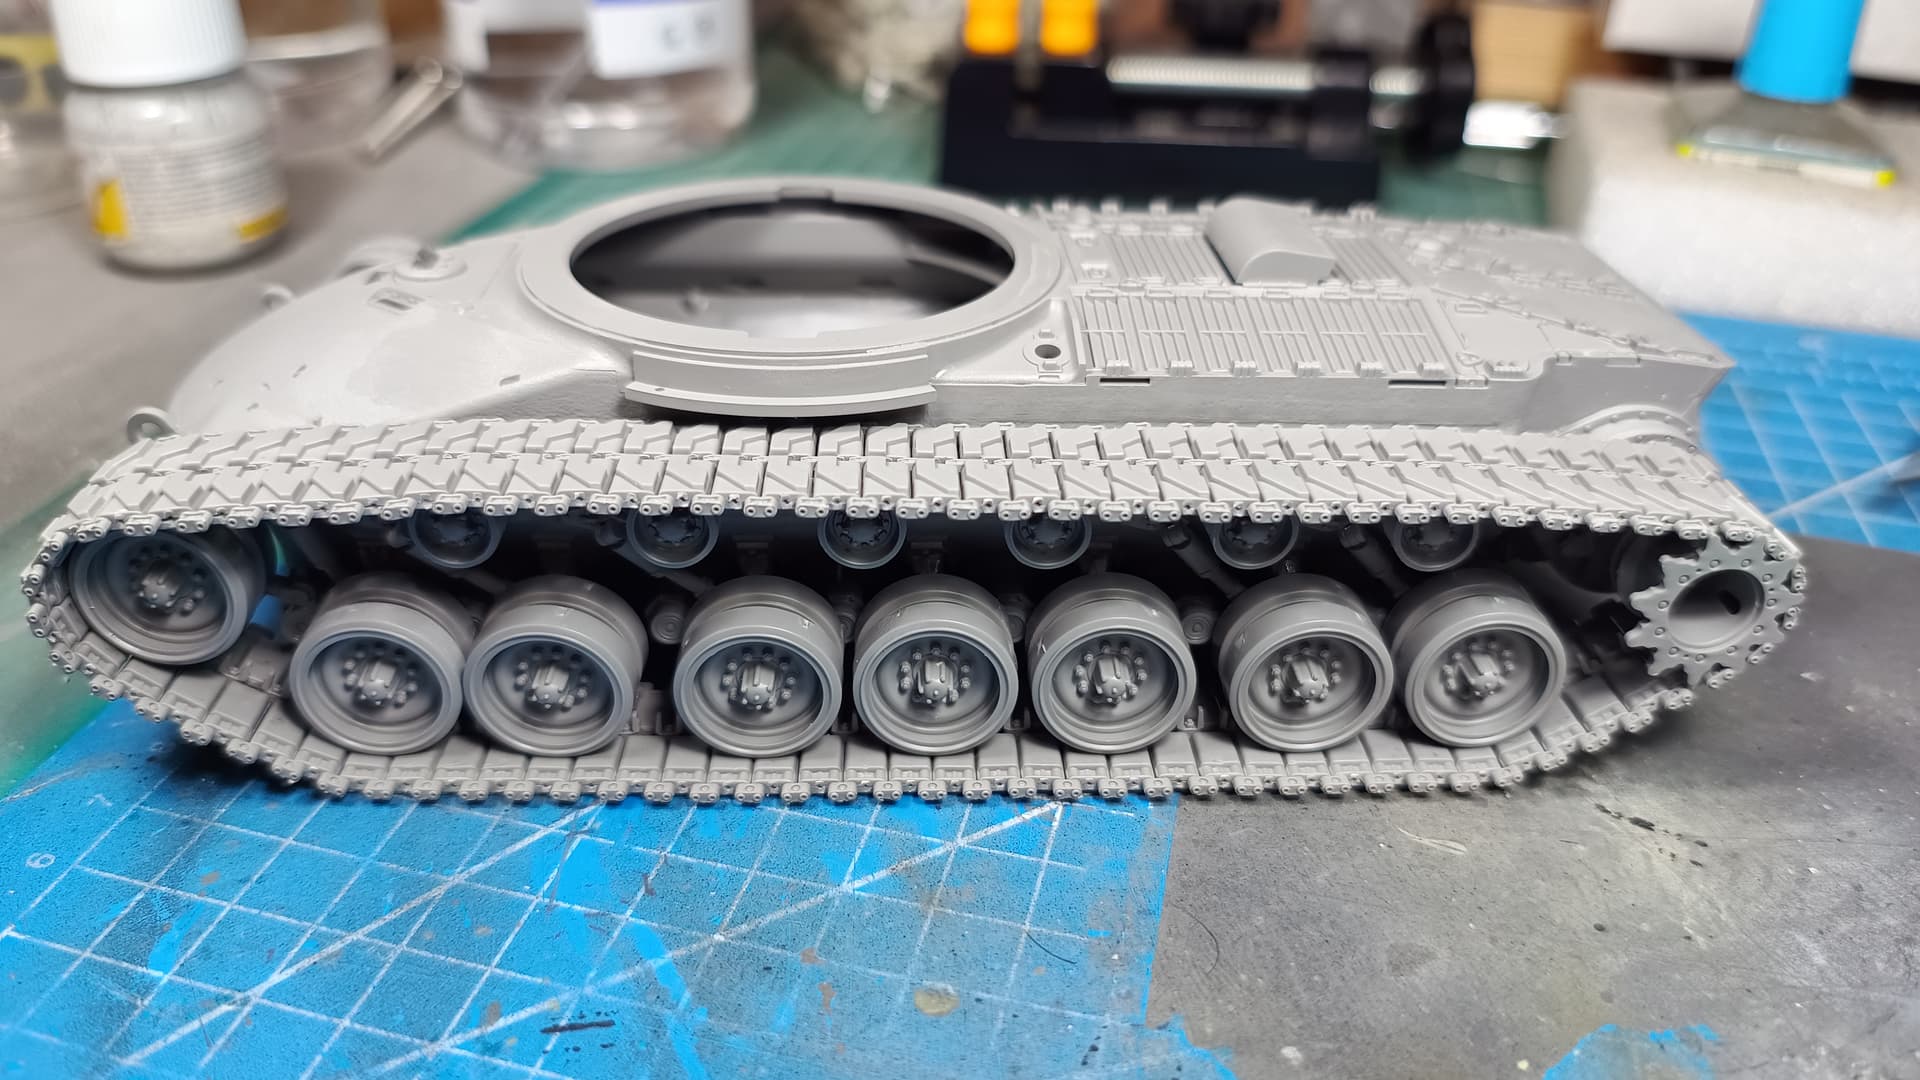
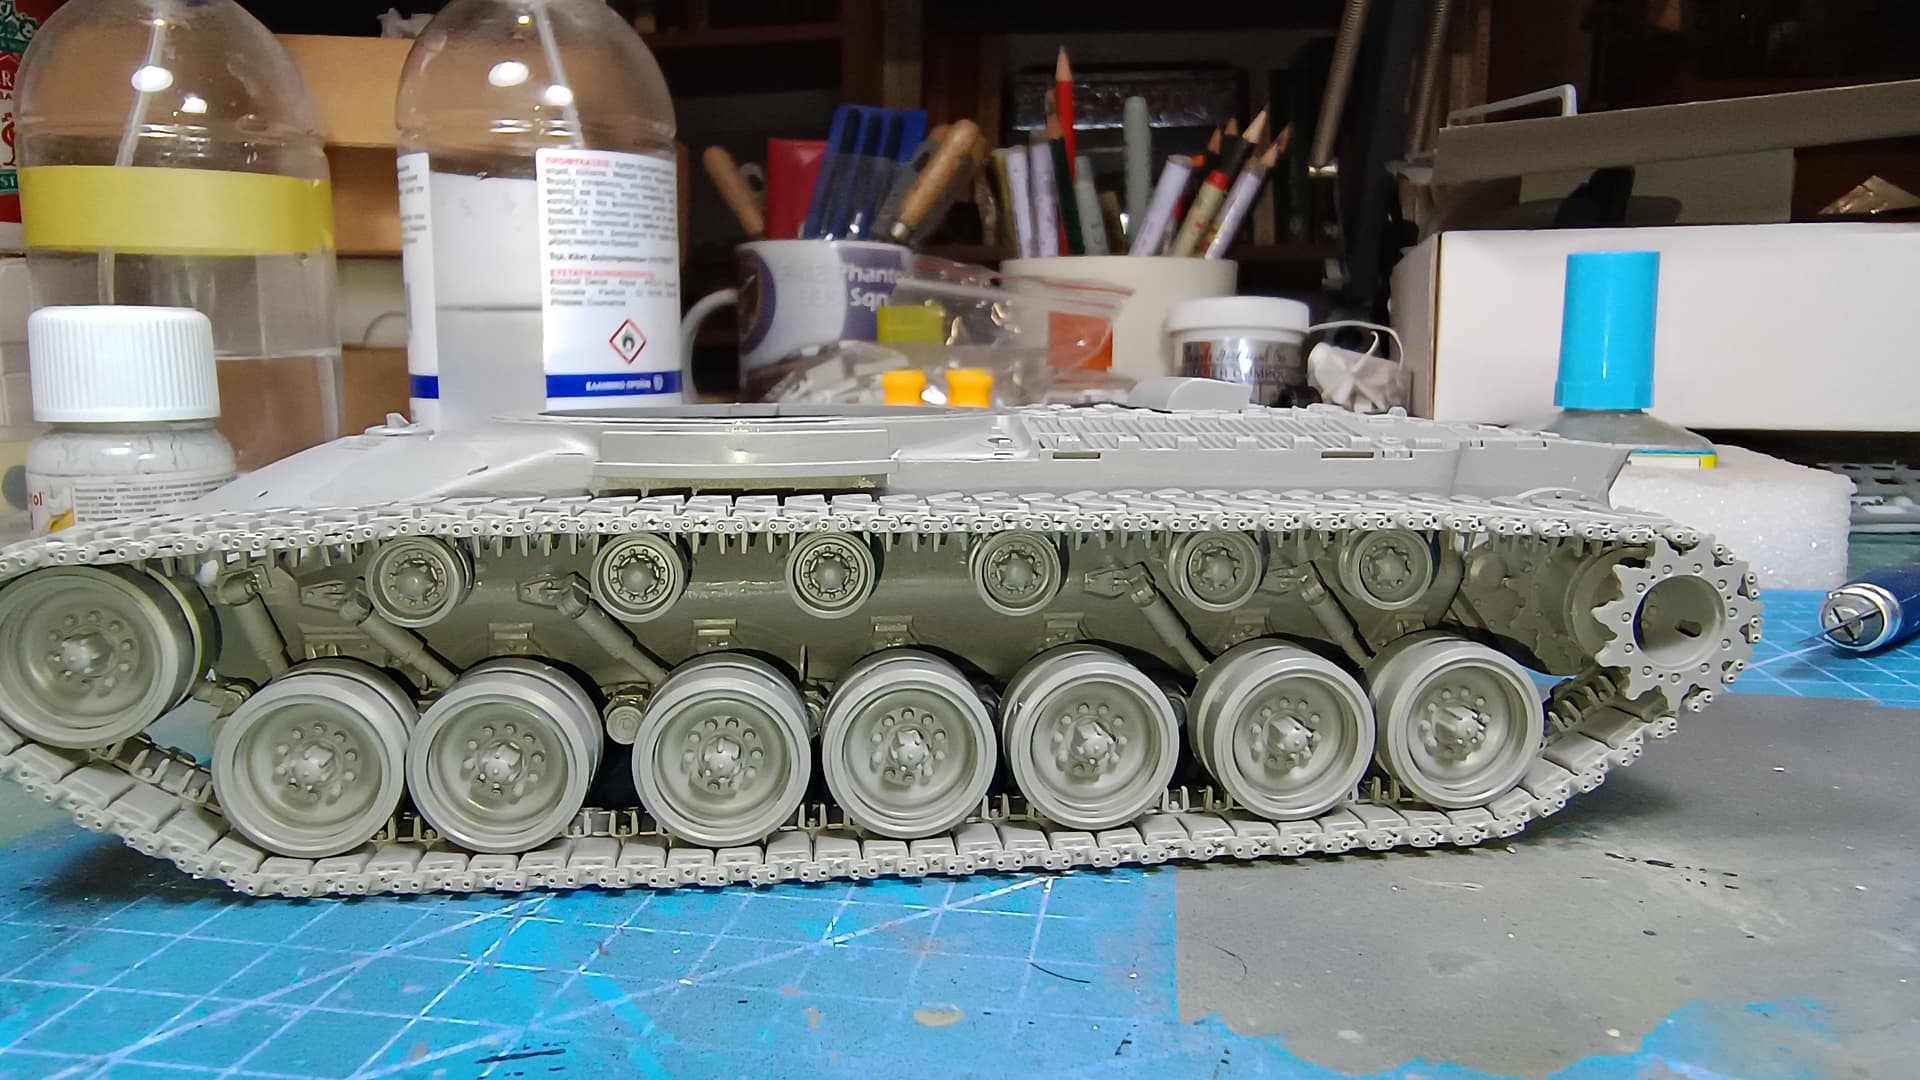
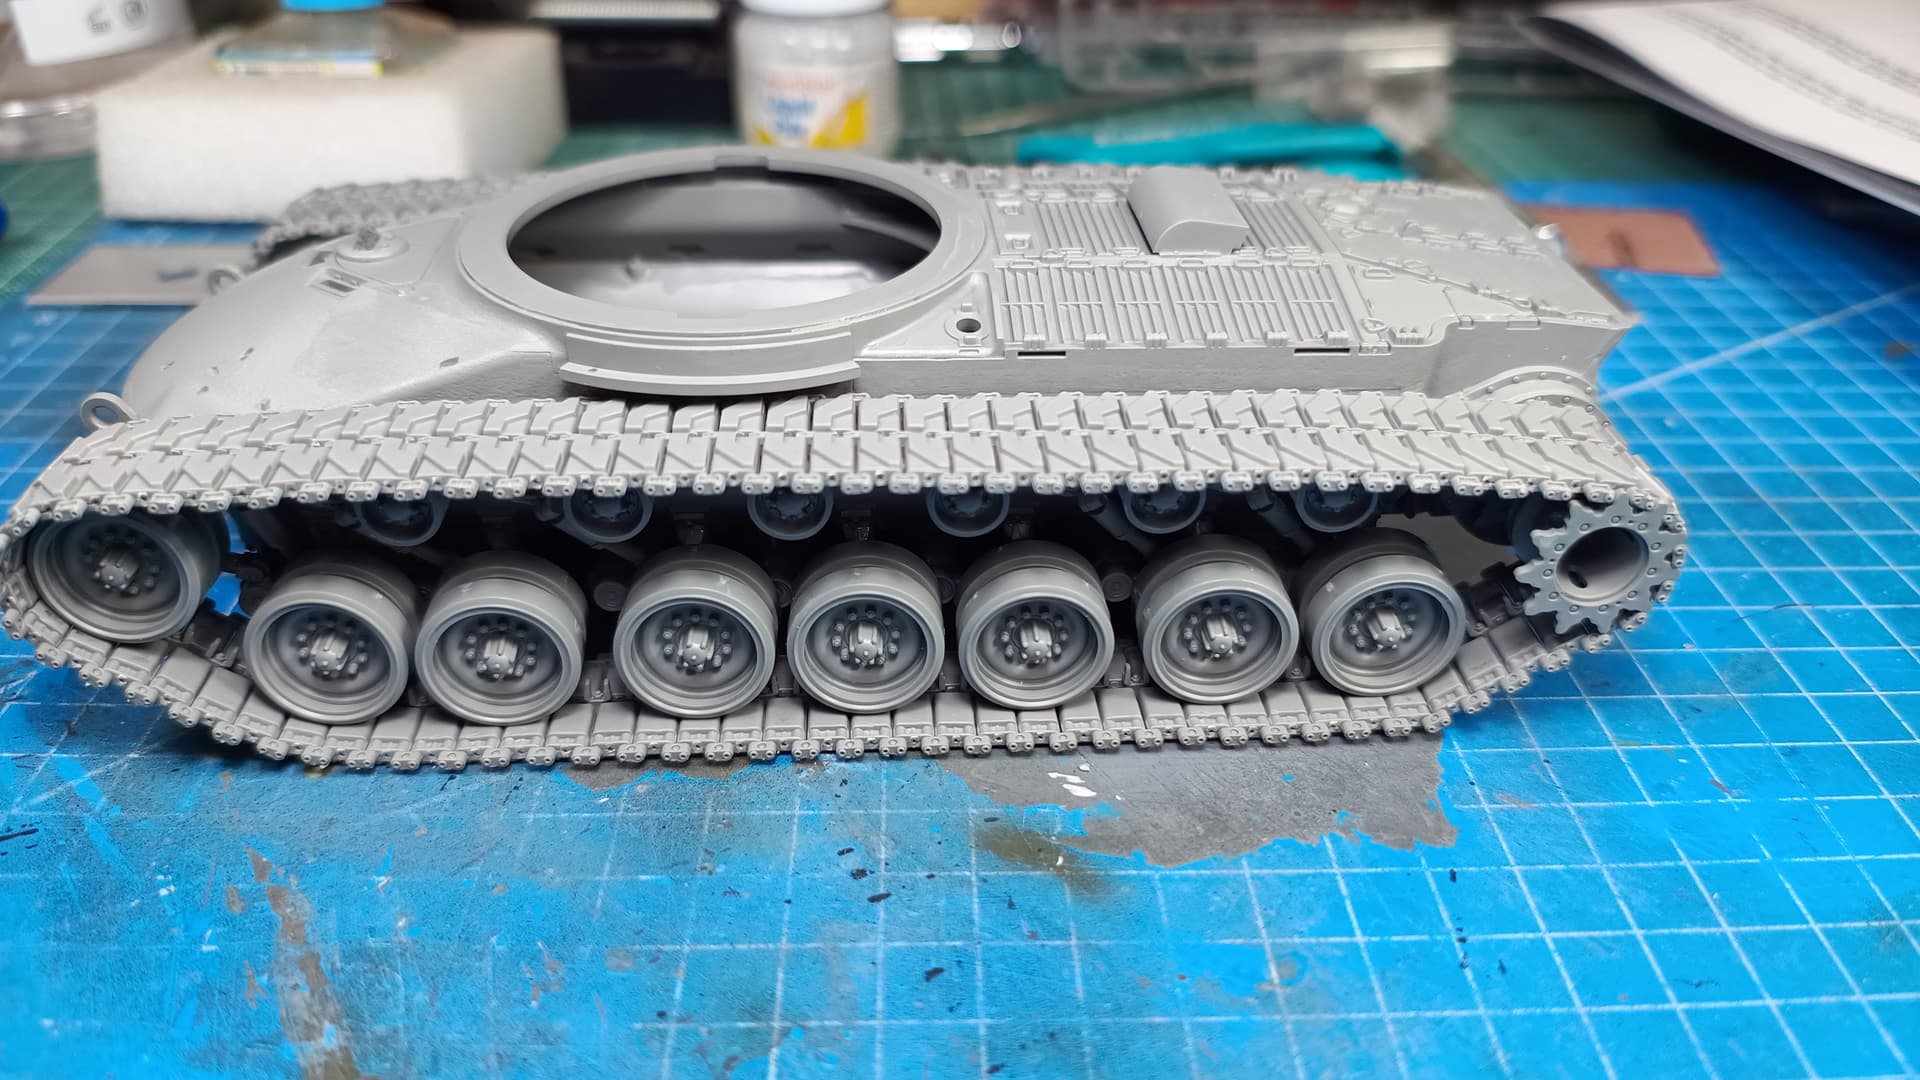
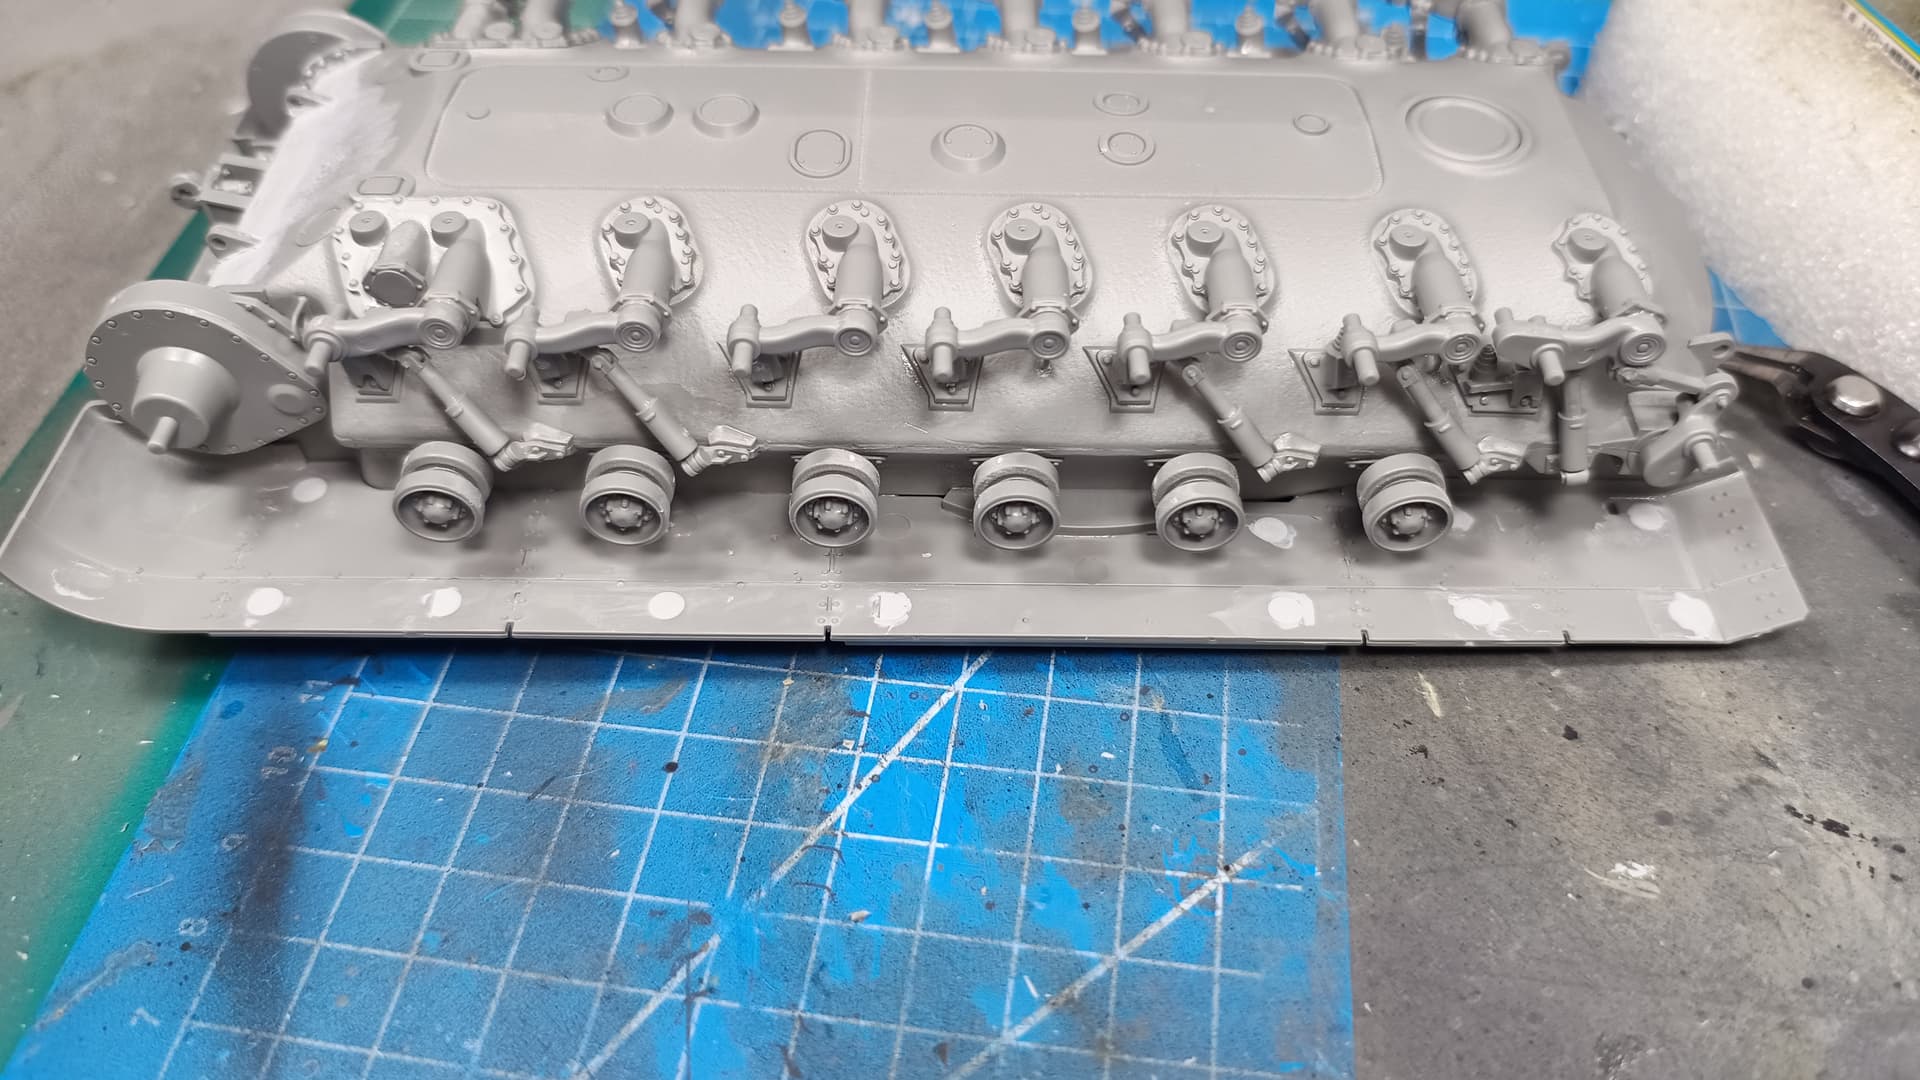
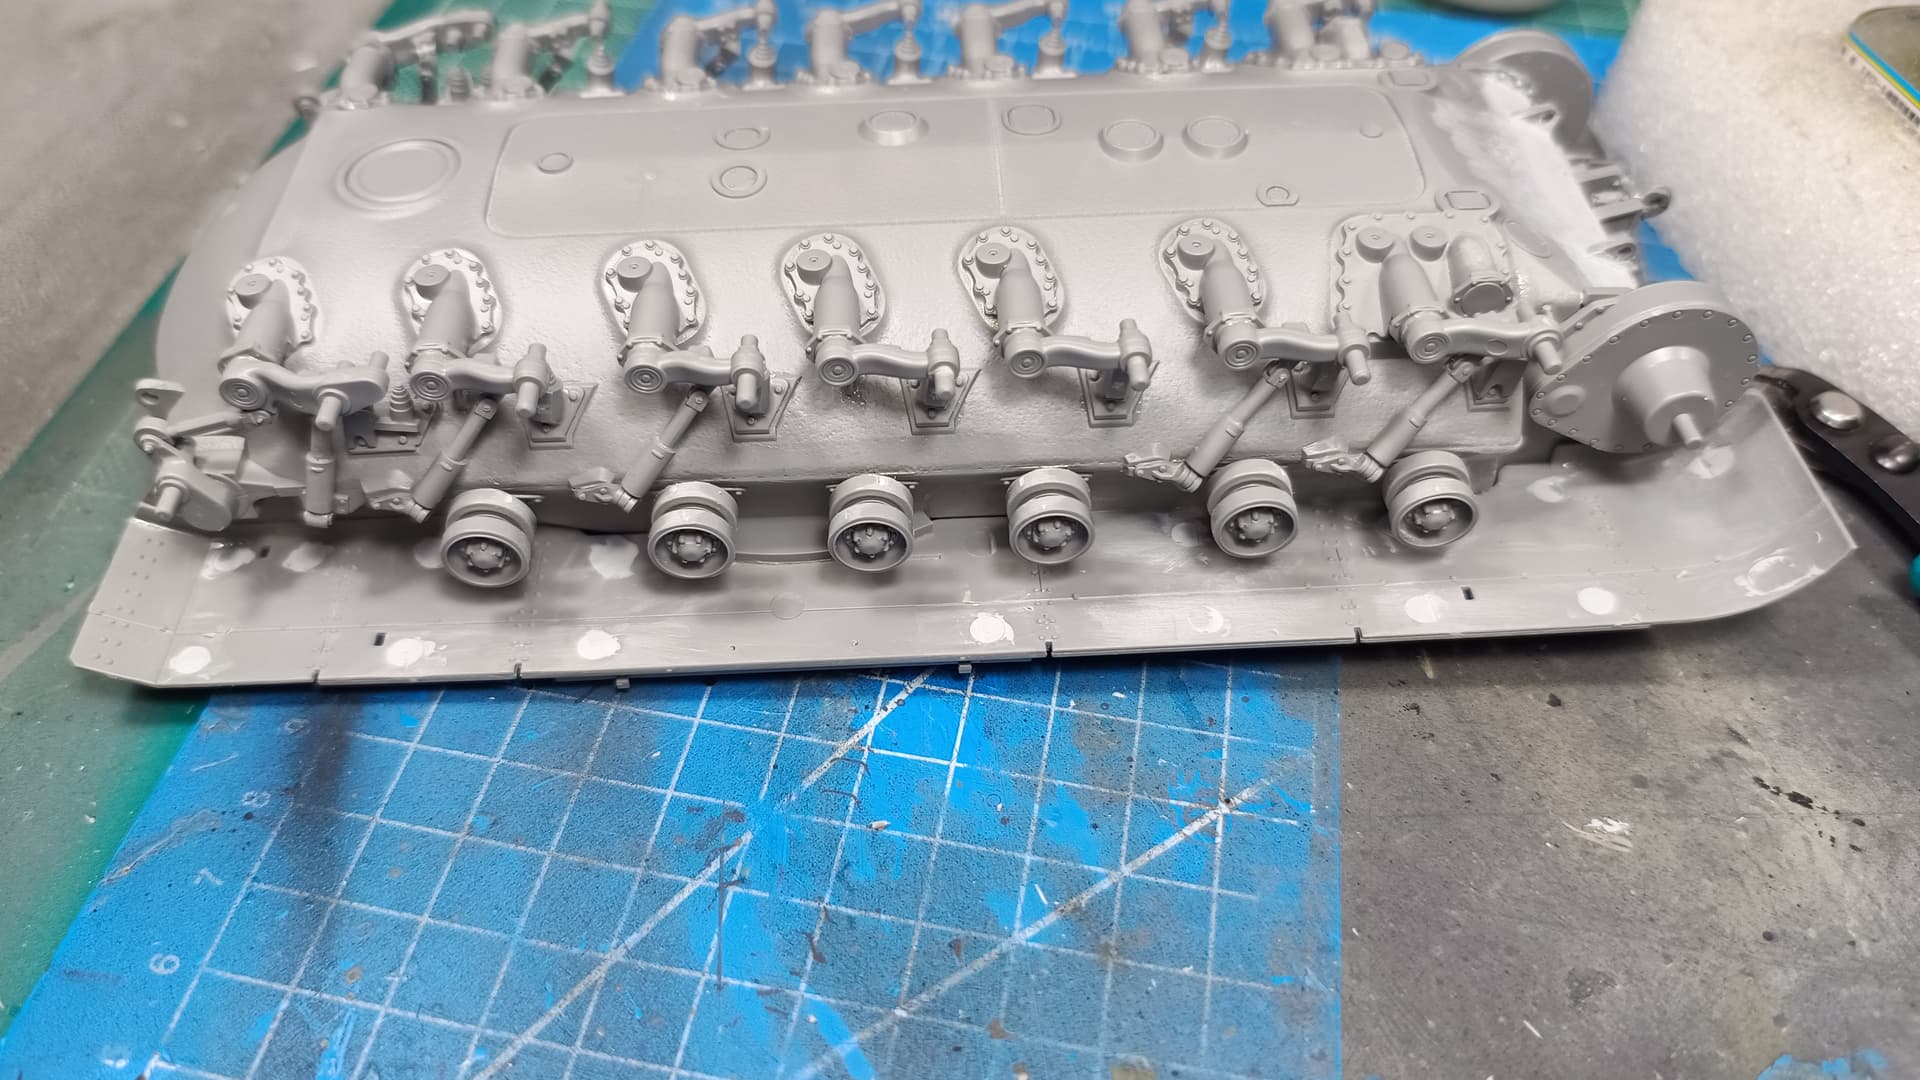
The suspension assembly is a time consuming but relatively easy task, provided you have aligned the arms correctly.
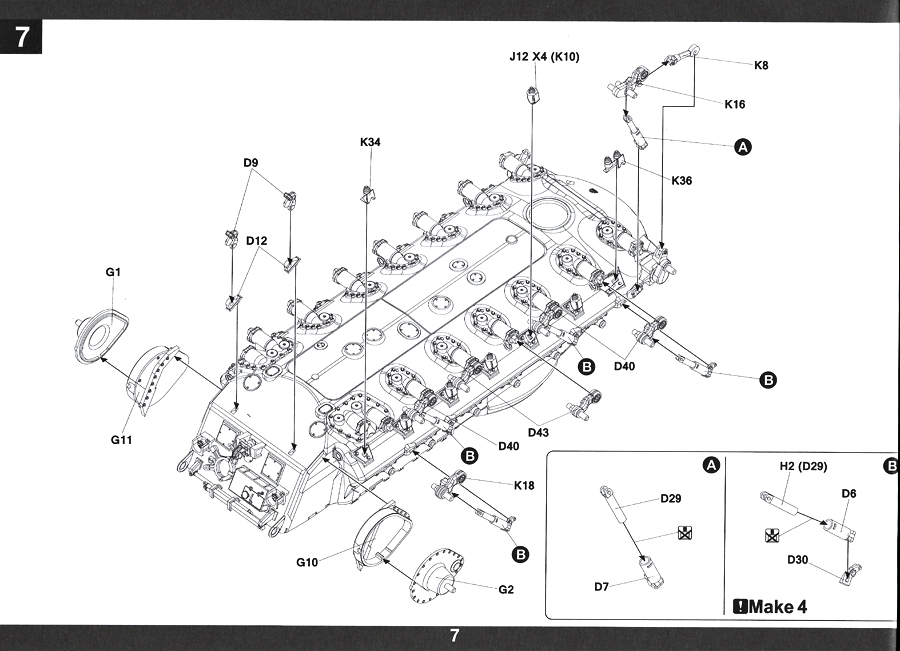
I found it easier to install the bump stop springs parts J11,K33,K39 and similar first. Next I added the mounts of the shock absorbers, parts D30, D31 to the hull assembly and then the upper shock absorber half, parts D6, D5.
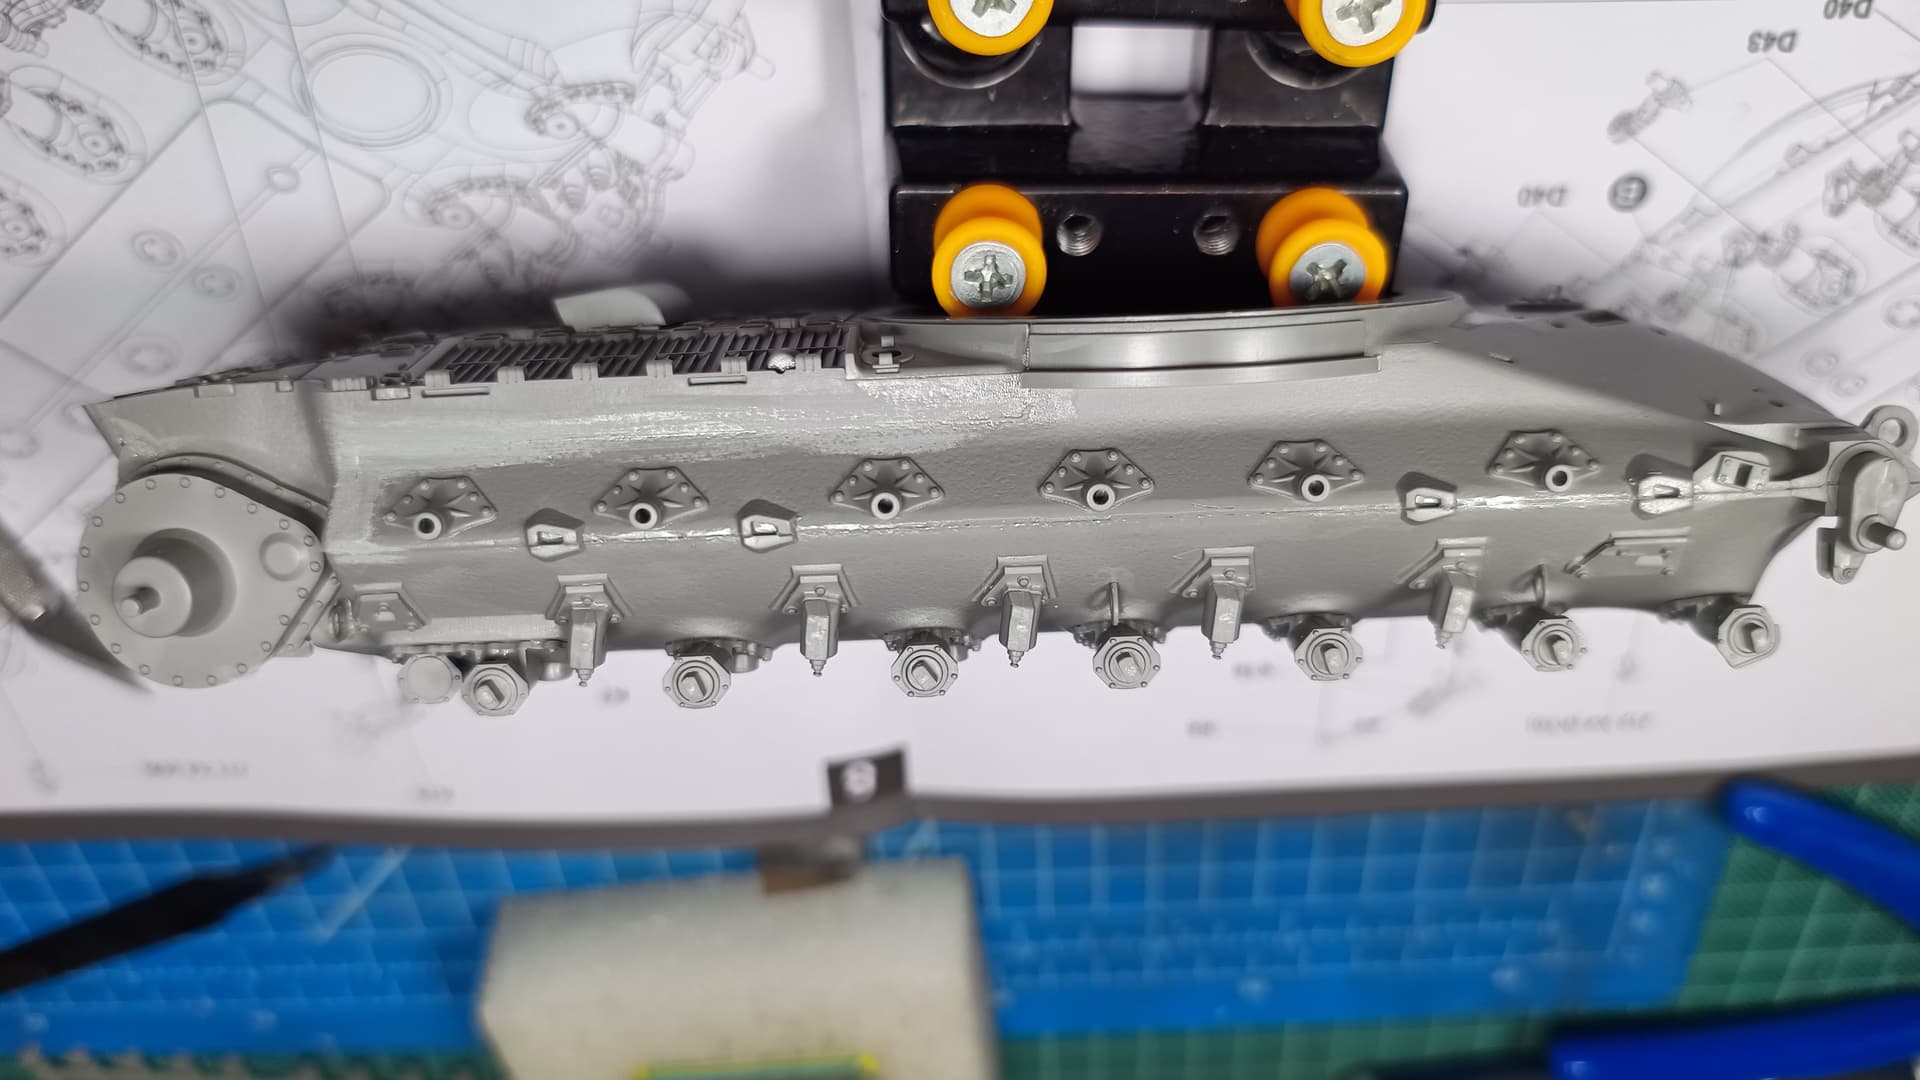
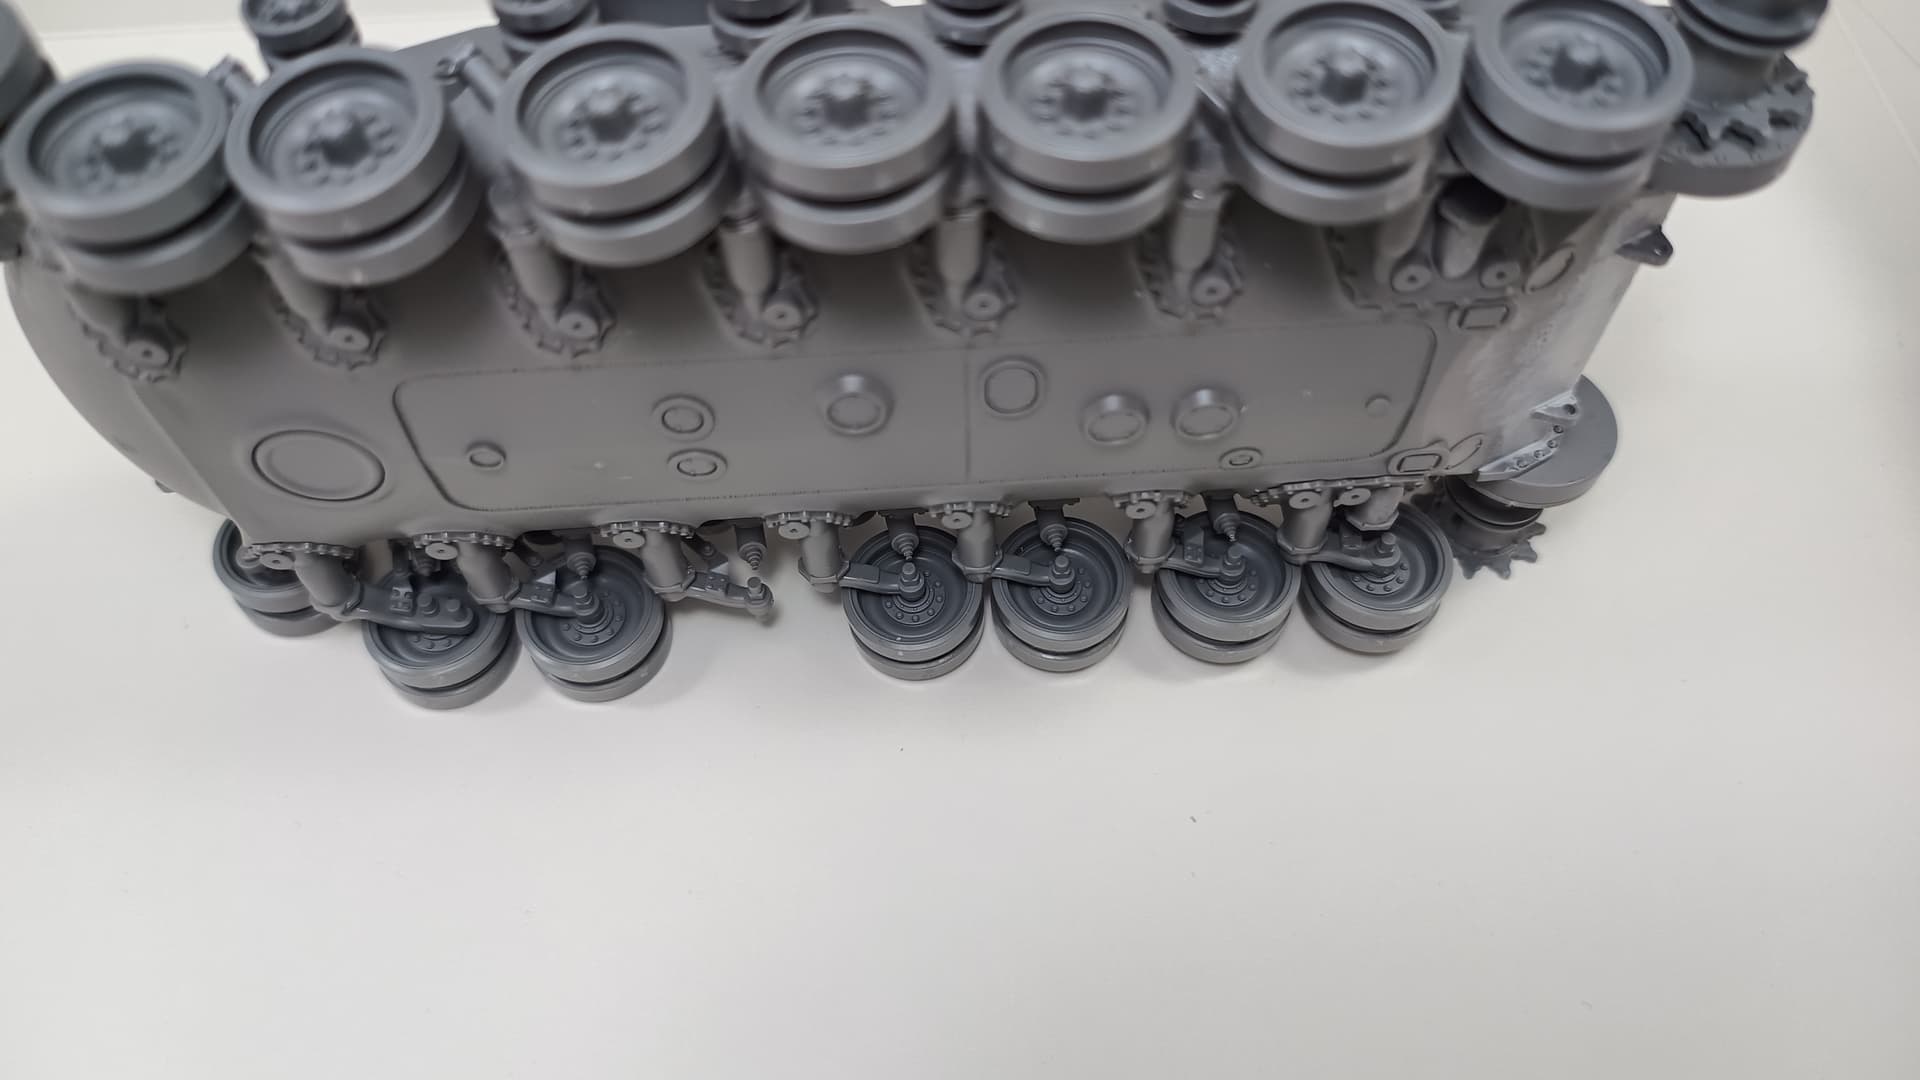
Notice that because of my error in correctly adjusting the suspension height the first and second wheel of the left side are too close together. I will remedy that a bit once the wheels are painted and glued in place.
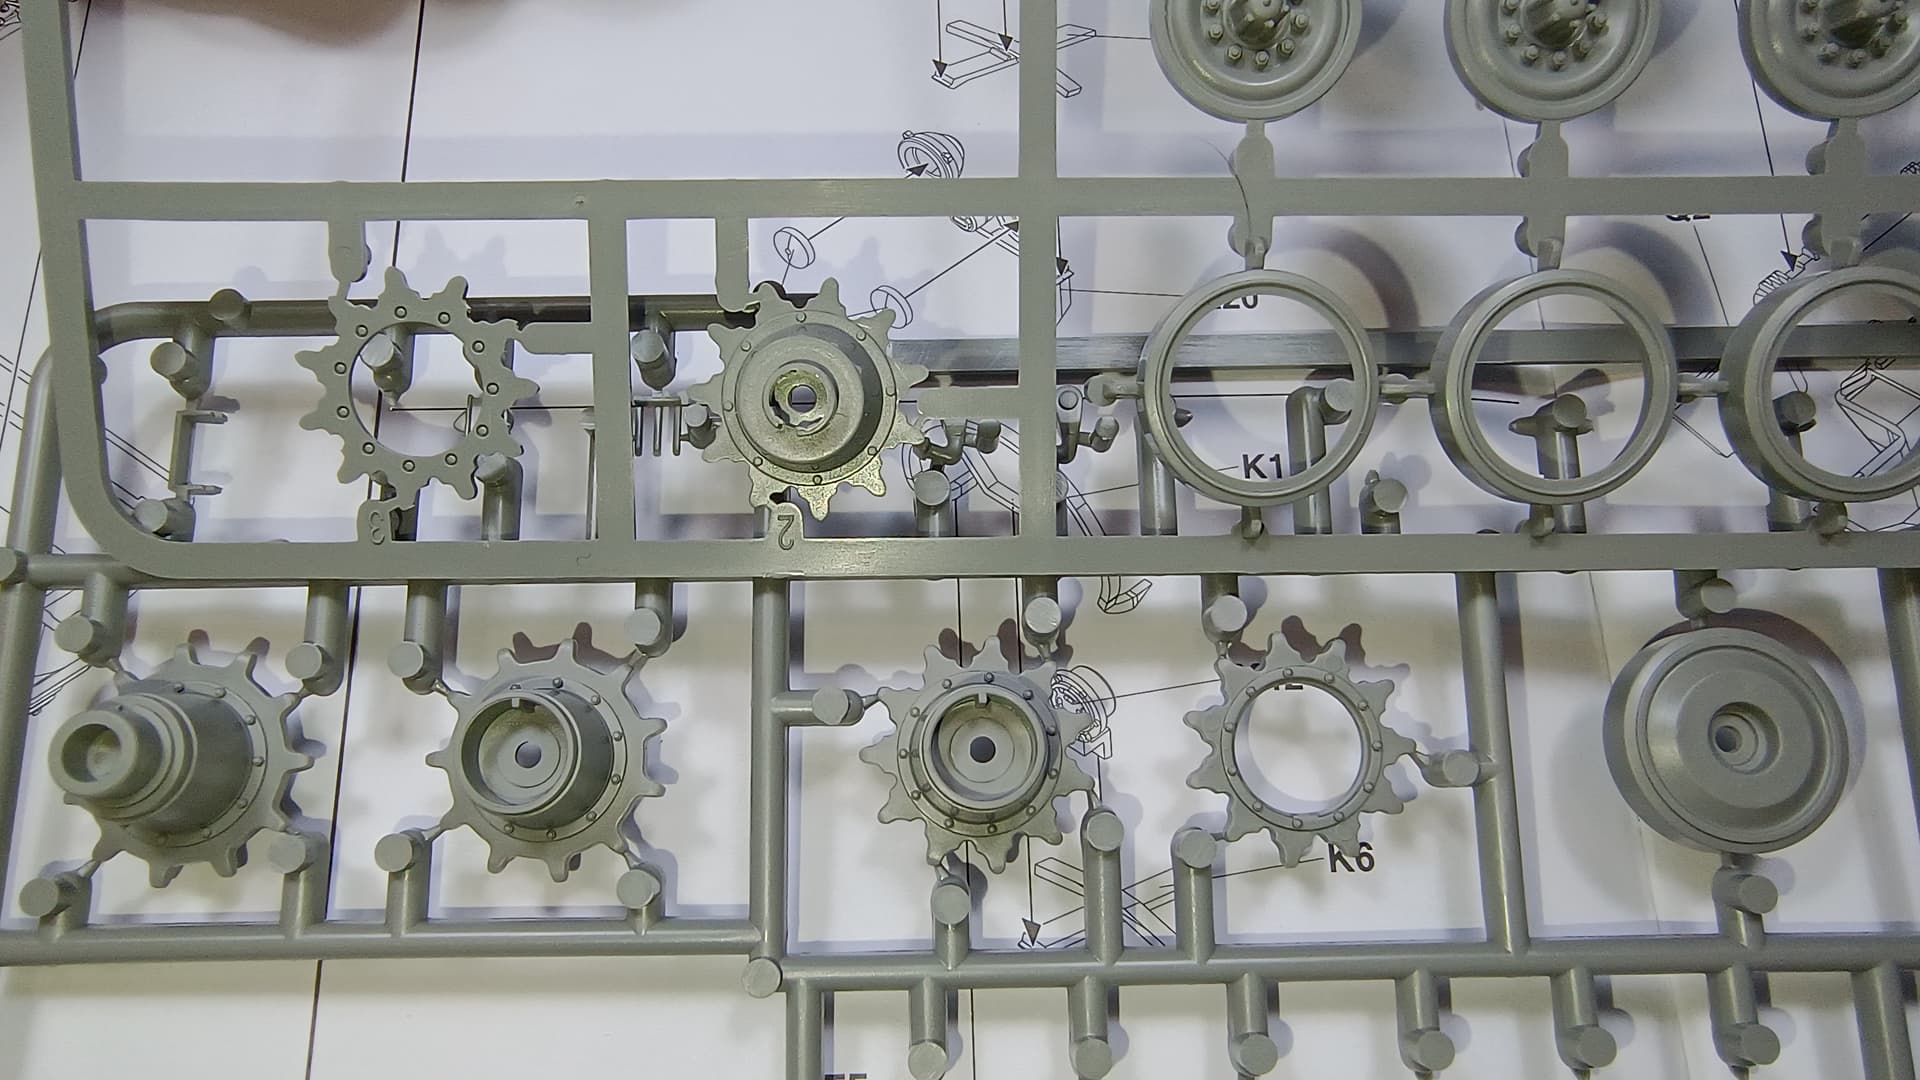
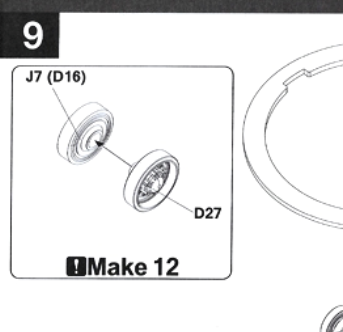
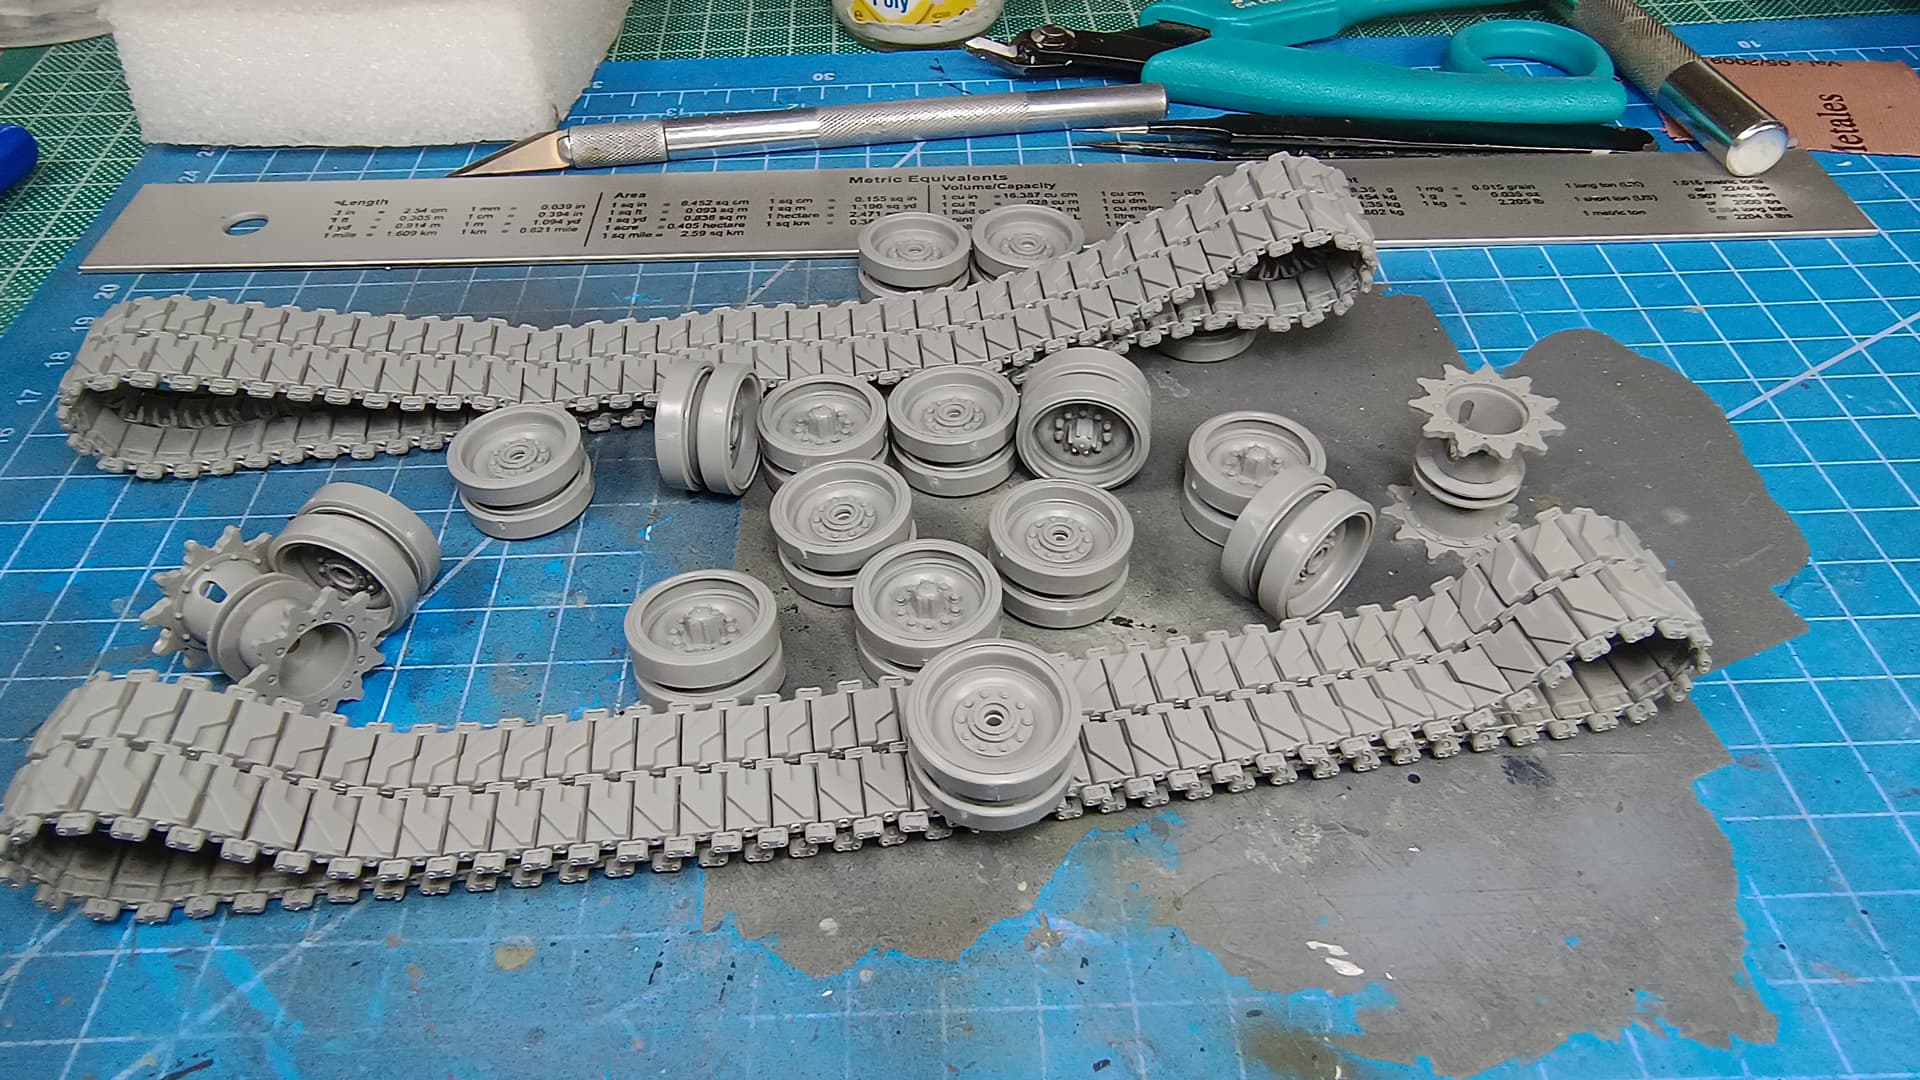
The three types of sprockets included in the kit:
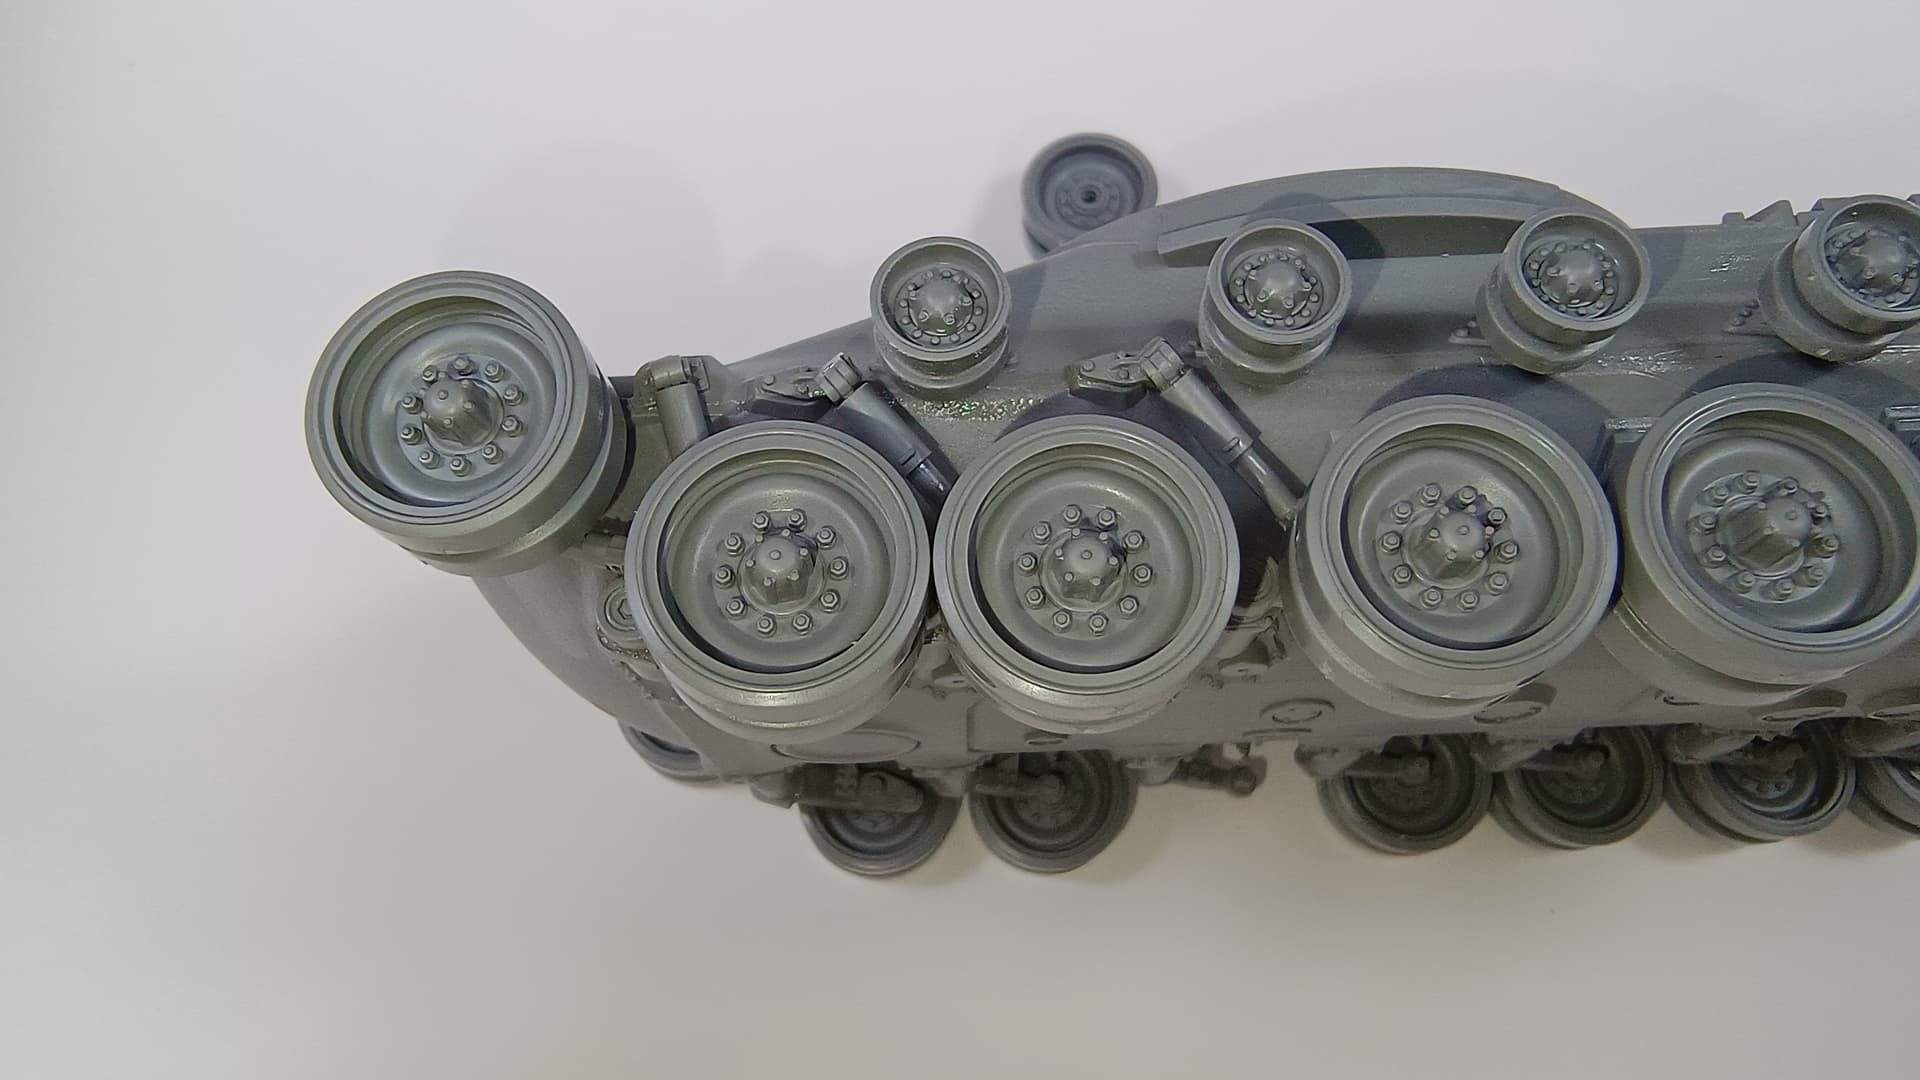
Takom also provides different return roller outer wheels than their M48 kits ( sprue J in the M48 and M103 kits is common, sprue D is kit specific)
M48 on the left, M103 on the right
Overall the suspension assembly is pretty straight forward despite the amount of parts involved.
End of part 2. ![]()
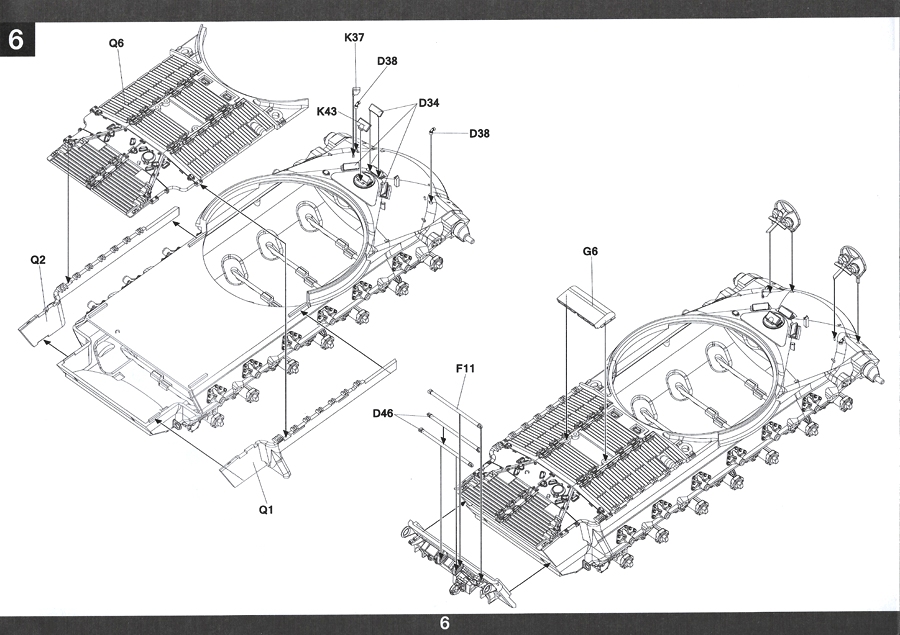
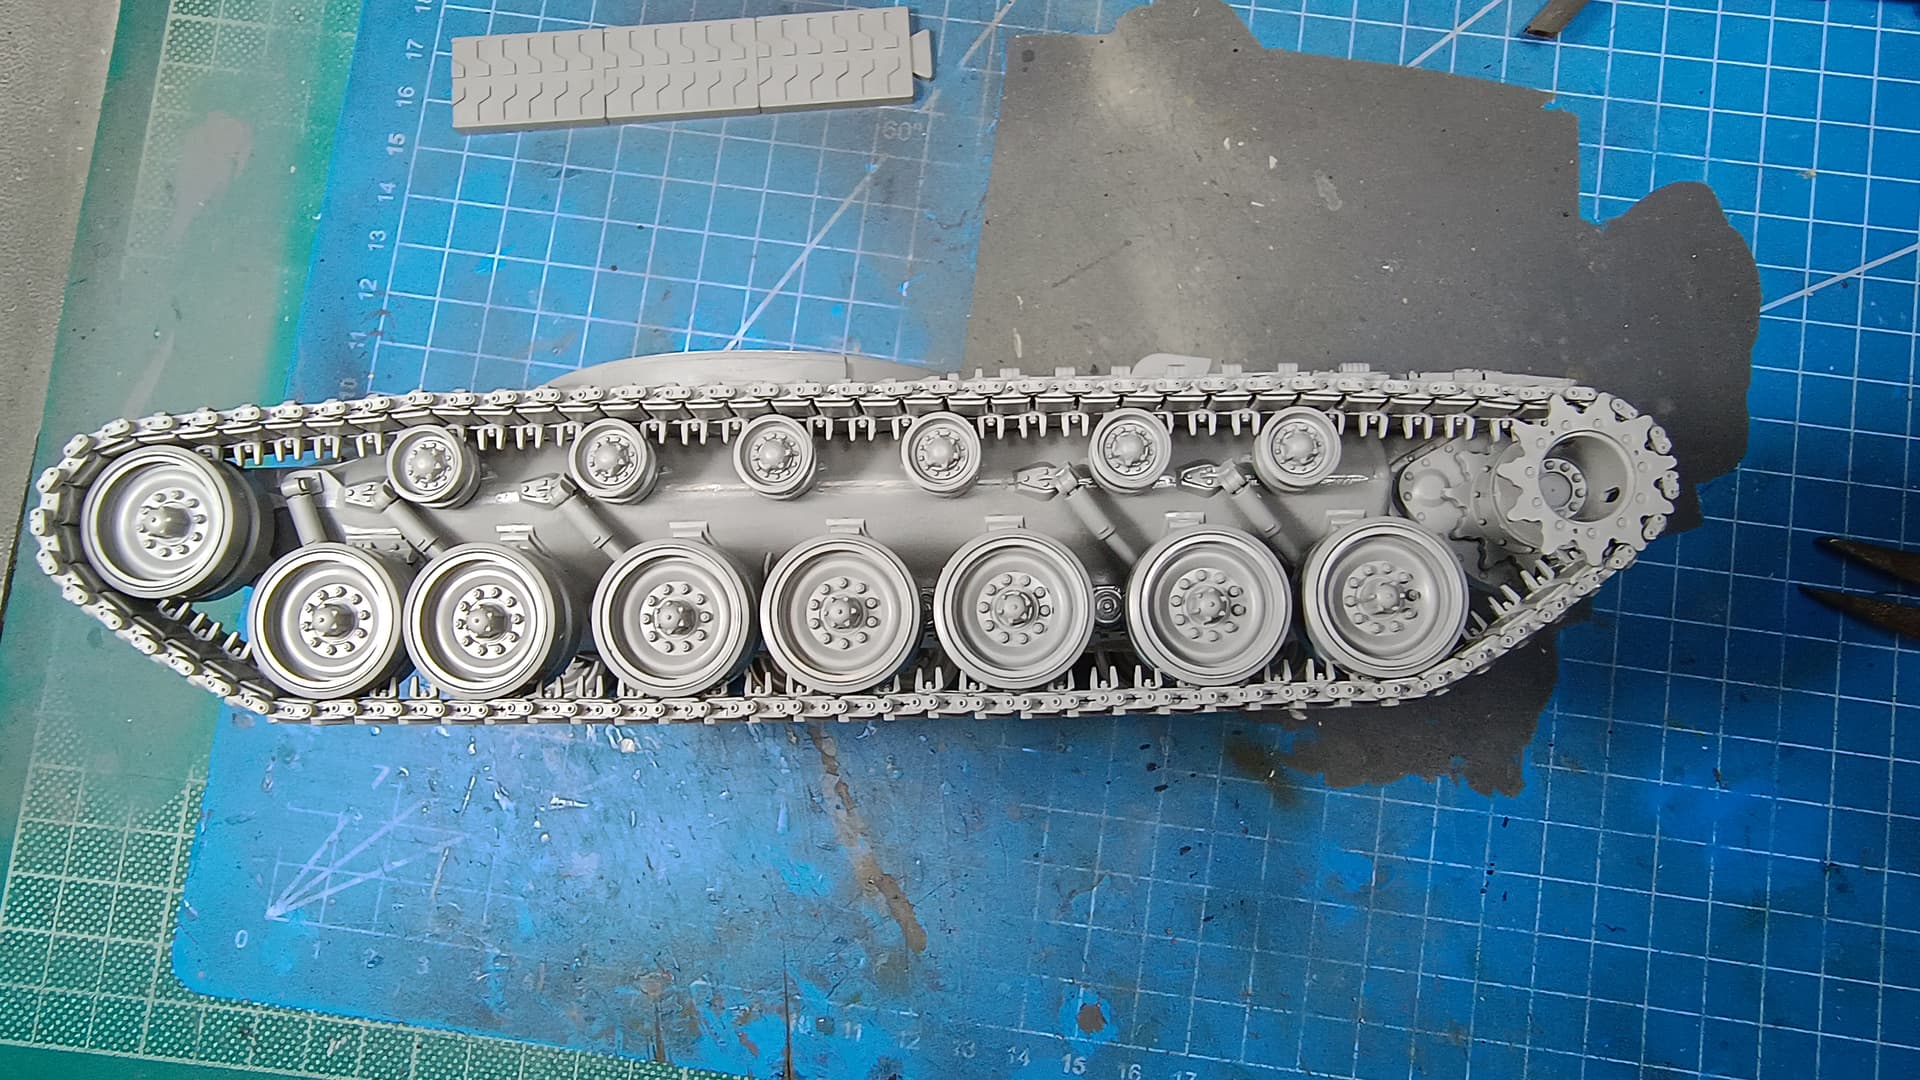
Now on to the track assembly, I will try to measure the time it takes my to do one side and then both sides.
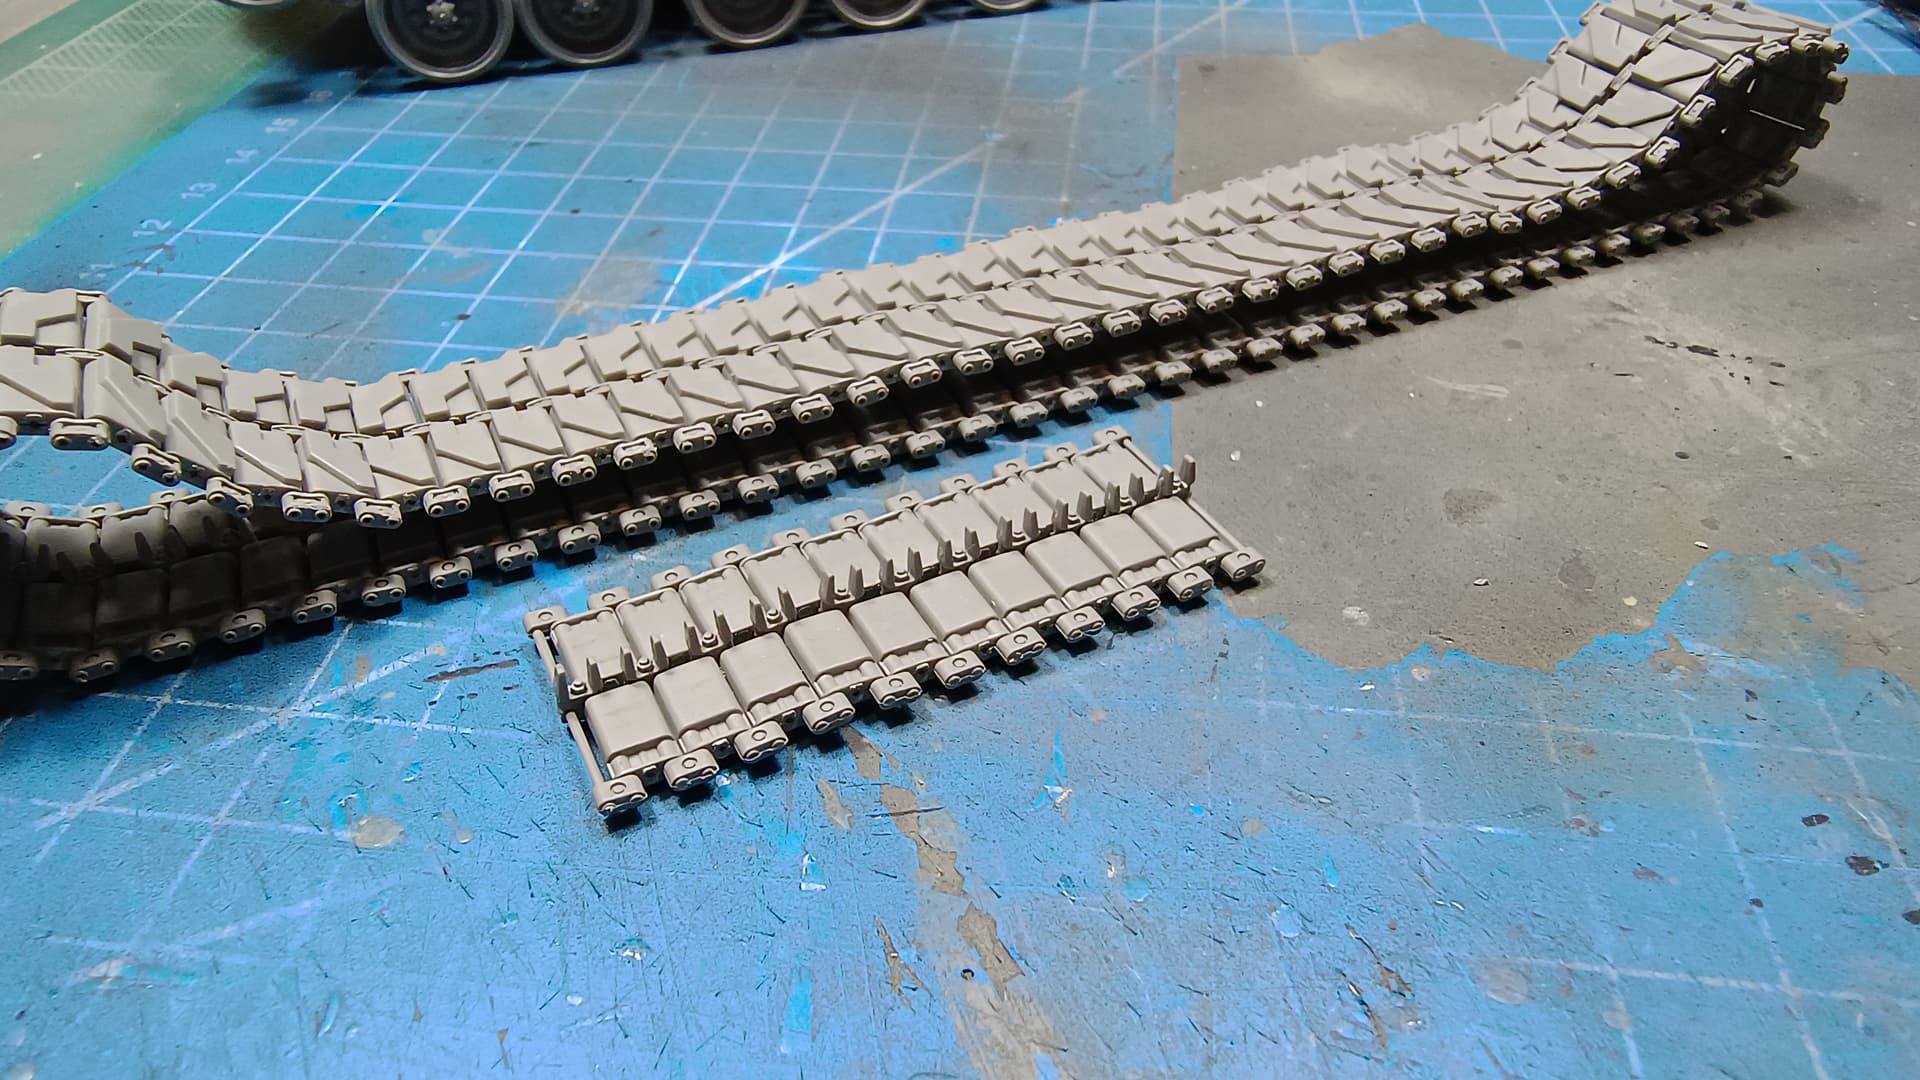
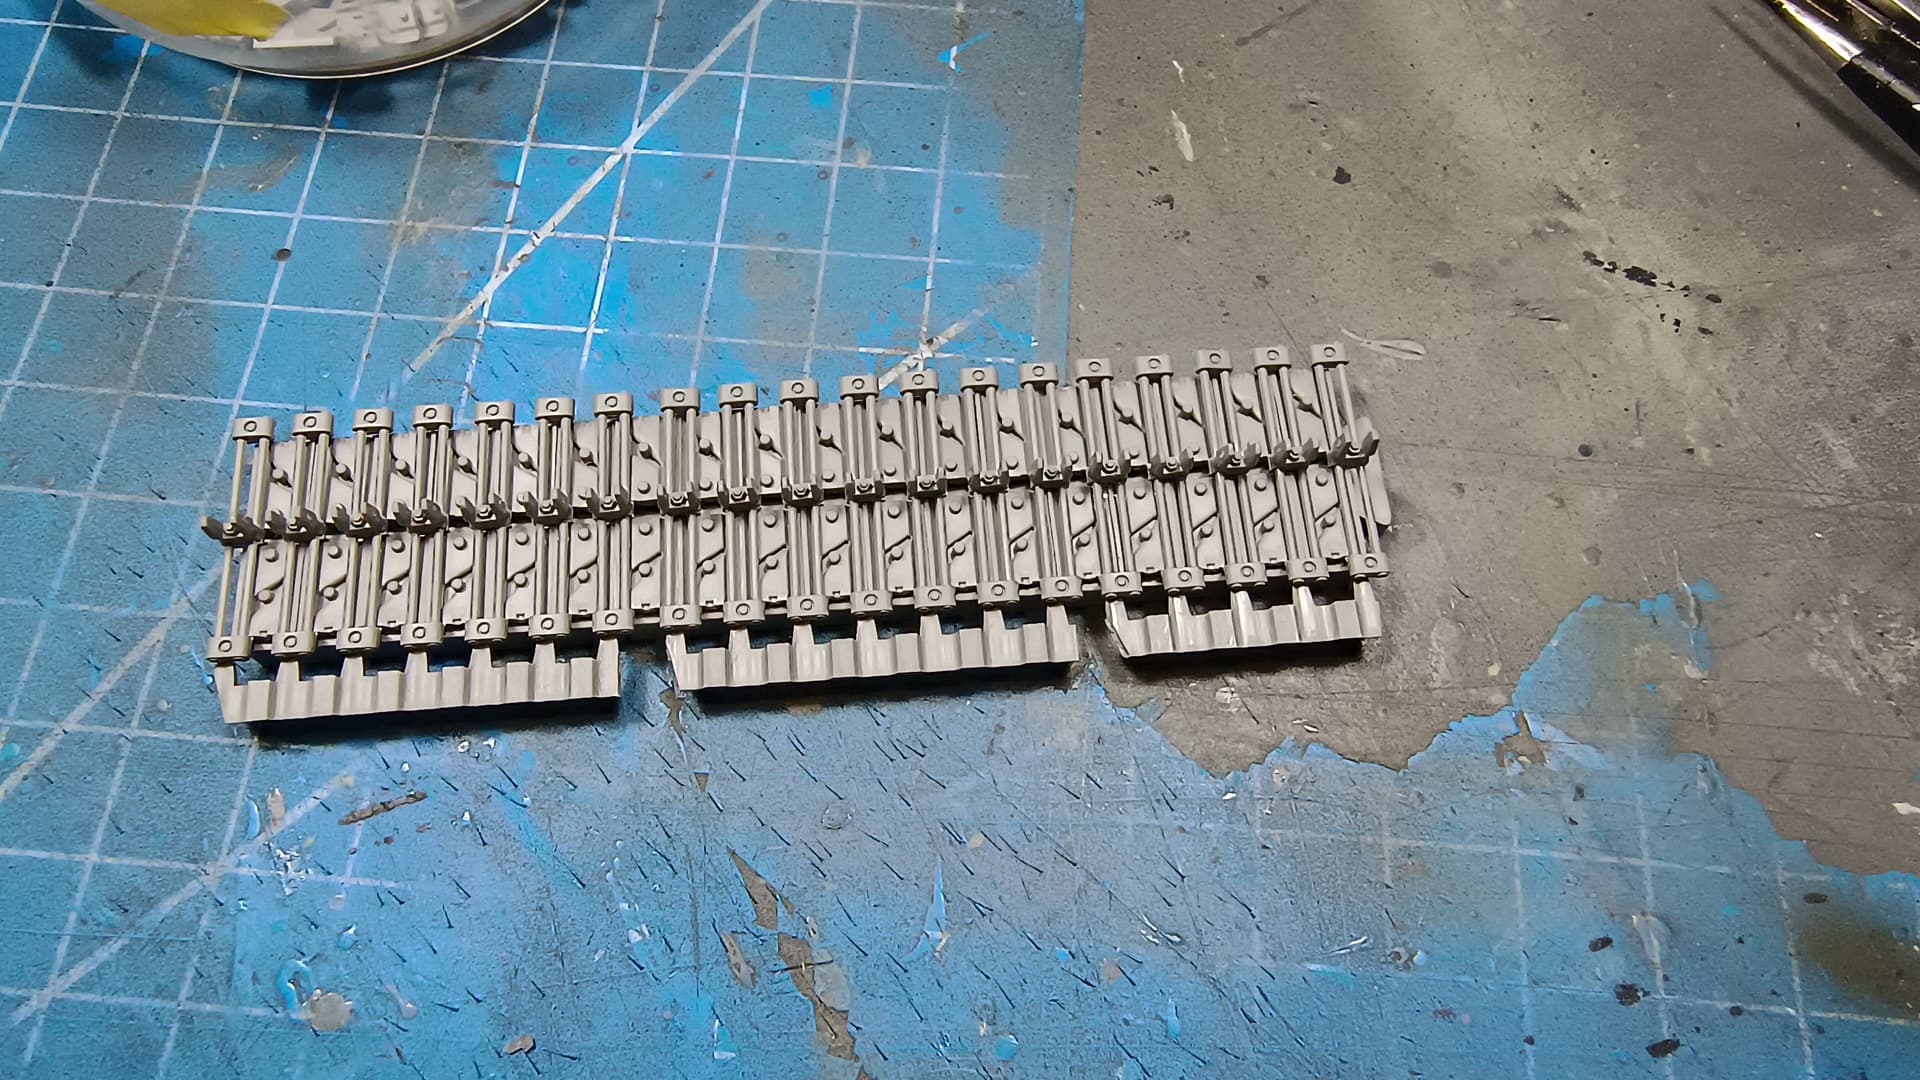
Part three - Track assembly.
It is a tedious-repeatitive task. But if you break it down in smaller sessions, e.g. ten links each time, you can avoid the frustration or tiredness.
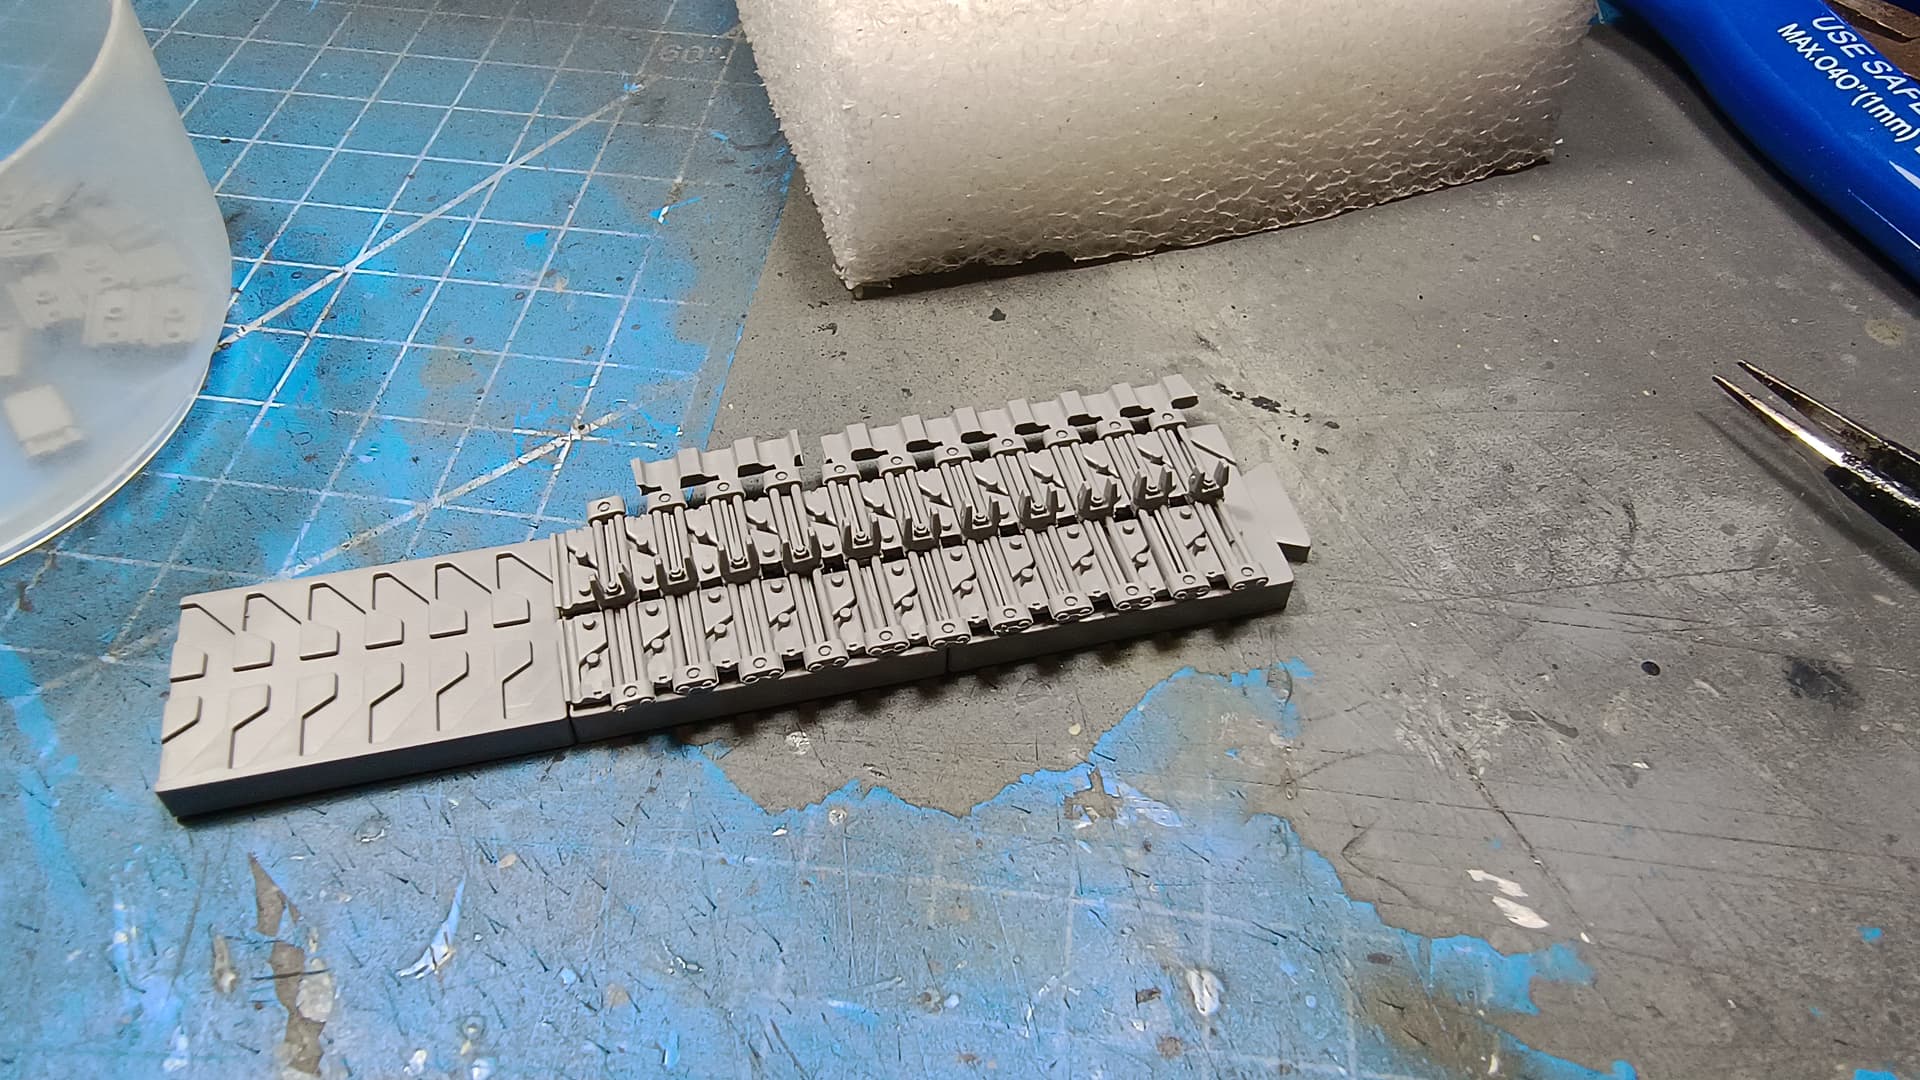
Takom has done a great job in representing the track and its details.
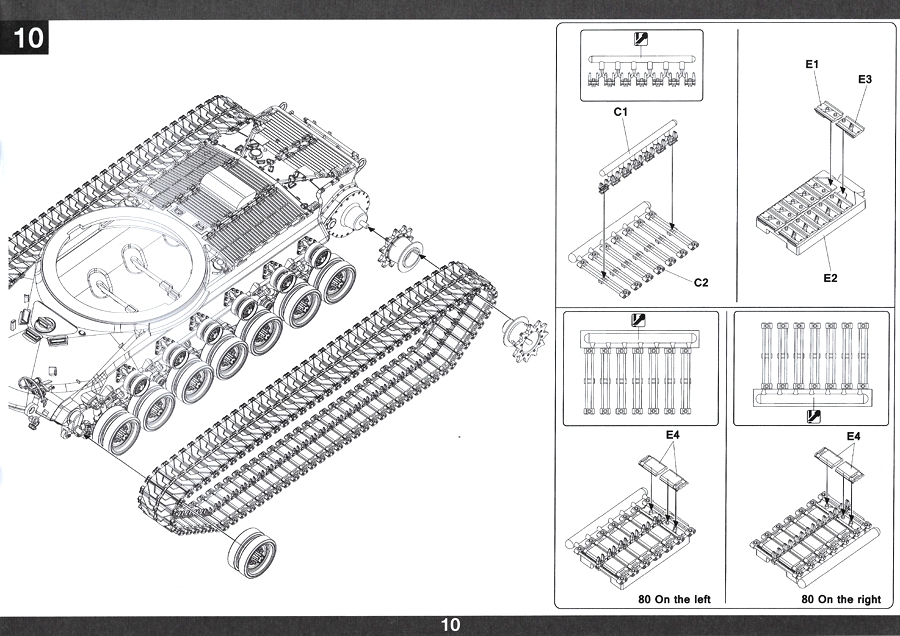
I did not follow the way the instructions show you for the track assembly.
I started by removing the guide teeth and end connectors-pins from the sprues.
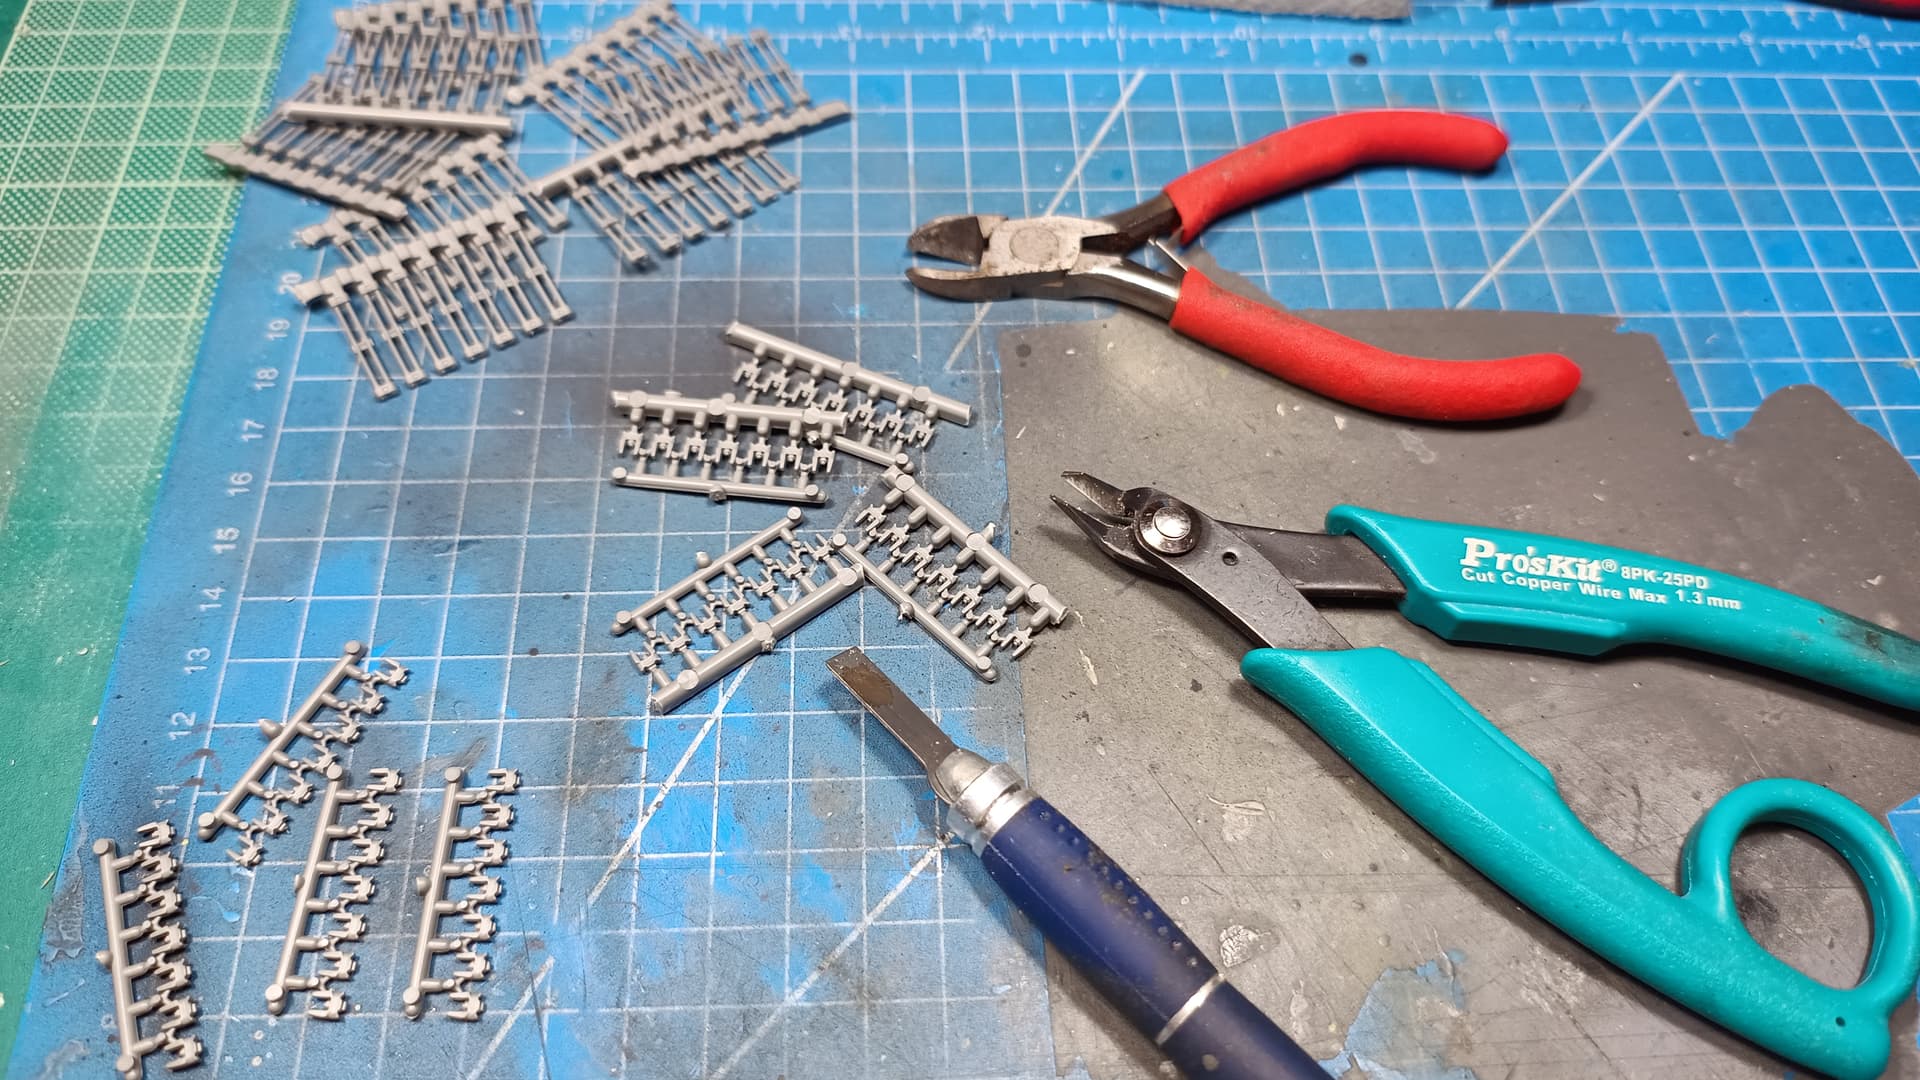
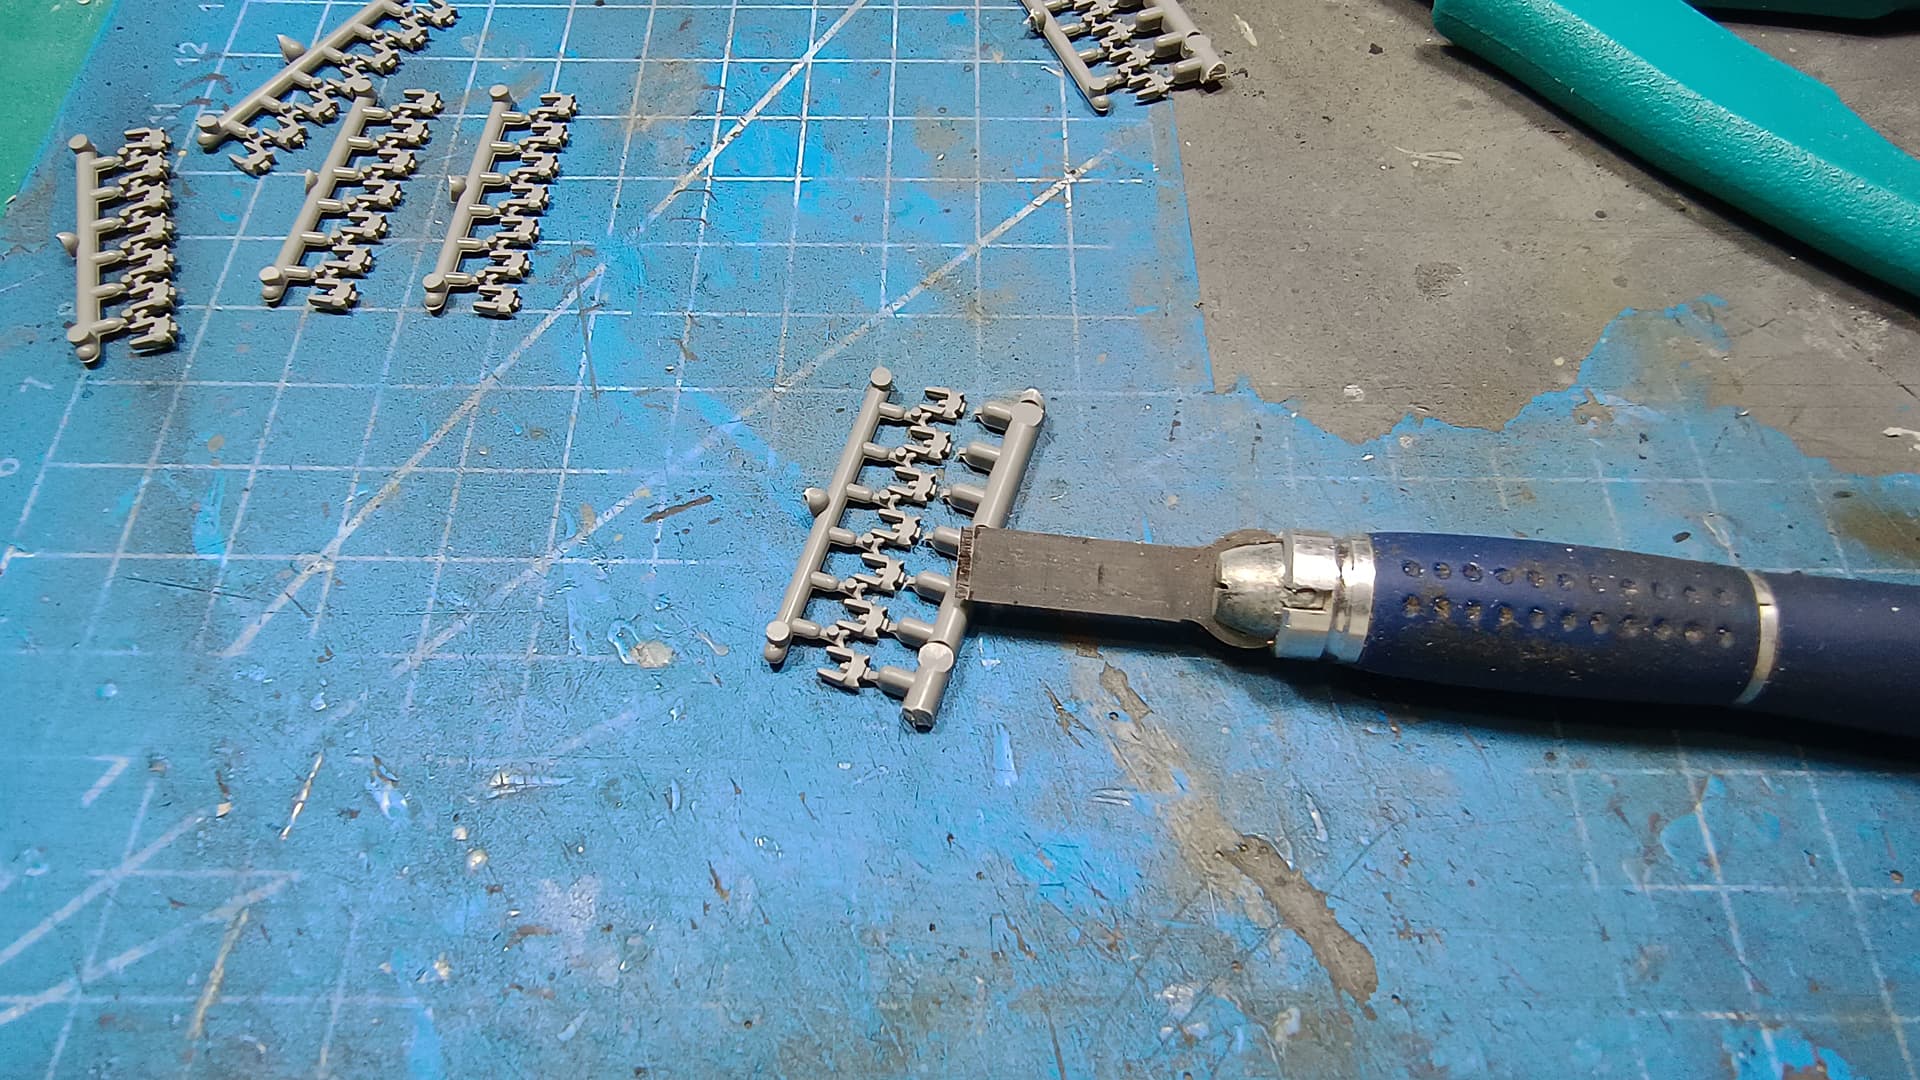
I find that the straight blade does an awesome job of removing delicate parts from the sprue without leaving any material from the spruegate to the part.
It took me 1 hour and 15 minutes to reach this:
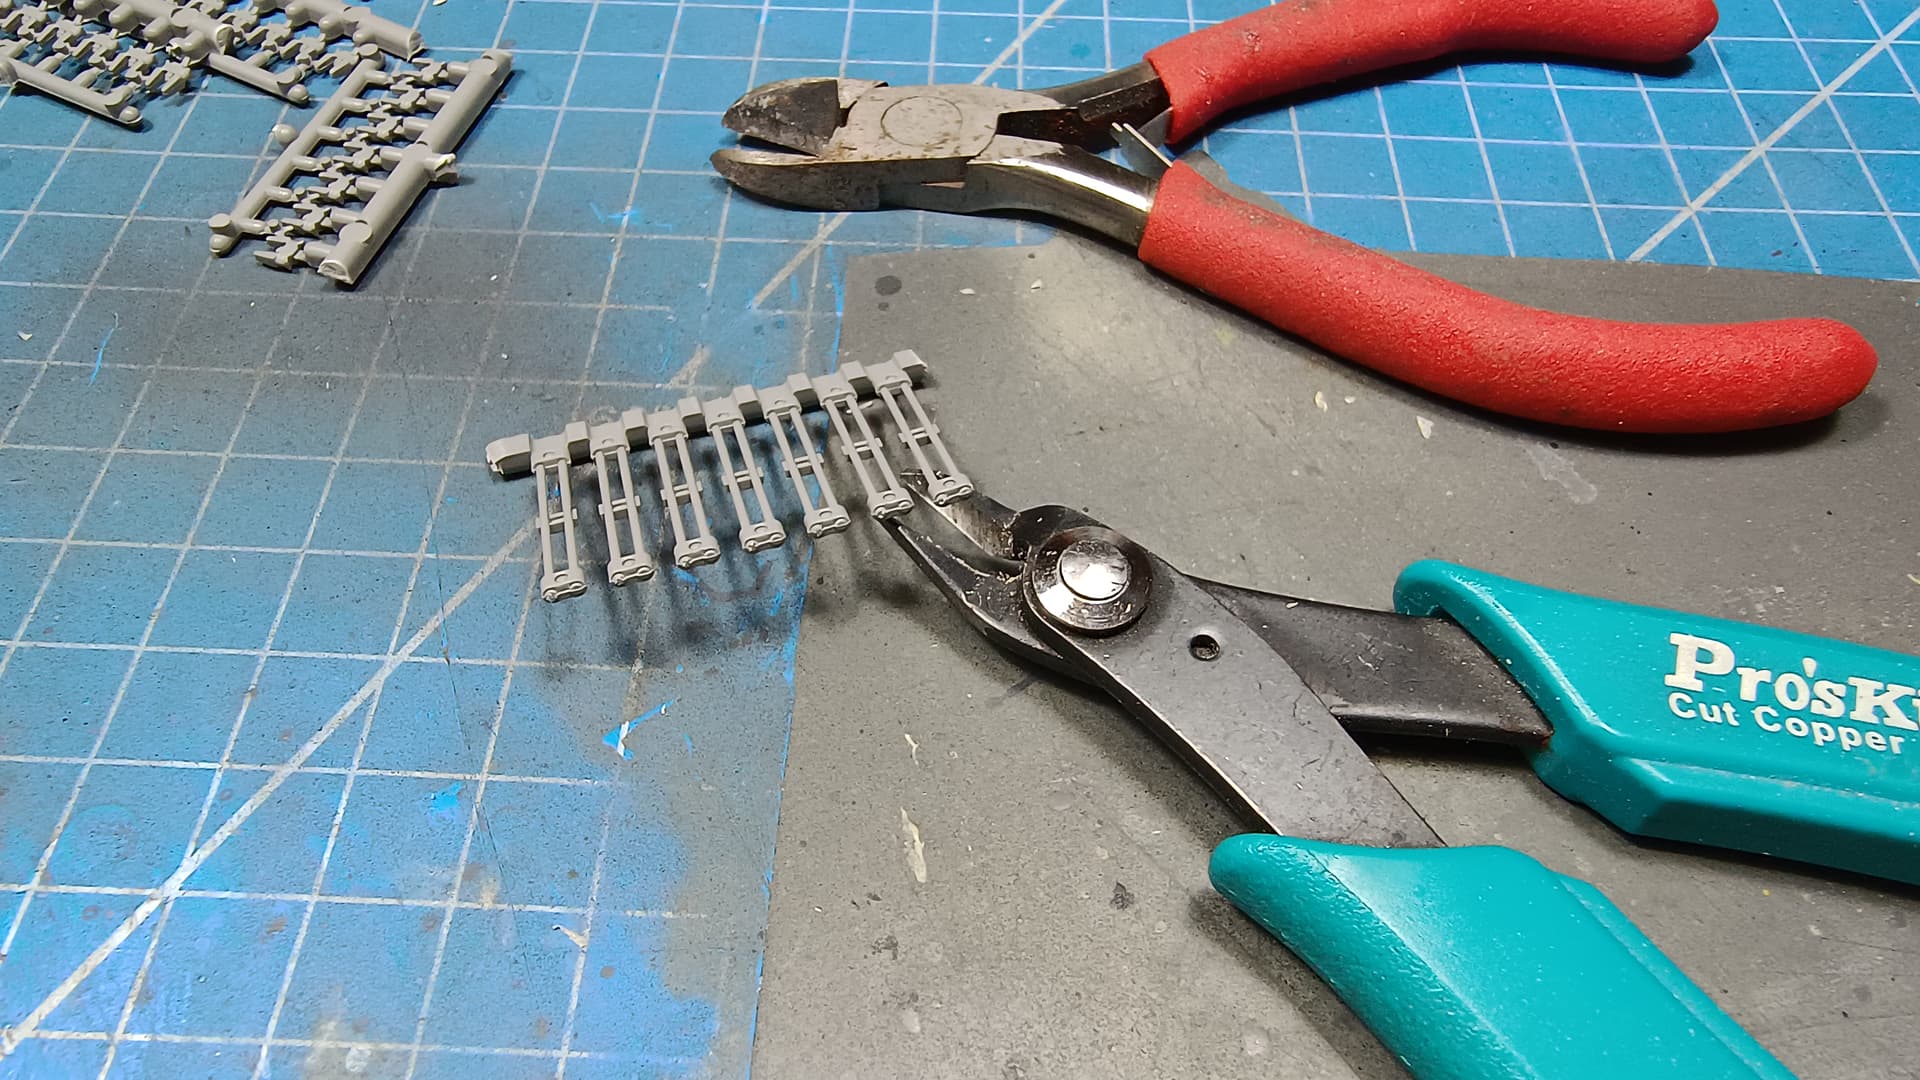
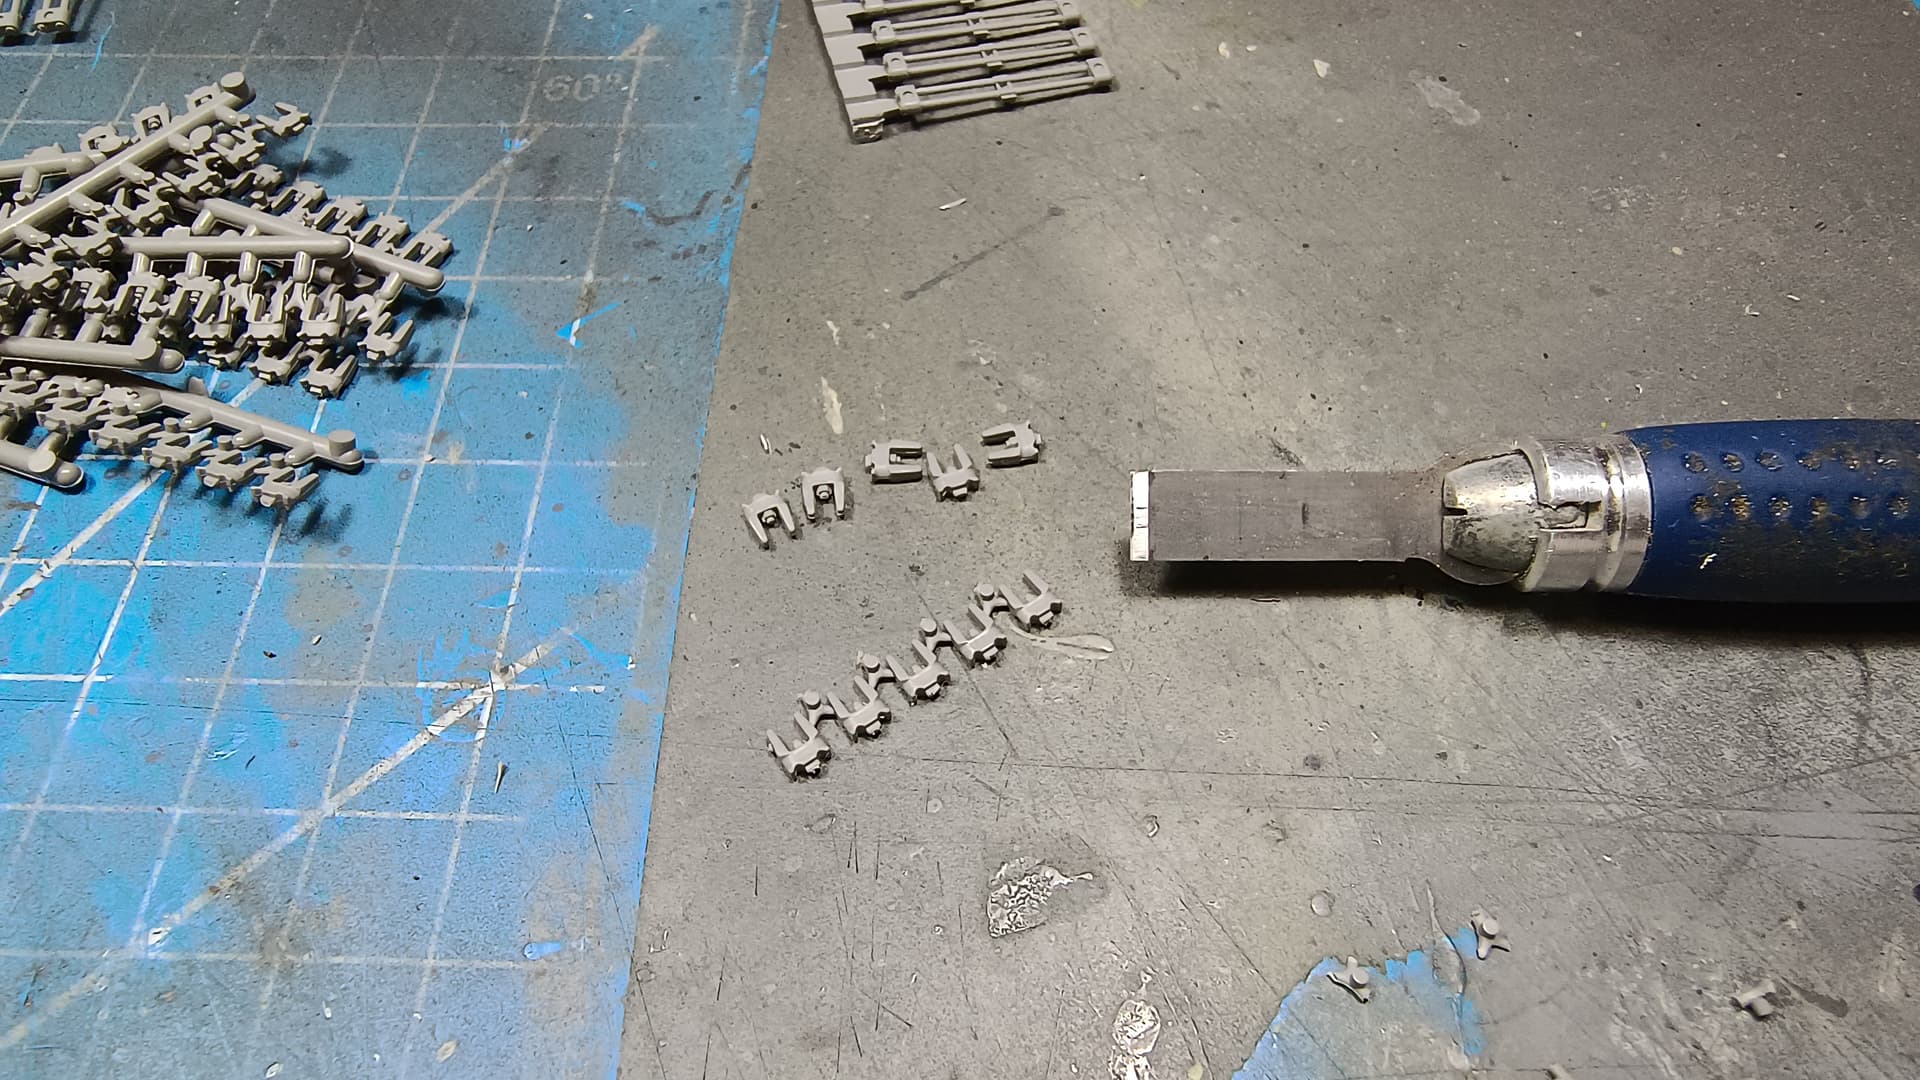
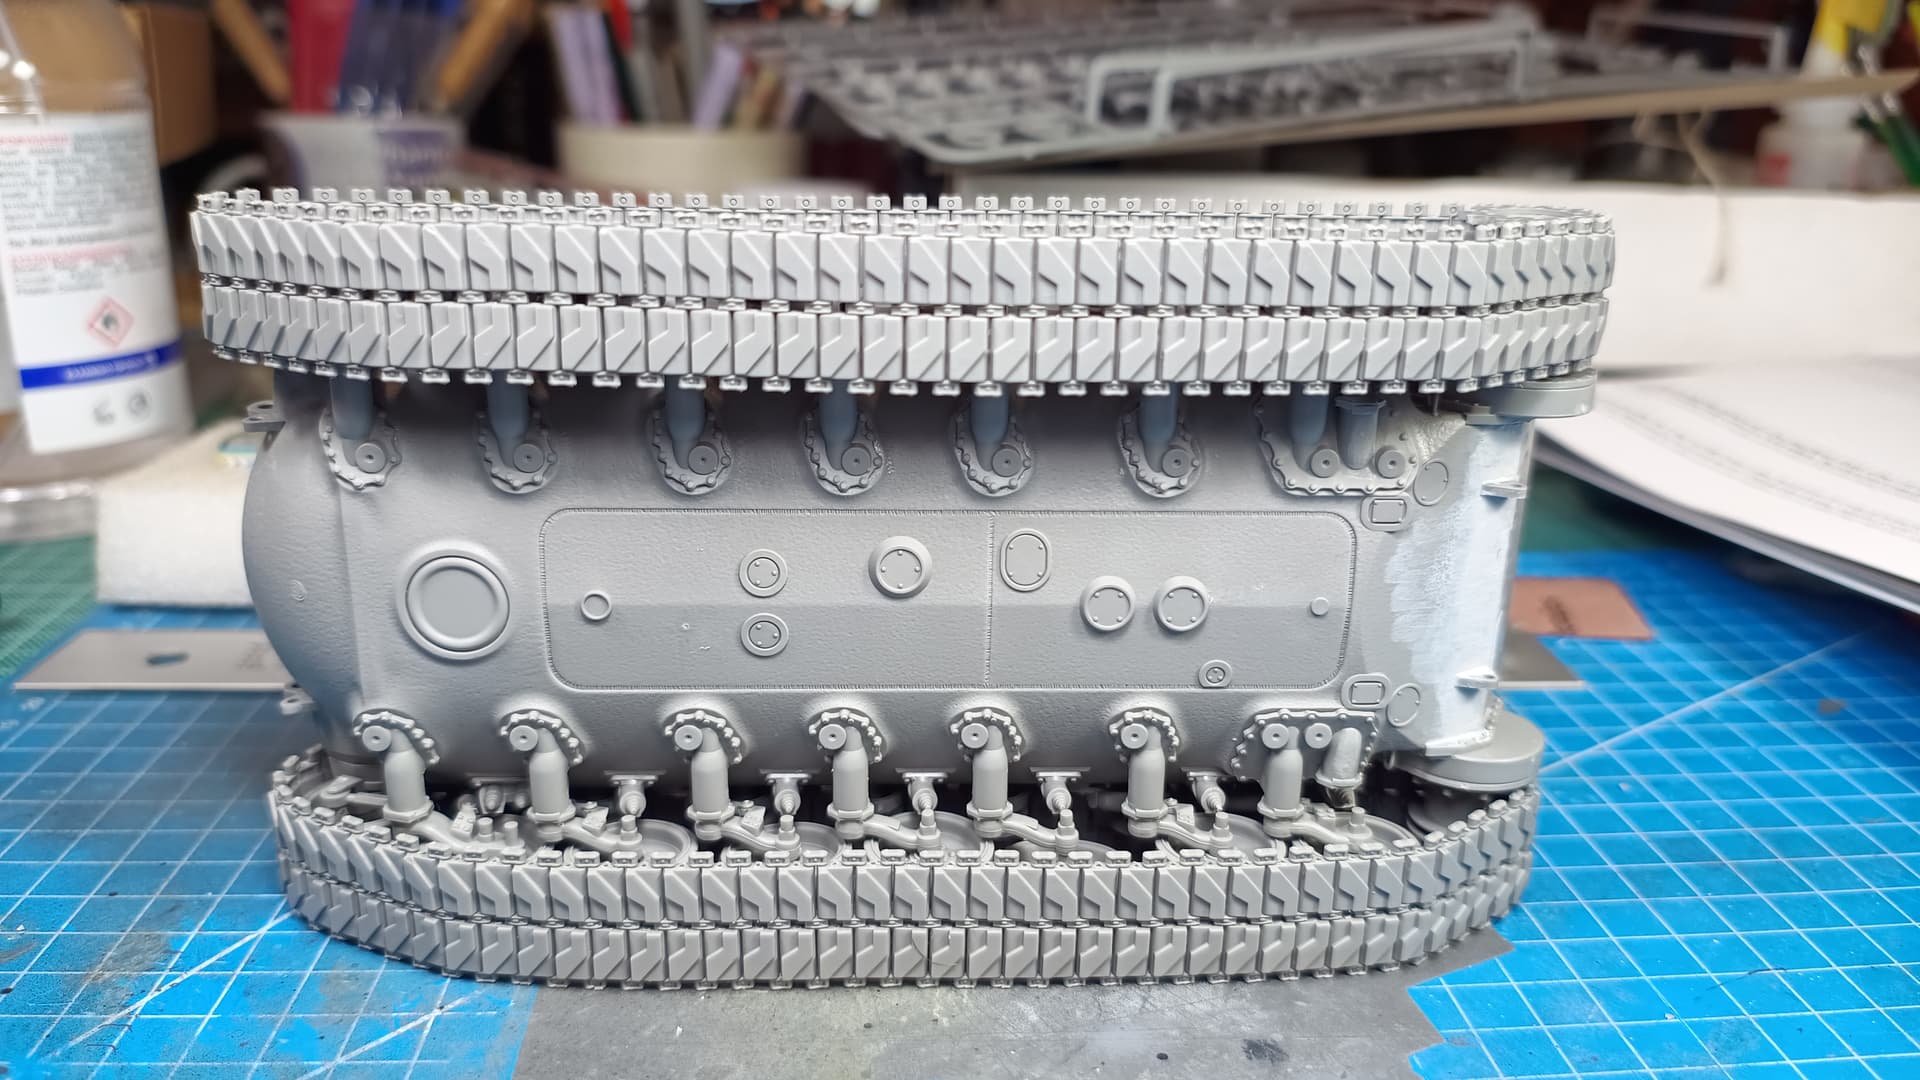
Next I started cleaning the track shoe parts from the sprues. I spent 1 hour doing this, separating each track shoe part 1,3,4 in separate containers. I also glued the three jigs included in the kit into a continuous length so that I can assemble longer track runs each time.
The end connector/pin part has different sides. On one side the pin ends are hollow and on the other side they are solid. After looking at photos I decided to place the hollow pin end side on the exterior. Take in mind that for the right side track run ones needs to change the pin part orientation in order to have the hollow end pins on the exterior. If you follow the instructions you will get two “left” side track runs.
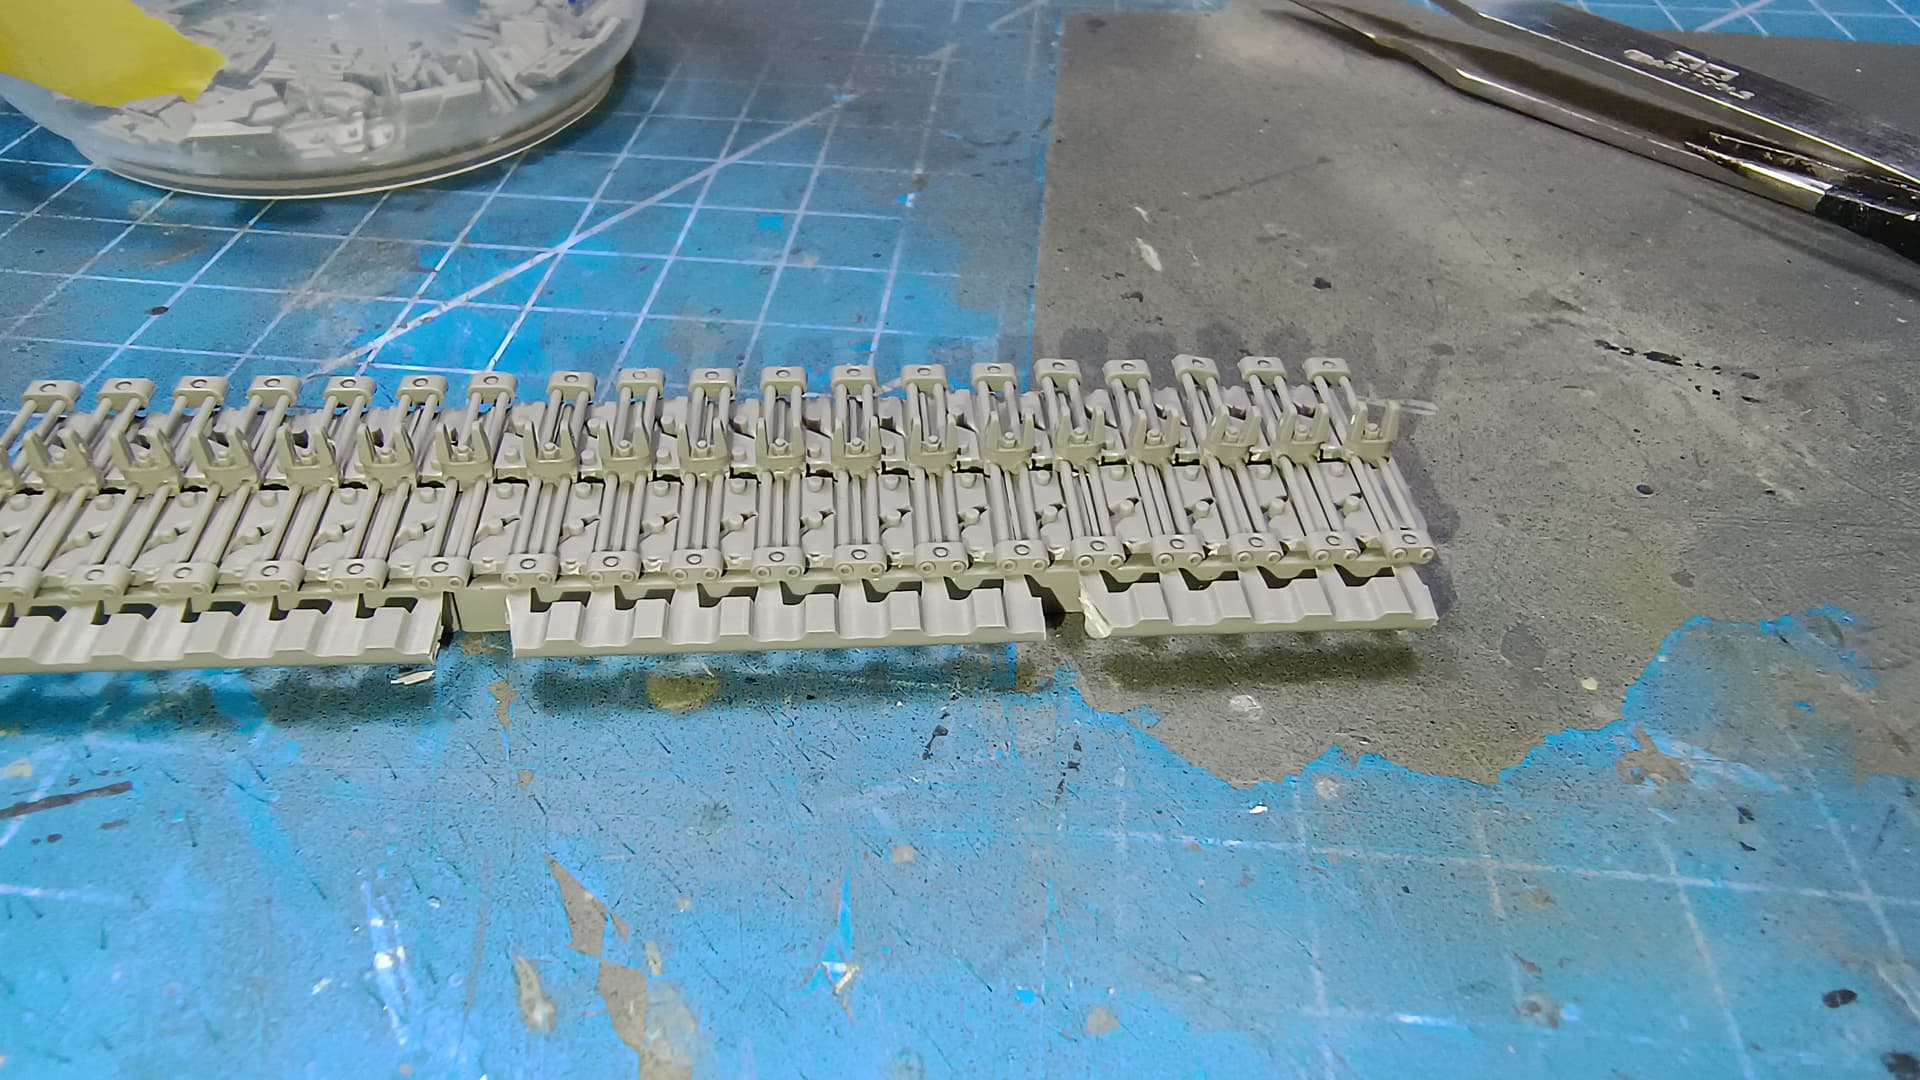
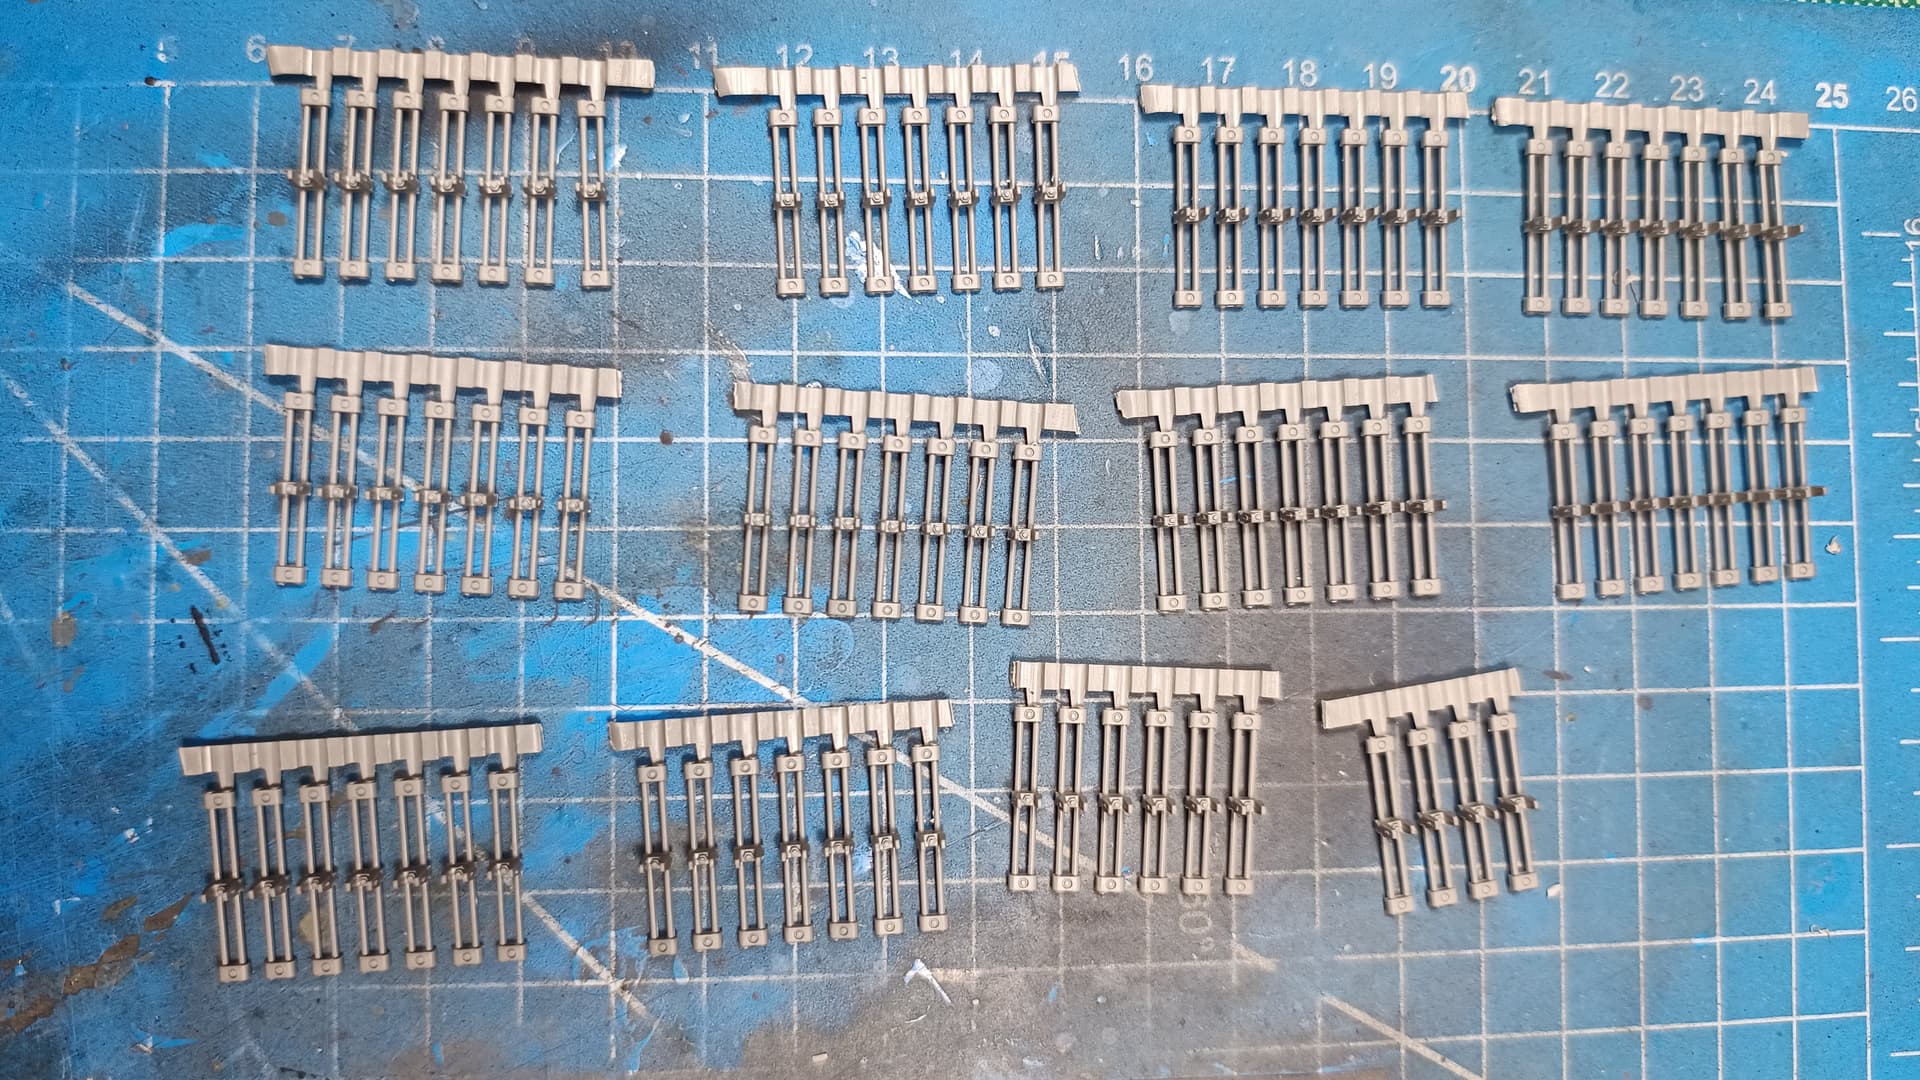
In the end I used 79 links on the left side, one less that the indicated number in the instructions.
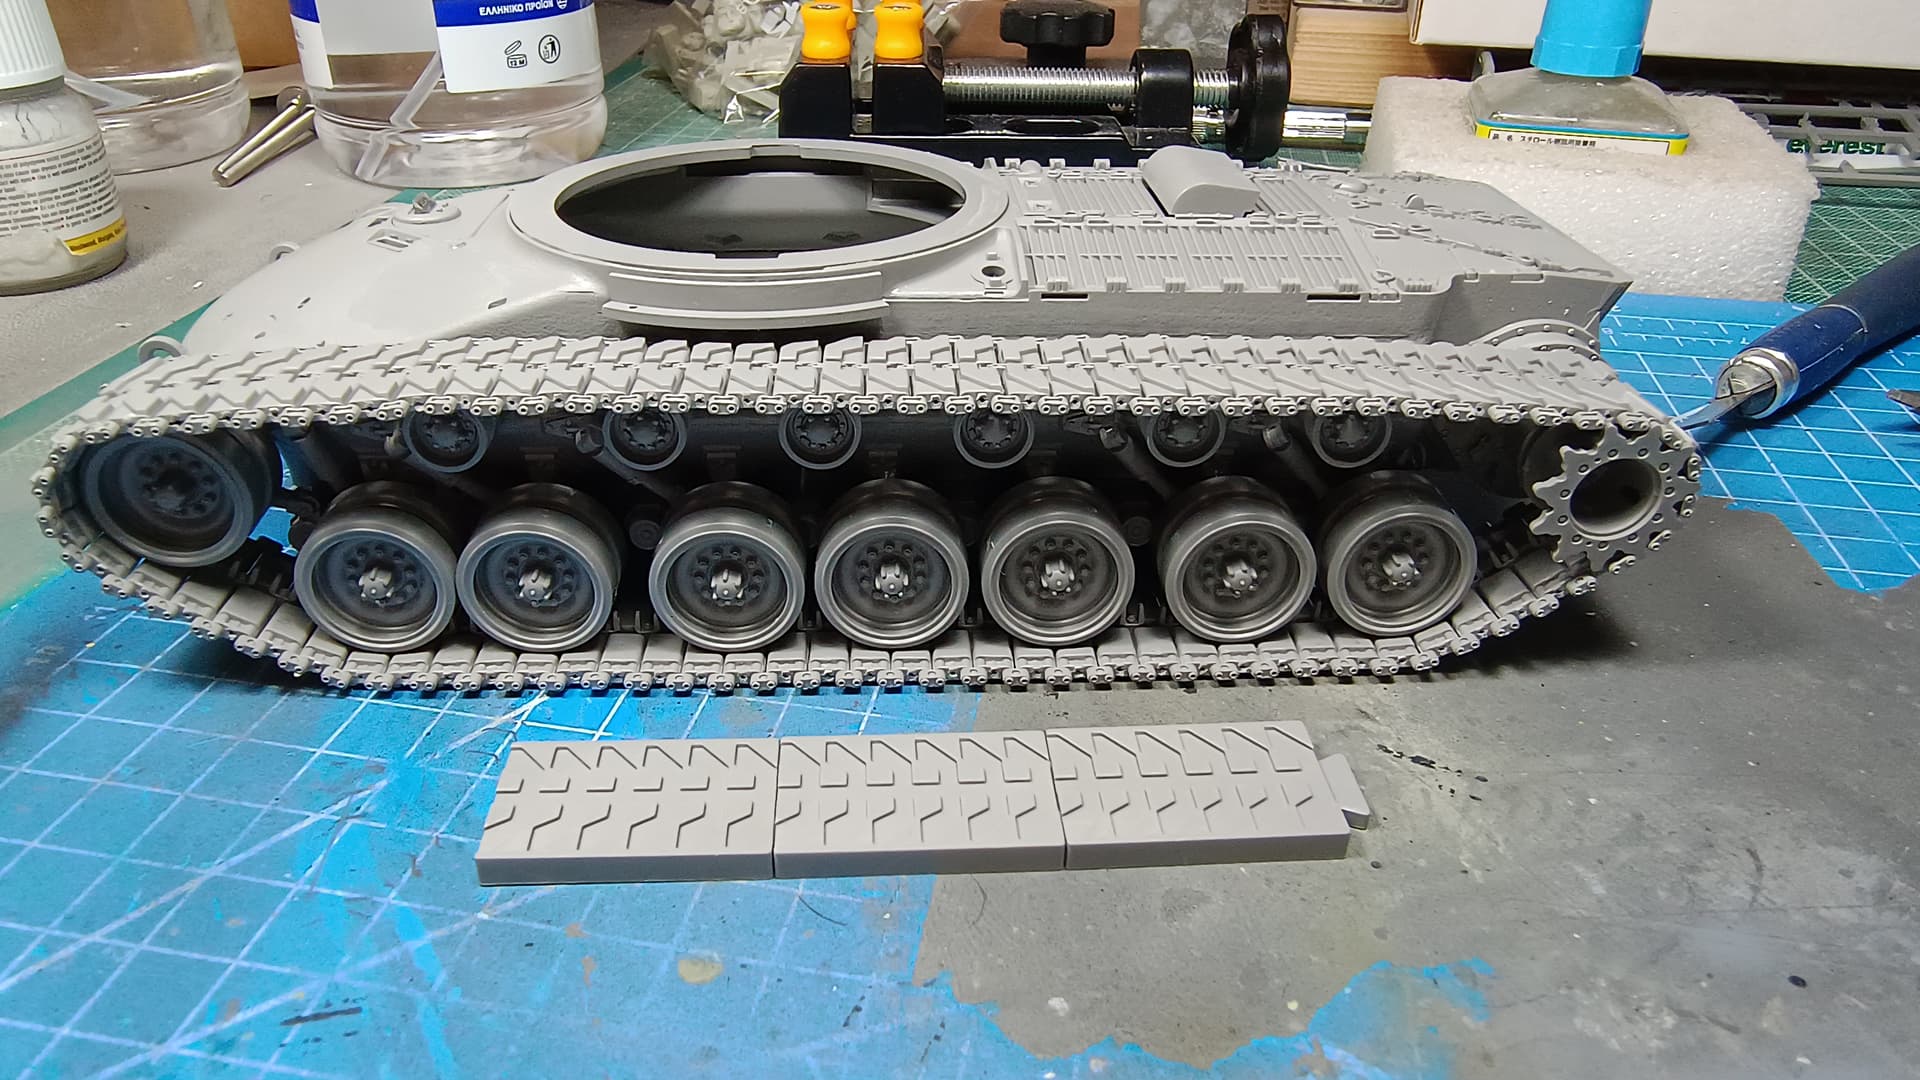
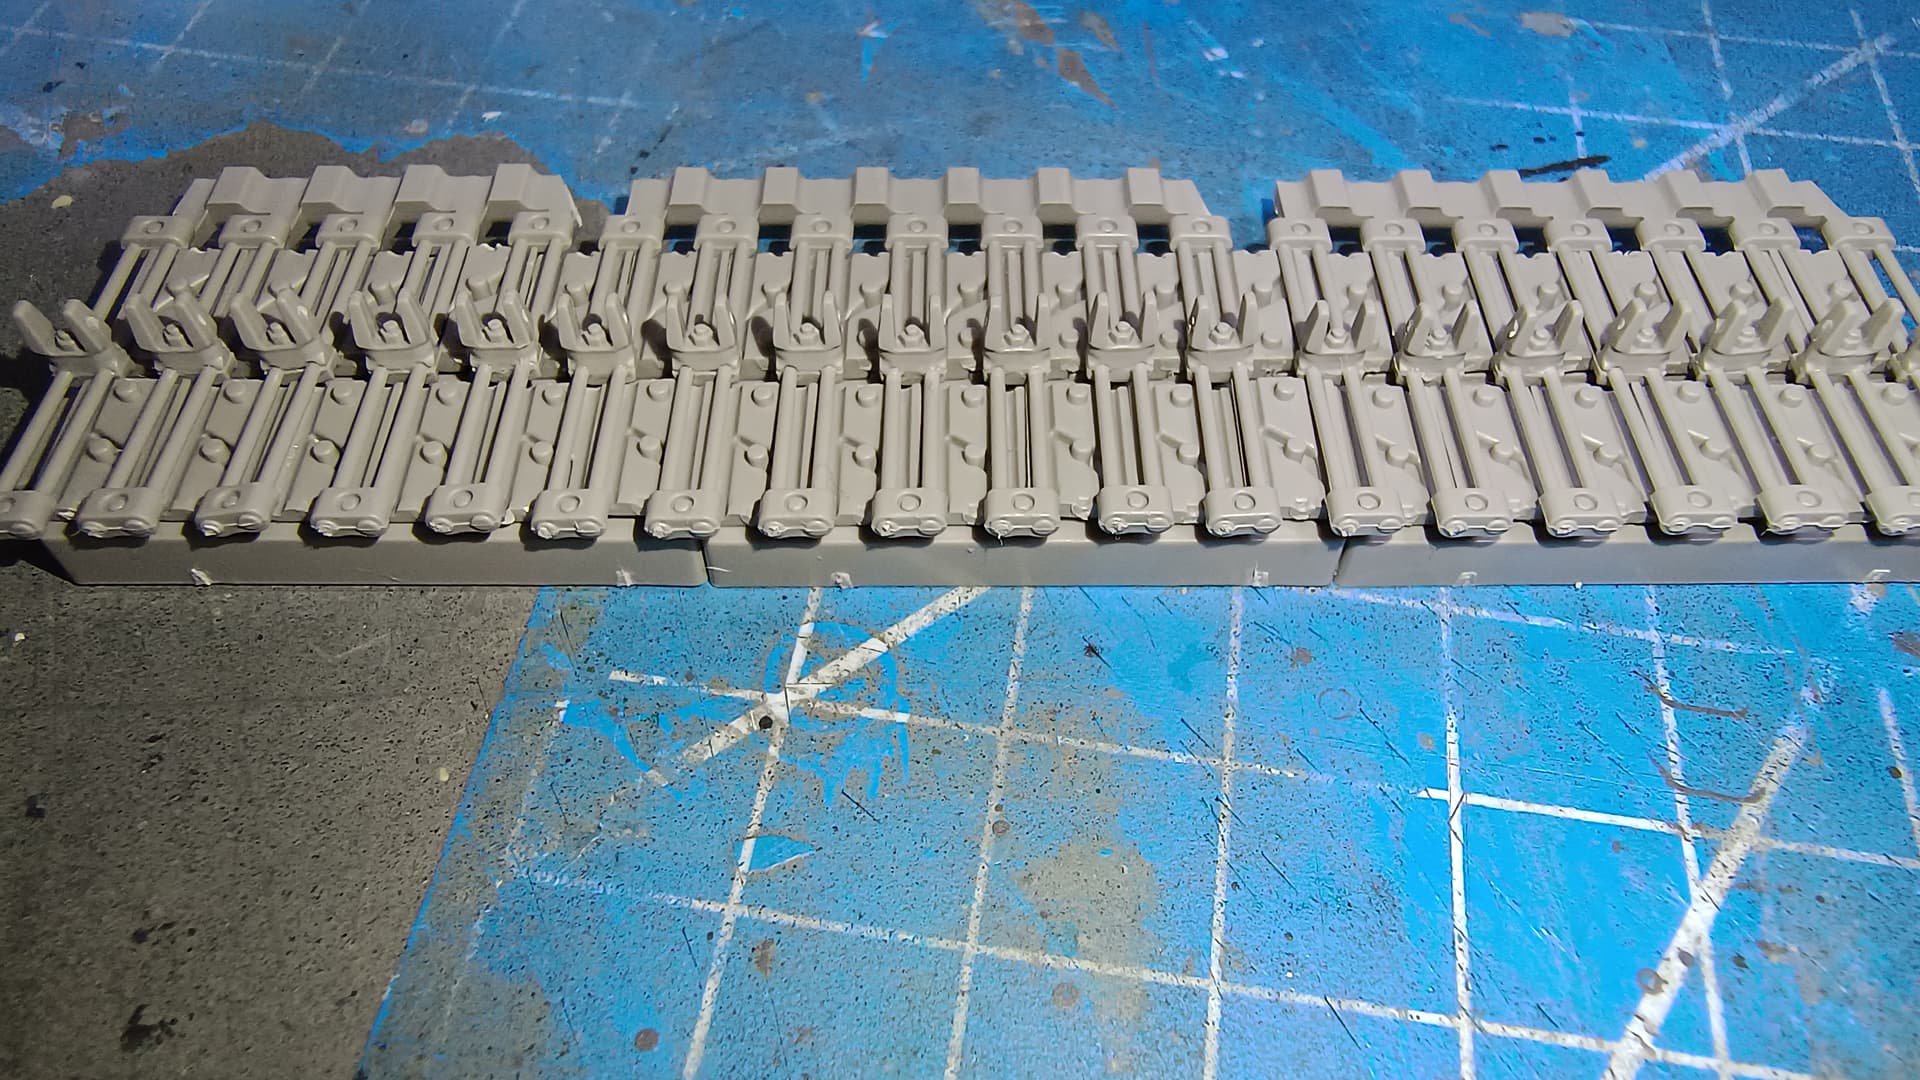
I spent 2 hours and 10 minutes for the complete track assembly and in total 4 hours and 25 minutes cleaning, preparing and assembling a complete fully workable track run. One can reduce the assembly time by not making the track fully workable and gluing the shoe parts to the pin part.
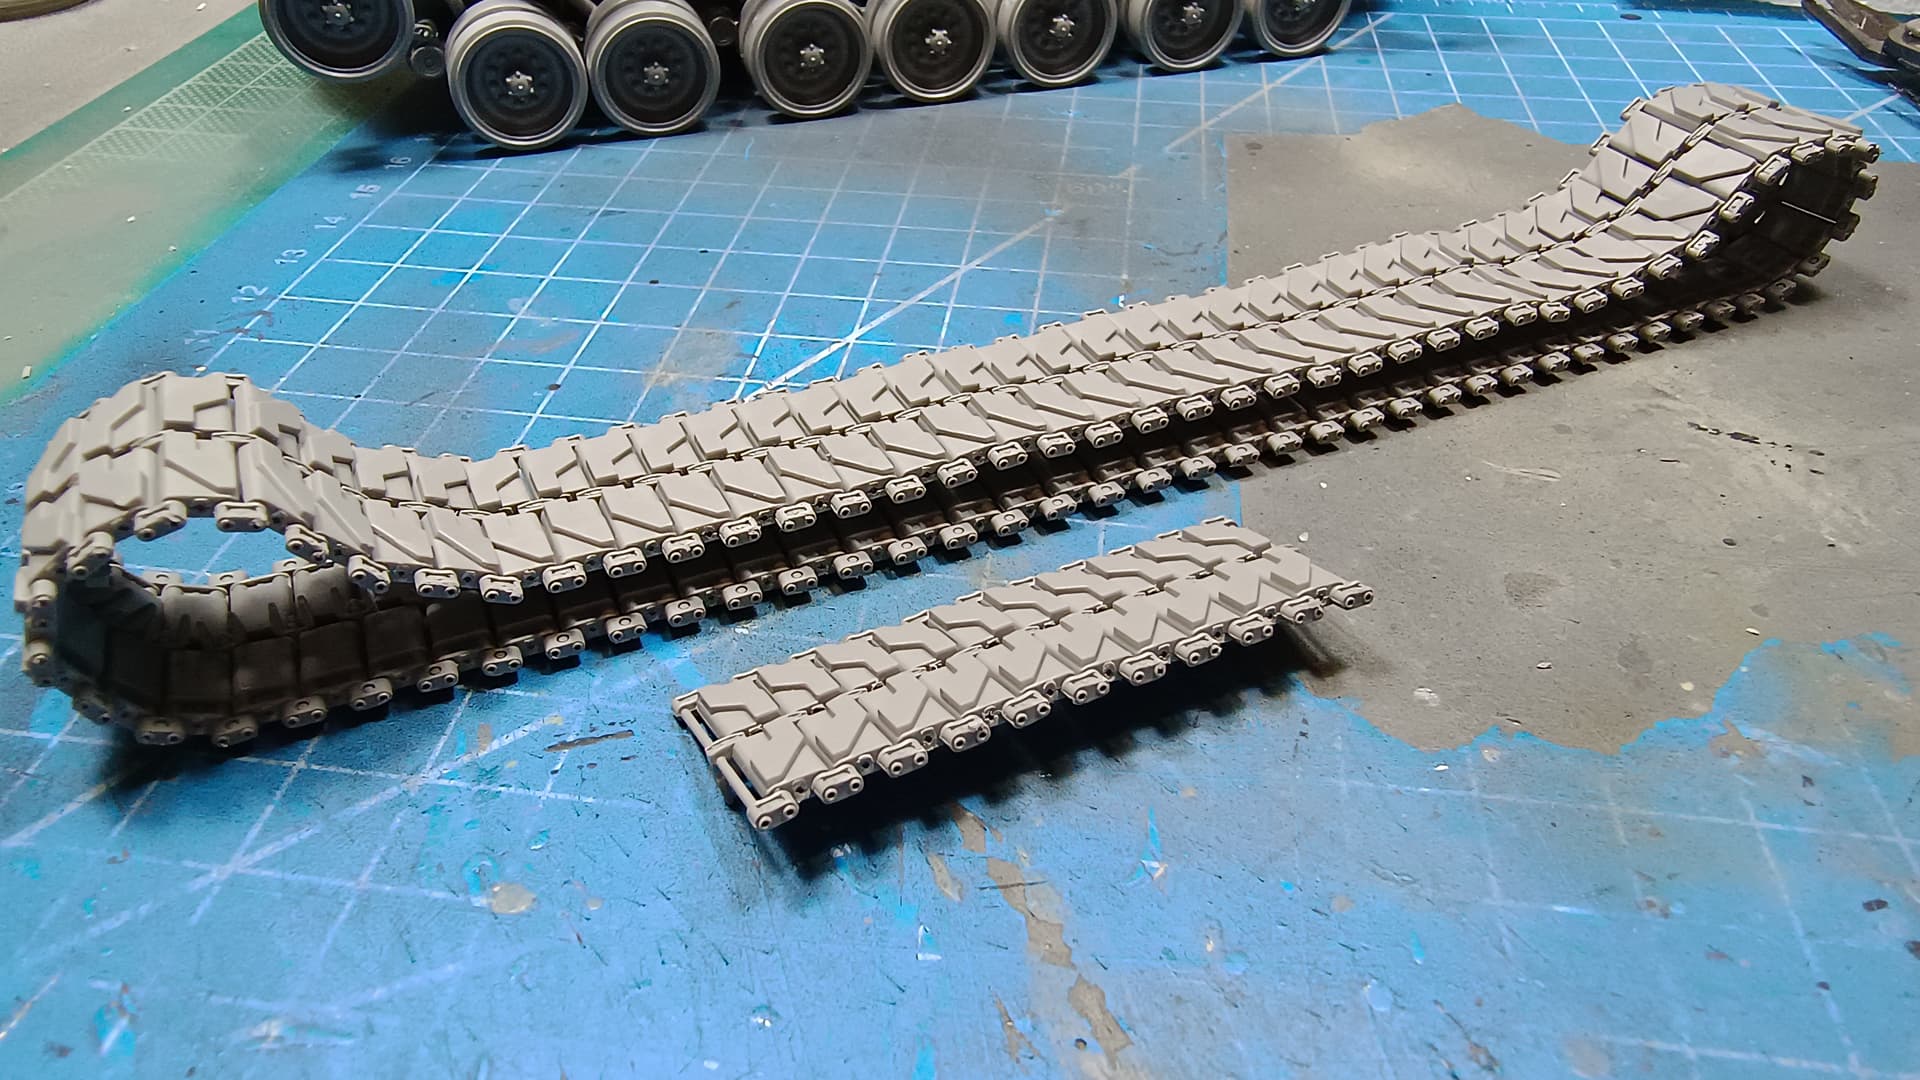
I intend to paint the track separately so the wheels and sprockets are not glued on the suspension.
End of part 3. ![]()
Part 4
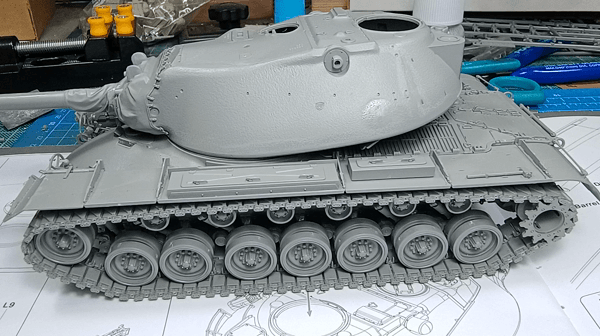
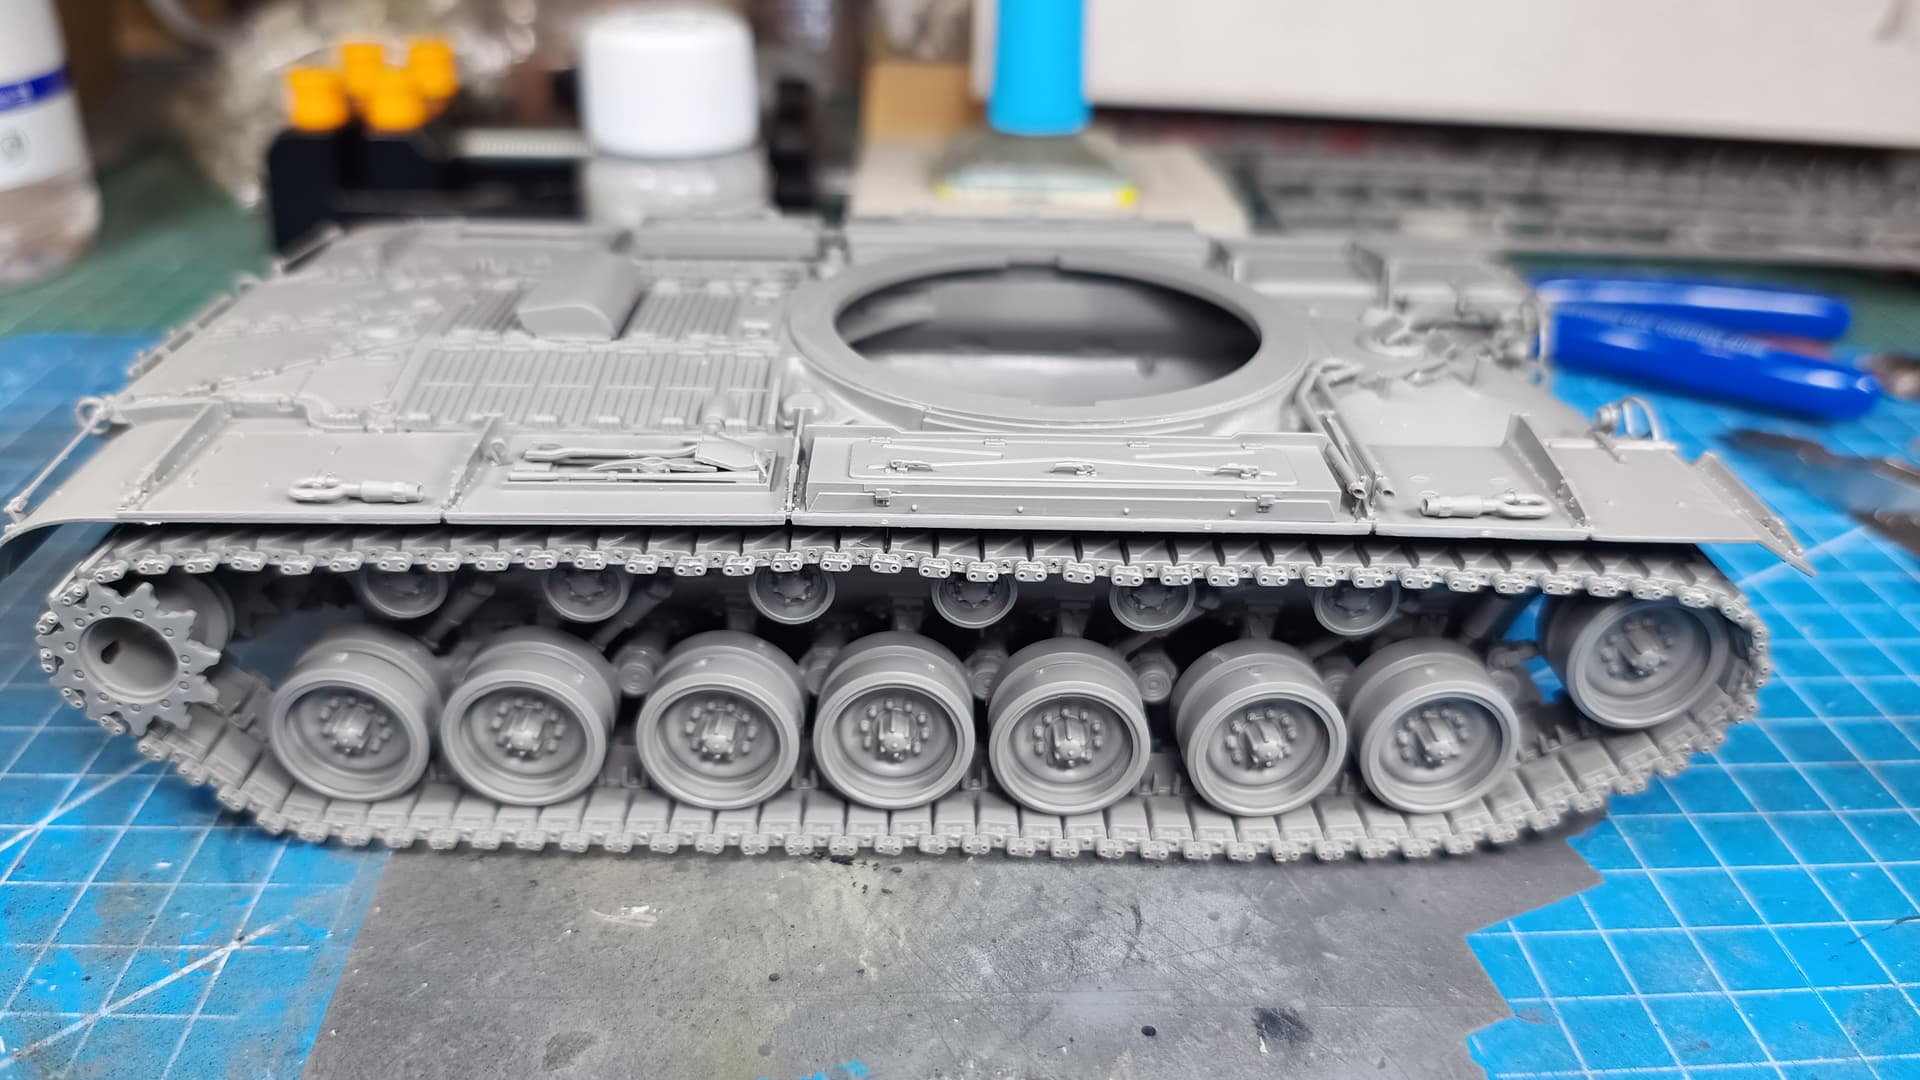
I completed the tracks. I like the end result and the overall detail. One can devote some more time and do some more thorough cleaning of the parts than I did.

End of part 4 ![]()
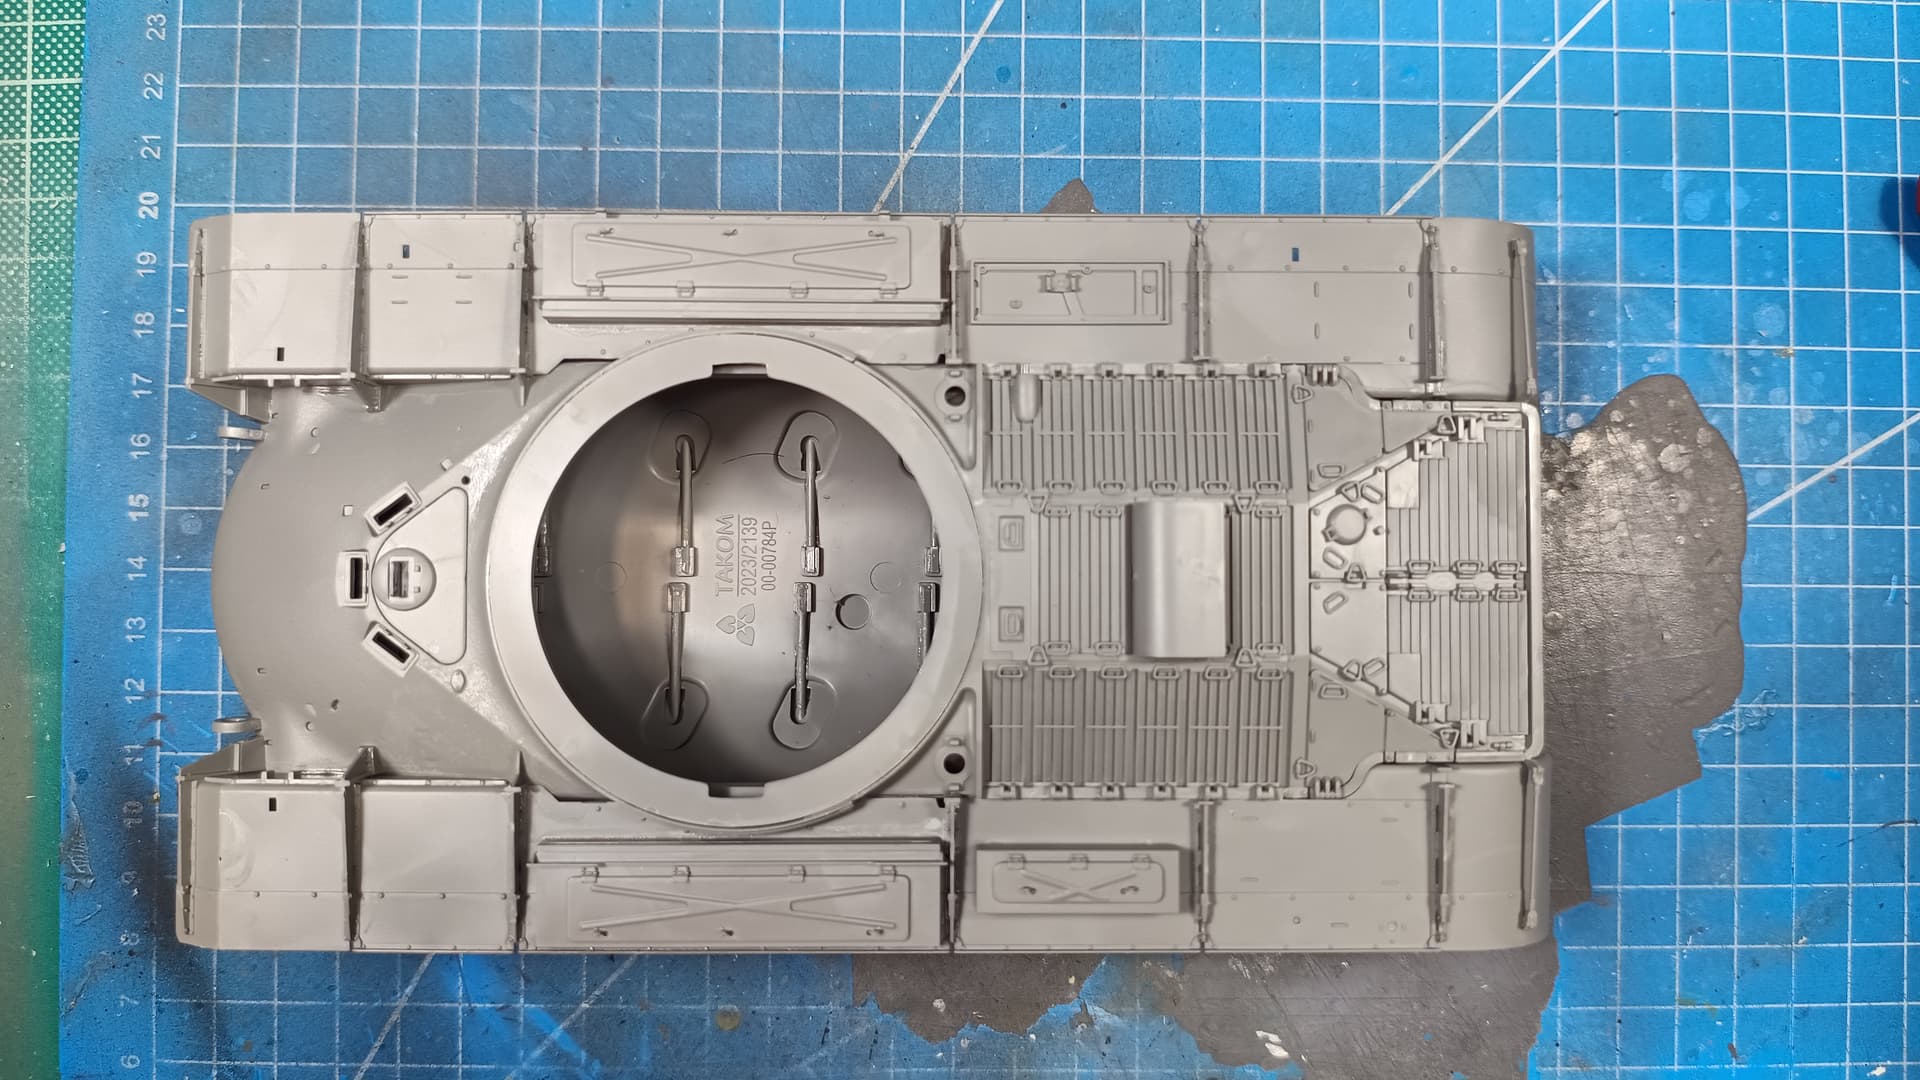
Next update will be the finished hull
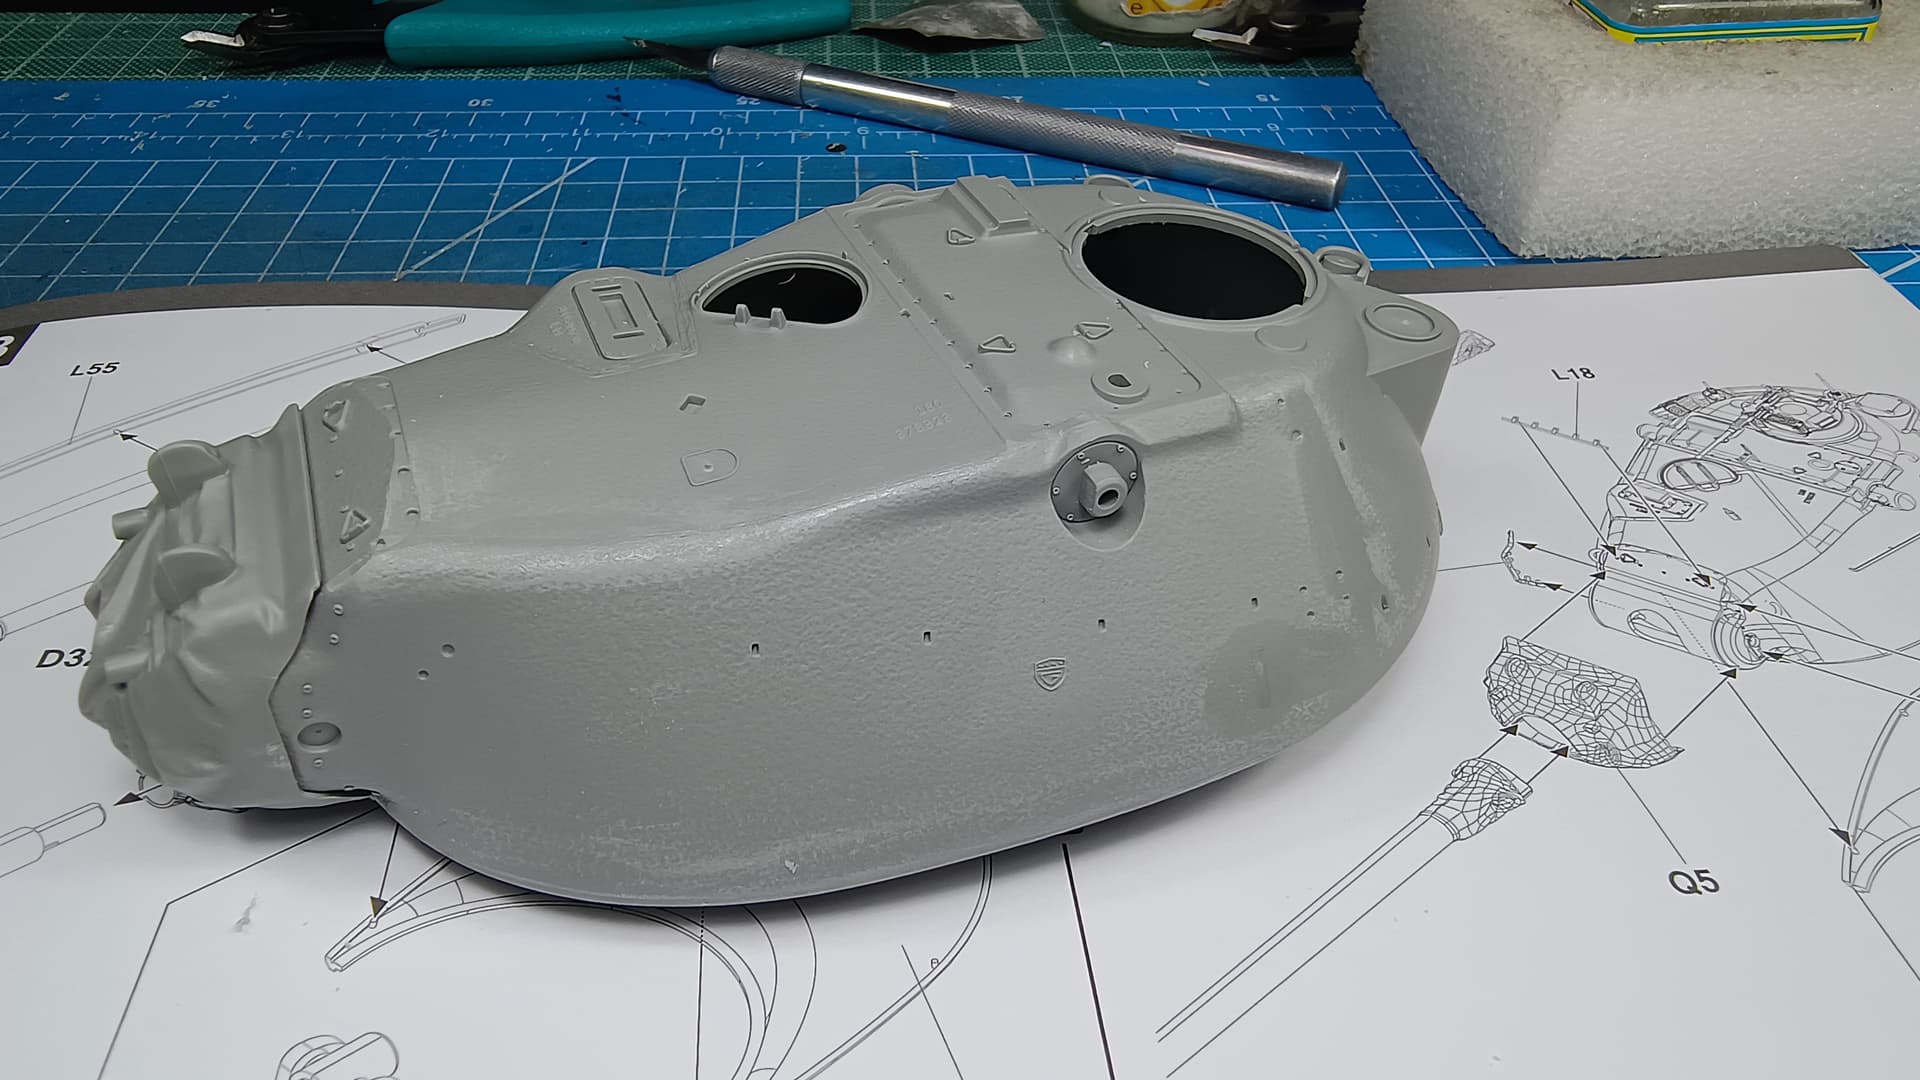
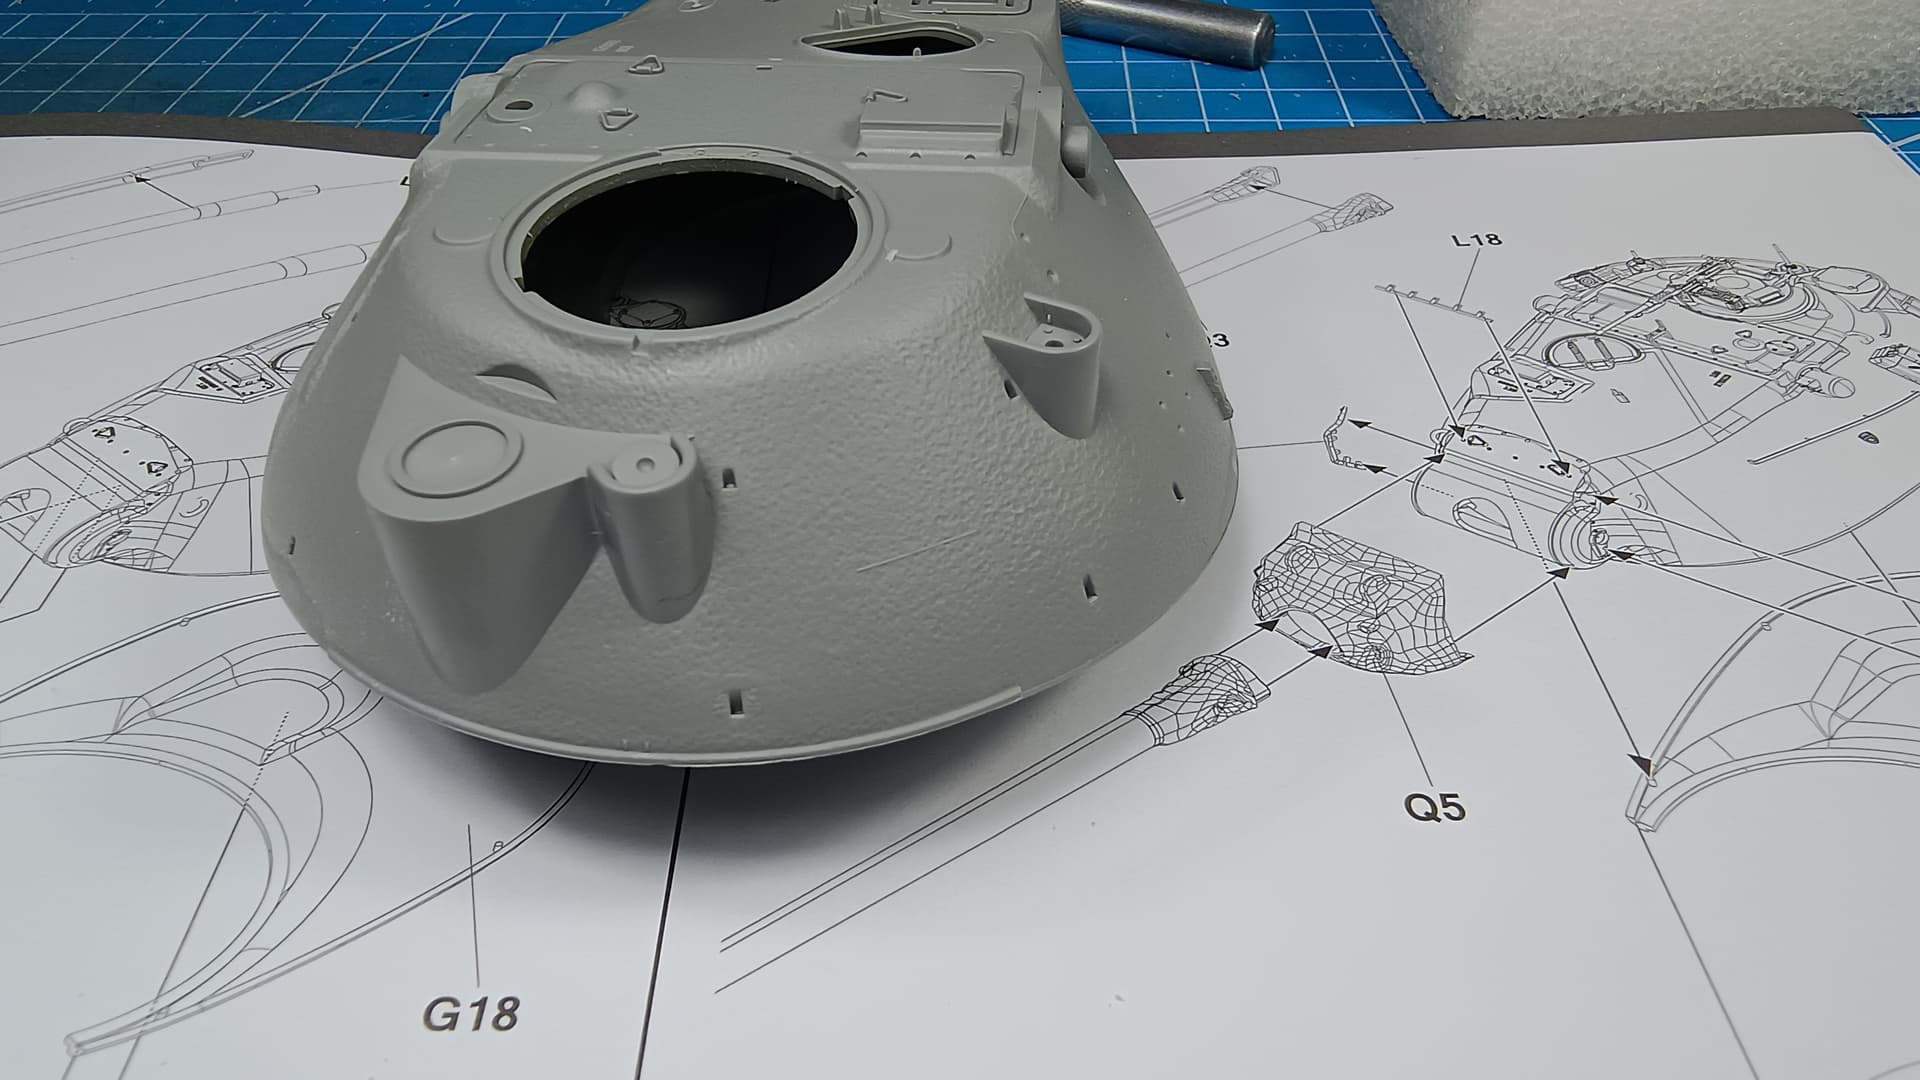
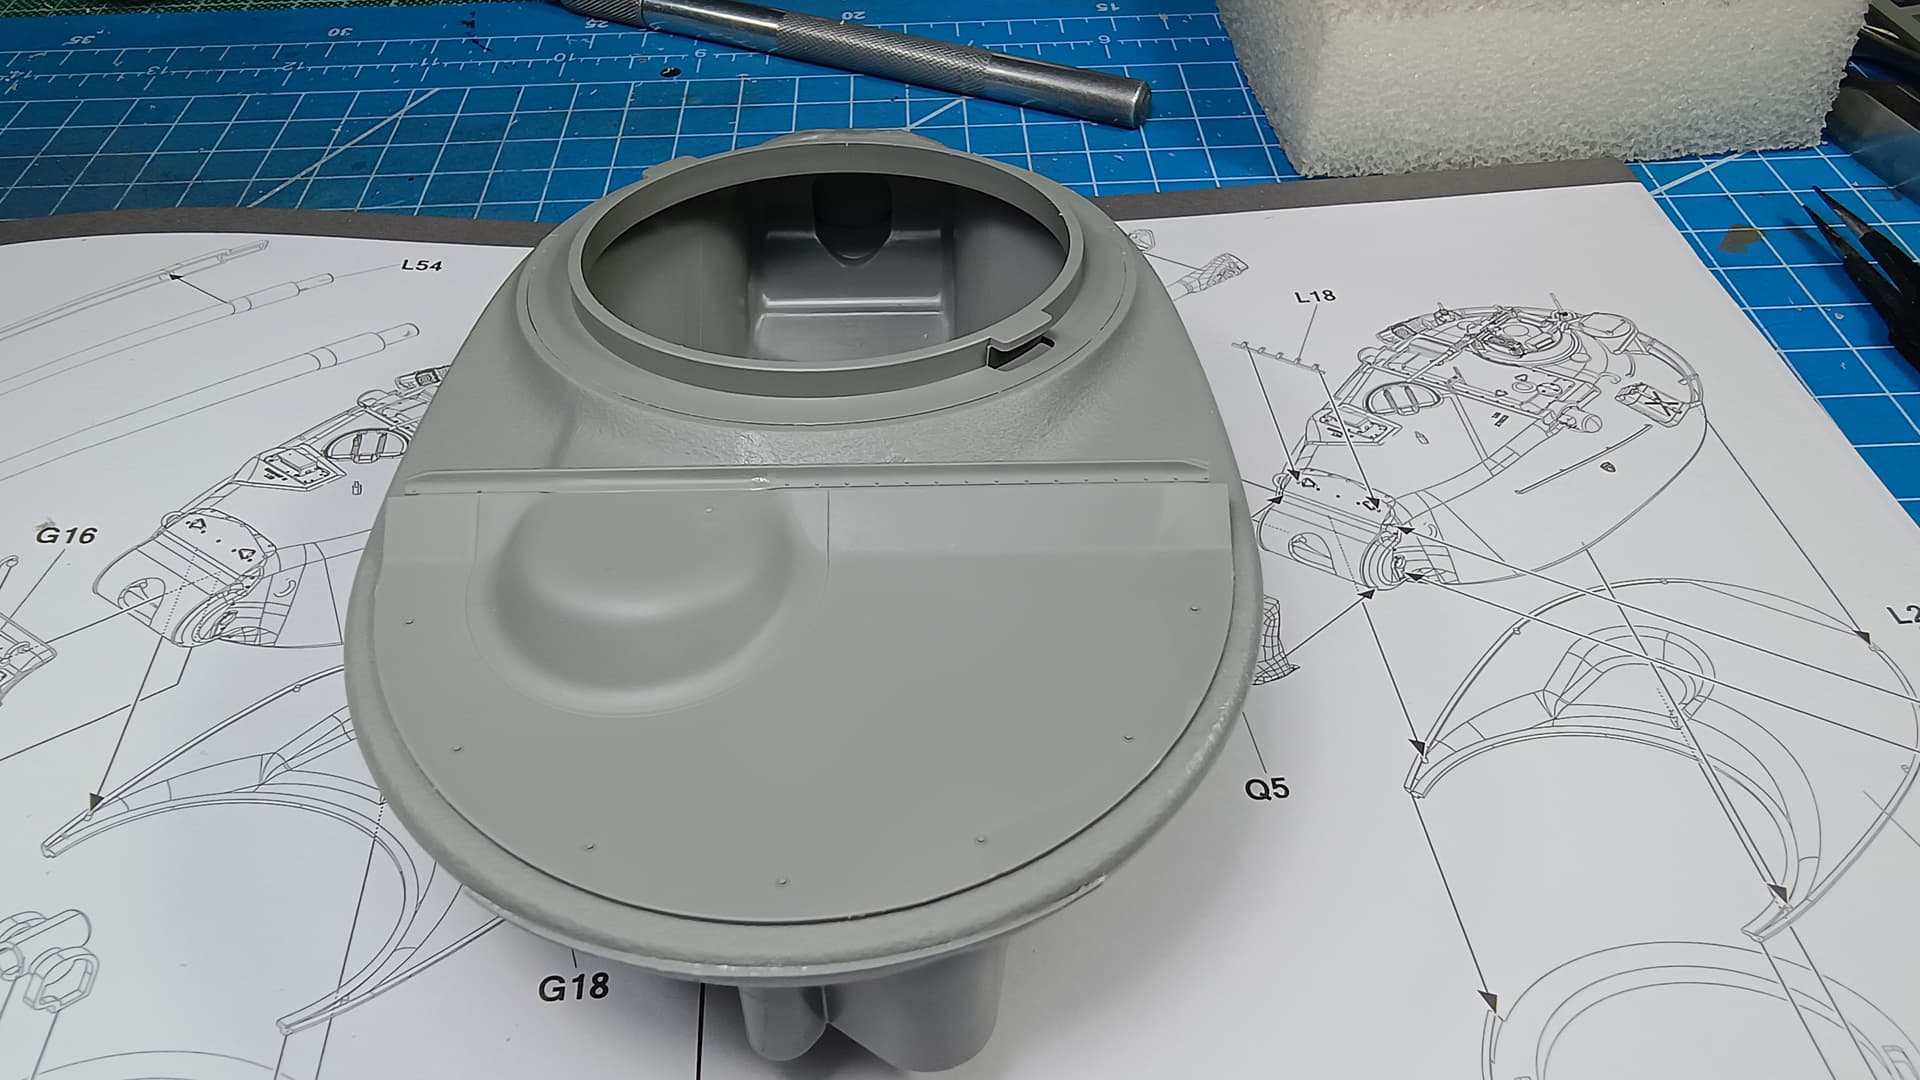
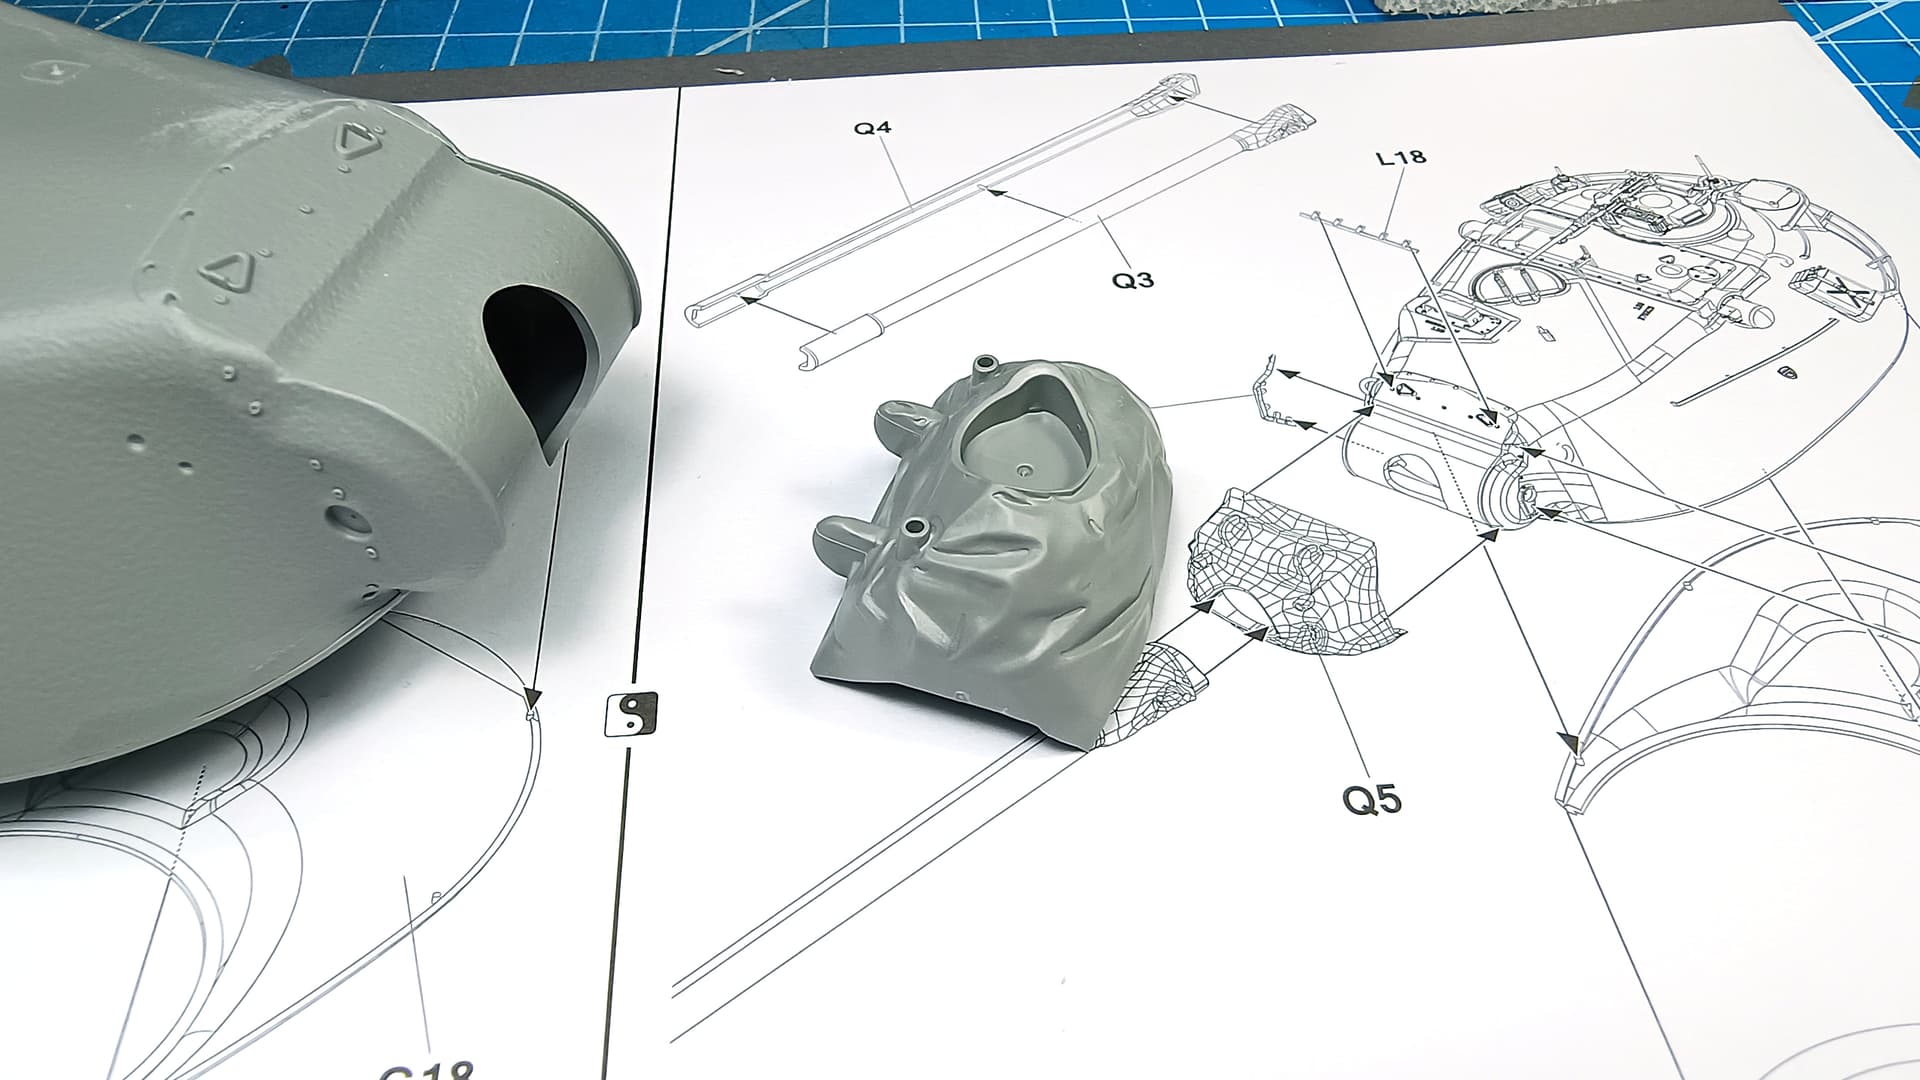
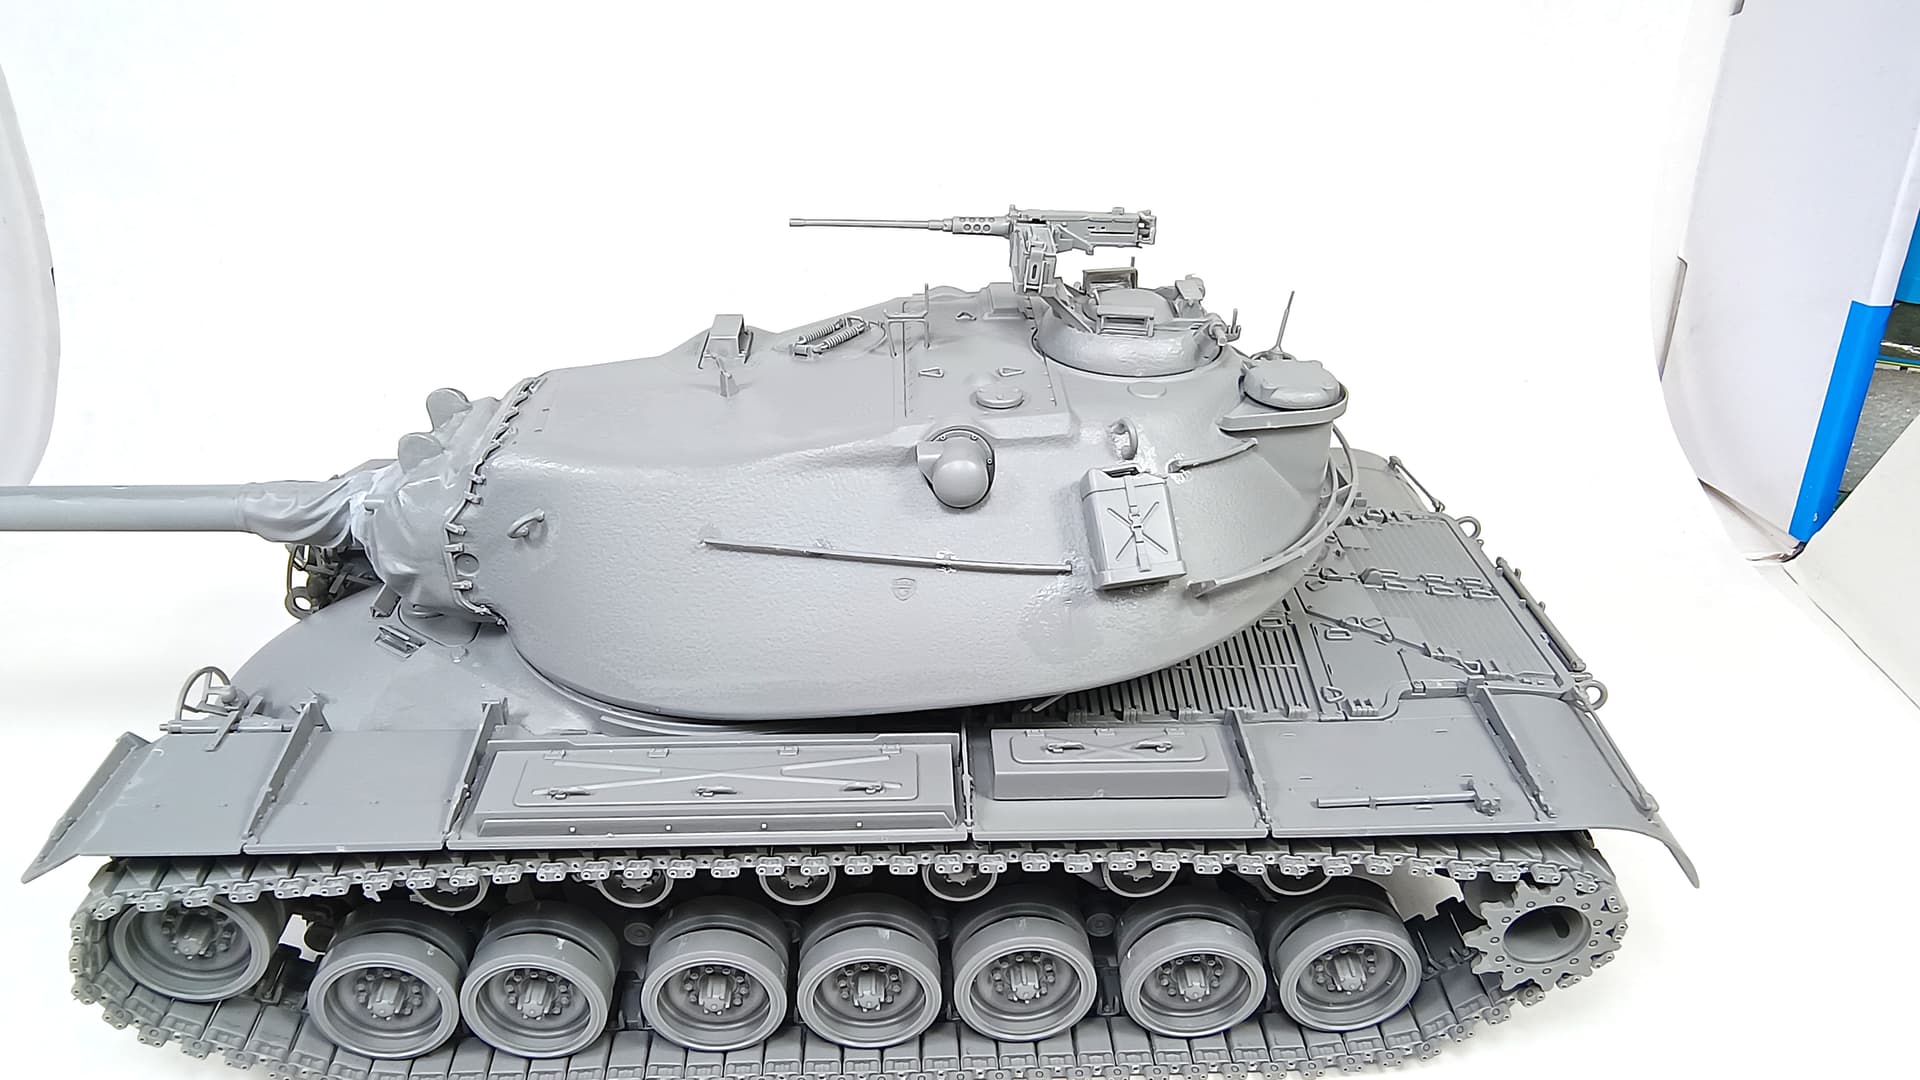
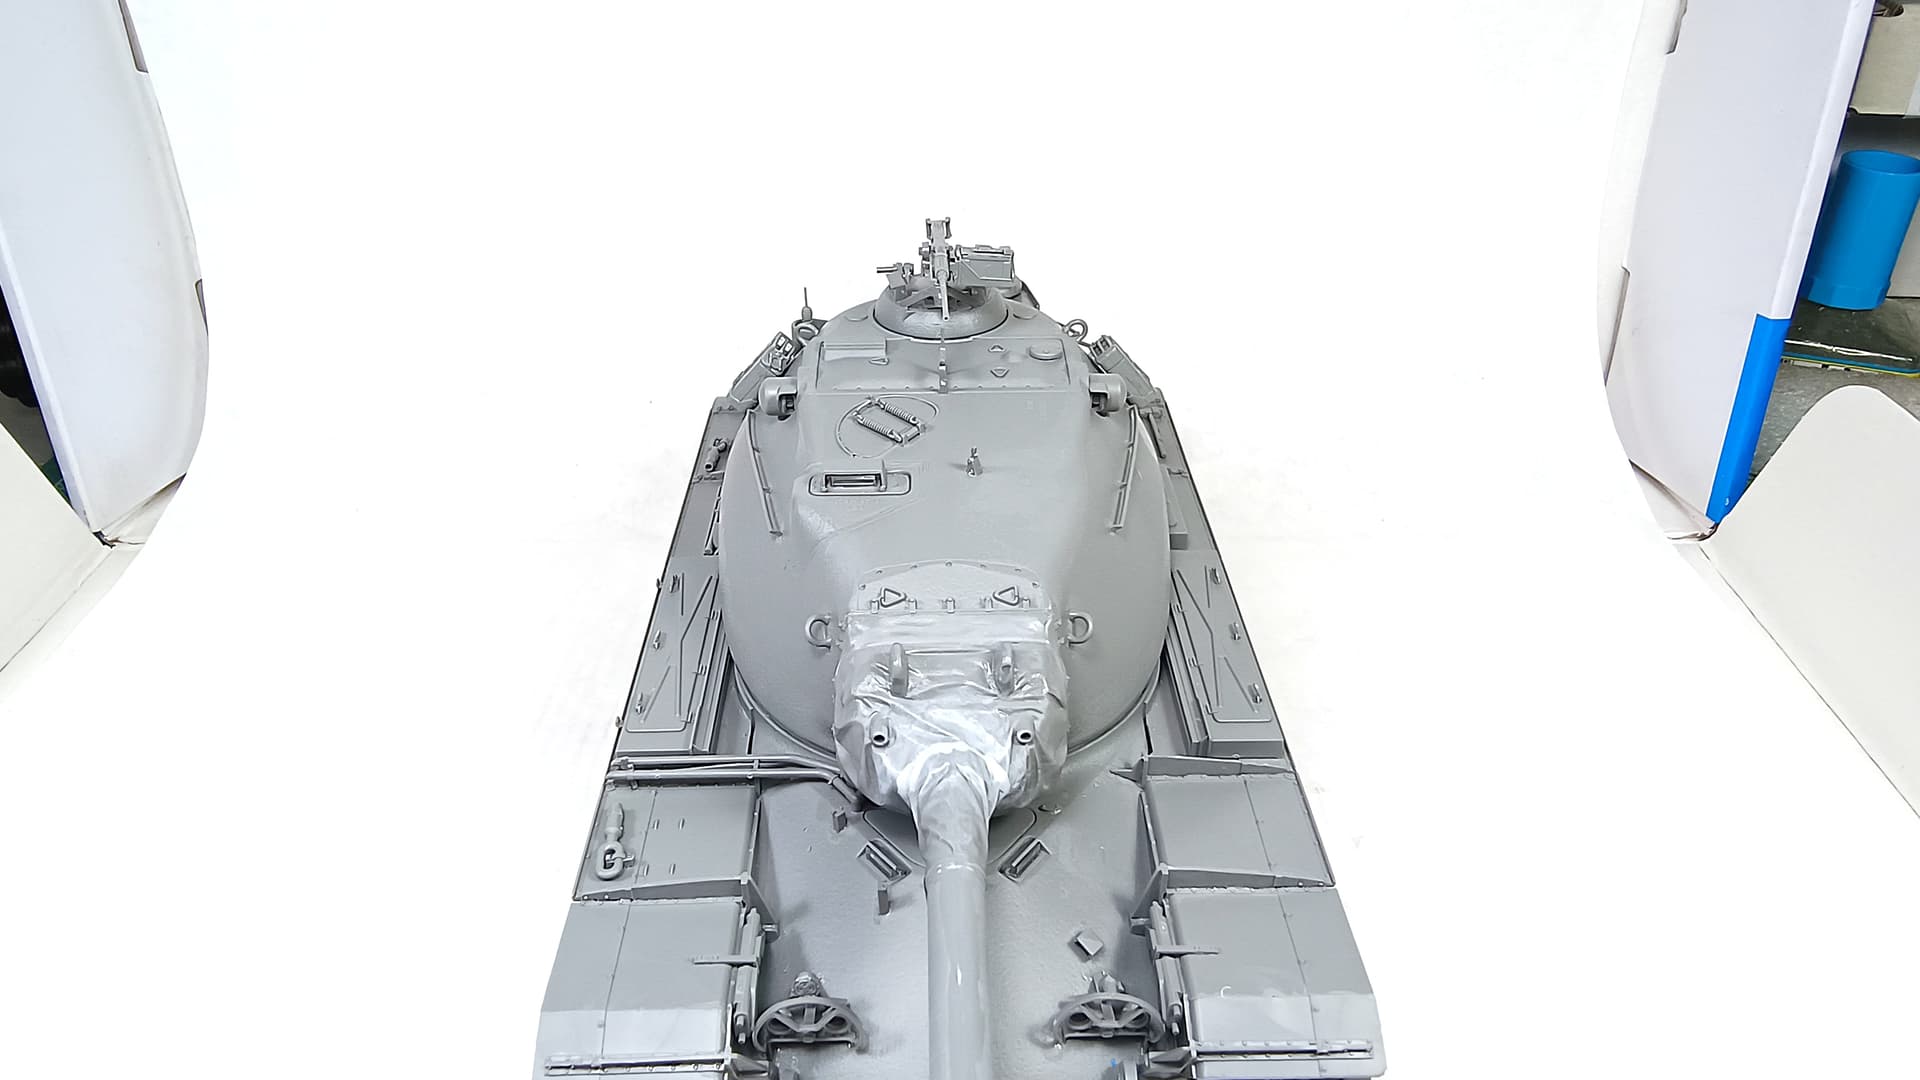
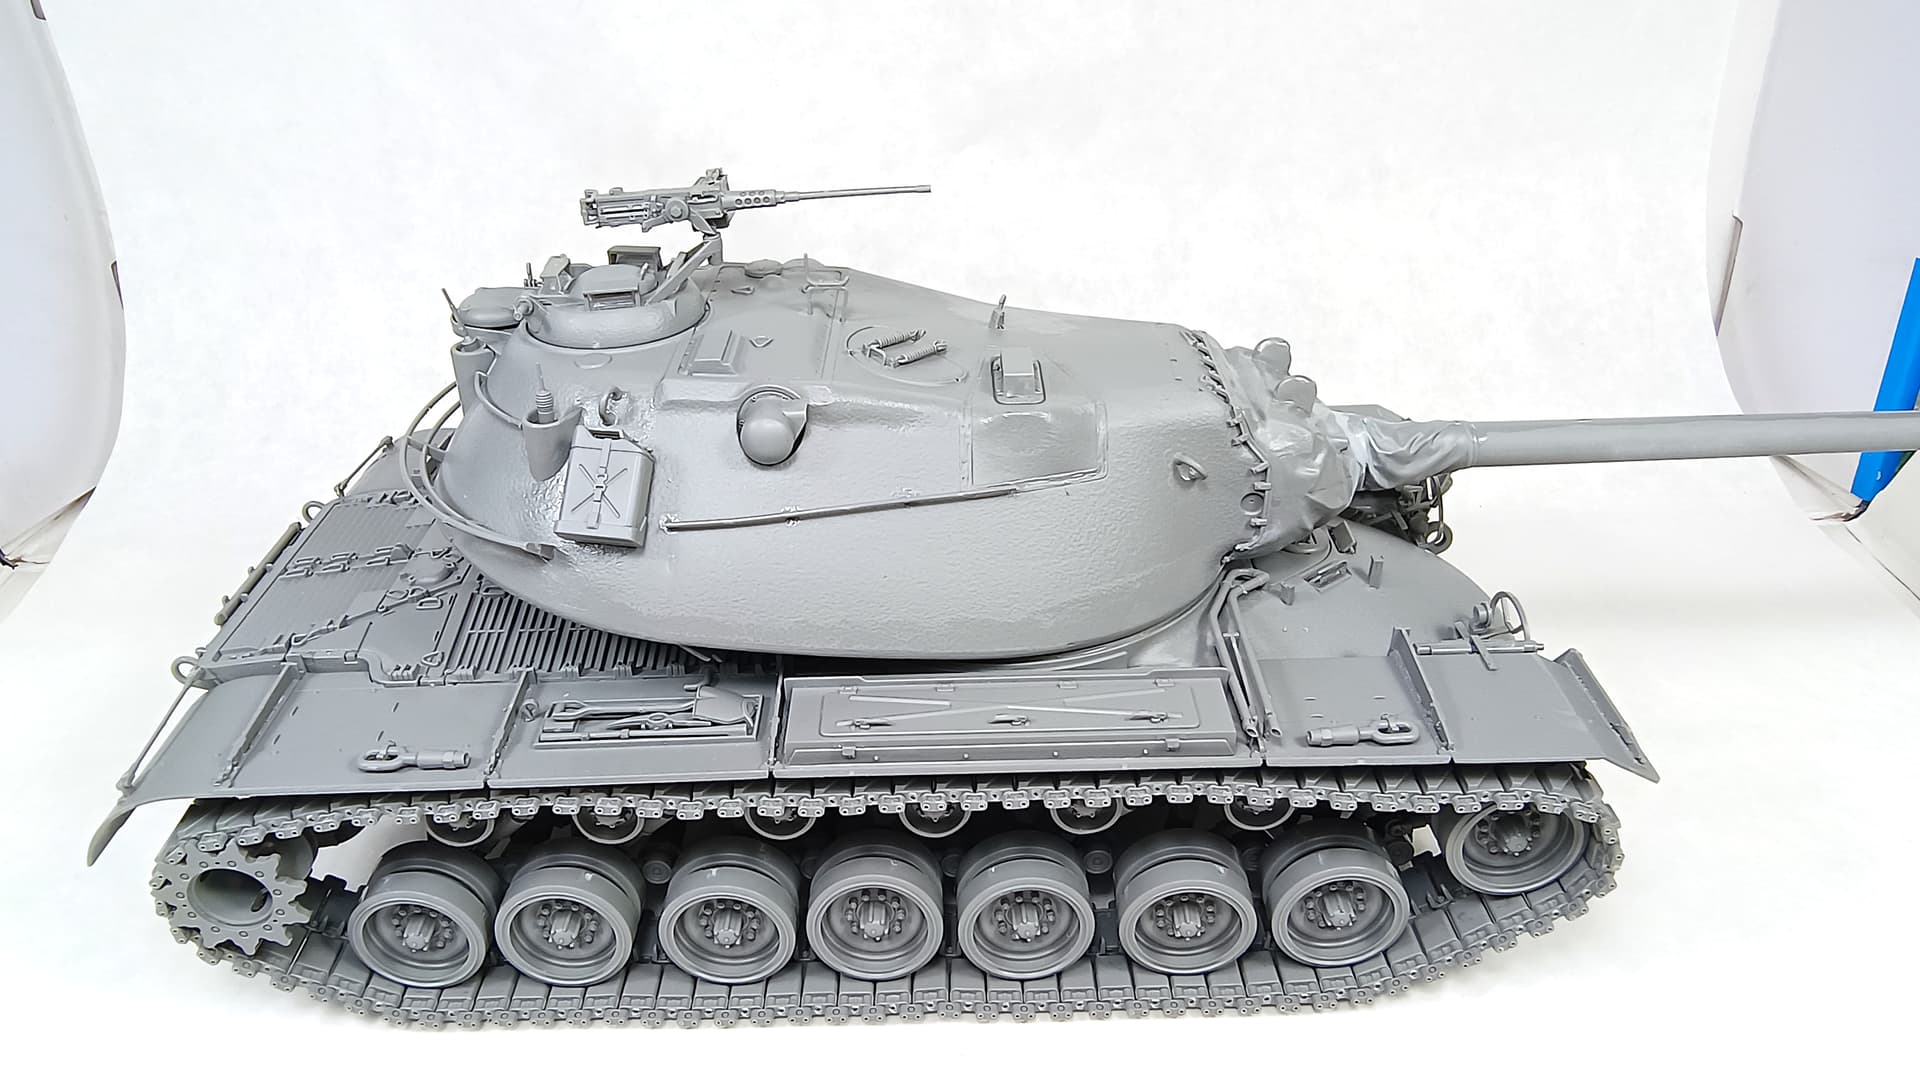
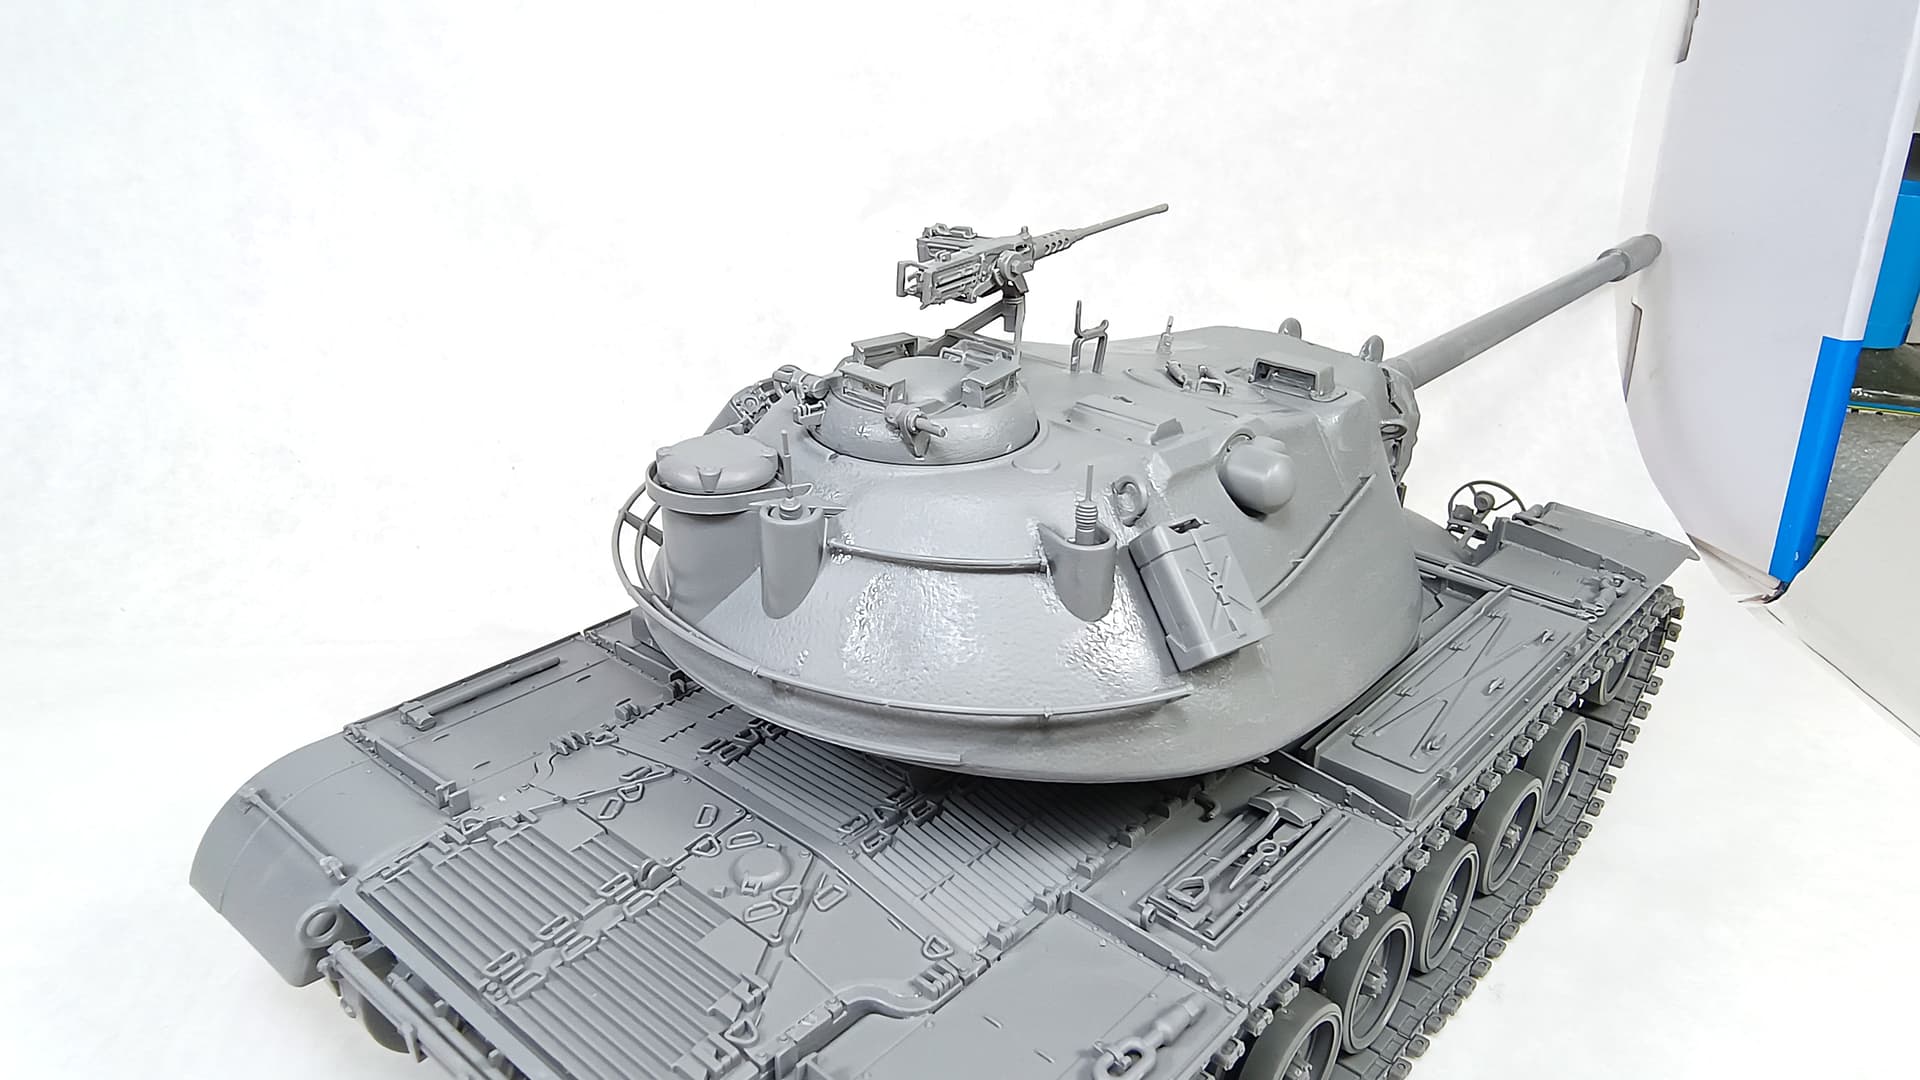
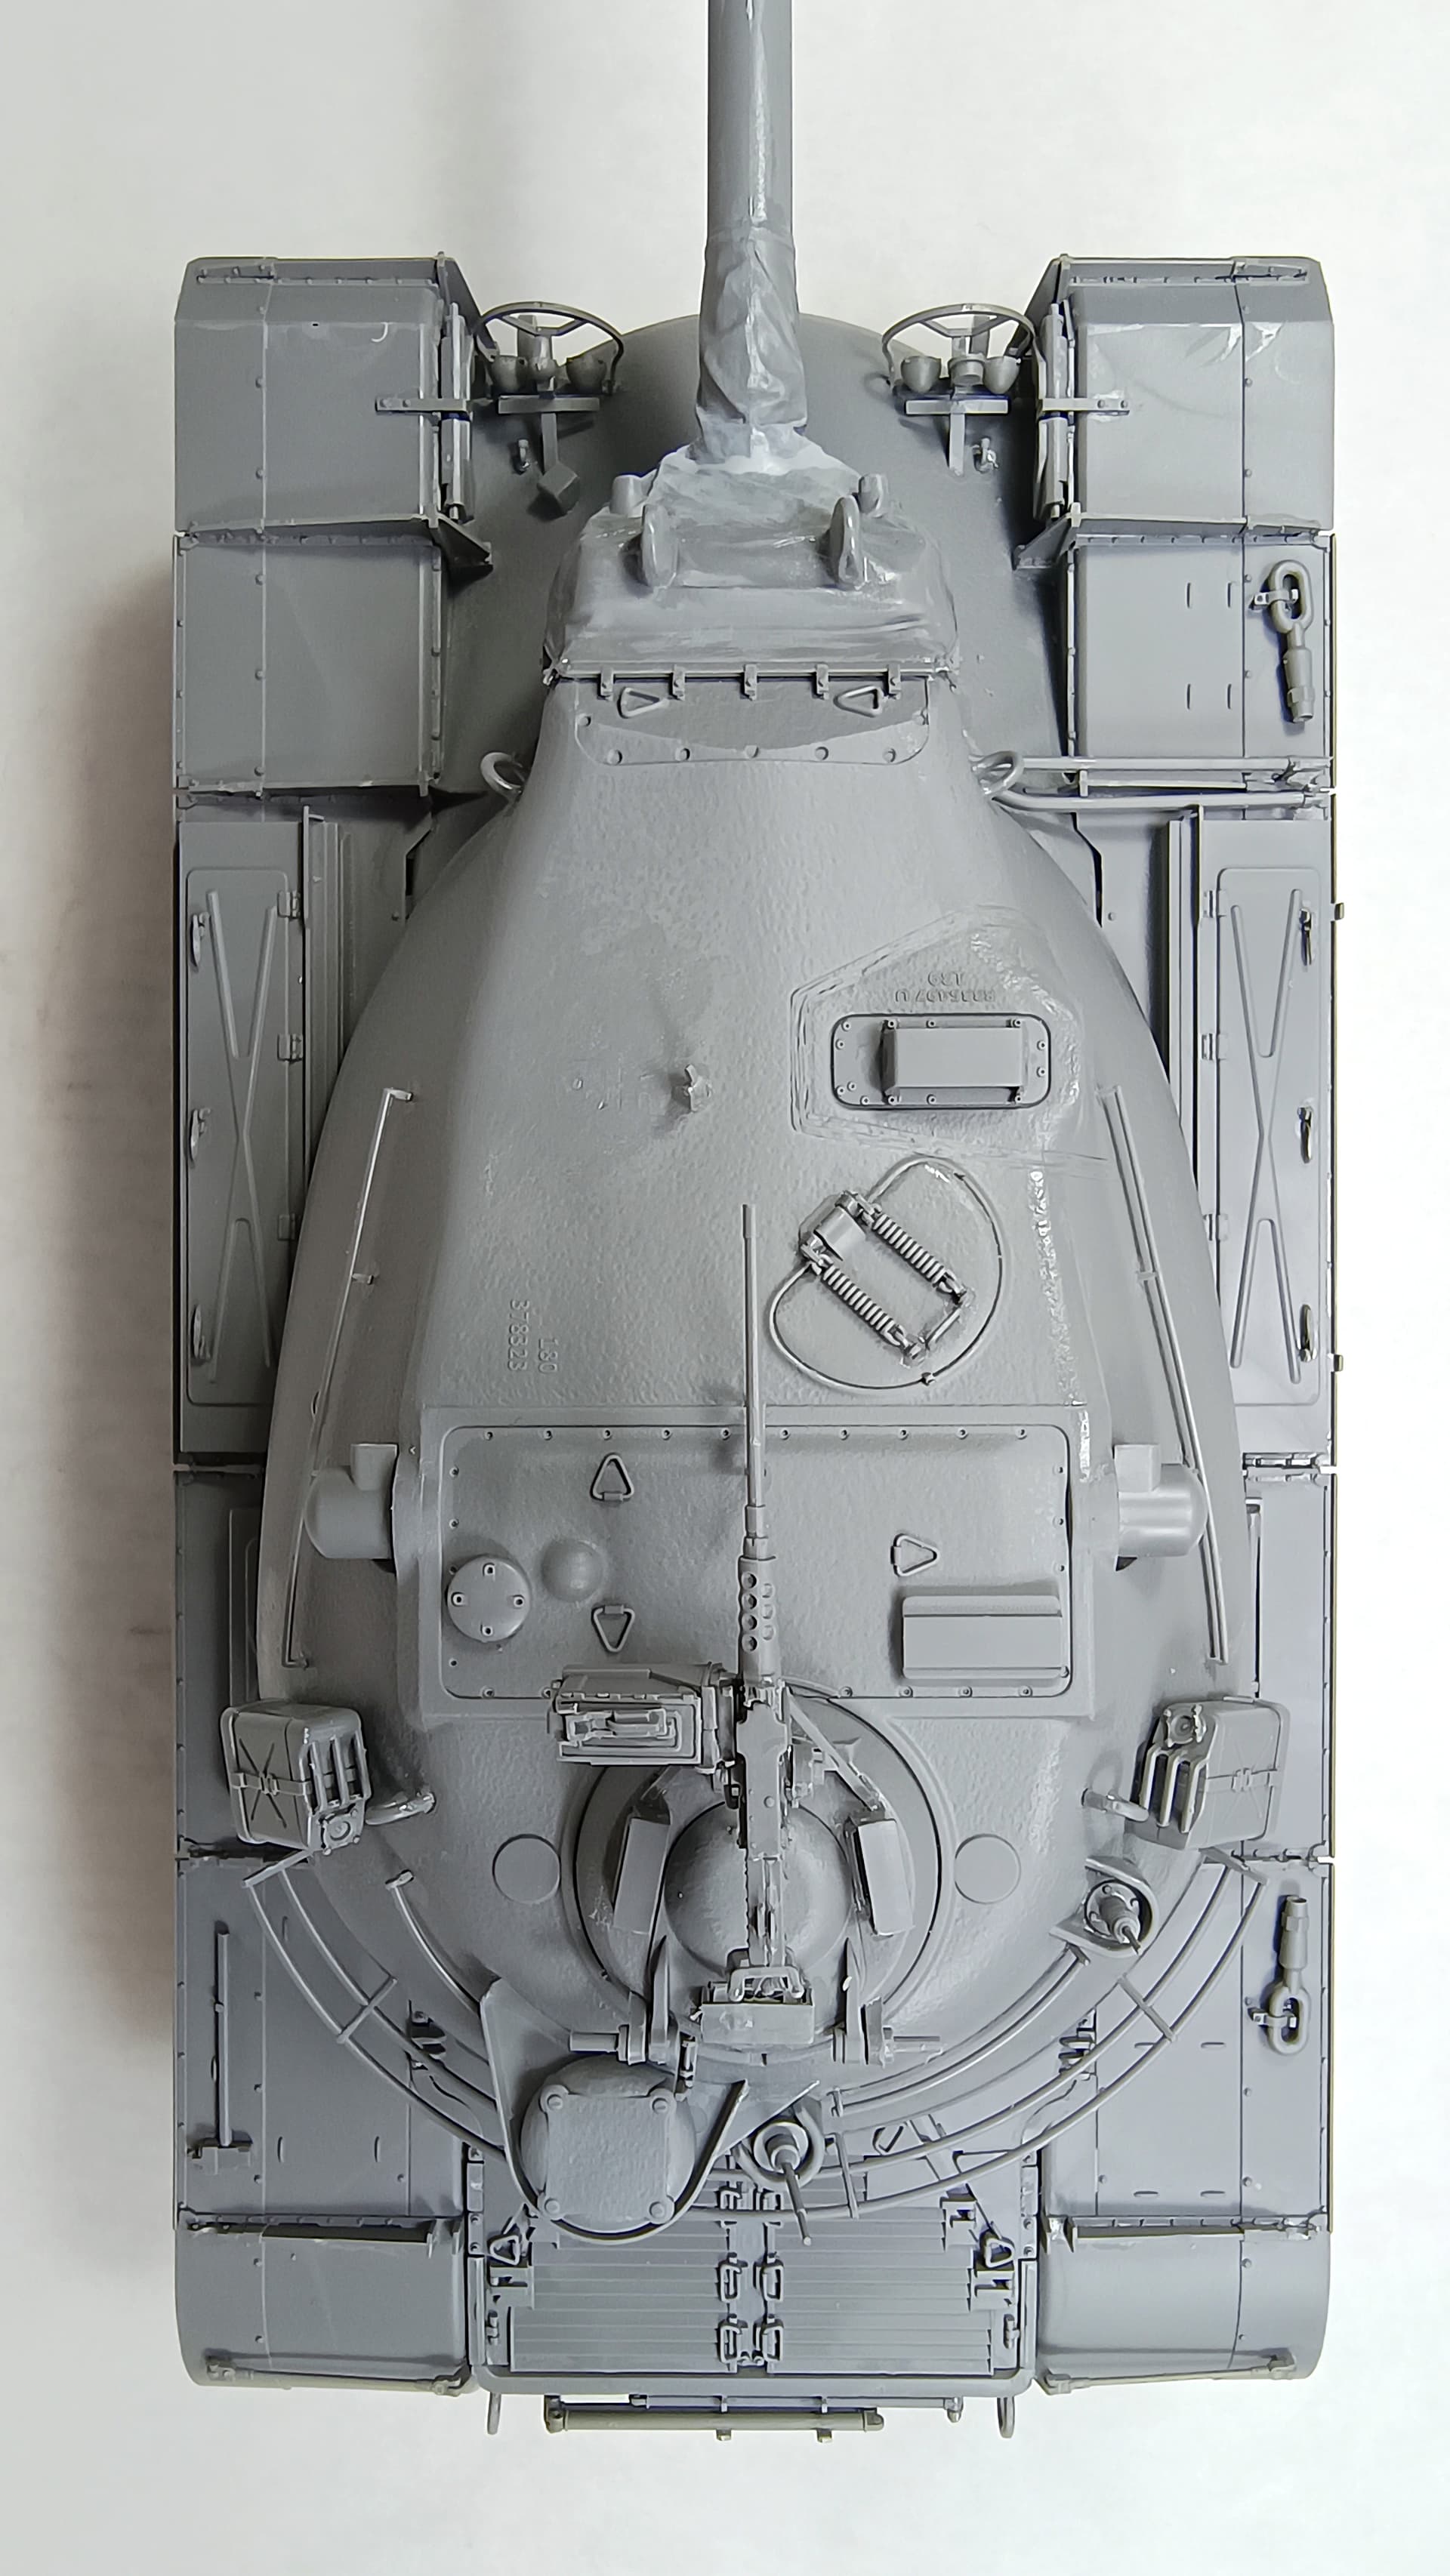
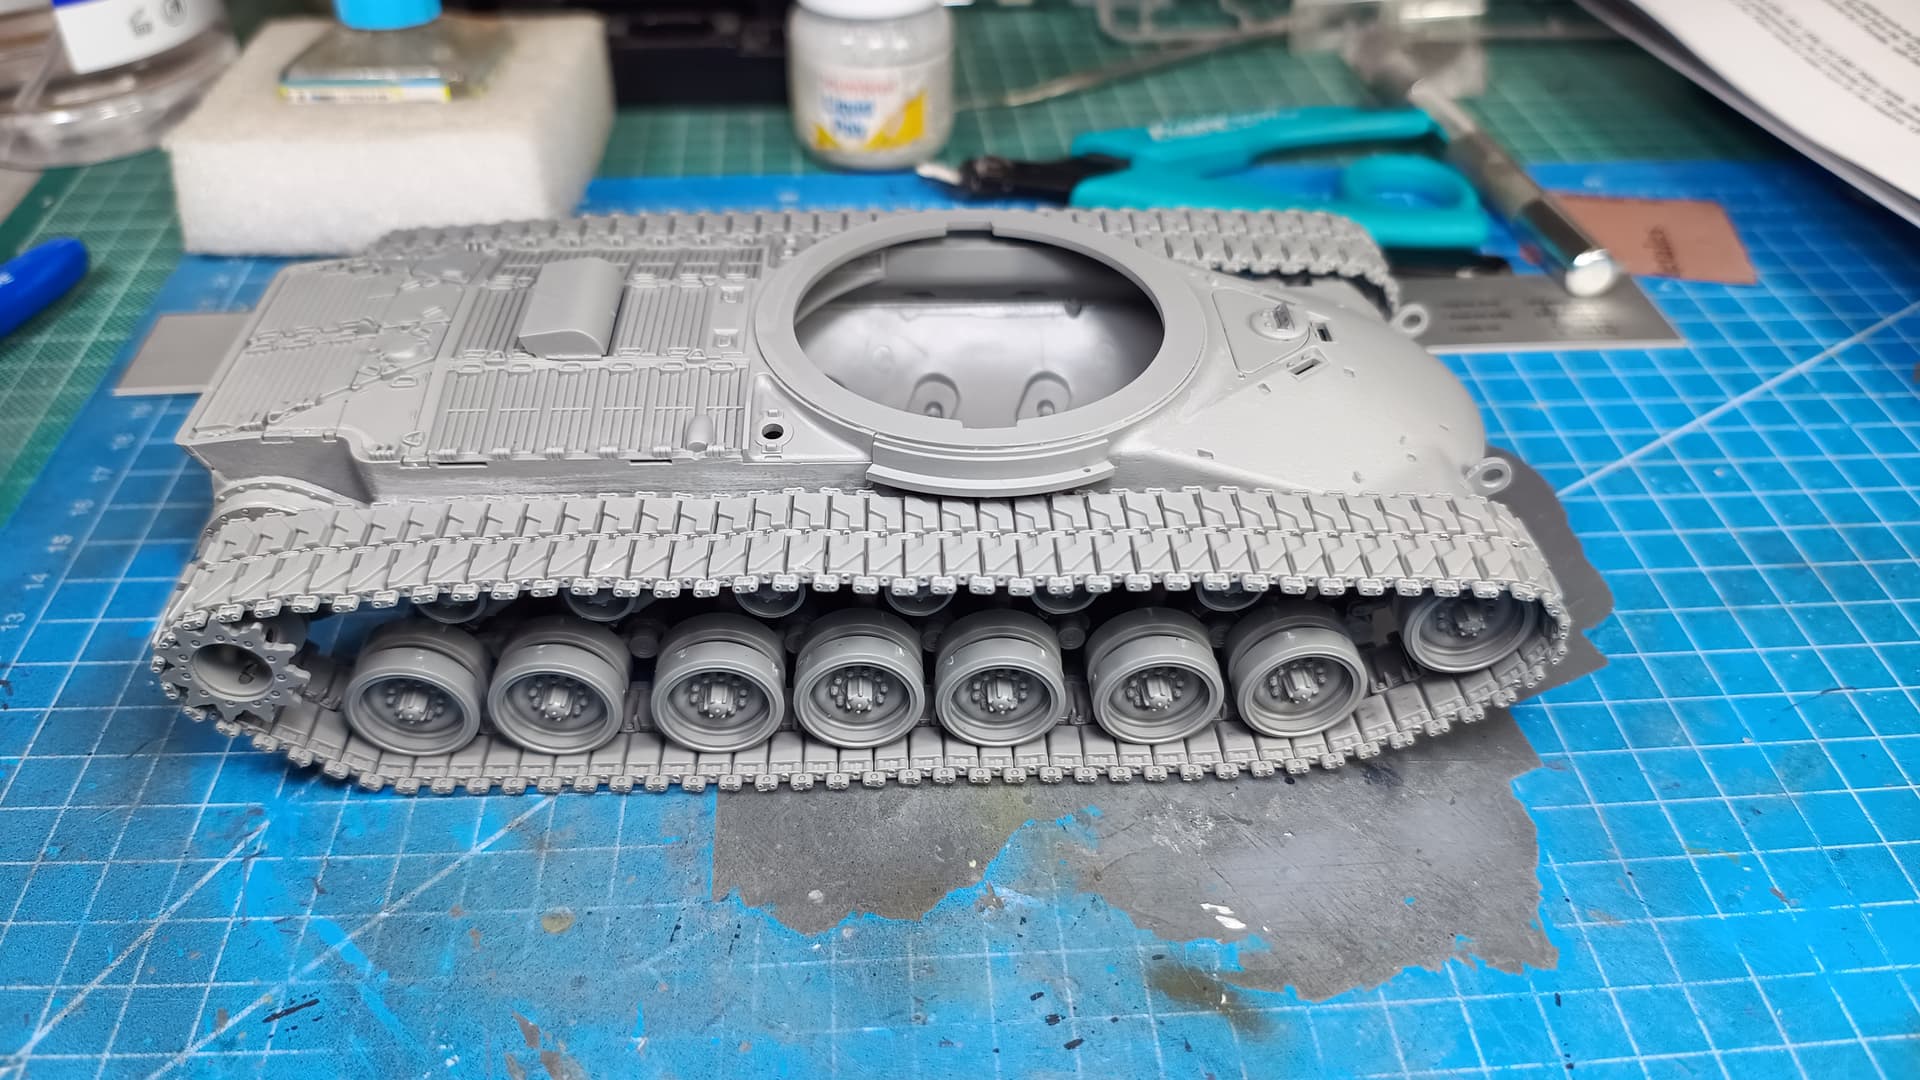
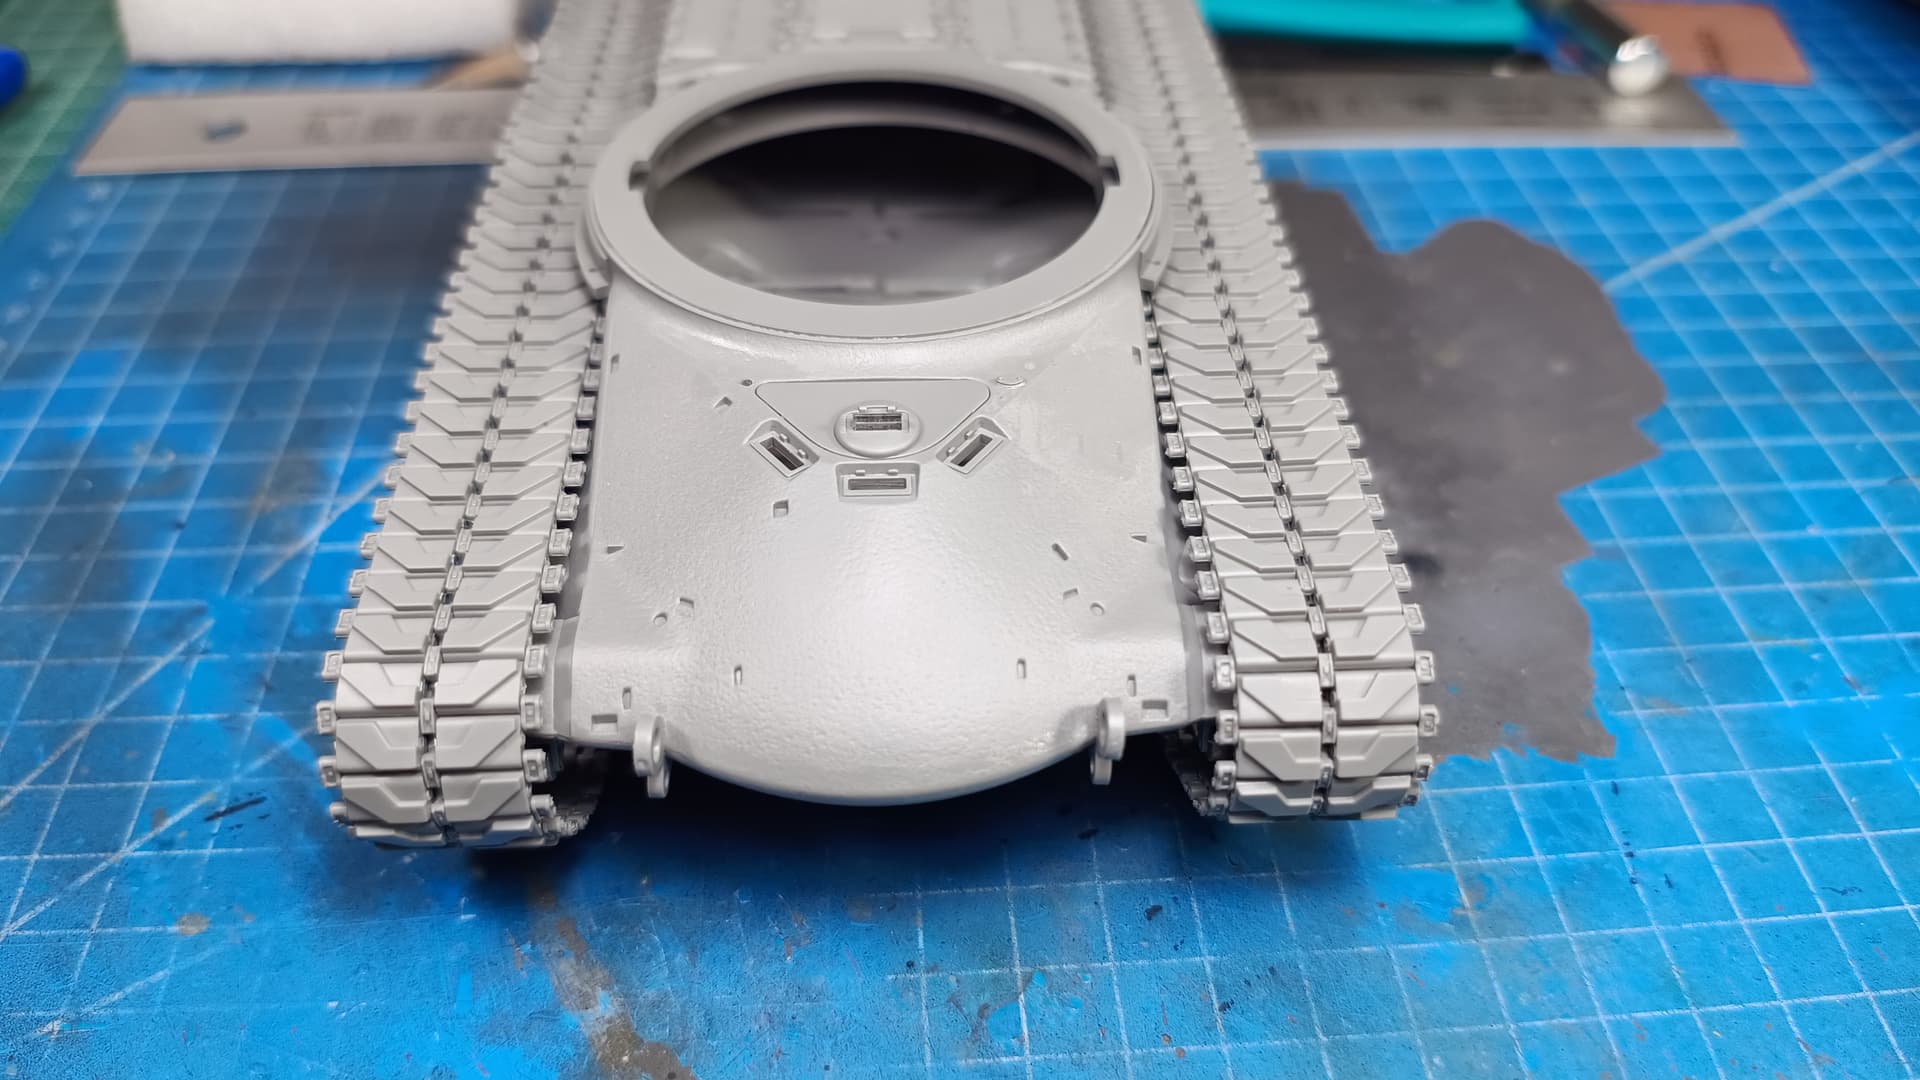
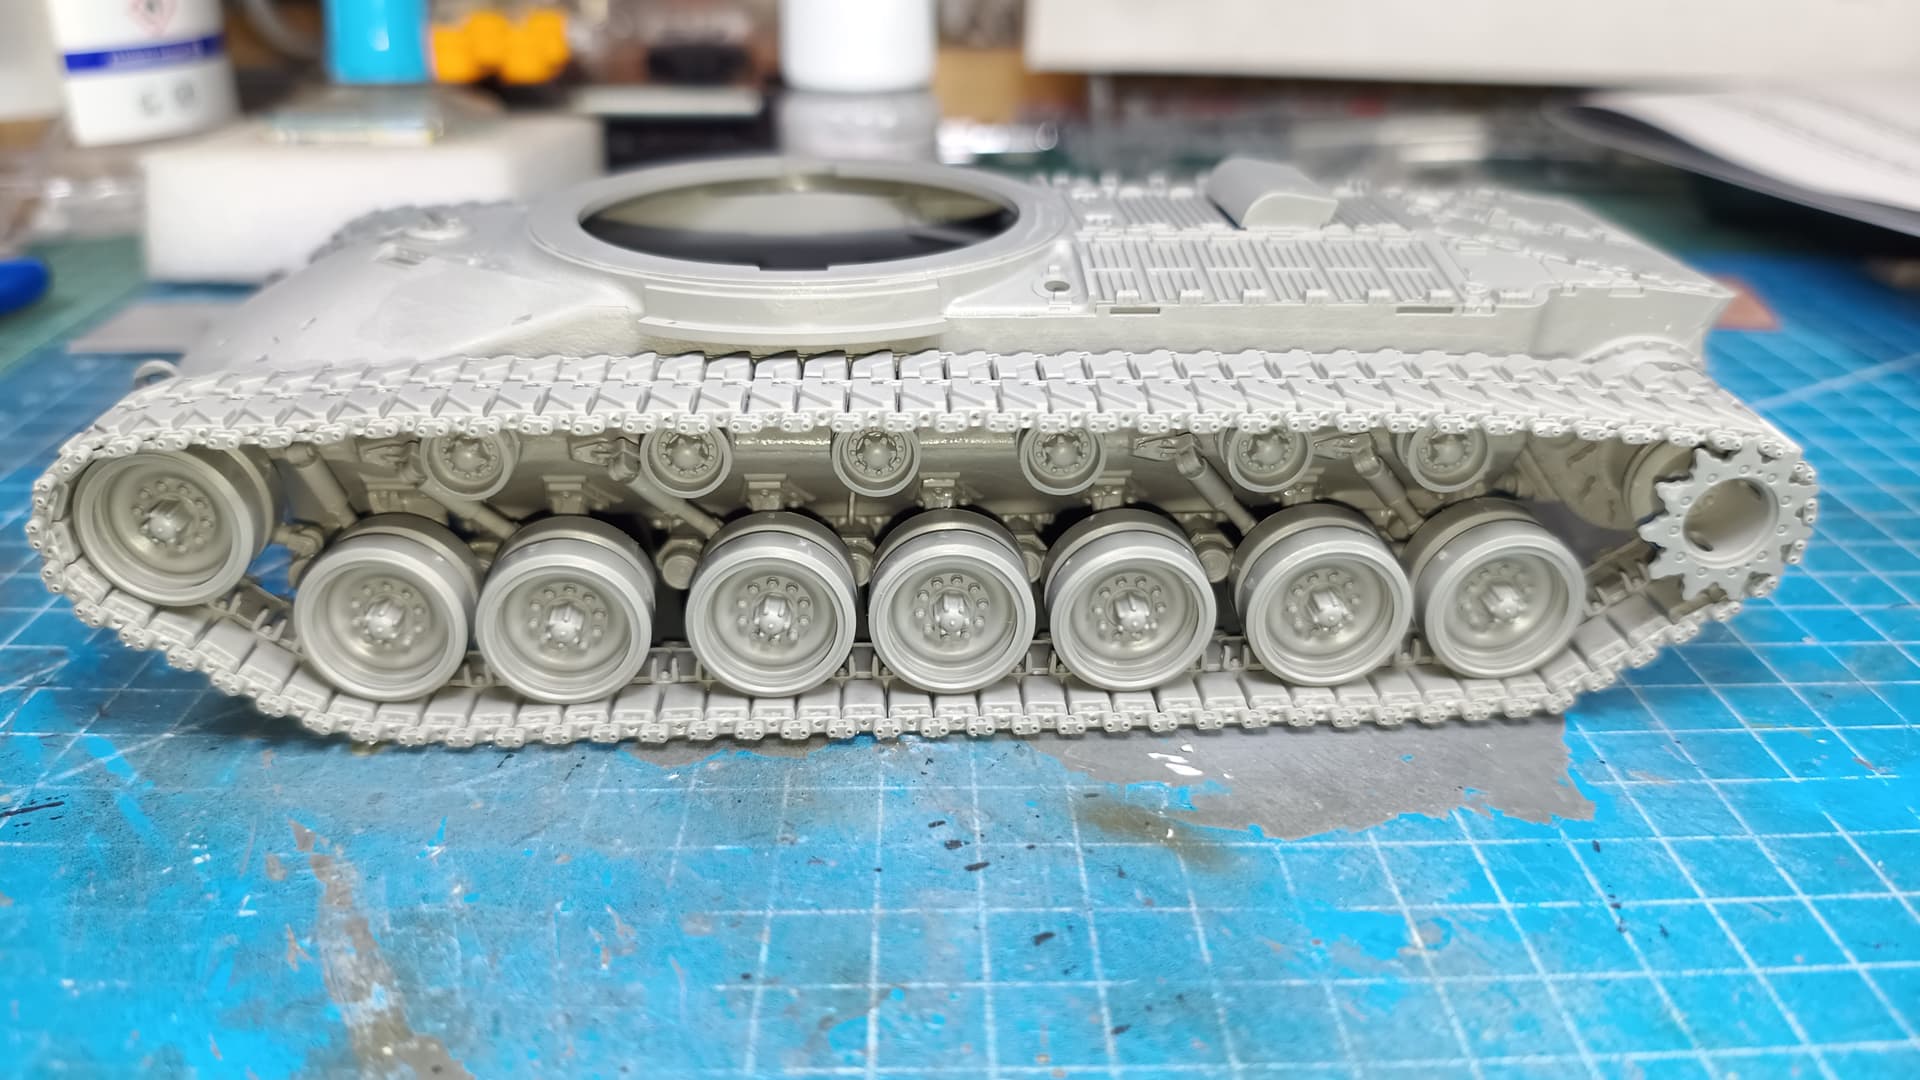
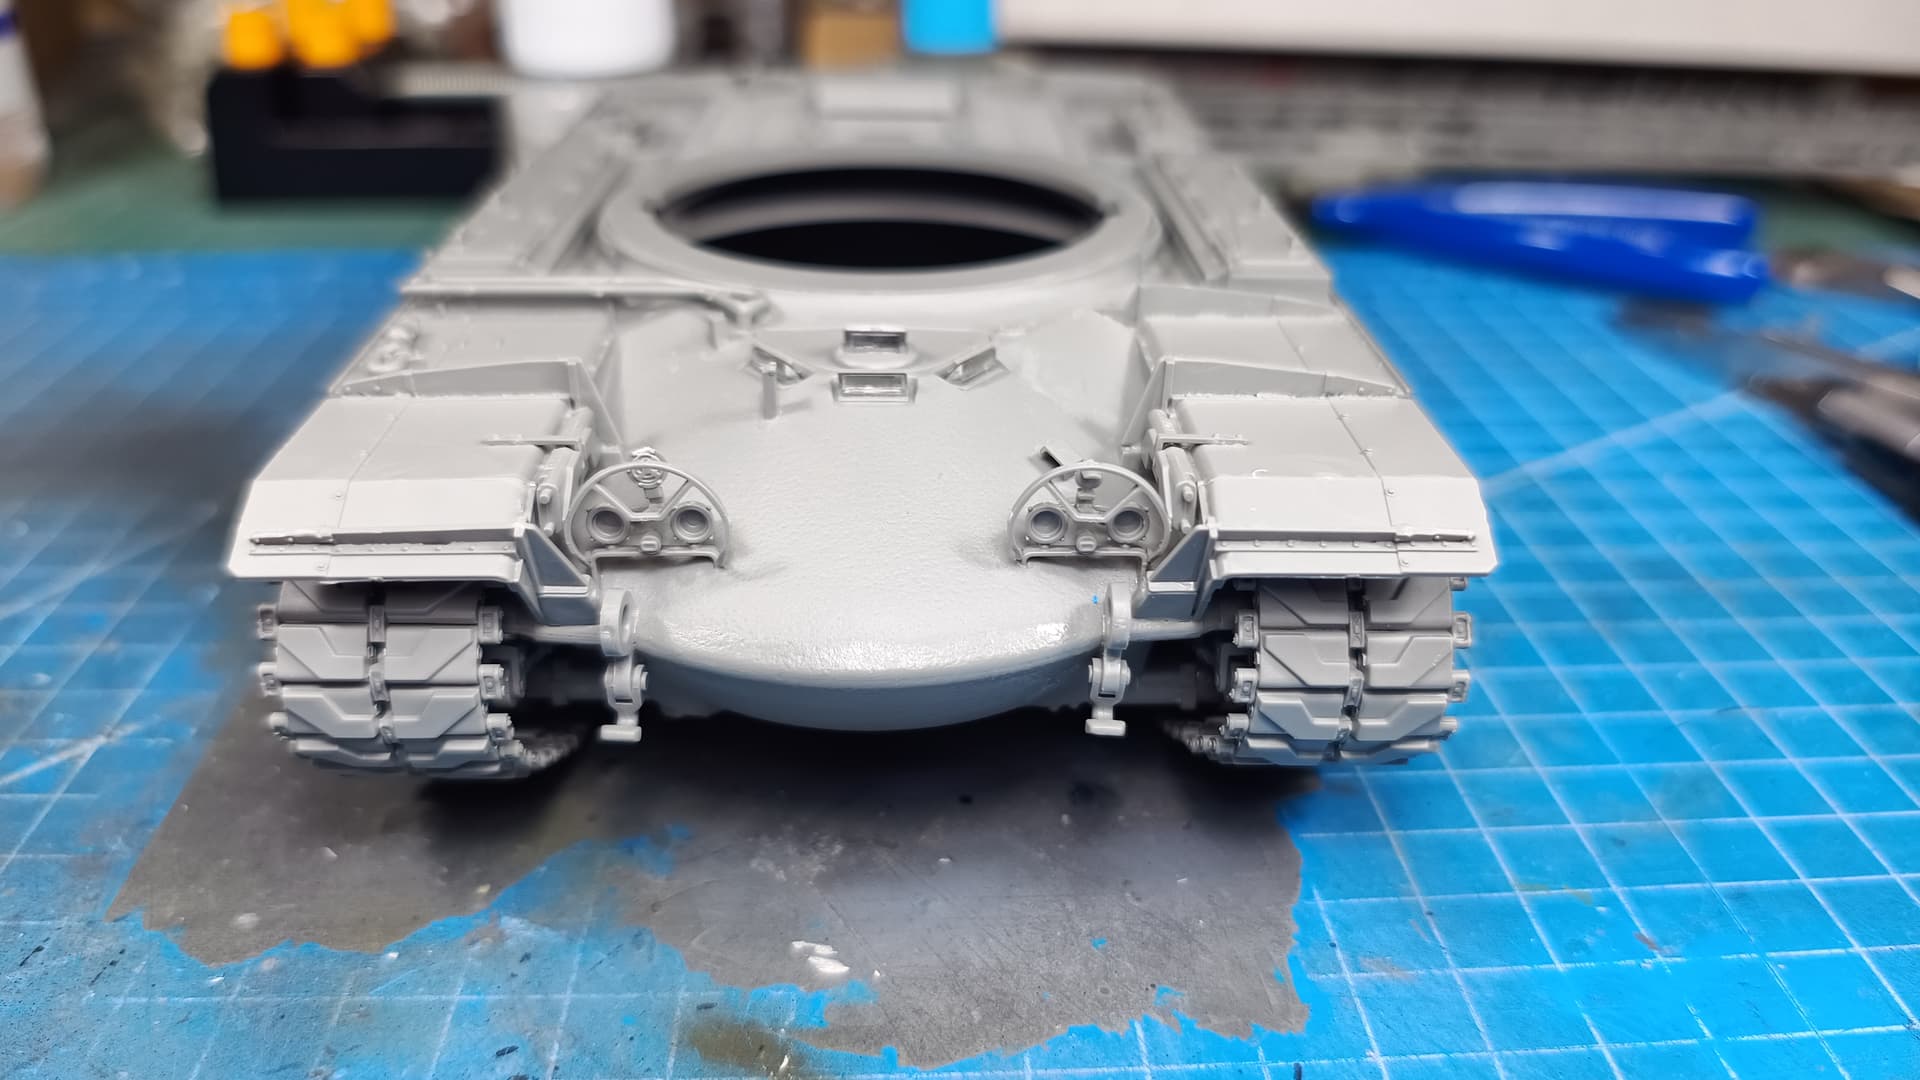
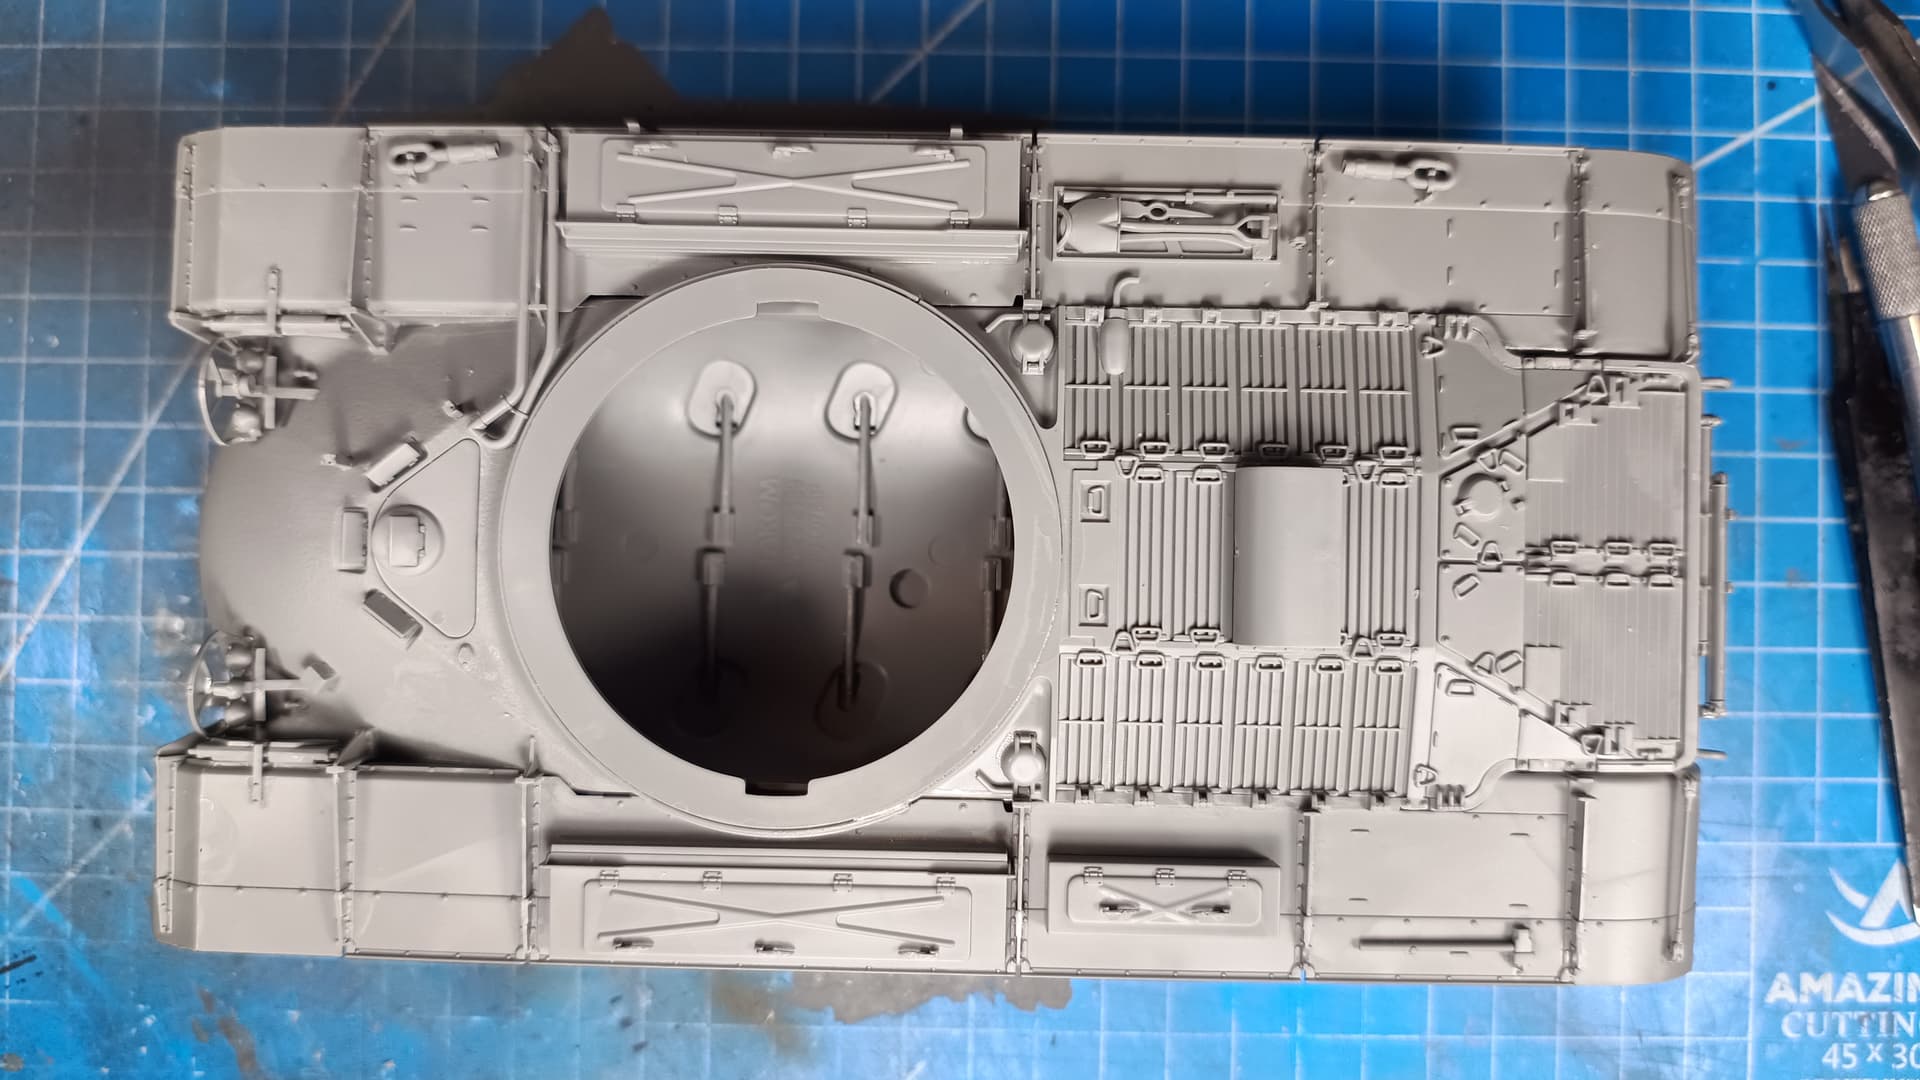
Part 5 Hull assembly and details.
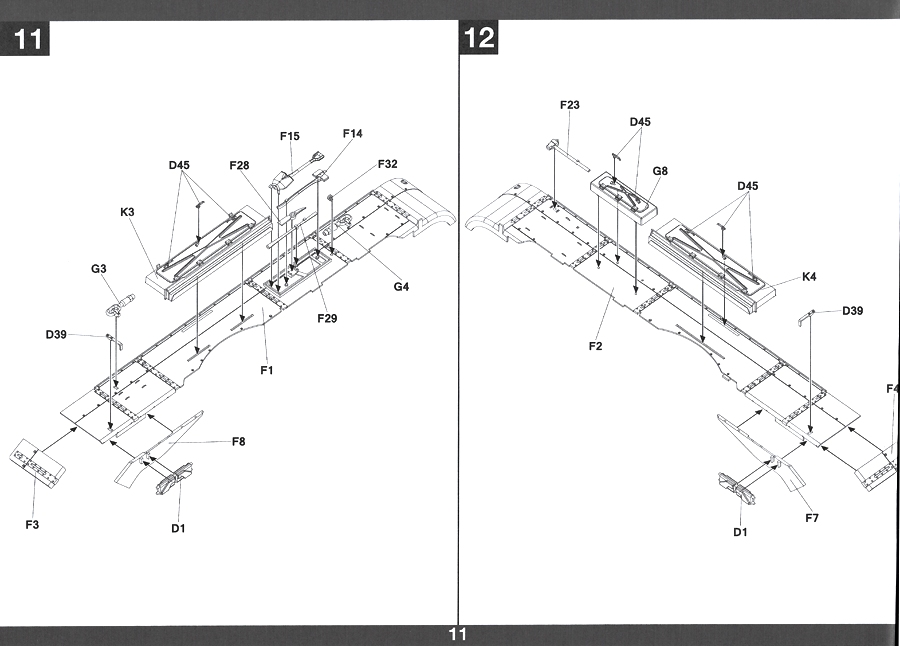
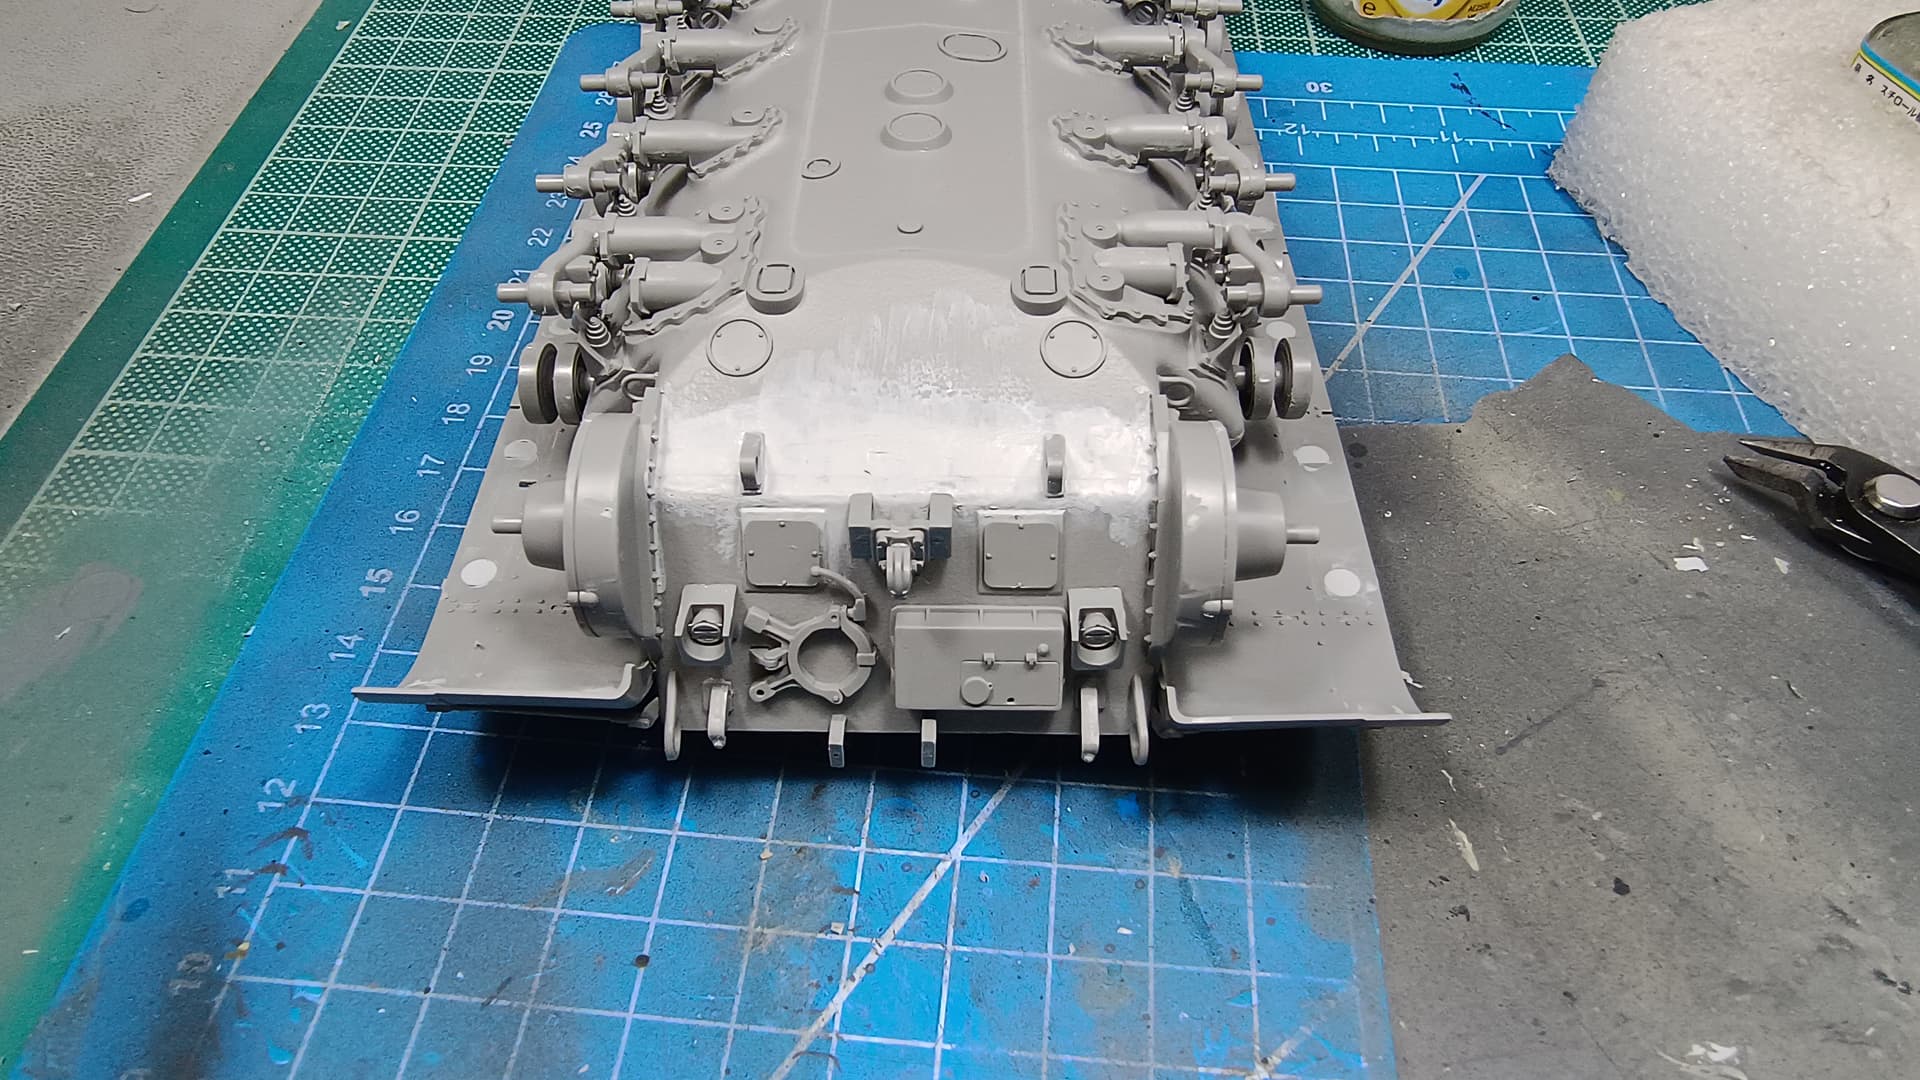
After filling and sanding the sinkmarks at the undersides of the fenders I added them to the hull. I did not add any kind of detail, in order to achieve the best fit possible on the hull. After that I added the fender brackets and the stowage boxes.
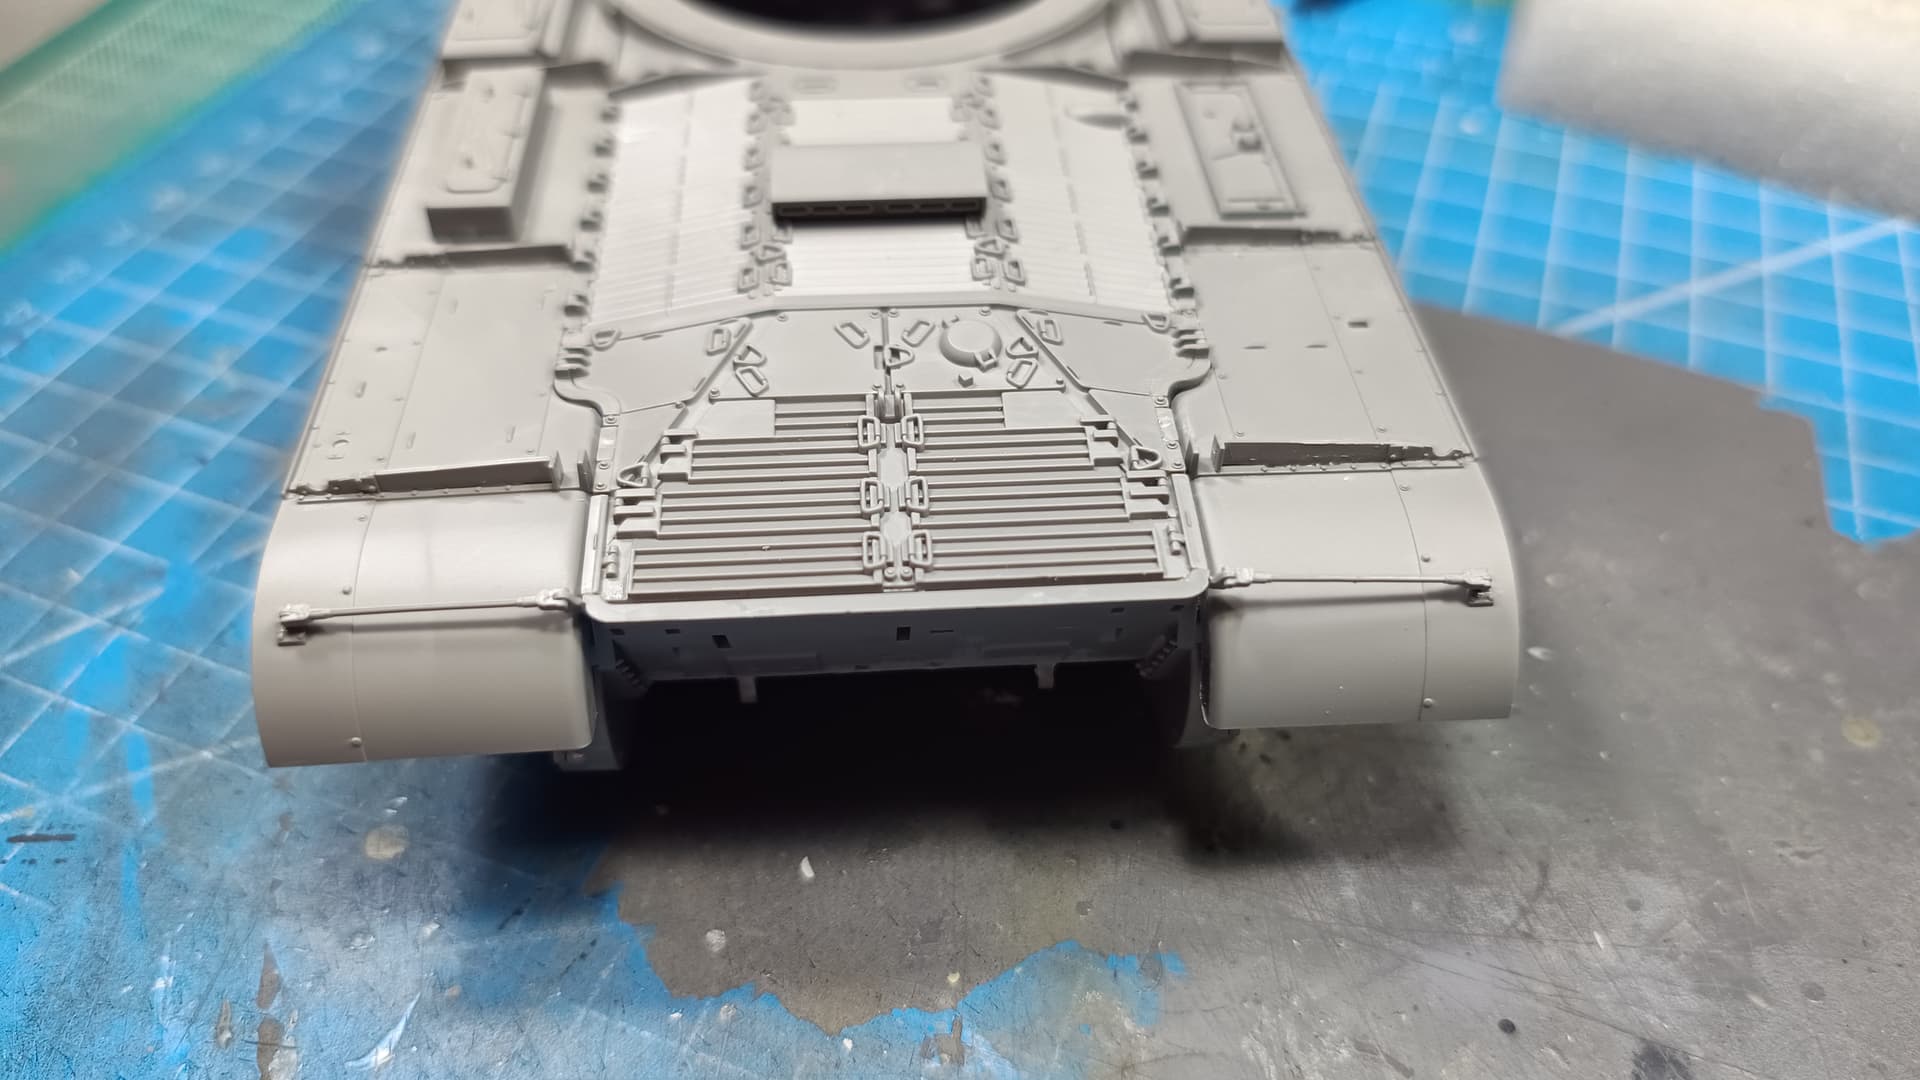
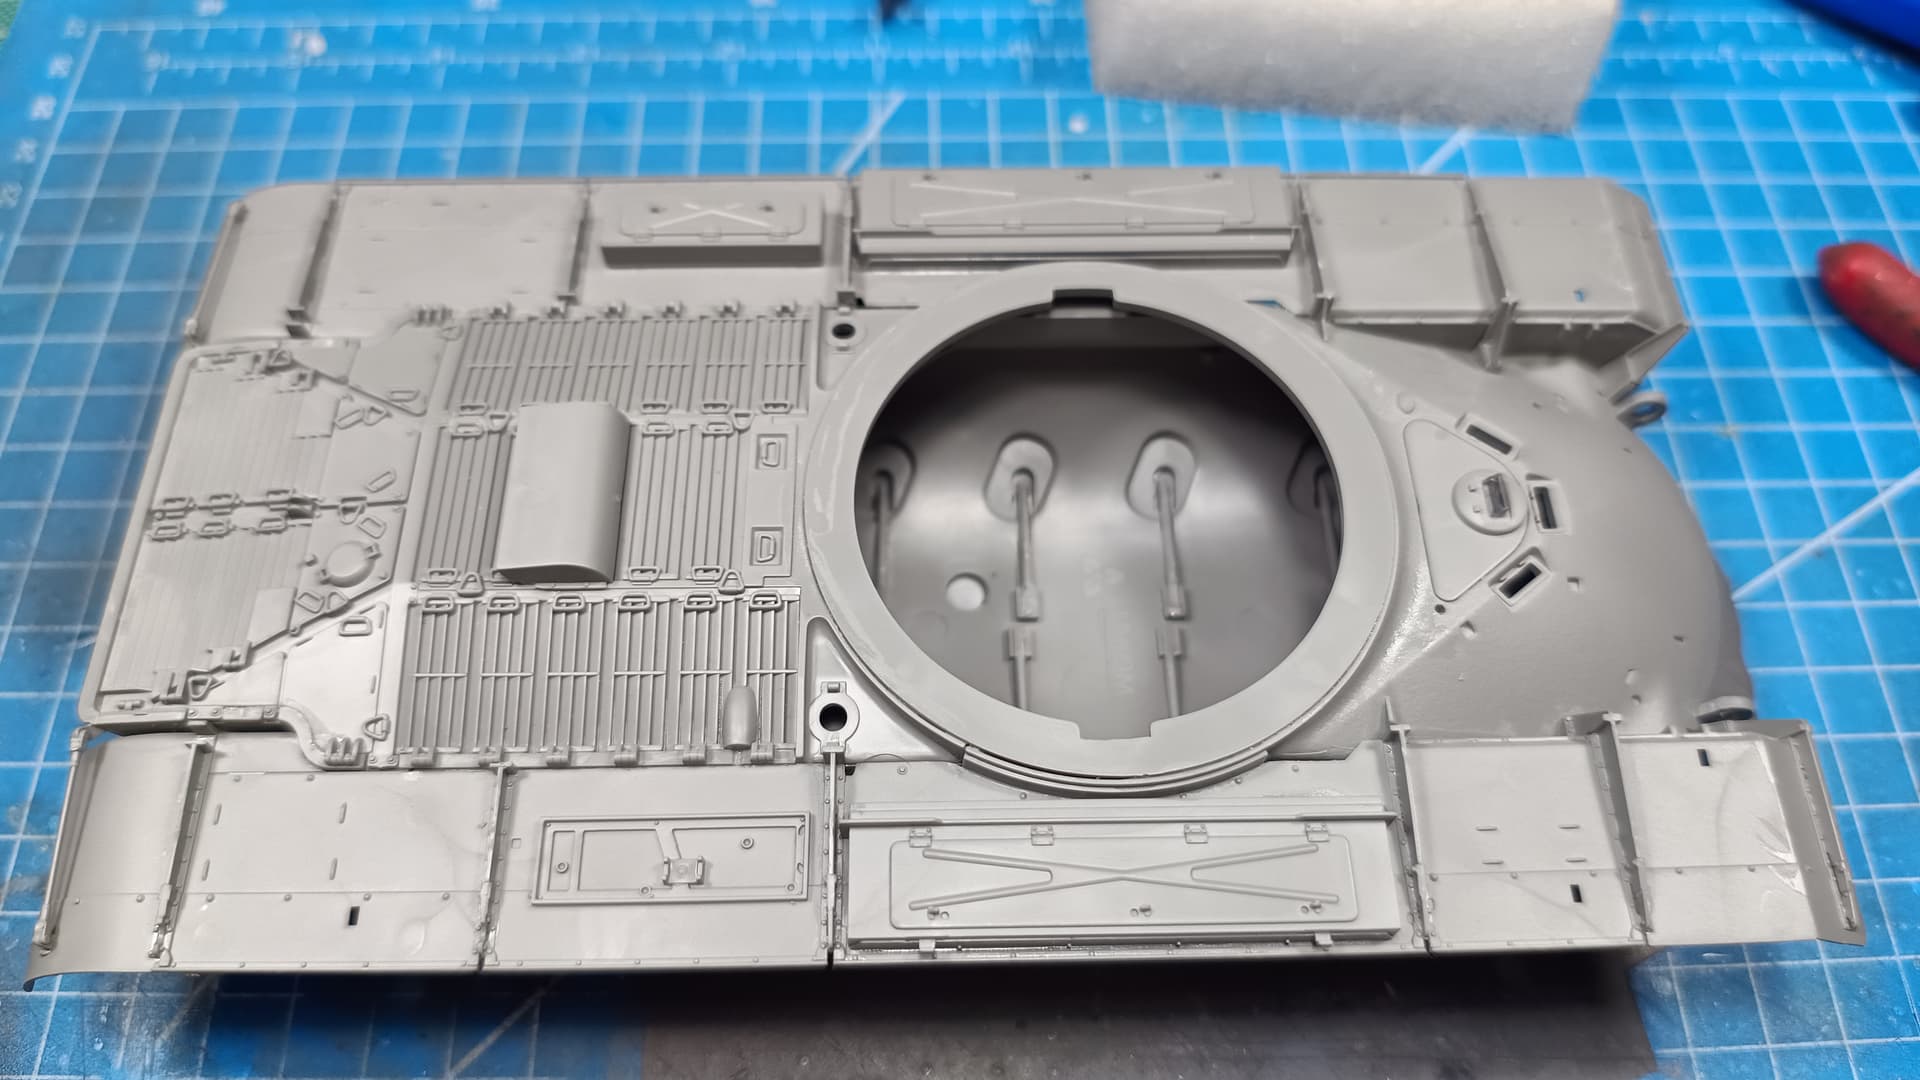
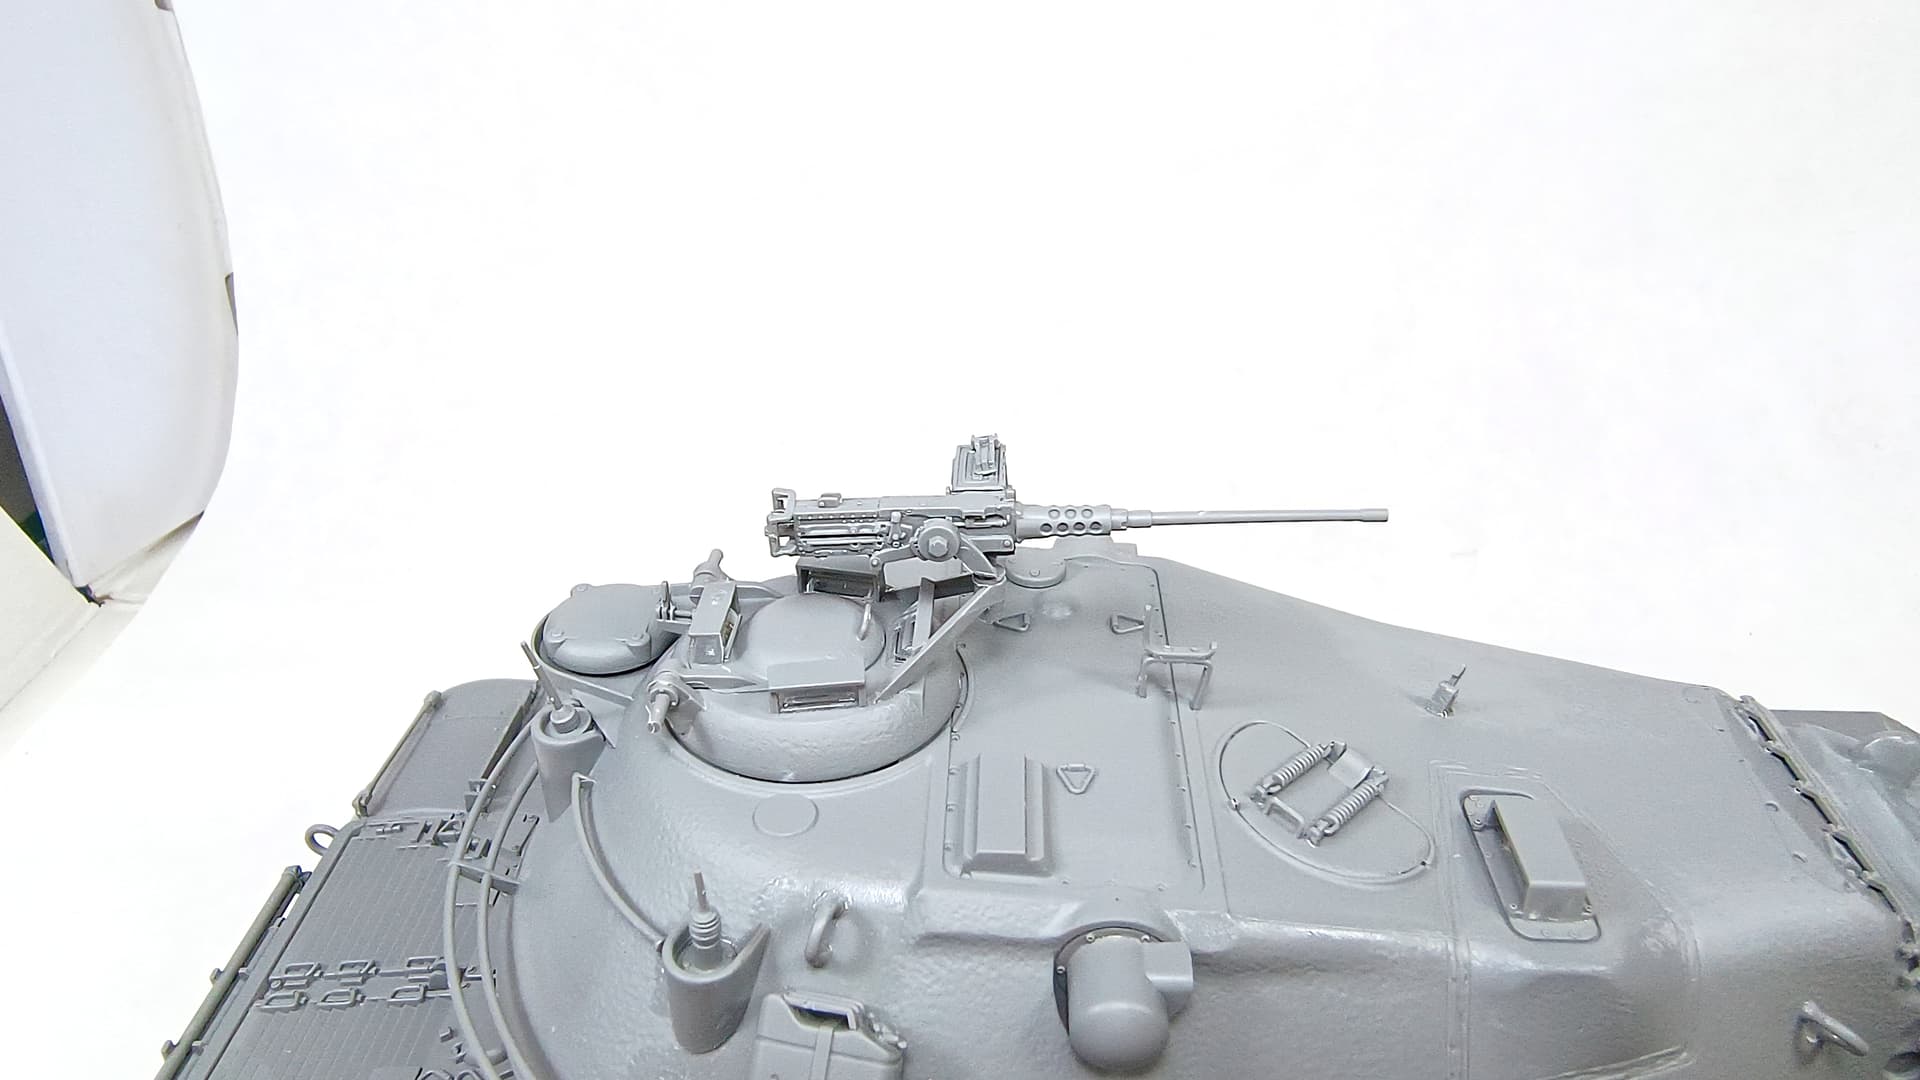
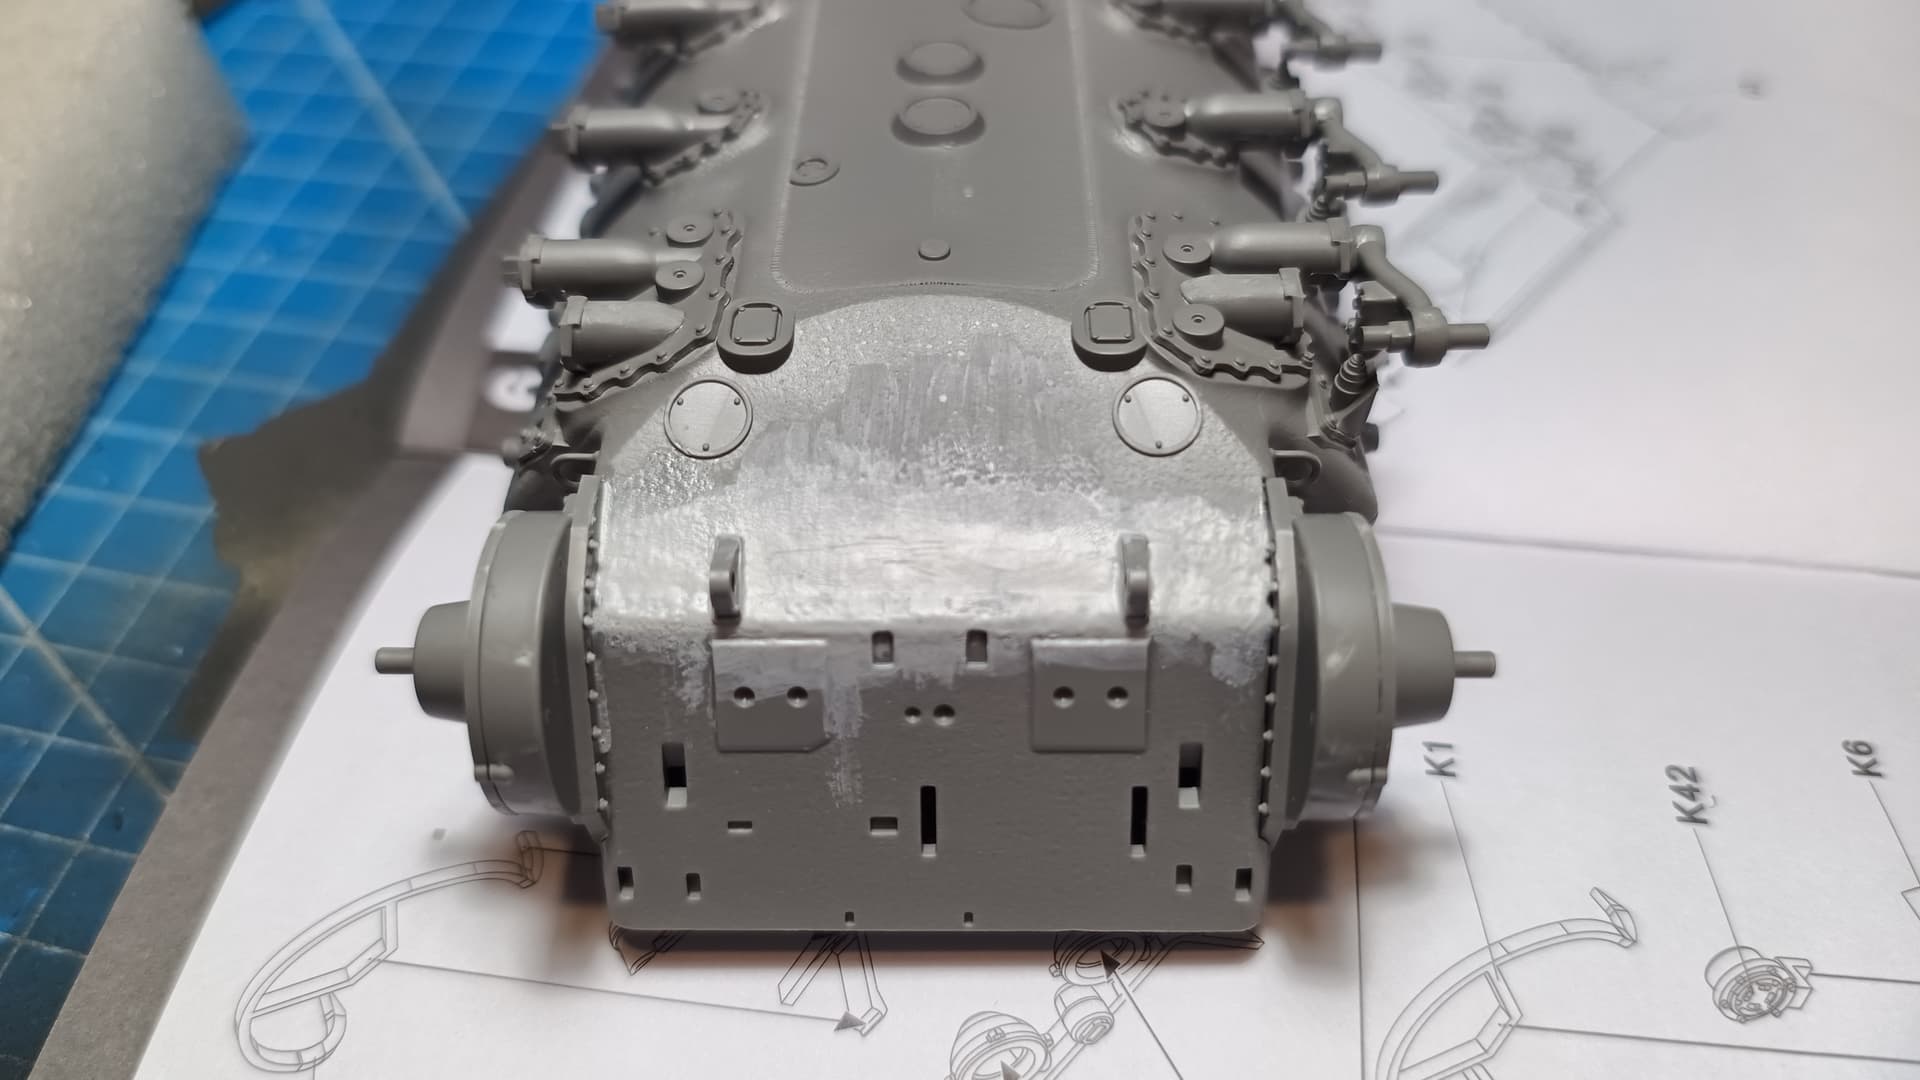
I added the rear hull details and the rest of the details. The front lights were the last things to be installed, in order to avoid any mishaps with the fragile parts. Although they are more sturdy than I thought them to be. Great design and engineering from Takom on these parts.
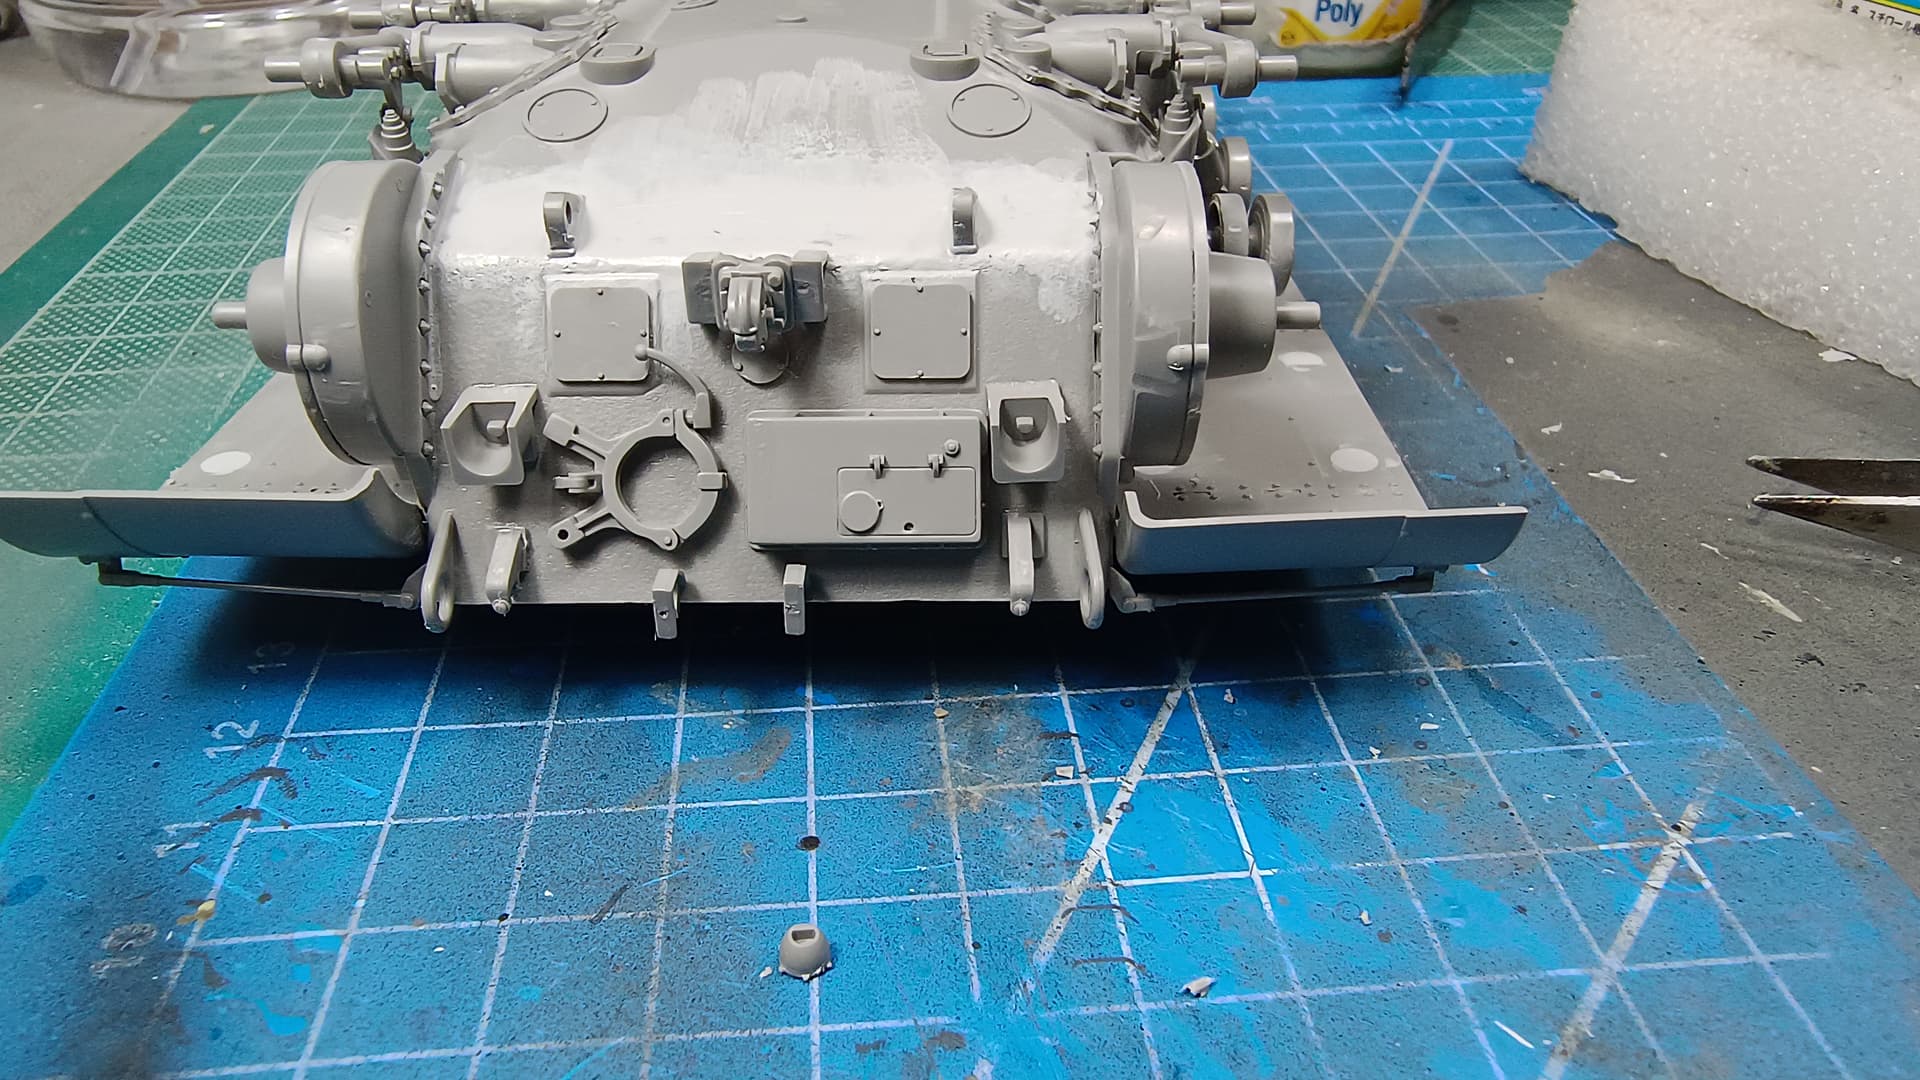


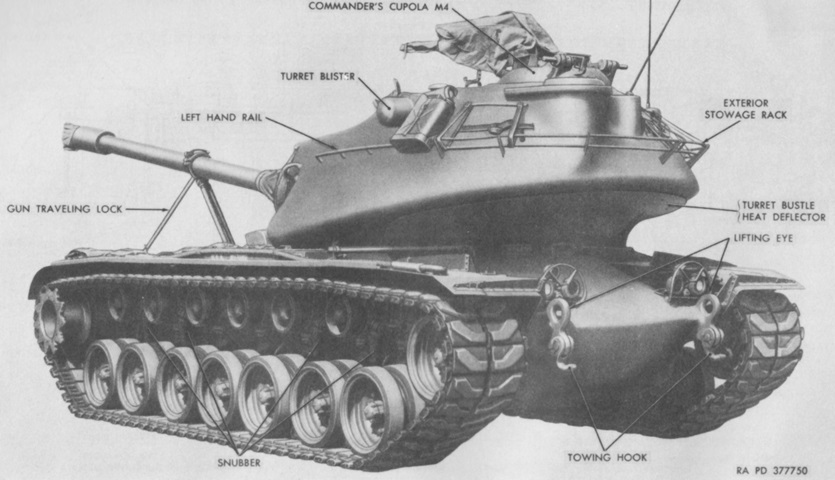
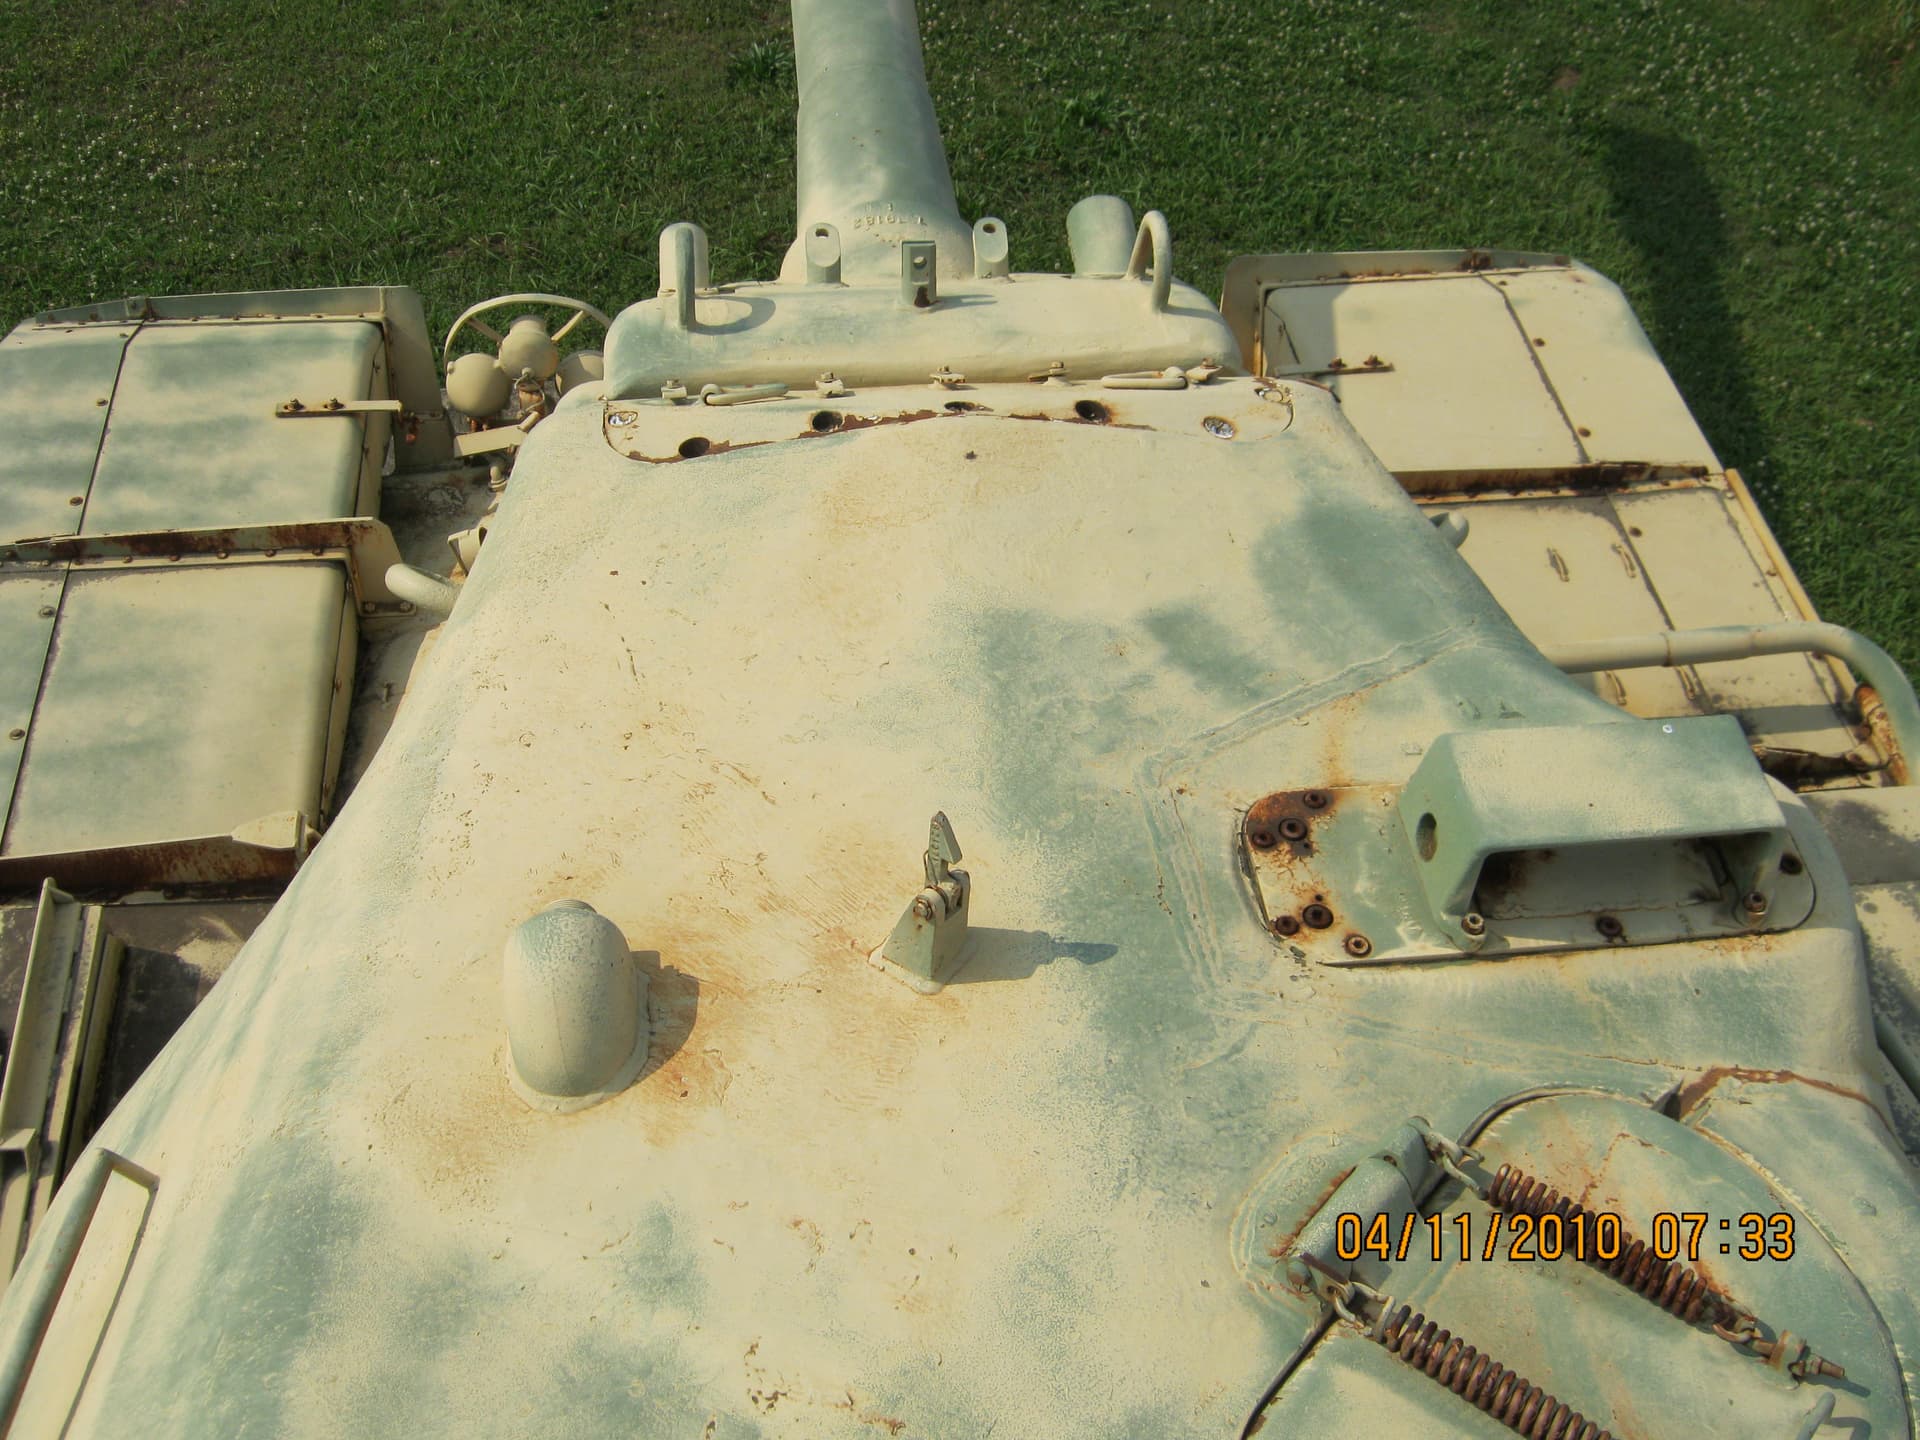
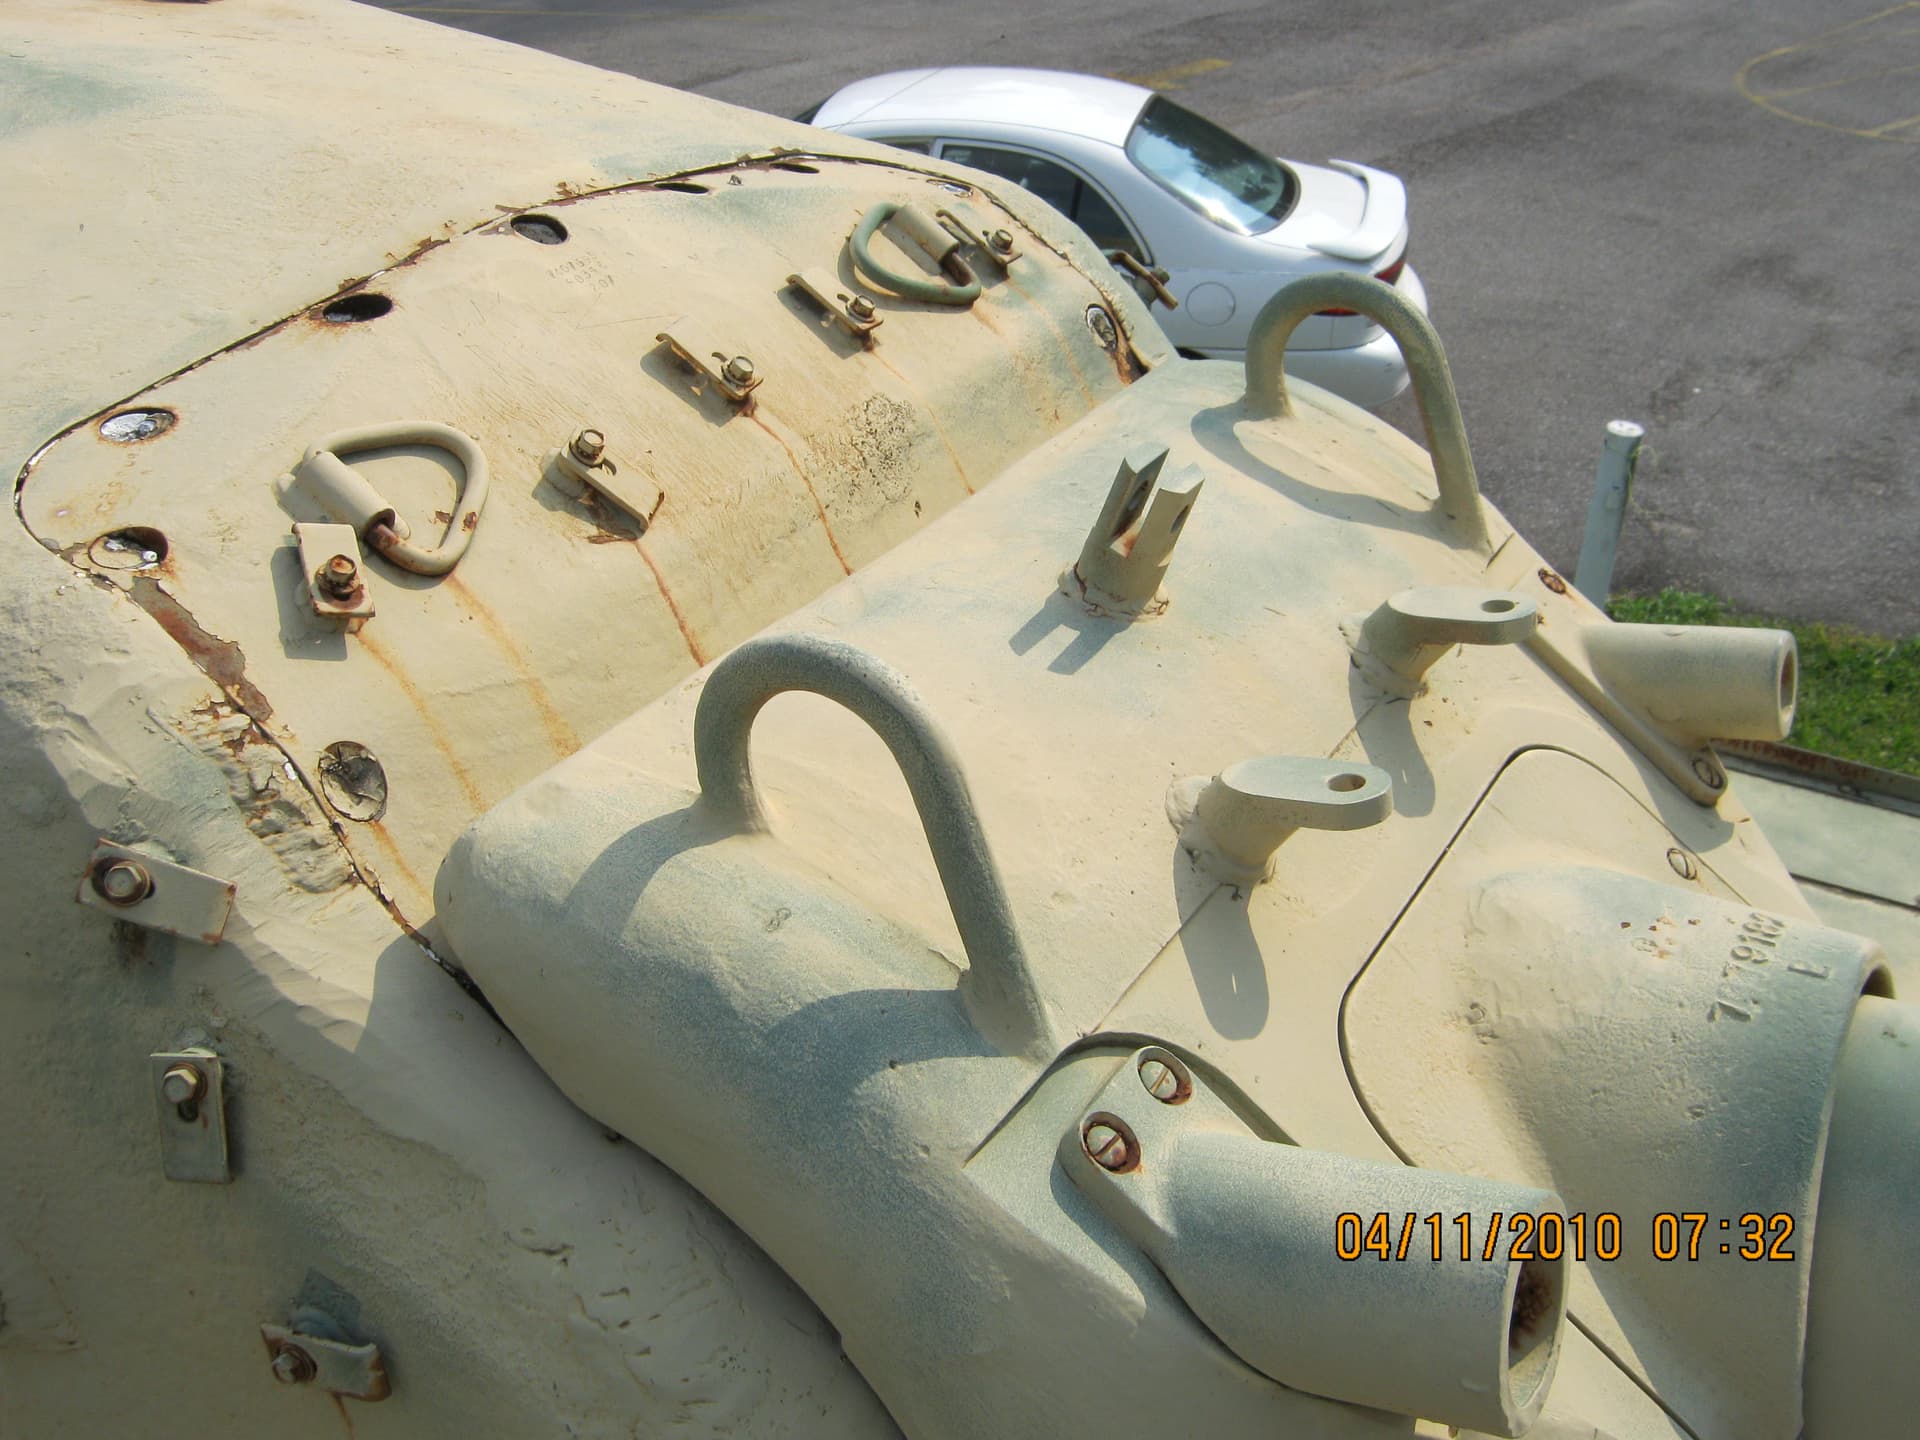
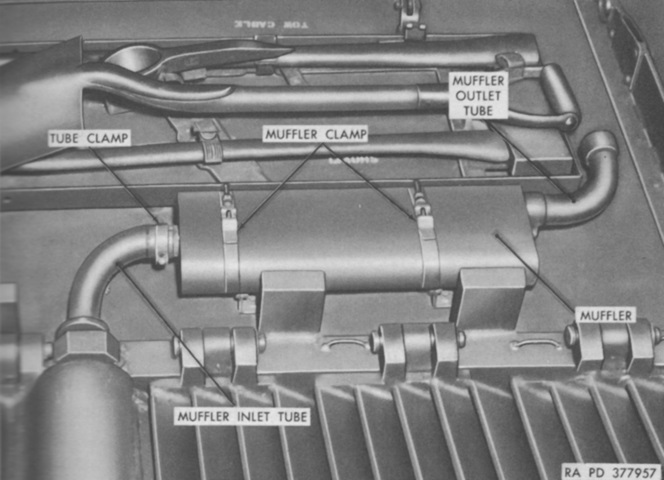
One thing I noticed I need to verify is the absence of the exhaust muffler on the right fender, on the inner side of the pioneer tools. I have a picture from the manual of the M103 that shows the muffler, I need to do some research in that.
End of part 5 ![]()