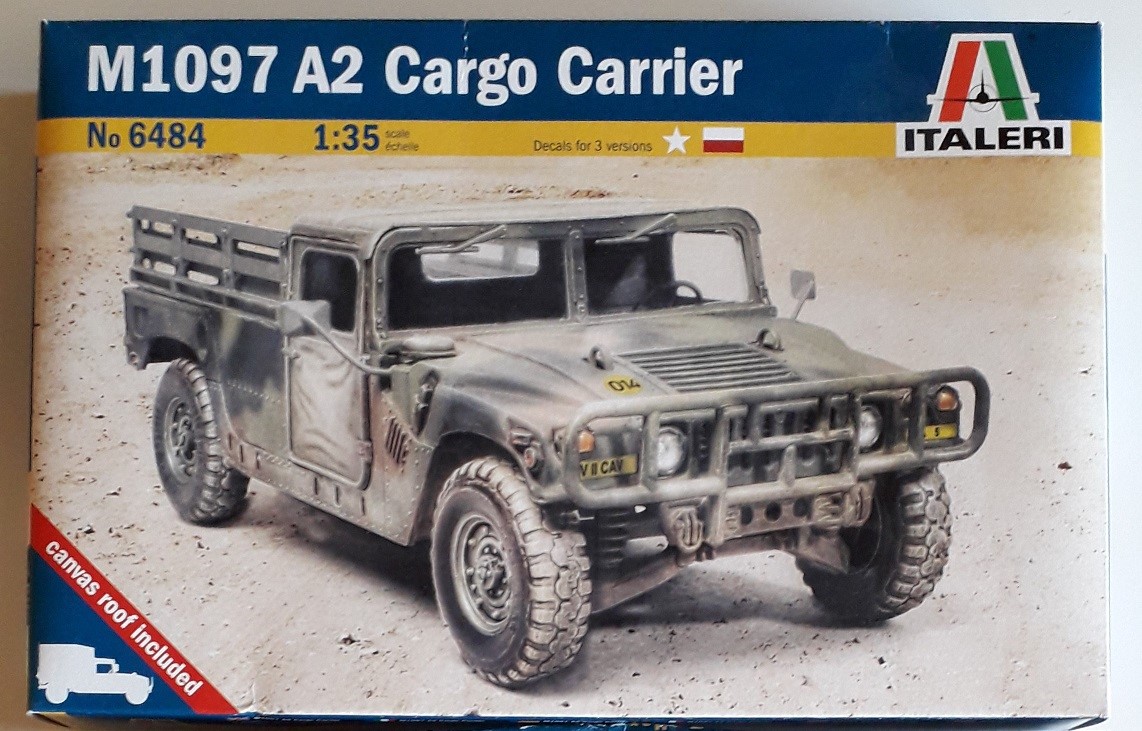
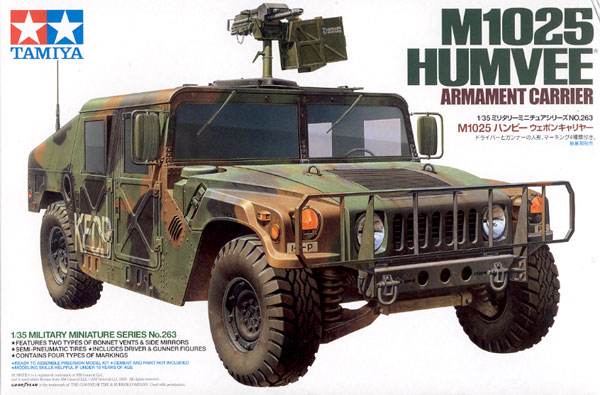
For the “Tough MUV-er”-campaign I am doing 3 Hummers in various configurations; an Italeri M1097 with M101 trailer, Iraq 2003, a Tamiya M1025 weapons carrier in Bosnia/Kosovo and a Academy M998 with motorcross bike on the rear, during a NATO exercise late ‘80’s, early ‘90’s.
Initially I had only 2 of those planned, but the one from Academy I scraped together from spareparts. The Tamiya one was too good to not build with all doors open, the Academy one far less so.
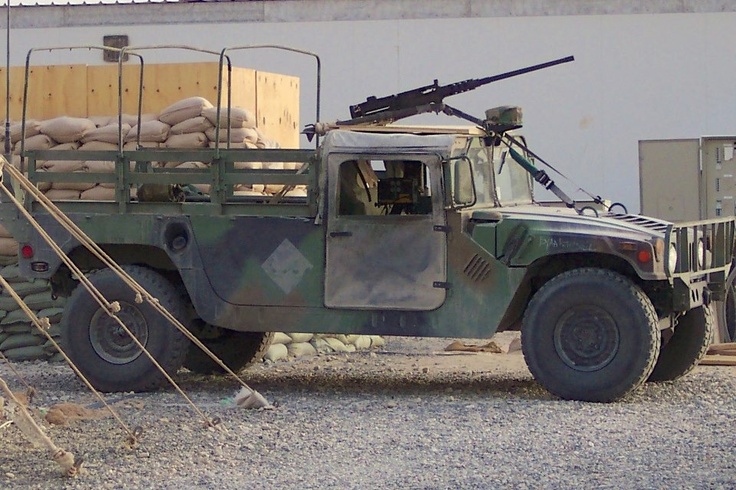
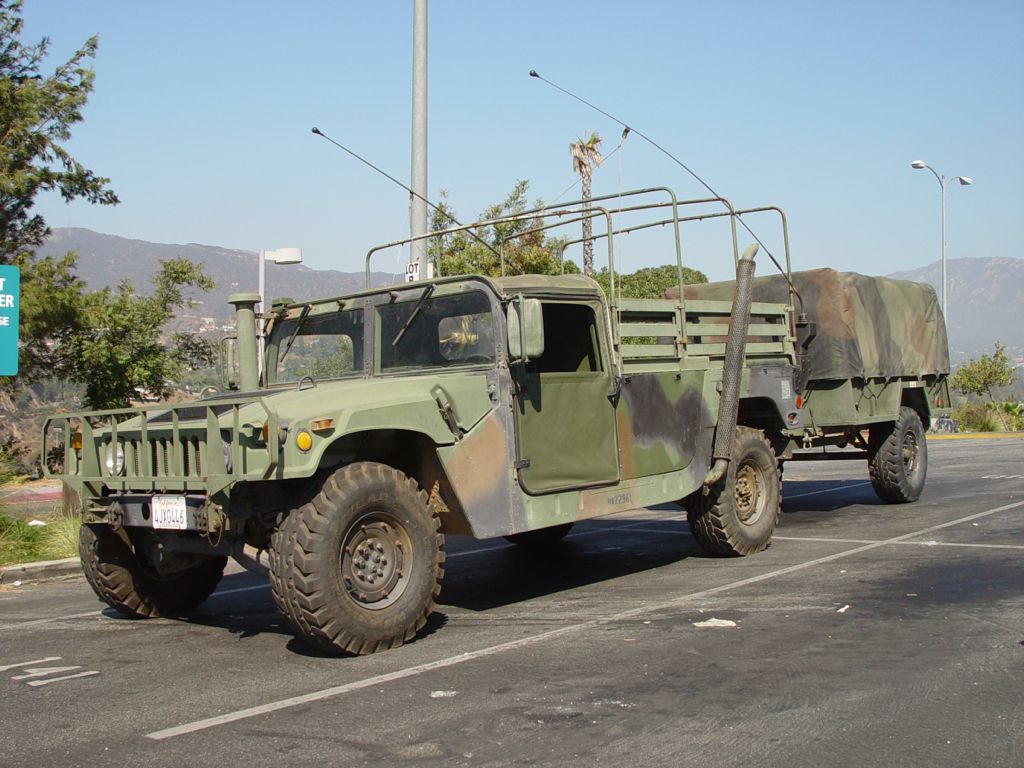
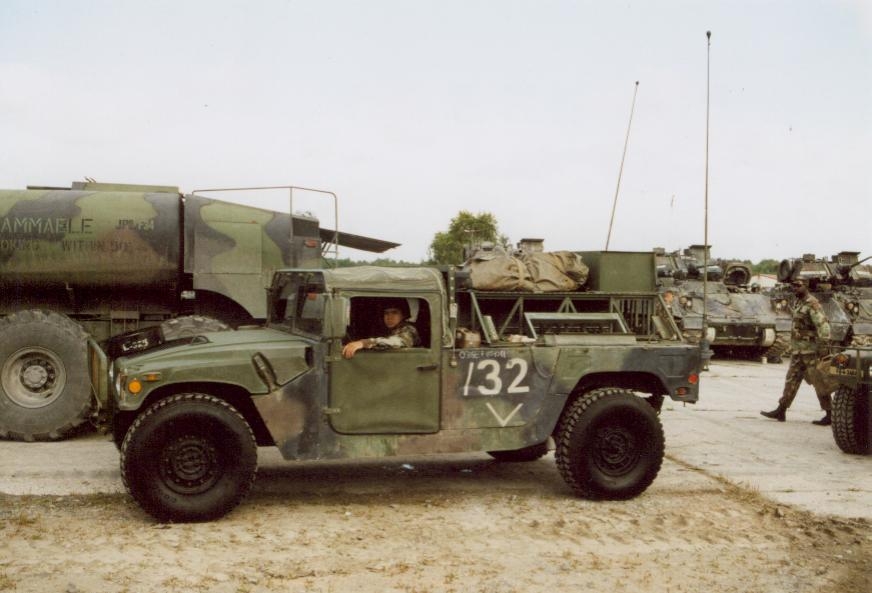
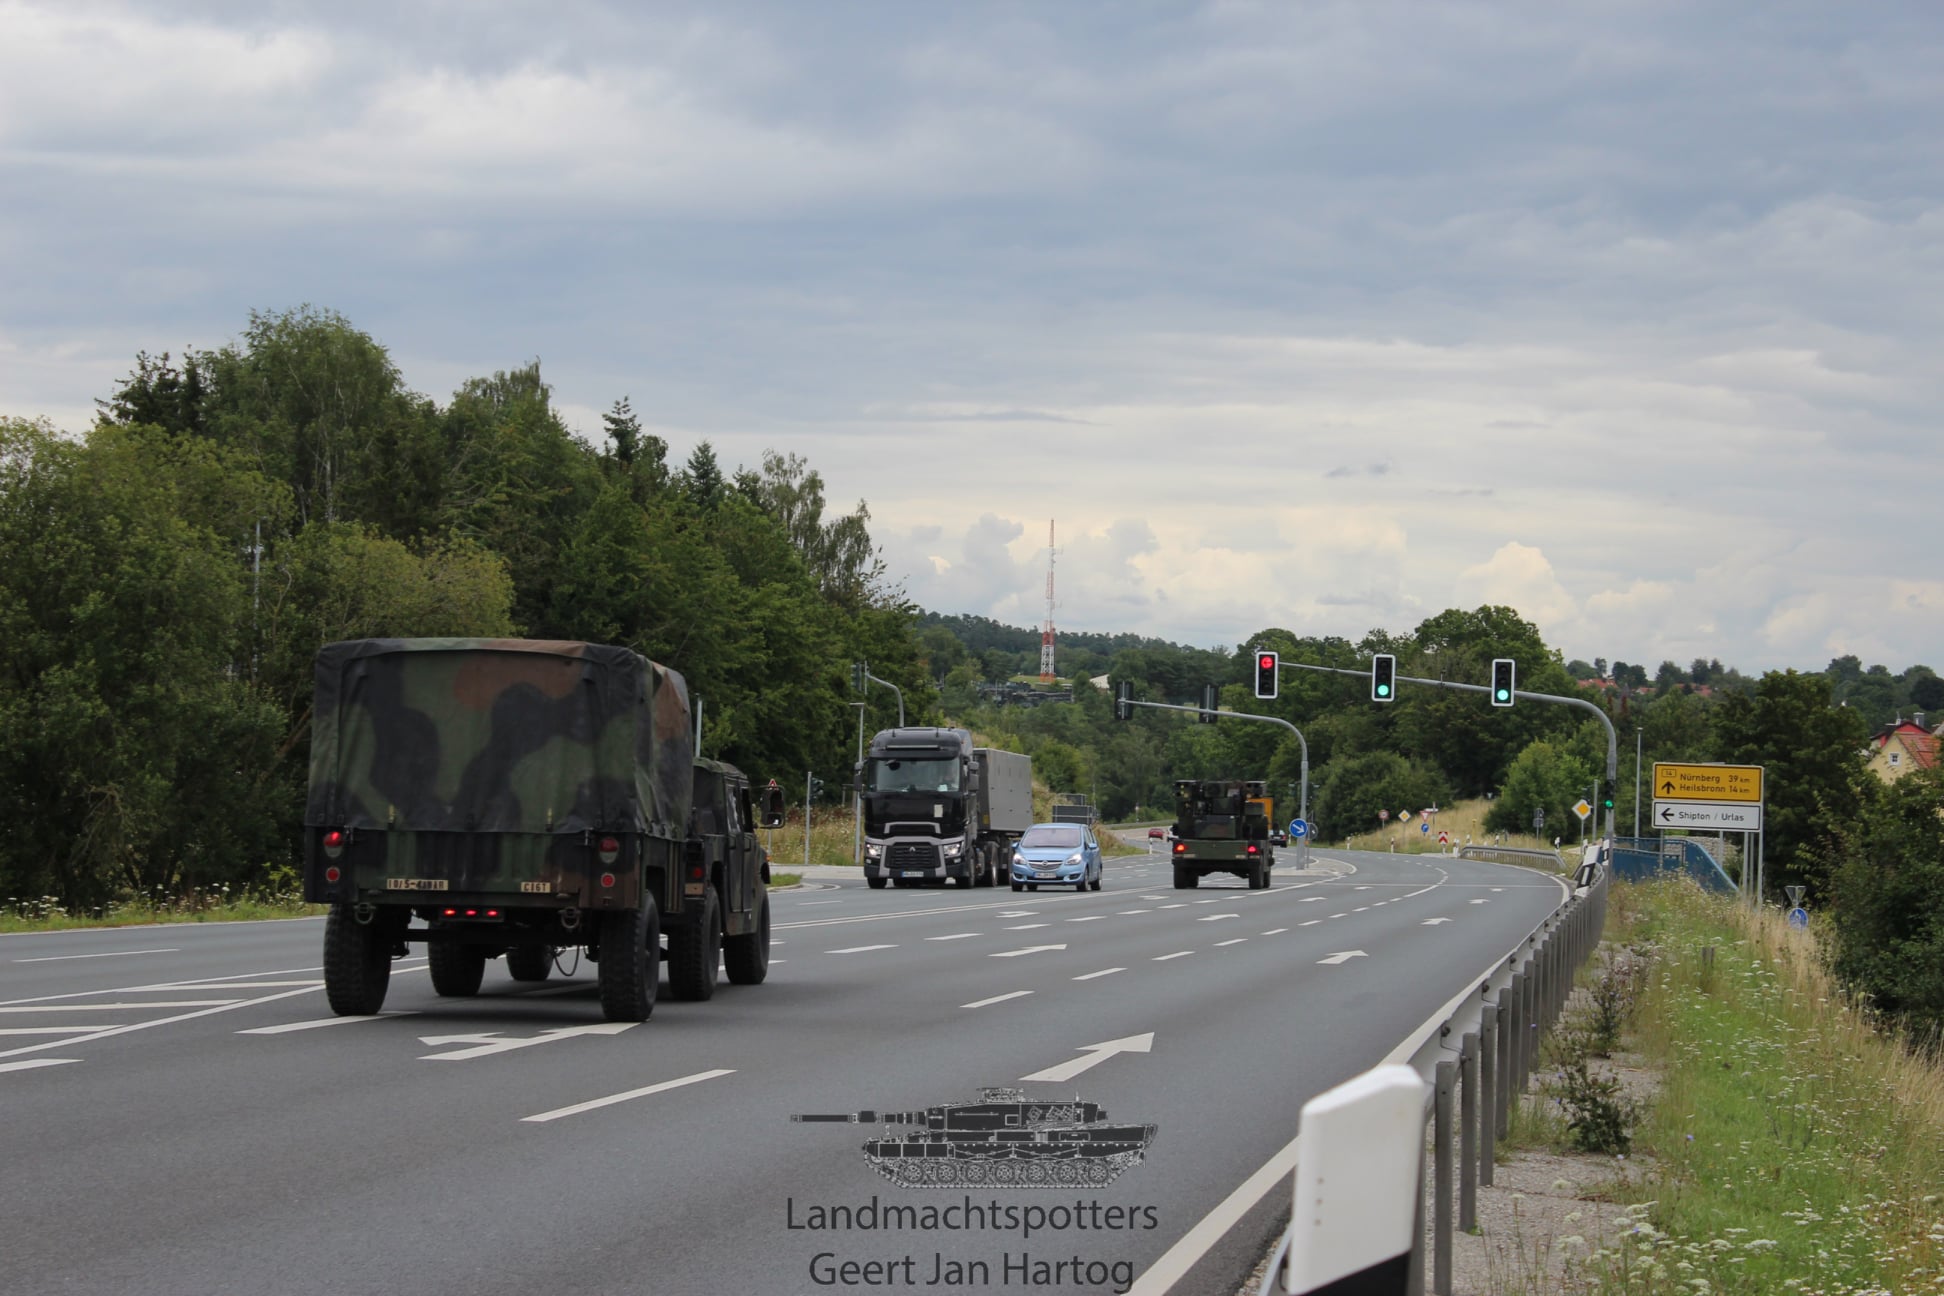
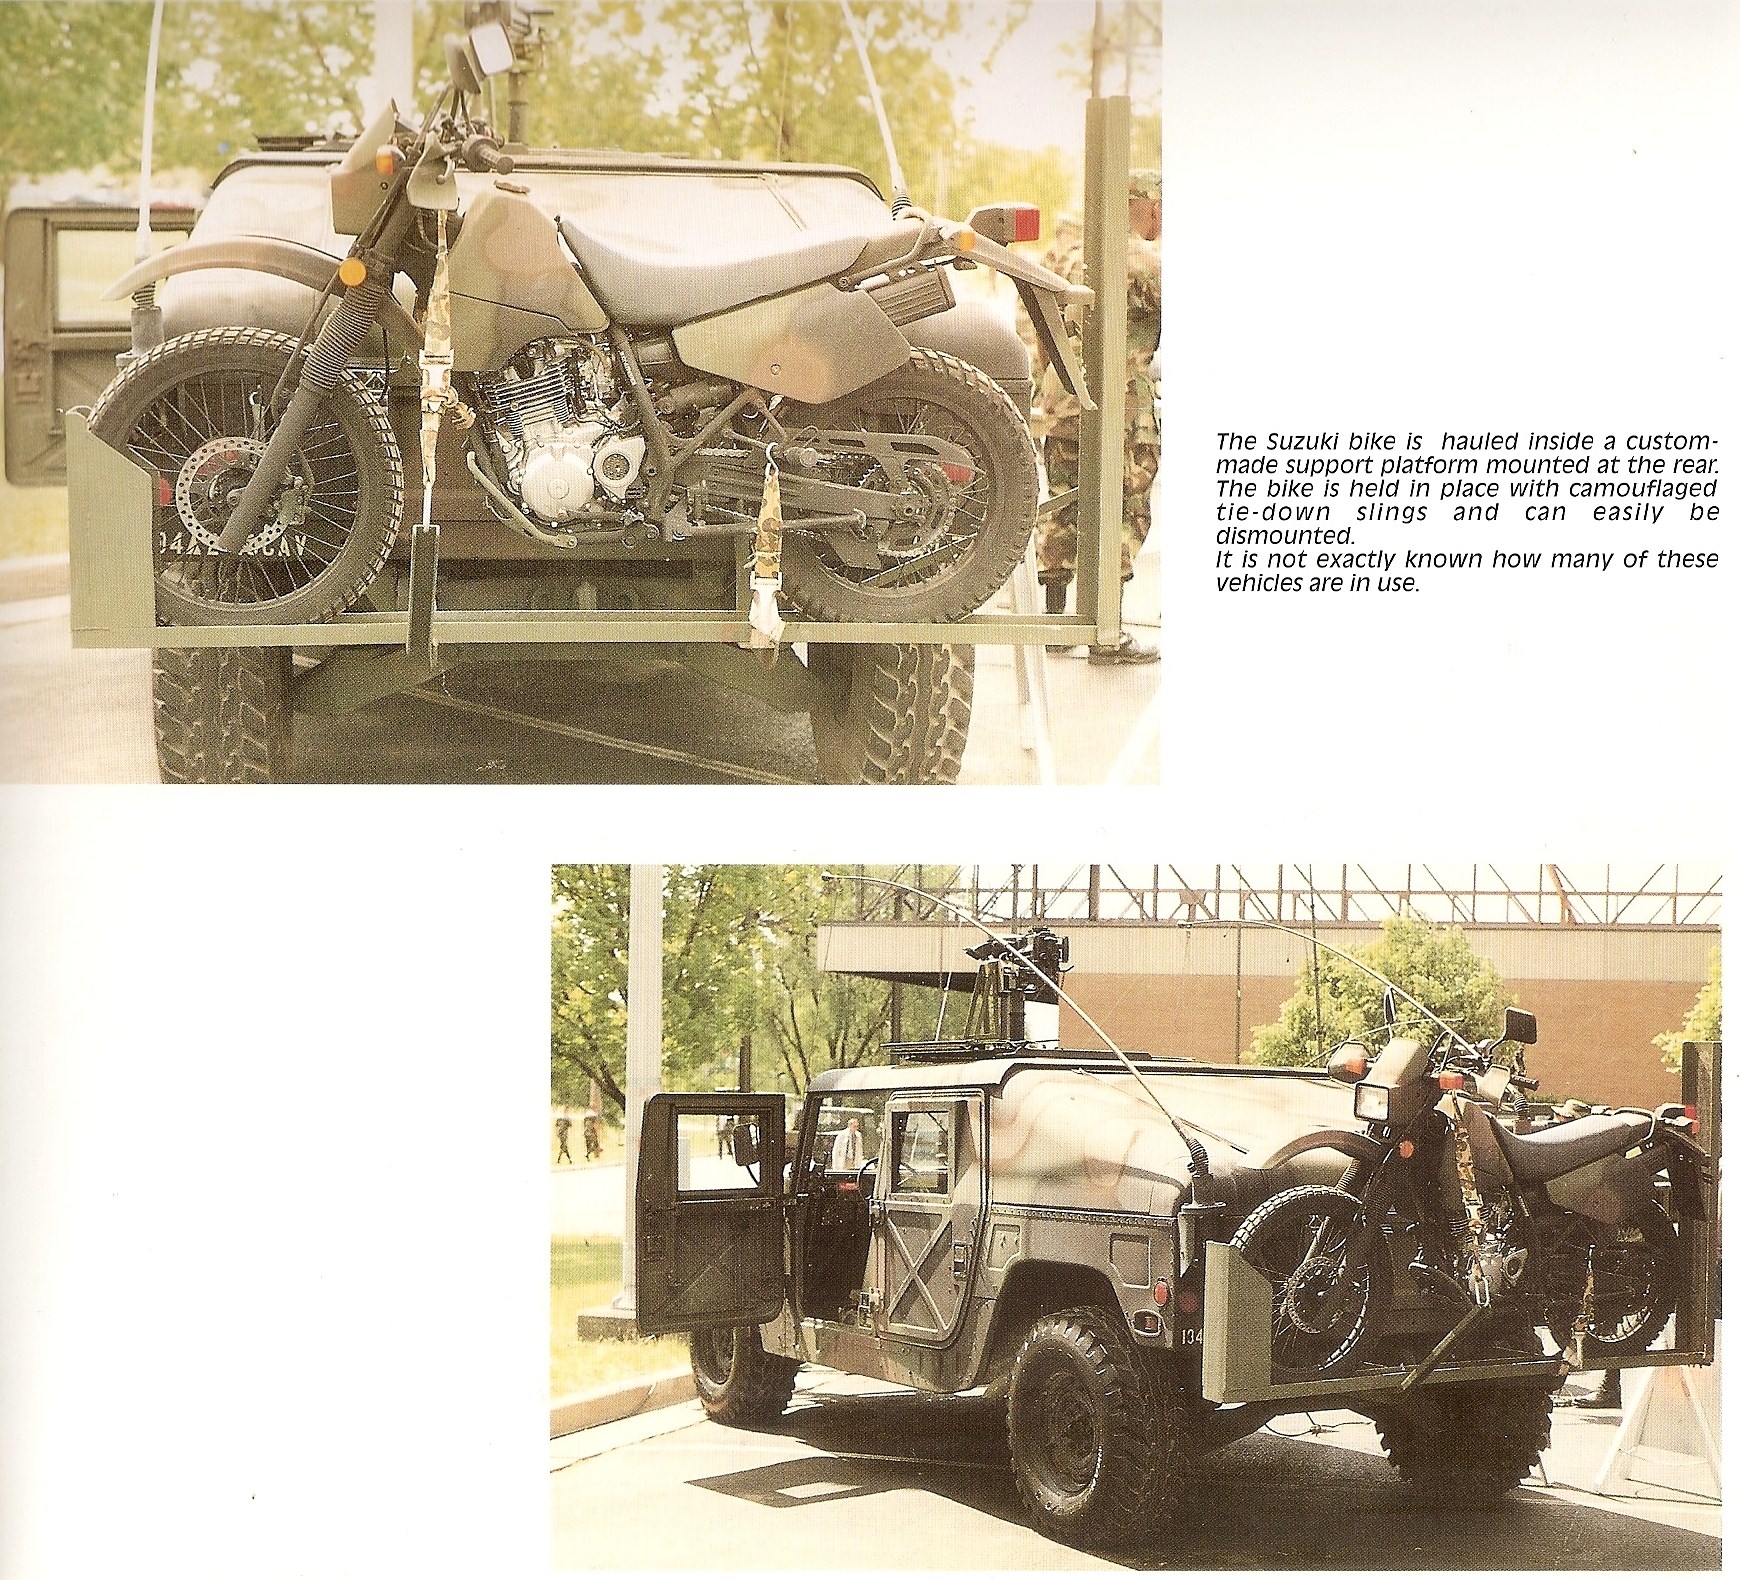
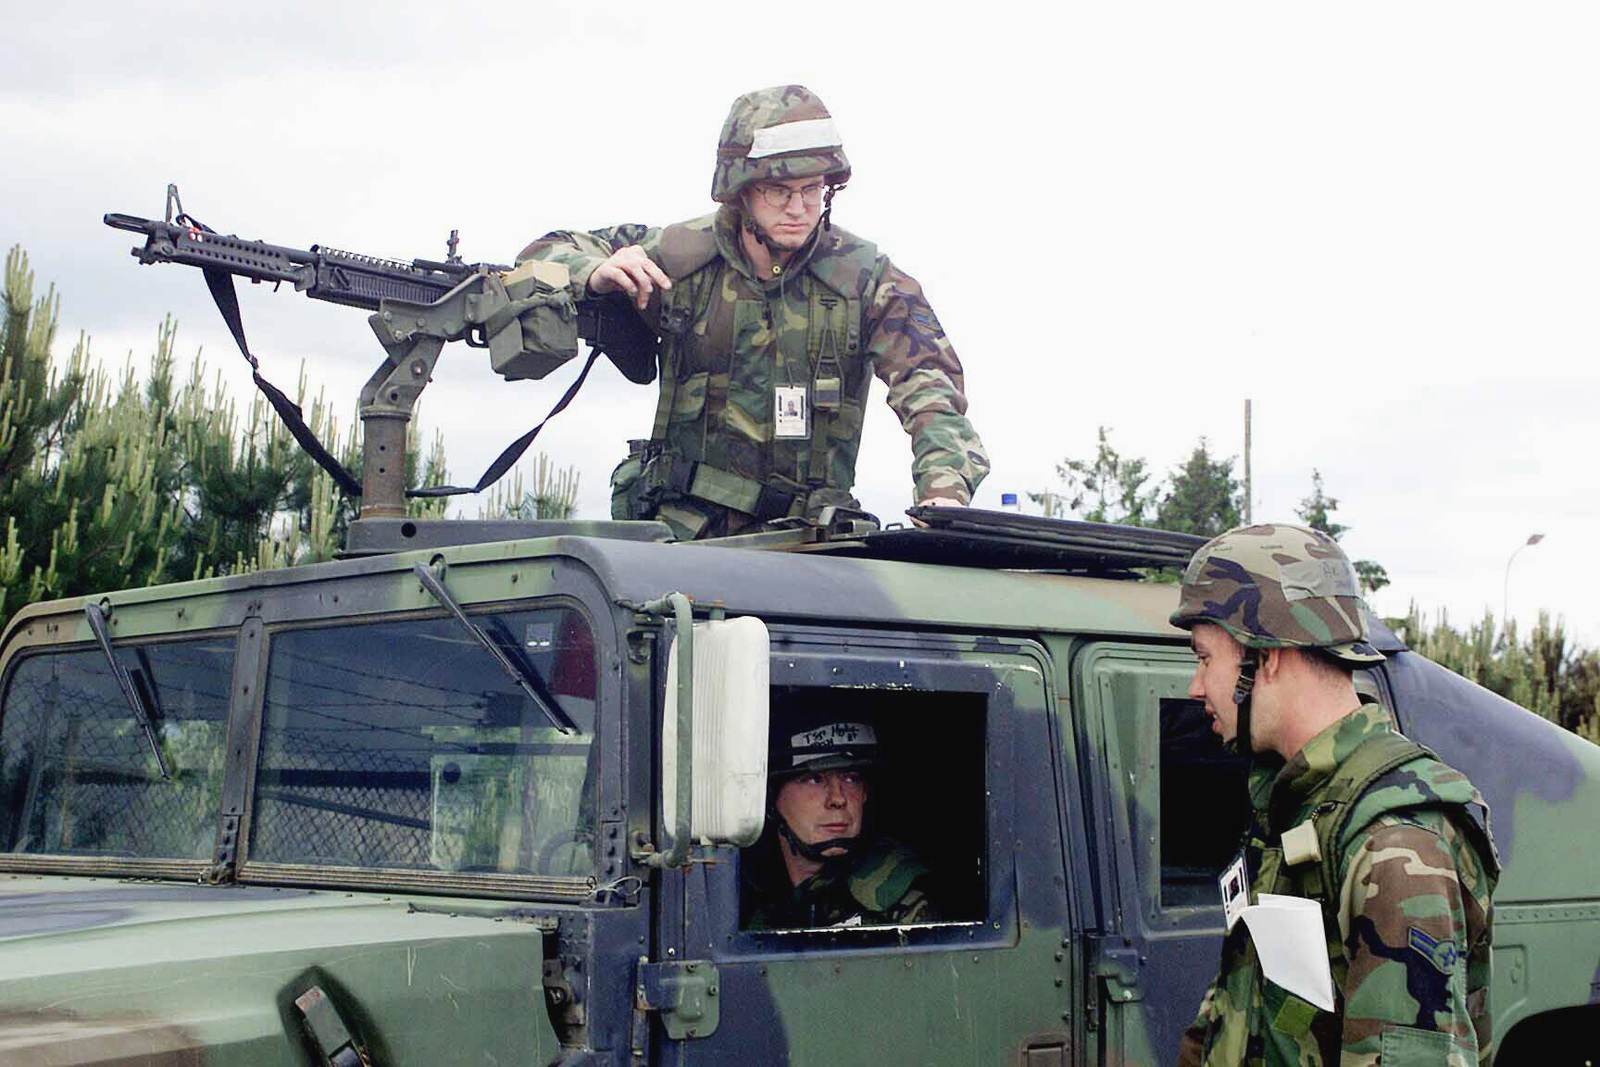
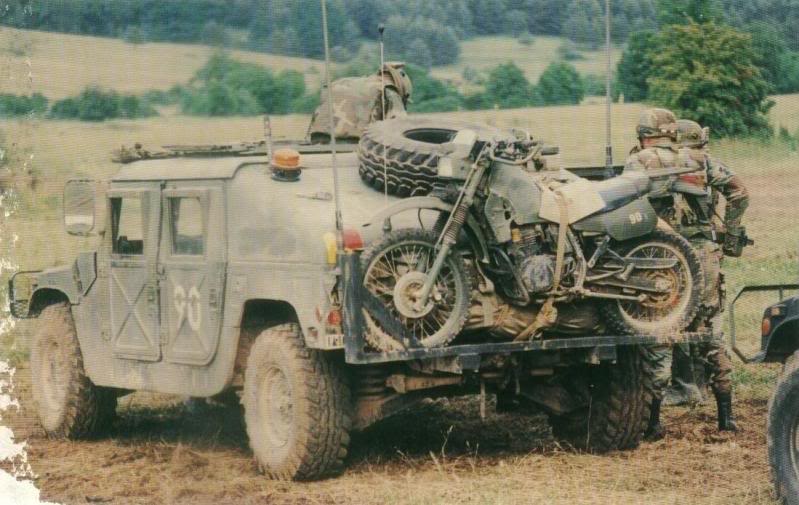
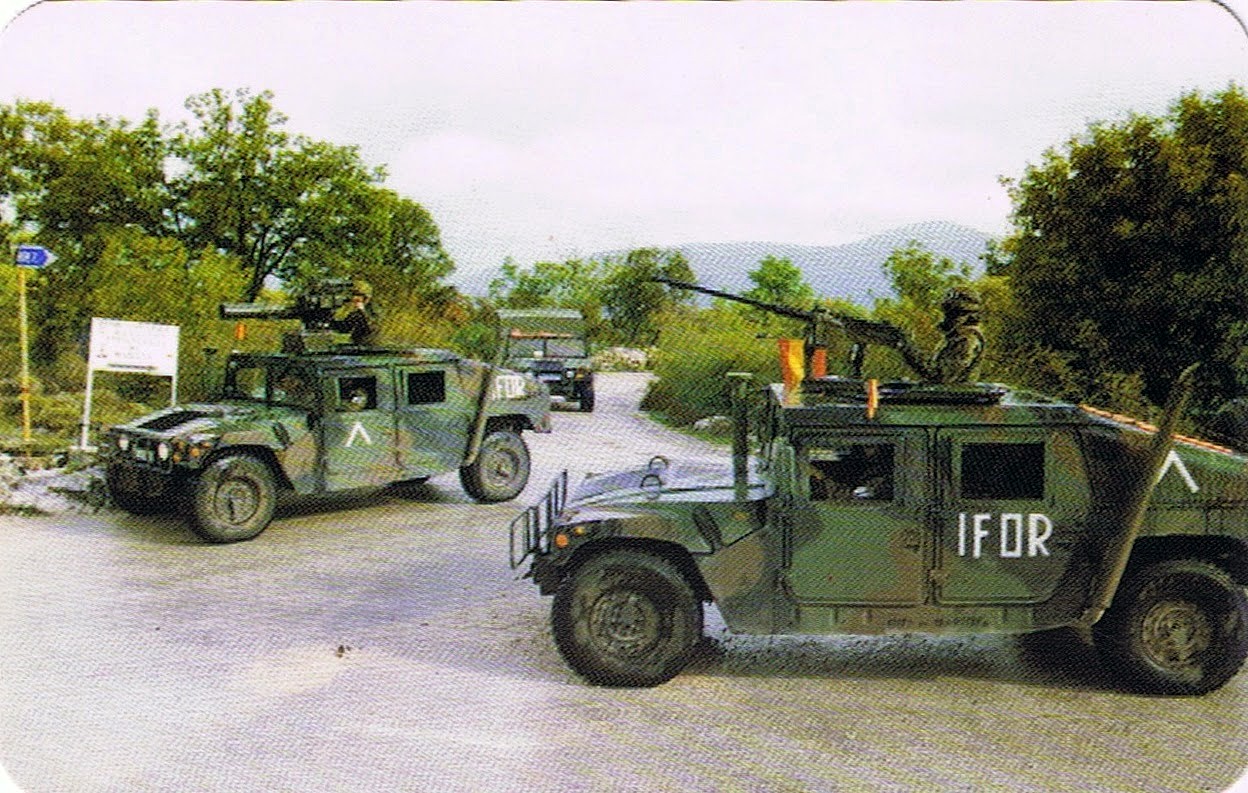
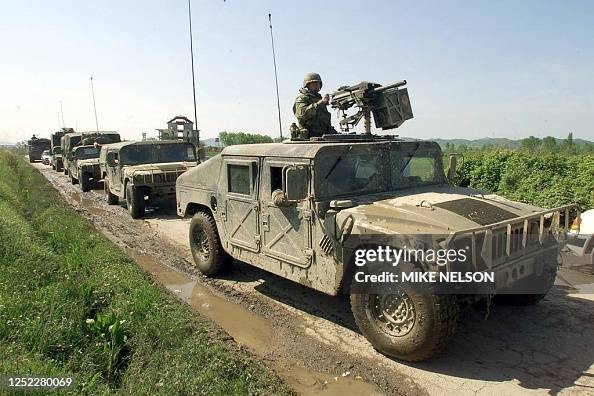
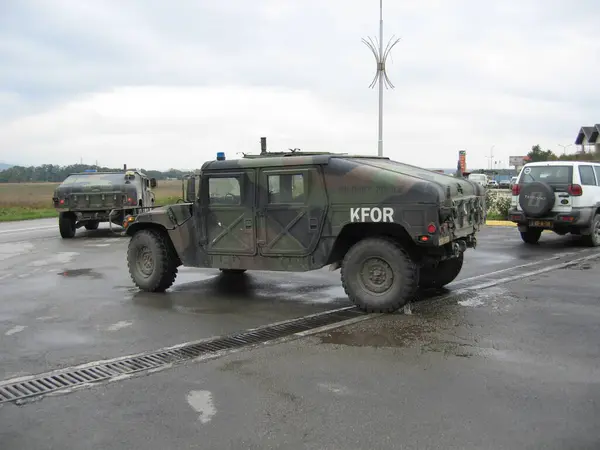
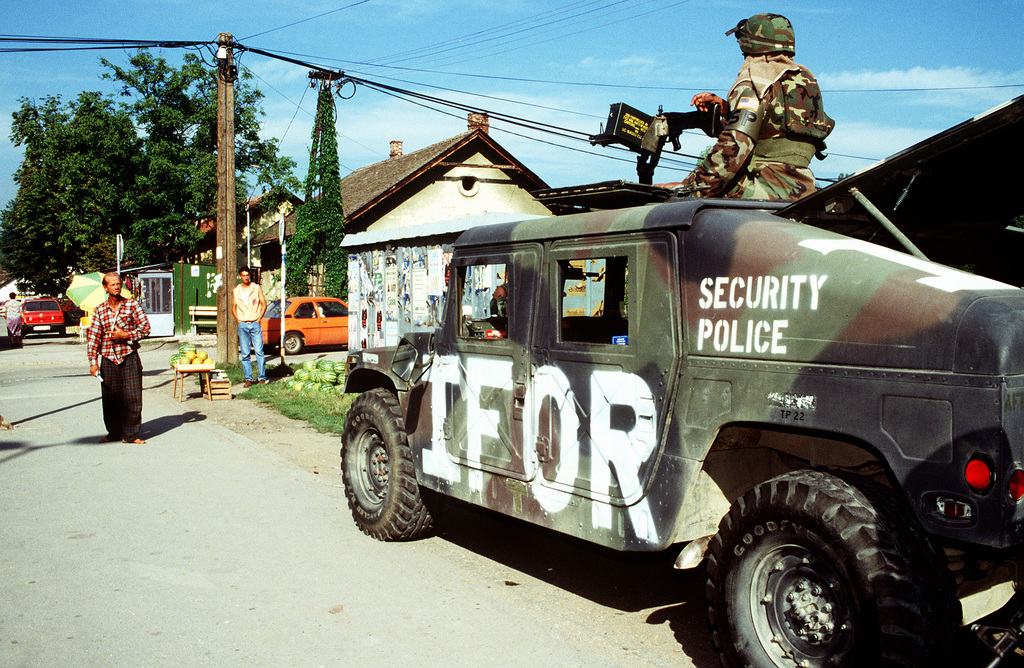
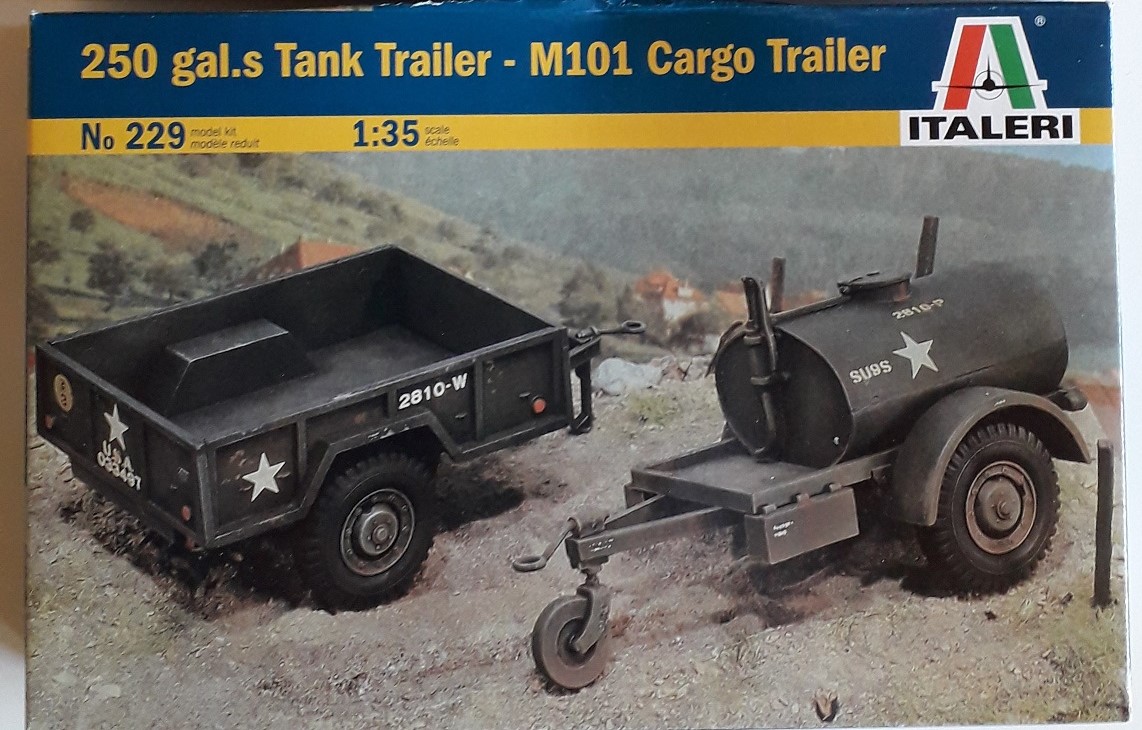
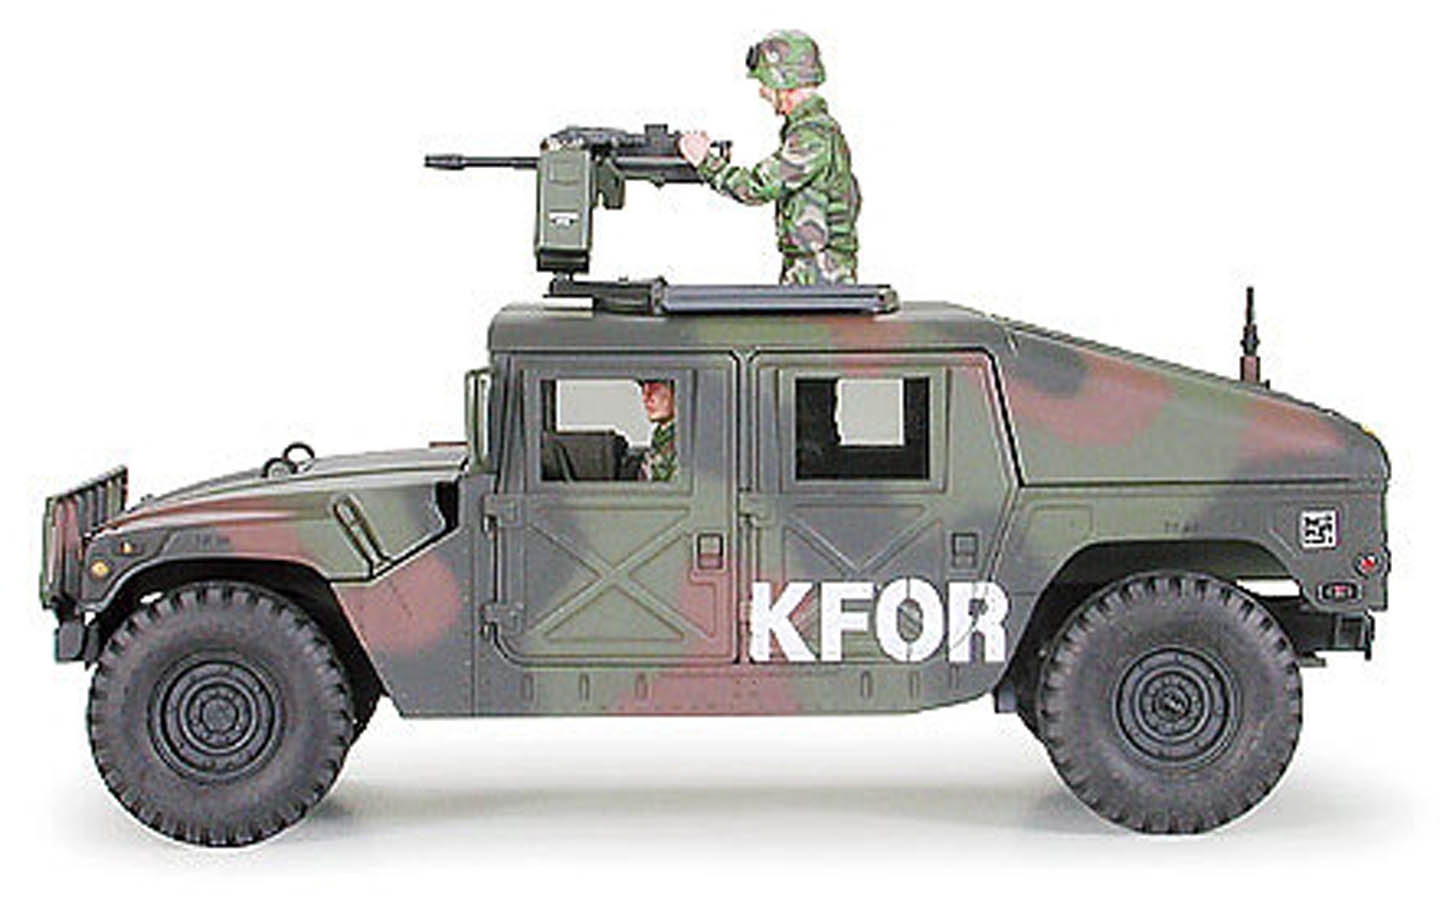
Some of the inspiration I had for the Hummer & trailer:
Be aware that the HMMWVs with the slick doors are M1043/M1044 with supplemental armored doors. the M1043 lack the winch that is on the M1044. Same goes with the M1045/M1046 TOW carrier.
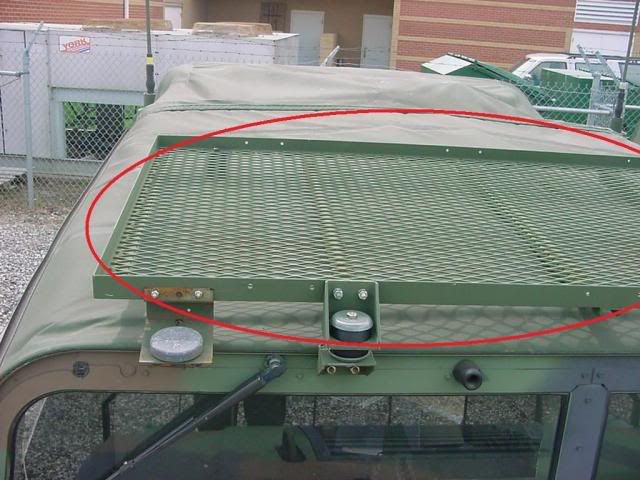
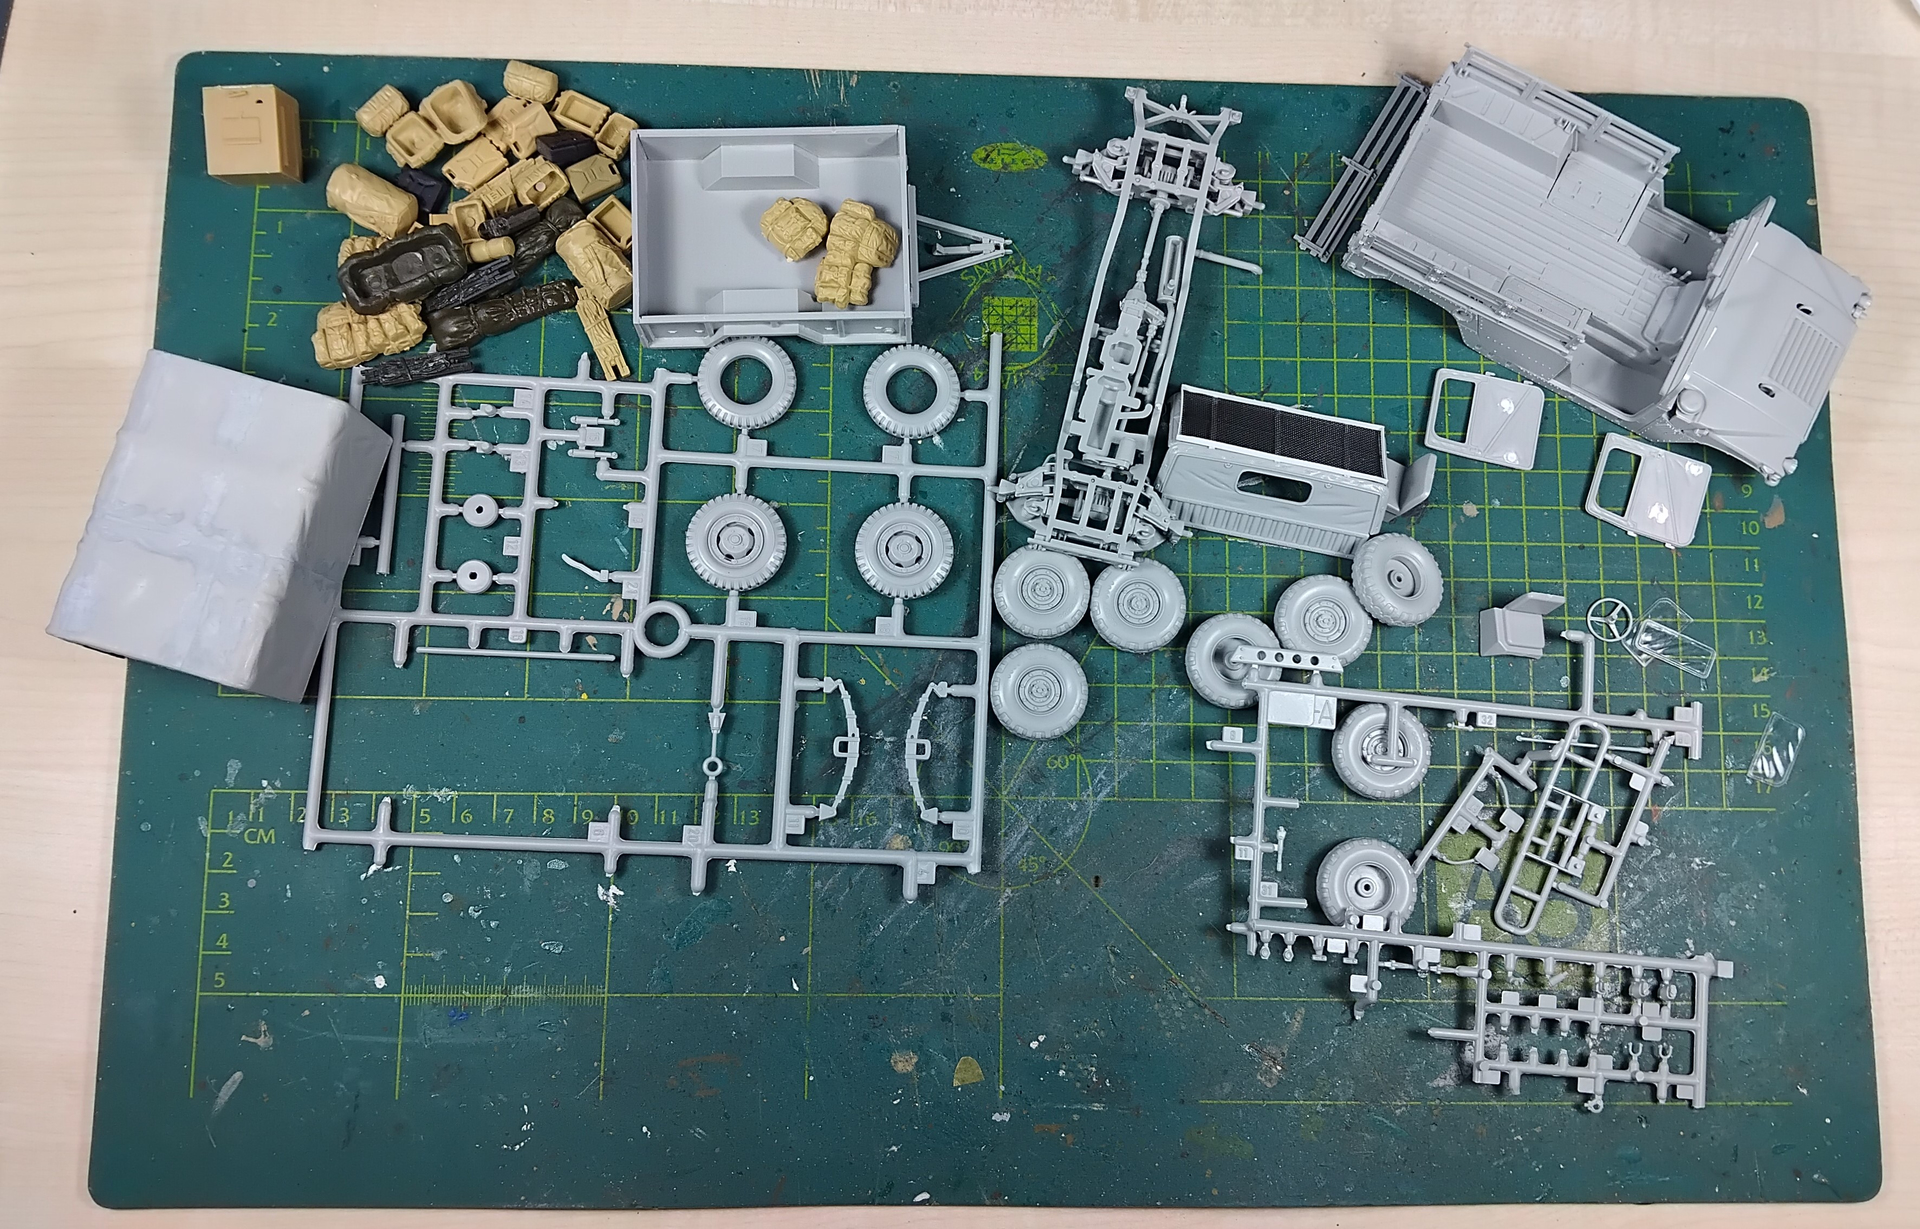
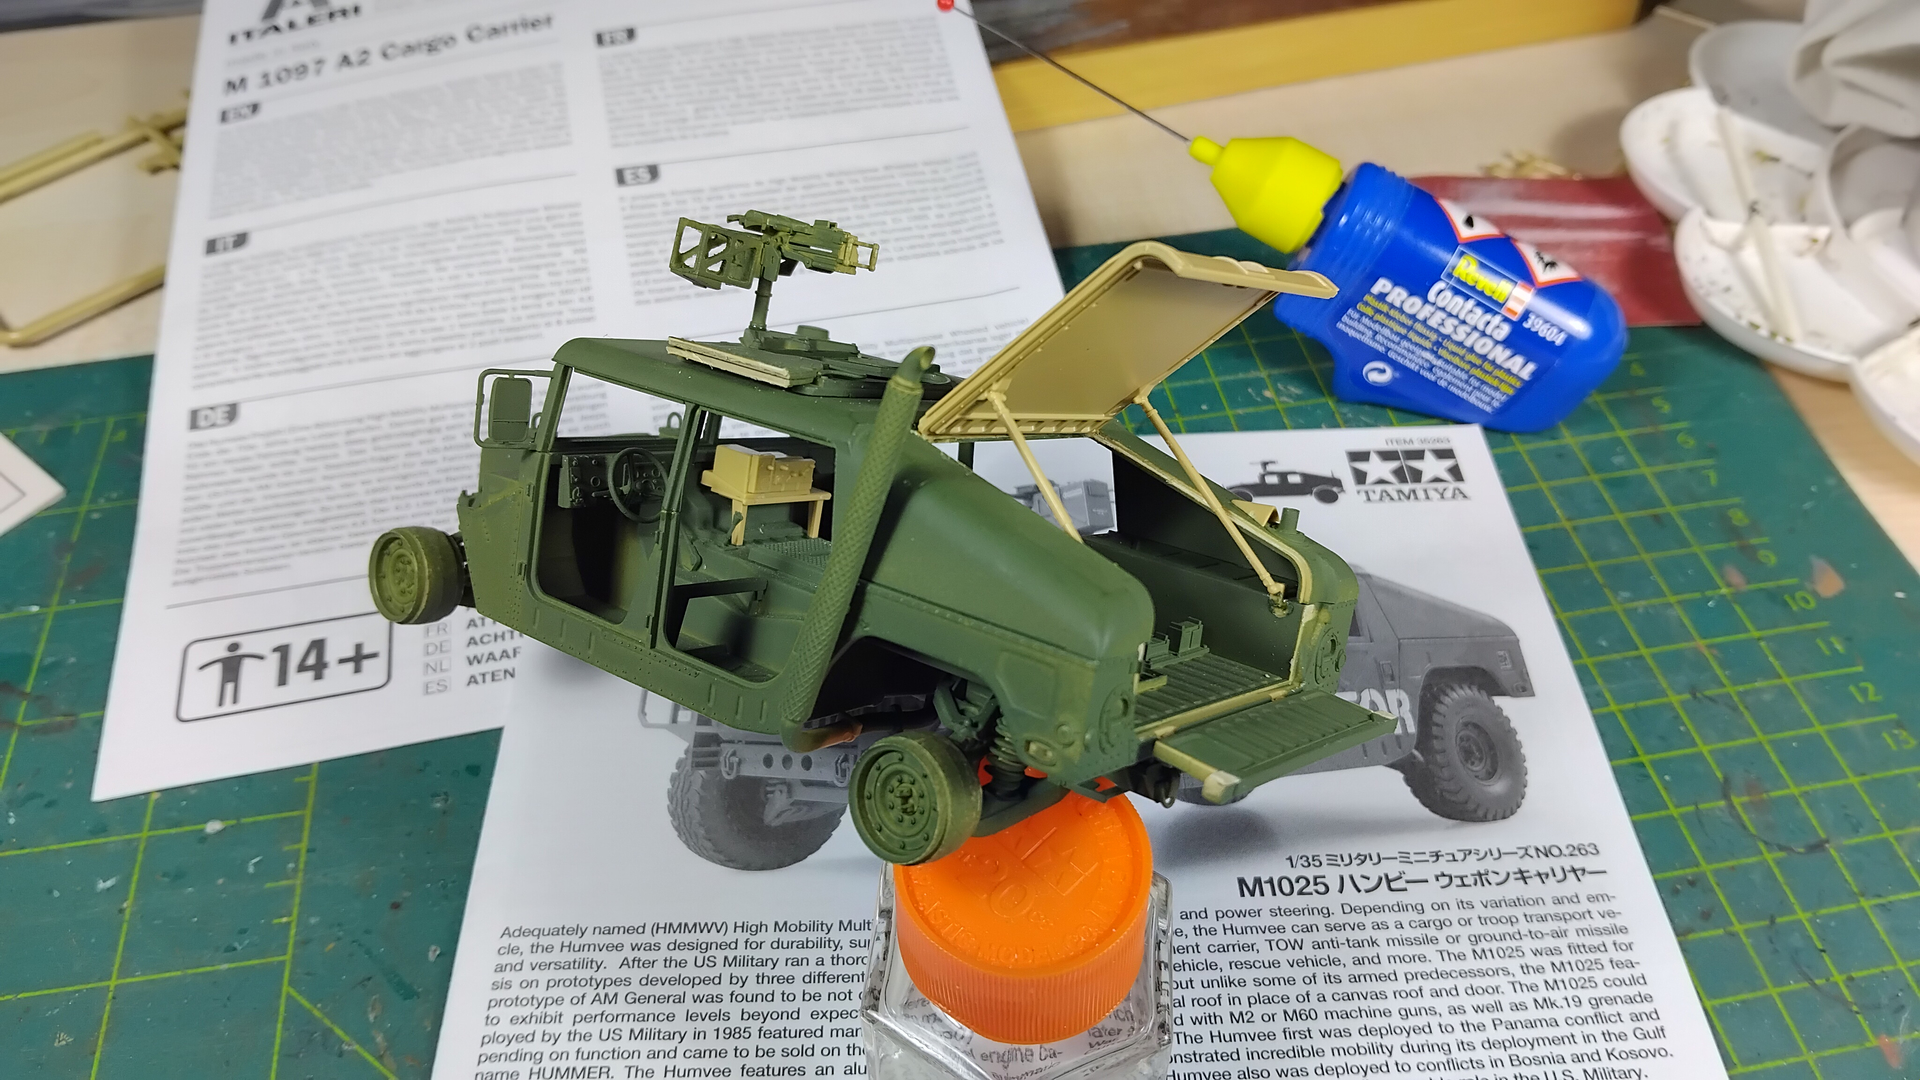
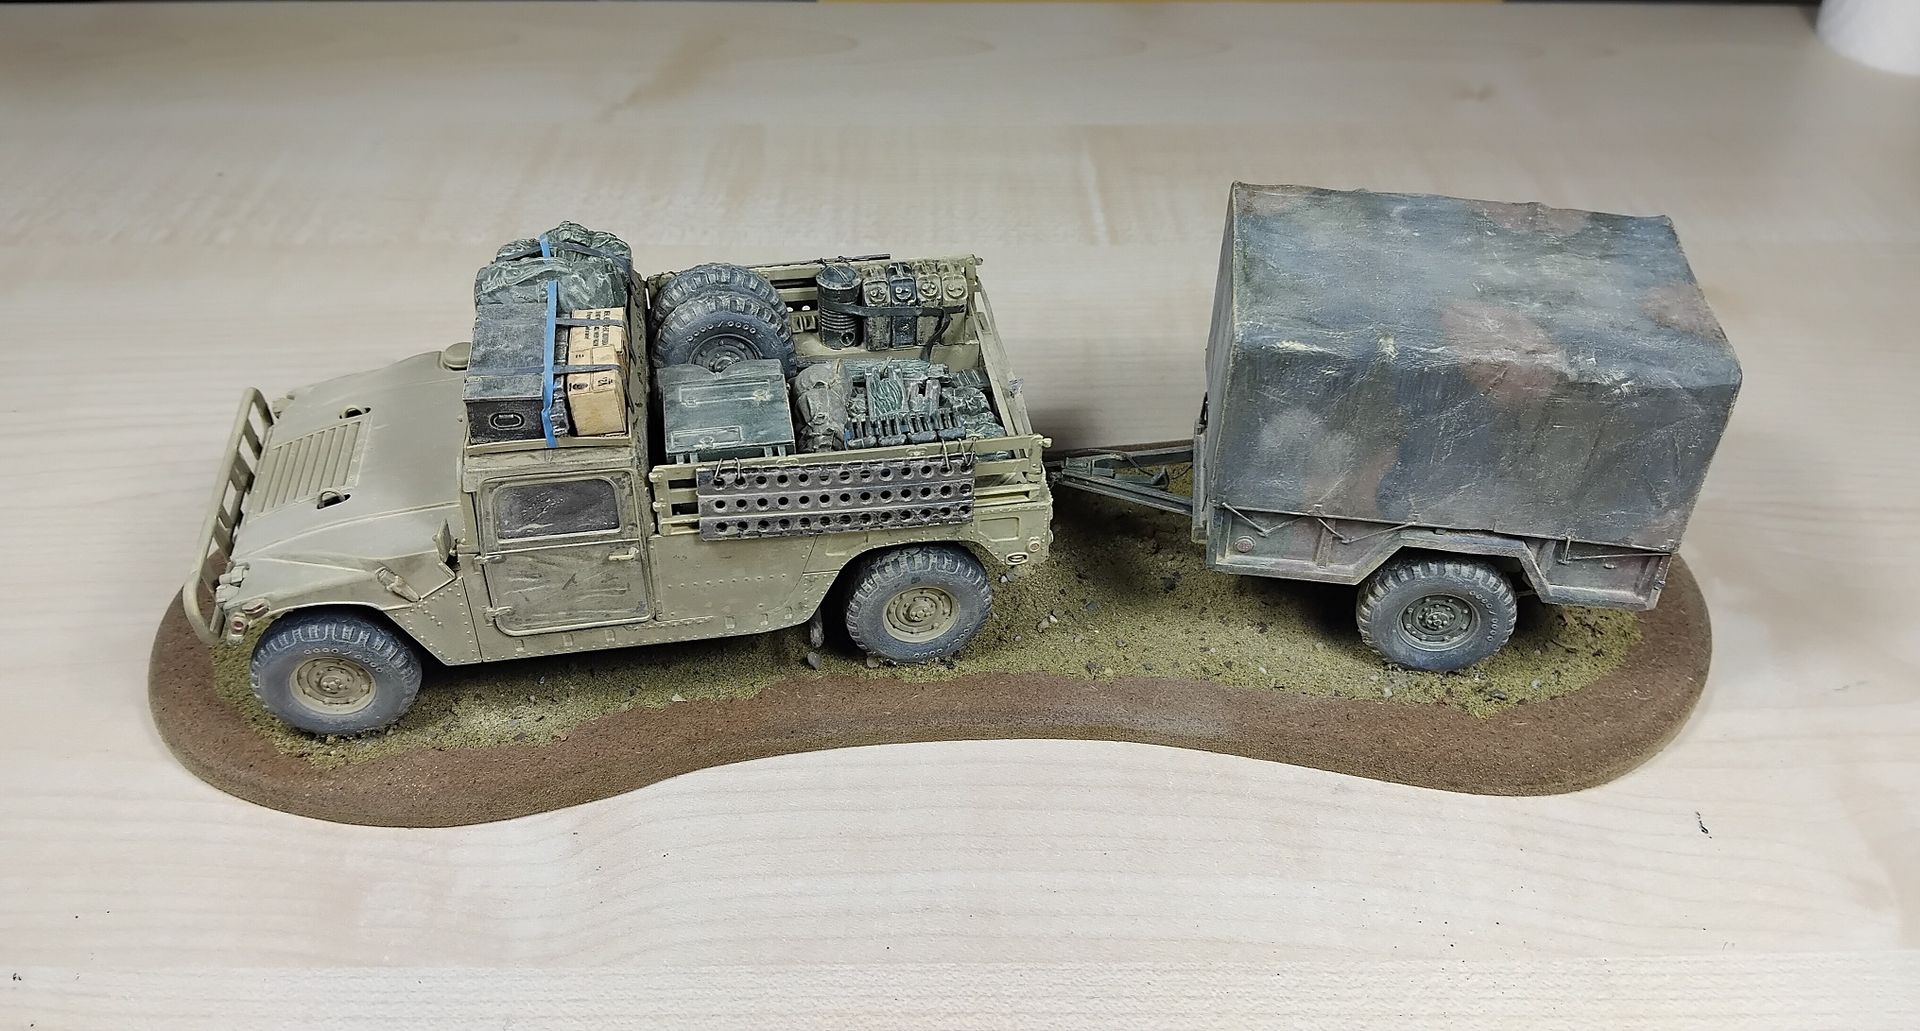
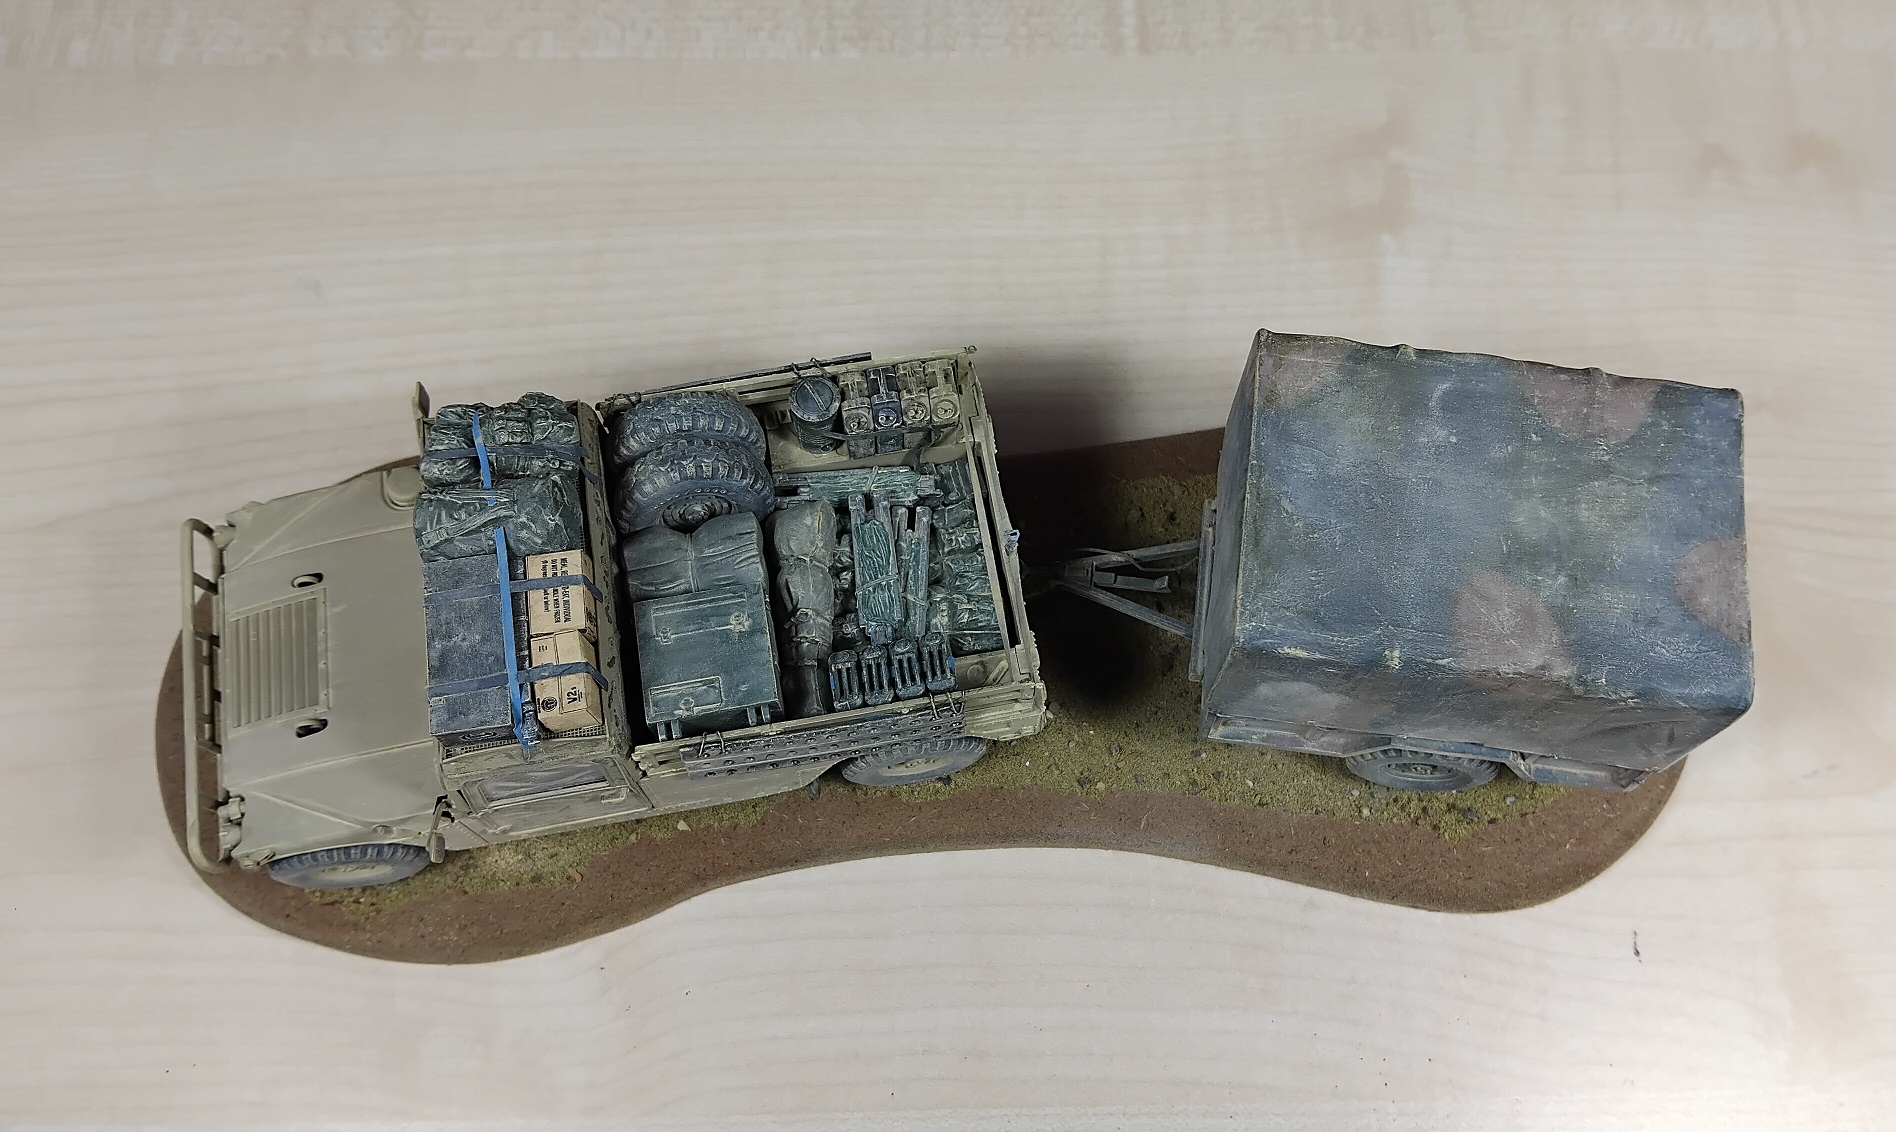
the kits are all pretty much OOTB, except for the M101. I made a cover on the trailer by combining the covers from two 1097’s into one that fits over the M101. I needed that second one for replacement wheels for the trailer too. I also made a roofrack for the 1097, based on this:
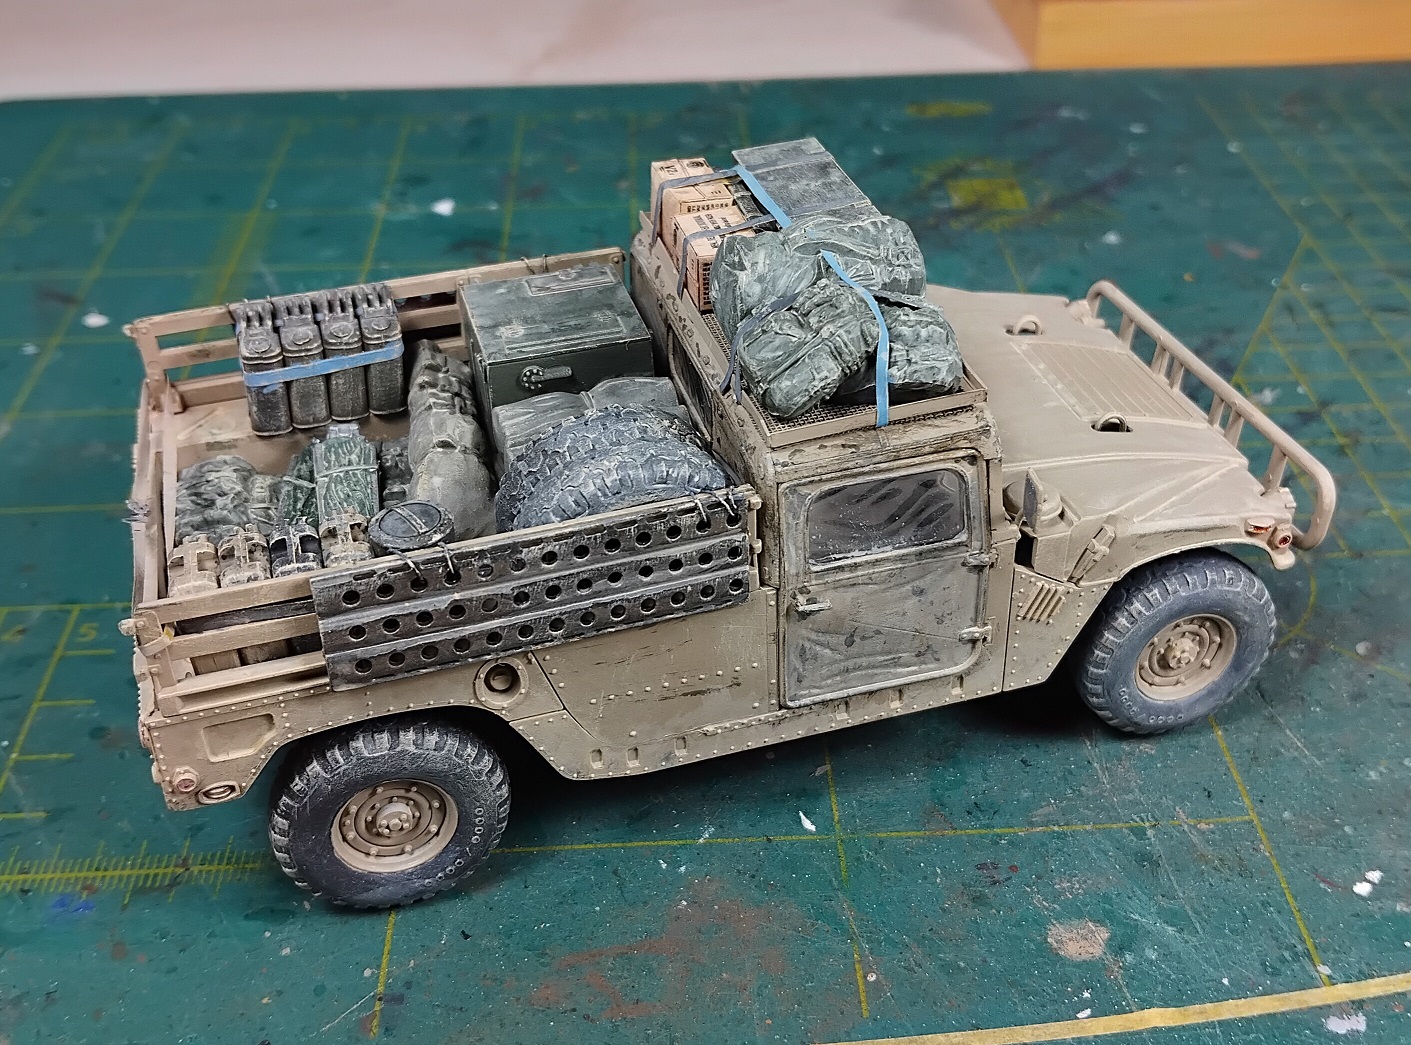
Current status on the M1097. I was informed that the added tailgate was not used as such ( I thought it just looked kind of neat), so it will be removed.
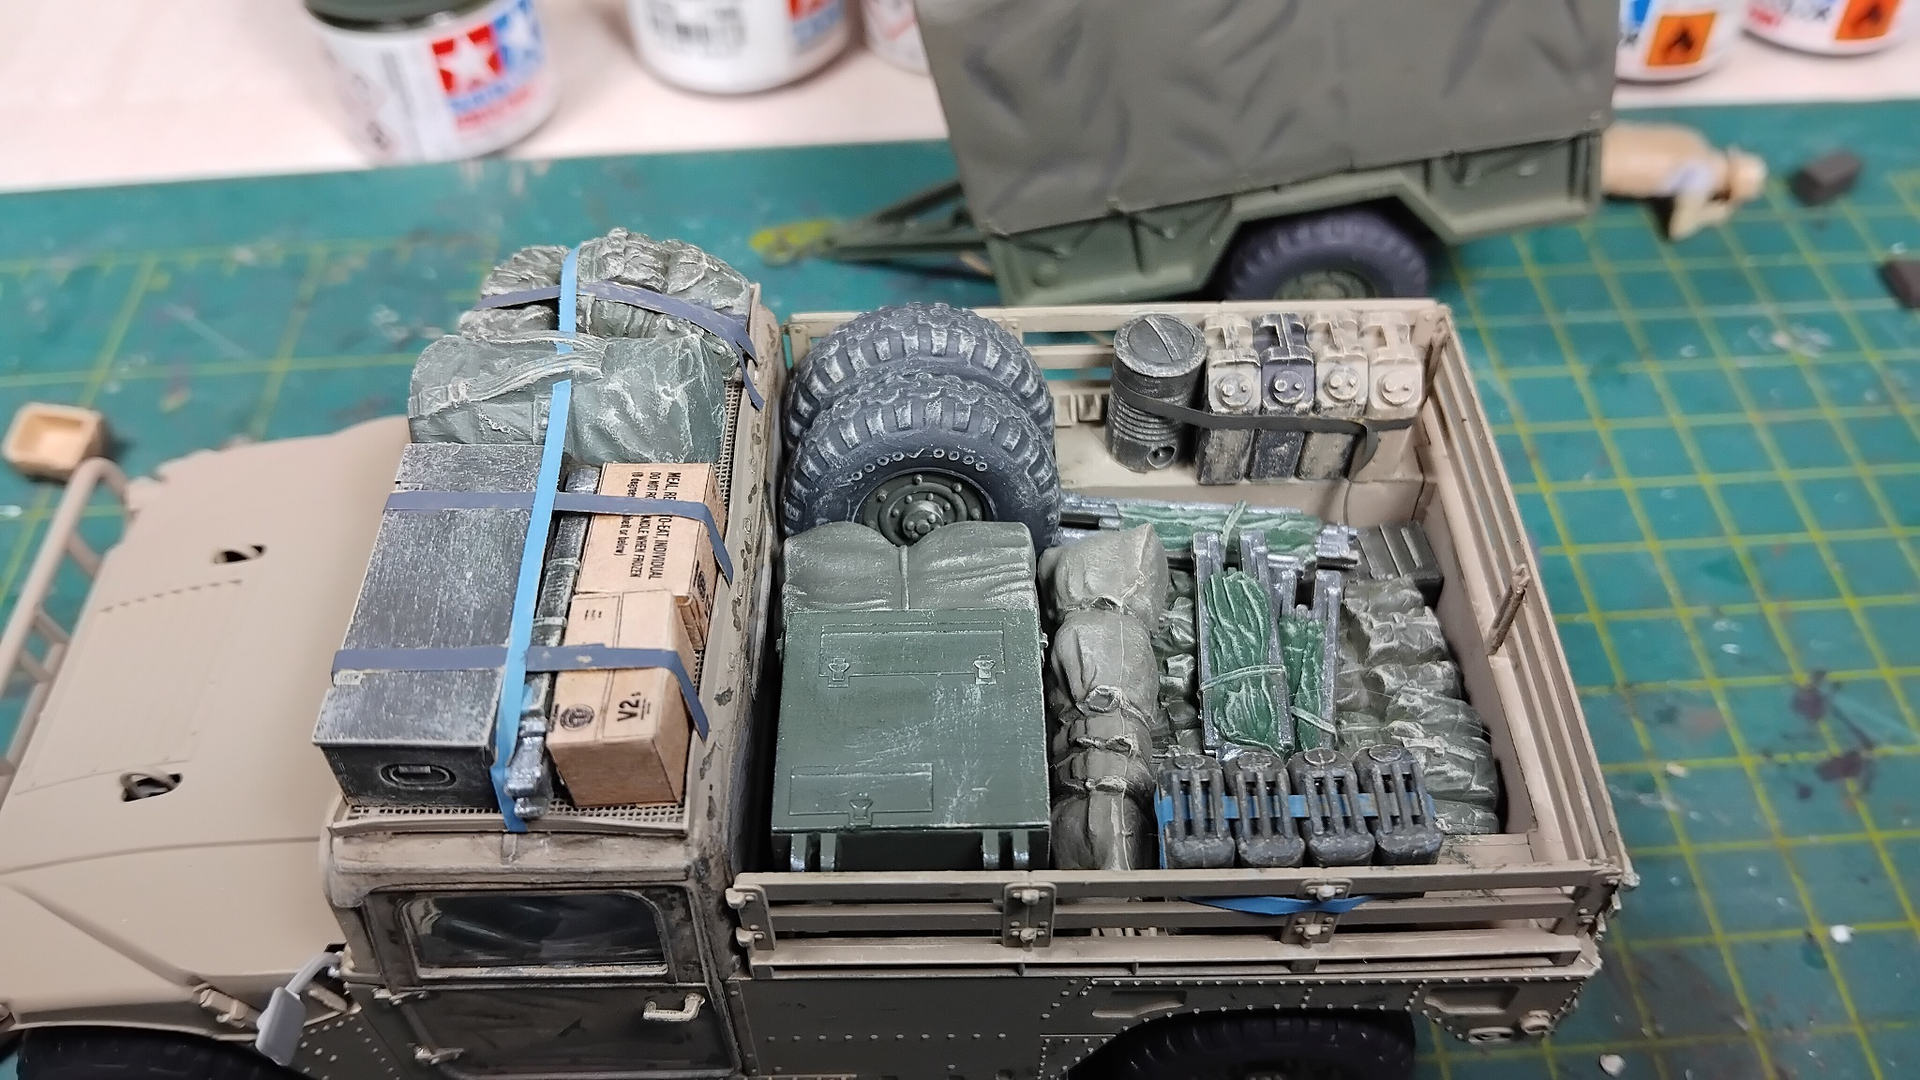
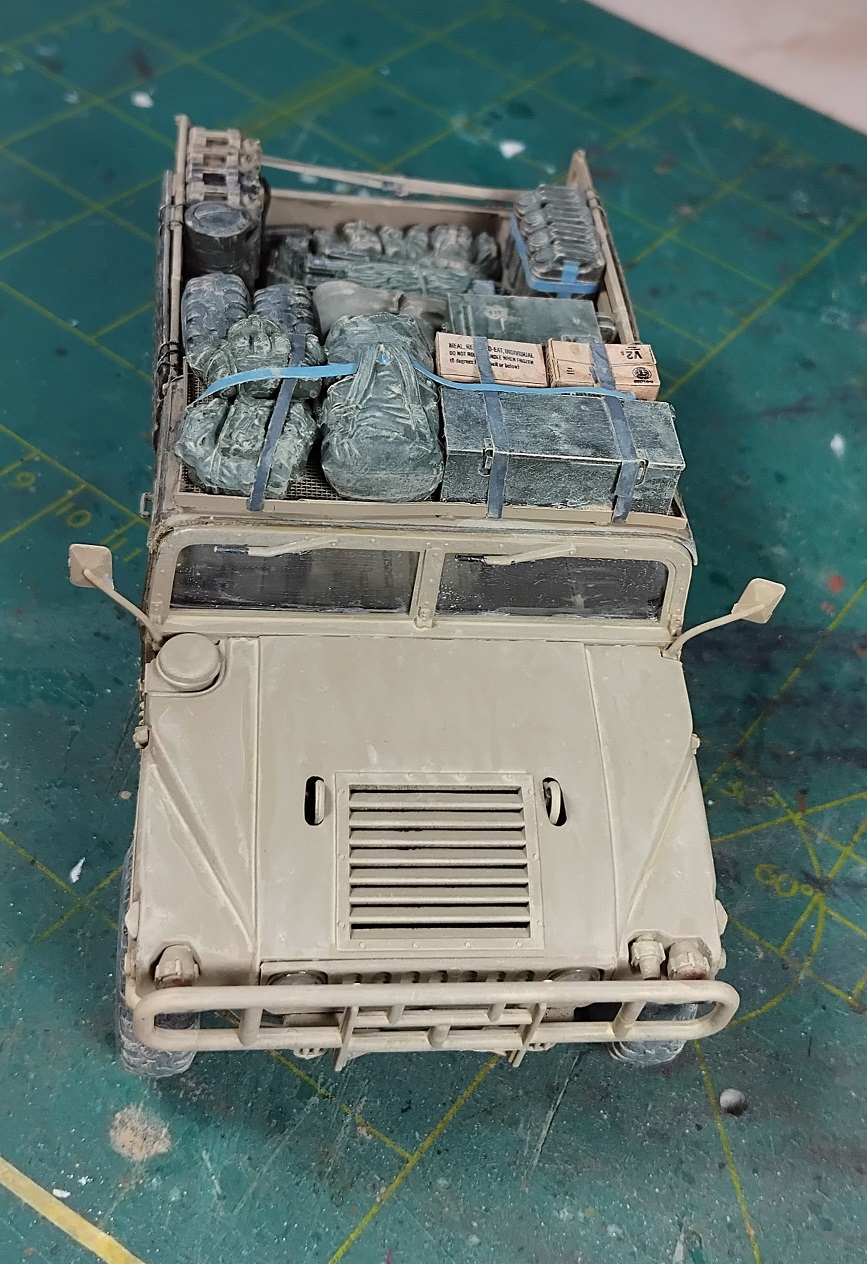
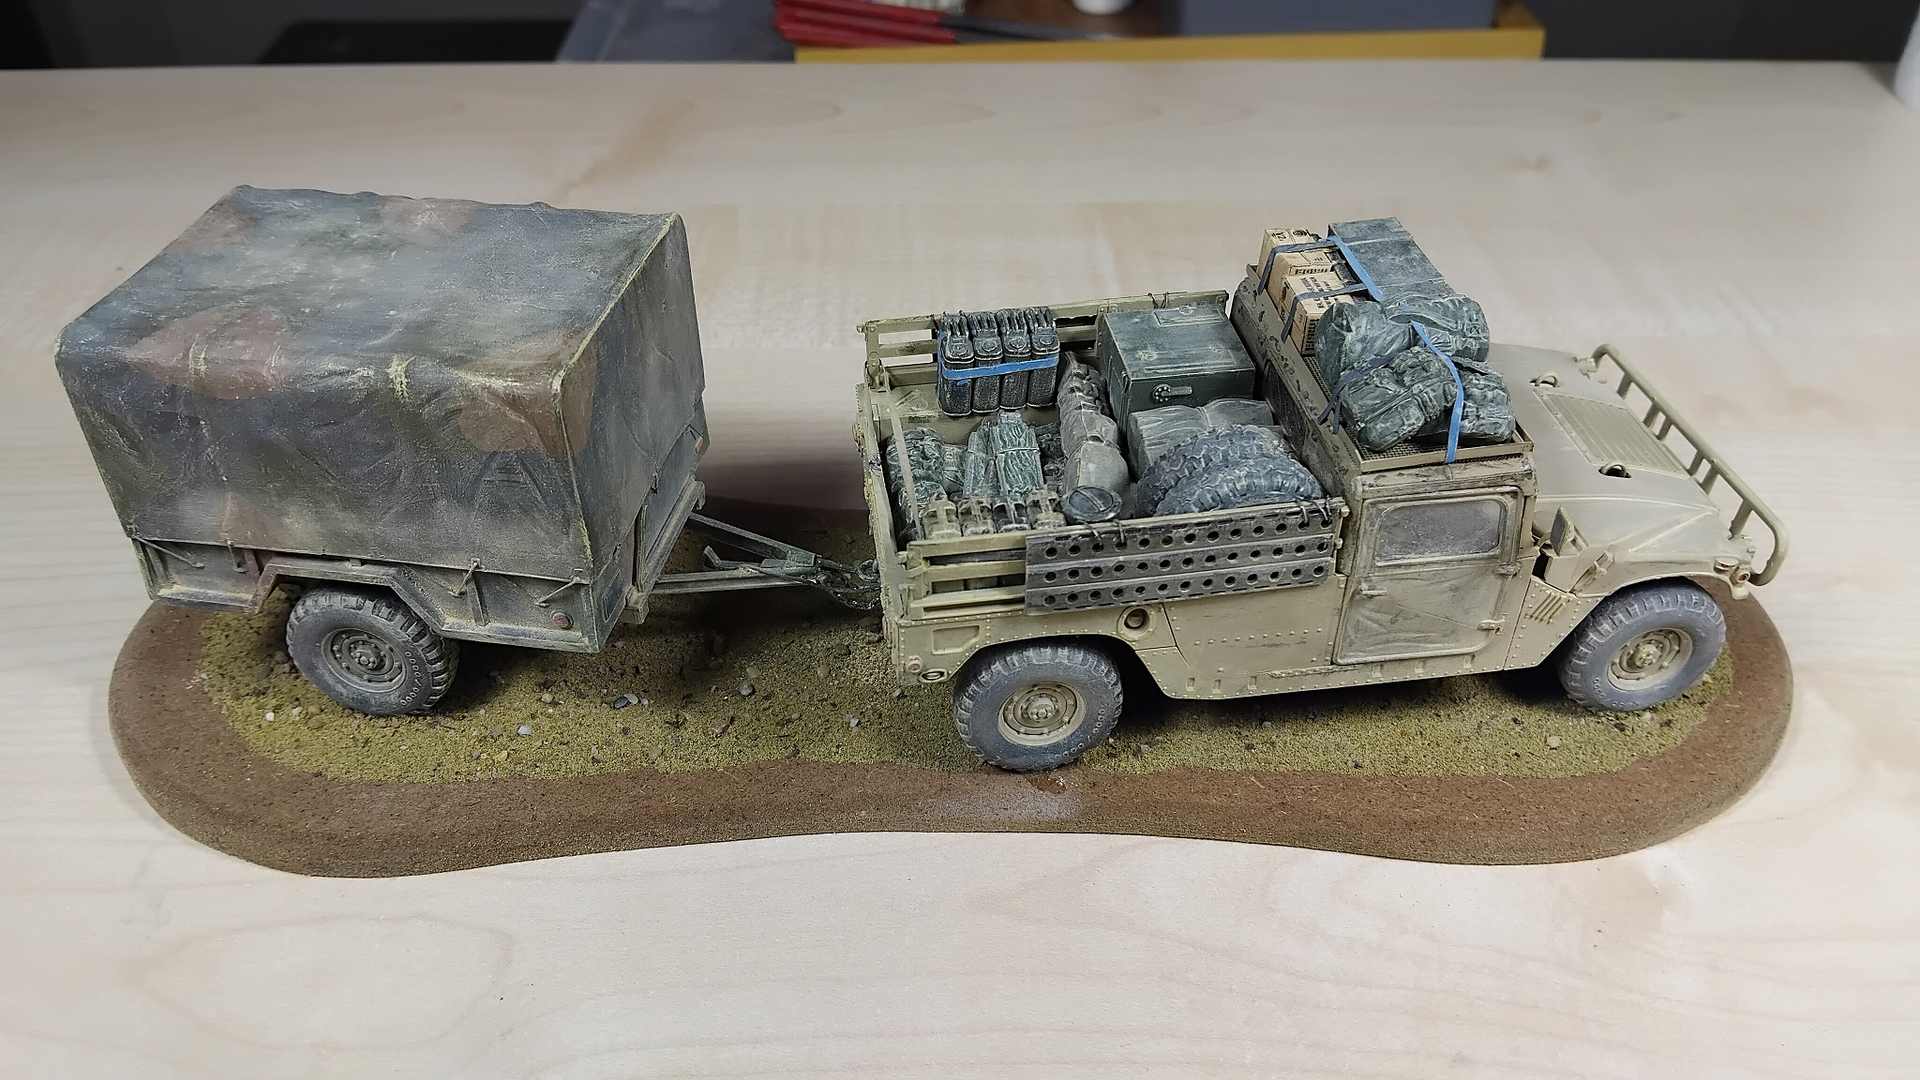
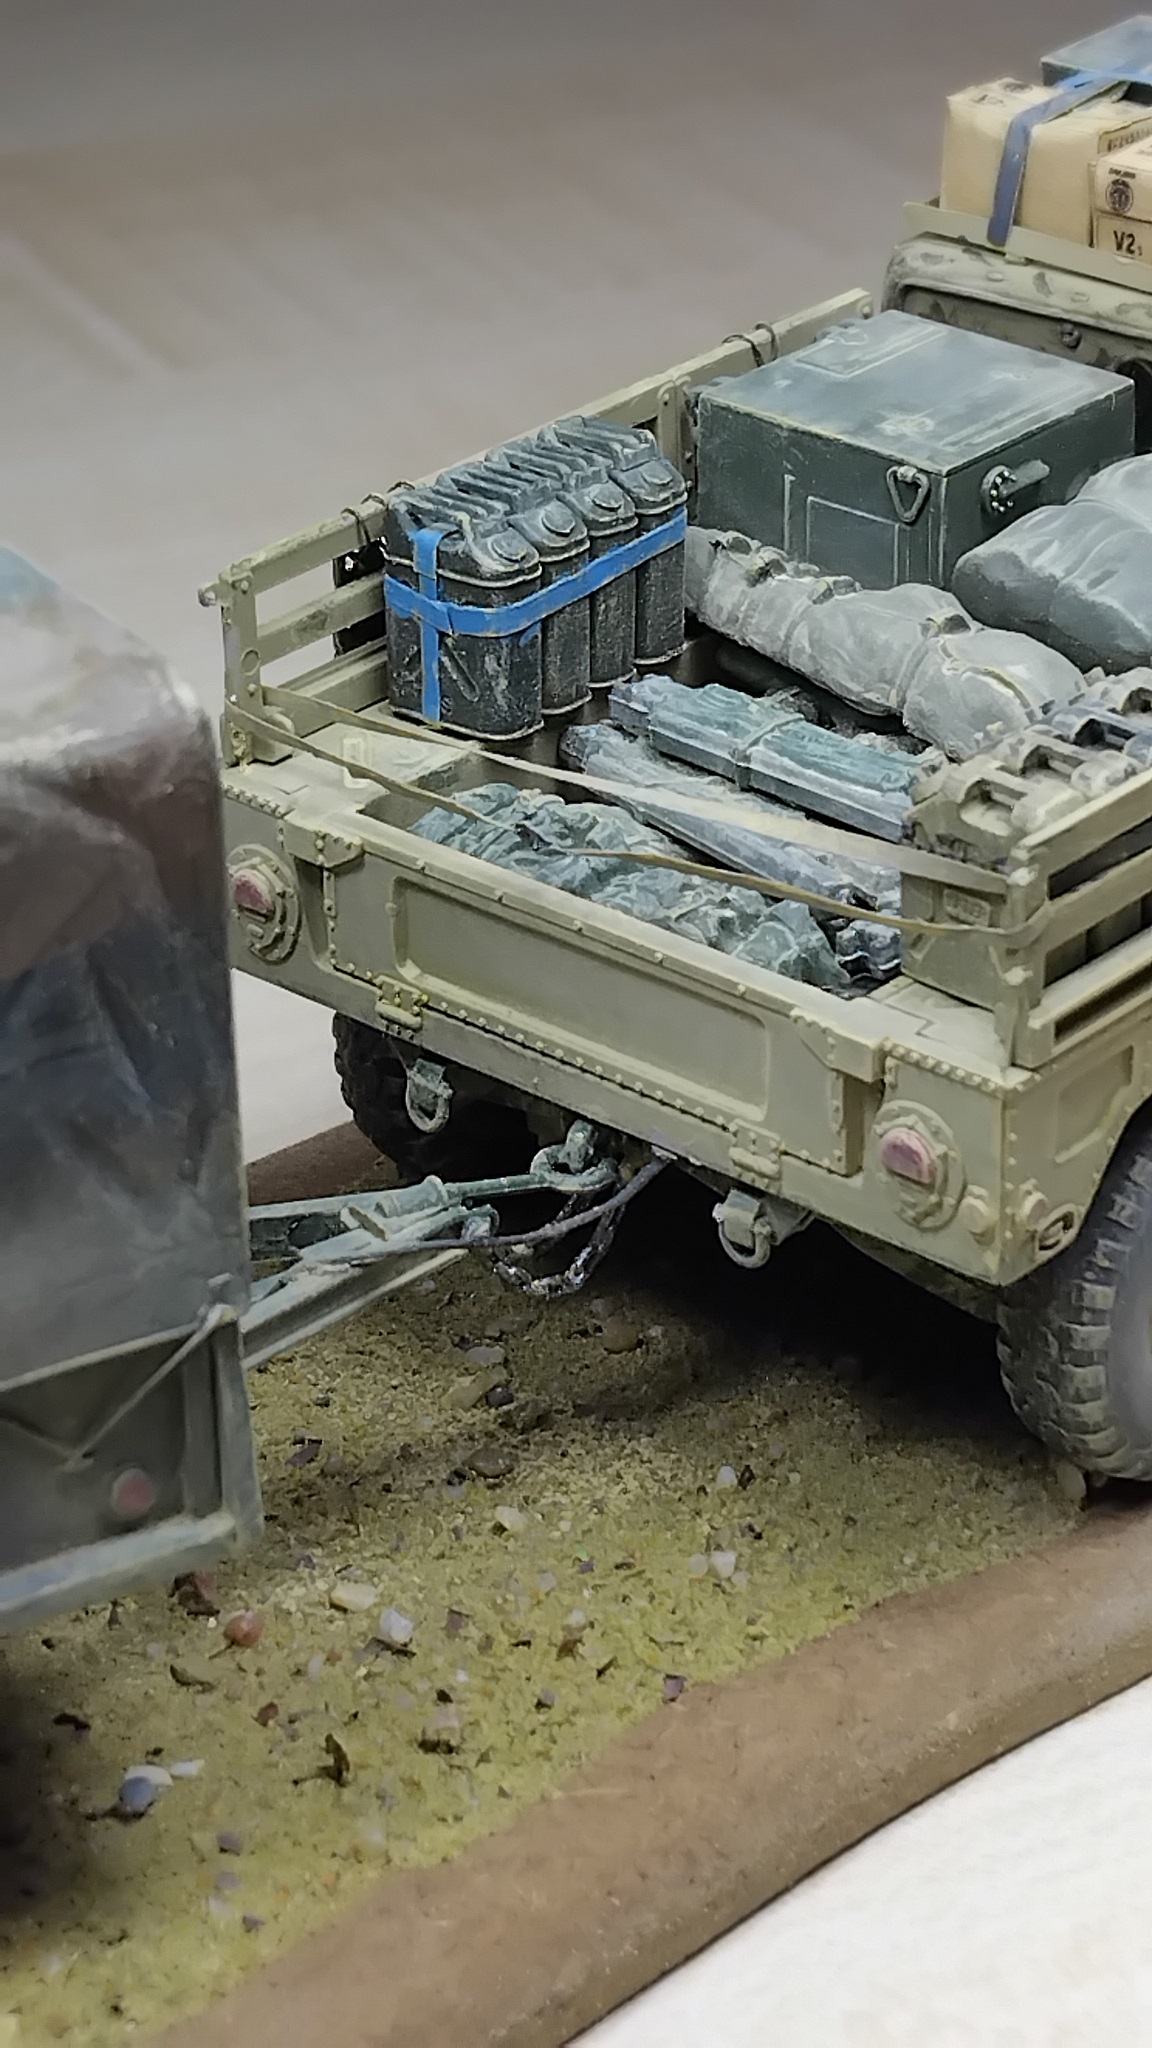
I tried something new by using maskingtape as securingstraps. Worked really well and some intrusive thoughts made me paint some blue like commercially available straps. It adds a splash of colour.
The tires are not really great. The threadpattern is way off, but the tires are still loads better then the weird, oily and even more incorrect Academy ones.
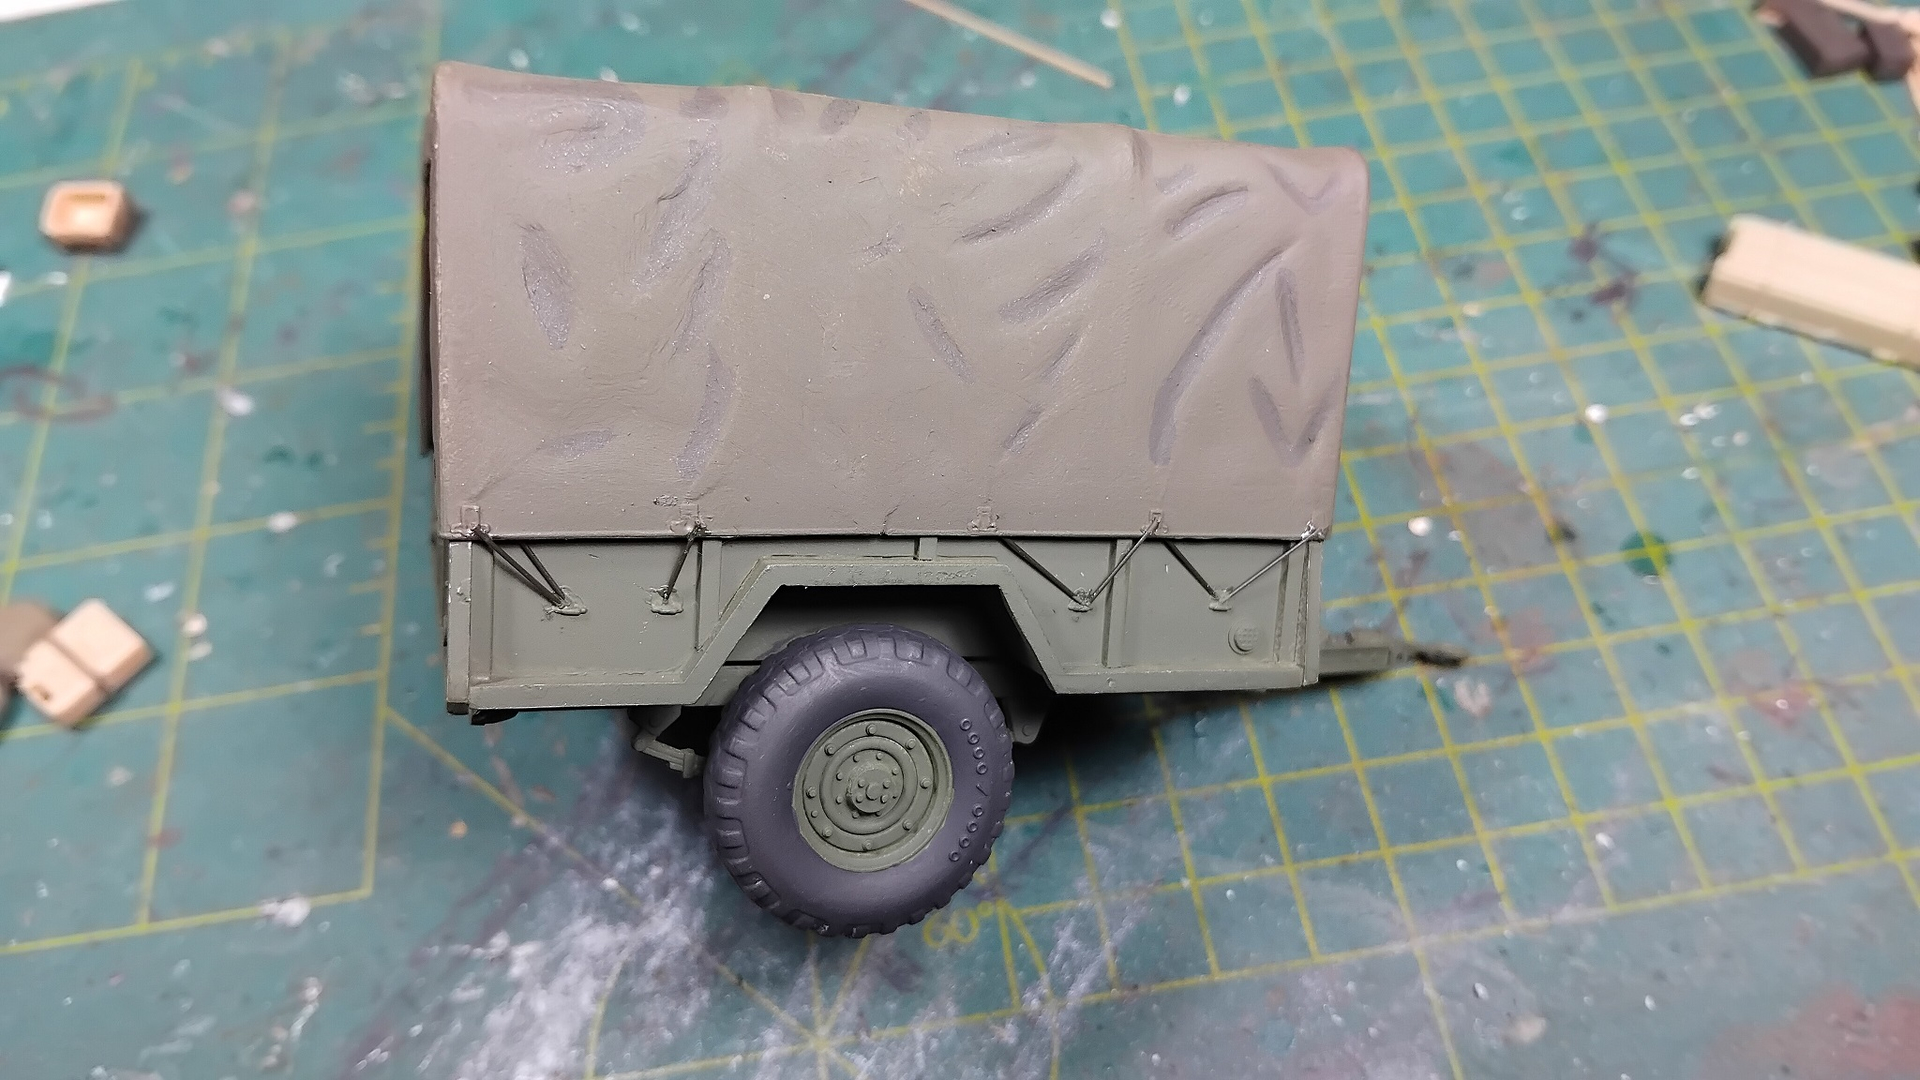
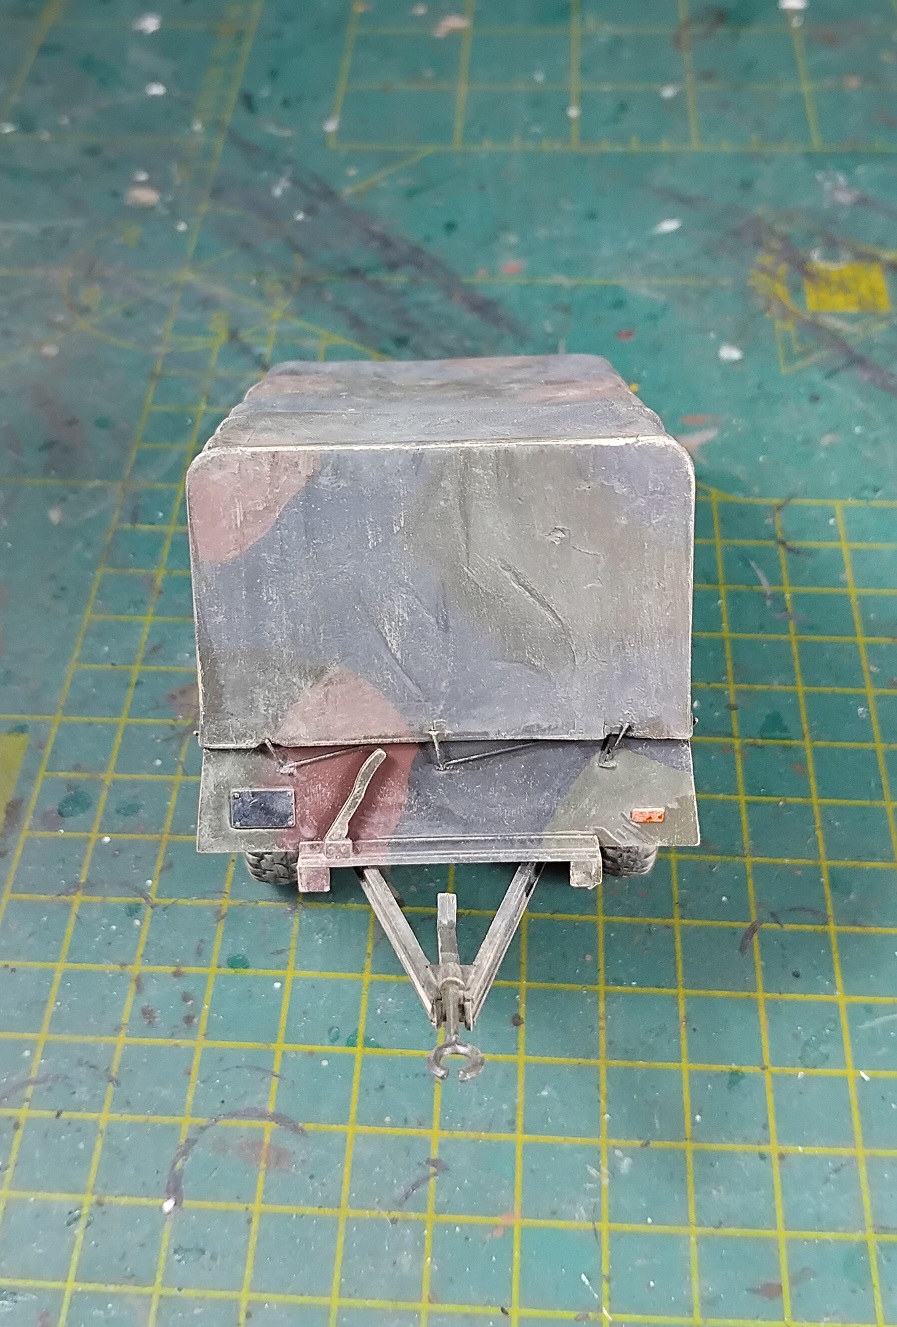
The cover for the trailer is made up out of two covers from the same Italeri M1097. I needed a second too for the extra wheels under the trailer. Te rubber toedowns are pieces of stretched sprue.
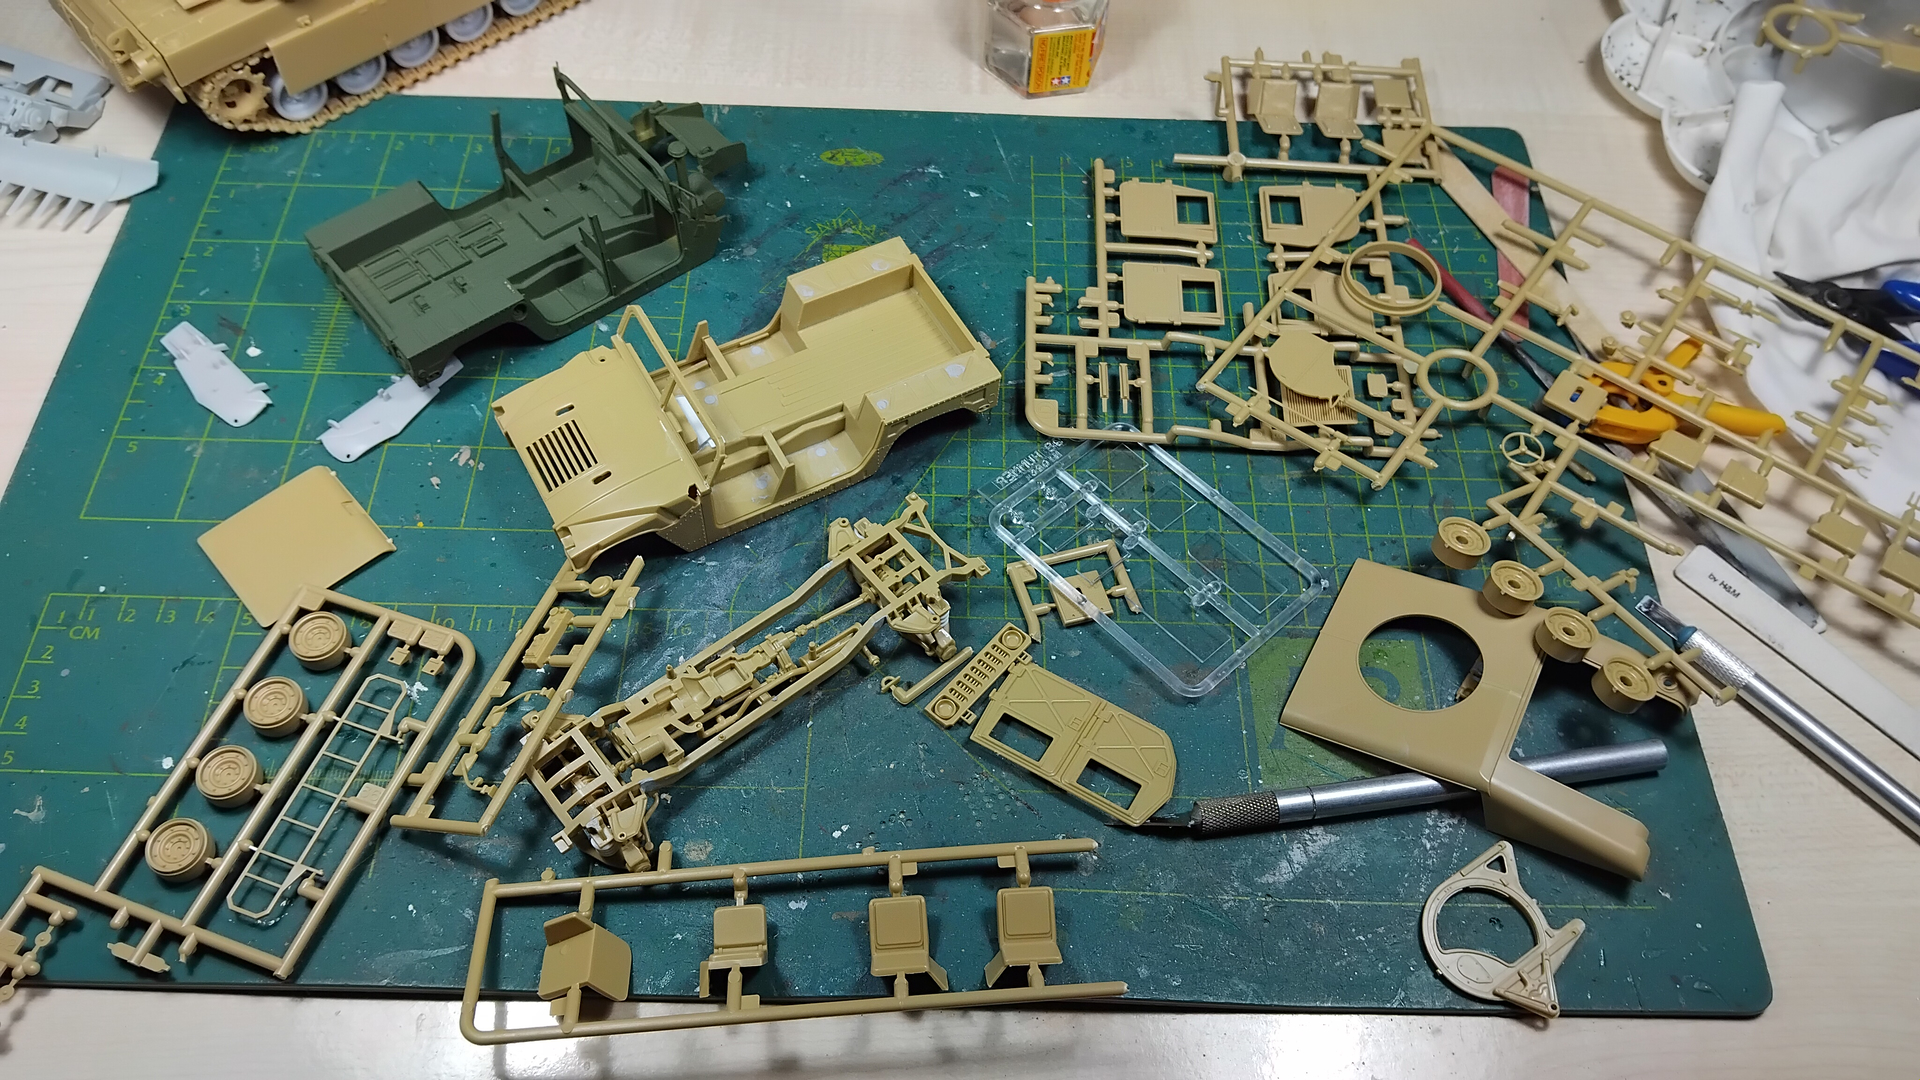
The sandcoloured paint is a mix of several Tamiya paint leftovers from previous projects, mixed till I got a sandy tone….
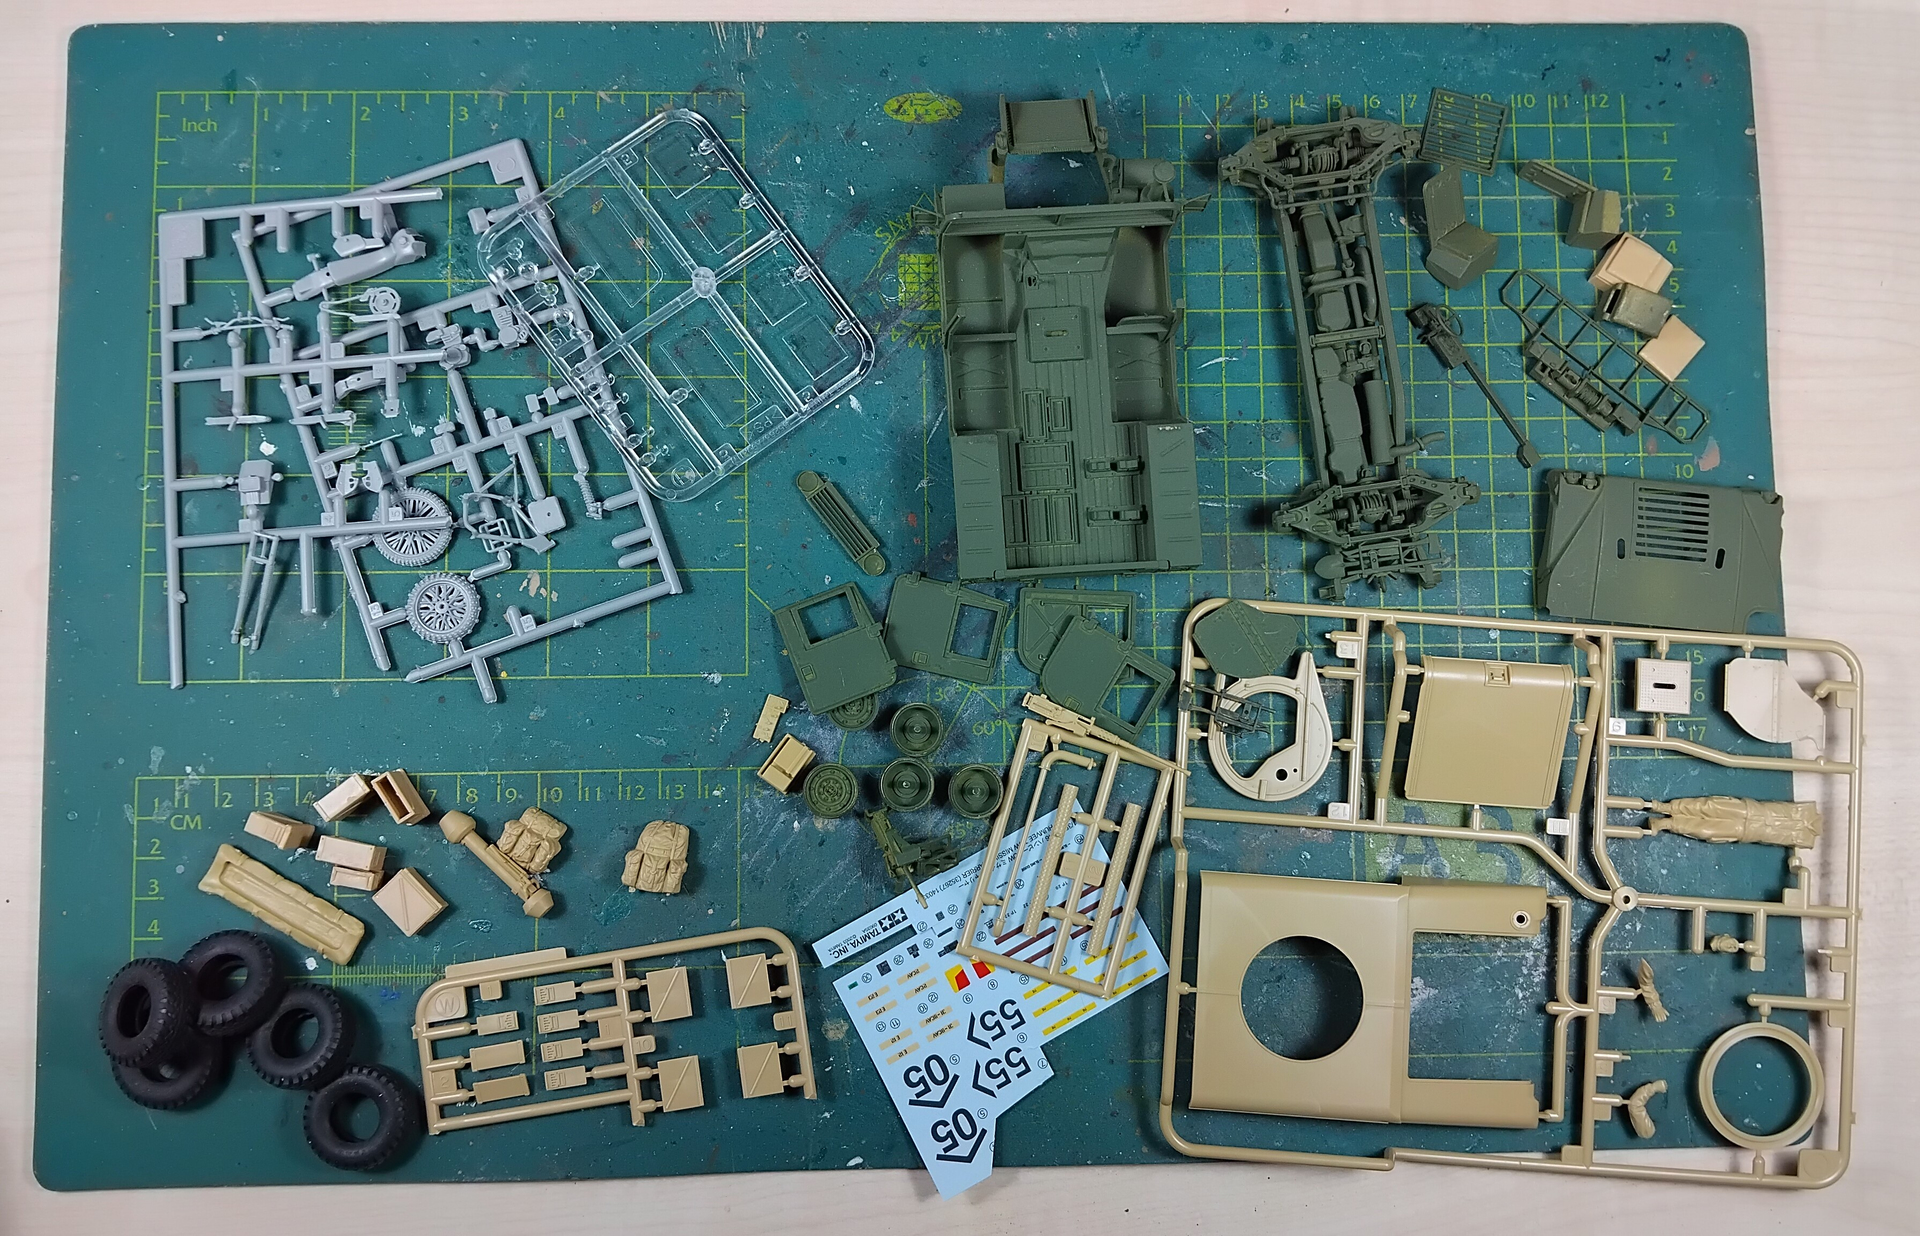
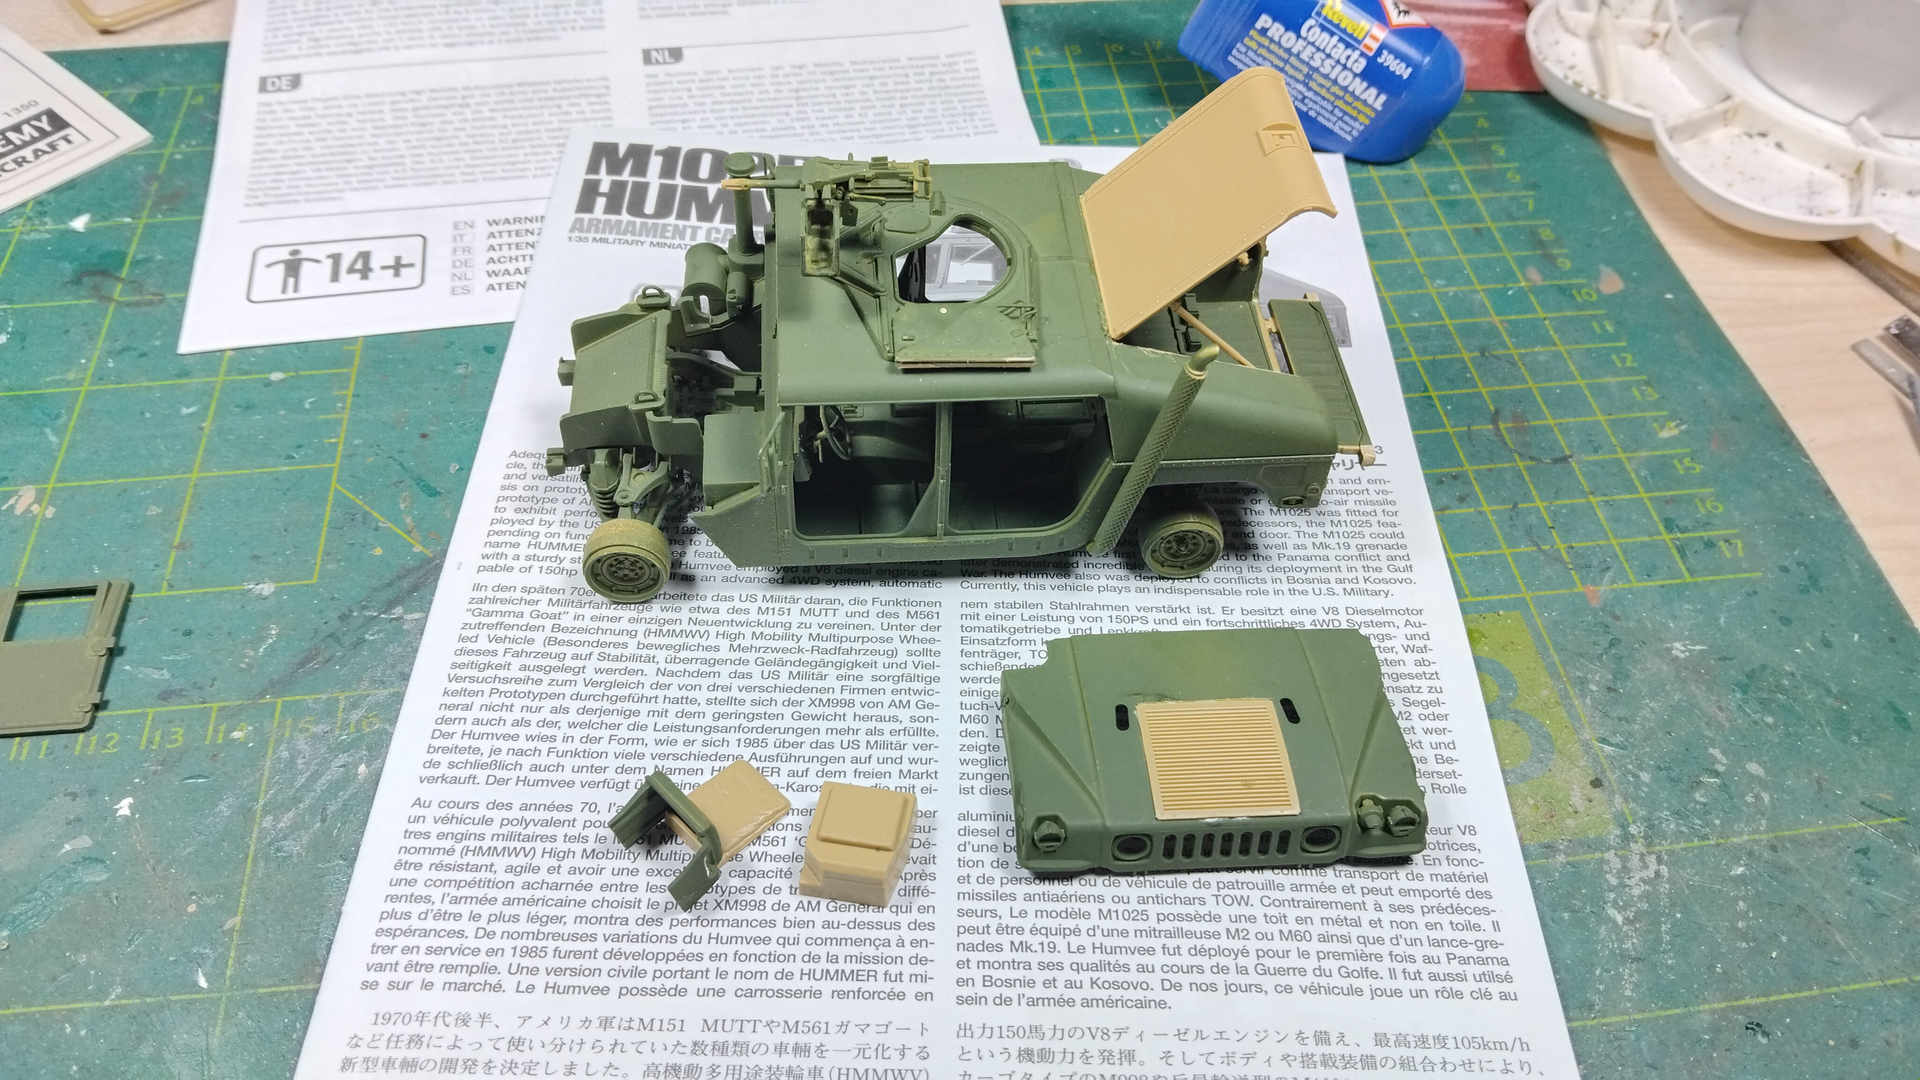
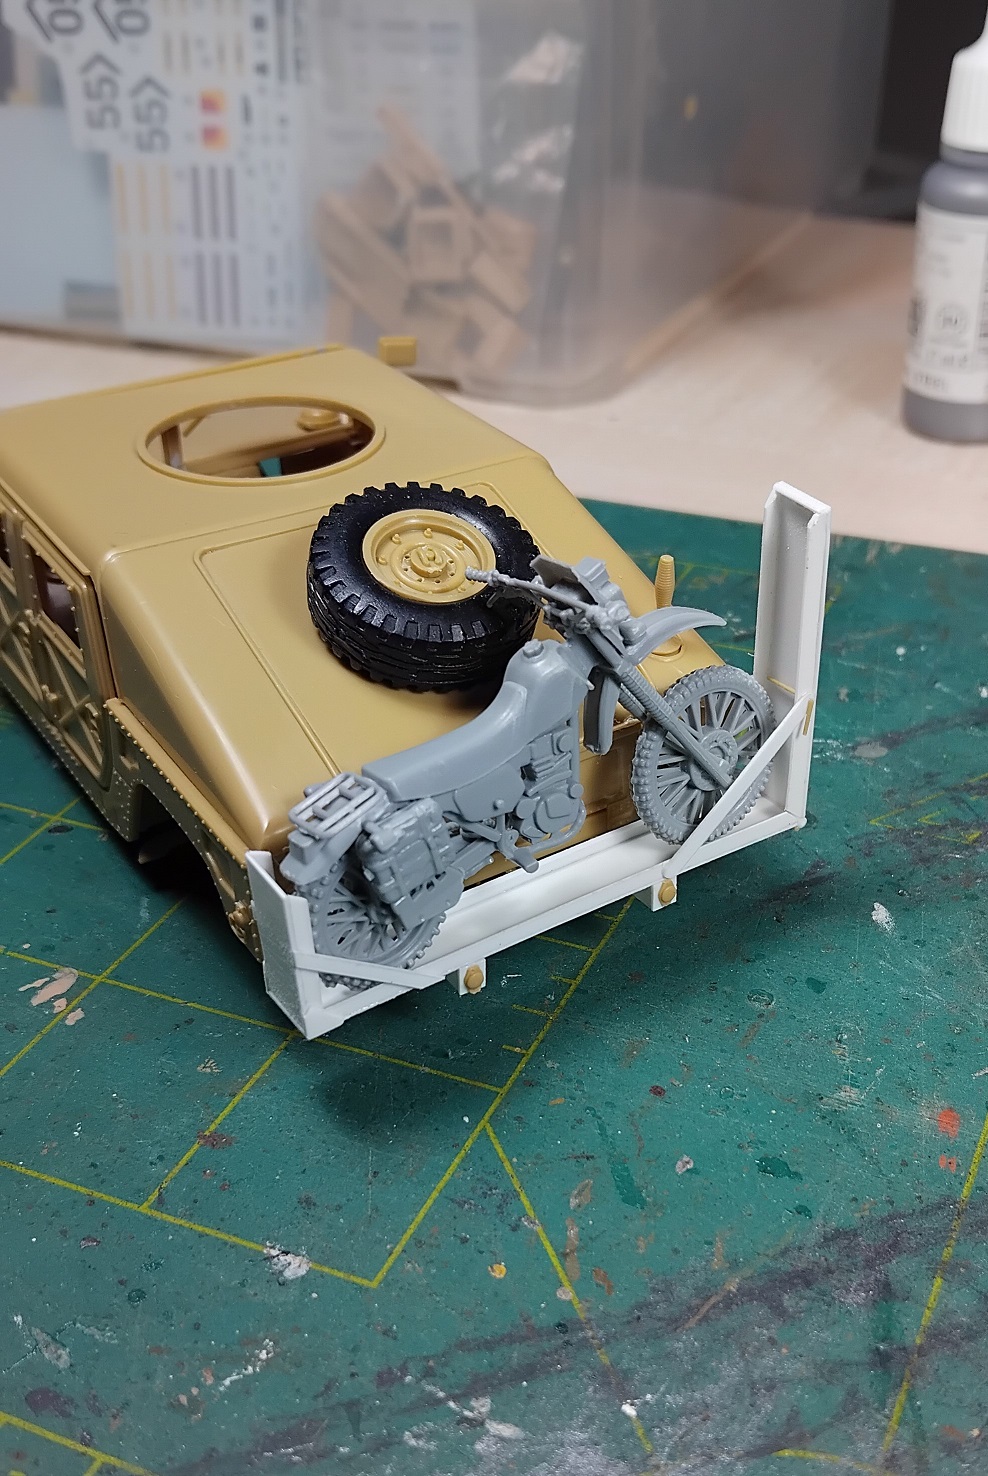
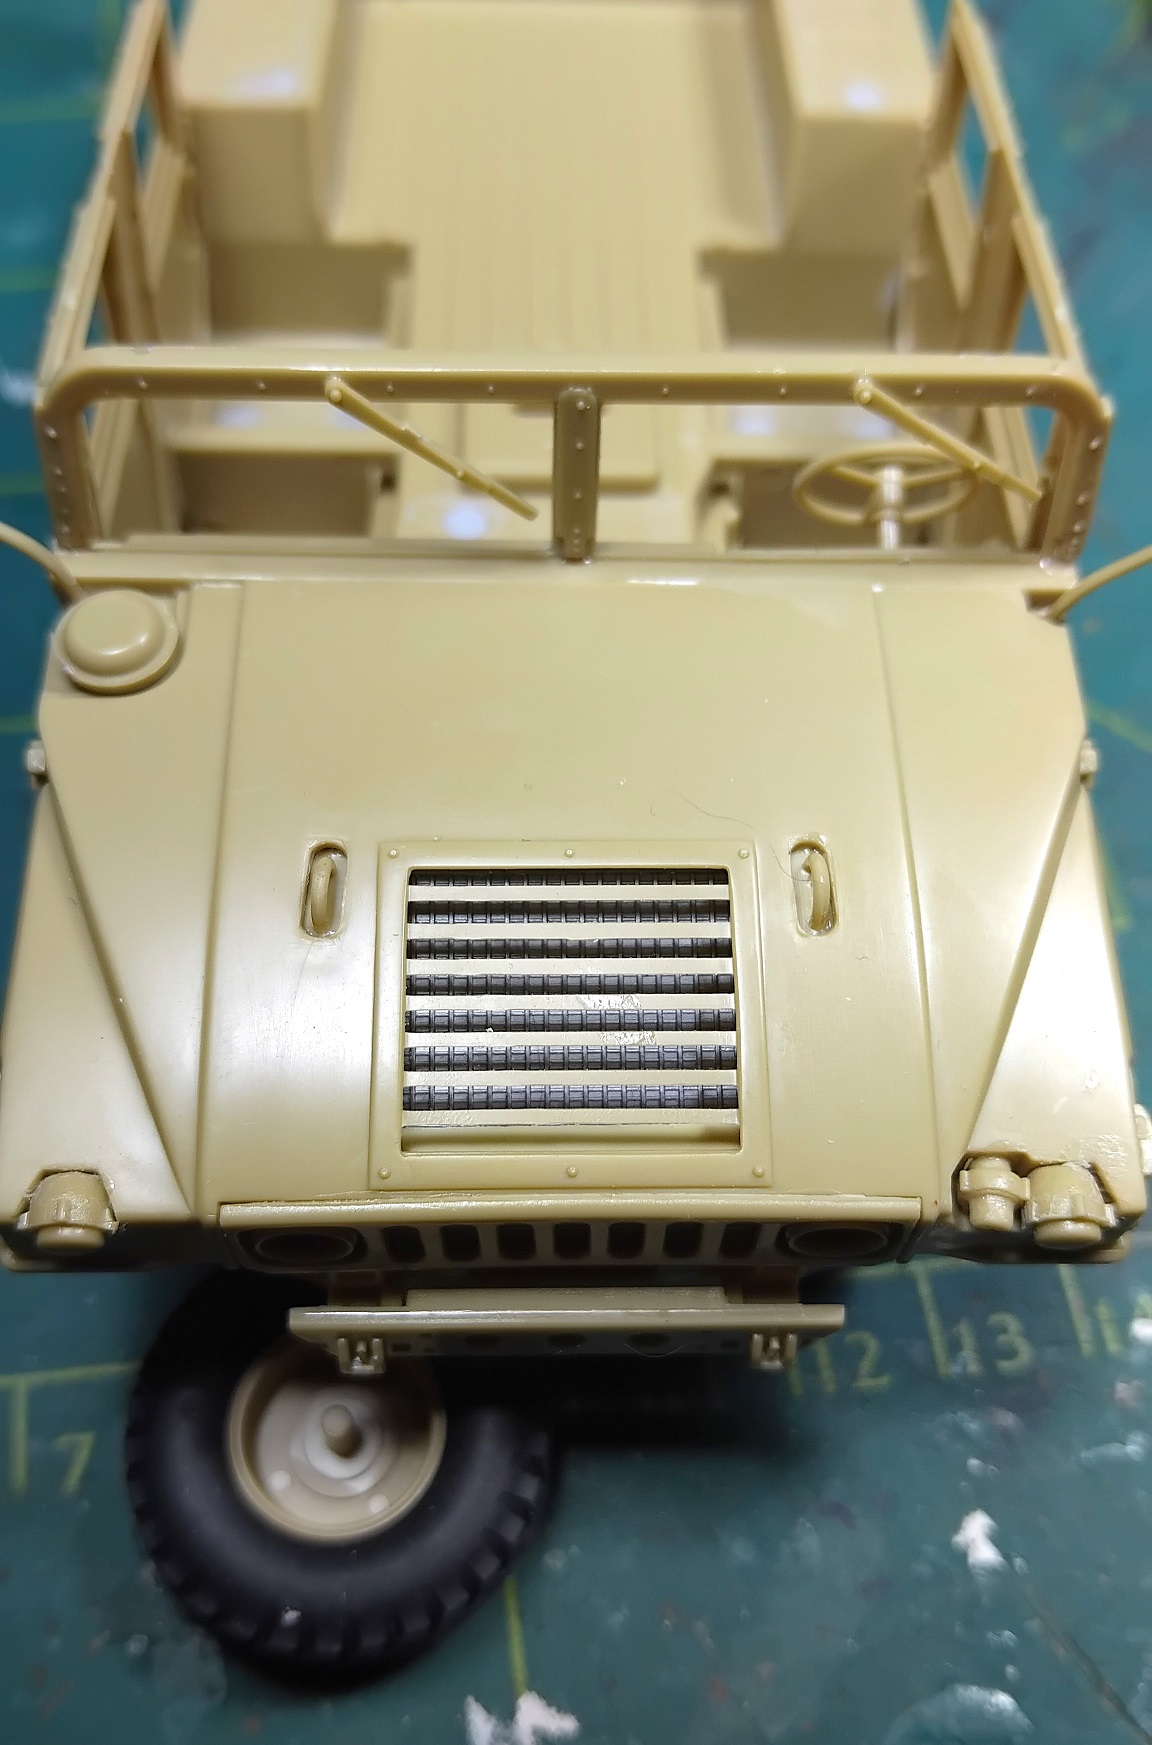
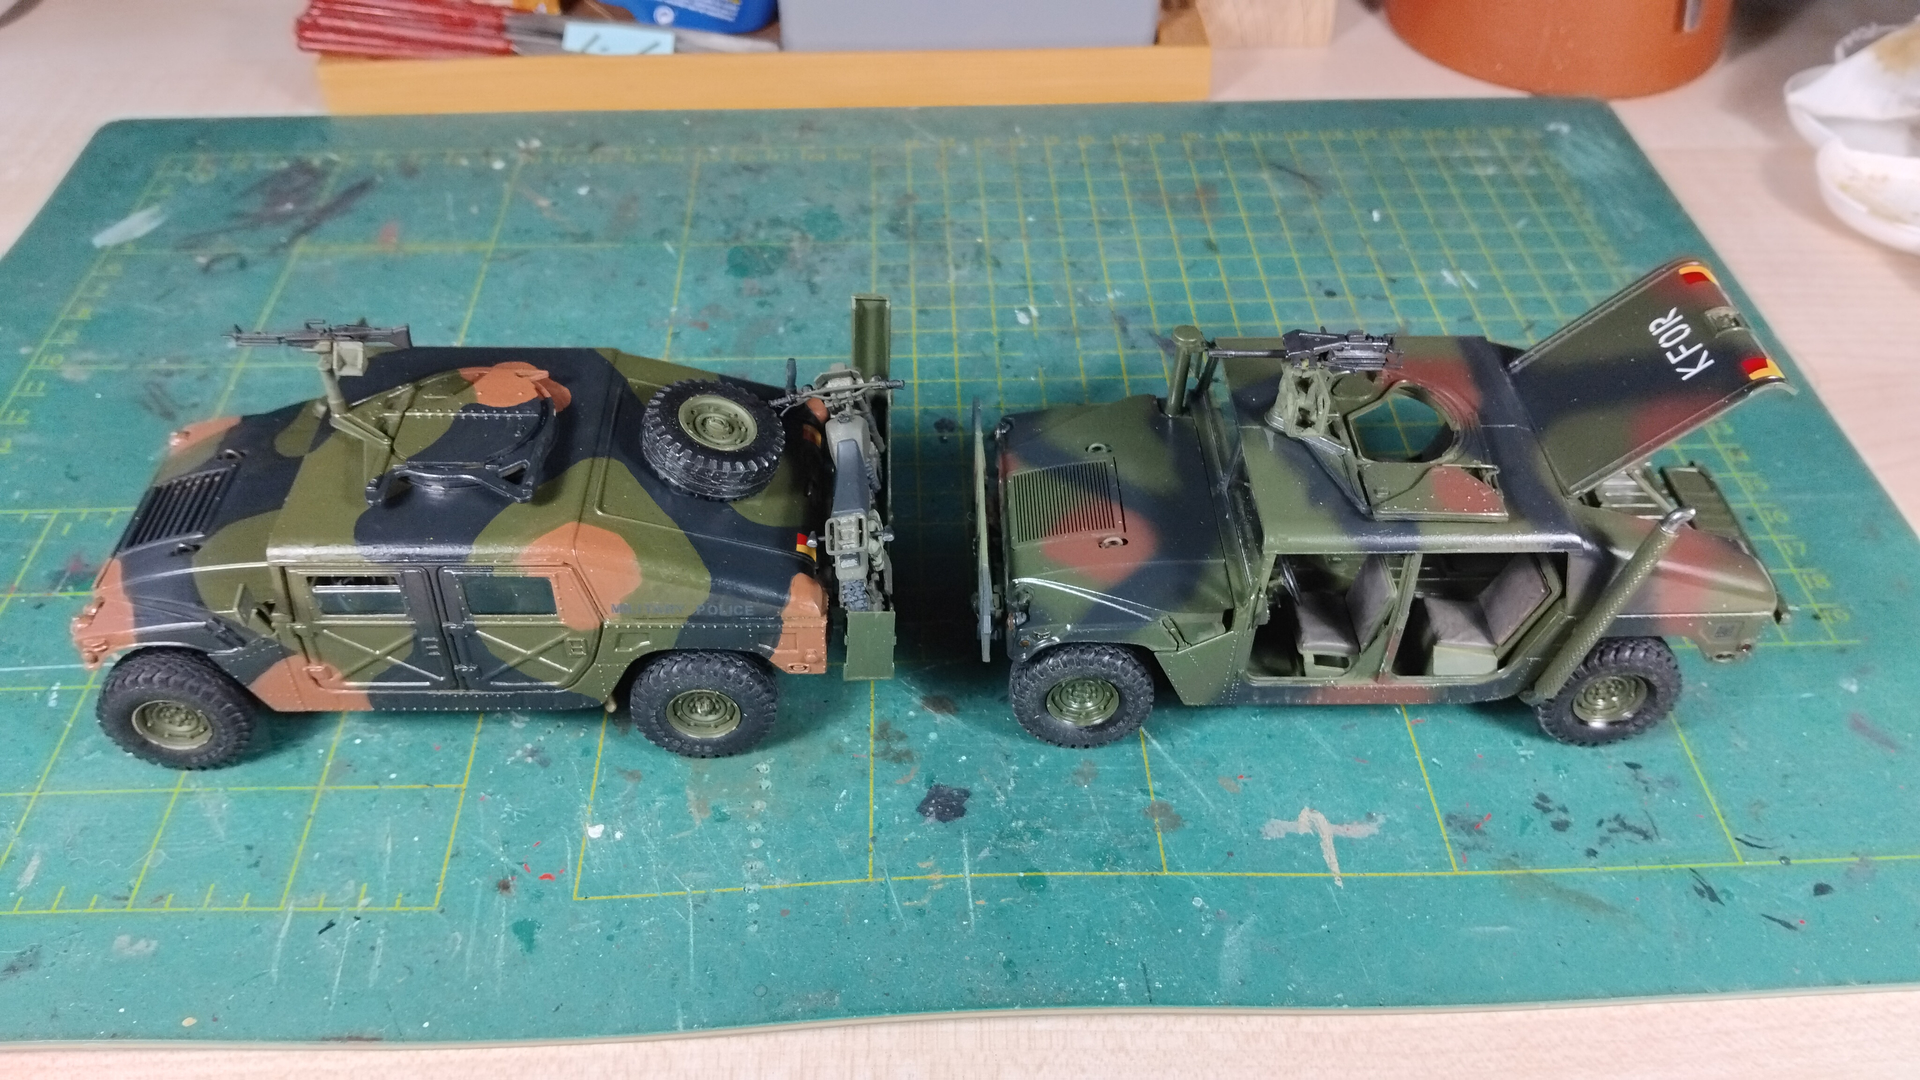
And lastly the M998 with bike. I used all the Academy parts from the sparesbox, but had to add a set of Tamiya wheels. They are far better and the wheels are pvc I think and not that weird oily vinyl. I also added a radiator…. from a 1/24 scale Mercedes. There was nothing under the hood and you could see right through it. So I cut the radiator to fit and now at least there is something.
The real headache was the Dragon motorbike! I somehow had lost the right halve of the frame and the airfilter! And to makes matters worse the bike is horrible to construct. Nothing fits, is woefully misaligned and the plastic did not take the Contacta glue well. I ended up constructing the bike as good as possible in order to serve as a guideline for the carrier. That one is quite basic, made out of evergreen and “rests” on a round bar in the towhook with 2 supports connected to the towhook eyelets. The right side hinges, so got a hinge and a securing pen. Two leftover reflectors were added, just for fun.
I added a sparewheel on the rear, so I can drape a camouflagenet around it, whic incidentally will hide the incomplete right side of the bike.
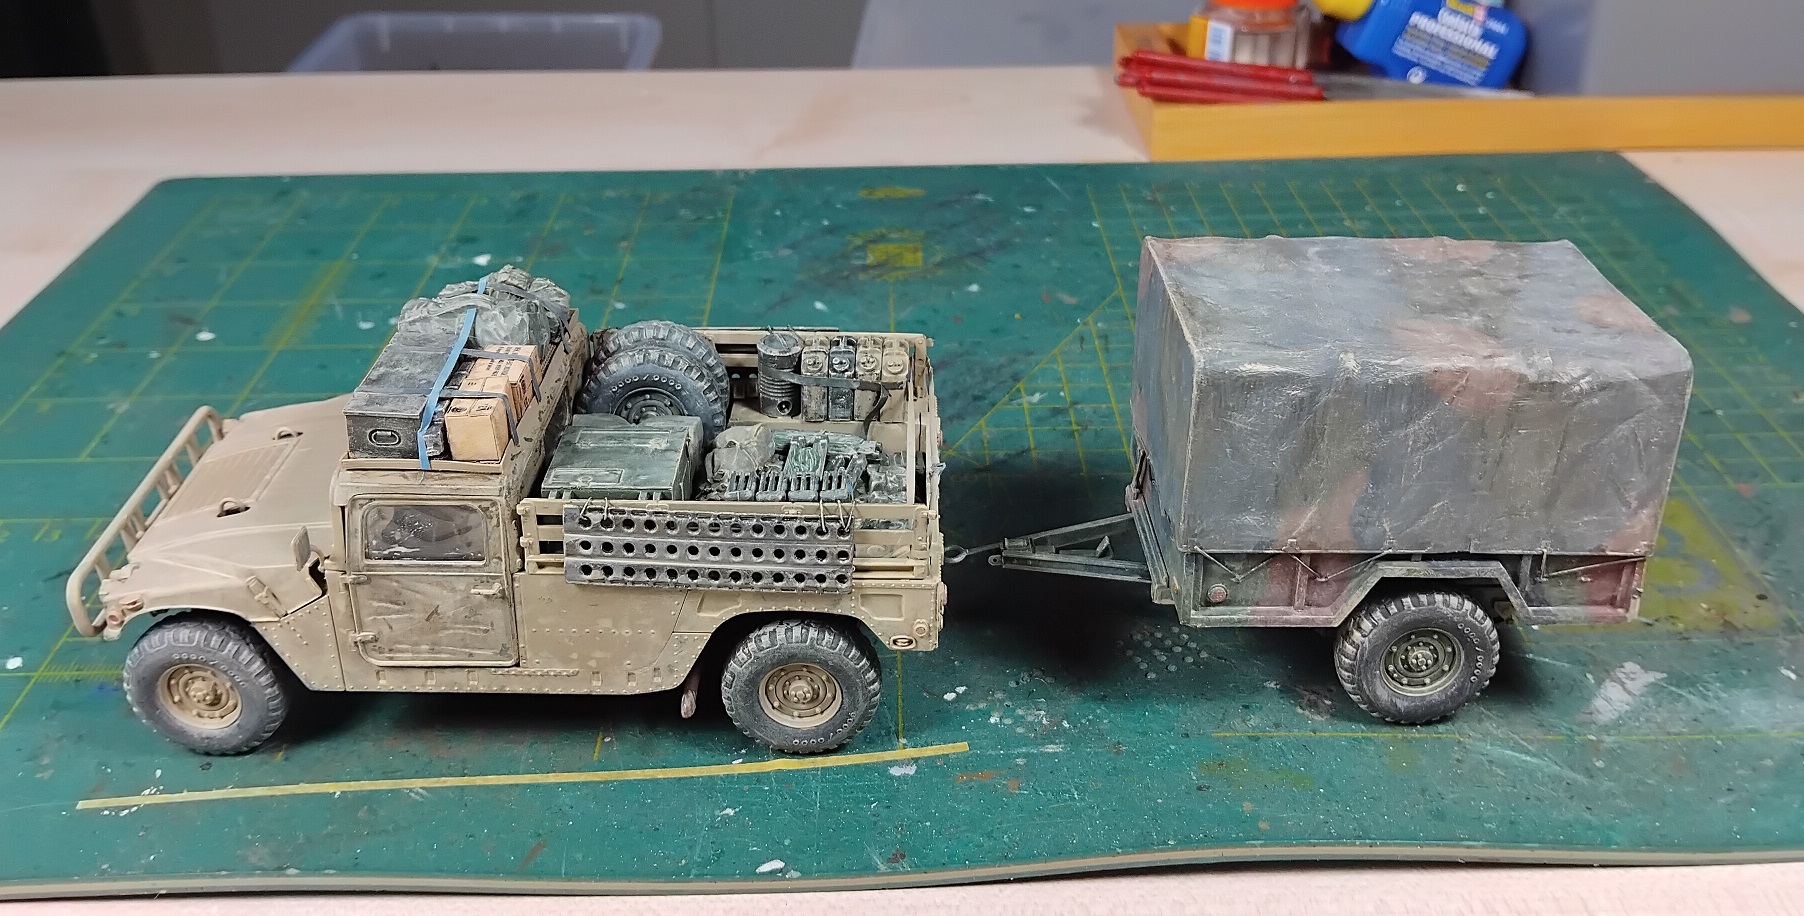
The M1097 & M101 are nearing the finishline! The paintingfase is done now, all I need to do, is weather it and probably make a small base for it, because of the fragile nature of the combo.
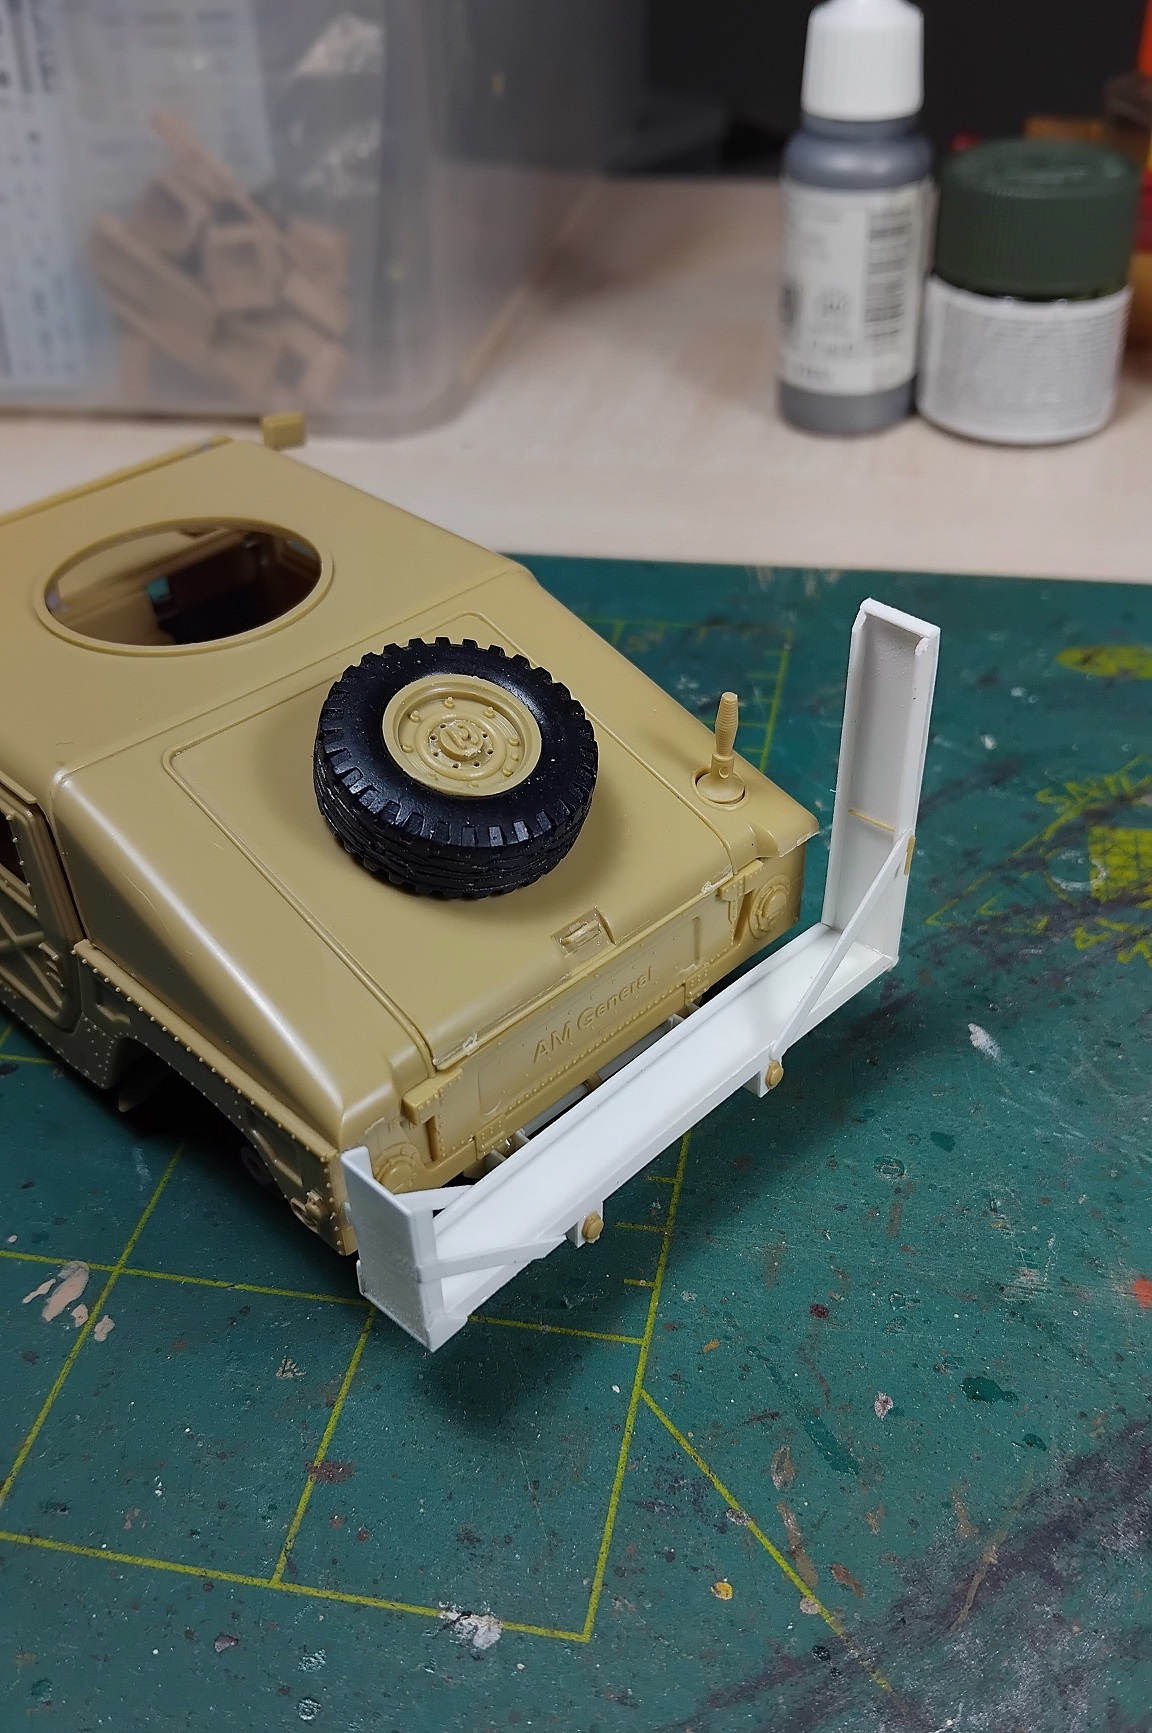
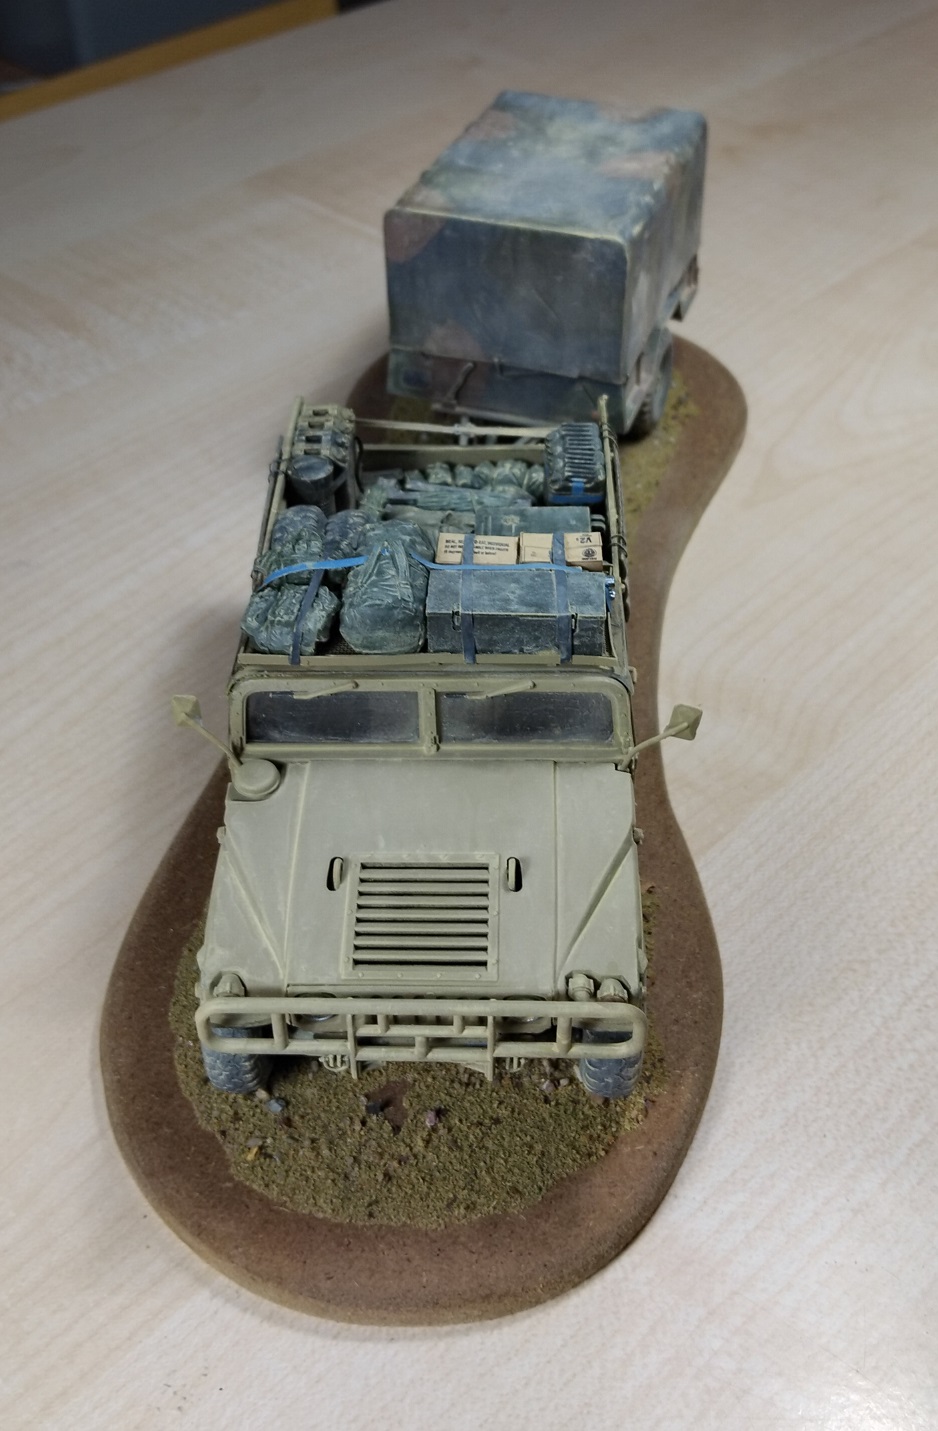
I removed the tailgate and added a strap, made out of maskingtape and some old verlinden p.e.-parts for the fastener. I also added sandplates, just for fun.
The first of the piggies is done! One down, two to go…
I had to make a quick base in order to be able to handle the combo. The coupling of towing hook, 2 chains and a cable was very fragile. With that being done I could add the final dusting.
Very nicely done. Good to see stowage actually tied down and not just being held in place with magnets. Nice idea running the cargo strap underneath the duffel bag straps. The only thing I might suggest is scraping off the mold seams on the water cans. The dry brushing really brings them out. Five minute fix?
@18bravo Thanks. Yeah, the not tied down is a petpeeve of mine too. The duffelbag straps stand out too much in order to “tie them down”, so I came up with this instead. I’ll have a look at the watercans.
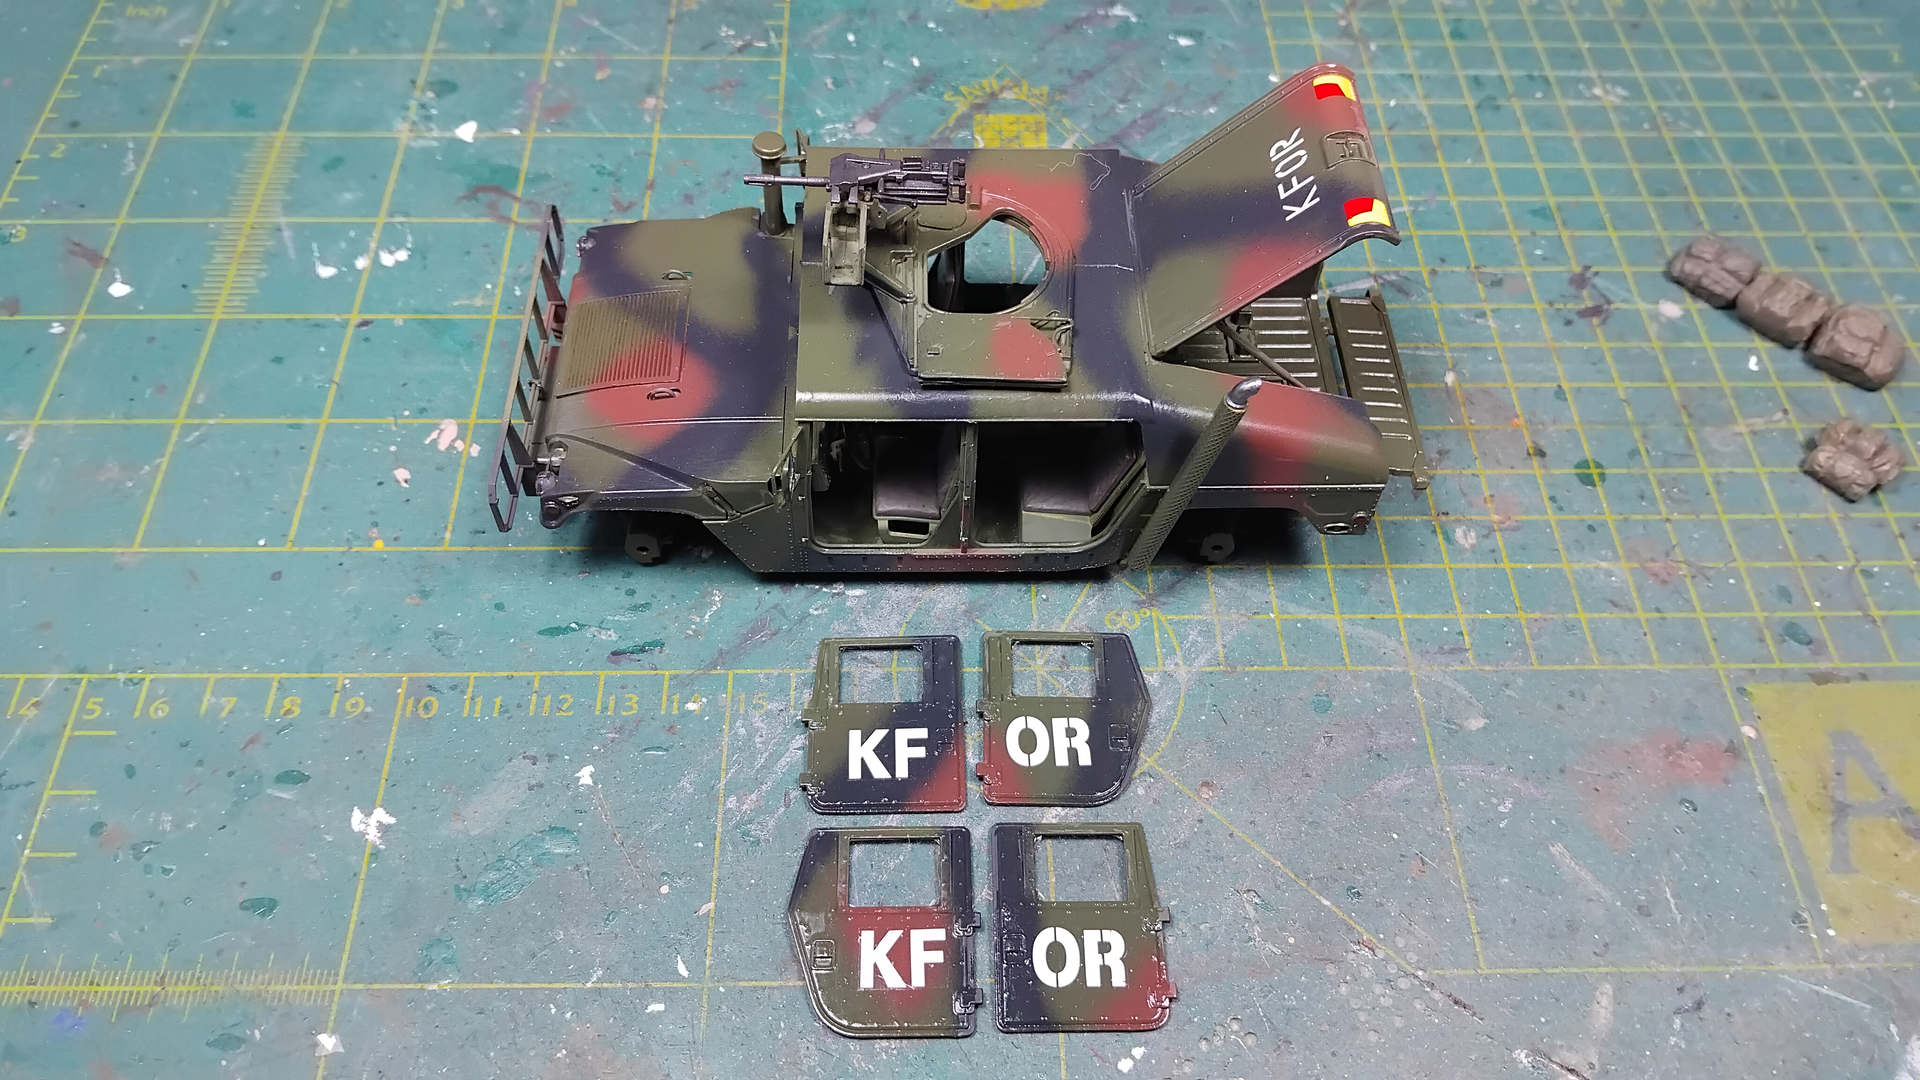
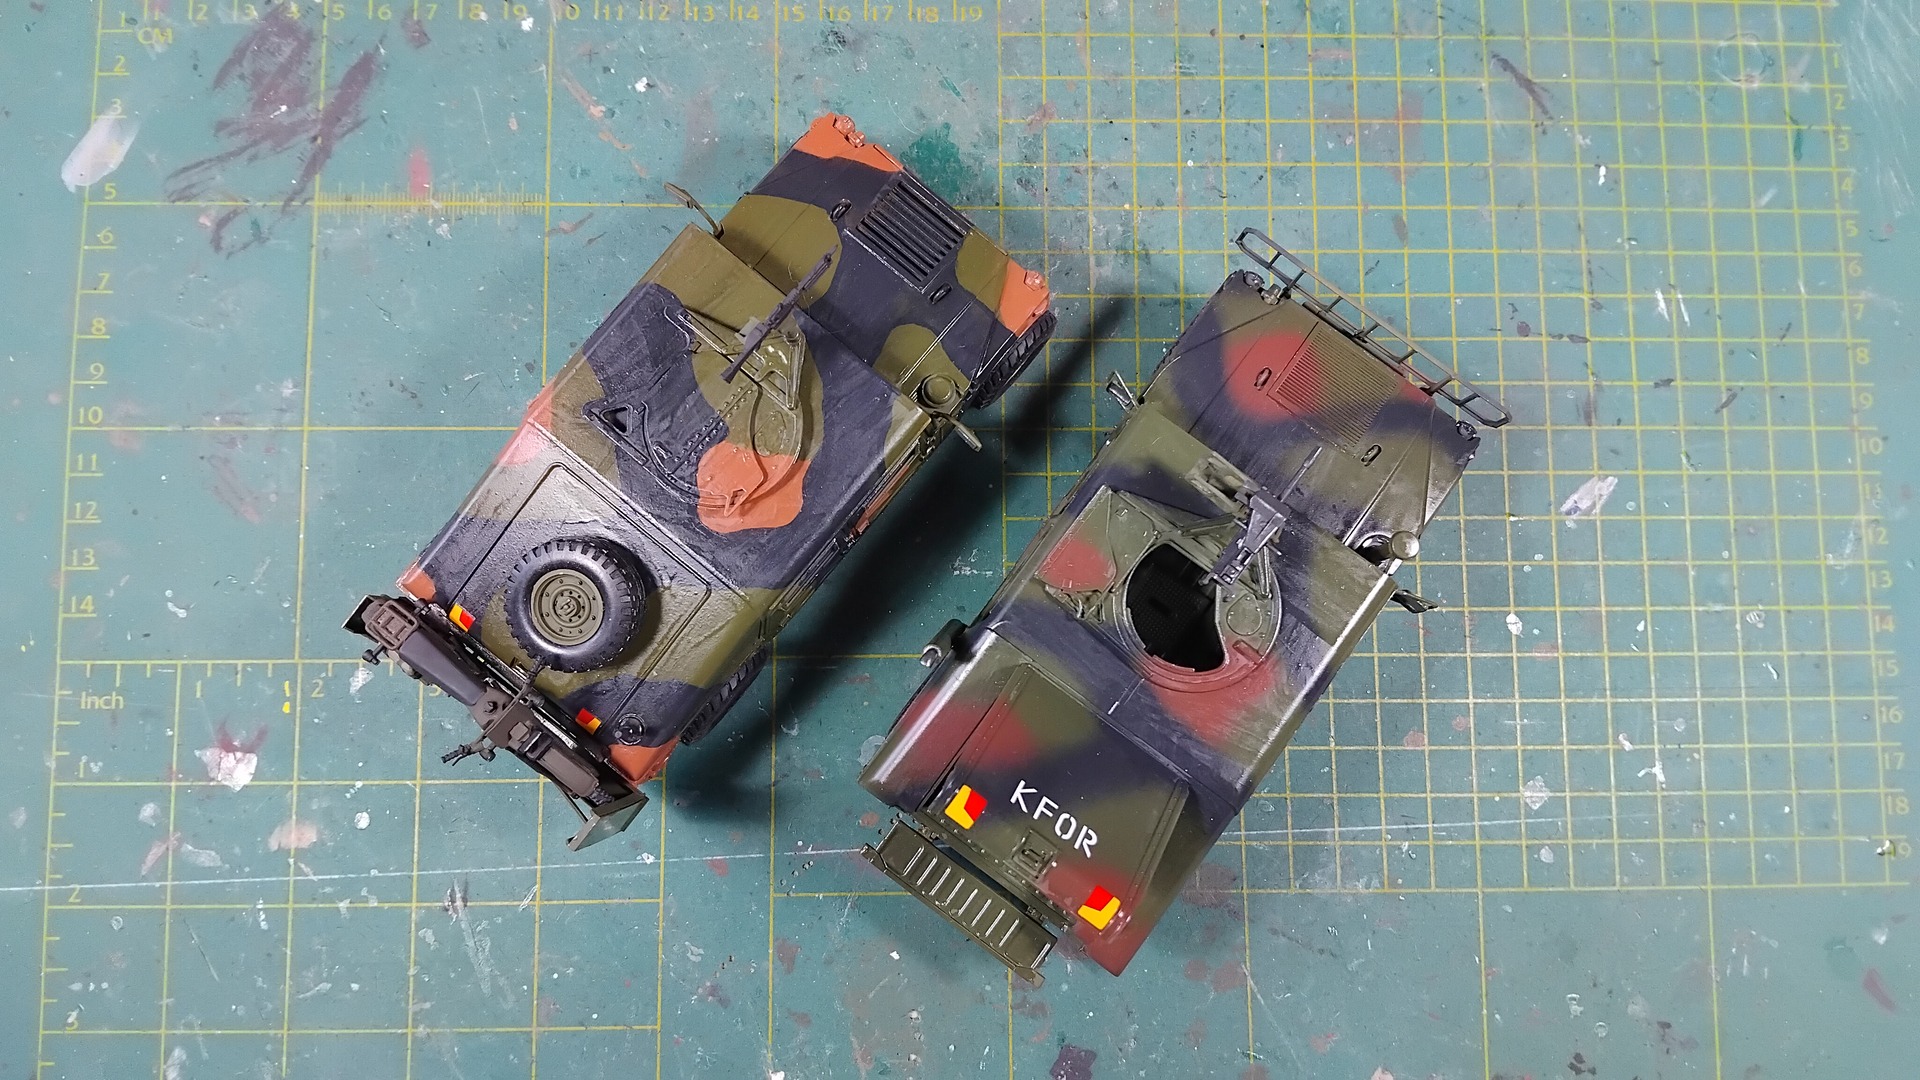
The final 2 piggies have their colours. And I am not pleased with the results!
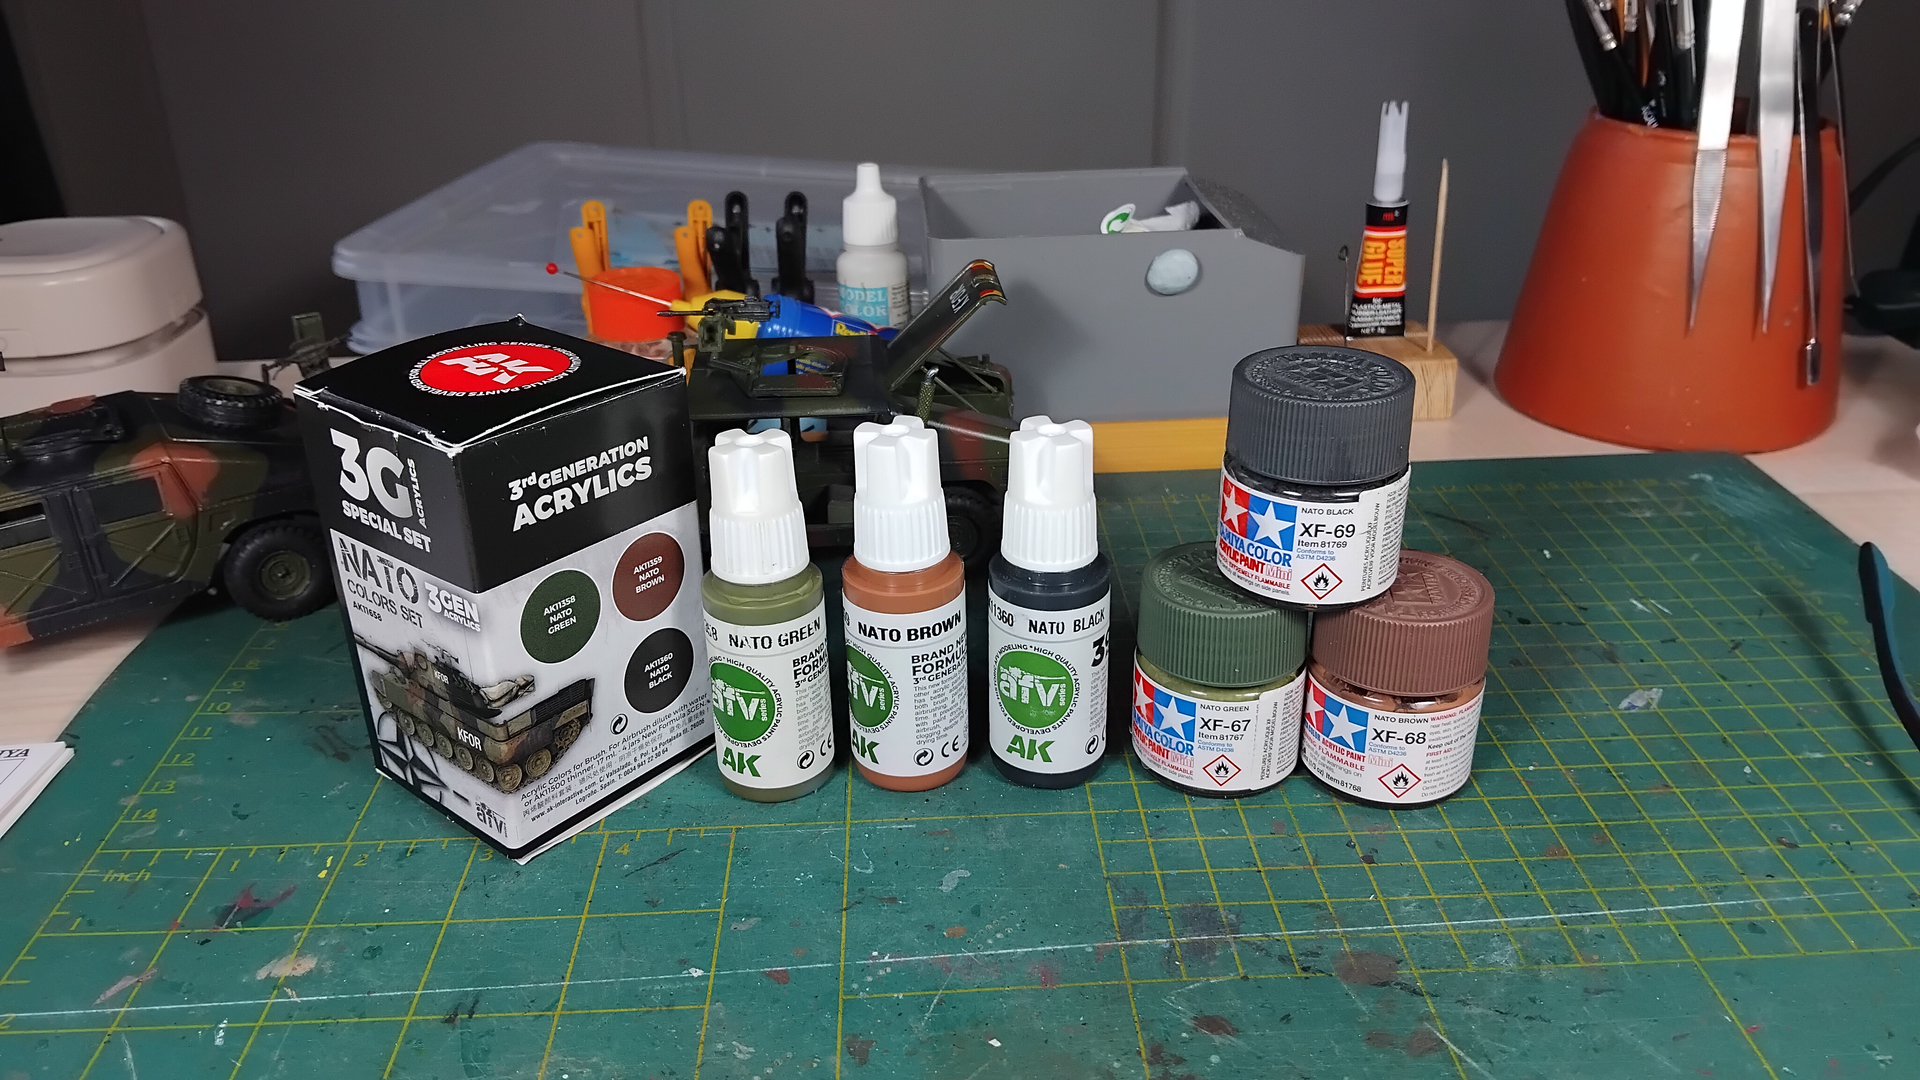
I did one (KFOR) in Tamiya NATO and the other in AK NATO. The latter colours do not resemble NATO tones in my opinion. The green is way to yellow and the brown looks a lot more like MERDC-brown than NATO.
I also had serious issues spraying them. AK’s had a strong tendency to clogg up the airbrush, giving overspray, before ejecting small threads until it ceased to spray at all. I did thin it down with water and tried several pressure settings.
As icing on the cake the airbrush broke during a cleaningsession, whereby the paintcup came loose from the connection to the airbraush and can not ben firmly reattached. So for the black I had to use an ancient singleaction Revell brush…. causing the same issues, but one level up. So the second Humvee looks brush painted now after repairs.
I used the AK Real Colors NATO colors on my recent 1/48 HMMWV build and saw a quite noticeable difference between their take on the colors and Tamiya. (I used Tamiya NATO Green on the interior) Great for scale and faded effect, but otherwise non compatible in most respects.