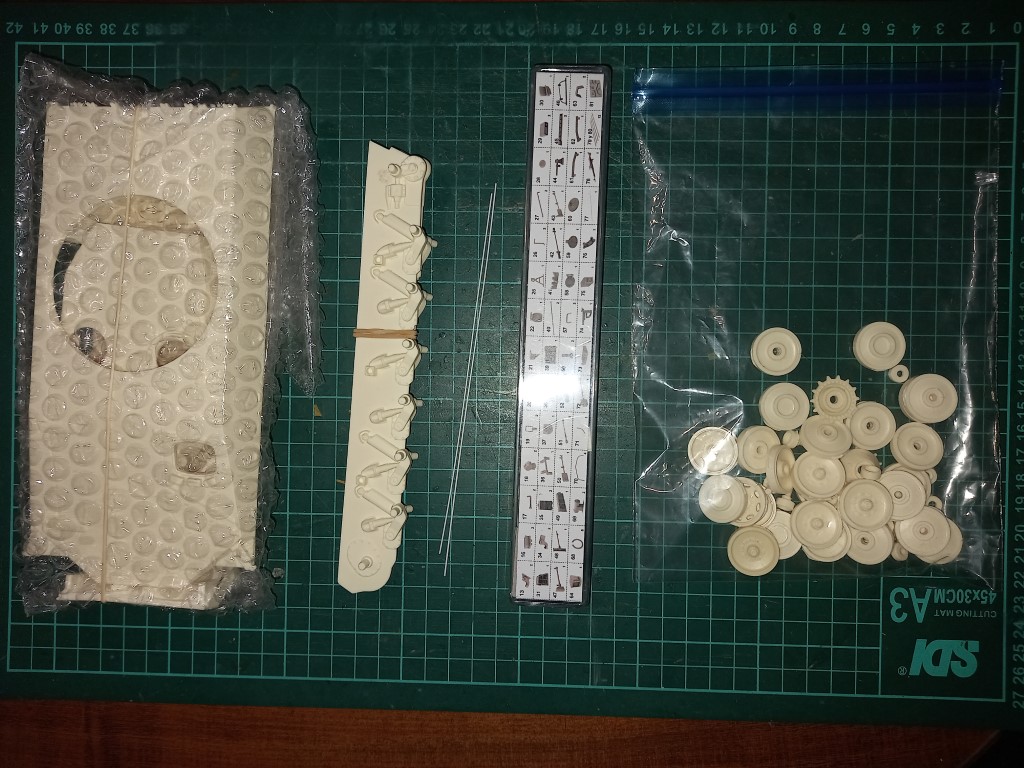
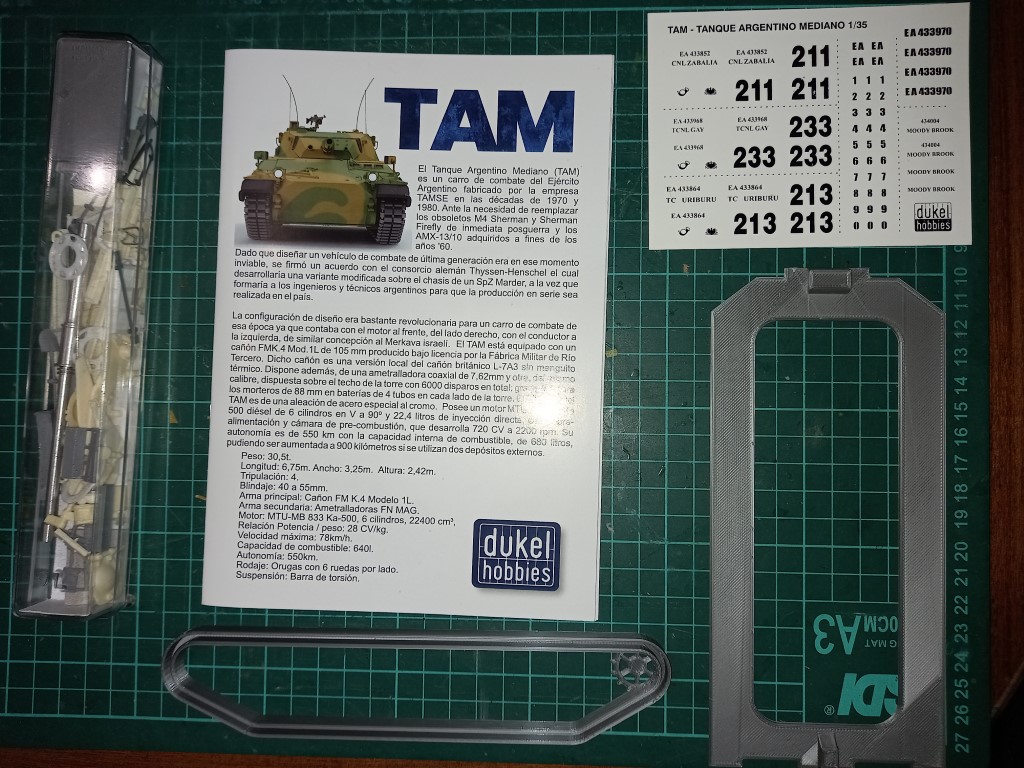
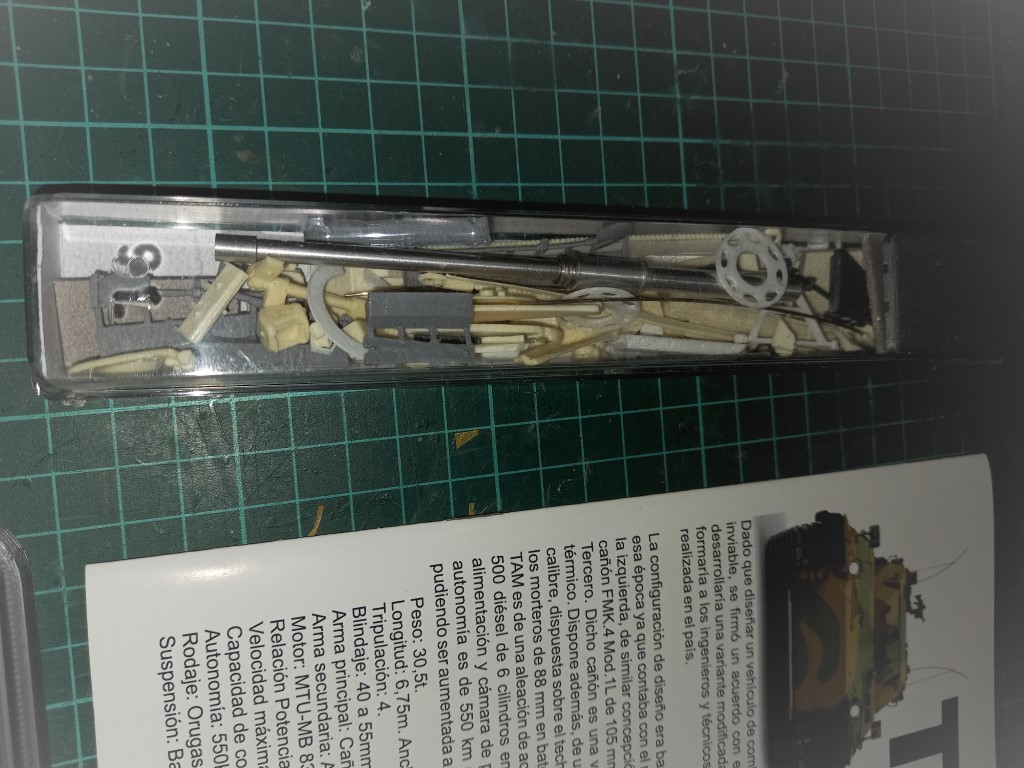
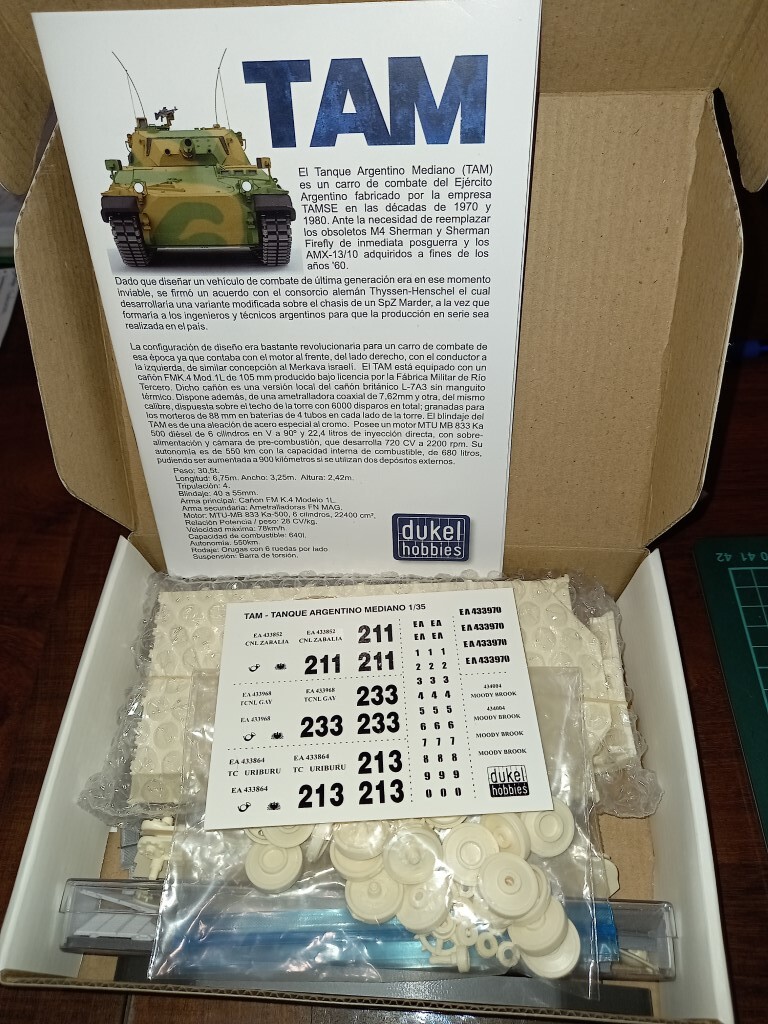
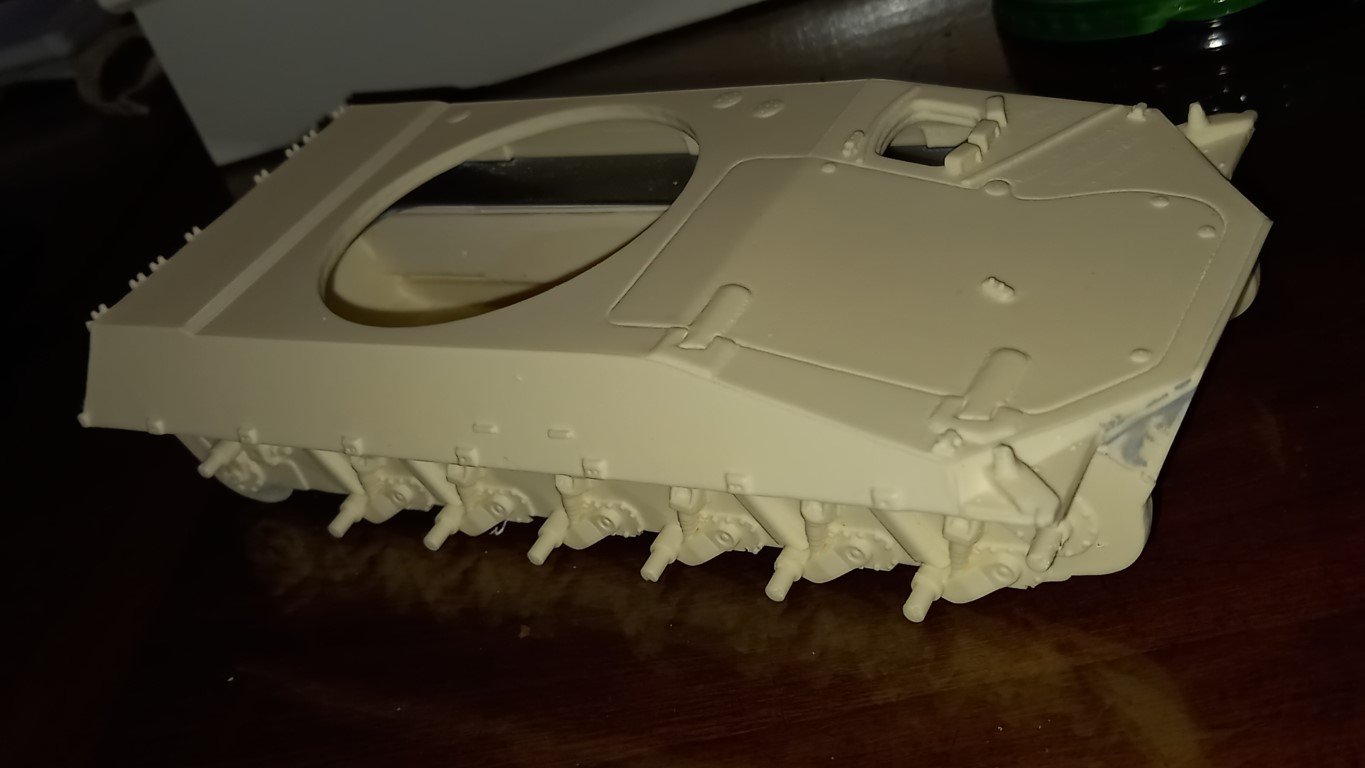
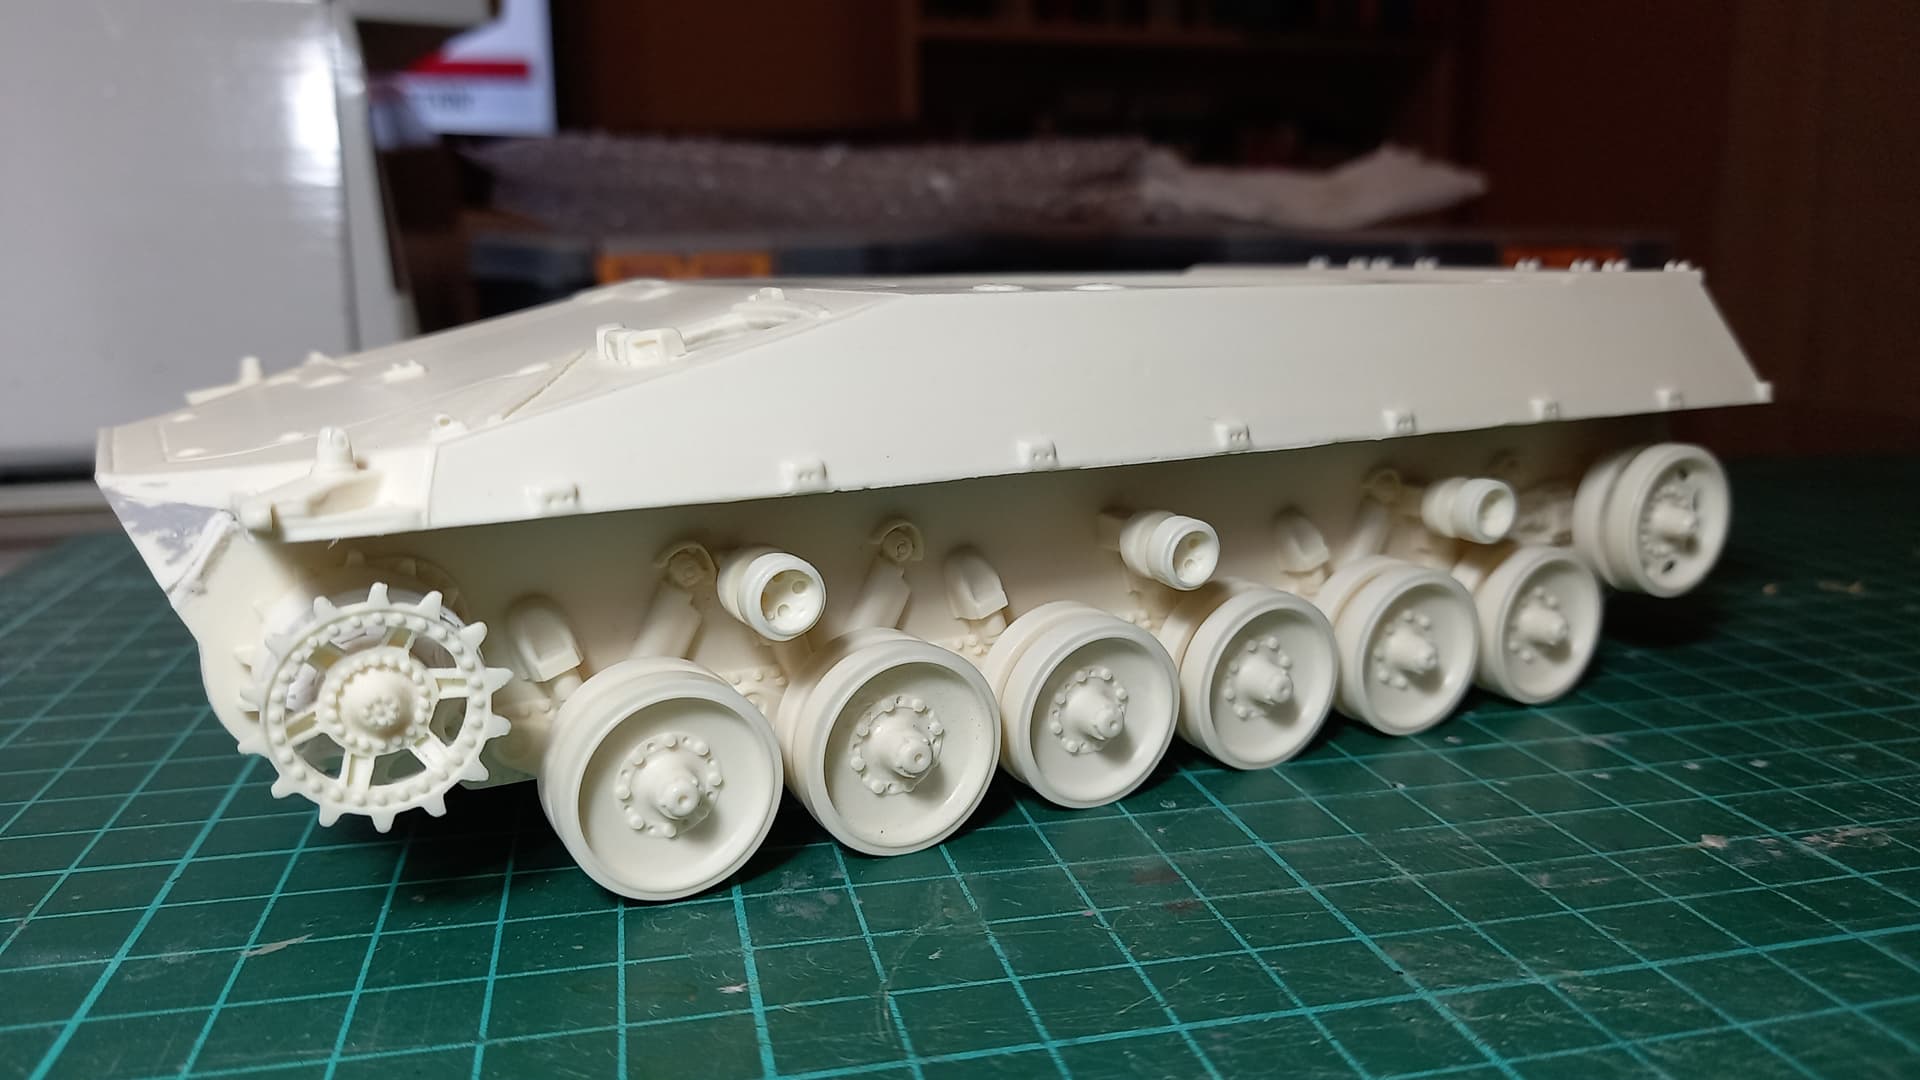
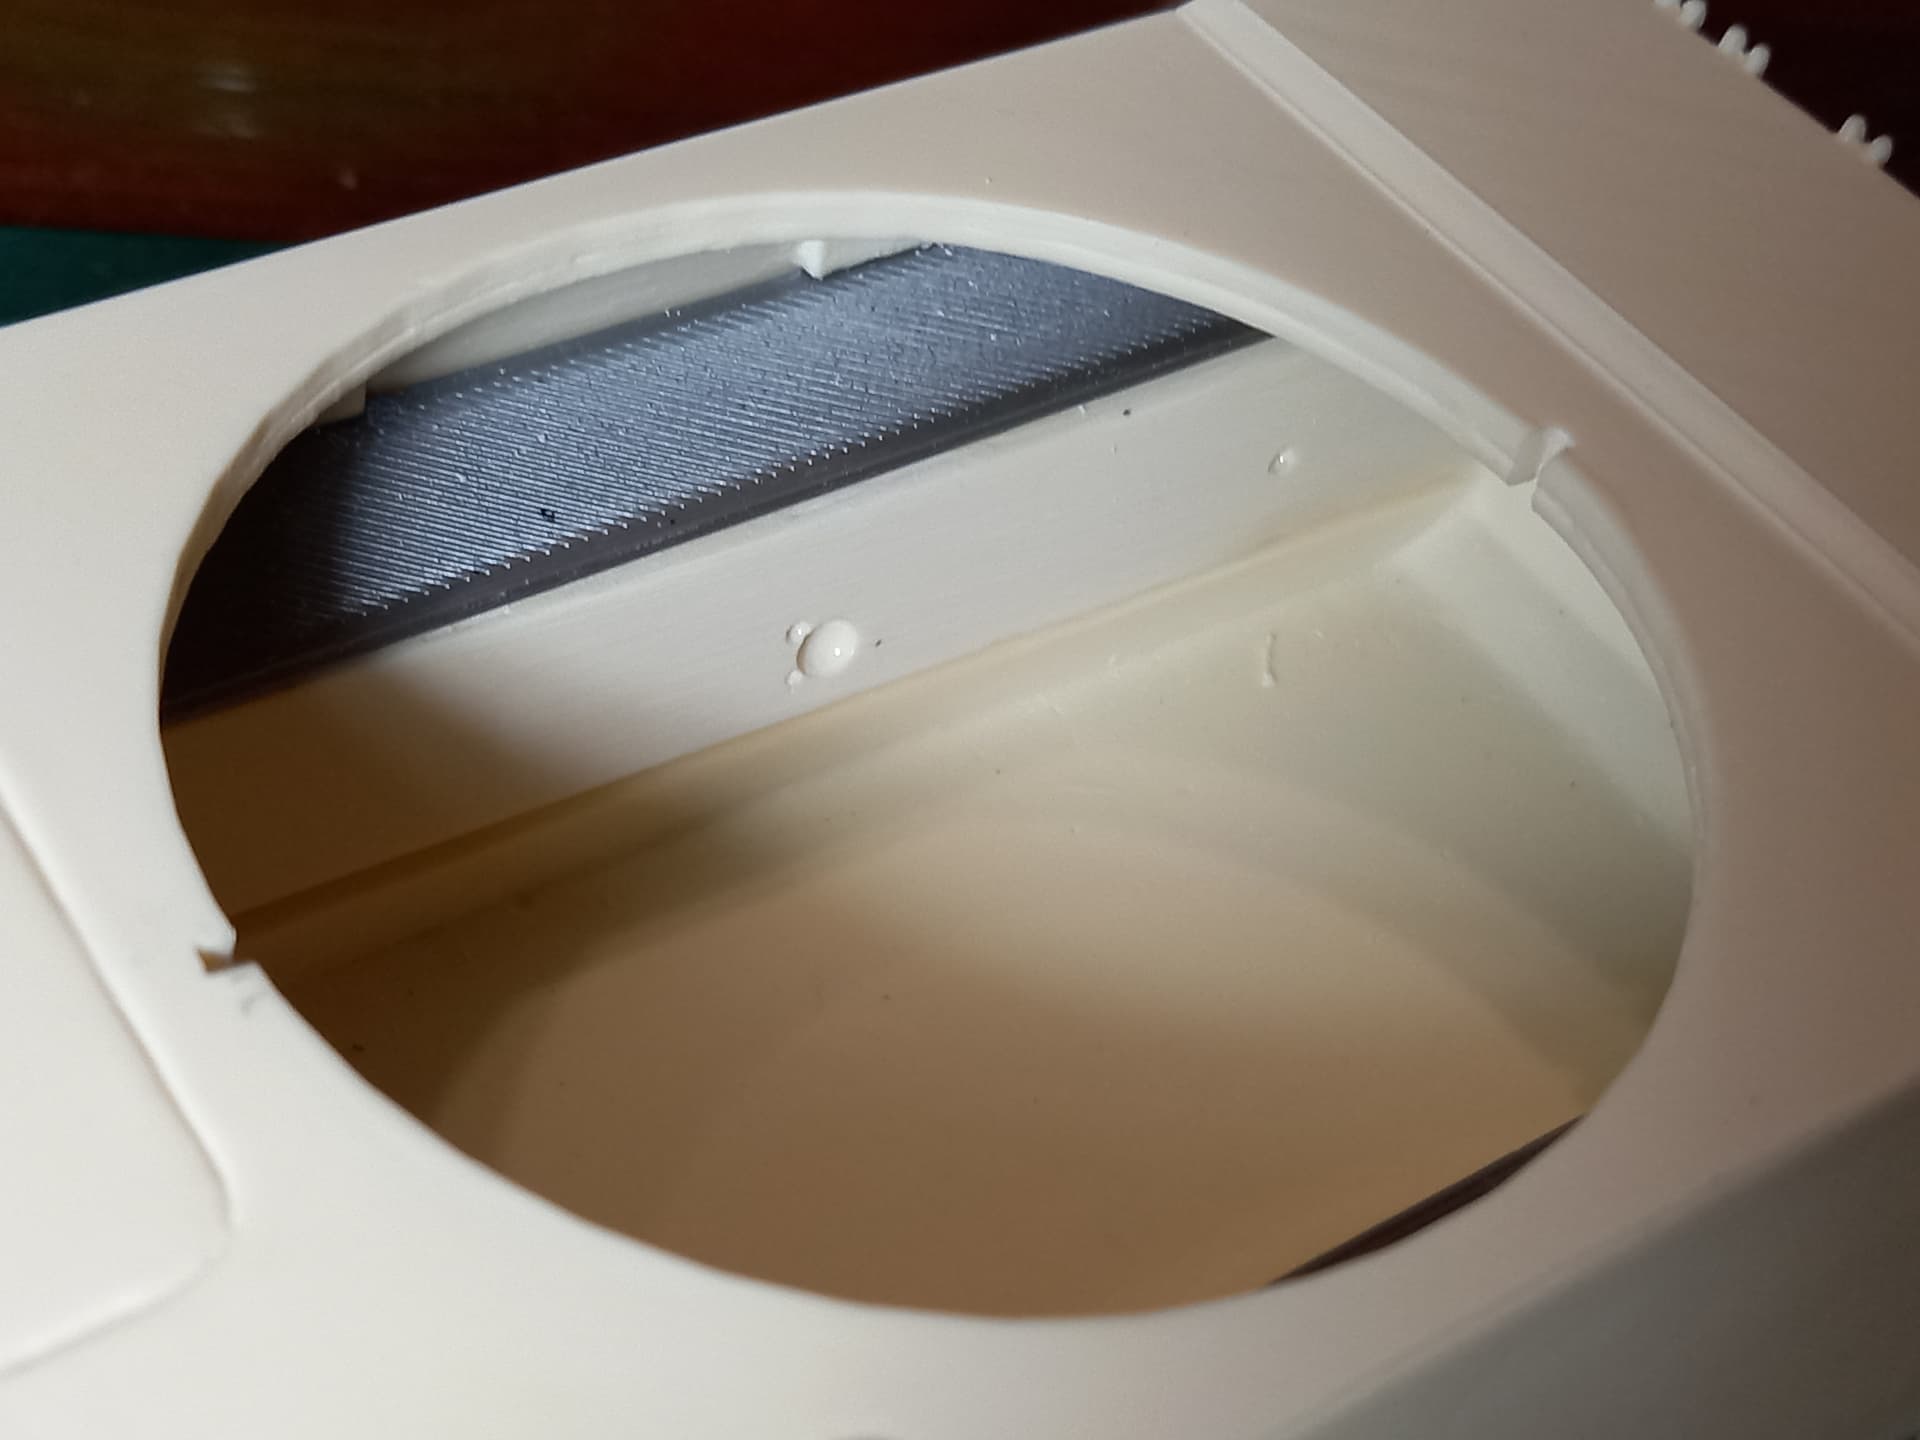
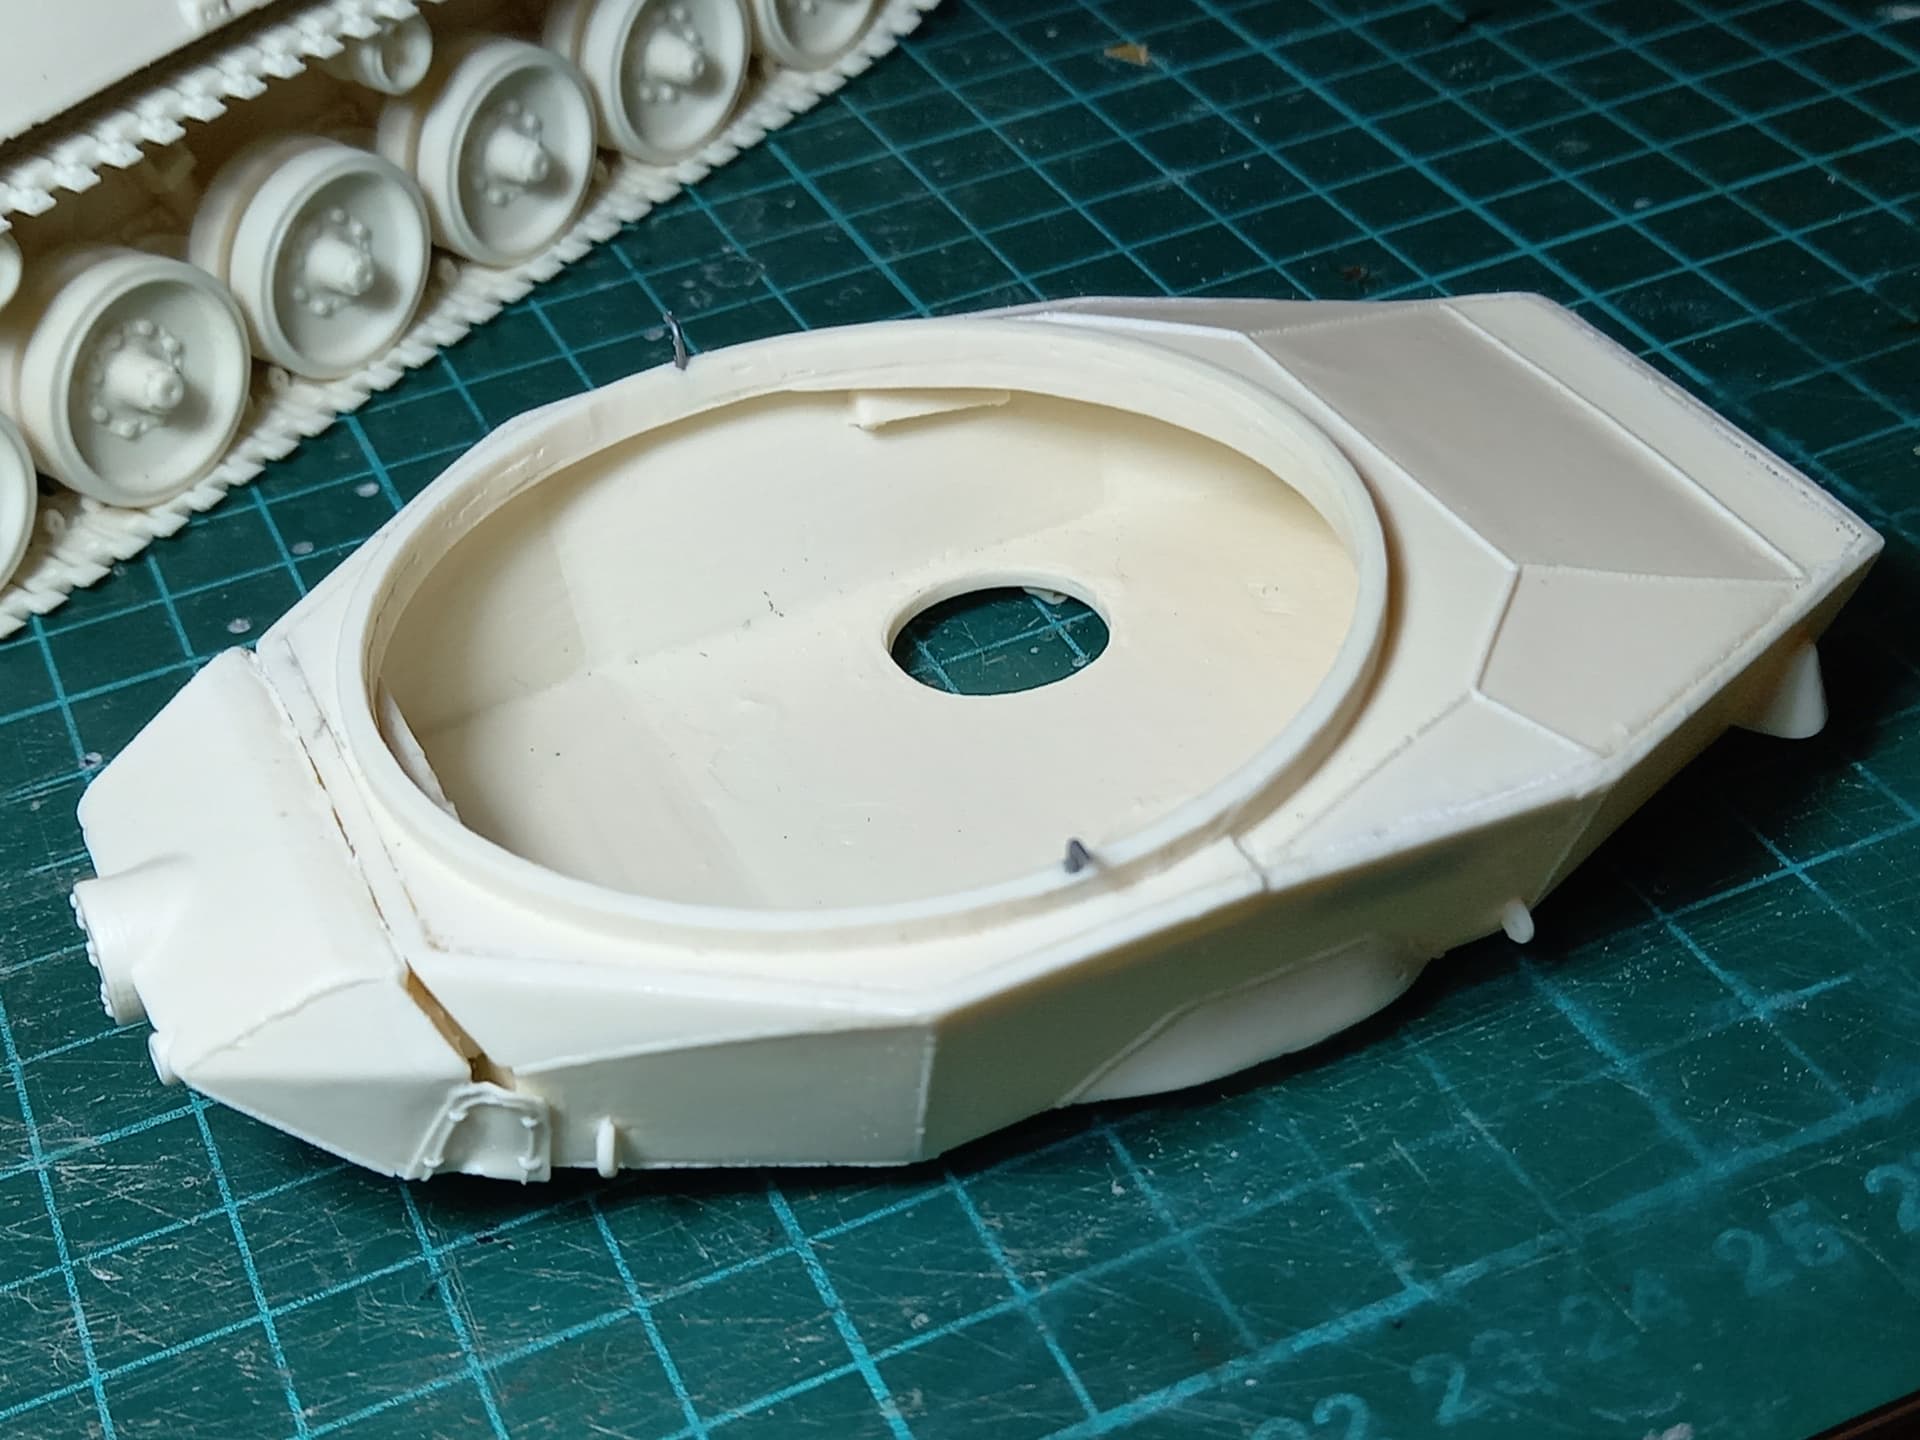
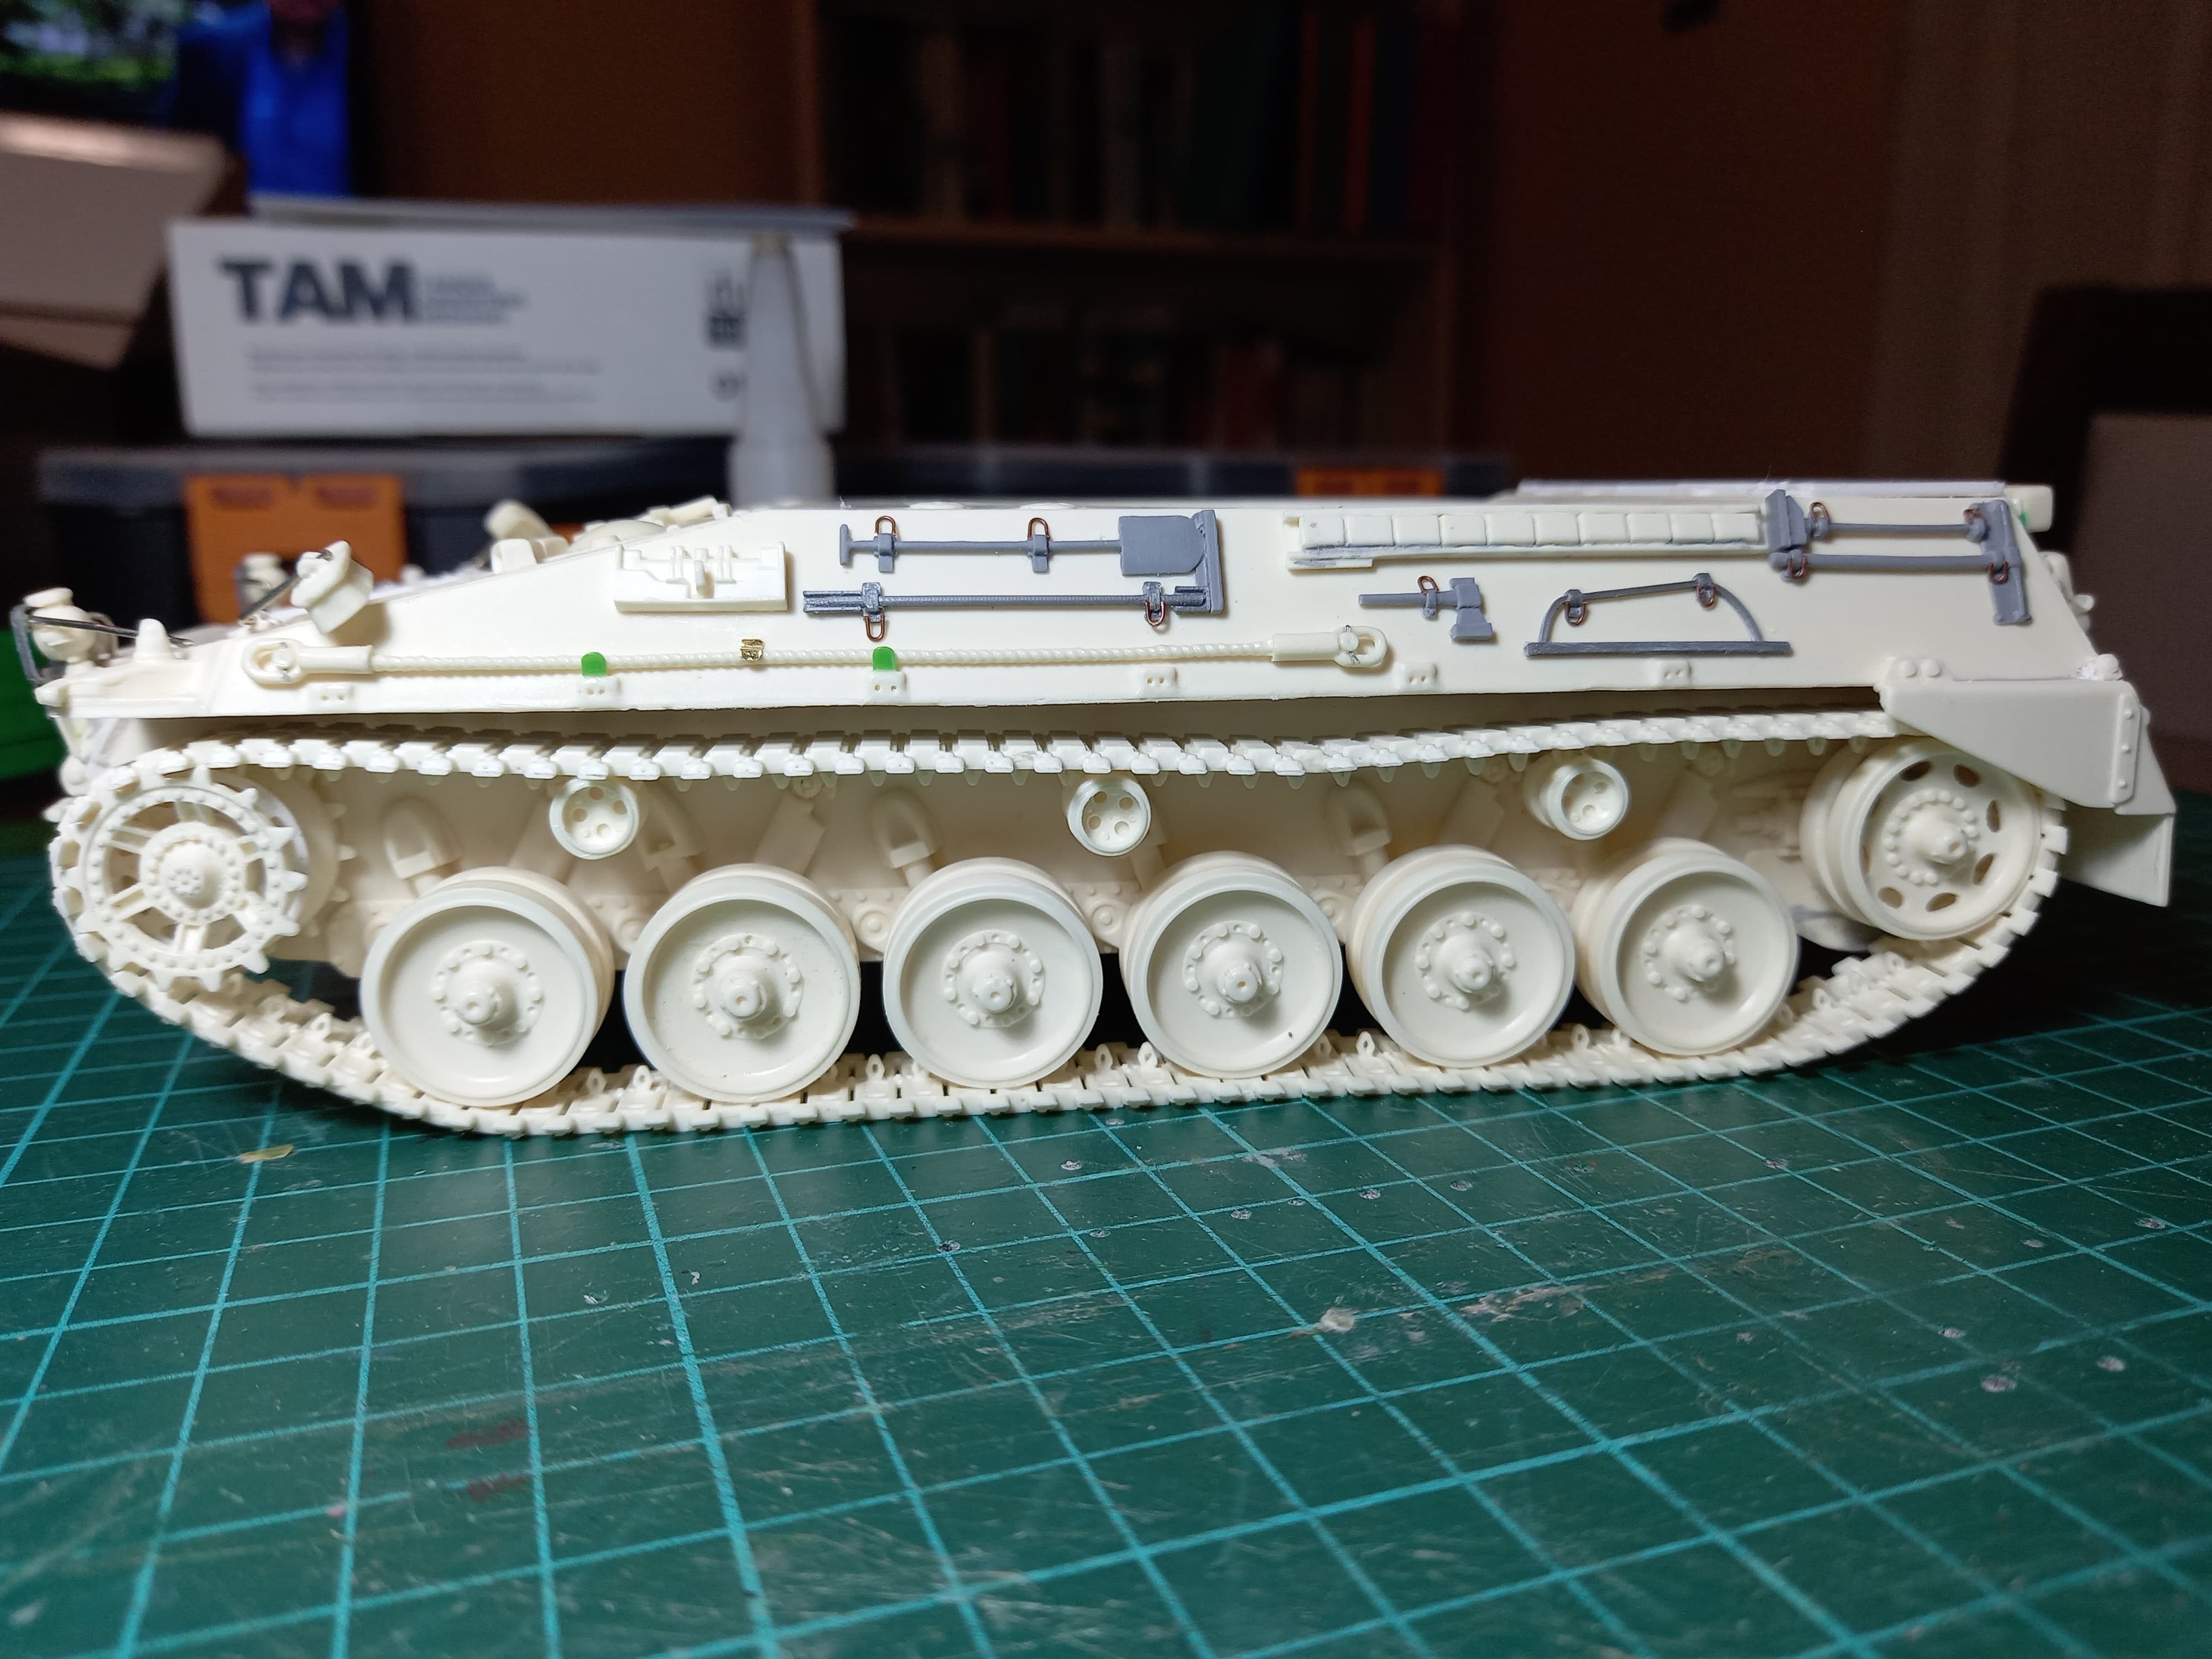
Very good, starting with a new project, we continue with Dukel Hobbies, in this case starting with the TAM (Tanque Argentino Medio), in this first step I show you the content of the kit, and the first steps in the assembly of the punt. so far it looks good in detail, I didn’t close the tray, as seen in the tutorial, I couldn’t find the way around it to achieve the same fit, but it could be solved with some stretched plastic, for now I see that it works well. The kit is in 1/35 the number 01035.
The photos go:
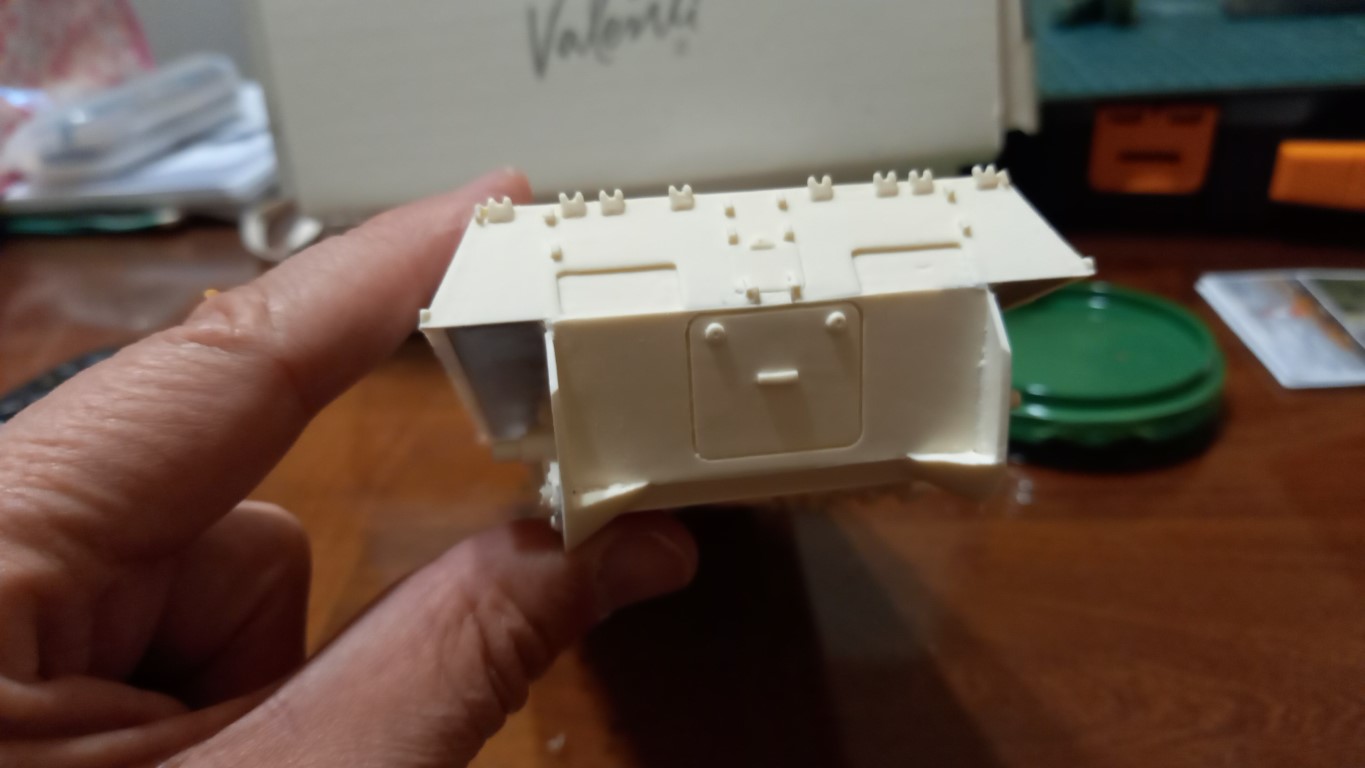
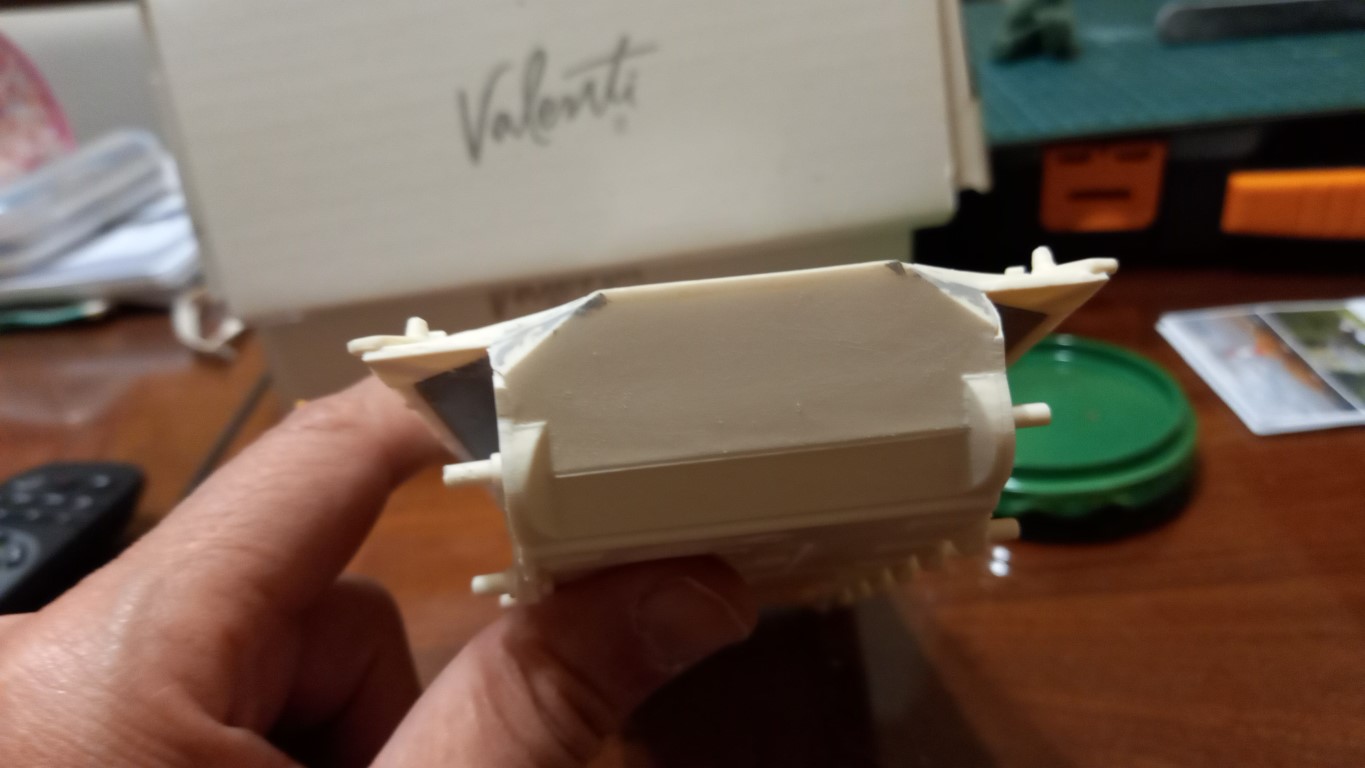
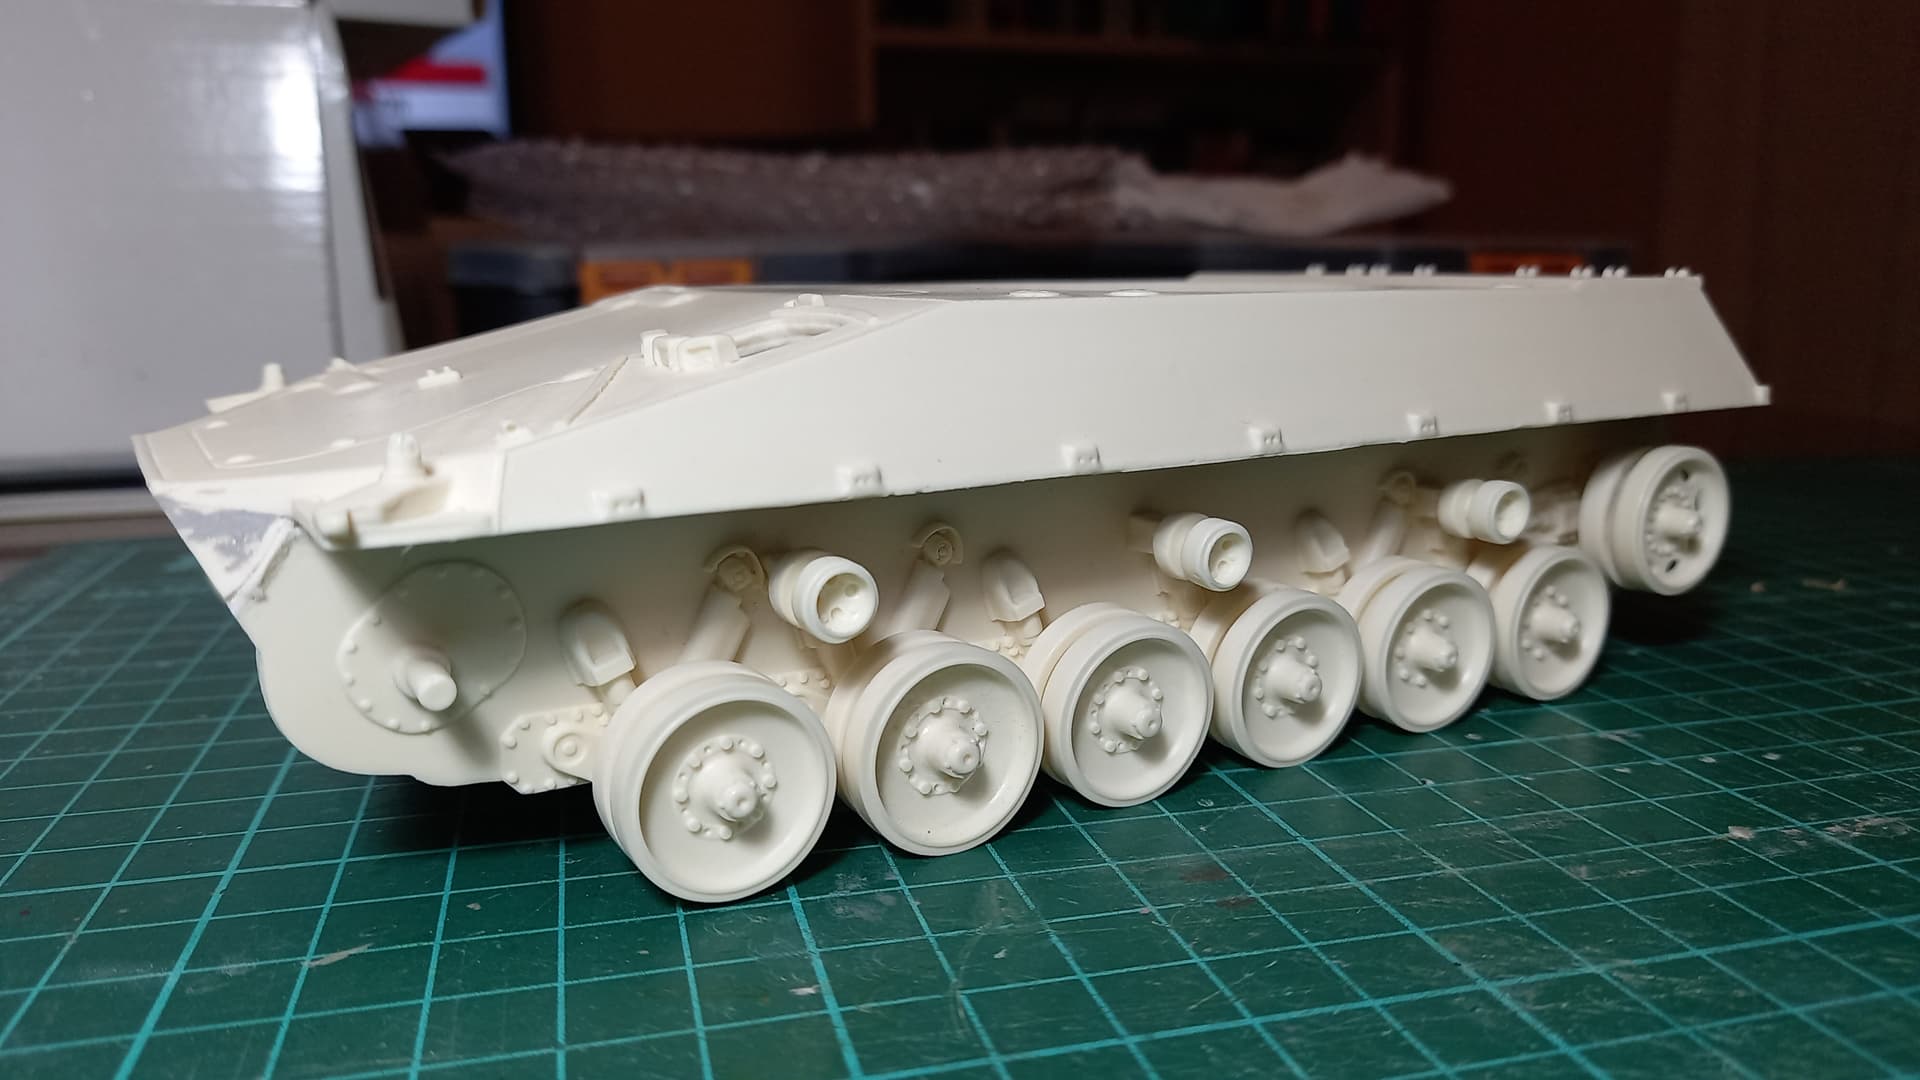
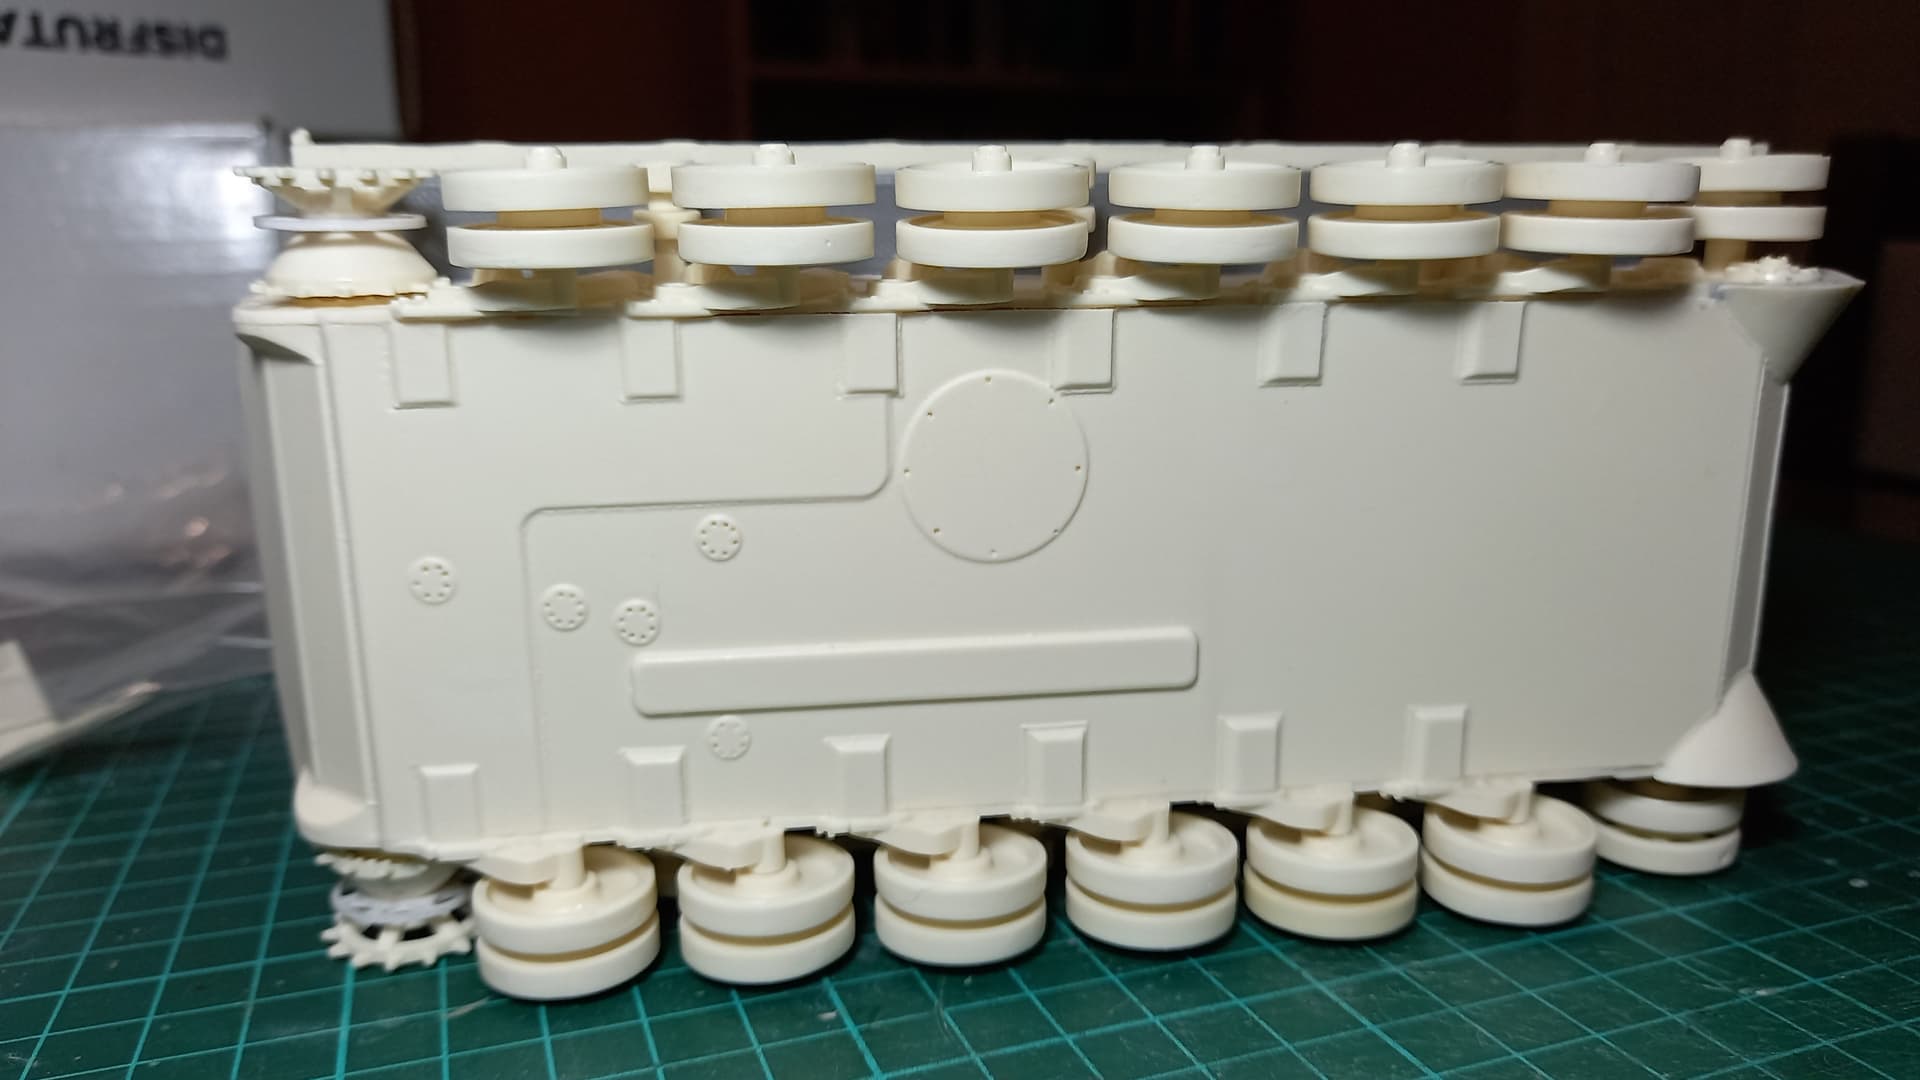
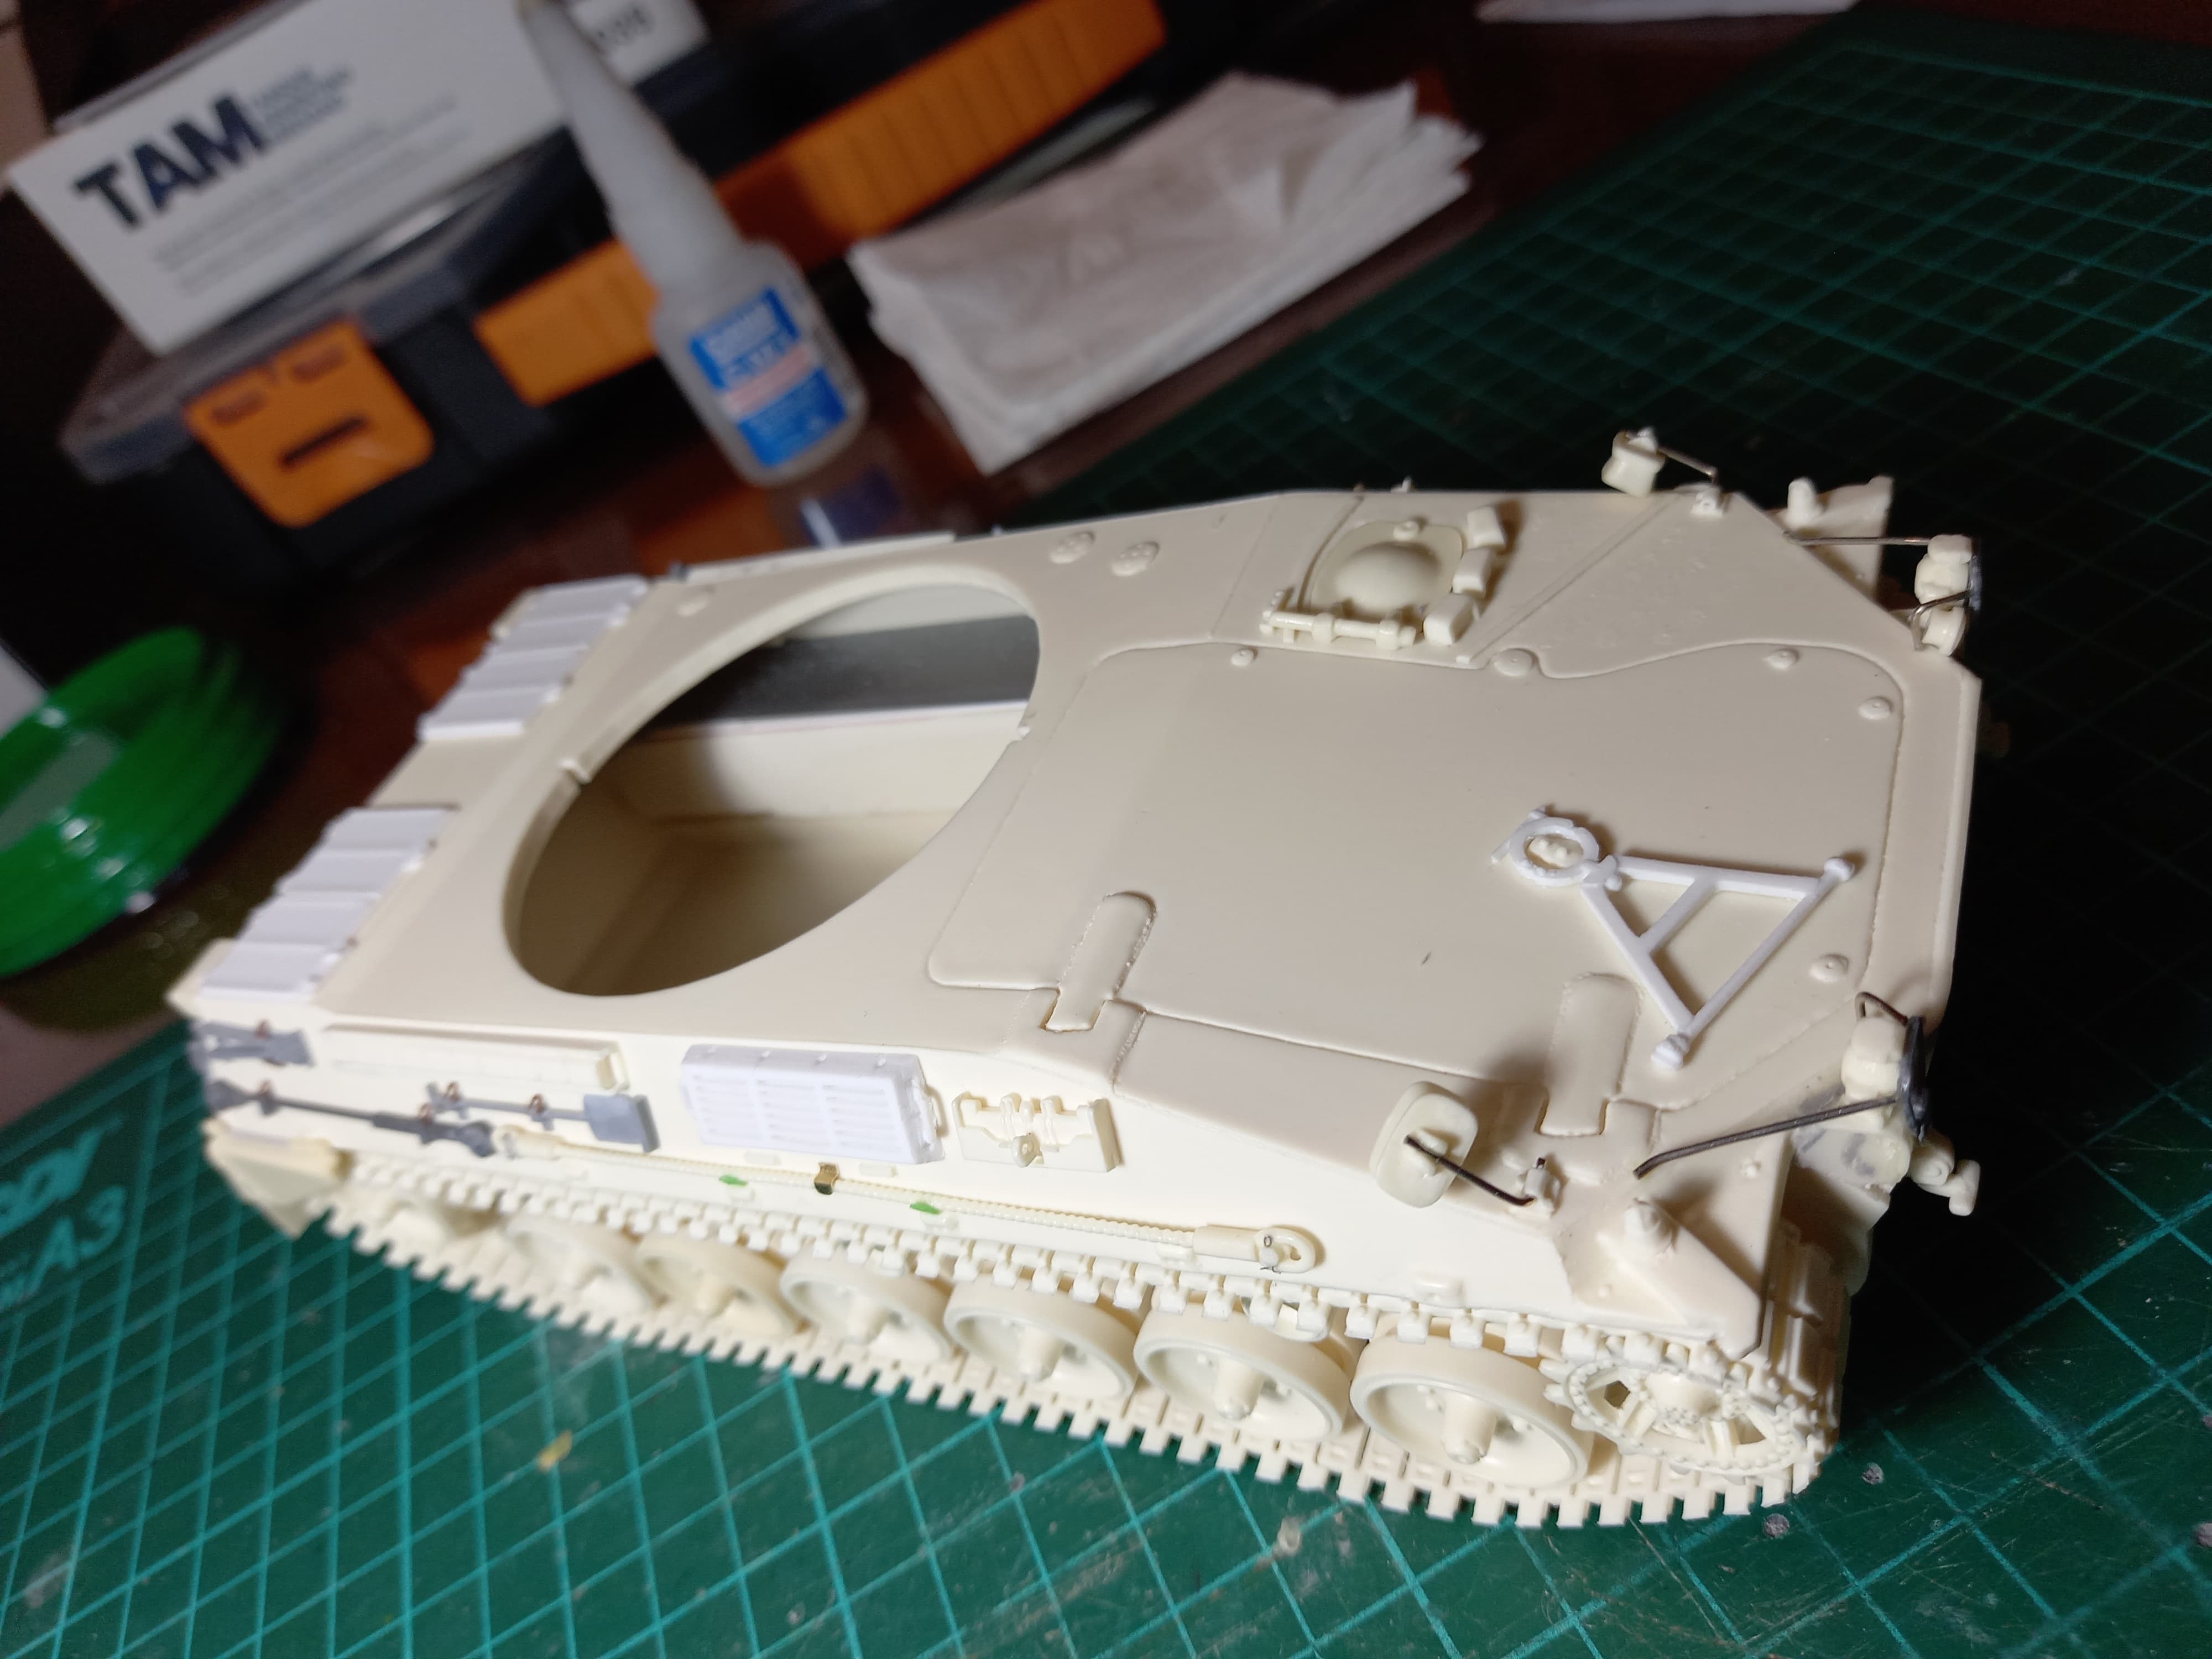
The assembly:
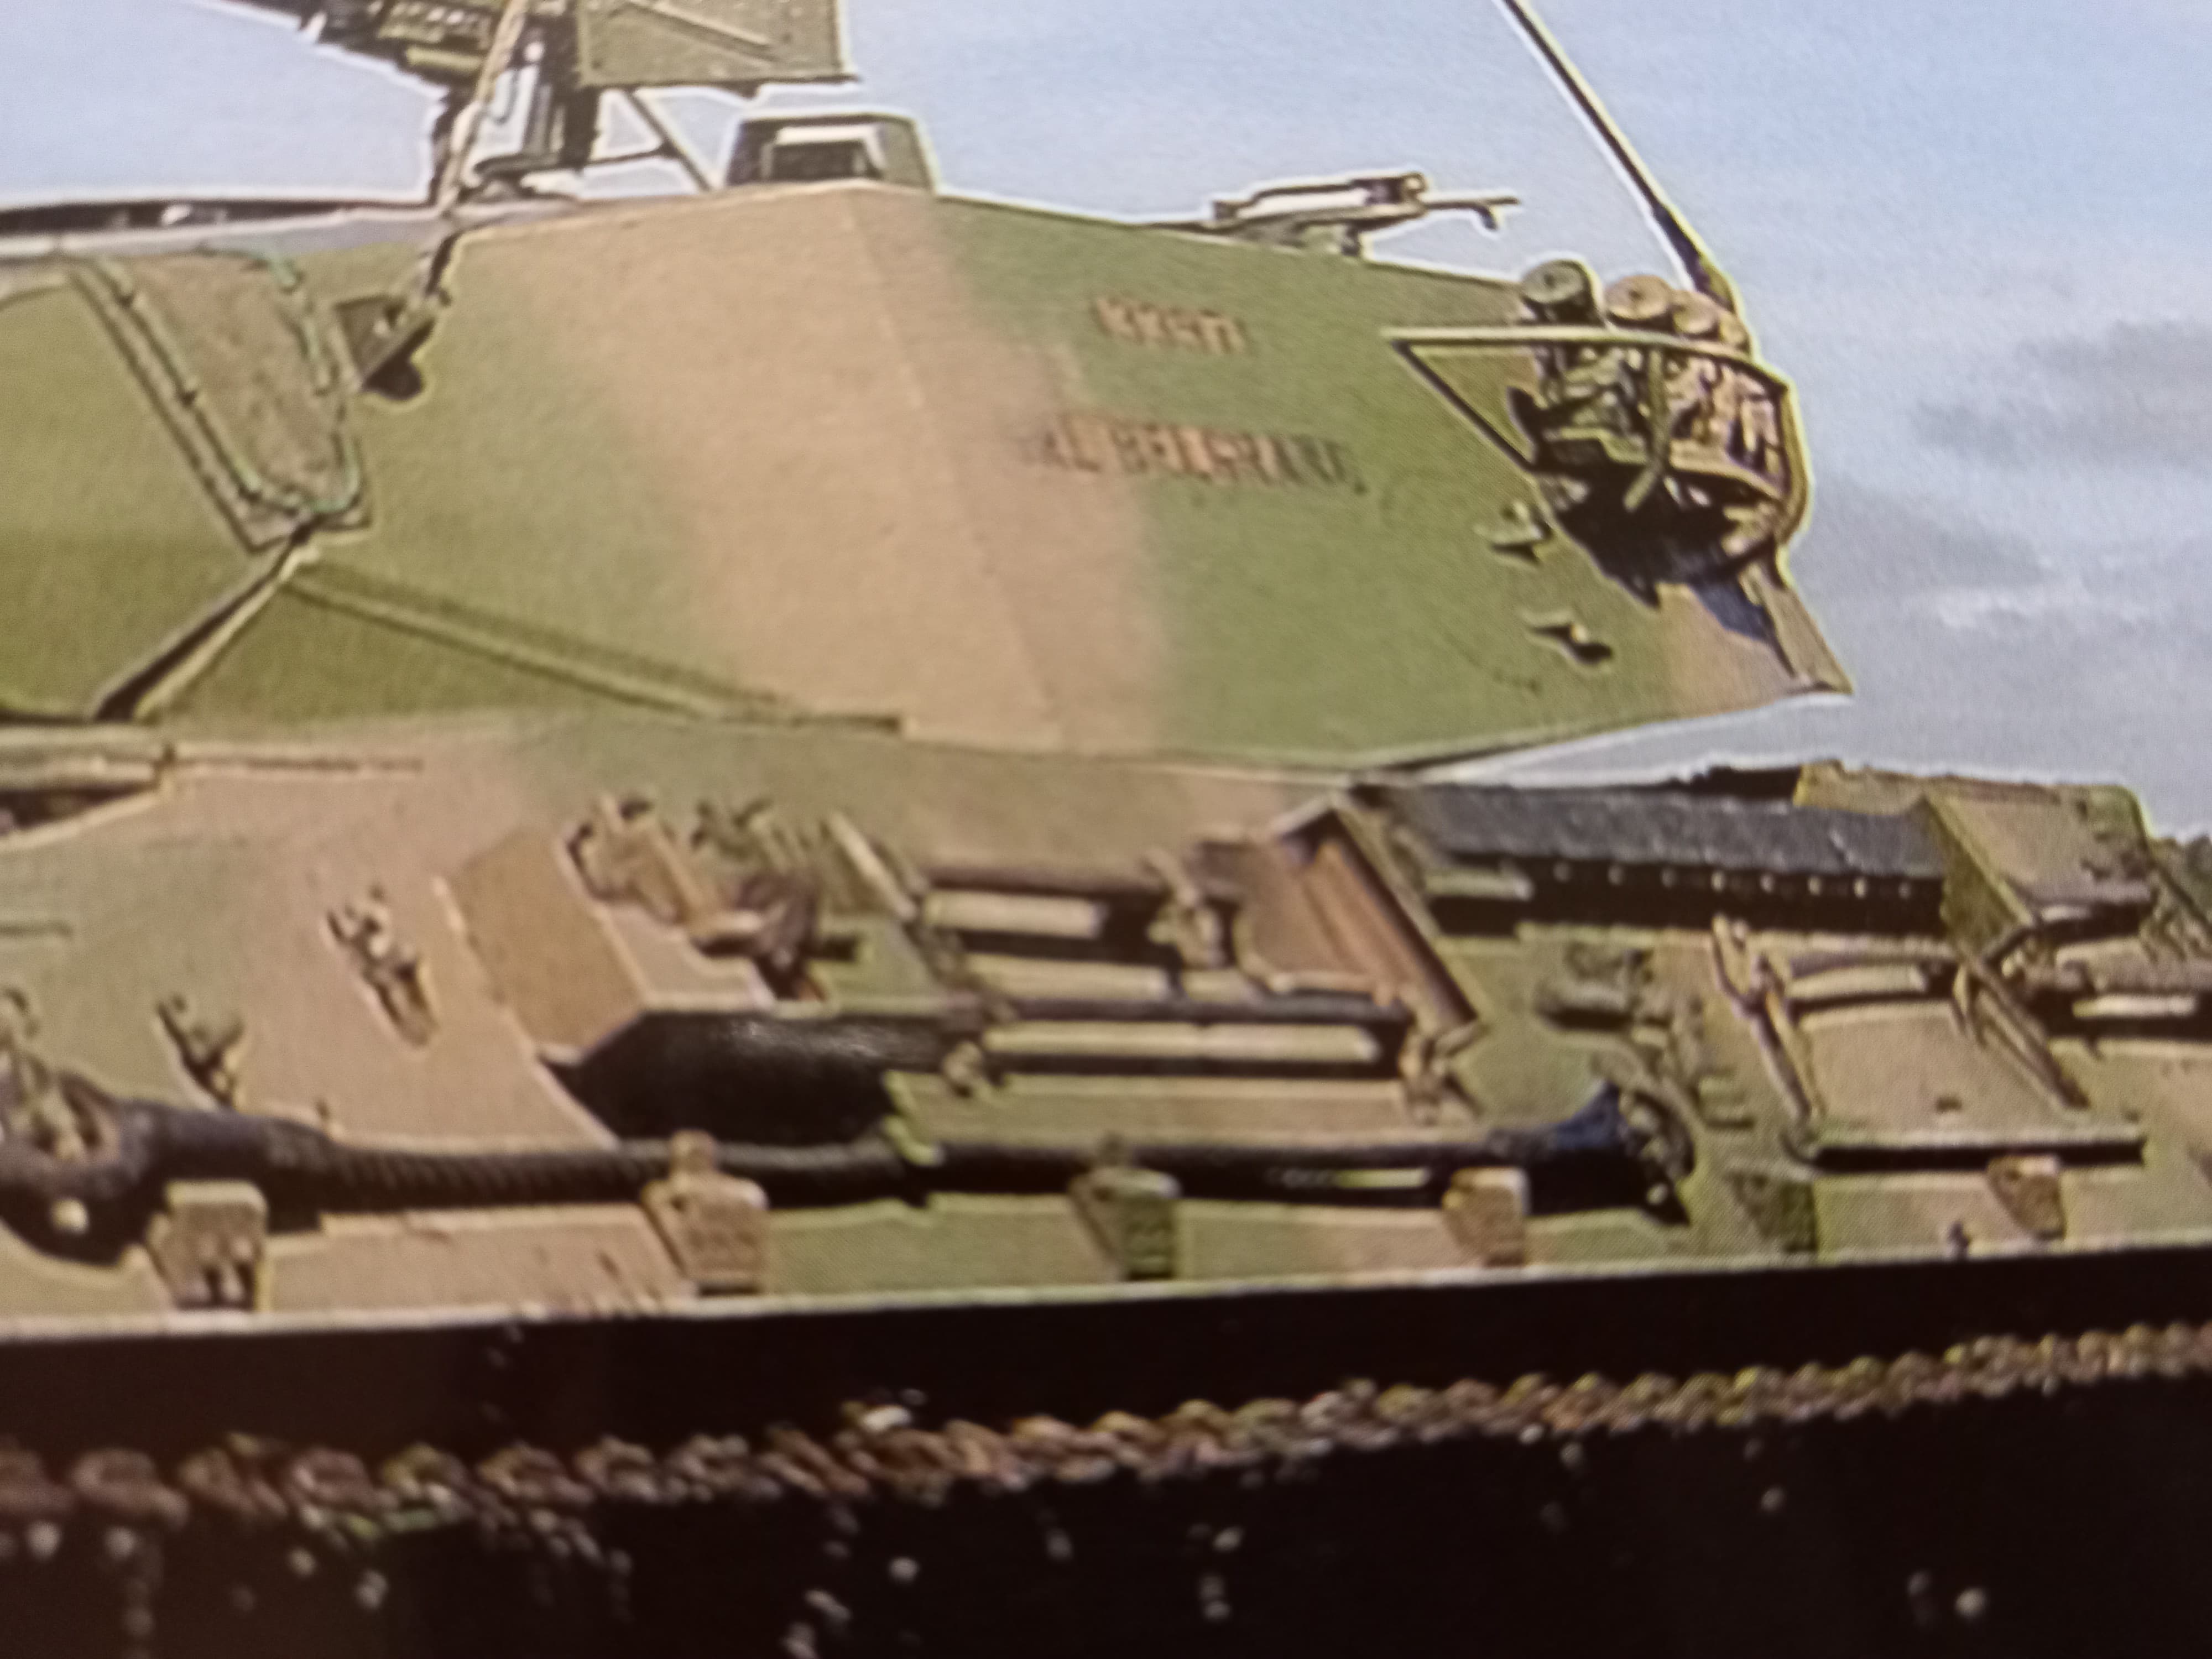
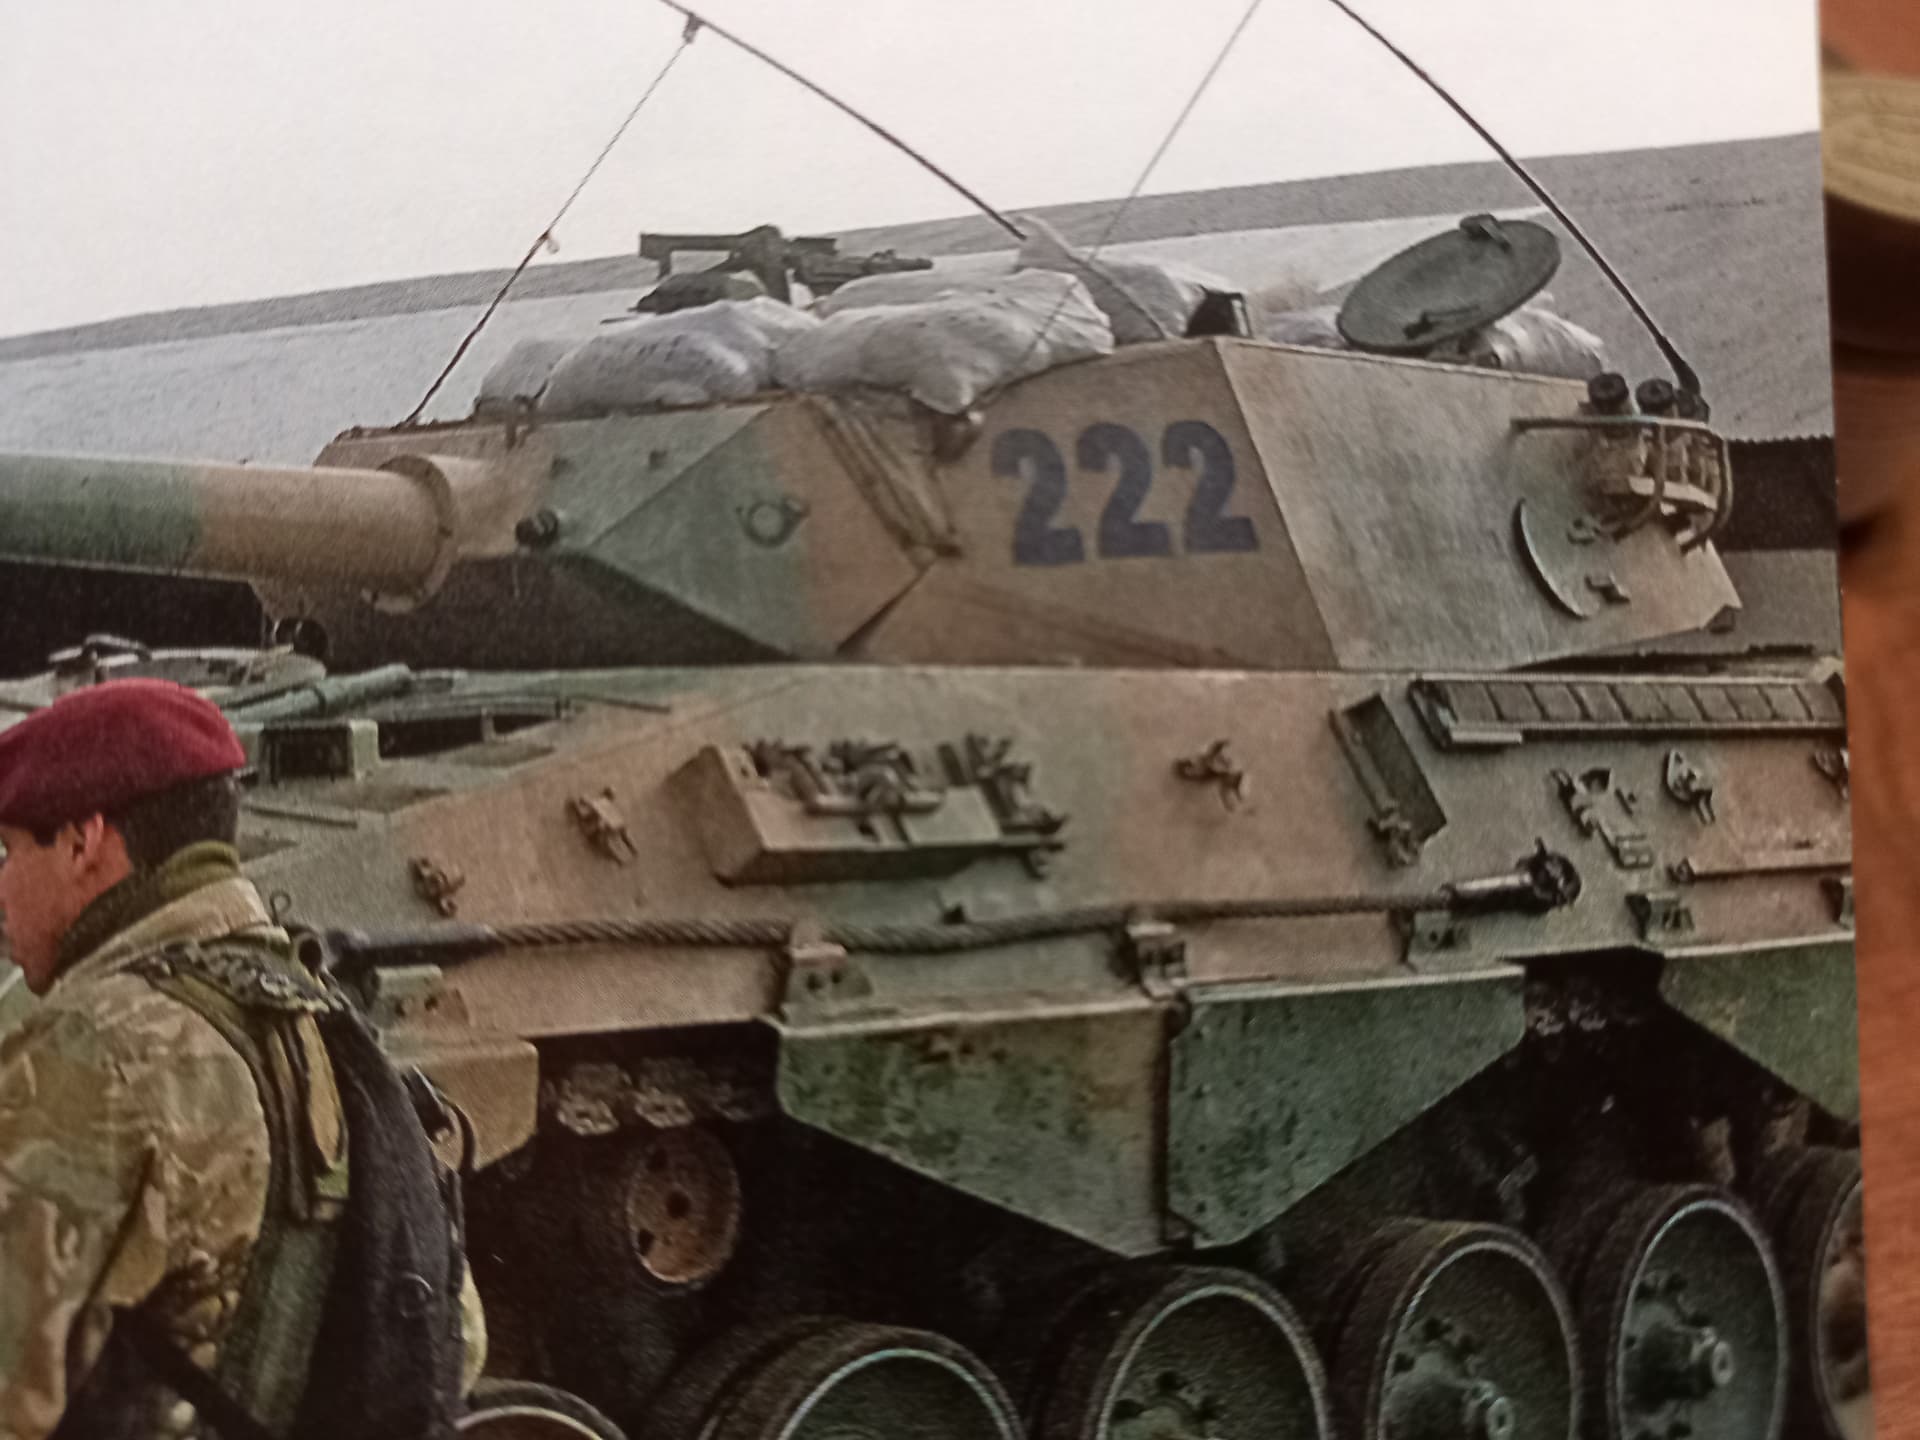
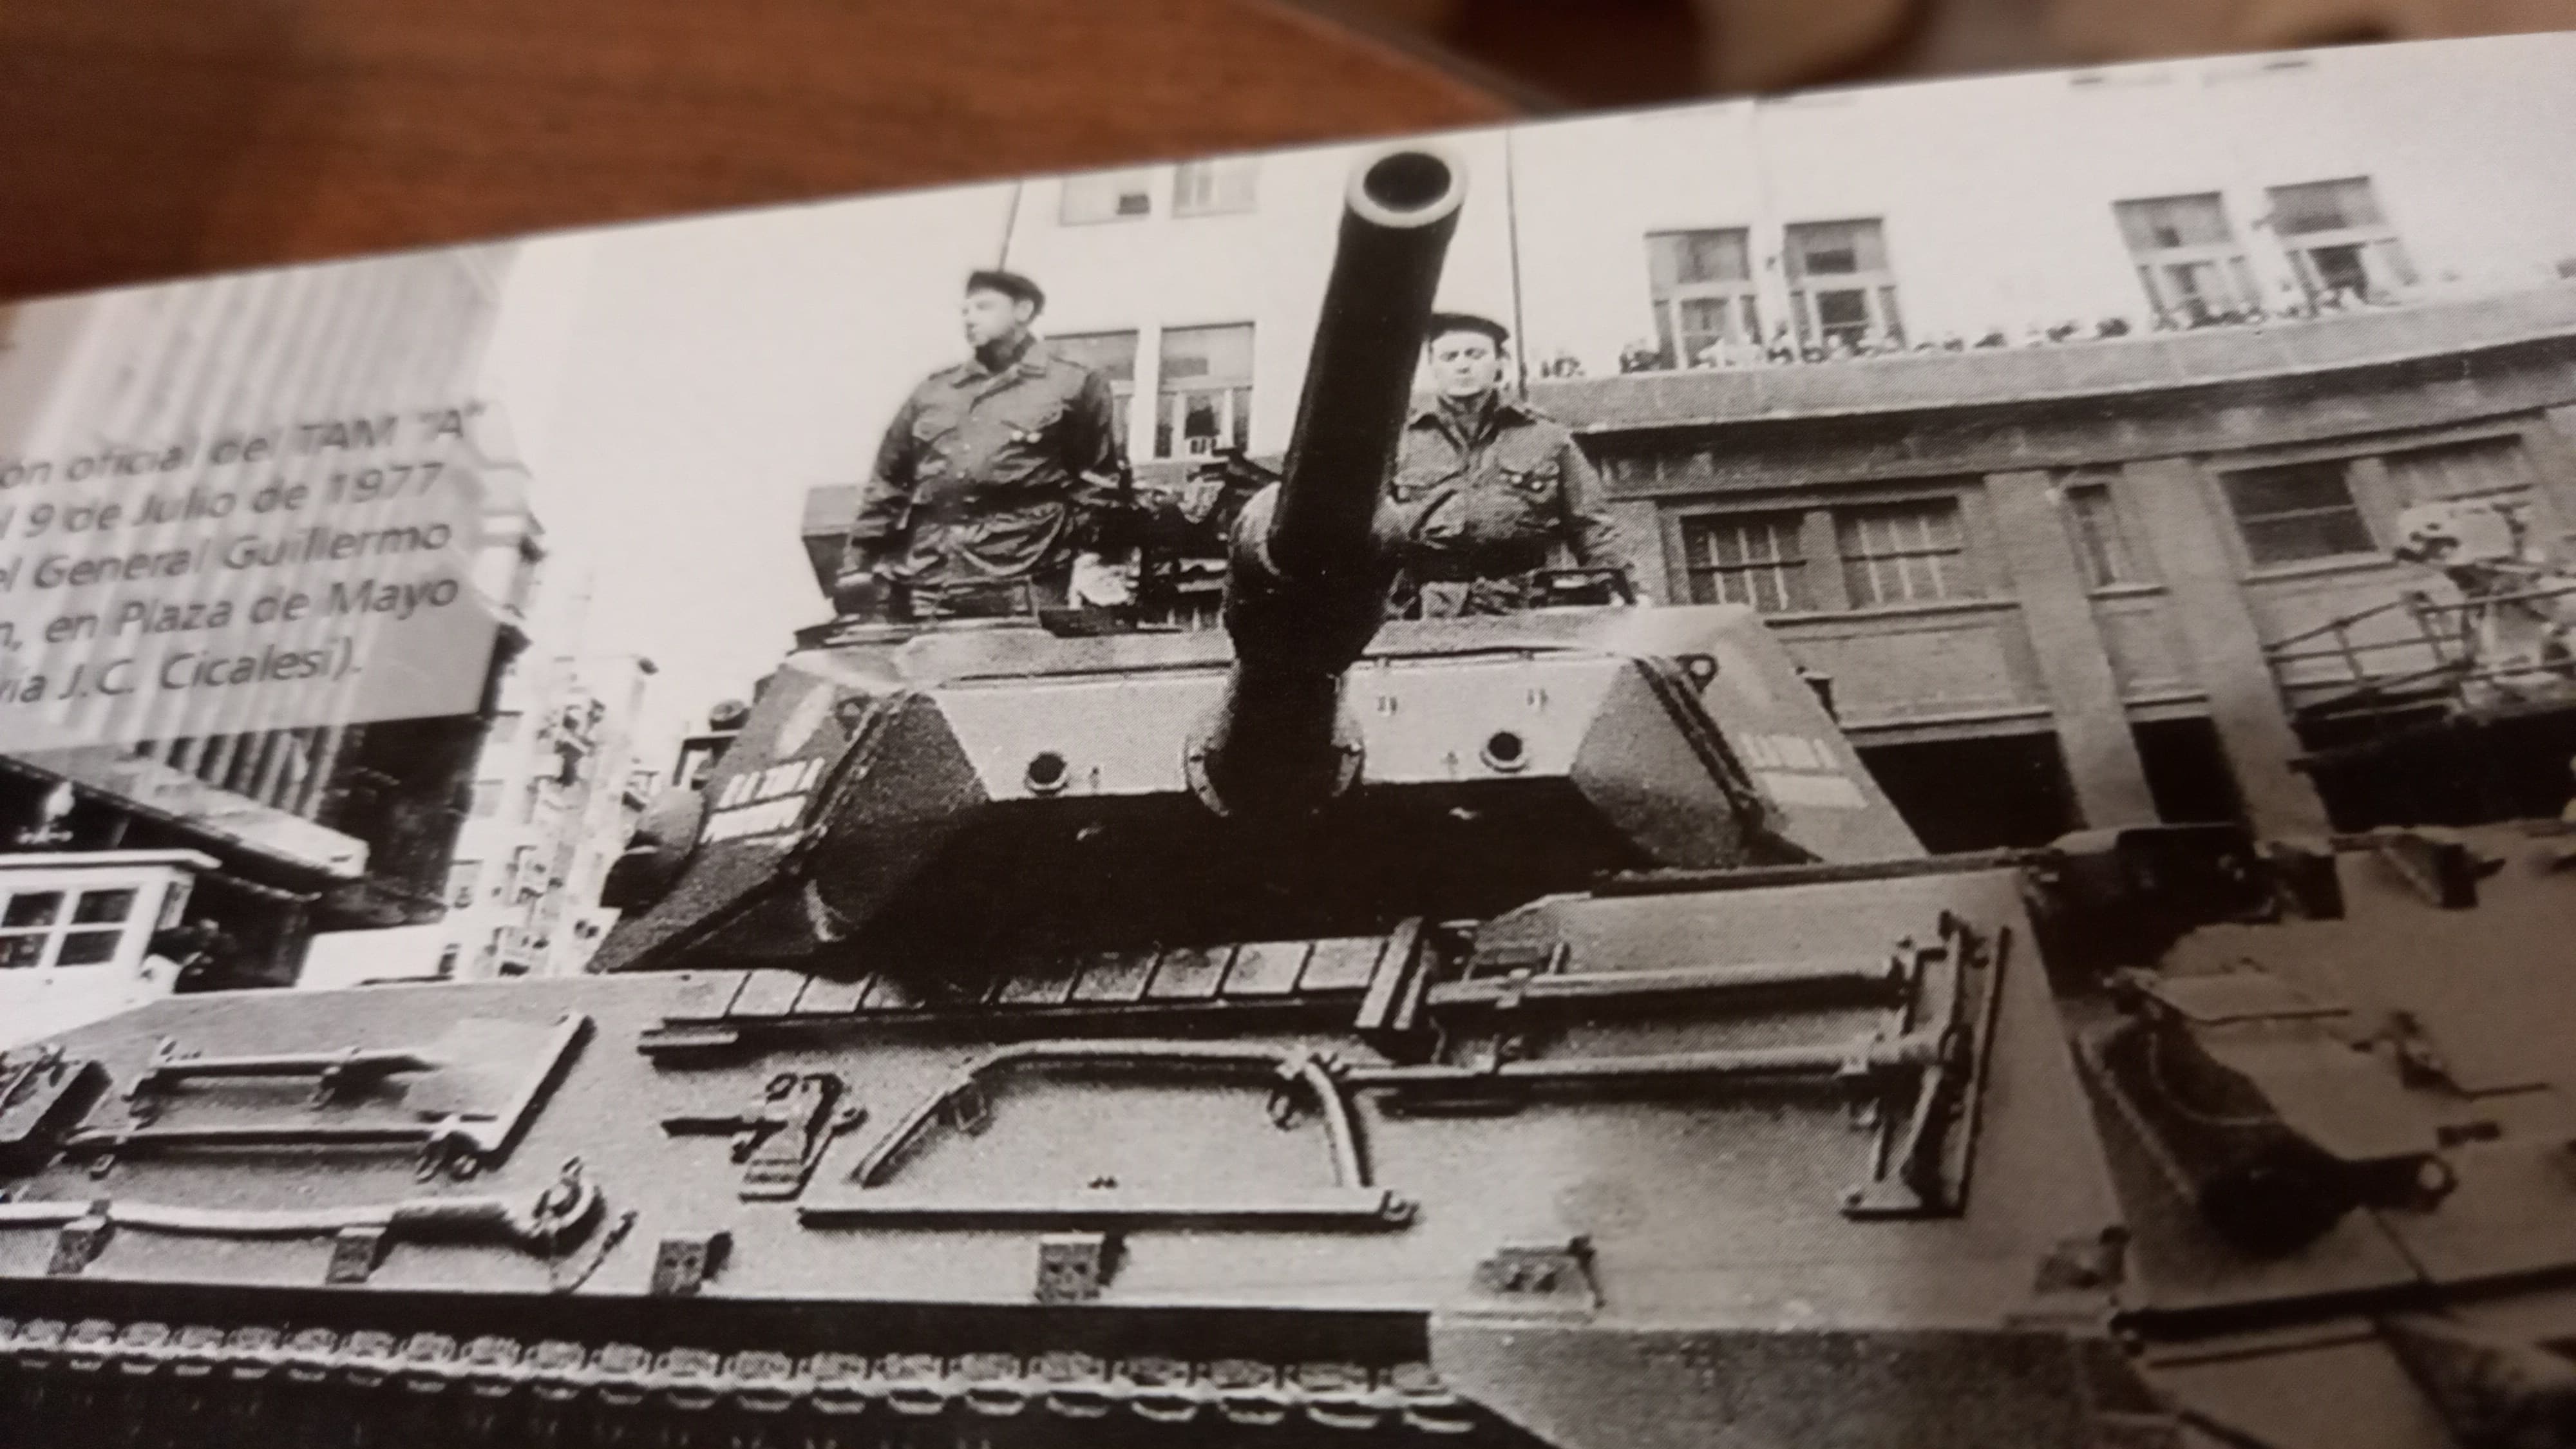
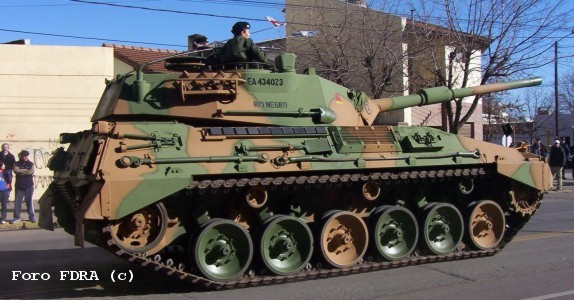
The idea is to make a vehicle belonging to one of the Squadrons of the Tank Cavalry Regiment 8
We’ll see what comes out…
Regards, Omar
13 Likes
Thanks for showing the parts. Very interesting kit … looking forward to follow your build.
Cheers
Walter
1 Like
Thanks for your comments Walter, the idea is to share our hobby, and learn with the experience of each one.
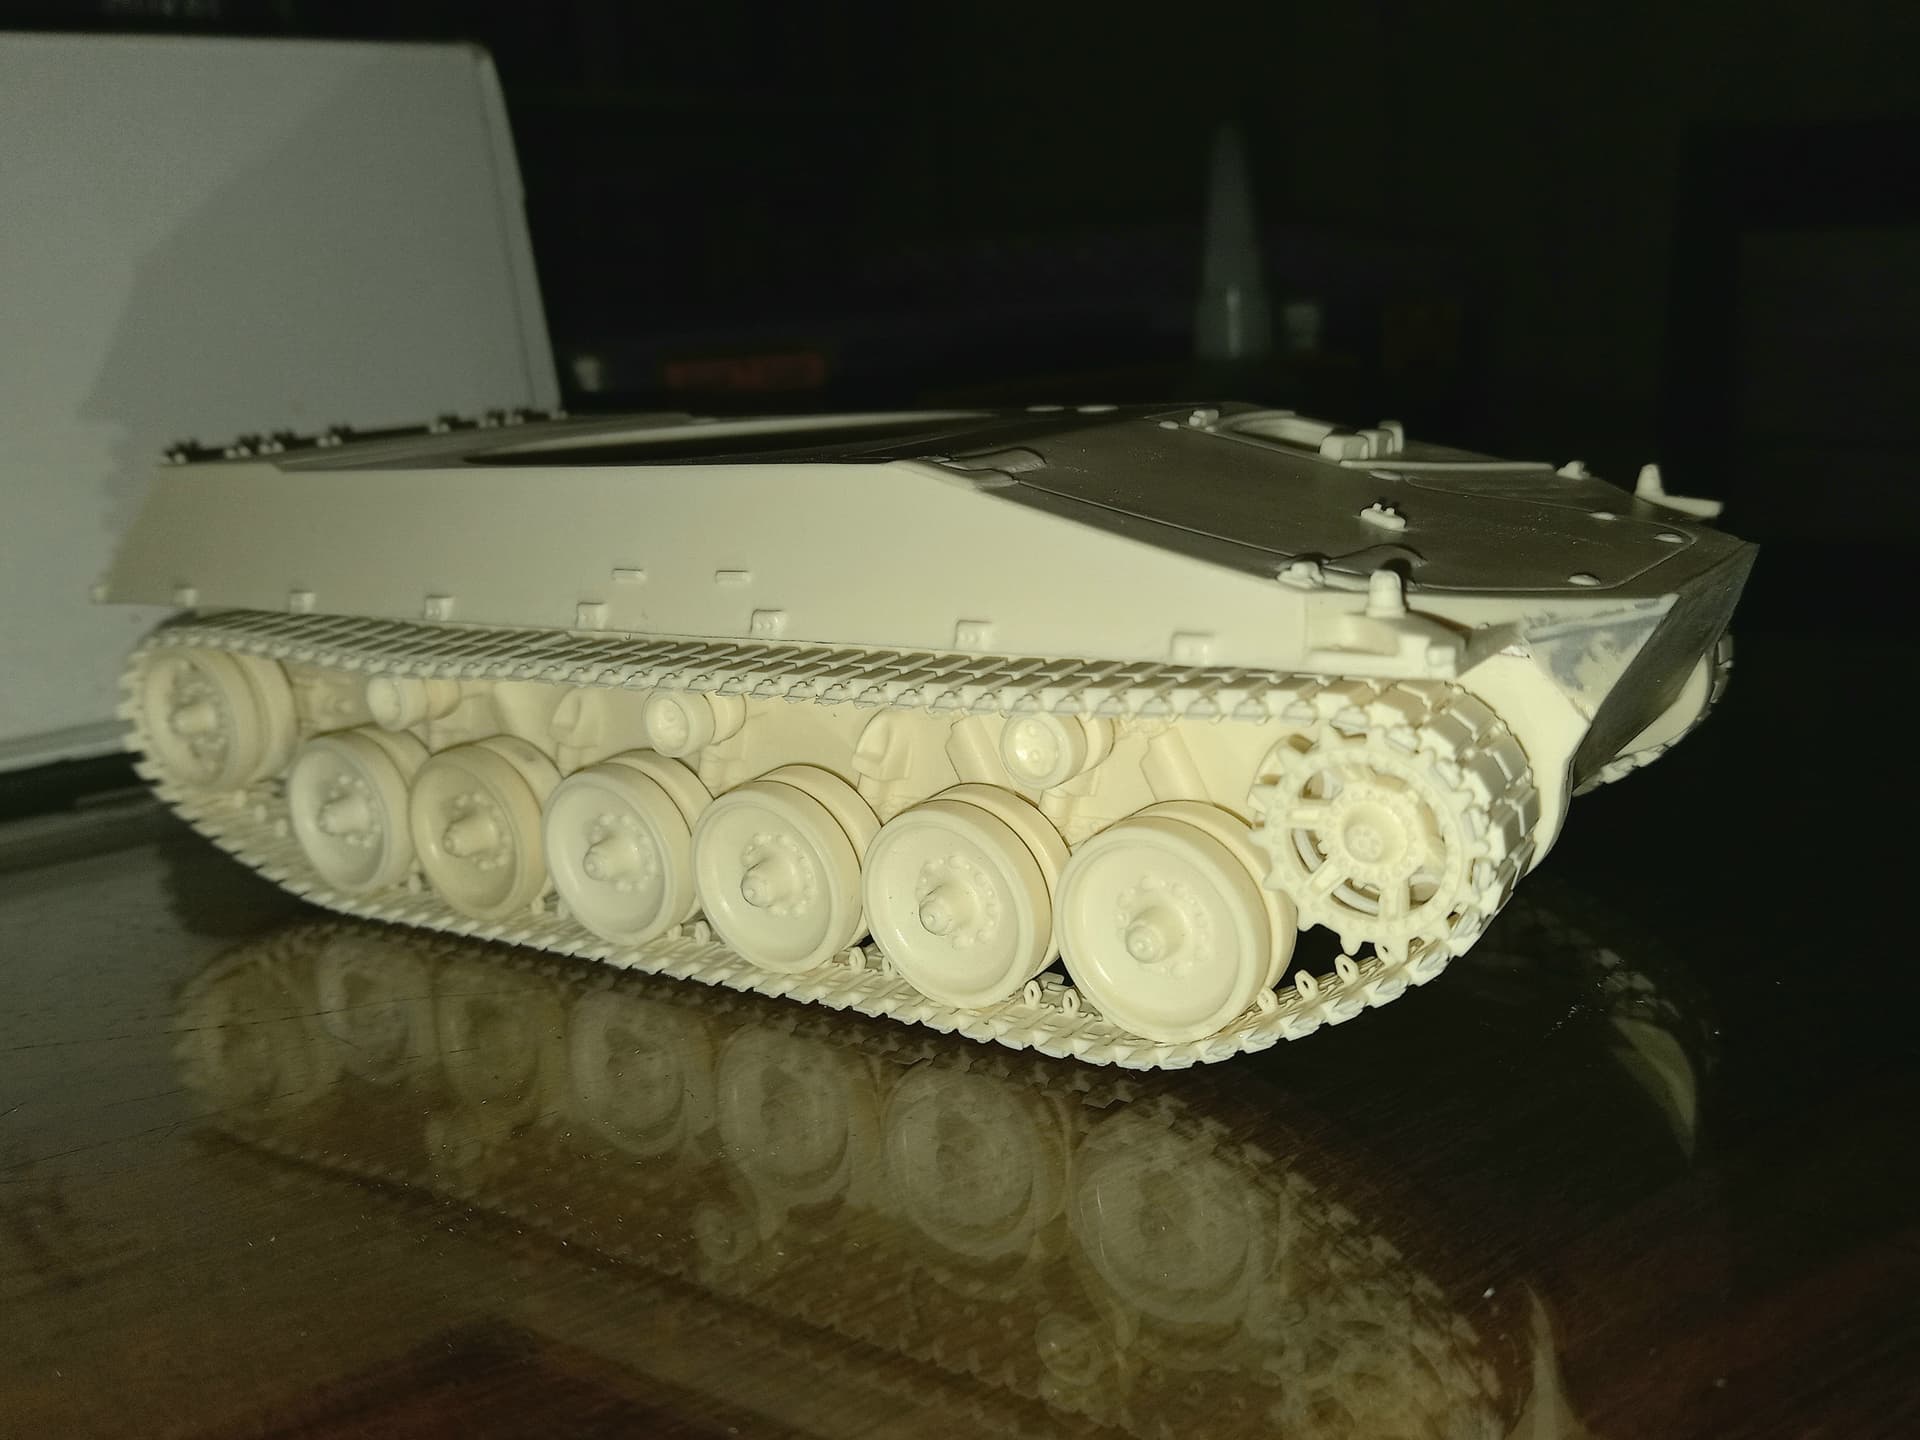
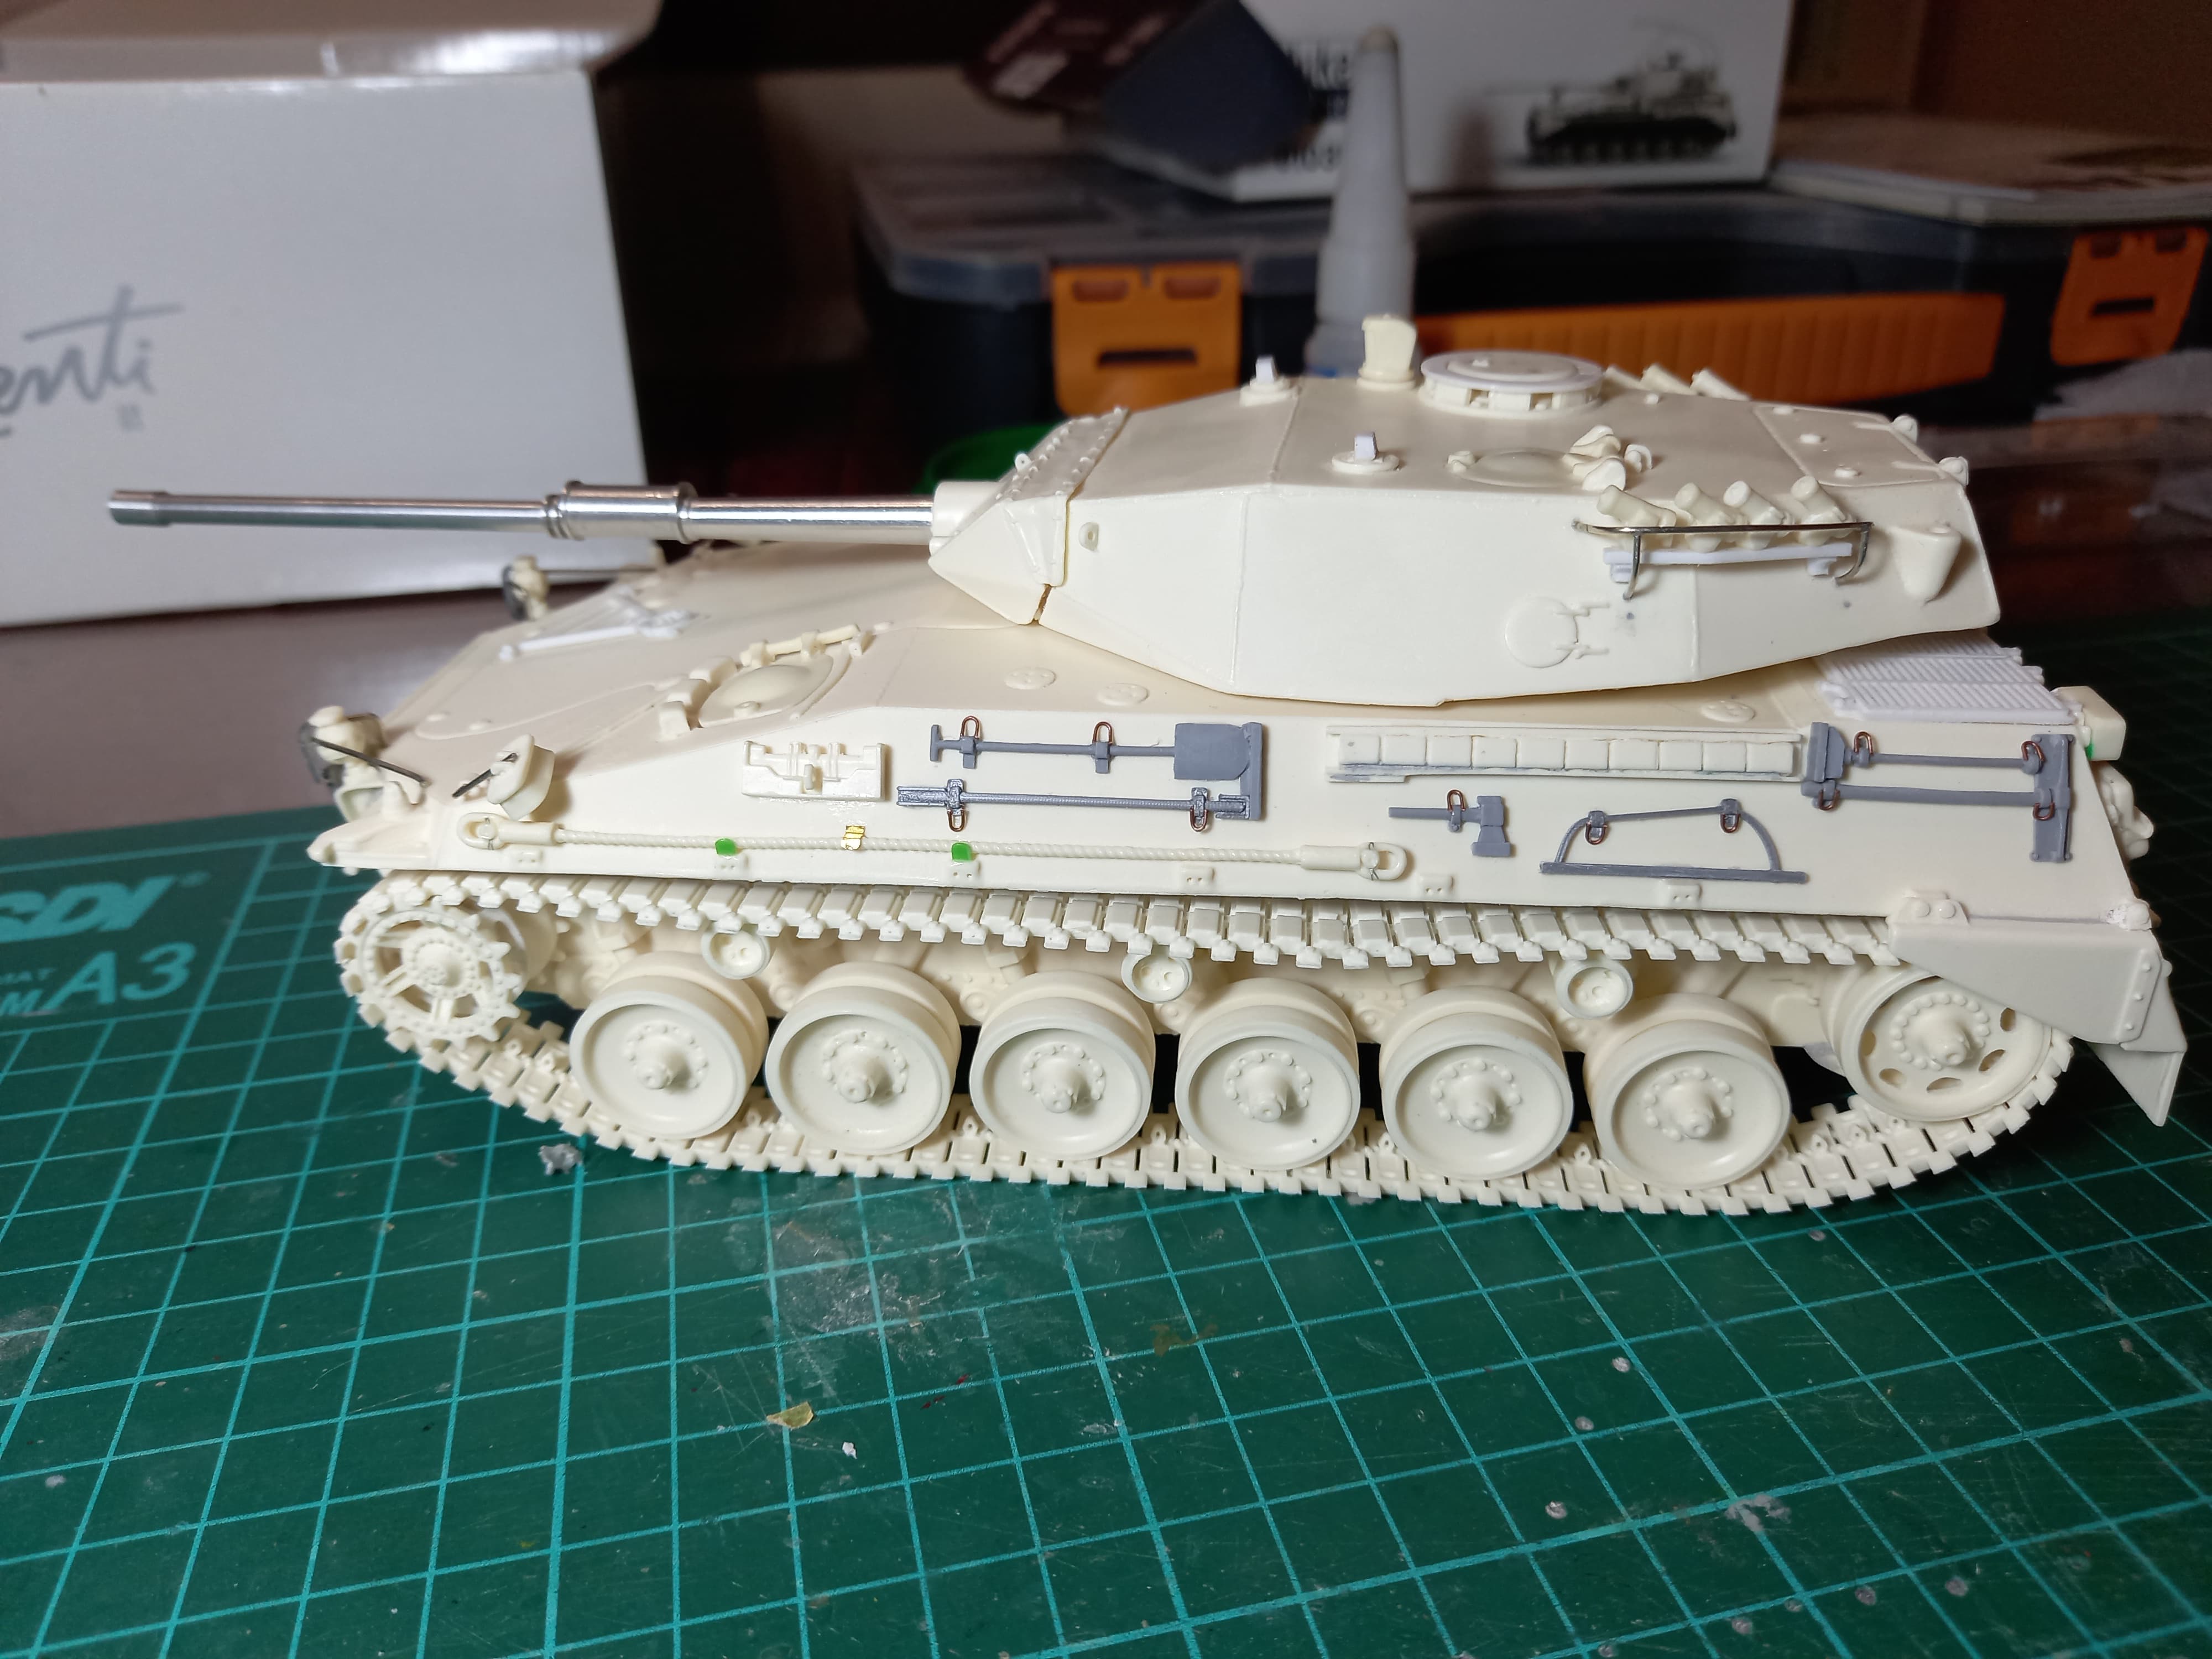
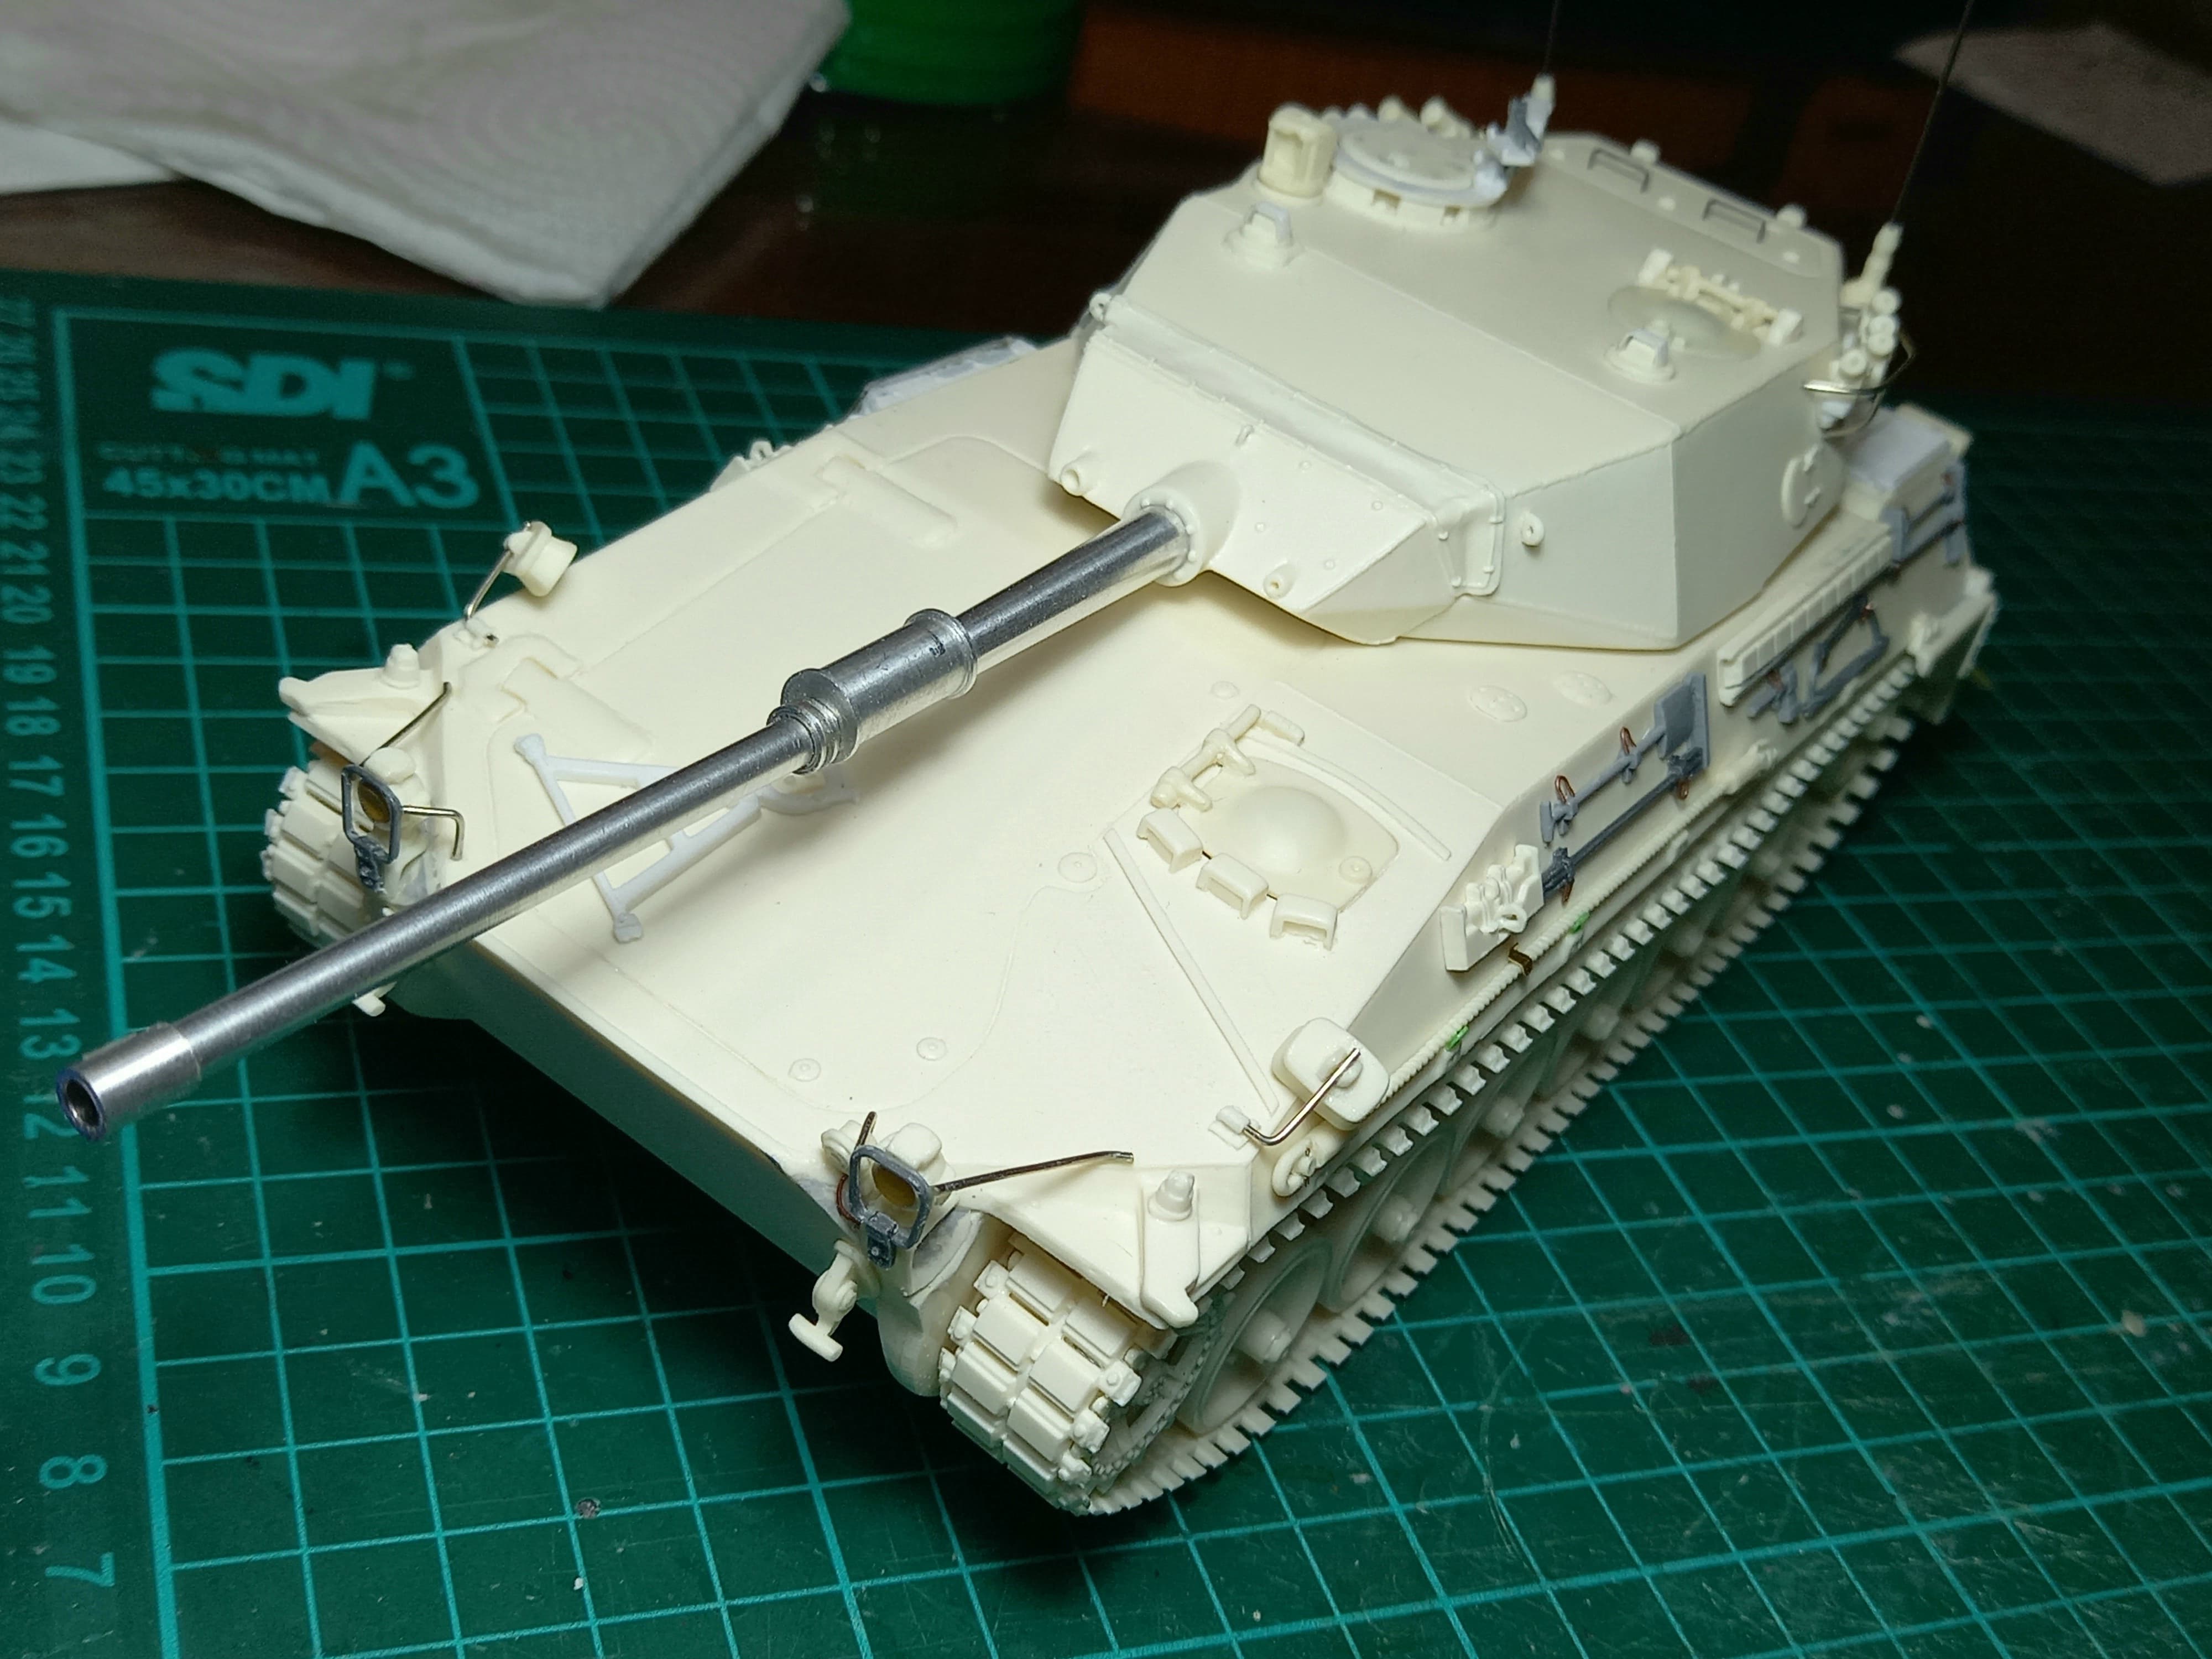
Well show now, a few steps more with the TAM… no oddities at this stage…
Regards, Omar
7 Likes
The step of the day:
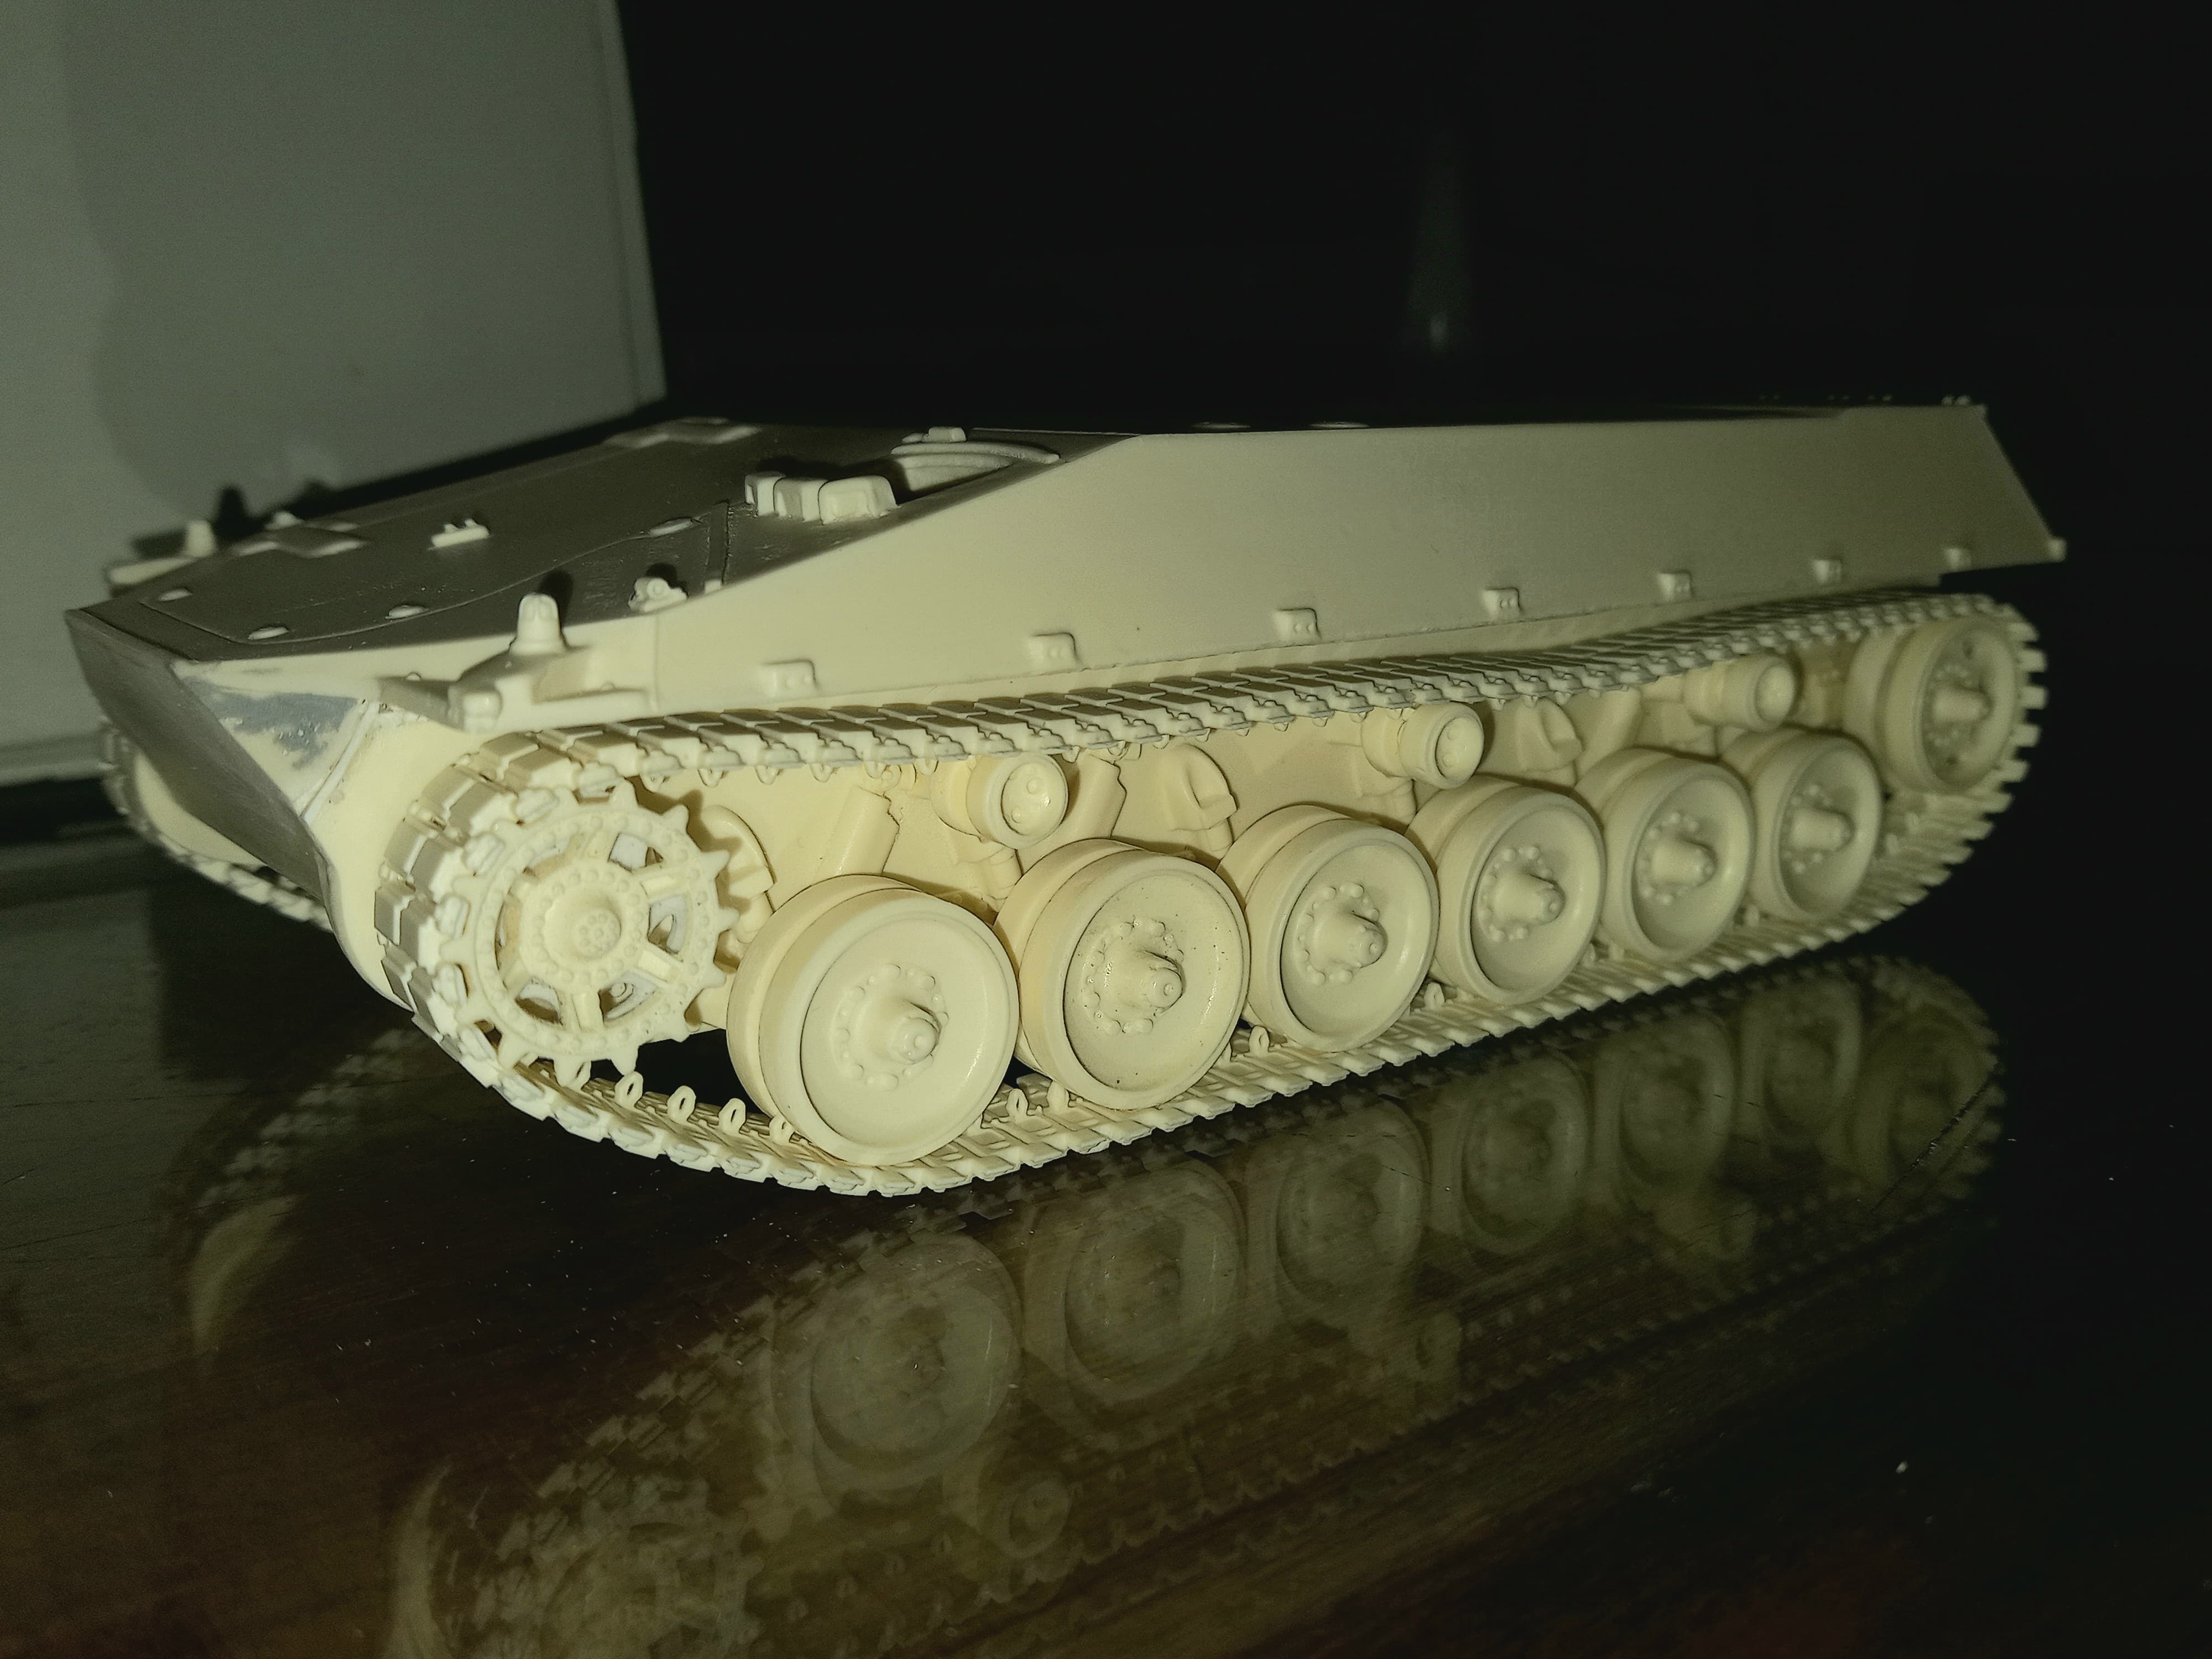
The batting begins to take shape…
Cheers, Omar
4 Likes
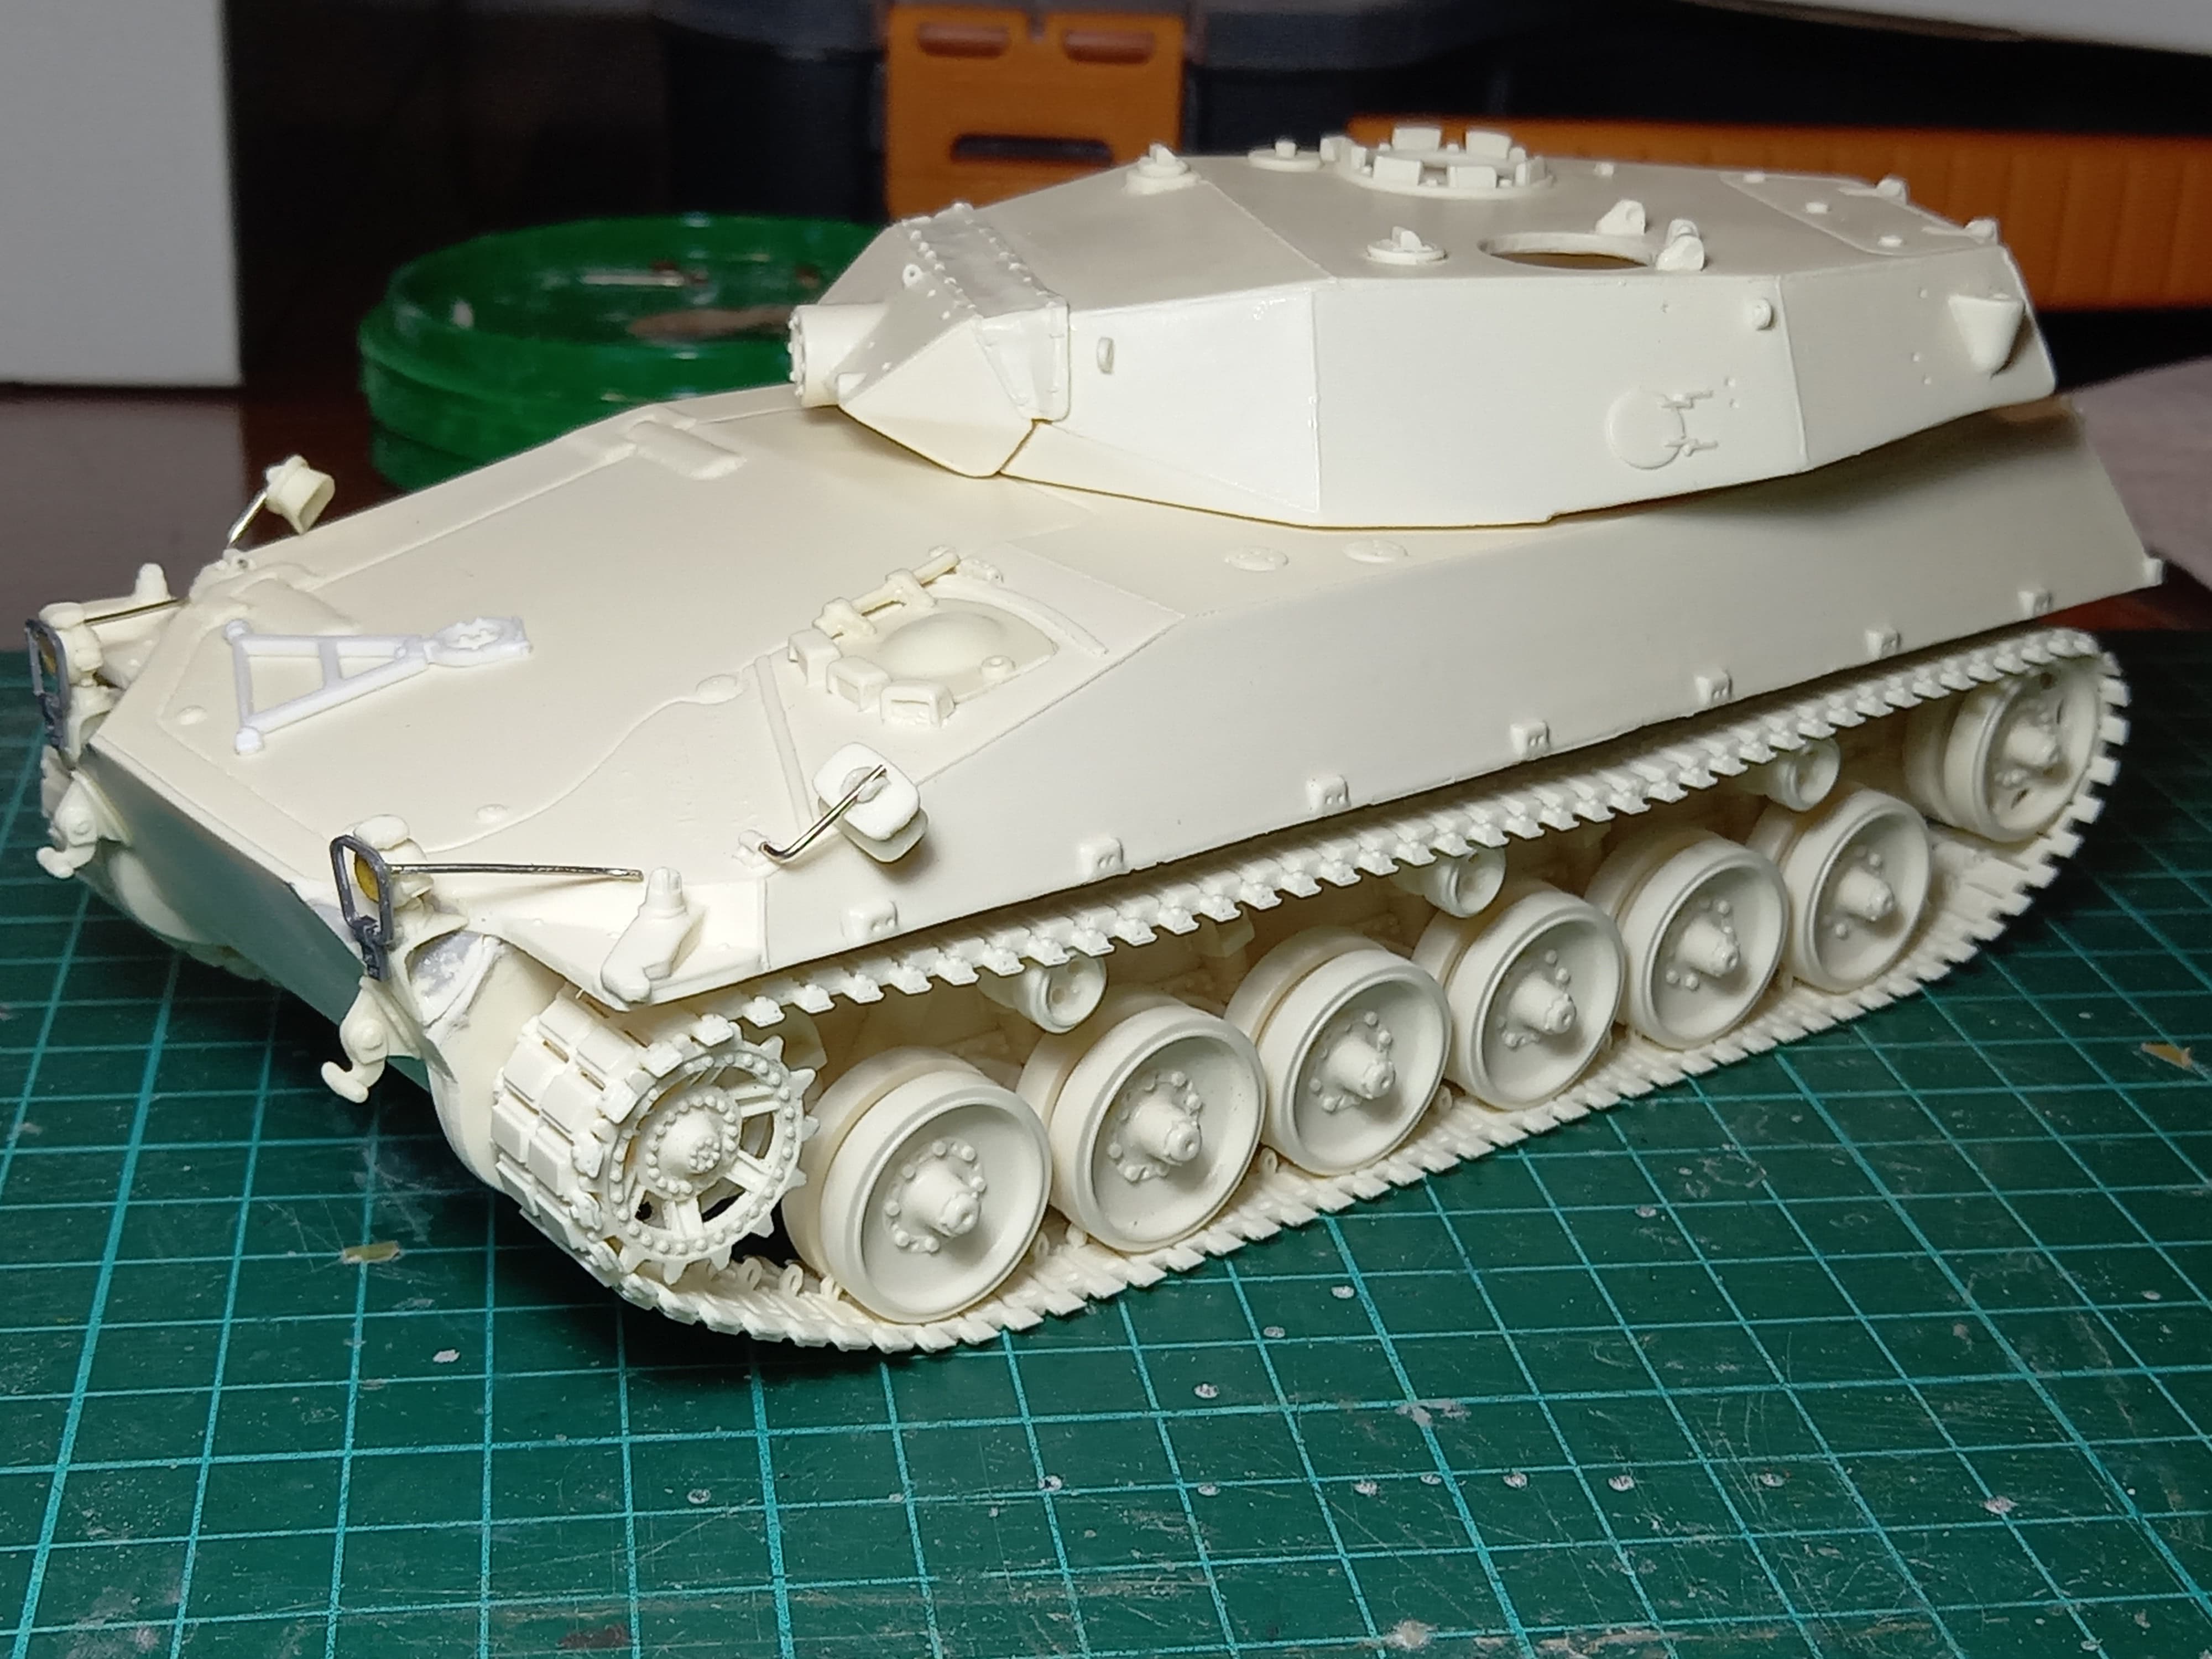
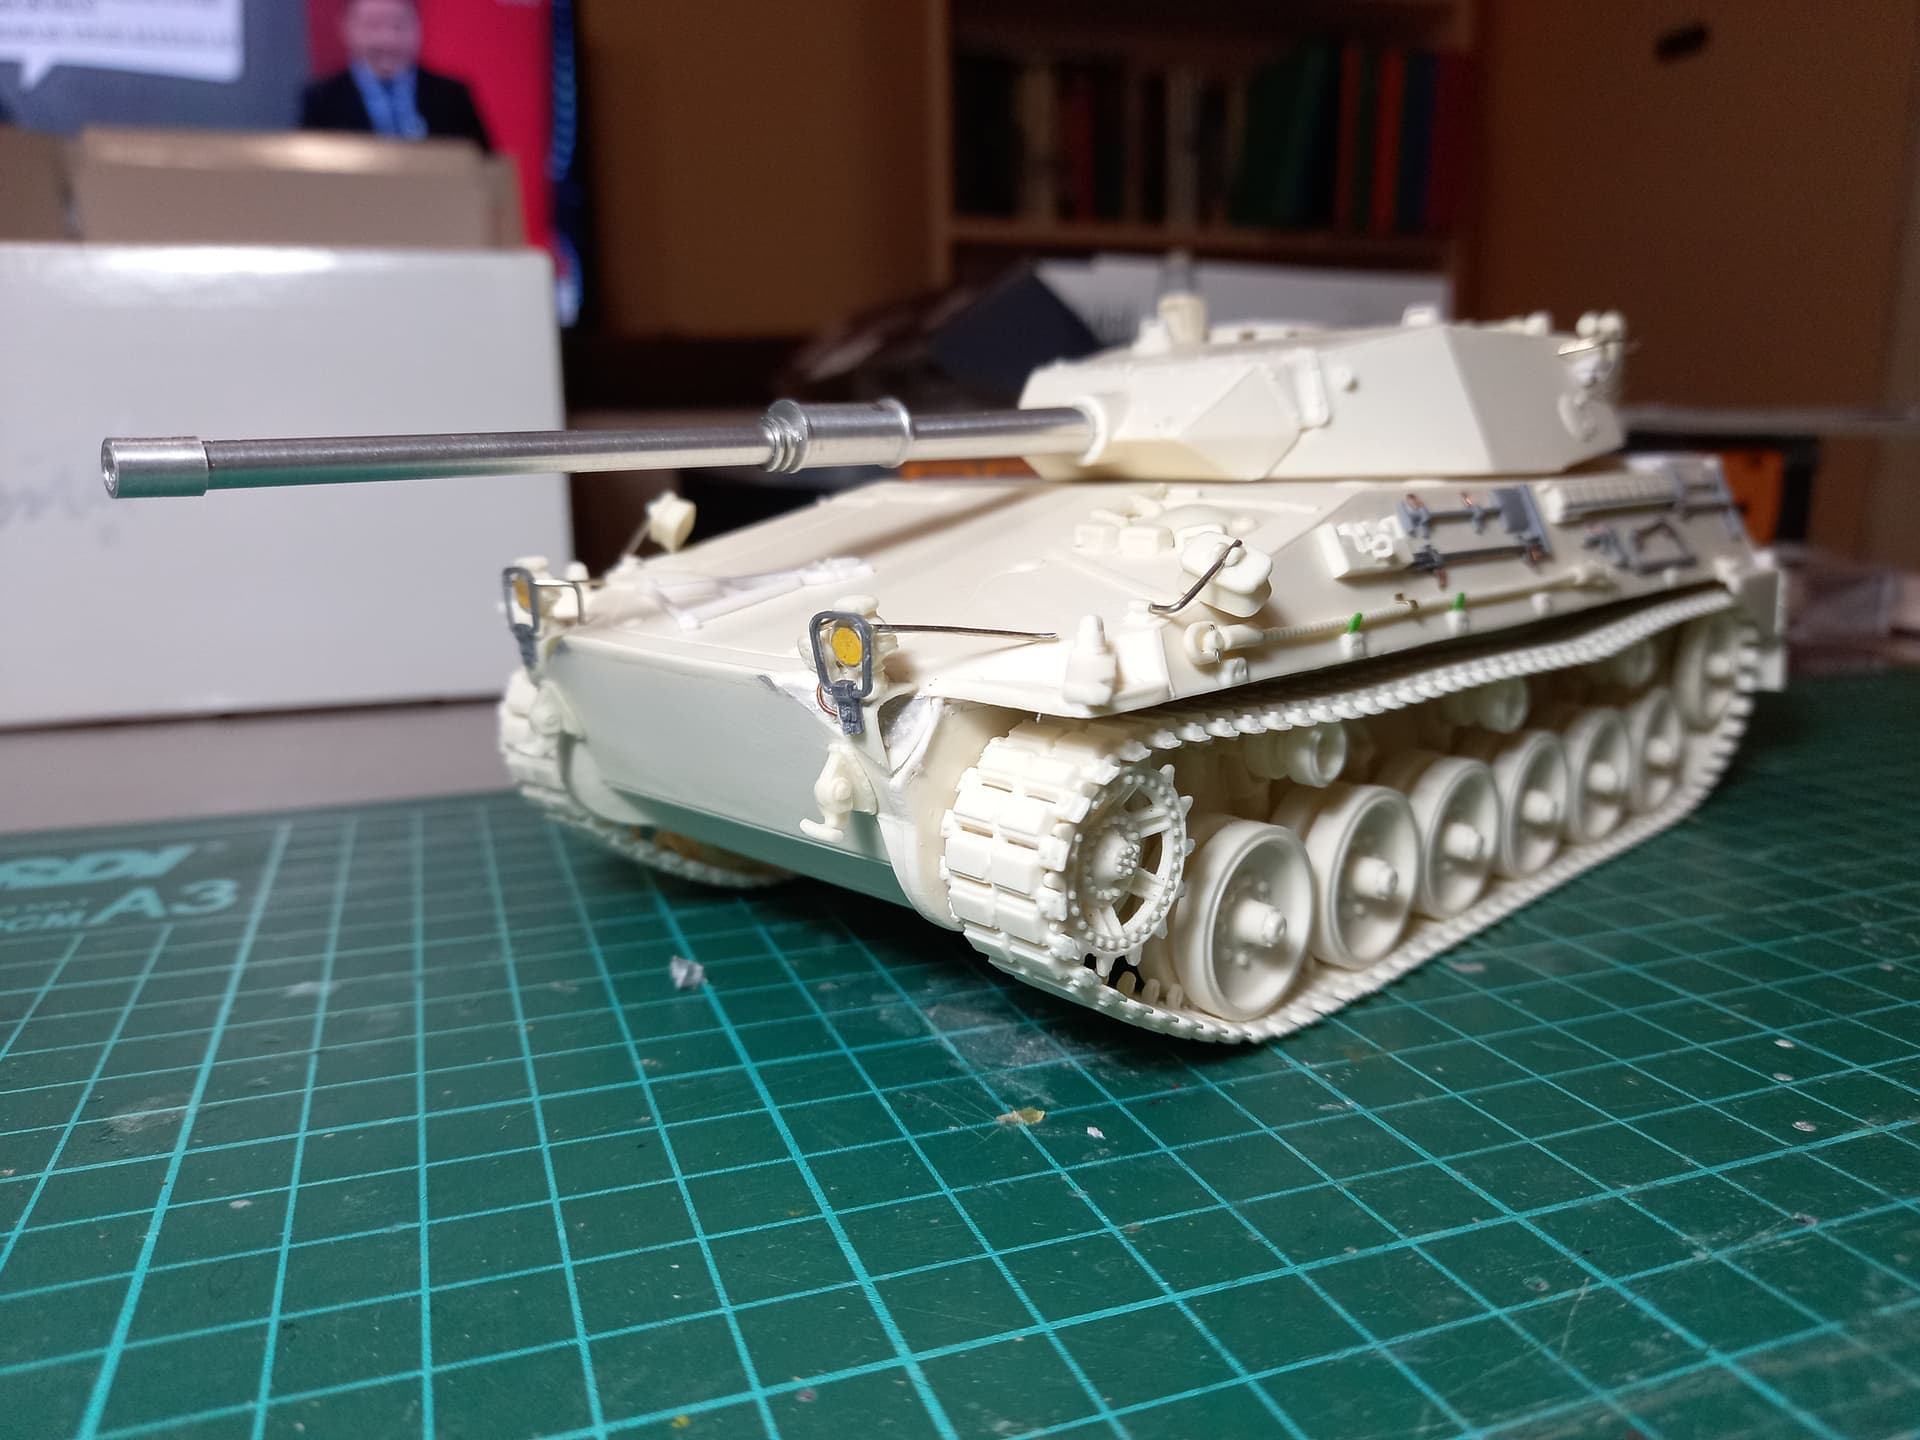
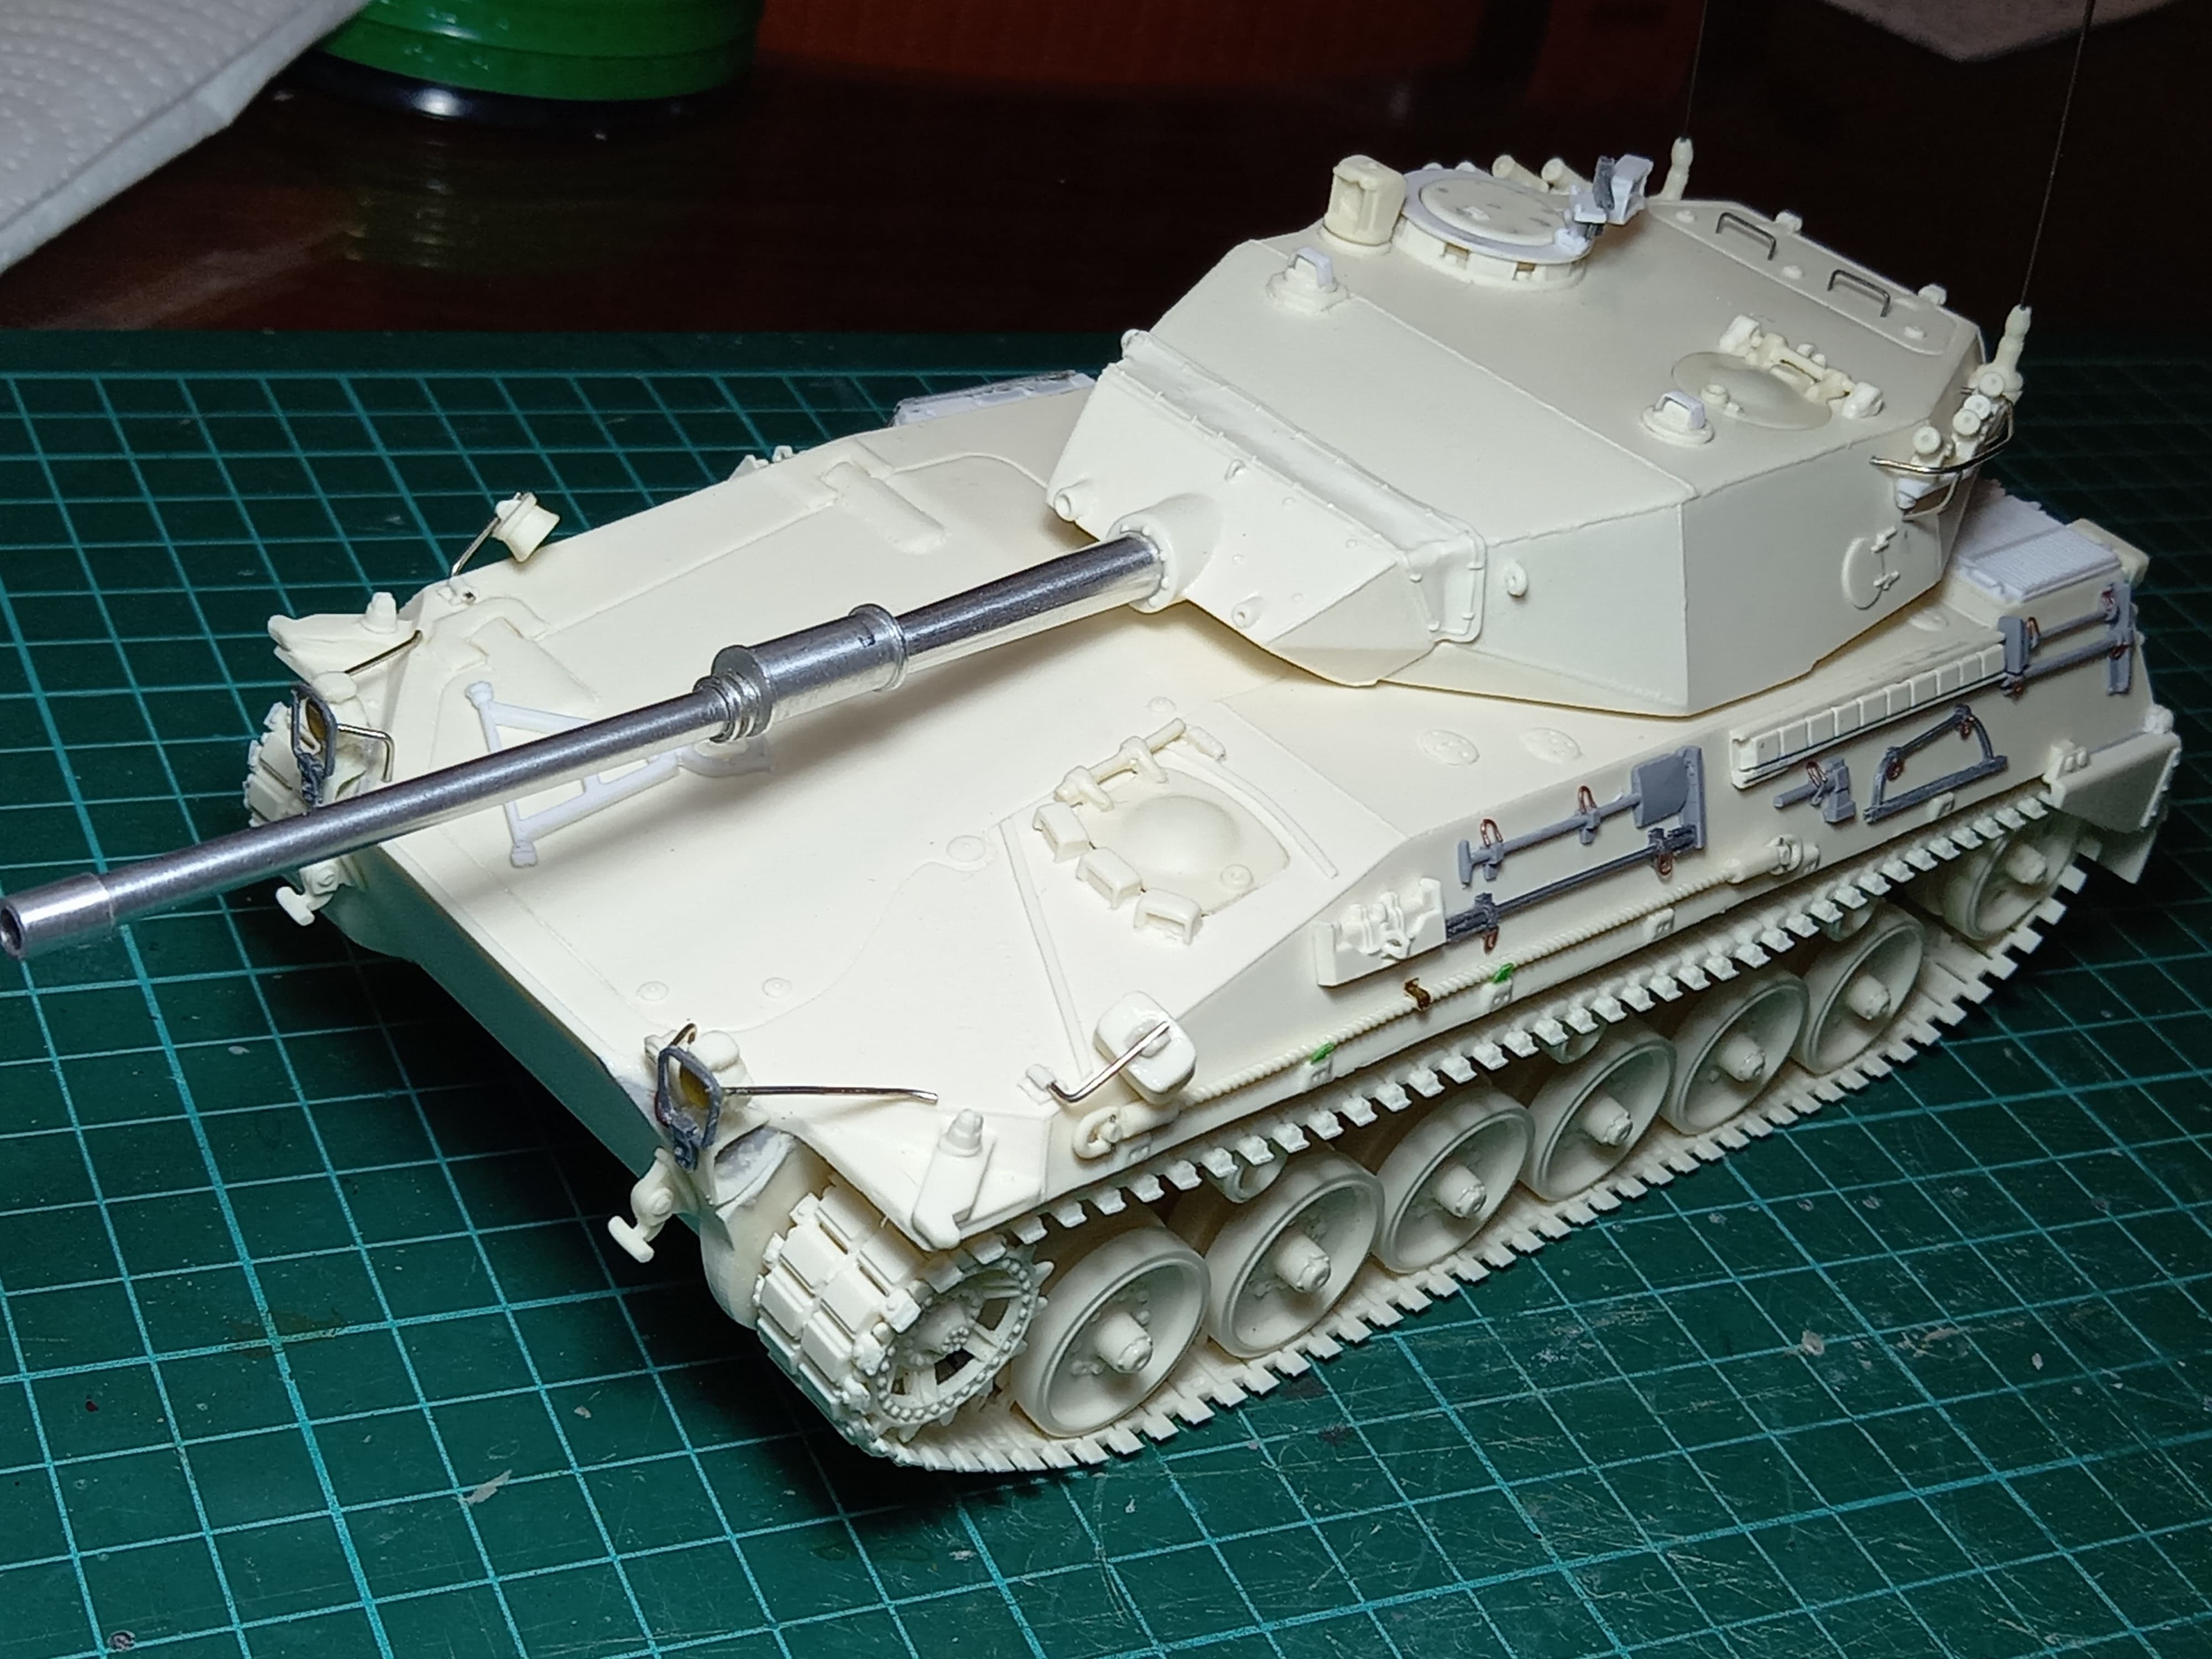
The advances of the weekend with the TAM…
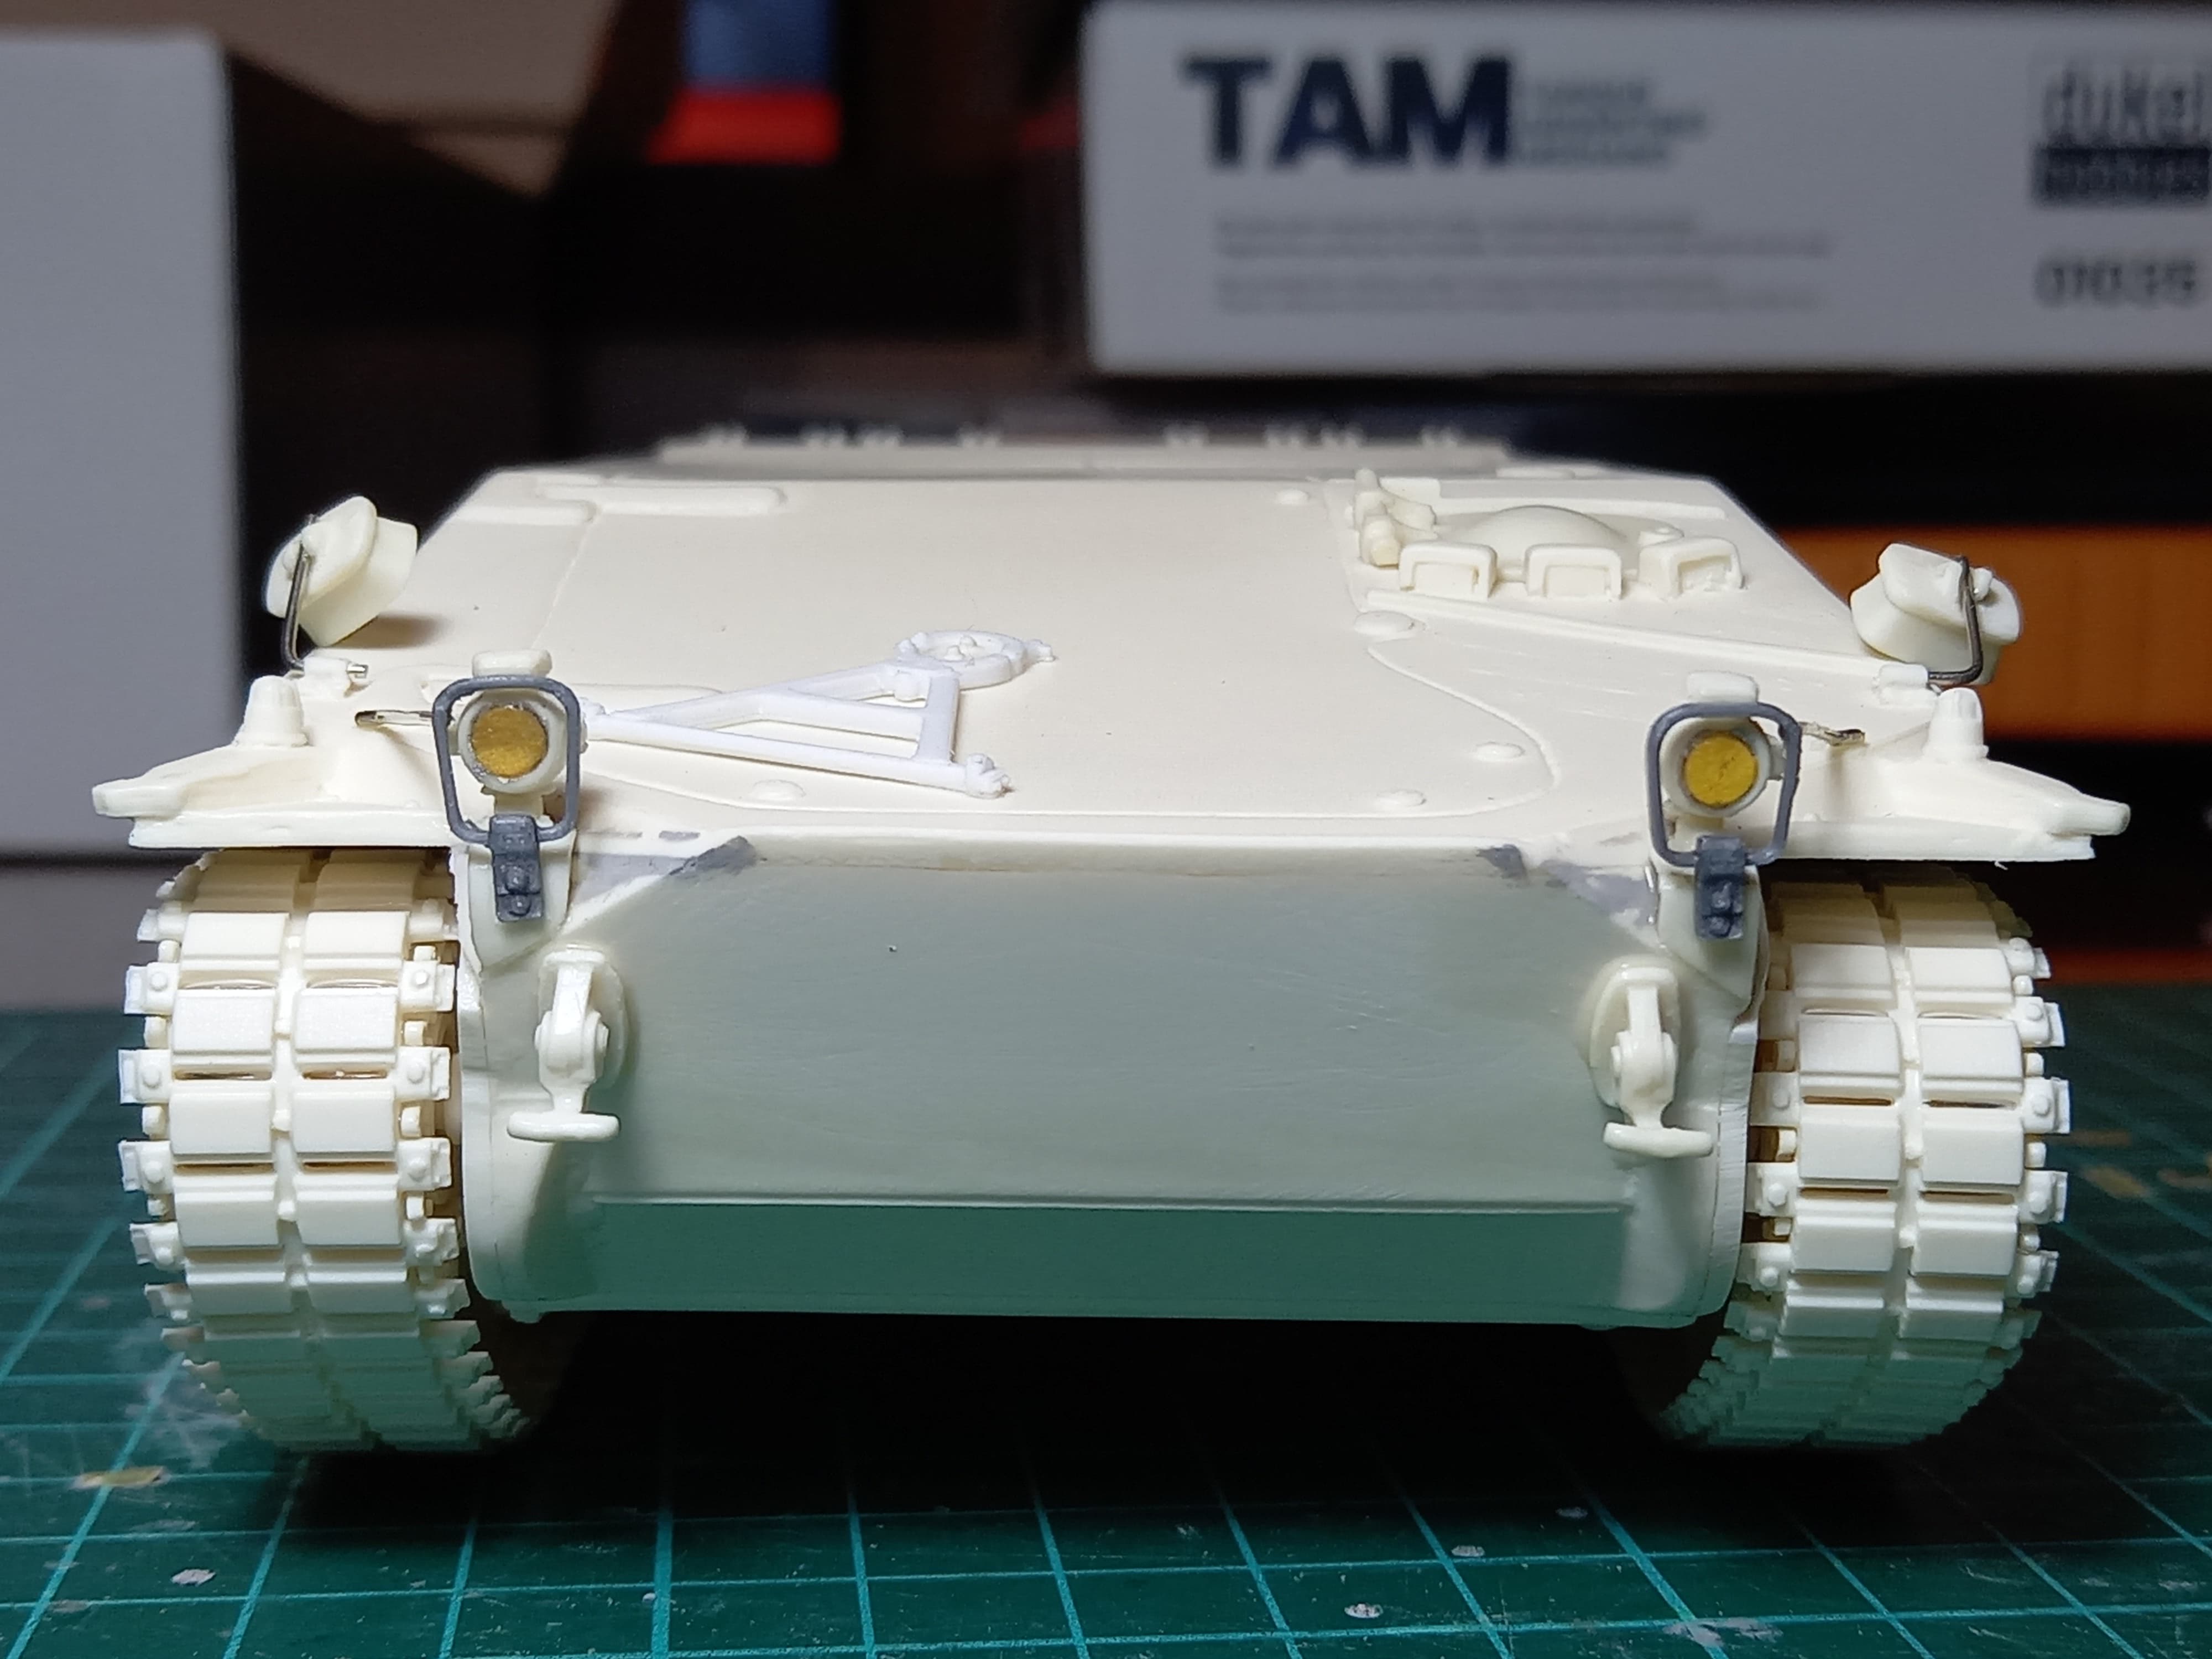
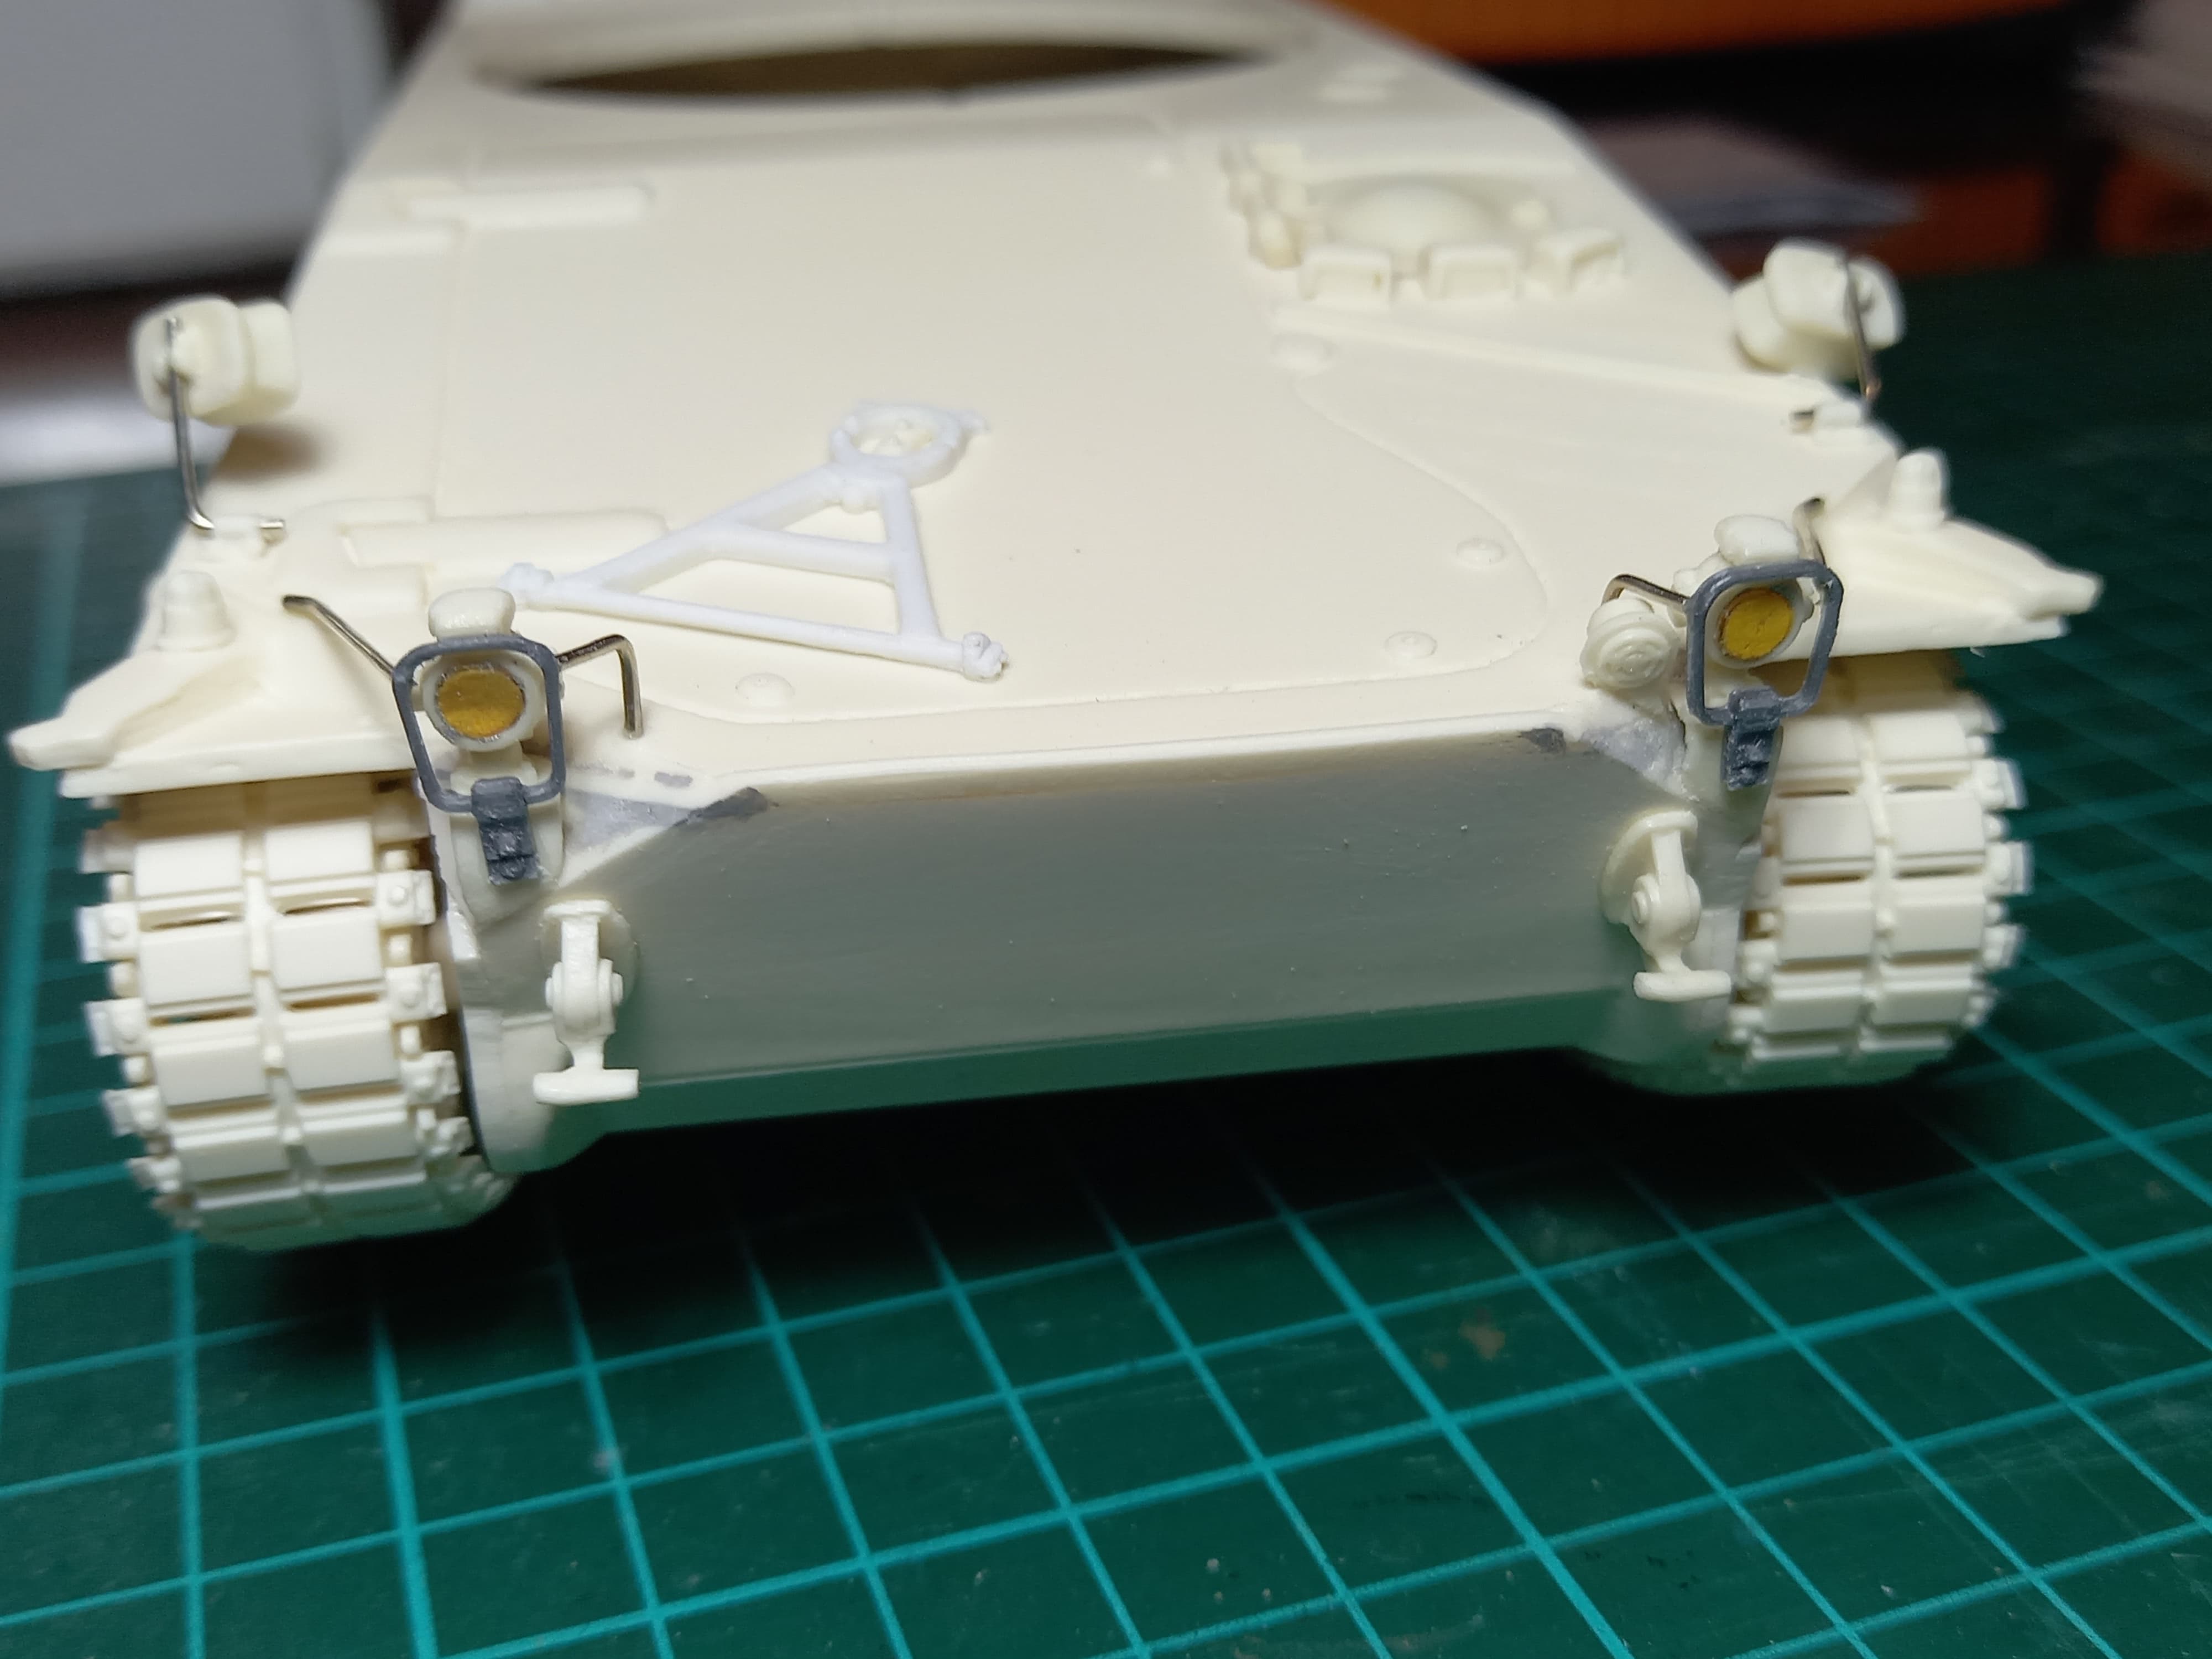
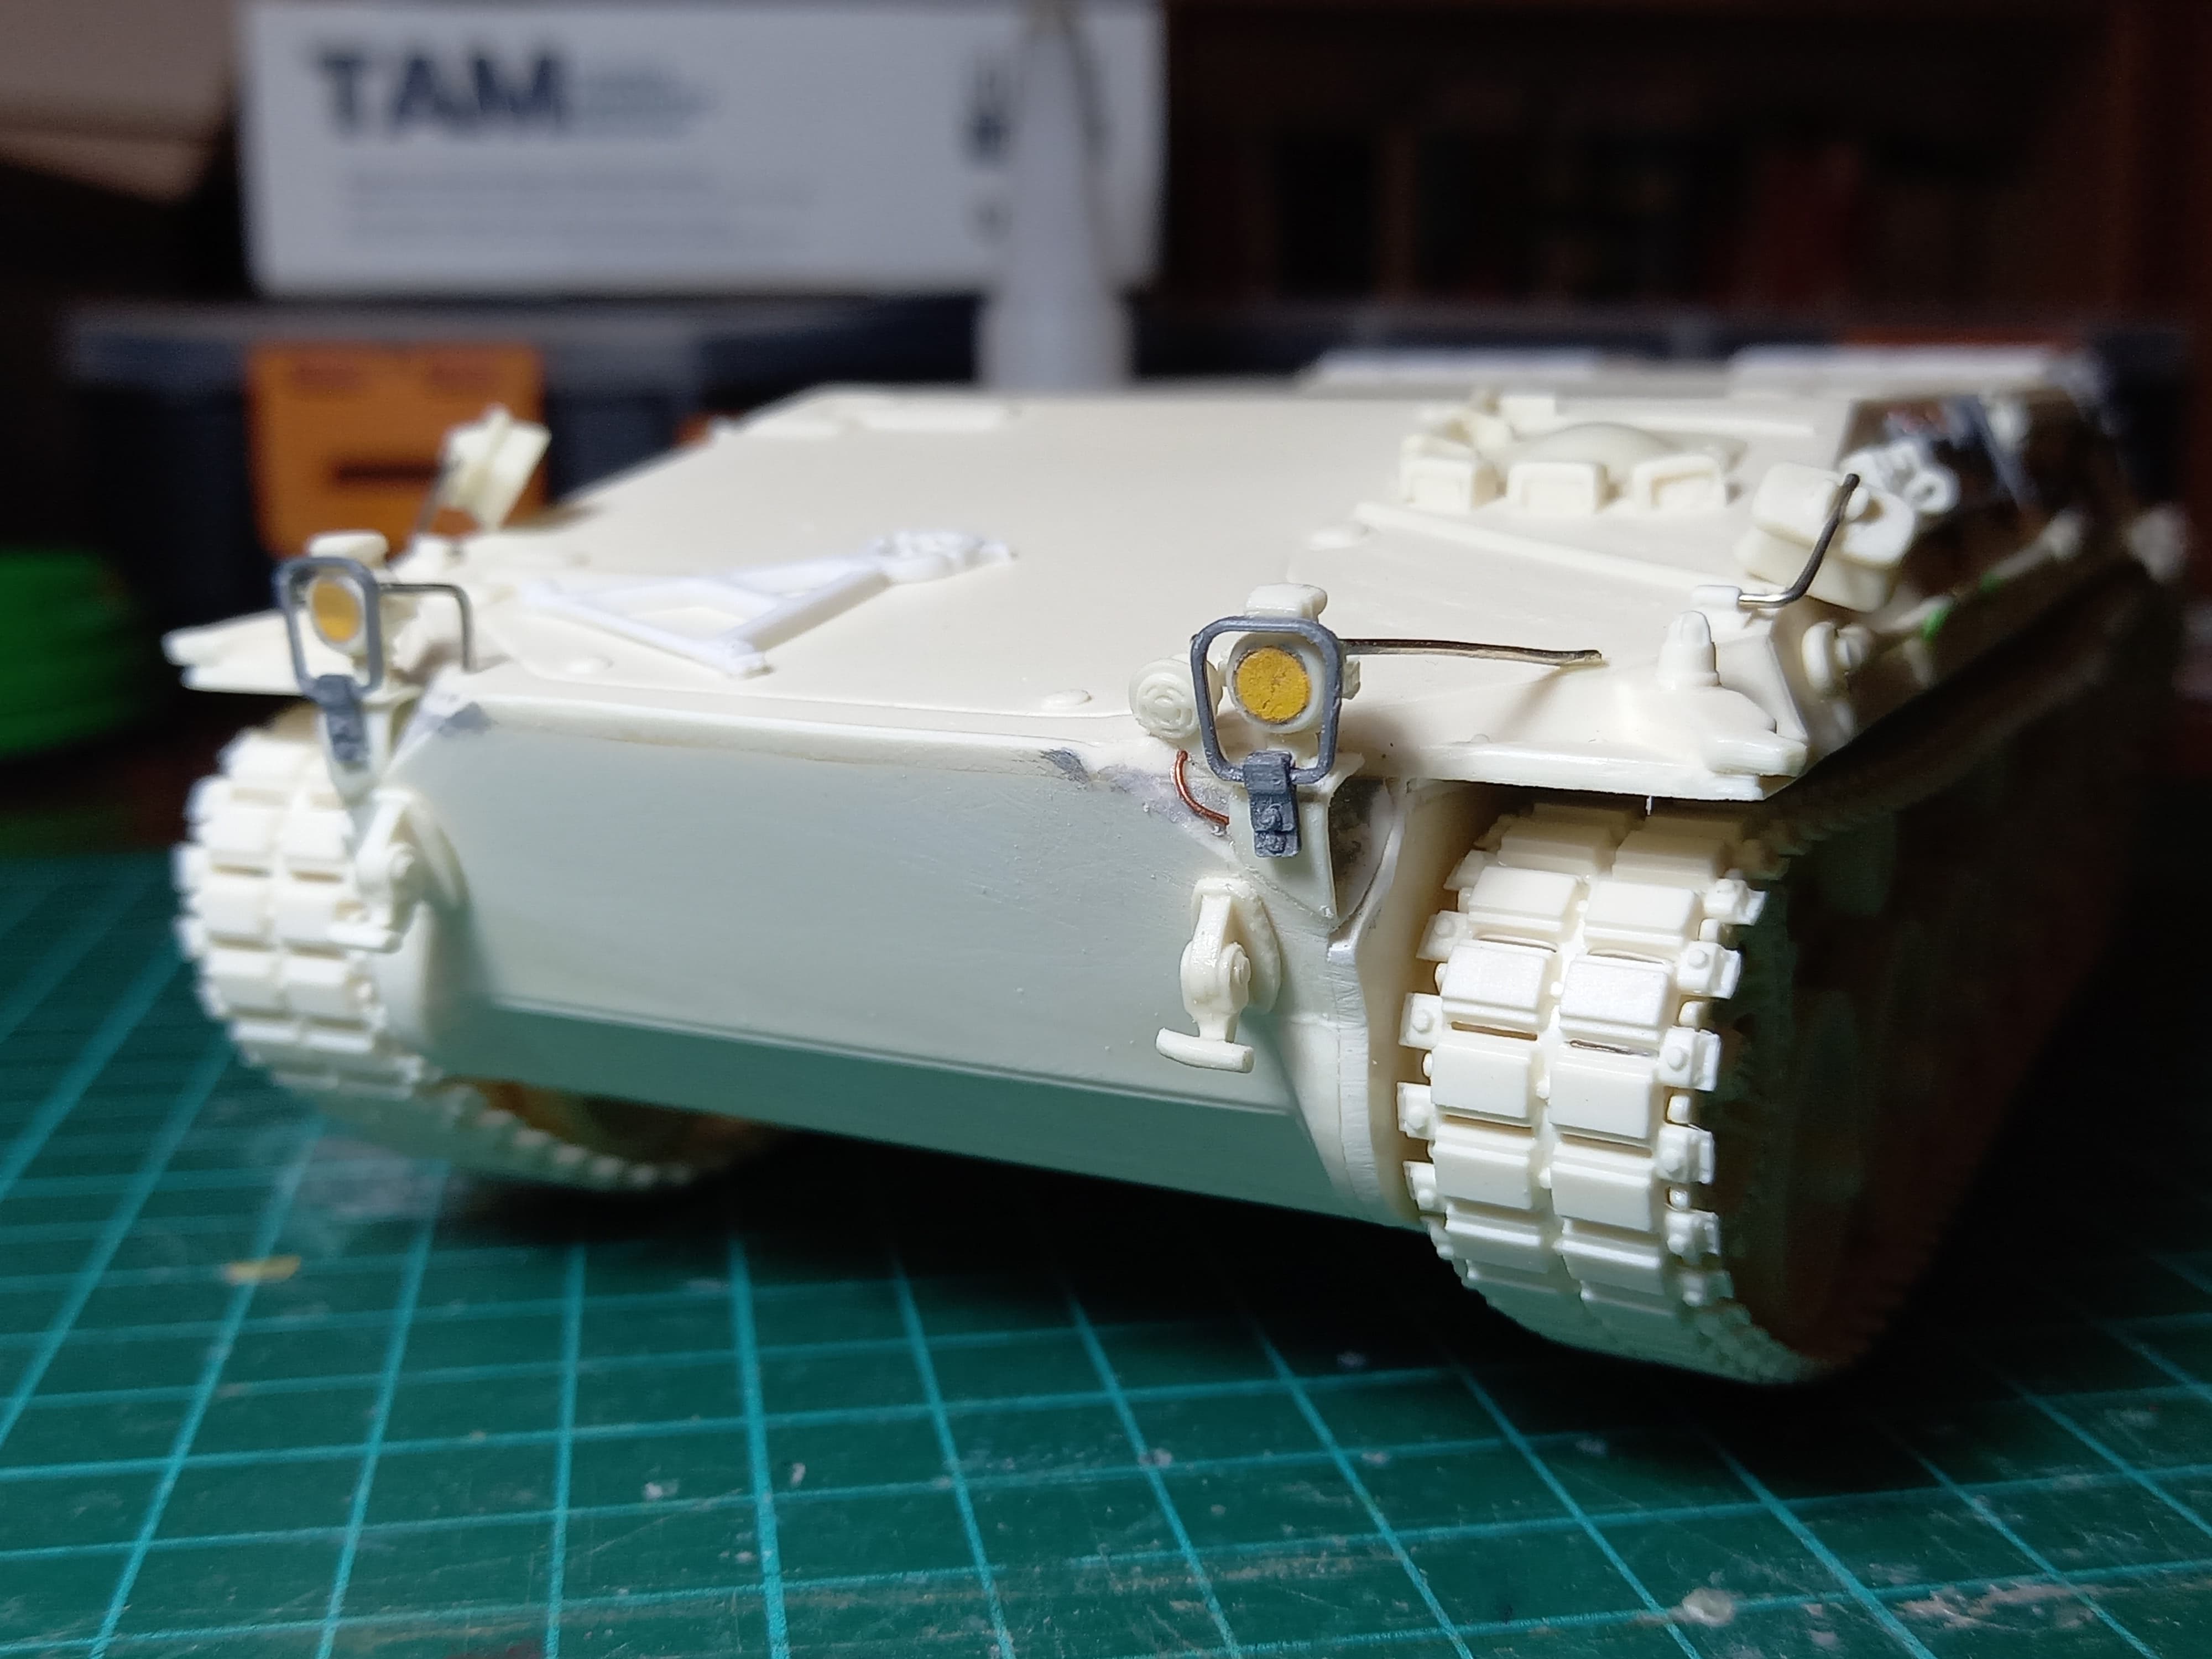
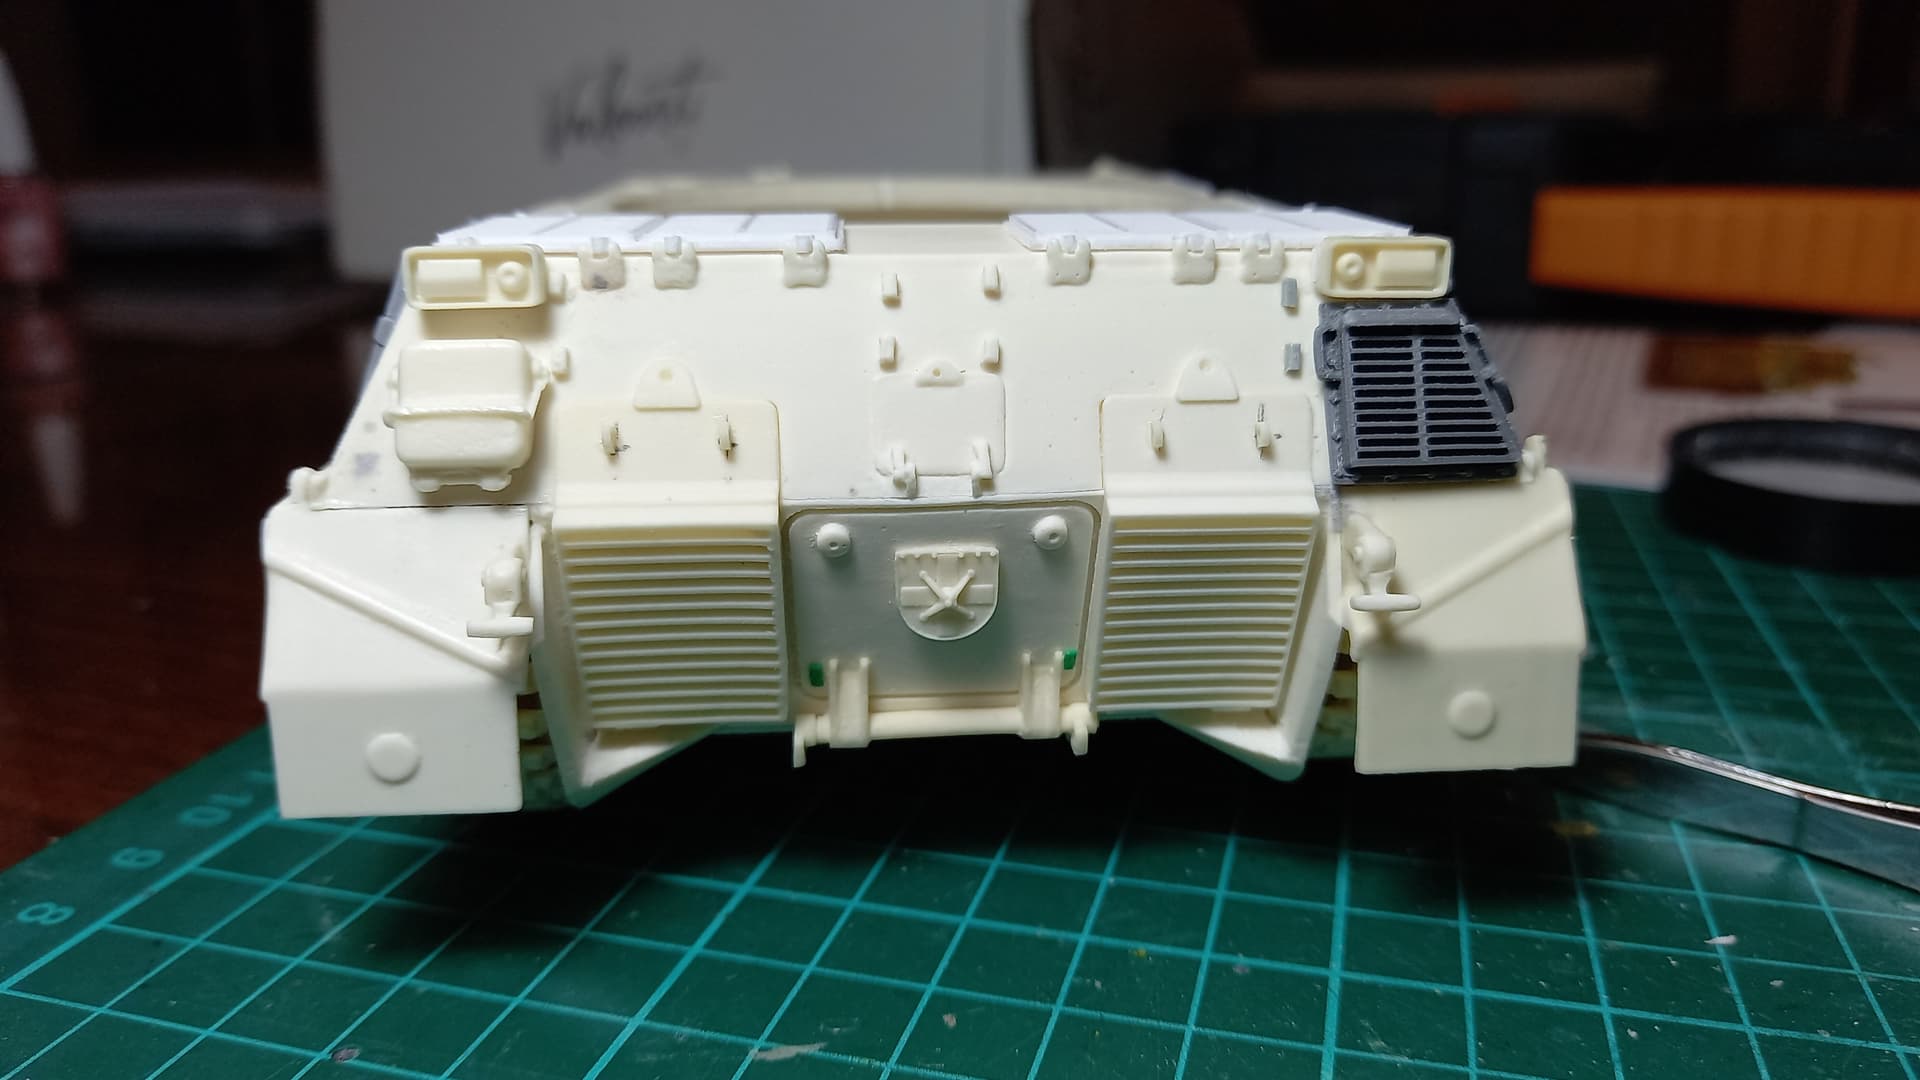
Some of the front and the presentation of the turret, I put together some hooks to avoid problems when moving the model…
Regards,Omar
6 Likes
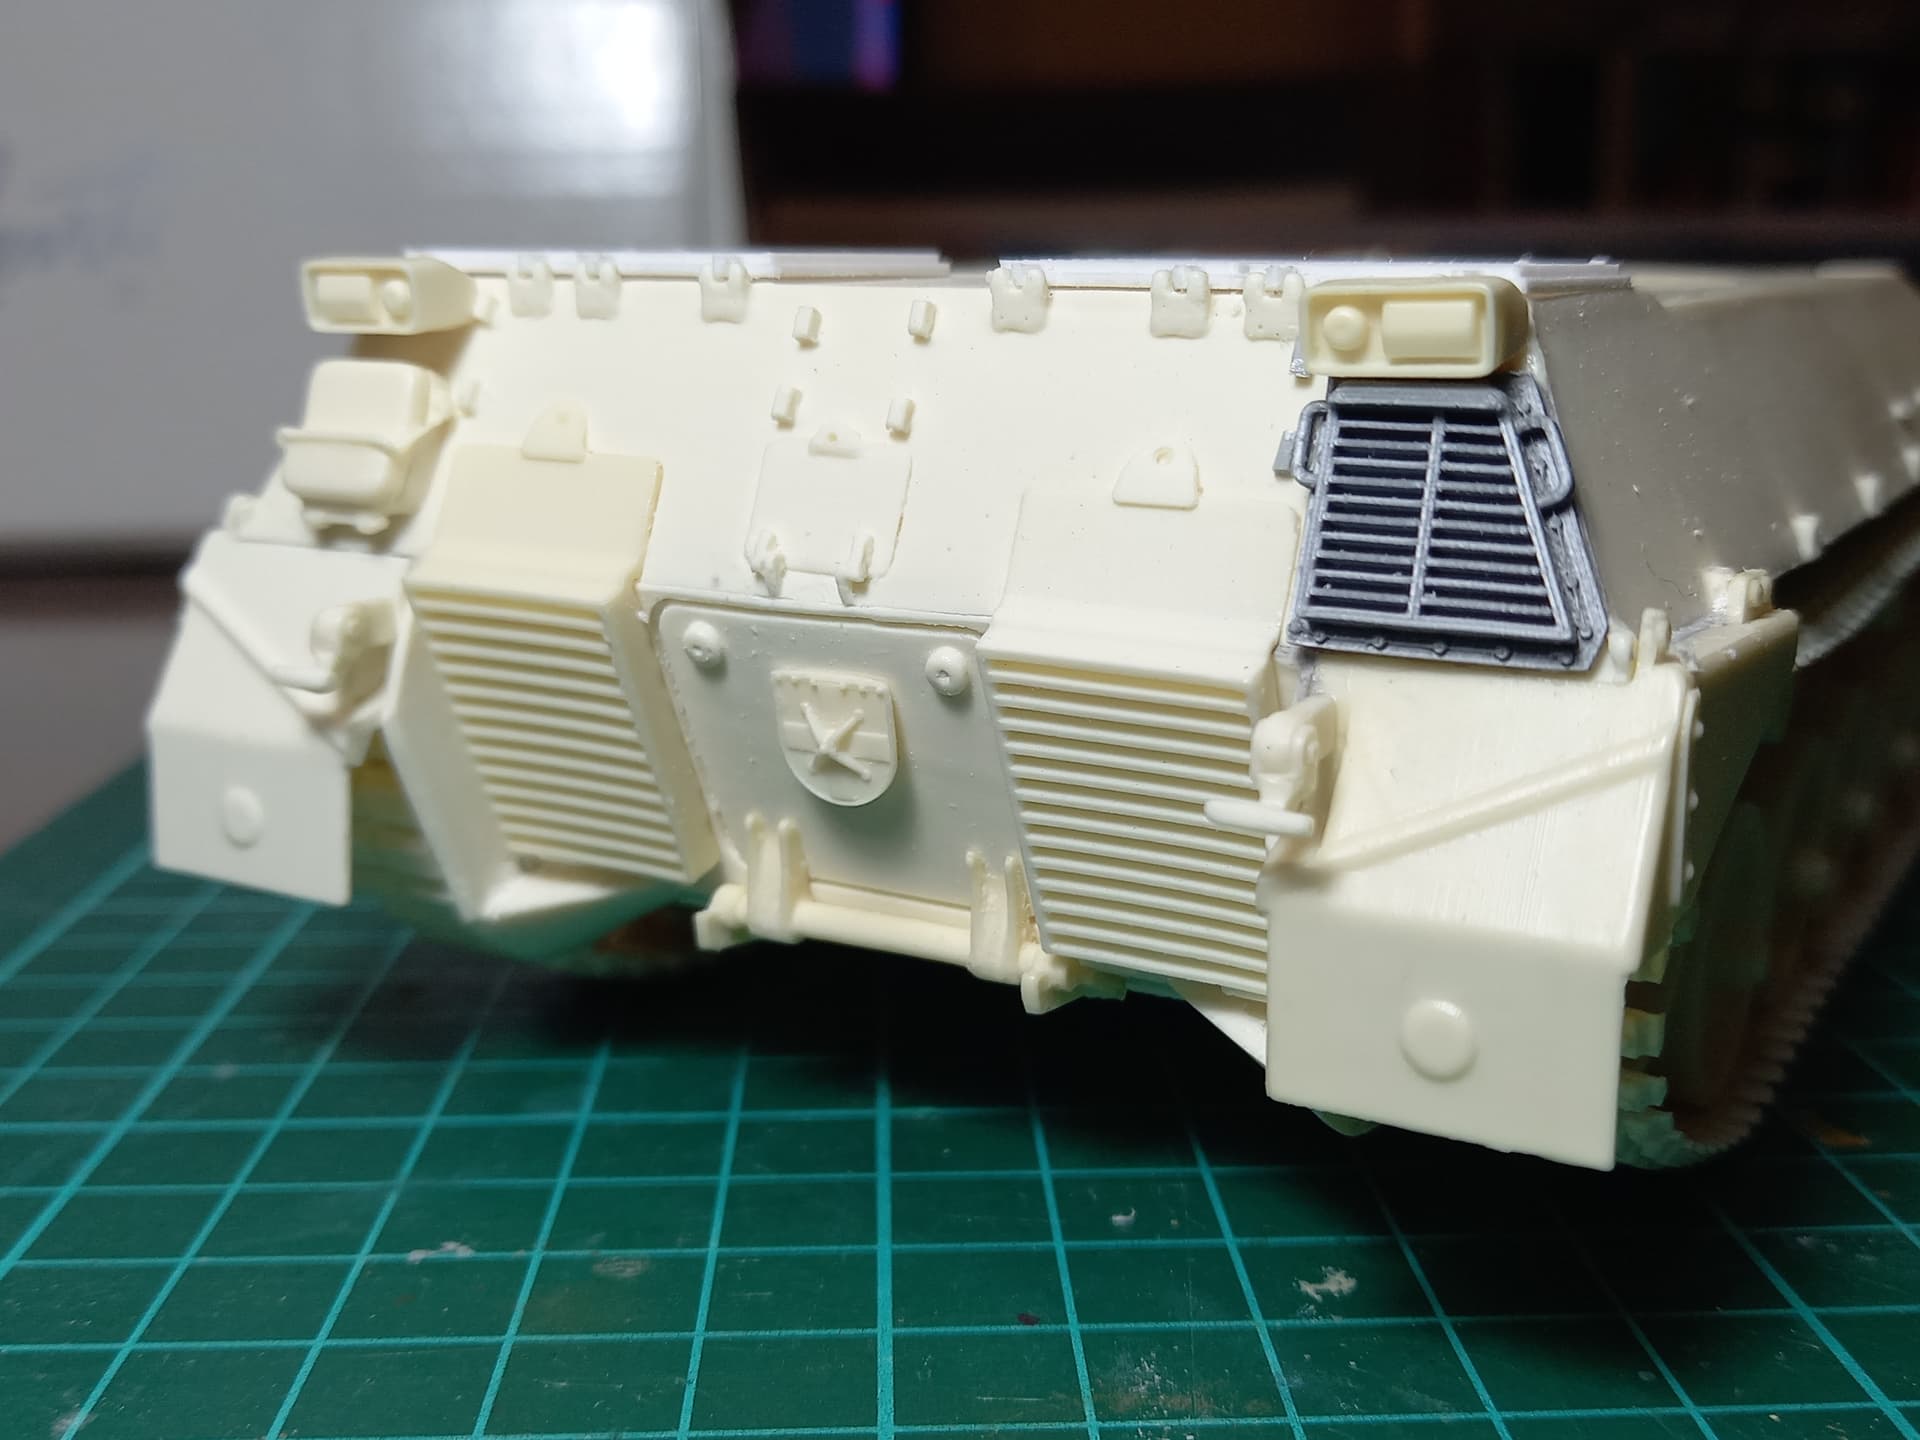
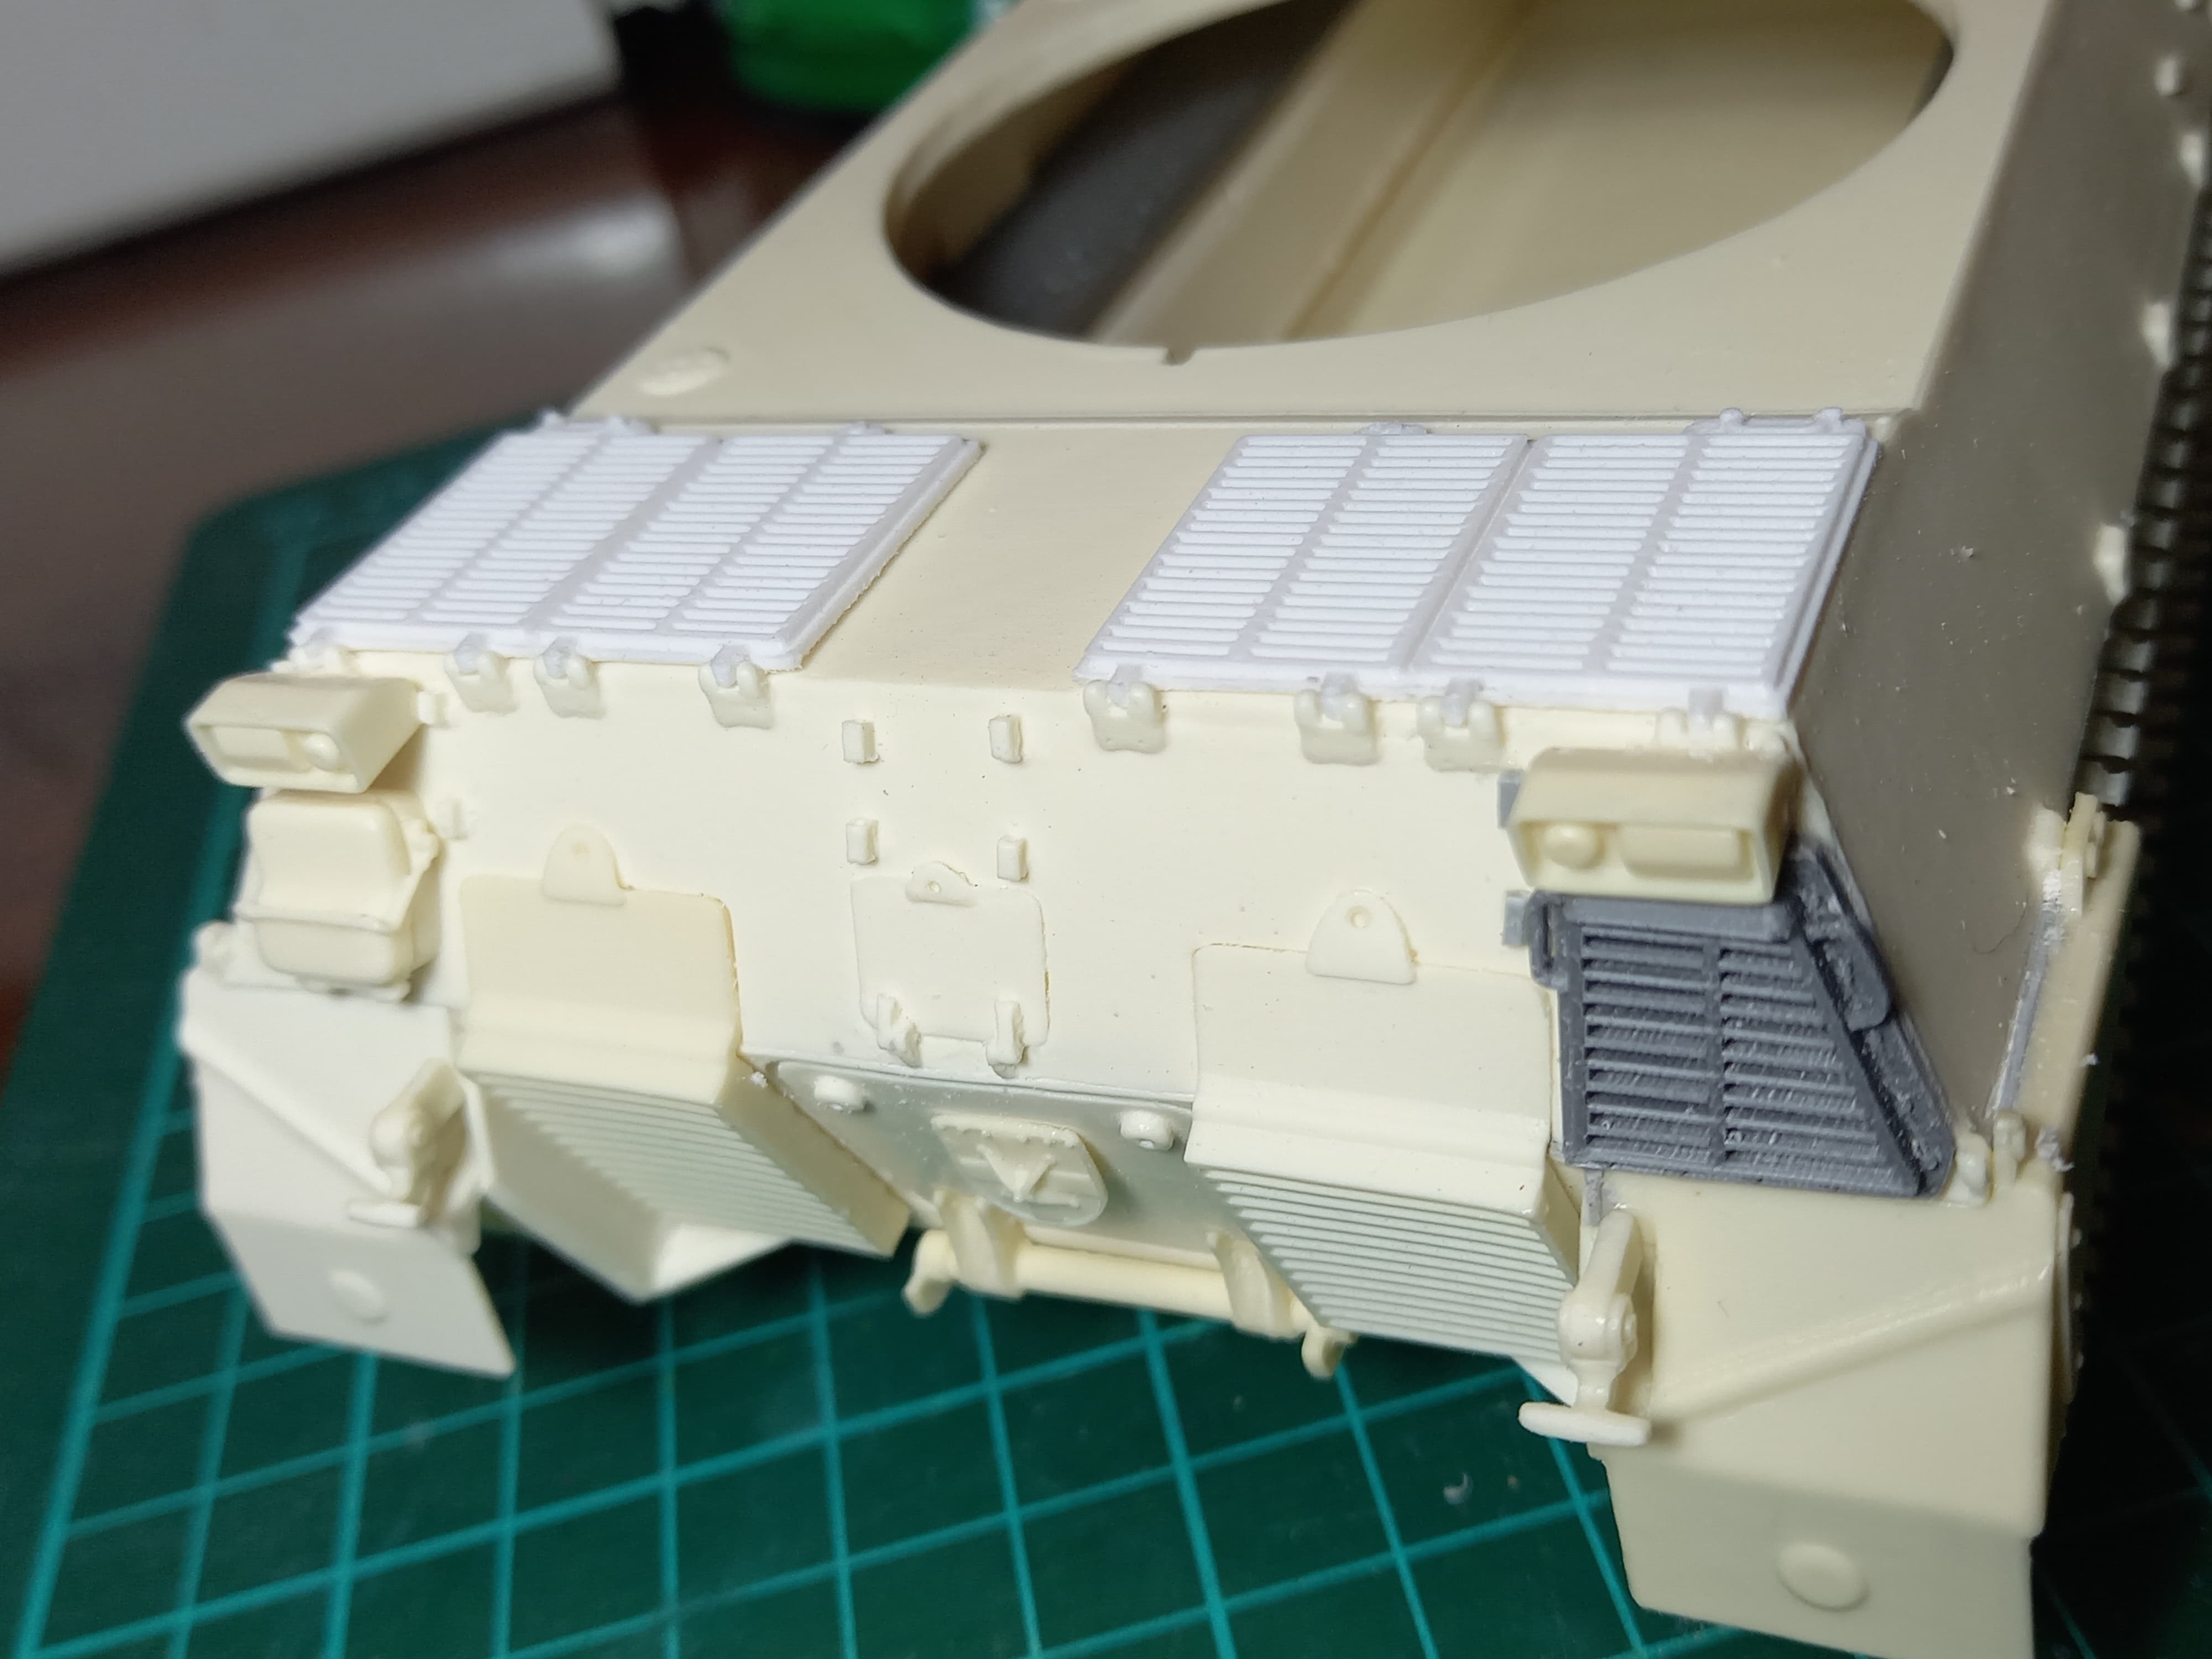
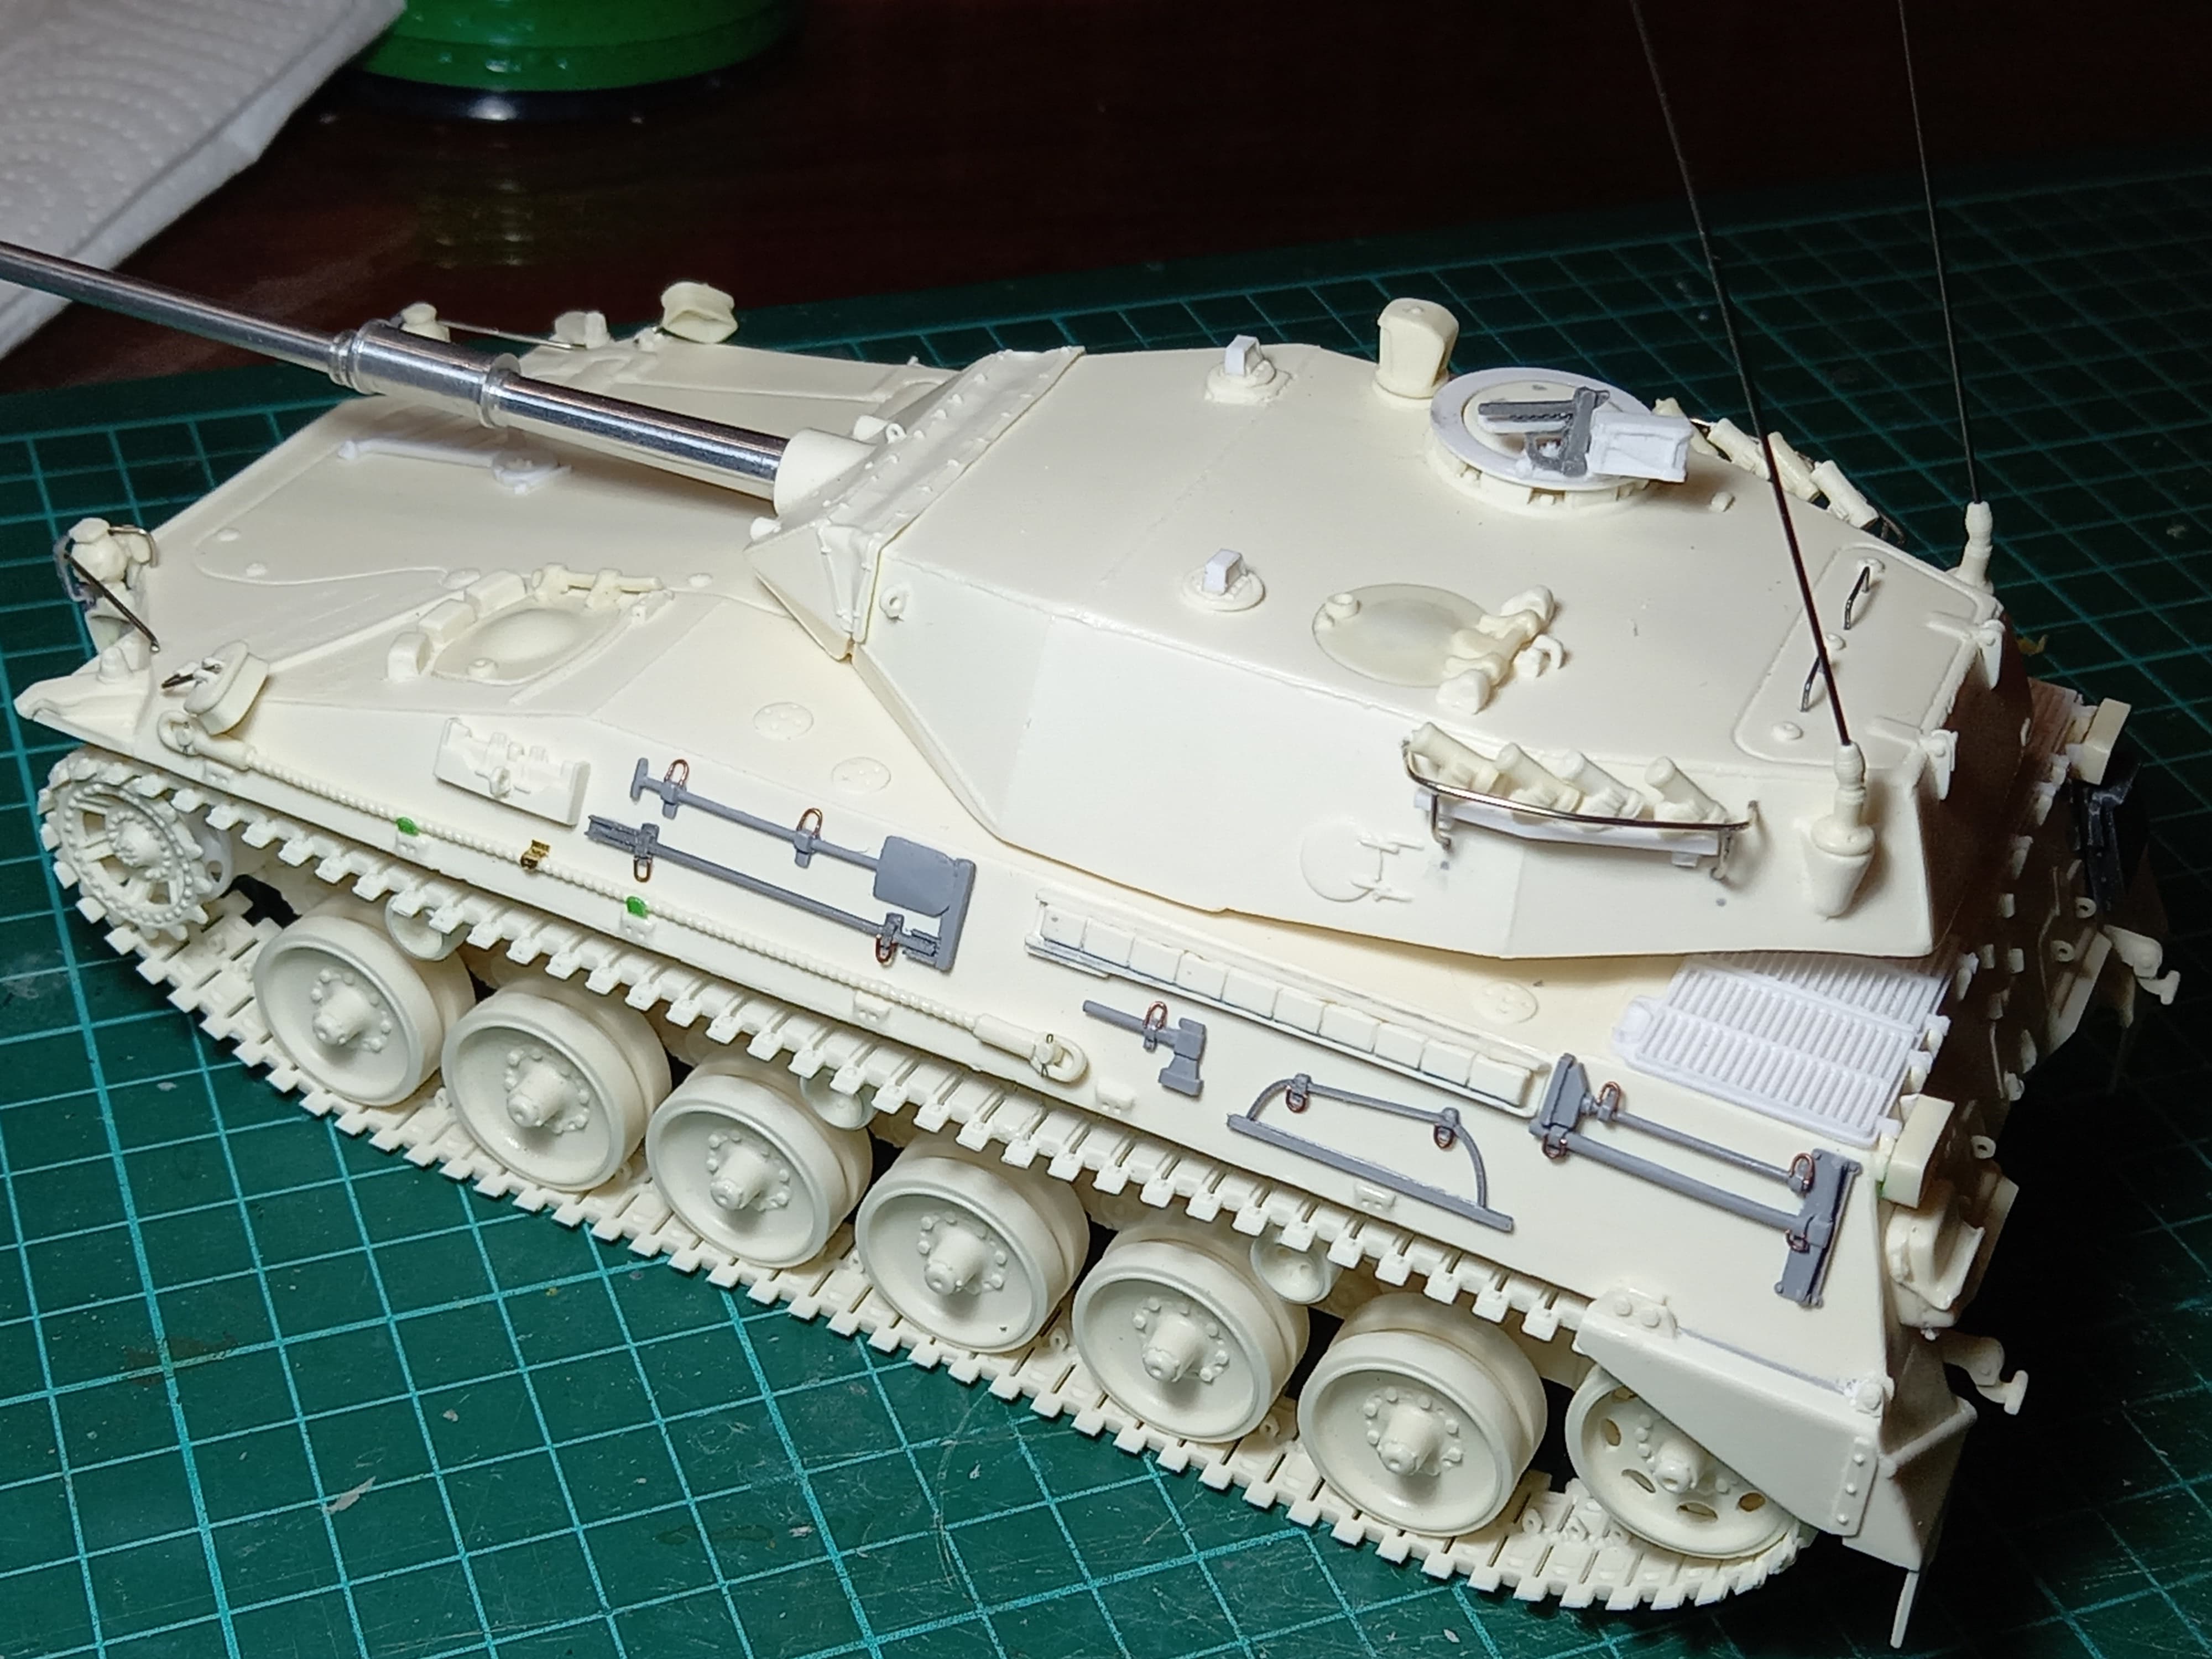
A few more steps with the TAM… it got complicated with the exhaust… the piece came to me like a banana… I tried to hide it as much as I could. The other was the upper grilles, the plan does not show the position, I had put them upside down, luckily I was able to remove them and put them in their correct position.
Regards, Omar
5 Likes
Excellent progress Omar, looking very good!
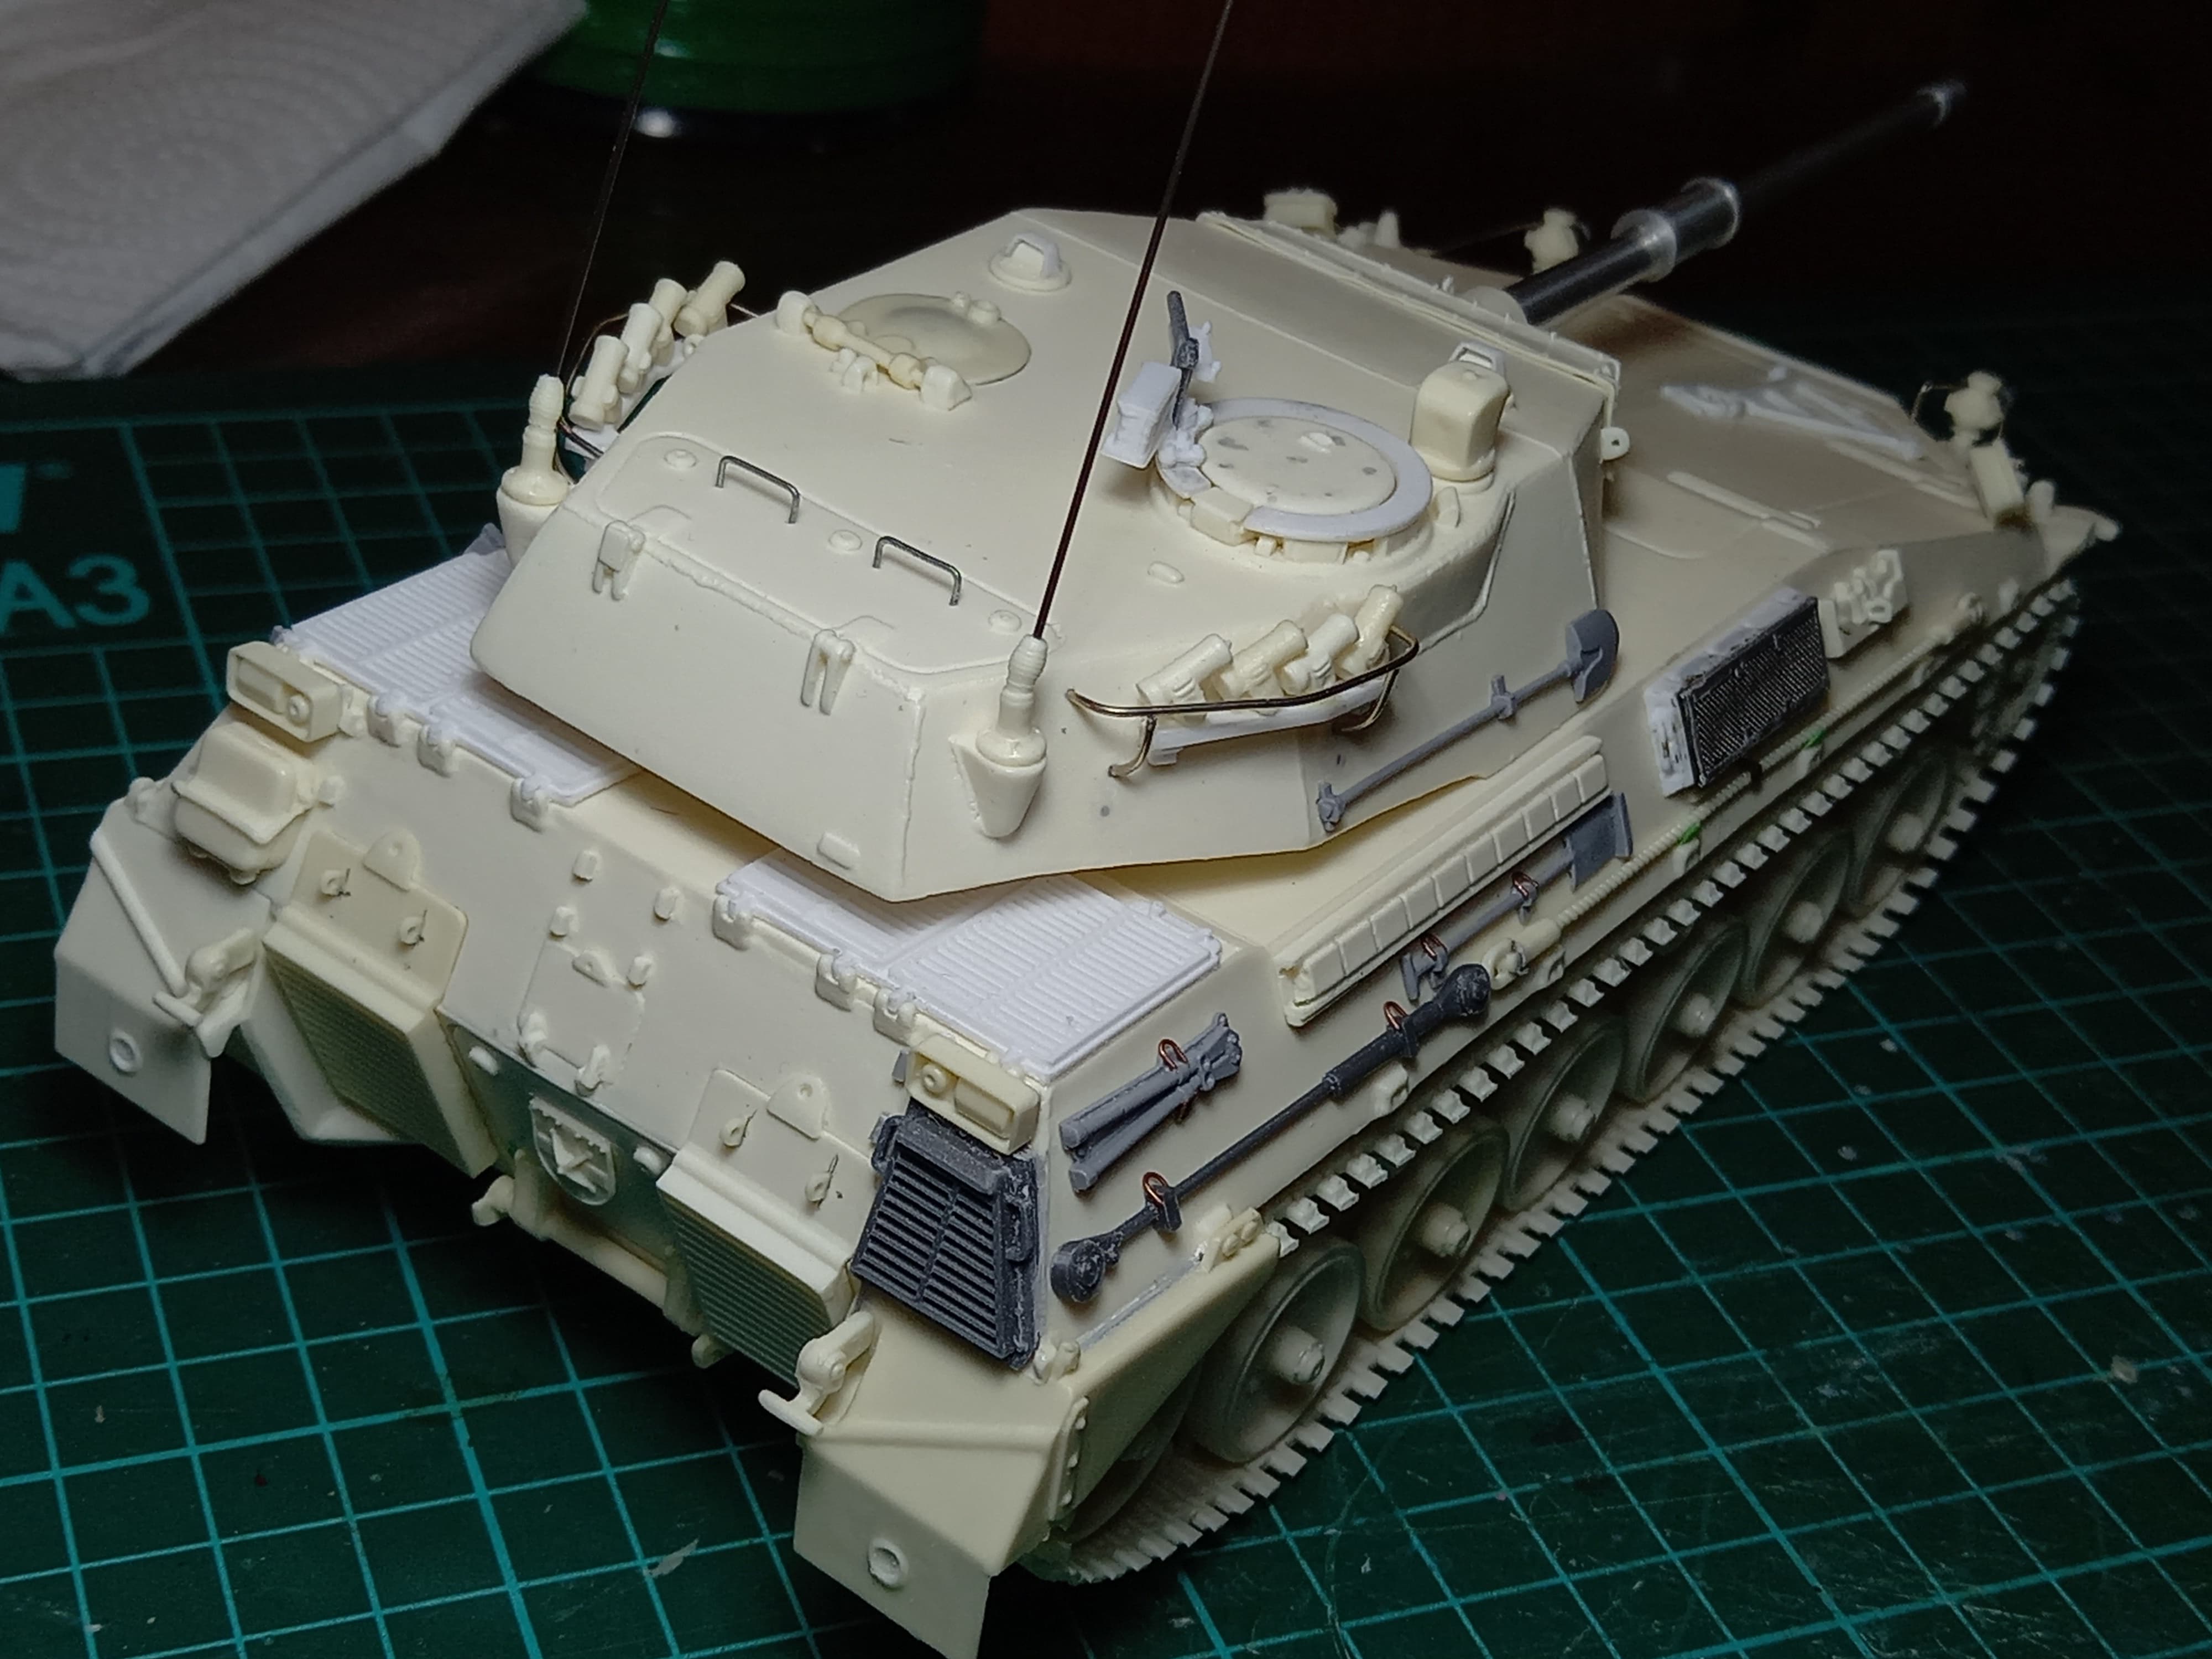
Are these greyish parts (grill on the rear and front light guard) 3d printed parts?
The front light guards look difficult to bend, well done.
Cheers
Walter
1 Like
Very interesting build; looking very good indeed. The tracks in particular - assuming they are resin - look perfect; I wish I wasn’t so afraid of resin tracks!
Great work Omar!
I´m building the same model but I have the work stopped several months ago with hull completed.
What colors will you use for this model?
Thanks Walter, yes the grayish parts (grille on the front and rear light shield) are 3D printed parts.
The headlight guards part is 3D on the front, and the rear is wire.
Regards
Thanks for the comment Tom, I was snooping through the paint boxes and I already selected them, look for the tones closest to the ones I see in the photos, now I’m not at home. As soon as it arrives I tell you exactly what I chose.
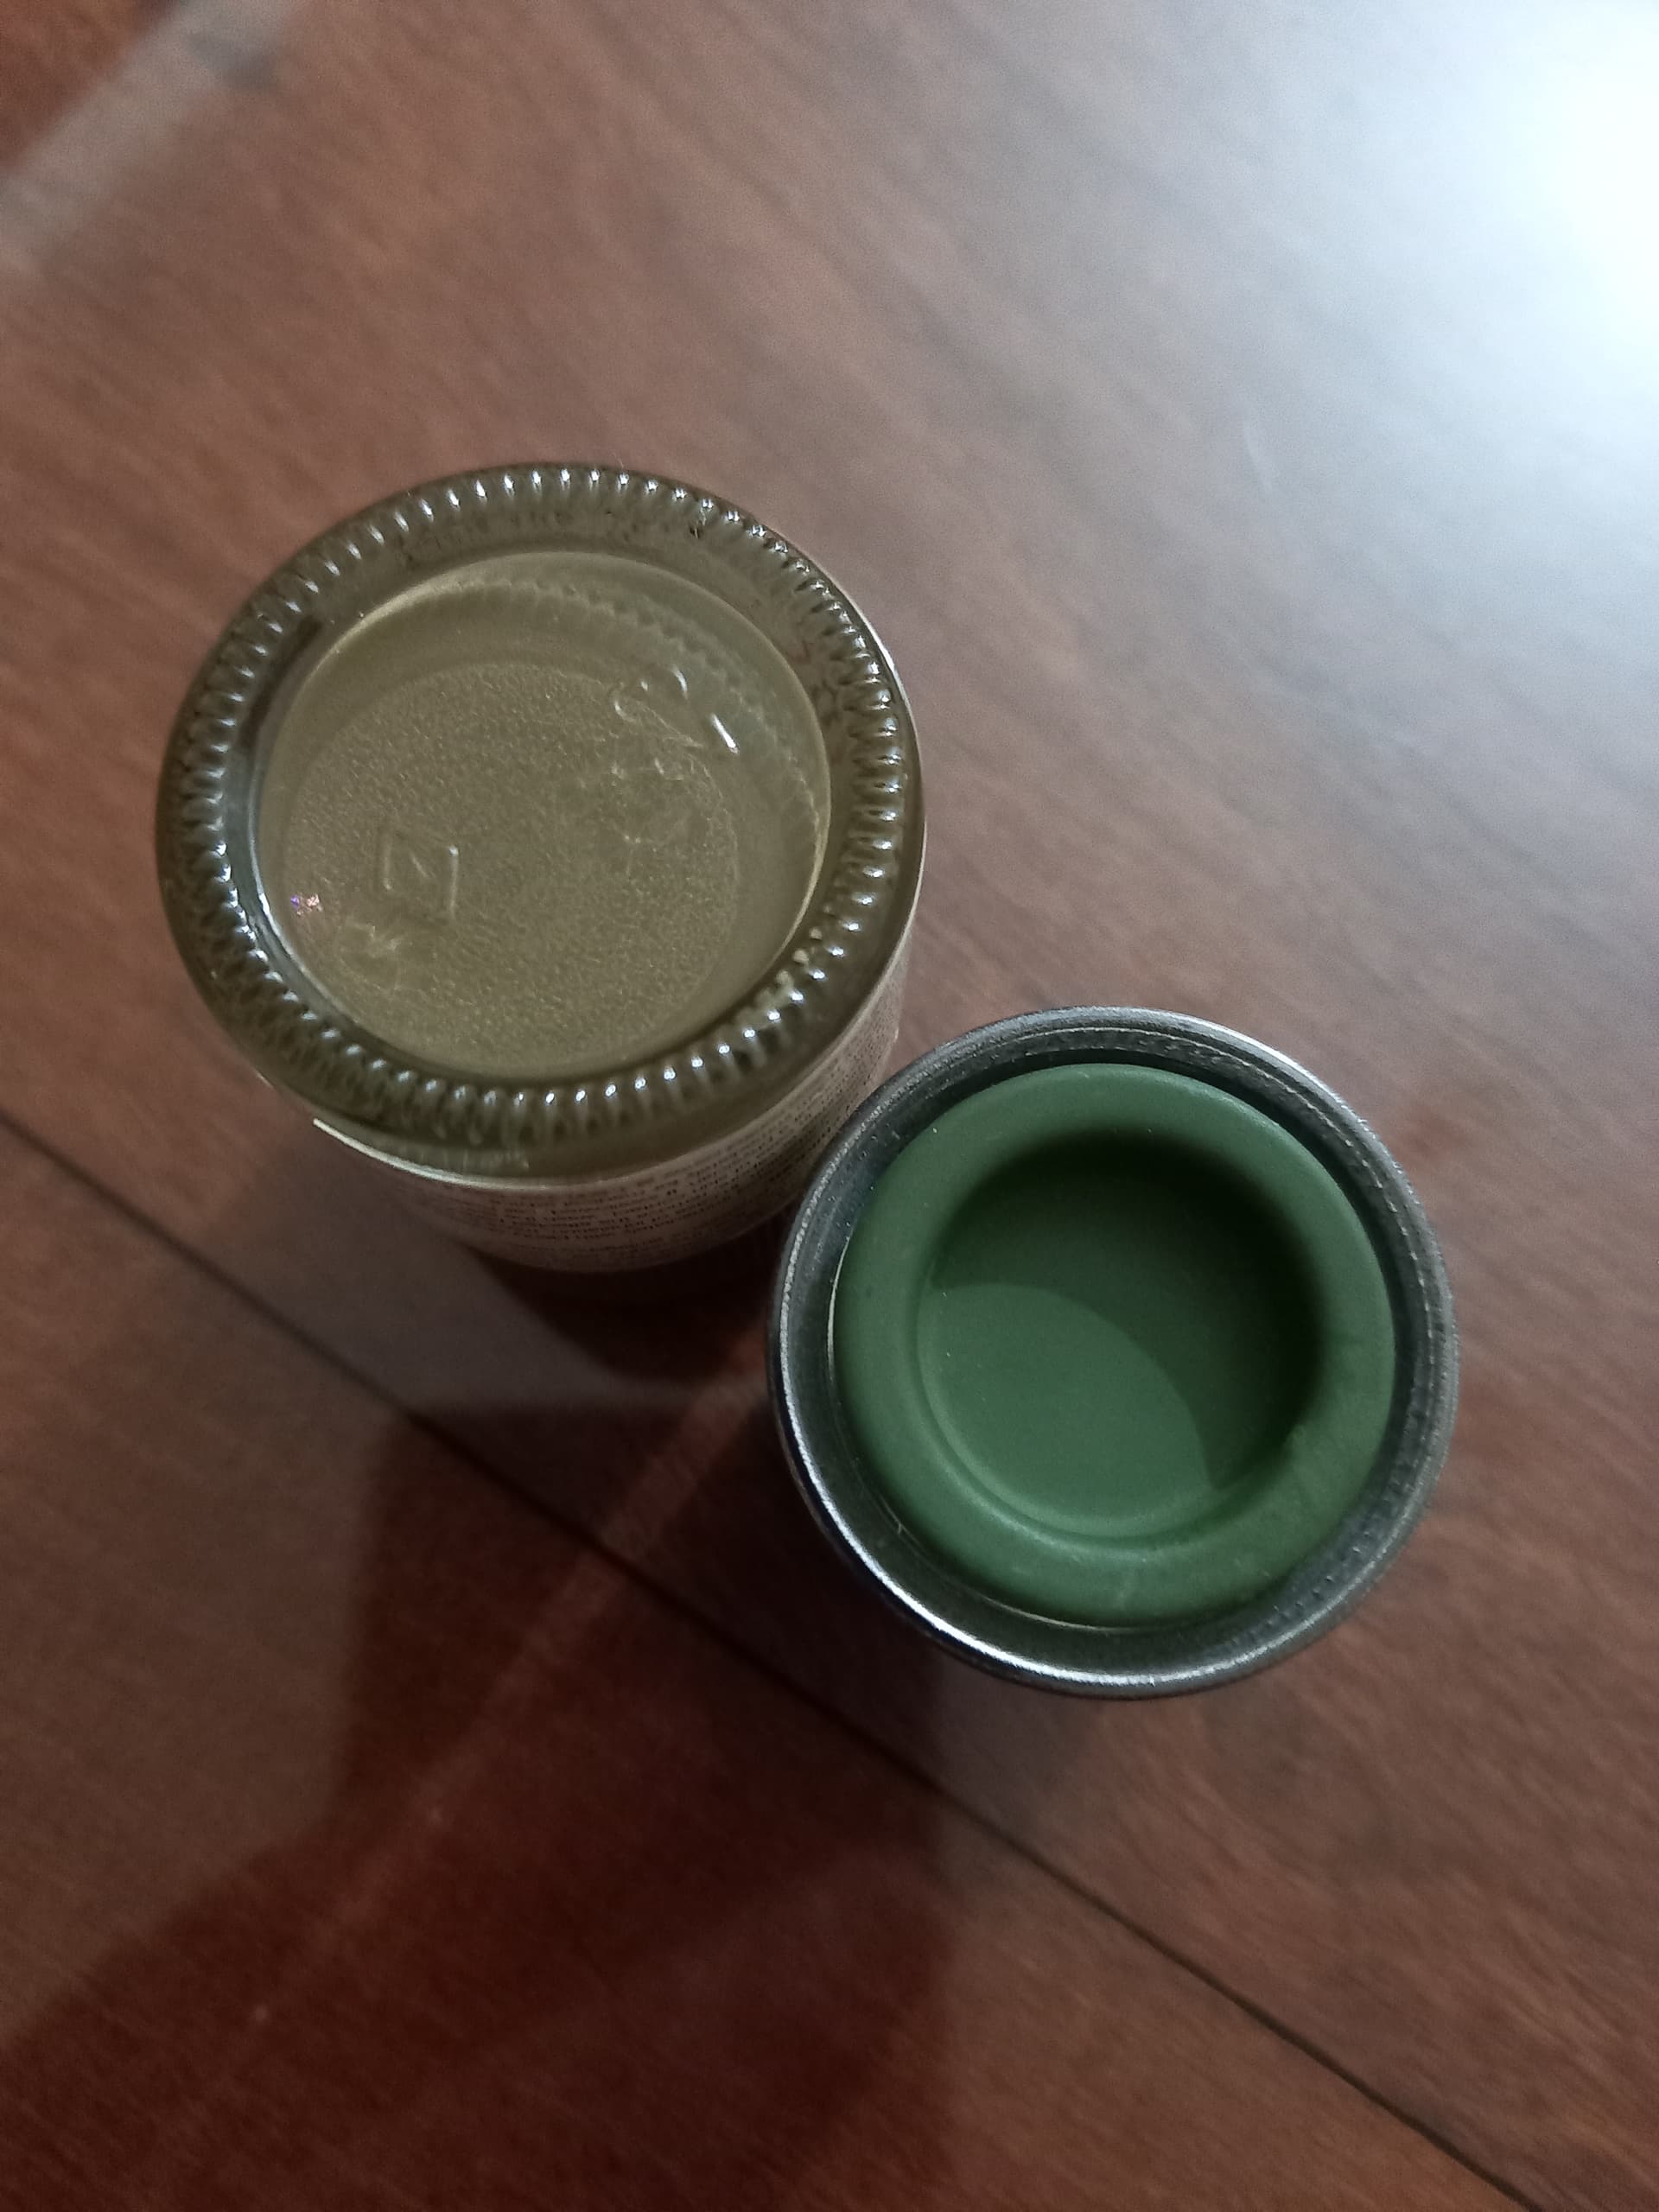
The colors are going to be Rainbow 38 (Cockpit Green) and XF 49, Tamiya Khaki
I never heard of Rainbow, so I had to look it up. An Italian brand, I guess?
Damon.
That’s right, it’s an Italian brand, I never used it. But it’s enamel type, it should be good. we’ll see…
Sometimes depending on how the light gives, the tones change. In this photo, the color looks more like Khaki.
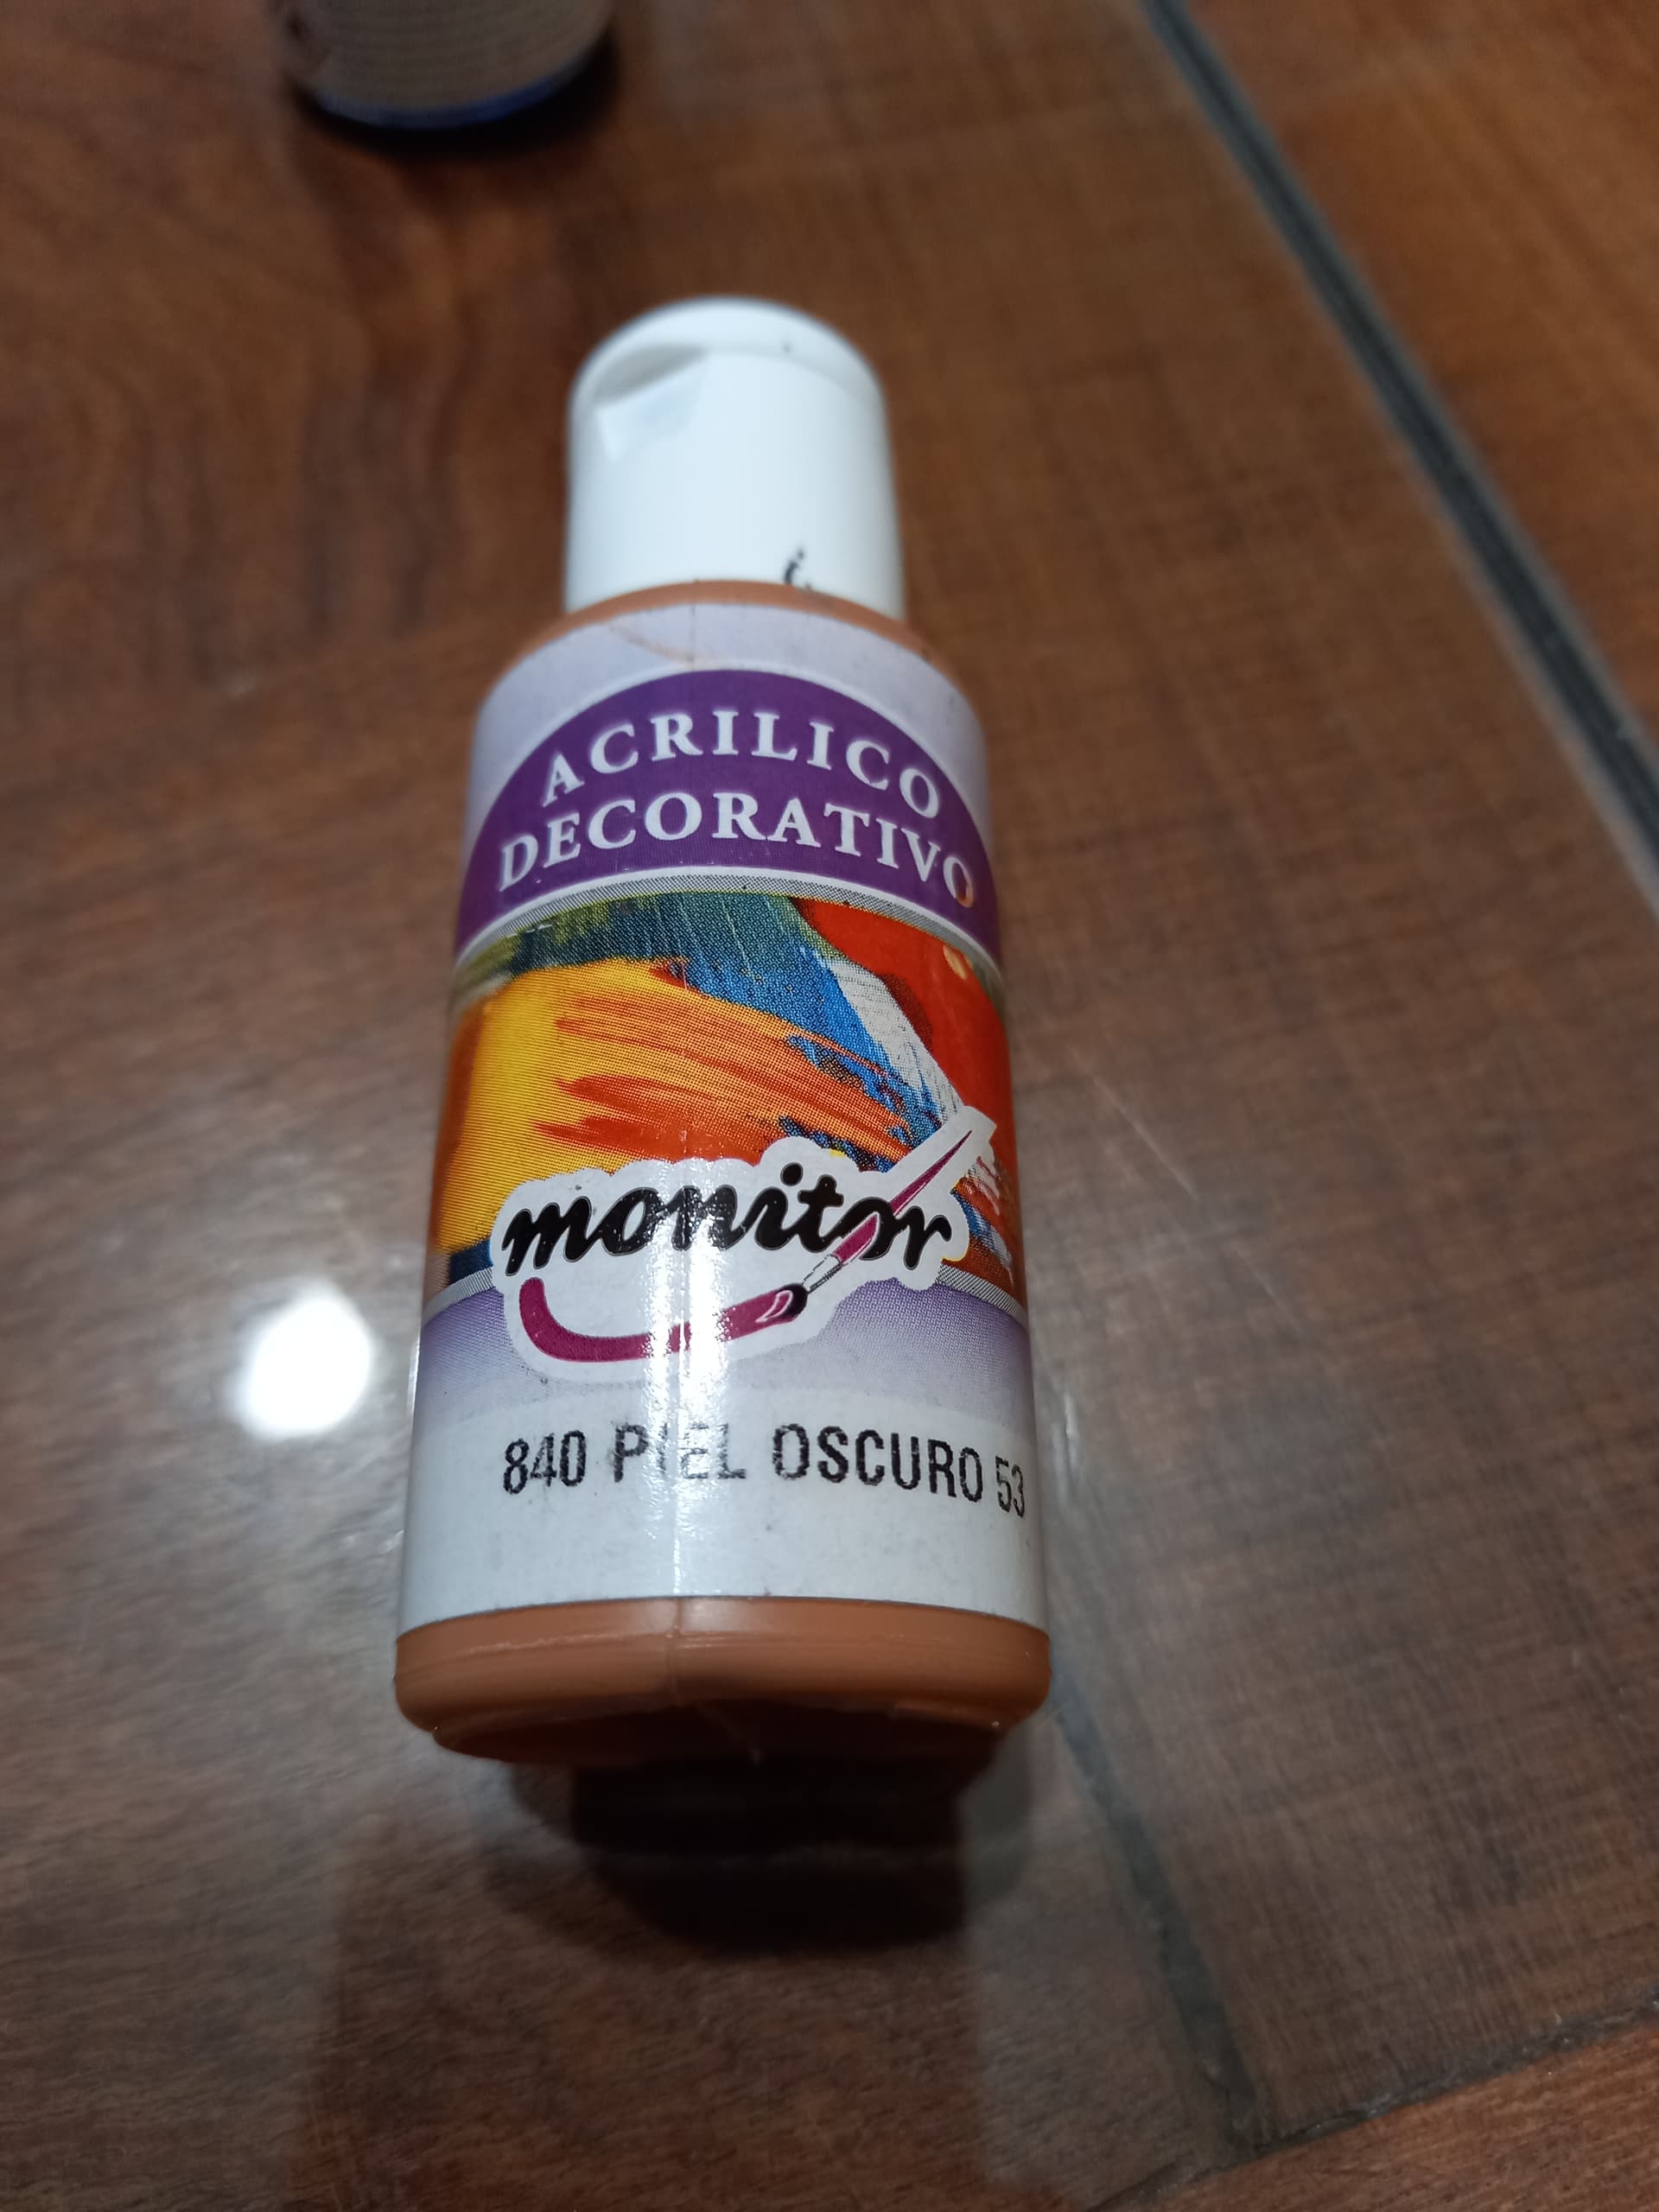
Depending on the tone that comes out, I try to touch it a little with this monitor acrylic. (840 Dark Skin 53)
I calculate that I will define that topic, later.
Regards
Hi All
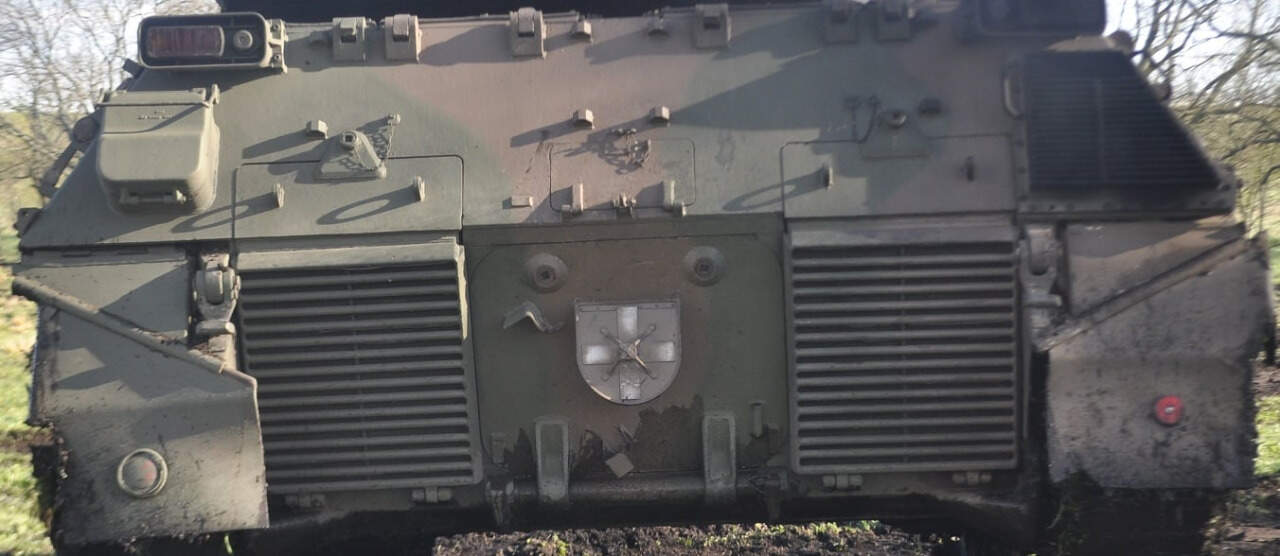
Moving forward with the TAM. A change in the rear lights, corrected as they are the real thing. I think they were quite similar, complete the sides and some other little detail to make it the closest thing to the real thing…
Regards, Omar
6 Likes
Hi
Adding a few pieces to the tail of the TAM…
Regards
4 Likes
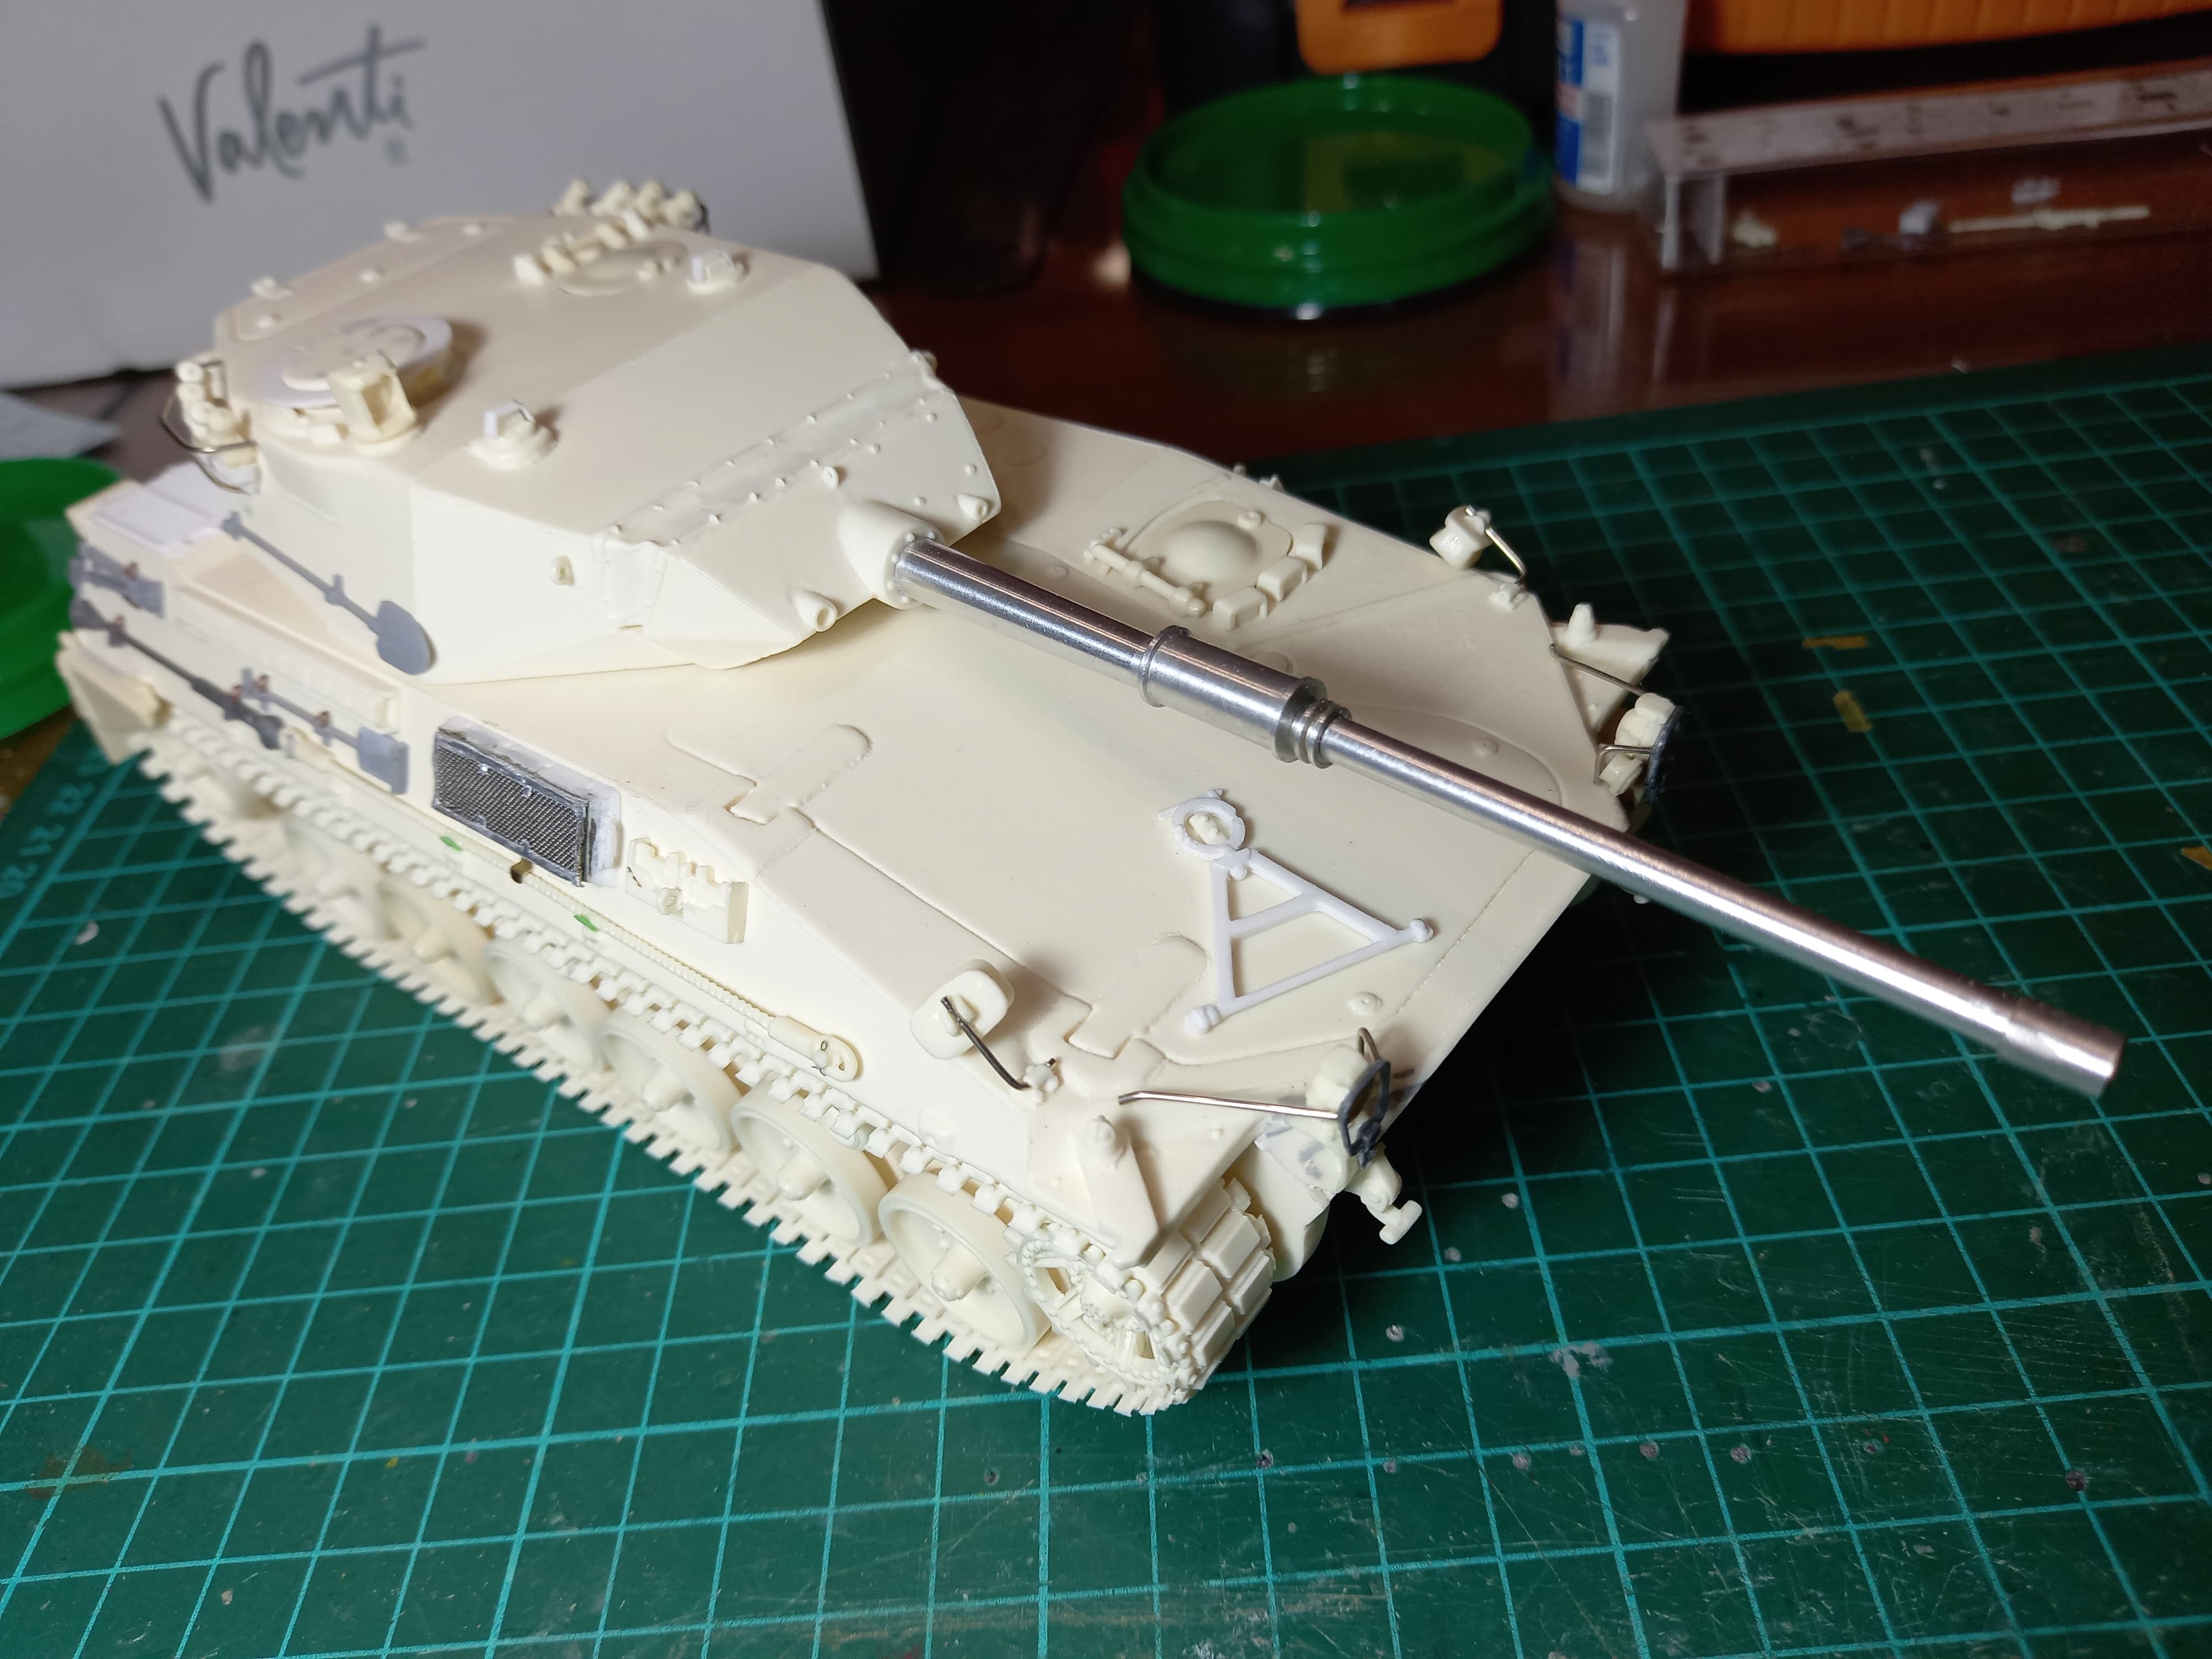
More progress with the TAM, less to go…
Regards, Omar
8 Likes
Thanks for the info, Omar. Those colors look good for the TAM.
Excellent progress with the build. That model is minutes away from painting.
1 Like
Thanks Tom, by your comment 
Ready for colors…
Regards, Omar
9 Likes