How time flies, as it’s actually time for another update.
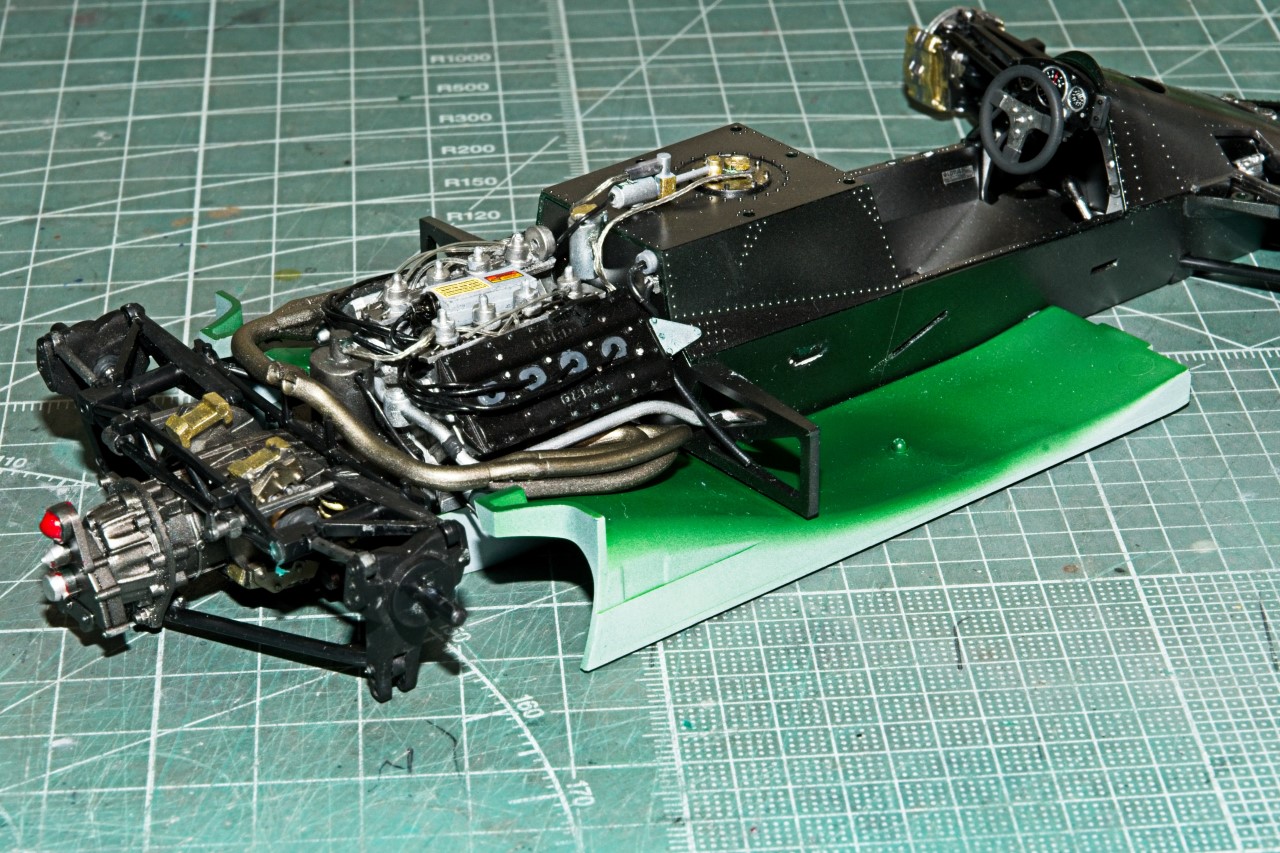
As you recall in my last update I said that I’d continue with painting/metallizing the exhaust pipes. Since i’ve already primed them as well as a base coat of Alcad2 Dark Aluminum, a quick cleaning of my airbrush and this time loaded it with Tamiya’s X-31 Titanium Chrome but thinned it 2 parts LC to 1 part paint, then using just lite quick coats, built up the sort of transparent color till I liked the effect. Not perfect by any means, but way better then my usual various shades of Alcad2 Aluminums. Here’s basically the same pic as in the last update with the headers painted and added.

I didn’t pay much attention to the few ejector marks, as the bottom view won’t be visible once the model is in it’s display case.
Next up was attaching the engine/transaxle/rear suspension assembly to the chassis backplate. Tamiya has this exposed clip with a slot above it for the reverse of the clip plus a small circular recess that it’s counter part on the engine front plate slides into. Looks easy enough for even me to accomplish, especially since no glue is needed. Well it took me a good 1/2 hour to finally insert the front engine bulkhead clip into the chassis rear plate, then using more pressure then I thought wise pushed the engine in till it stopped, made sure that everything looked basically aligned, took a deep breath and PUSHED down hard enough that the engine actually started to slide into the slot this time. Then there’s actually a clicking noise, and it’s in, secure, and nothing broke except for the nth time my finger managed to break the lever assembly on the top side of the cockpit.
In my excitement, I totally forgot to take a quick grab shot of the big occasion.
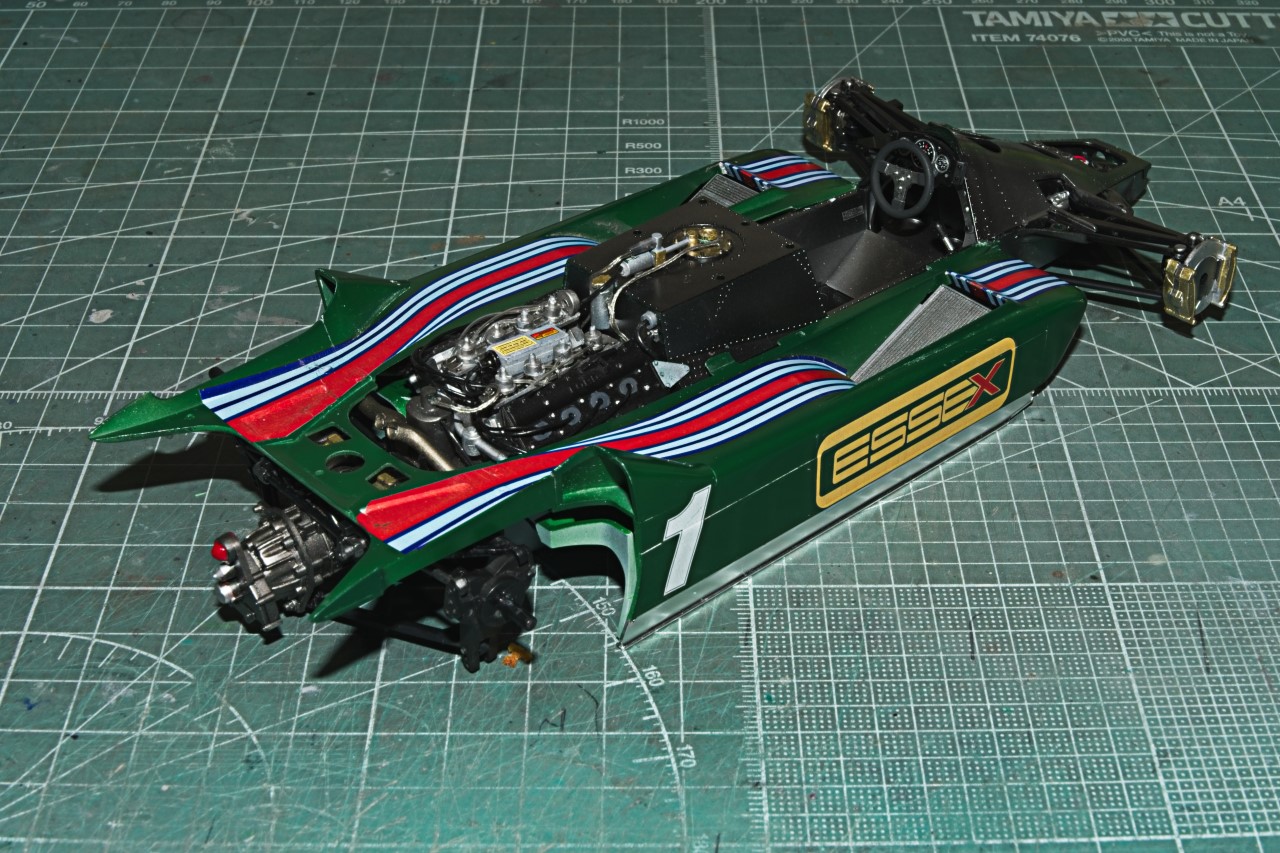
I quickly moved on to test fitting and then gluing in the bottom section of the body that contains the 2 Venturi tubes. The quick over coat Green paint is the result of starting to paint it when I realized that there’s no way anyone will ever see it, so I just stopped.
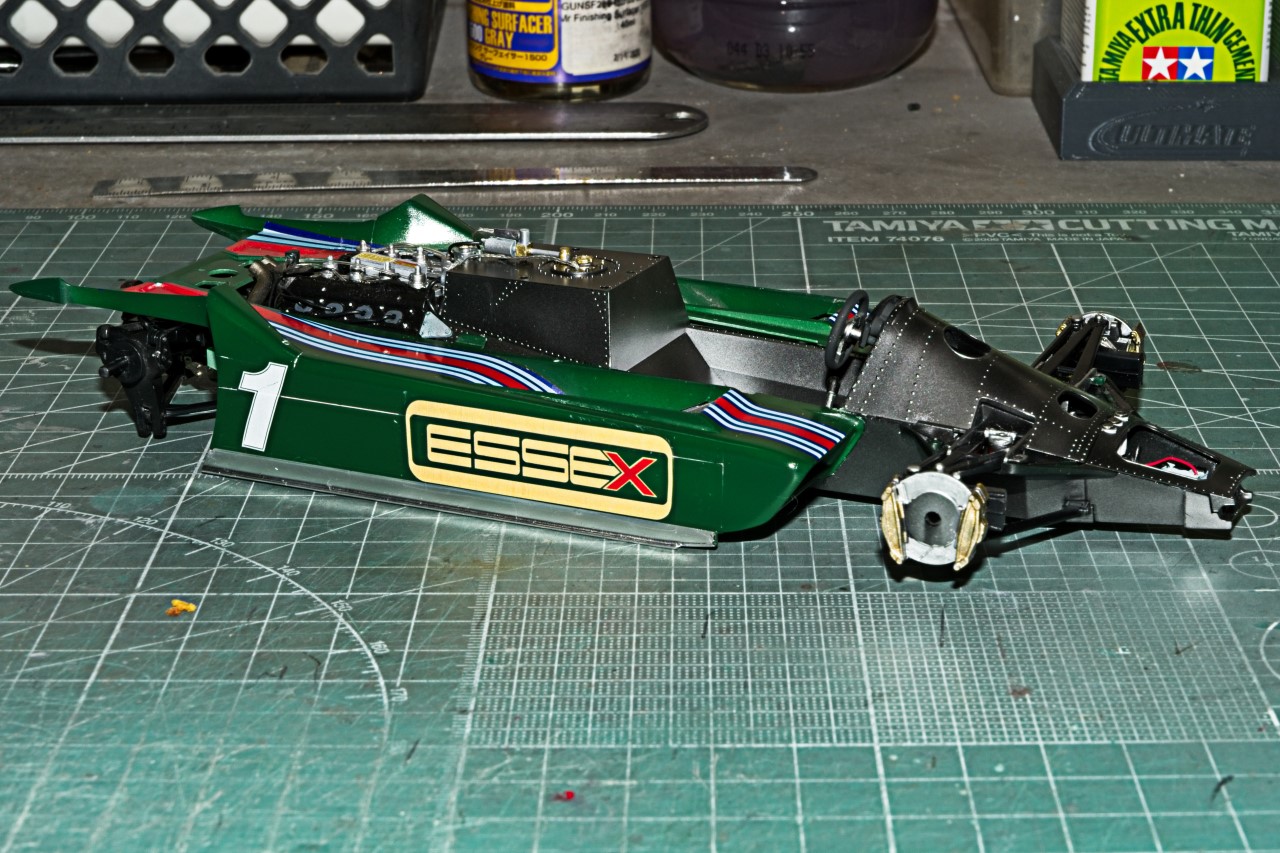
Now comes the make it or break it main body section. My goal was to get it to fit without needing any added external pressure that could cause the body to warp. I was close, but after painting, clear coat, it just didn’t fit like a glove. More like a glove one size to small. Slowly and carefully I found and worked the few issue areas till it once again fit. the only issue is that the noise section while aligning correctly, just wouldn’t lay flat. So I had to concede to the fact that the top section won’t be removal, or won’t be attachable. I opted for the won’t be removable. So the only main body panel that will be removable is the large engine cover when I get to it.

Thanks to all for stopping by and checking out my progress to date. As usual, it’s always appreciated.
joel