Just a quick update on my progress to date.
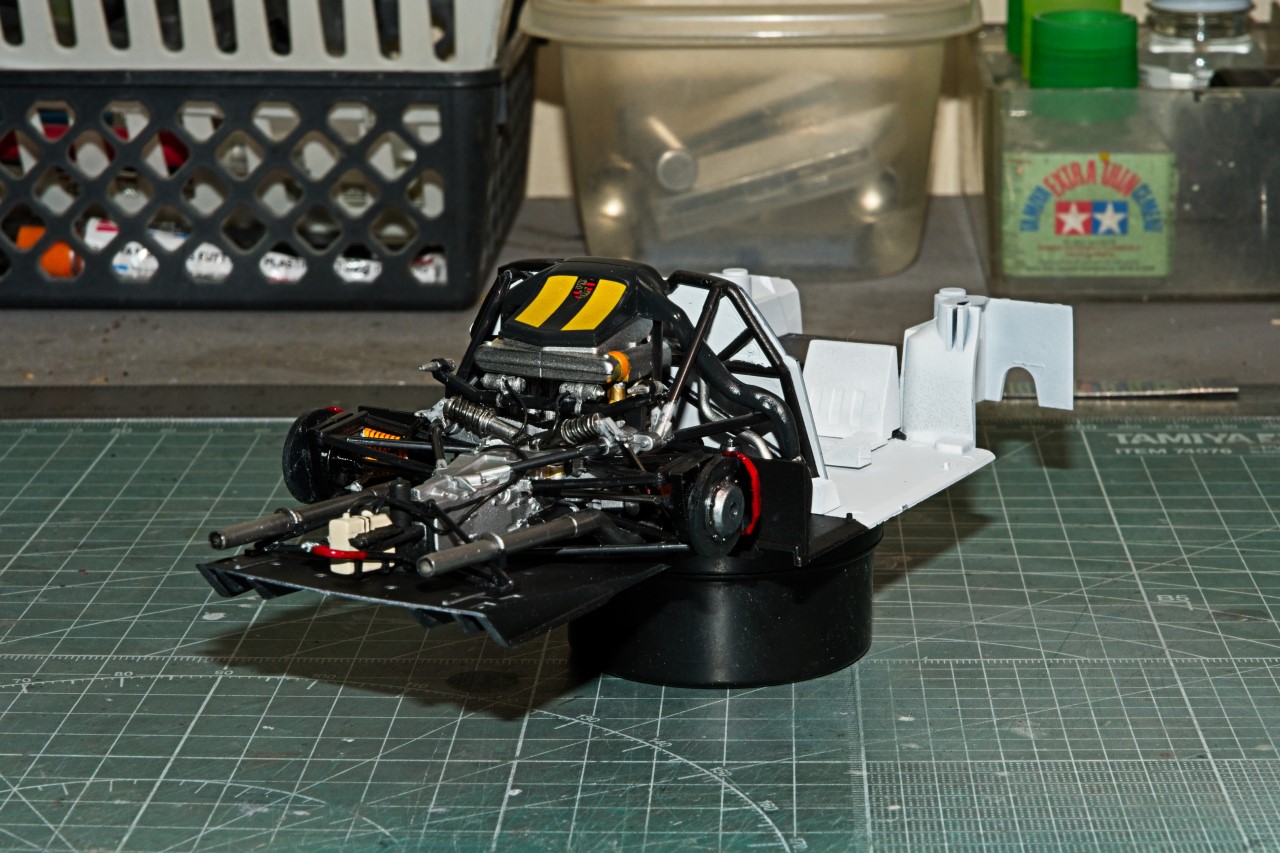
I decided that I’ve added as much detail to the engine/transaxle/rear suspension as I feel is needed for my enhanced type of builds. So now comes the “fun” part of getting all those engine attachment rods to correctly align with the rear cockpit bulkhead. And just to make it a little more interesting, the boys from Stuttgart decided that the bulkhead needs to be angled rearwards to help support the driver’s seat(?). Well, that’s the only theory I can come up with.
Tamiya decided to mold the chassis tubing as part of the back of the bulkhead. Of course for some unknown reason the factory cars had the back of the bulkhead painted White, while the front was kind of a semi gloss Black as the drivers cockpit was literally a two tone affair. The real challenge is that the tubing is a semi gloss black. The only way I could even contemplate painting the tubing was to 1st prime the bulkhead my own very light gray mixture of Tamiya primers. Then I air brushed on Mr. Color Flat White. Once dry I needed to mask the tubing from the bulkhead so that I could air brush the tubing Mr. Color Semi Gloss Black. Well, this turned out to me another masking job from Hell. Took more then a solid hour to get it to this:
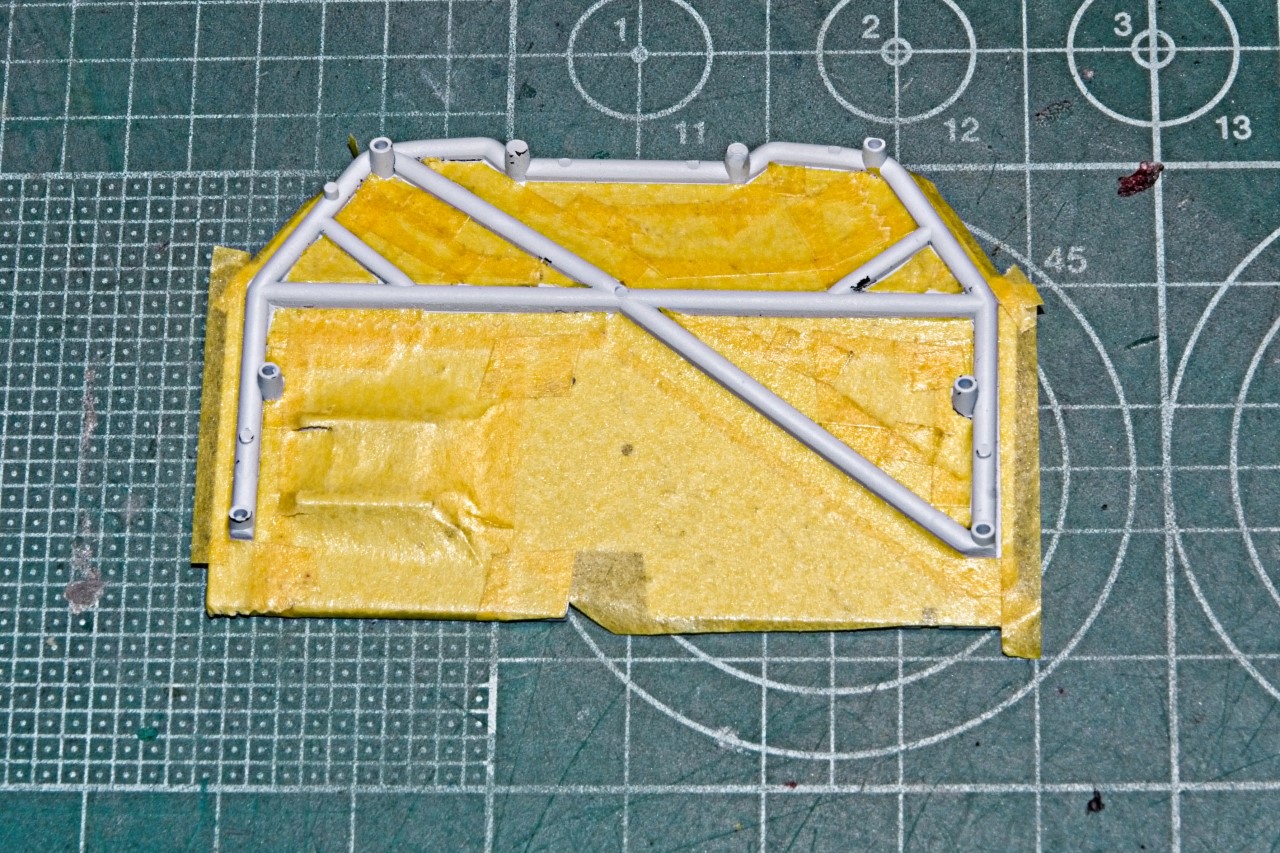
Looks darn good, but I did get paint leakage in several spots. I was going to try and touch up as needed, but a good 75% of the back of the bulkhead can’t be seen, and the rest is in shadows. Painting took all of 10 min, and removing the tape took less then 5 min. Sure wish that applying it fit into that time range.
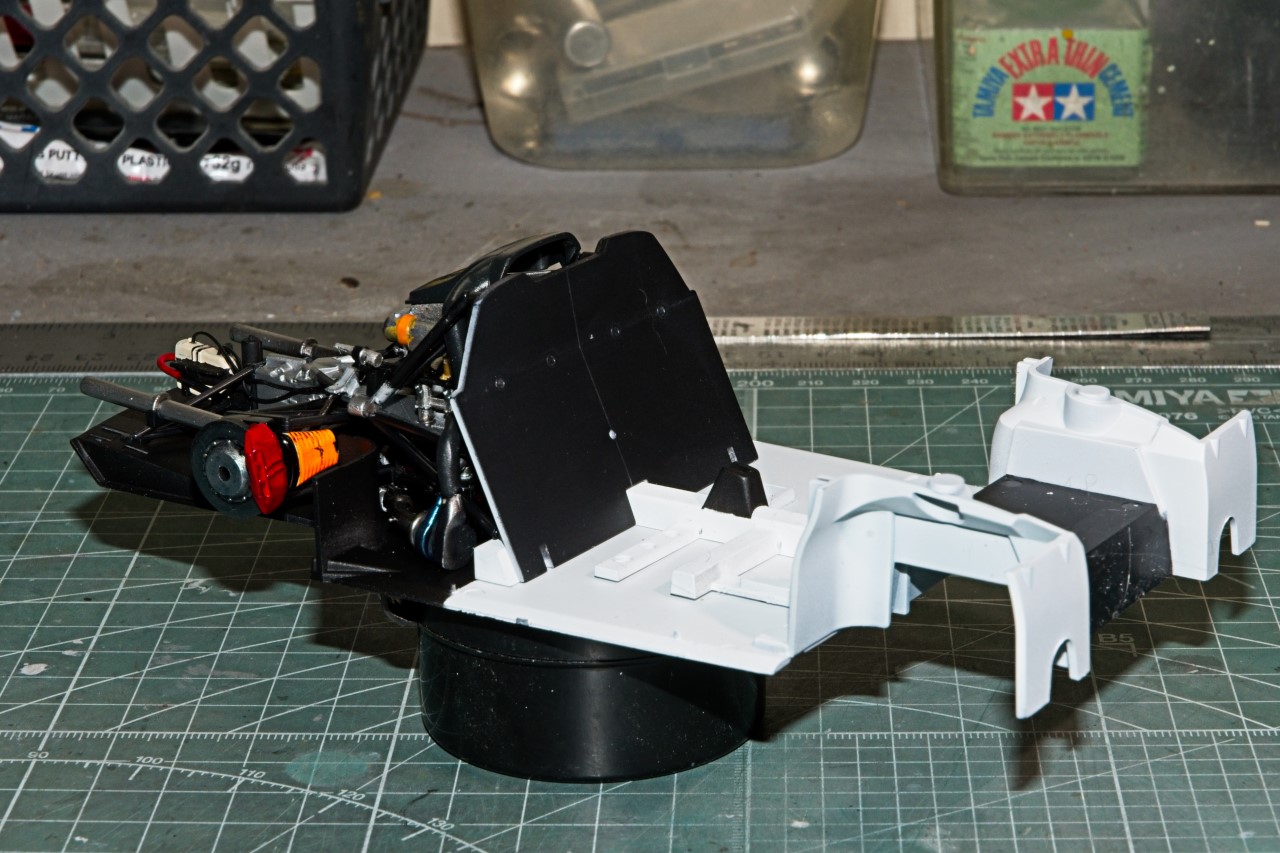
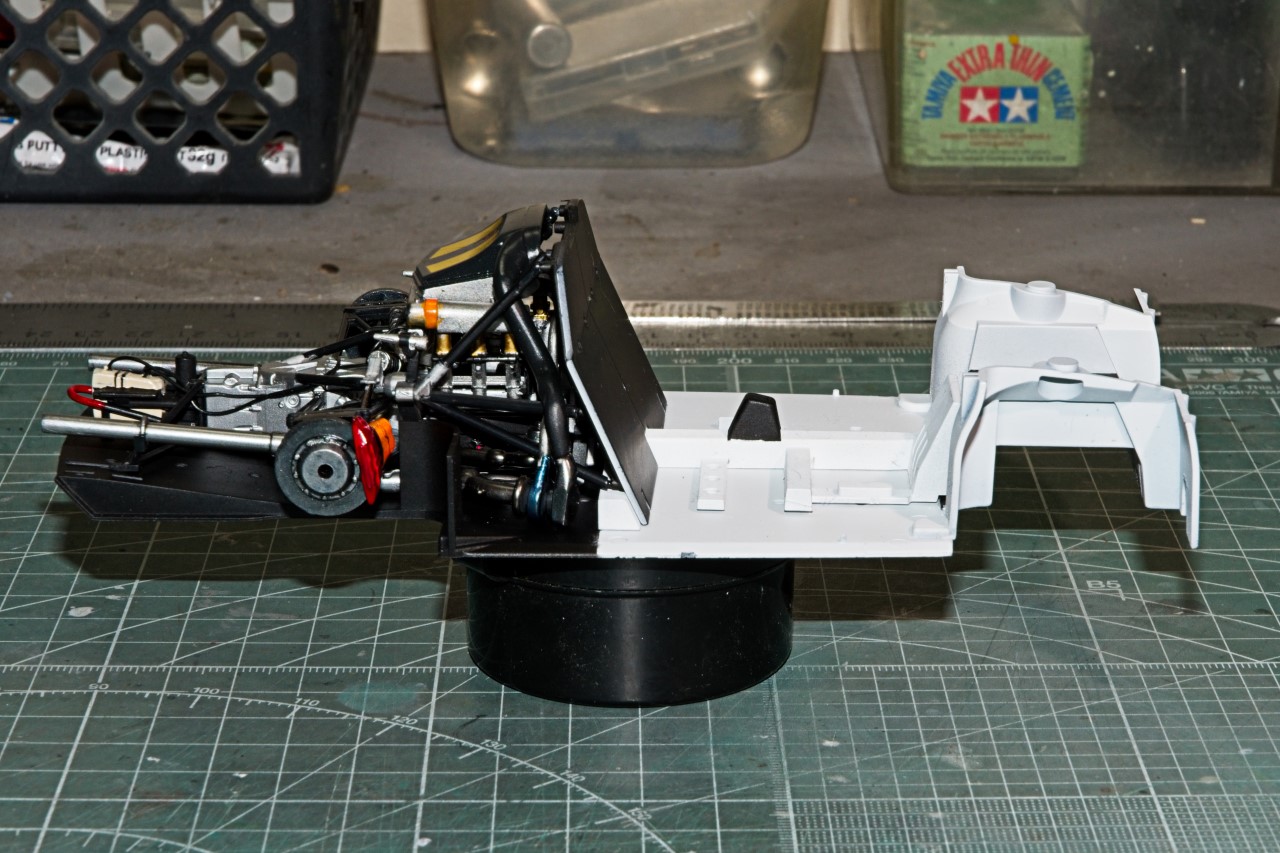
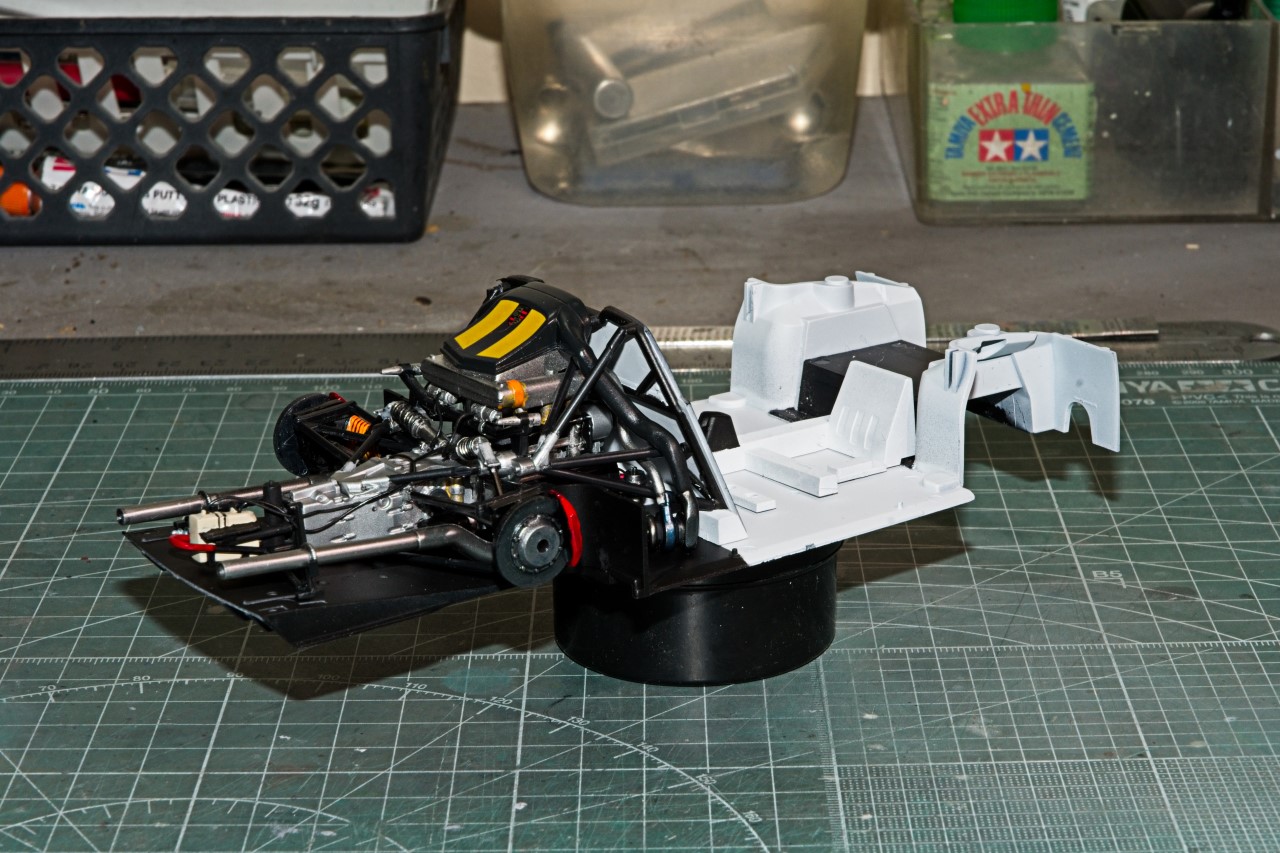
A few hours later I carefully aligned the bulkhead to the upper mounting rods and to my surprise all the others auto aligned. Never thought that would happen.
I let the glue set overnight, then dry fitted the cockpit floor channel structure, then the engine assembly. Took a few wiggles but it fits just fine. Wonders will never cease to amaze me.
joel