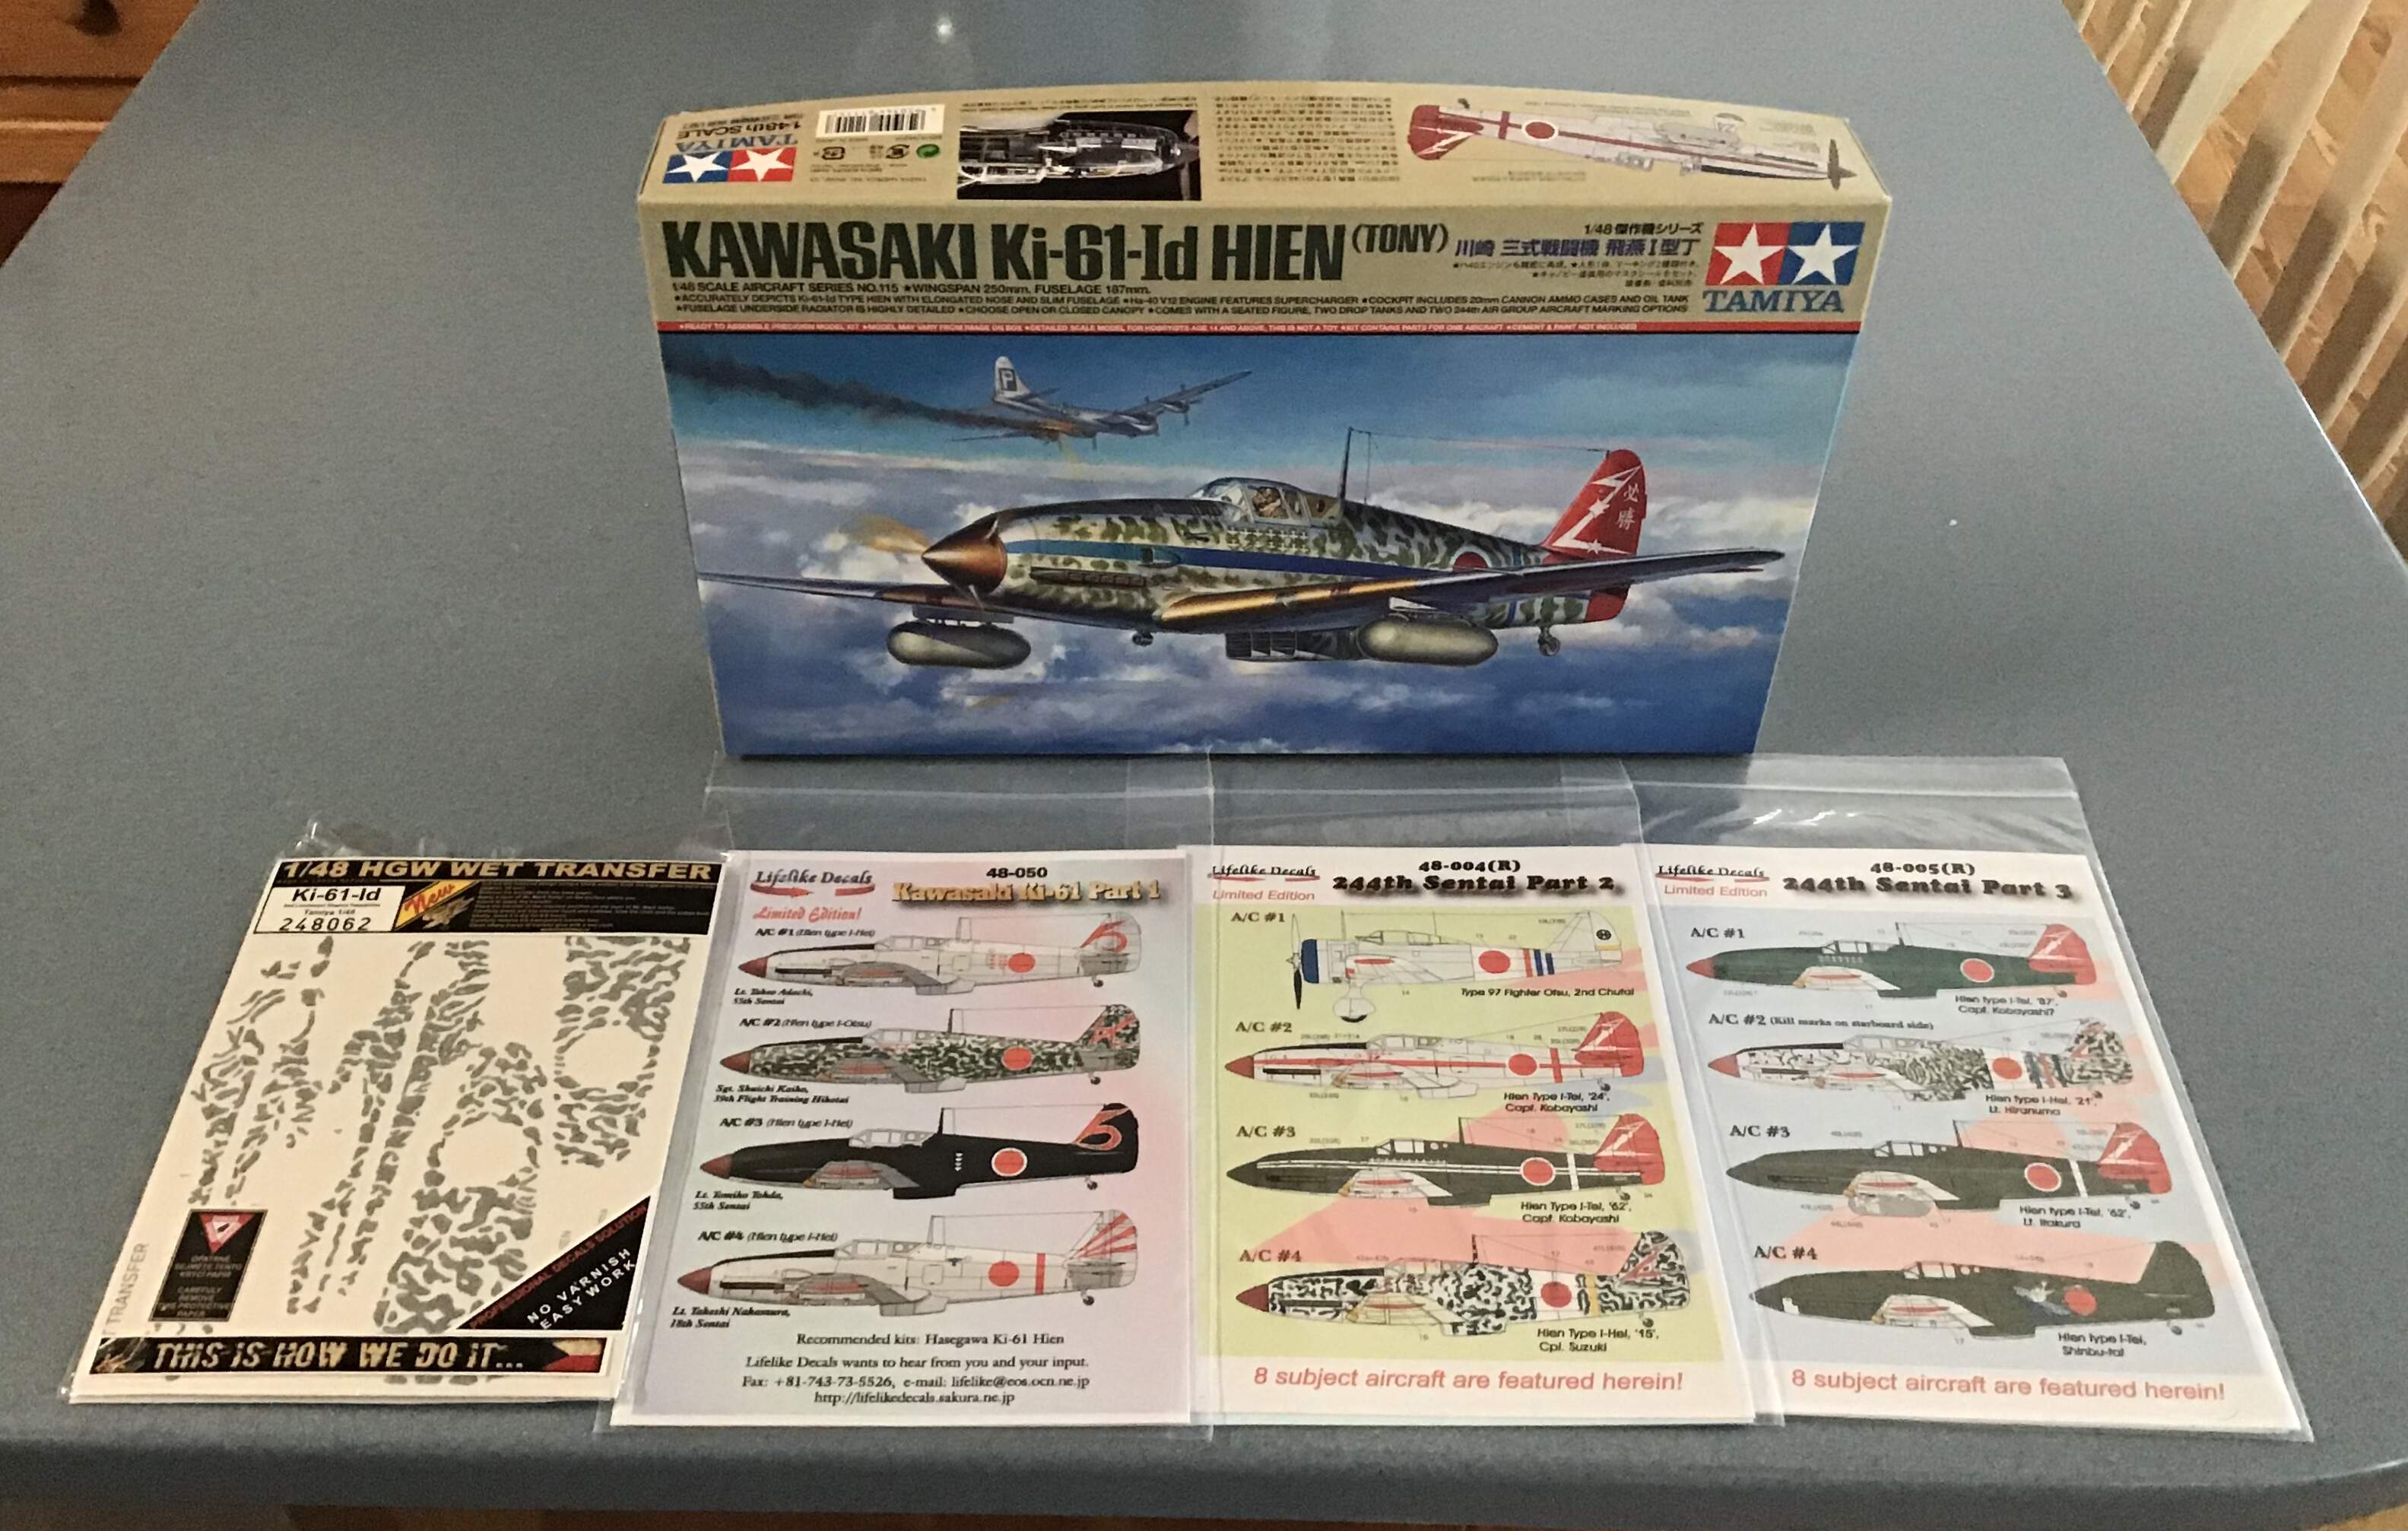
Hi all - Finishing up the Zero this morning after a 5 month effort so diving right in on this while the mojo is still strong.
Have heard nothing but superlatives about this kit so I am looking forward to a pallet cleansing OOB build.
I am anxious to try the HGW wet transfers for the camo - new ground for me. I have a nice selection of Lifelike aftermarket decals but unfortunately the wet transfers are engineered to work with the kit decals so that’s the way I’ll go .In order that the aftermarket decals don’t go to waste the only sensible thing to do is buy a few more Ki -61 kits , right ? Hmm…
2 Likes
Richard,
I’ll be following your build for sure. The Zero with the flight deck is just simply amazing, but that’s what I expect from you.
Joel
Richard, for me the Ki-61 is one of the most beautiful machines of Japan and so I’ll have a look over your shoulder for sure. This is my Hasegawa quarterscale Hien from a few years ago, flown by the remarkable Masao Itagaki …
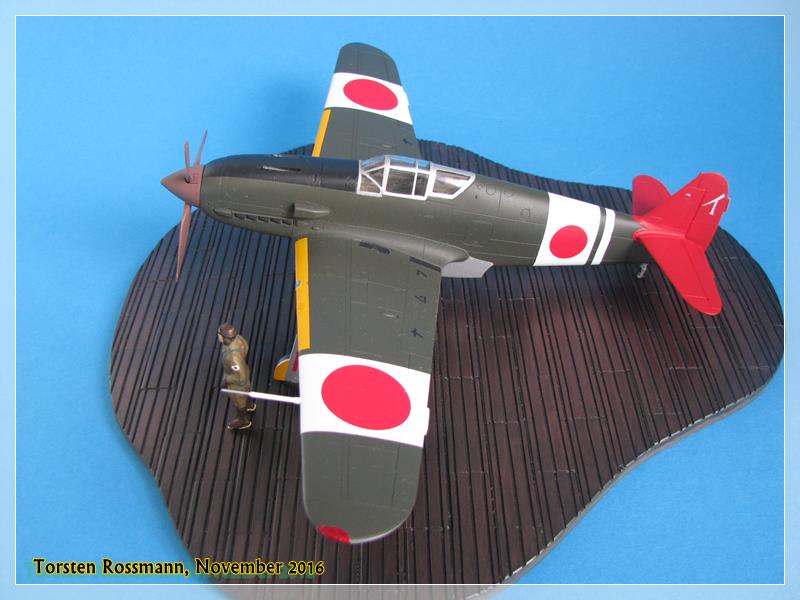
Happy modelling!
Torsten 
2 Likes
Very nice Torsten - thanks for sharing and glad to have you along !
Cheers - Richard
Excellent, will look forward to your build log! I have the exact same kit with a bunch of aftermarket stuff. I haven’t begun this airplane yet, and was planning to wait some time before getting on it (too many other airplanes ‘in the pipeline’ so to speak). Good luck!!
Thanks Curt !
Made some progress here - sort of powering through to get to decals !
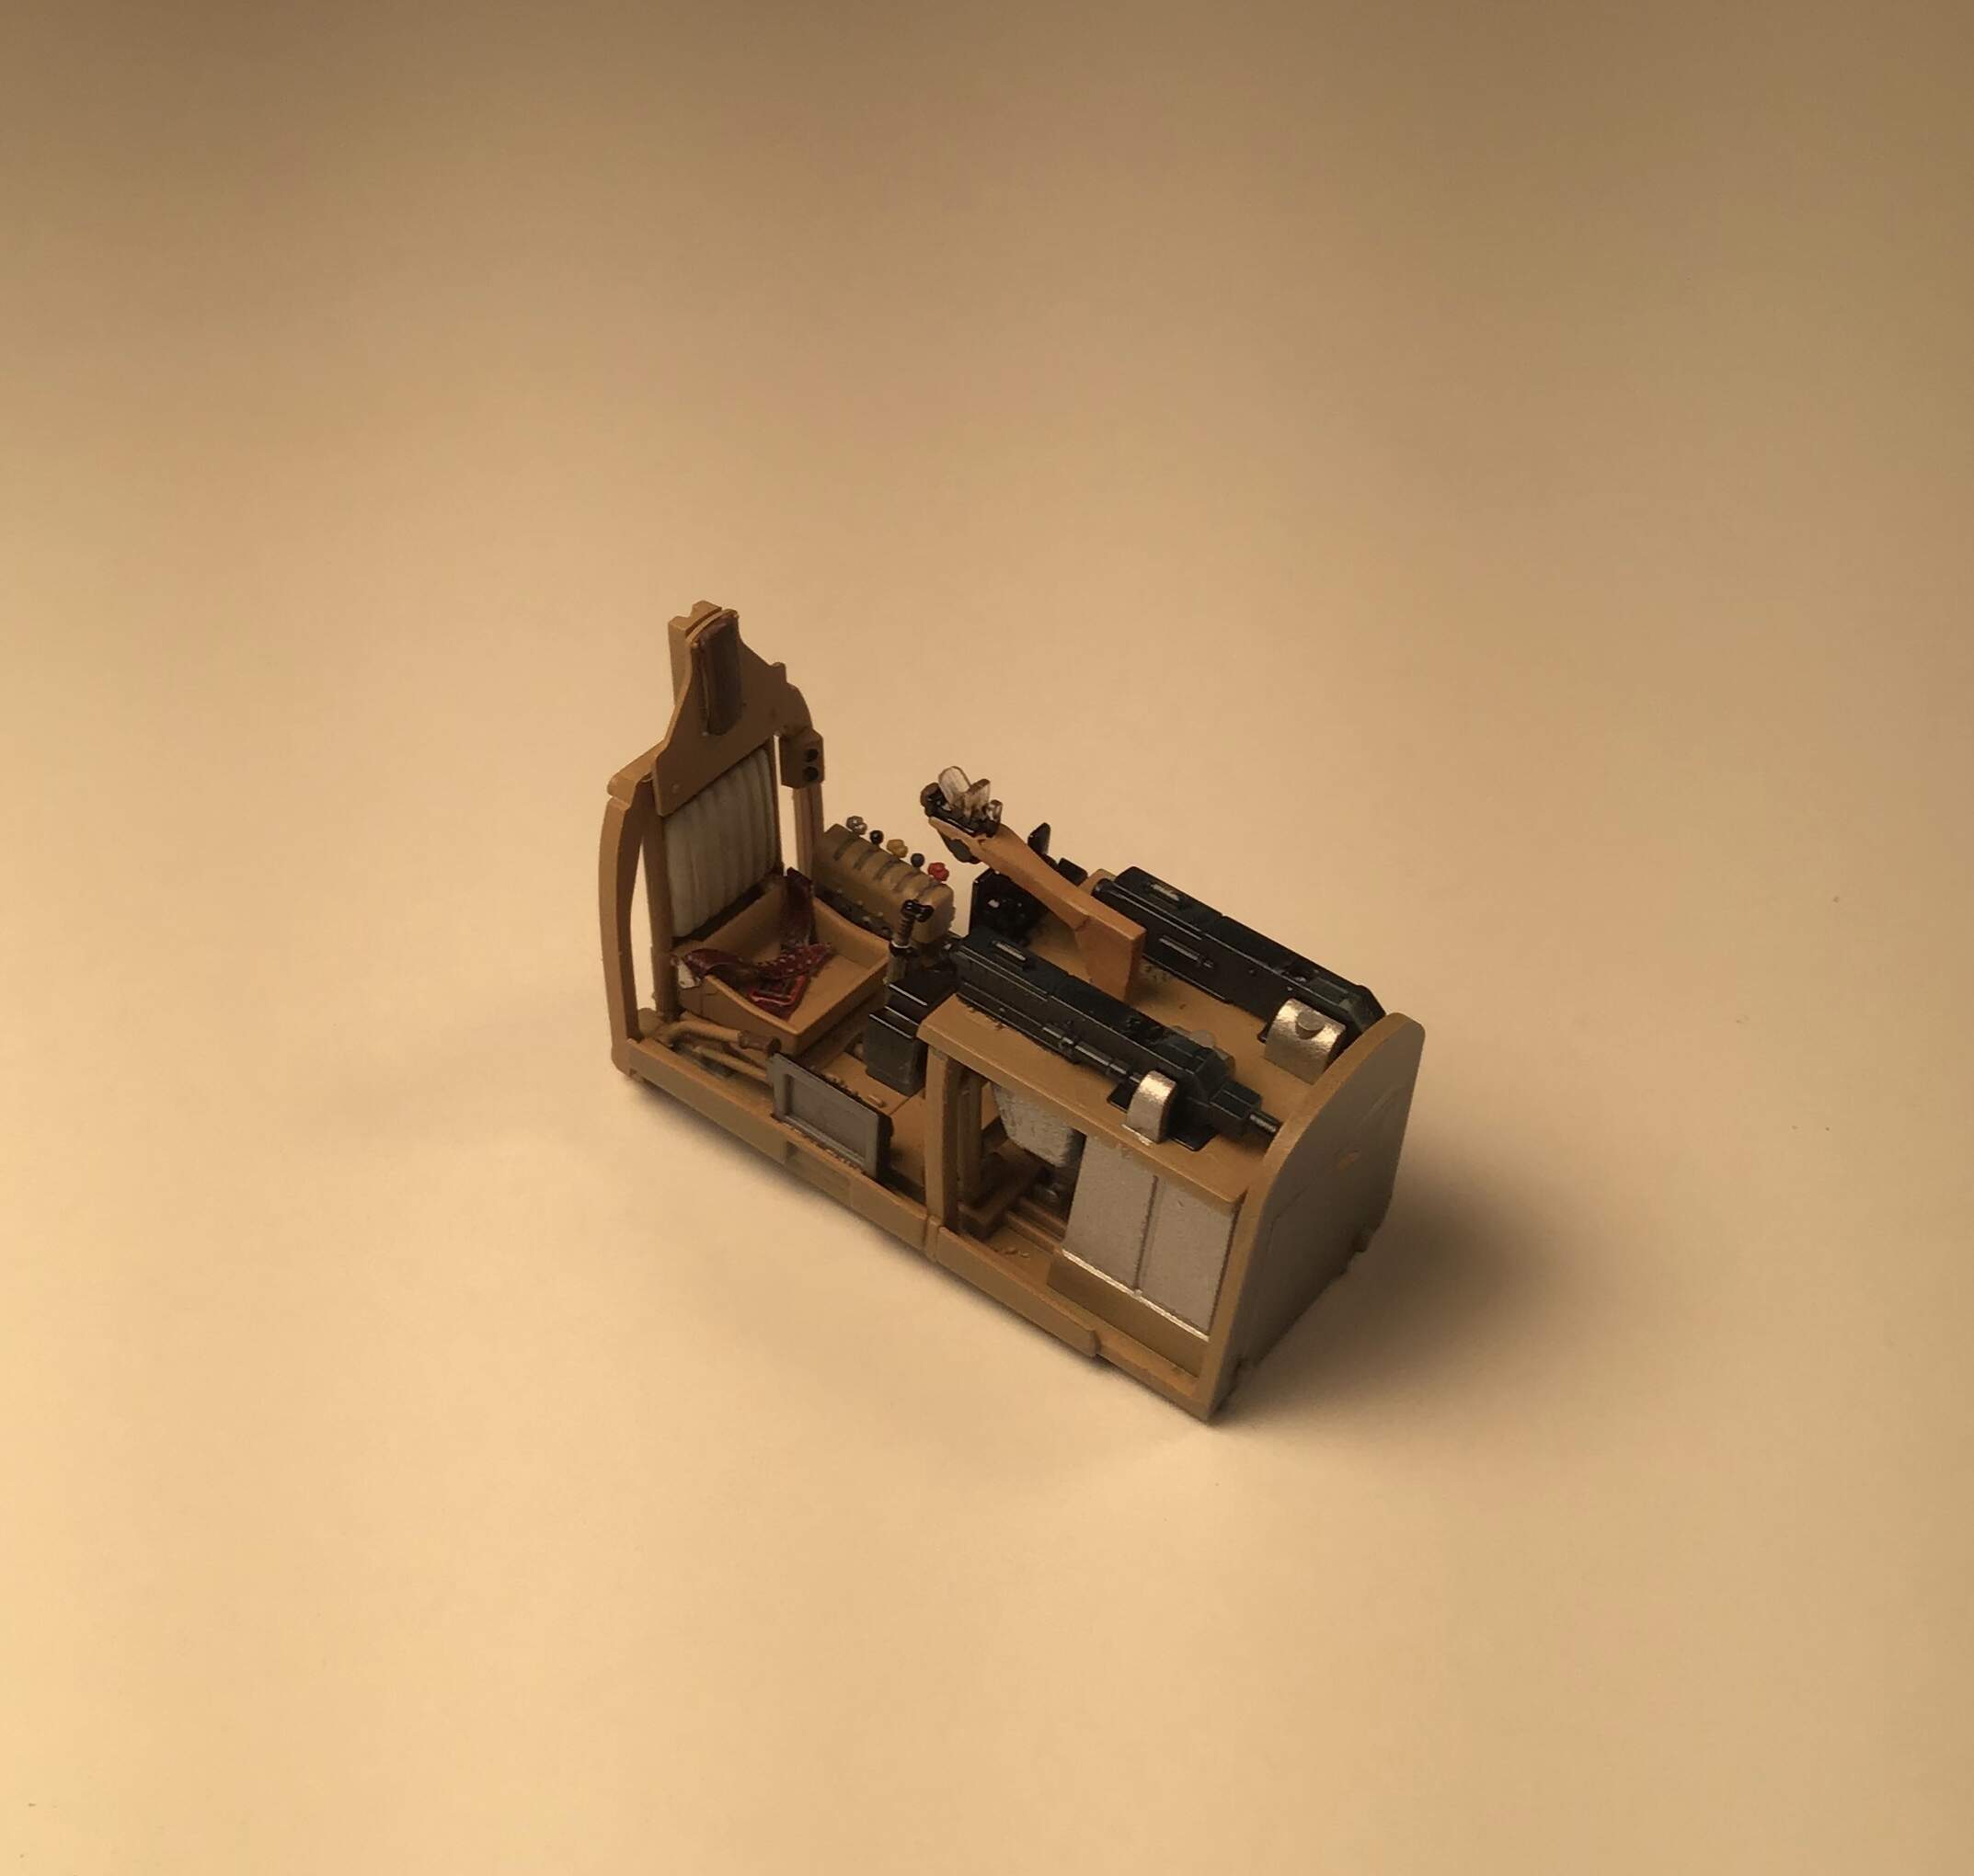
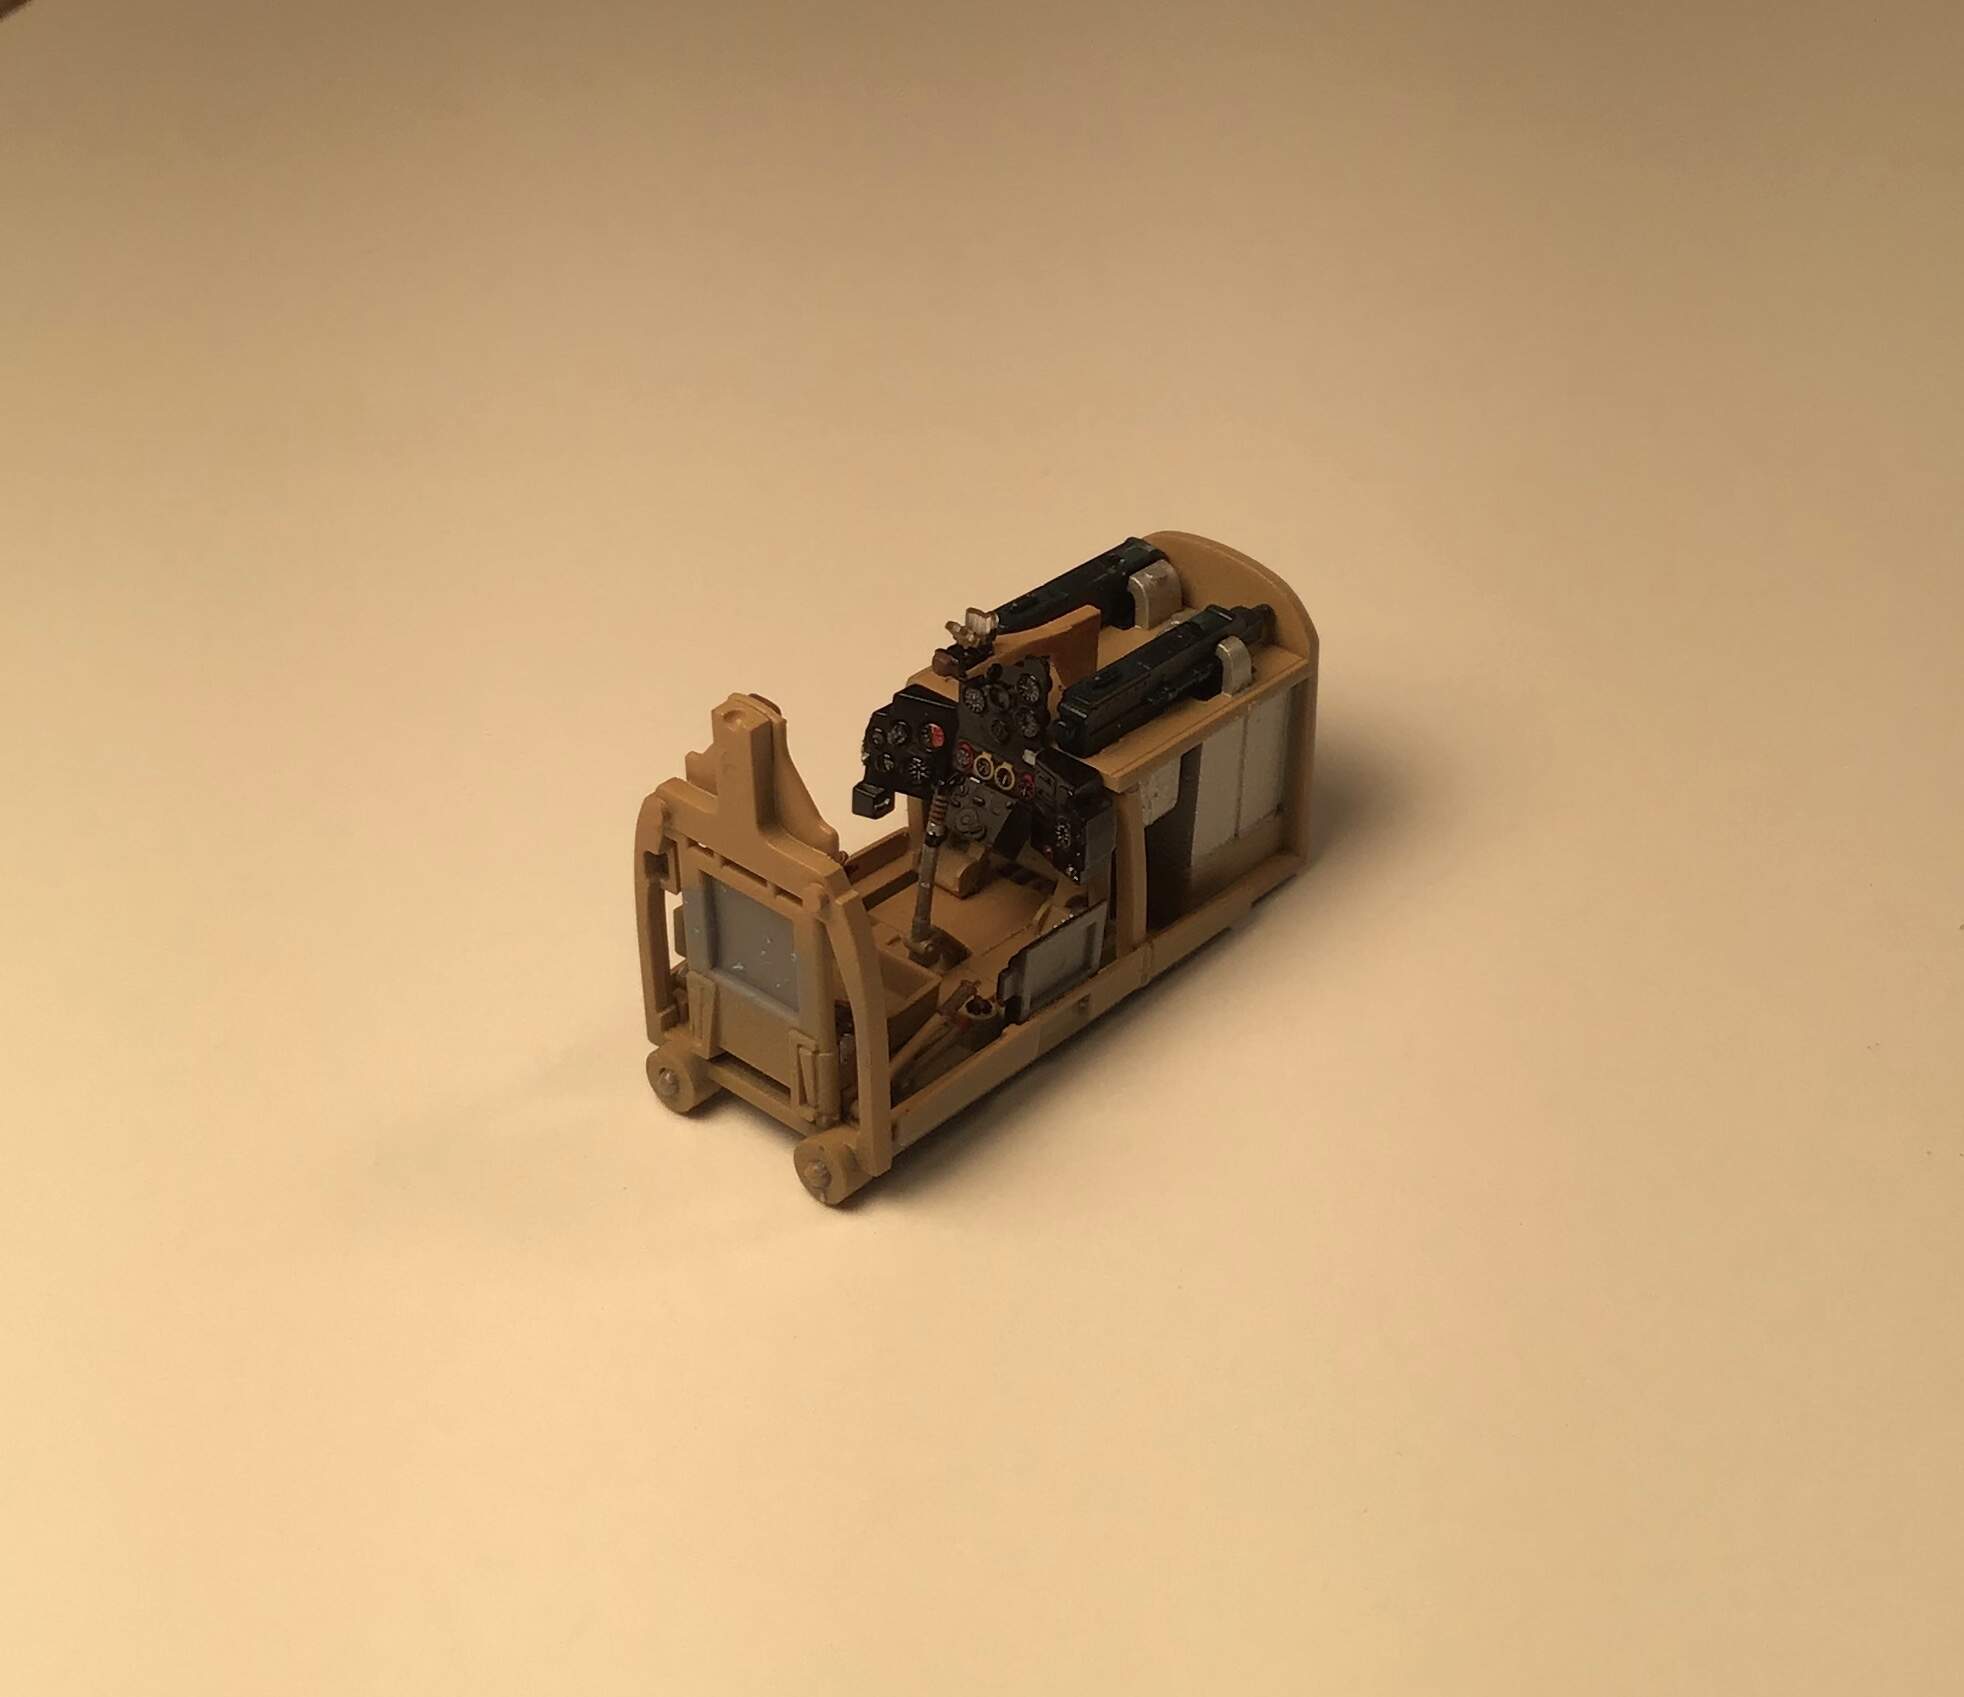
Cockpit done - may be the most colorful one I have seen . Apparently color coding of the controls by systems was the idea .
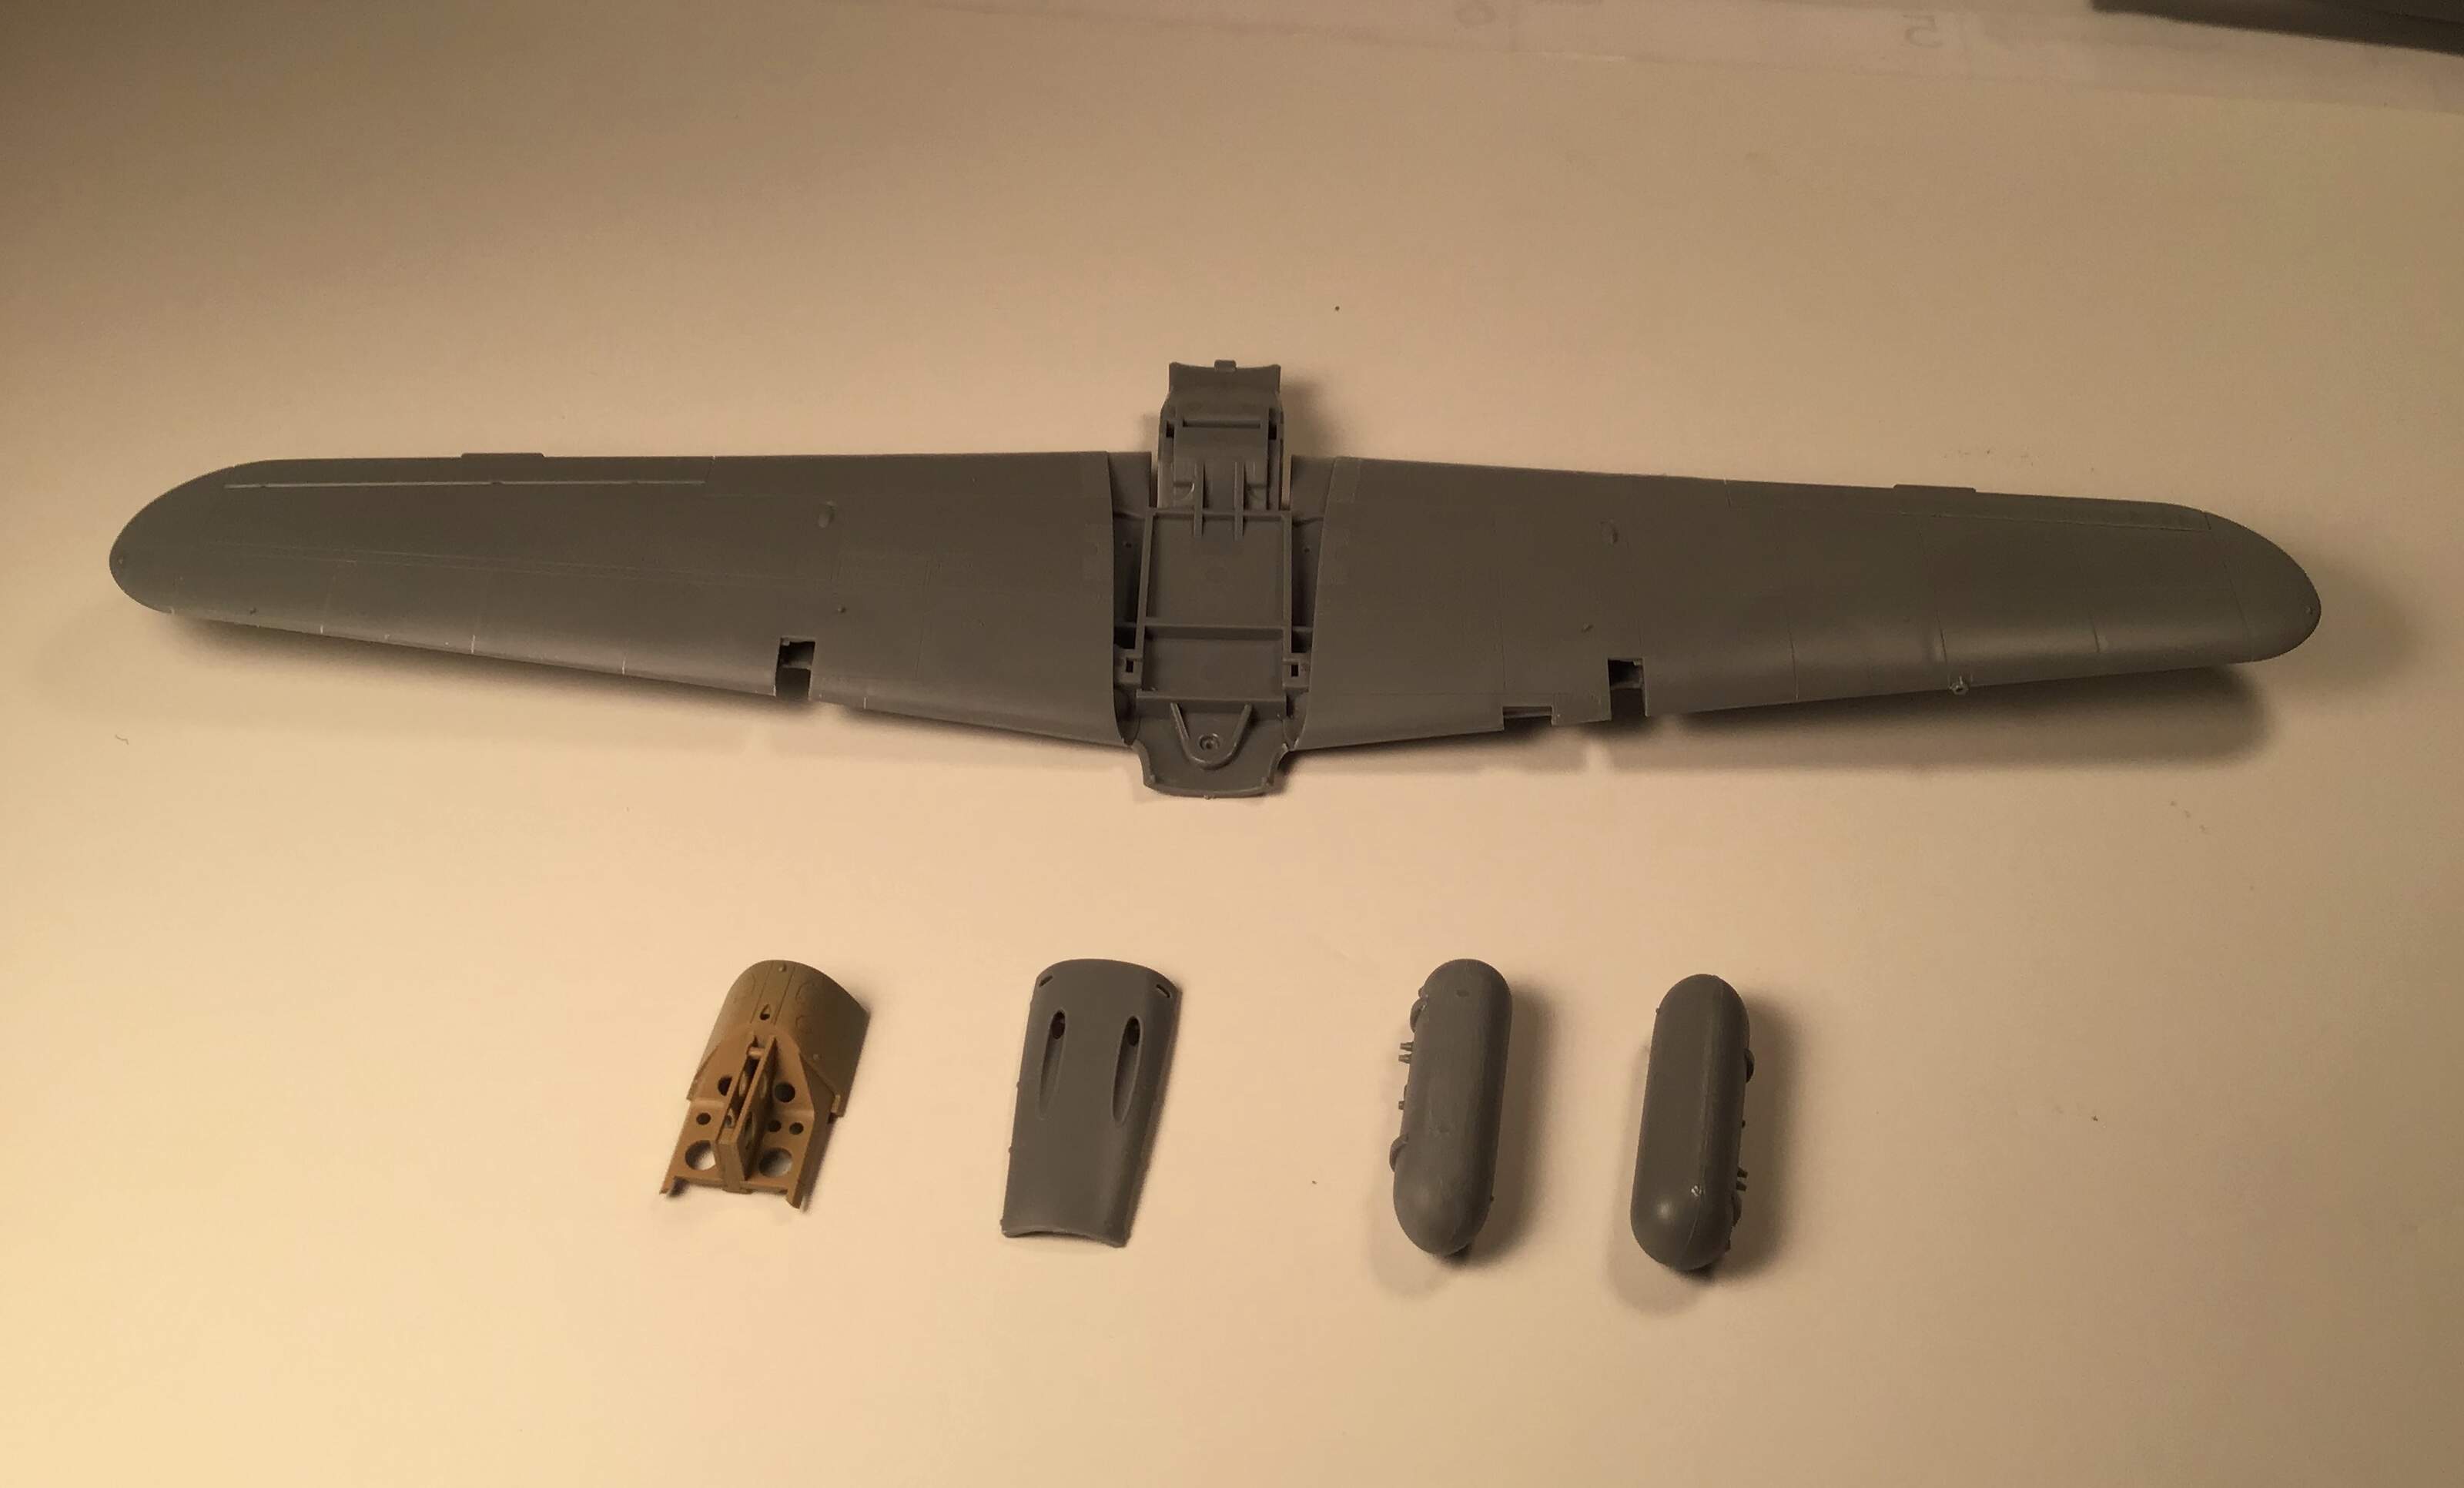
Wing assembled , along with the drop tanks and turtle deck .
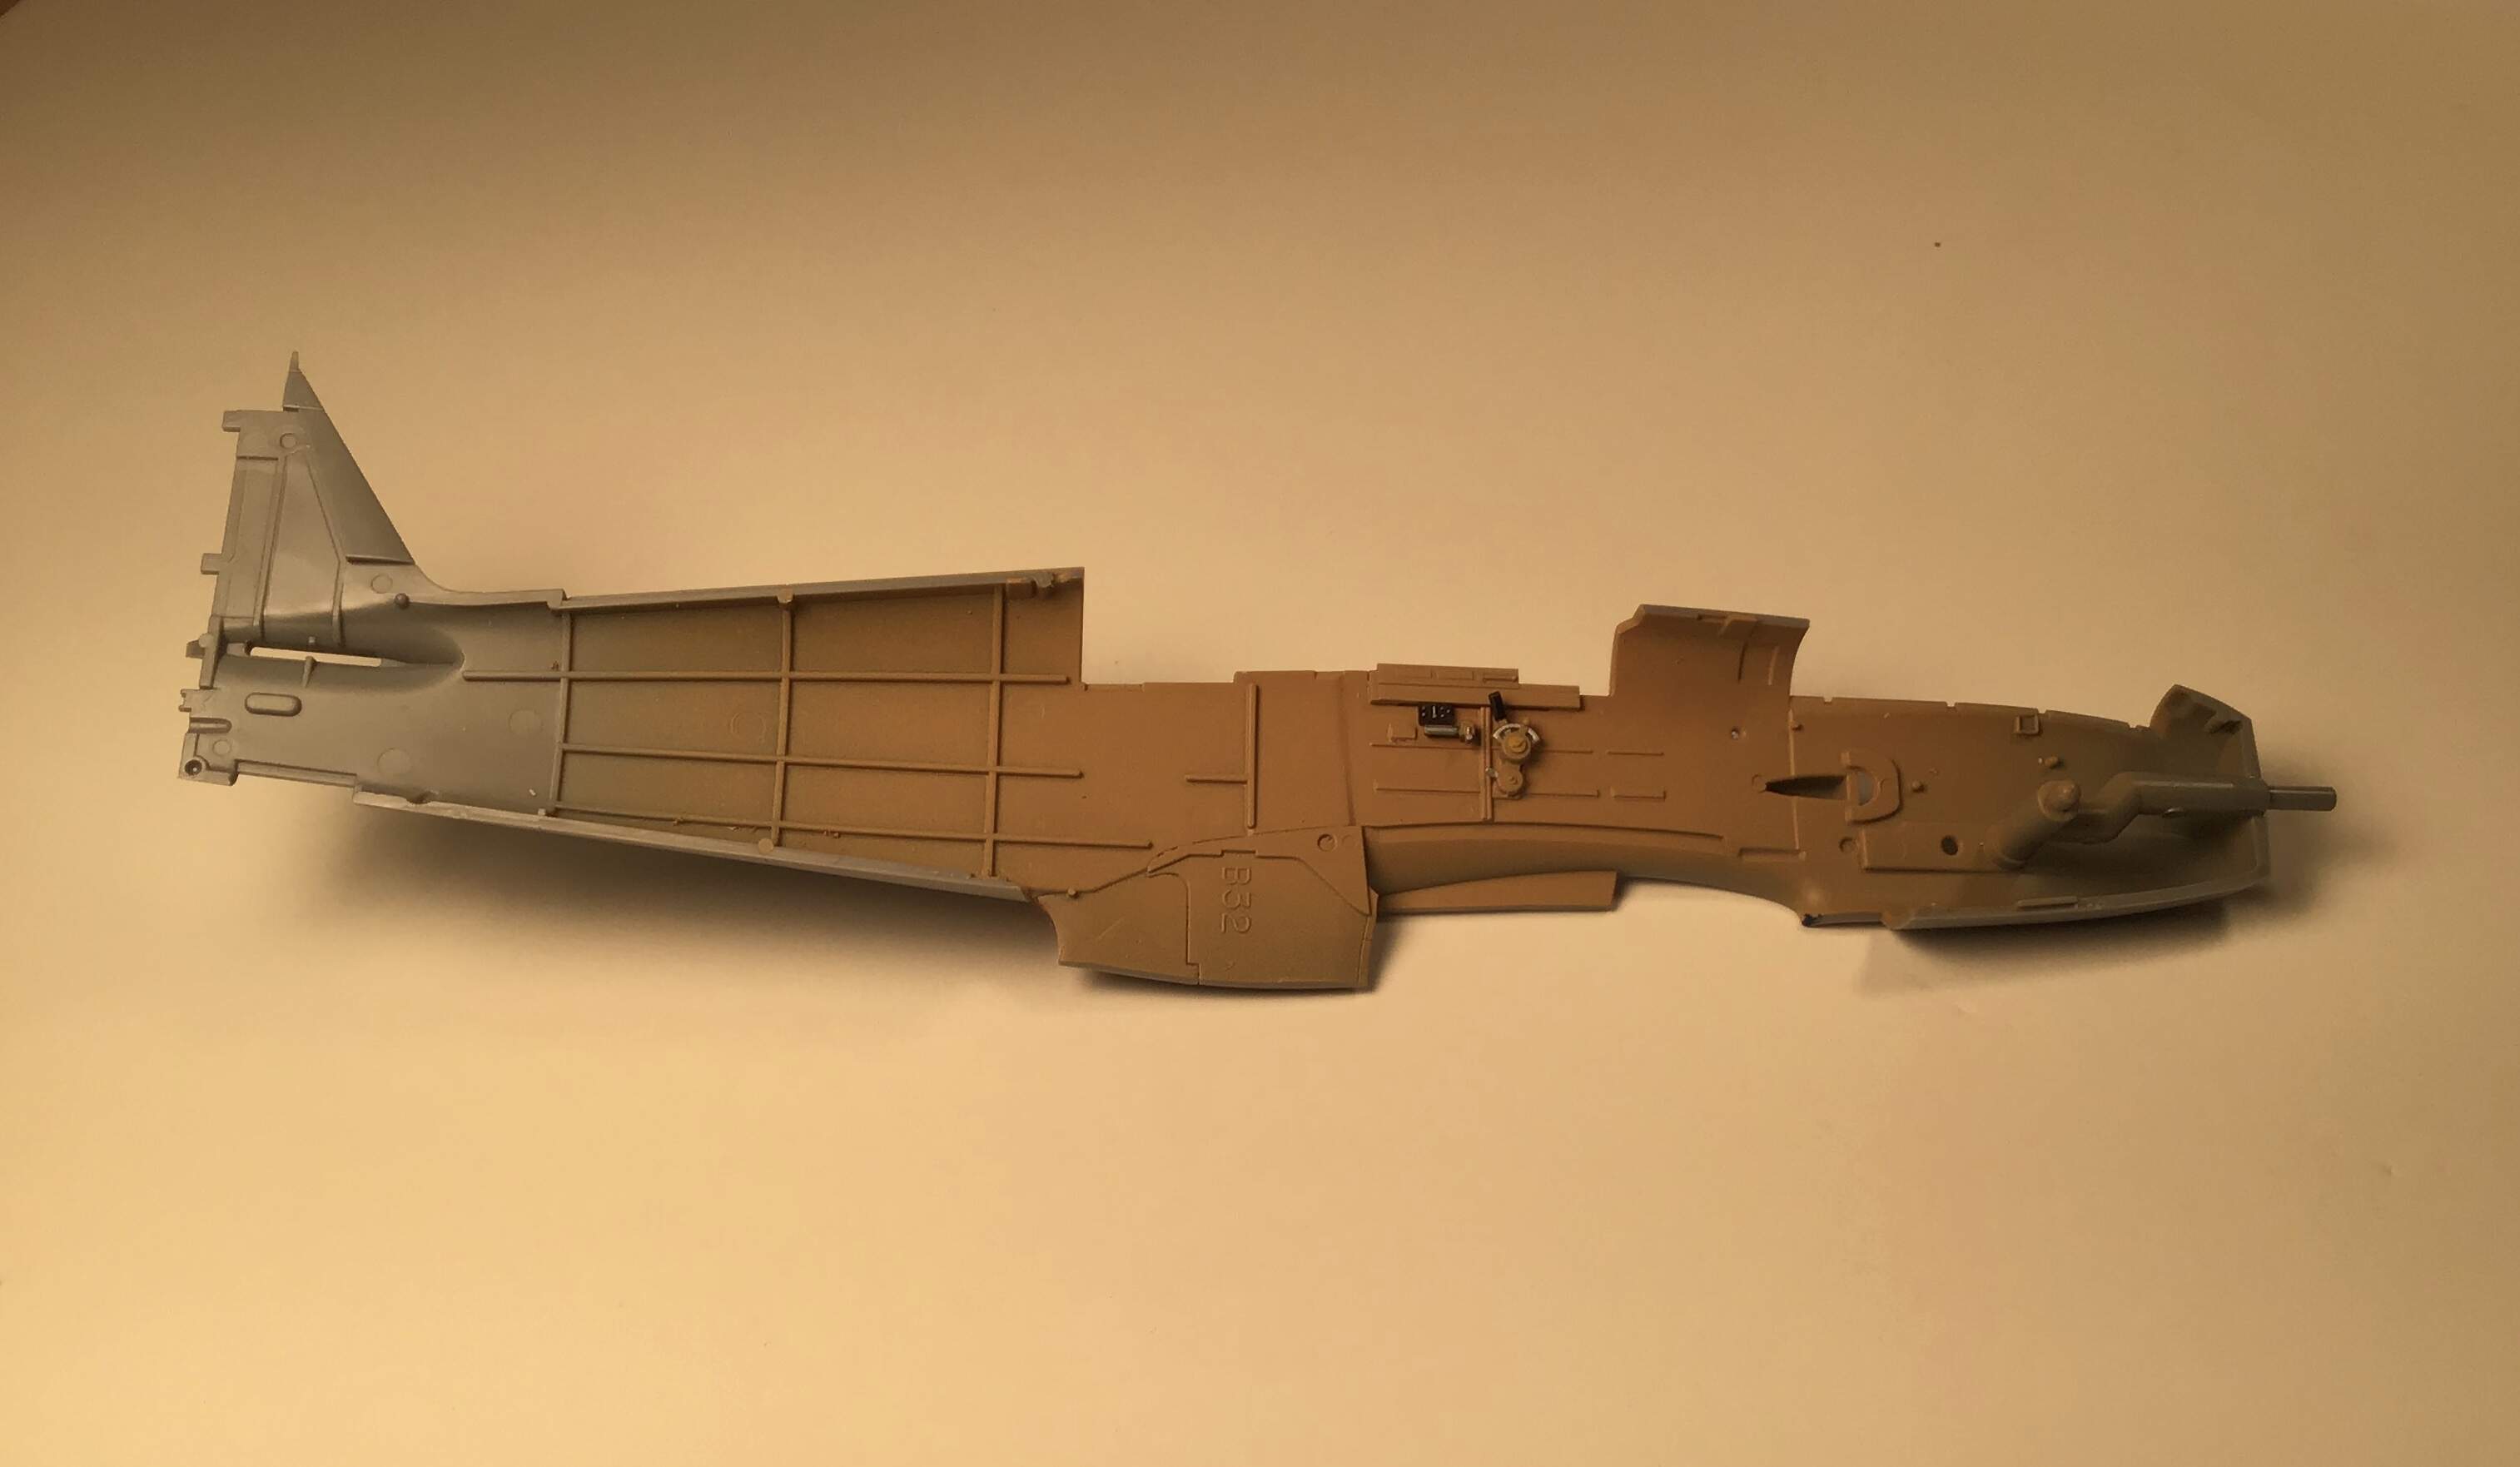
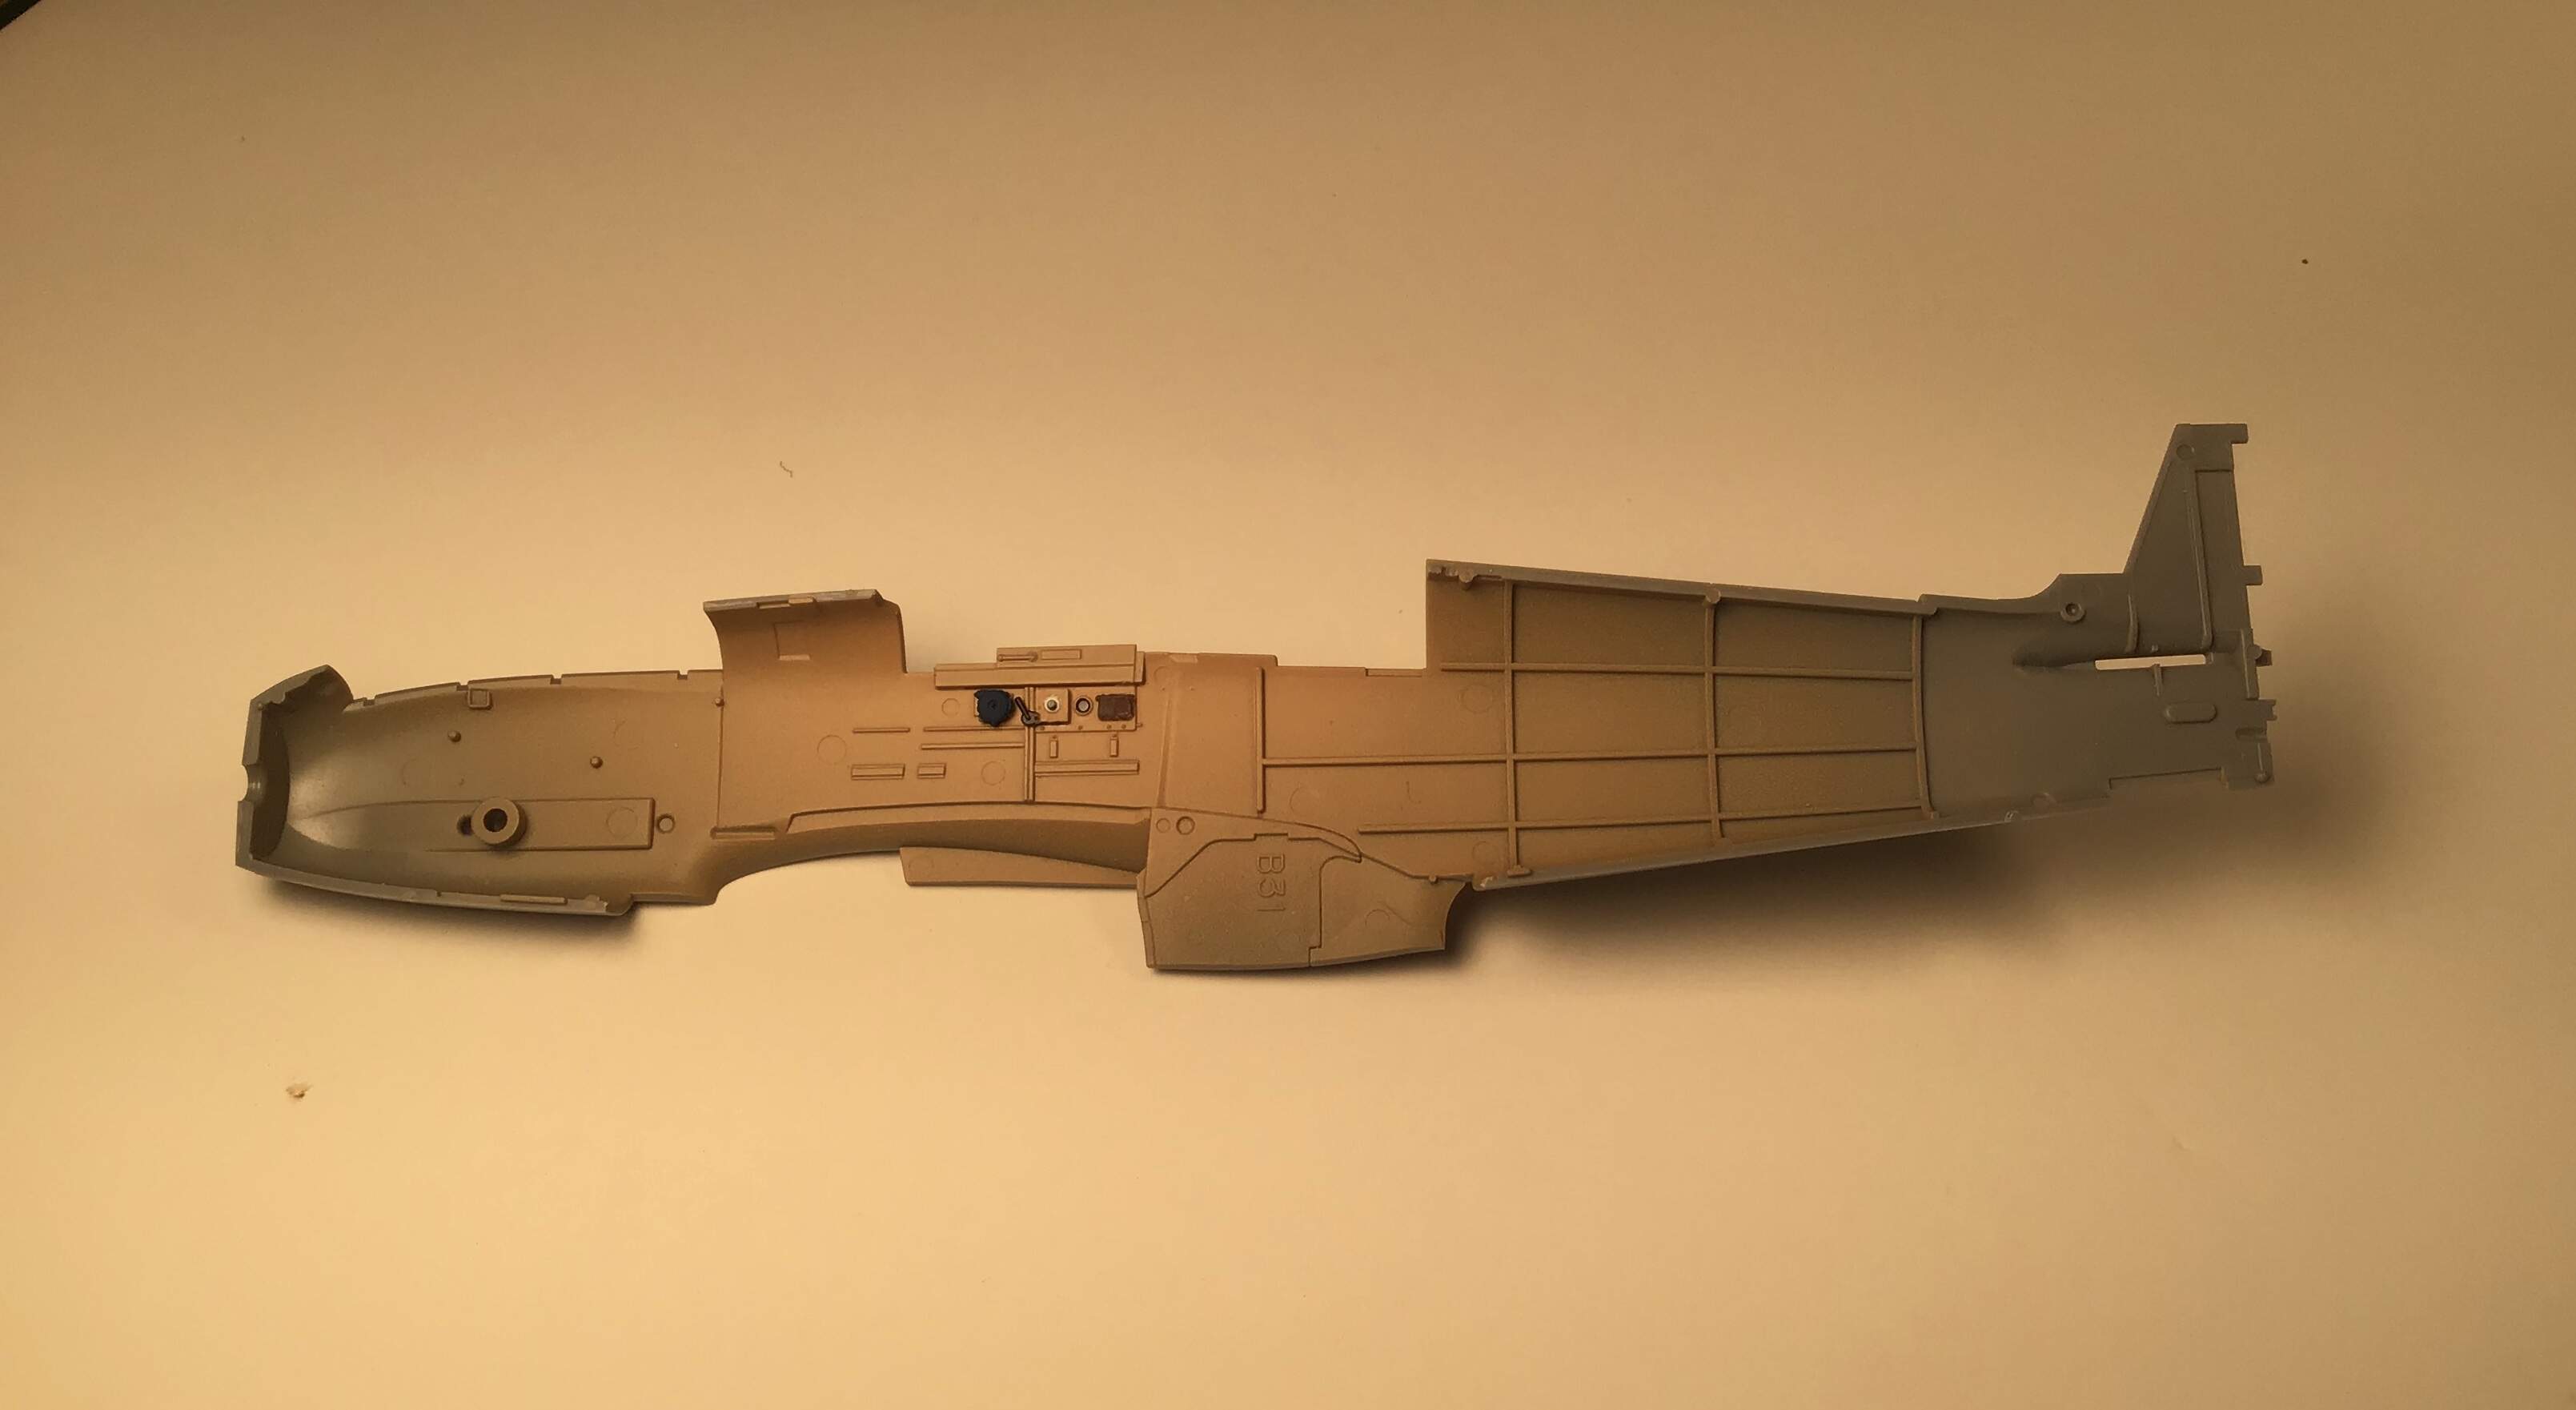
Interior of fuselage done and ready to join the two halves.
I have long held that Tamiya’s P 47 kits were the best fitting and most fun to assemble - this one has it beat . The fit is that good and I have the new Tamiya P 38 in the stash which is supposed to top them all !
Thanks for looking- RT
1 Like
Richard,
I’m over halfway done with my first Tamiya P-47M kit, and have completed my first Tamiya P-38F/G kit, and I have to say that both of these kits have a well deserved reputation for spectacular fit!! I give the nod to the P-38, though, because it is a much harder to engineer kit, and the fit is stupendous! If the fit of the Hein is even close to the P-47, I am going to LOVE it!!!
1 Like
Richard,
The Race Car Guy here. As usual your cockpit is truly outstanding as the detail painting just kicks it up more then a few notches.
Just one question, the pictures seem to show that the base cockpit color to be in the Brown family while just about all the other WWII Japanese cockpits seem to be in the Greenish family. Or is it just my monitor/graphics card playing tricks on me?
Joel
Hi Joel - Good eye . Yes most Japanese cockpits were in the green family . The Ki 61 however had a cockpit painted in a bluish color that apparently shifted to the yellow/tan as it aged . Most current sources recommend the dessert yellow / tan flavor for the Hein .
BTW I did nothing special with this cockpit other than add Eduard steel IJA lap belts . Not even so much as a wash / dry brushing. It is indeed straight out of the box.
Thanks for looking in .
Cheers - Mr. Redcircles
1 Like
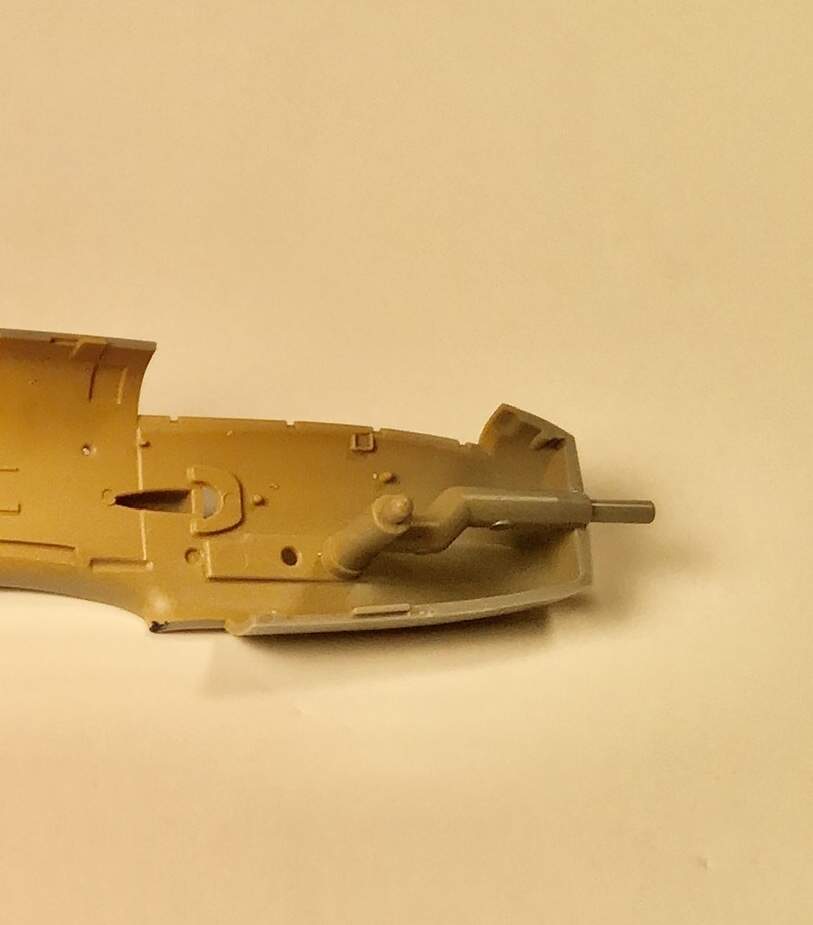
I meant to point out previously that the instructions left out the option of replacing the full engine with part number A 43 - no mention of it anywhere.
The kit comes with a clear fuselage half and a removable cowl deck to view the engine if you choose. The engine replacement piece can be seen here -
Fuselage all together now and nearly ready for paint. I like to glue up the horizontal stabs/elevators on the glass plate with machinists blocks to keep all true.
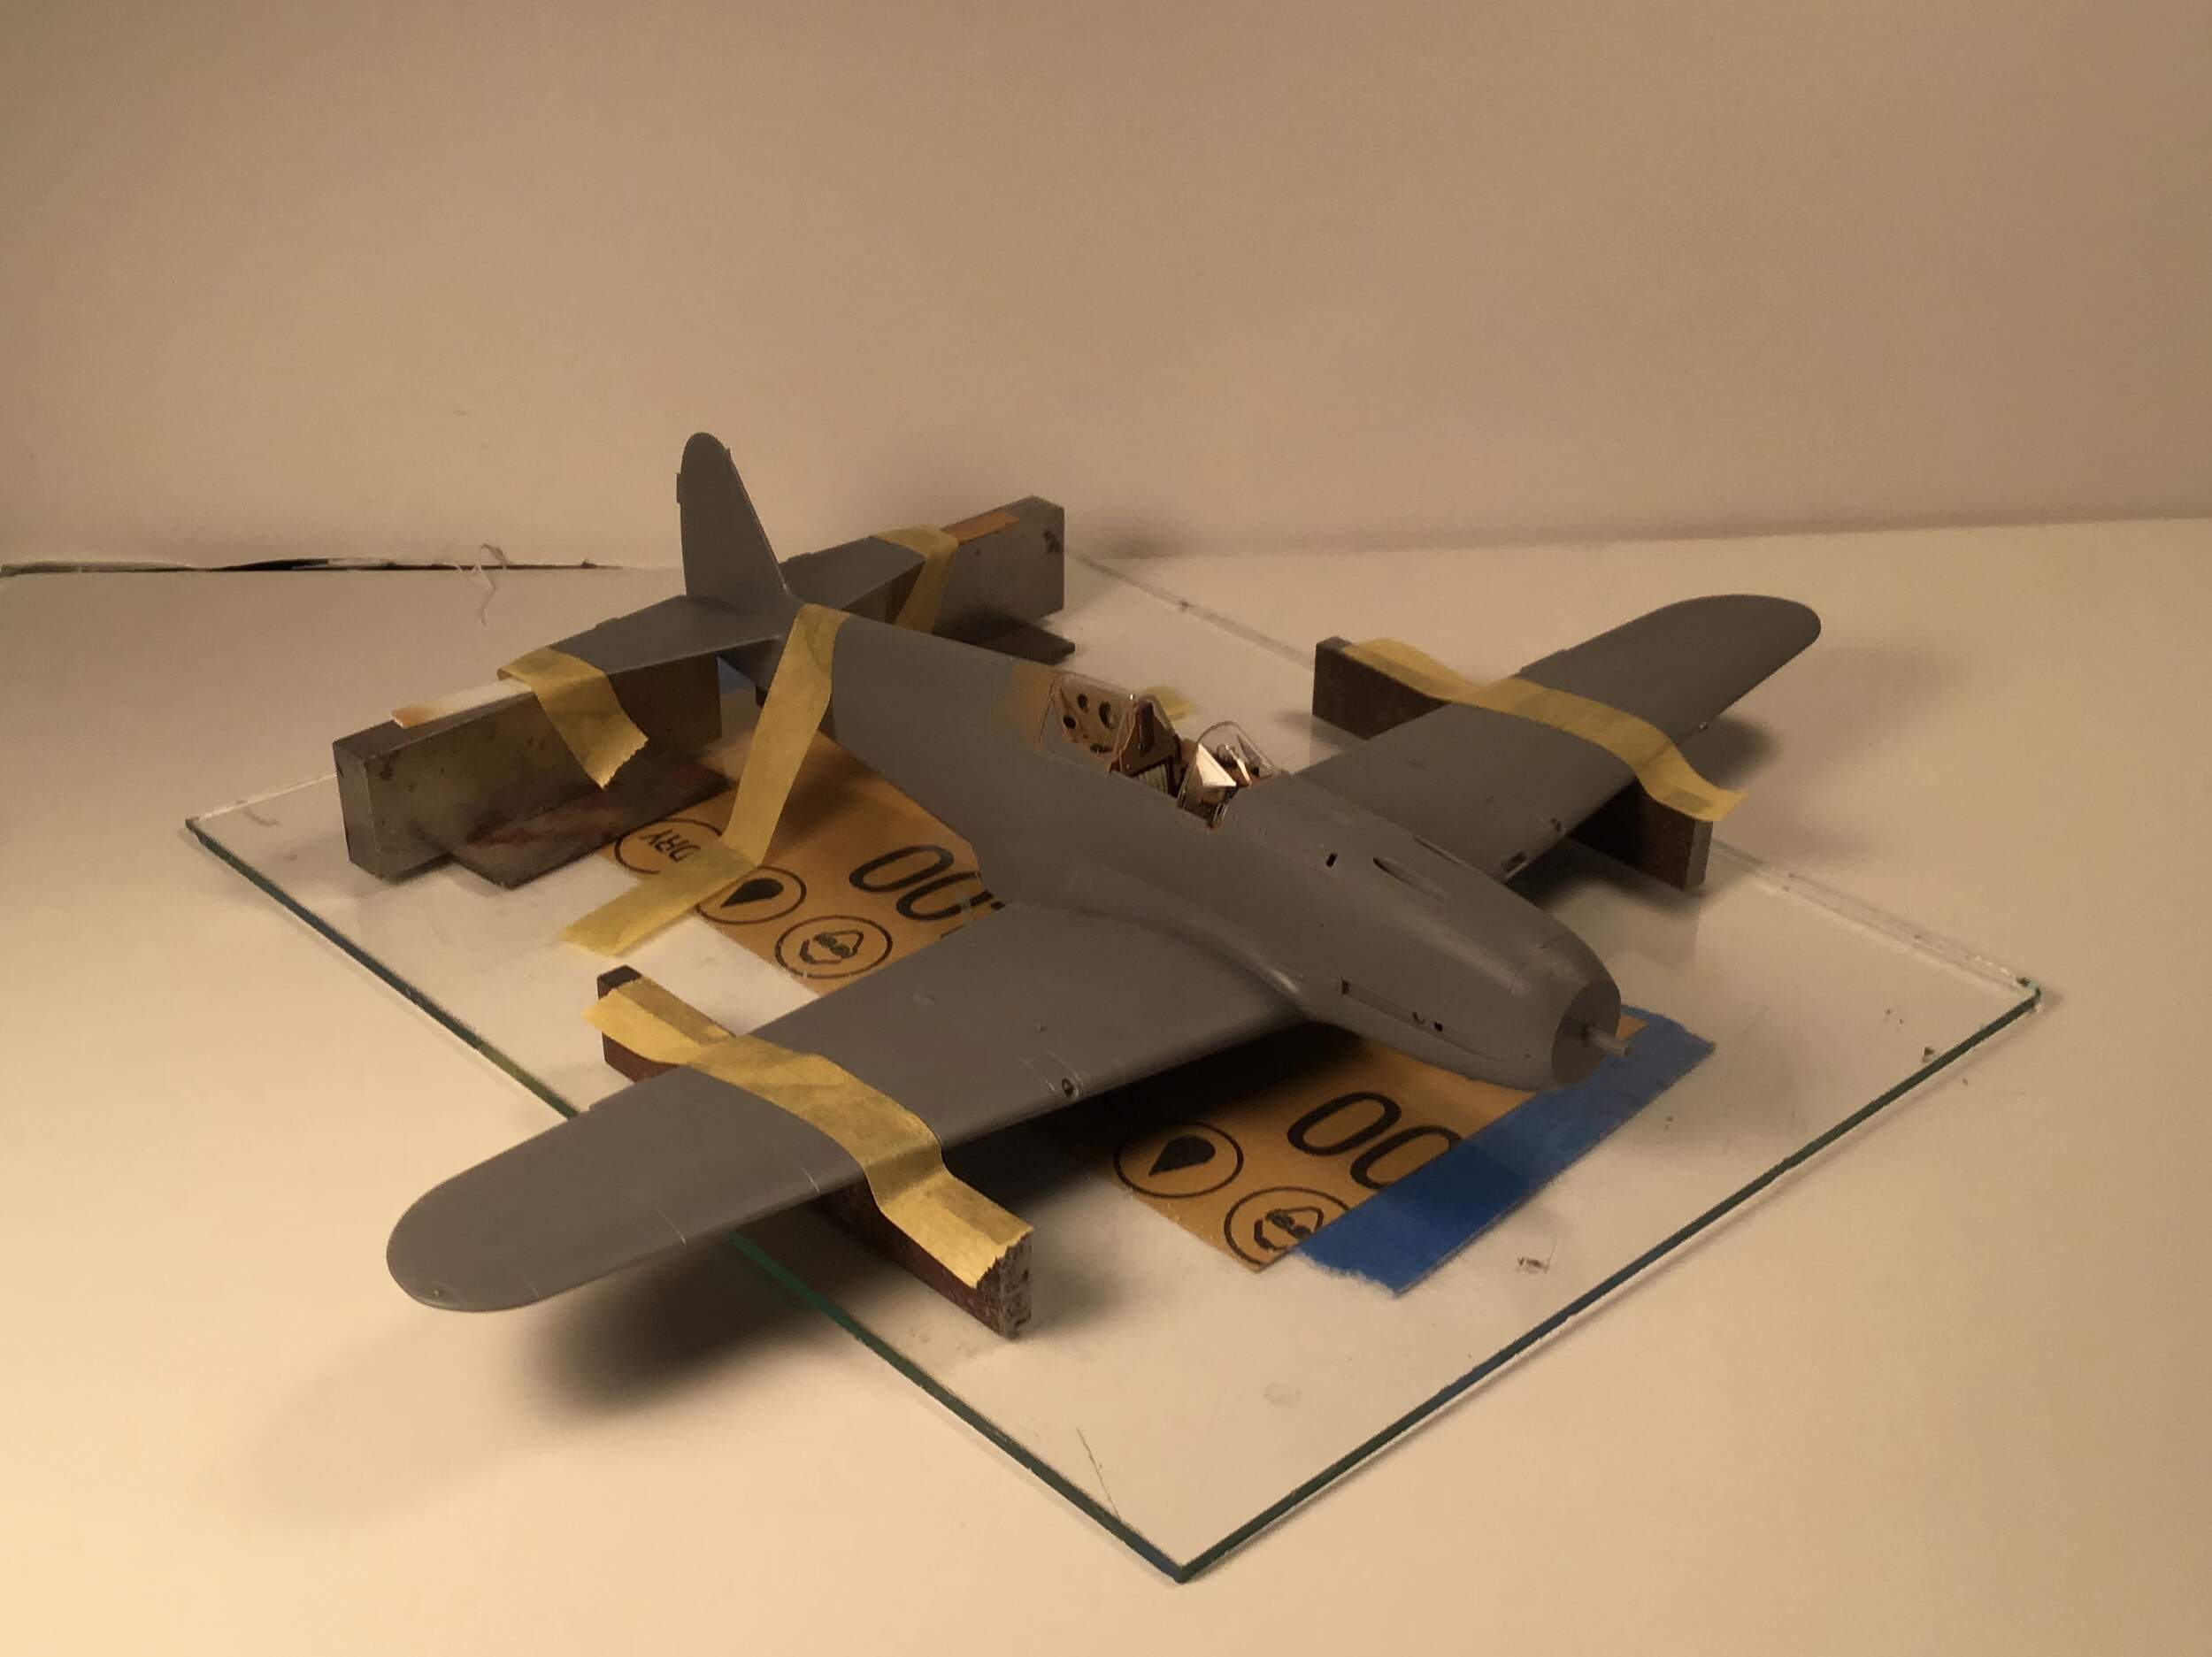
This is another of Tamiya’s wonder kits . Superb fit and engineering. No matter your genres- armor , naval , automobile - every model builder should put one of these together just to experience how good a kit can be from an assembly standpoint.
1 Like
Very nice work so far Richard, as you said it’s great to blow out the cobwebs with a trouble-free build so you can really focus on the finish.
This is a beautiful looking airframe, I’m looking forward to more progress and especially the paint stages.
Cheers, D
Richard,
It’s a little tough for me to actually see part A43 other then a shaft for the prop. So I’m assuming that there’s no partial engine in your build. Makes sense. Why build the engine if no one will ever see it?
I see that you’ve got the windshield and rear deck in their proper positions. The fit looks Tamiya perfect.
Joel
Joel - Part A 43 is the t shaped piece that includes the prop shaft with the crossbar locating in the holes that would have been filled by pins on the side of the engine. One of these days I’ll have to learn how to add arrows to photos.
1 Like
Richard,
I kind of figured that was part A43, just didn’t say it correctly.
Like you, I’ve never really learned how to include arrows or info on a picture. I’m assuming that it’s all done with the pictures as a GIF, and in my case Windows 10 Paint.
Joel
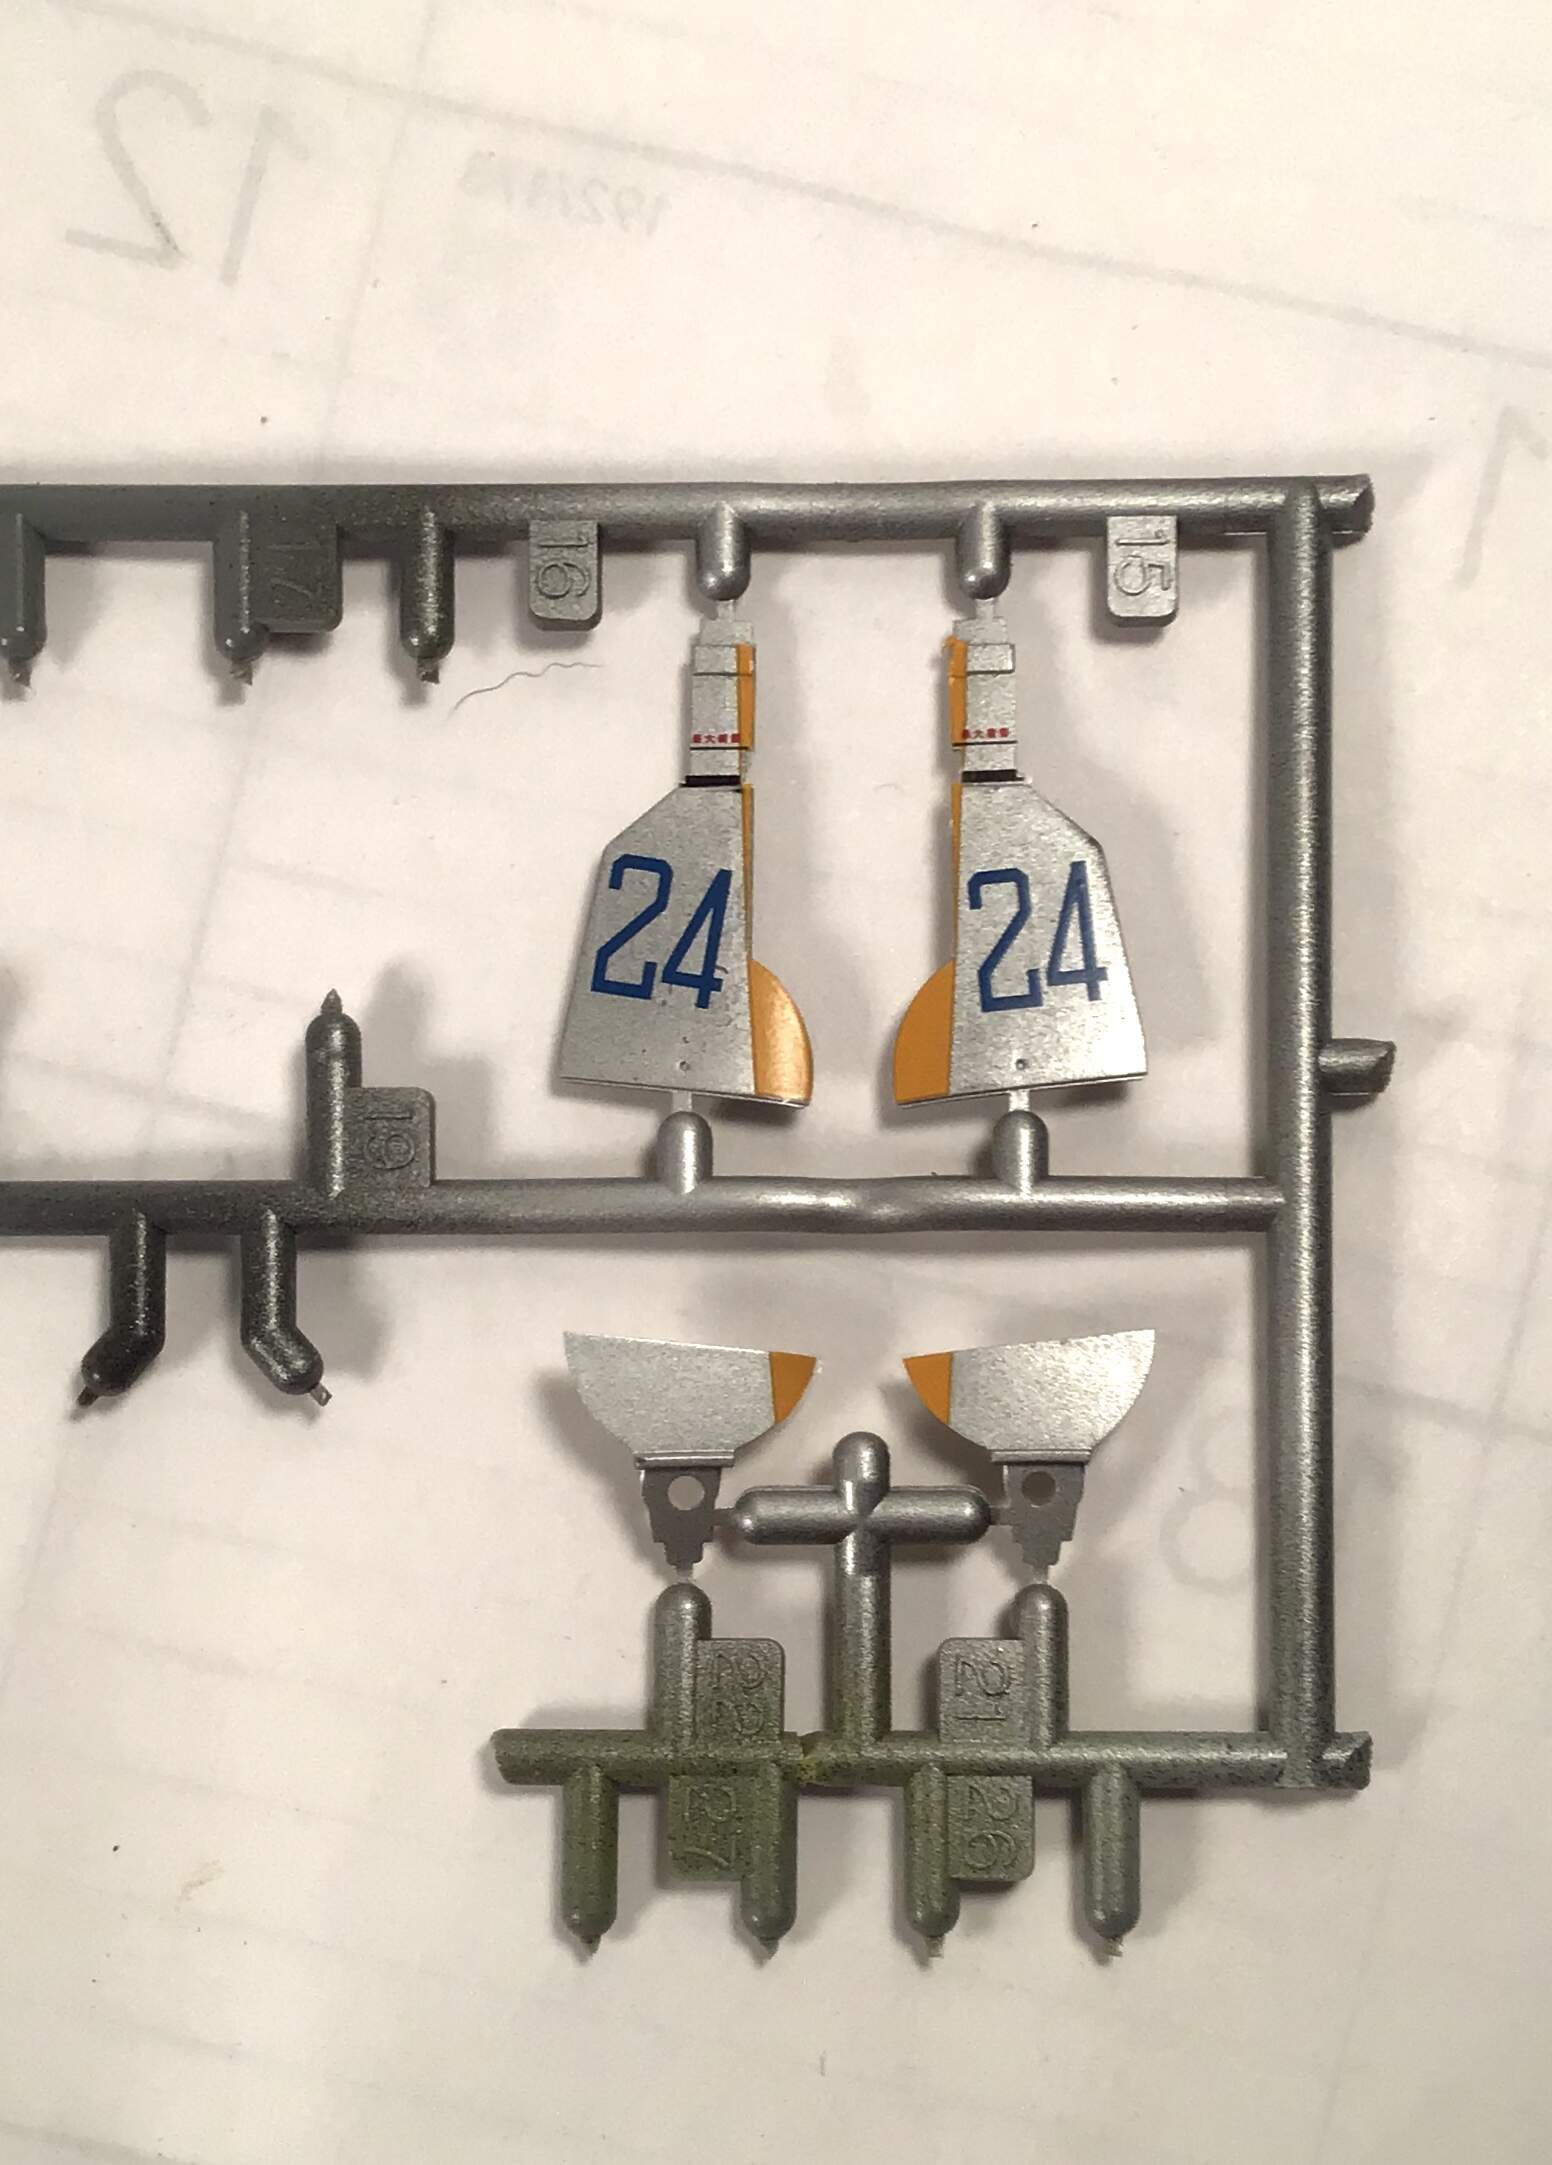
Tail feathers painted - undercoat in white then shot in Tamiya flat red softened with a few drops of red brown. Seems I have deleted the progress photos of this step - my bad .
Tail masked with Bare Metal Foil at fillets and paper/tape for the rest . Foil also used at four rubber step pads at wing roots and also for exhaust surrounds .
I usually use foil to mask canopies but decided to try the Tamiya stickers as the were included - jury still out on this as far as convenience goes because you still need to cut them out . I’ll see what the end result is before passing judgment.
Rest of airframe shot in Stynylrez black primer in preparation for the Vallejo Aluminum.
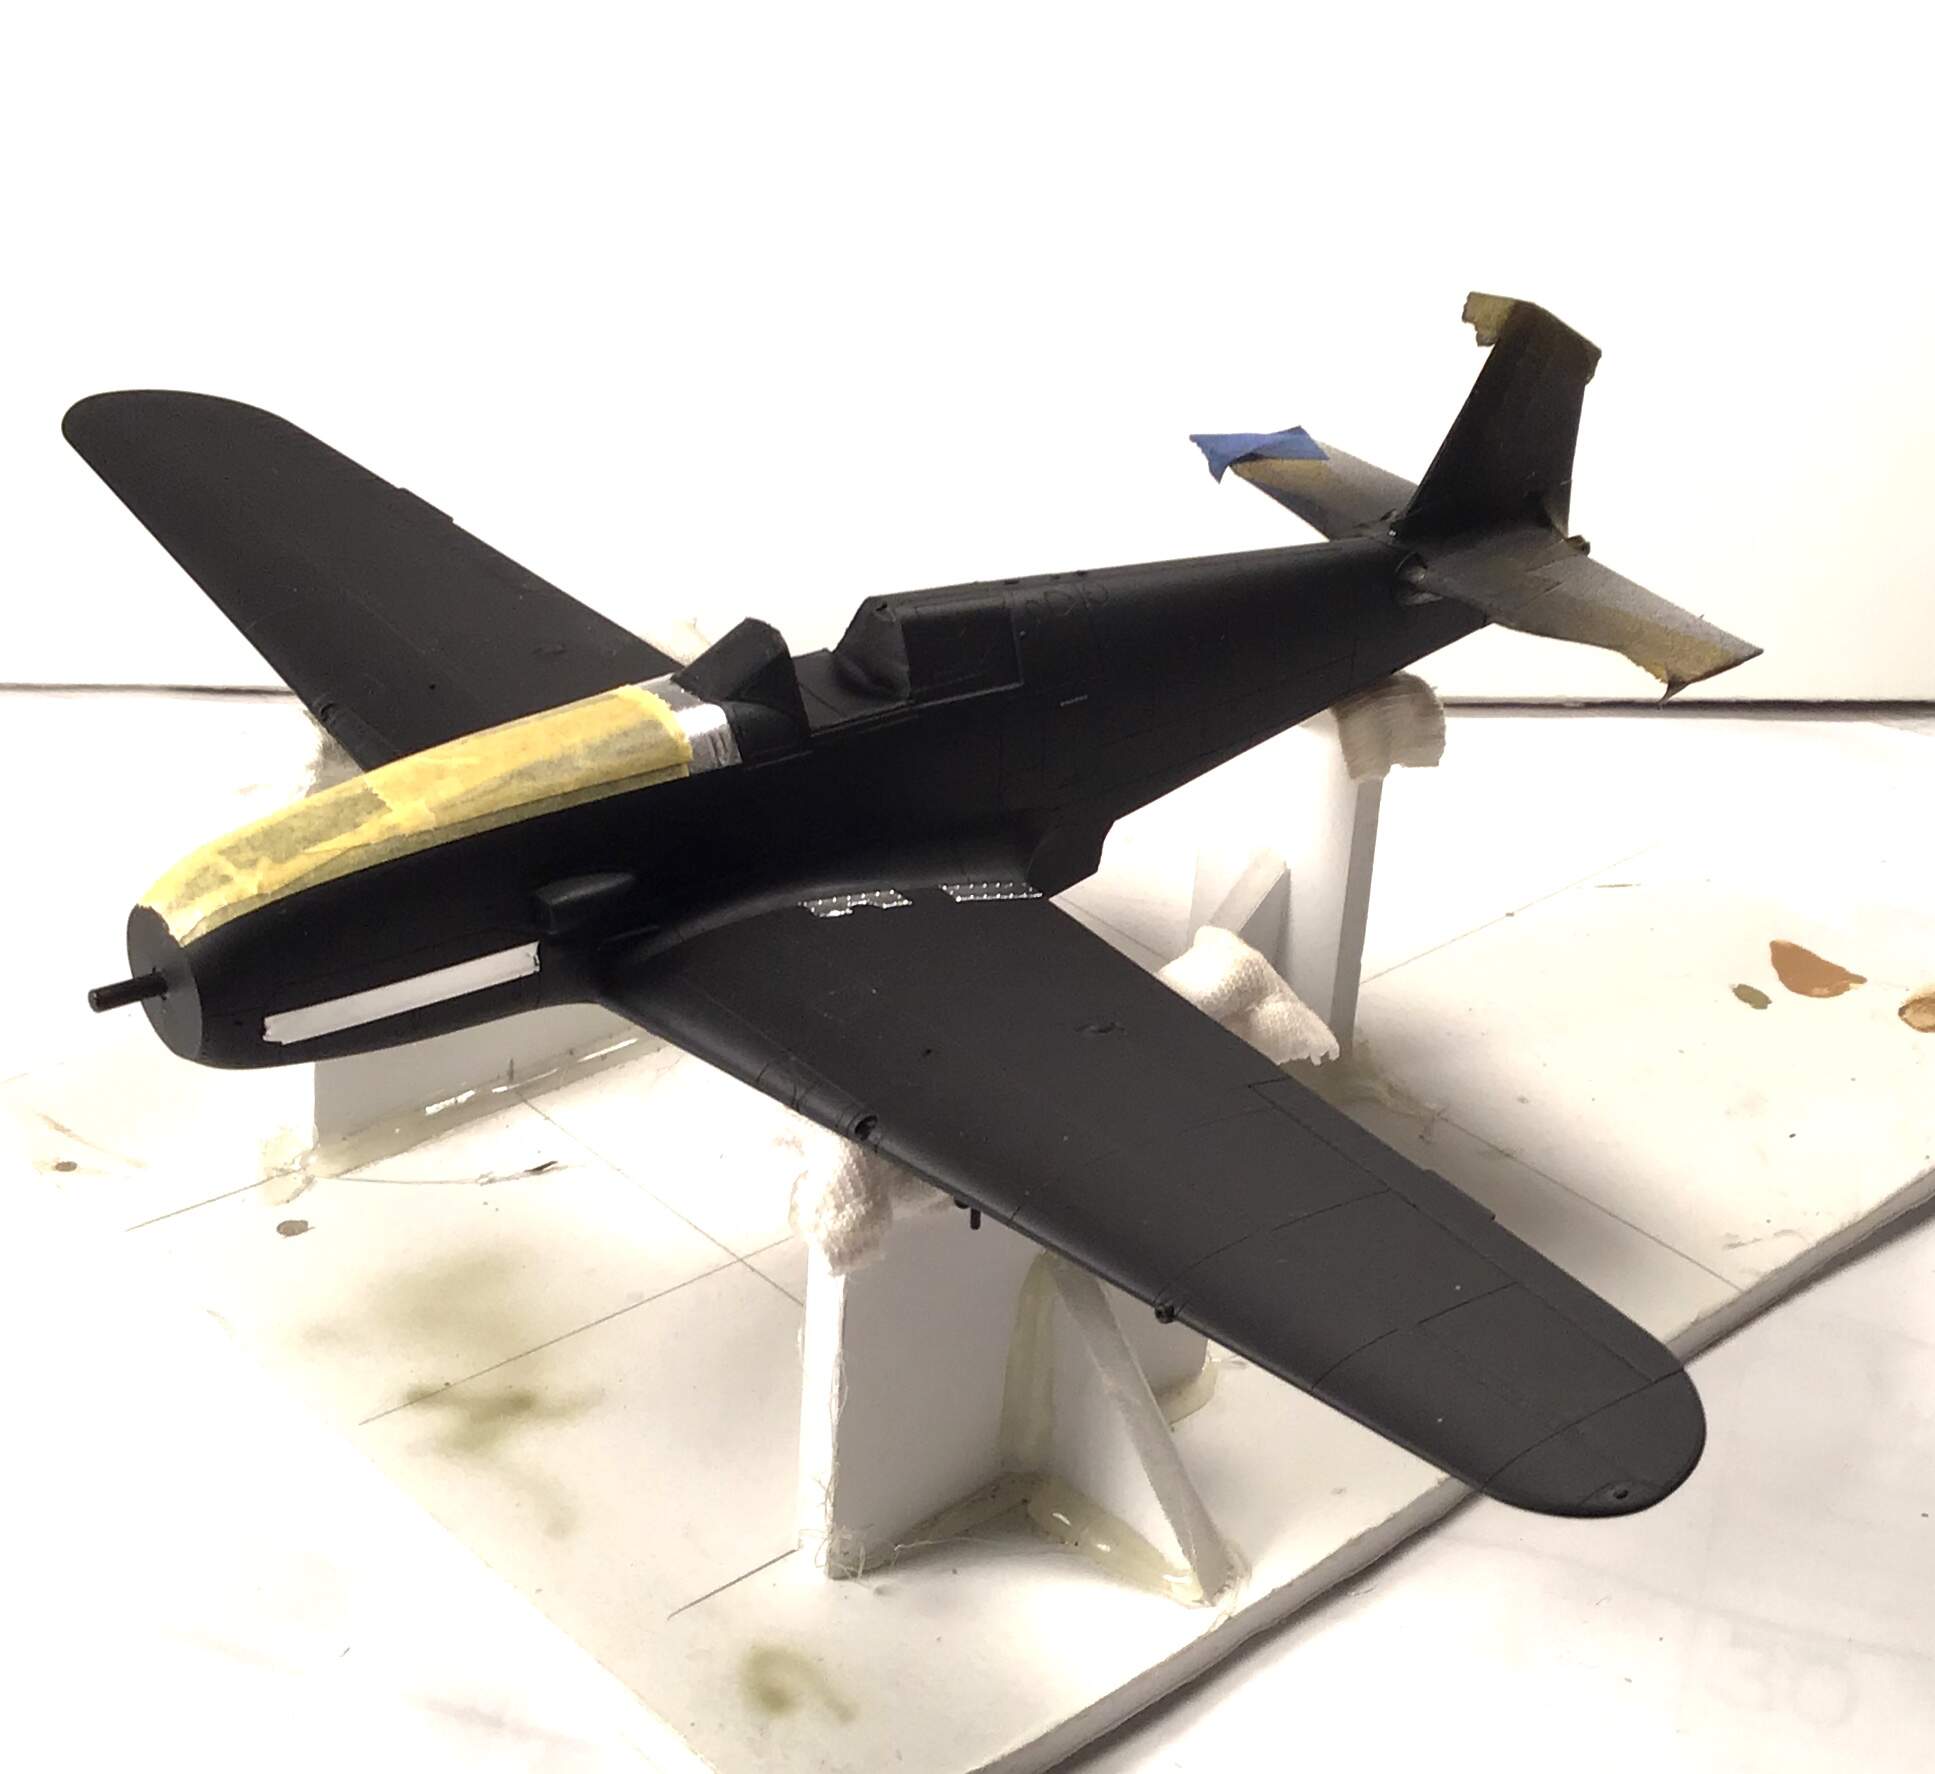
1 Like
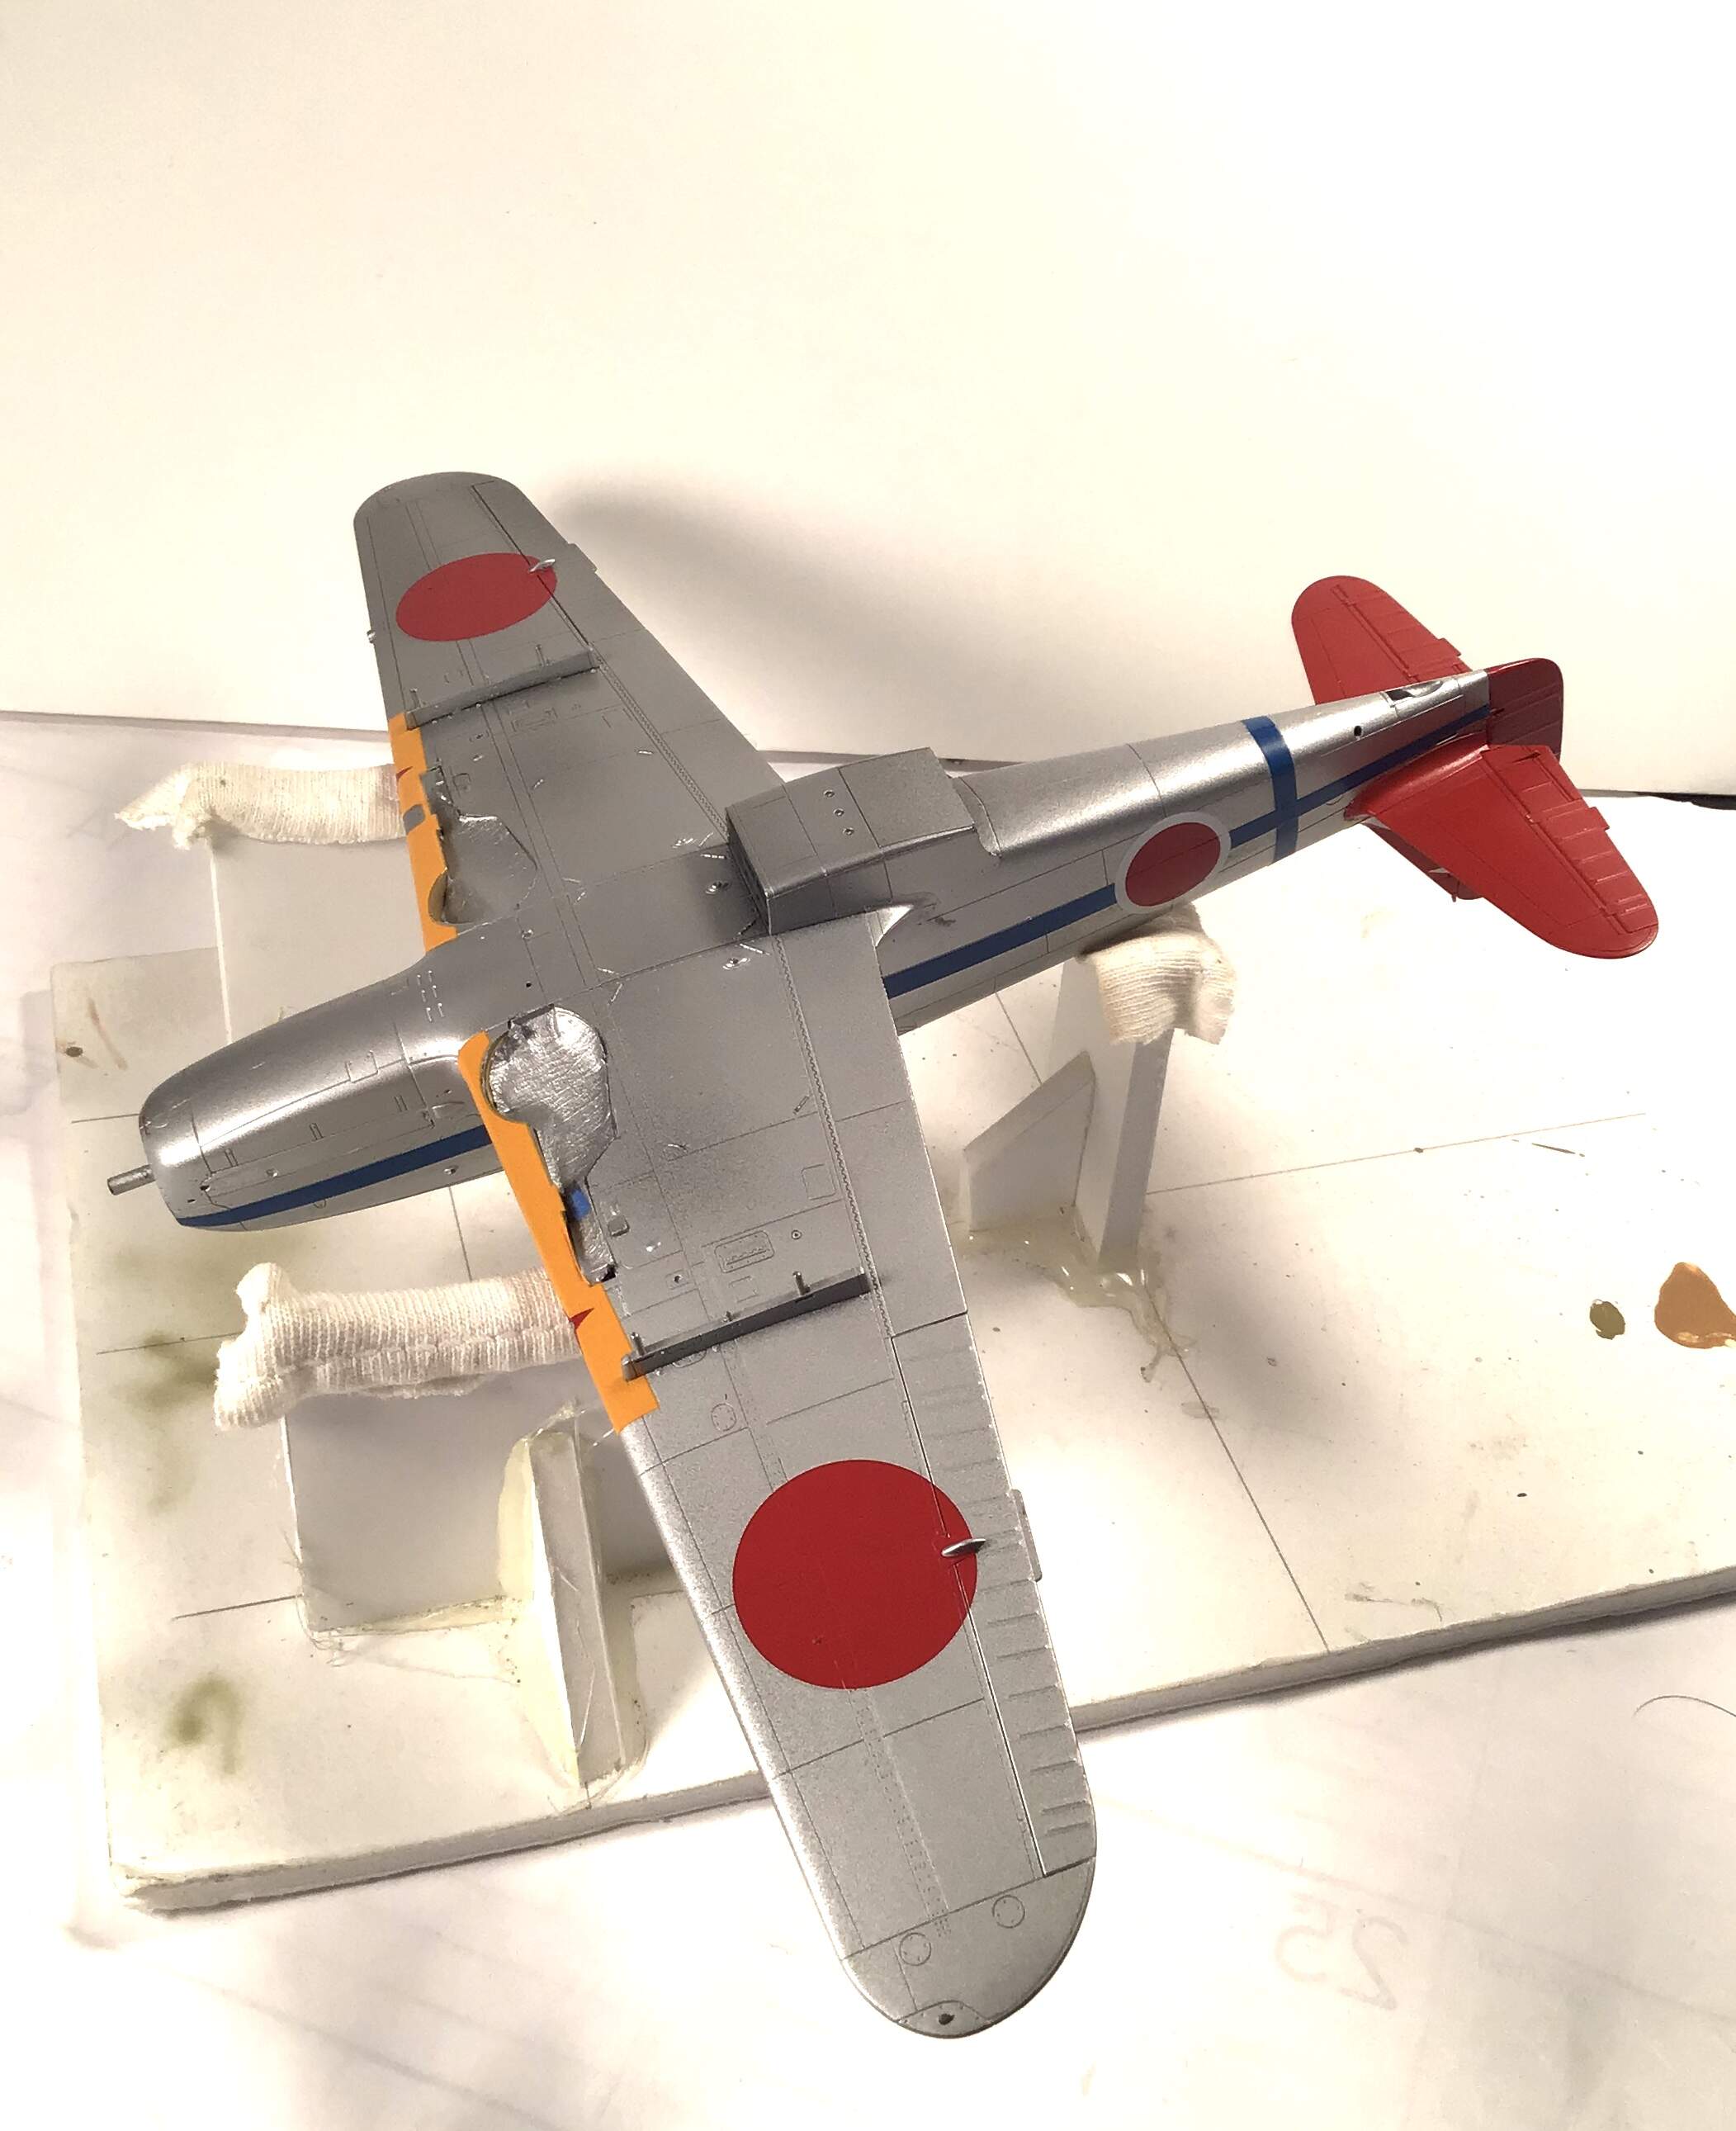
And now shot with Vallejo Aluminum and tail unmasked . Two coats of clear gloss next then the decals .
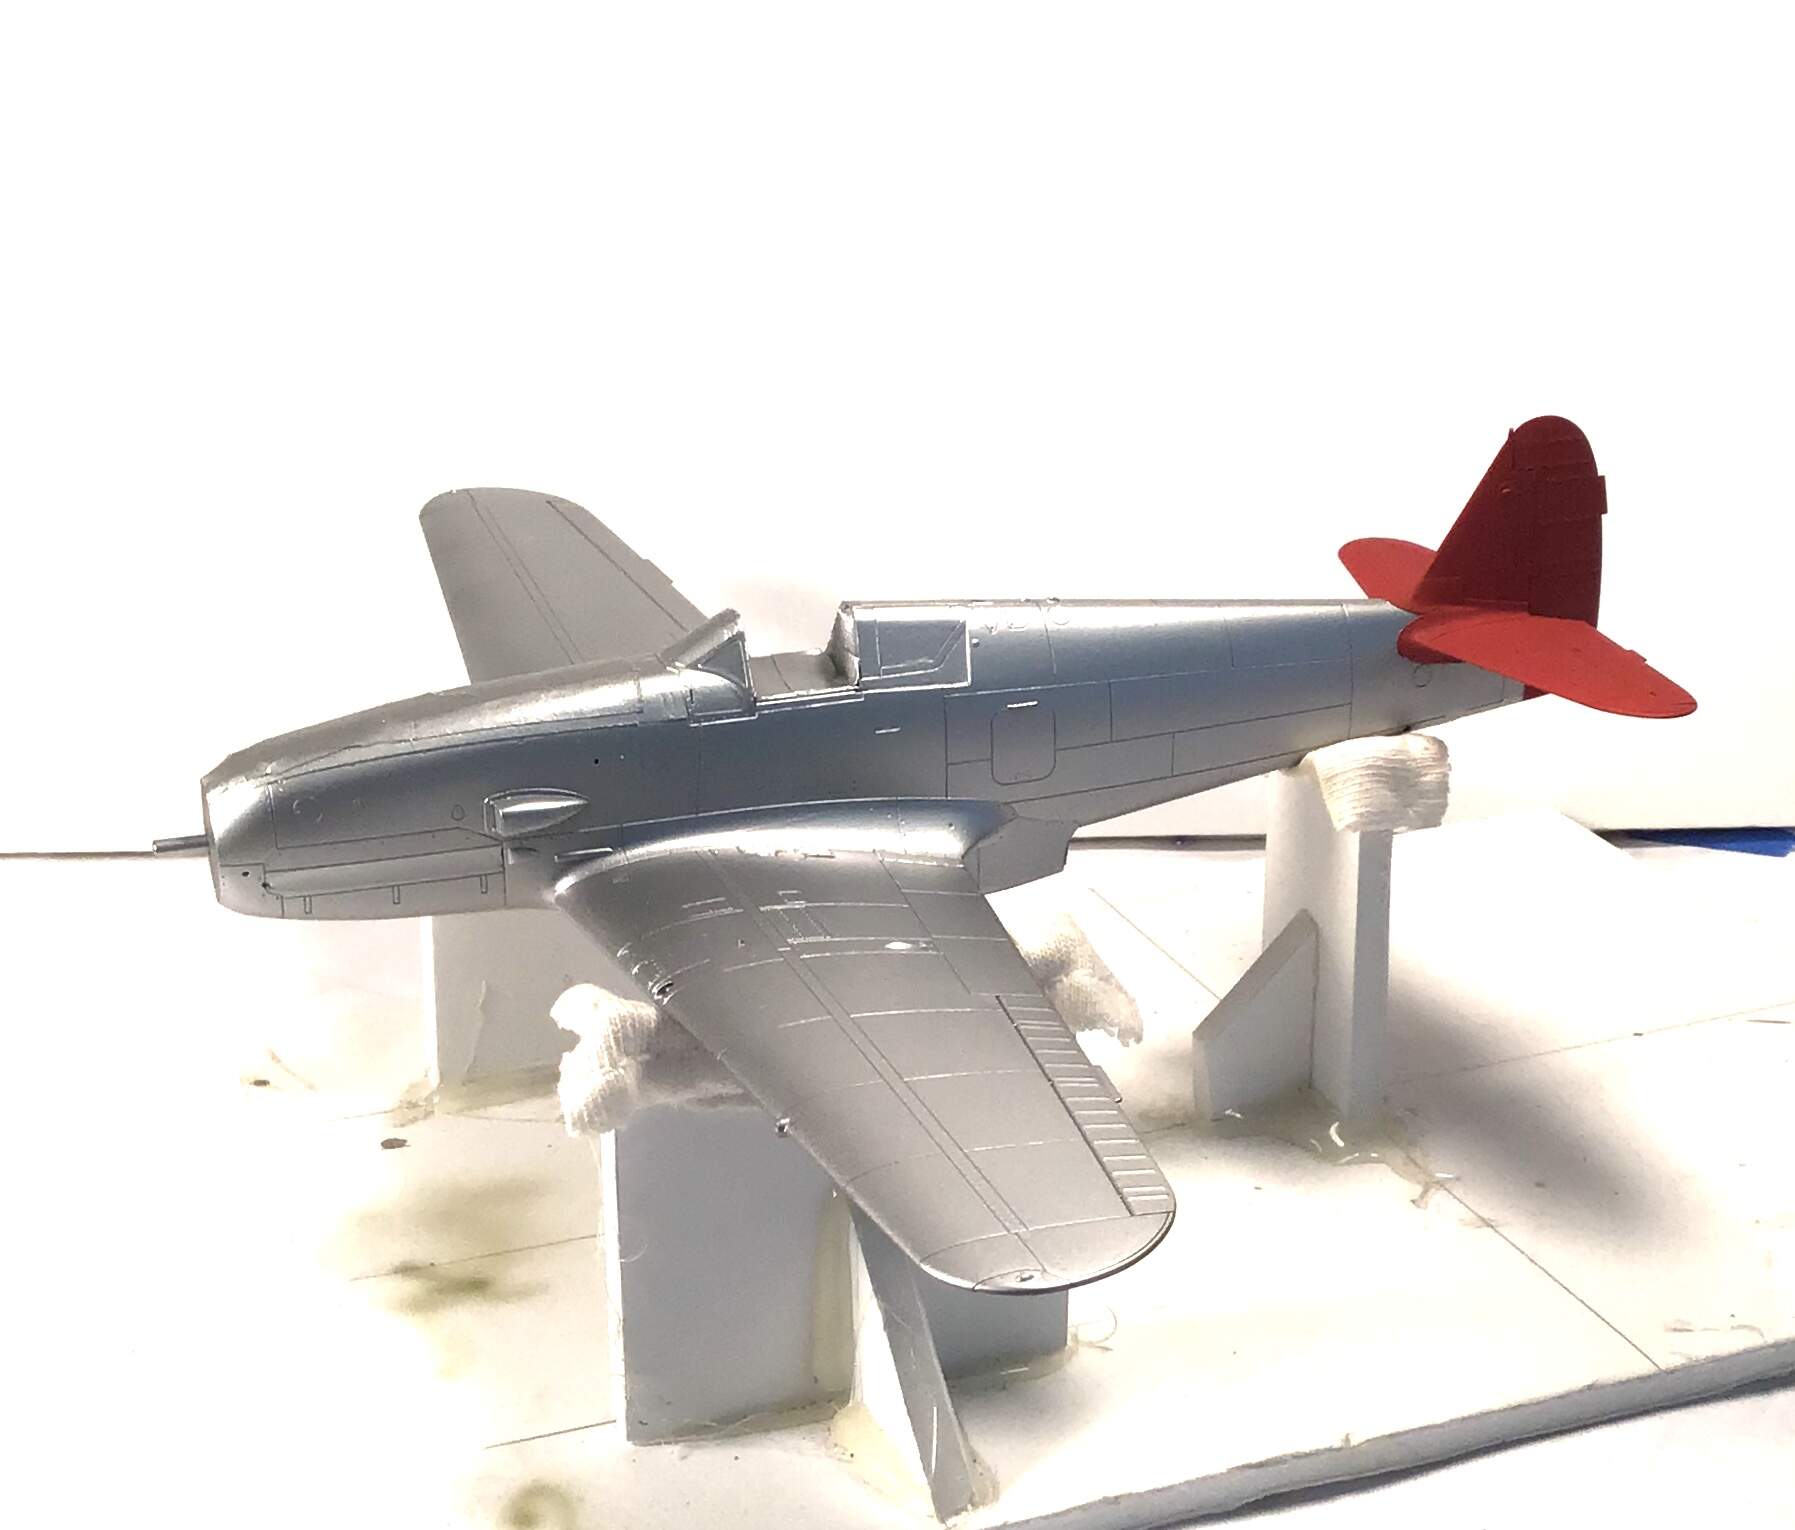
1 Like
Some decals going on - Tamiya’s extra thick variety.
It baffles me how a world leader like Tamiya can’t seem to supply thin decals . They should let Lifelike make them . Perhaps they are fearful that the average modeler would find them too fragile .
At any rate they did snuggle down to some degree after liberal application of several gallons of Microsol.

I think that is as far as I can go until I apply the HGW wet transfer camo pattern - sailing uncharted waters here.
2 Likes
And the first wet transfer on- now I wait 6 - 8 hours until removing the clear carrier film .
I was afraid the carrier film might be too stiff and that I would have difficulty in making it conform to the compound shape of the wing, particularly in the root fillet area . That was not the case - it laid down beautifully and simply squeegeed out with a soft flat brush.
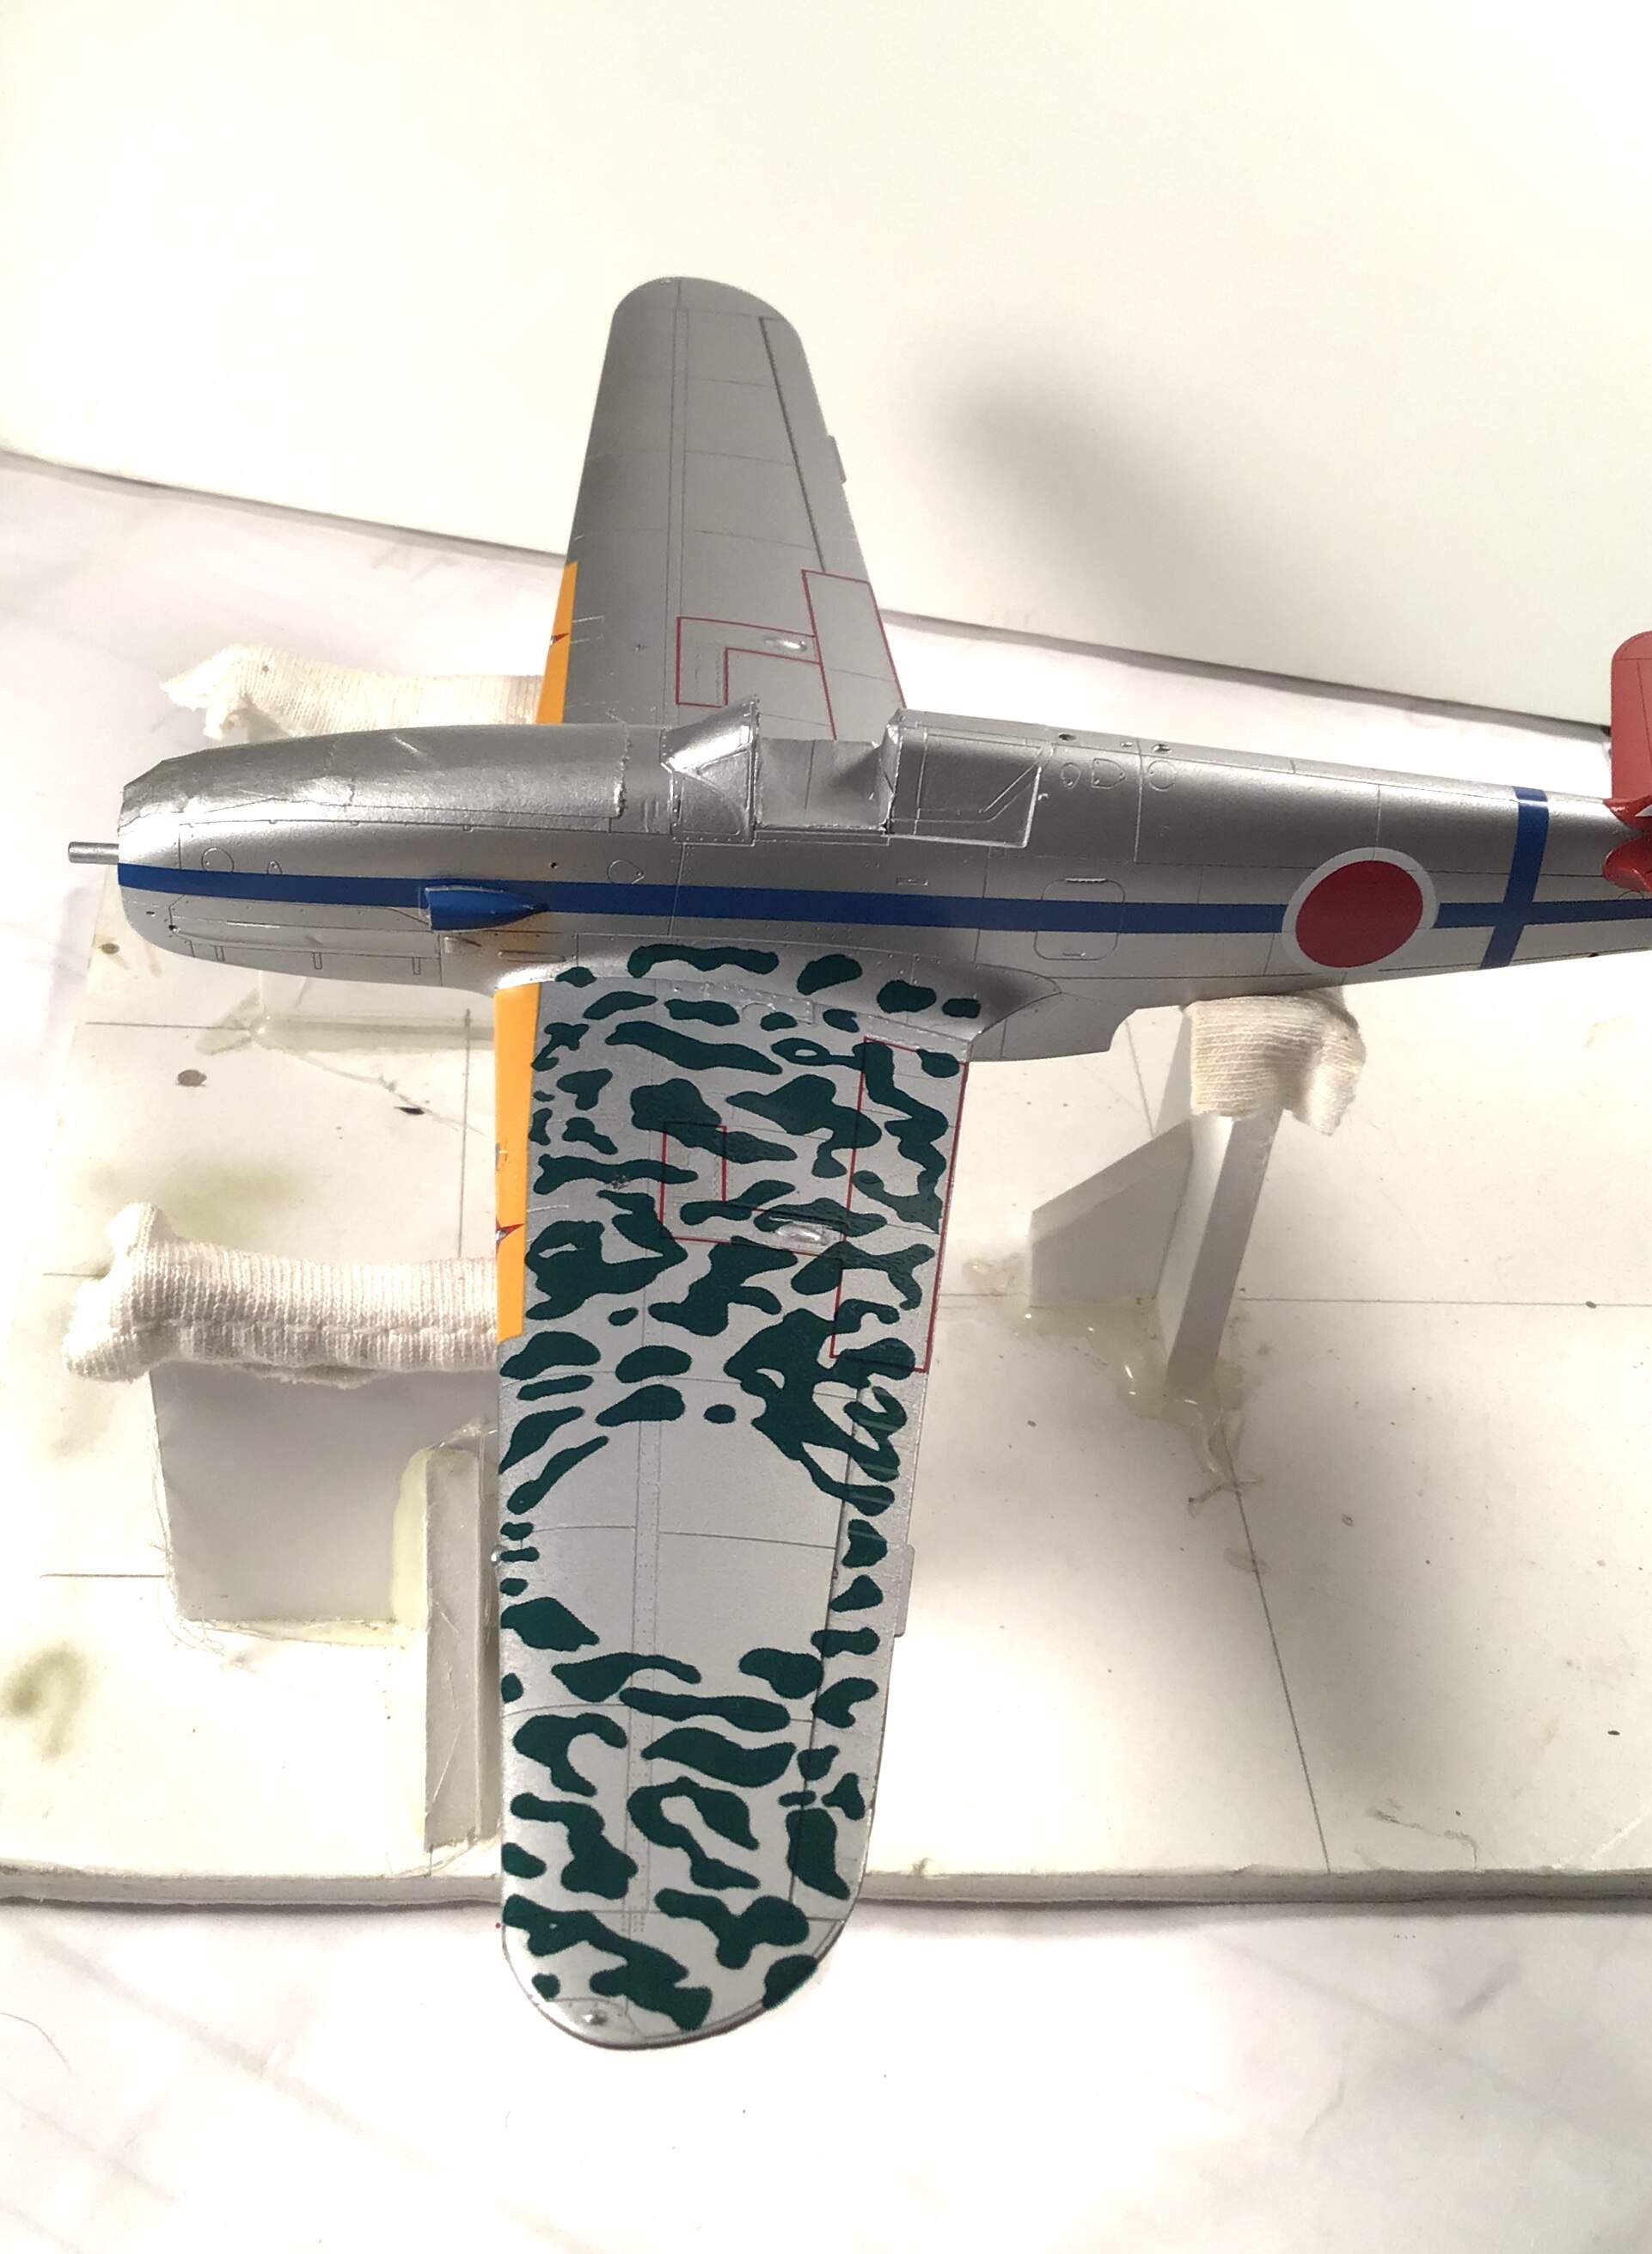
Will post more tomorrow after removing the carrier film.
3 Likes
I (prior to the pandemic) build and race slotcars and as such I use sets of decals for each build. What I find is that often the thinner decals have less opacity. That means if the decal will sit on top of an area where different paint colors meet, you will see a difference in the look of the decal based on the color of paint under the decal. I have gotten to the point I would rather have a little thicker decal and a higher opacity. That may have been Tamiya’s thinking.
1 Like