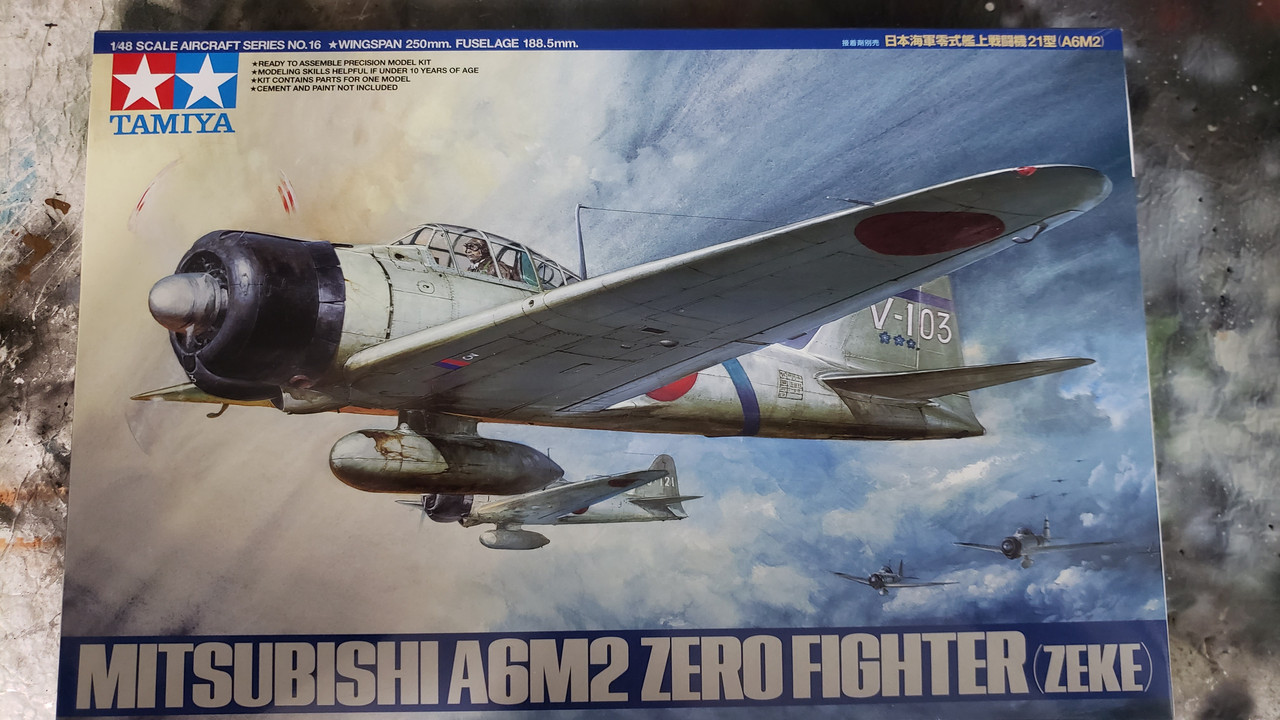
Started this over the weekend. So 9 builds going on at once?
Its supposed to be a really old kit and not fav reviews. So what the heck, lets see what happens.
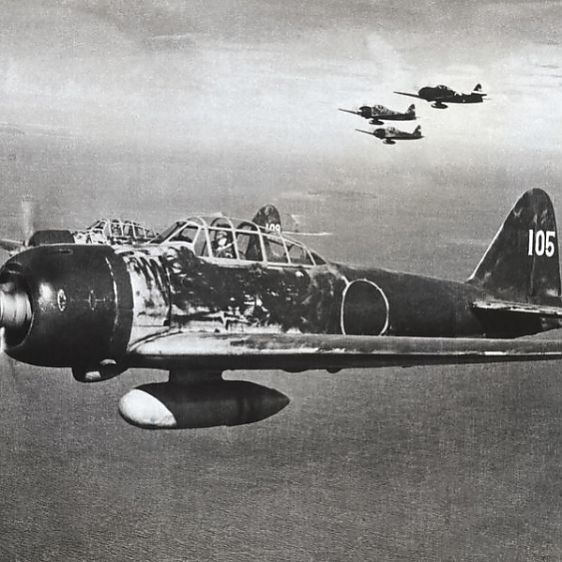
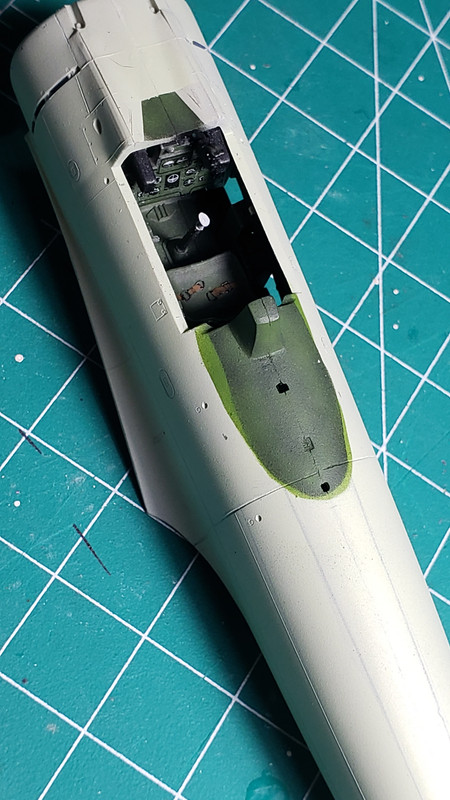
After going down a deep rabbit hole on zero colors… I will go the green shade.

Started this over the weekend. So 9 builds going on at once?
Its supposed to be a really old kit and not fav reviews. So what the heck, lets see what happens.
After going down a deep rabbit hole on zero colors… I will go the green shade.
Who dosent love a Zero!? Looking forward to more! 
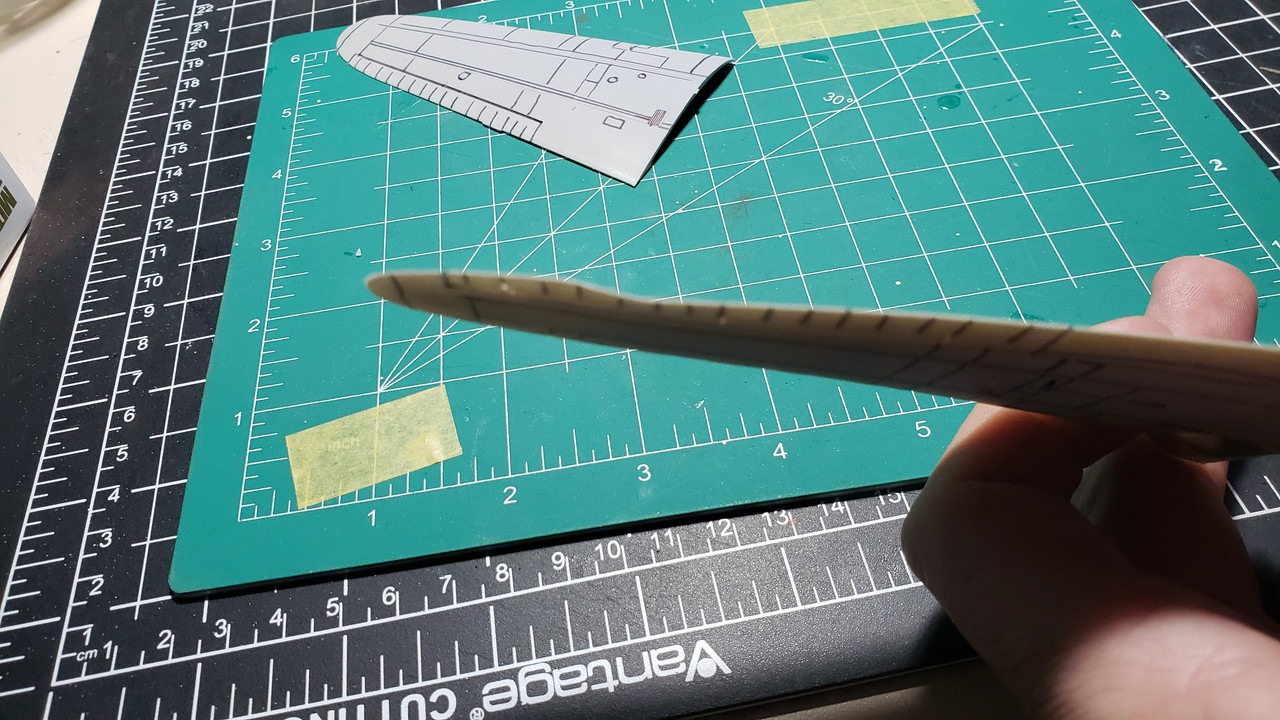
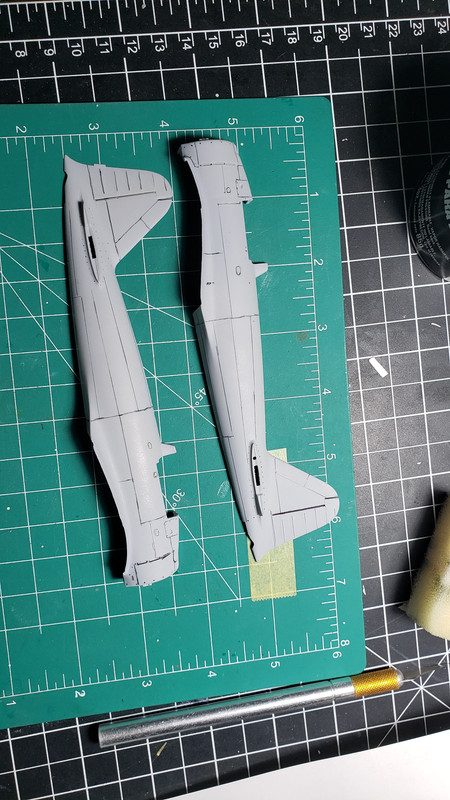
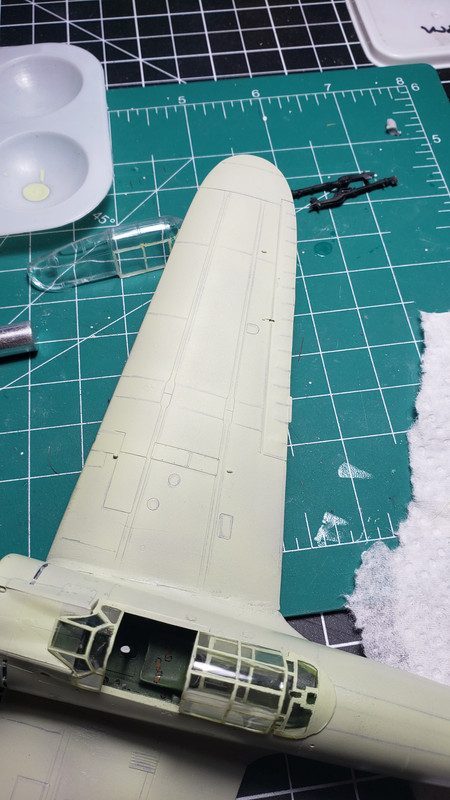
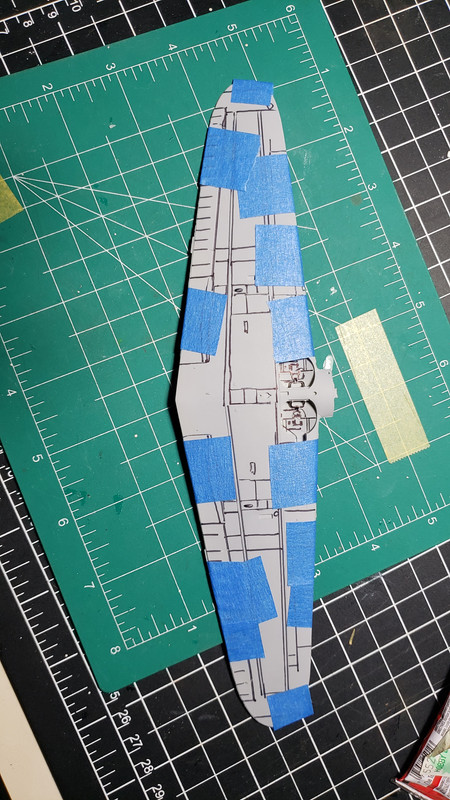
First hickup is the wonderful pre bent wing.
It’s a nice simple fun old kit. Not in the same league as the newer Tamiya releases, but extremely nice for its age.
Have fun. I’m sure that the other wing half will help cure that warp once all glued together properly.
I am almost done with it. The wing did fix itself when I went to glue it.
I wonder if it is in other kits with the same issue.
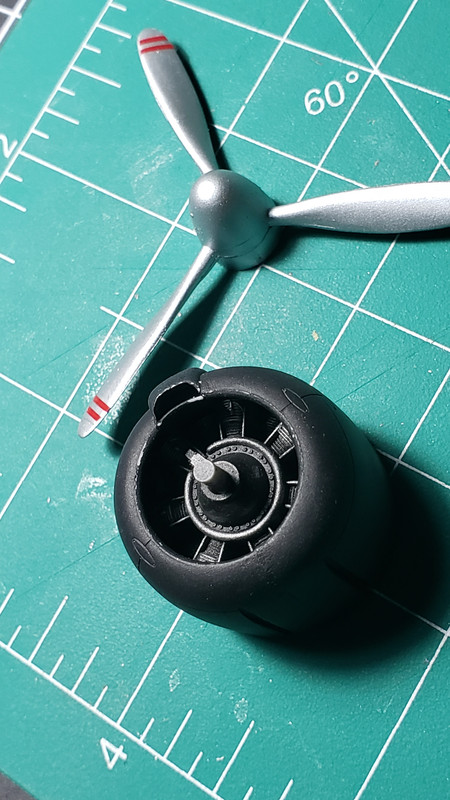
a few more from during the build. I am almost done with it. I had the antenna on it not more than 20 seconds and it fell of the stand snapping it off.
So back to the old school route of stretching sprue I guess.
As already mentioned, these old kits aren’t up to Tamiyas current standard, but I’ve built a few over the years and they are very enjoyable.
Yours looks great.
Don’t fret too much over the broken antenna mast. On actual Zeroes it was not uncommon for the radio and mast to be removed as a weight saving measure due to the poor performance of the radio.

This kit really doesnt seem as bad as other rag on it.
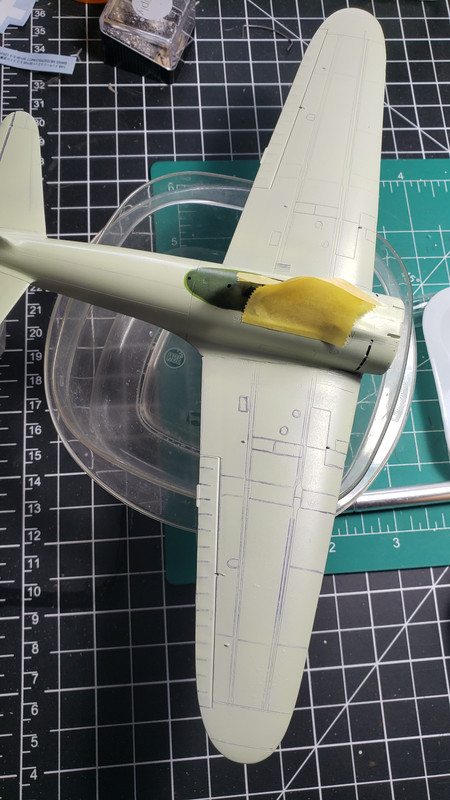
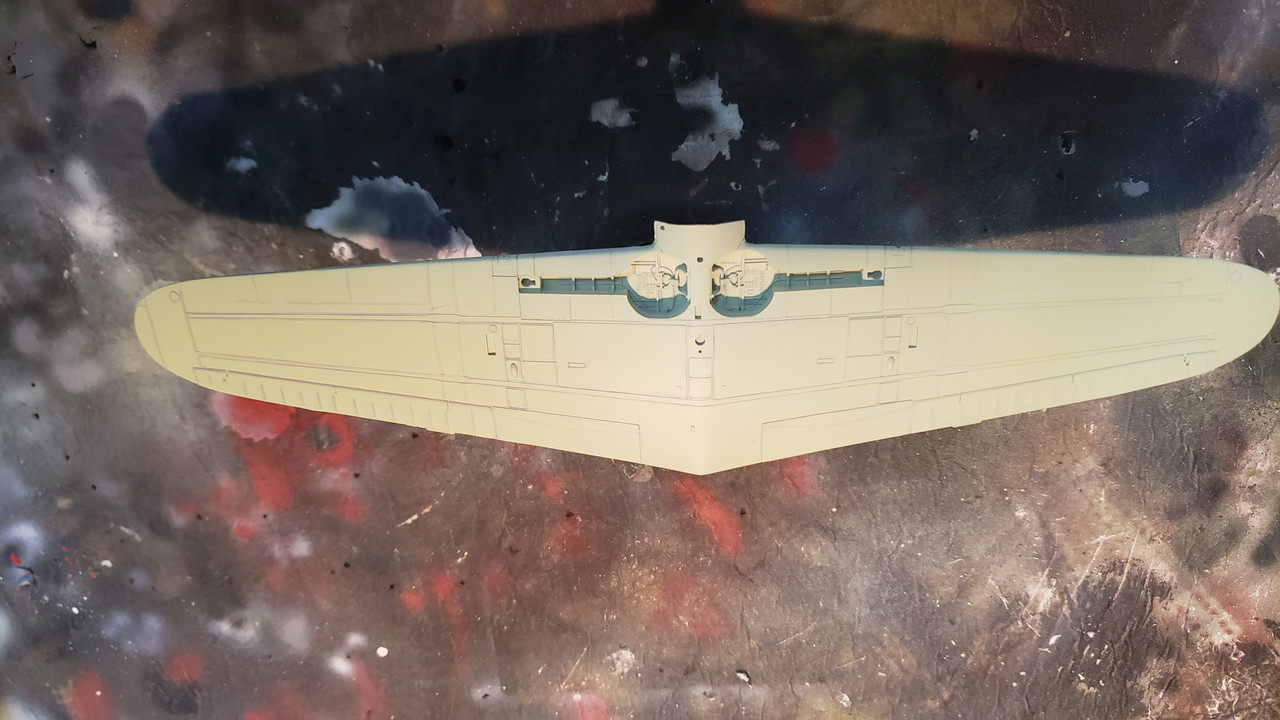
Where the wings meet the fuselage does have a good size gap. But I bought it for that reason to teach myself and test a few products before I use them on my nicer kits. This is only my second plane in 38 years.
@strikpusher I thought maybe going that way. but I think I might have got luck with the first few stretches to be able to pull it off.
I would easily go for this kit again in gray/white if I didnt have 10 others in line next.
I hear ya there! It’s a fun quick simple affordable kit. And there are several schemes to choose from. But finding the time to build them all… ![]()
Not an airplane guy but this is really nice. I like the presentation and wheels going up/or down as the case may be.
It looks very good! But one thing… it seems to be landing/taking off with out a pilot, is it a special drone variant? 
Three penguins are flying it… 
But seriously, the one that comes with it is horrible. It is one of the complaints of the kit. But it is not as bad as the Bandai At ST drivers. So one day I might try finding a better one. And then there is this…I have no buissness doing figures at the moment. It would be better if I just broke off all the blades of the prop !
But I did leave the cockpit open for one day!
Today I will be working on the stand that is in the pic. I built it using hobby lobby rods and white paint mixer balls from the hobby shop. I think he said they are from war gamer paints.
going to be changing the rod shape and color. I am not sure if I want to do a water or ground base.
That’s turned out great.
Nice job !
Thanks for the kind words guys !
I held off in saying that the panel lines were done by using a ultra fine point sharpe. This is also a no no it seems on the internet. I would say 9 out of ten say dont do it. I have read complete blogs about why it cant be done. I wont go in how things are twisted or miss understood in many of them. Instead I show that I did it and how it came out. It can be done.
Wow that technique worked very well! I tried a similar thing on a 1/32 Typhoon but I sprayed the model with acrylics and then put a clear coat on top, but when I did the sharpie bled through! Im glad it worked for you and the result was well worth it.
clear coat enamel?