Hi all,
Here is a build log of a Comet I started whilst waiting for some T-72 tracks and some resin wheels for the Faun. I’ve been up to my eyes with work, not sleeping very well and struggling for bench time and coupled with some pretty involved and time-consuming builds lately, I felt I deserved a palate cleanser. I do them from time to time - the Afrika Korps Panzer IV build I did recently was one such example. I’ve had this Comet in the stash for just over a year as it was a Christmas present from my dad last Christmas.
Build was glorious, as you might imagine from Tamiya. Nothing to complain about, link and length tracks do the job nicely and the detail is fine and benefits a lot from the fantastic standard of Tamiya’s molding. It is a joy of a kit. If you want a nice relaxing time, a Japanese hug from a model kit, you can’t beat a Tamiya.
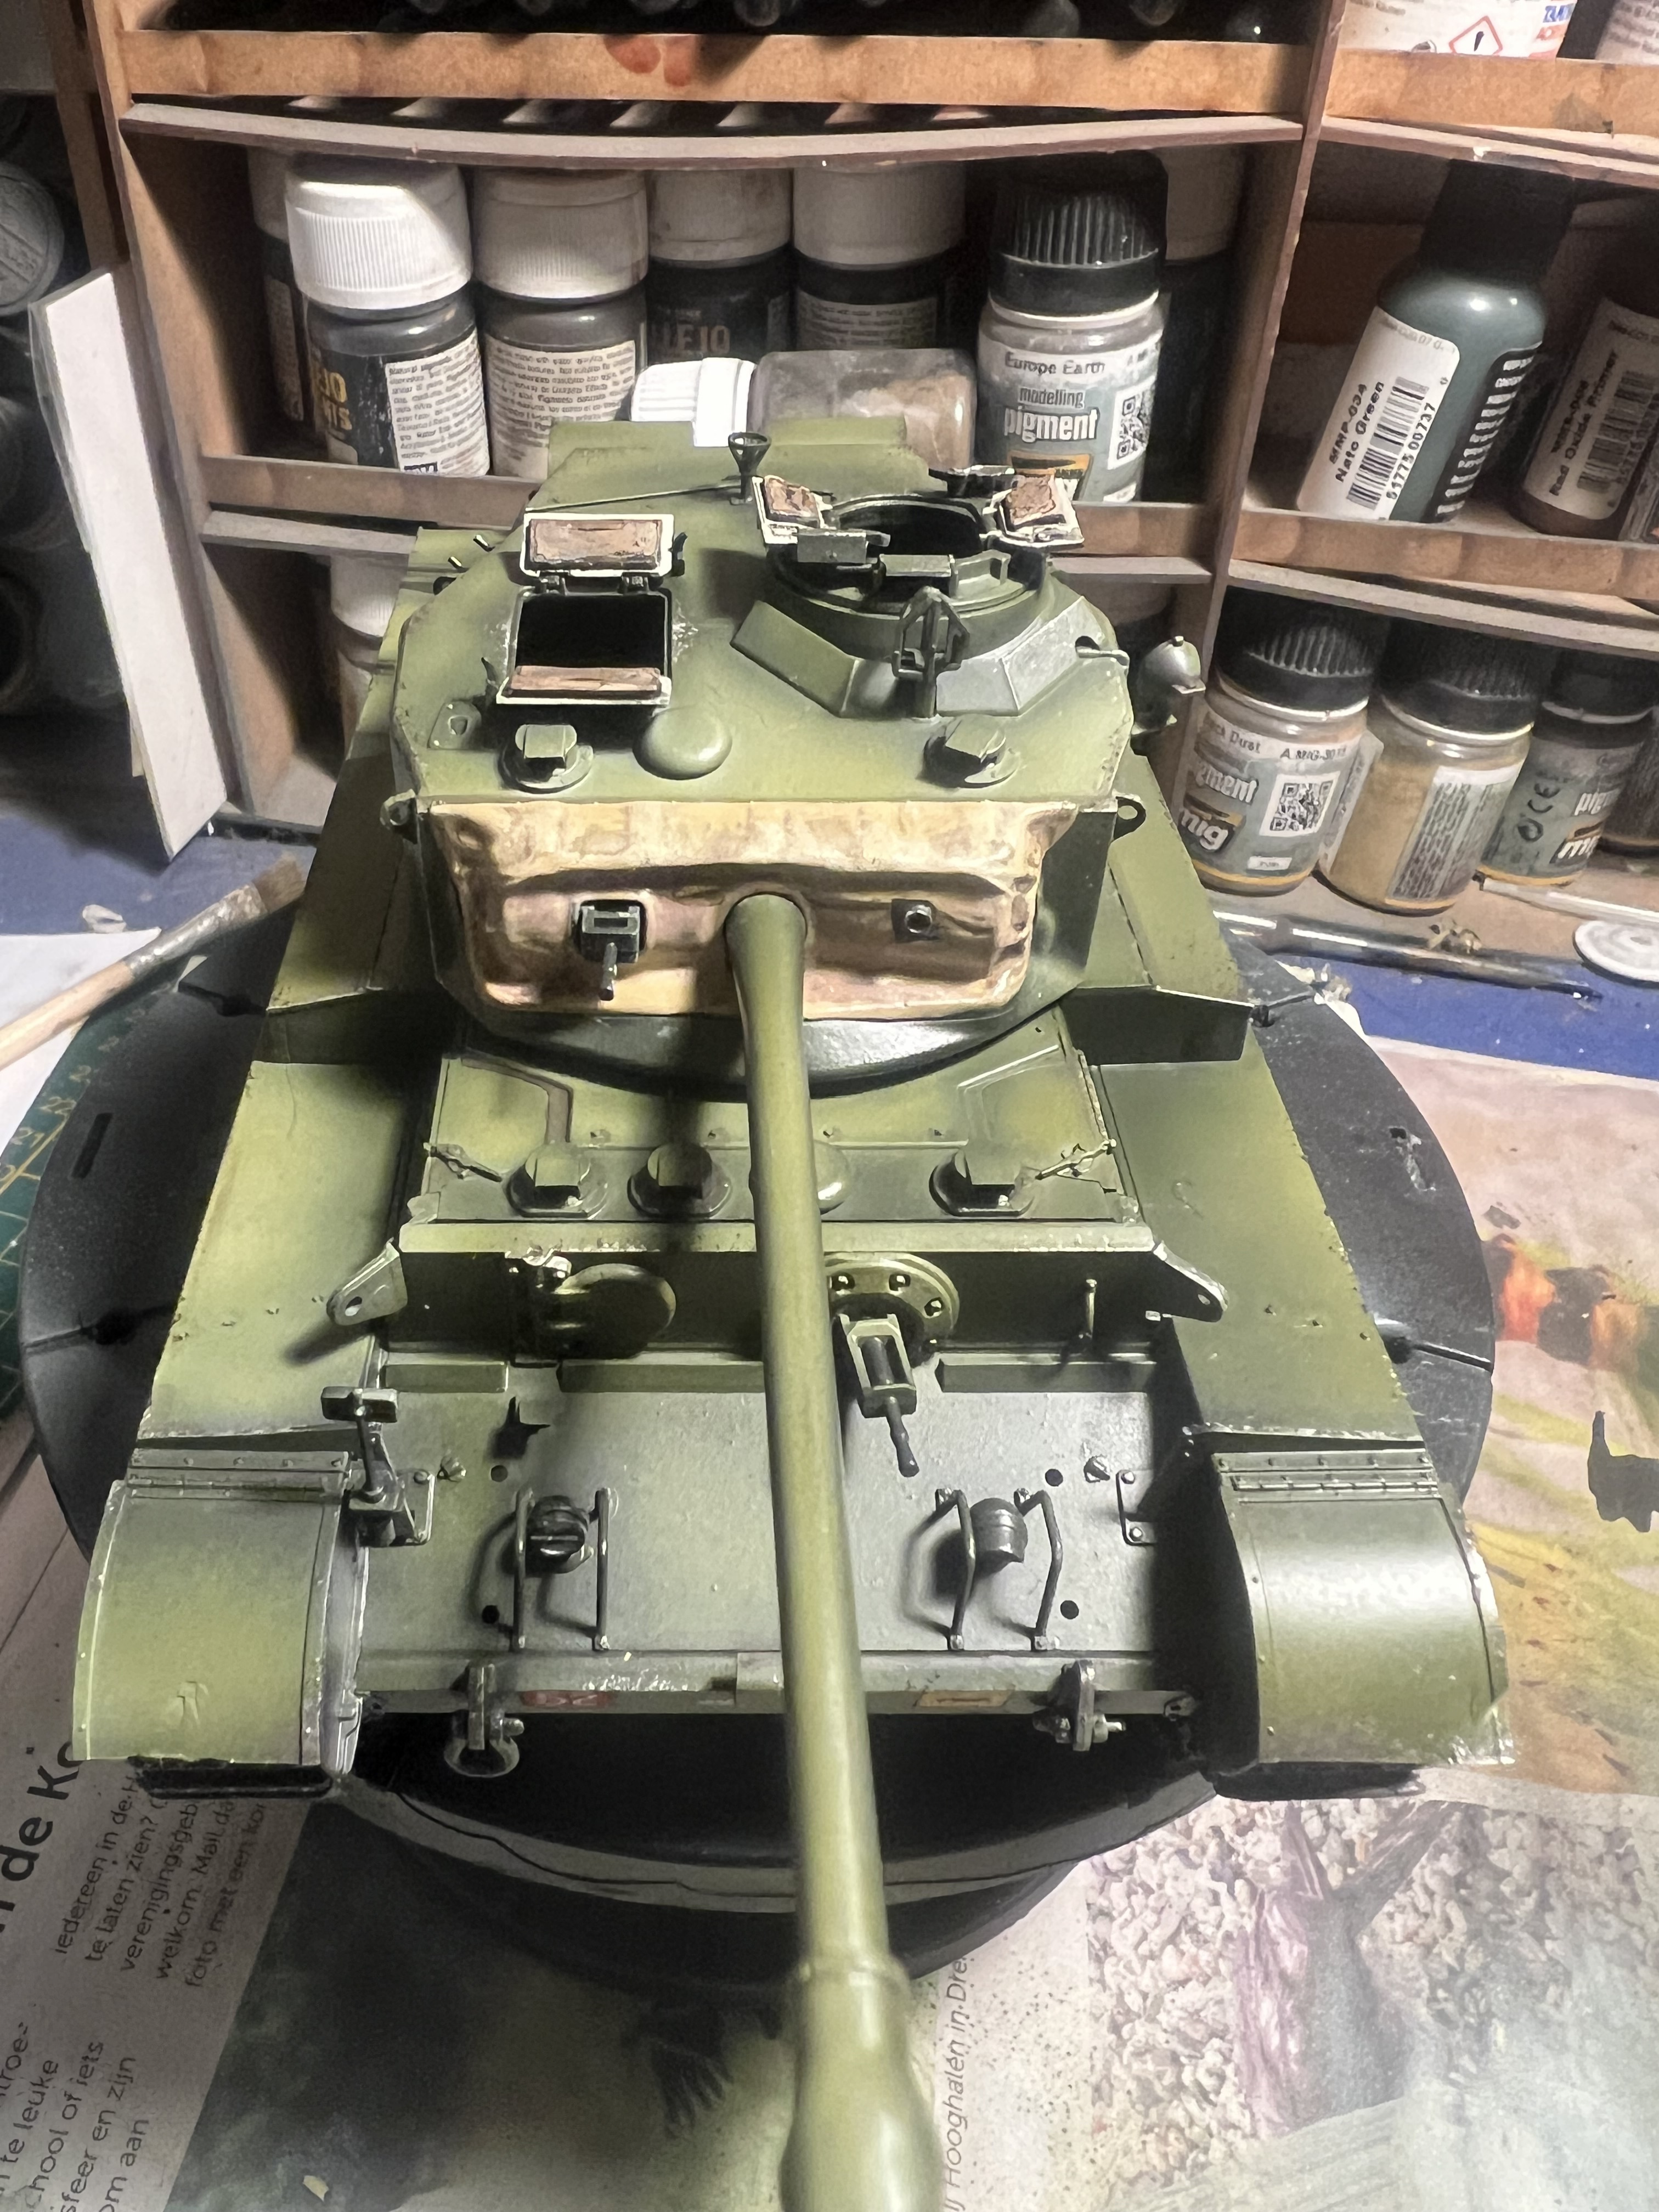
We enter the build log as assembly completes and we dive into painting.
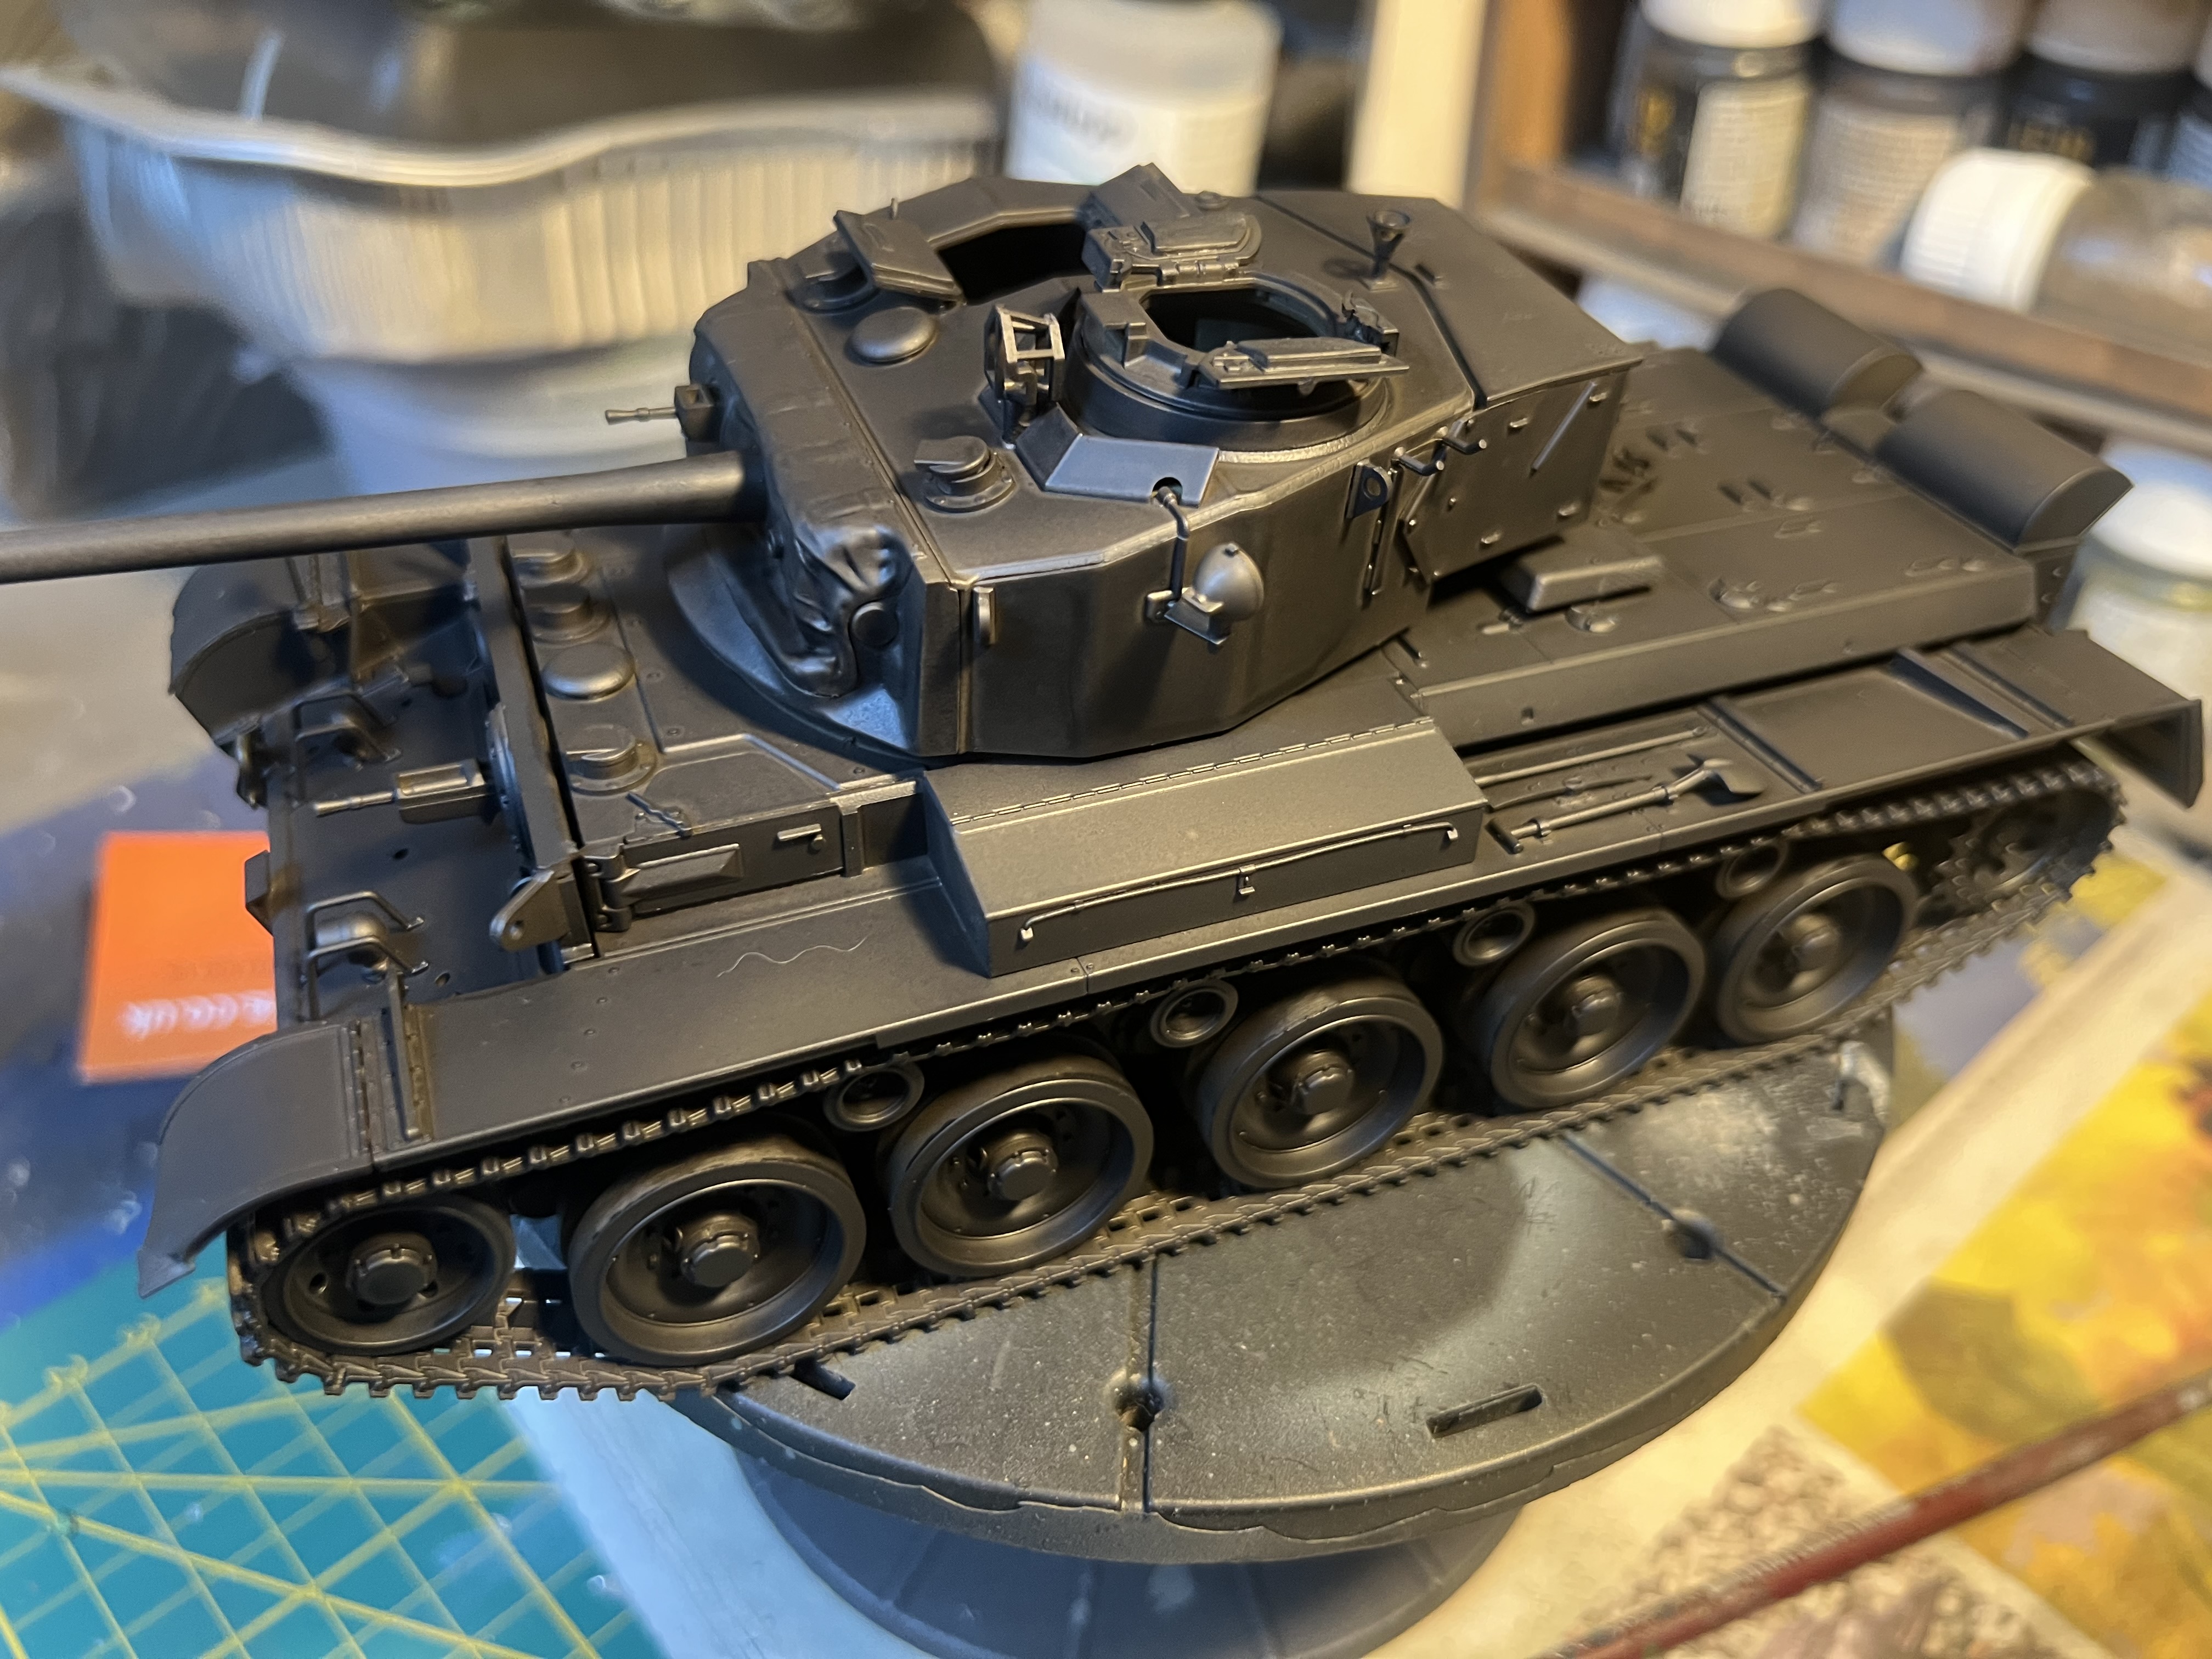
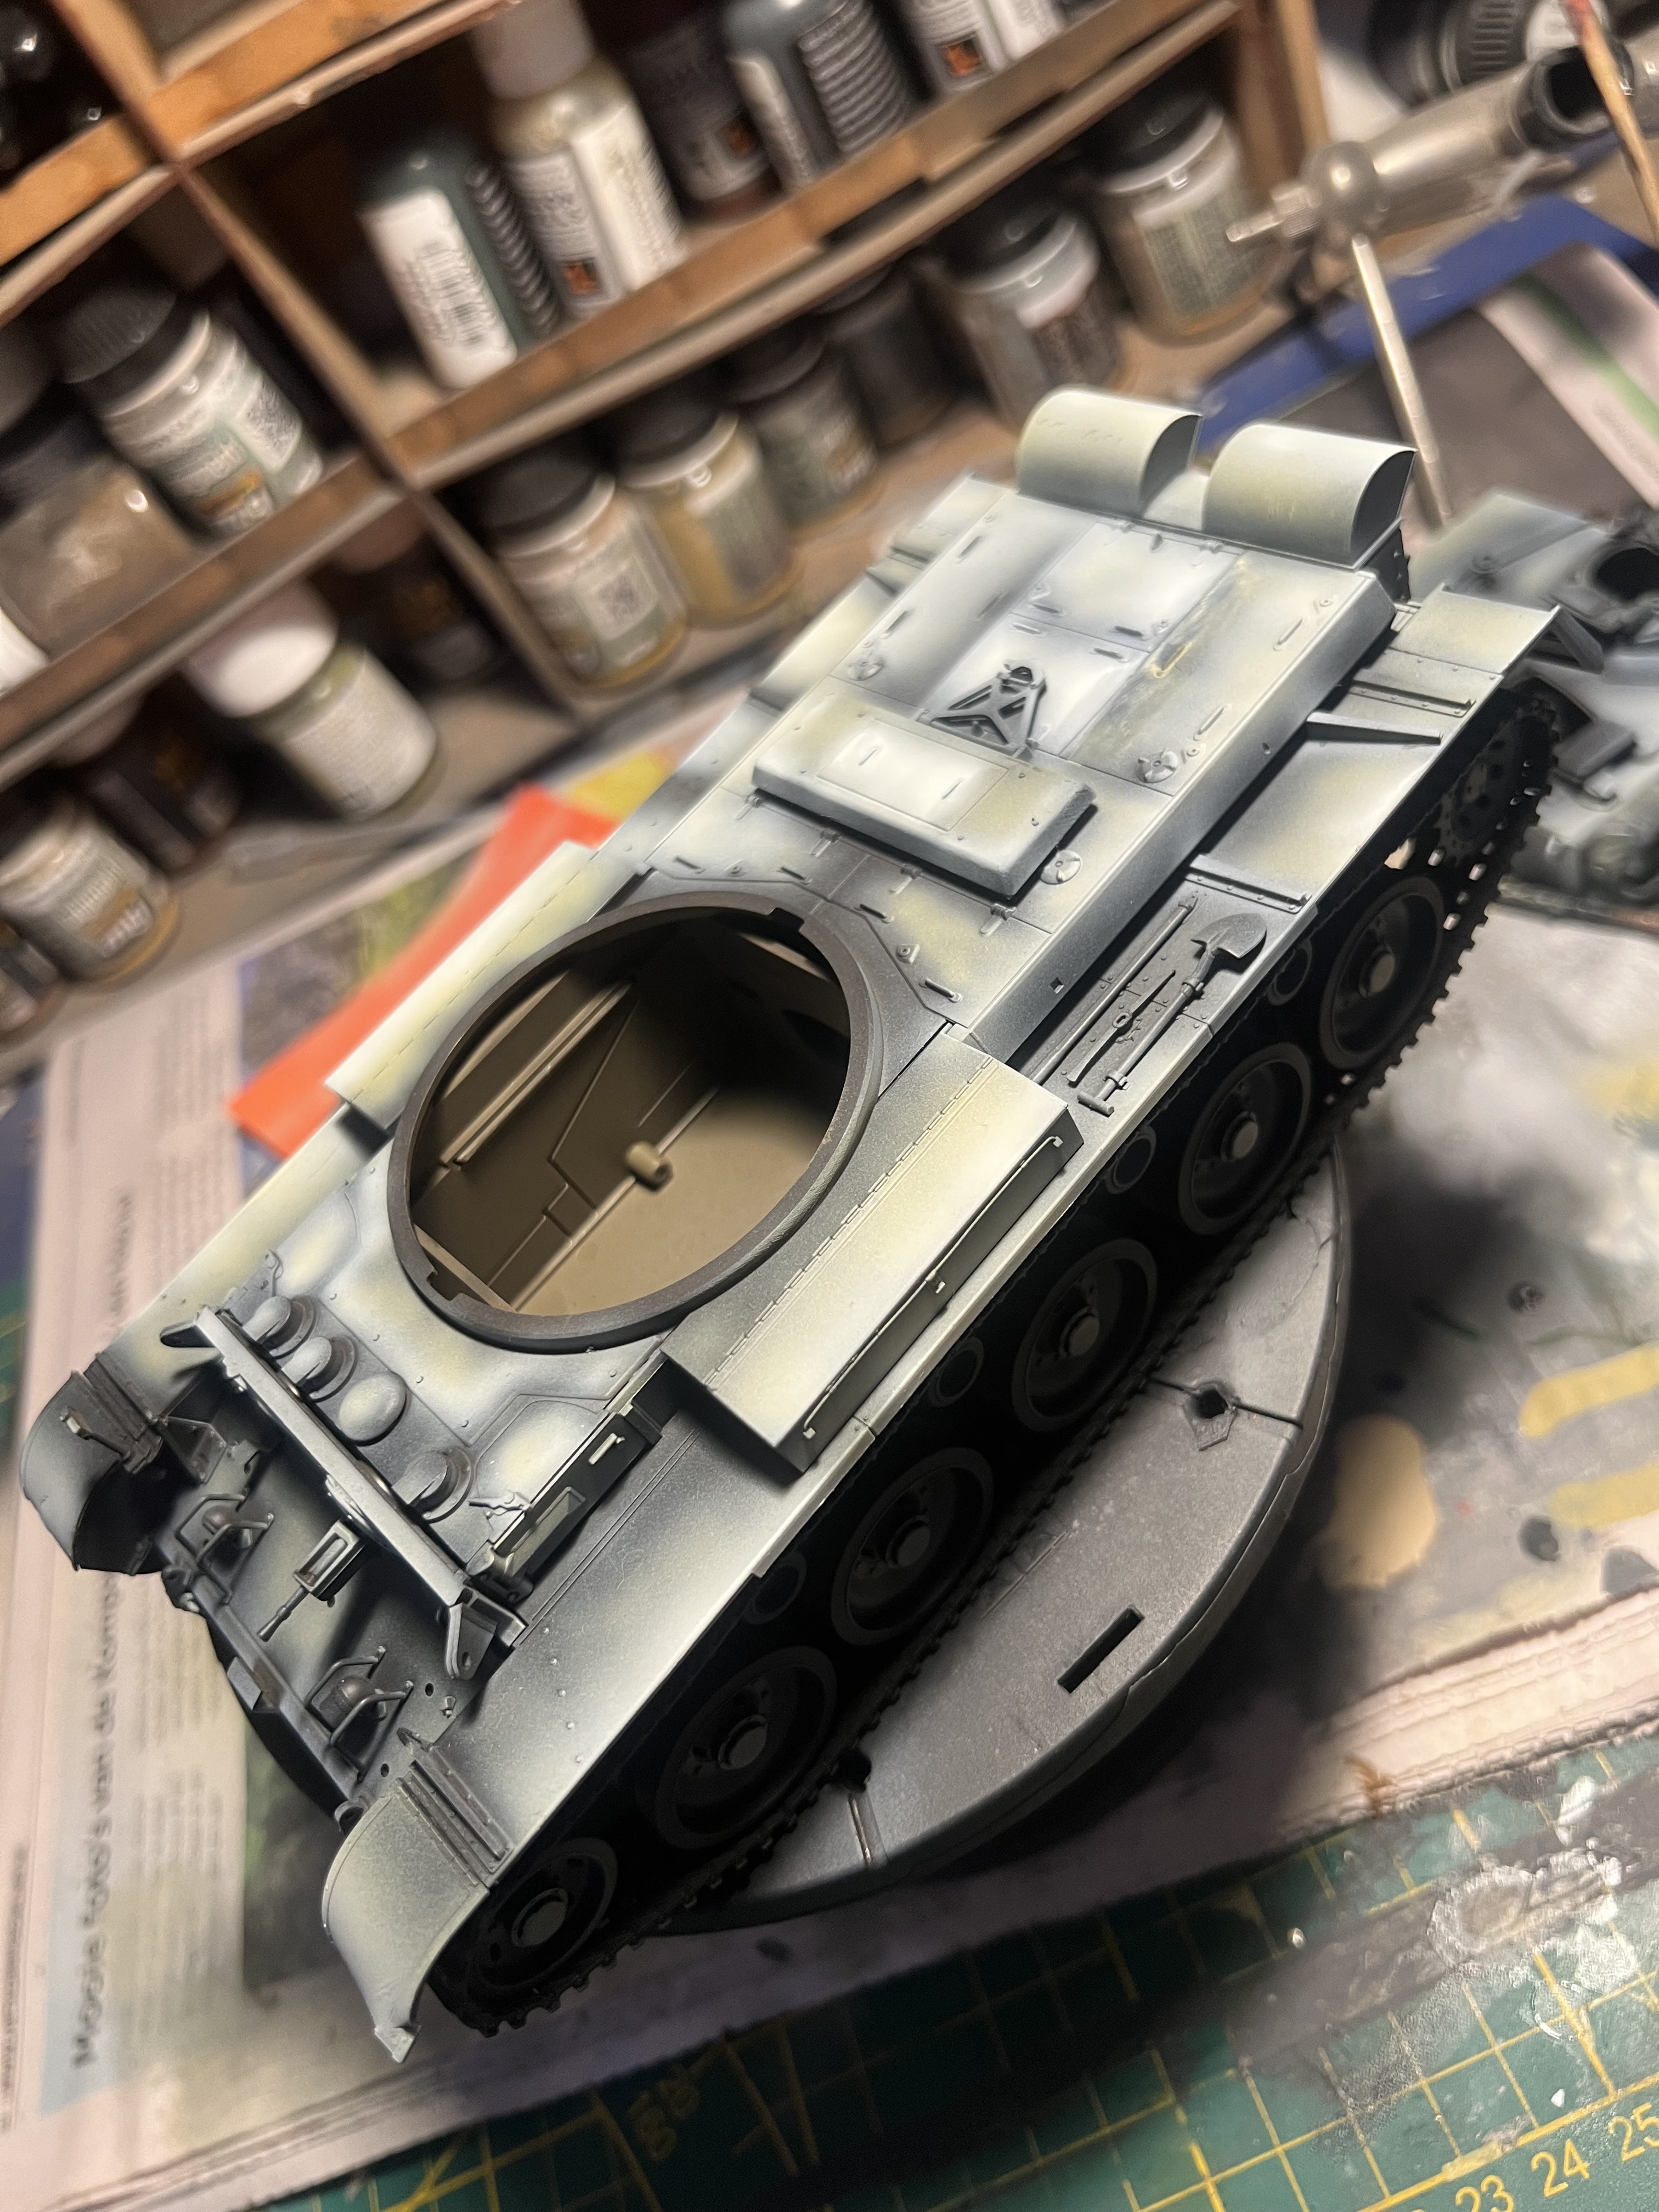
Primer layer was MiG OneShot black which I’ve become a major advocate of recently. I just love how it levels off and finishes silky smooth, and how hard wearing it is. It isn’t the easiest to use and you have to get the thinning right (it has a very Goldilocks thinning profile if that makes sense) but once you get your head around it, it is wonderful stuff. The picture shows how silky smooth the finish is. I used to use Vallejo rattle cans for priming but I do think OneShot is worth the extra effort.
I then decided to get creative with the pre-shading. I watched a video recently before I finished the Puma, where the guy was stating he doesnt do much if any post-shading highlighting and that his pre-shading work does all the heavy lifting for him. I pushed the envelope a little based on this with the Panzer IV build, learned some lessons, then did it a bit more with the Puma build, learned some lessons, and decided to go full Tonto with this one just to see what was possible.
So, I used Sand Yellow as the mid-tone of the pre-shading, over the top of the black primer. I then did the high tones of the pre-shading using Ivory airbrushed on the lightest parts.

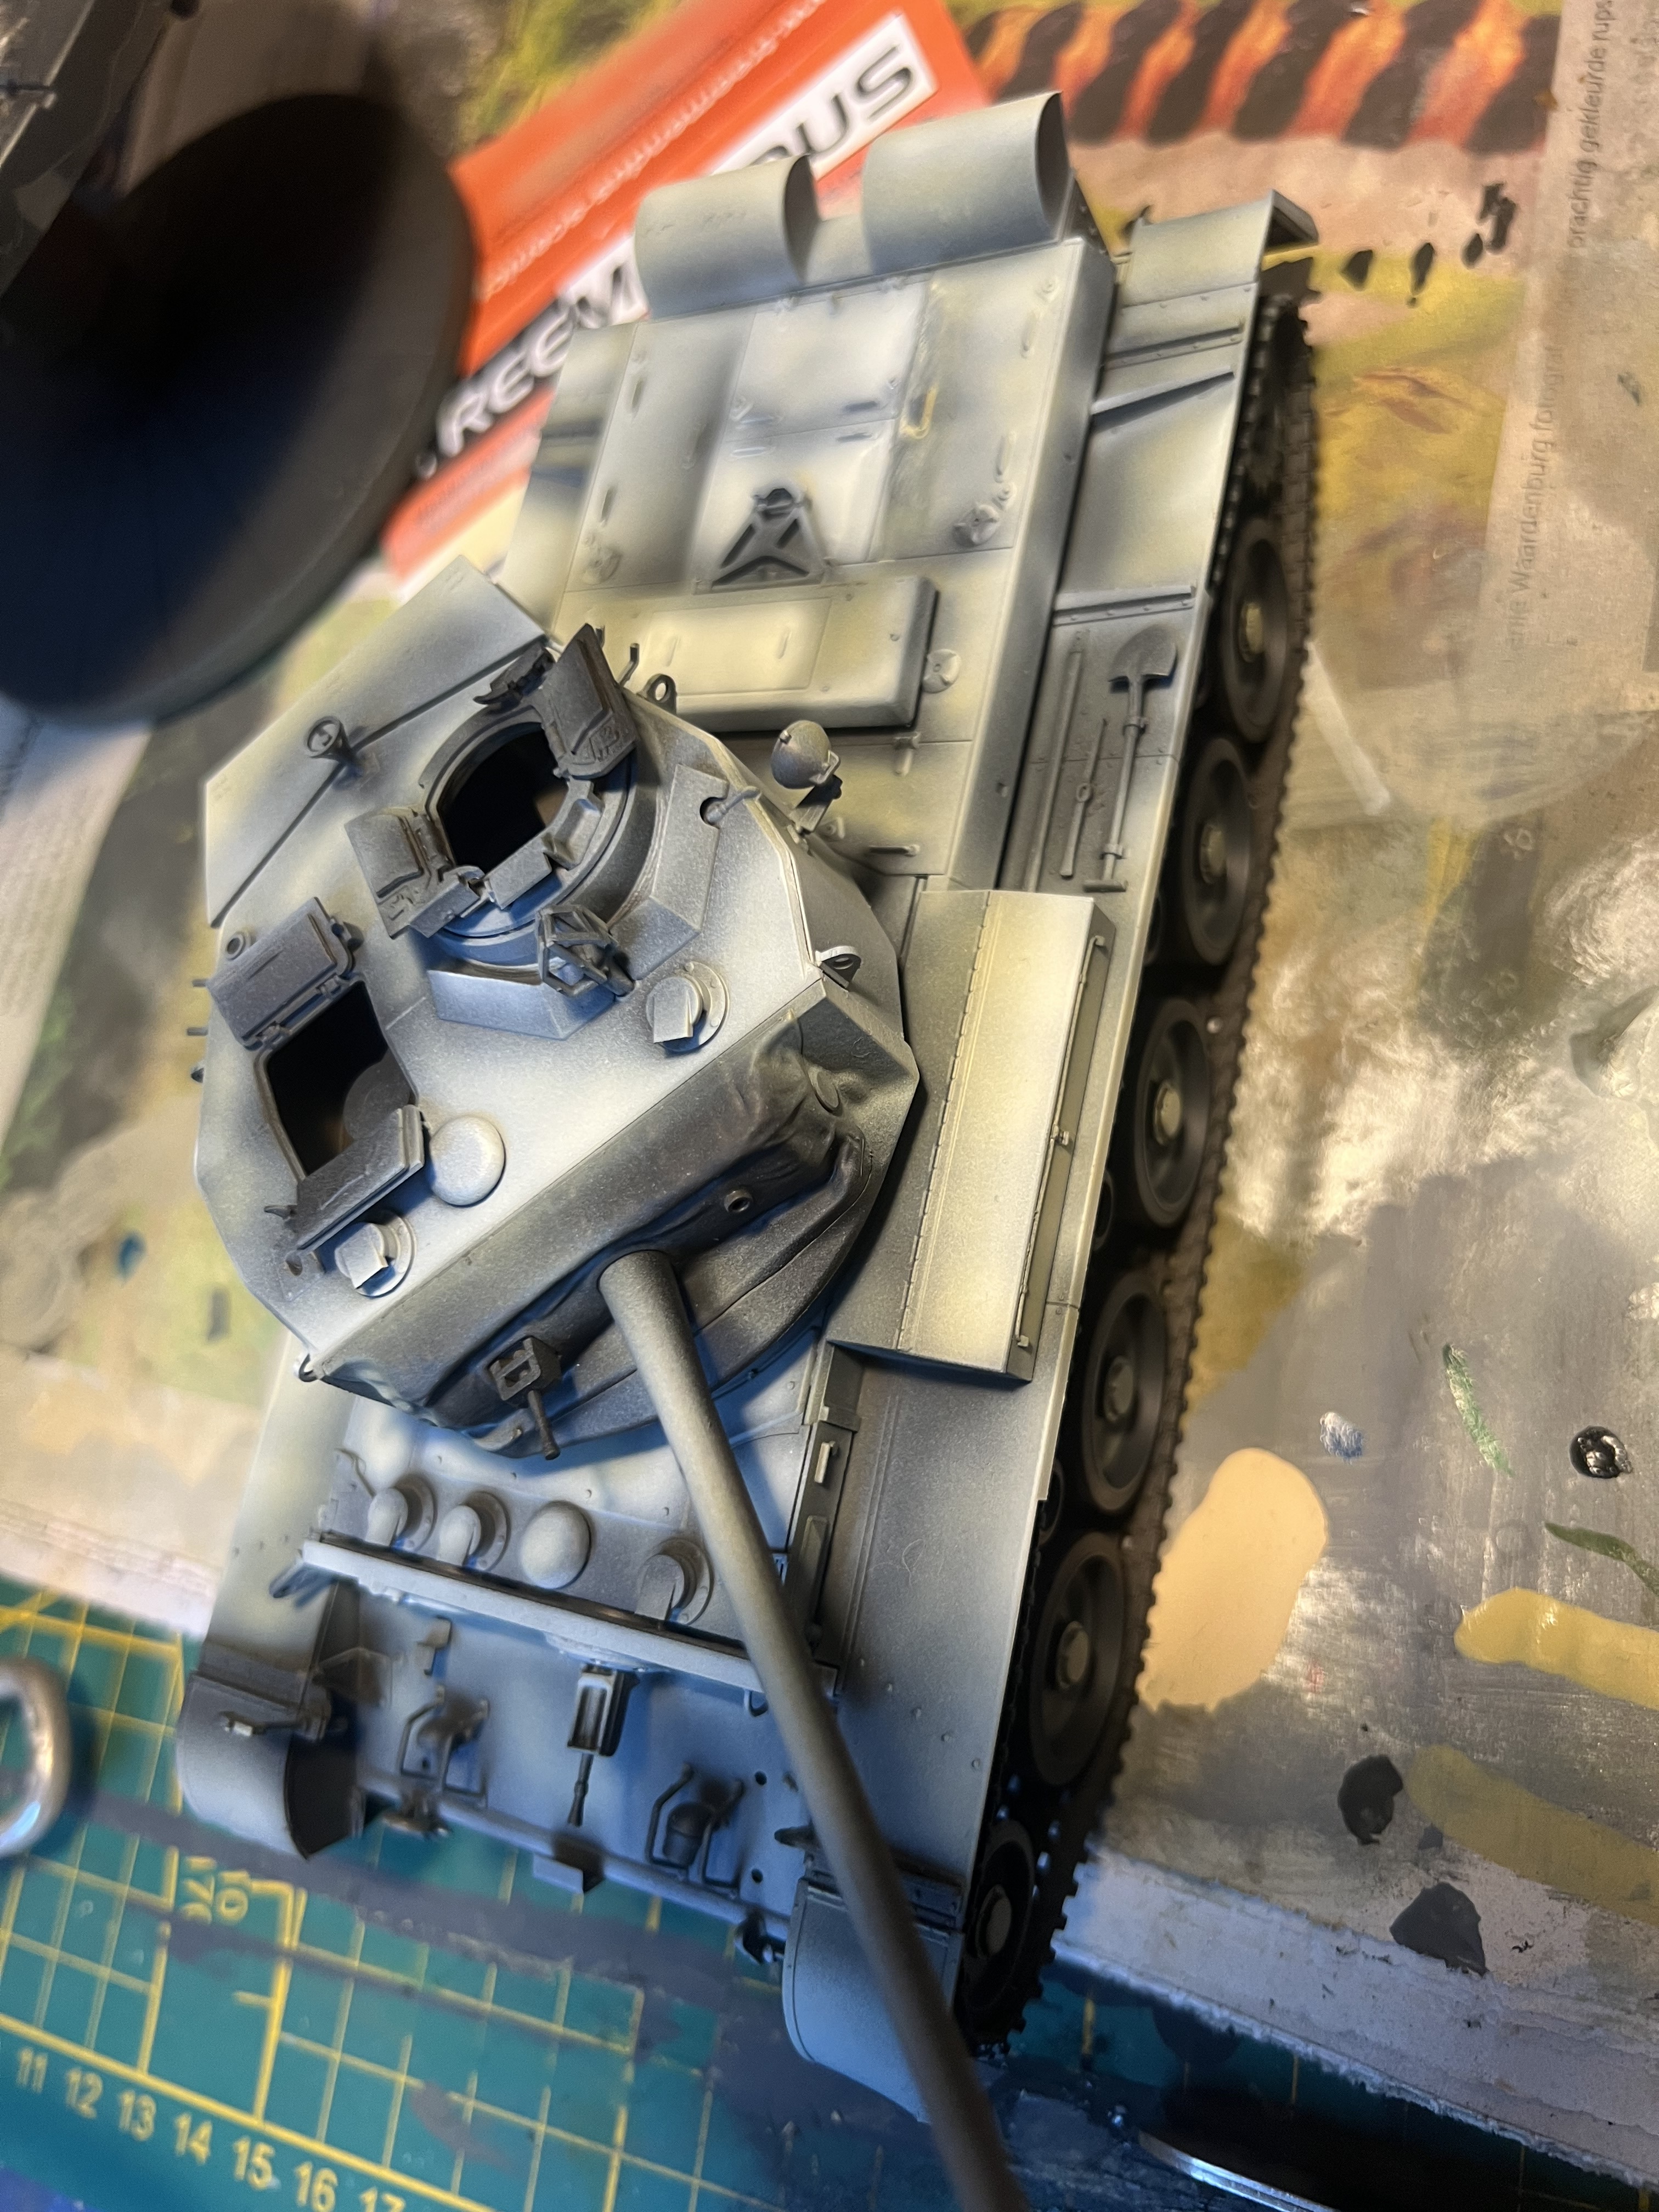

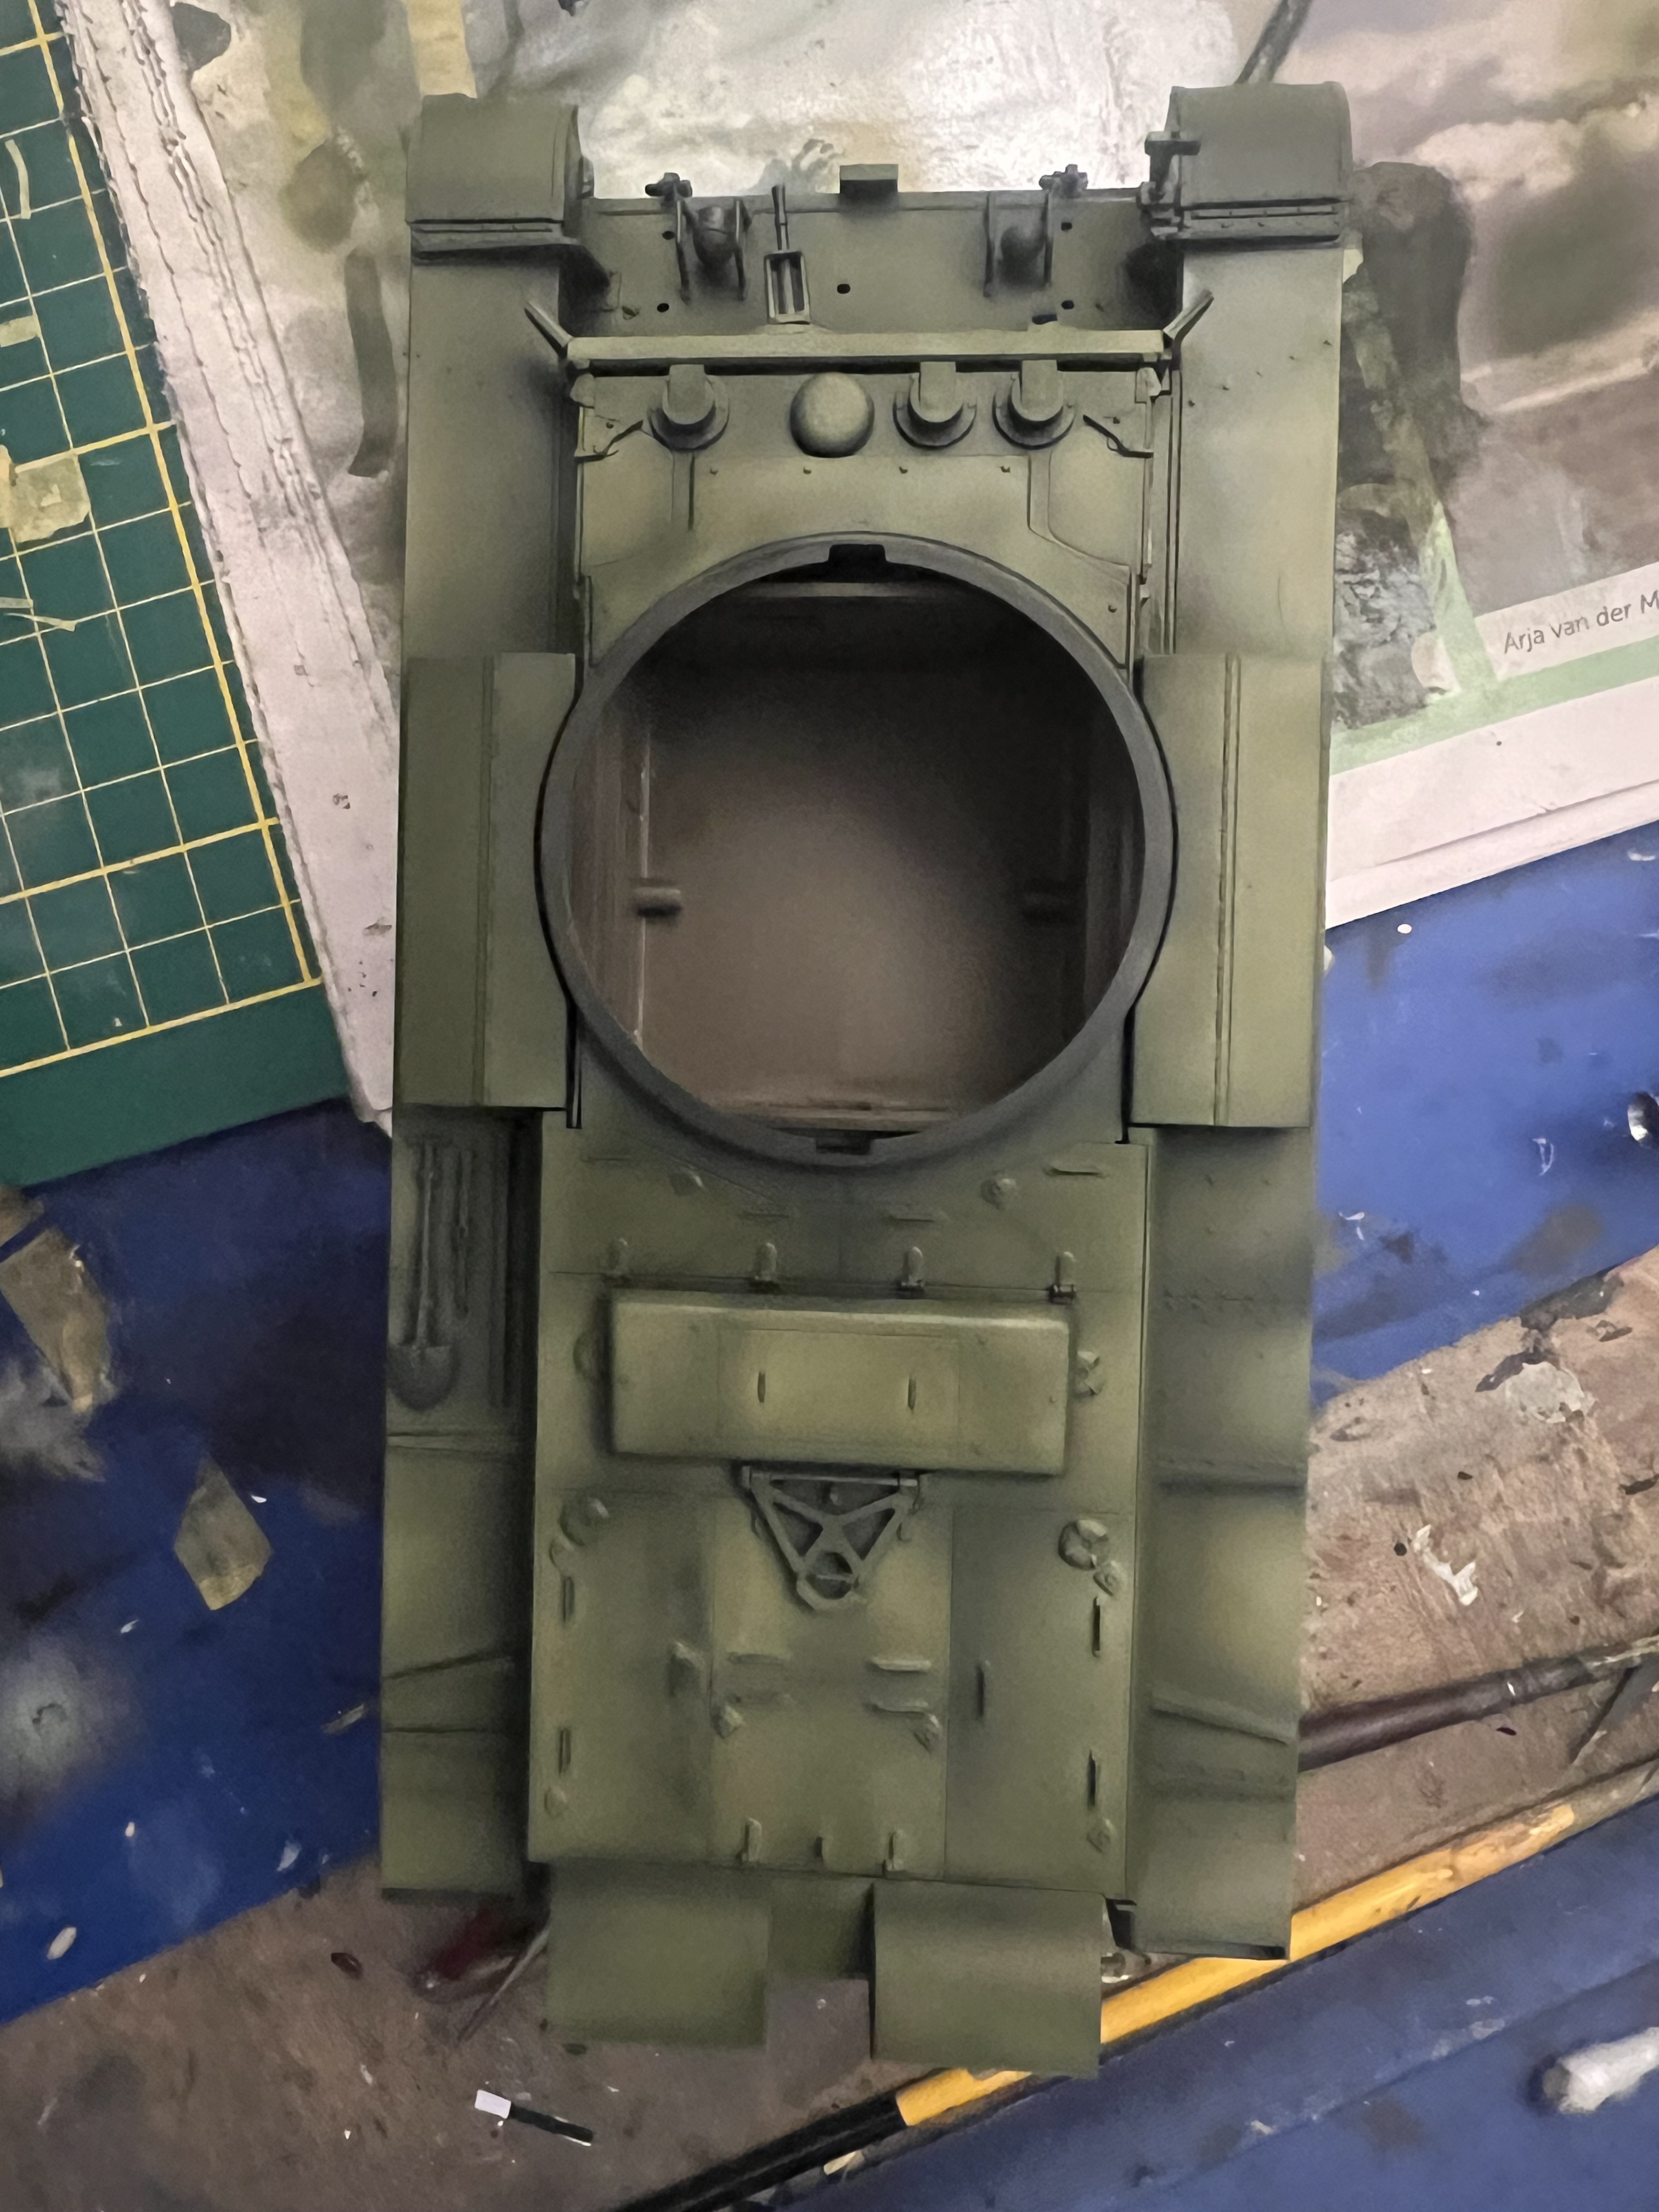
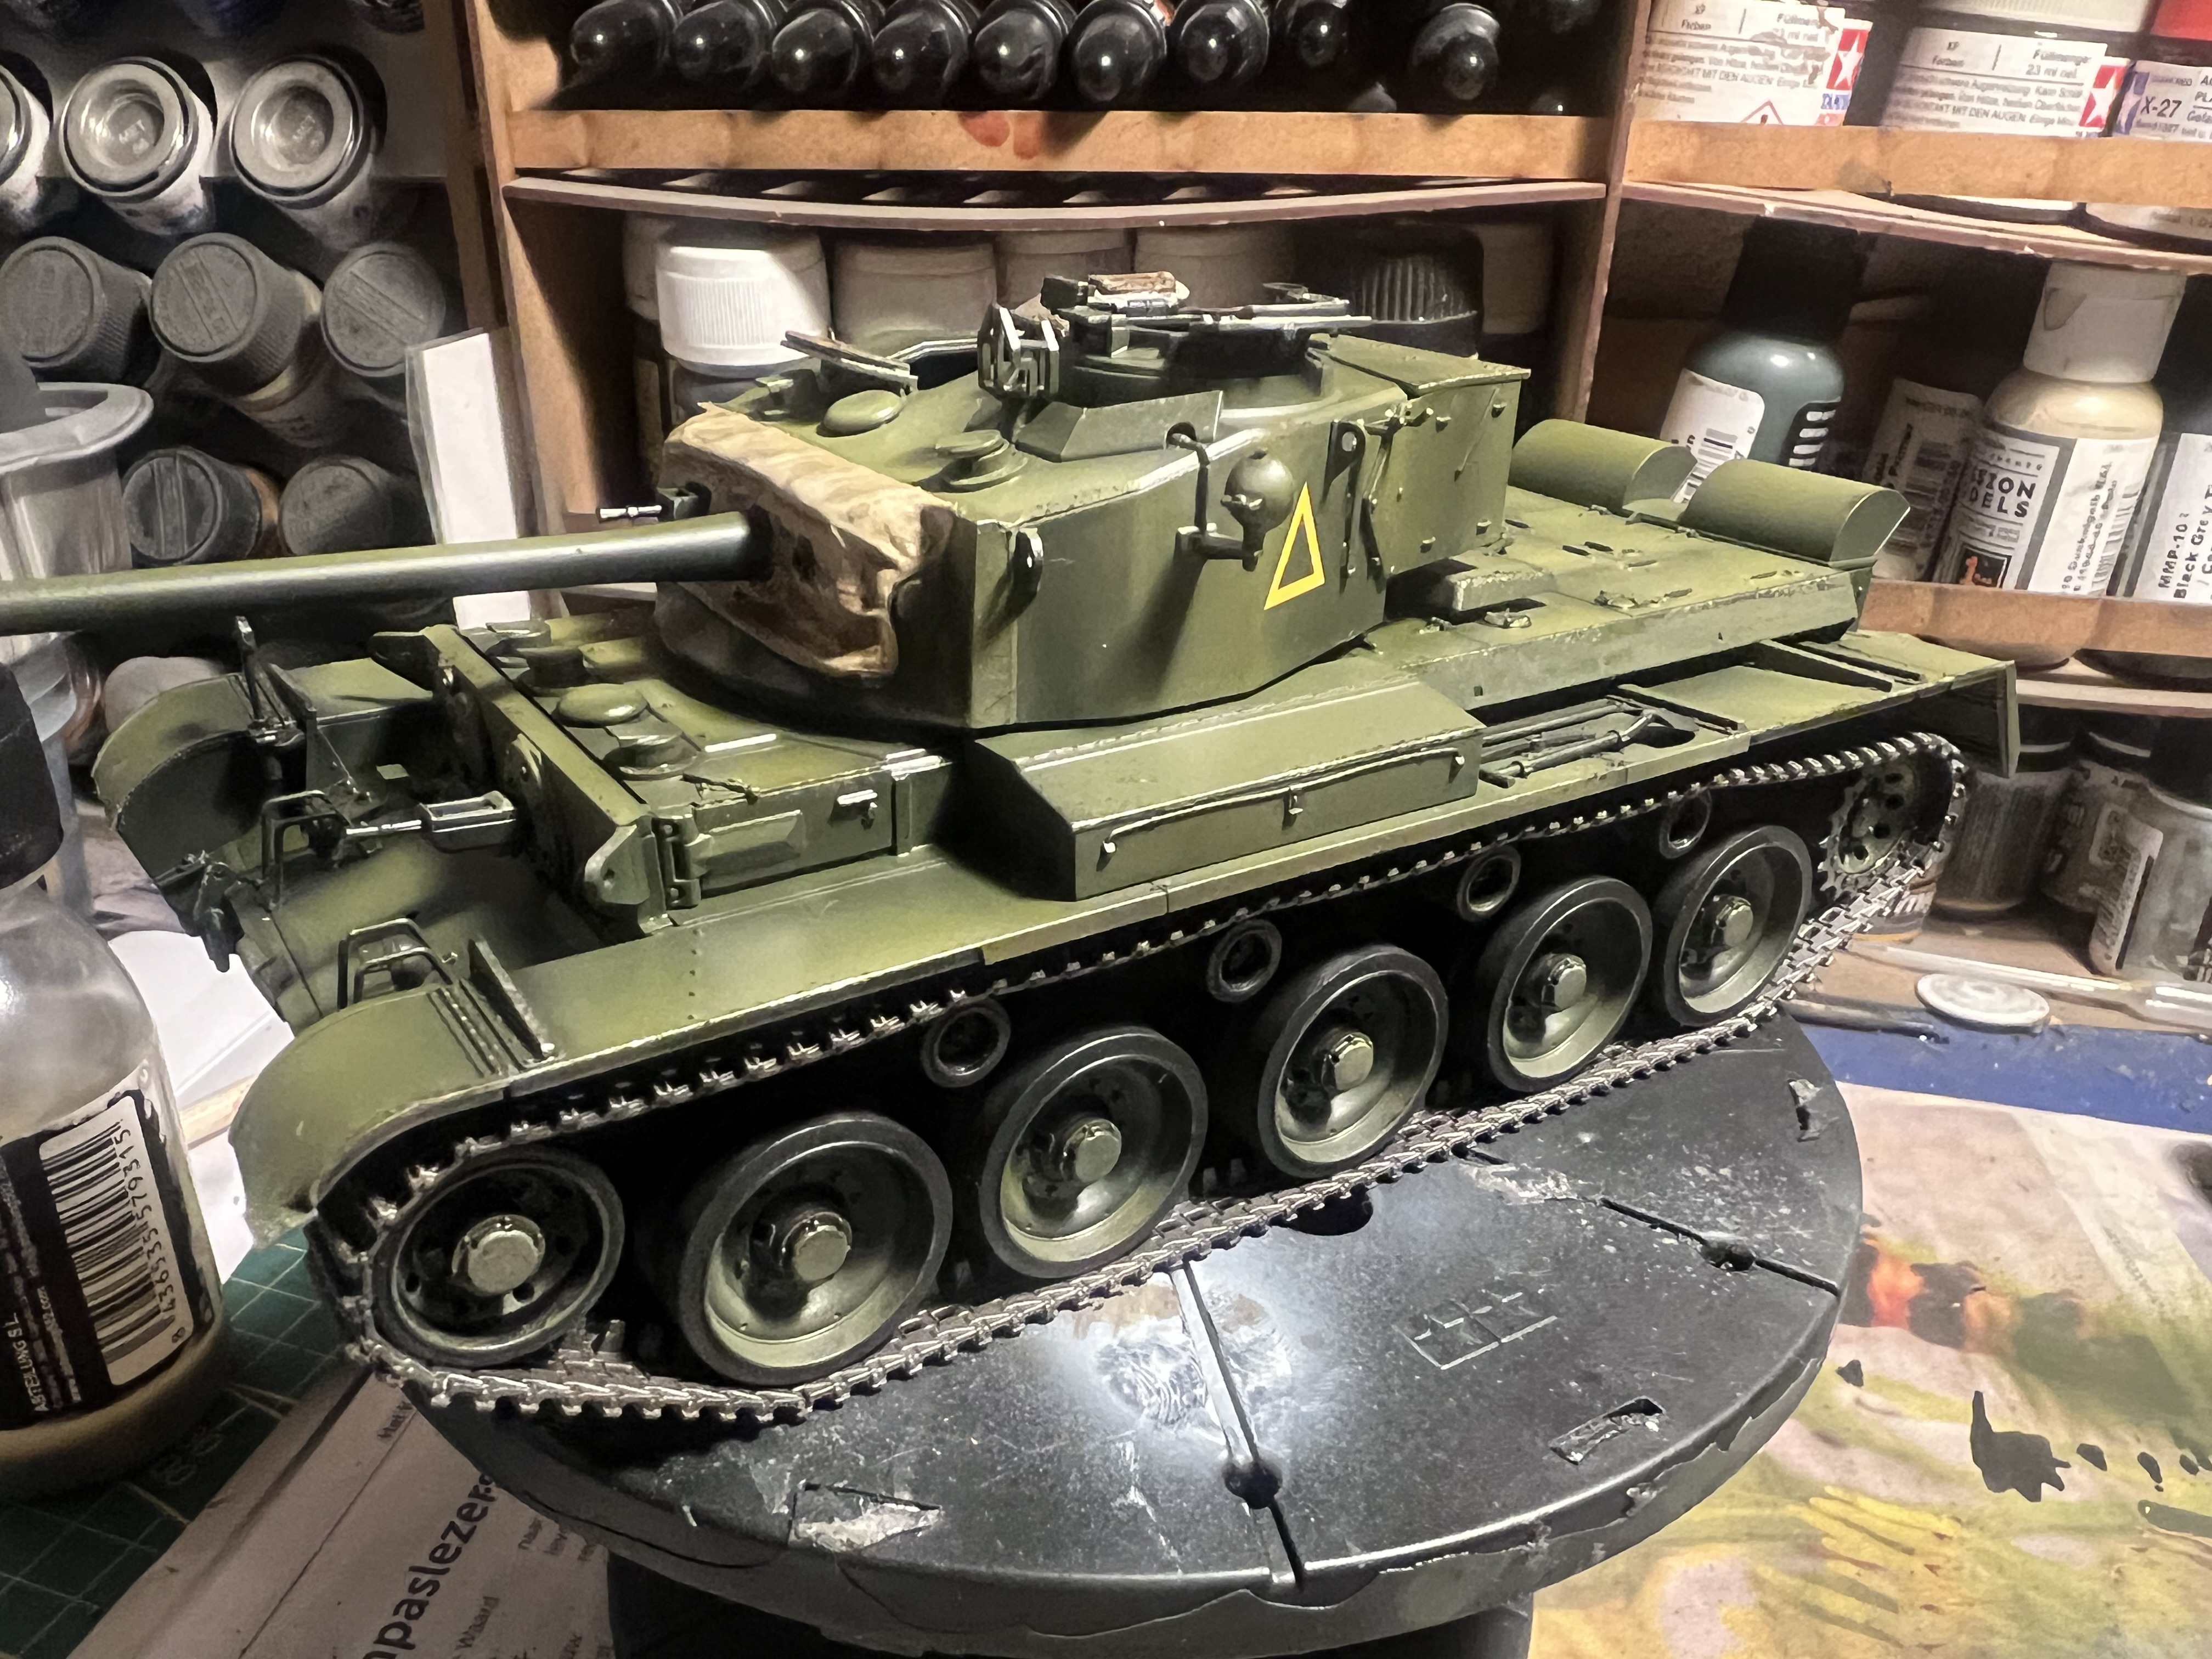
The base colour was supposed to be Bronze Green but I was going to add very thin layers so needed it to be darker than that, so darkened it down a little using Black Green and a couple of drops of Camo Green. This was still too light so I added a couple of drops of Panzer Dk Grau. This went down using four very thinned layers over the pre-shading and is still borderline too light (although the yellow desk lamp I use for the pics makes it look more froggy green that it is).
I then used Night Blue Shader in the airbrush, thinned about 40% to add some fake shadows to create more contrast and then finished the darker bits with a 50/50 mix of Night Blue and a dark Violet Shader and it came out stupendously. I was so happy with the extra contrast, you can’t even see it in the pics really but on the bench it looks really convincing. My new favourite technique! The main reason I’d not done much of this up to now was that I find Shaders finish quite glossy but pleasingly, these didnt as I’d thinned them properly.
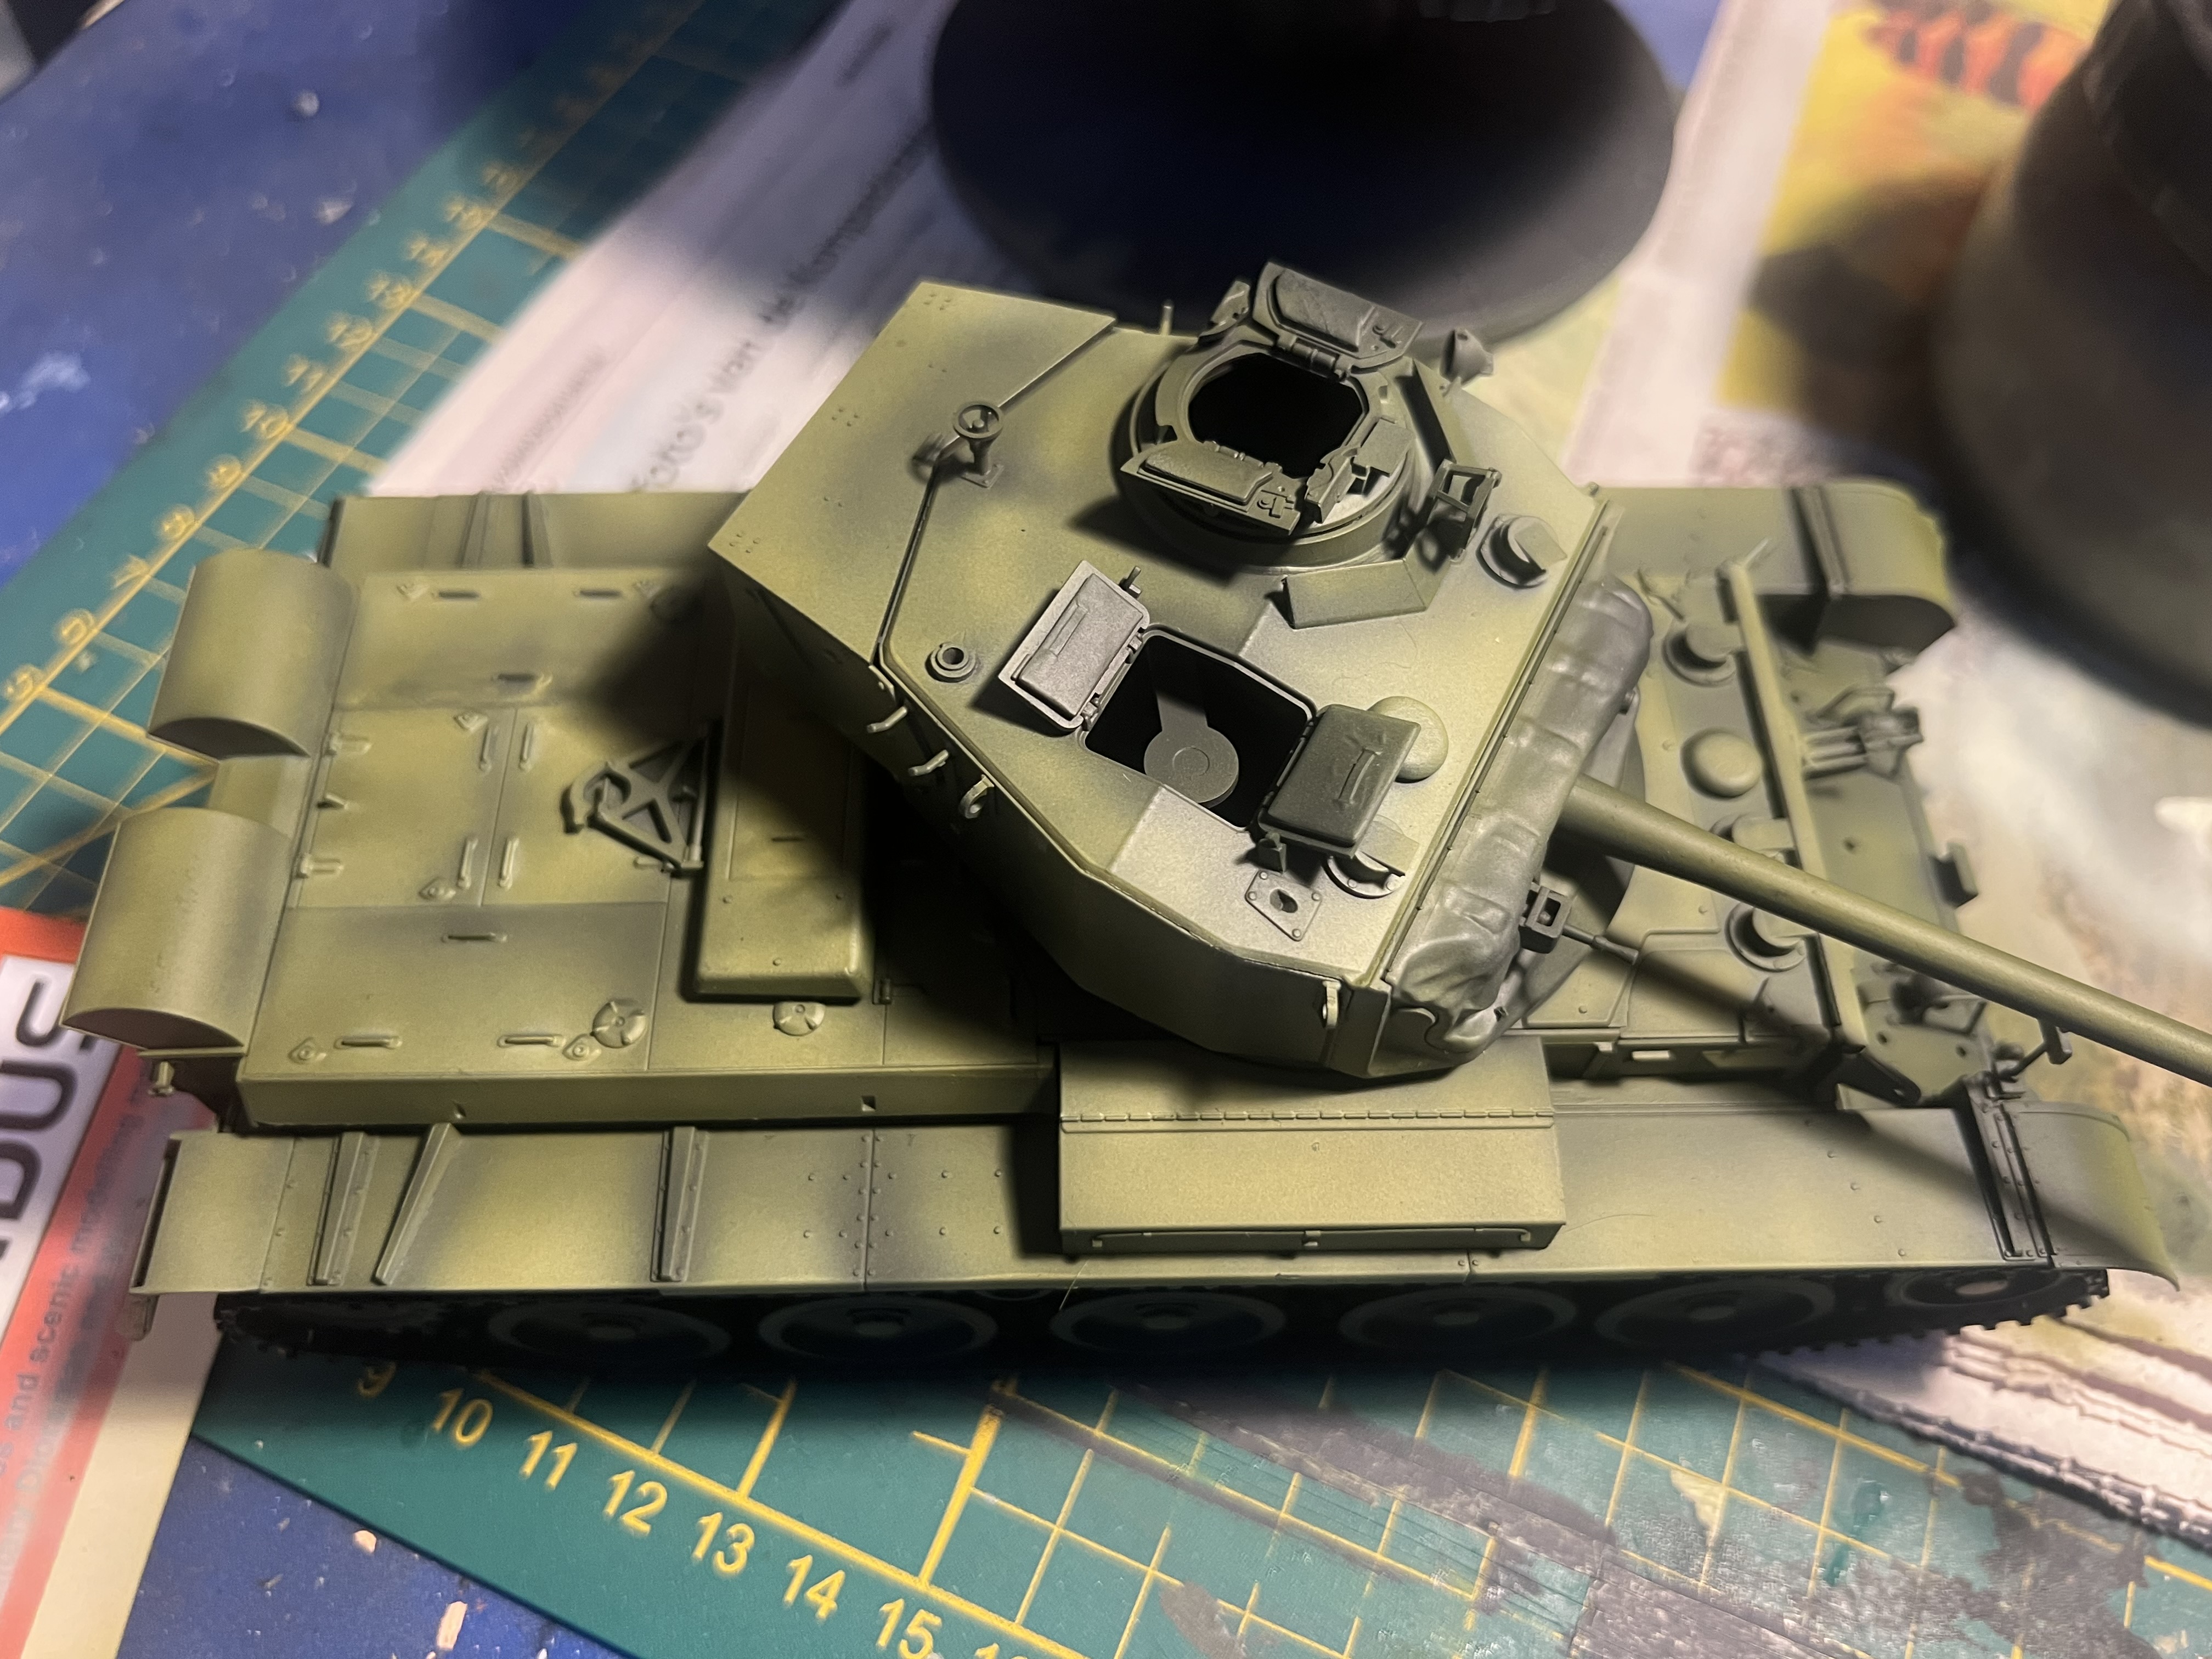
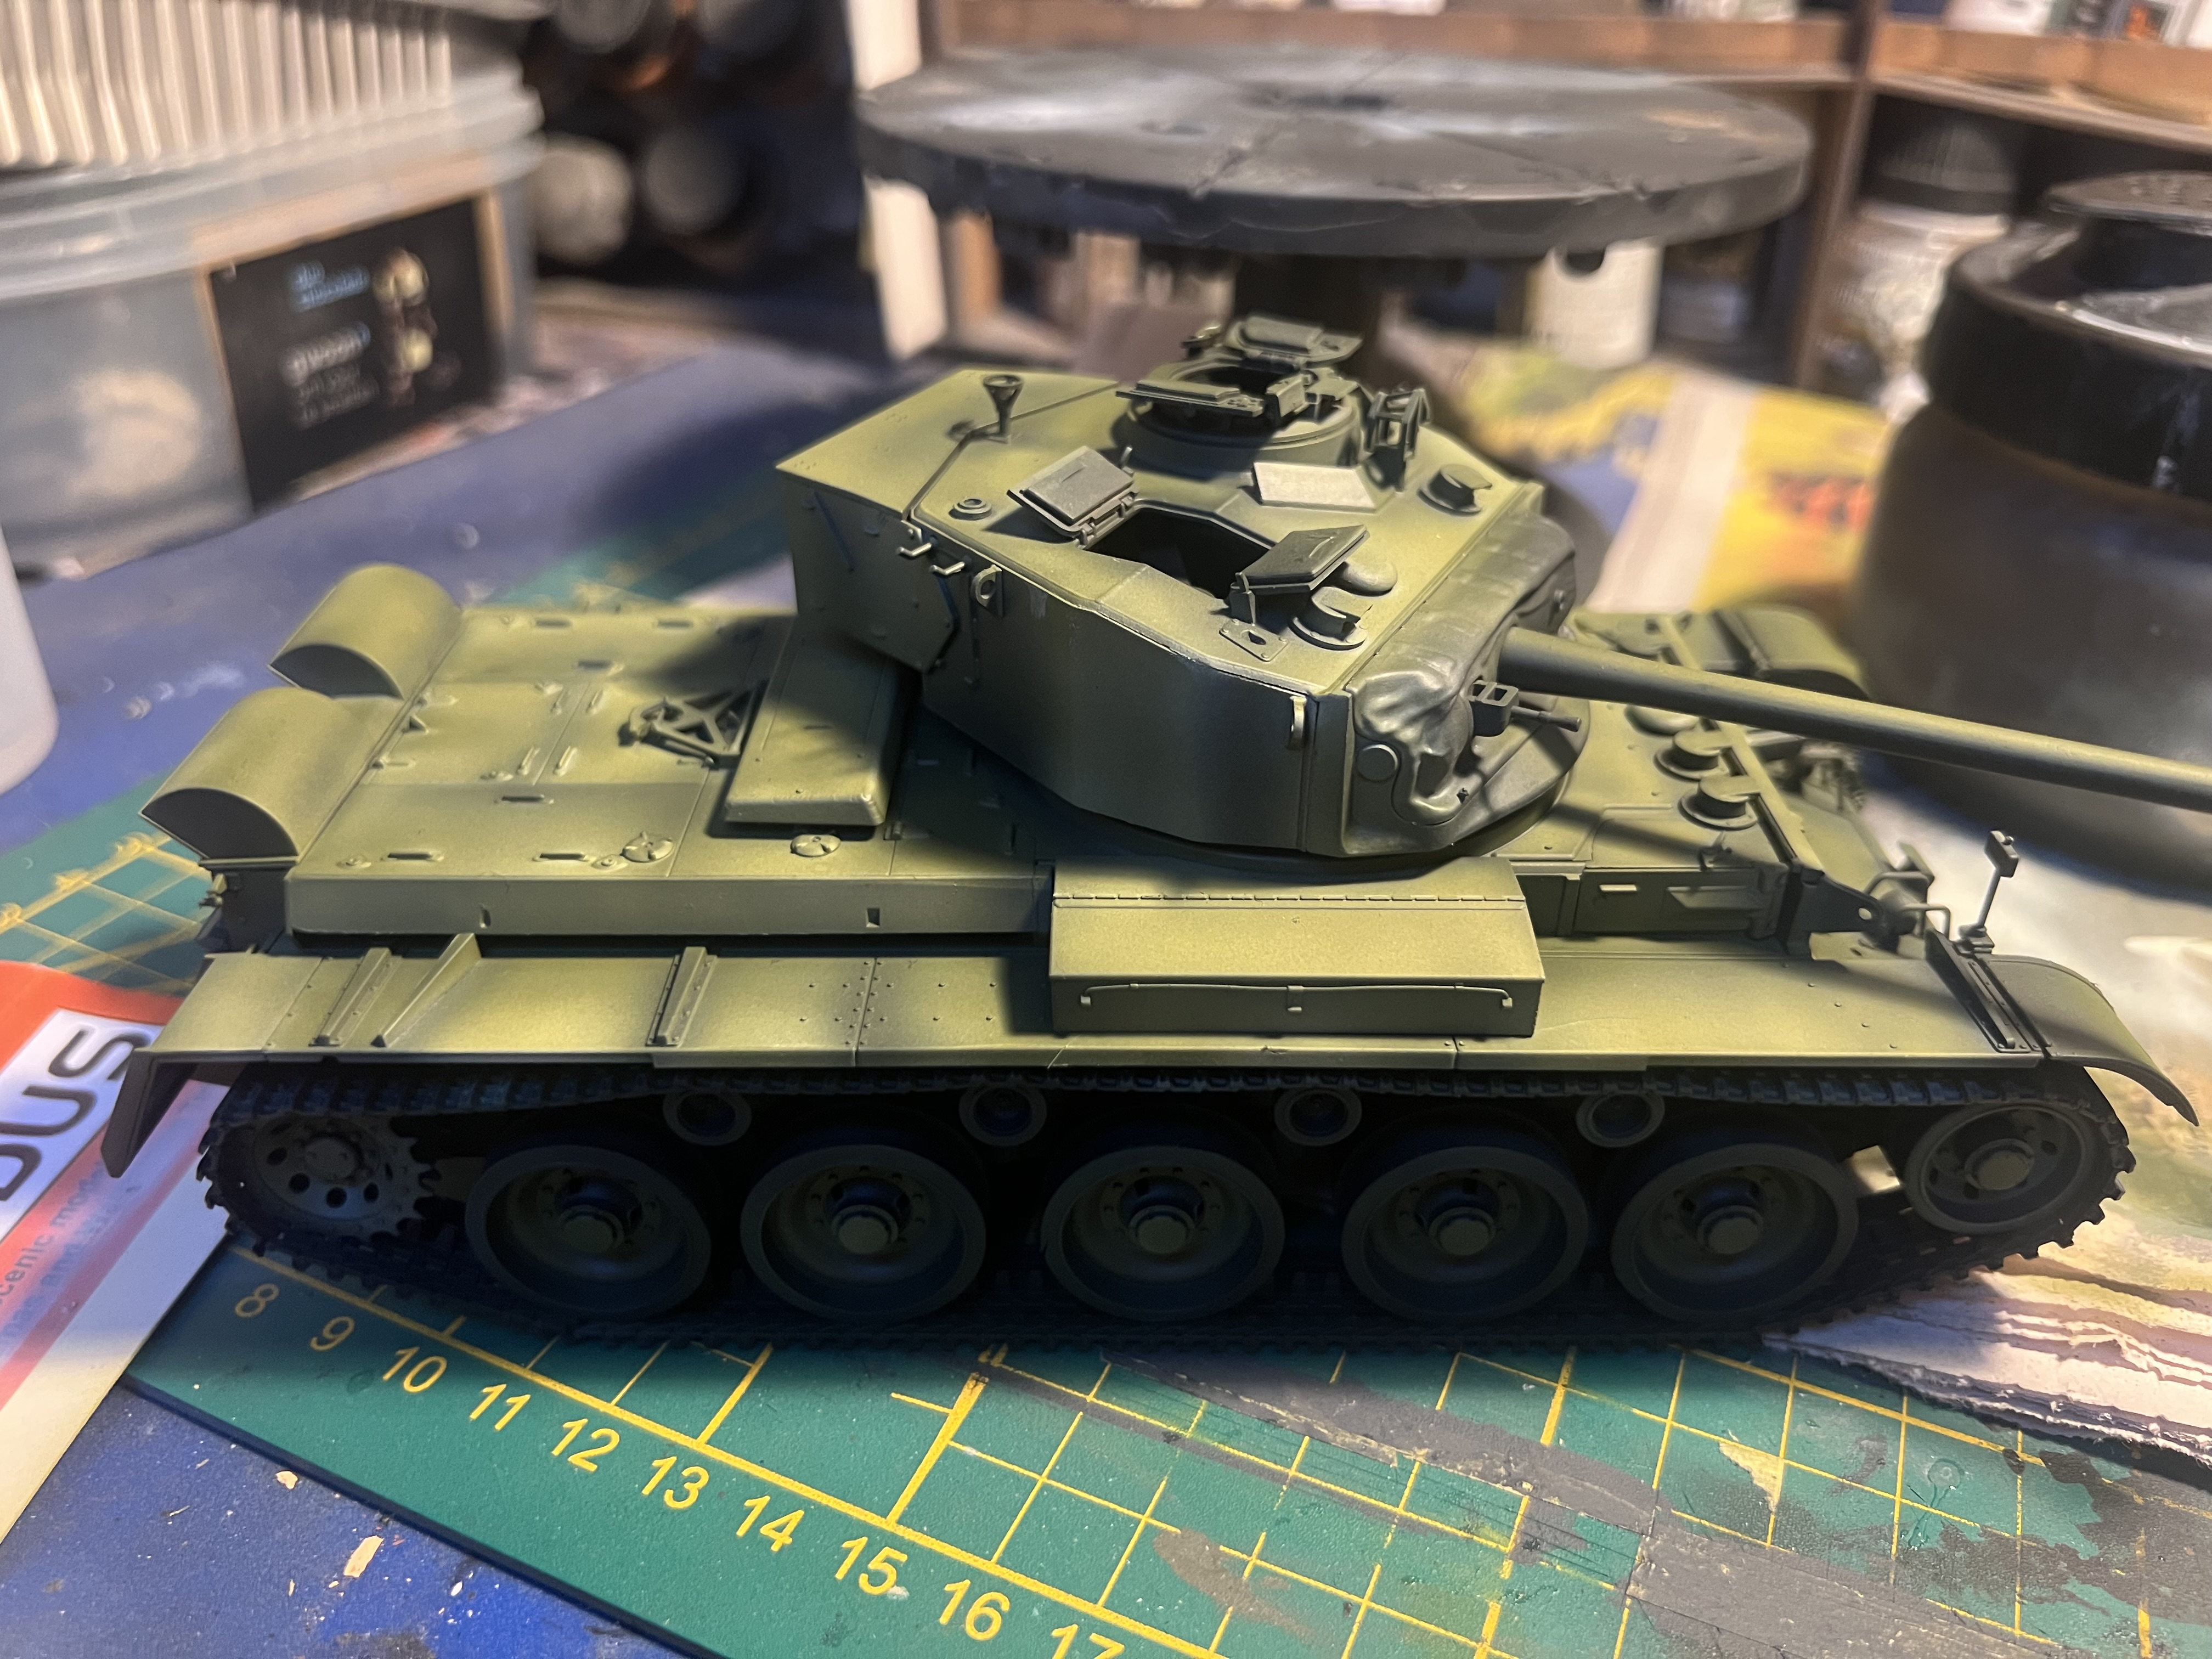


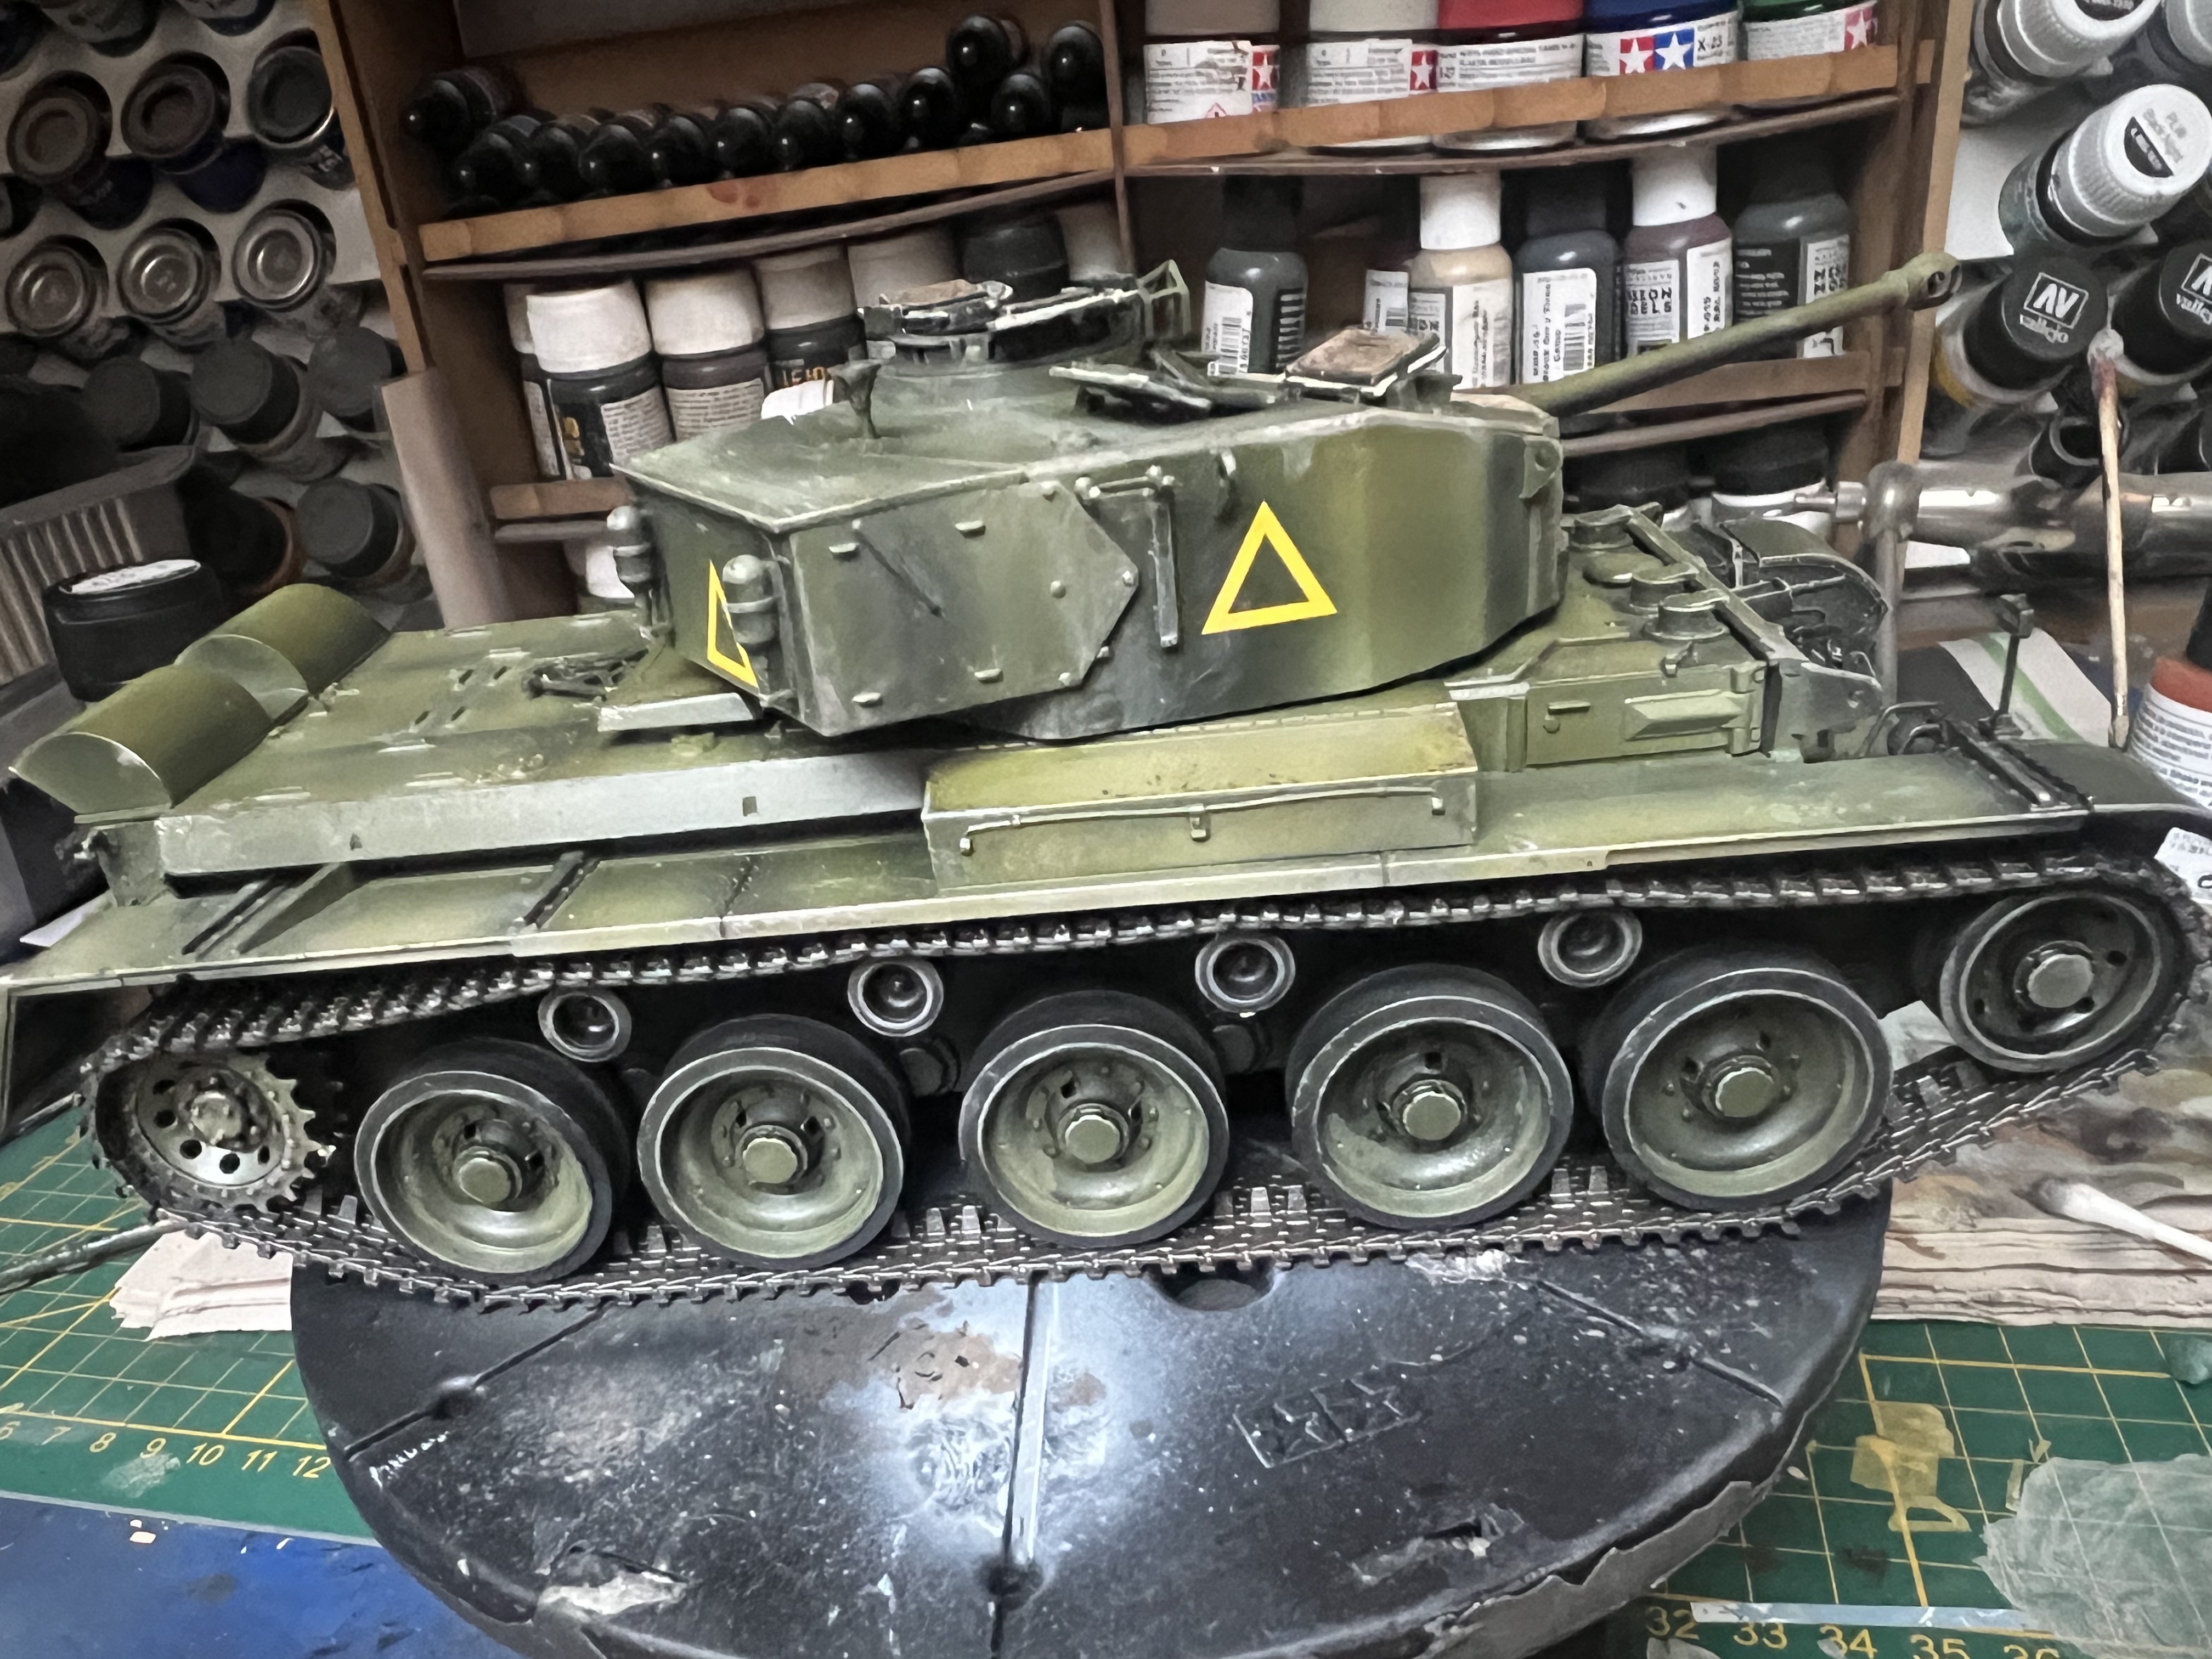
The result was a really nice modulation of greens pushed almost to a cartoony extreme by the pre-shading. I didnt use any highlights here at all. Very pleasing.
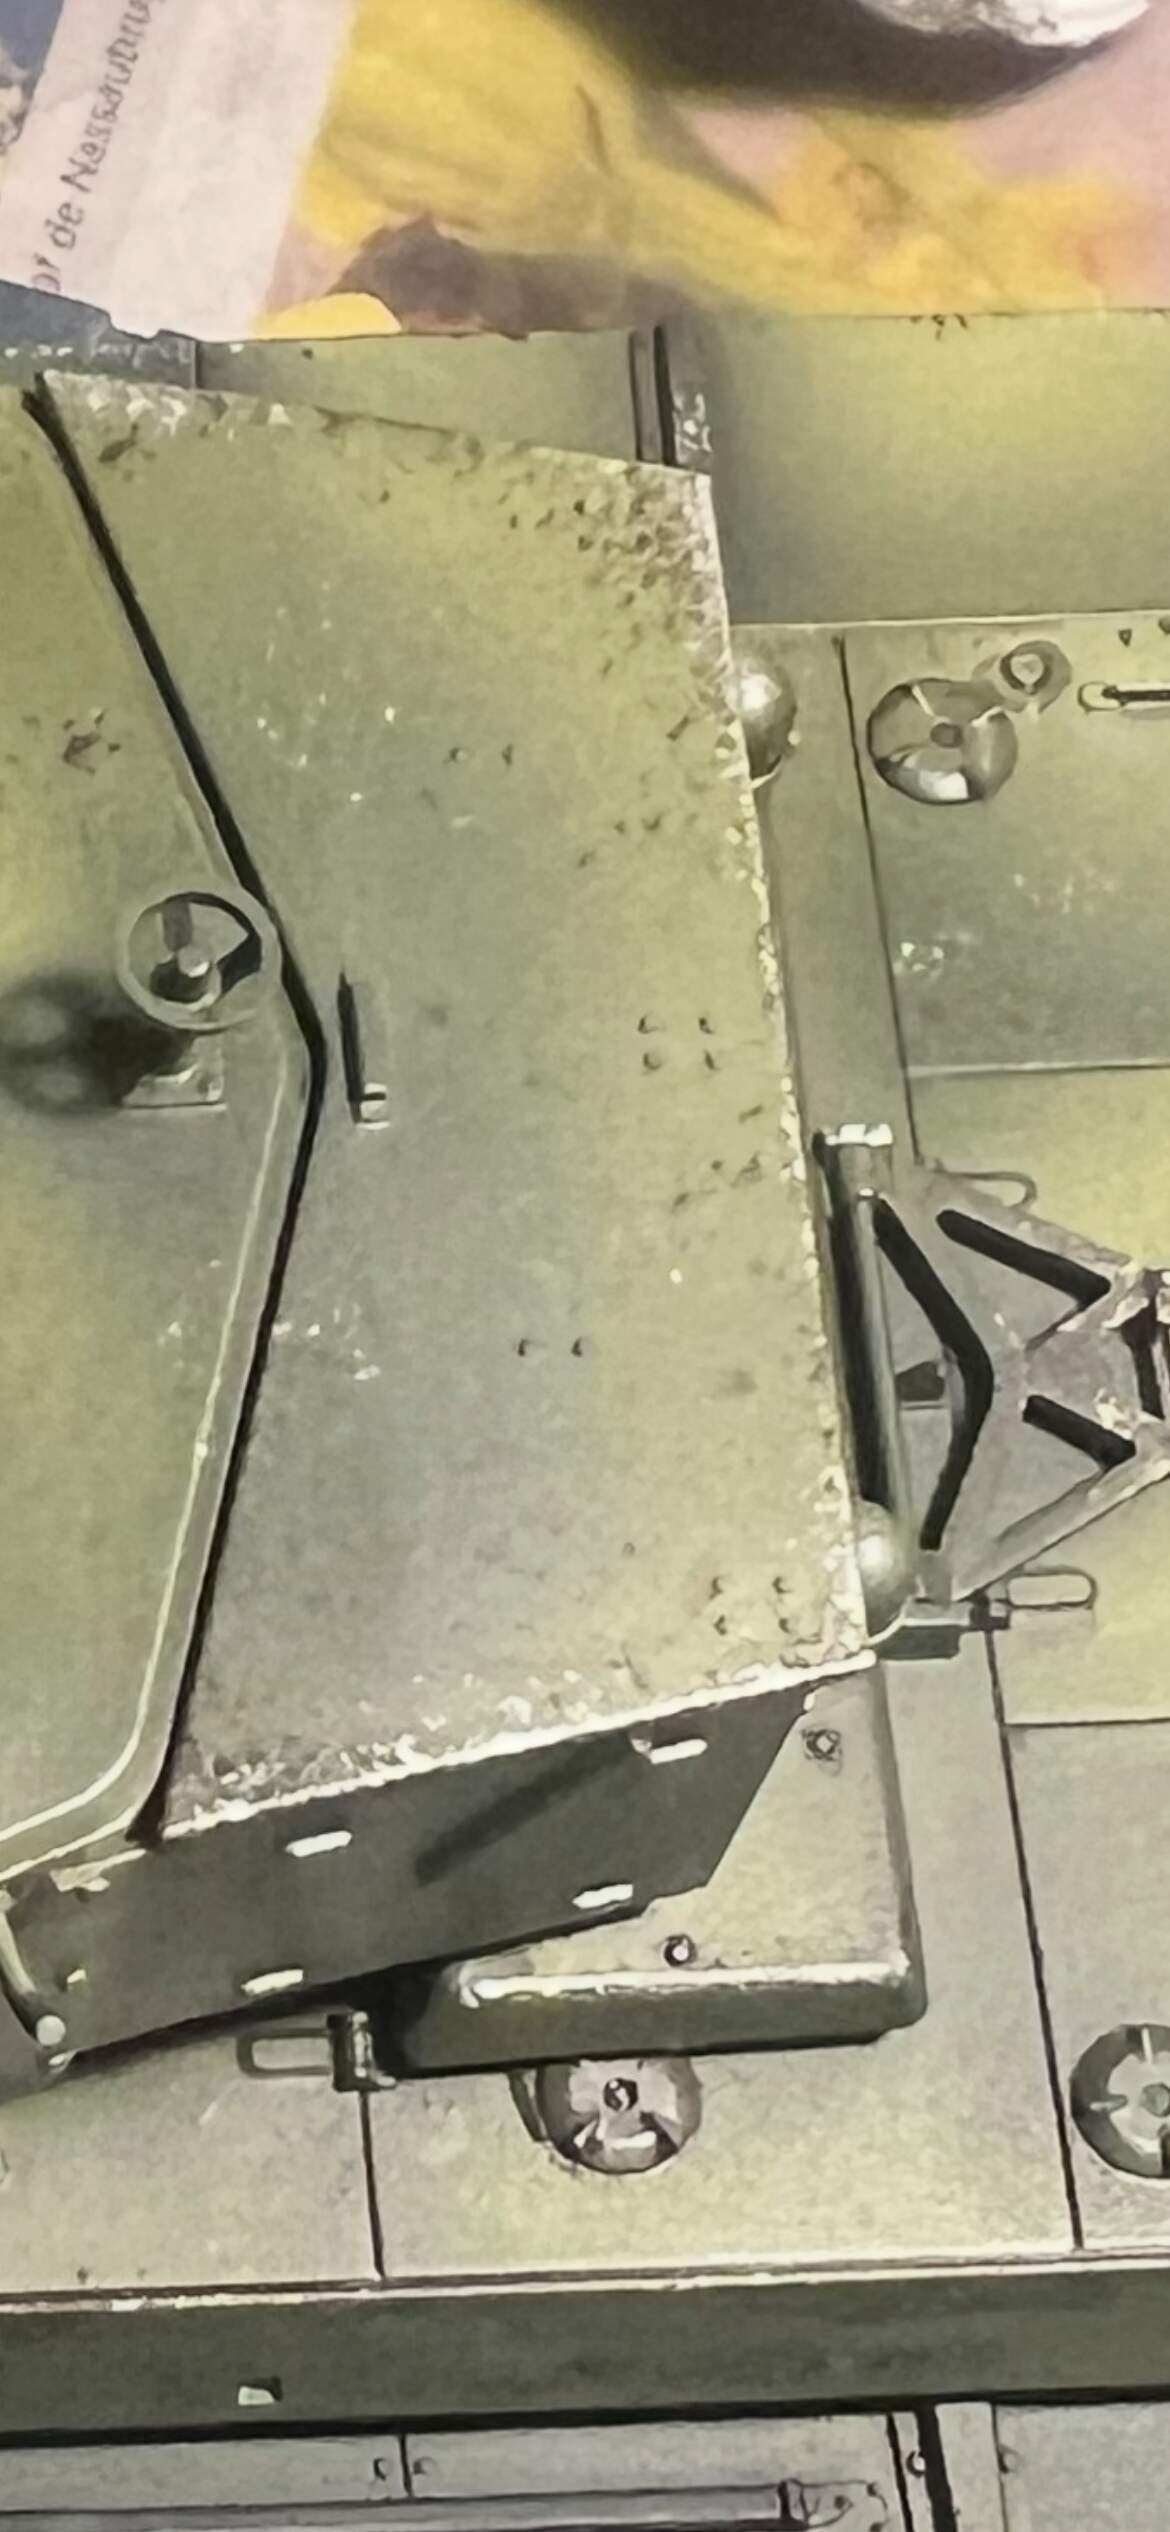
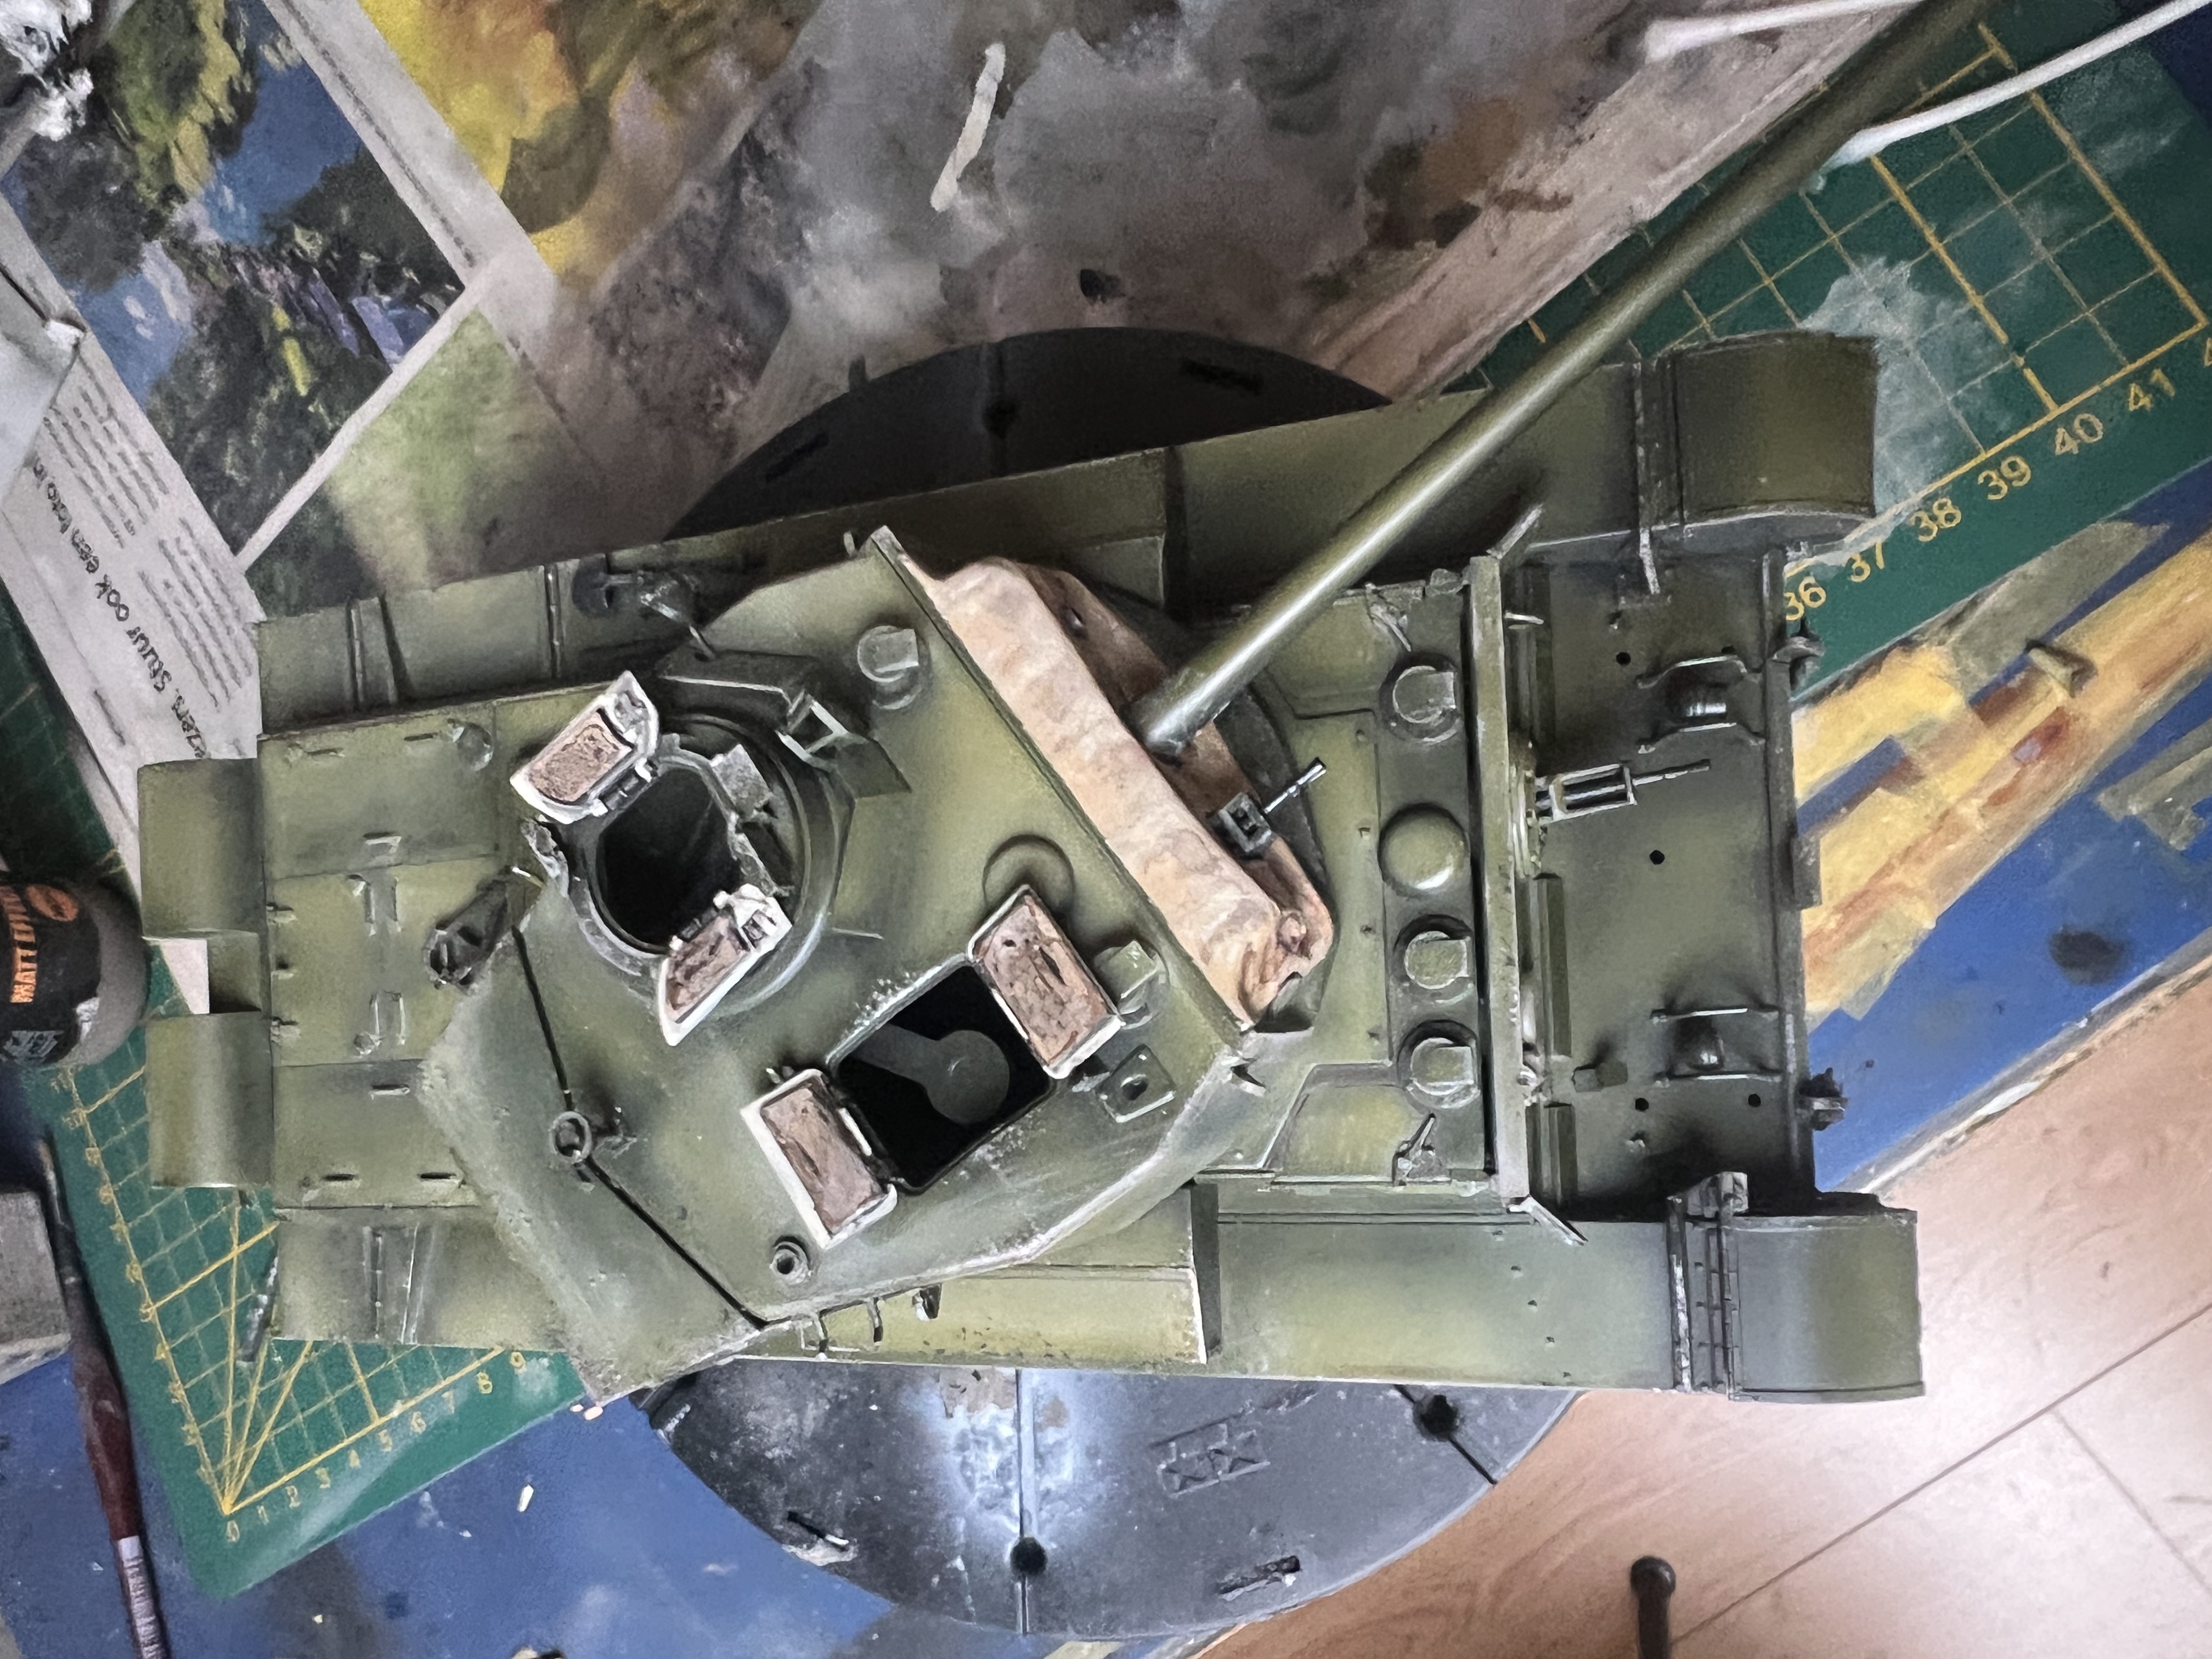
Next step was decals which were simple and painting the wheel rims and inners, airbrushing the tracks in a blend of burnt umber and gunmetal and then washing them thoroughly with dark brown and dark grey panel liners in patches so there is no uniformity. I went to work on the mantlet cover (I am aware it should be in khaki drill colour and not the brown tones I’ve done but given the lack of visual interest because of the one colour painting I decided to create a more eye-catching colour for the cover just for visual appeal) and also tried some leather effects on the knock pads on the hatches which hasn’t worked as I want it to yet but I am hoping some light chipping effects in a lighter colour might rescue.


After this was just the one wash - Tamiya panel liner in dark brown rather than me throwing too many washes at it as I usually do.

I added some Abteilung 502 dots in blue, purple and dark green in various places and was dismayed at how fast it dries - literally 30 seconds and you have to really scrub it to come off, whereas the Windsor & Newton oils take days and days to dry.
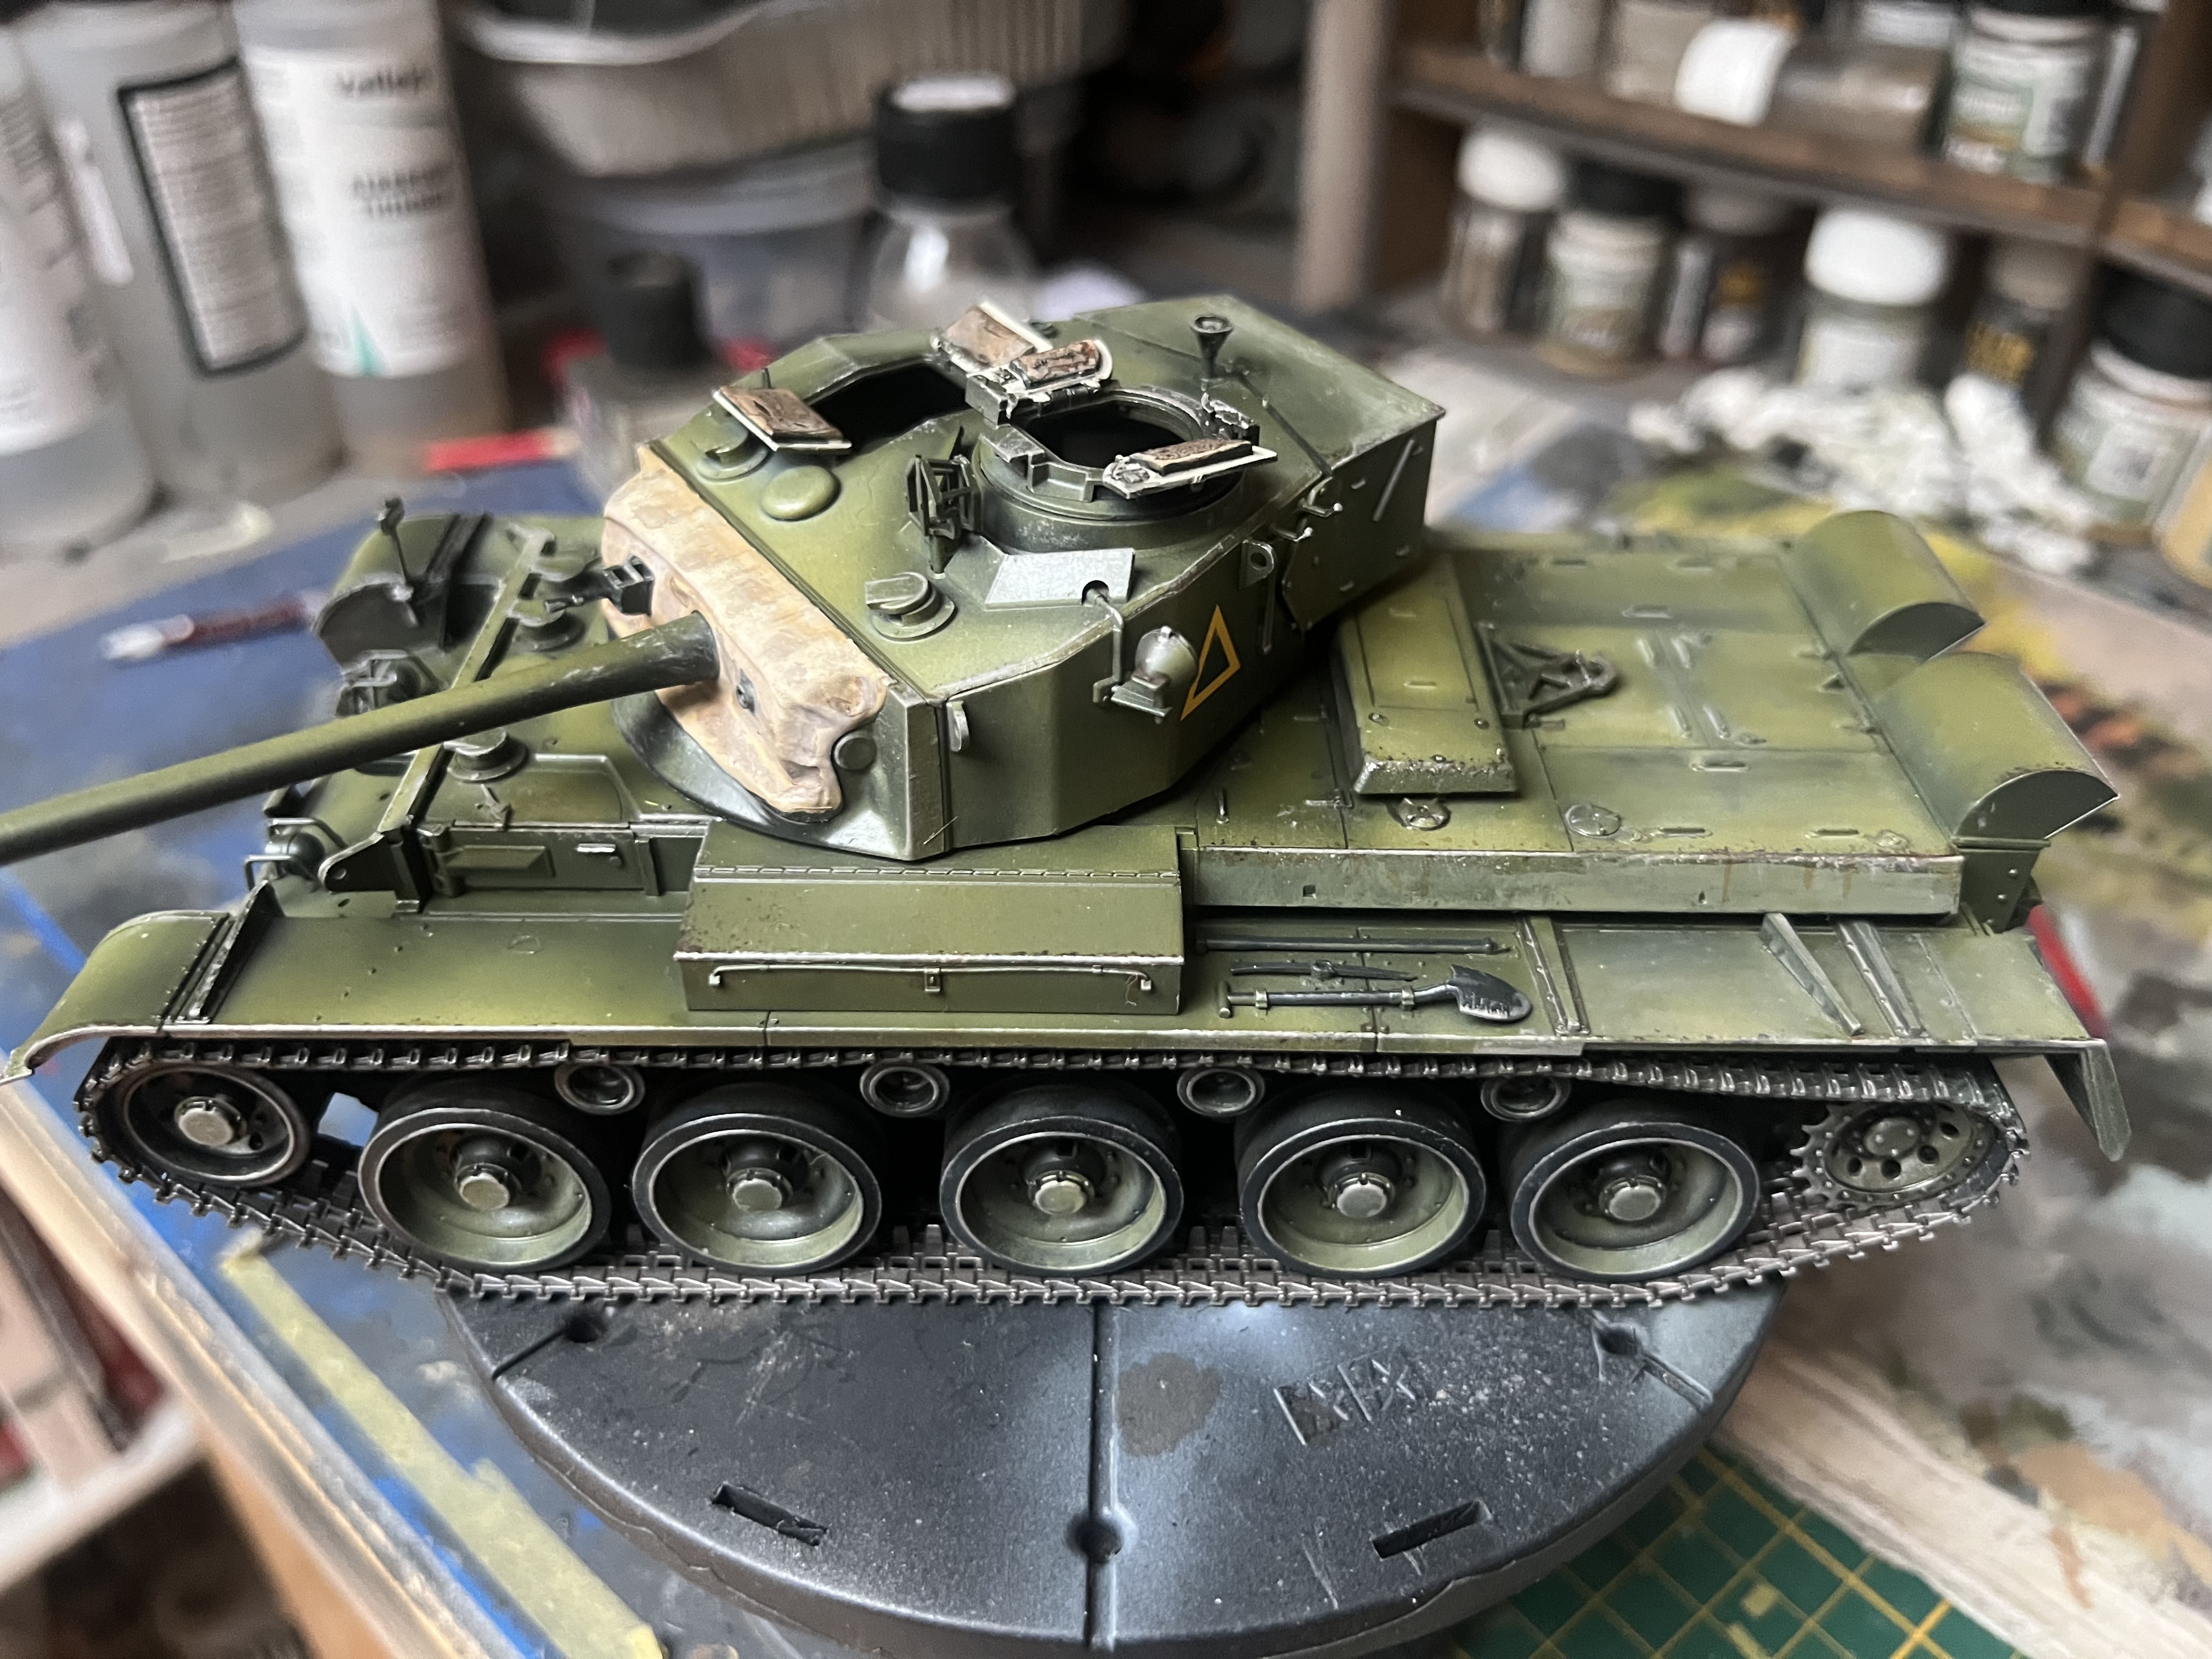
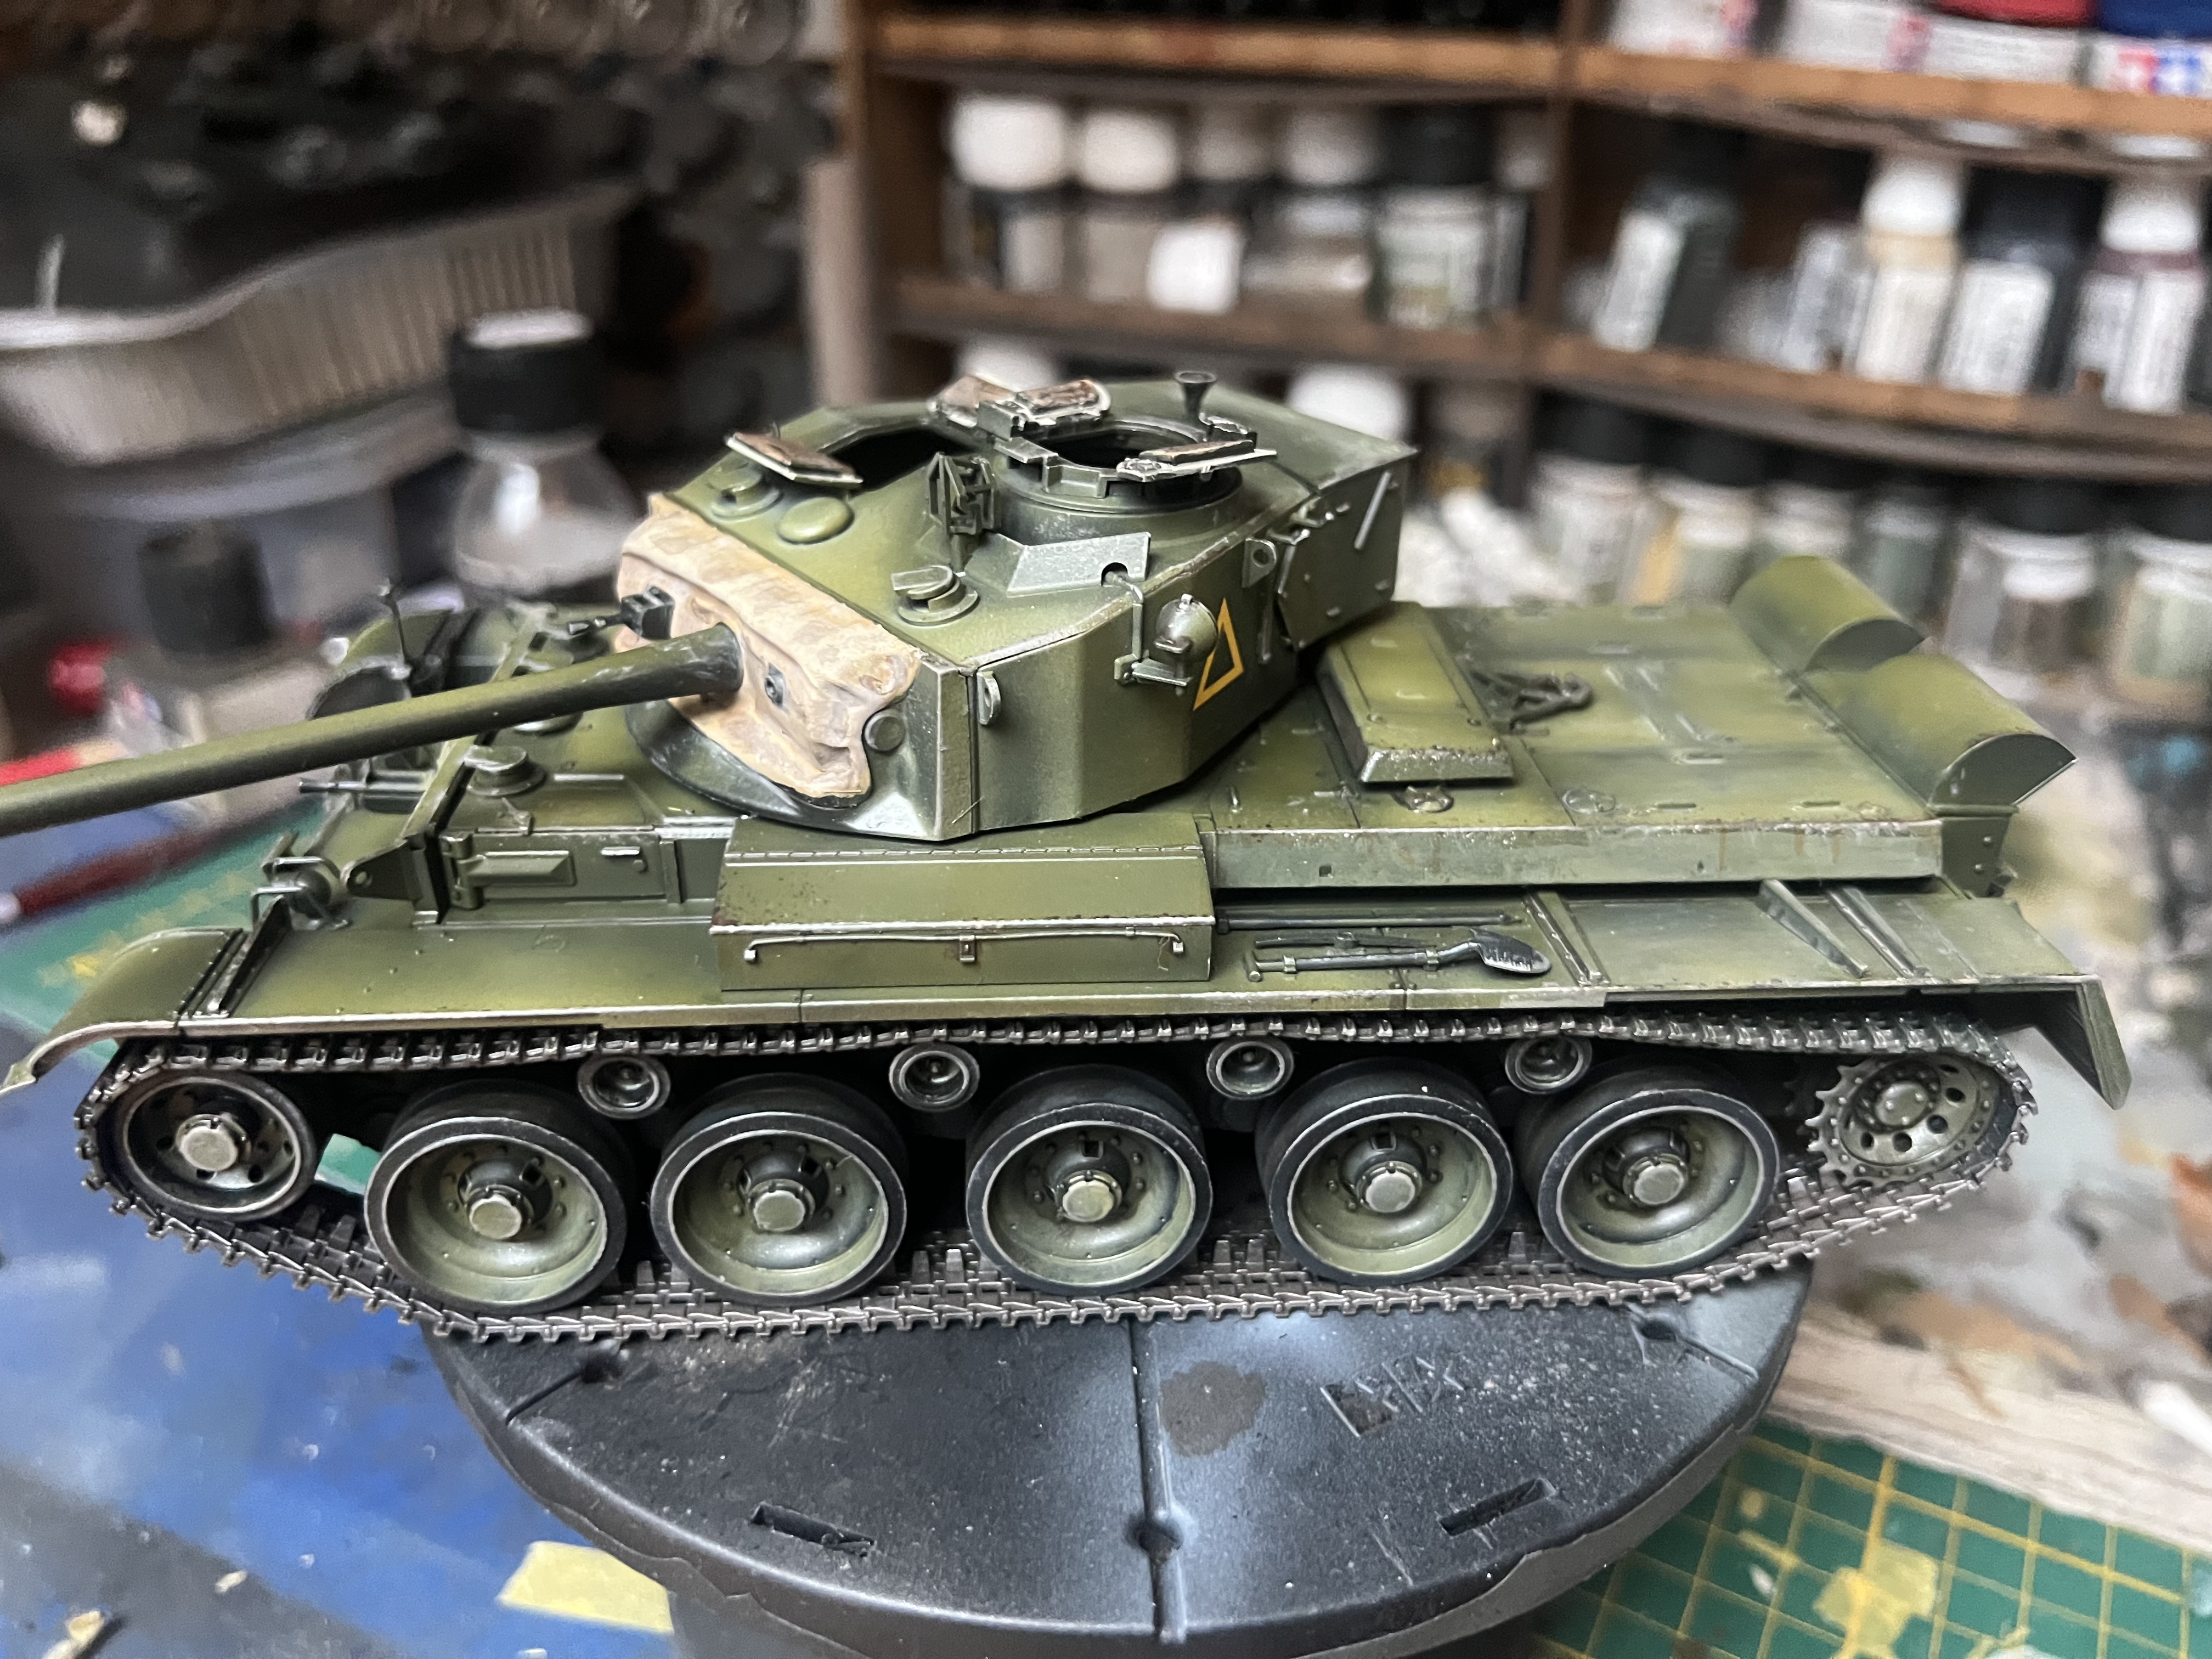
I drybrushed the exposed areas in white oil paint and the restrained effect vs the patchy, chalky finish of drybrushing acrylics is really noticeable here and the model really benefits from it, especially on the running gear.
So what’s next?
Well I need to finish the weathering and add some details I’ve left off. This isnt going to be a very muddy tank but I want there to be some nice complimentary dust tones rather than heavy-handed weathering covering up what is a very pleasing to the eye paint finish and modulation experiment. I’ll be gentle ![]()
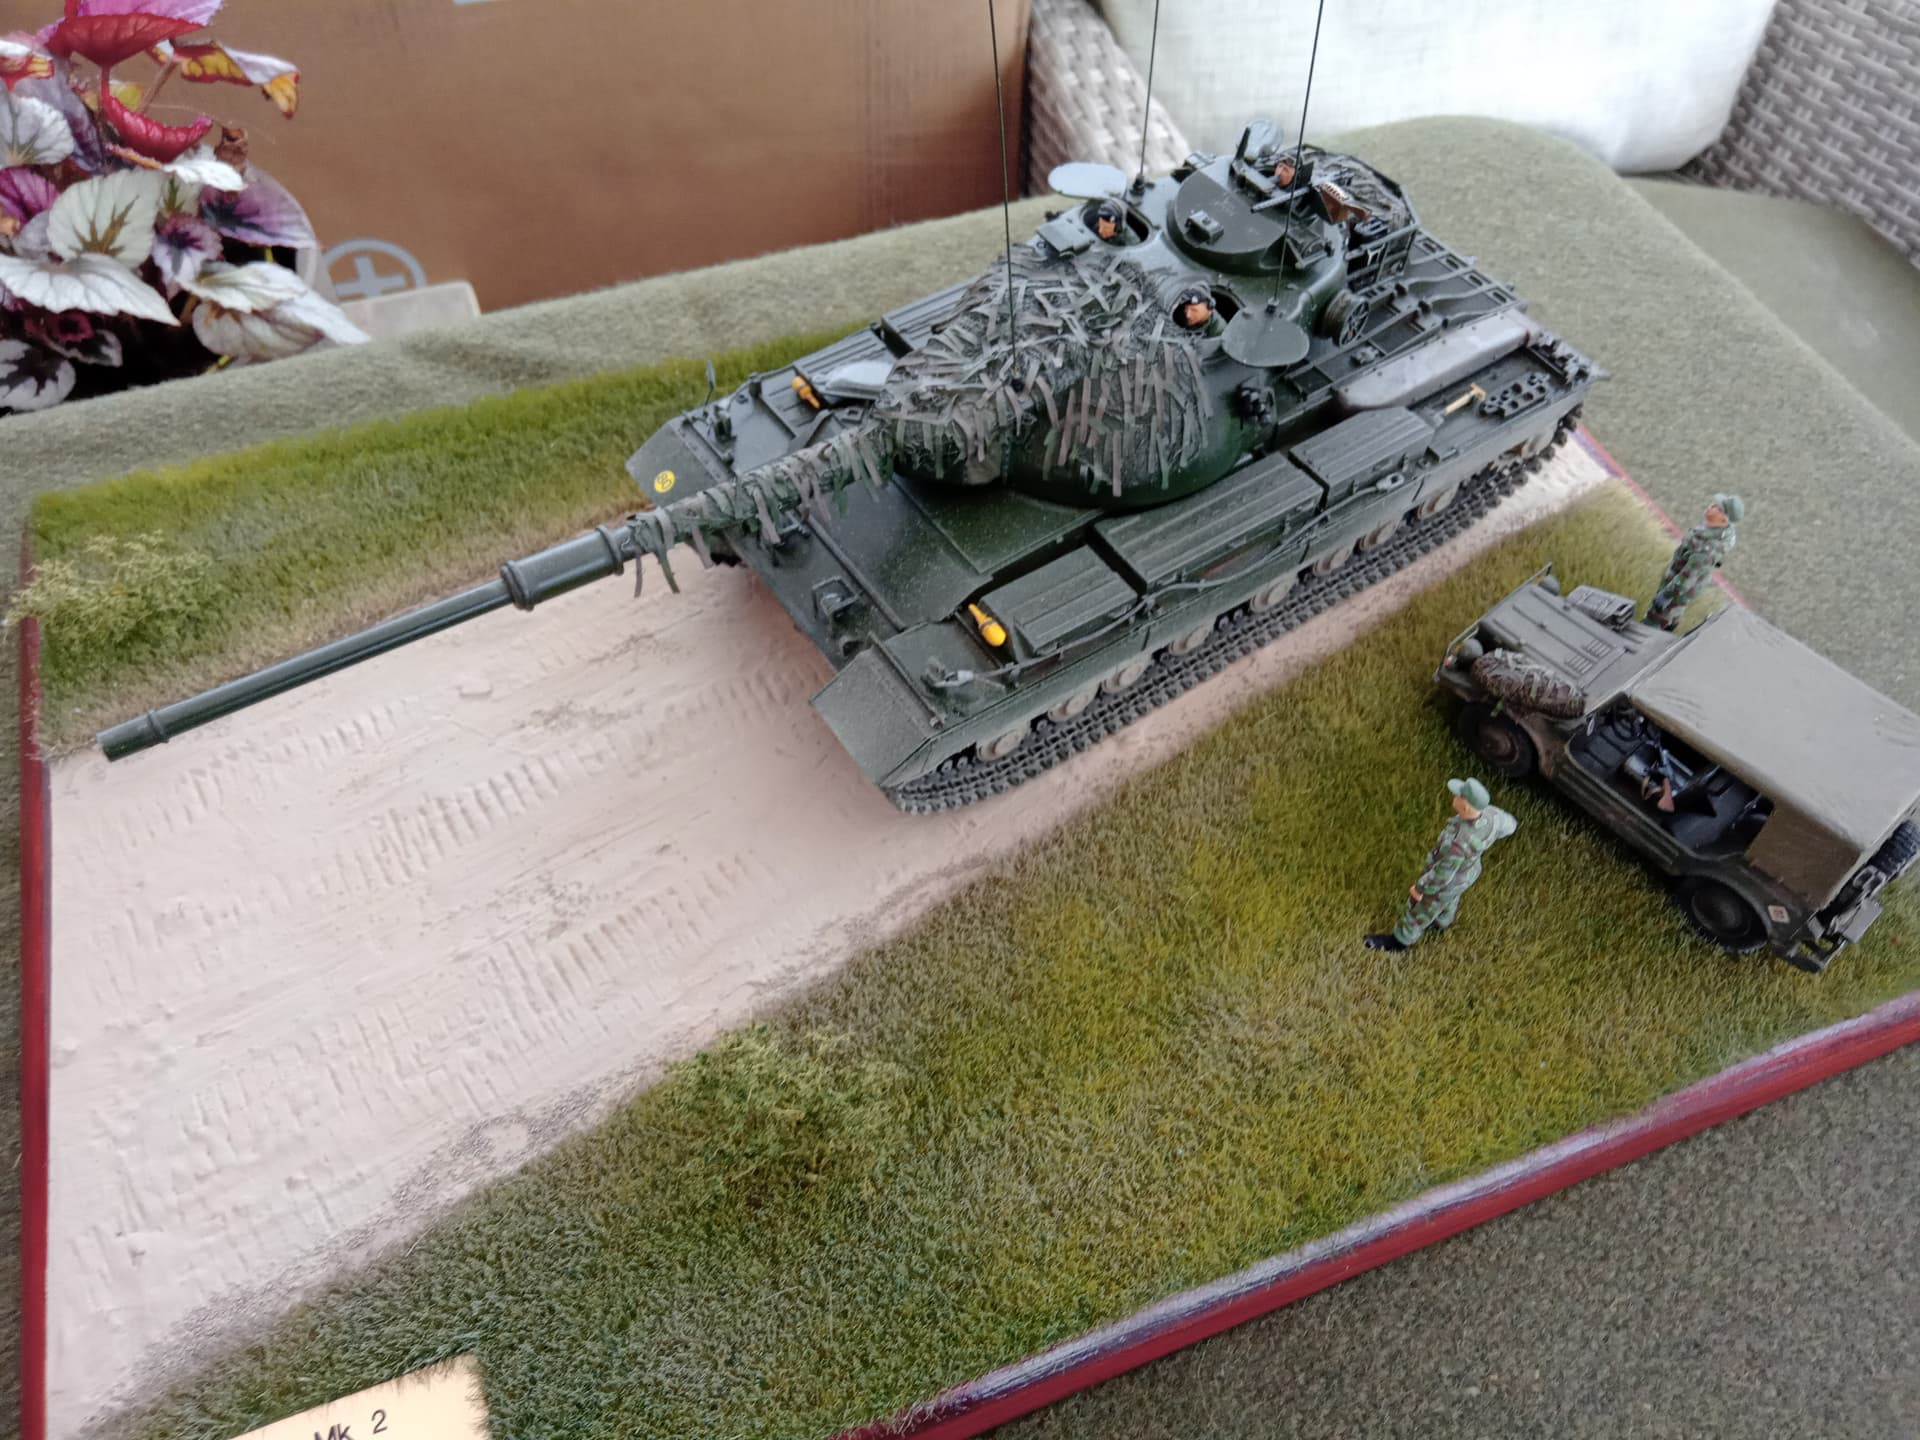
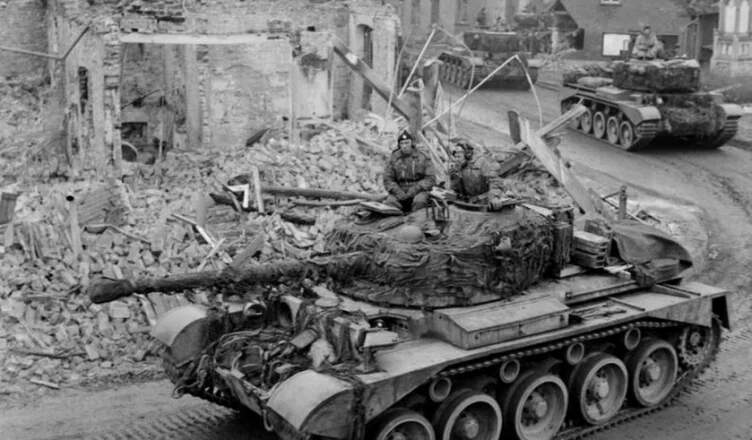
I have some nice stowage to go on the back deck and turret top, some spare track to add, two nice Tamiya figures to do tomorrow night and then I’m going to have a bash at scratching the hessian tape camo. I’ve downloaded loads of reference photos and I think I have an idea of how I’m going to do it. Essentially the plan is to get some really thin and flexible polythene sheet, prime in black using an enamel rattle can and then make a mix of dark greens on the sheet in various different tones. Then I just cut out 2 and 3 cm long strips of 2mm thick width and glue these individually over some green camo netting around the barrel and tops of the turret sides. I need to reference how these were attached in real life so if anyone has any pointers, let me know, I’d really appreciate it.
IF the hessian tape comes out looking ok and the figures don’t look like they’ve been painted by my 4 year old son and then dried on a campfire I will make a small street vignette to mount this on.