12 are the smaller ones and the 3 red circles are the larger ones.
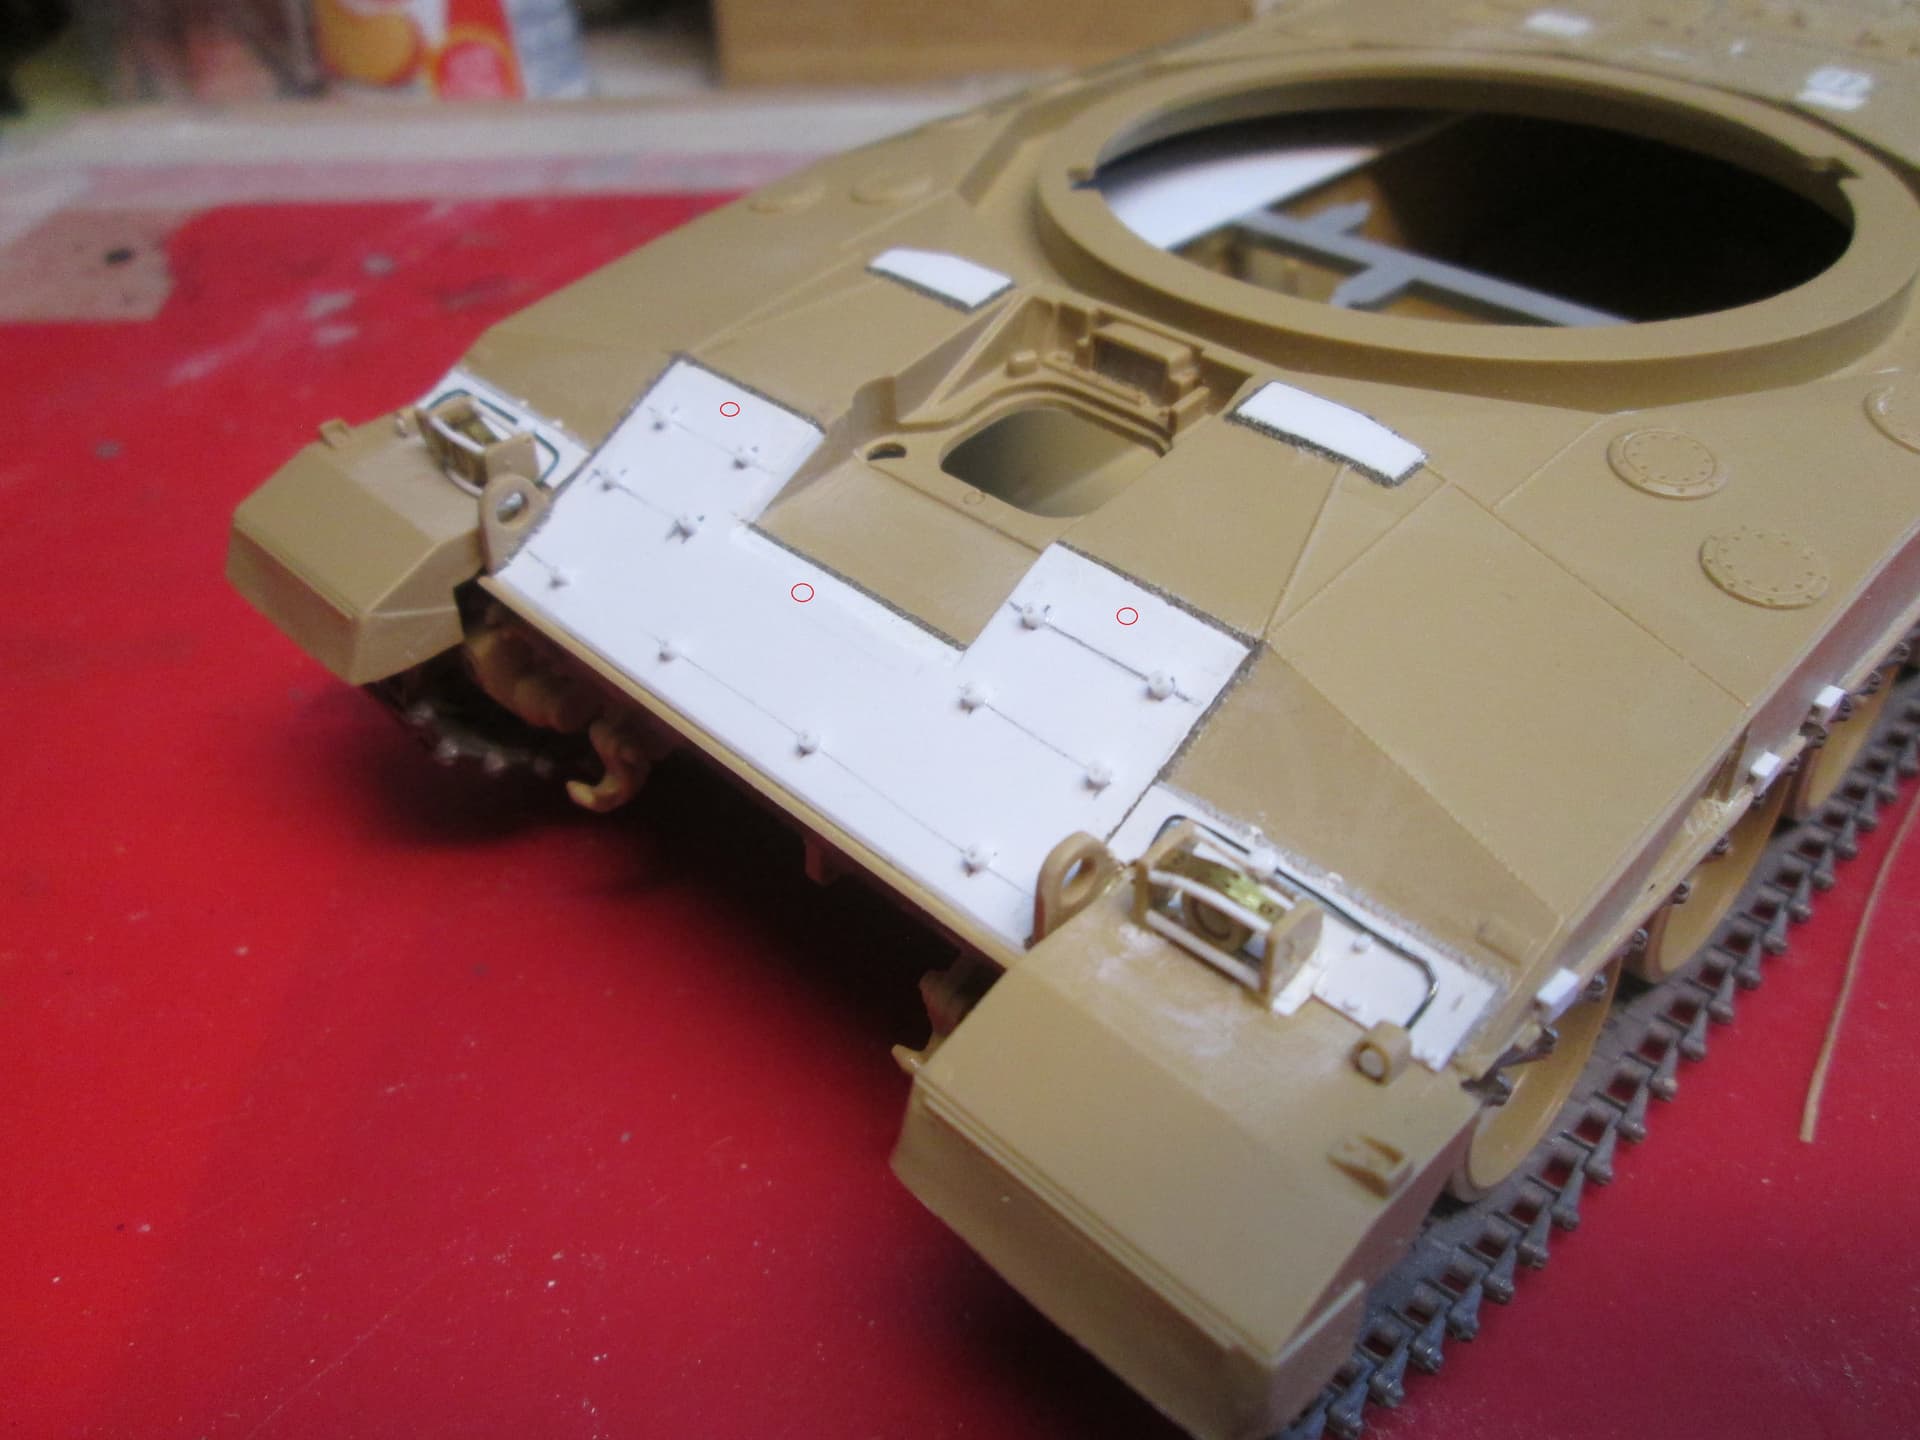
Dont forget the splash plate as well.
12 are the smaller ones and the 3 red circles are the larger ones.
Dont forget the splash plate as well.
Been following this thread. My head hurts.
Been lurking as well. All too deep into the woods for me to keep up but interesting none the less. ![]()
![]()
I’m getting a bit cross-eyed myself. I do however have what I need to proceed now. I just have to remember to turn the doorknob three times.
Andreas, I’ll save that for the next one, which will be a Challenger2 (or two) which I believe has the same hydrogas suspension. The Tamiya lower hulls are exactly the same in their Cr1 and Cr2 kits as far as I can tell…
Hi Russel,
if you have these kits still unbuilt, that is no problem at all. Just if you already fitted and glued the swingarms in place and realize THEN, the saw would be an option!
Andreas
I’m gonna wait for the next one, or if someone confirms my suspension that the Cr1 and Cr2 both settle on their suspension, I’ll do it on the two Cr2 models I’ll be doing soon, maybe next.
The hulls look similar but there are a lot of difference…I think it something silly like 10%o or less are the same between the 2 hulls and running gear…
I think by watching people do the builds of the Tamiya Cr2 and the RFM ones including the one I’m doing now, the set of the axles is pretty good and they set it up nicely for a normal ride height. The Mk2 Cr2 Hydrogas units appear not to sink as much as the old Cr1 units when cold.
Good to know. I have the Tamiya Cr2 and the Trumpeter kit with the dozer and both types of side skirts, still pondering what I want to do.
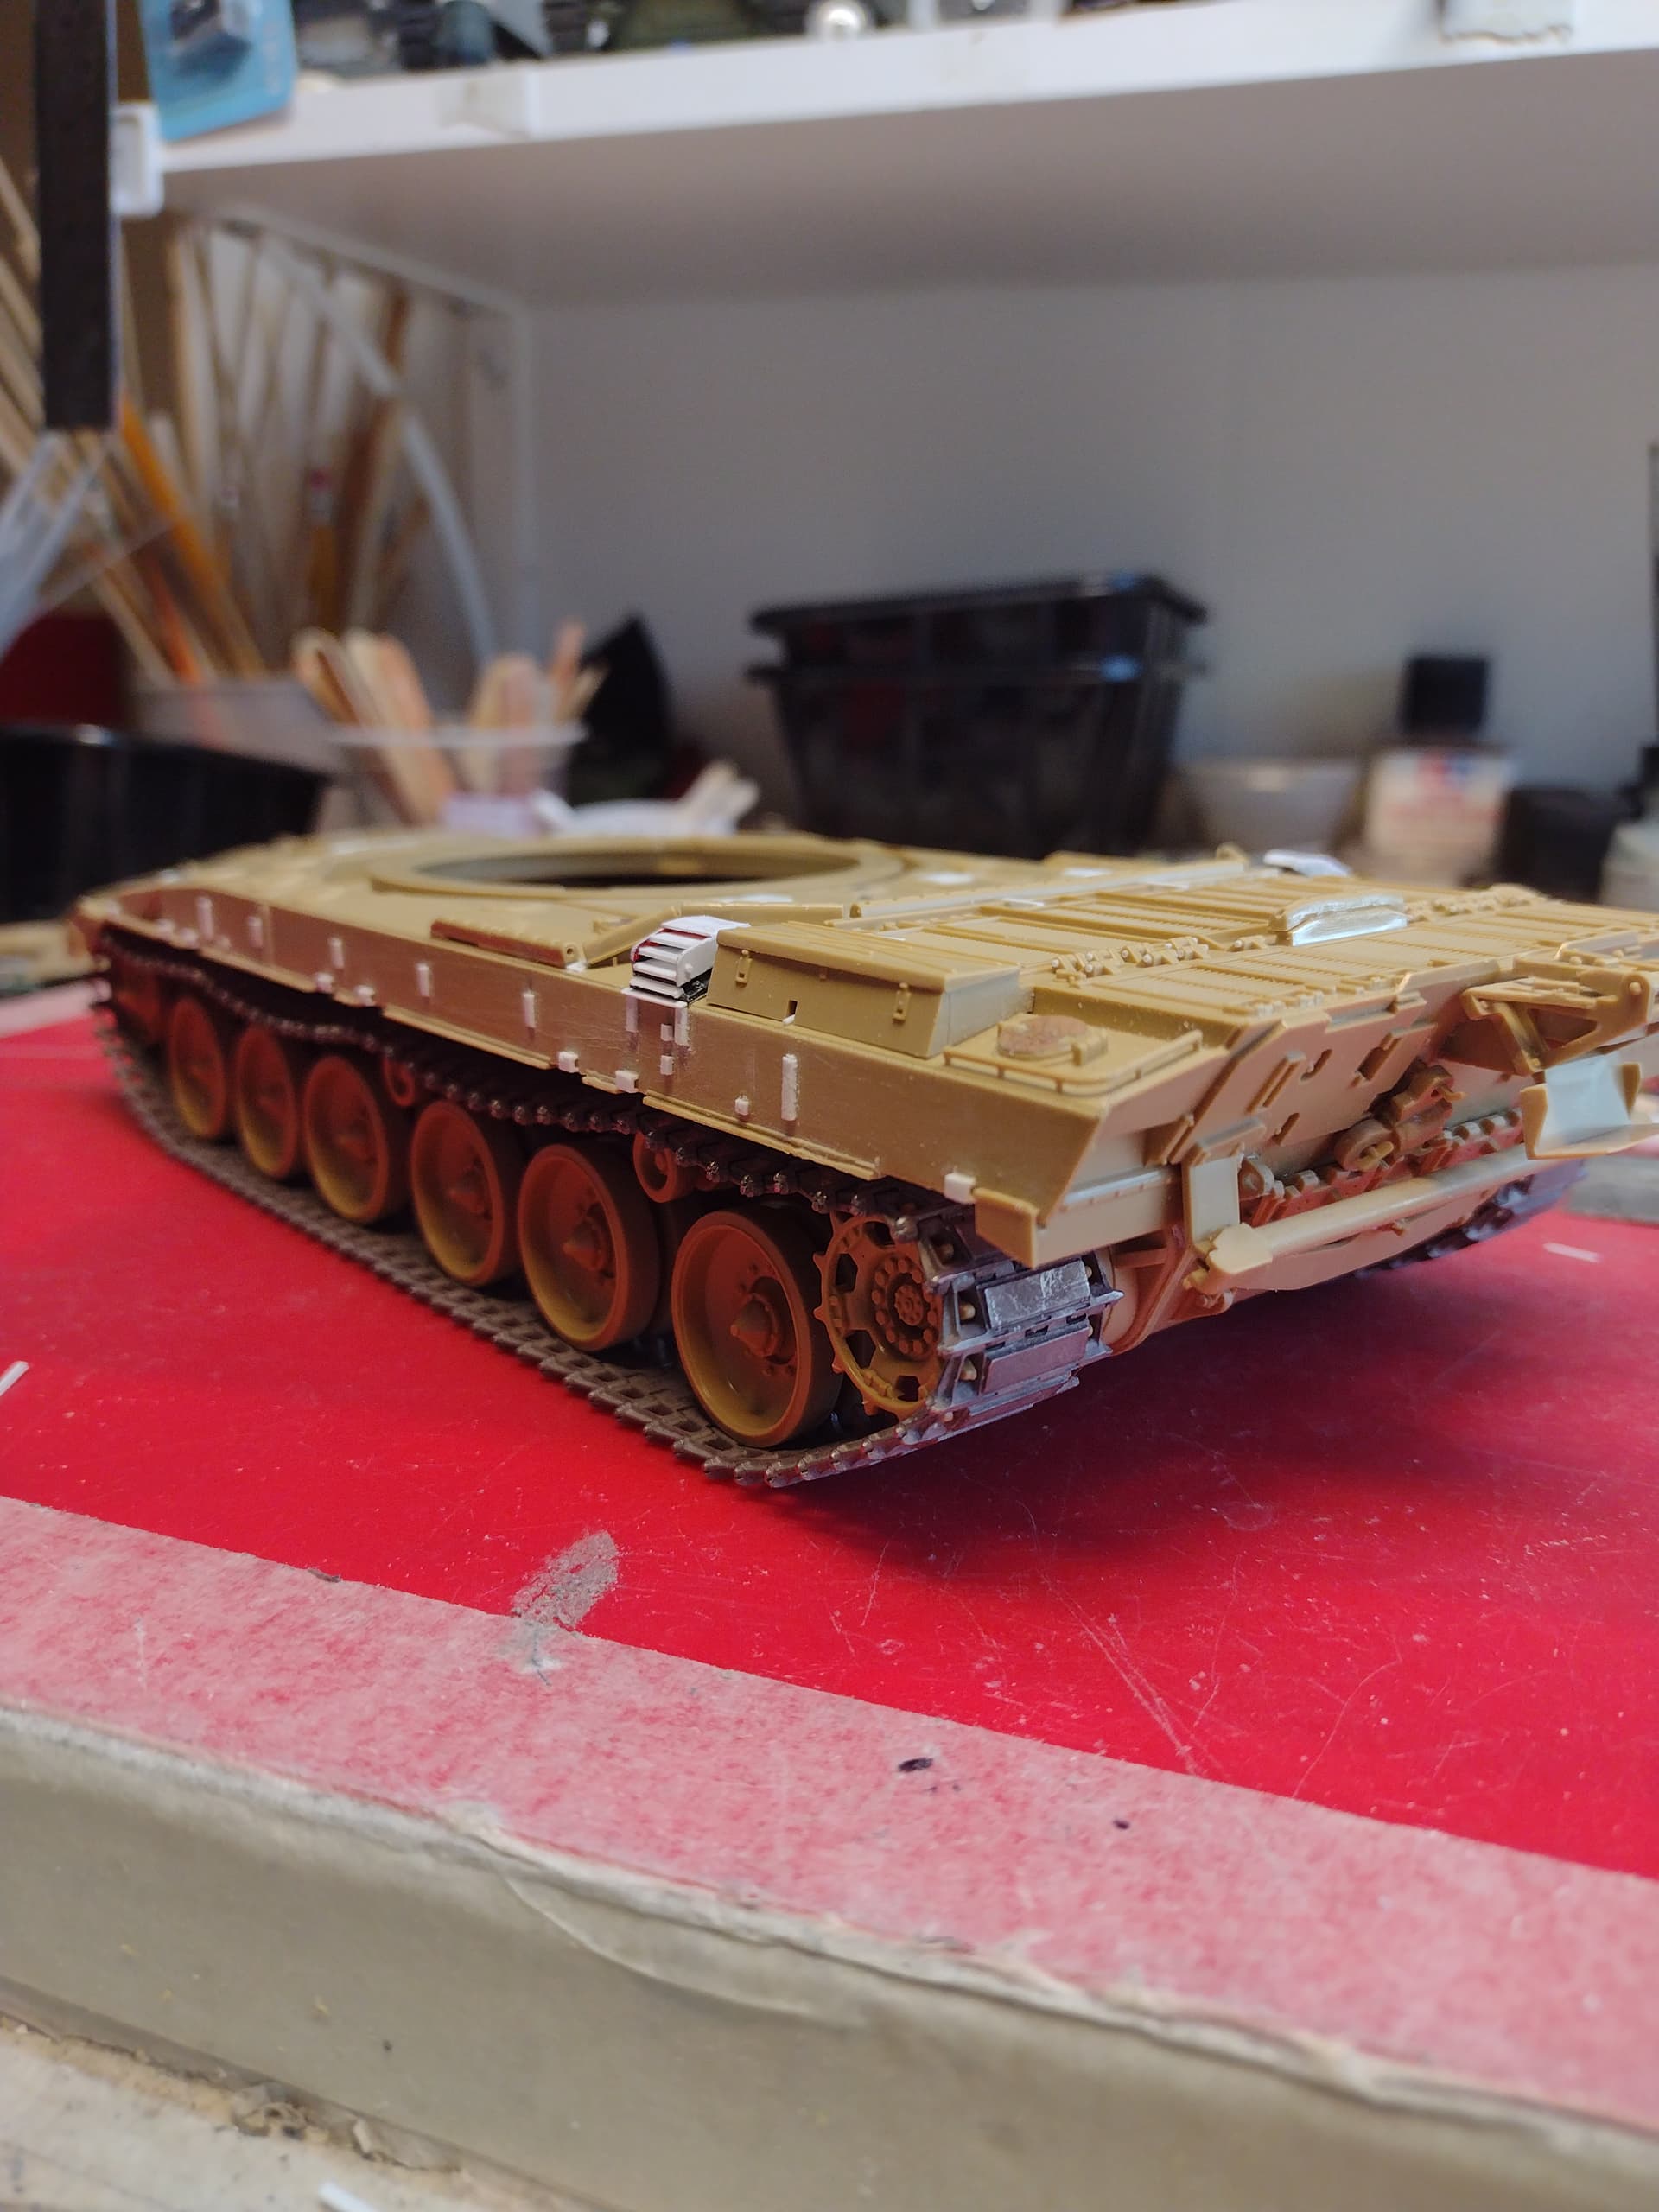
But back No2, I took a shot at the exhaust outlets today, and I think they came out okay enough to leave on.
 IMG_3239 by Russel Baer, on Flickr
They still need to be cleaned up, lots of glue and sanding residue still…
 IMG_3240 by Russel Baer, on Flickr
I suppose I’ll finish up the two cable hangers and stuff next. I found another Eureka cable set for the Challenger in my tow cable place, forgot I had it. Merry Christmas to me.
Right Russ, please forgive me but there are a few things you should think about sorting out. I’m only highlighting this as I know how much effort you put in to going the extra mile with your extra detailing ![]()
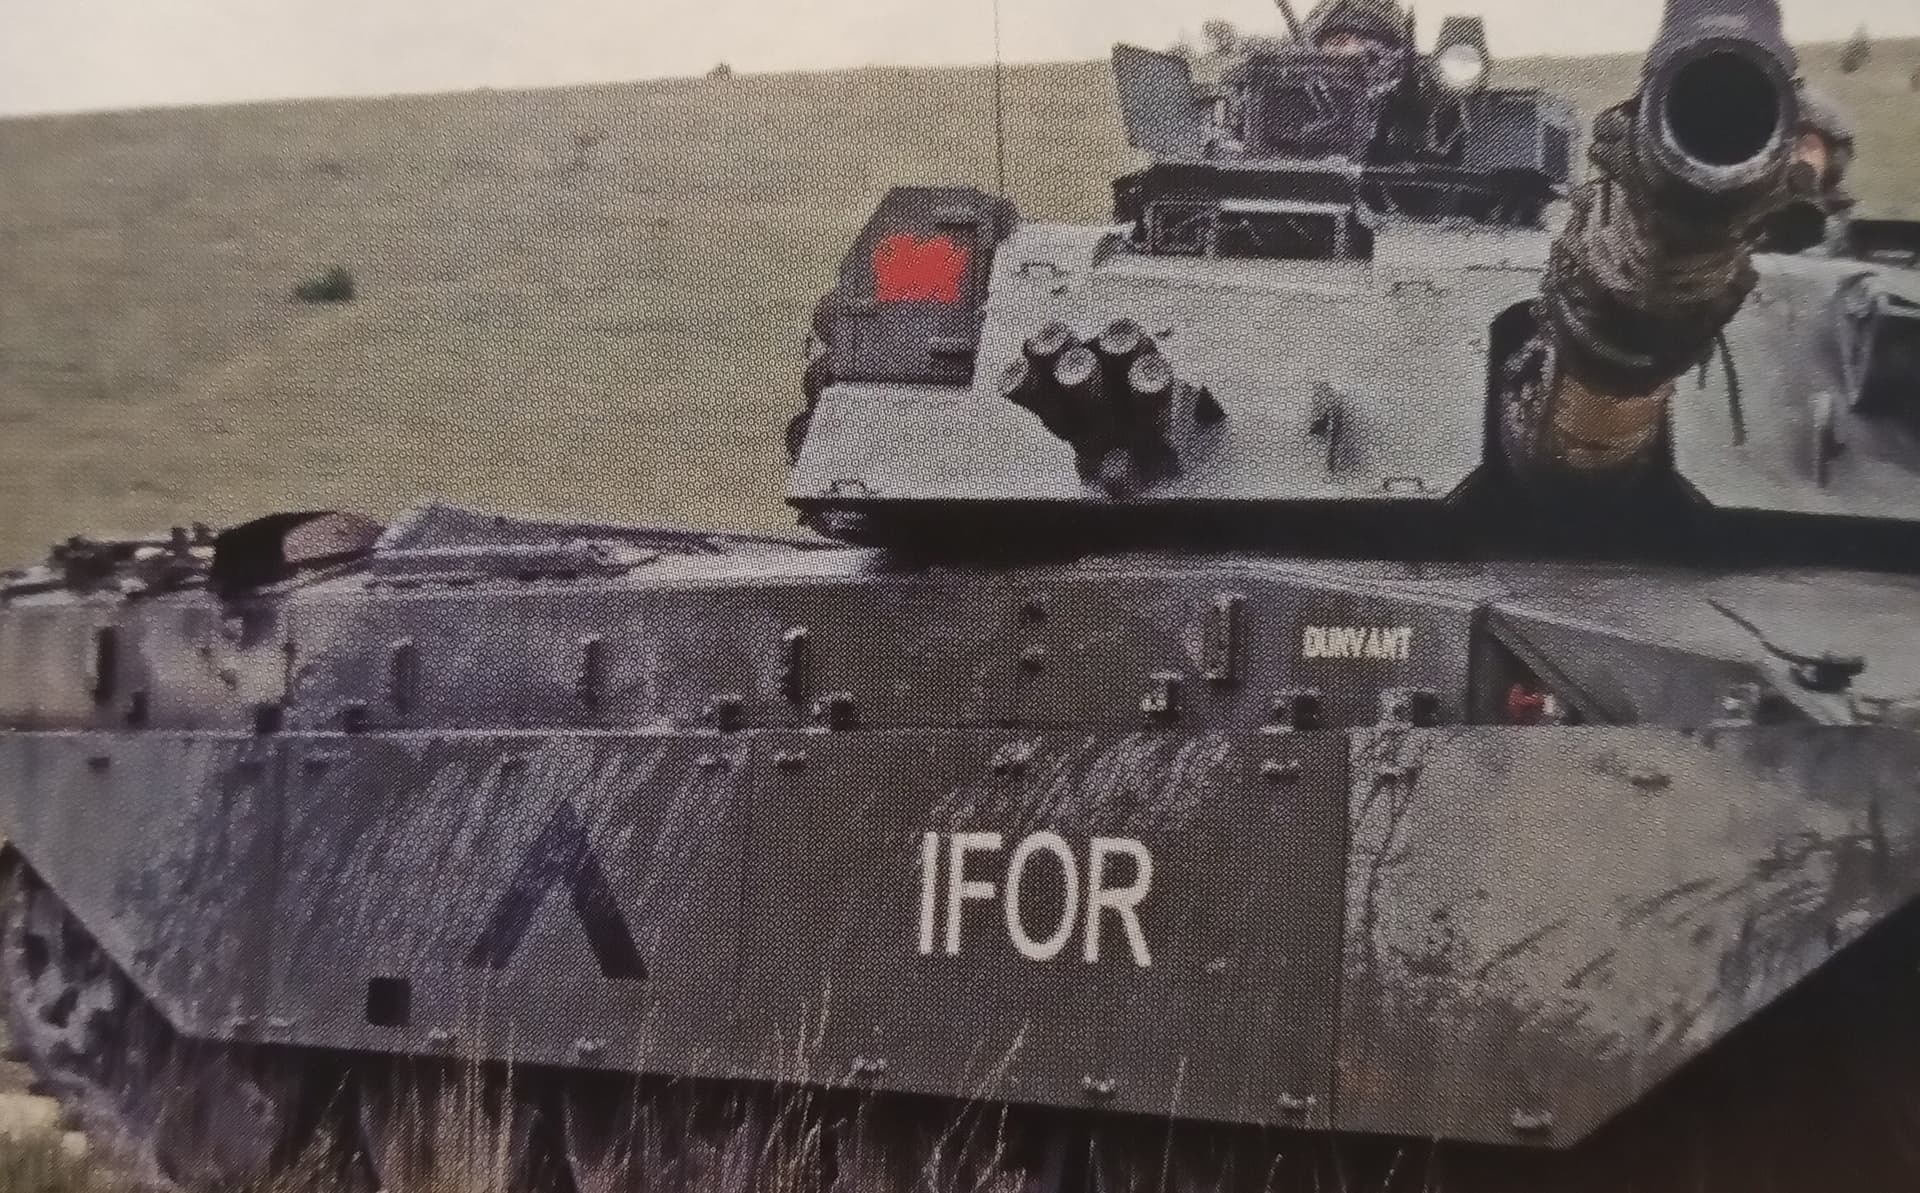
An interesting pic of a Chally from the QDG in Bosnia while I was out there from the same time on my CVRT…
Used for discussion and ref only
That’s the kind of stuff I need! I got the locations for the tow cable hangers by placing the Tamiya cable just below the hull’s lower edge and transferring all the bracket locations, marking them with a pencil. It would have been easy to have transposed a couple. I got the pick-axe location from the Kagero book, but that tank also has the added upper glacis armor… But you’re right: within my skillset, I’m a stickler for accuracy, and it really bugs me looking at an easy to fix error on a completed model. That may be why I’m selling a lot of older builds on ebay.
Oh yeah, the money. People are giving me money…
Sorry to have added to the work load mate ![]()
No worries! I’m still off work, so I’ve got time.
Glad I could help Russ… I just thought. If your fitting the recovery ropes, you don’t need the front or rear white strips you can just use the kit eyelet mounts ?
I’m going to use the cables, and make the end anchors using the kit parts, with the molded-in cable ends cut out. At least that’s the plan. I like the look of the fitted cables (ropes), lots of visual interest.
While I’m here, I’ve seen the cover for the gunner’s main sight posed a variety of ways, all the way from fully closed to the cover hinged up to the whole cover and arms swung all the way back behind the sight. What gives?
Ref gunners sight. Purely depends on what they are up to at any given time. Ops/ exercise, if you are moving about a lot, or in an OP’s or fire position etc, the Comd will probably have the gunner constantly ghosting his arcs. If your static on a rest up or maint period etc, it will probably stay closed unless you’re working on the sight.
When I was in it, regarding the TOGs, we only ever really used it at night, whereas during GF1 they started using it a lot during daylight as well, and same nowadays, thermal is used a lot more and the sight picture is amazingly clear…
Cool. I suppose if the sight is uncovered, the TOGS would be too? Or only open in inclement conditions (dark, dust, smoke, etc)?
We only used TOGs in daylight if weather was particularly crappy… Normally just main sight… Switching to TOGs only takes a few seconds if needed, it’s just a few switches, and we’d normally keep the TOGs door closed as it was pretty delicate (the TISH mainly)
Excellent, thank you.
@rfbaer maybe a silly question. Why did you completely rebuild the exhausts as they are included in the kits ?
I noticed the “base plate” with bolts are missing from the kit as are the bolts n the side. But why did you also rebuild the exhaust louvres ?