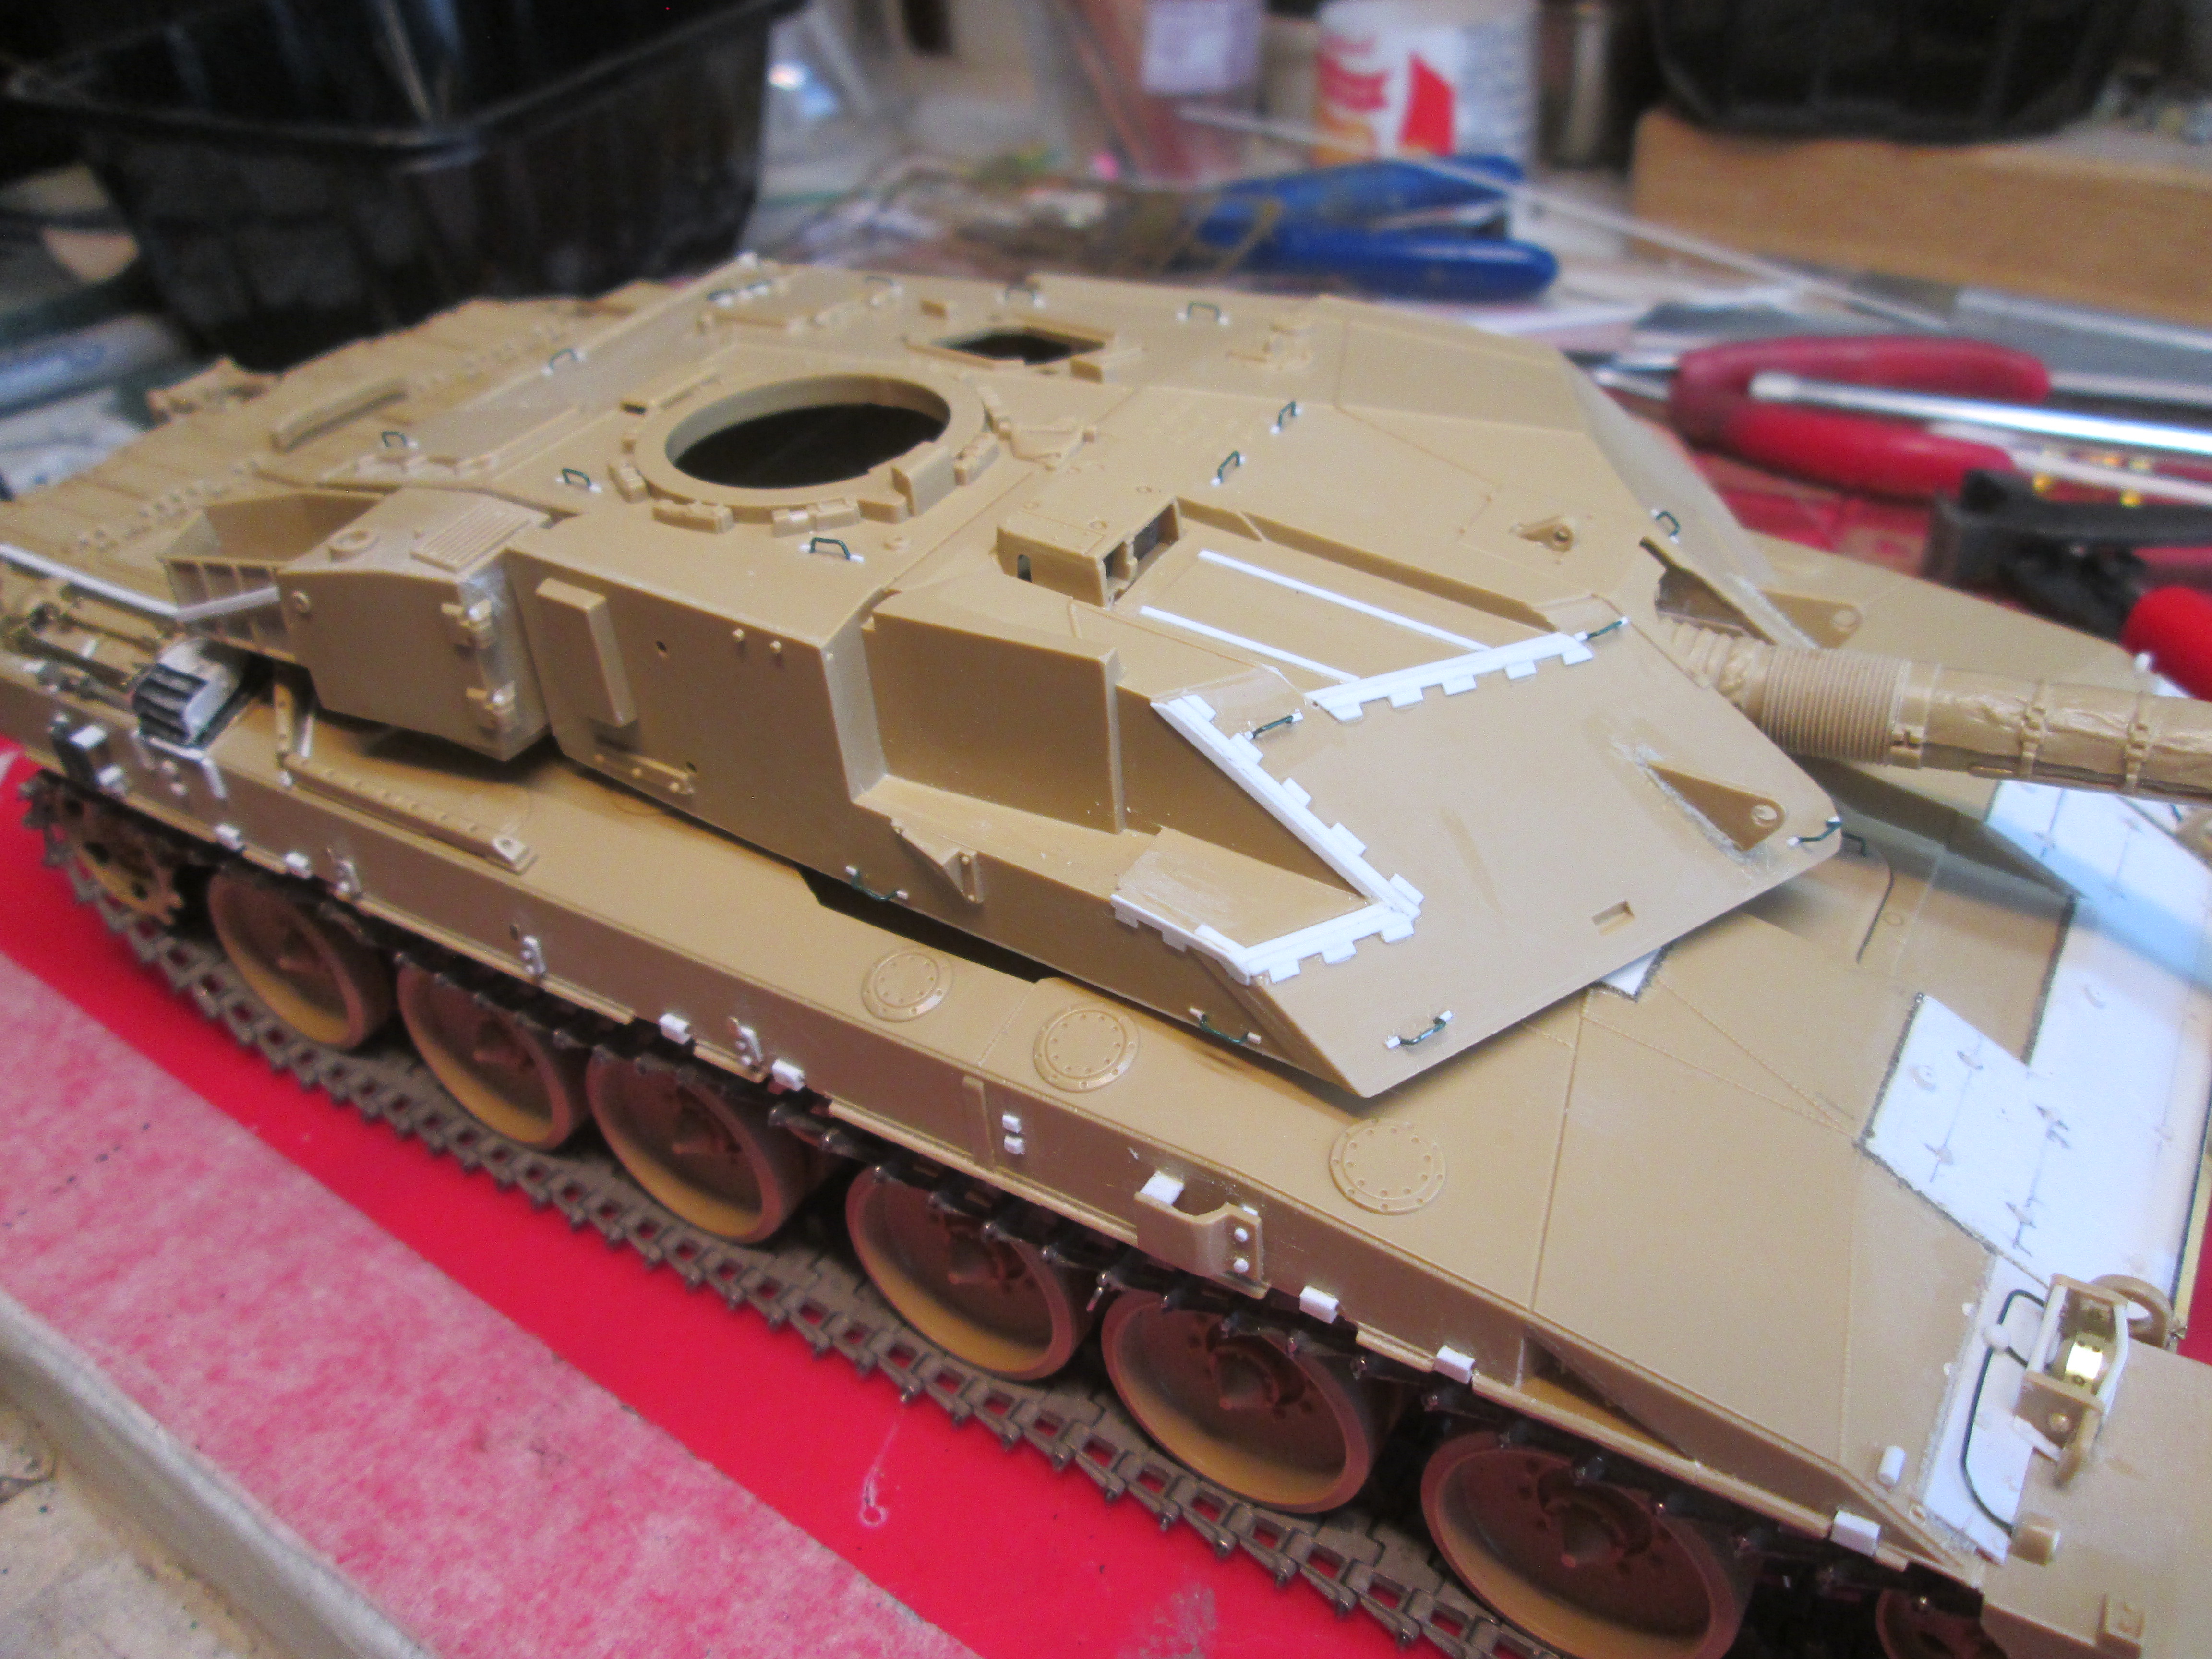
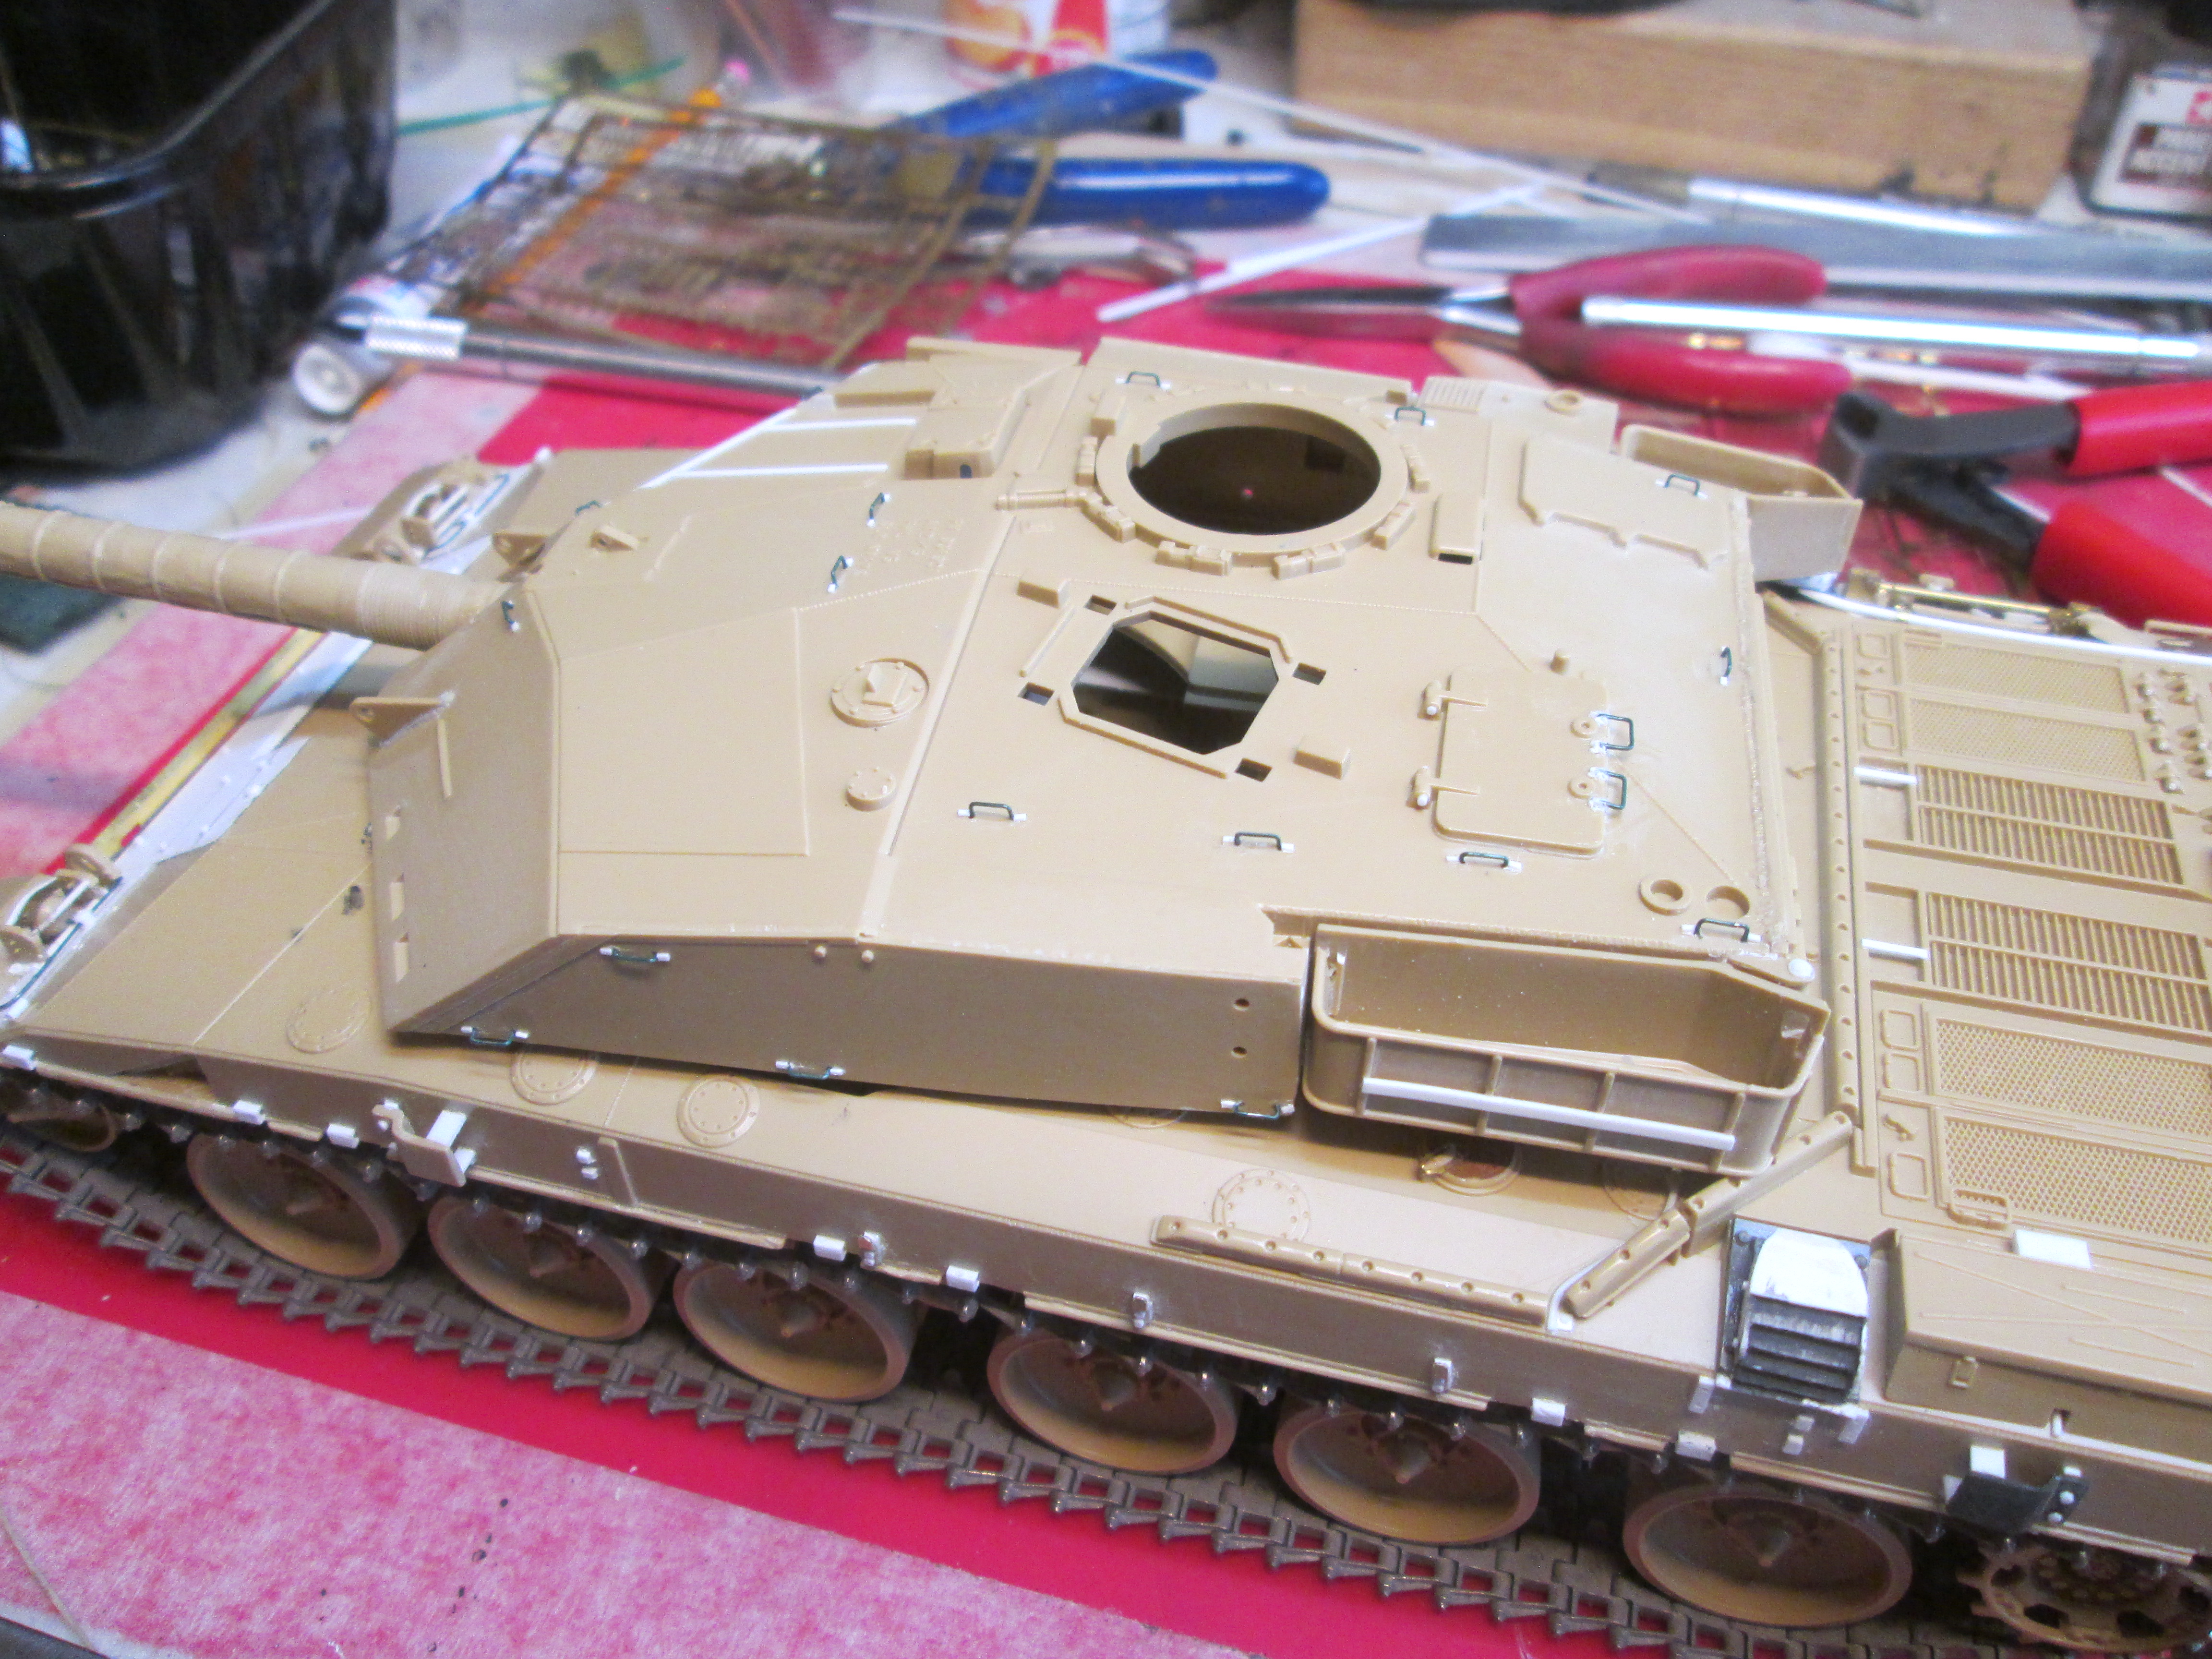
Turret’s started. I’m doing all the footman’s loops with wire this time, instead of PE, and using tiny bits of .020" x .030" plastic for the “feet”. I like it better than the PE I used on the last one.
 IMG_3369 by Russel Baer, on Flickr
 IMG_3370 by Russel Baer, on Flickr
I guess the next big thing is the rear turret bin and the side baskets.
3 Likes
Nice start on the turret Russ. The tie downs look nice and a clever idea and they are looking nice and uniform; did you use a jig or just a SWAG on each one ?
SWAG. In truth, I use small needle-nose pliers and put the piece of wire in to the same depth in the jaws as judged by my Mk1mod2 eyeballs. Works almost every time.
1 Like
If it works, no need to fix it ![]() … what sort of wire was it ?
… what sort of wire was it ?
1 Like
It’s commonly called “florists’ wire”, comes in a big roll for about five bucks. I bought it at a big craft store chain about three years ago, still have enough for about a hundred years worth of modeling. It’s about .020" diameter, bends easily enough but short lengths hold their shape well. And it’s green.
Something I forgot: when I remove the molded-on tie downs, I drill the holes for the new ones before I clean up the area, giving me an easy reference for where the holes go and their spacing.
1 Like
Rubbish!..
Just the “punes, or play on words” though ![]()
Bin there - done that ![]()
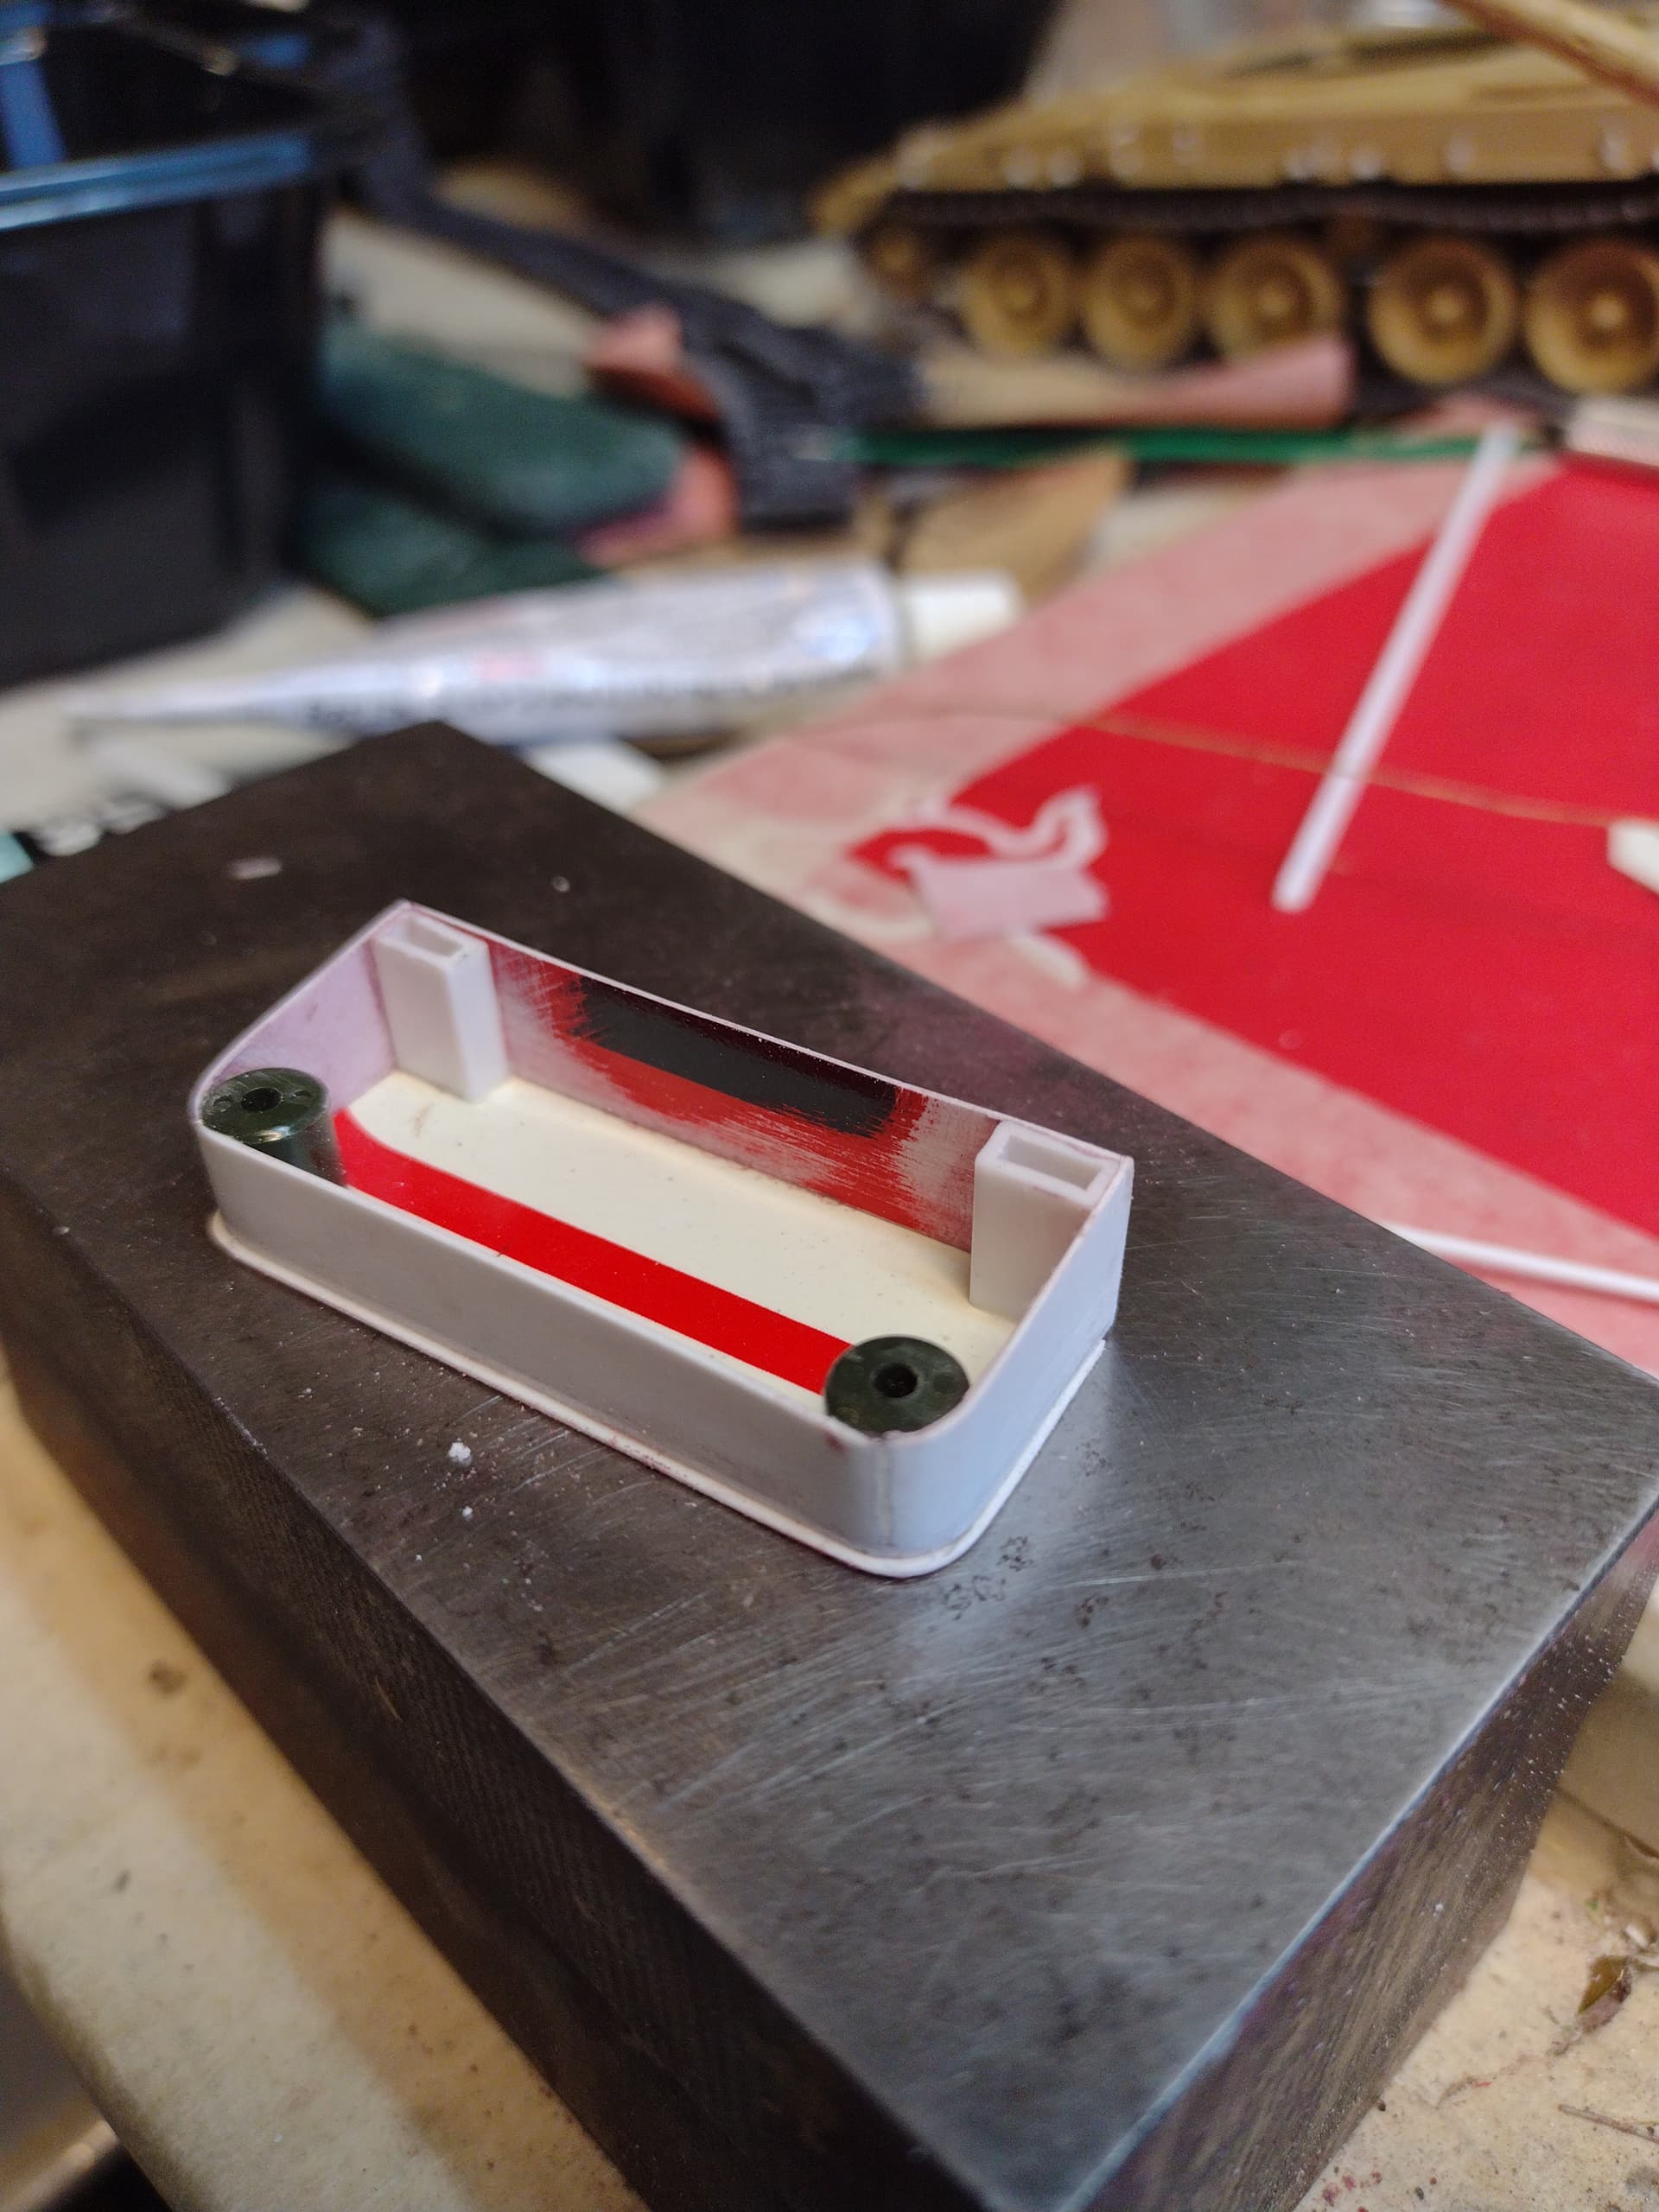
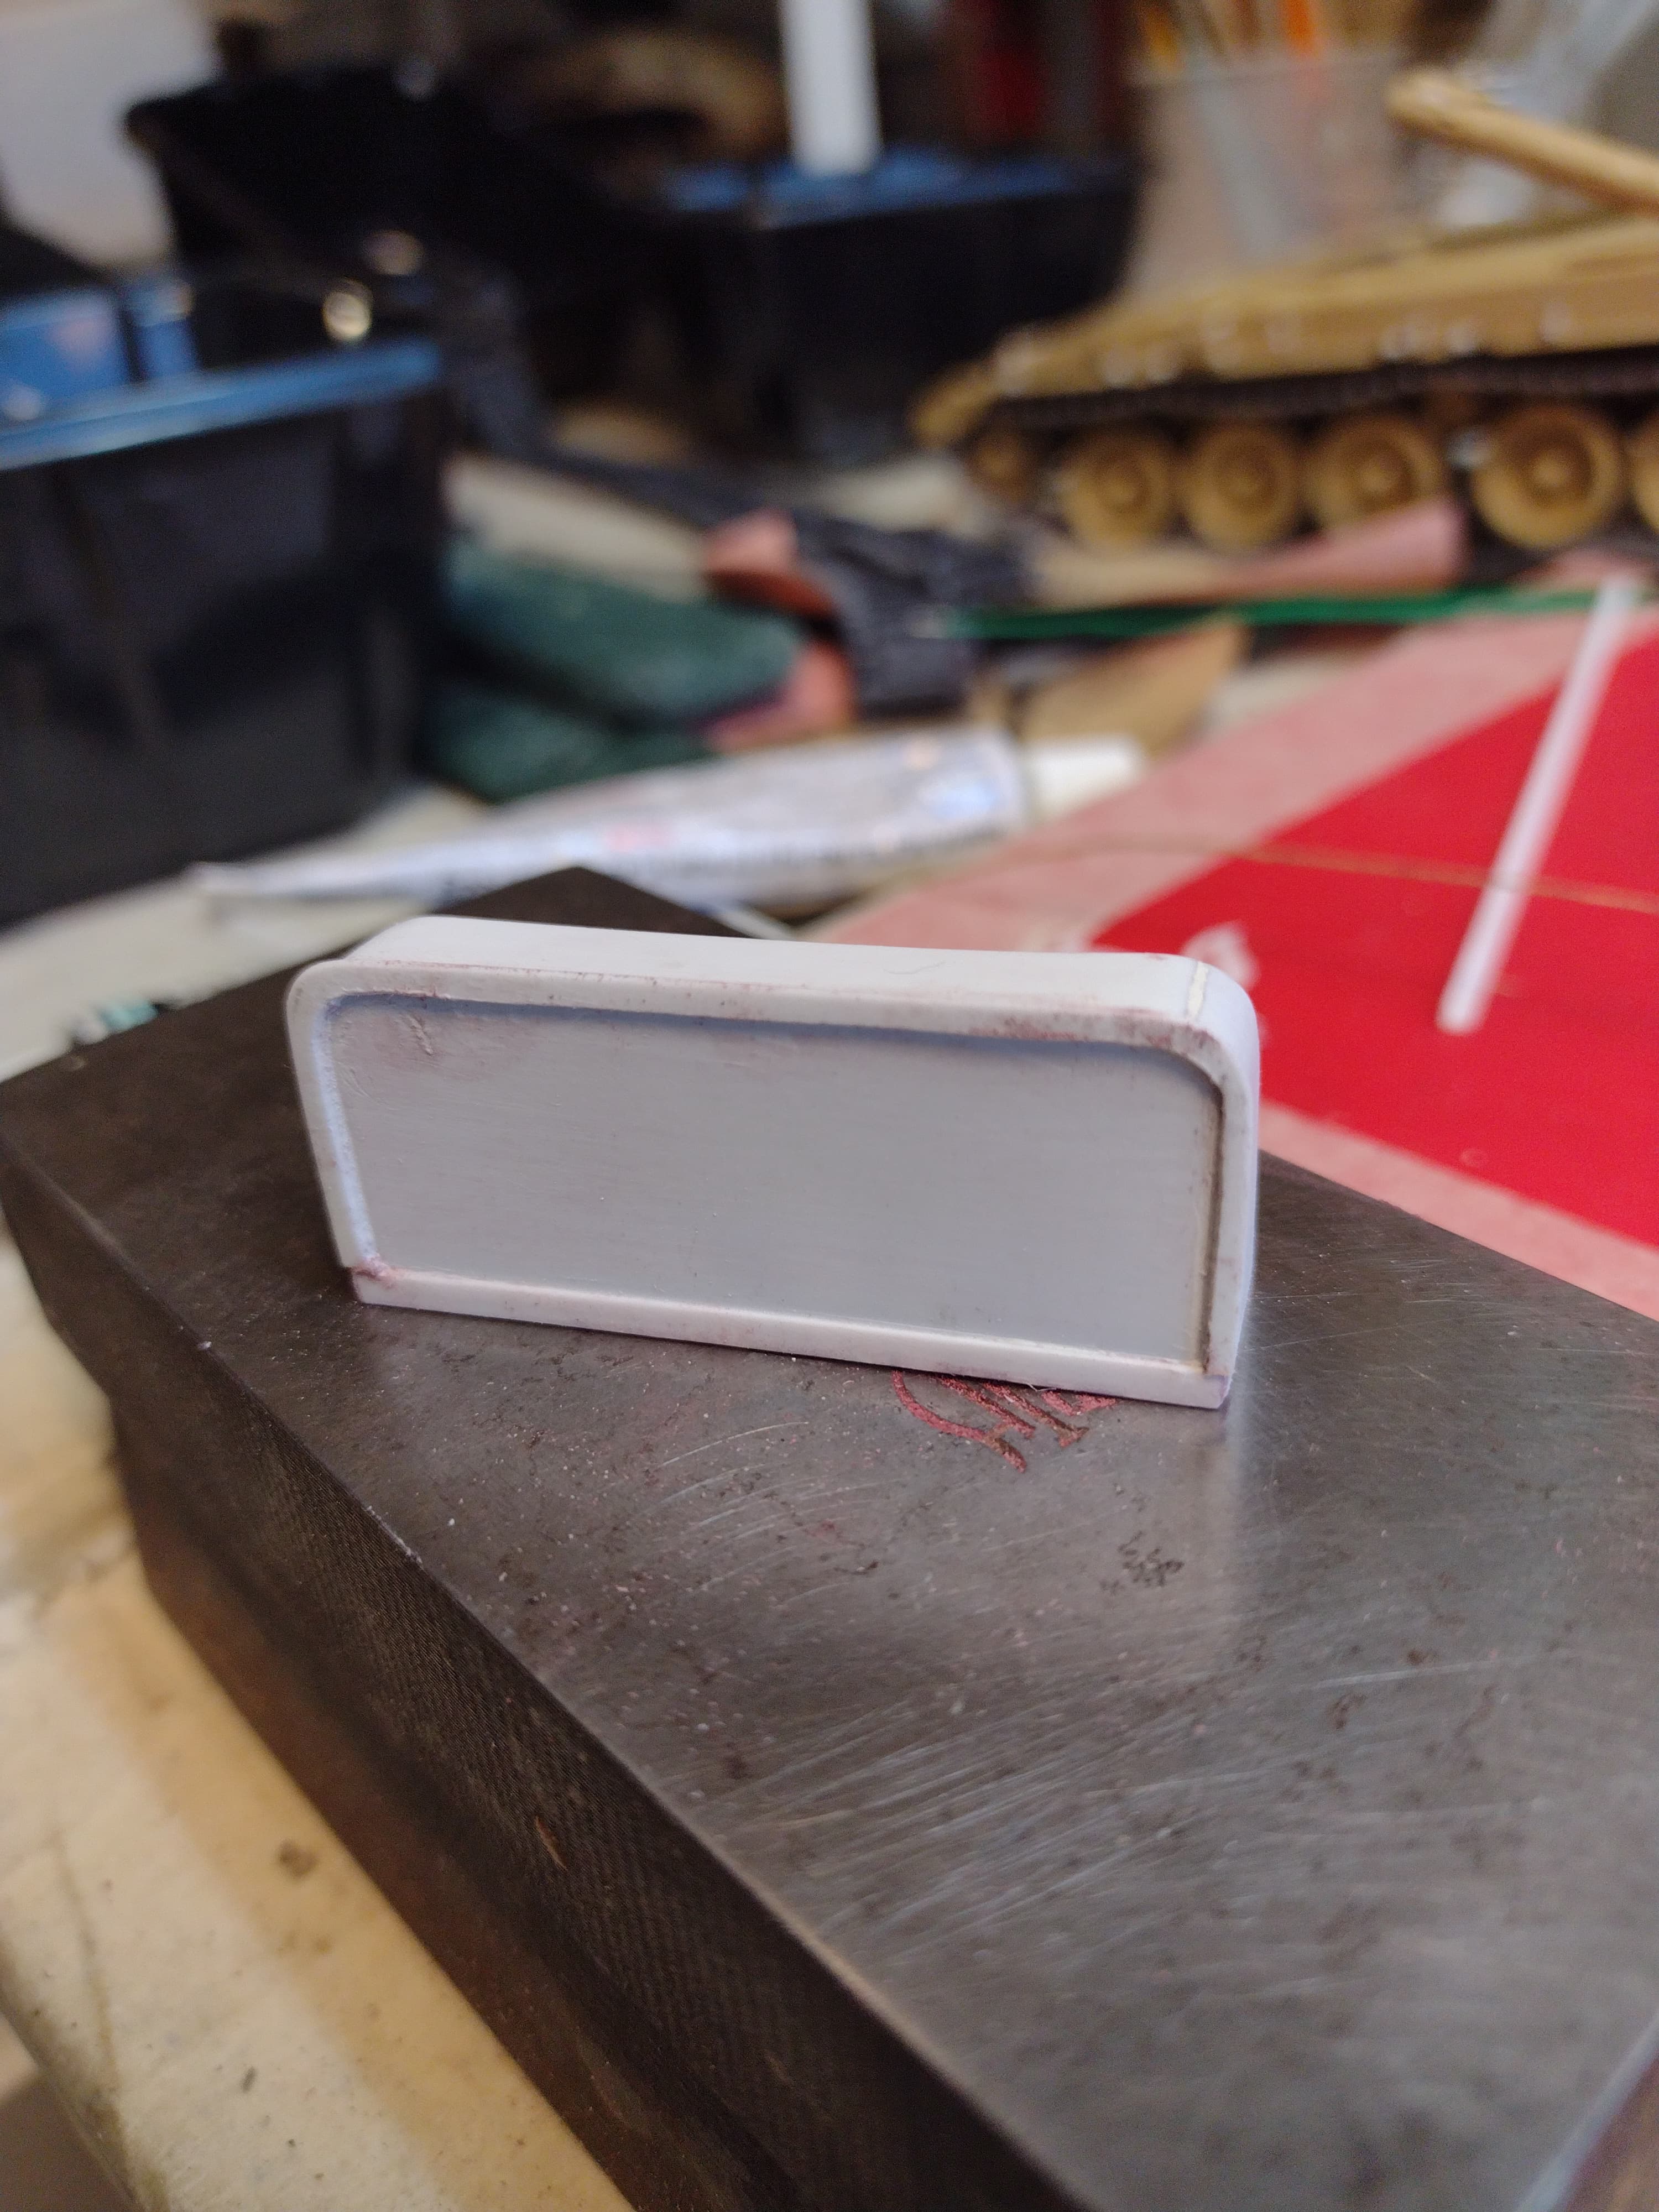
Bin working hard…

Time for a run to the hobby shop, that piece of U-channel in the foreground is the last of it, not enough to do the lid hinges.
1 Like
Buying more strip and rod is always good but seriously? Use strips of Evergreen to create your own channel - I generally use a 15 thou strip for the ‘base’ and then glue 10 thou strips as the verticals. I’ll bet you have the necessary widths already in your stock?
Nope, I’m with rfbaer on this one. Why build channel when I can purchase perfectly good channel that will be more uniform than if I build it from strip. I do scratch build, but I use pre-fabbed channel, angle iron, and any of that other shaped styrene. I have a ton of strip and rod, and build lots of things from it, but from some reason, if it is already constructed, I am going with that!
I use pre-fab channel and stuff all the time but if I need a specific size or if I just run out of a particular size at an inconvenient moment, I fabricate my own rather than stop a project mid-flow. For the few minutes it takes to make it, I’ve always felt it’s worth doing when I need to.
I’ve got a bunch of strip, rod, flat stock, hex rod, angle, square tube, round tube, I beam, quarter round, half round… but I’m low on a lot of different items, and I like using specific shapes and profiles for consistency. Beside, I haven’t bin to the hobby shop in months.
Gotcha.
1 Like

That is a top job on the bin Russ…well done ![]()
1 Like
Nicely done.
And your build clarified an open question I had how the jerry cans are supported on the bottom.
1 Like
Wow! That is some outstanding scratchbuilding!
2 Likes
Somehow the second time around for the left side basket wasn’t any easier…

And a bonus of having the Echelon decal sheet for the first build, I have a complete set of decals for this one too, a tank from the QRH, Op Resolute, Bosnia 1996.
4 Likes
Very nice ![]()
![]()
![]()
1 Like
No work today, so after mowing the lawn while it was still cool out, I got after the other side bin, and added some other turret details too. I also added the front hull splash shield and front mud flap fasteners, from the Eduard PE.
 IMG_3471 by Russel Baer, on Flickr
The sharp-eyed among you will notice the mesh in the side bin is incorrect. It’s more like expanded metal than a simple wire mesh, but that’s all I had and I didn’t feel like ordering more PE. Also done is the cover for the corner bin.
 IMG_3470 by Russel Baer, on Flickr
Other corner bin above.
And below, the front hull.
 IMG_3472 by Russel Baer, on Flickr
5 Likes