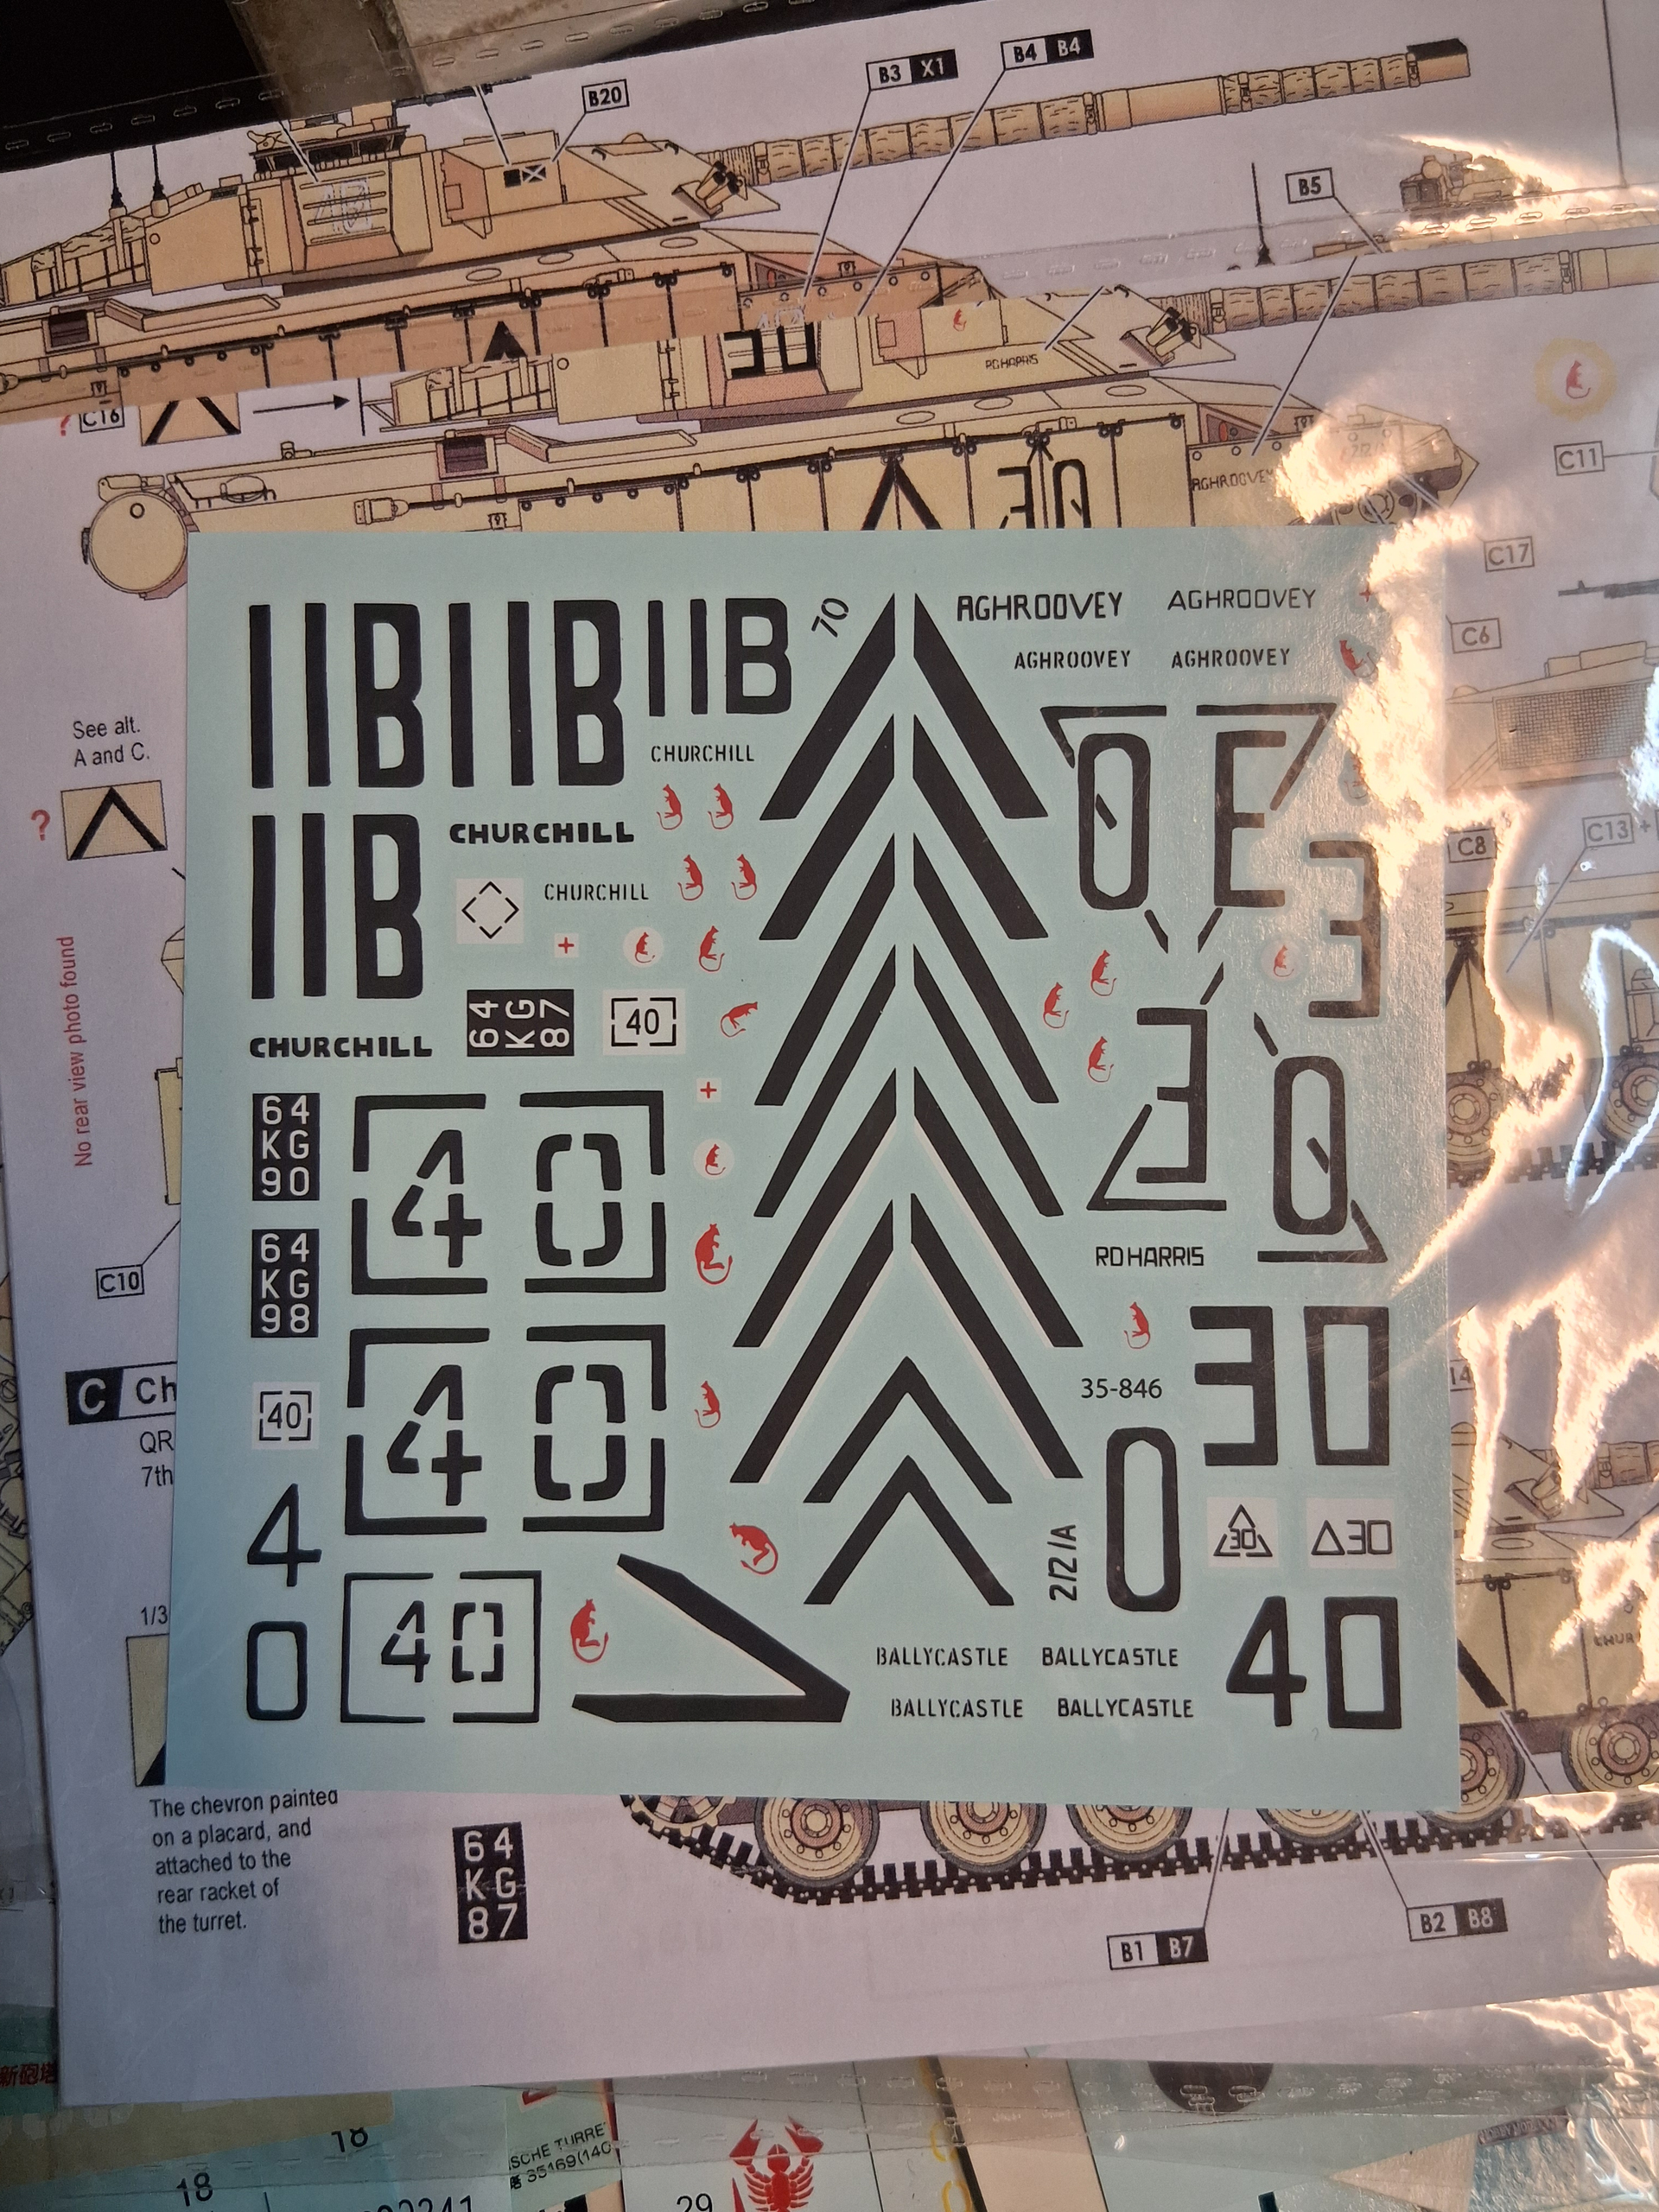
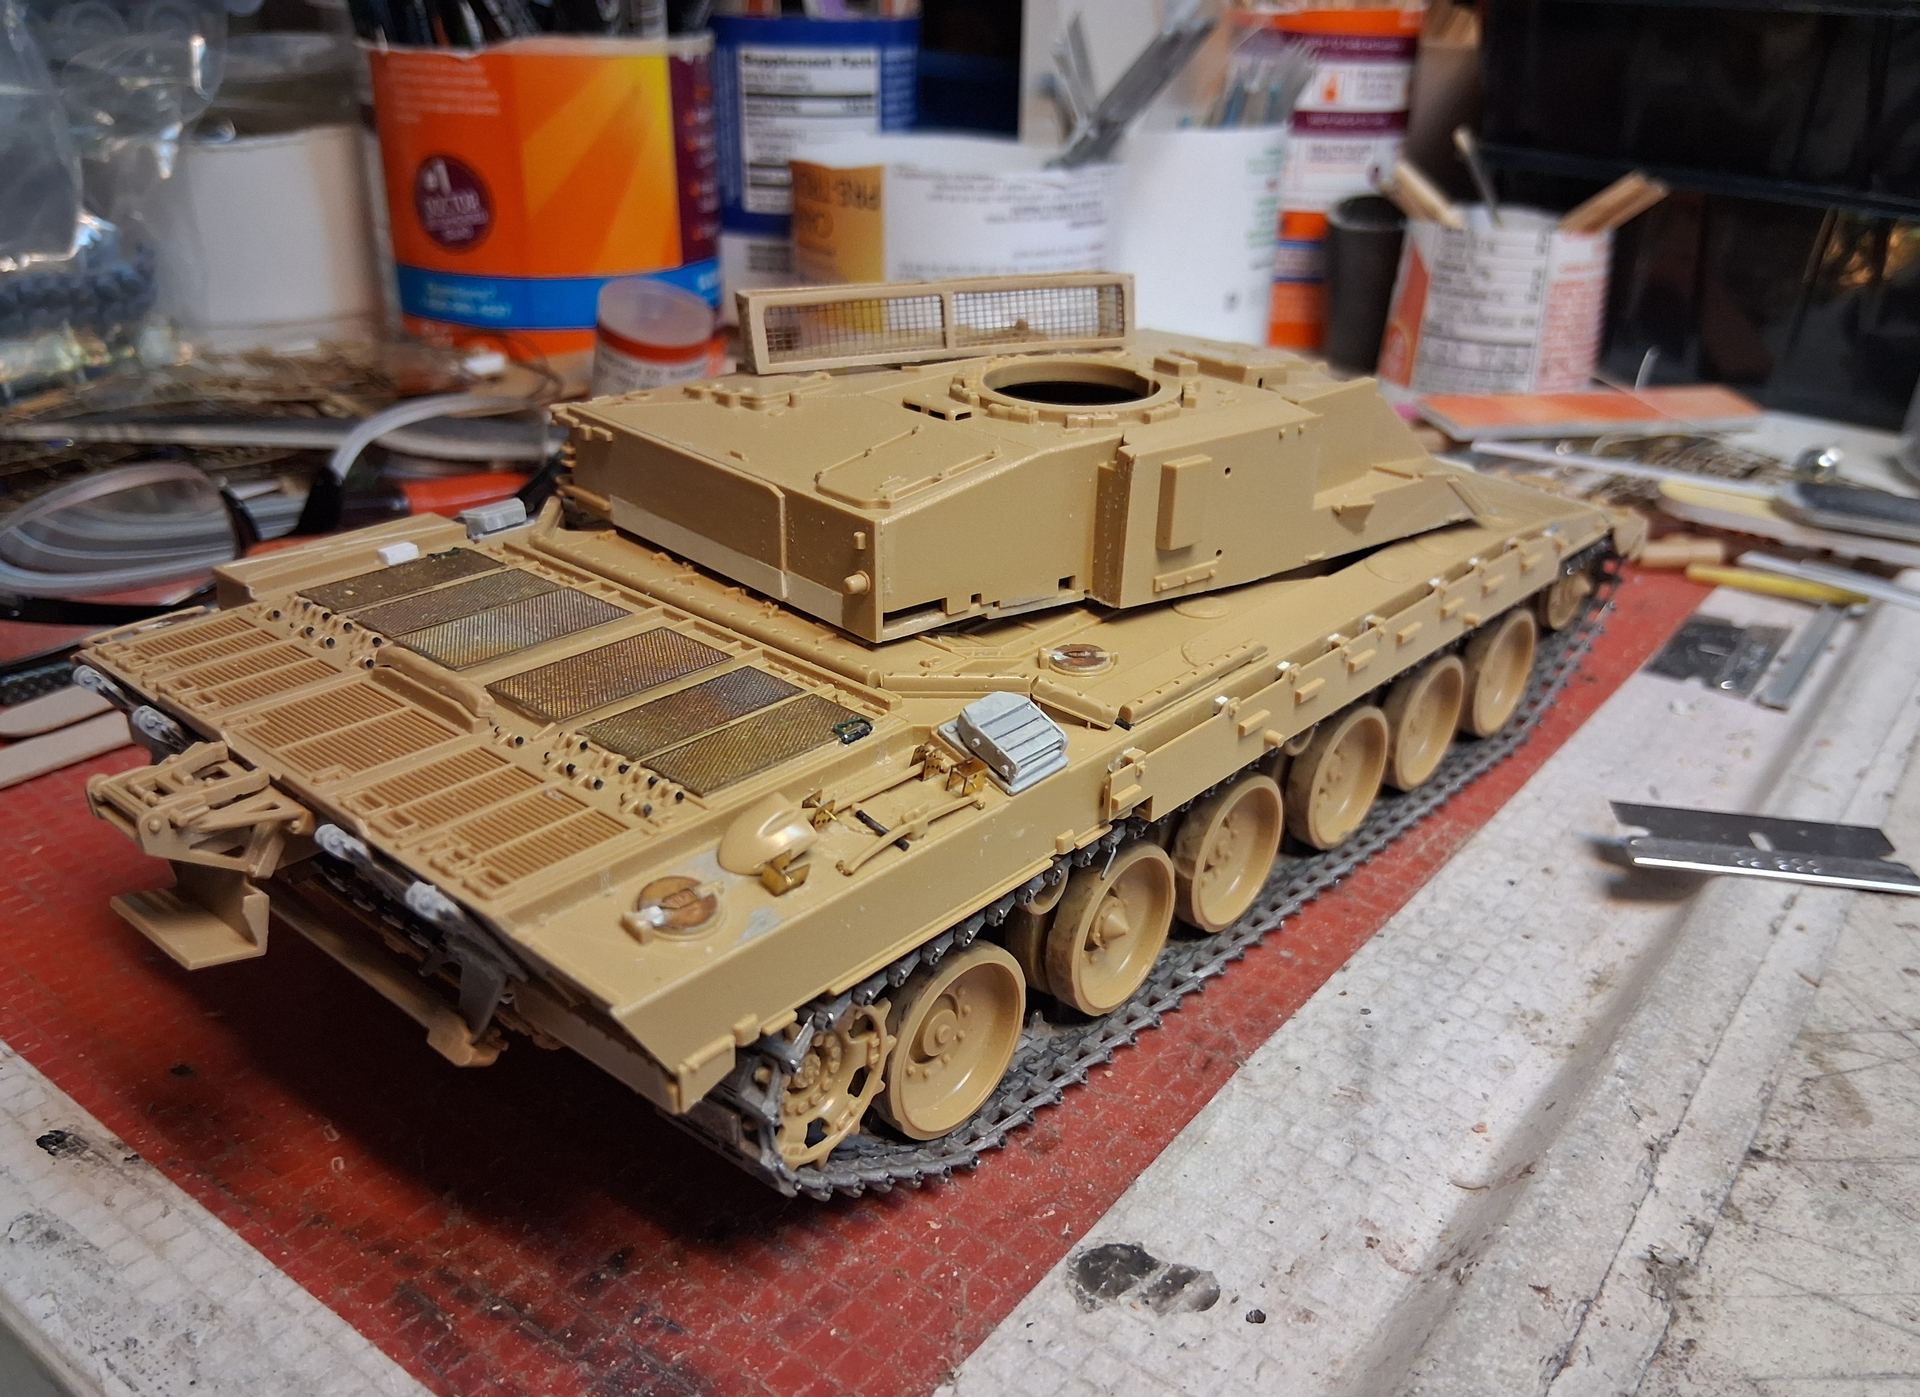
After reading a review of the Trumpeter Cr1 I made the easy decision to go ahead and use the large amount of AM I’ve gathered for the Tamiya kit and build it.
 IMG_5170 by Russel Baer, on Flickr
There’s a couple of Eduard PE sets in there, some goodies from Scorpion Models that I scratched a couple of times on previous builds, a bag of Verlinden parts to update the original Tamiya CR1 kit, Ace Model tracks, decals, even some old On The Mark PE and AEF Designs stowage. Actually, I have a couple more of the Tamiya kits stashed so I should be good for a while.
First night had the hull started, road wheels assembled and swing arms ready to go. I’ve done some minor additions on the engine deck and blended the upper front glacis.
 IMG_5171 by Russel Baer, on Flickr
 IMG_5173 by Russel Baer, on Flickr
Tonight the fun stuff started. The Scorpion Model miniatures (SMM from here on) fuel tank set actually includes two options: with and without the fuel barrels. I’ll decide which option I use later but for now I have the rear plate cleaned up the the mounting brackets on. Swing arms are also on and the road wheel’s tires are beat up.
 IMG_5172 by Russel Baer, on Flickr
The SMM fuel drums are really very nice once cleaned up, but the empty brackets are also nice and include resin ratchet strap handles. I think I’ll check my references and see how I want to proceed here, depending on what tanks are represented on the decal sheet I have.
The hull front is coming along too. All the kits I have show some sink marks on the lower glacis, no biggie.
 IMG_5174 by Russel Baer, on Flickr
More as it happens unless I decide to do a small amount of stowage on the AMX-30…
Go with the drums. What else are you going to use them for?
Another model? They really are pretty nice. I have pics of them mounted up, painted a dull brown, kind of a neat contrast to the desert tan.
Great progress and already pulling up a seat for this one 
Thanks.
The amount of AM you have lying around, insane… another one to follow!
That’s a couple years worth of retail therapy.
Plus, after scratch building so much on the first two I did I thought I’d try some AM and see what happened.
My favorite part of an AFV build, fitting tracks. There’s just something about this stage of the build that’s very satisfying to me.
 IMG_5179 by Russel Baer, on Flickr
Nice done … Looks good
Small bits now… I’m beginning to look forward to the turret so I can use some more of these SMM parts.
 IMG_5180 by Russel Baer, on Flickr
 IMG_5181 by Russel Baer, on Flickr
 IMG_5182 by Russel Baer, on Flickr
The nifty little latches on the left toolbox are from Elefant Model, 3D printed and amazingly easy to use.
They do look good …
I like them a lot, and the neat thing about them is they look like the latches used on a whole bunch of differet tanks. And there’s probably 50 on one base.
I have a question. I’ve decided to do the actual tank that I believe still holds the record for the longest kill shot, “40”, and have conflicting info regarding the turret left side stowage method. All the pics I have are taken from the right side, none from the left which raises my question. My info comes from two different Star decal sheets, both with markings for 40. One sheet shows the tank with the field made rectangular angle iron and wire mesh basket while the other shows the Chieftain bins fitted.
Question is, which was used: basket or bins?
Or was one type exchanged for the other at some point in time…
Mate I’m pretty sure the wagon was 11B, the CO’s tank. I will do some digging on the bin.
11B has the wire mess basket on LH side
If you happen to have the MMP book on Challenger 1, by Richesd Kent, pg 123 has an account of tha action, and the pic on pg 126 is of 40, the caption identifying it as the tank in the action.
The same goes for the pic at the bottom of pg 128.
I’m checking a couple of other books now.
I have that and have read it … everything else I have read points to 11B - Whichever one it was, the other 4 Troop tanks have the mesh basket as well, so I would go with that
I’ll do the basket then see if I have the markings for 12B as well. If I don’t have the exact markings all on one sheet I’ve got a bunch of extras now so I don’t see a problem cobbling something together.
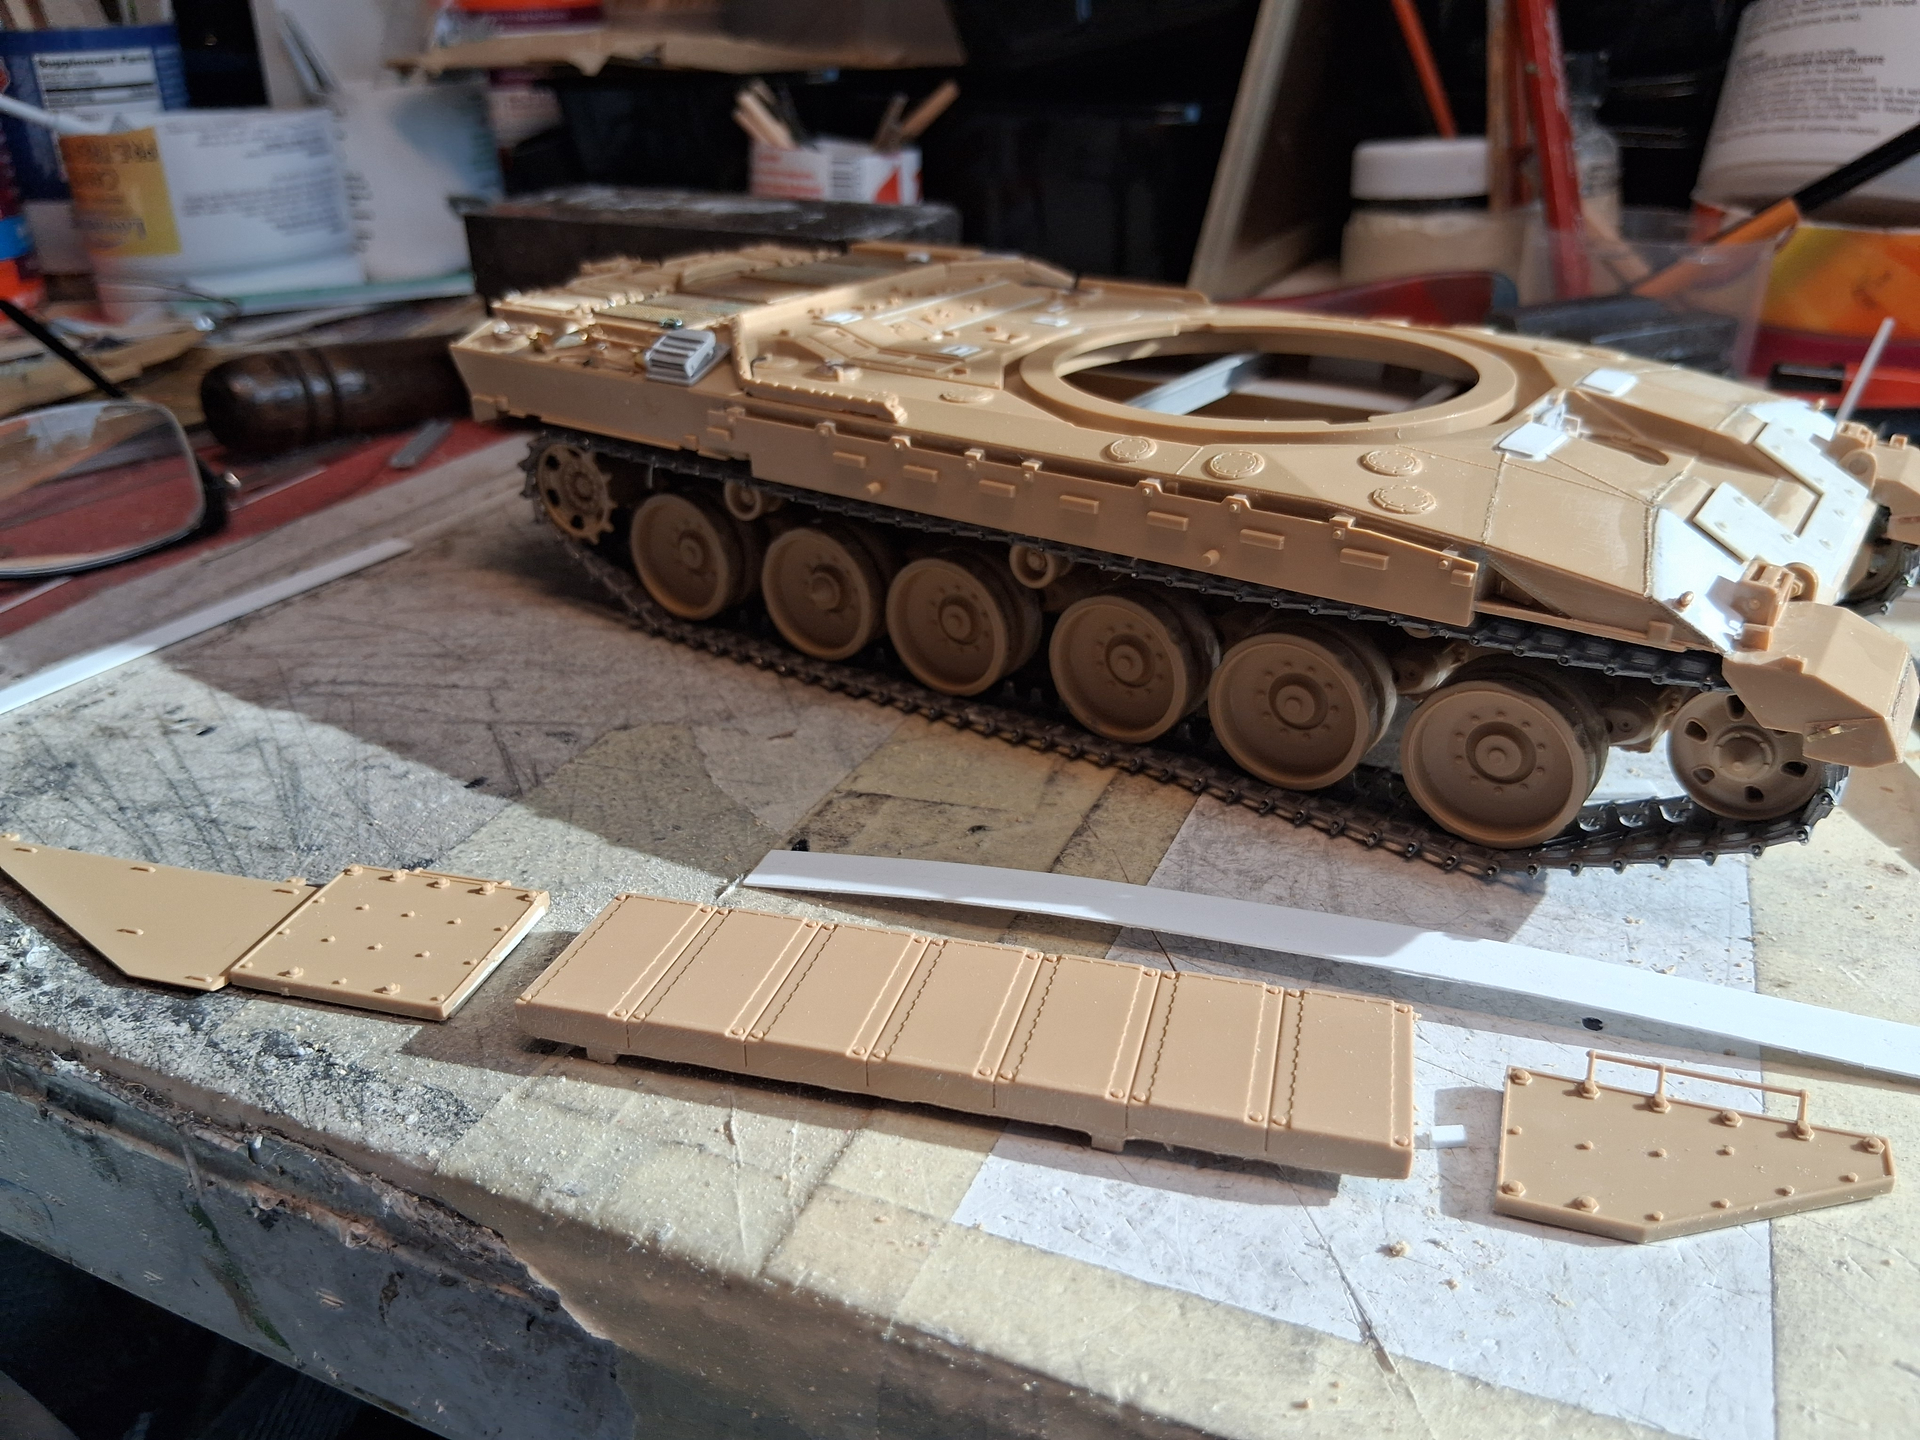
Back to the model, I started getting the side armor together today. I’m using bits from the Tamiya Cr2 and the Cr1 kit instead of scratching the details like I did previously. It may or may not be easier…
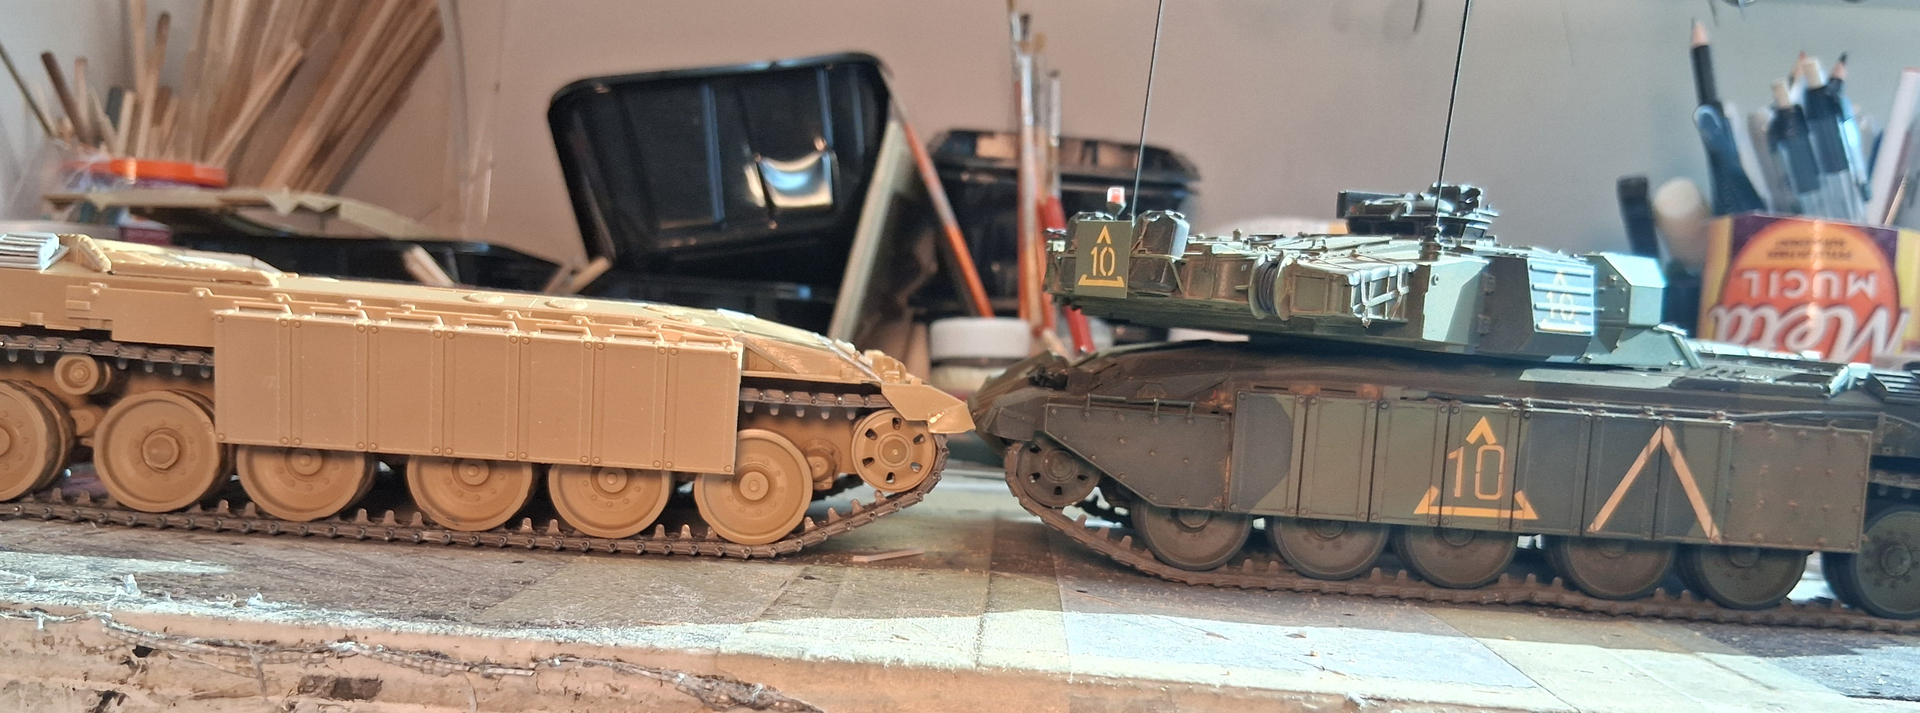
Something else I did early in the build which I forgot to mention was to adjust the swing arm positions, raising the hull about 2mm as if the hydrogas units were warm and at operating ride height.
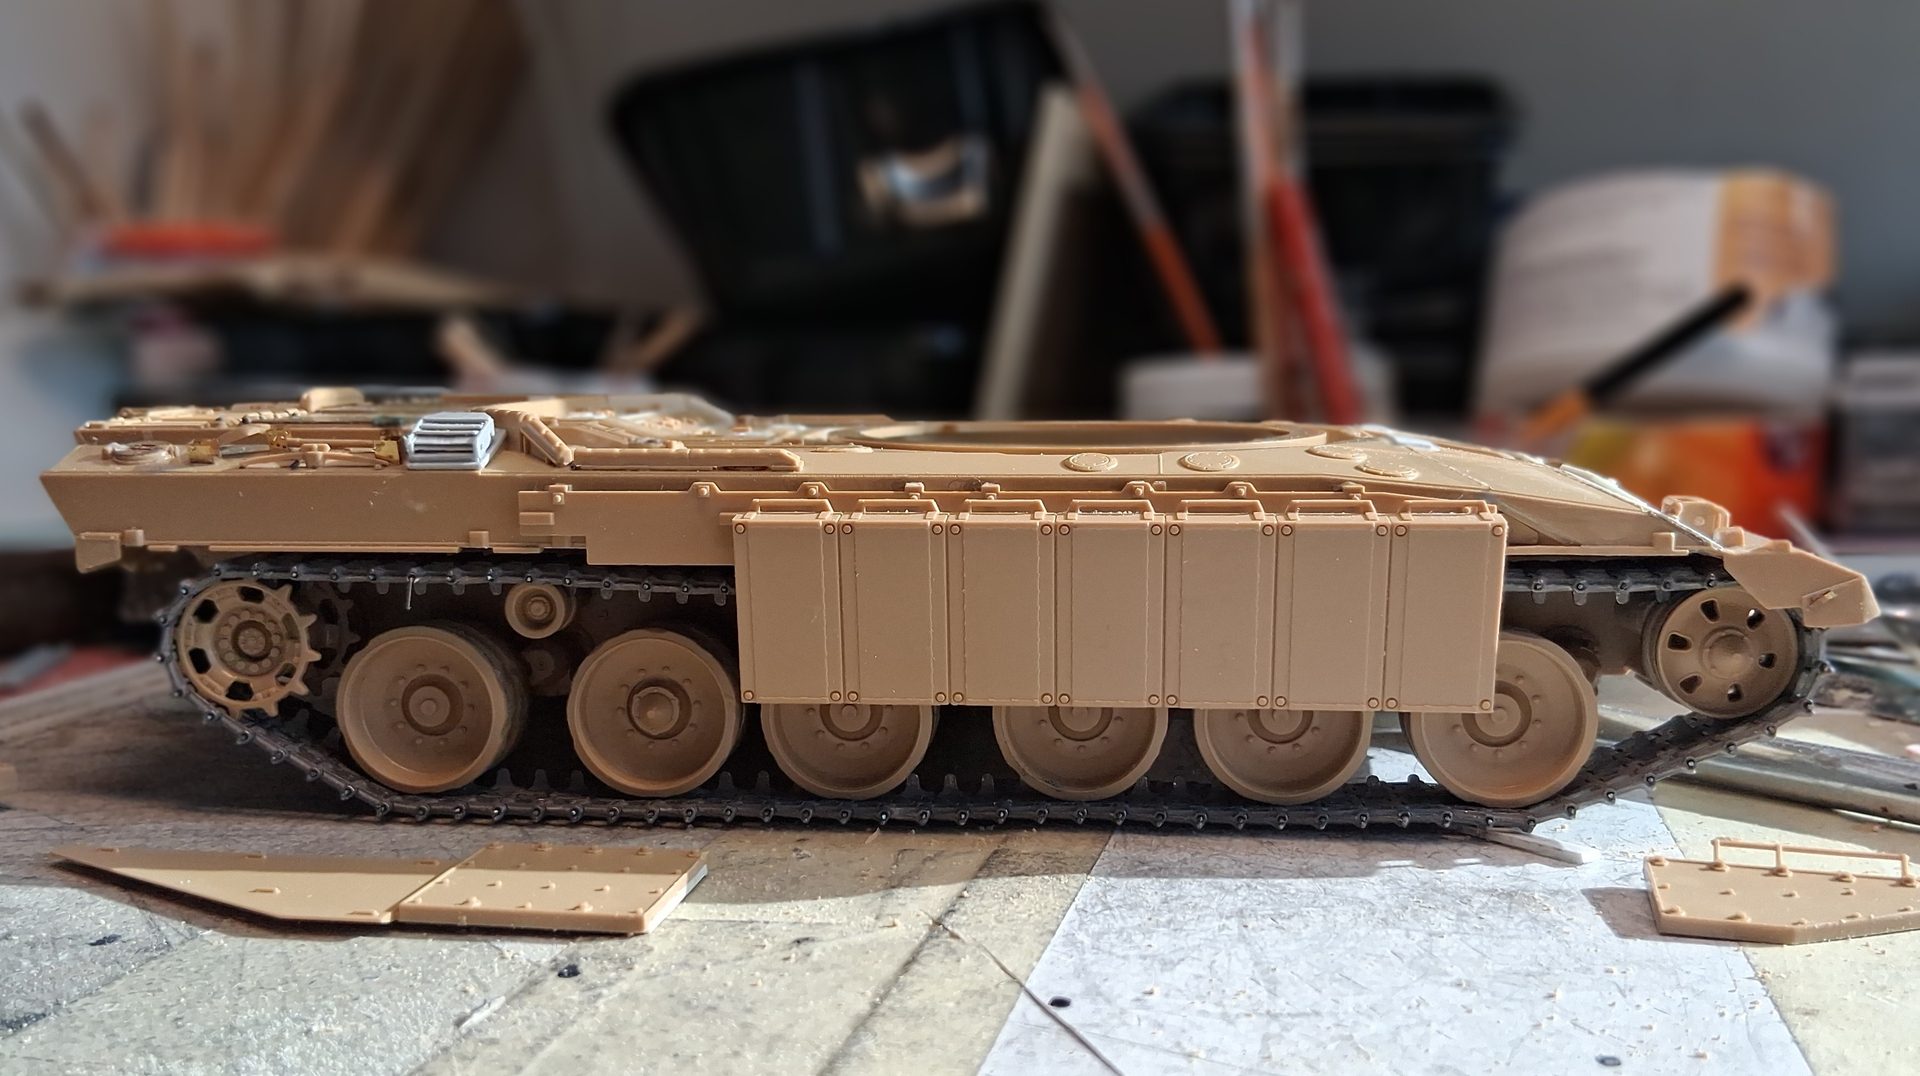
I remembered from my previous builds discussion about that, and it’s mentioned on the SMM website as well.
Compared to the one I did a while ago, it’s obviously higher…
Lord help me but I have a couple of Trumpeter kits with dozers in the box, thinking that might be fun on another one.
Looking good mate … if needed, I think I have 11B decals lurking about somewhere.