Nope, I think you’re right mate…they are the tank sheets ![]()
2 Likes
I need to get busy…
1 Like
I’ve never noticed that before until I magnified a pic to see if there was a texture to the sheets. I’d be interested in seeing one of those sheets unrolled to see what it looks like.
2 Likes
Yeah, it looks like a definite printed cam pattern
2 Likes
I guess I’m lucky, the tank I think I’m doing has the whole thing wrapped and stowed on the nose armor (see the first pic I posted), should be a little easier to do, unless I want to punish myself.
I went ahead and hung some barrels on the rear, using a couple from Diopark, the Eduard straps and the ratchets from the Tamiya kit barrels. After adding them I realized I probably should have left them off and done the straps but I kind of like the look of the thing with the big drums there. I plan on looking for pics of different colored barrels in use too, but for now they’re painted green as a primer and undercoat.
 IMG_4338 by Russel Baer, on Flickr
I also mounted the nose armor and did the headlight wiring, painting under it as well.
 IMG_4339 by Russel Baer, on Flickr
I really hate painting, partly because as soon as I get color on I remember something I forgot to add, fix or change.
4 Likes
Yep, me too.
2 Likes
Yes without fenders it’s very cool!
1 Like
I have not stalled on this, just working very slowly…
Yeah, right. But I did get the painting of the tracks started.
 IMG_4415 by Russel Baer, on Flickr
7 Likes
Nice to see you here Russ. What colour did you go for with the faded track pads ? a dark grey ?
2 Likes
Exactly. Vallejo light rubber maybe?
1 Like
Cheers mate ![]()
2 Likes
I haven’t quit on this, just got a little sidetracked. I had it in a light coat of Tamiya sand and didn’t really think the color was warm enough, so I put it all aside and percolated on it for a while. Then when I was painting the Tiran (for the IDF campaign) I really liked the Vallejo desert tan I used an an undercoat on it, so I did a quick spray on this too. I think the color is maybe too “orange-ish” now but I can easily lighten it a bit with weathering.
 IMG_4510 by Russel Baer, on Flickr
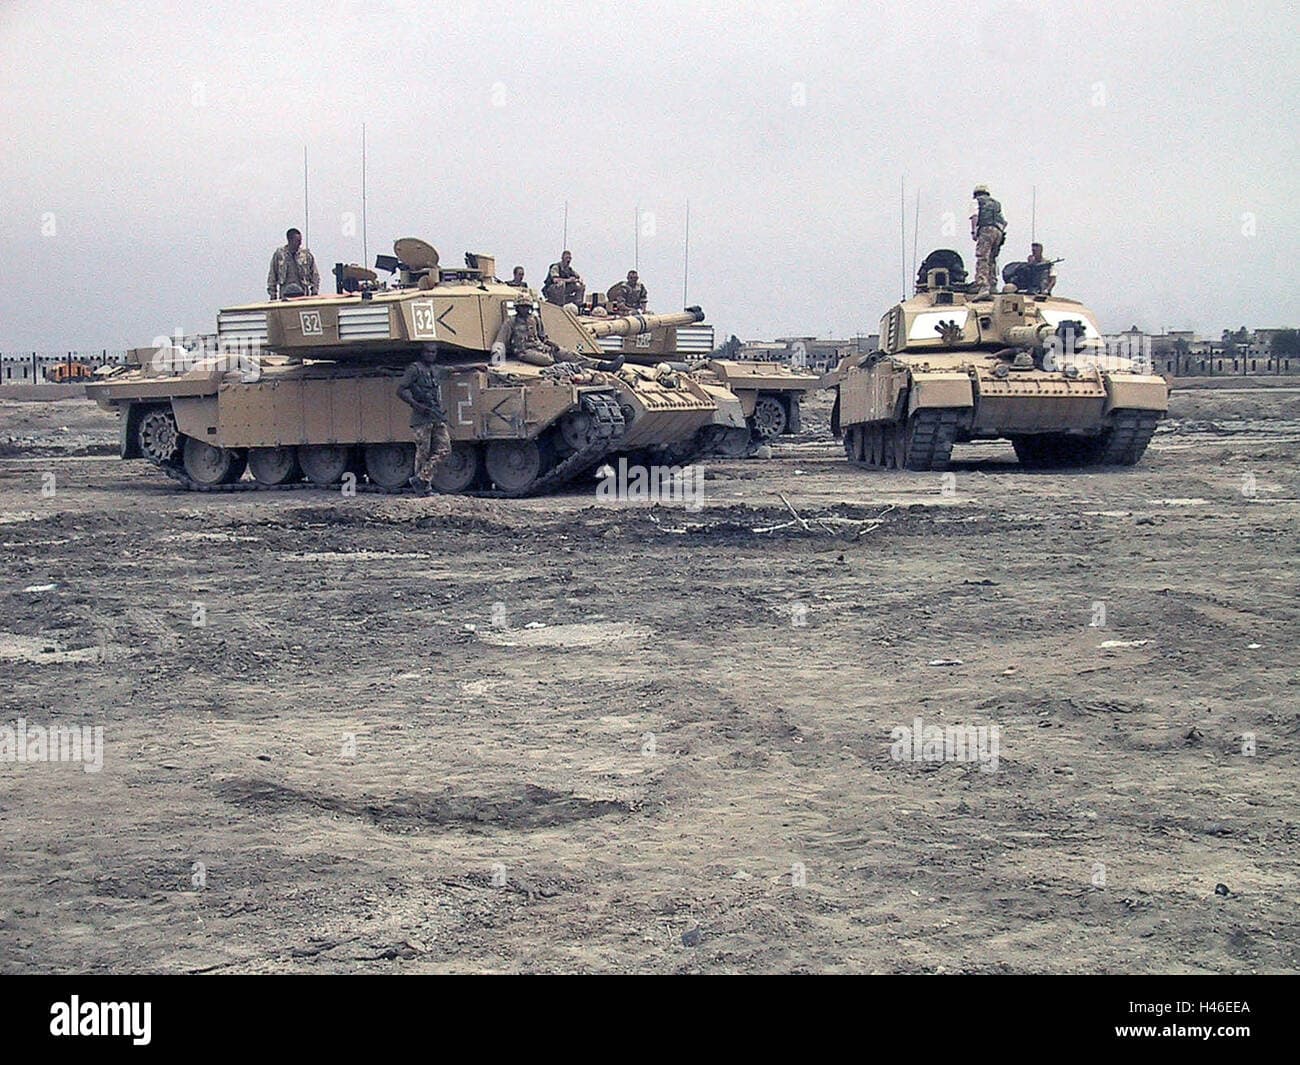
Compared with the image below, for illustrative purposes only, from “Images of War”, Challenger 2, pg. 61
 IMG_4277 by Russel Baer, on Flickr
3 Likes
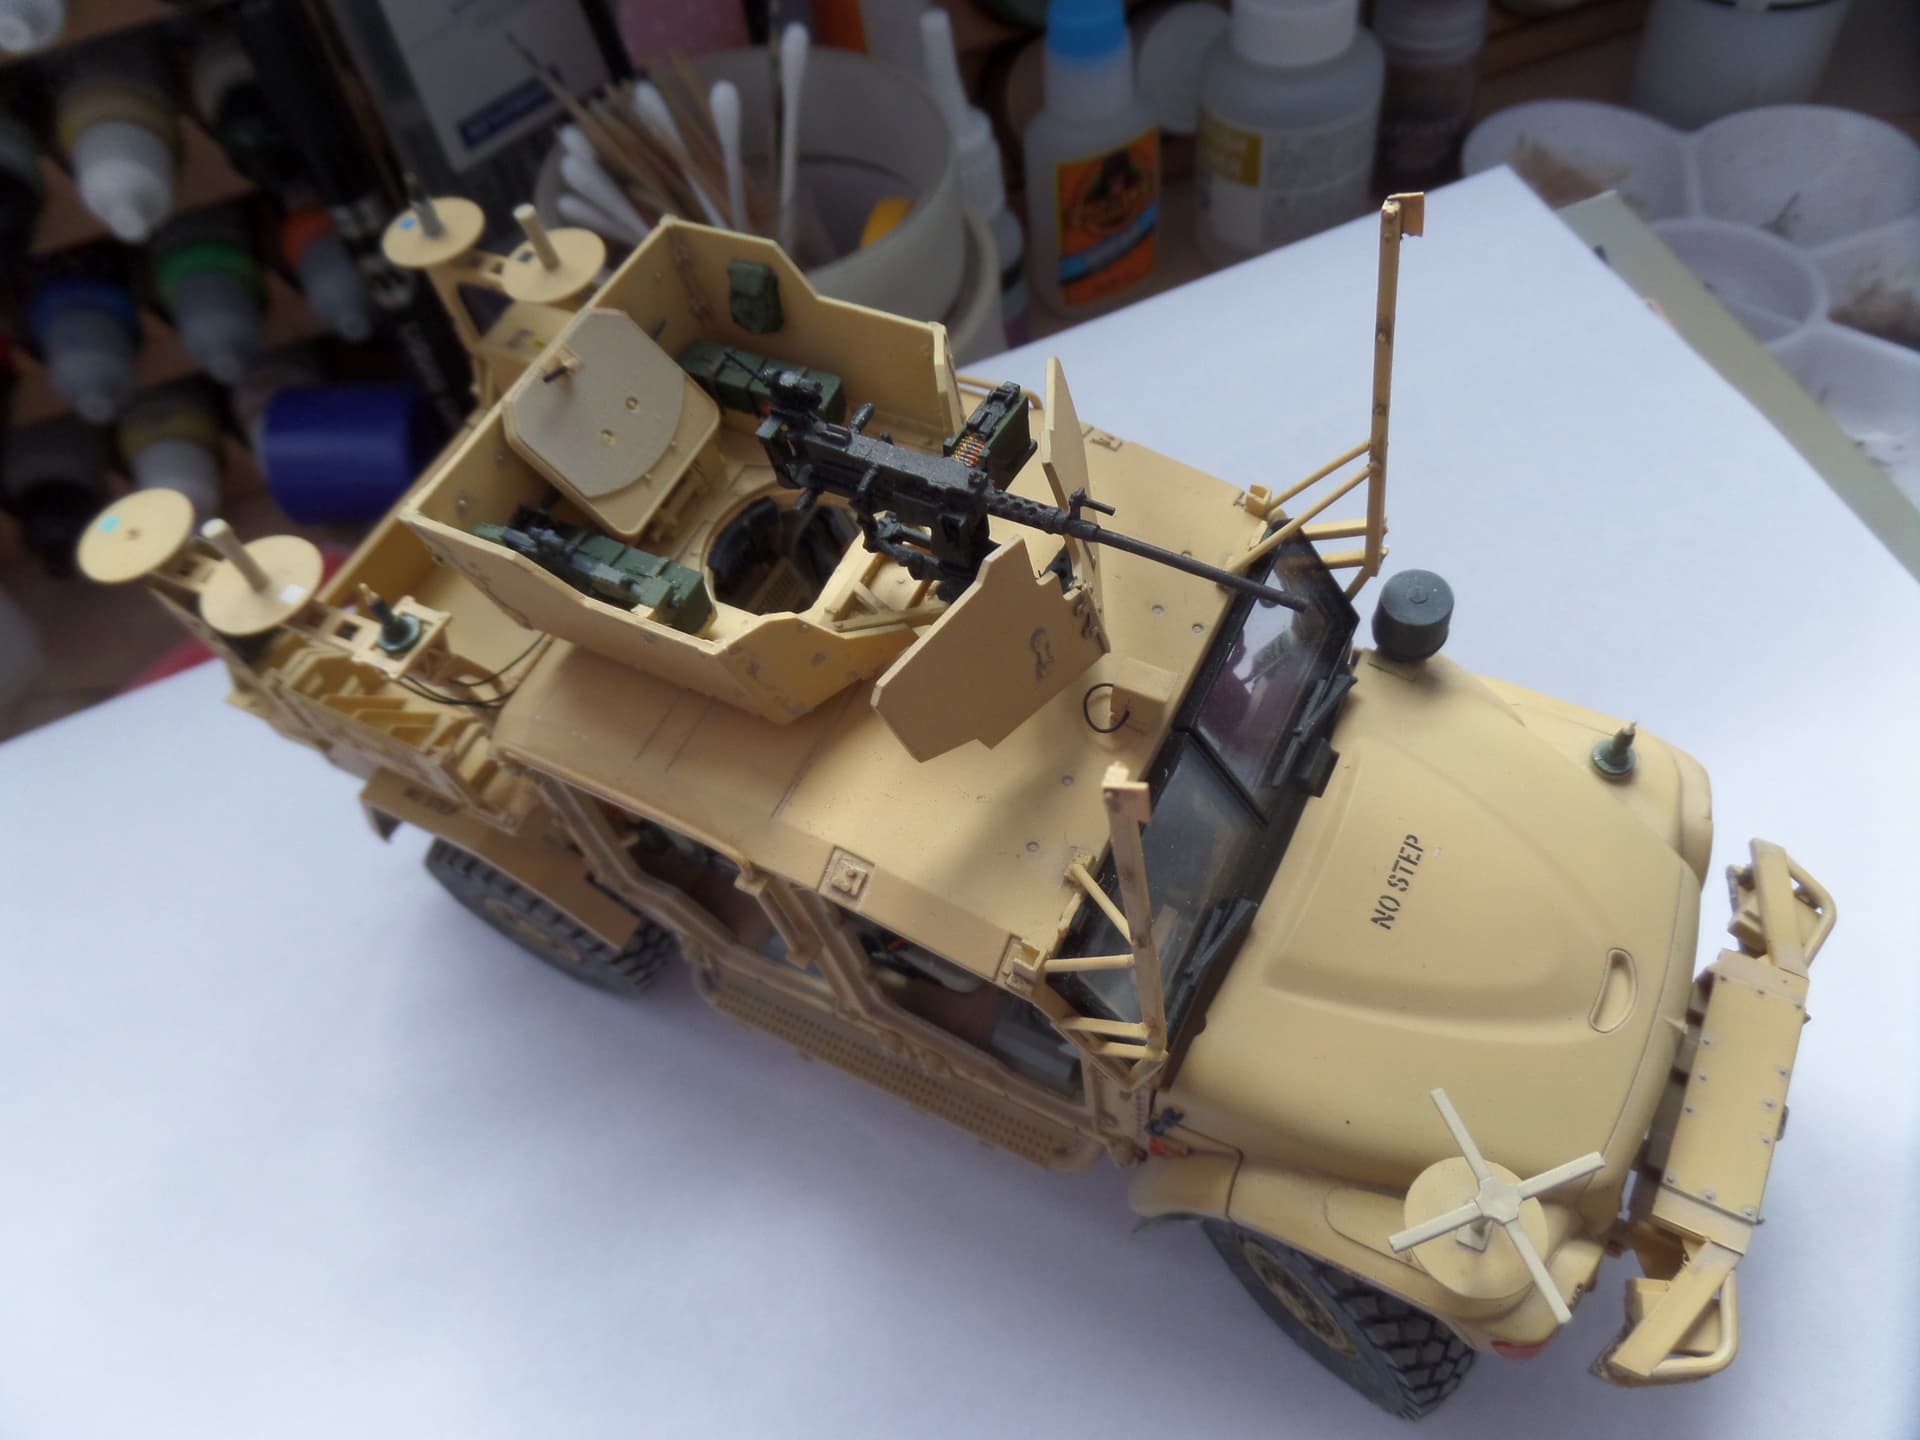
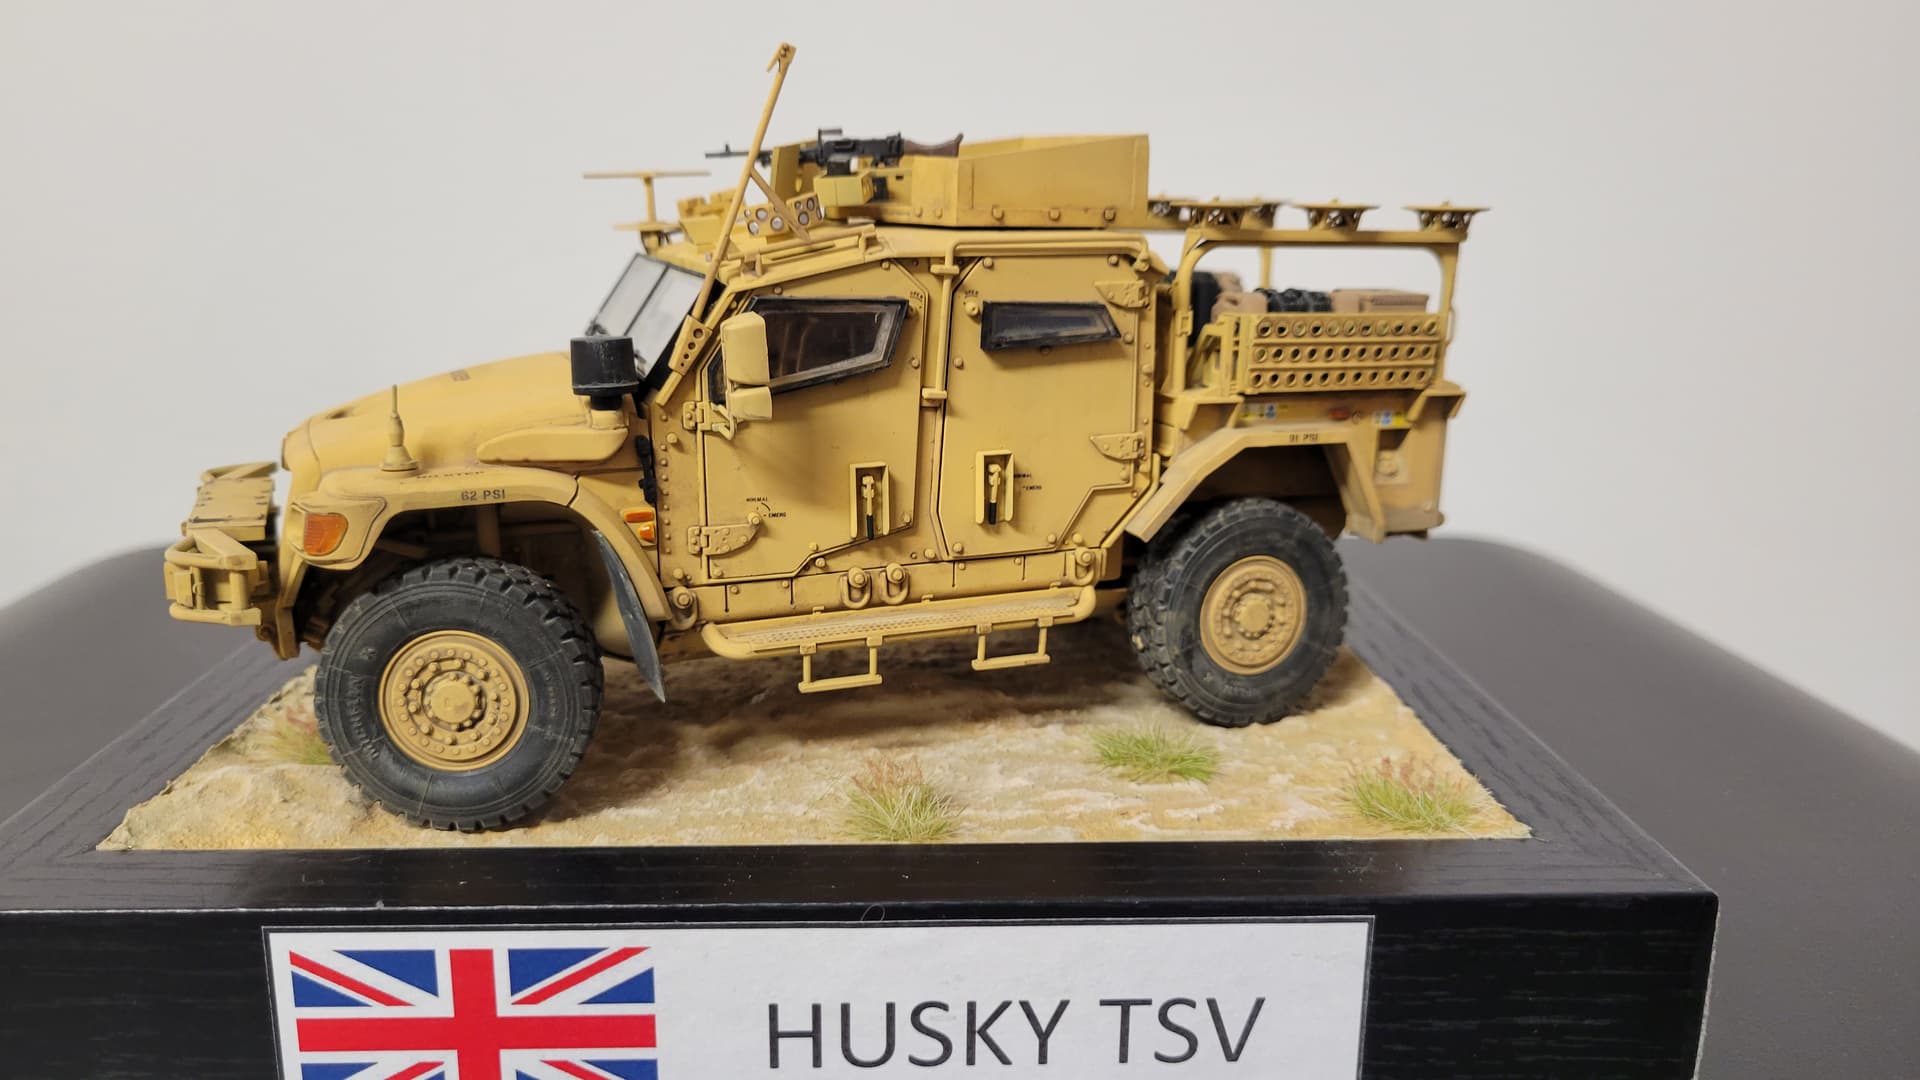
British sand yellow is very yellow/orange when compared to something like US desert colours. The closest I have come to matching it is Mission Models MMP-039 British Sand Yellow Modern. Having served on vehicles painted that colour it’s very close to my eye. This is my Husky TSV painted in it.
7 Likes

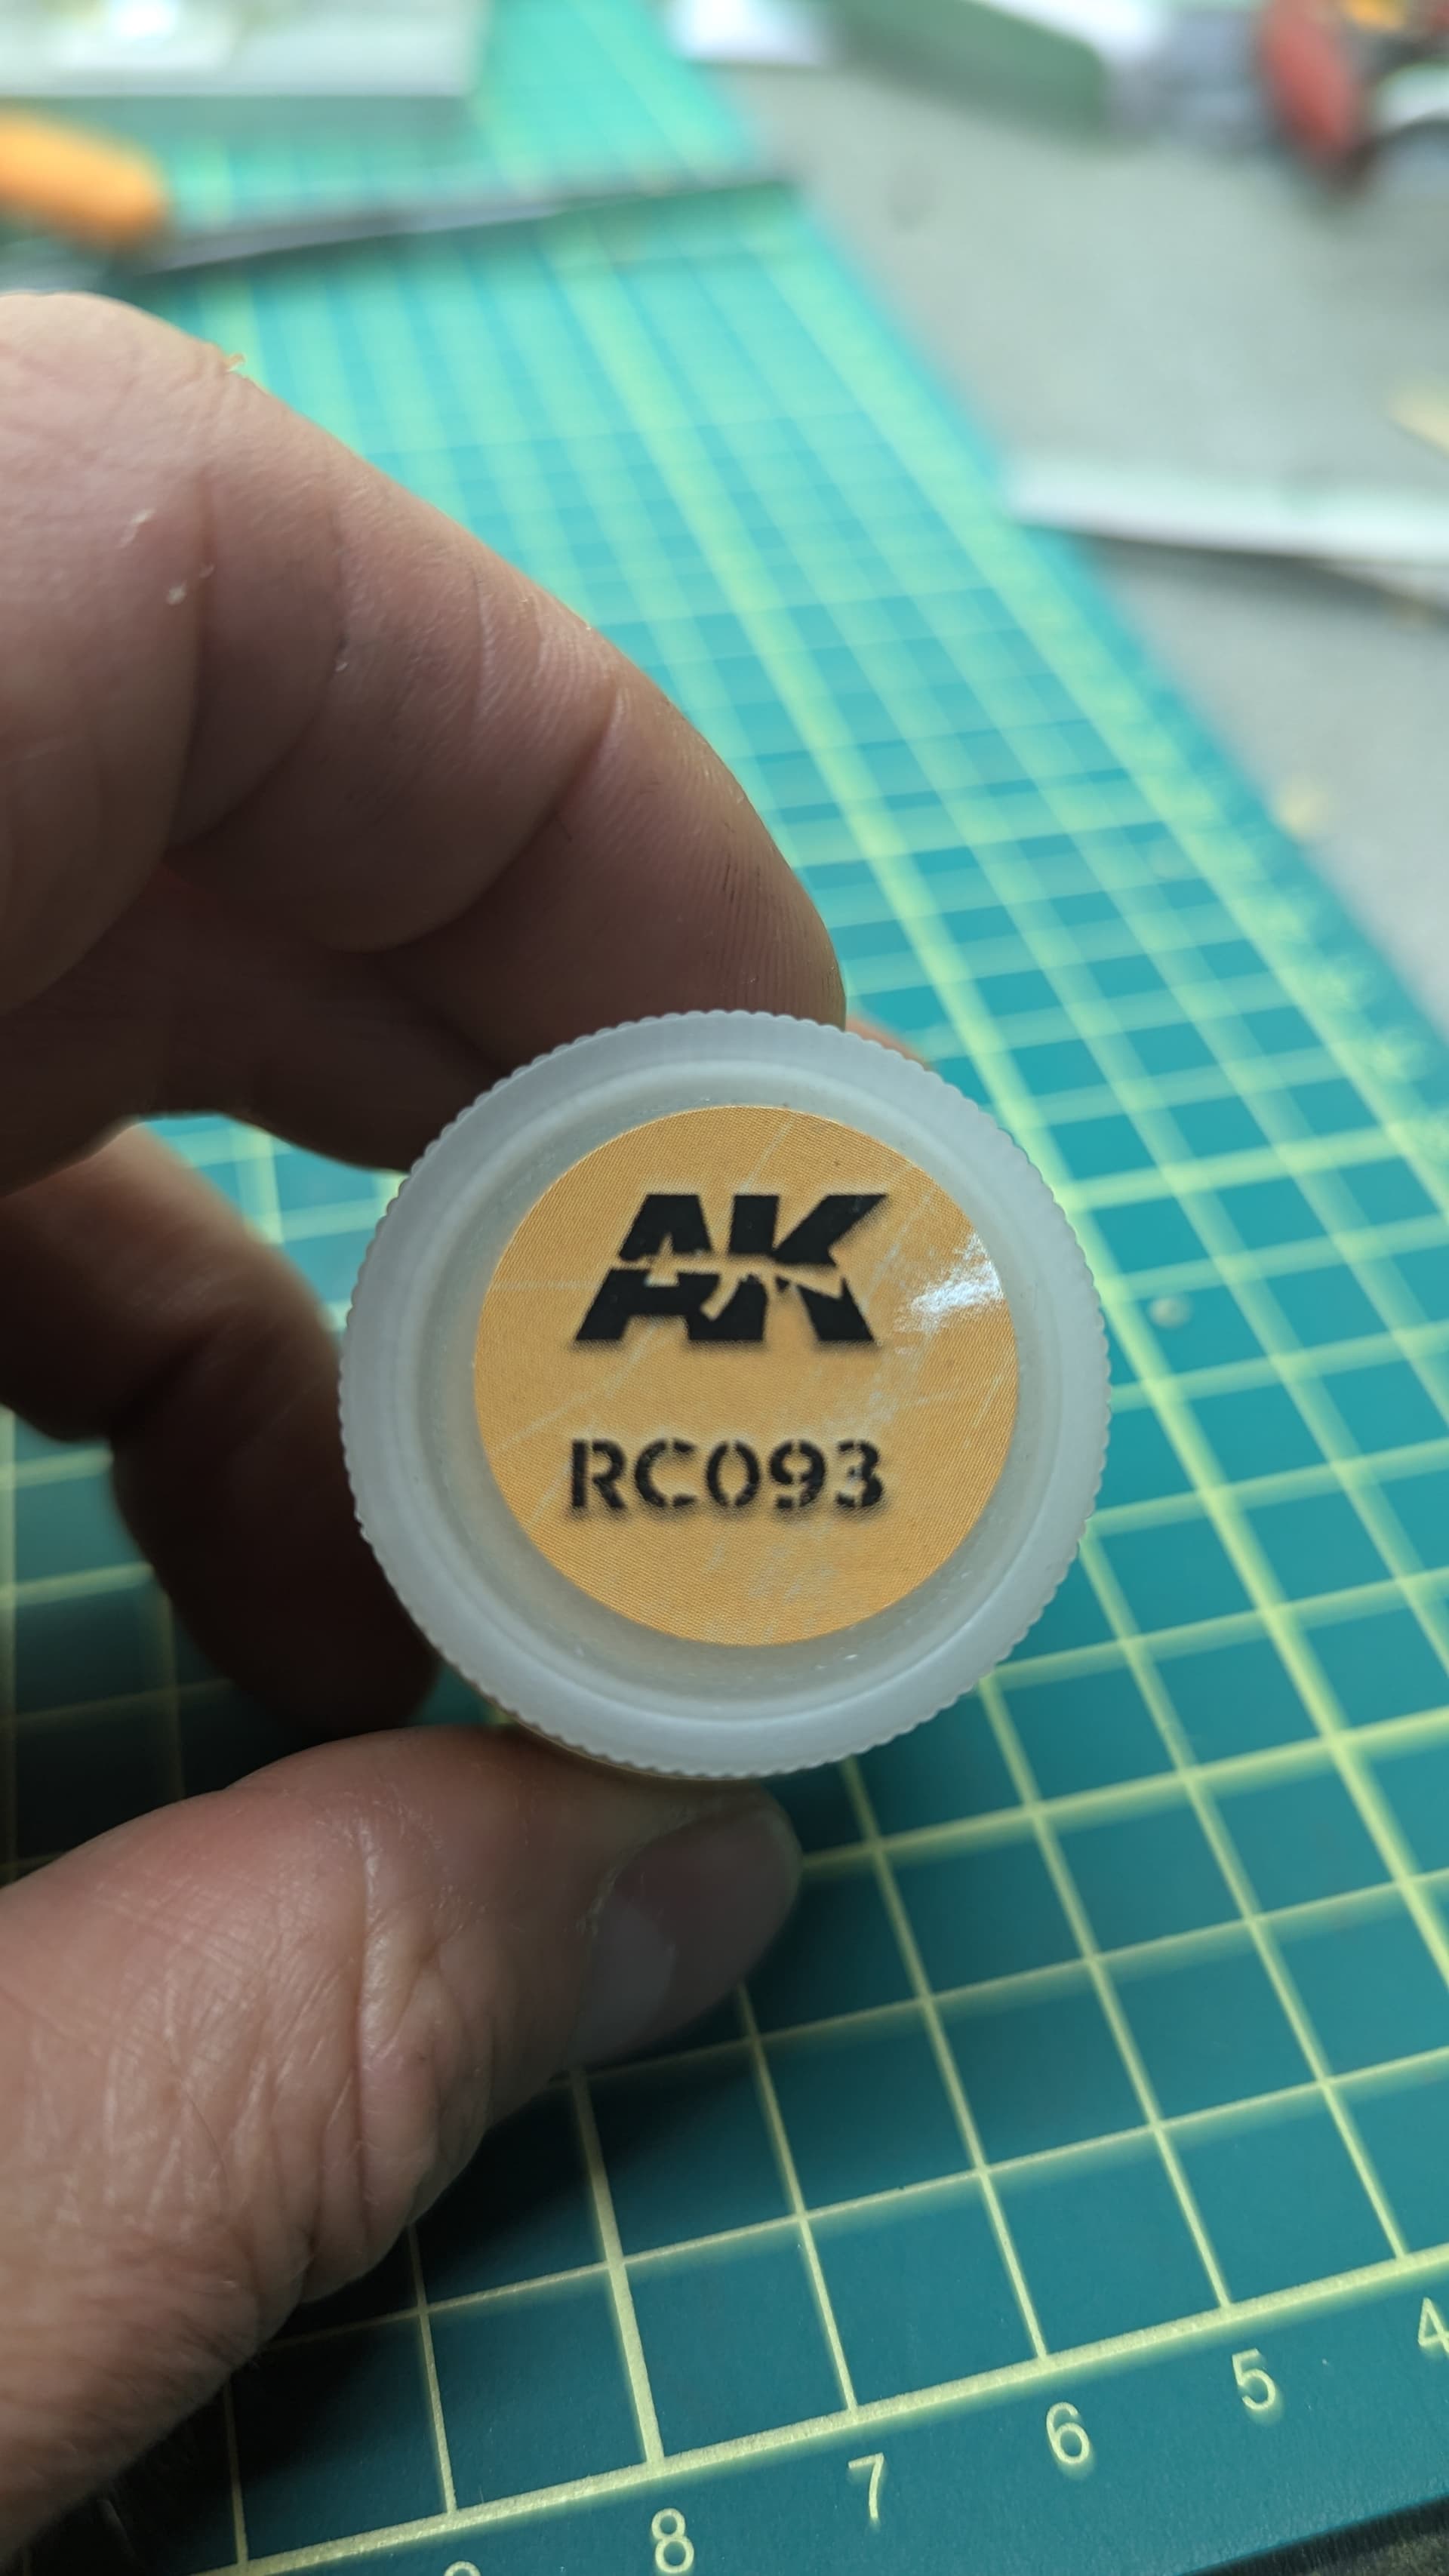
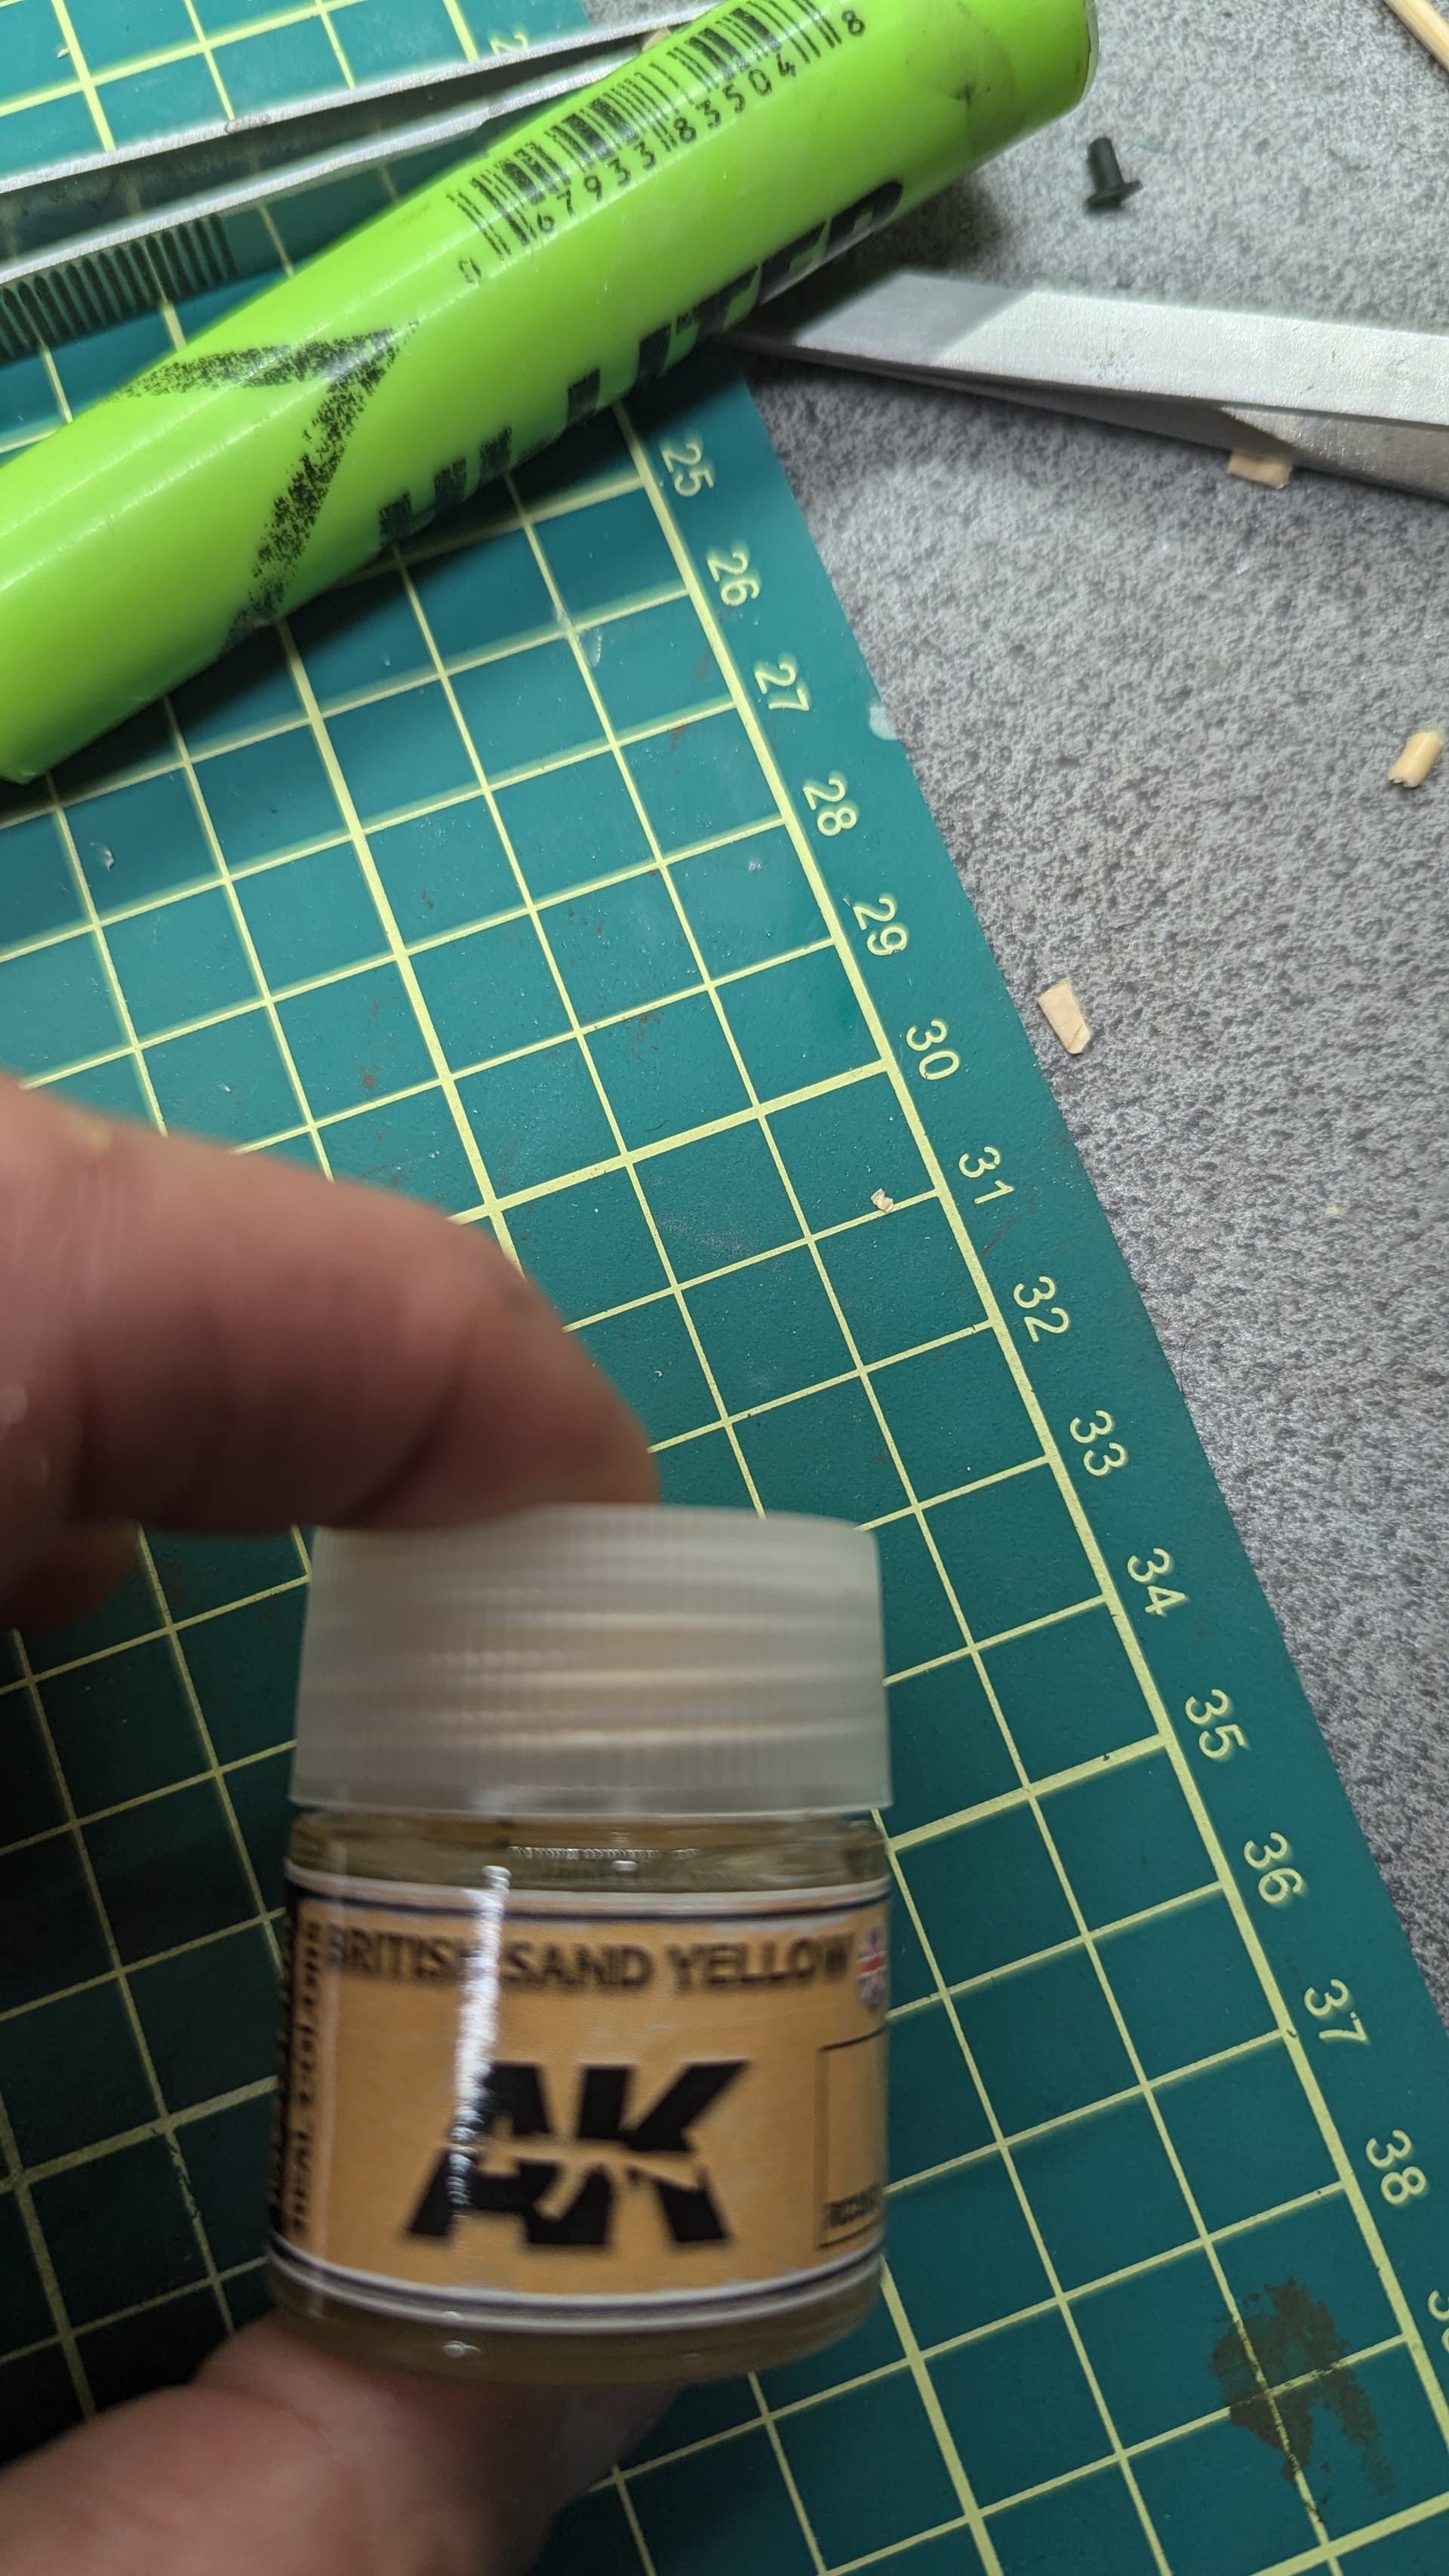
I use ak real color rc 093 british sand yellow paint however I haven’t seen it in their new range the old range in the glass jars is discontinued
8 Likes
Looking good. I used a mix of Tamiya dark yellow, dessert yellow and white with a few drops of yellow green added. 1ml dark yellow, 1ml dessert yellow, 3.5ml white and six or seven drops of yellow green. A convoluted way of going about it but I was pleased with the result. Build is on here.
1 Like
That sand yellow is a nice match … And that mix you did Jim @iwatajim turned out great as well…
2 Likes
Good info all. Keep in mind I’m using rattle cans though, have to spray outdoors.
1 Like
Modeling mayhem has struck. I was moving along nicely, scrubbing the tan off to show the green underneath, being very careful to do it in high-traffic areas only, got where I wanted and then shot satin clear before adding decals. I have the Star sheet for CR 2 in Iraq, and doing a fair amount of deductive reasoning, settled on markings. I was careful to trim as much clear film as possible, used Micro Set and -Sol, and not only couldn’t get the decals to properly lay down, they silvered something horrible, or the film wasn’t clear. I was very vexed. I tried Walther’s setting solution and that got them to settle down, but I could still see off-white film, and no amount of re-application of the Walther’s helped. So I put all the pieces, turret and hull in warm water and let them soak for a good 24 hours, and was able to remove the majority of the Star decals using a paint brush handle with the end cut flat, think a semi-hard chisel, without wrecking the paint underneath… too badly.
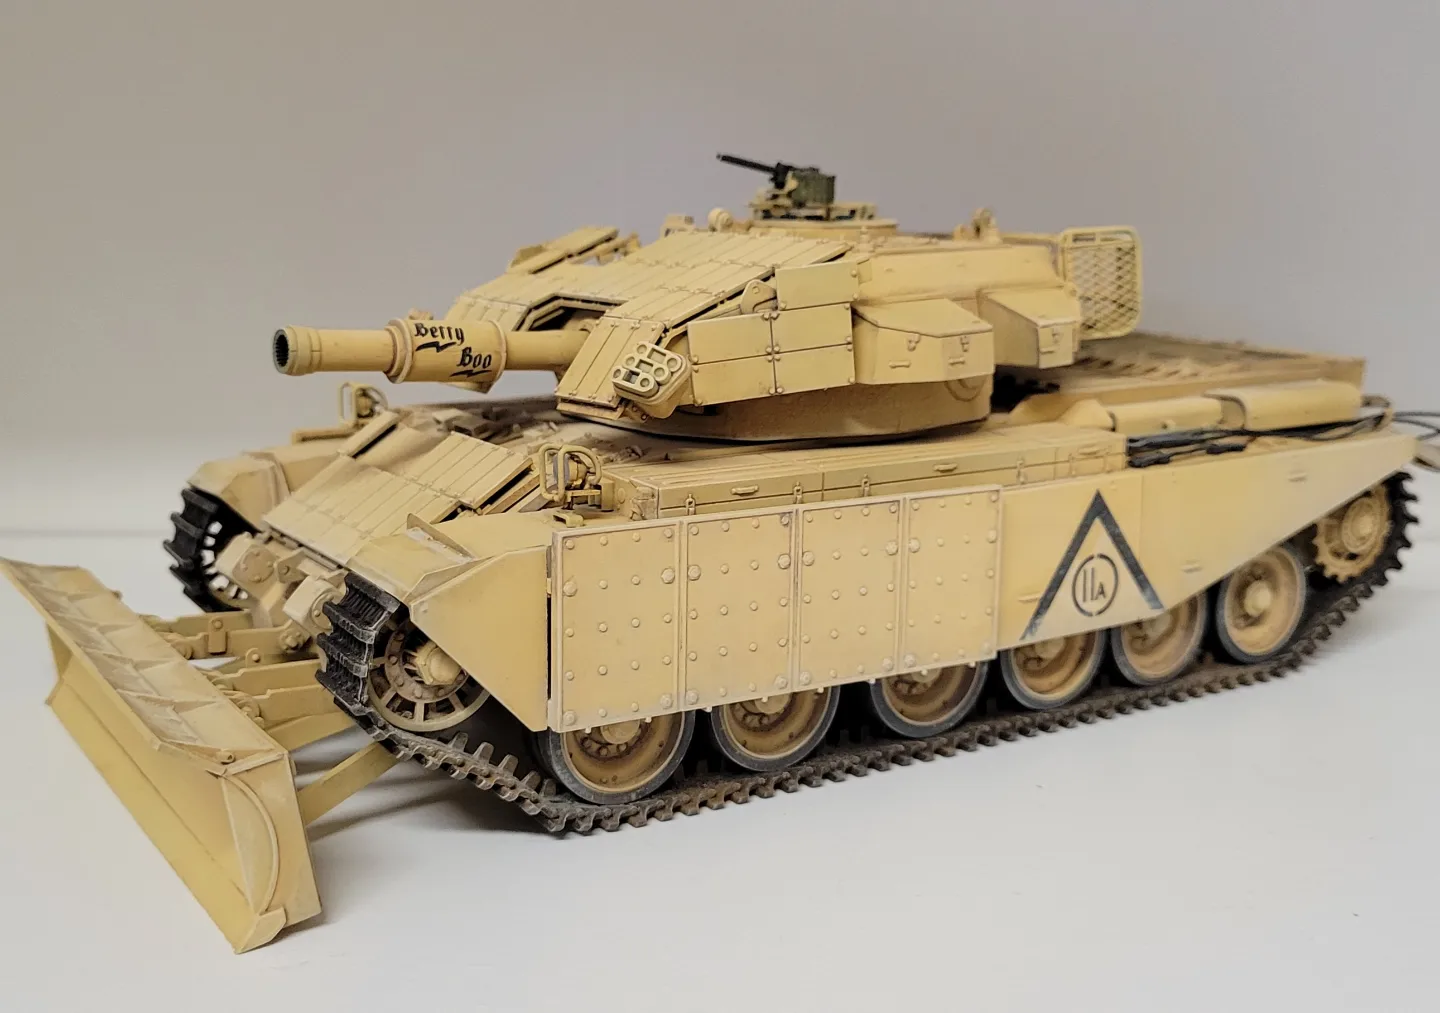
I’ve used Star decals before and always had an issue getting them to settle, but never have I seen the film stay semi-opaque. Rats. So, digging through what i had on hand, I just took the easy way out and used the kit decals. The problem there is they’re for an entirely different unit and I have no pics of any of their tanks with the rubber skirts off, so my “very close to the pic” build is all of a sudden theoretical. Anyway, here it is as it sits now, Tamiya decals on and matt clear on.
 IMG_4526 by Russel Baer, on Flickr
I also realize the Union Jack probably is inappropriate, but since I’m so far away from my original goal, what the heck, it adds some good color.
5 Likes
Looking nice Russ, heres another of 11B.
Images from online and for discussion only.
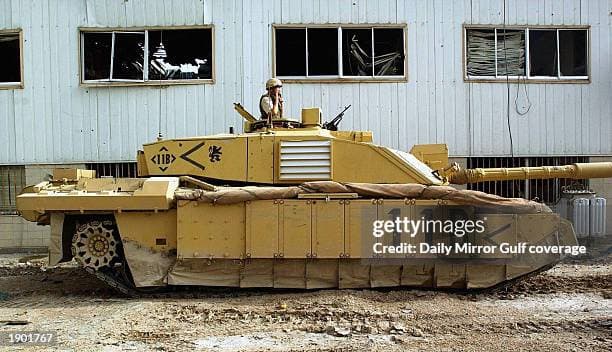
Also, although its another Sqn, the lower skirts were not always fitted.
5 Likes
Thanks!
2 Likes