Dremel it! Dremel it! Just kidding of course. Fastest way to screw up a kit. Nice work on the cut and excellent results. Looks very clean. Great idea using the scriber. I hope you have a large PE bender for those long fender bends.
3 Likes
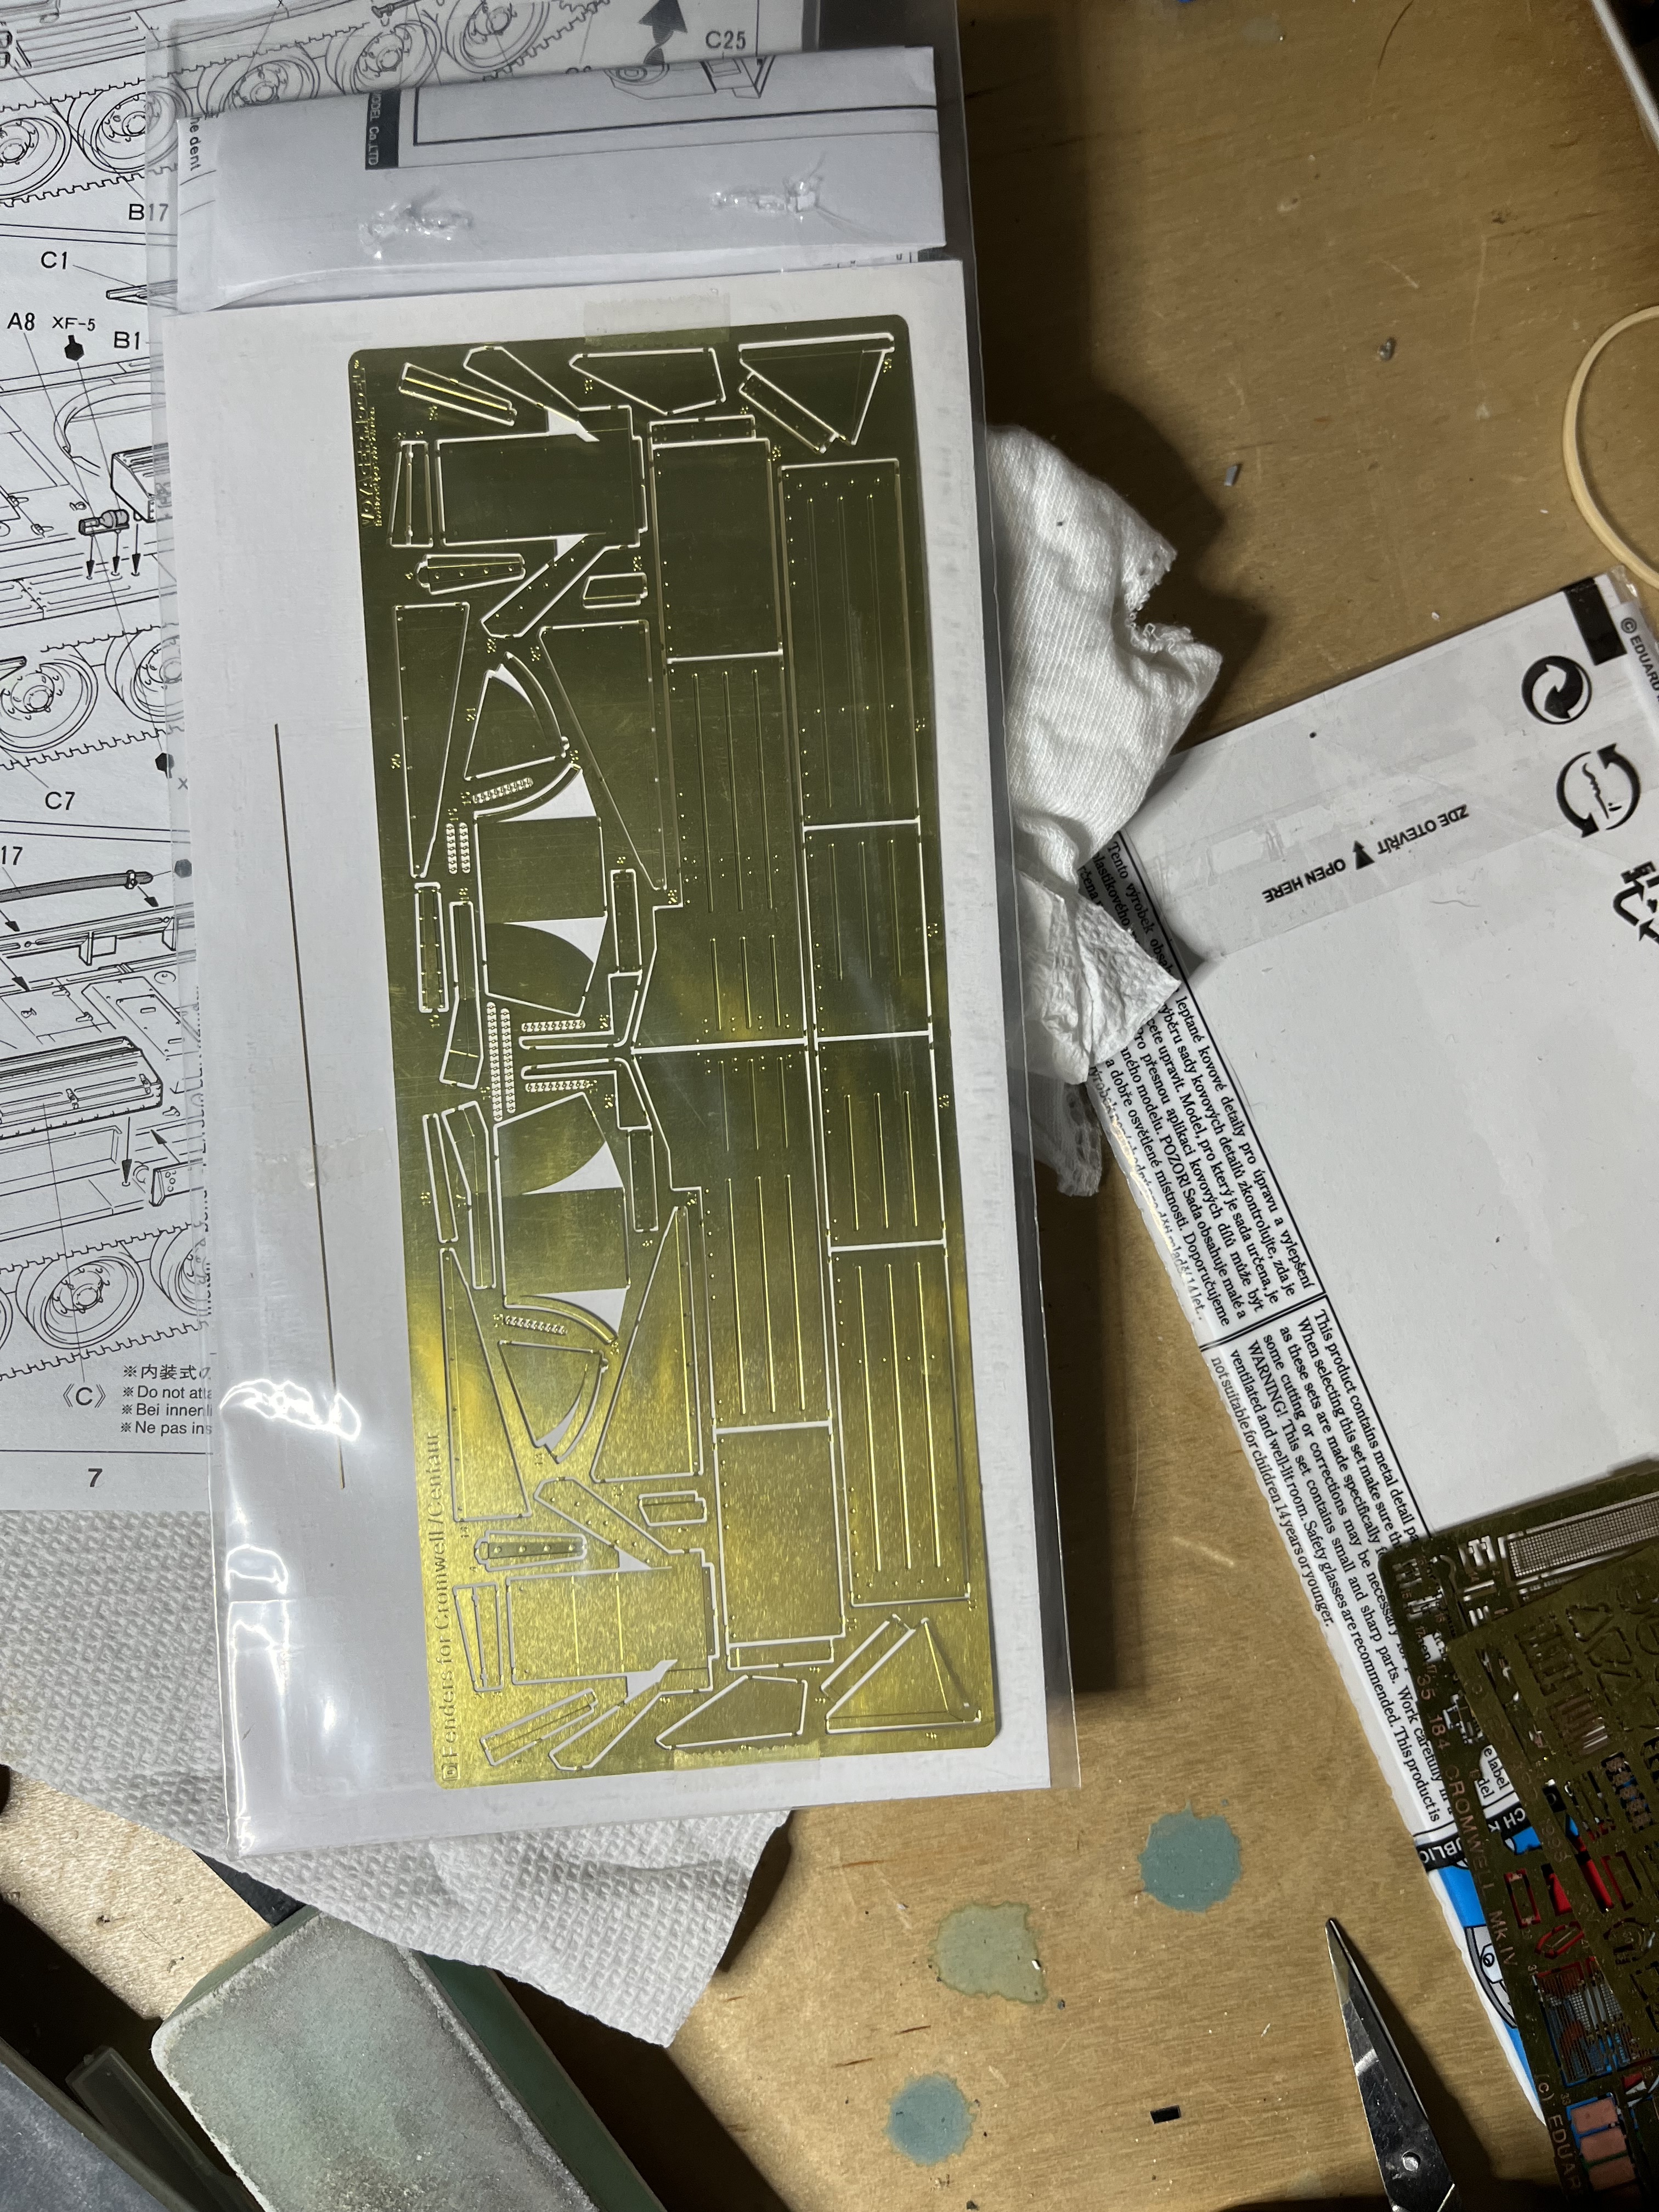
I only have a small one, but it appears that based on the voyager instructions the fenders comes in 4 shorter lengths that you solder together with their brackets. I hope it is long enough
2 Likes
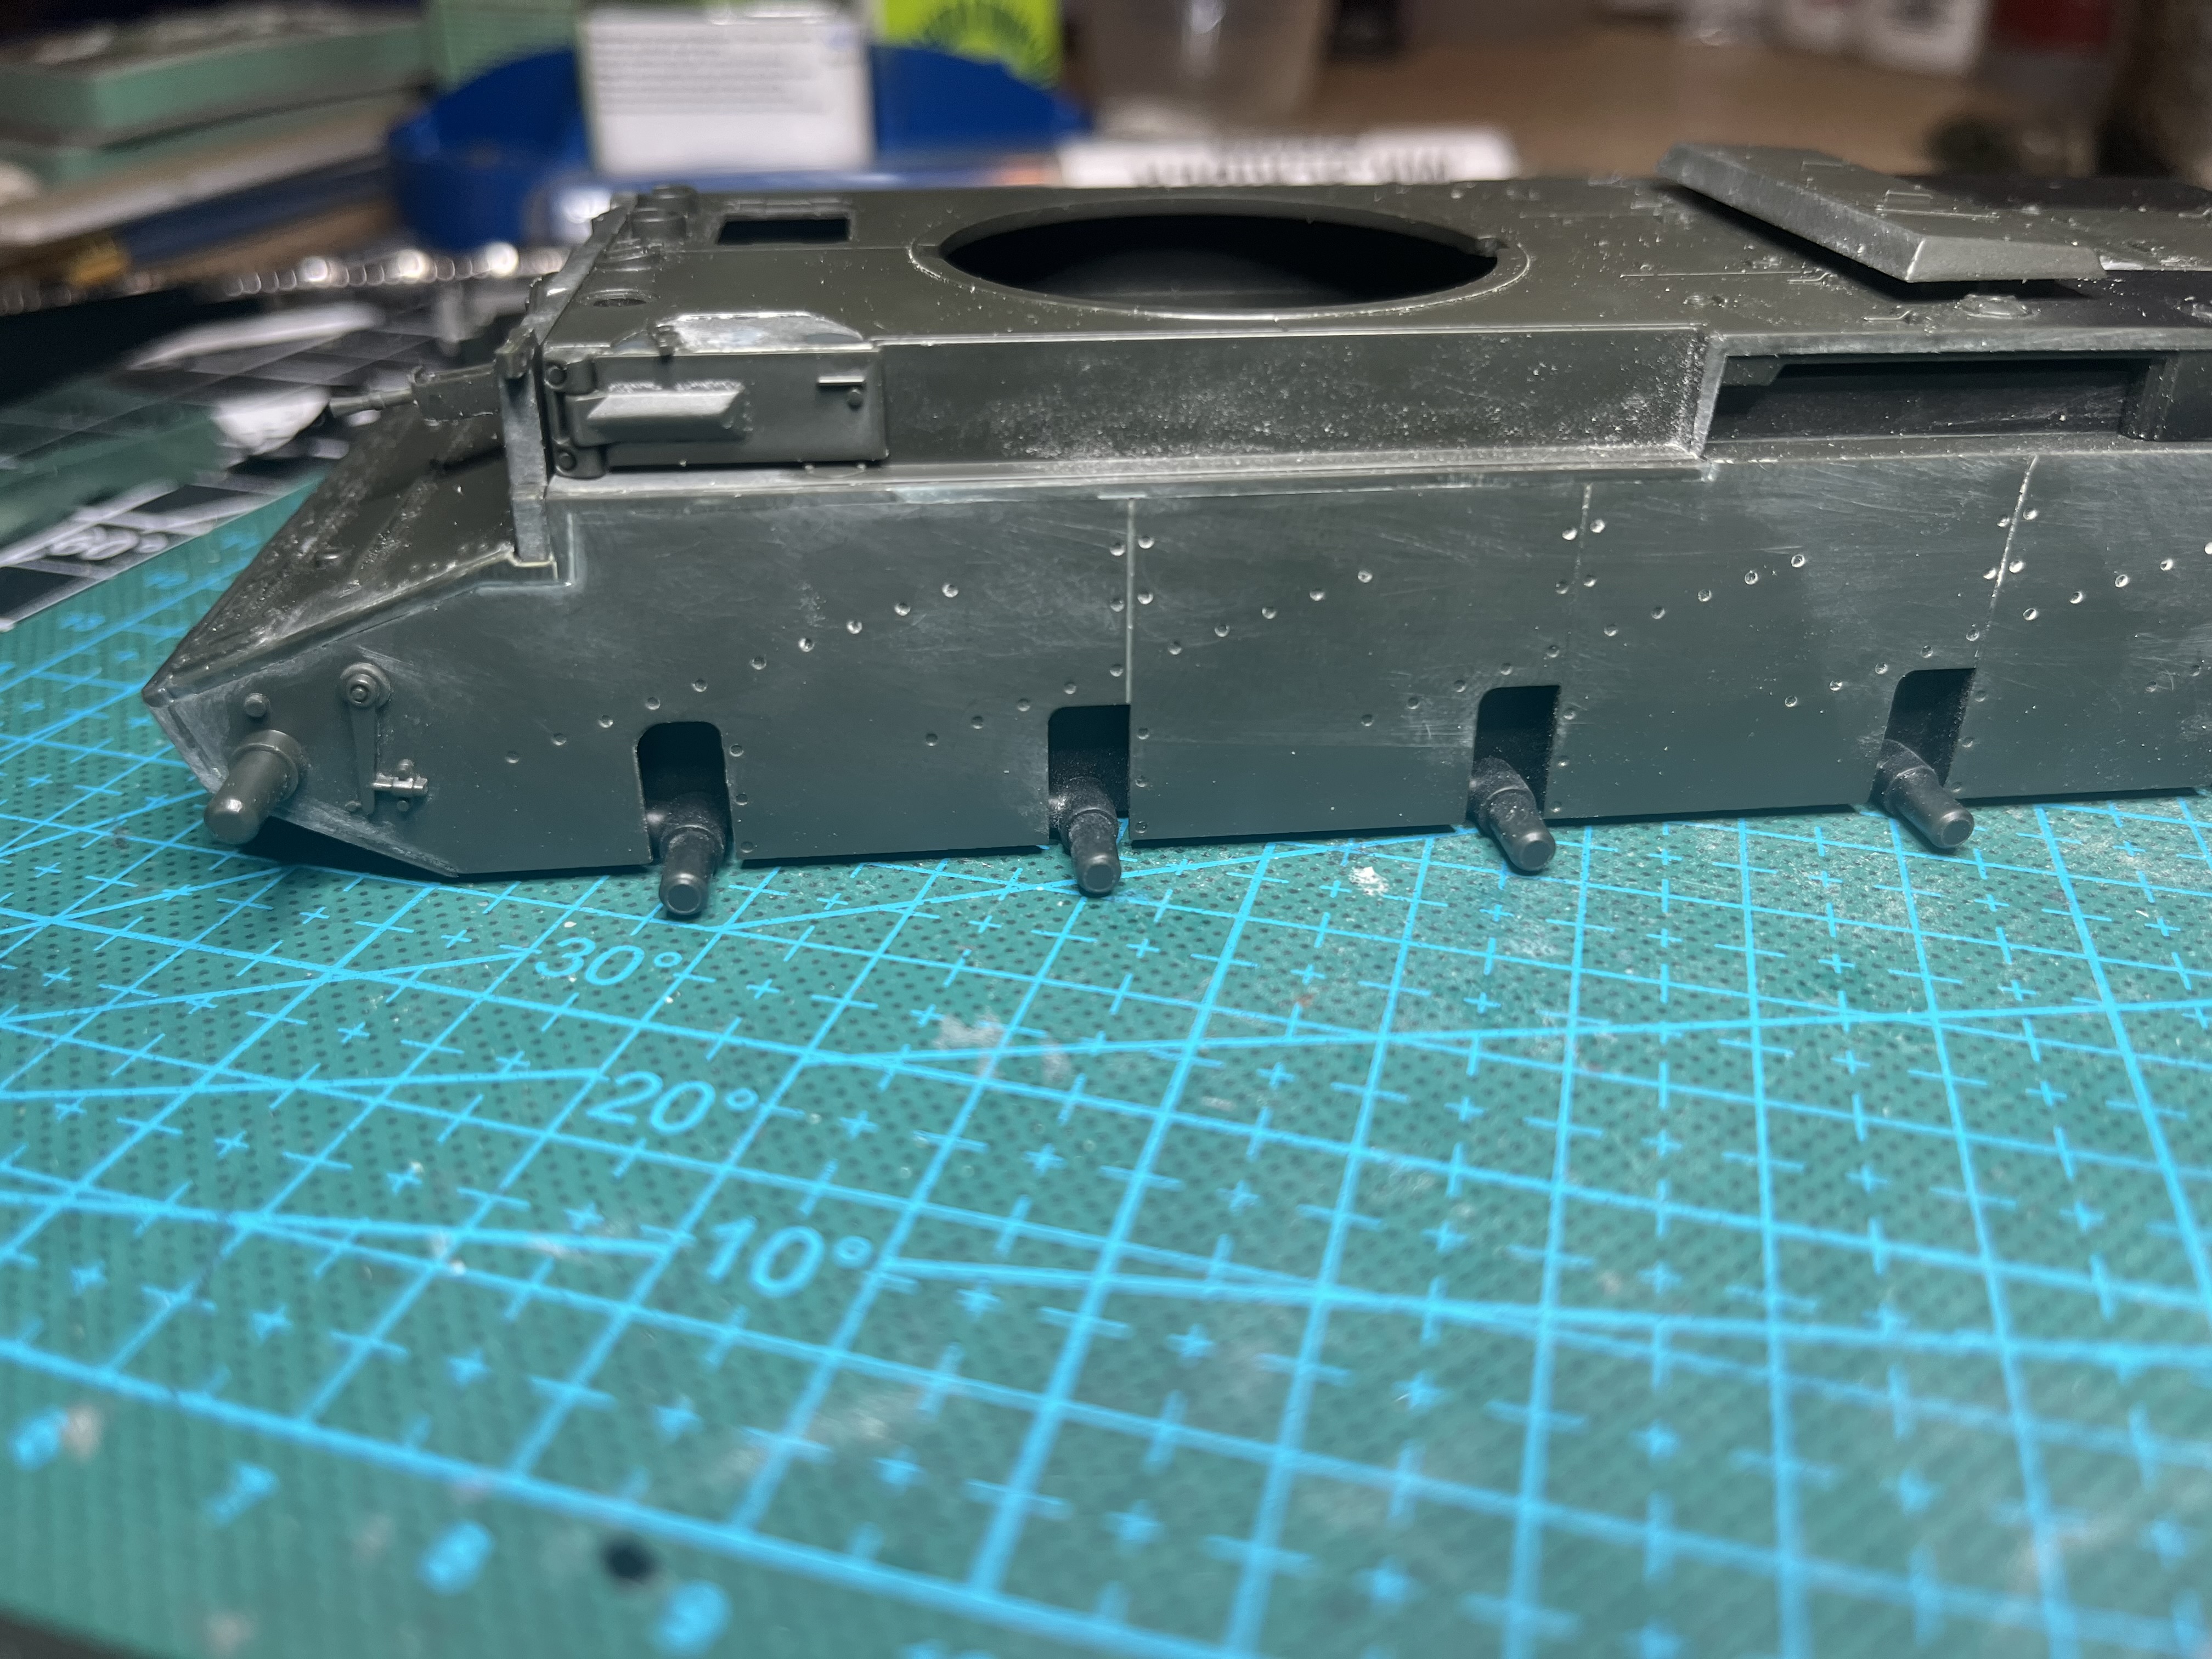
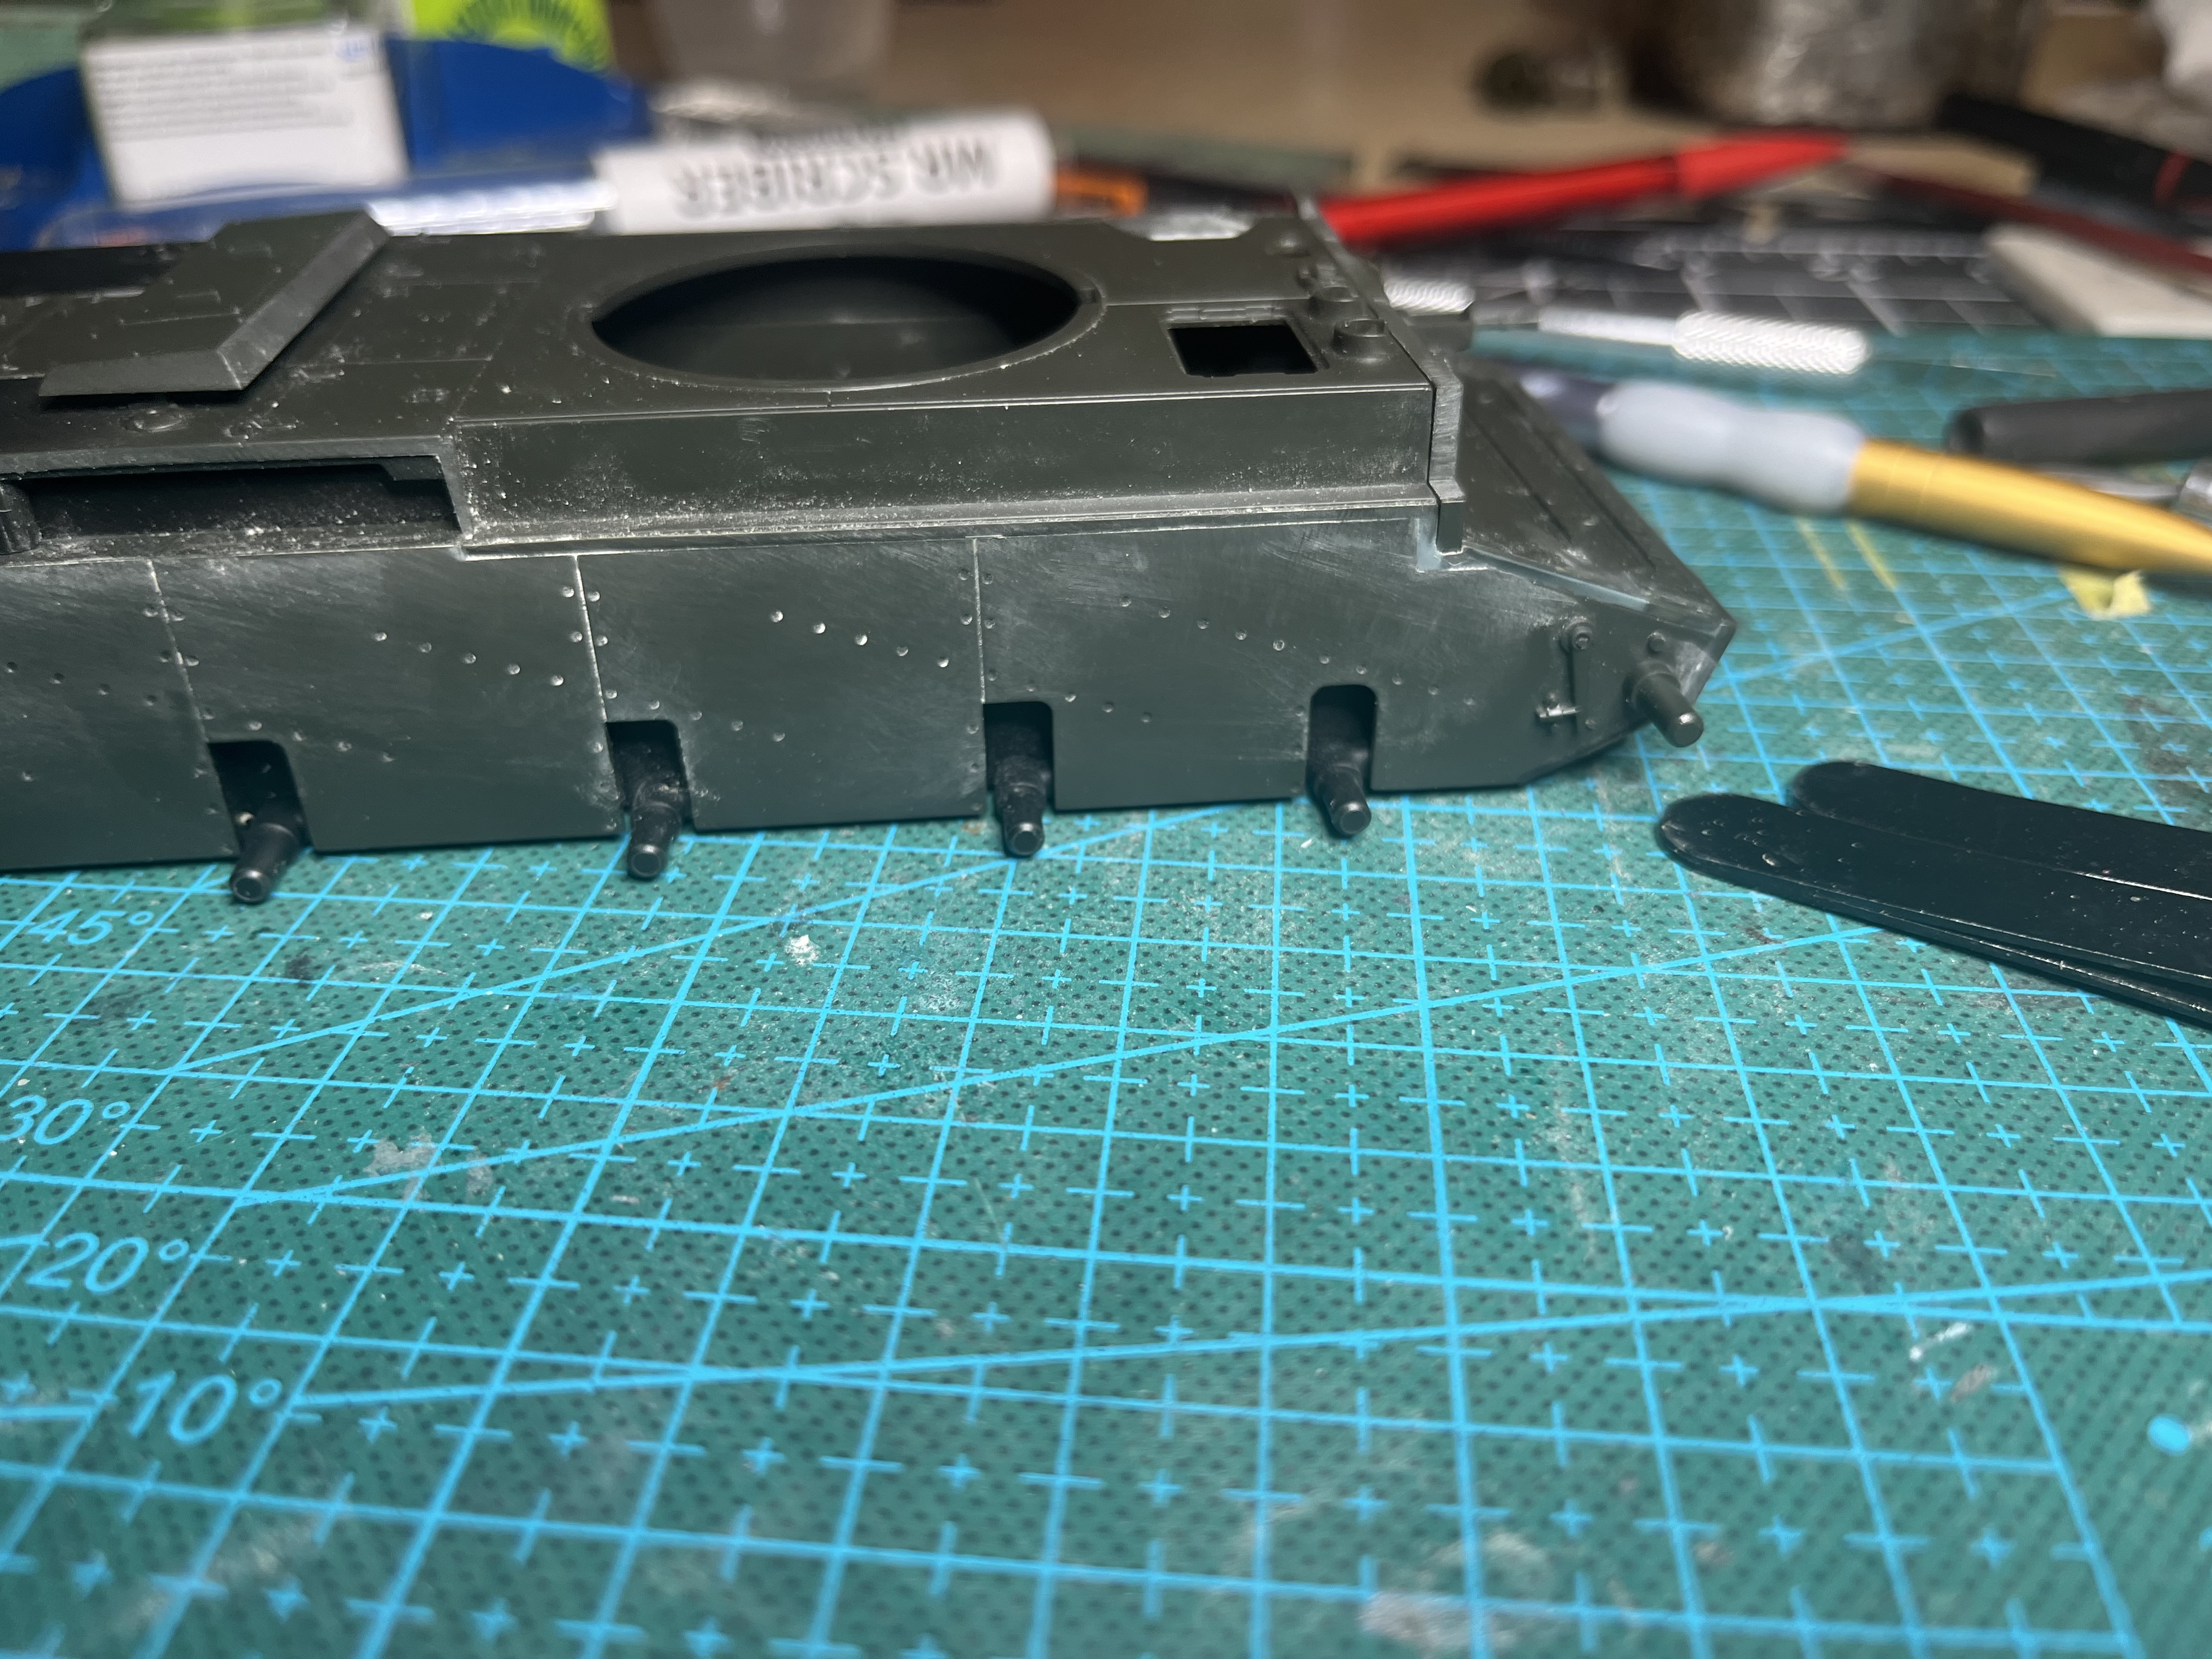
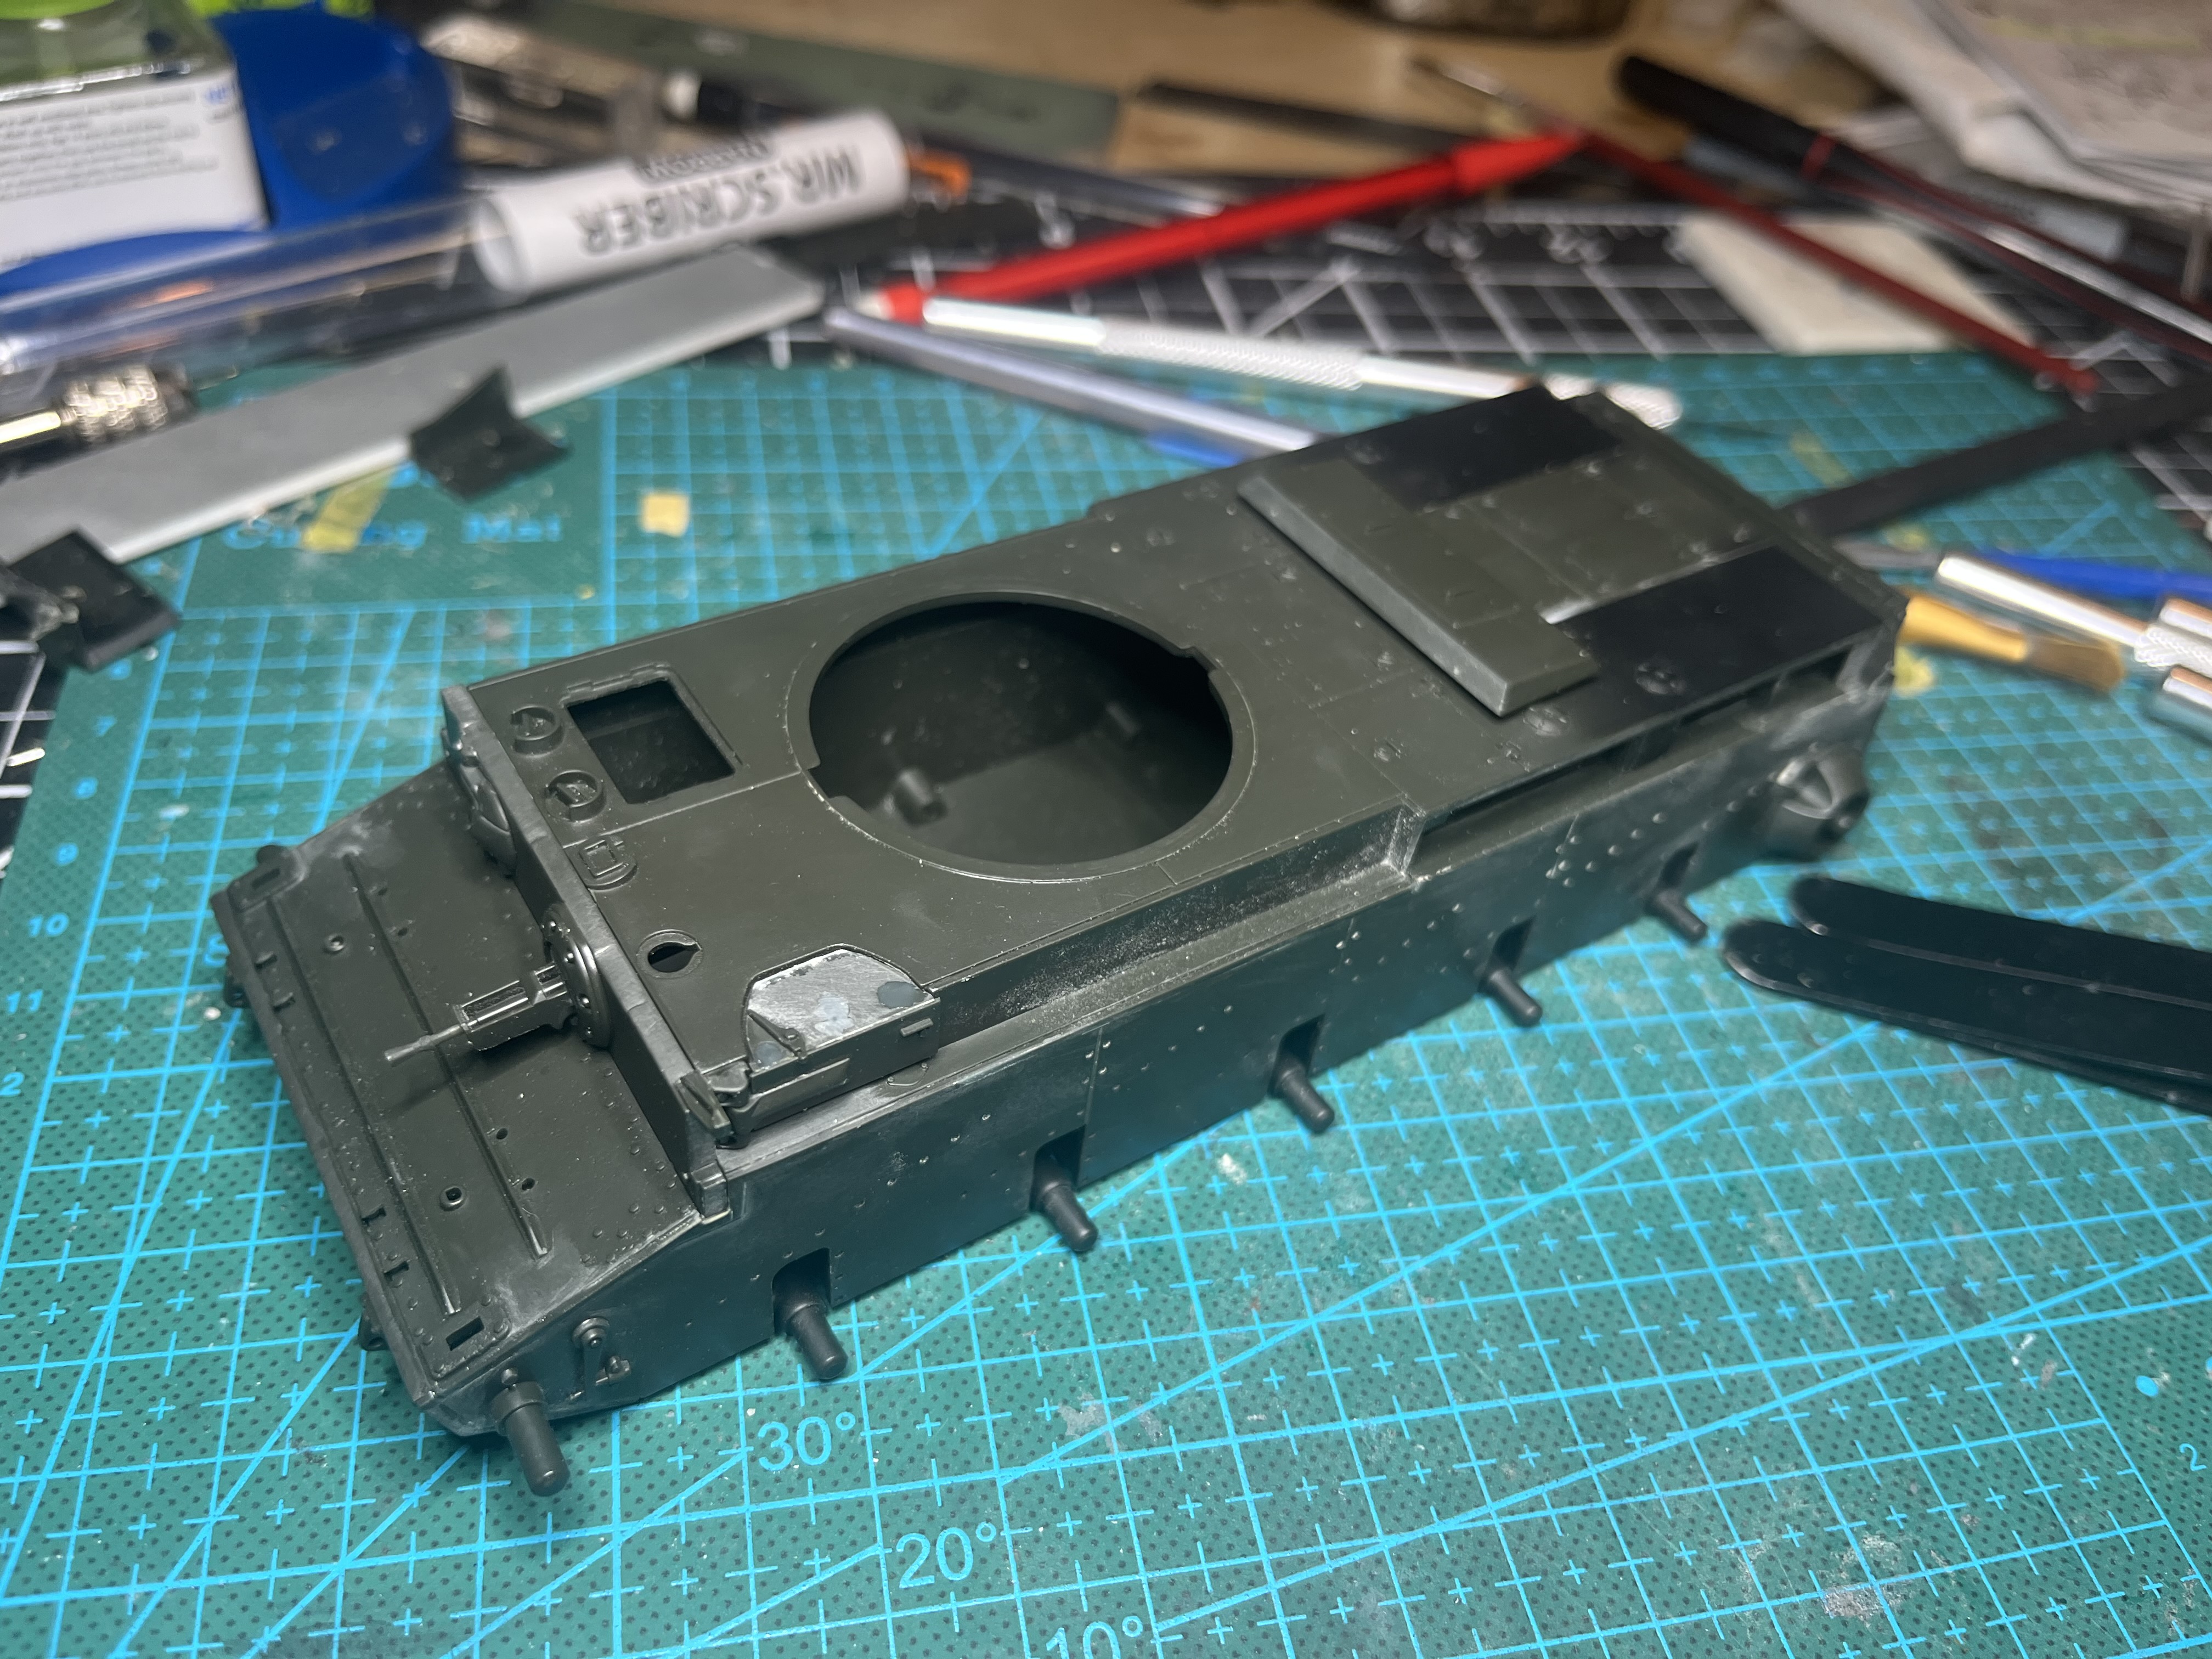
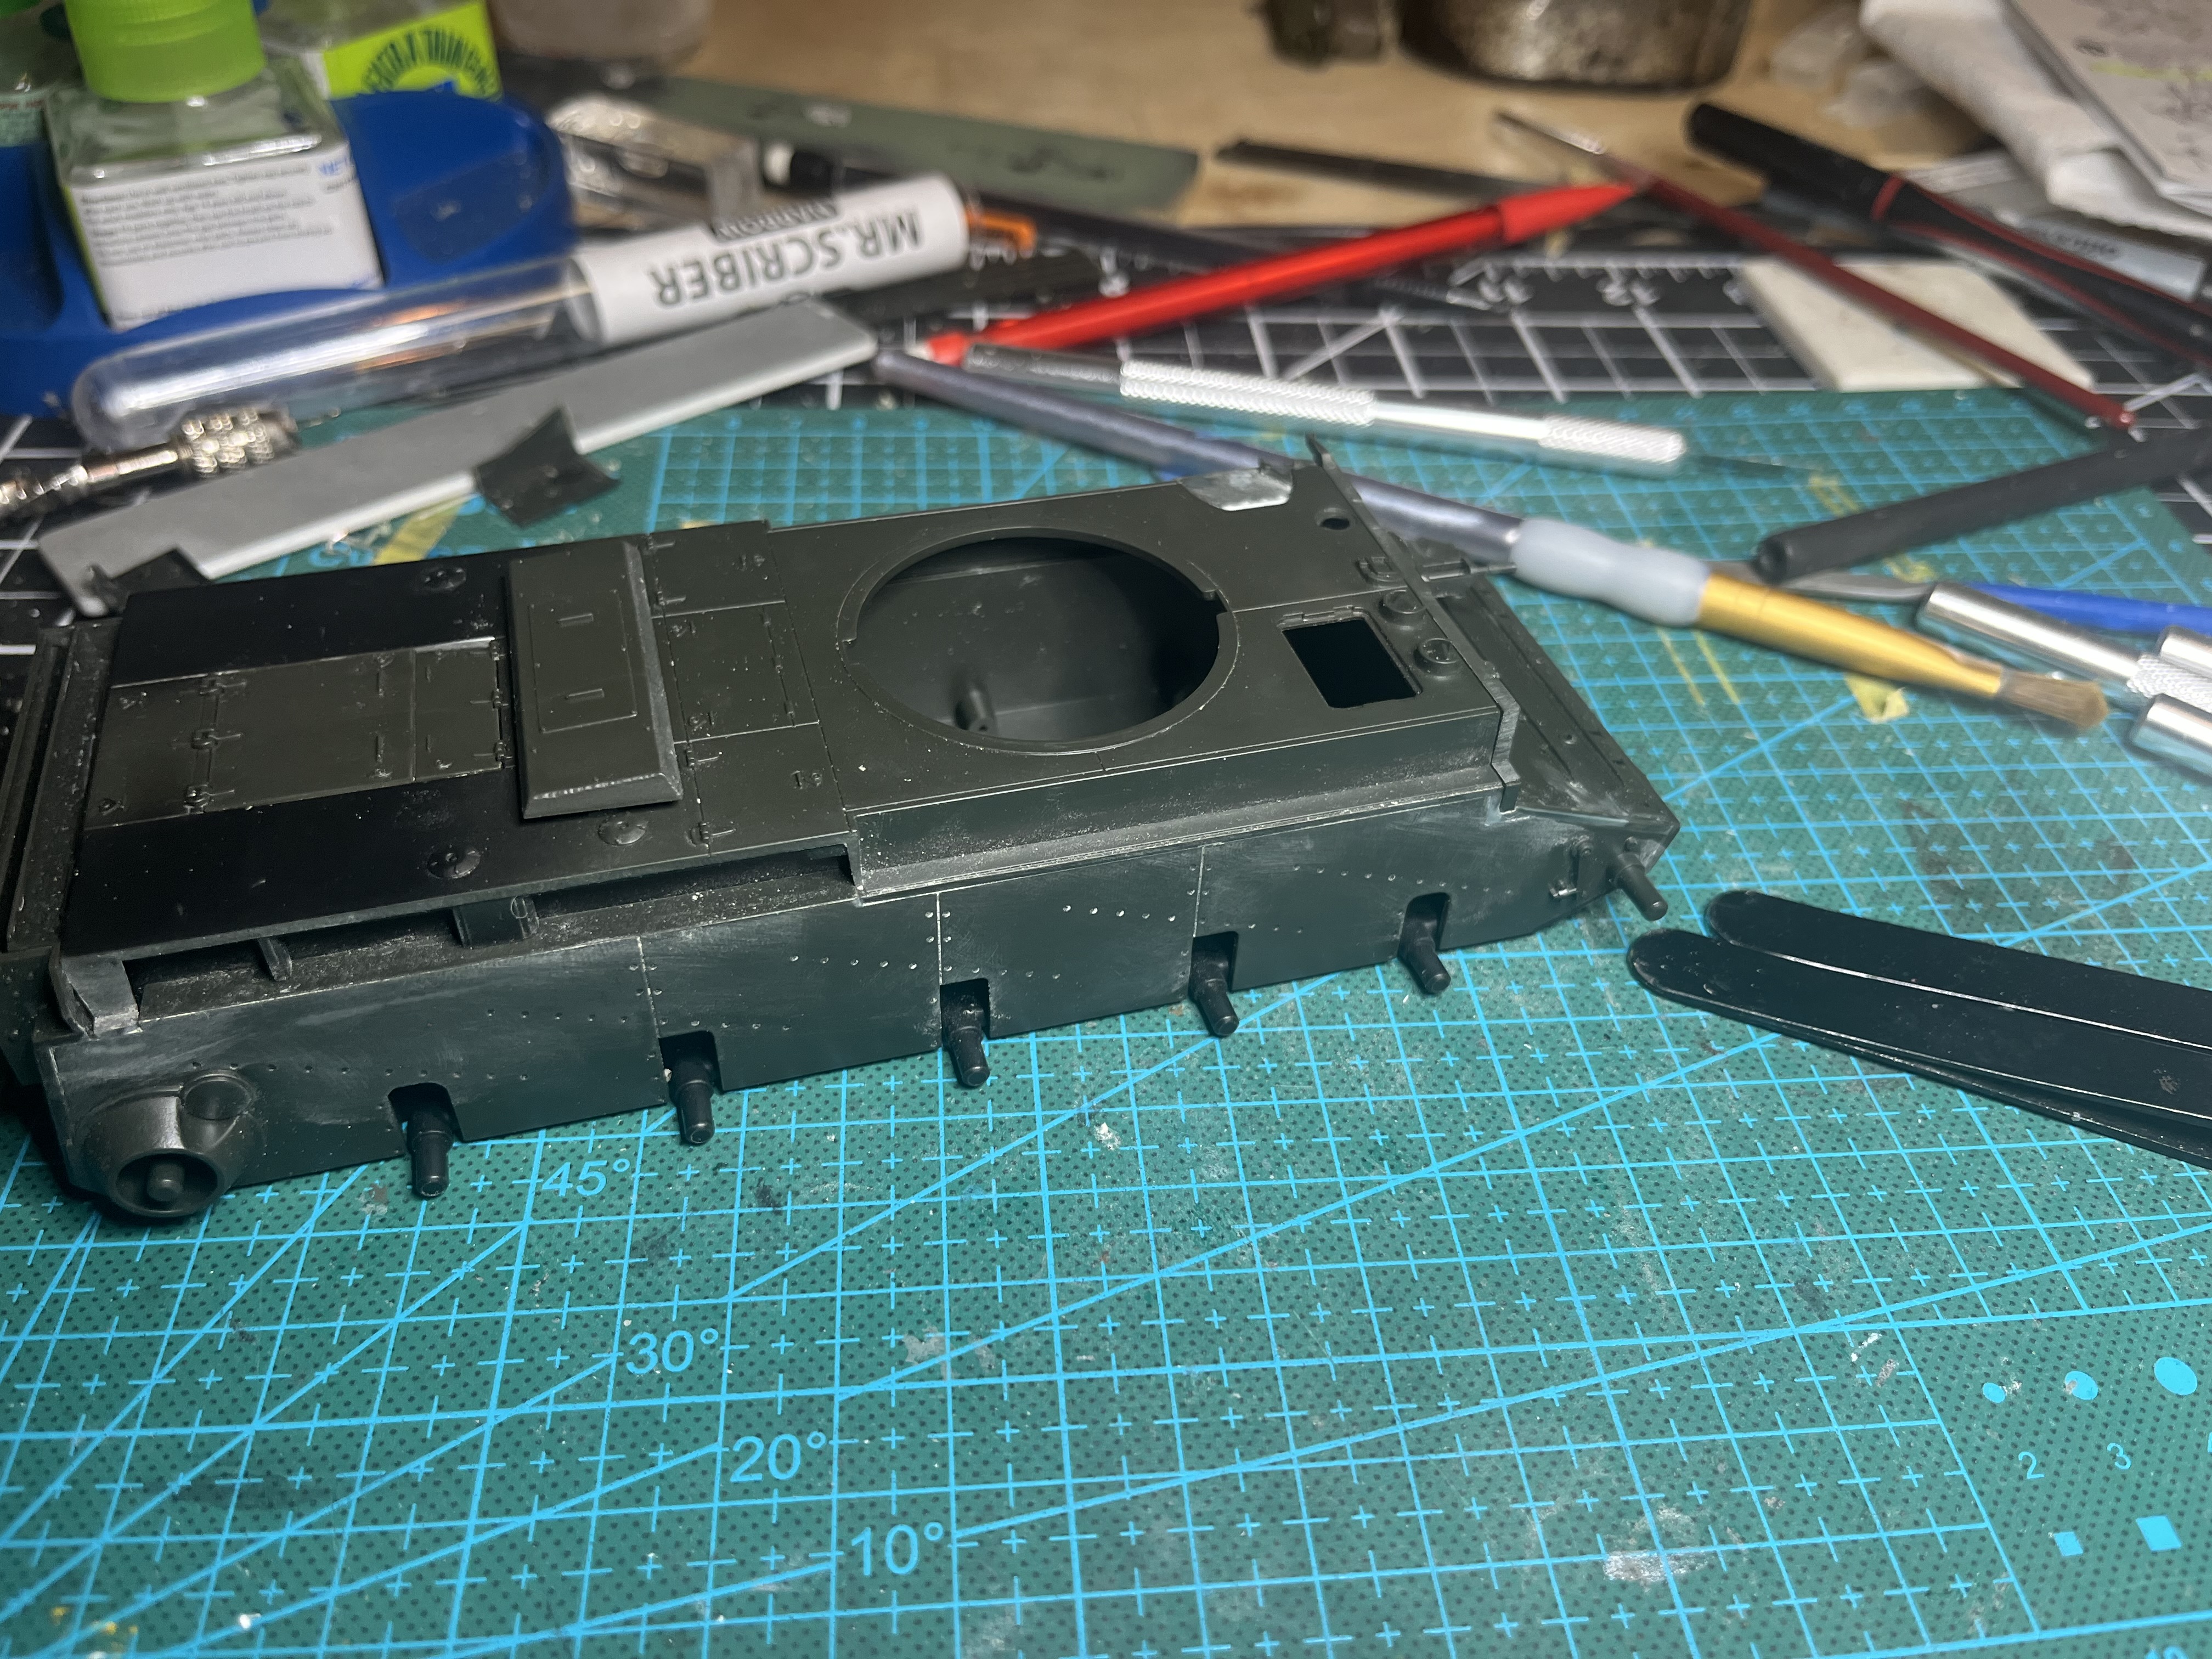
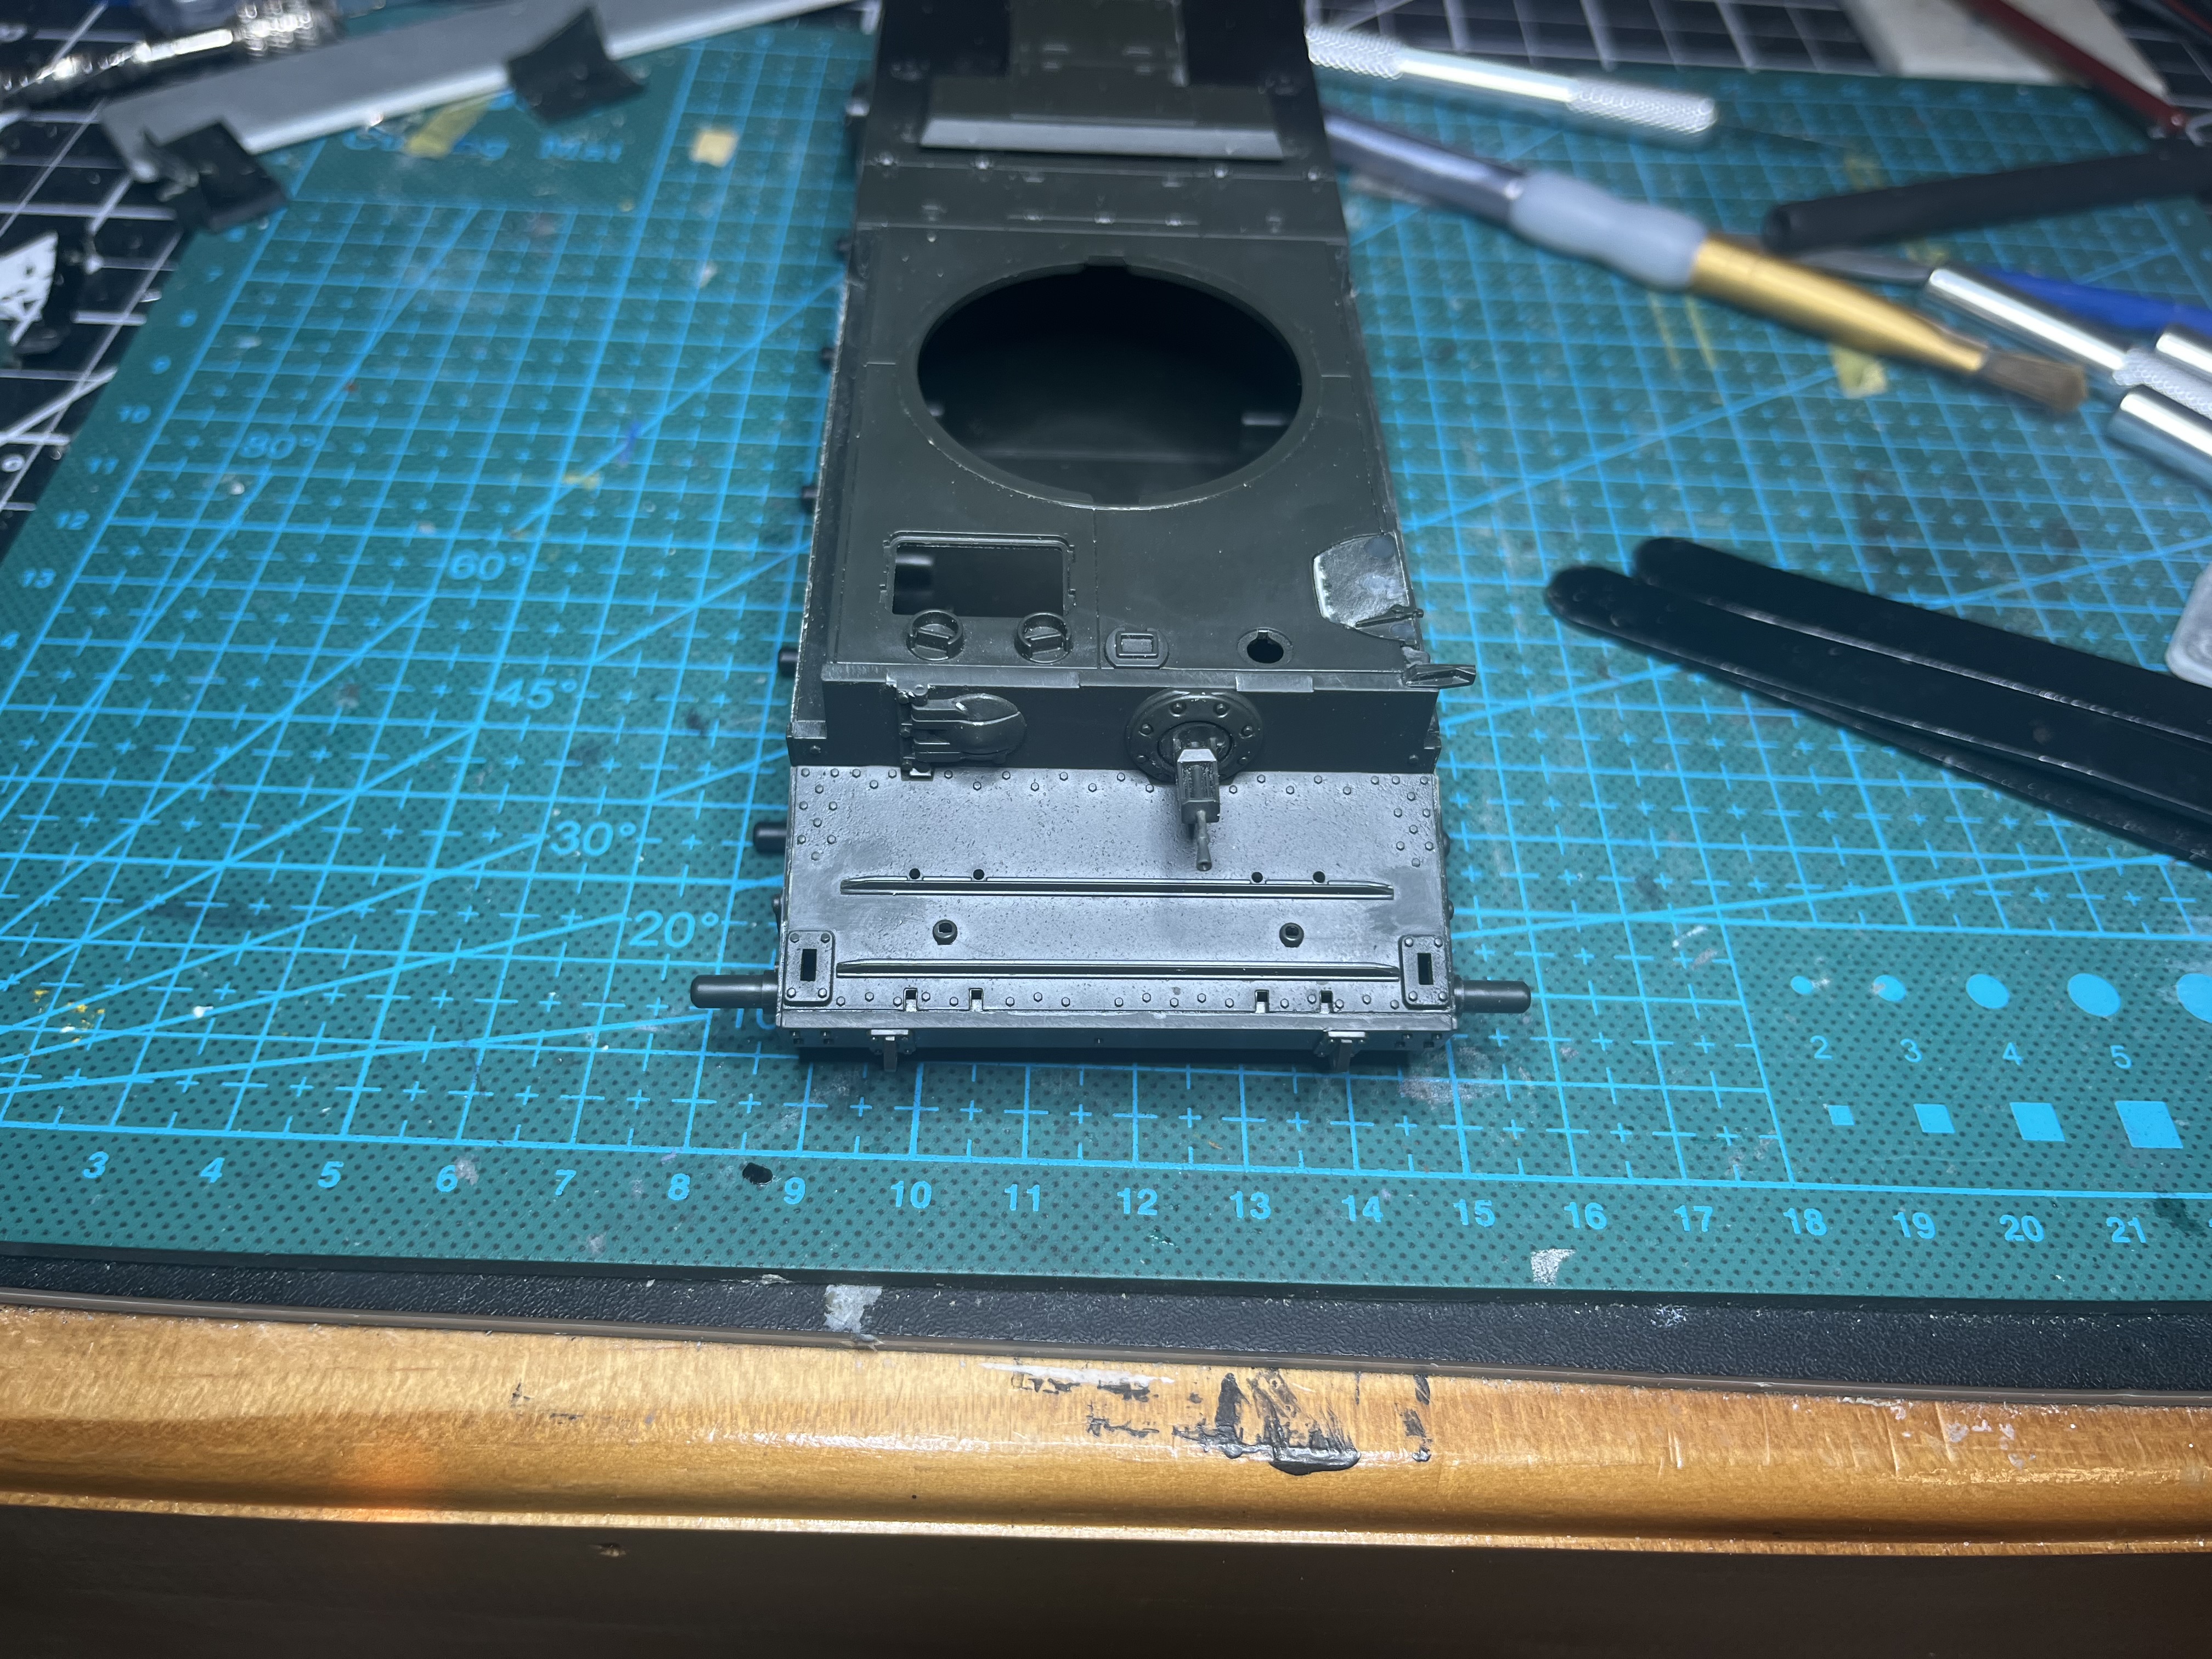
Build starting to progress faster now. Got the rest of the fender bits cut off and cleaned up. Still a little bit of polishing to do but overall looking good.
Also started to cut out some of the engine hatch covers and the bow gunners hatch. Not sure if my kit had some molding issues but the bow gunners hatch and one of the engine panels was a bit short. Was able to some strip styrene to fix it. Also some slight sink marks on the bow gunners hatch to fix up, filled with sprue goo and I’ll sand back later. The hatches are all dry fit as I plan to replace the grab handles with wire.
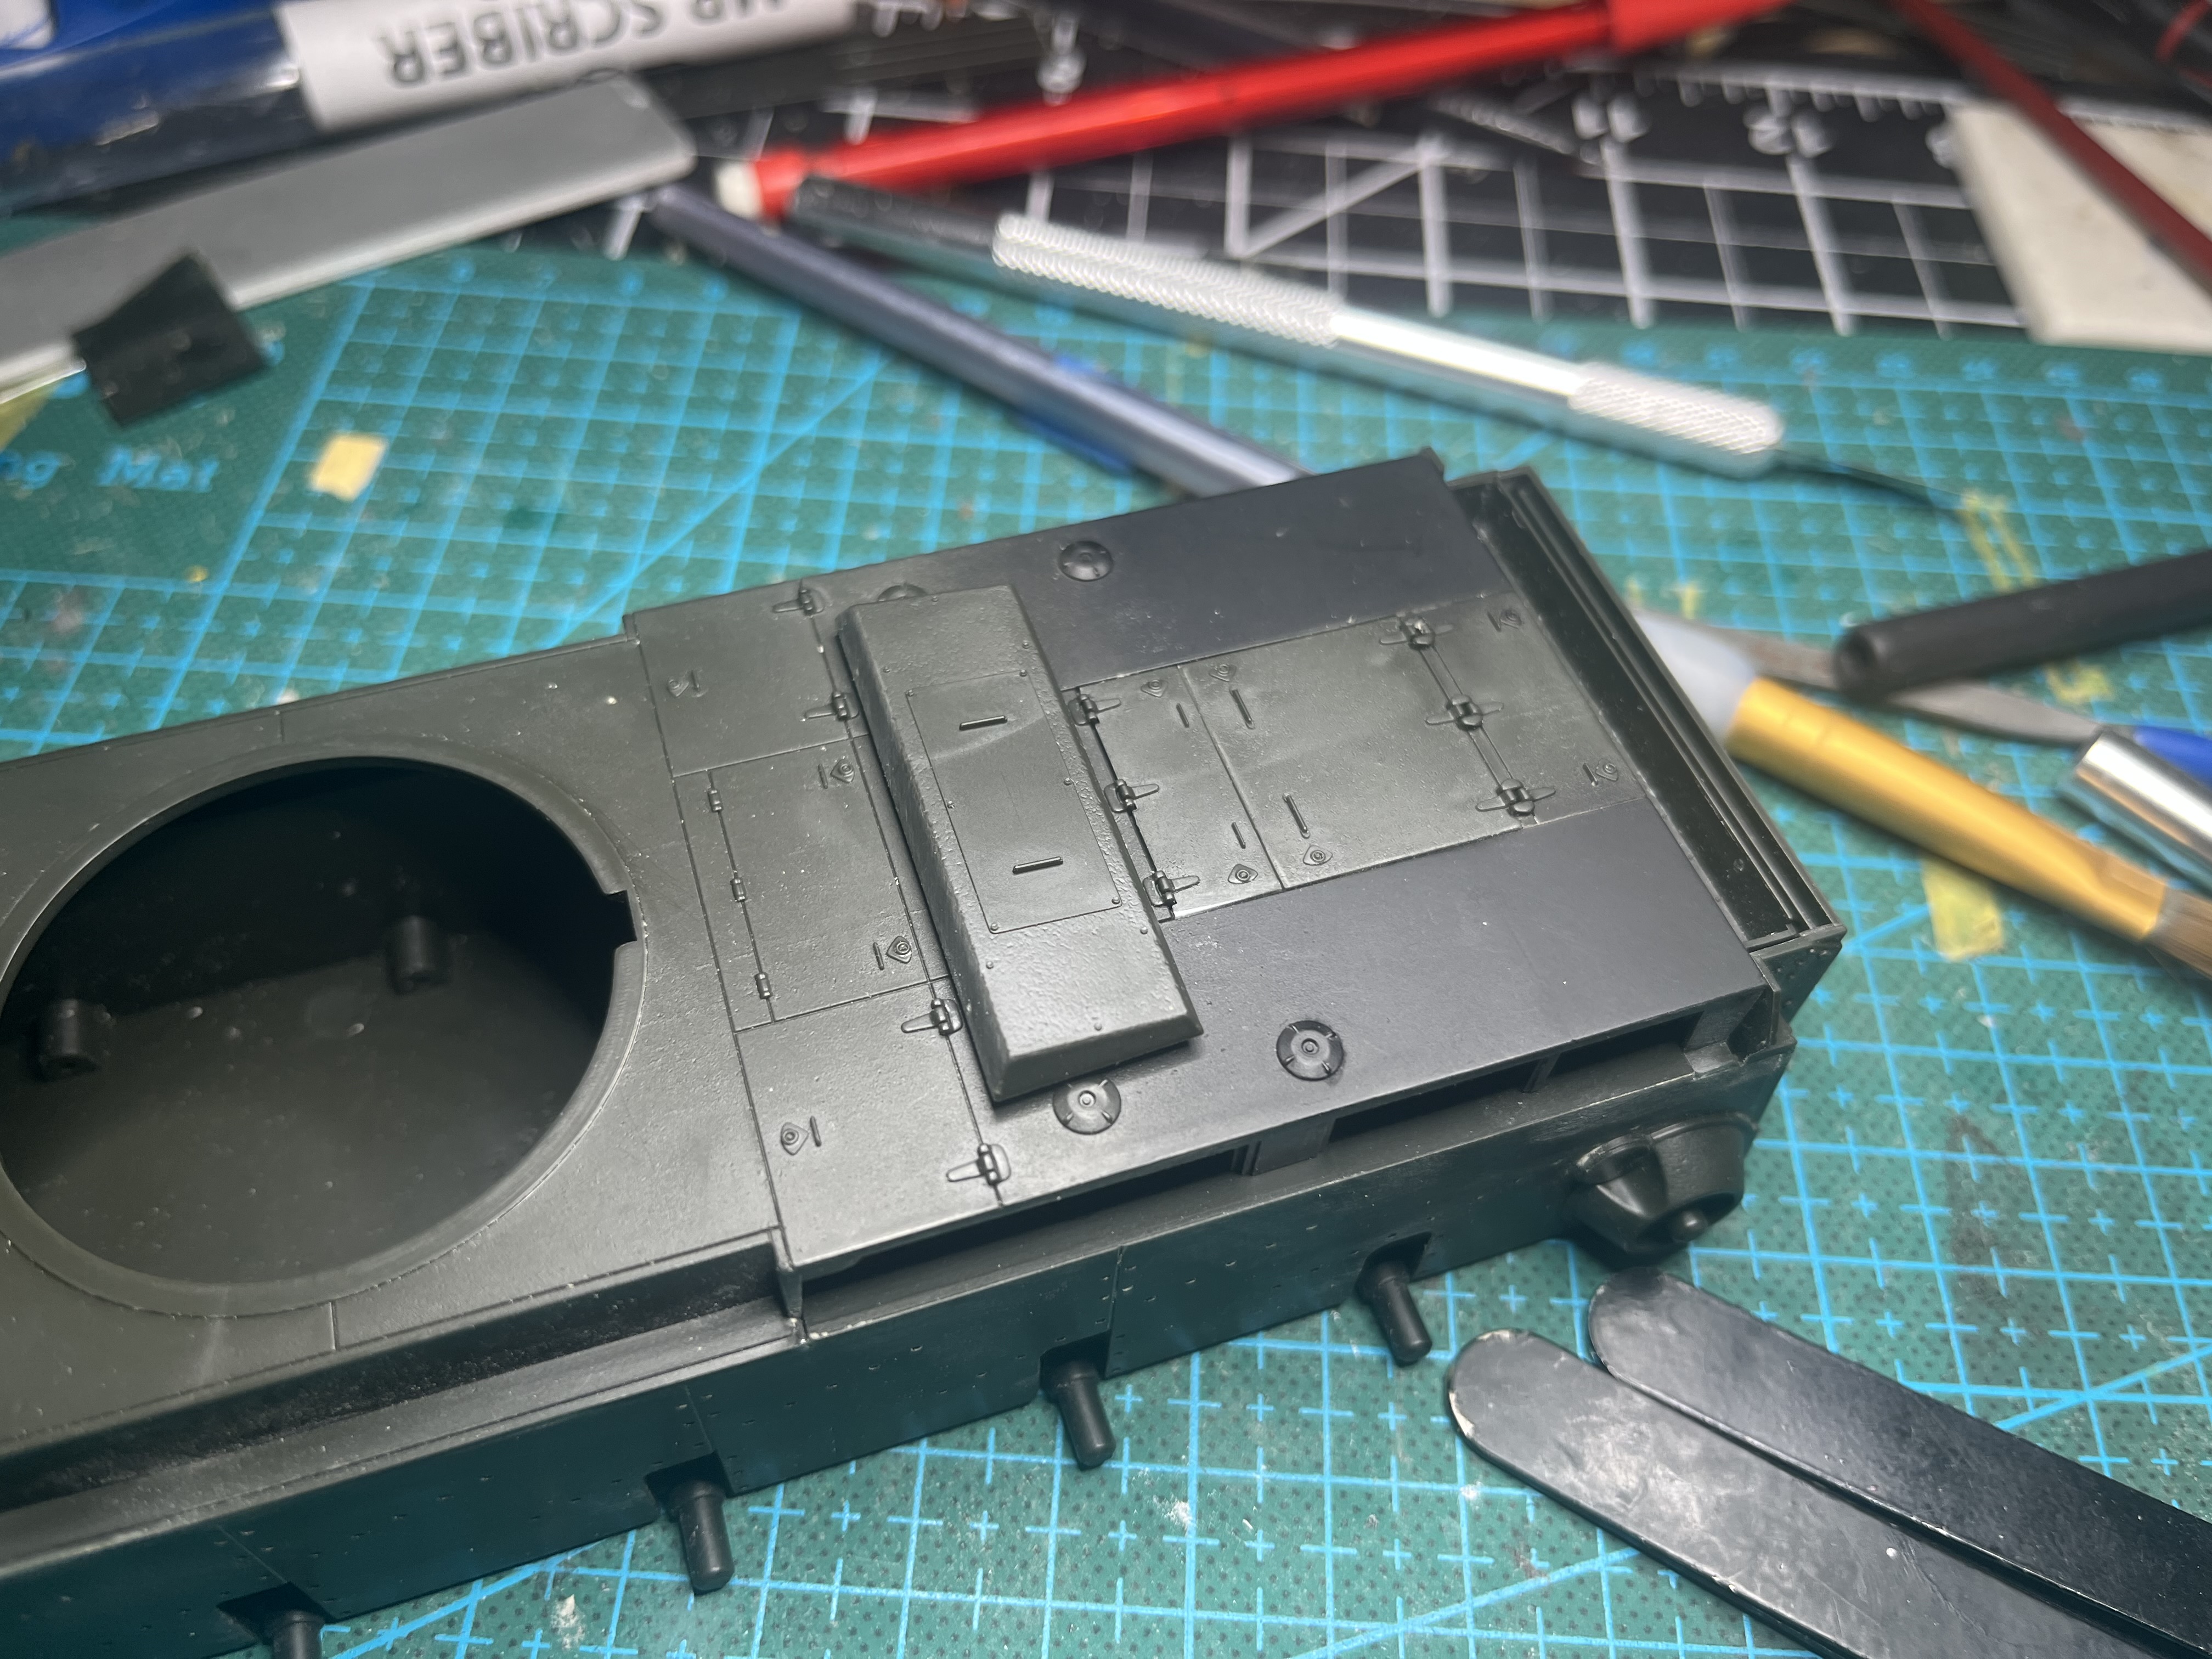
Also filled the panel lines on the rear engine deck and sanded off the details. Will scribe the correct line and add the latches and grab handles next
Fenders should arrive this week and then I should be able to move pretty quickly to the end of the build phase
7 Likes
I am in the process of replacing all of the engine deck handles since I need to add some anyway for the new engine deck layout. I have managed to replace the smaller ones that drop inside the panels, like these


By drilling small holes with a number 11 blade and then use 32 gauge wire.
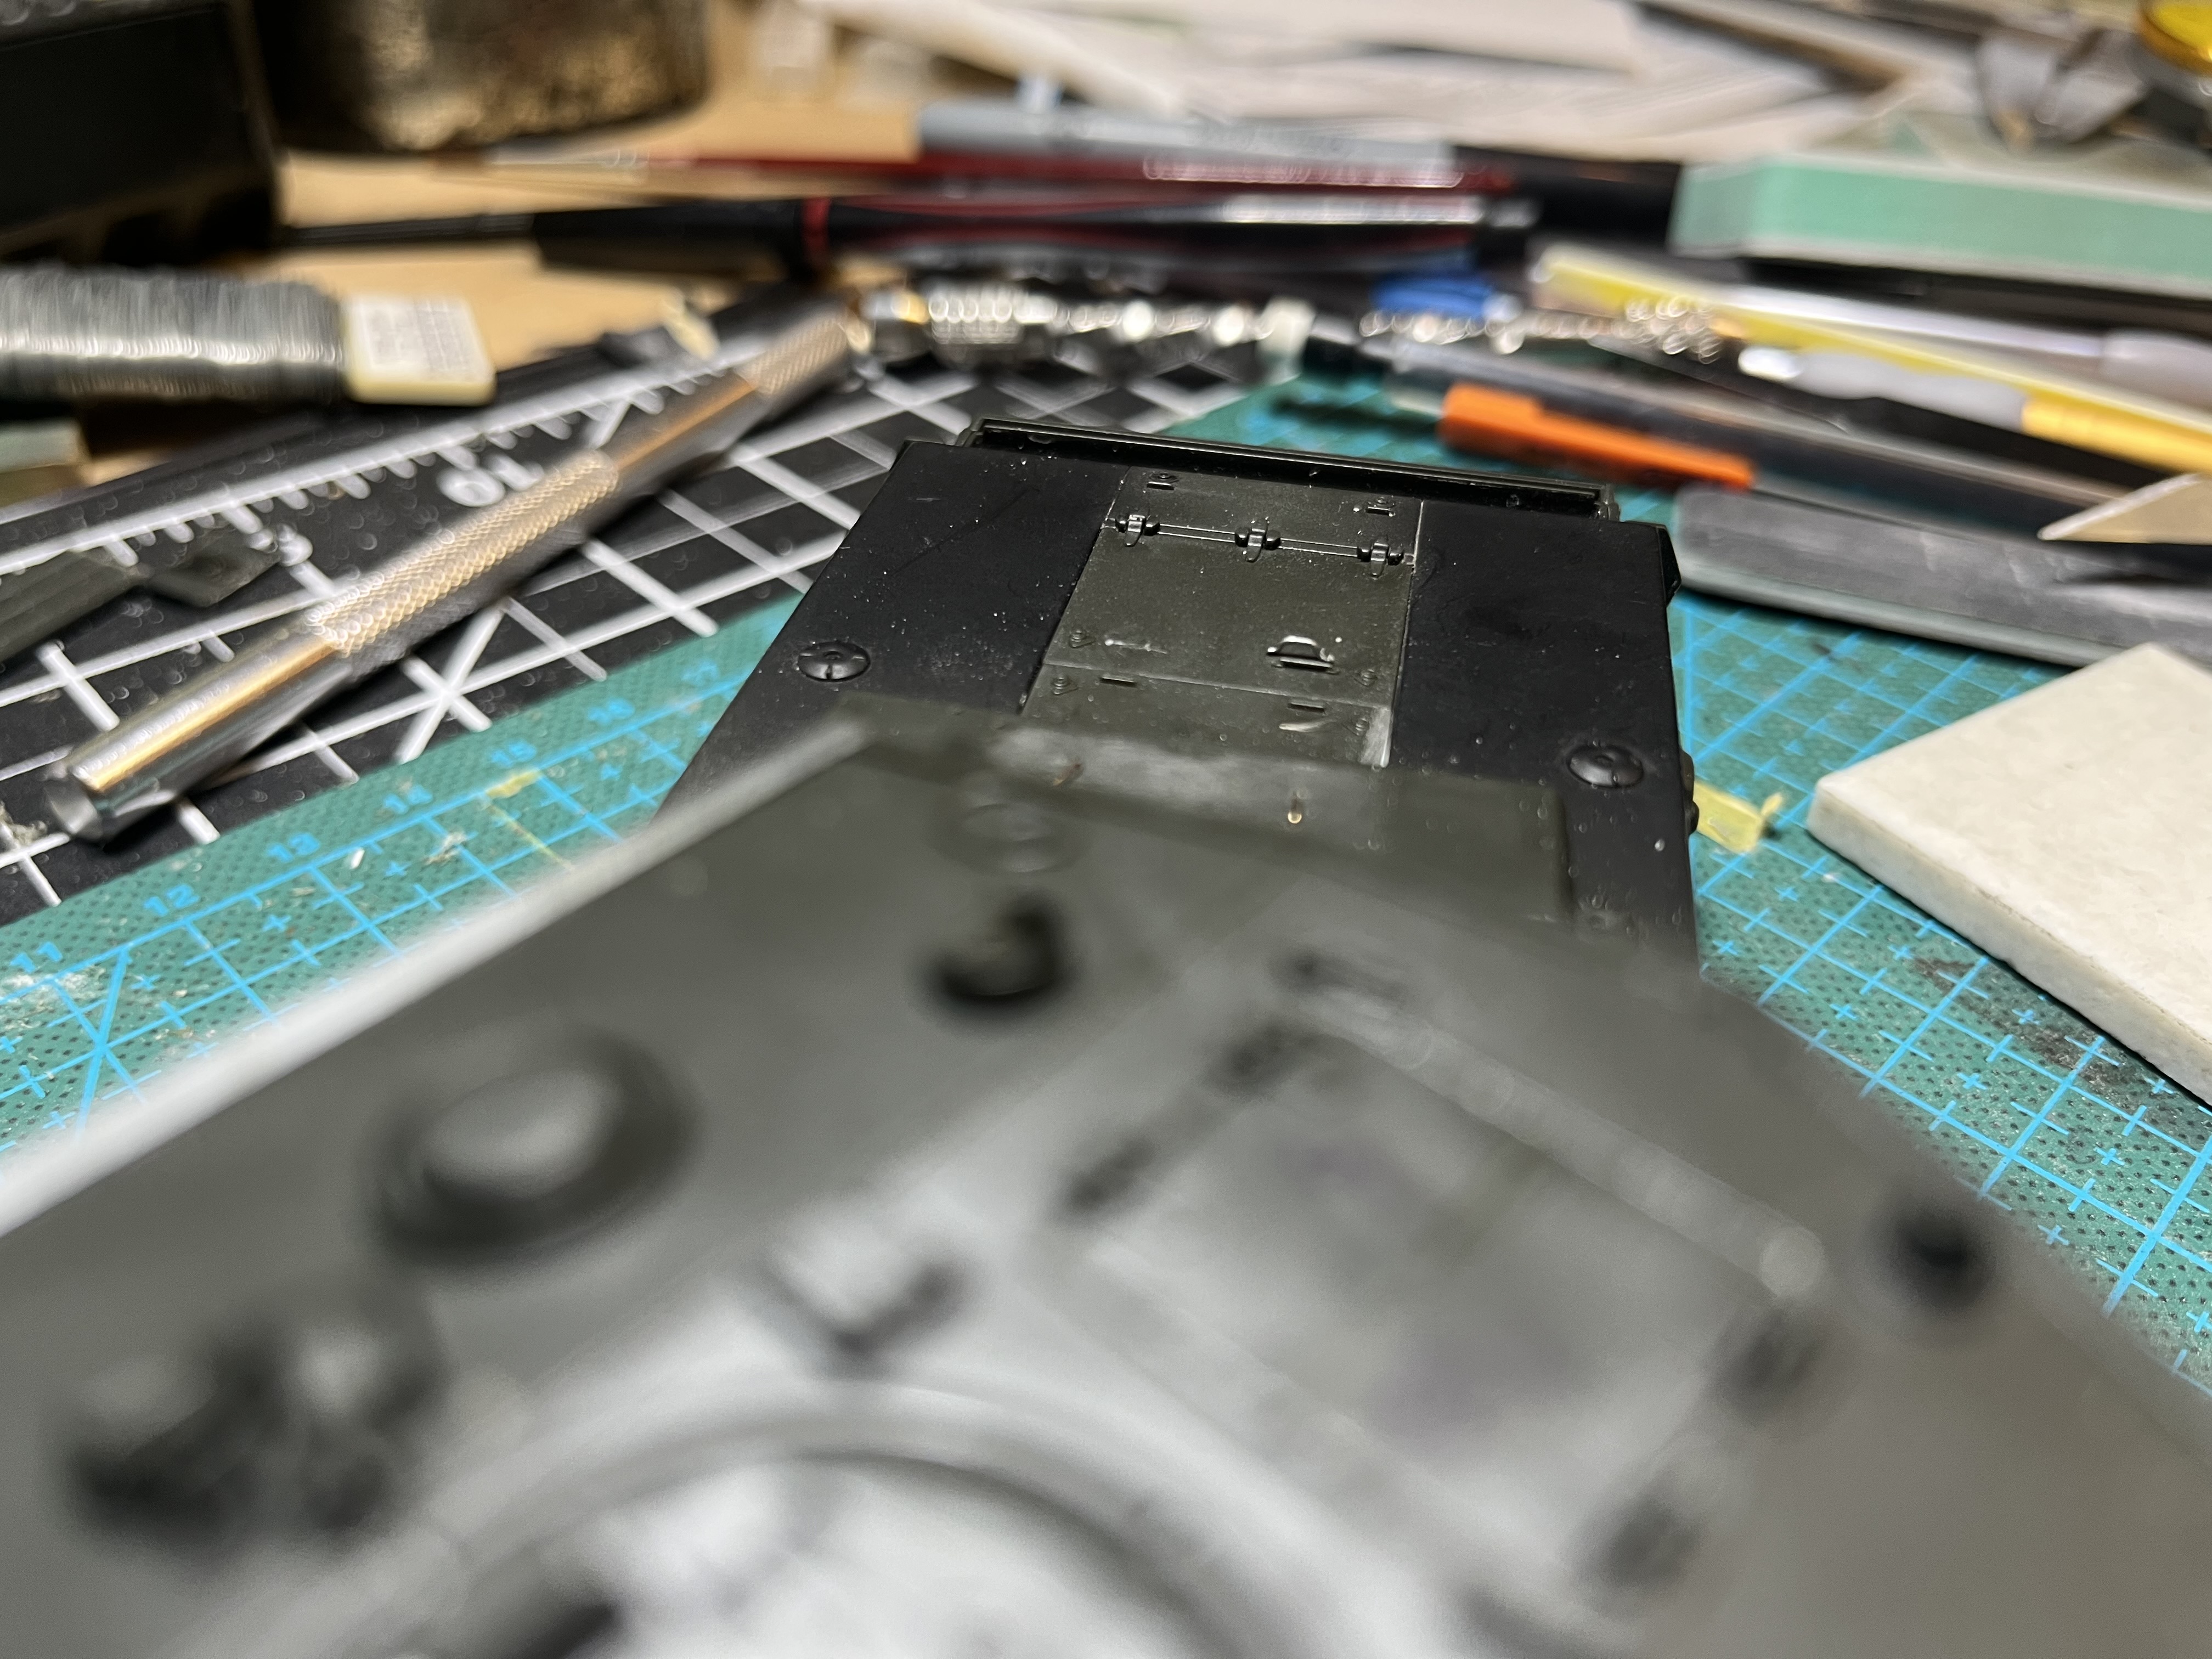
However these are giving me much more trouble
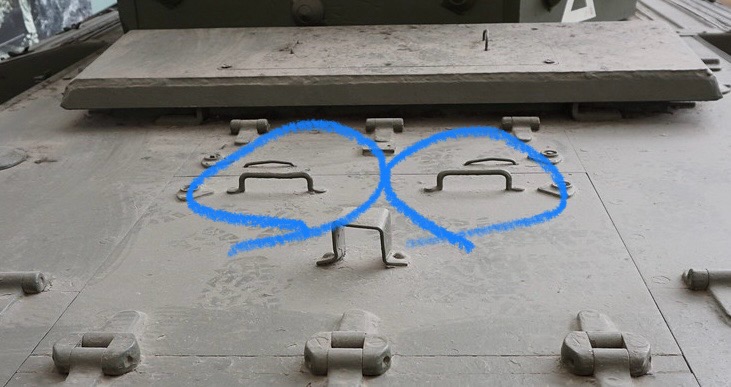

I am not having trouble bending them to be right general shape. The problem is that they are welded to the hull with little “feet” for lack of a better term. This means I need to bends like so
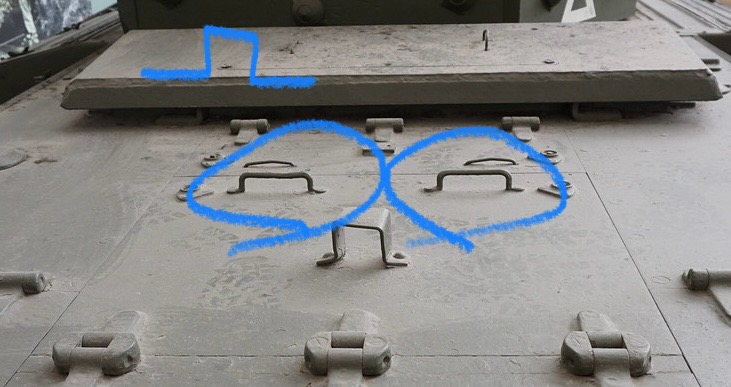
In very close proximity and I am struggling to get these to look right. Any ideas?
3 Likes
Right way, wrong and Wade’s way…I’d take soft ~28 or 32 gauge beading wire and use a grab handle makwr to bend to shape.
Then with flat nose flat pliers mash the ends flat.
Or better yet maybe someone makes a 3D printed part.
HTH
3 Likes
Or - if the size is right, a couple of times I fired off a couple of staples (with the stapler arm open), bent the ends of the staple with a pair of tweezers & snipped off any excess. I could live with the non-rounded curves of the handles, given they’re typically very small items.
2 Likes
4 Likes
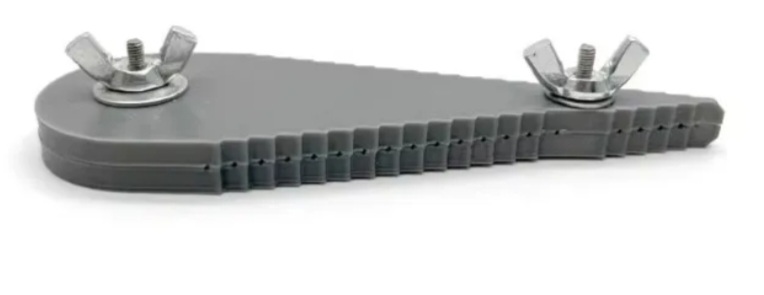
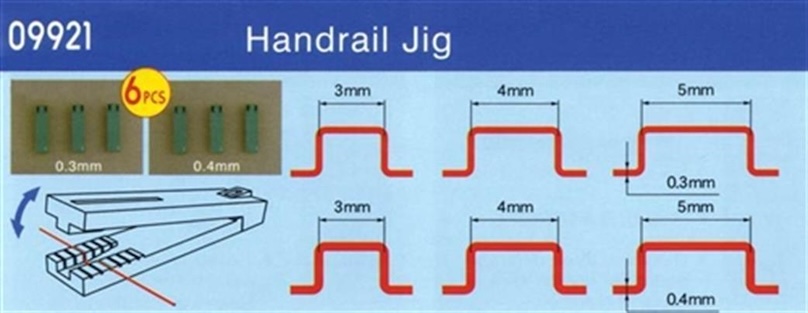
I may look into these but worry they would also be a tad tall
2 Likes
Hmm IMHO fractionally too tall, fractionally not wide enough, and the vertical bits aren’t perpendicular. A modified idea I’ve used is to measure the true width, then glue two tiny narrow strips of Evergreen in place representing where the bolts go, and then use my staple idea to just drop it into place, each side butting against the Evergreen. With accurate cyano glue placement the joins should be invisible.
5 Likes
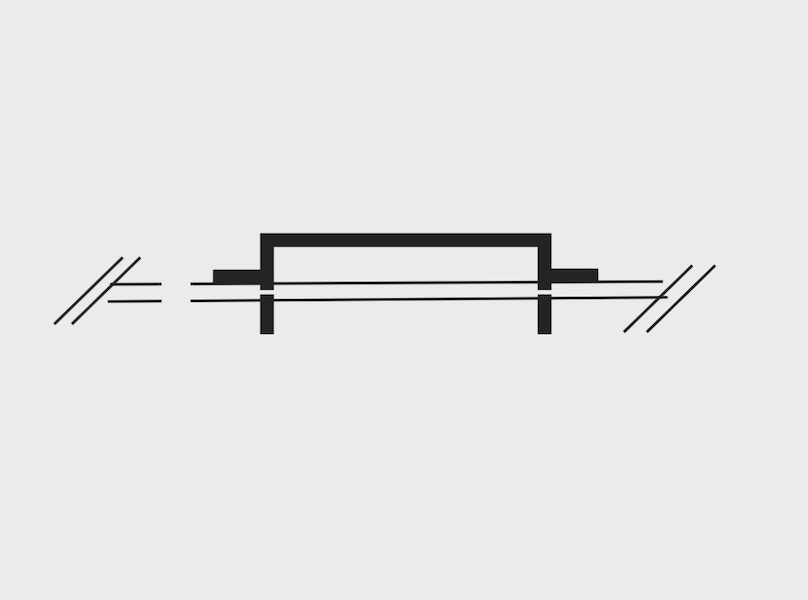
Maybe we have to cheat a little. Bend the wire into a ‘U’ at the desired length. Drill two holes to insert the legs of the upside down ‘U’ into panel. Then glue a tiny piece of same gauge wire to each side to simulate welded points mated to panel.
6 Likes
Yep that’s even better/more secure ![]()
2 Likes
ah, we were typing at the same time ![]() Your method sounds great actually.
Your method sounds great actually.
3 Likes
Ah! That is a great idea
With the assist going to @Dioramartin. Could maybe even use some squashed solder for the “feet” pieces
3 Likes
yeah, “feet pieces” is what I was trying to say ![]()
3 Likes
![]() I couldn’t find the right term either – footings? Nah. Anyhow as my learned friend has sketched, you’ll need a very fine drill bit to make the holes, and then if it’s not too late glue a small panel on the underside covering the holes to ensure the vertical bits of the handle stop level.
I couldn’t find the right term either – footings? Nah. Anyhow as my learned friend has sketched, you’ll need a very fine drill bit to make the holes, and then if it’s not too late glue a small panel on the underside covering the holes to ensure the vertical bits of the handle stop level.
5 Likes
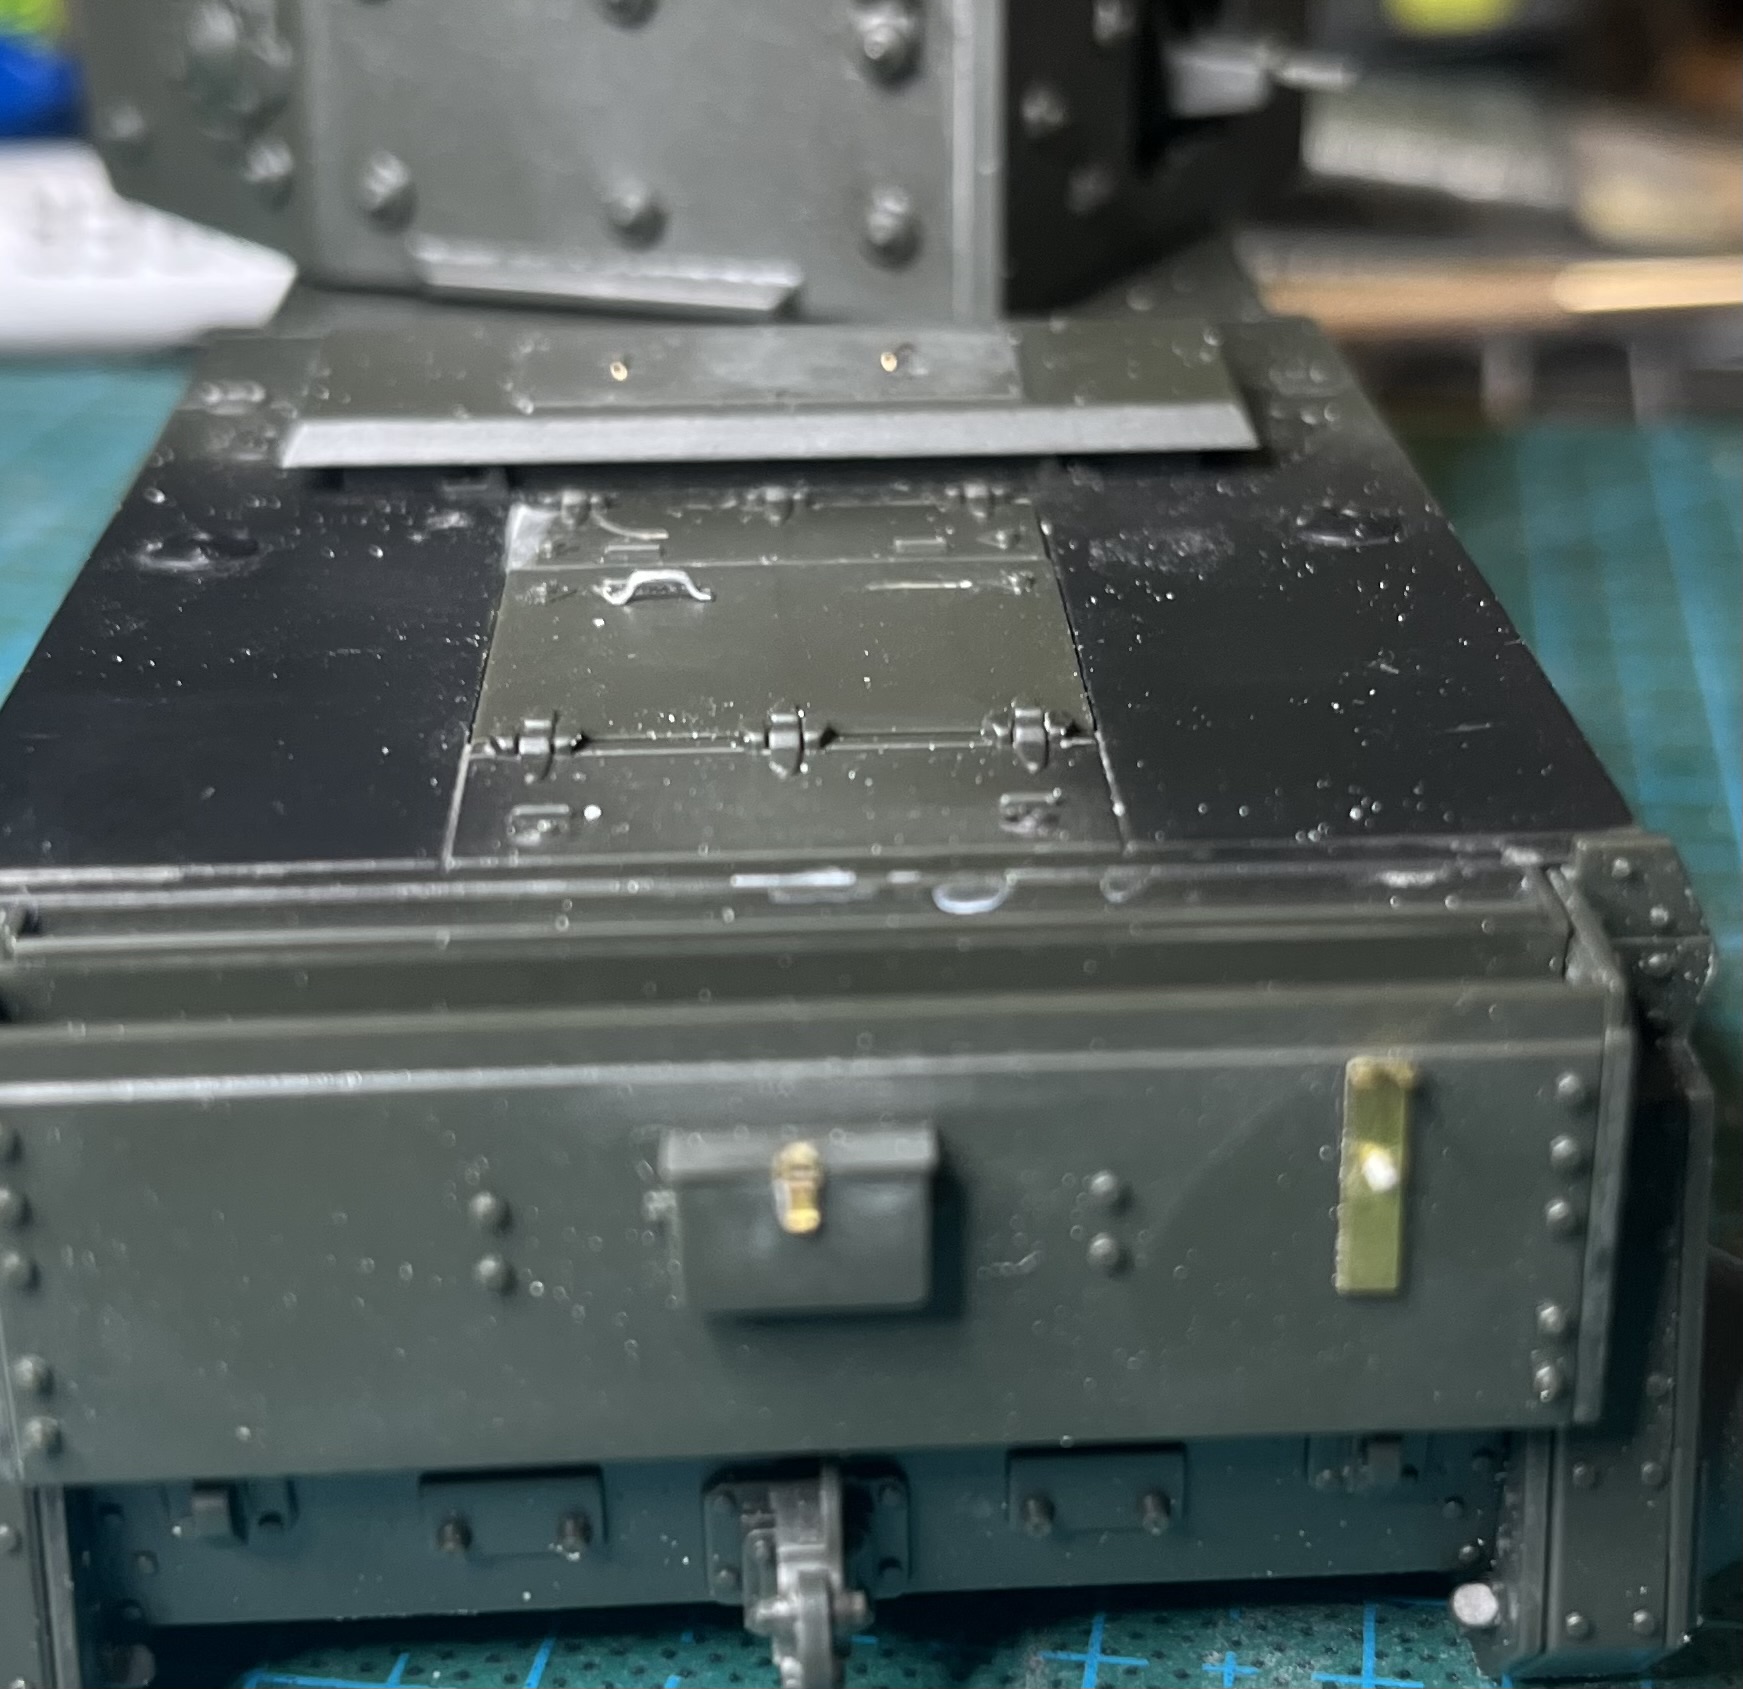
Yup not too late! I have the panel dry fit. Can easily put a stop in place. I think I have a drill bit small enough. The smallest one I have is 0.3 mm and the wire should be 0.4 mm
4 Likes
When I did my Challenger 1, I made the U shape with wire, then used strip styrene for the feet. Glued down the strip and drilled a hole in the end. Slip a bit of styrene under the wire to get the height uniform then a dab of cyano to secure it and fill the gap around the wire. slide the styrene strip out.

6 Likes
Nice build.
1 Like