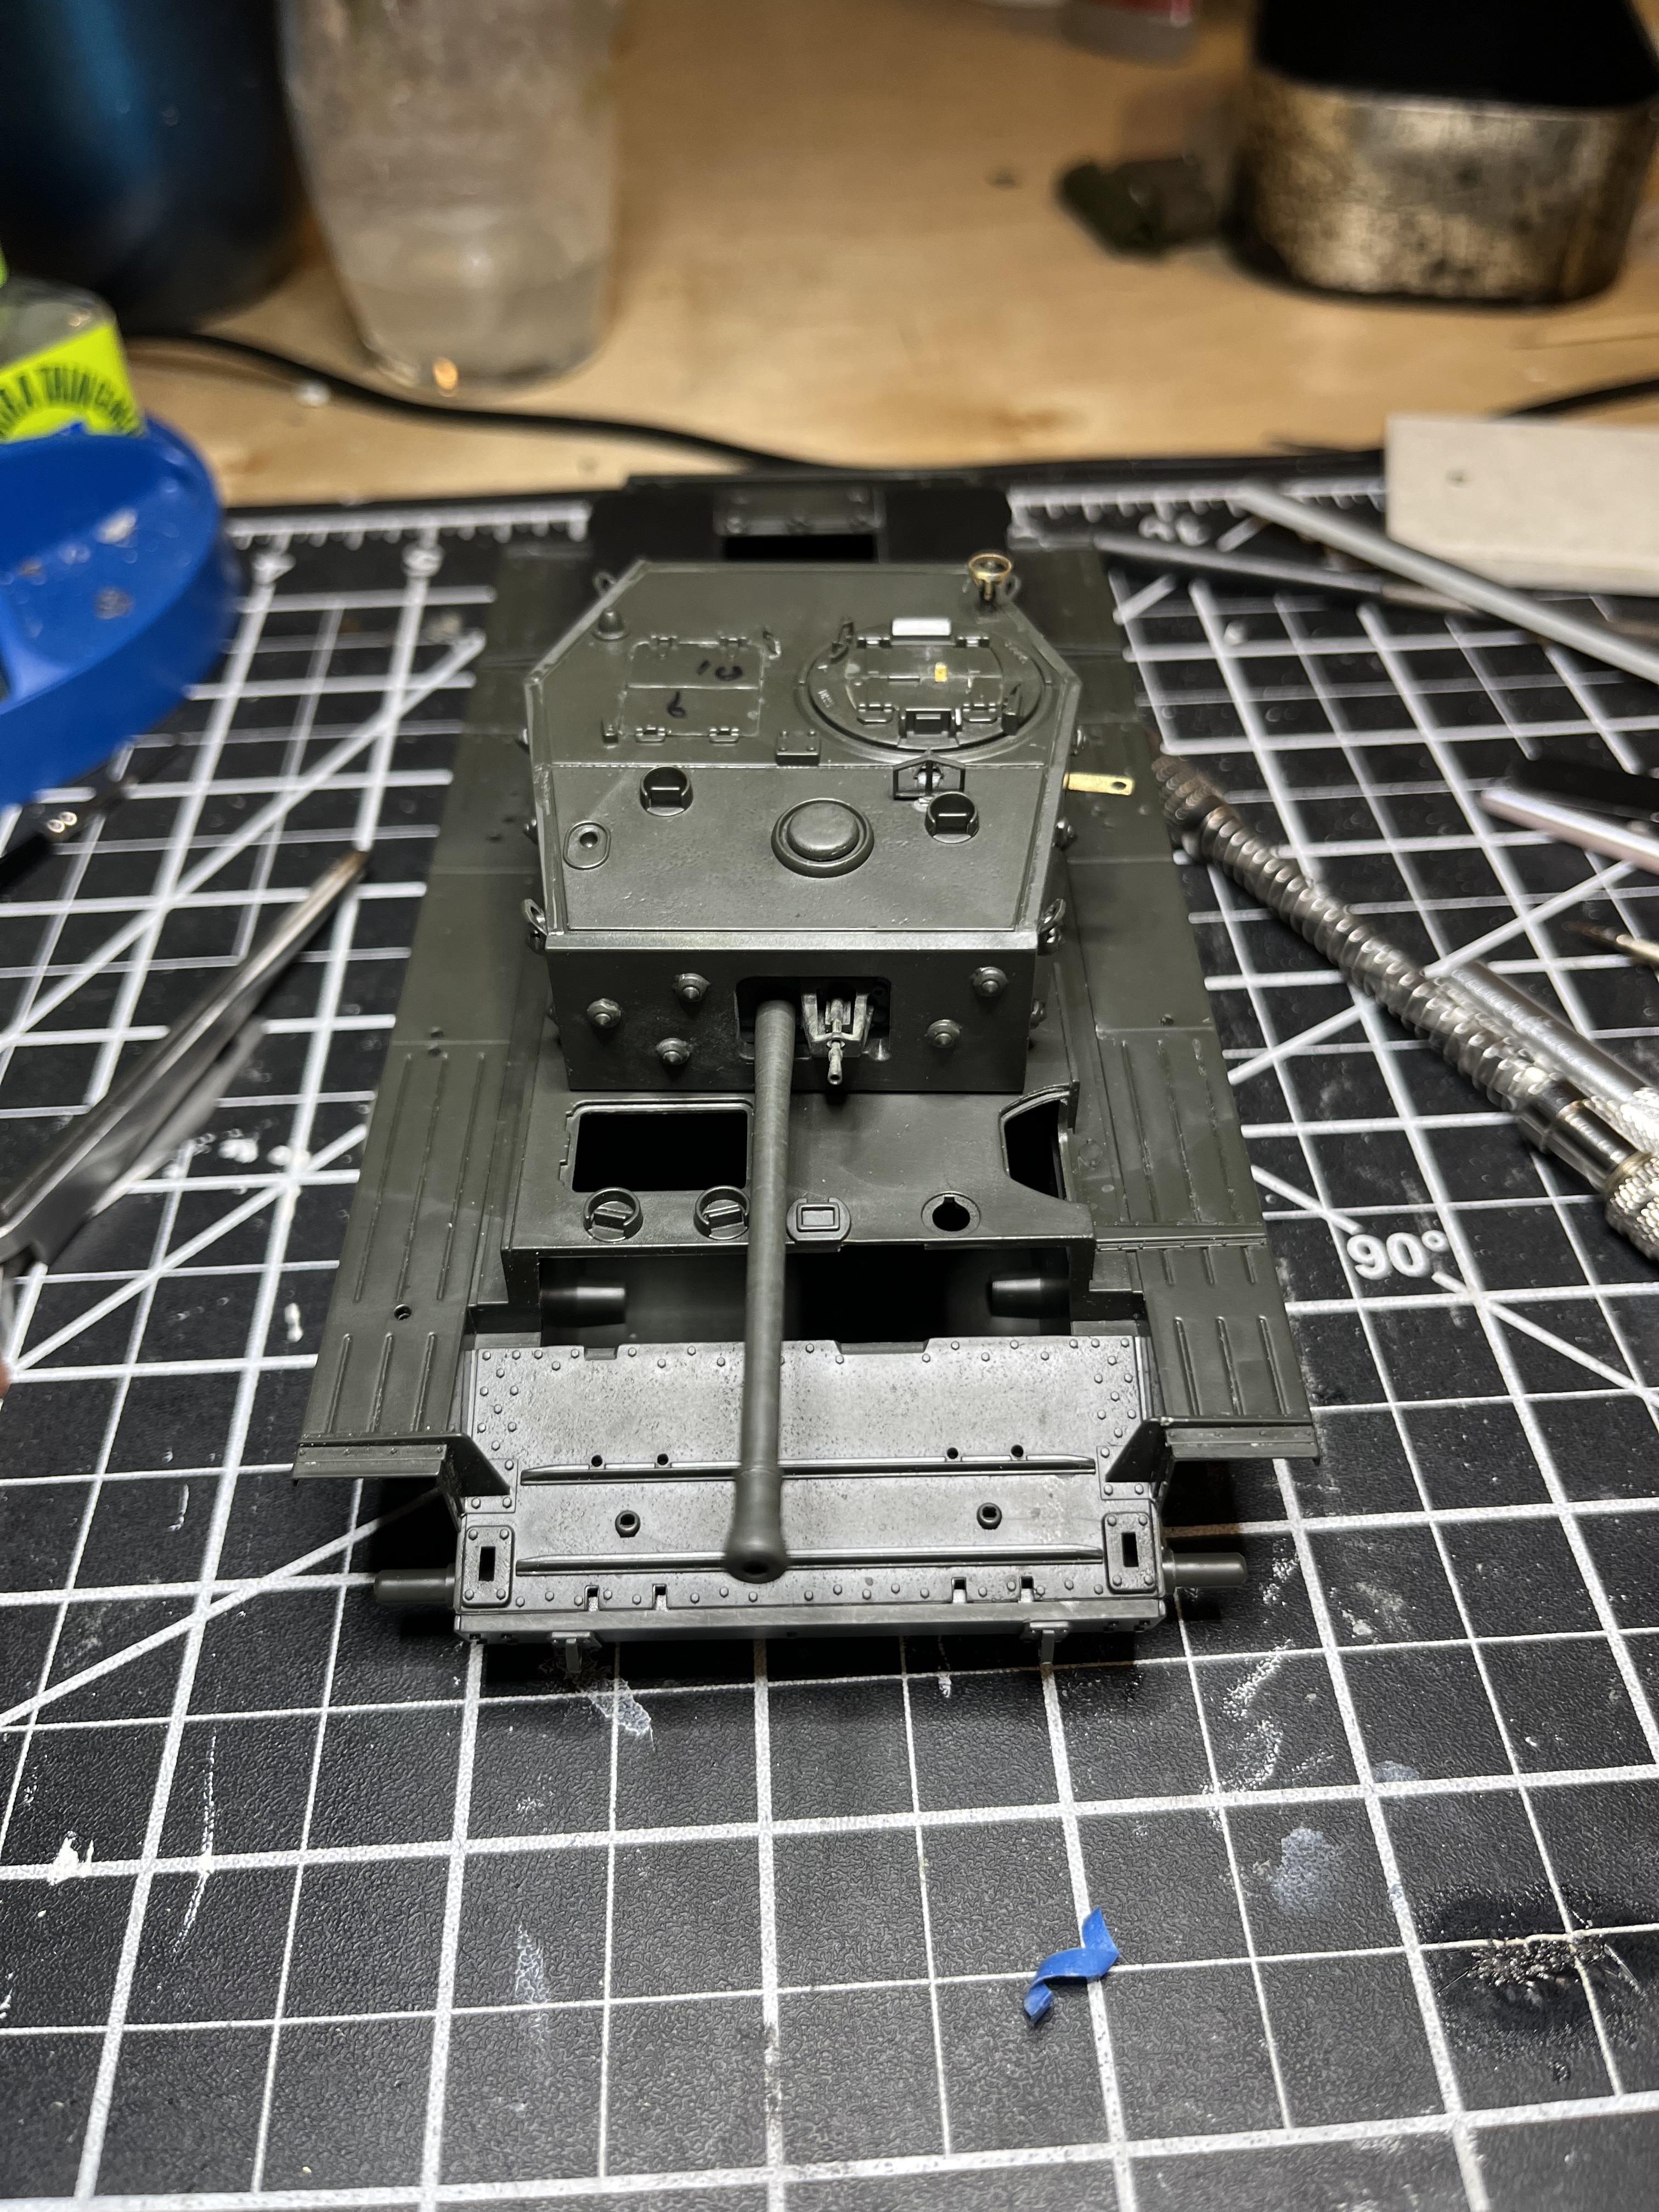
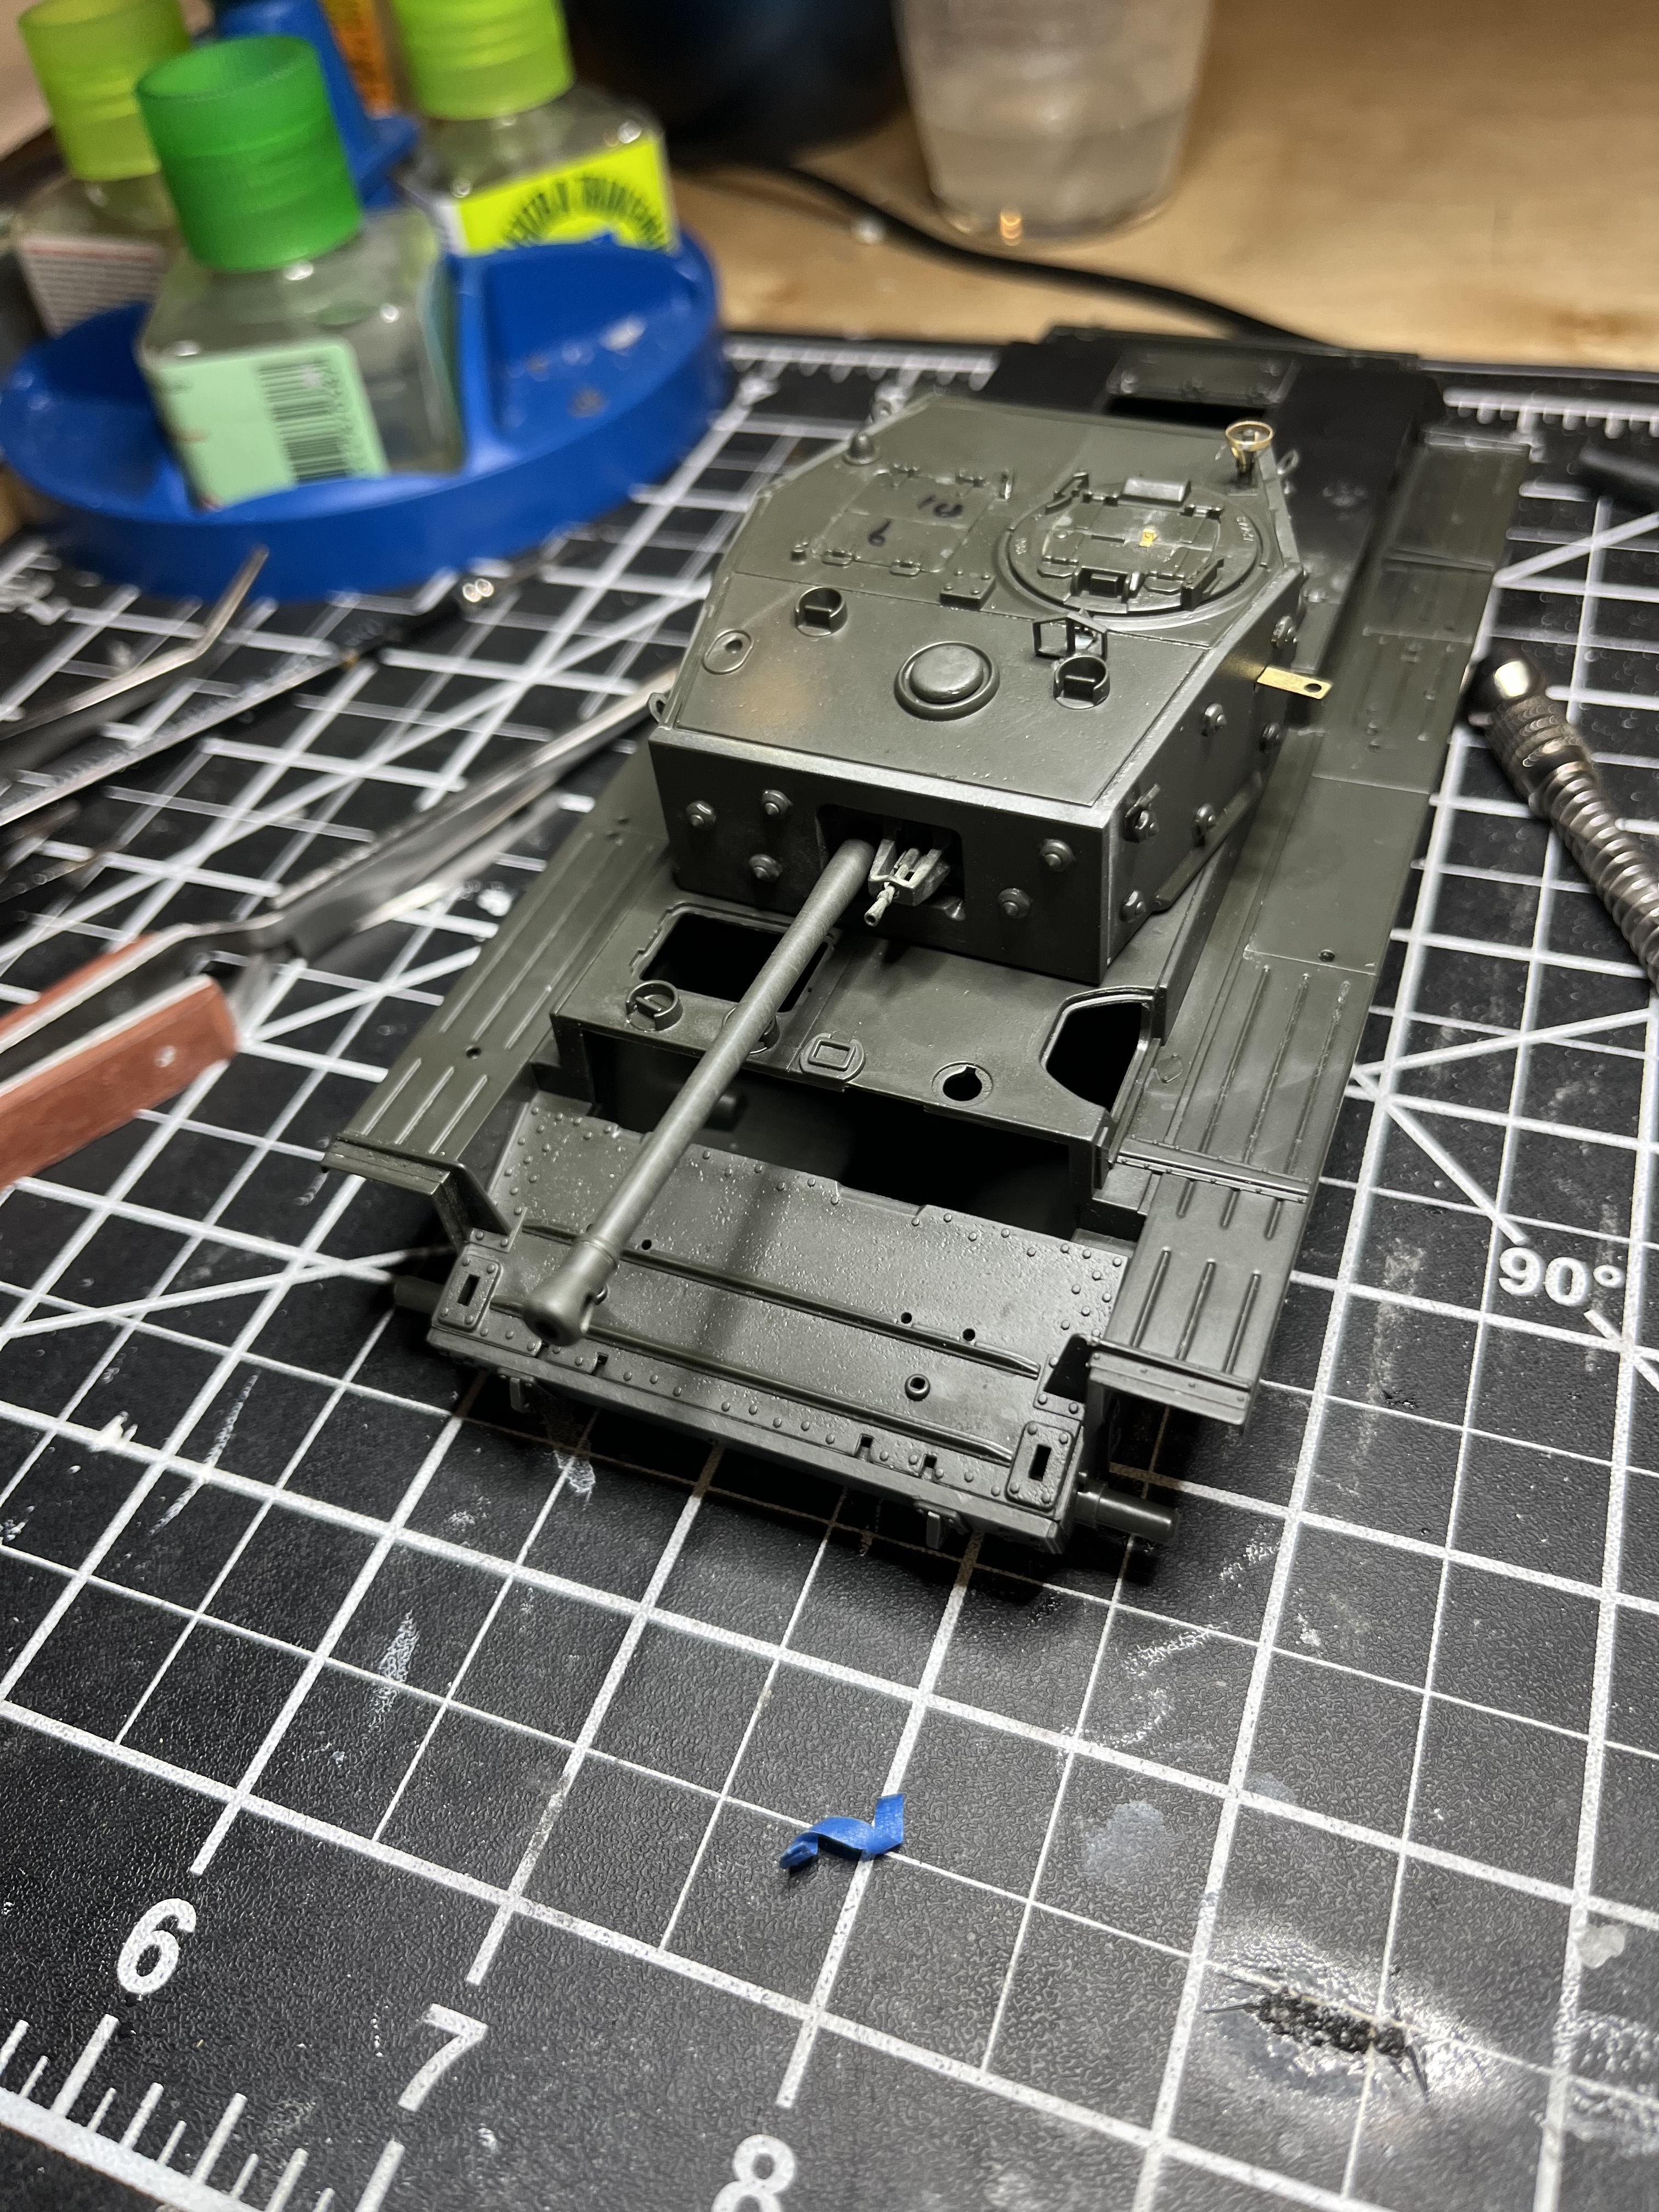
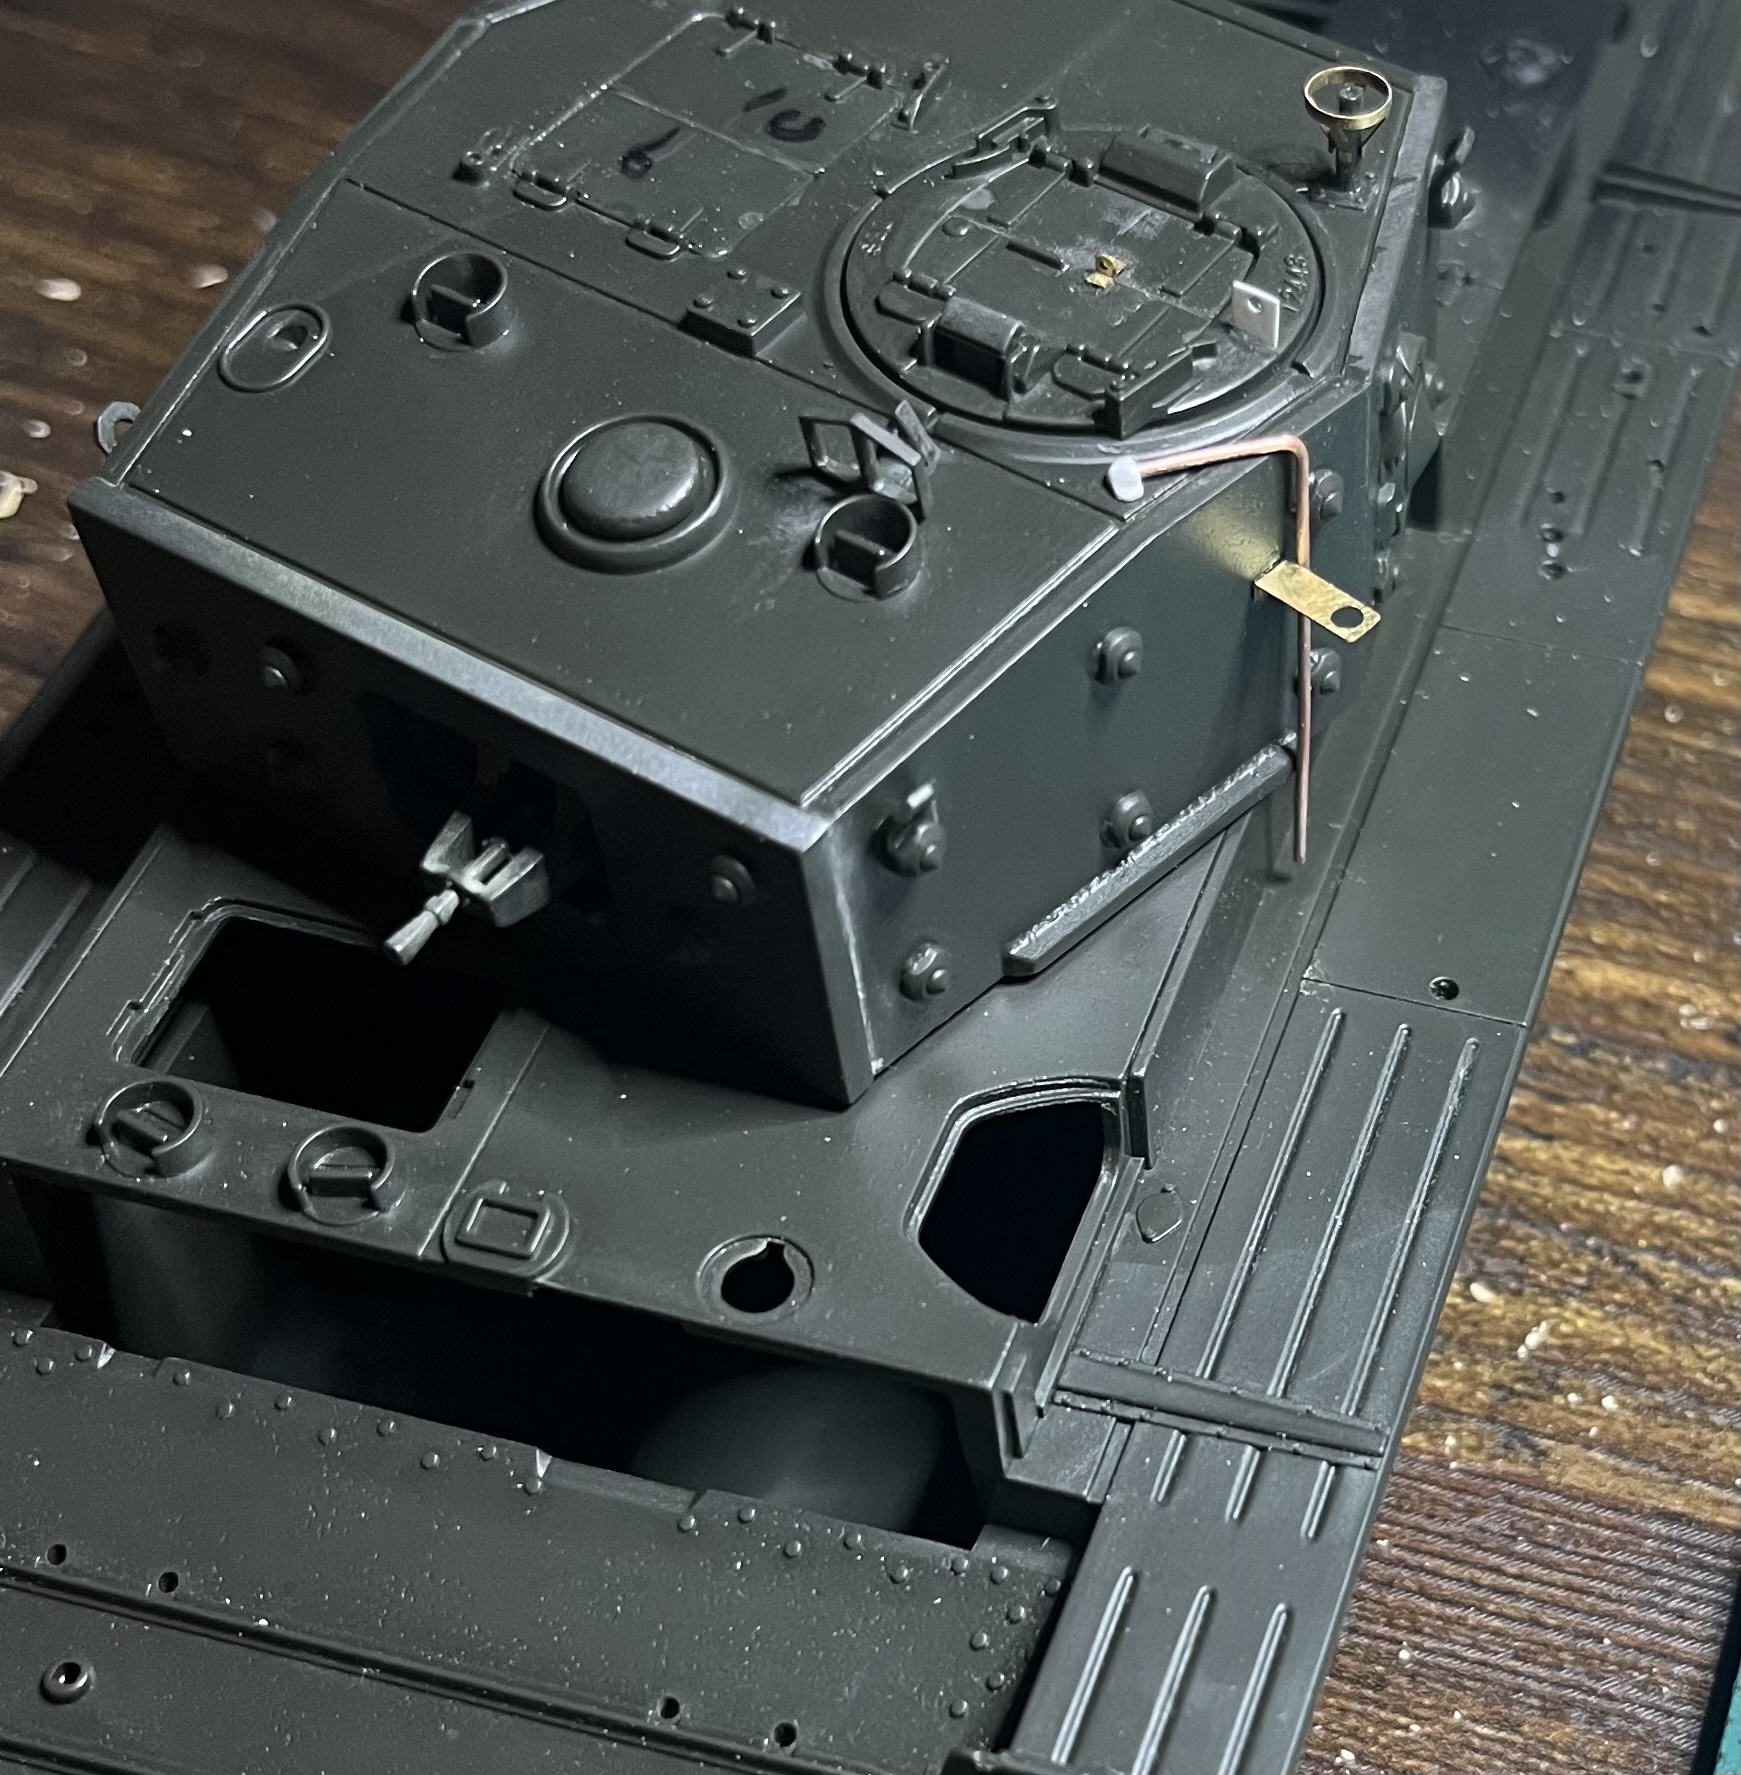
To stay motivated on this one, I turned to working on the turret. Got most of it done. Added a couple PE details.
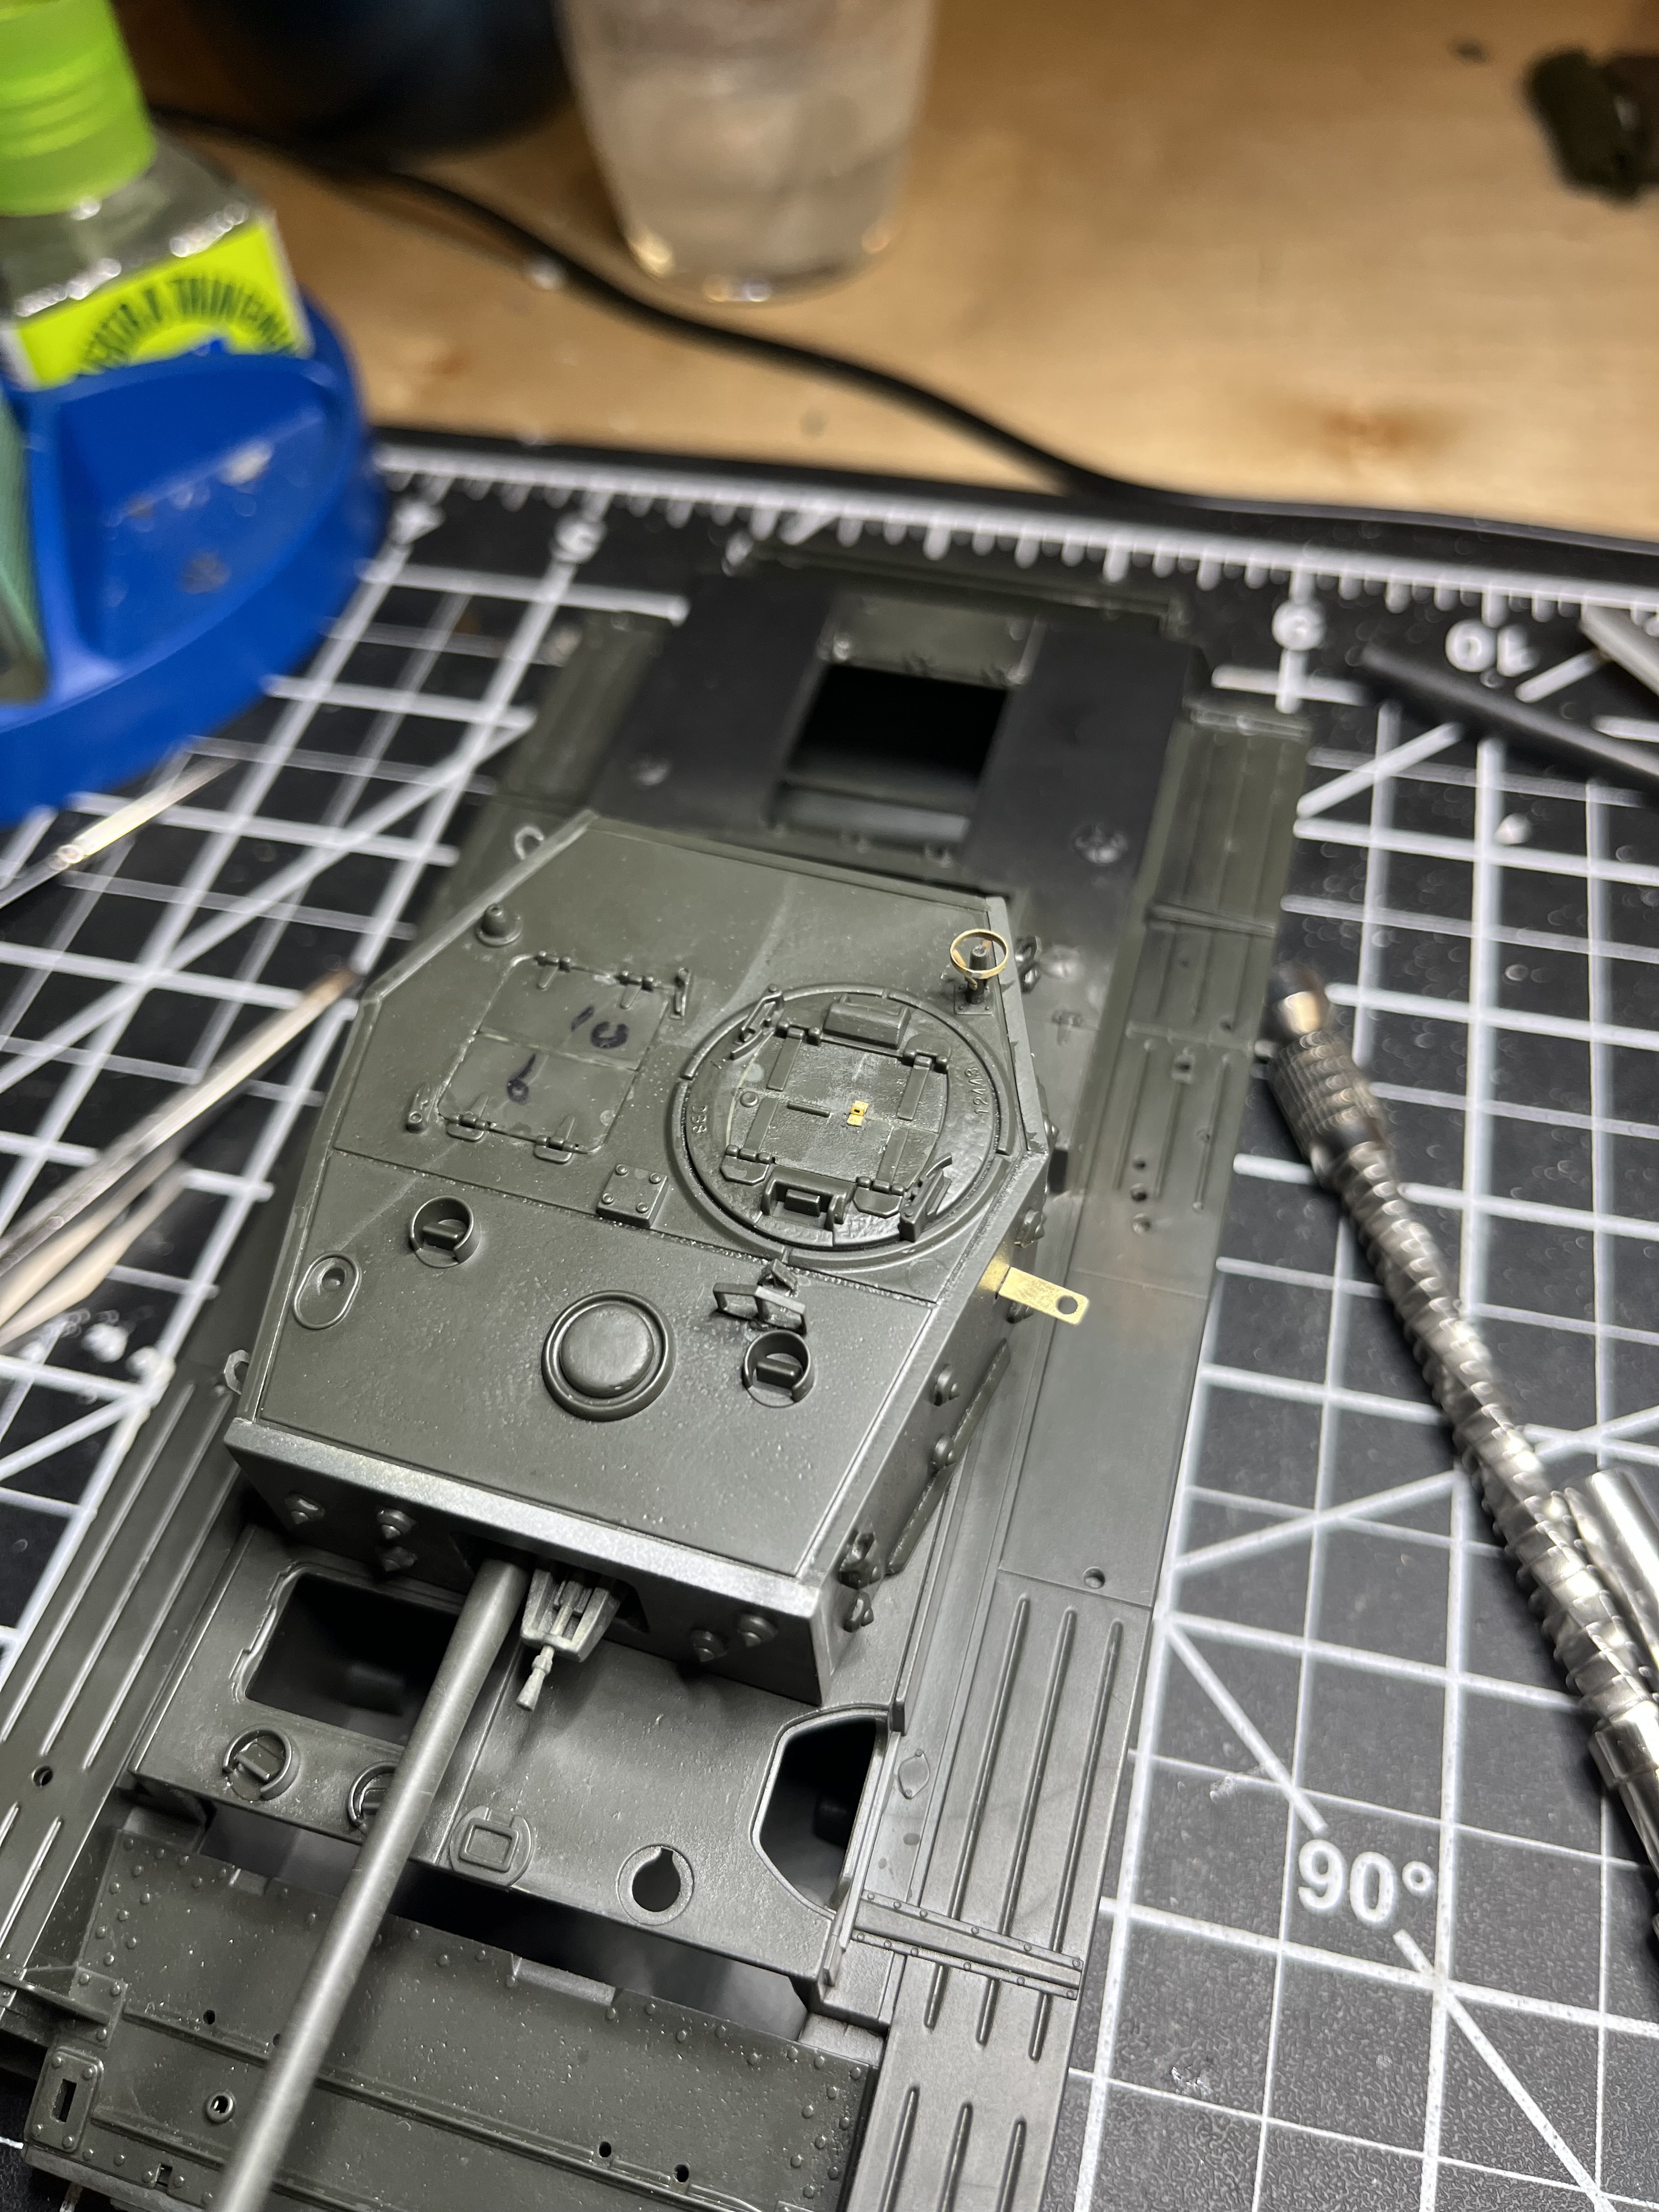
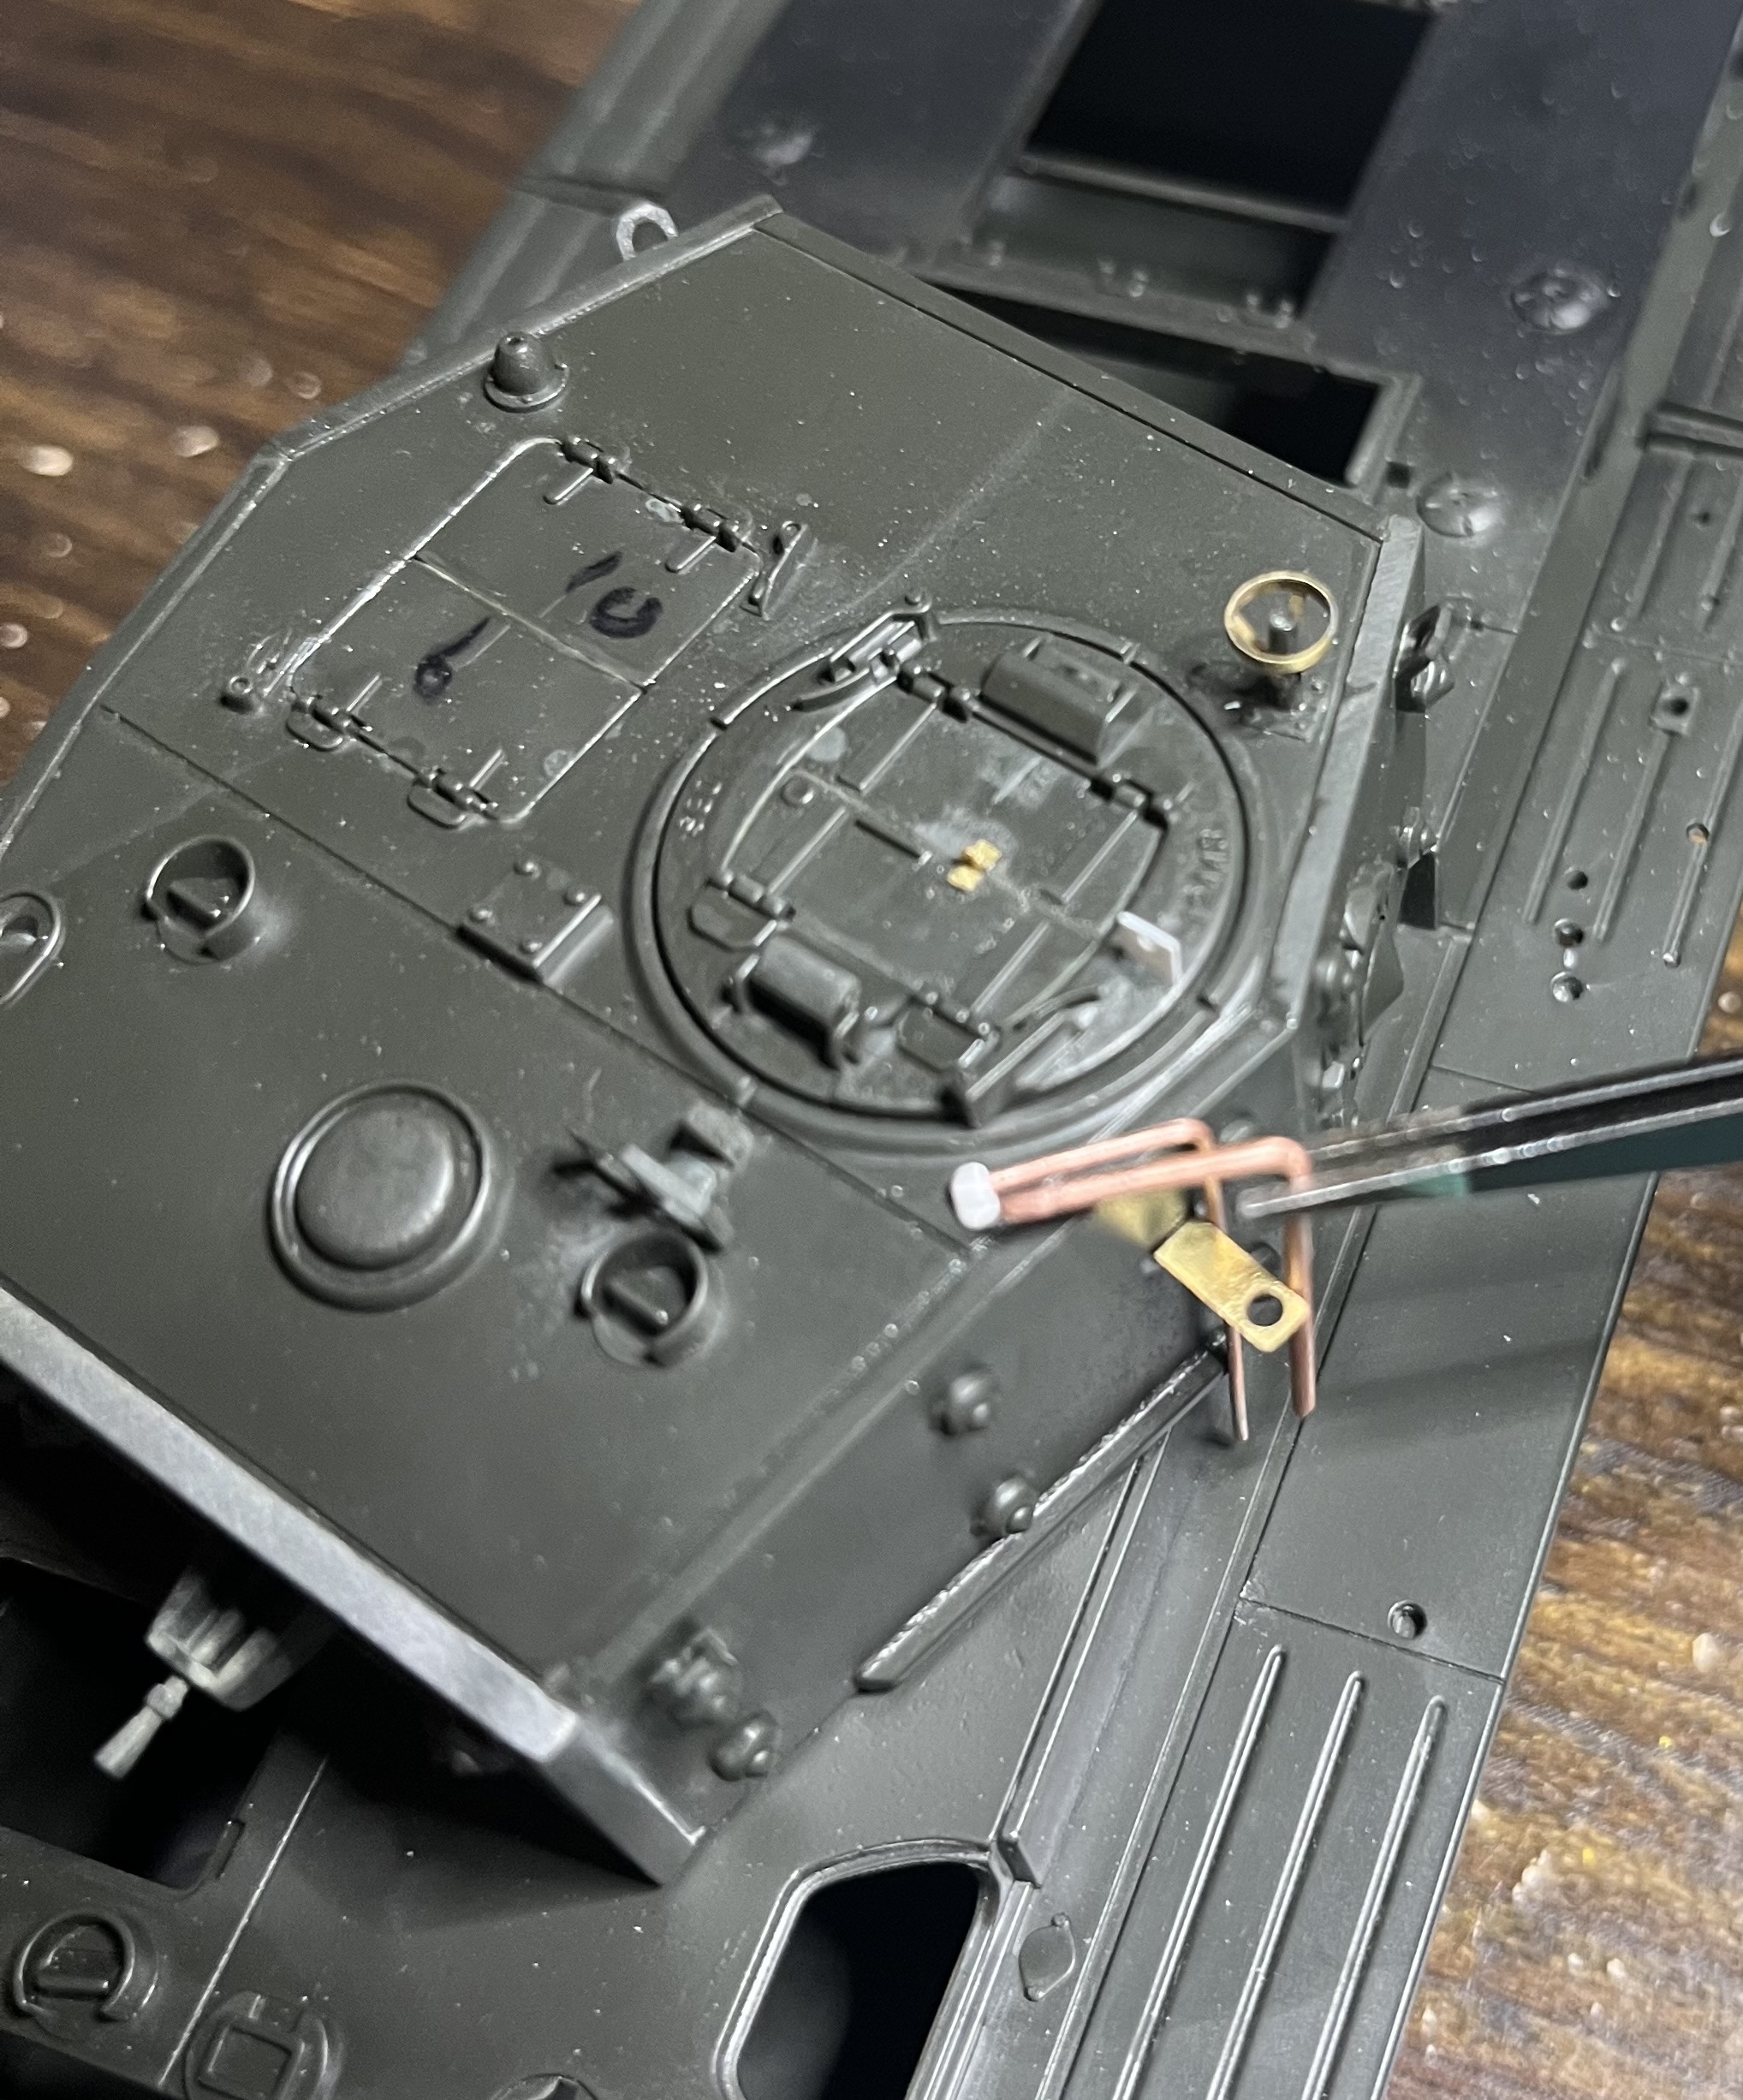
For the aerial mount, I didn’t want to add the PE to the kit part in case the PE didn’t work out, so I made the central tube from stretched sprue and then drilled a hole for the antenna.
I need to carefully scrape the kit head light mount off the headlight itself, again I left this part intact until I confirmed the soldering of the PE turned out.
Still need to add a couple small parts like the periscope covers and armored covers for the commander periscopes, but the turret it more or less done. Kit barrel actually works decently well
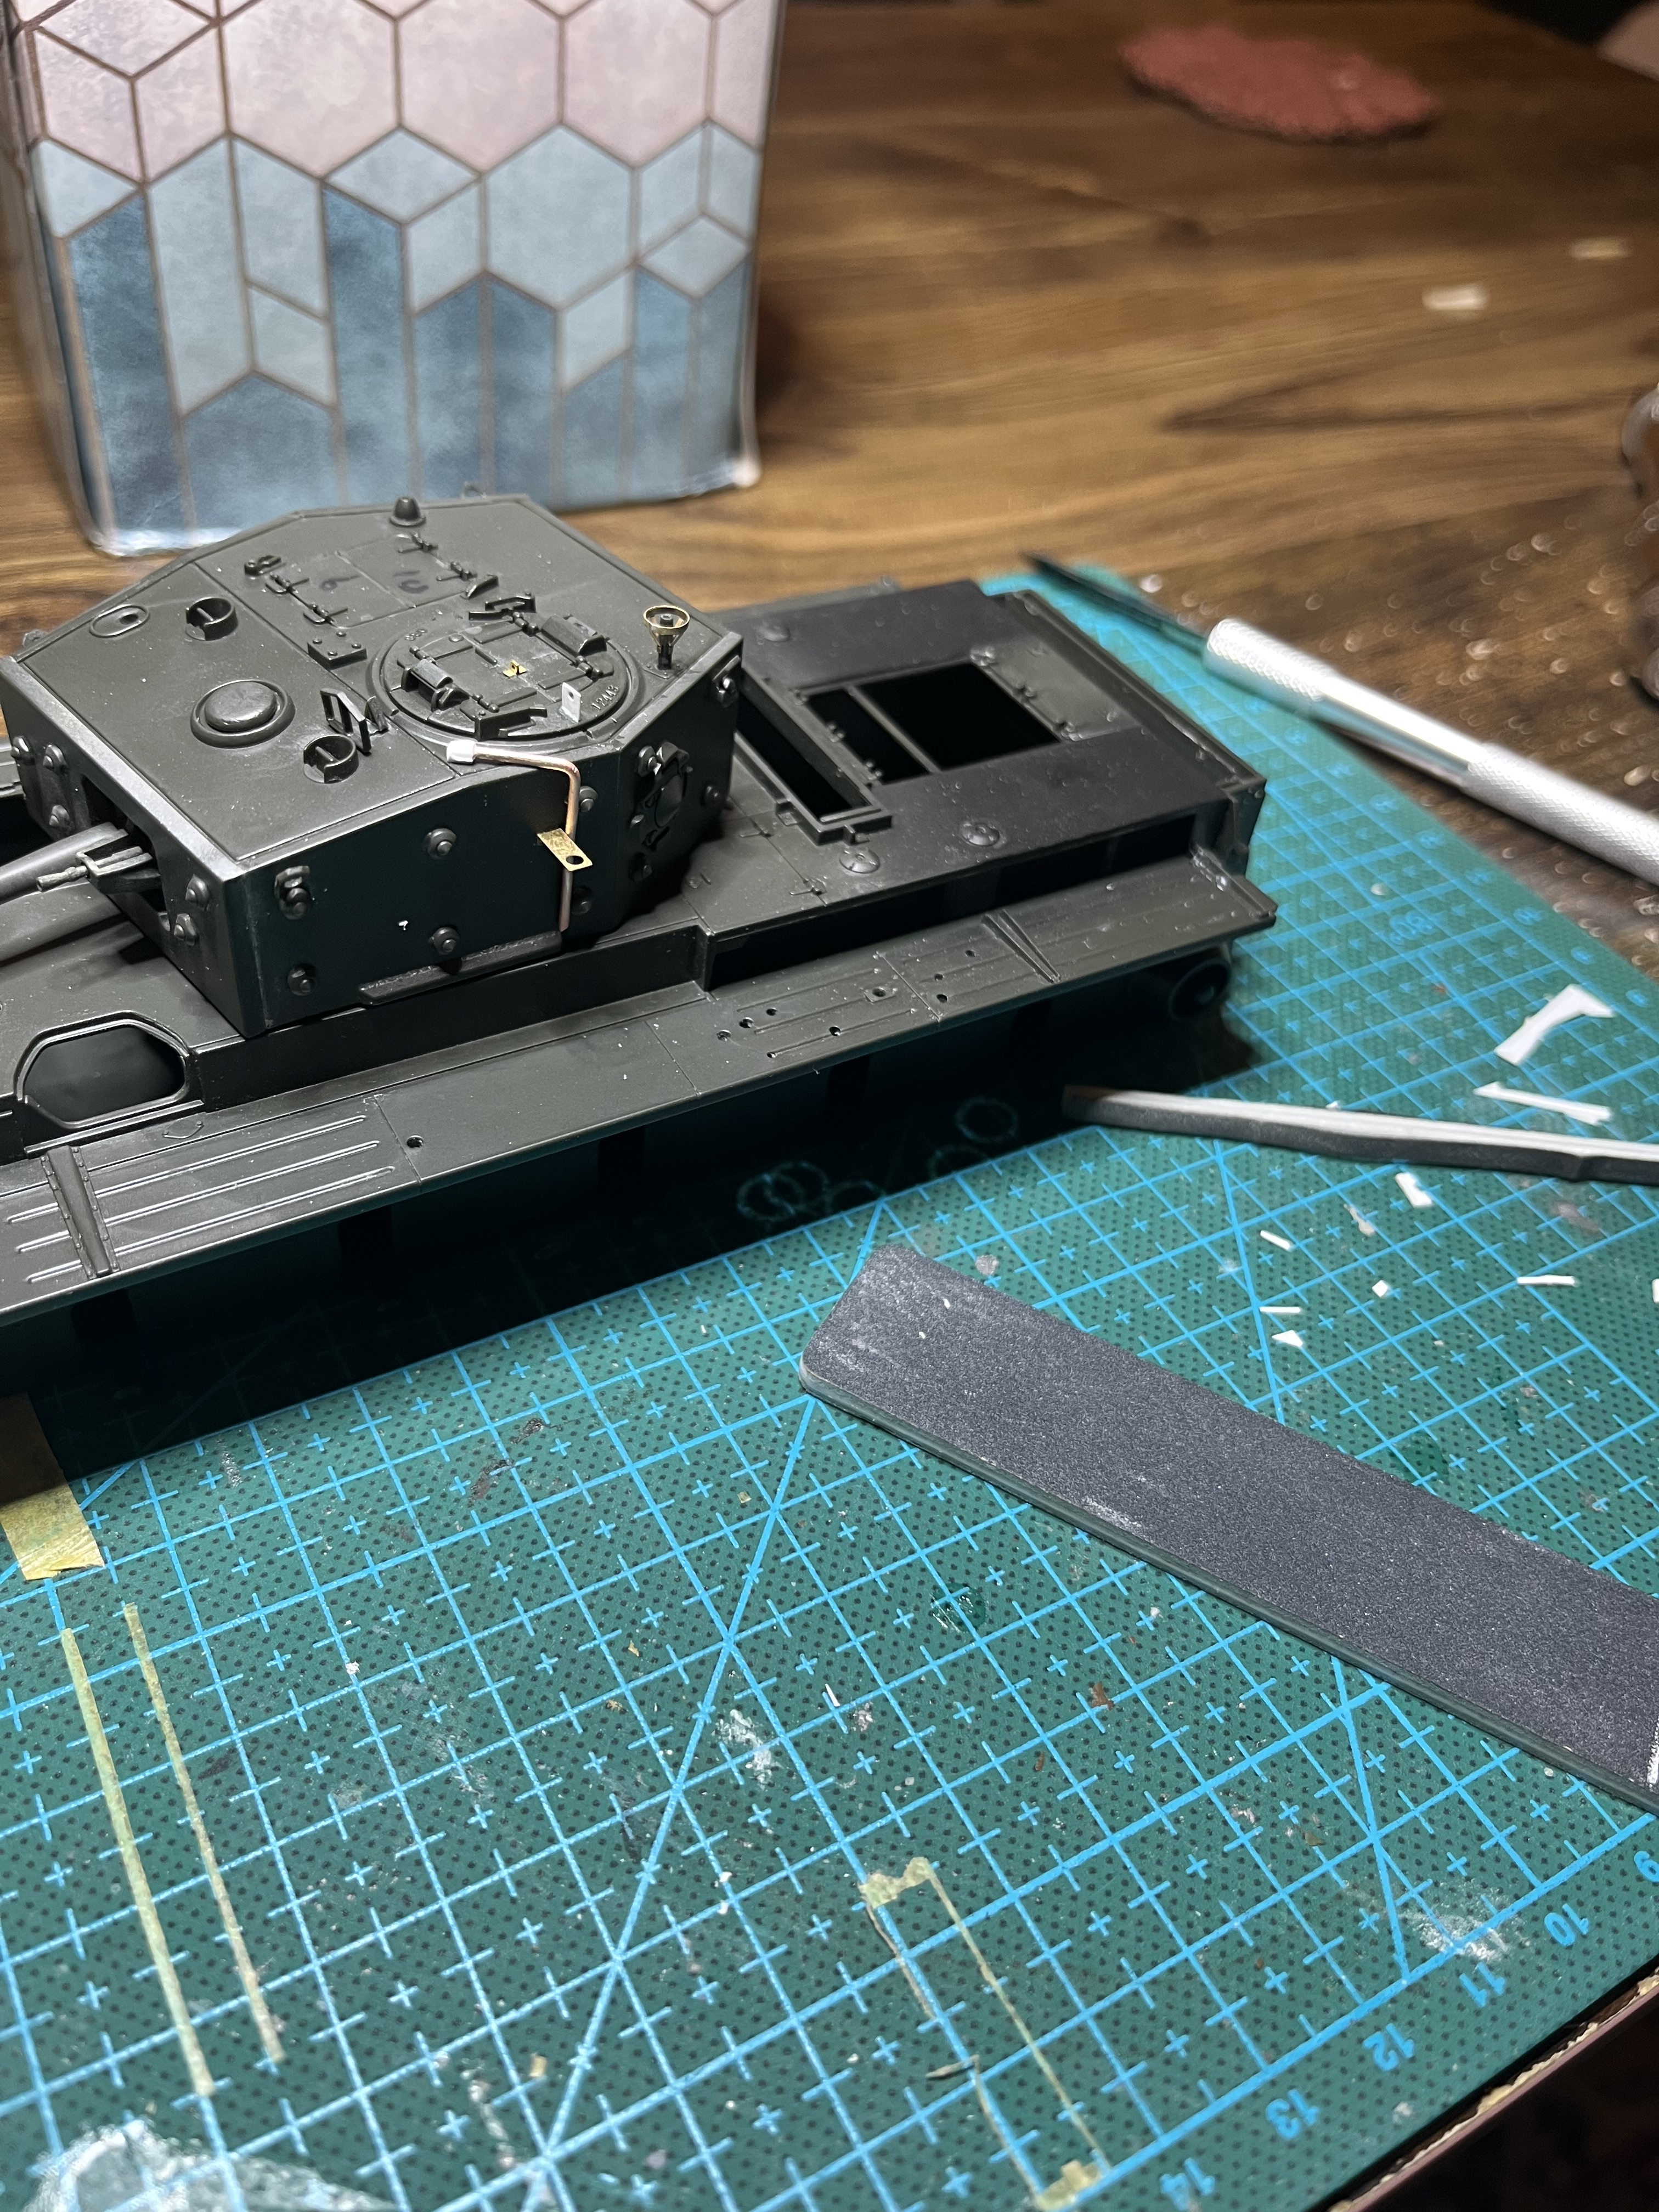
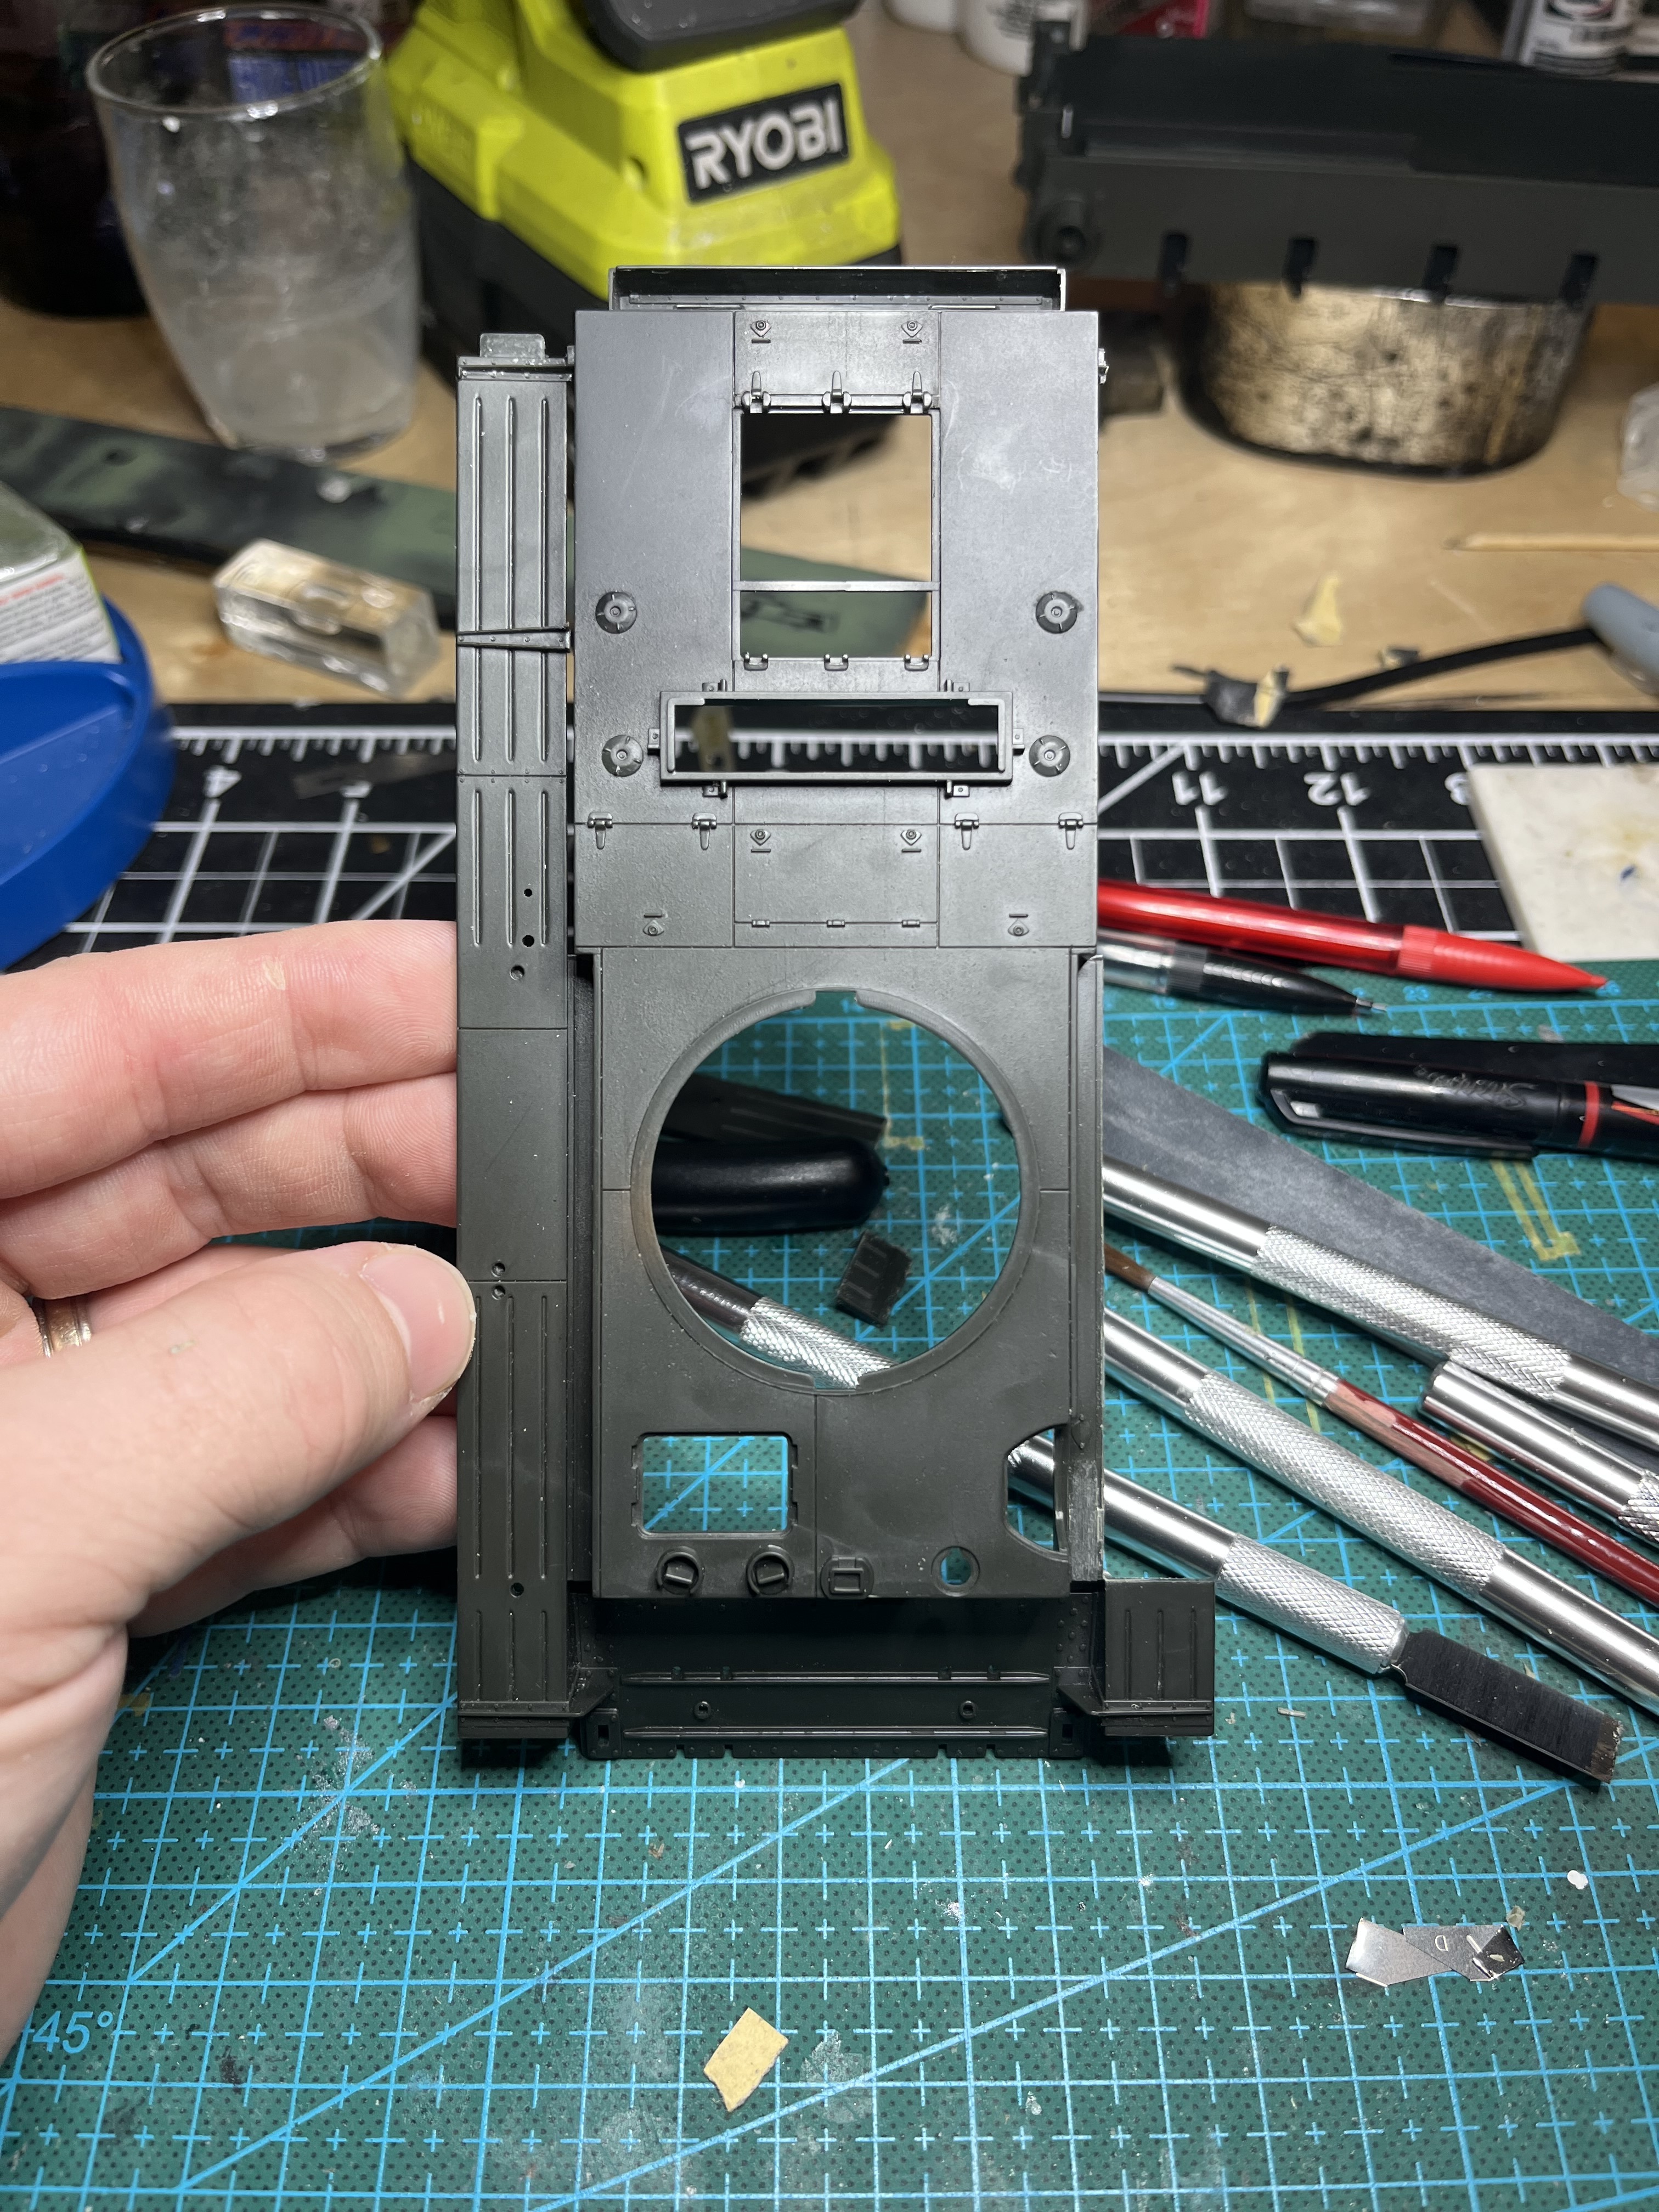
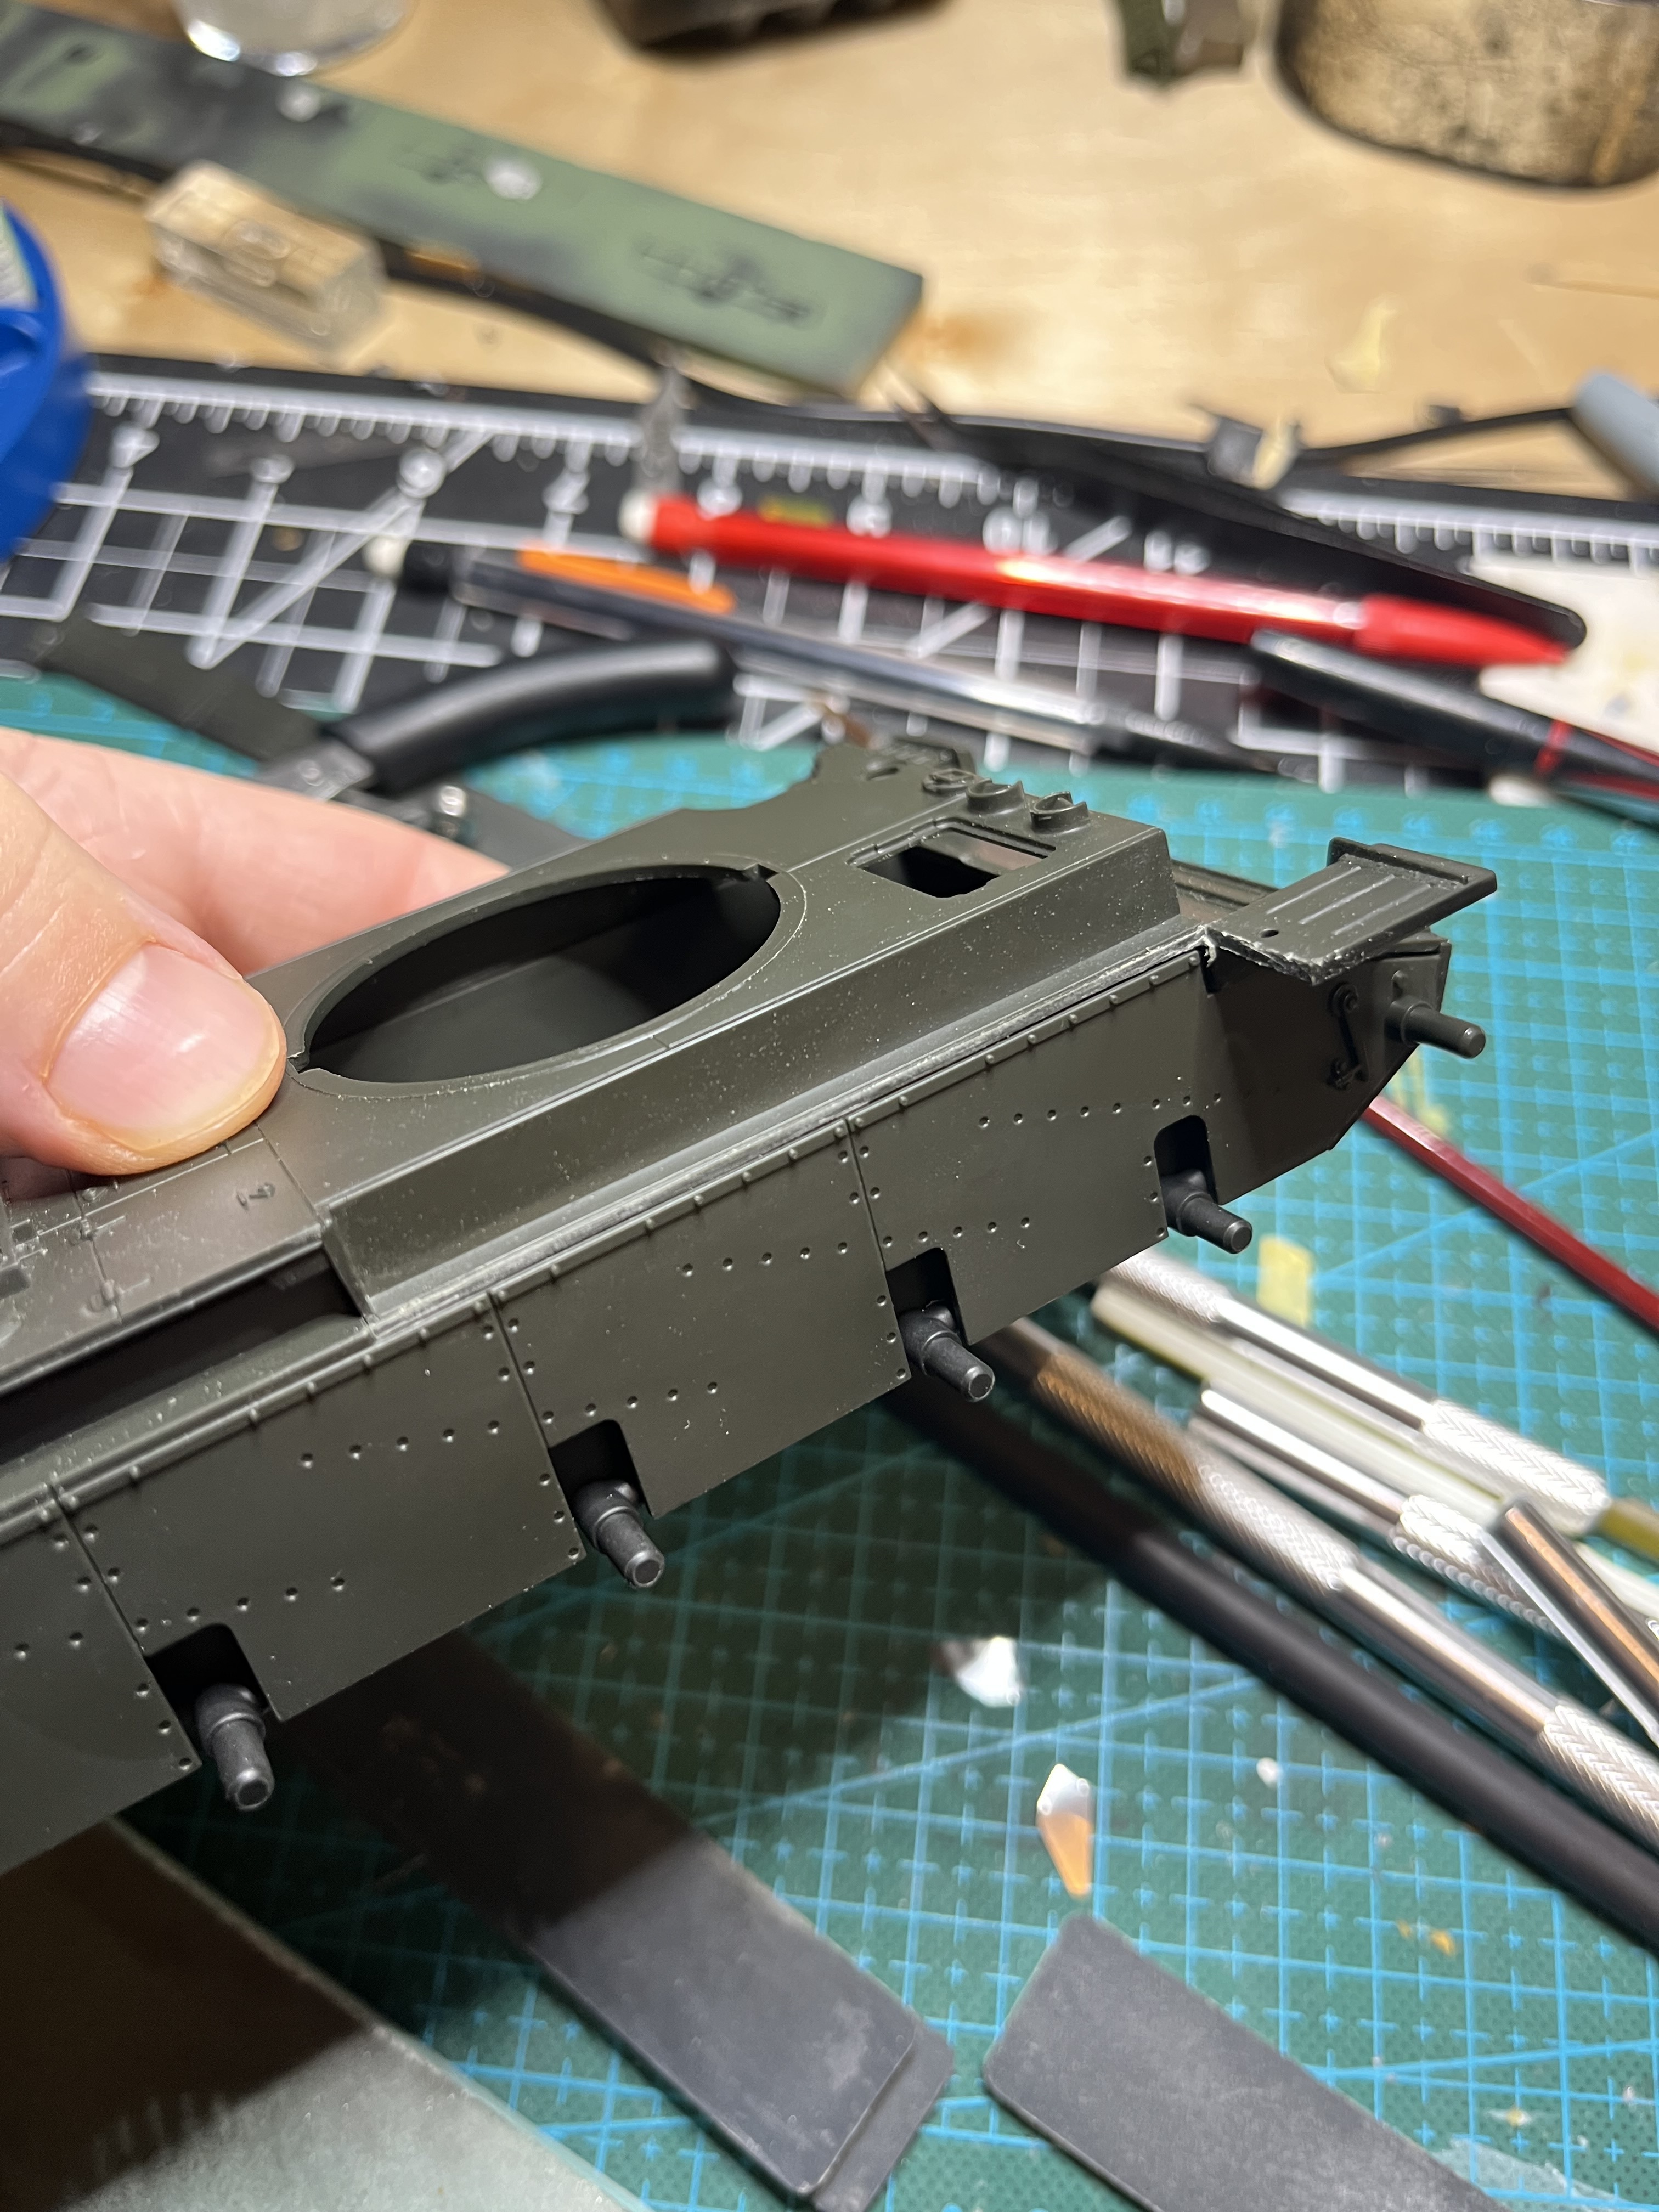
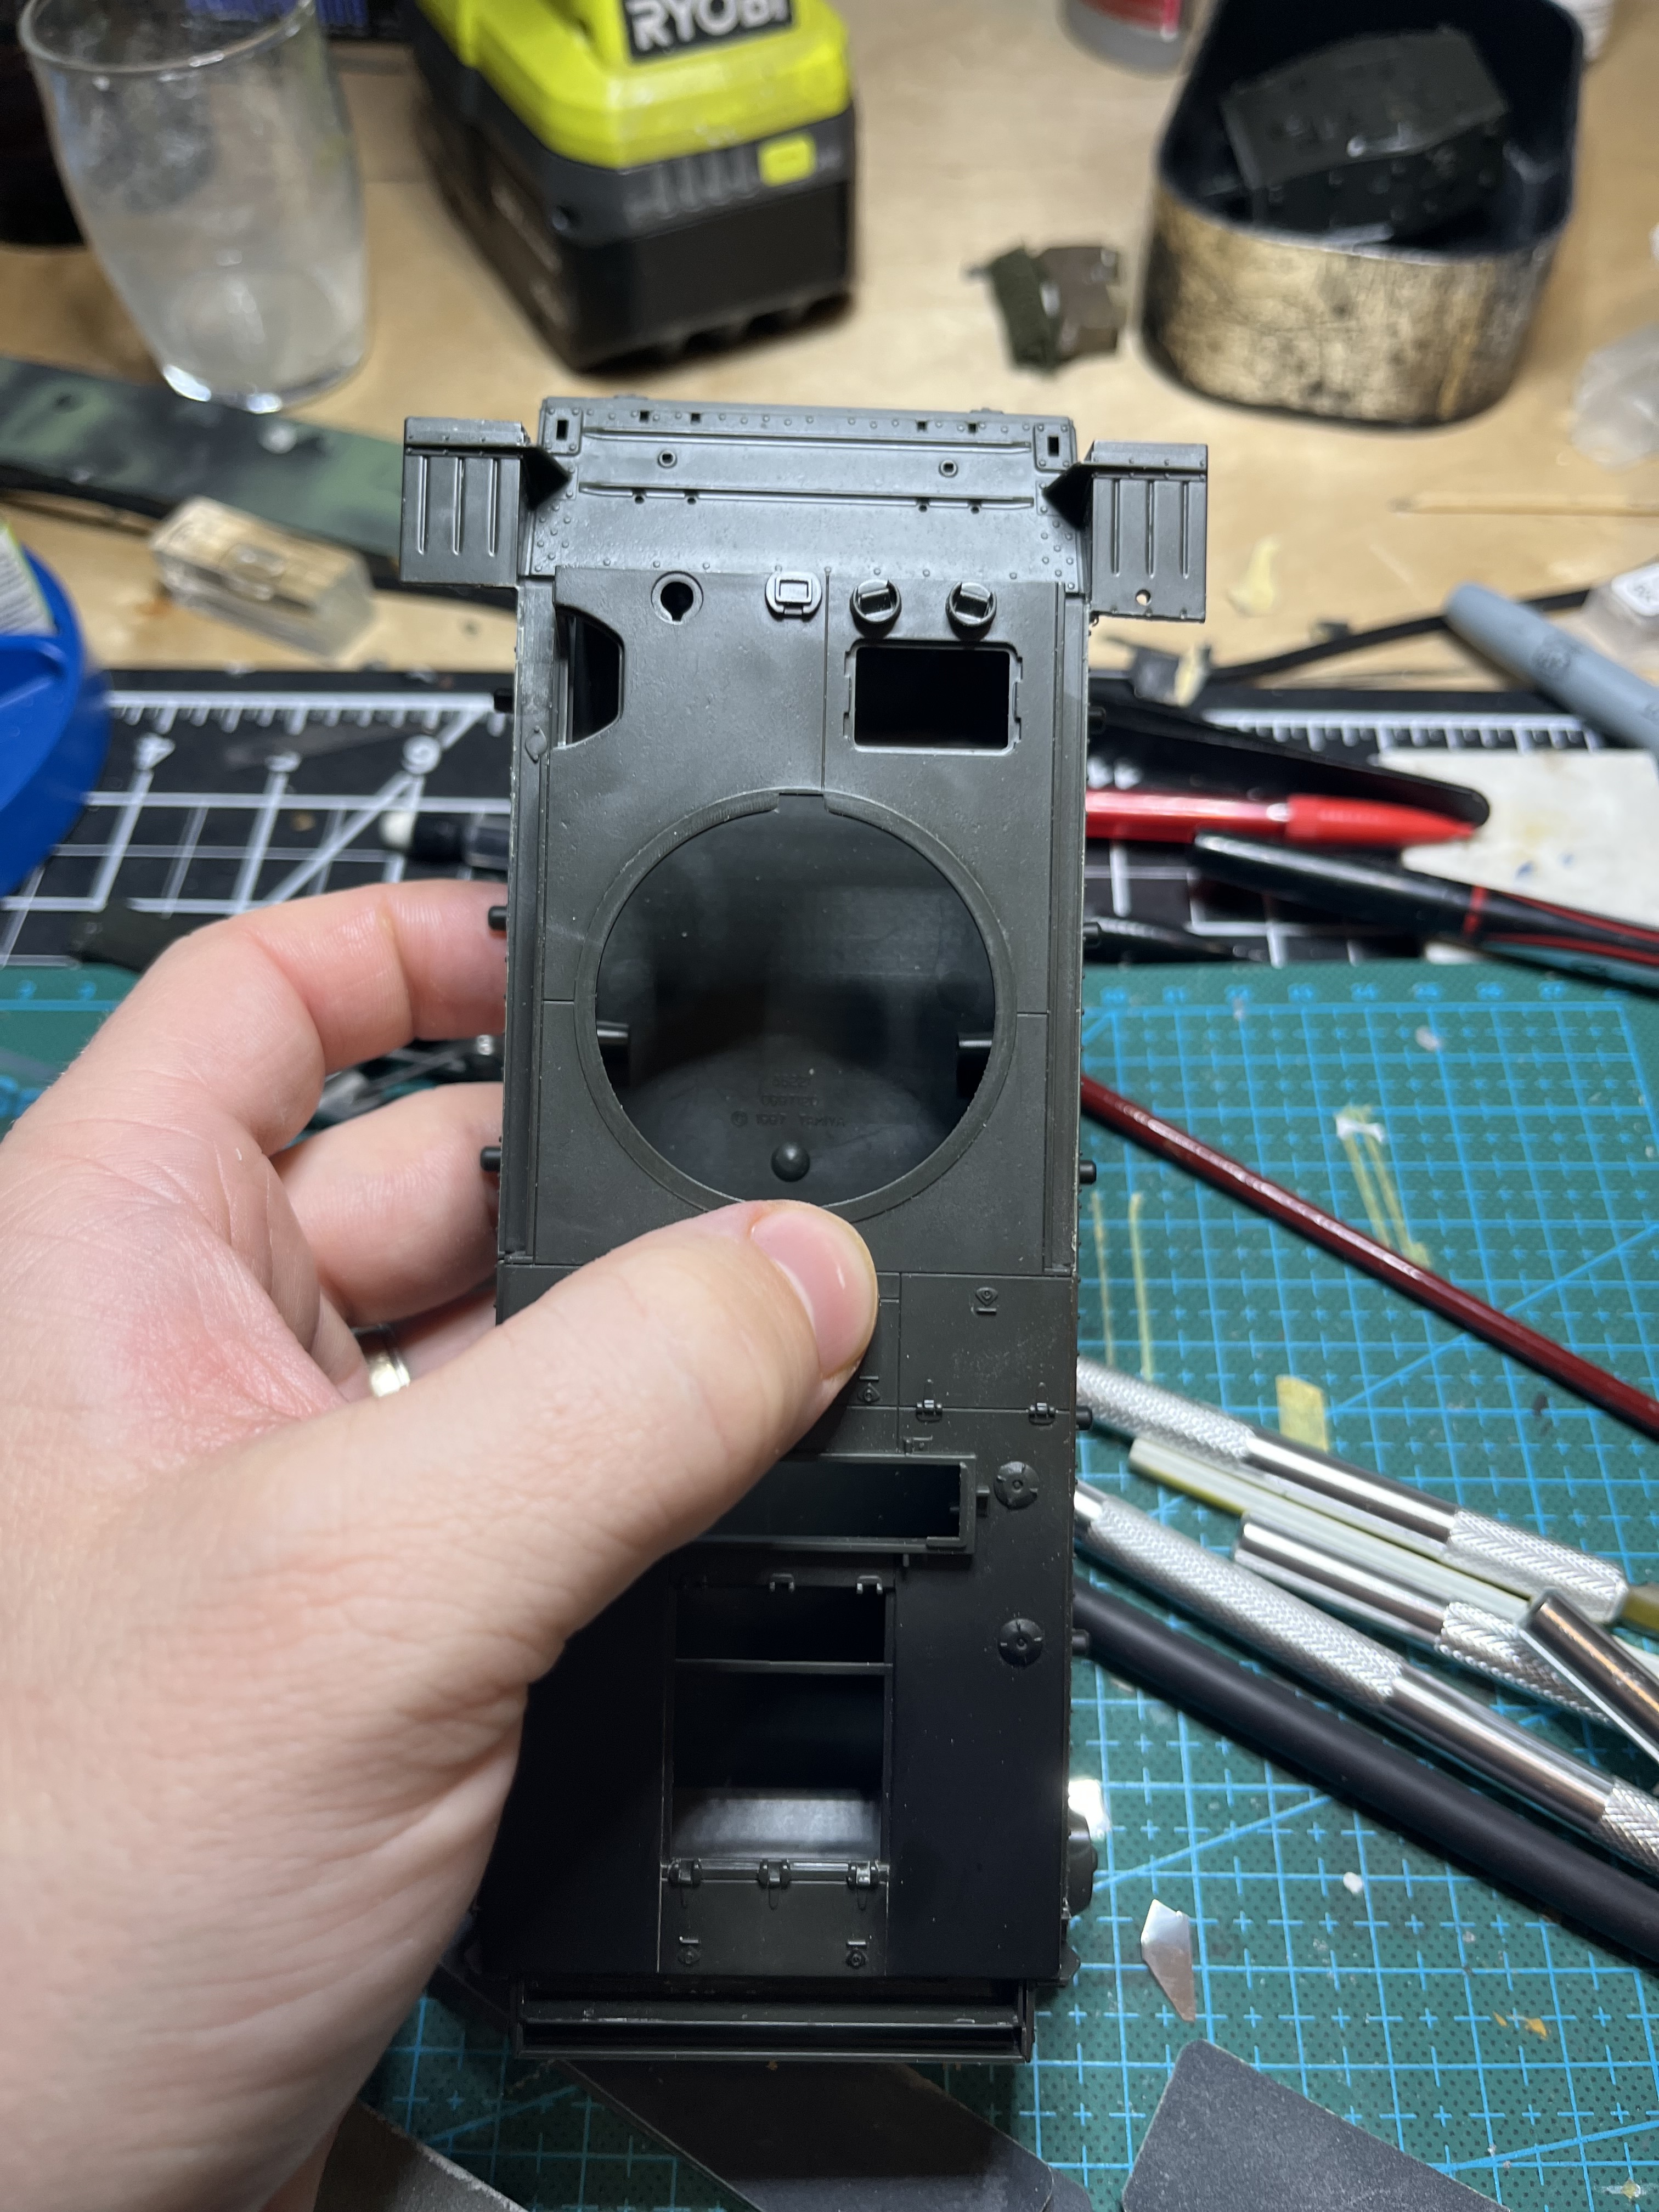
May start working on the upper hull, I got the old panel lines filled and incorrect hinges removed. A bit stalled until the fenders arrived, don’t want to add to much detail till I cut the old fenders off as I don’t want to knock pieces off
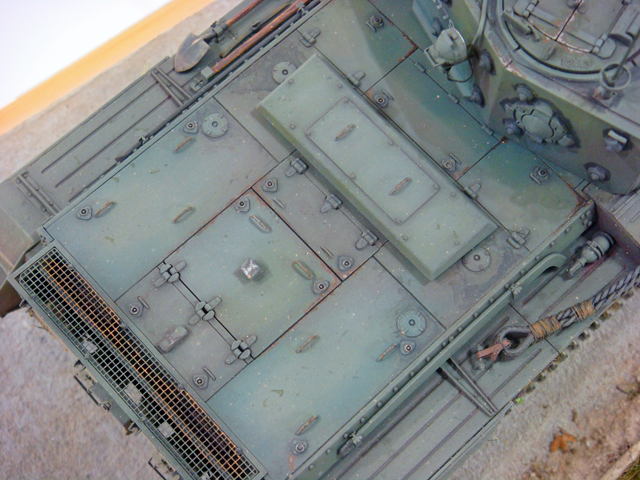
This is the only real complaint that I have about the Tamiya Cromwell model - The Big T chose one of the least produced variants to kit and most of the decals supplied are not for the kit variant. The majority used in combat in NWE were either the Type D or (later) Type F hulls.
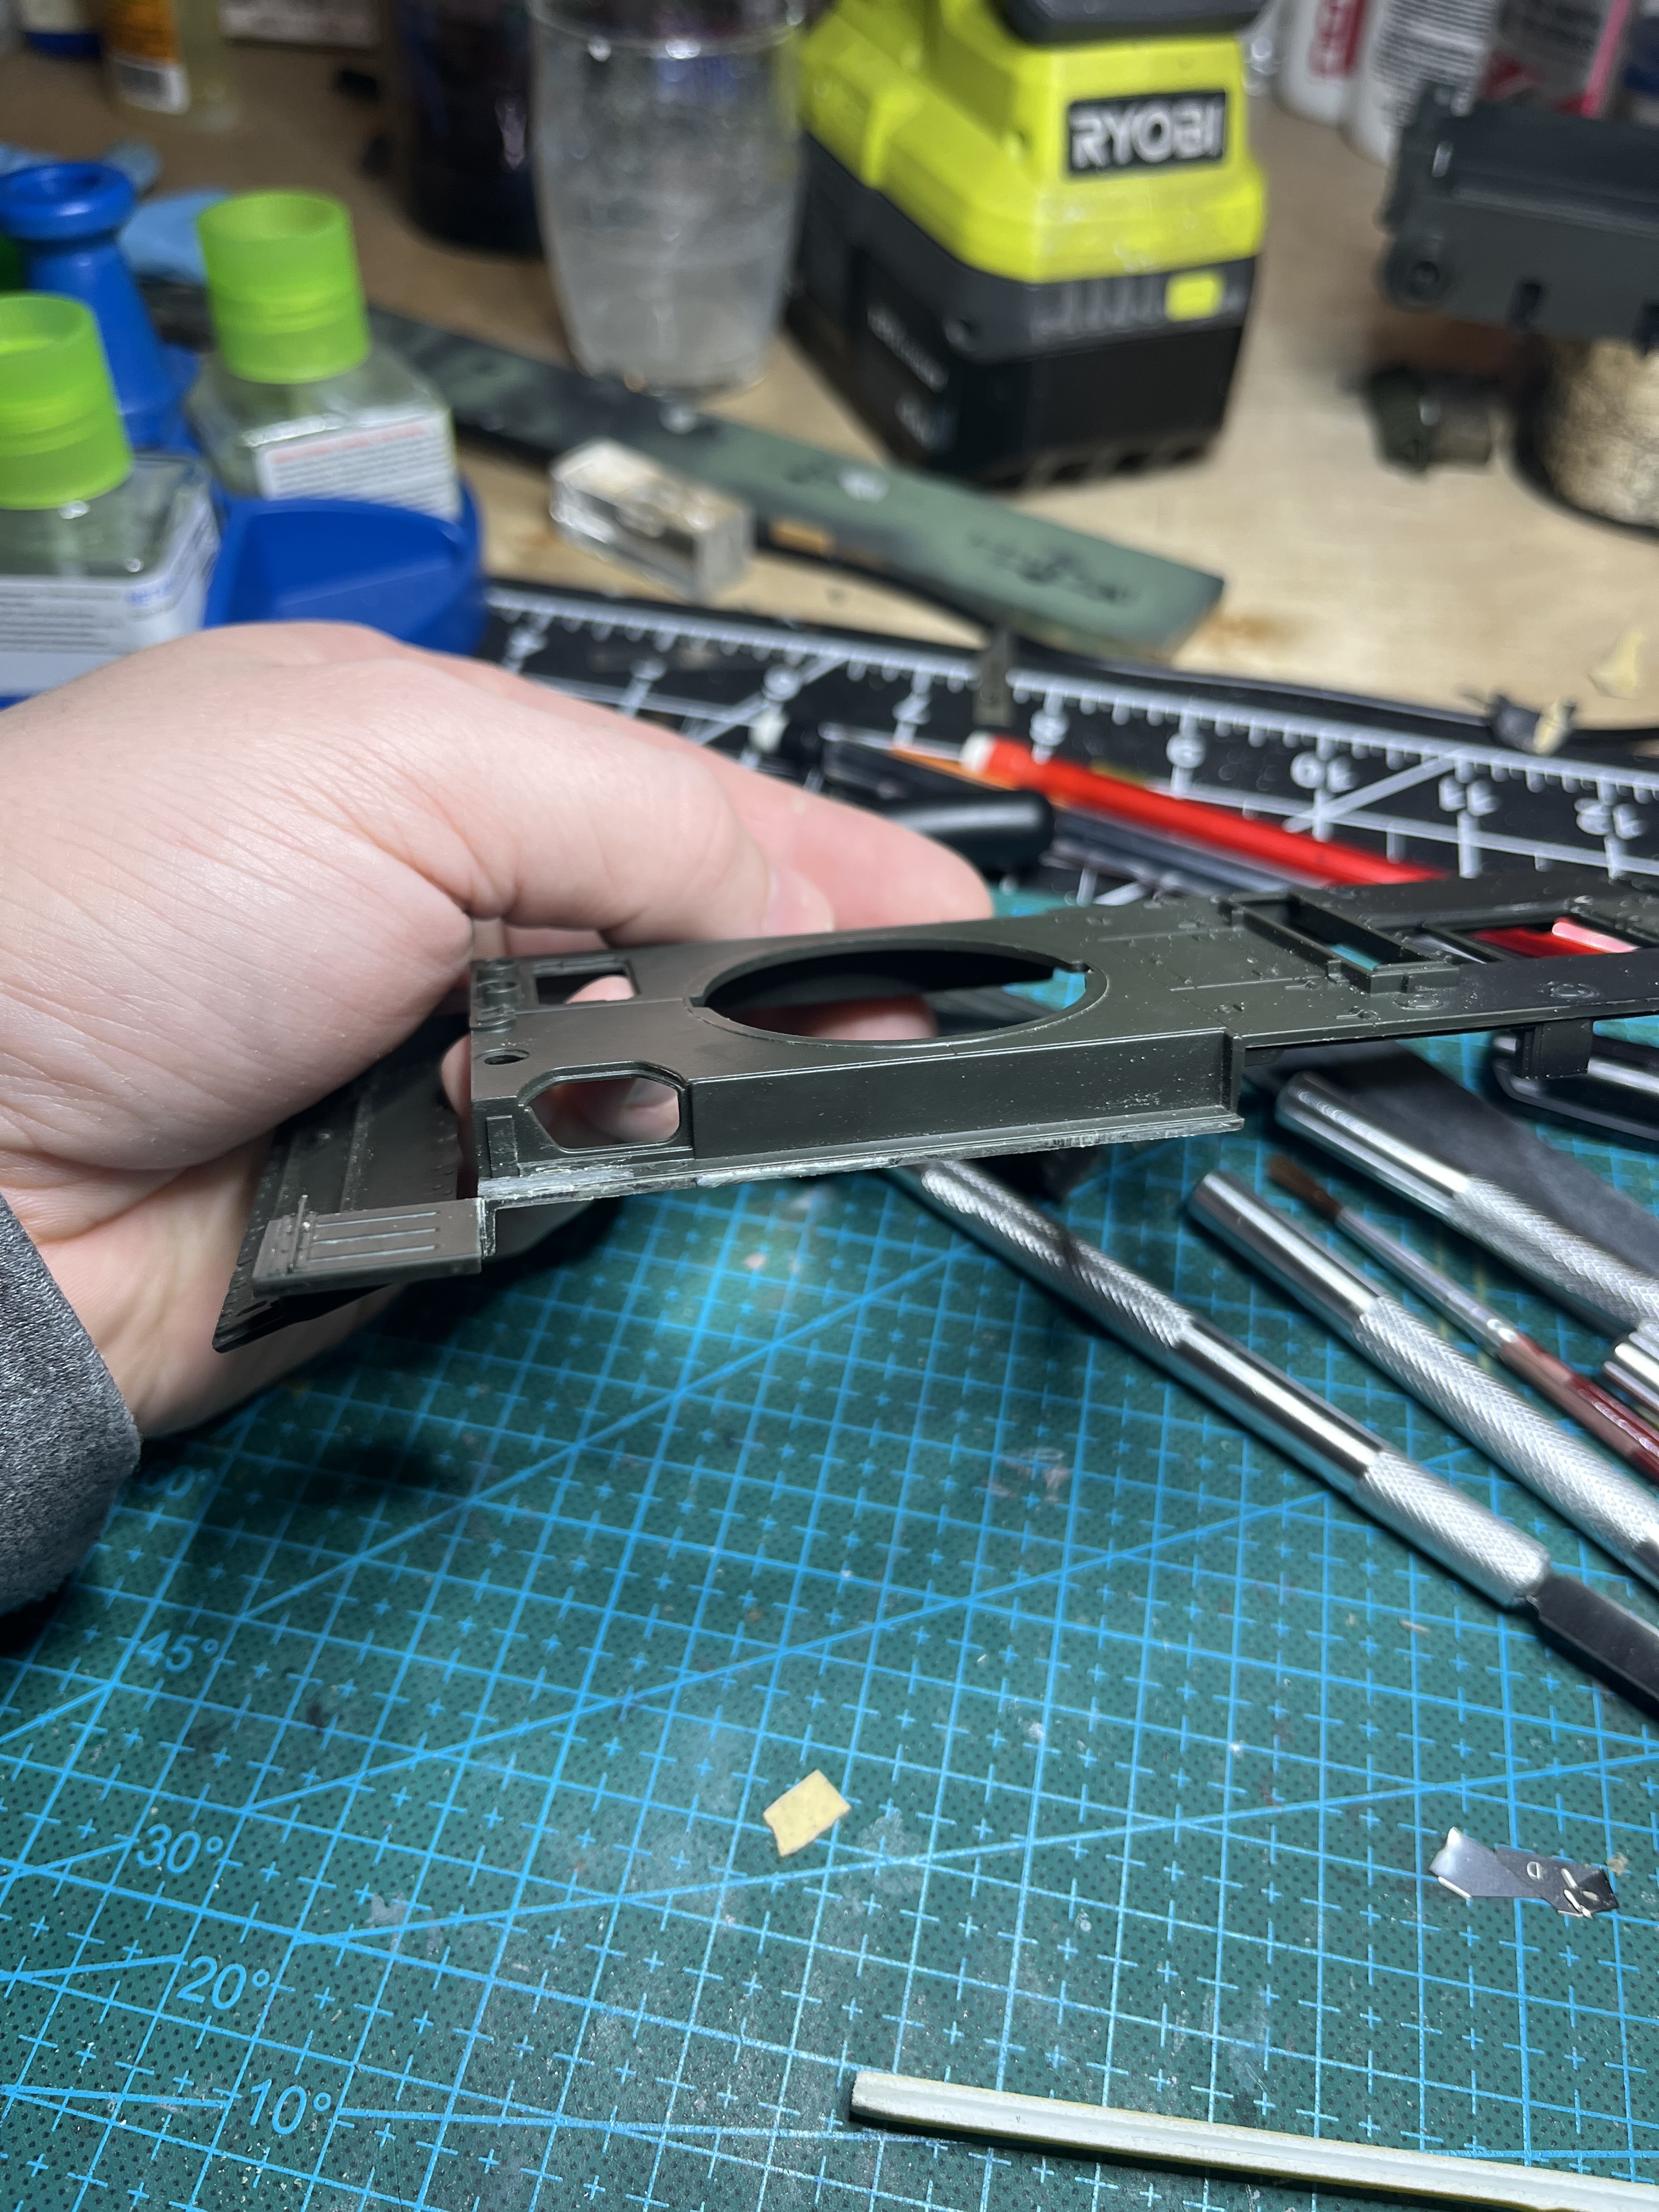
Modifying the Tamiya kit upper rear hull to the Type D configuration is not impossible, but because replicating the hinge and latch details is not particularly easy neither is the change. There have been a couple of resin Type D conversion decks over the years, and the hinge and latch details can be borrowed from an Italeri Crusader kit if someone wanted to scratch / kit-bash the conversion.
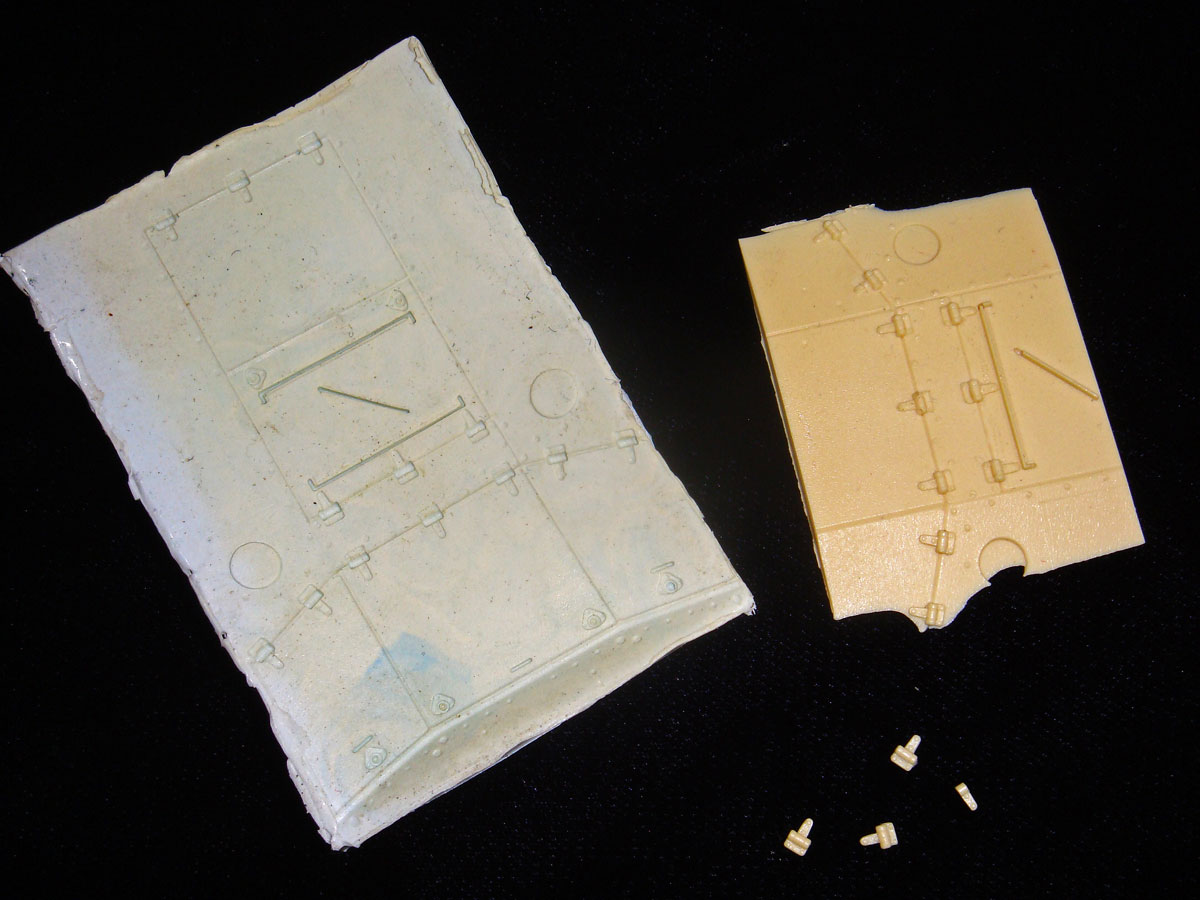
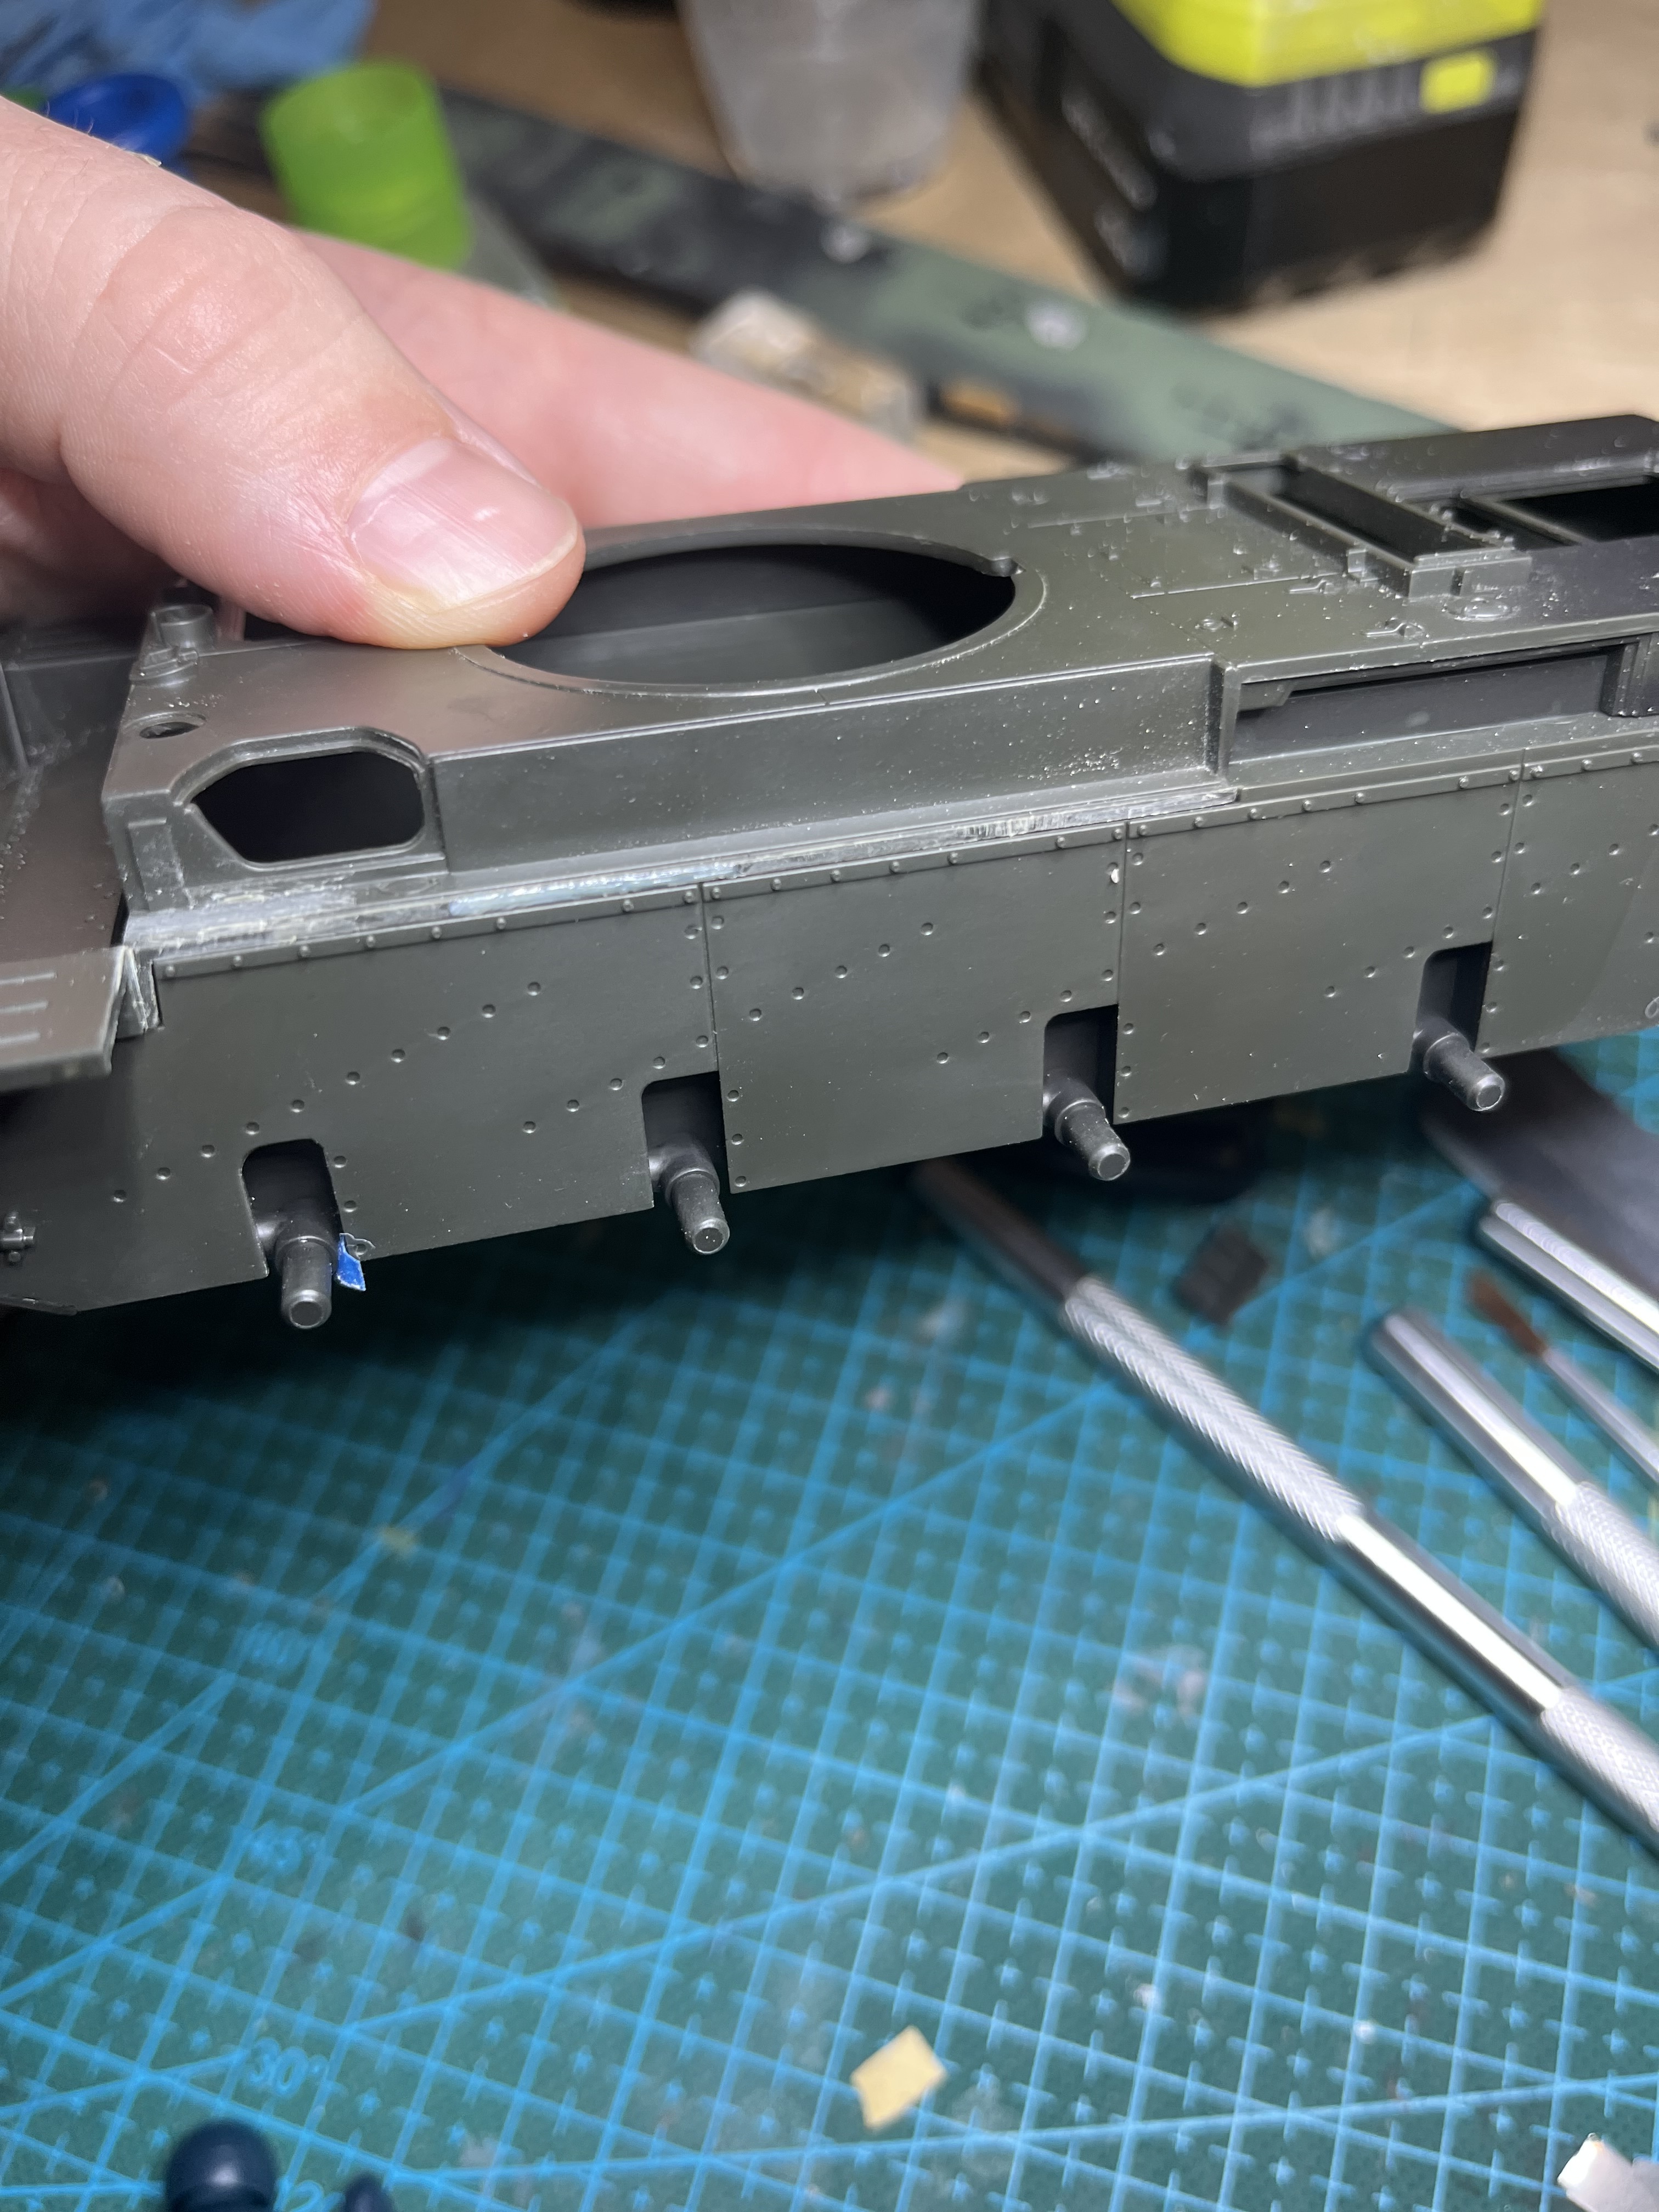
This is a Type D hull conversion using resin copies of the Italeri Crusader hinge and latch details with re-scribed engine deck hatches.
This is an RTV mold cast off of the Italeri Crusader hull. The resin copy was made from this RTV mold, and the details cut out and sanded thin to add to the back of the Tamiya kit.
Honestly, unless you already have the mold making materials on hand, simply buying a copy of the Italeri kit and robbing the details off of it is the cheaper way to go. You’ll spend a lot more on resin casting materials than on a copy of the old Italeri kit.
I am giving a go at scratch building them. I measured the radius of on, punched out a circle of .01” styrene slightly larger, then sanded it thin and round the corners of it. I will then use some stretch sprue to make the center disk and drill it out. Won’t be as good as cast though
By the way I’ve been studying your excellent PE guide and switched from a solder iron to a small torch, wow it’s been a game changer
The aerial was a complex rounded shaped that would have been hard to make strong with super glue. Silver was a breeze
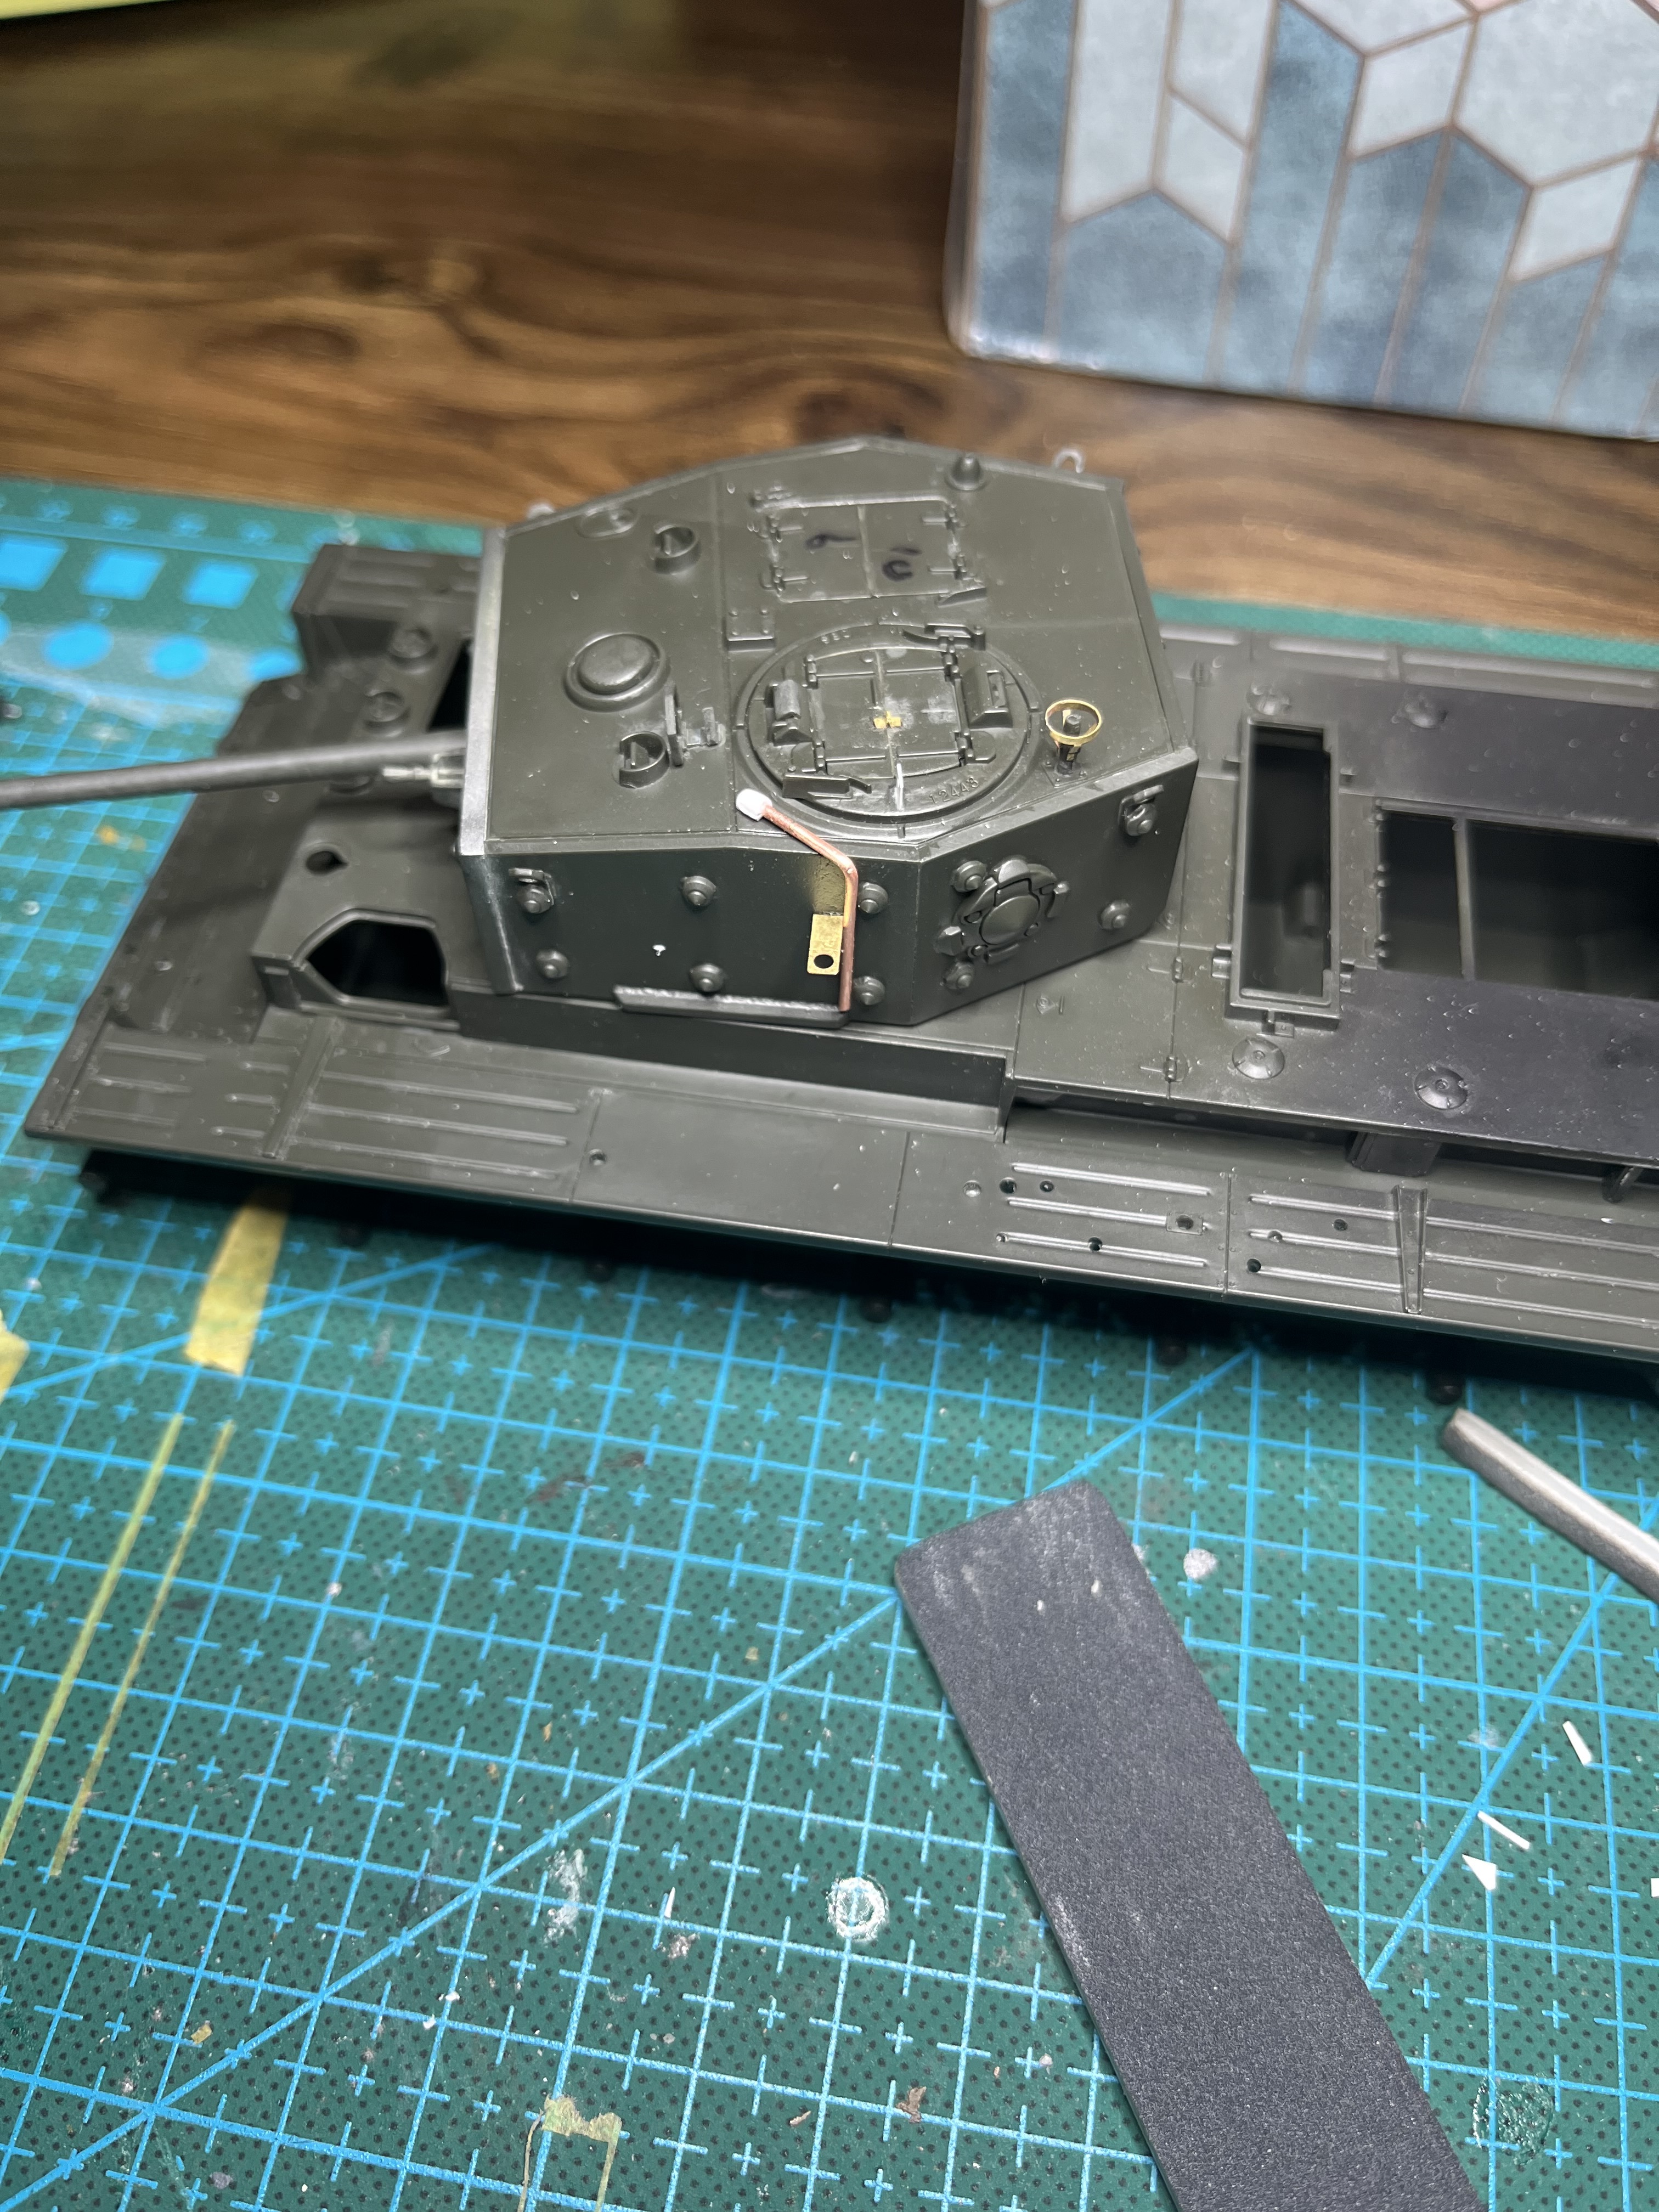
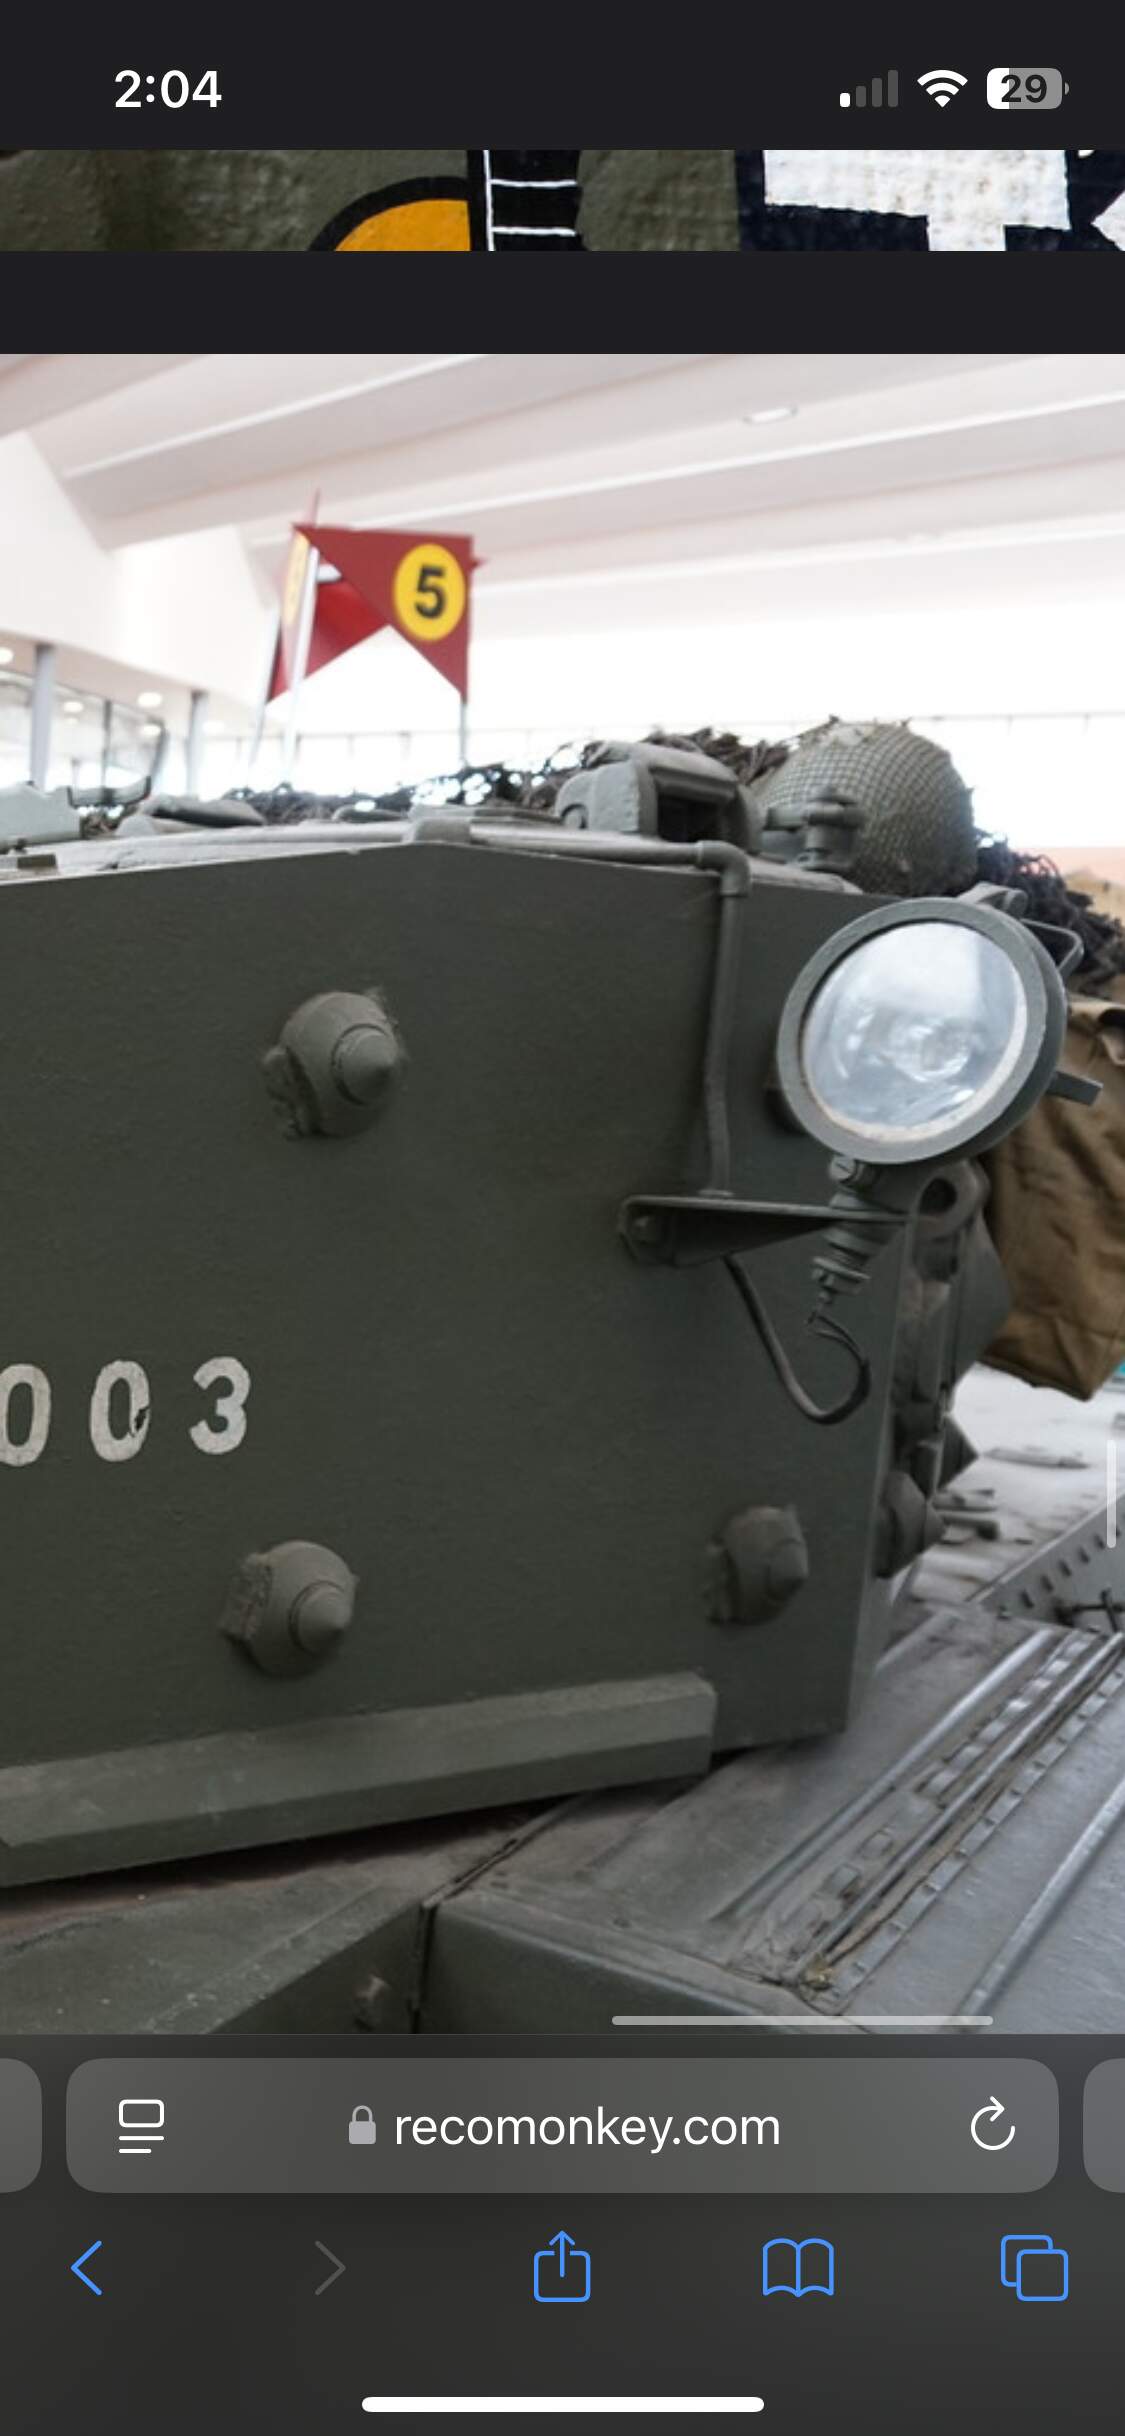
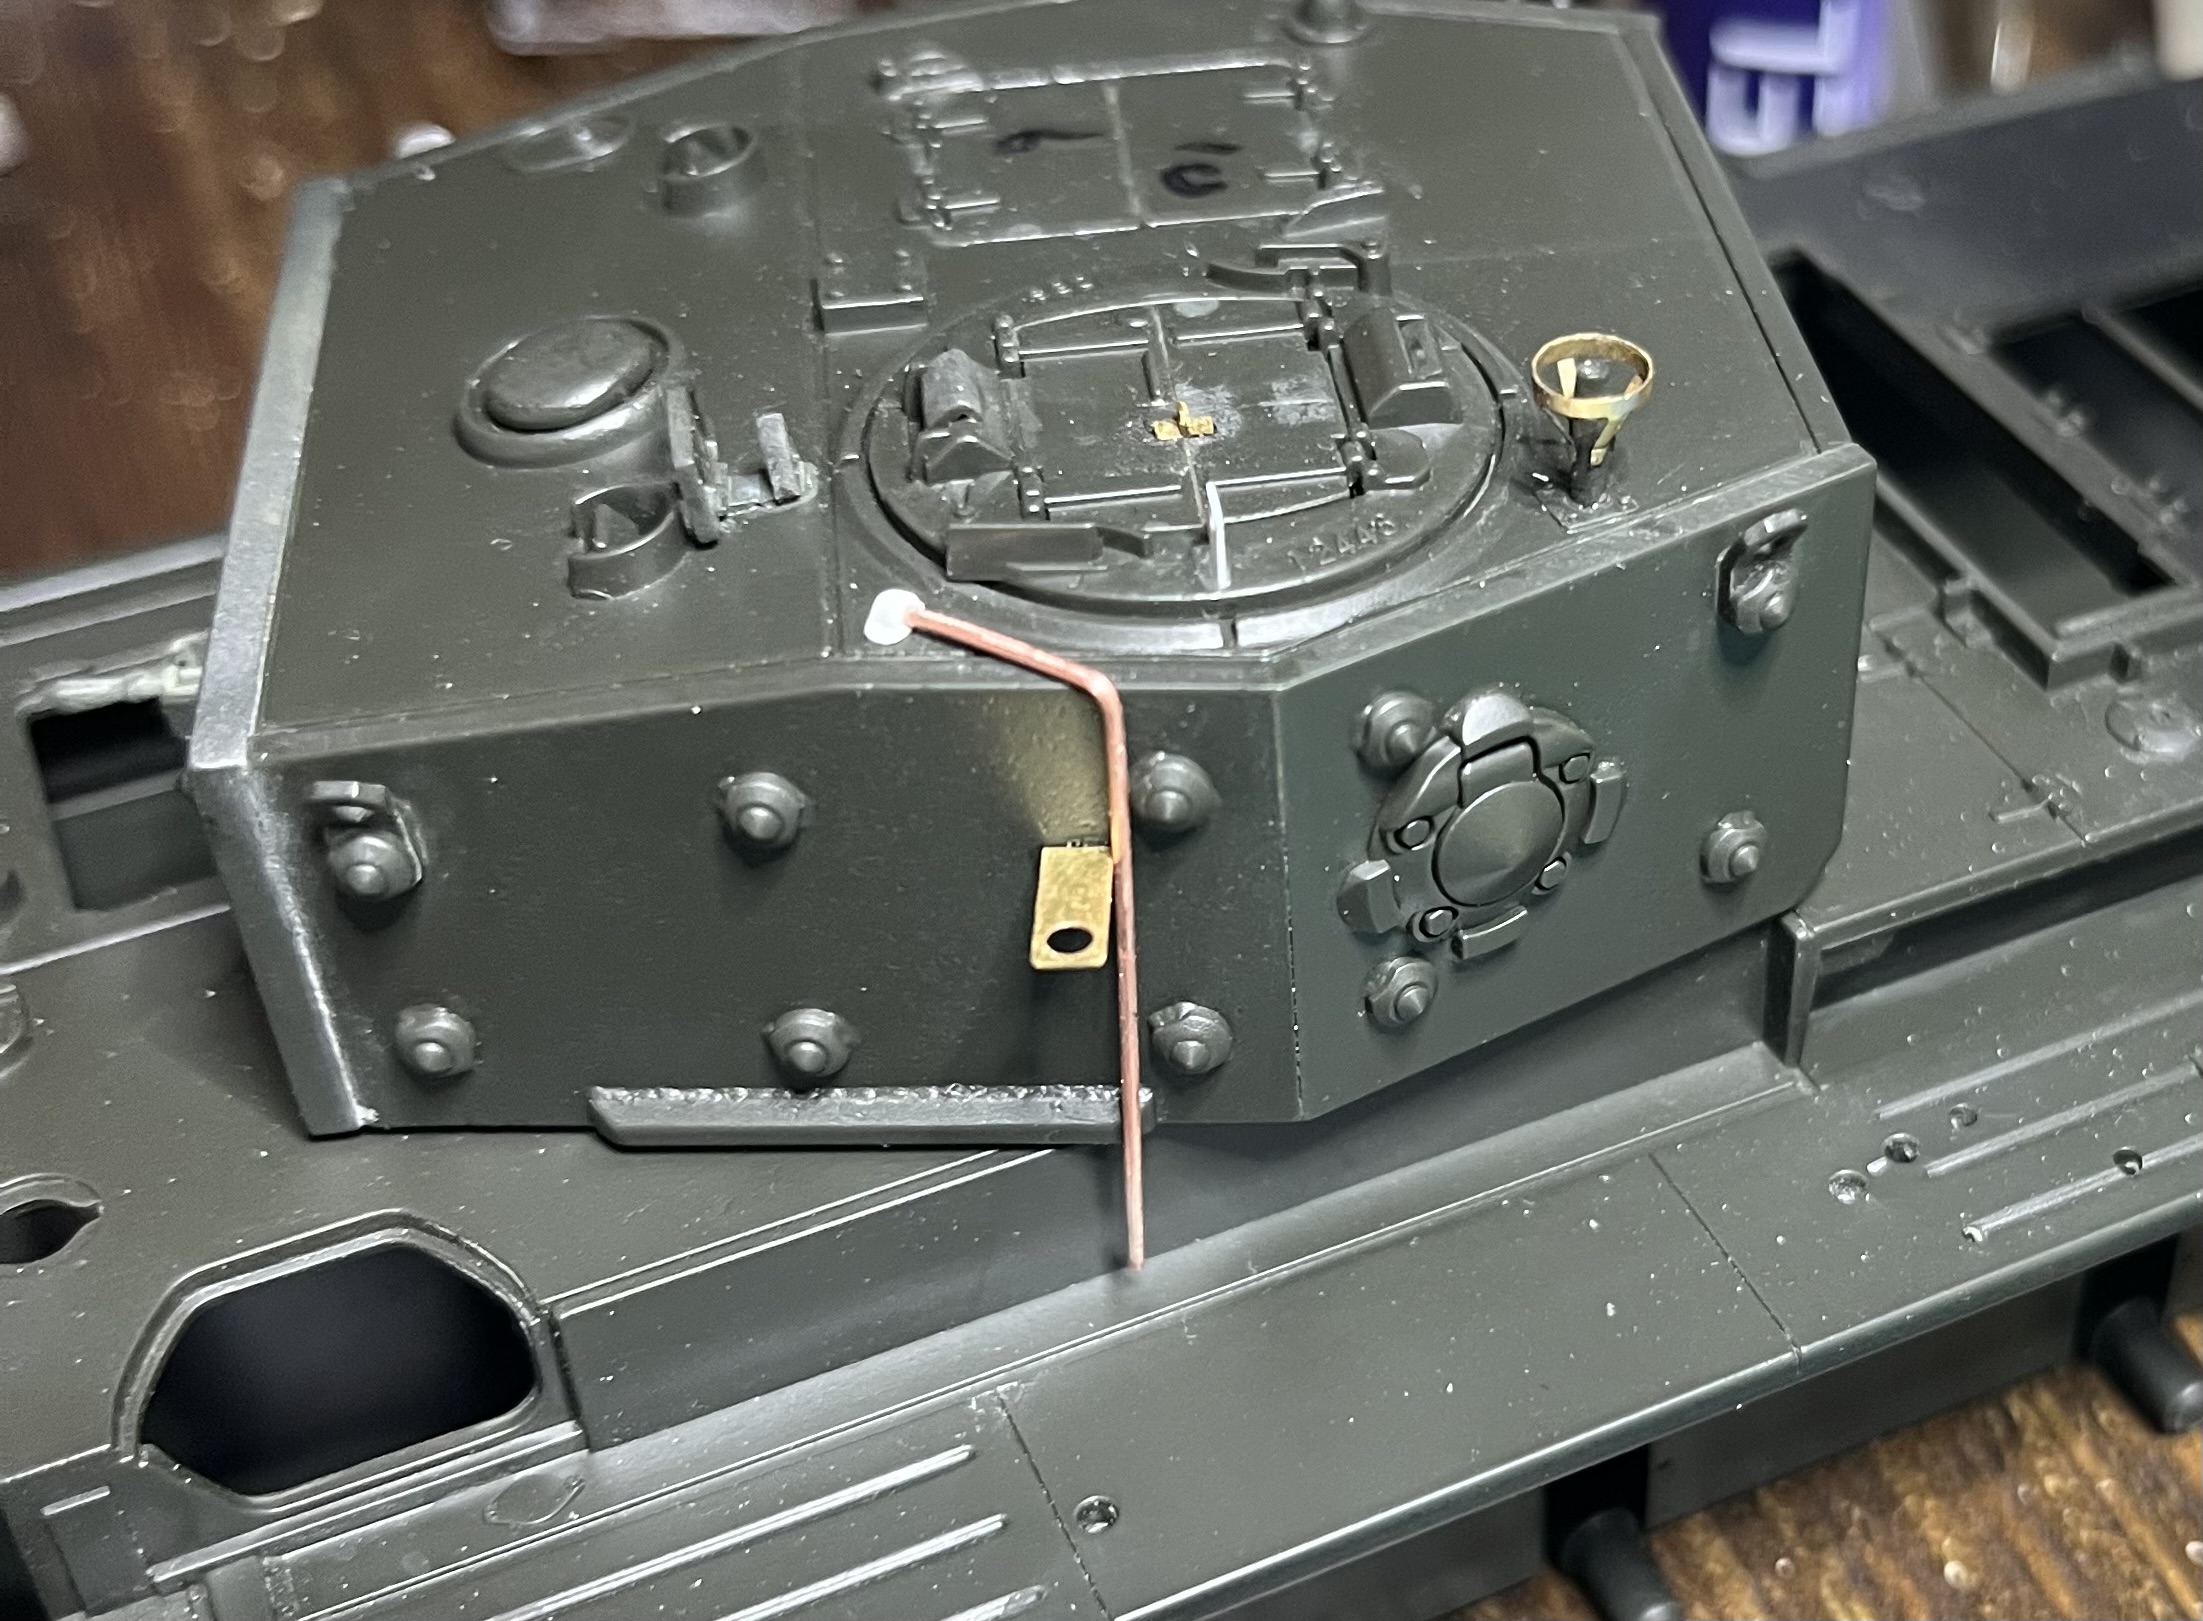
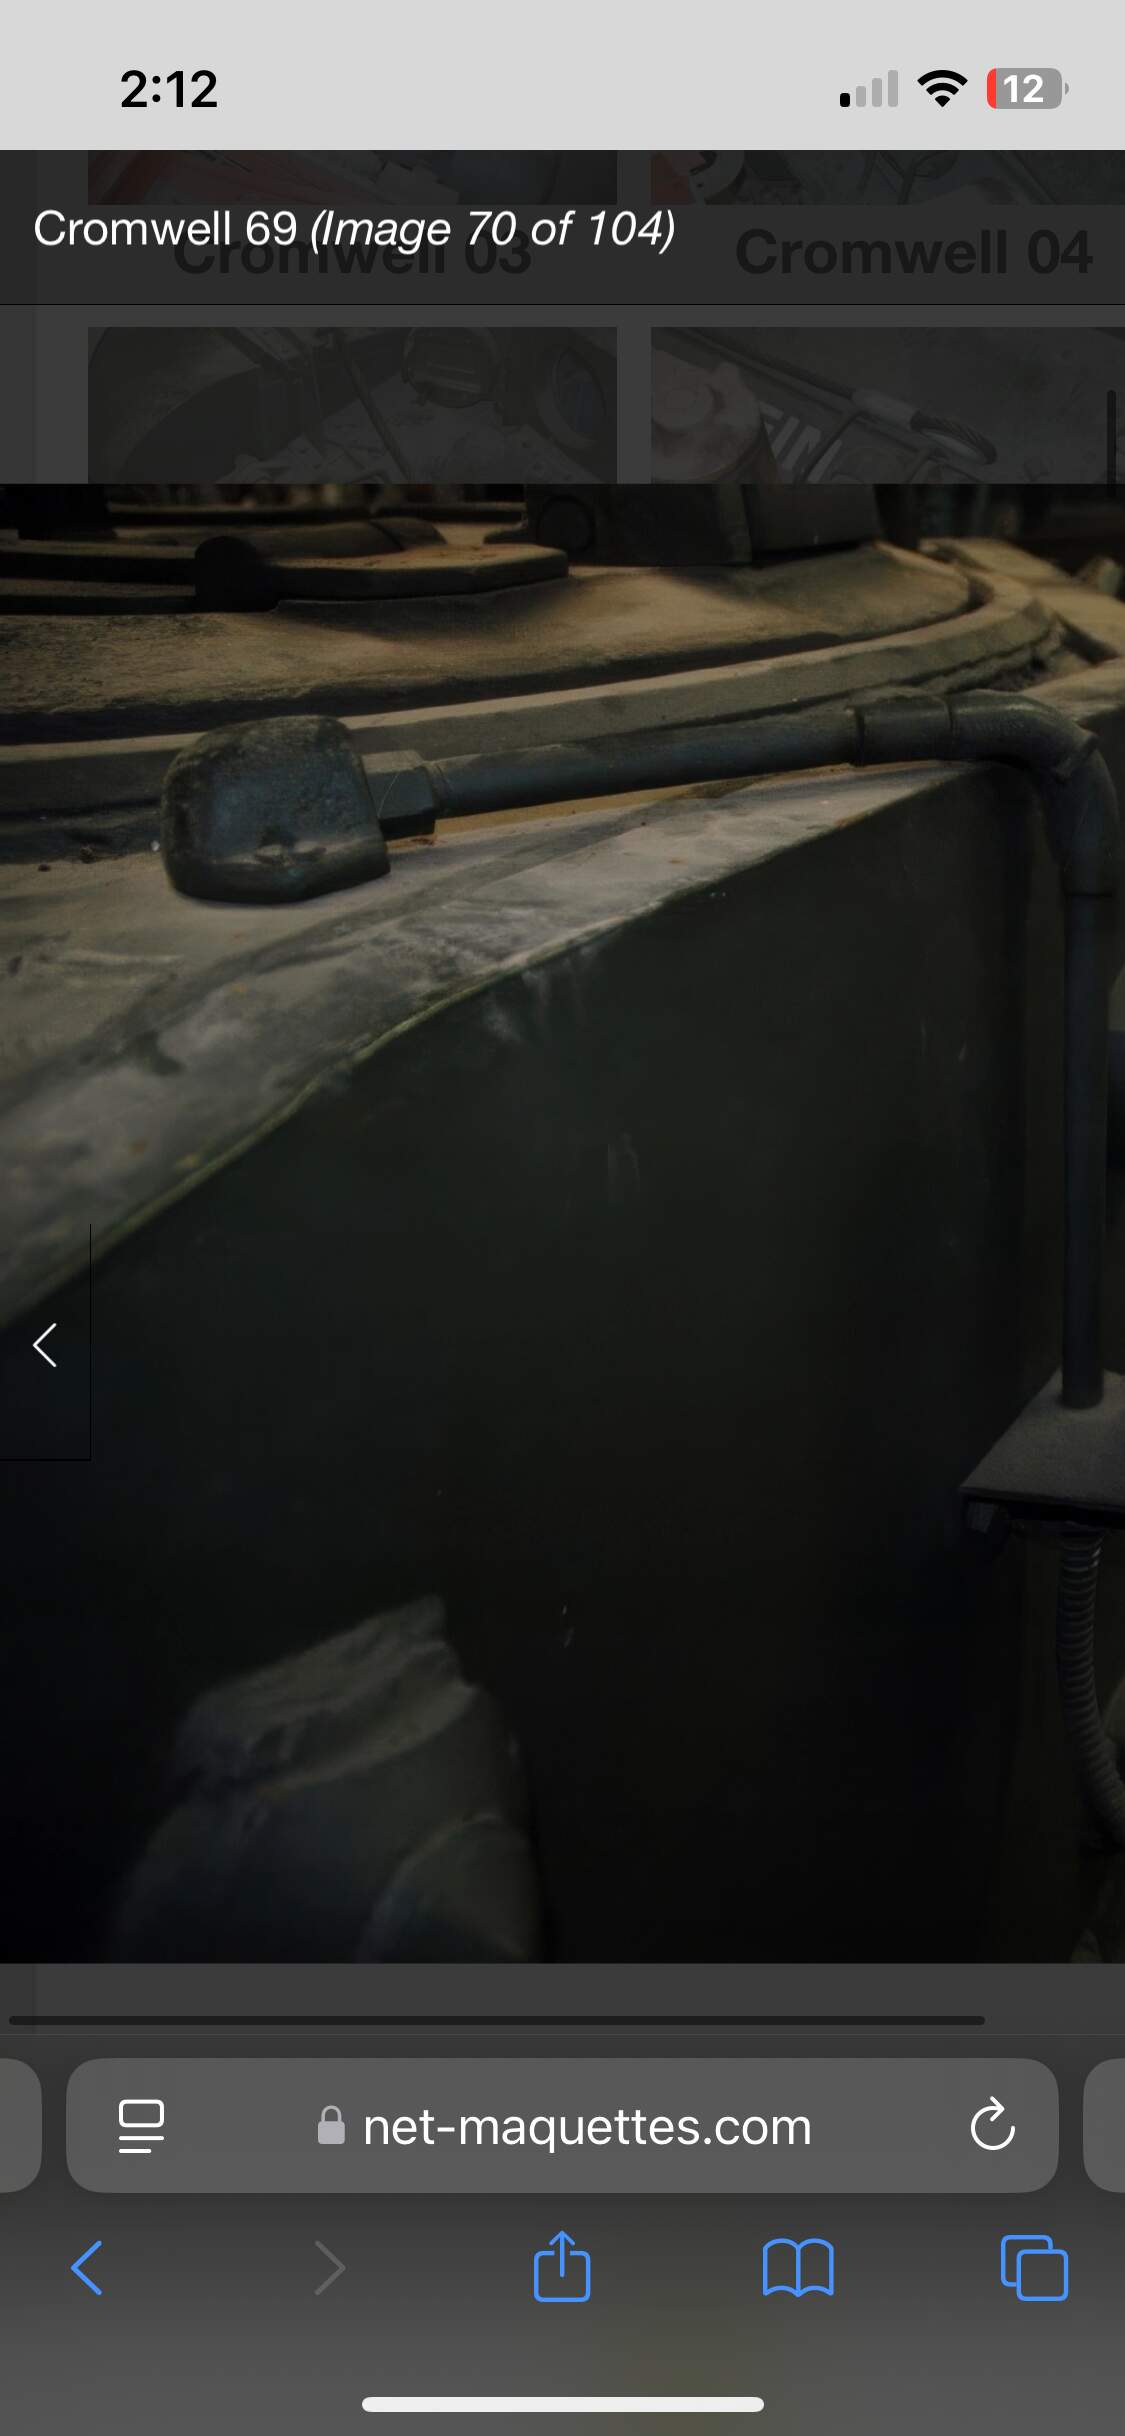
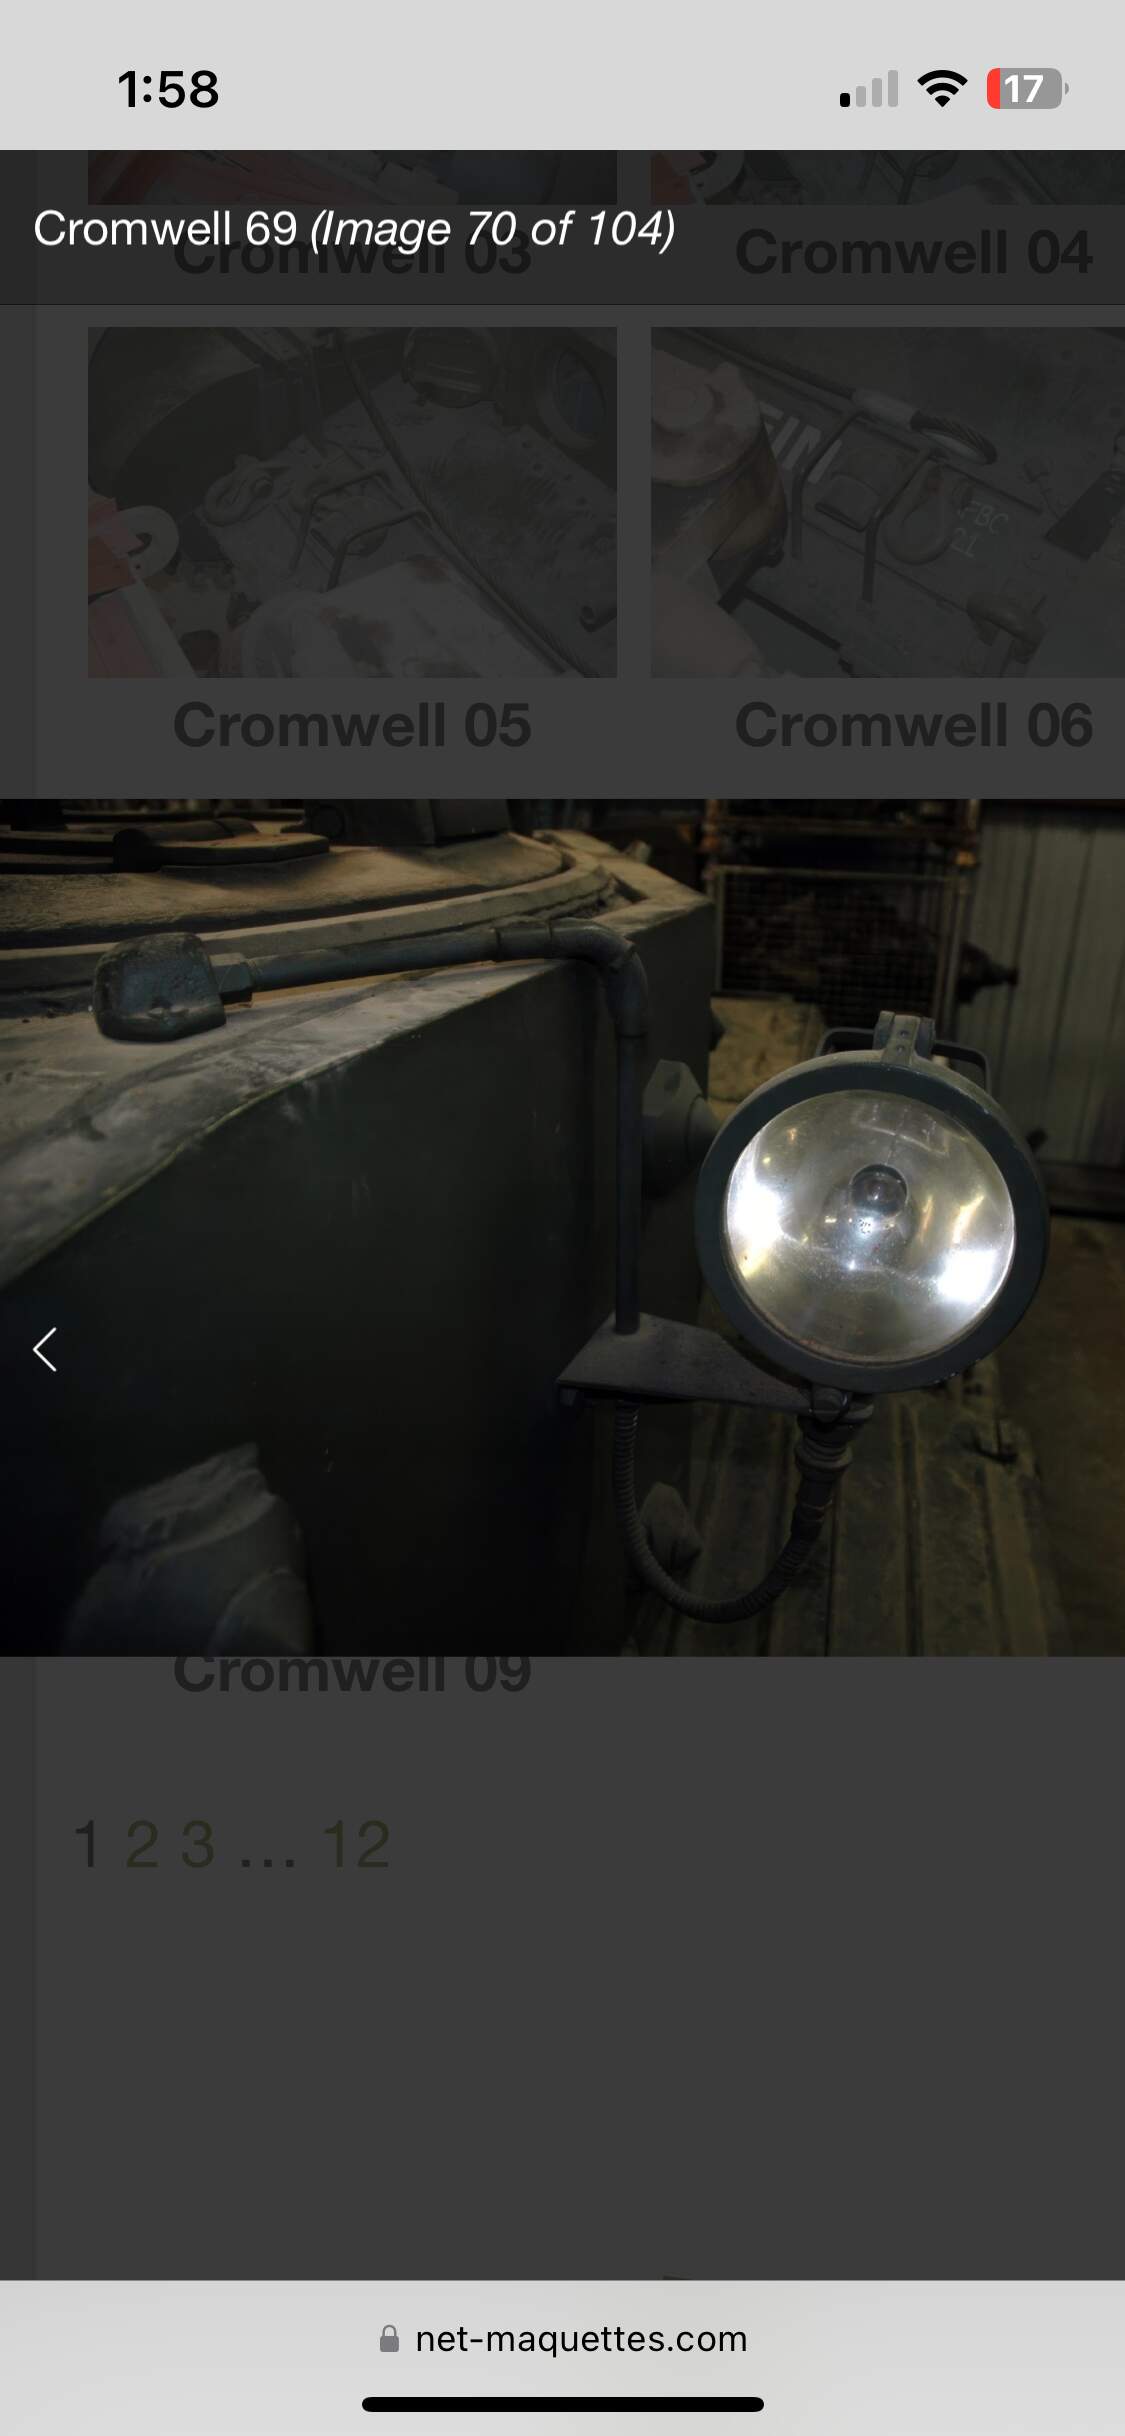
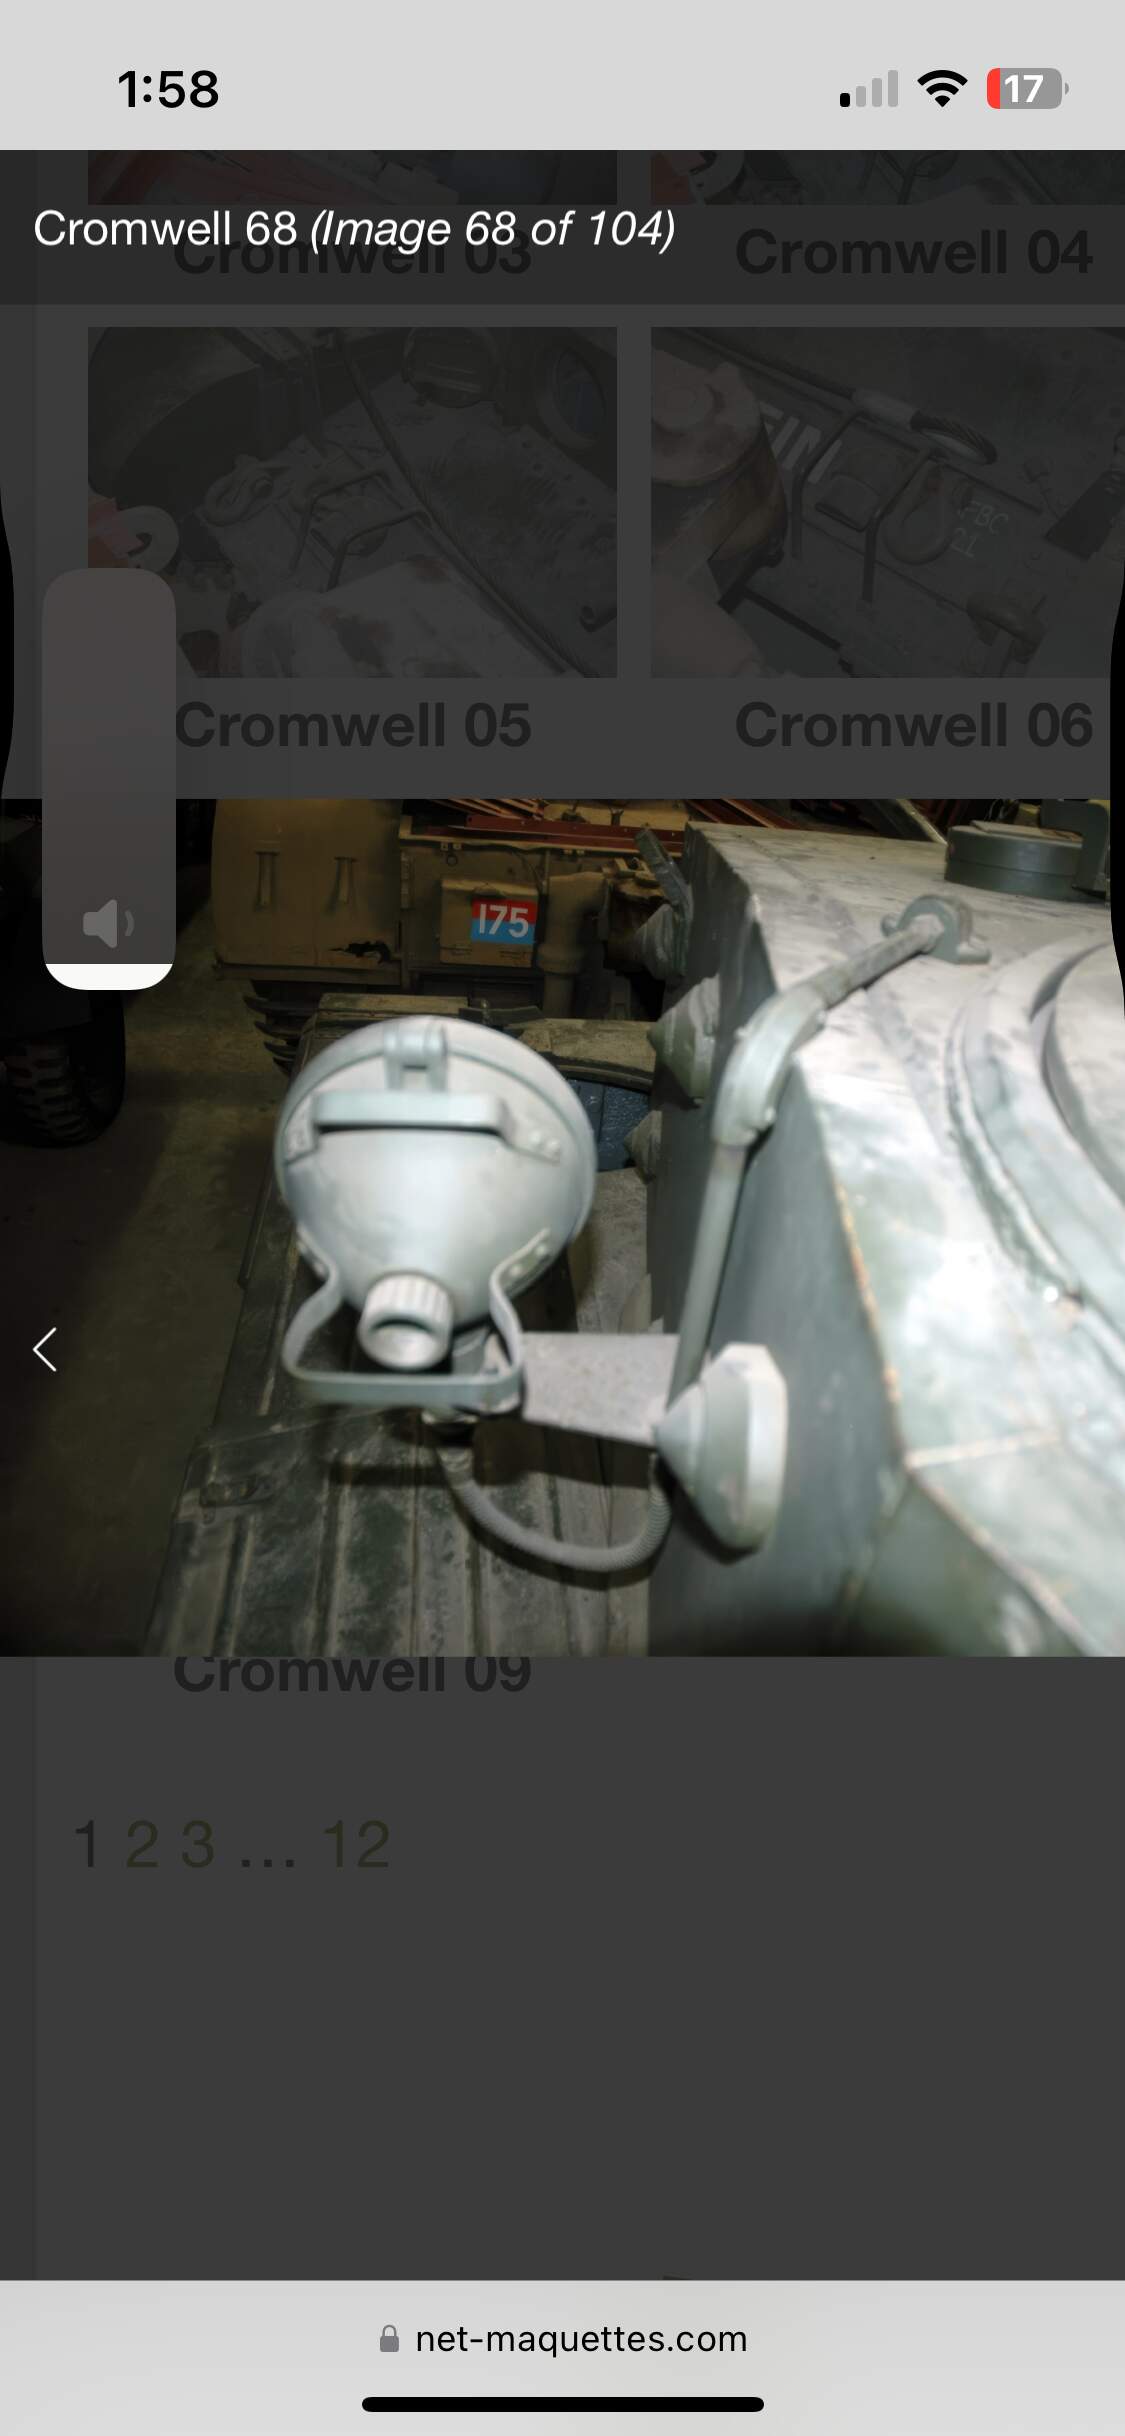
Final detail to go on the turret is the spot light. I managed to get it cut off the kit mounting bracket without issue. I am planning on adding the conduit and wiring.
So far I have attempted ir from some copper wire. Though I cannot decide if it looks out of scale. Thoughts?
This is just a mock up, will have to cut to length
FWIW I check the wire against the base of the kit spot light and it is the same diameter. I plan to connect the conduit to the light with two thin wires
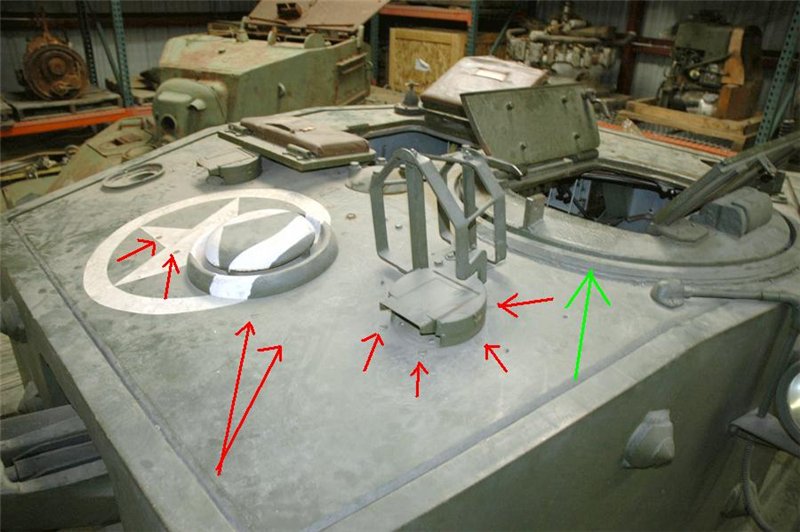
Using your reference photo, the conduit size in relation to the bolts on the turret makes it appear to large. Cannot say if that might mean the bolts are not sized correctly but a slightly smaller wire size would probably “like” better.
Outside of that, the detail is looking good and adds to the model.
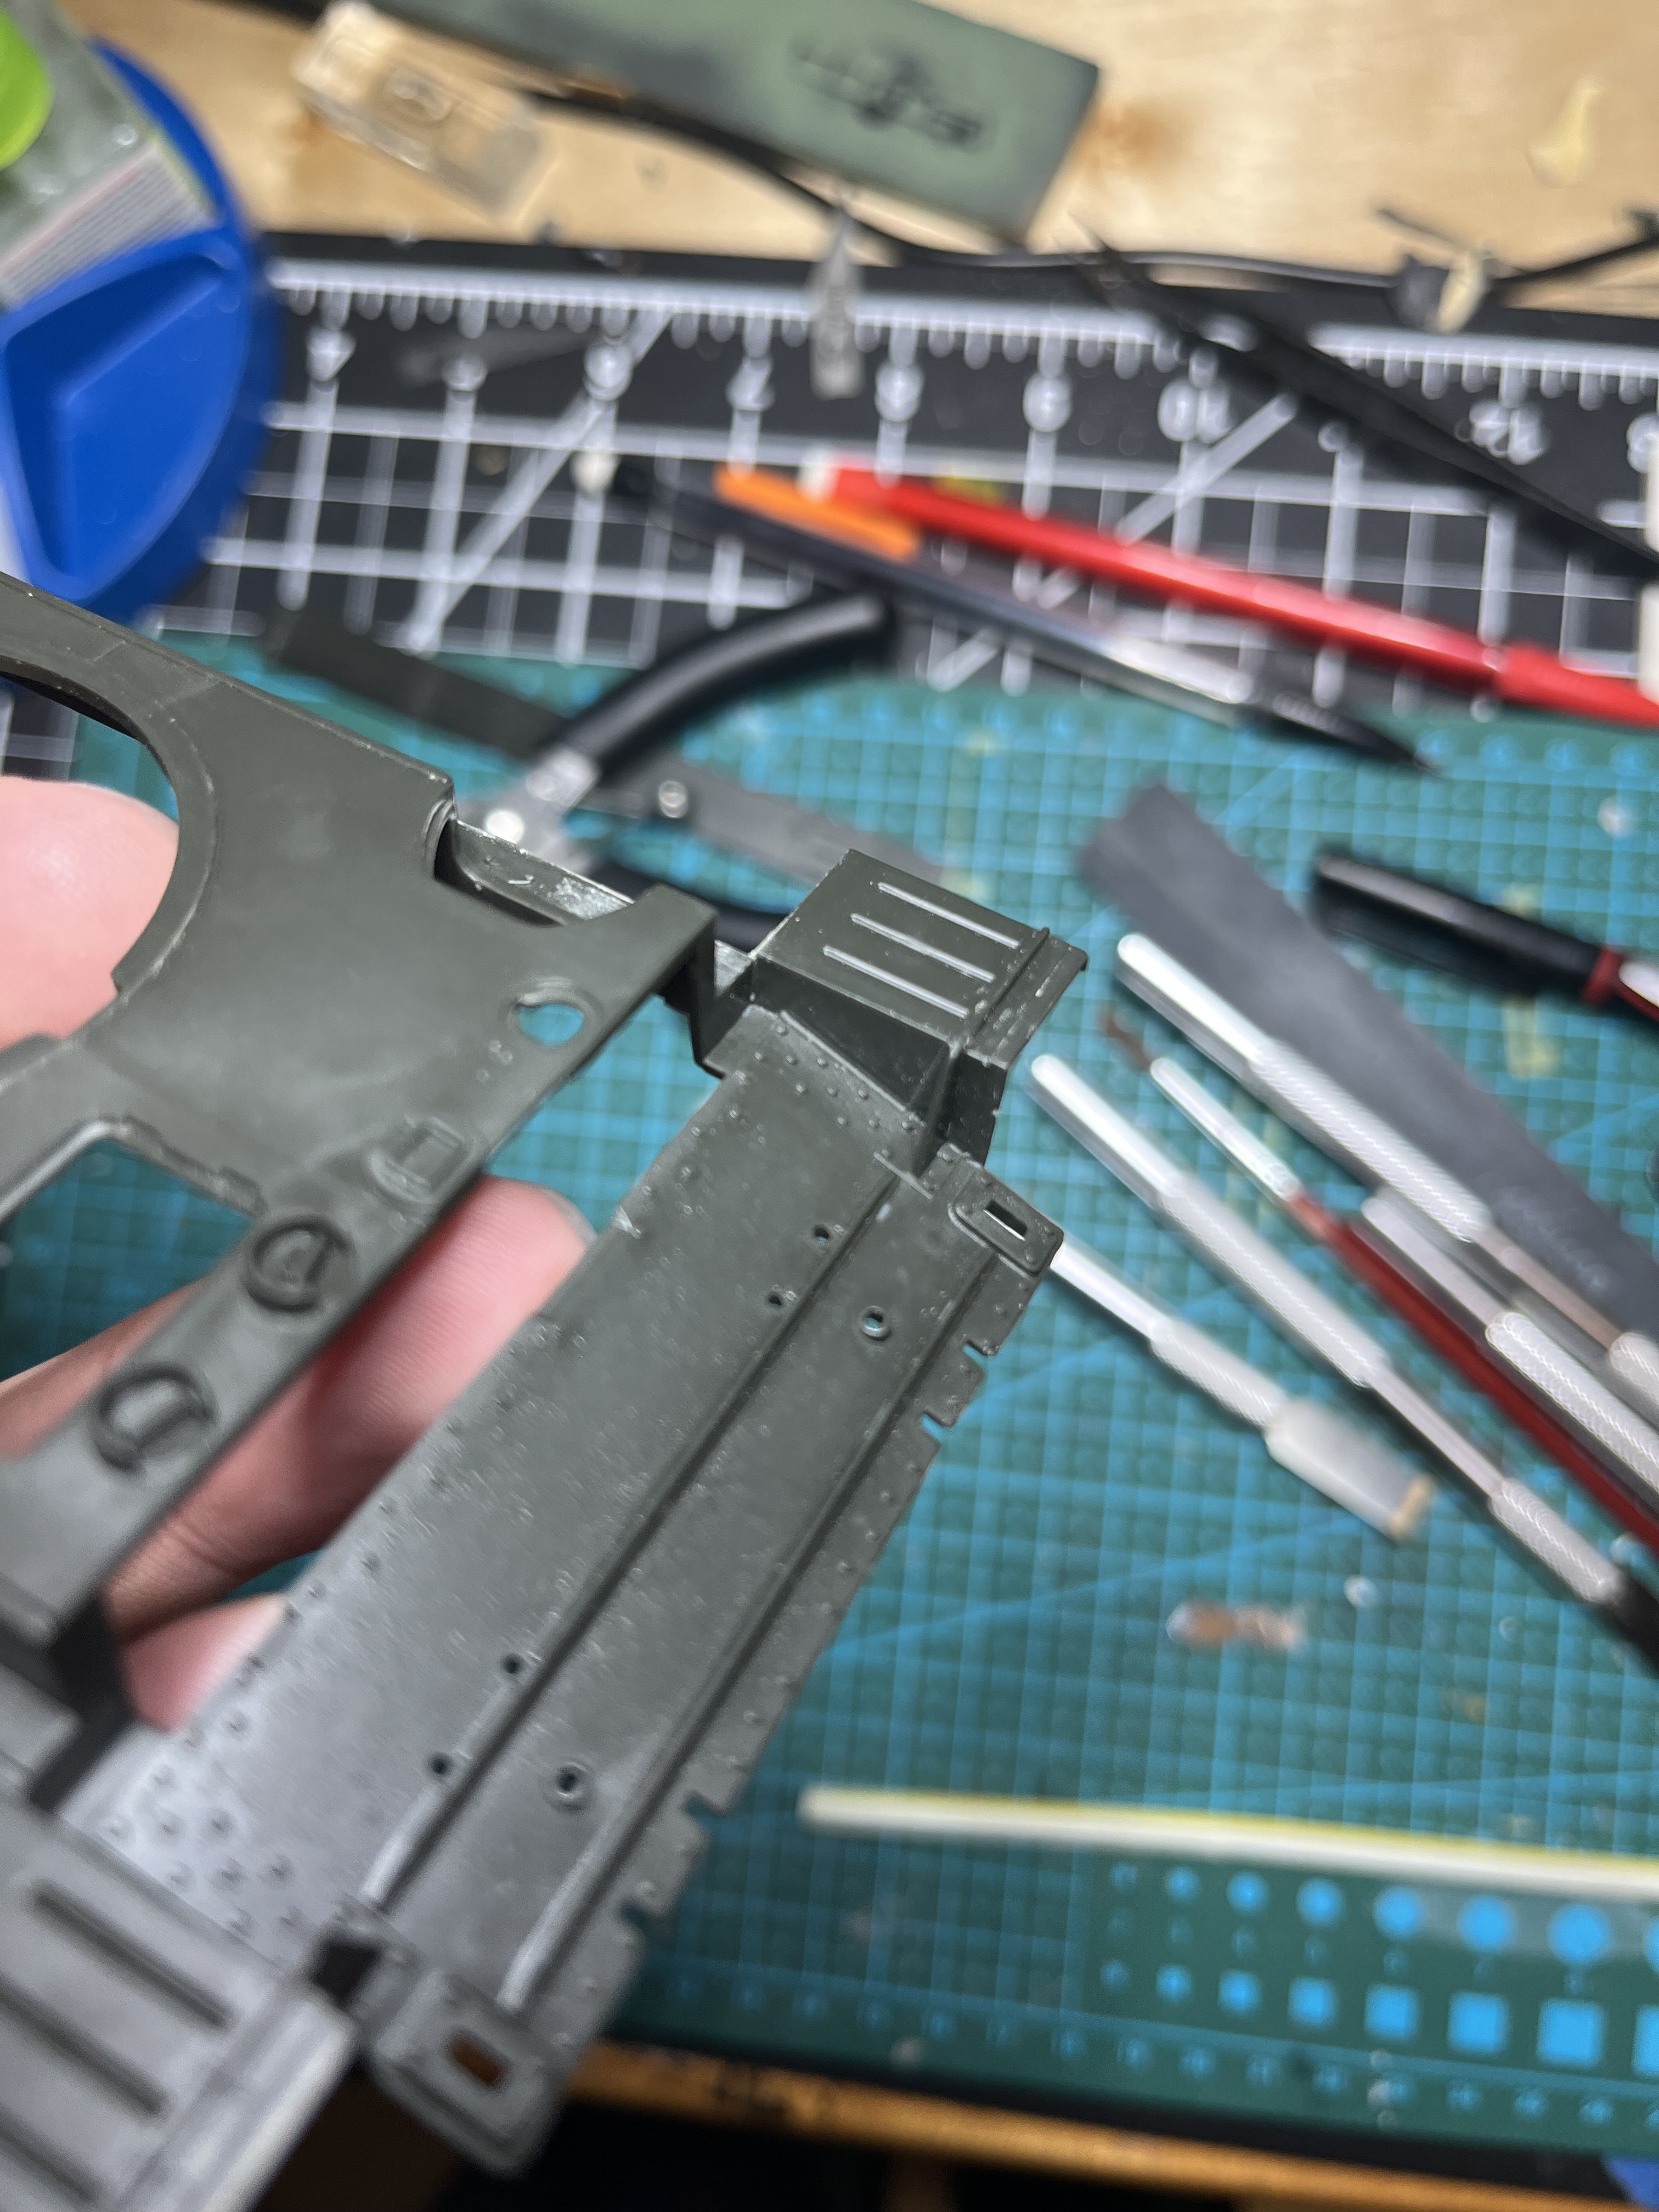
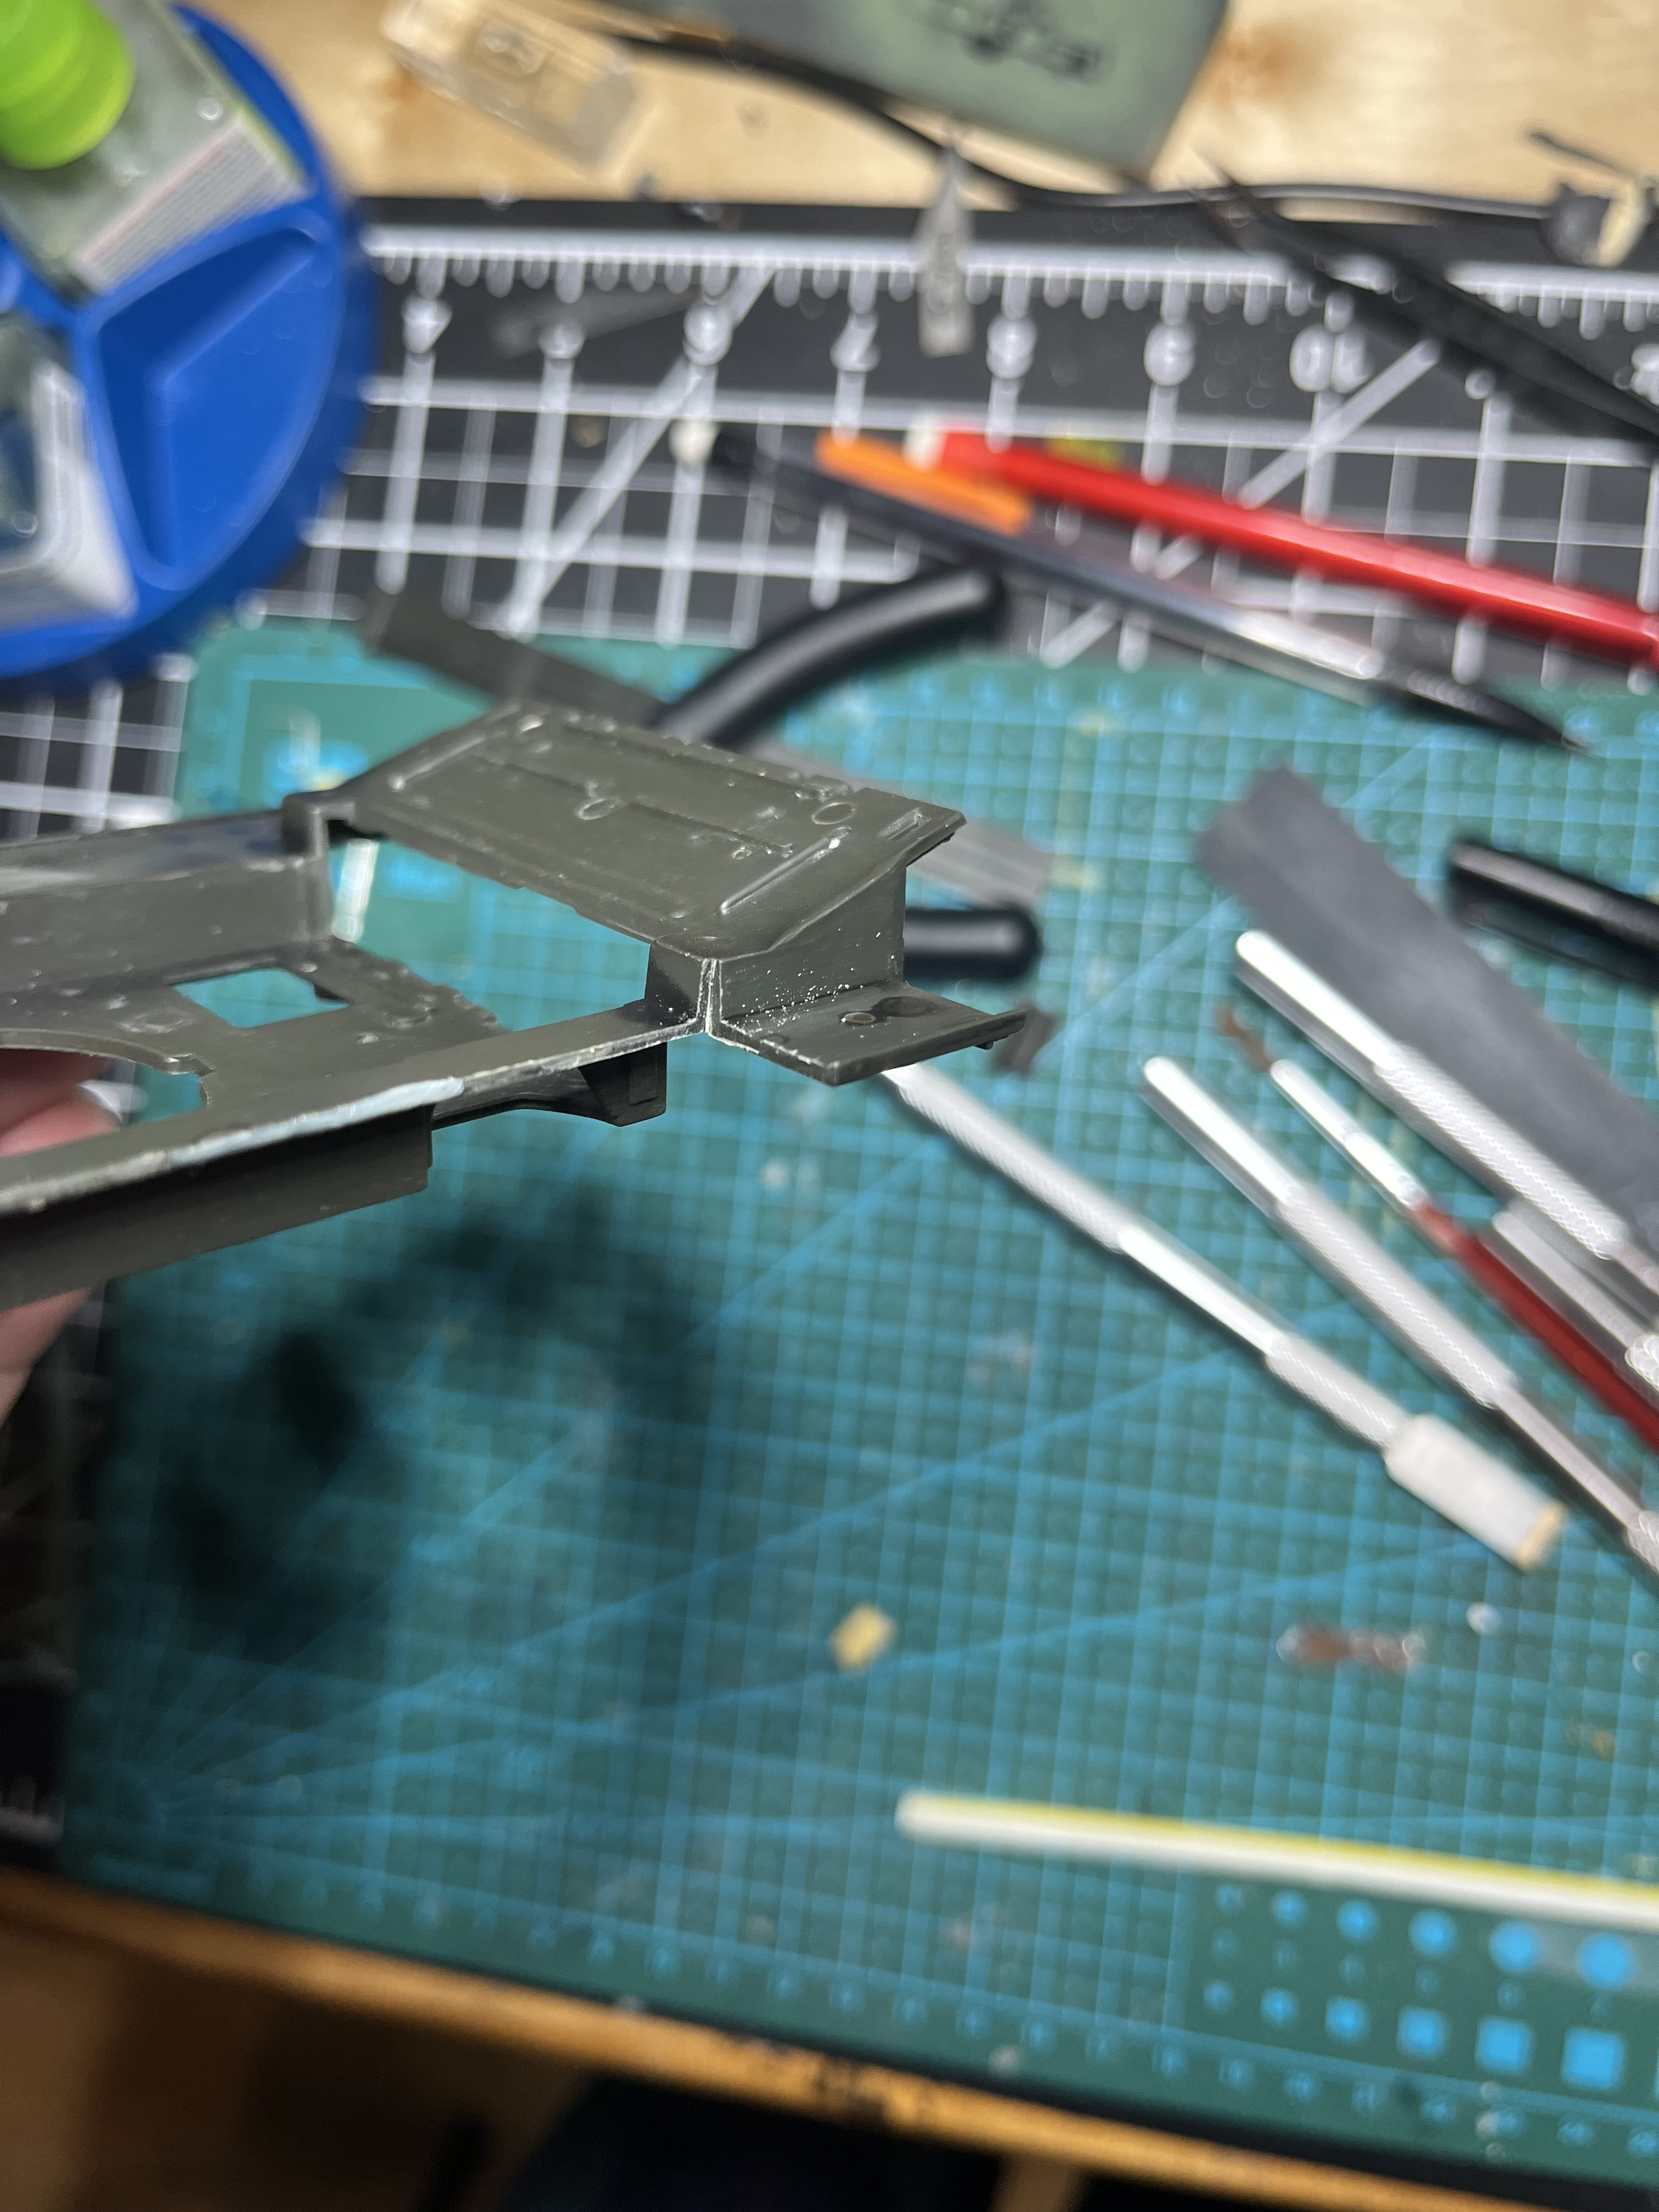
Project stalled a bit waiting for my fenders to arrive. They finally left Hong Kong. Finally got brave enough to start the required surgery. Went okay on the one fender
As you can see my saw blade drifted a touch so I had to build the edge back out a bit with some sprue goo. Once dry I will give a light sand to level every thing out. I stopped short of getting the last section sawed off. It is a bit thicker and I am pondering how to cut through without the blade wandering.
If it’s possible wouldn’t scoring/snapping be a better method? If so, to prevent the scalpel blade from wandering suggest a thin strip of metal (e.g. edge of a PE runner or similar) held in place all along its length by a thin worm of Bluetac i.e. pressed firmly in position. The scoring shouldn’t require enough lateral force to move the strip, just 5 or 10 light passes concentrating on accuracy pressing ever deeper into the same channel.
OMG!! I was quietly scared it would all go horribly wrong…I speak from experience. And you coulda rightly blamed me. Bravo well done, usually the snap does leave some uneven edges but hopefully easily sanded off. Happy to help, I’m loving this build anyway.
I ended up using an aircraft panel line Scriber. Thankfully I had a really narrow channel in the plastic fender to follow. The break did leave a tiny bit of uneven edge but the plastic was so thin after scribing that it sand really easy. This was much faster and easier than cutting with a saw