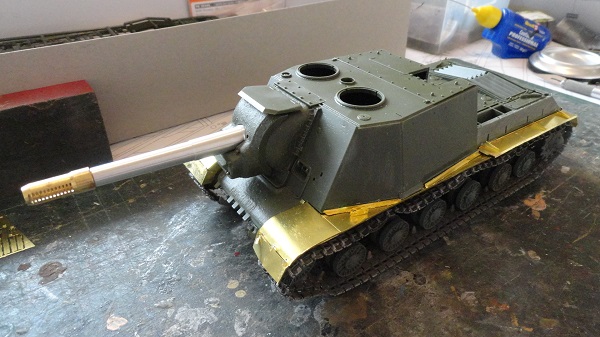
the beast of a Gun will be built with aftermarket accessories to improve it’s appearance and allow damage.
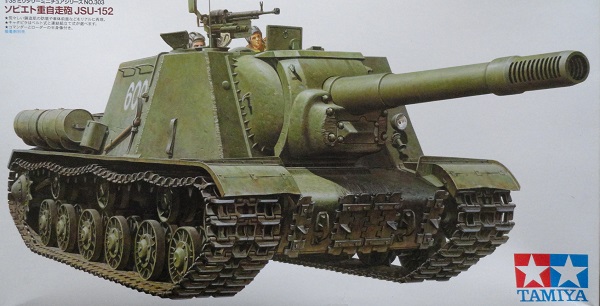
the base kit, by Tamiya is typically well cast with zero flash as we have learnt to expect from the venerable model kit producer, the only bugbear, there’s a void inside, not even seats or a gun breech.
it’s a giant of an exterior only model.
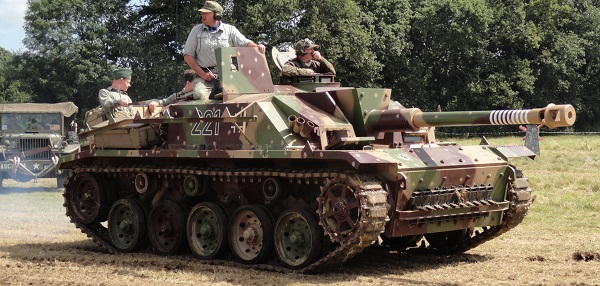
So I’m building it battened down, buttoned up, closed down, choose your narrative carefully Mr Bond It might be your last. Maybe among the bubble of East Berlin, with bent track guards, shell and small arms hits, and some Ivan Infantry following up, using the Beast for cover.
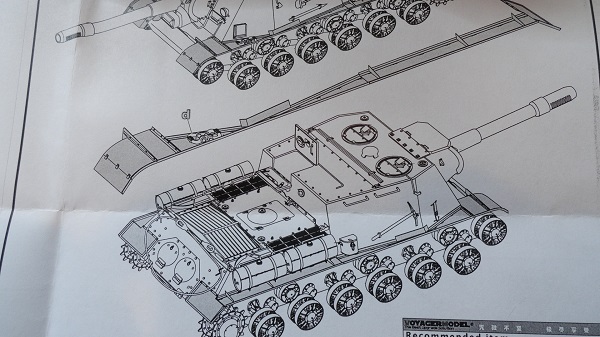
the Voyager PE set for the track guards should allow some modification to show dents, bending, bullet holes, this is how Voyager show the product completed.
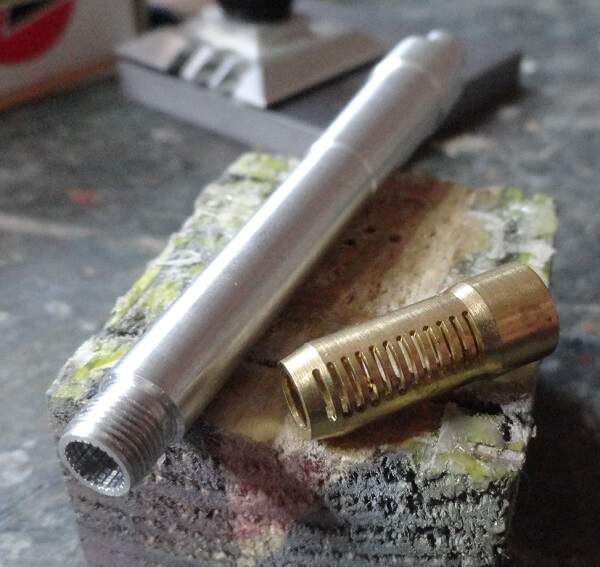
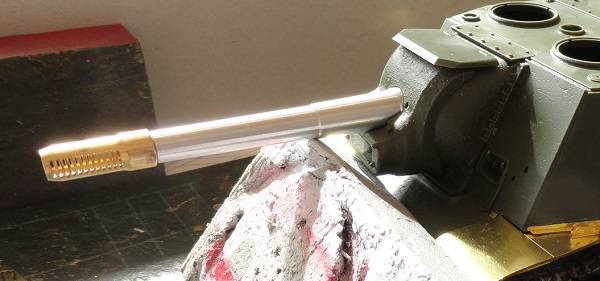
the metal aber barrel is a thing of beauty, a lovely piece to work with, just love the way the muzzle break smoothly screws to the threading on the muzzle, as smooth as Mr Bond’s sound Moderator fitting to his Walther.
Sitting comfortably?, then let’s begin.
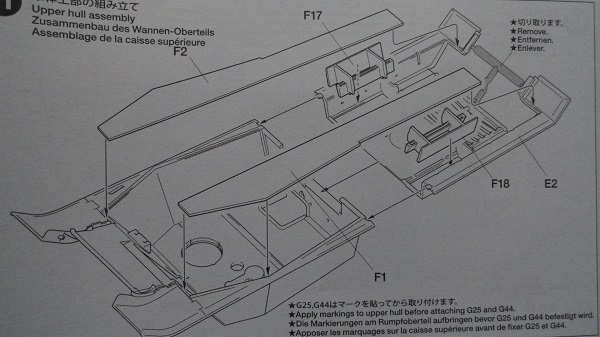
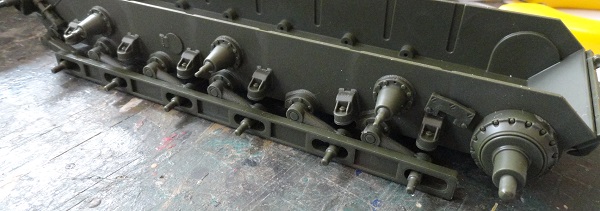
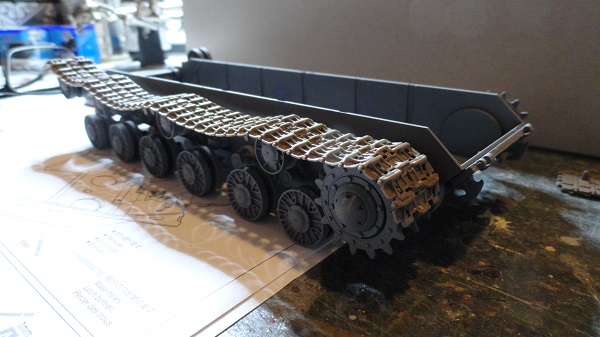
Starting right at the bottom, with the fittings and fixtures for the suspension, Being Tamiya it just falls together.
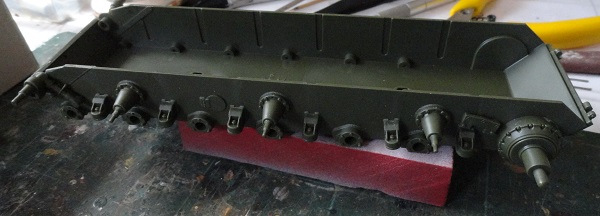
the kit provides guides for the suspension arms to set straight, belt and braces really, as the arms have location pips
2 Likes
the wheels, in true Tamiya fashion, fit to the axle with a poly ring, it’s just like being back in the 80’s, why not, if something works why change it.
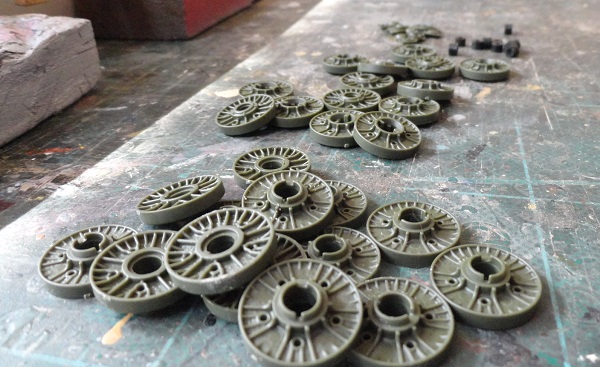
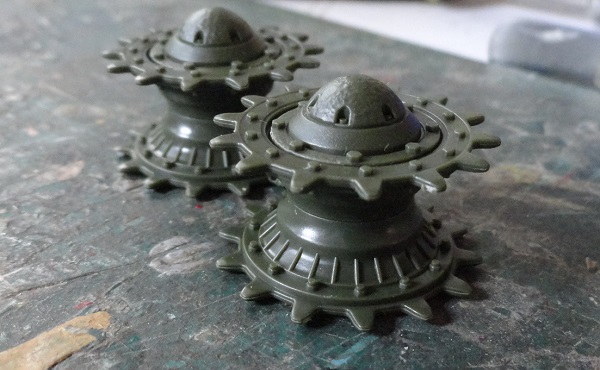
the Sprockets, I really like that domed hub cover, Ivan could make some nice features.
2 Likes
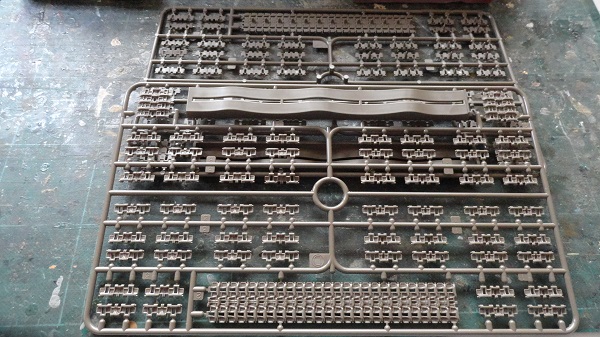
the kit provides both Vinyle and link and length track, nice touch, it opens this kit up to a wider customer base. I’m discarding the former.
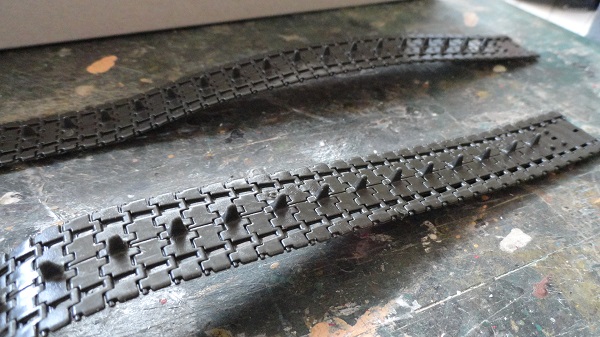
The tracks are a real feature, the track sag on the return rollers is such a Russian thing, almost an identification feature, and you won’t achieve it with the Vinyl tracks.
the link and length frames. The kit provides a wave former for the upper length of track, very helpful.
2 Likes
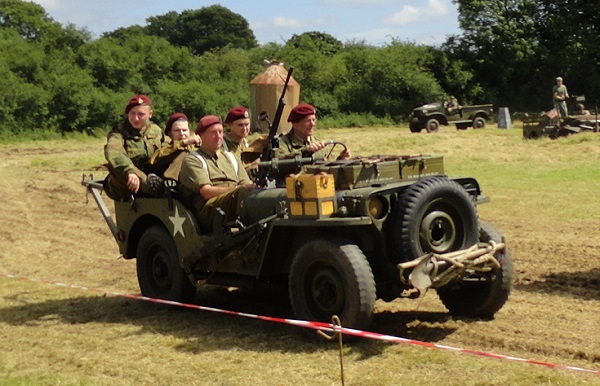
Didn’t get much done on the model on Saturday, went to the Overlord show in Denmead in Hampshire, it felt like being back to normal, not a mask in sight. There were stallholders and static and live displays.
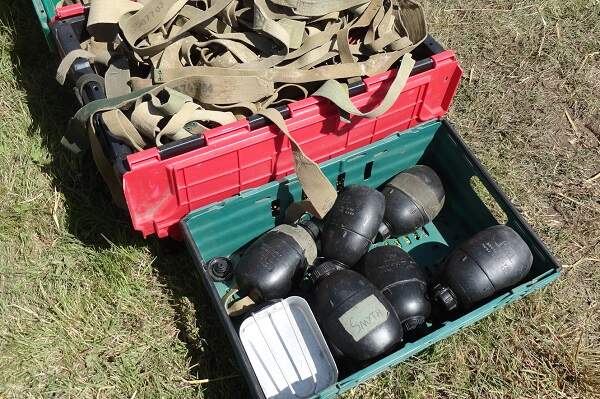
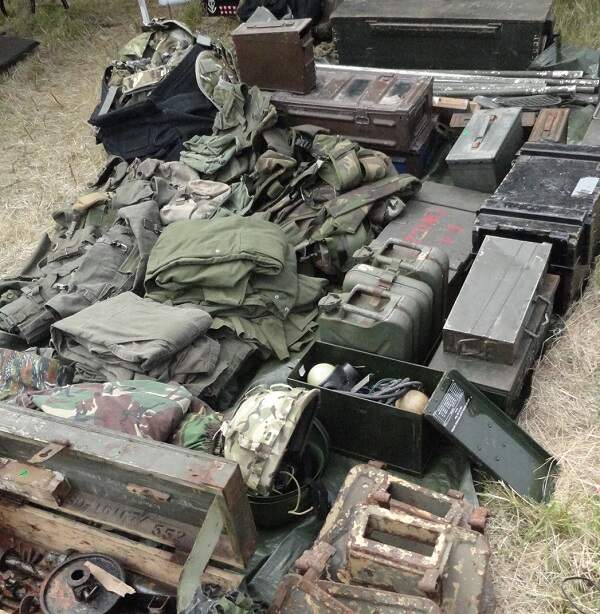
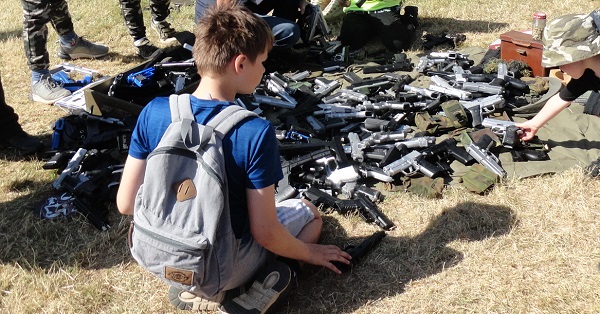
there were stallholders selling surplus military gear, Private smith’s water bottle was going for a song, and the best can opener known to man were going for a pound each.
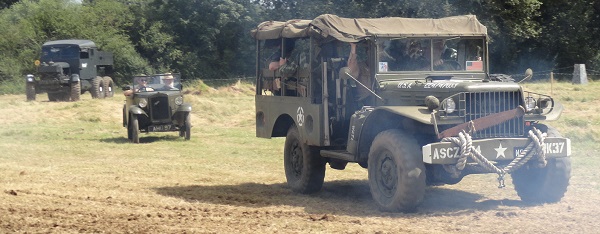
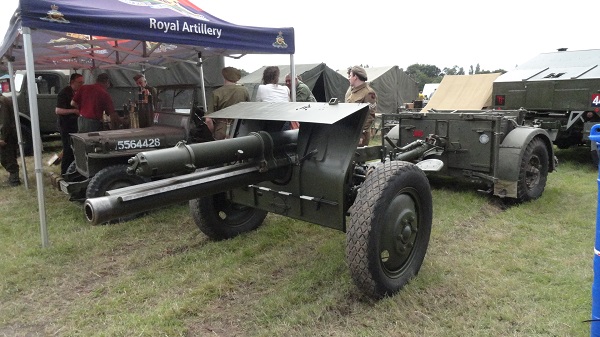
the Mk2 Quad artillery tractor was of special interest to me, I spent a while talking to the exhibitor, swapping info, told to me by my Great Uncle Bob.
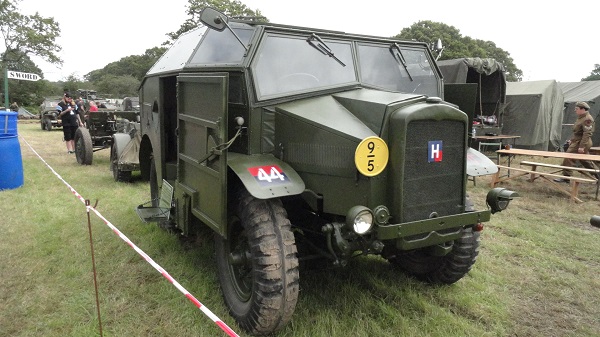
towing an 18 pounder and ammo limber.
the blank rounds made all the kiddies jump out of their skins.
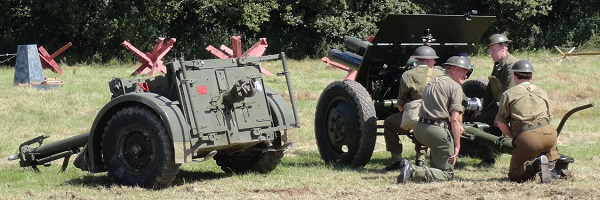
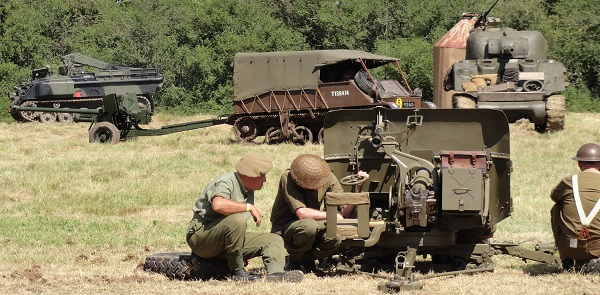
the circuit allowed the visitors to view the vehicles on the move
piles of BB guns for the children.
the RC guys had a nice display on too.
3 Likes
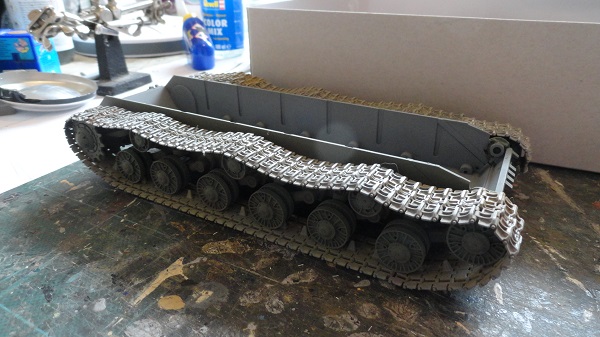
back on my 1/35th ASU, the first track top row ready for primer.
4 Likes
Looking good so far!
1 Like
track sag, and base colours.
2 Likes
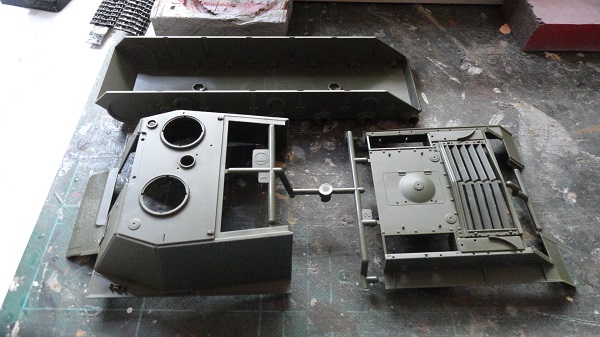
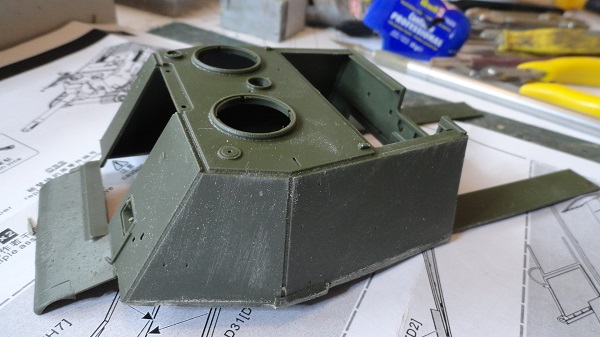
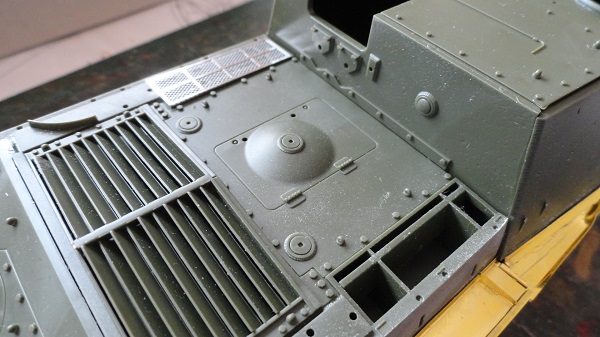
dry test fit of the superstructure.
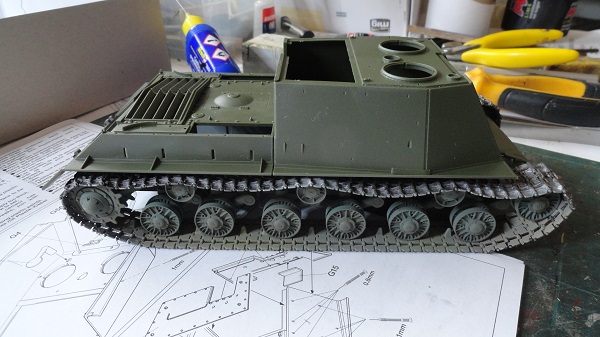
odd why Tamiya haven’t facilitated this area for a aftermarket engine. It should have been made up of several components not one casing. This seems rather short sighted of them. Designing out, expansion.

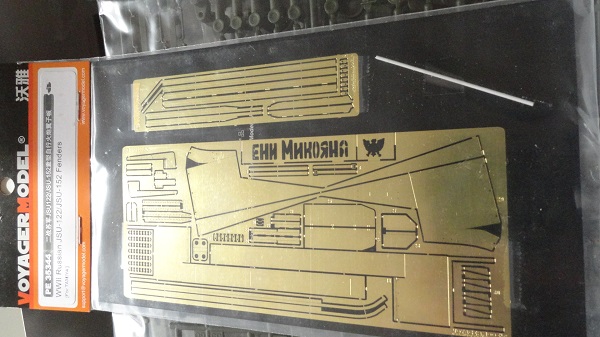
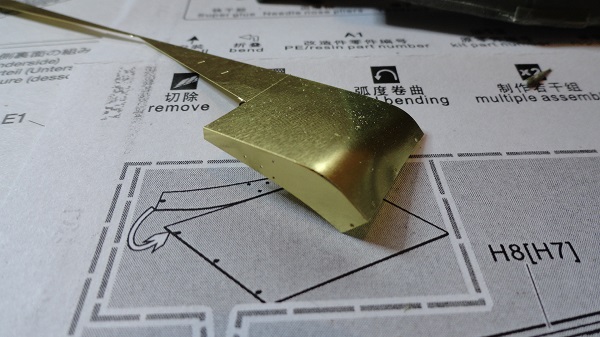
it’s Voyager time, the PE set provides just the fender parts.
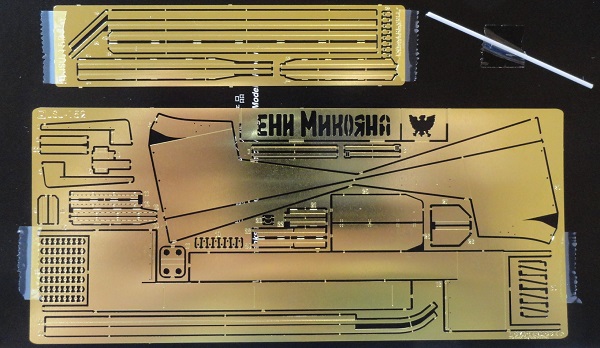
the instructions are basic, but adequate.Just the areas marked in grey.
the brackets, I’ll be supergluing, rather than relying on my non-existent soldering skills.
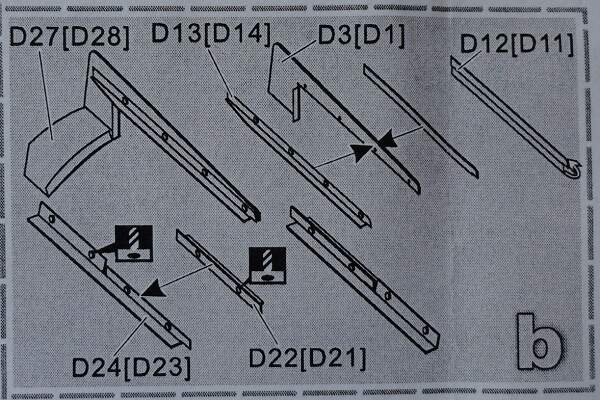
first step, cutting this lot away.
Nice. I need one of these…
1 Like
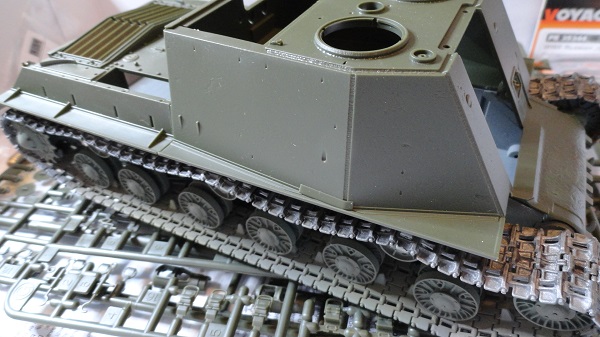
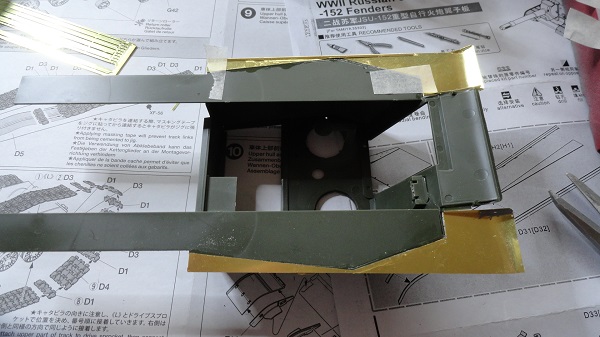
stripping back the molded tinware back to the armour line.
the brass track guards can take a bit of damage, aftwer they’re bent to shape.
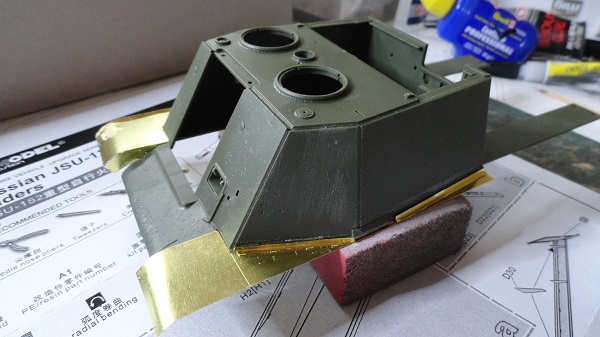
superglued in place.
the kit provides small add on parts to increase the detail on the fenders.
2 Likes
cutting back the rear track guards.
the track guard support strips in place
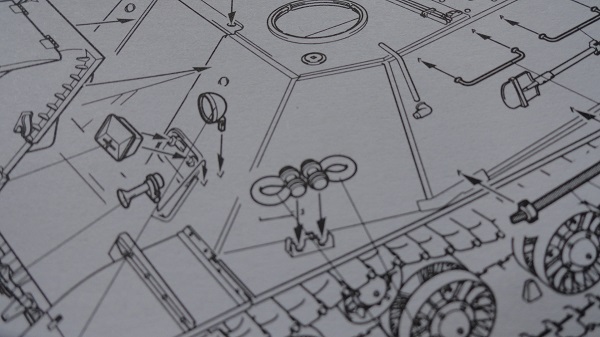
gun under construction.
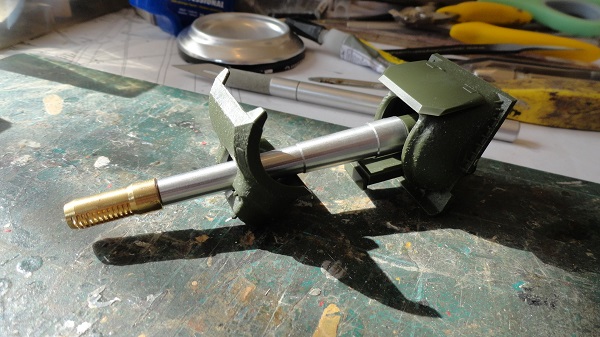
the Aber Barrel is a loose fit inside the kit trunnion, a blob of serious glue, with a wood block holding it in place till it was dry.
1 Like
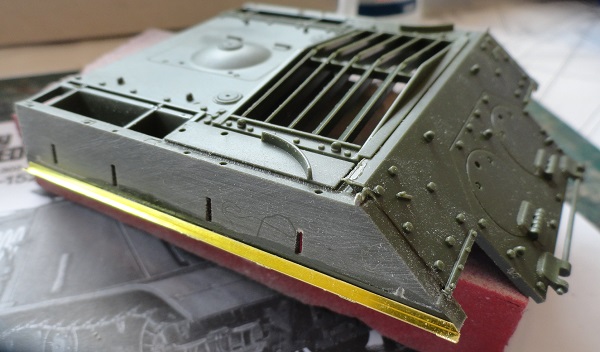
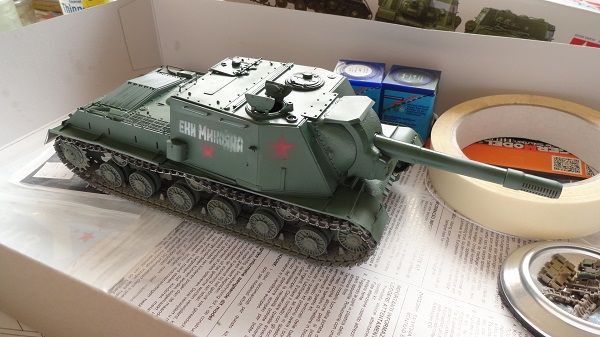
front and rear views, now for some exterior details.

3 Likes
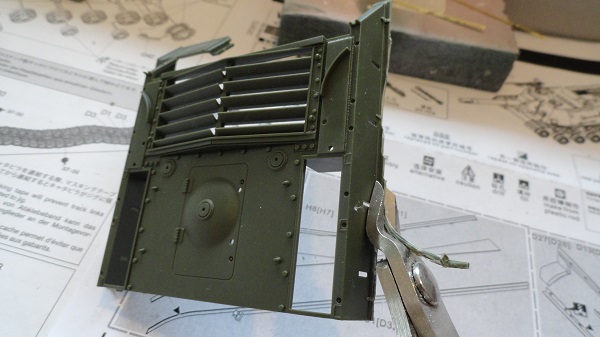
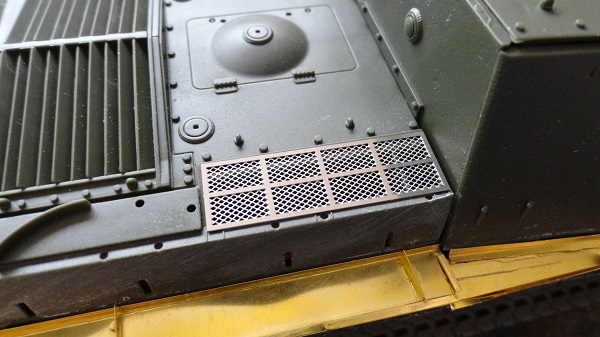
some hull details, the vent/intake grills.
1 Like
the kit shackles are basic fit overs, now the plastic mount is gone, the PE one needs the pins of the shackled cut off and the shackles drilled for a new pin, crushed at one end.
I think the re-worked ones look far better, inserted right through.

2 Likes
this is the most helpfull the PE basic instructions have been, as track and wheel masks.

the contrasting green of the under, or base colour, this will get a coat of the salt technique next, breaking up last weeks Commy political slogan, it’ll be just visible under the fractured upper colours.
3 Likes
Looking really good. This is one of my favourite vehicles and you’ve done it very well!
2 Likes
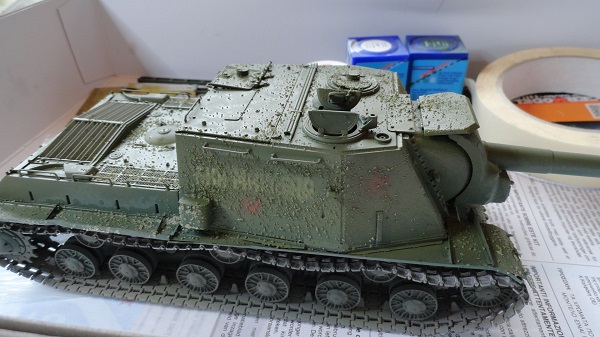
the first coat over the salt, let that dry before brushing off the salt and re applying the second layer of salt, let that dry for 12 hours then another different OD tone.
2 Likes