Nice job so far Artemis.
Thank you.
Artemis, looking forward to your next update. I really like this model. I still have the one I built back in the 70s.
I will tell you that I have been working on the kit since my last update. But that I haven’t posted anything about it. The reason for this is that my self convidence for post here has gone down the drain. Since a negative experience I’ve had here with posting about a book I wanted to purchase. And that I just wasn’t feeling like it was positive. That’s why I’m now very hesitant on posting here. Because, who says that that also won’t be a negative experience?
Was the negativity aimed at the book, or at you personally?
Need to use mind over matter. You dont mind … they dont matter…
Firstly Artemis, the Protze is building up nicely.
Ref the negative experience. Brush it off. You have built and shown a lot of great kits in here and you always ask questions if you are unsure or are looking for help which this site excels at.
Some people here respond in different manners and at times use the wrong words or phrases or can just be abrupt which comes across as very negative. Thats just the way some people are. Do not let that worry you or take offence at it. Move on from it, and continue to build great kits, ask loads of questions and enjoy what you do and keep on with the post updates as often as possible.
I’m now just filling the gap since my last update here on the project.
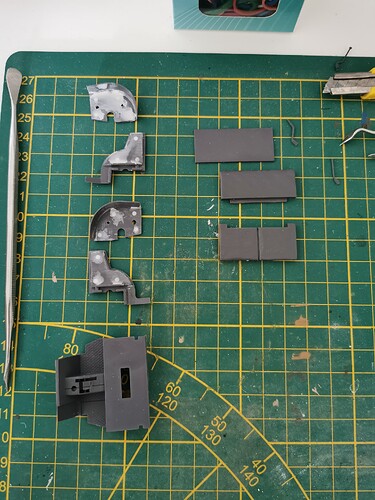
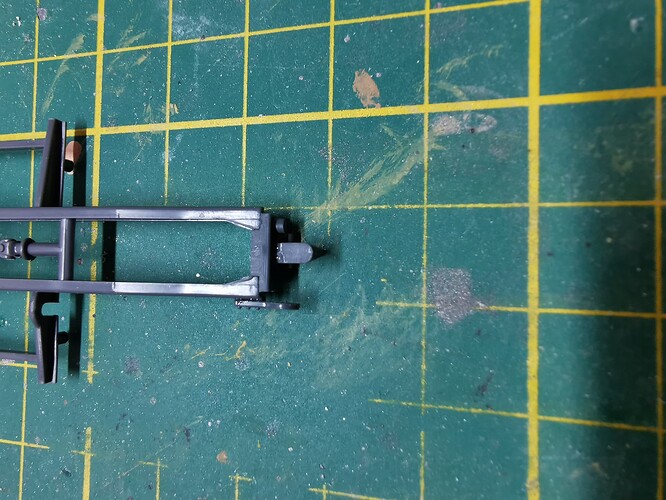
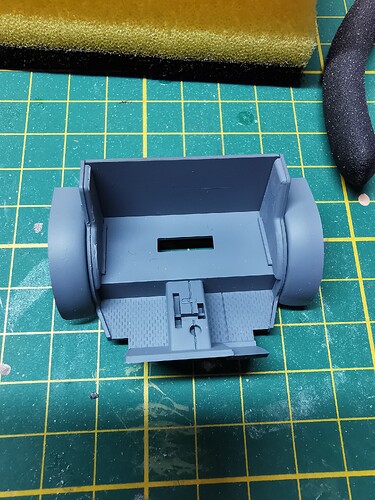
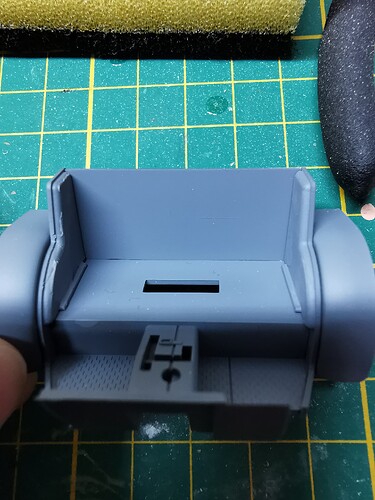
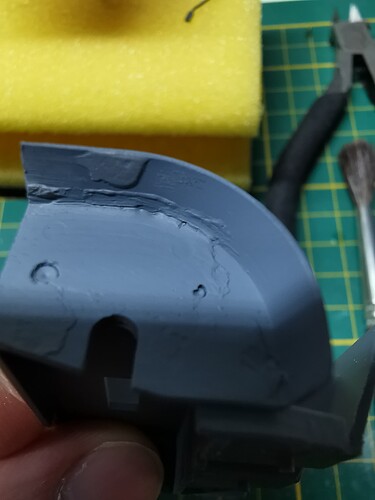
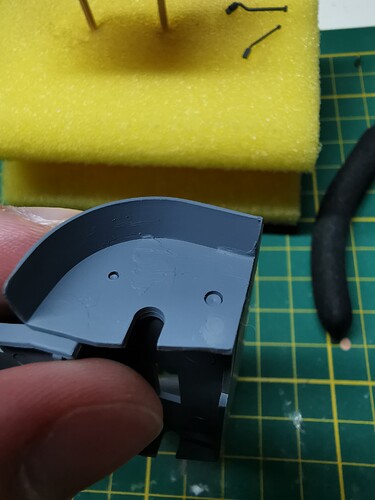
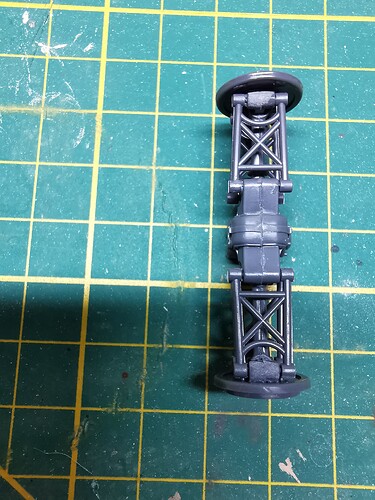
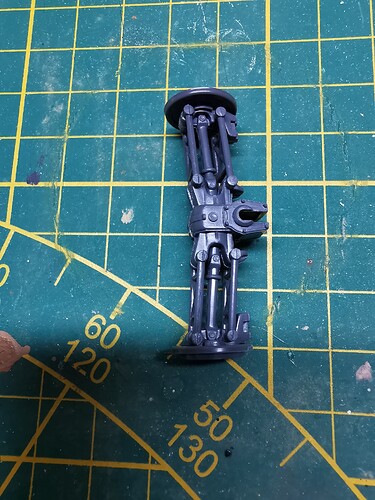
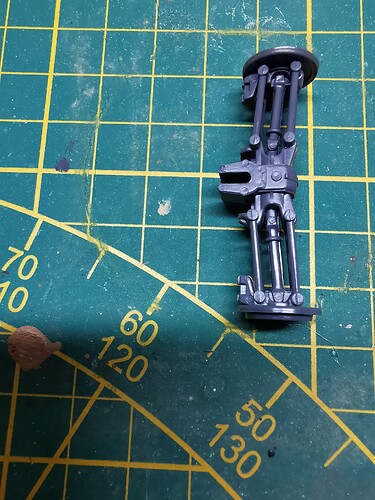
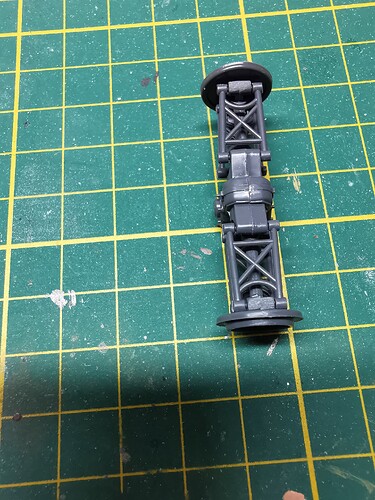
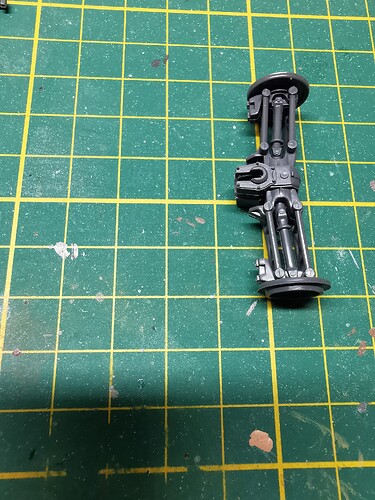
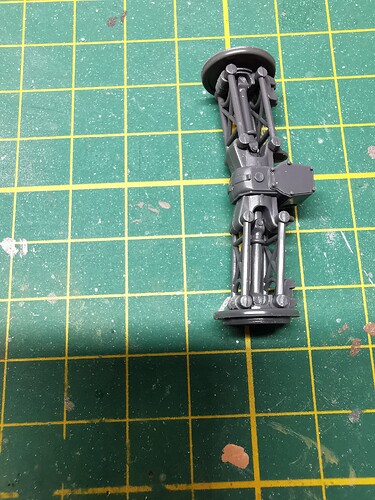
Here you can see some more completion of step 1, actually gluing the two part together which had received some Mr. White Putty to fill those pin marks.
And a little later in this update you will probably see why I previously asked a question about how to use this stuff.
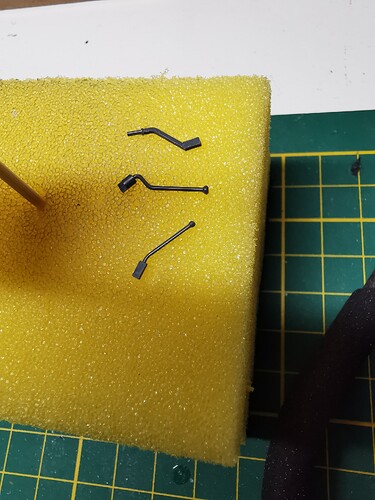
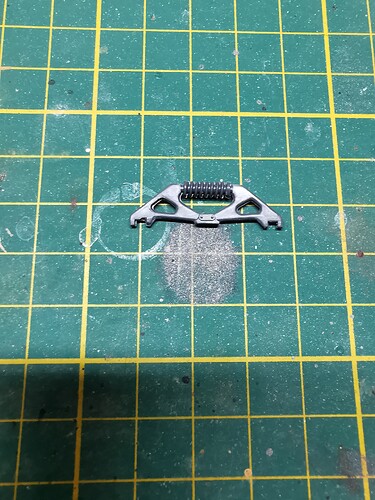
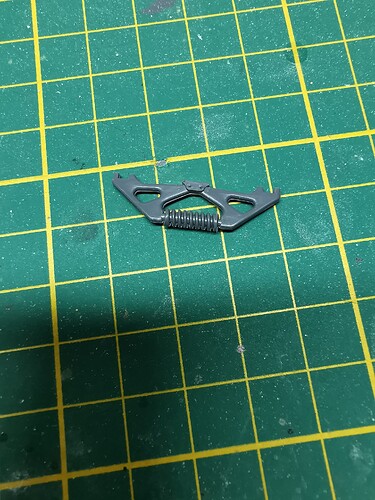
On the right you can see the delicate parts of probably handbrake, gearshift etc.
I haven’t primed or painted these parts, because I wanted to do these with brush painting.
But testing the MIG Oneshot primer not to long ago, didn’t look very promising in performance with brush painting.
I can always show the result of the very brief test instance I had with this.
If you want to see it.
But that will be in a seperate post then.
Not painted the parts either.
Because, I also don’t know yet how to brush paint the 3rd gen acrylics by AK Interactive.
And at the time, I decided it would take to much time to figure it out in between.
Eventually I might learn this.
But, because I’m a very methodical and organized person.
I’m doing that when it’s actually time for that.
After I have airbrushed parts.
It’s another story why I have primed the parts which you will see in a later photo in this update.
And not yet have sprayed the base color on.
Or the color of the seat bench.
And maybe I will provide the other progress up until yesterday in seperate replies.
Because this one might be getting a little to long to post everything in one reply.
![]()
Here are some photo’s of some more progress of the project.
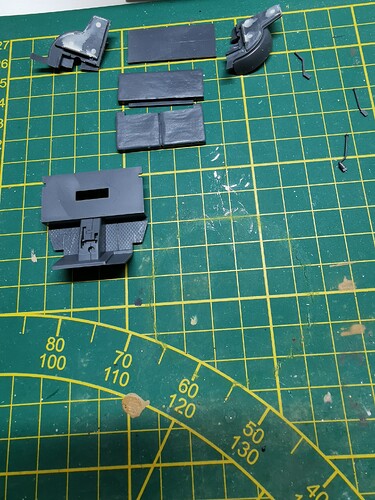
You might be able to see I’ve primed most of the parts, except the smaller ones.
Like gearshift.
I apologize if some of the photo’s are not quite as sharp as I thought they would be.
Some photo’s I’ve checked after taking the picture.
Other I didn’t, because they already looked sharp enough.
And to go back and make new photo’s…
Well, I’m not going to do that.
I’m quite happy on how the priming has turned out.
I have tested use of the AMMO By MIG Jimenez OneShot primer with Vallejo Flow Improver.
Because I would otherwise probably have again many problems with primer drying in the airbrush.
It worked quite well, but later I discovered now the tip drying is occuring. ![]()
So, not entirely problem solved.
But it works better than without the flow improver.
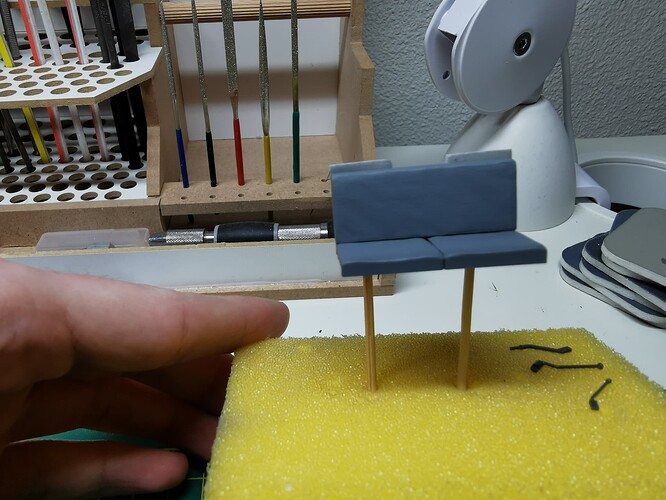
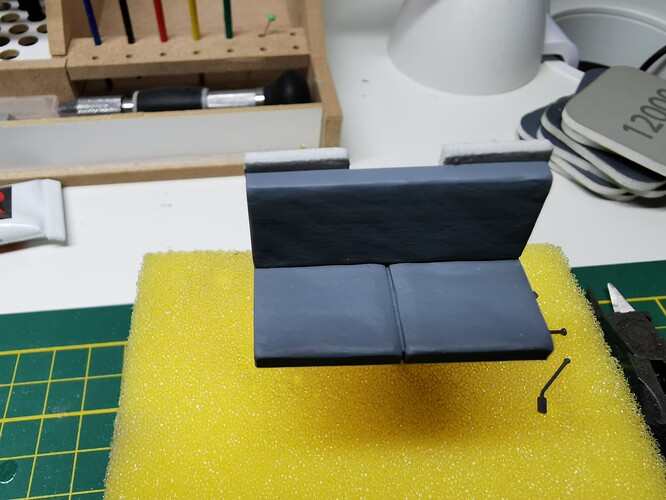
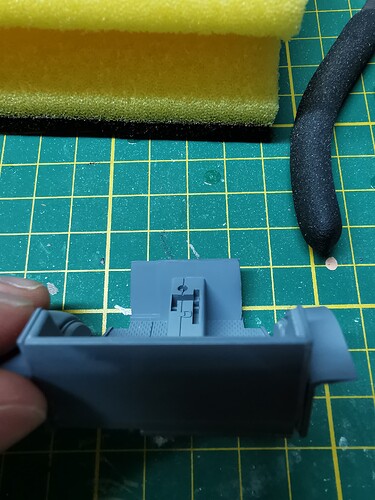
You can also see I decided to assemble the seat bench.
Because I thought it would make the priming and spraying in the color much easier.
I guess it made it indeed easier, but it’s not entirely clear to me. ![]()
You can also see I’ve assembled another part of the drivers cabin.
The priming did go well.
I’m satisfied with the result.
Especially considering this is the first time in months that I’ve picked up a new project to work on.
And perhaps even longer ago that I’ve worked with my airbrush setup.
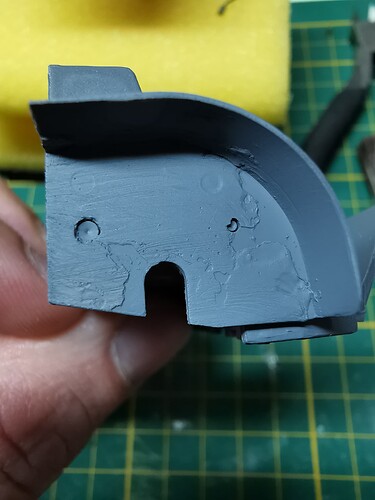
In pictures 4, 5 and 6 you can see the reason why I’ve once asked about Mr. White Putty here.
When I didn’t get an answer on my question for some reason.
I didn’t know exactly how to apply the putty.
How much and how to do it.
And how to know if the pin mark was properly filled.
So I’ve used propably way to many putty.
And I also wasn’t feeling like sanding for so long.
So I decided I could probably cover this up with some weathering.
I was thinking of using North African Dust pigment from MIG.
But the colors given, Panzer Grau and Panzer Grau don’t match the colors that were used in the desert by the African Corps.
But I’am planning to use weathering to make that disappear.
Not much else to say then, apart from being everything going together really well.
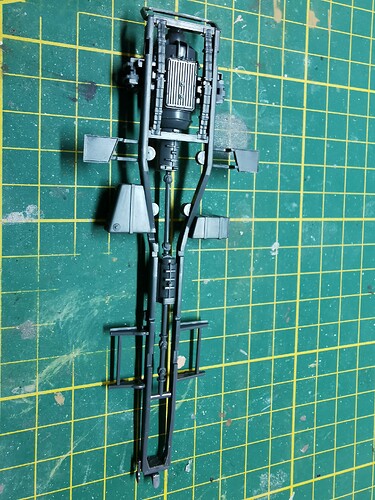
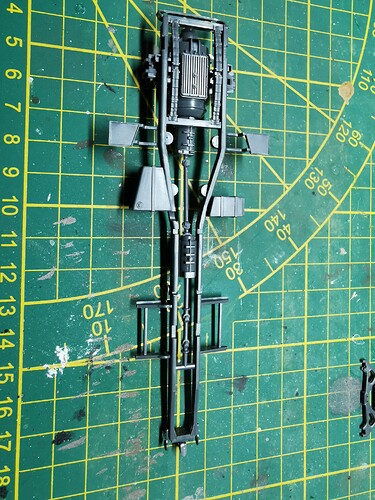
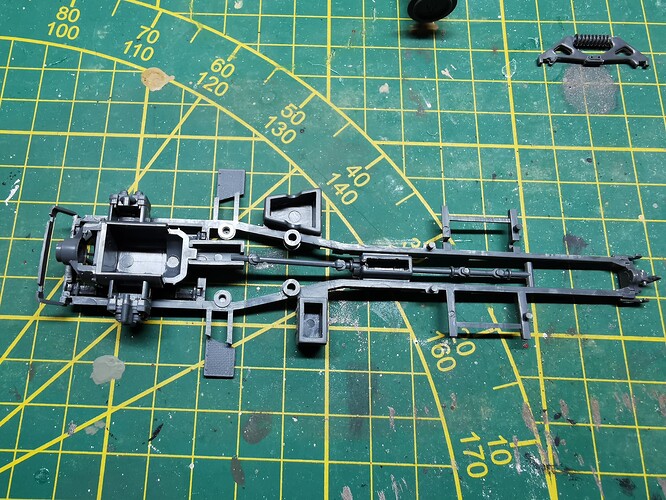
Here’s a photo of the chassis, I’ve also done some work on that.
I wasn’t sure if I needed to remove the seam lines and that kind of stuff.
Because, also looking at the model.
It seems also old in real life.
And that it wouldn’t look that pretty without seamlines and such in real life.
I also wasn’t sure what would be visible and what not.
And removing seam lines and imperfections would also take time.
And since I already have other projects waiting as well.
And because my vacation time is limited, I decided to leave the chassis further as it was.
Yes, vacation times are one of those only times in the year I feel like I can properly spend time on the hobby.
So I want to get everything out what’s in there.
After this time, it’s easier to keep the hobby going with less time.
Since I’ve already gained some experience and got gears rolling.
Thank you for all your support.
Yes, I will continue on and let it drift off from my mind.
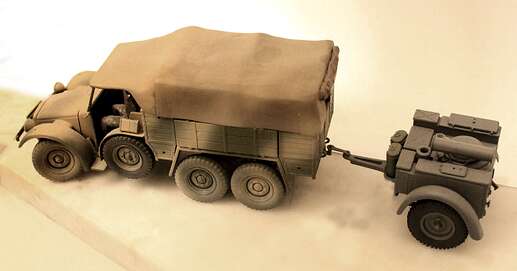
Just an FYI here - Cloth top made from two very sectioned and tortured Italeri Blitz tops. Seen here as a work in progress.
It looks very realistic, that cloth.
I remember reading years ago that the old Tamiya Krupp Protze kits were too short. Yes, there are kits made by other manufacturers but I wondered if the newer kits from Tamiya have been corrected. I admit I prefer simpler kits than ones which contain more features than you would typically need to display (engines etc.).
