For the Great Ones-campaign I am doing Tamiya’s near-ancient M113 FSV in an Australian Vietnam deployment version.
That means certain details have to be changed.
The list so far;
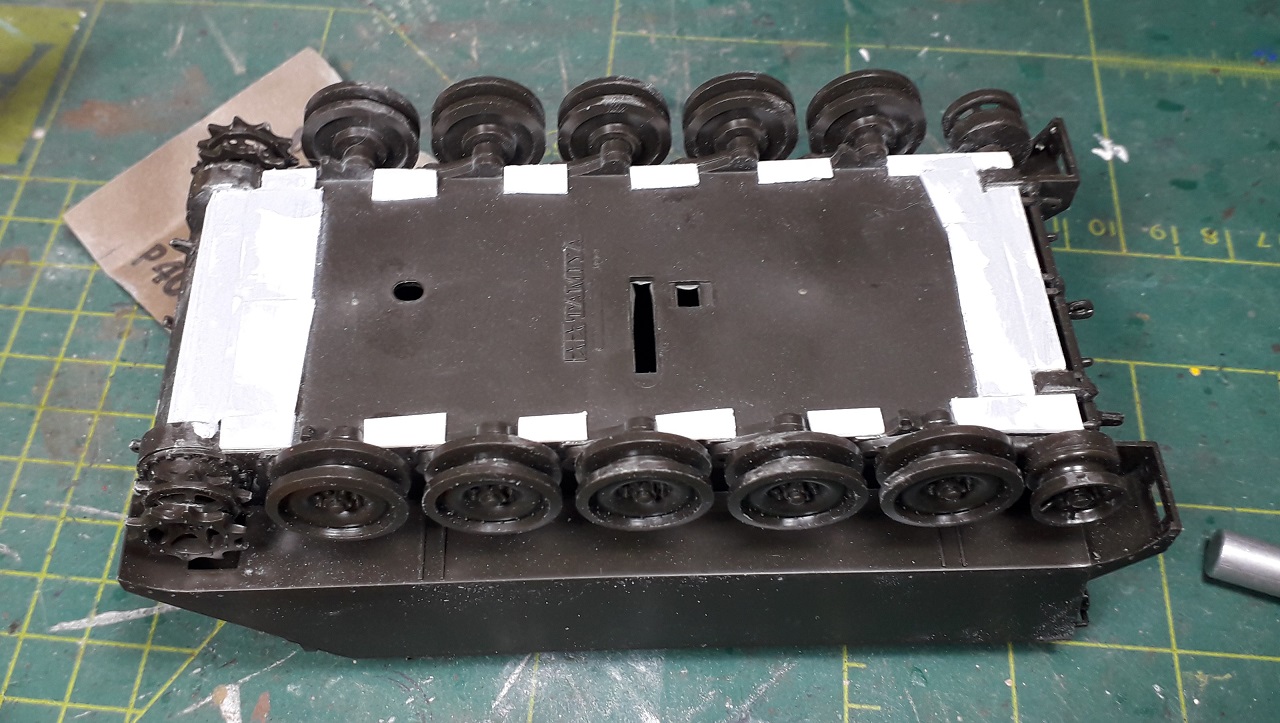
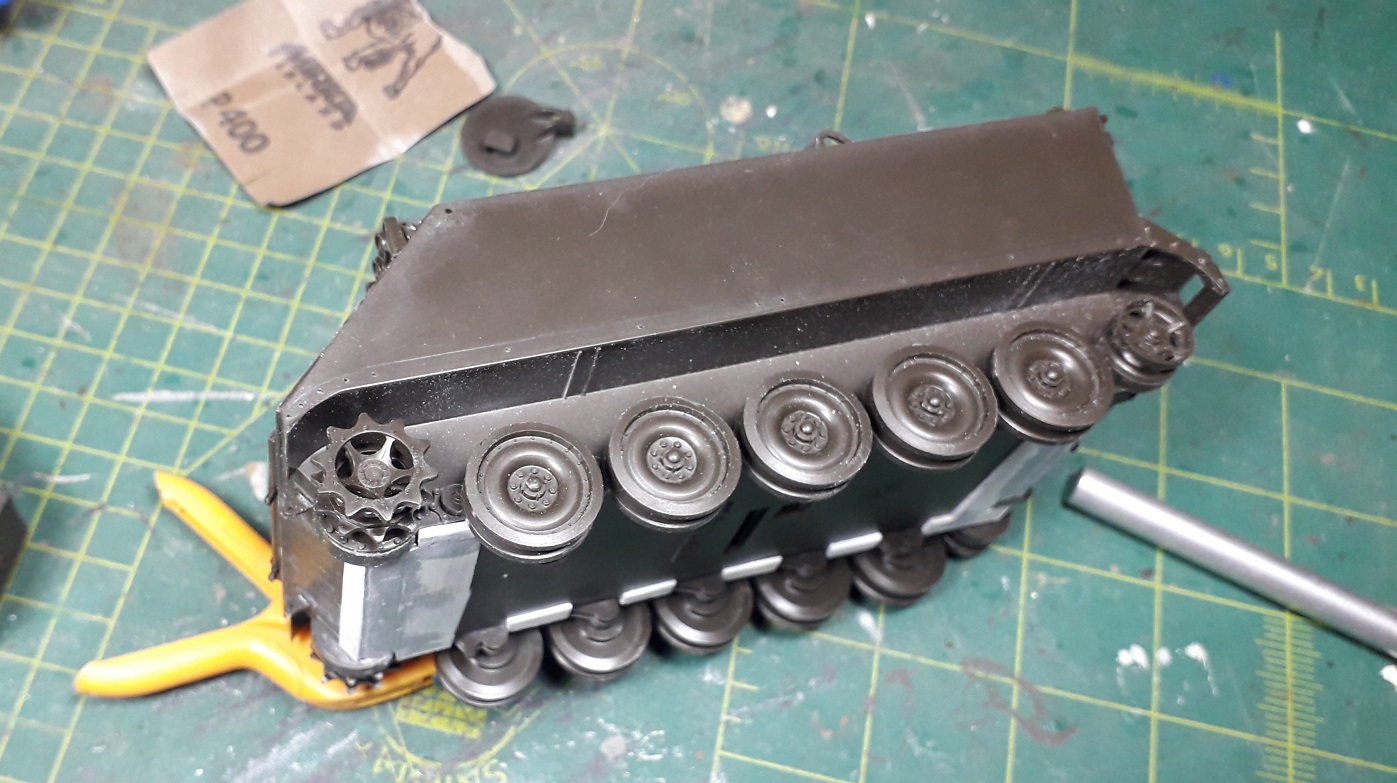
adding extra amor to the hull bottom and sponson, but only in the visible places, since I did not have enough plastic card.
adding an extra antennabase and lifting eyes
adding tiedowns after removing the cast on strips.
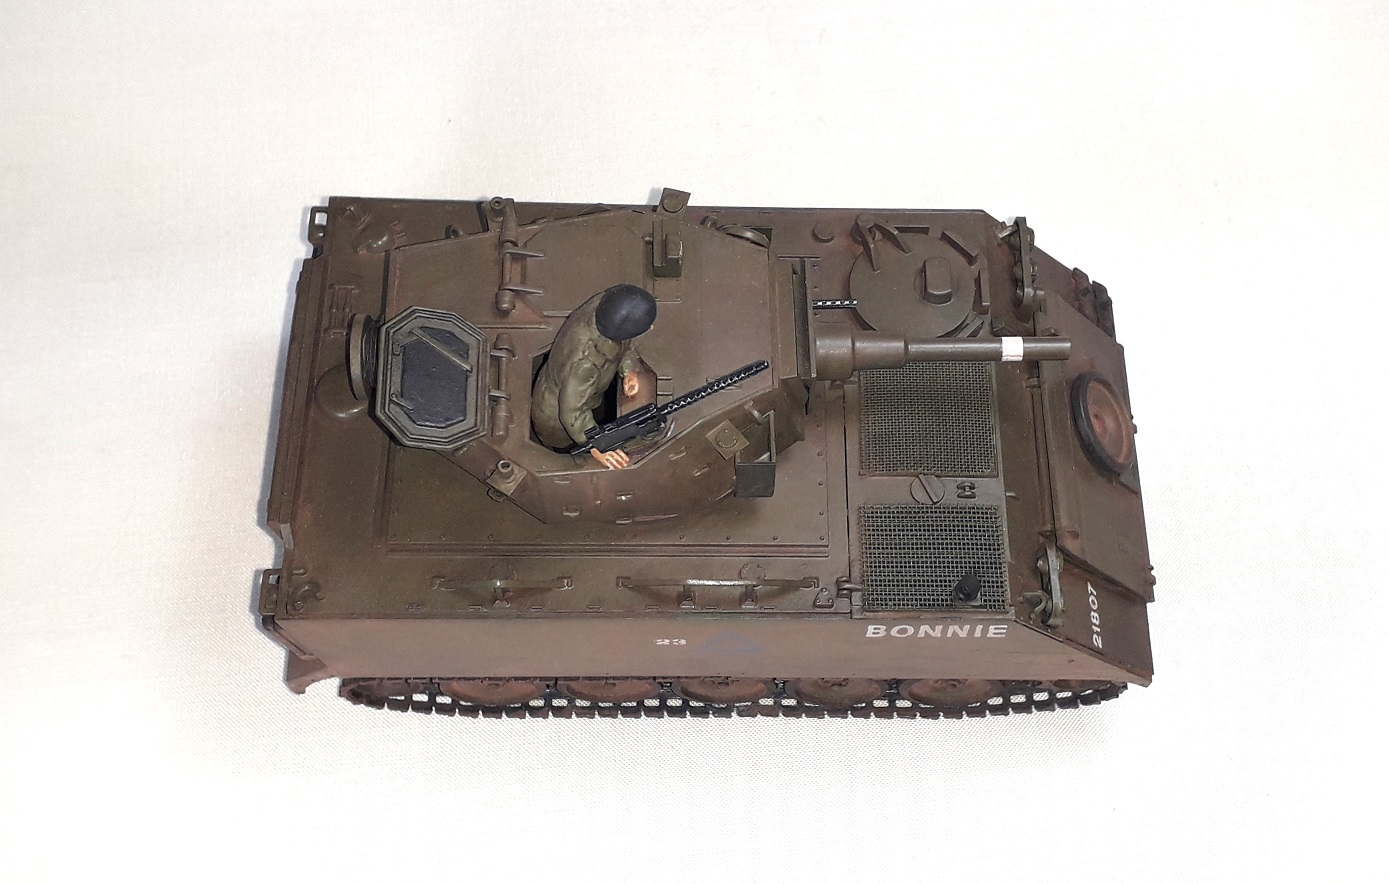
removing smokedischarges and adding plate
adding German jerrycans (photo’s seem to suggest those) instead of the hopeloss kit cans
extending the trimvane
drilling holes where the skirts should be attached
It’s a shame you ran out of plastic card - the missing panels under the sponsone would be a great addition. No hotel key cards of gift cards lying about? A friend of mine builds zombie apocalypse trucks out of unused small arms and other larger weapons I give him - along with almost exclusively using WalMart gift cards for his armor plating.
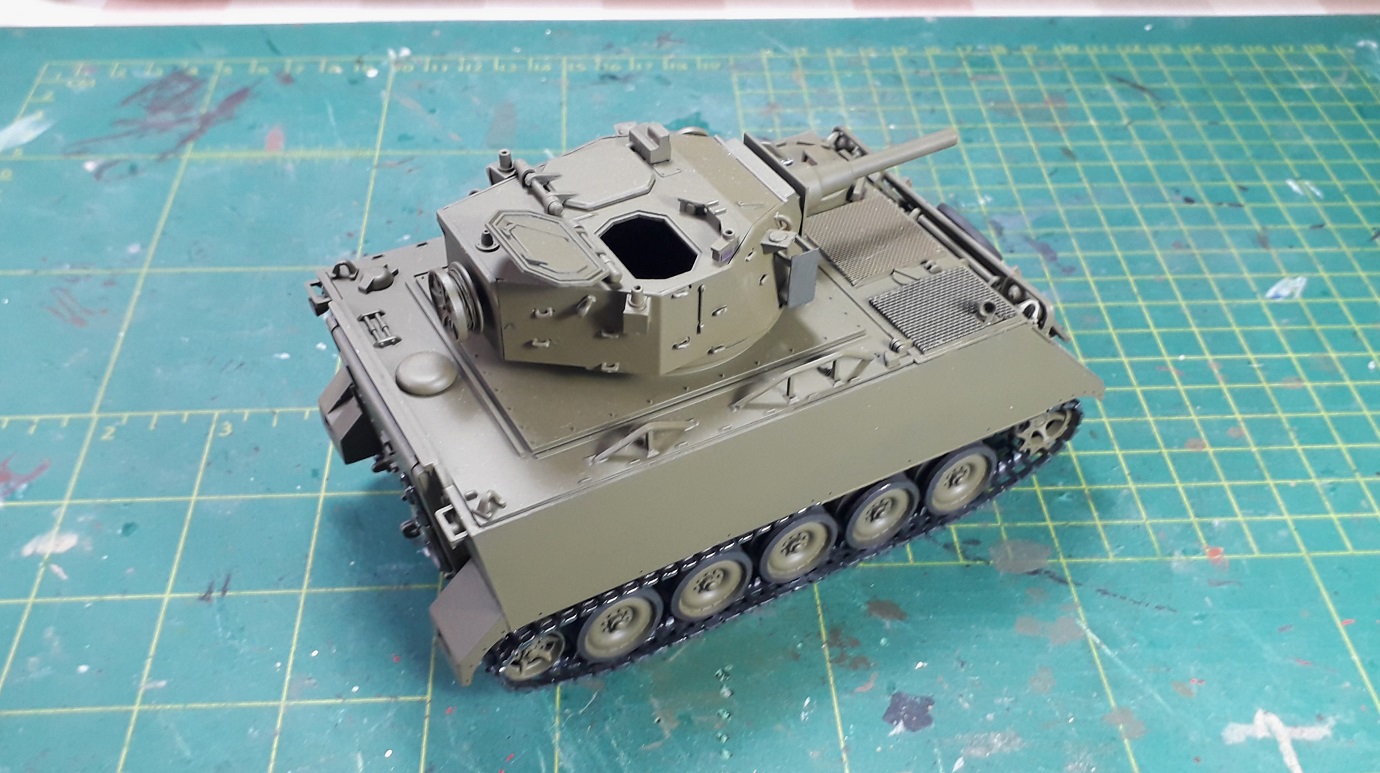
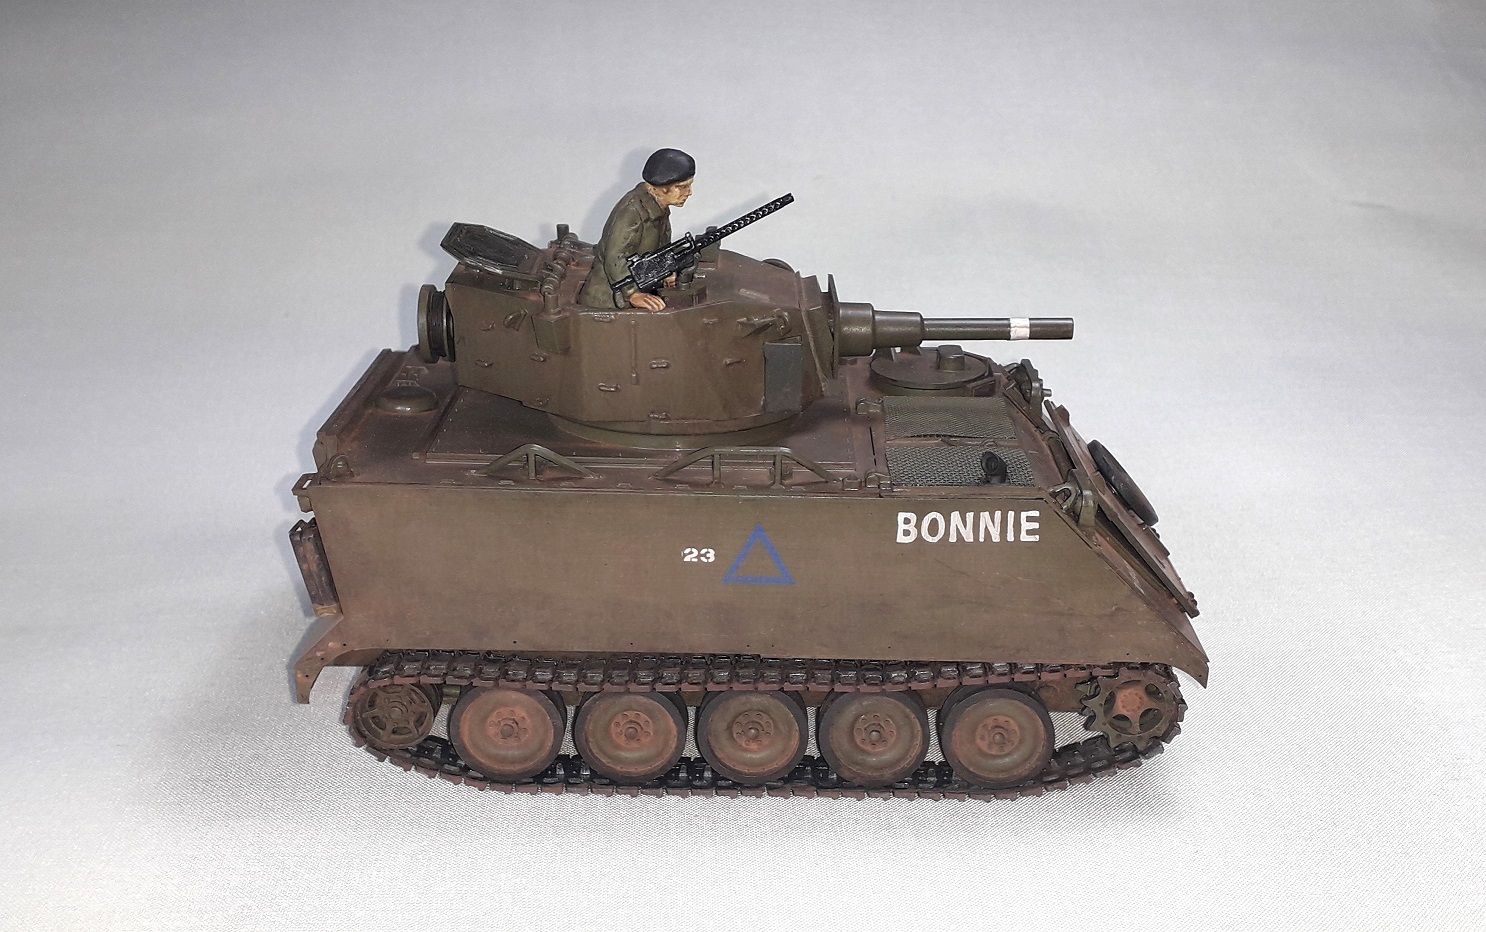
The FSV finally got a basecoat in Vallejo Model Air 71016 USAF olive drab. I found suggestions online that that colour approached the real one best.
Does look rather well and should be even better after weathering.
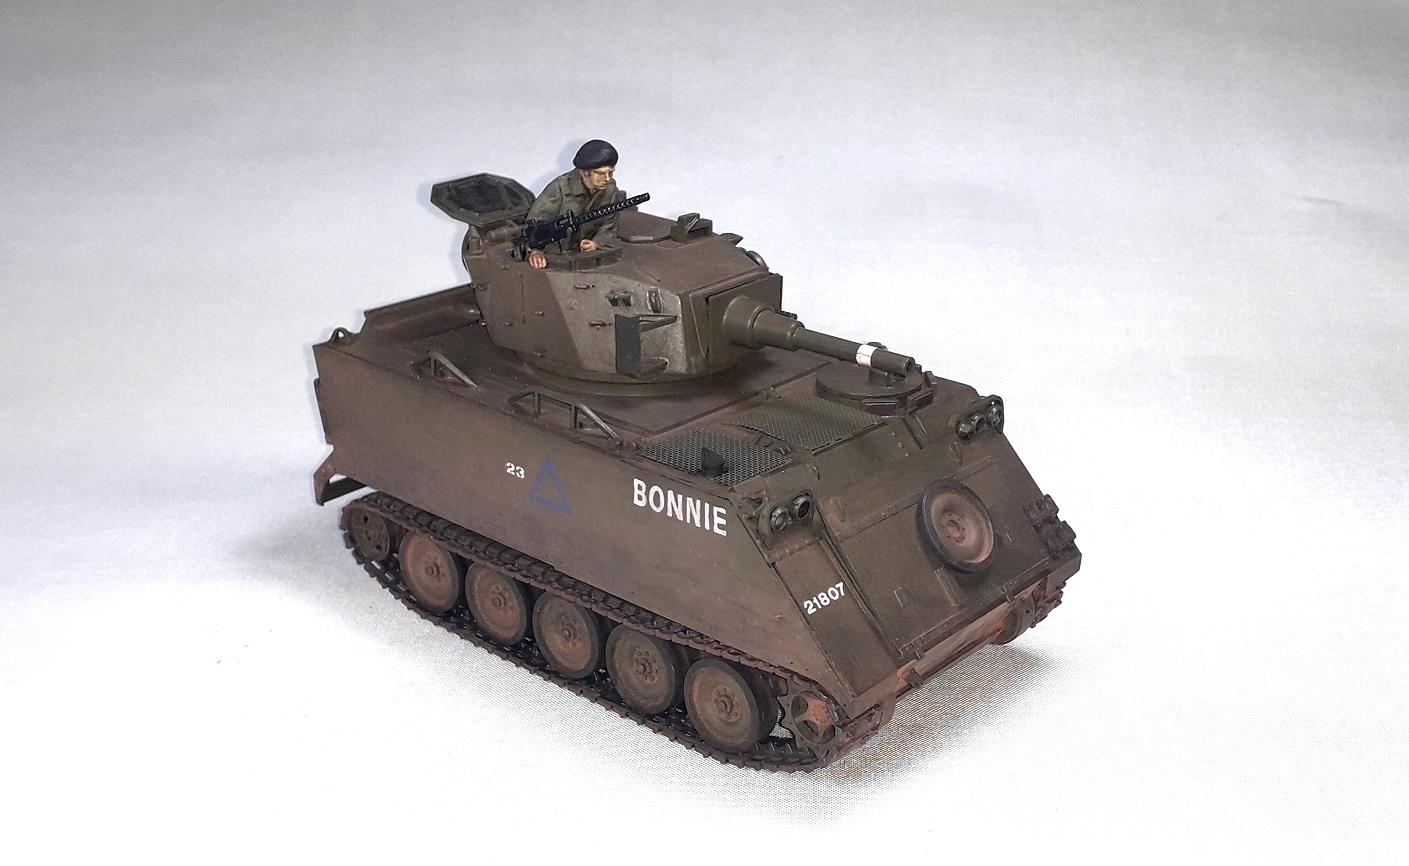
I completely forgot to update this one… but it is DONE!
Things done are:
addition of decals, which are NOT historically accurate (apart from the blue triangle), but give an impression of how similar vehicles would have looked.
several washes; dark around the wheels, lighter grey on the sides and the top and a brown one on the top and sides
followed by powder, which is a mix of sand and brick red.
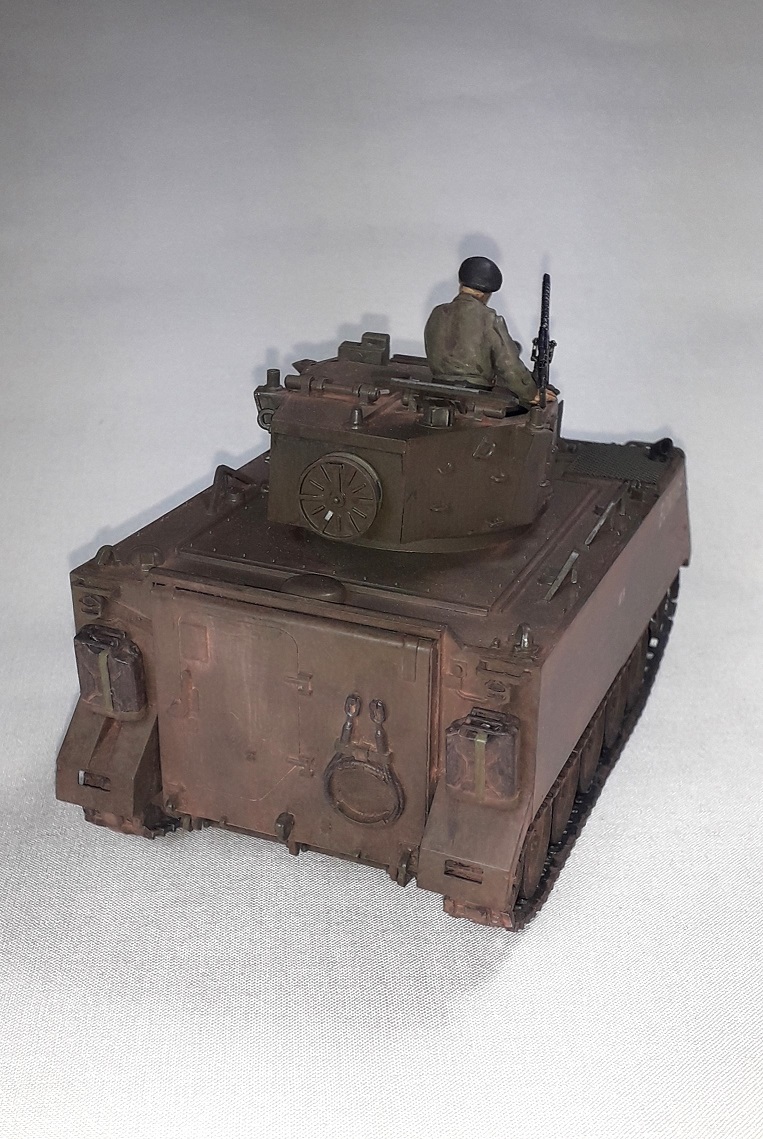
Painting of the figure was not easy, since the details are very soft. So I resorted to base colours and washes.
My understanding is that the belly armour only extended from the front of the belly to about the 3rd road wheel (based on info that used to be on the now defunct Mouse House page) - the photos of the in-country vehicles show the armour protruding beyond the edge of the hull side
HI Like what you did. I’m building 3 of these at the moment. The belly armour runs from the front to back and then you have the sponson armour which ran from just behind drive sprocket to the 3rd road wheel. On the top plate they had a cut out on it at the filler cap.