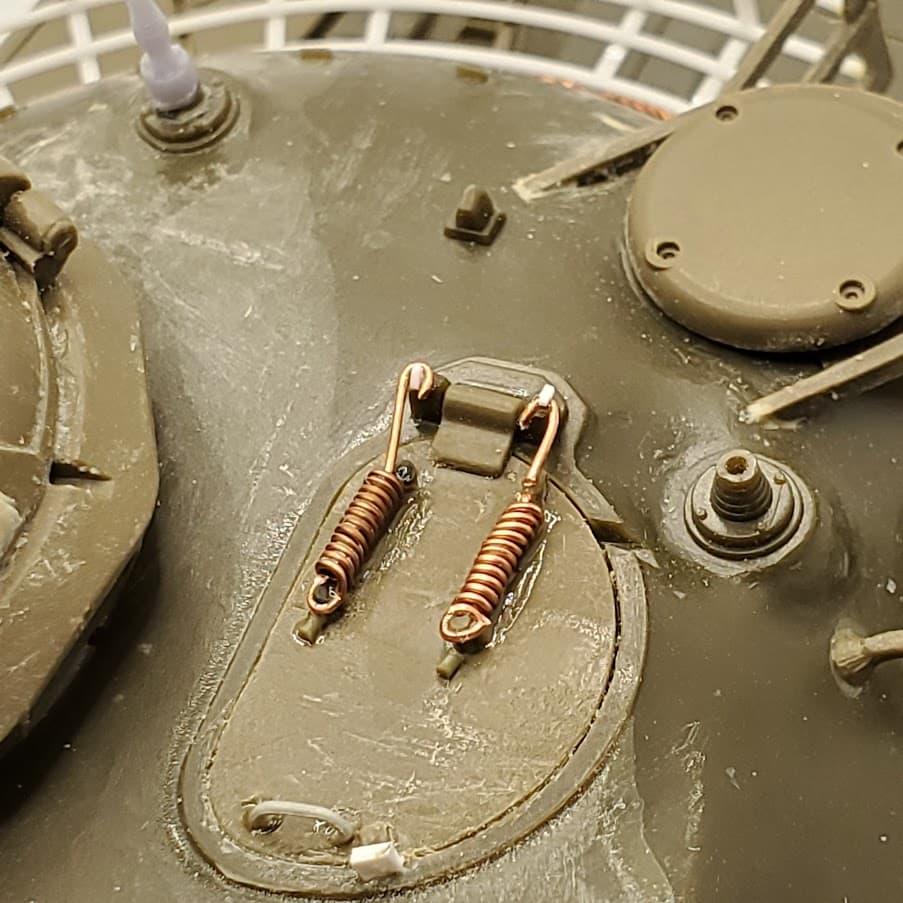
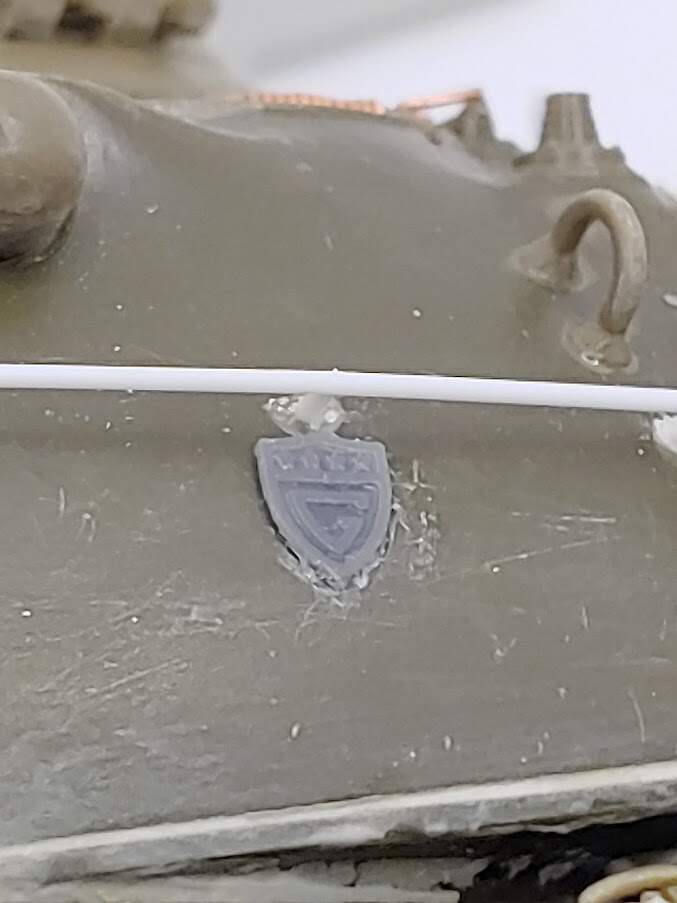
It looks better ![]() The handle and the padlock ar nice additions too.
The handle and the padlock ar nice additions too.
Olivier
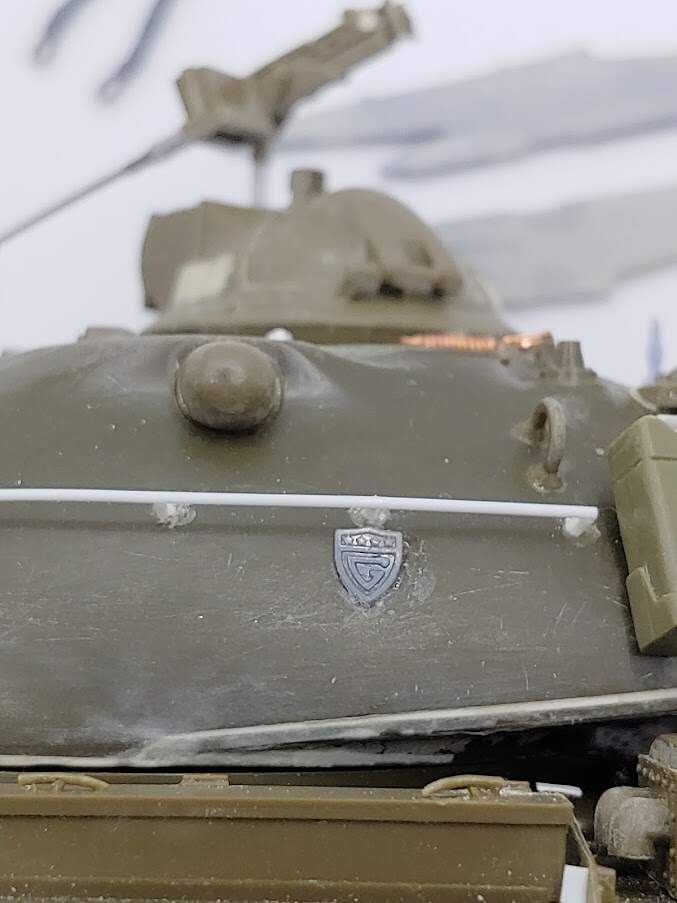
It looks better ![]() The handle and the padlock ar nice additions too.
The handle and the padlock ar nice additions too.
Olivier
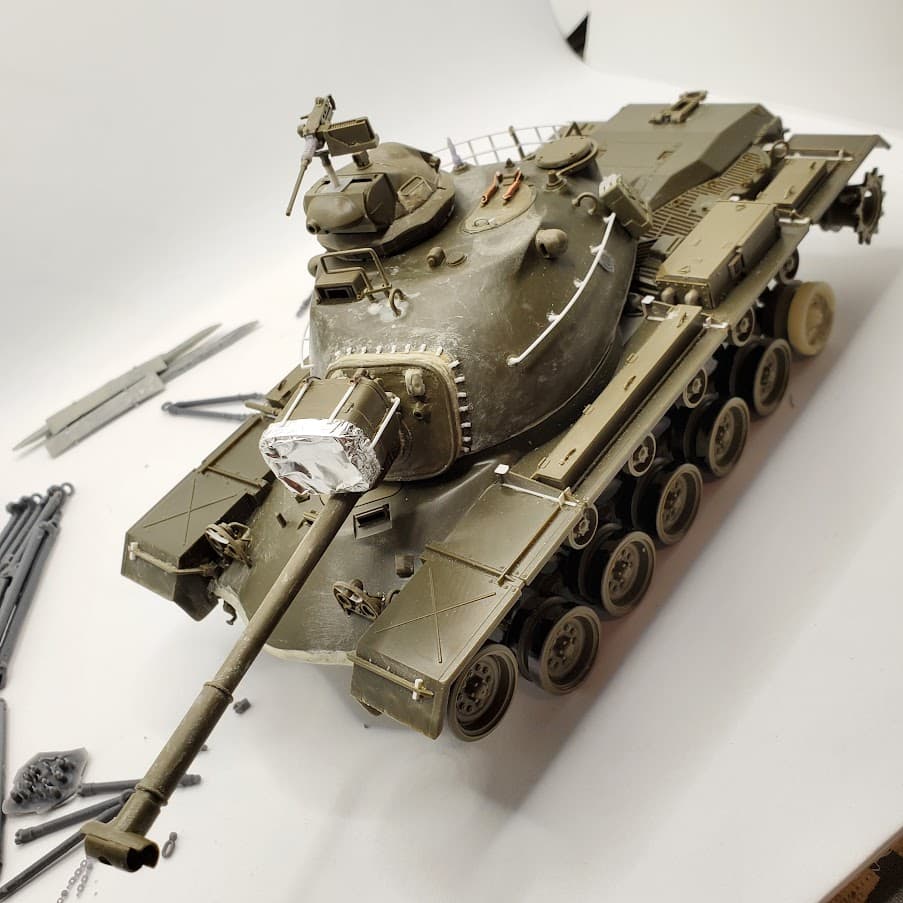
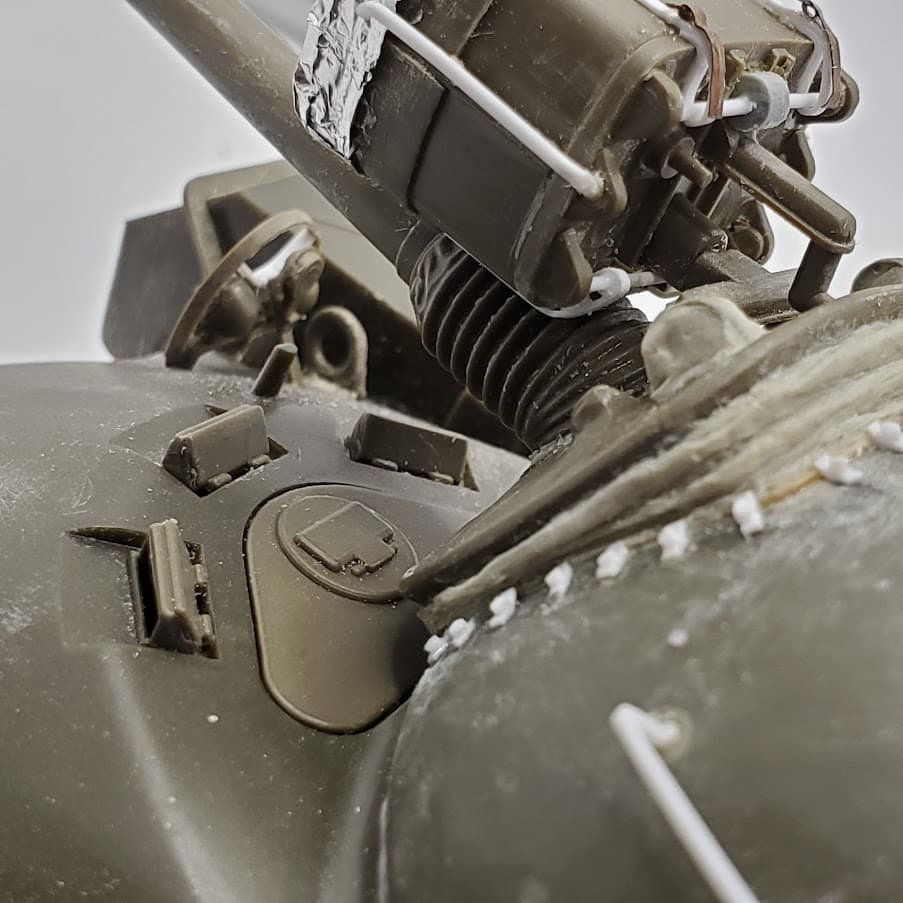
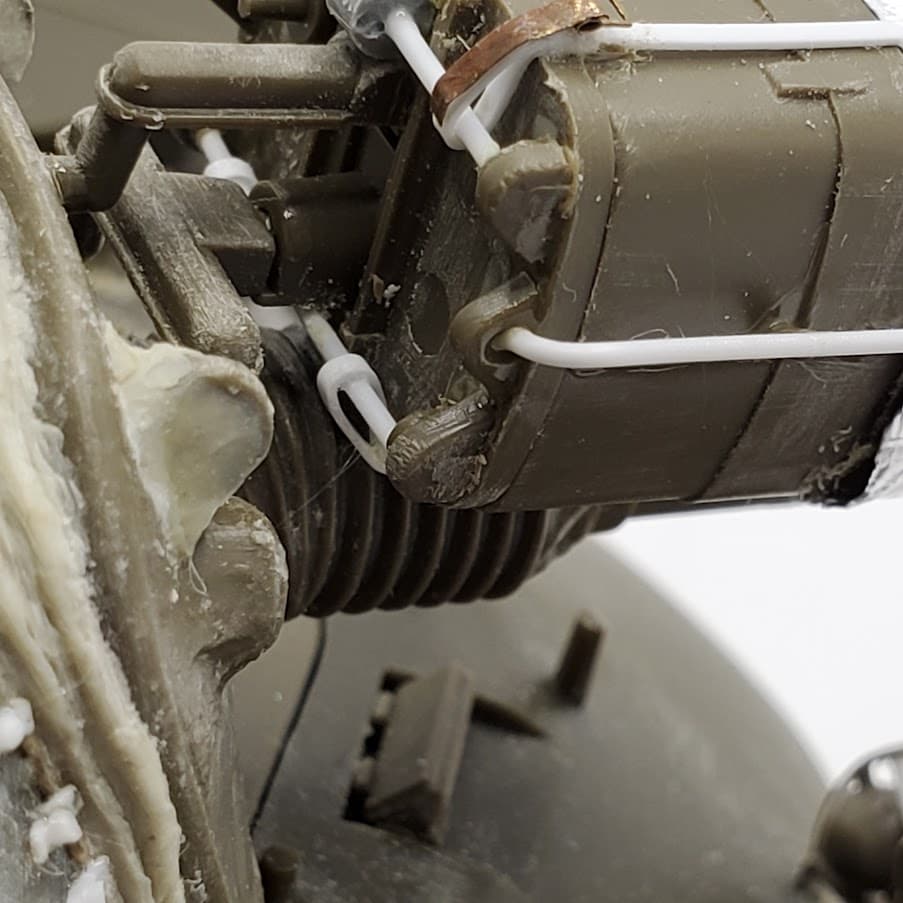
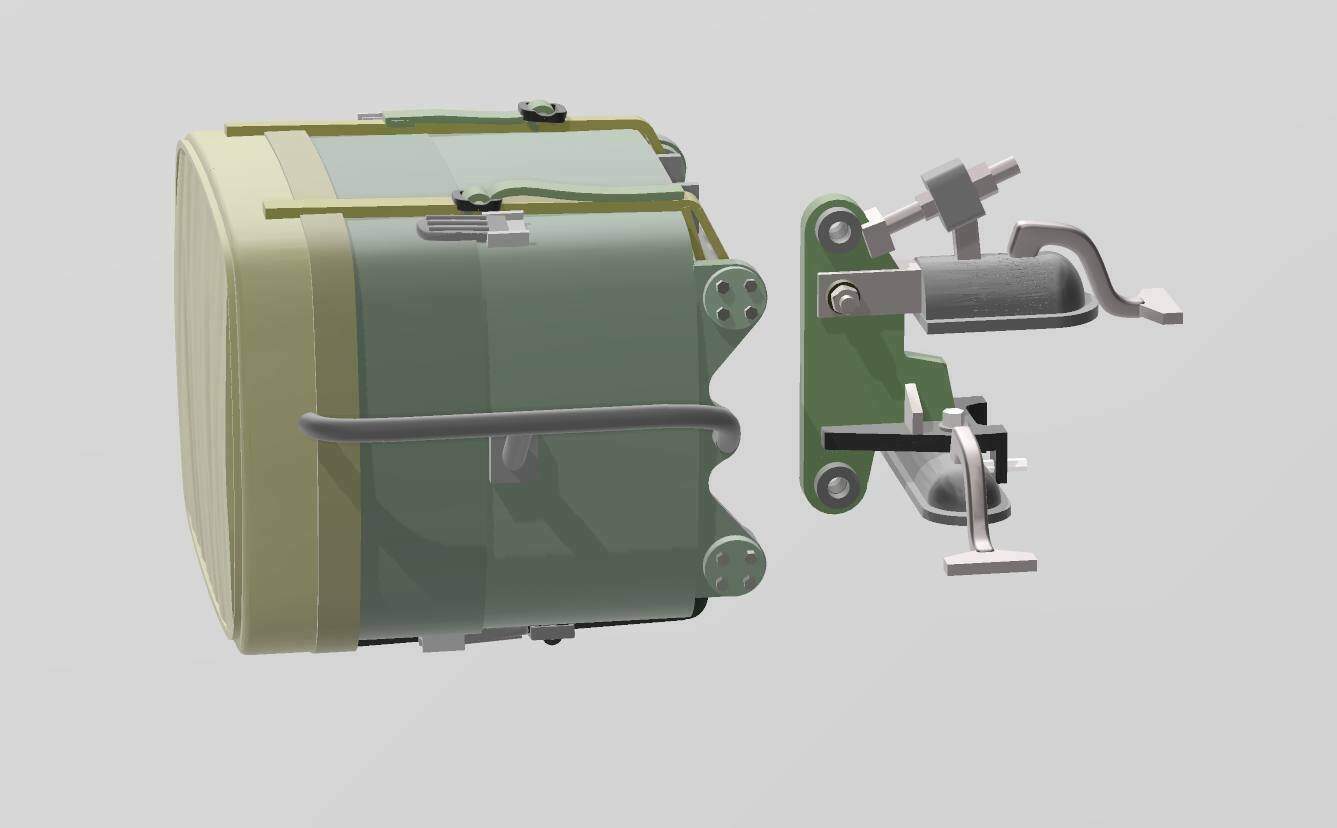
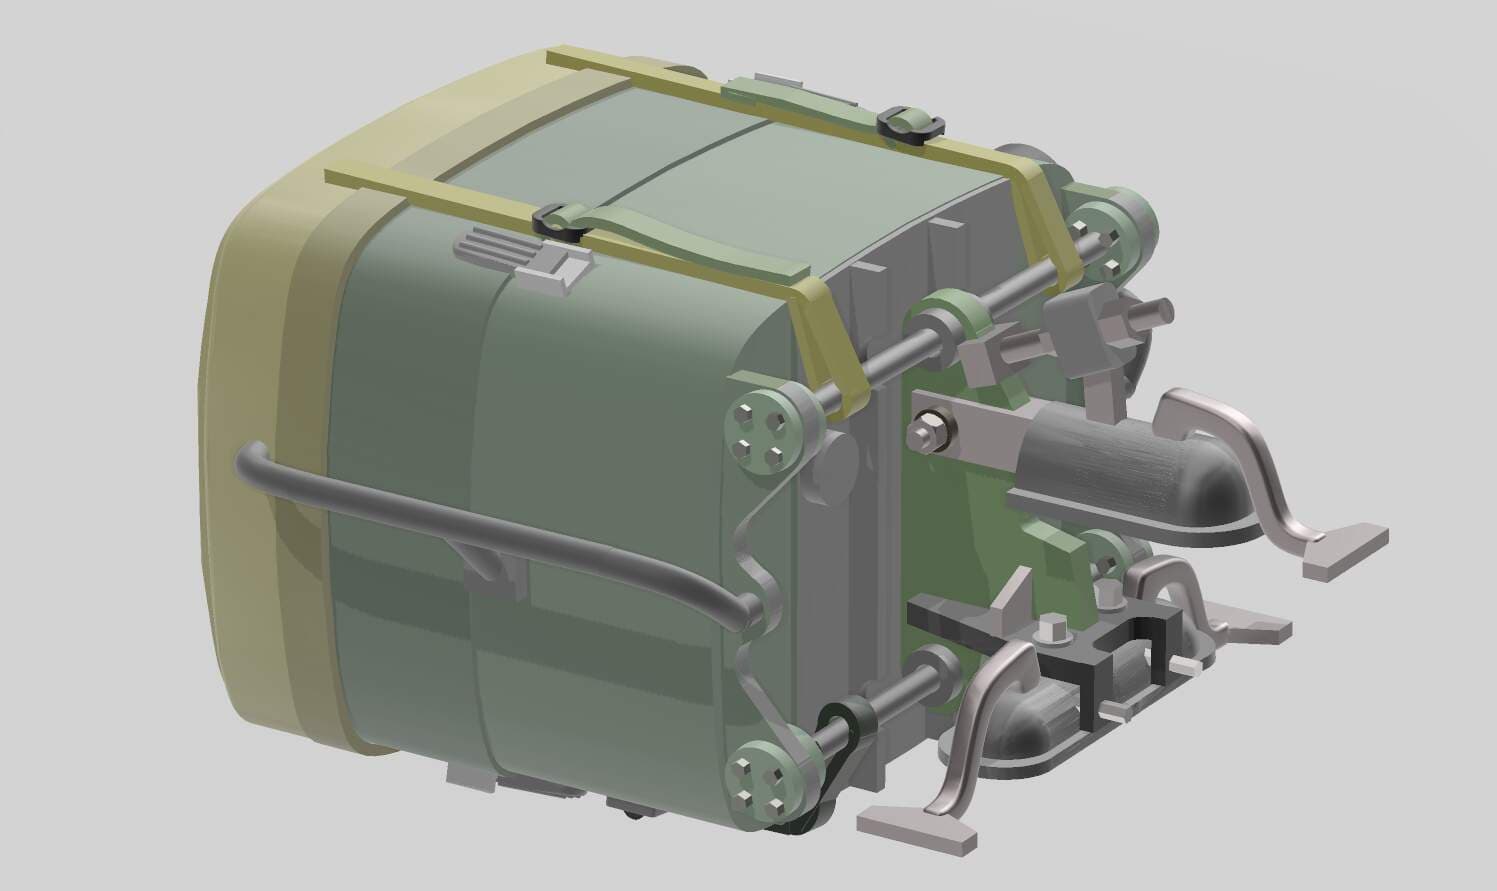
Taking a break from 3D CAD and printing insanity. Put the finishing touches on the old project.
Finally ready for painting.
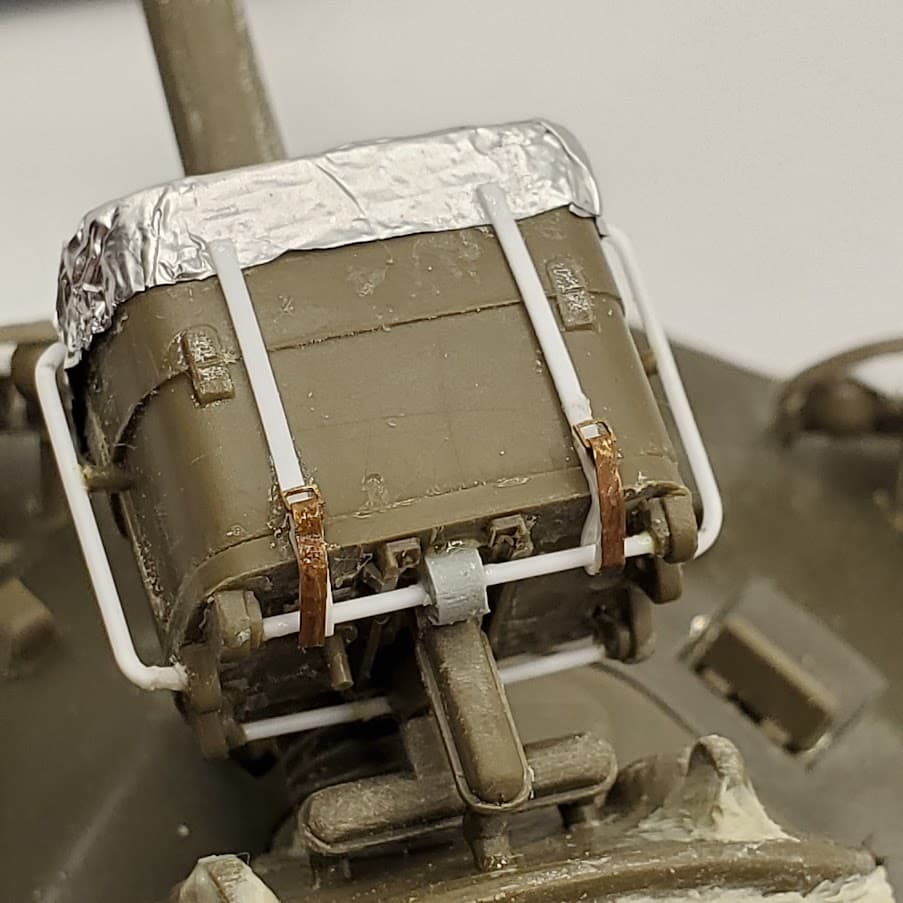
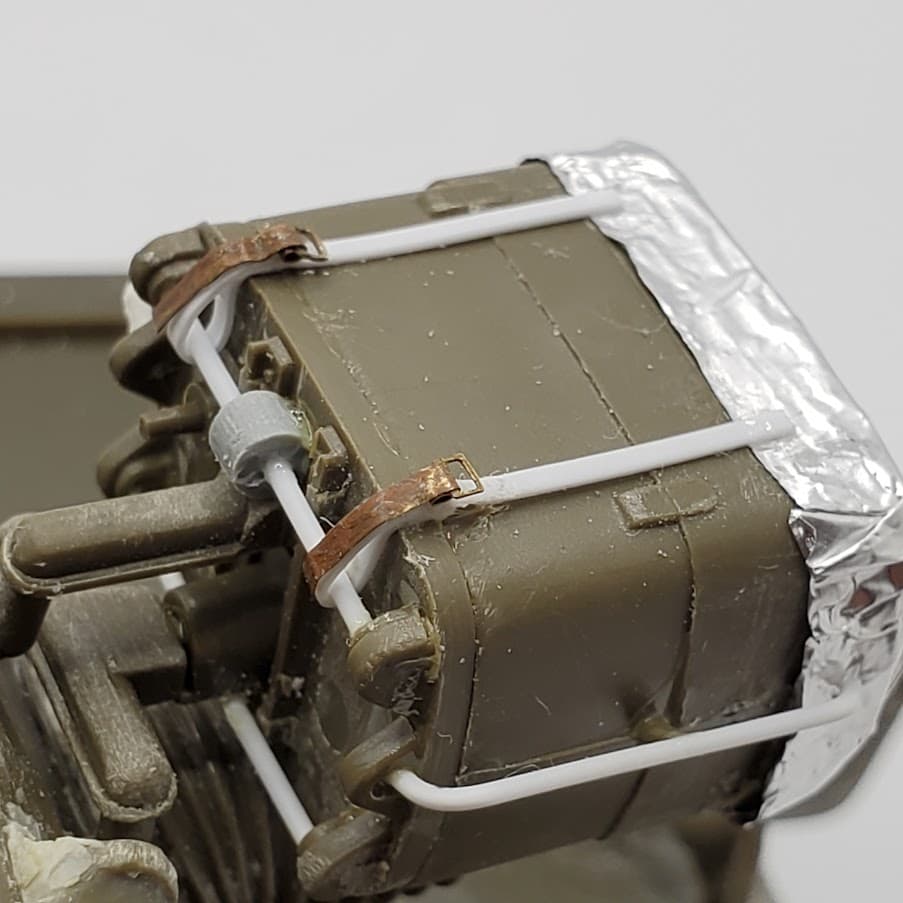
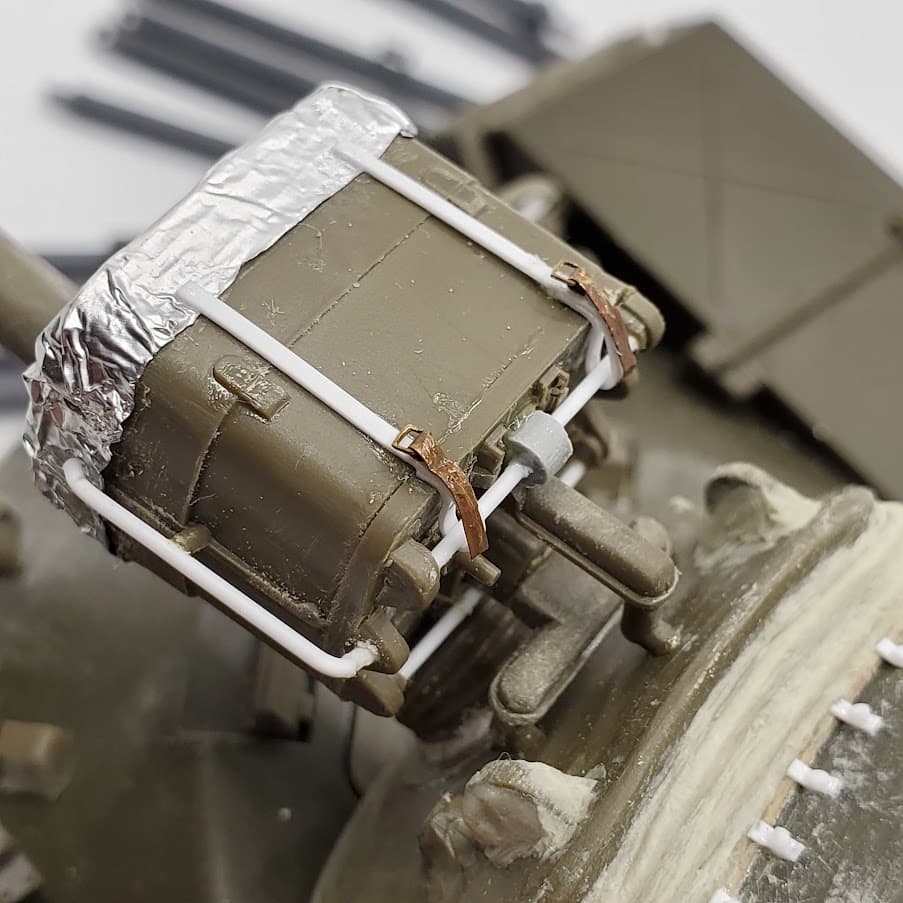
Eduard PE origami:
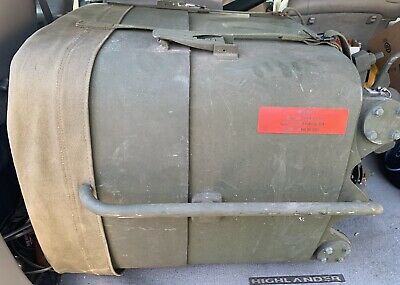
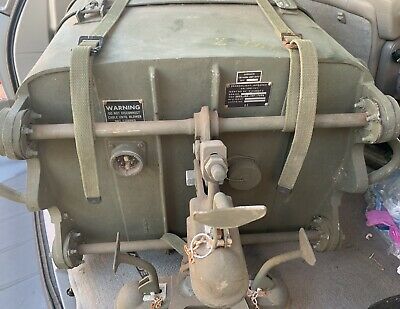
Based on these photos:
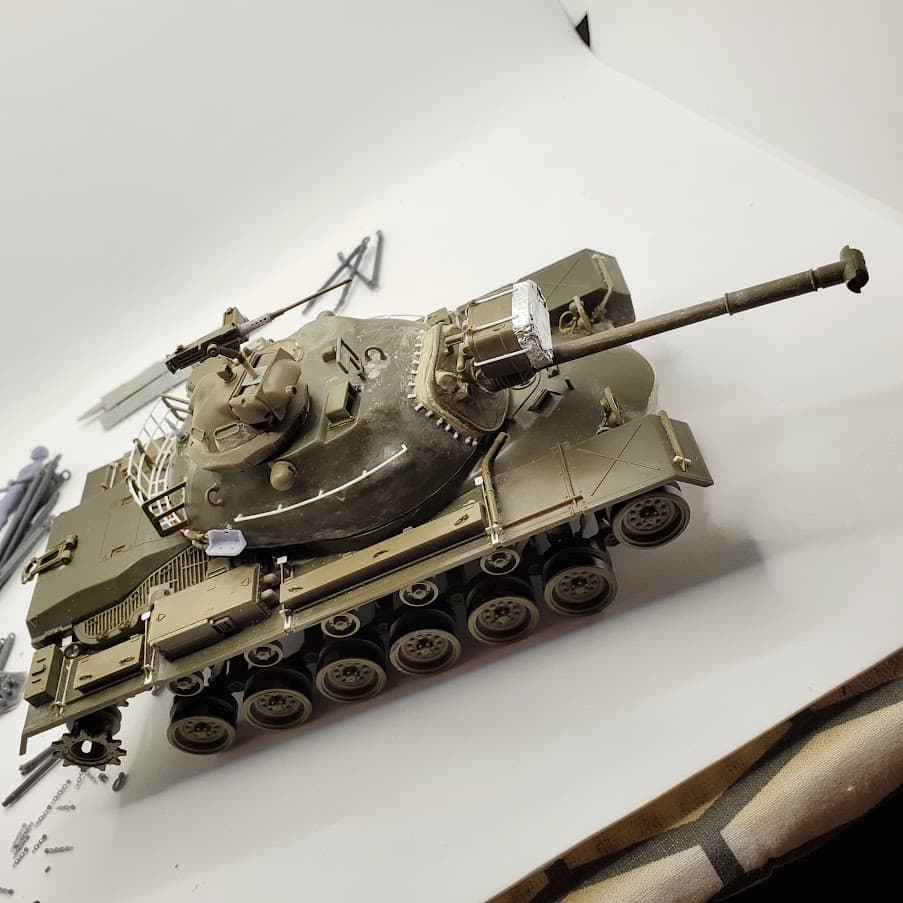
added some more detail:
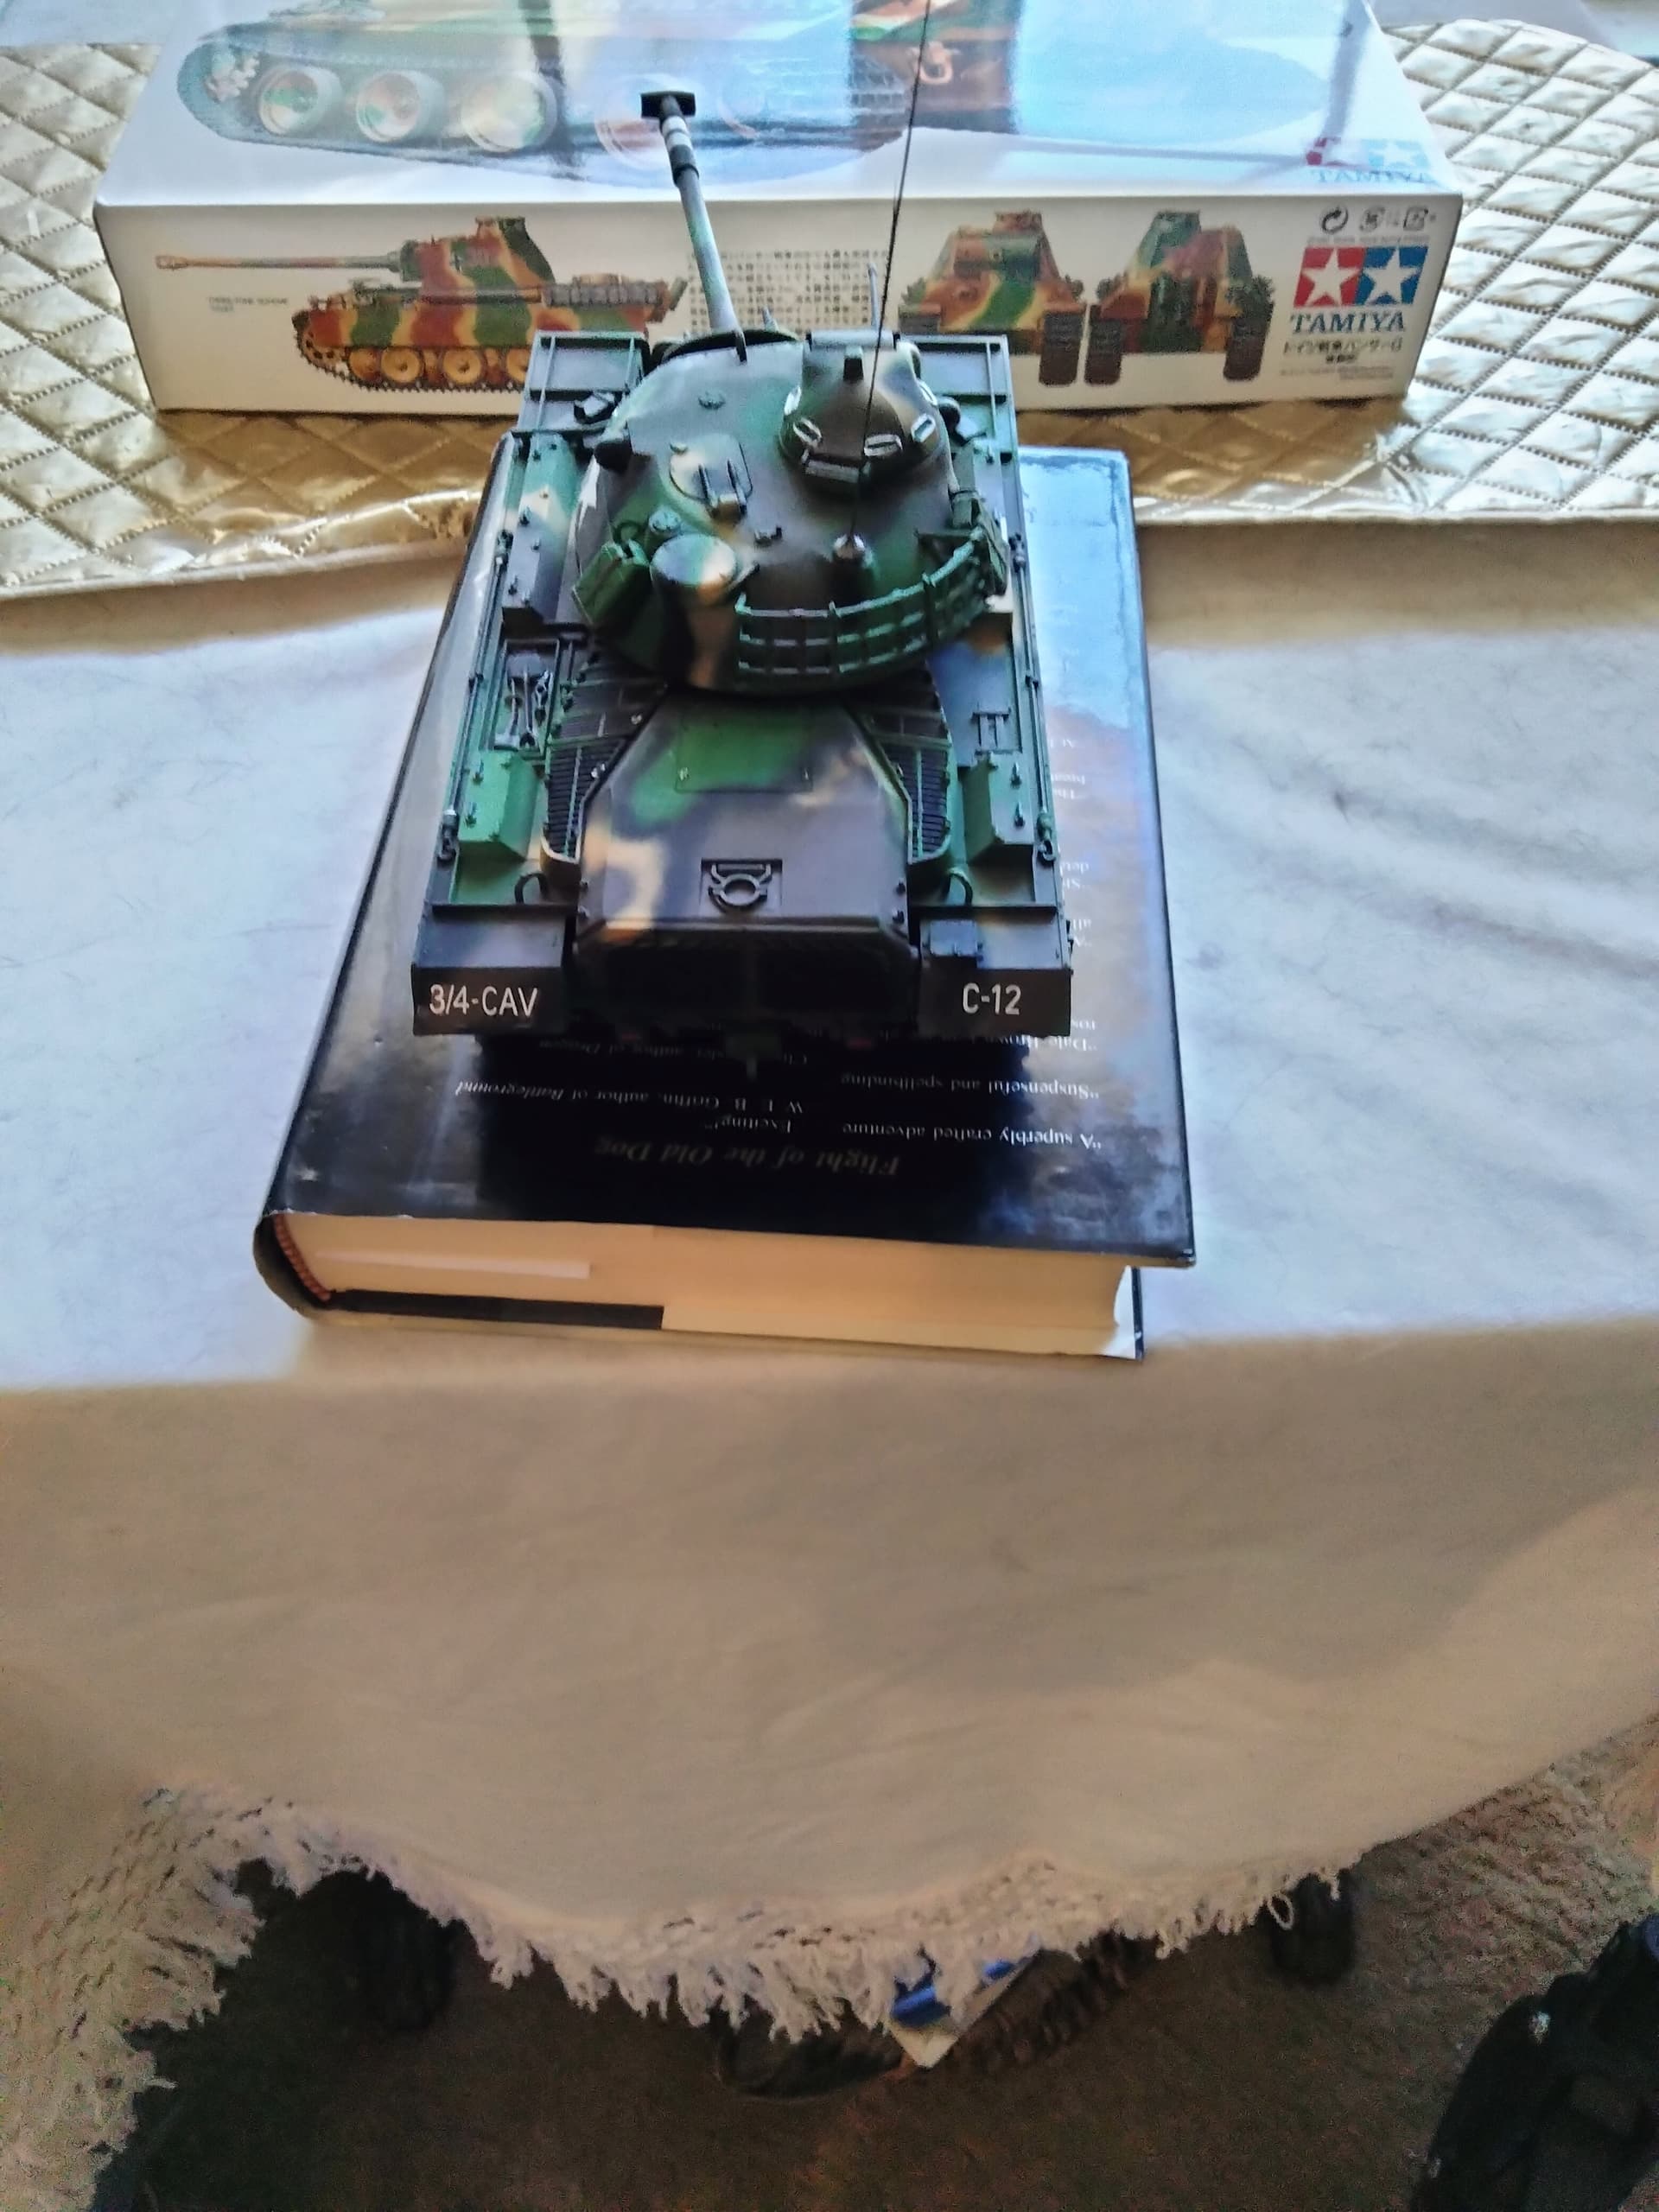
She is turning into a beauty. ![]()
I agree, looking good!
Supposedly, there are two more straps on the bottom so I’ve added those:
Thanks all for your comments and likes.
Your M48 looks great. I have one on the build stash that i want to build exactly like this. I will be using the same work you’re using to build mine.
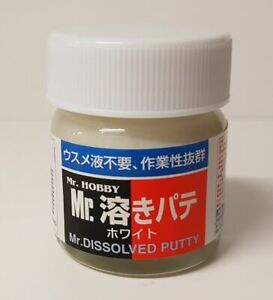
I will be using Mr. Dissolved Putty (a new (to me) product from Mr. Hobby) since I suck at using regular putty; hopefully, it’ll work.
that dissolved putty really stinks so keep a window open.
i use perfect plastic putty which is water based and doesn’t smell and is easier to use imho
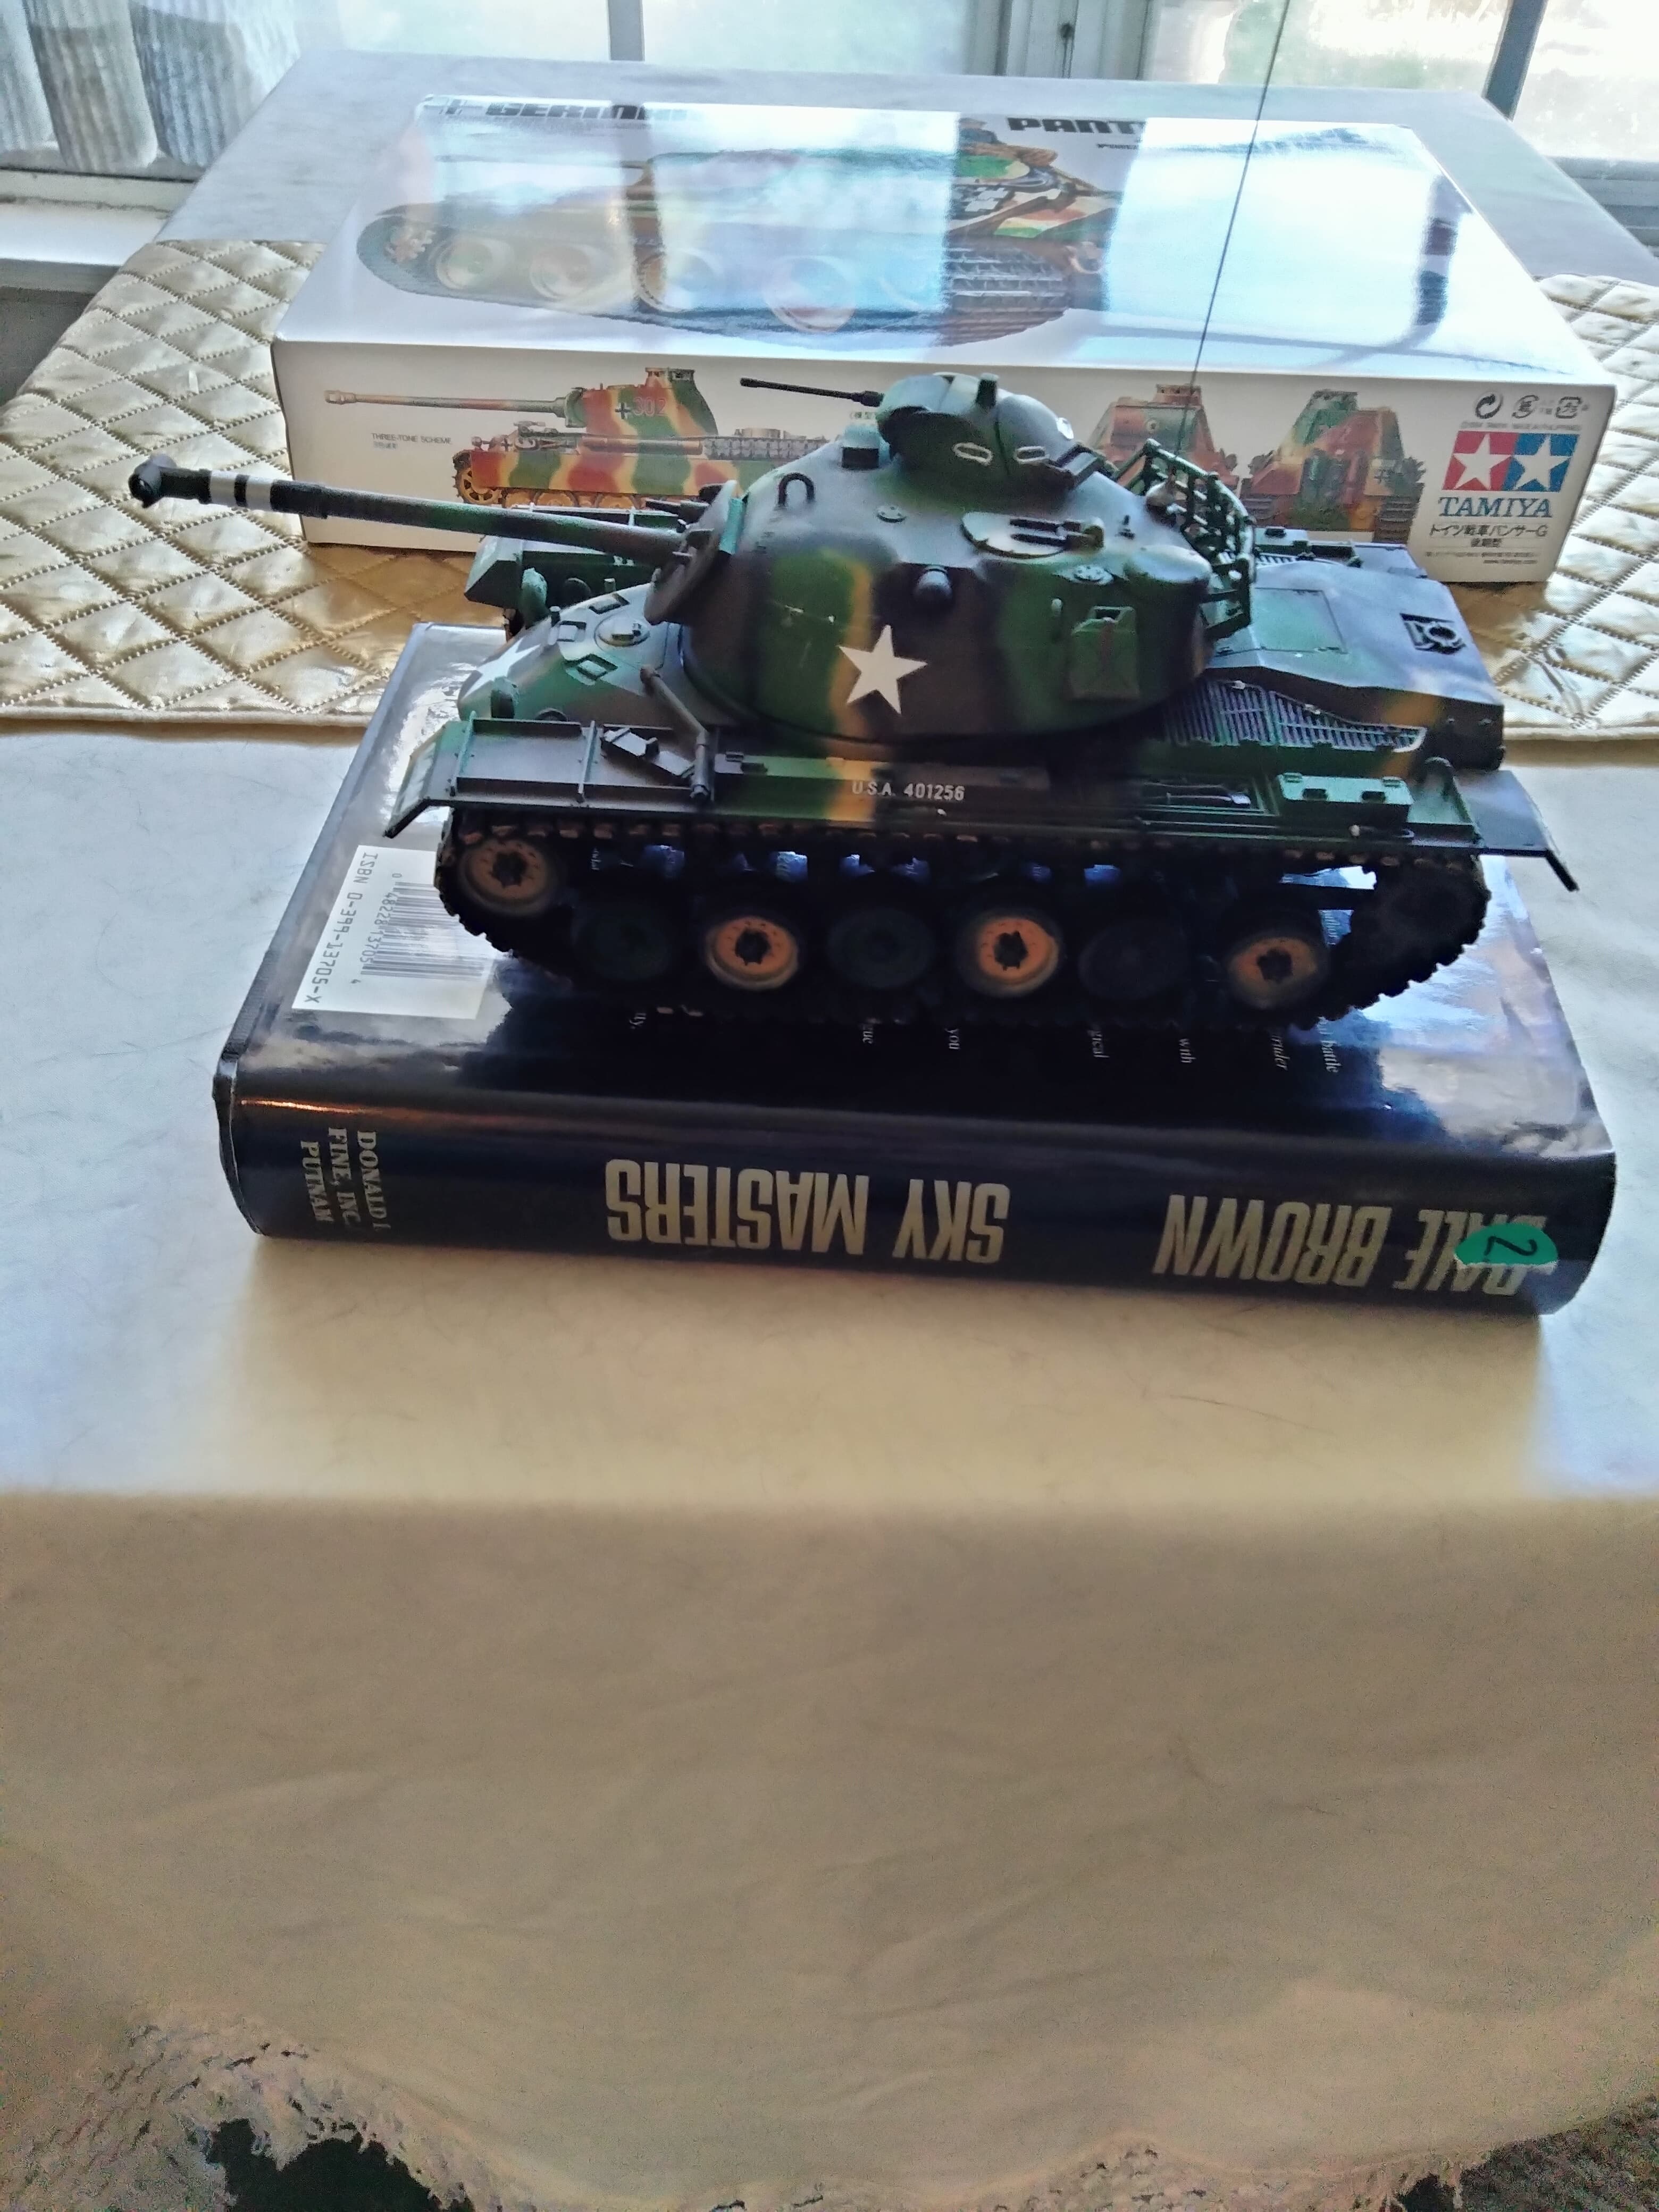
WOW Your M-48 Makes mine look… well Amateurish. I built mine ( monogram kit) straight build. I don’t have a 3D printer or anything like that. But I REALLY Like what you did with yours. I’m including a couple of pictures of my completed one.
Bump, curious if you finished this.
No paints on it yet. I actually need to dig up my airbrush and compressor. Been too occupied with CADding and 3D printing.
Your work on the AN/VSS (1-3? Can’t remember) looks fabulous!