I hope to start this soon, creating a subthread for it. I’m pretty excited about this kit.
2 Likes
I will be watching this one - it’s a great kit .
Sounds good - looking forward to see more 
I’ve seen some stunning builds of this kit on various forums, from all accounts it is one of Tamiya’s best kits yet so I’m sure you will have a trouble-free build.
Looking forward to following your progress.
Cheers, D
So I spent a little time looking at my fundekals set. I’m interested in a plane that was in N. Africa. All the fs in N Africa seem to have carried the scr-522 radio. I’ve found a 1/48 scr-522 from modelmonkey, but I’m not sure about whether there should be changes in the cockpit as well. I need better references.
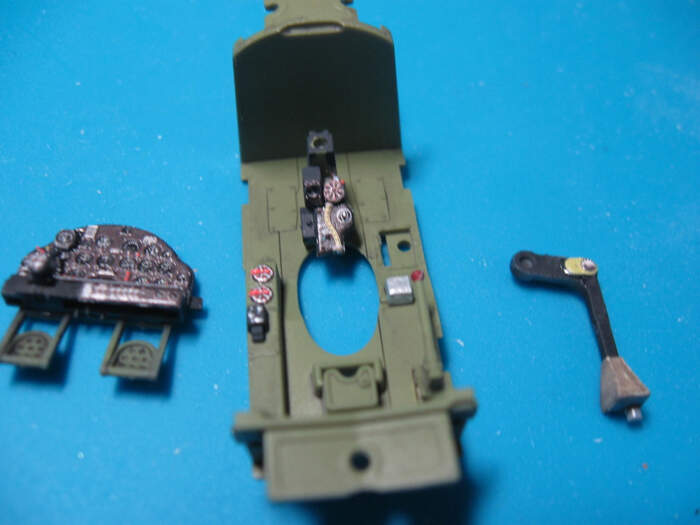
And so it begins. I picked up the Eduard Brassin resin P-38J cockpit which has the right radio assembly for behind the pilot. Not sure about whether the starboard side wall is a lot different. I think the plan is to figure out what is different between it and what’s in my F then isolate which bits are radio bits. But I have begun.
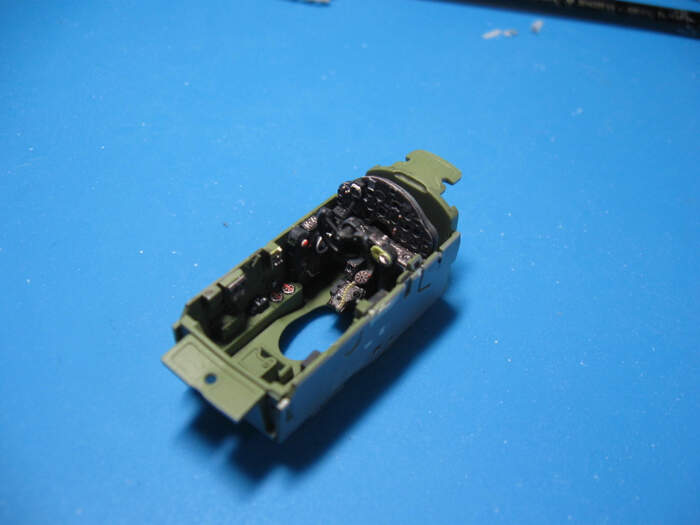
Before:

It was really hard to sand off the beautiful detail. But I did it, on the instrument panel, which I assembled, the instruments on the stand in front of the pilot, the column, and the left side wall. Assembled some of it so it is ready to paint. Then the Quinta decals will go on.

And I couldn’t resist doing the simple step that puts these bits together:
So, to get the new radio. Here is the resin rear deck. I think I need to sand off the rear bulkhead, then sanding off the bottom deck. The plan is just to drop the framing and the radio on the Tamiya plastic part and use the Tamiya rear bulkhead.
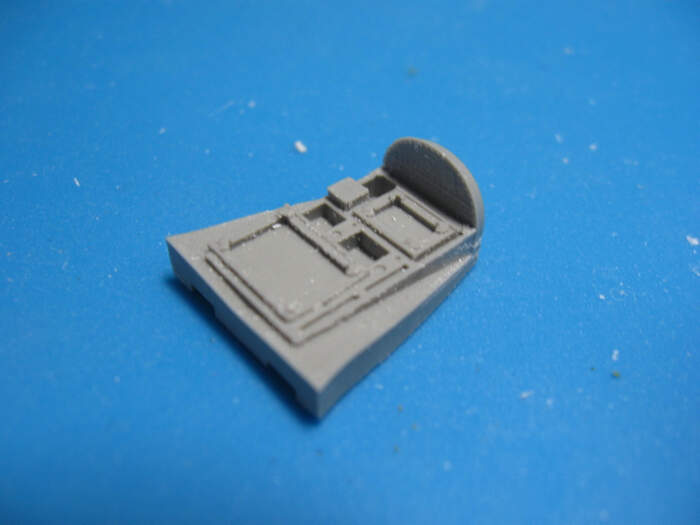
That will be a lot of sanding.
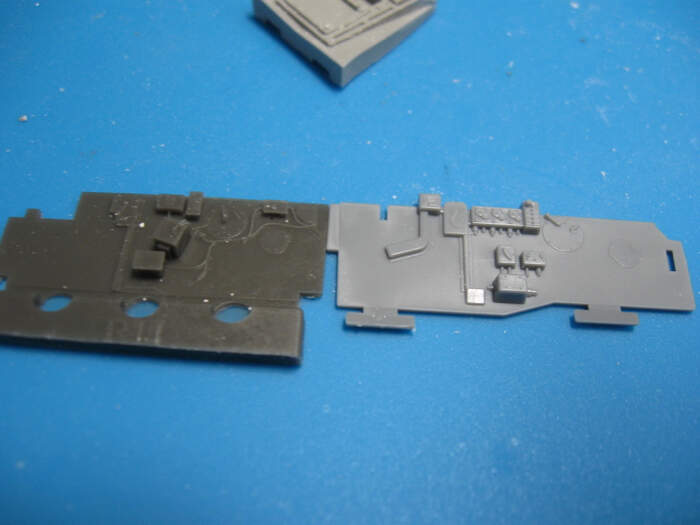
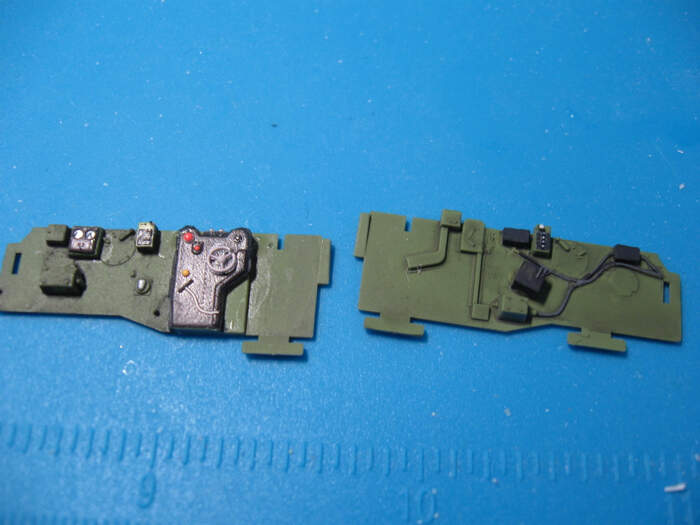
IF that works, then I need to figure out what to do about the starboard cockpit wall. Here is the resin part next to the Tamiya plastic part. I’m not sure how to go about it, but right now, I’m thinking to smooth off the Tamiya part then scratch in styrene the parts to immitate what’s on the resin bit, but I’m not sure.
OK, the radio components are installed on the rear deck so I’m committed. This was my first experience with doing a lot of sanding on a part to get it to fit. I thought it would be harder but it wasn’t too bad. Off to the paint booth and then I’ll add some wiring I think…
Tomorrow I’ll tackle the cockpit wall.

The cockpit is almost done, as done as it can be until I figure out some next steps. Here are the parts:
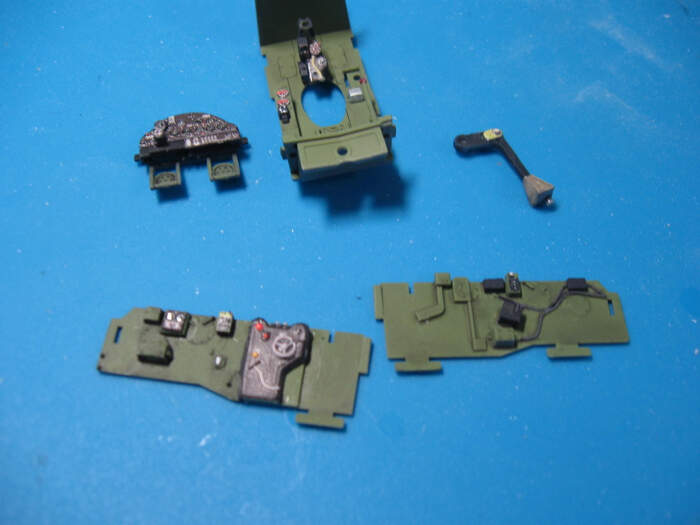
the side wall on the right is the starboard side wall. I used the eduard cockpit side wall as a guide and scratched (what I think are the correct) radio parts using styrene.
And here is everything assembled and glued together (I keep asking myself if I really need to glue stuff)
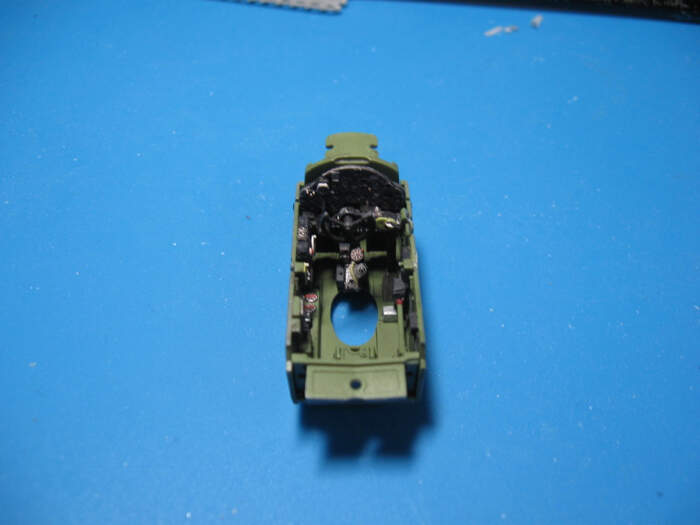
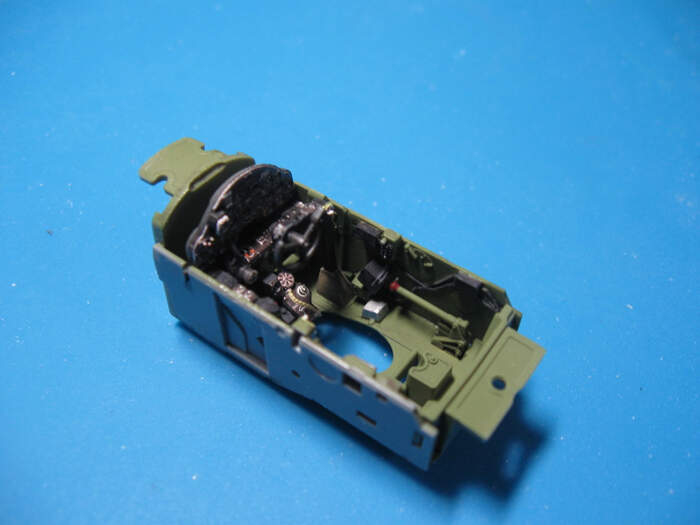
I used the Quinta 3d decal set. I have not attached the levers on the port cockpit wall yet. I want to make sure that’s the last thing I do before I close it up as I can just see those getting knocked off. I love the set with two caveats:
- one of the parts wasn’t the correct size - it was a little bit short in every dimension. I just painted around it and it looks fine.
- there are panels that get curved around a curved part (where the control levers are). I failed at getting these glued on. I’m not sure how to get them flimsy enough or shaped correctly to glue them with white glue, so I tried super glue which made them brittle and they broke. I’m sure this is entirely my lack of knowledge about how to do this.
The Tamiya kit is amazing though. Really amazing. @RDT1953 - thanks for promoting this to me!
1 Like
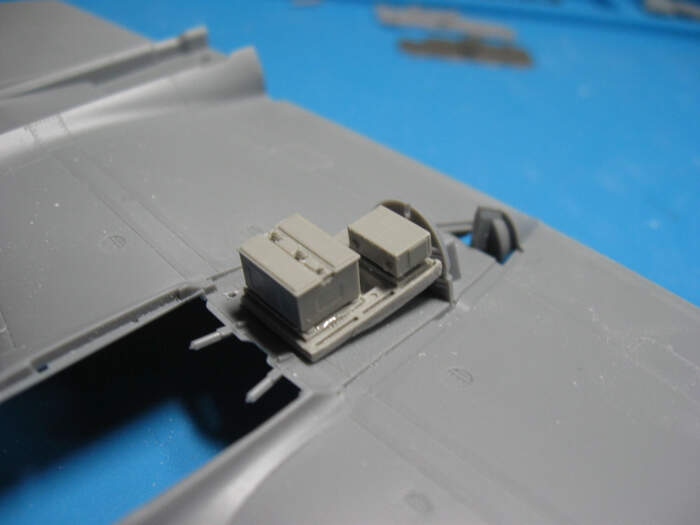
Got the radio on the rear deck painted and wired.
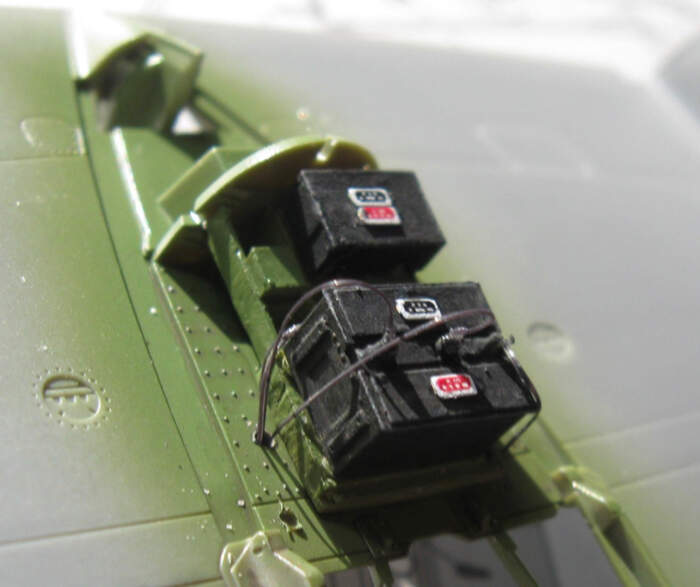
These are the resin parts Eduard made for a P-38J sanded and attached to the Tamiya deck. After paint and wire it looks pretty good.
2 Likes
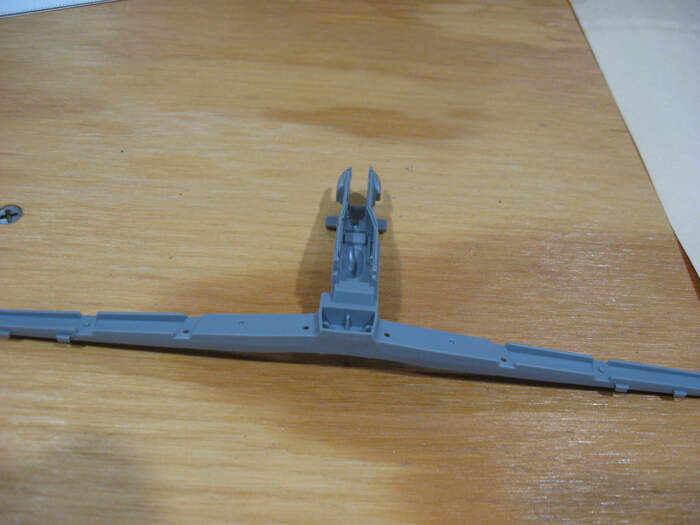
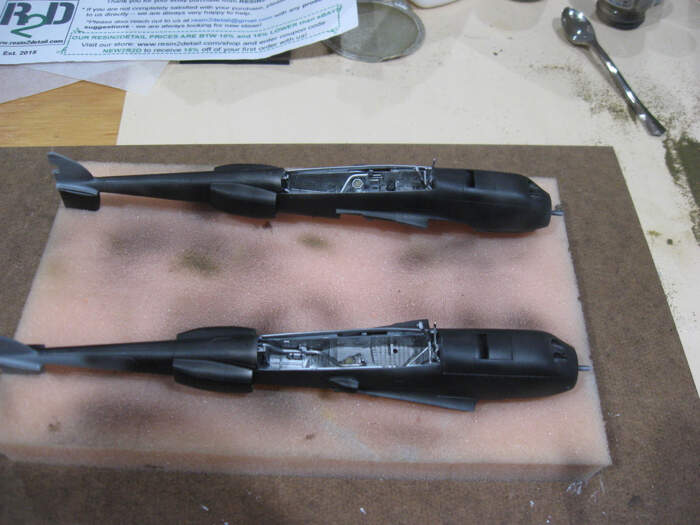
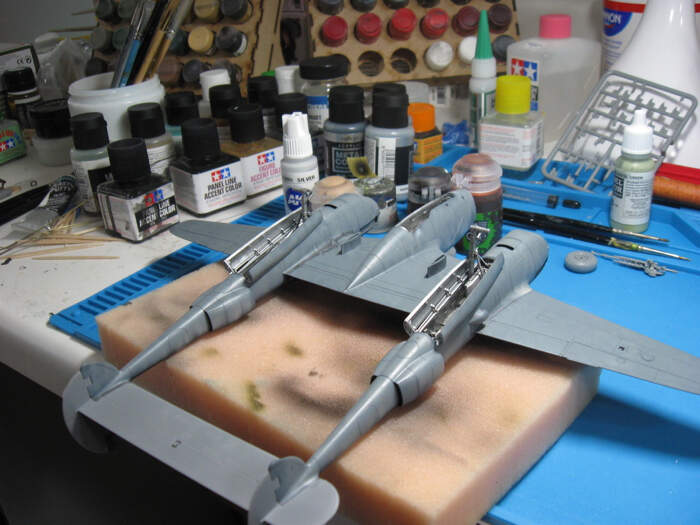
OK, the booms are done … almost.
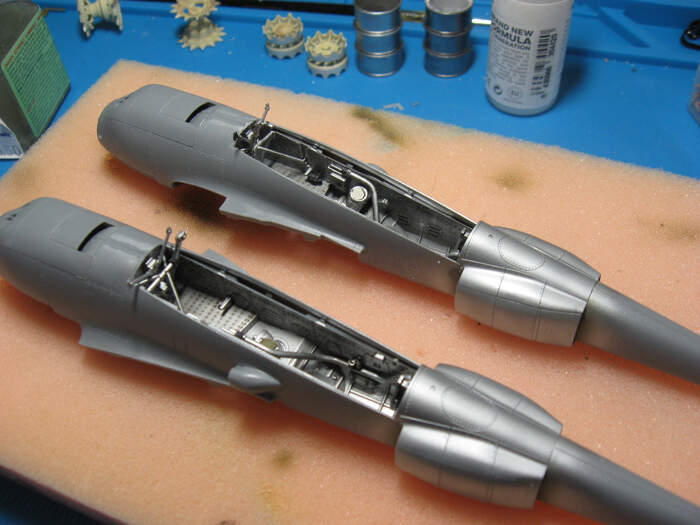

I’m really not sure how to mask the landing gear bay for painting - those arms sticking out seem like they are going to be hard to mask around and not break off. Any suggestions from someone who has gone this far already?
And about those seam lines on the booms. I’ve been looking for good pictures online, walkarounds, etc and have yet to find one. I found some pictures of a -J and it doesn’t look like there is a visible seam below but there is no good look of above and it kind of leaves me at a loss about how it would be manufactured if there weren’t a seam there somewhere…
It looks like from the Tamiya instructions that the seam on the top and bottom of the boom should be visible which makes that pretty easy. It does look like that on the top of the boom directly behind the turbochargers there should be no seam in that panel, and from the panel above the radiators there should be no seam. Anyone have any information to confirm or deny?
This kit is really amazing. Everything fits so well. I may have to start on my Tamiya phantom soon based on this…
They are fragile and a PITA . If I remember I made paper tubes to slip around them .
If I build another I’ll find a way to install them AFTER painting.
Looking very nice .
Cheers - Richard
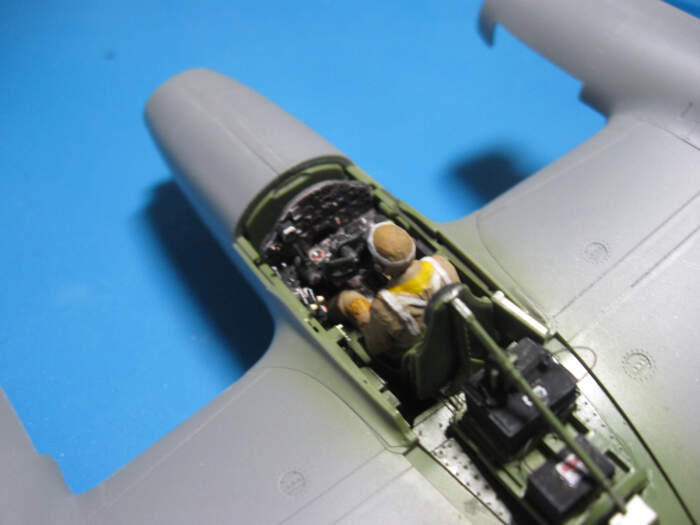
After some time separated from my bench (stupid job), I finished the insides of the cockpit and got the pilot seated. I put the little levers on that came with my Quinta set. Two of them zipped off my tweezers and one disintegrated when I picked it up but the other 6 are in place (there are supposed to be 8). Not sure how visible they will be given I’m closing up the canopy but it’s a thing you know.
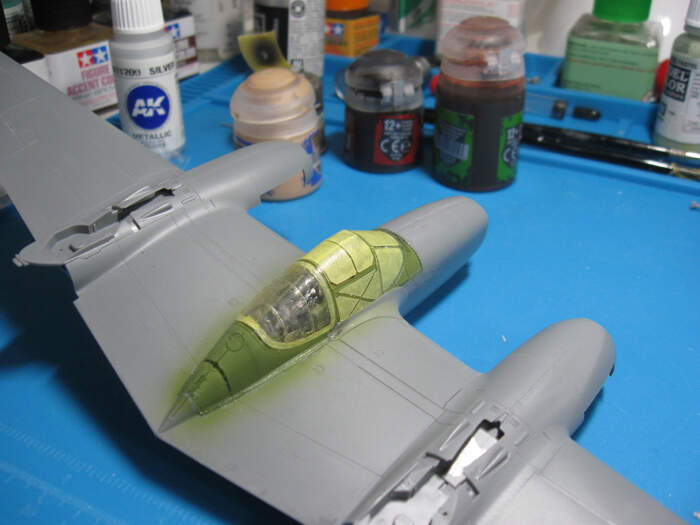
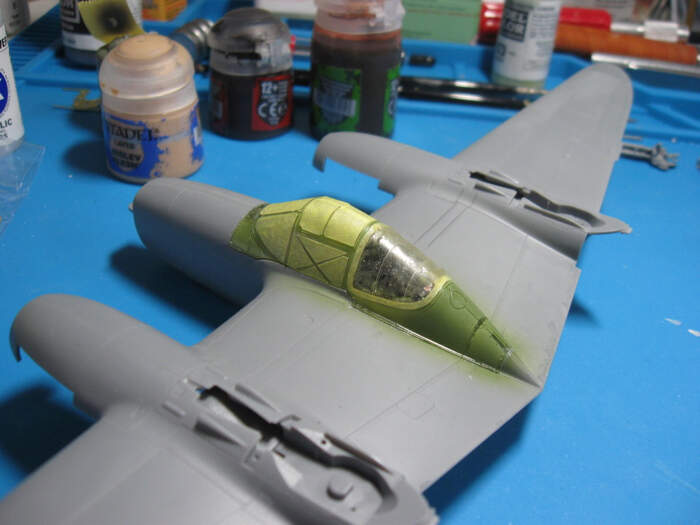
I saw a guy on YouTube who painted this assembly and the booms separately. Wondering about doing that myself. A little more work on the booms before they are ready to go - I realized the seam on the top behind the turbos shouldn’t be there. I’m getting rid of them, but they are fighting back…
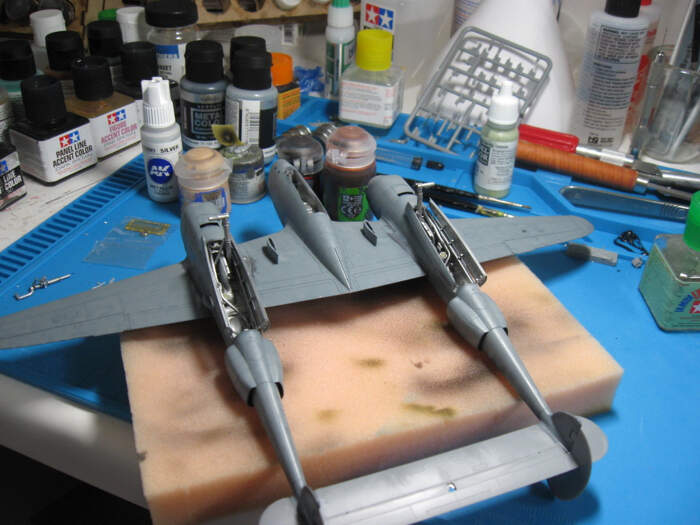
I’ve been stressing for a couple of weeks about how to paint around the main landing gear openings because they have these fragile plastic bits sticking out and I had no idea how to mask them. I had a breakthrough today - I just gave up on masking them! I decided to free-hand around the openings and then mask and respray if needed. So far, no need to do that! After seeing that come out well, I went ahead and primed the main body. I’ll put some pre-shading down next and I think I’m back into it on this build.
1 Like
Looking good Phil!
I sometimes cut up small pieces of old business cards or manilla folder and slip them in to give a wall against slight overspray if needed, but honestly unless you go wild and shoot directly into the wheel well a tiny bit of overspray isn’t really noticeable and can just add to the weathering and wear and tear.
Cheers, D
I did exactly that when I was working on the end where the supports stick out. And I totally agree about the additive effect of some “imperfections!”
1 Like
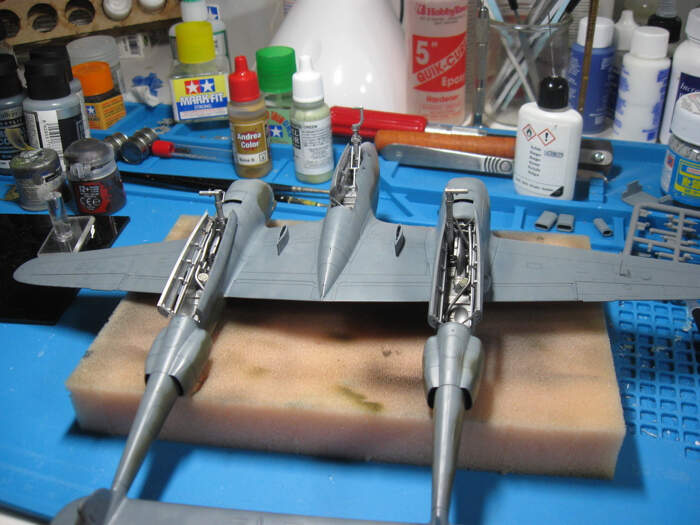
Wow, today I had bench time. I did the base coat painting of neutral gray underneath everything right after my last post which was almost 1 month ago! Today I put everything together. This kit is amazing! I put glue on some parts while saying to myself - this needs no glue. How did they engineer this so tightly, yet with effortless assembly? Remarkable…
2 Likes
I will fill the wheel well with damp facial tissue,the small pieces sticking out,I will hand paint any overspray.I did it with the F-14,my Mig31,and just sbout to do it with my P-38.
Your build is looking great,I hope mine looks as good.
I really stressed over those struts but they turned out to fit together perfectly. I had to jiggle one a wee bit (I think because I somehow glued it to the bay opening) but I was really blown away by the fit.
I’m getting close. I have all the painting done. Here are shots of the top (olive drab) and bottom (neutral gray).
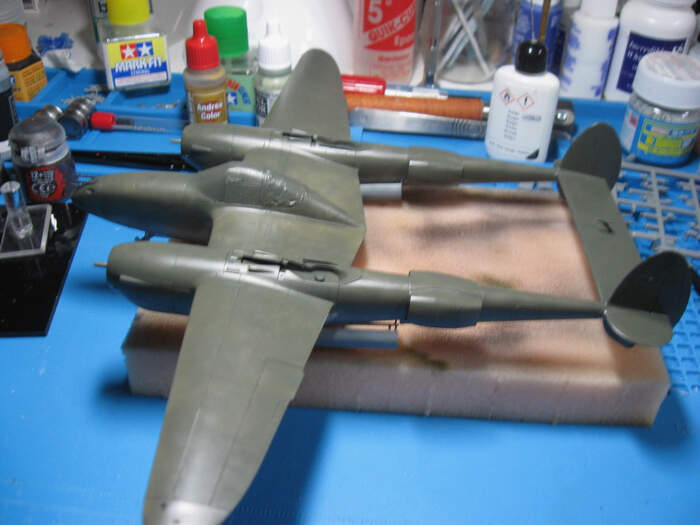
The only things left to stick on are the propellers (painted, but not with decals), the drop tanks (painted), turbochargers (painted), and the wheels (painted and weathered). Next step is to do some chipping (put hairspray on before I painted it, hopefully it hasn’t been too long to be unchippable), then decals and final weathering. I think I’ll be able to make the deadline…
1 Like