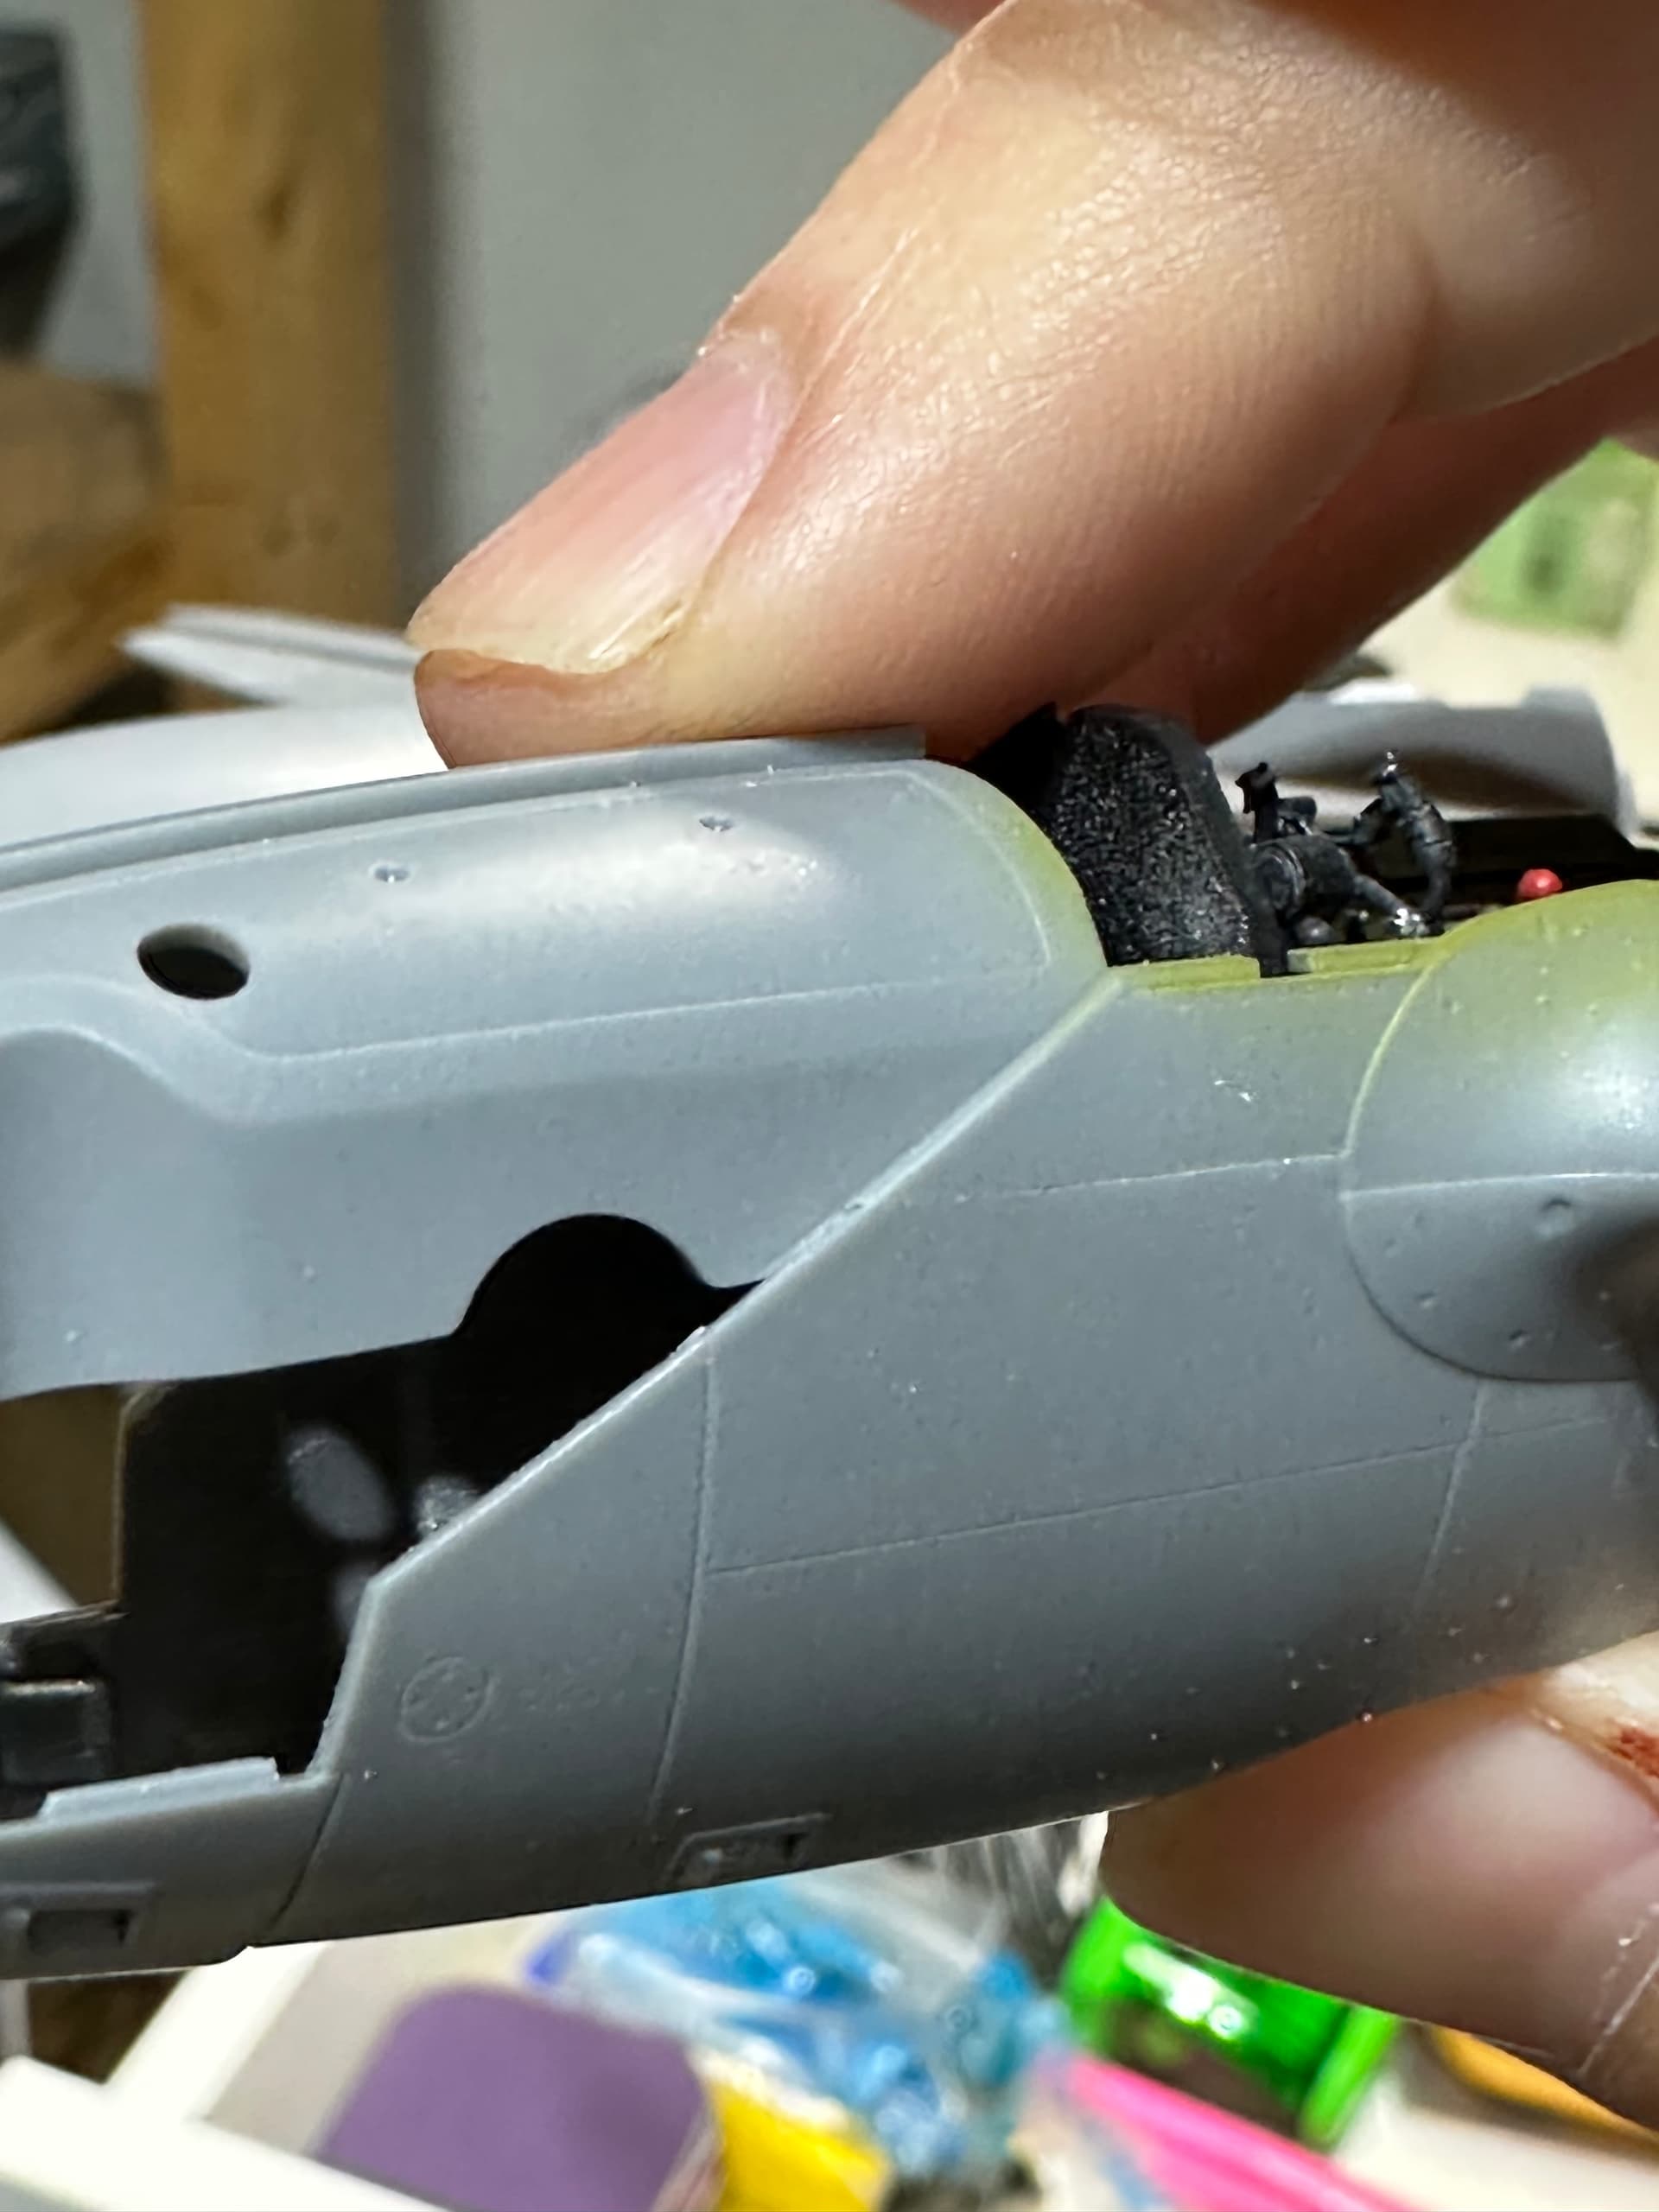
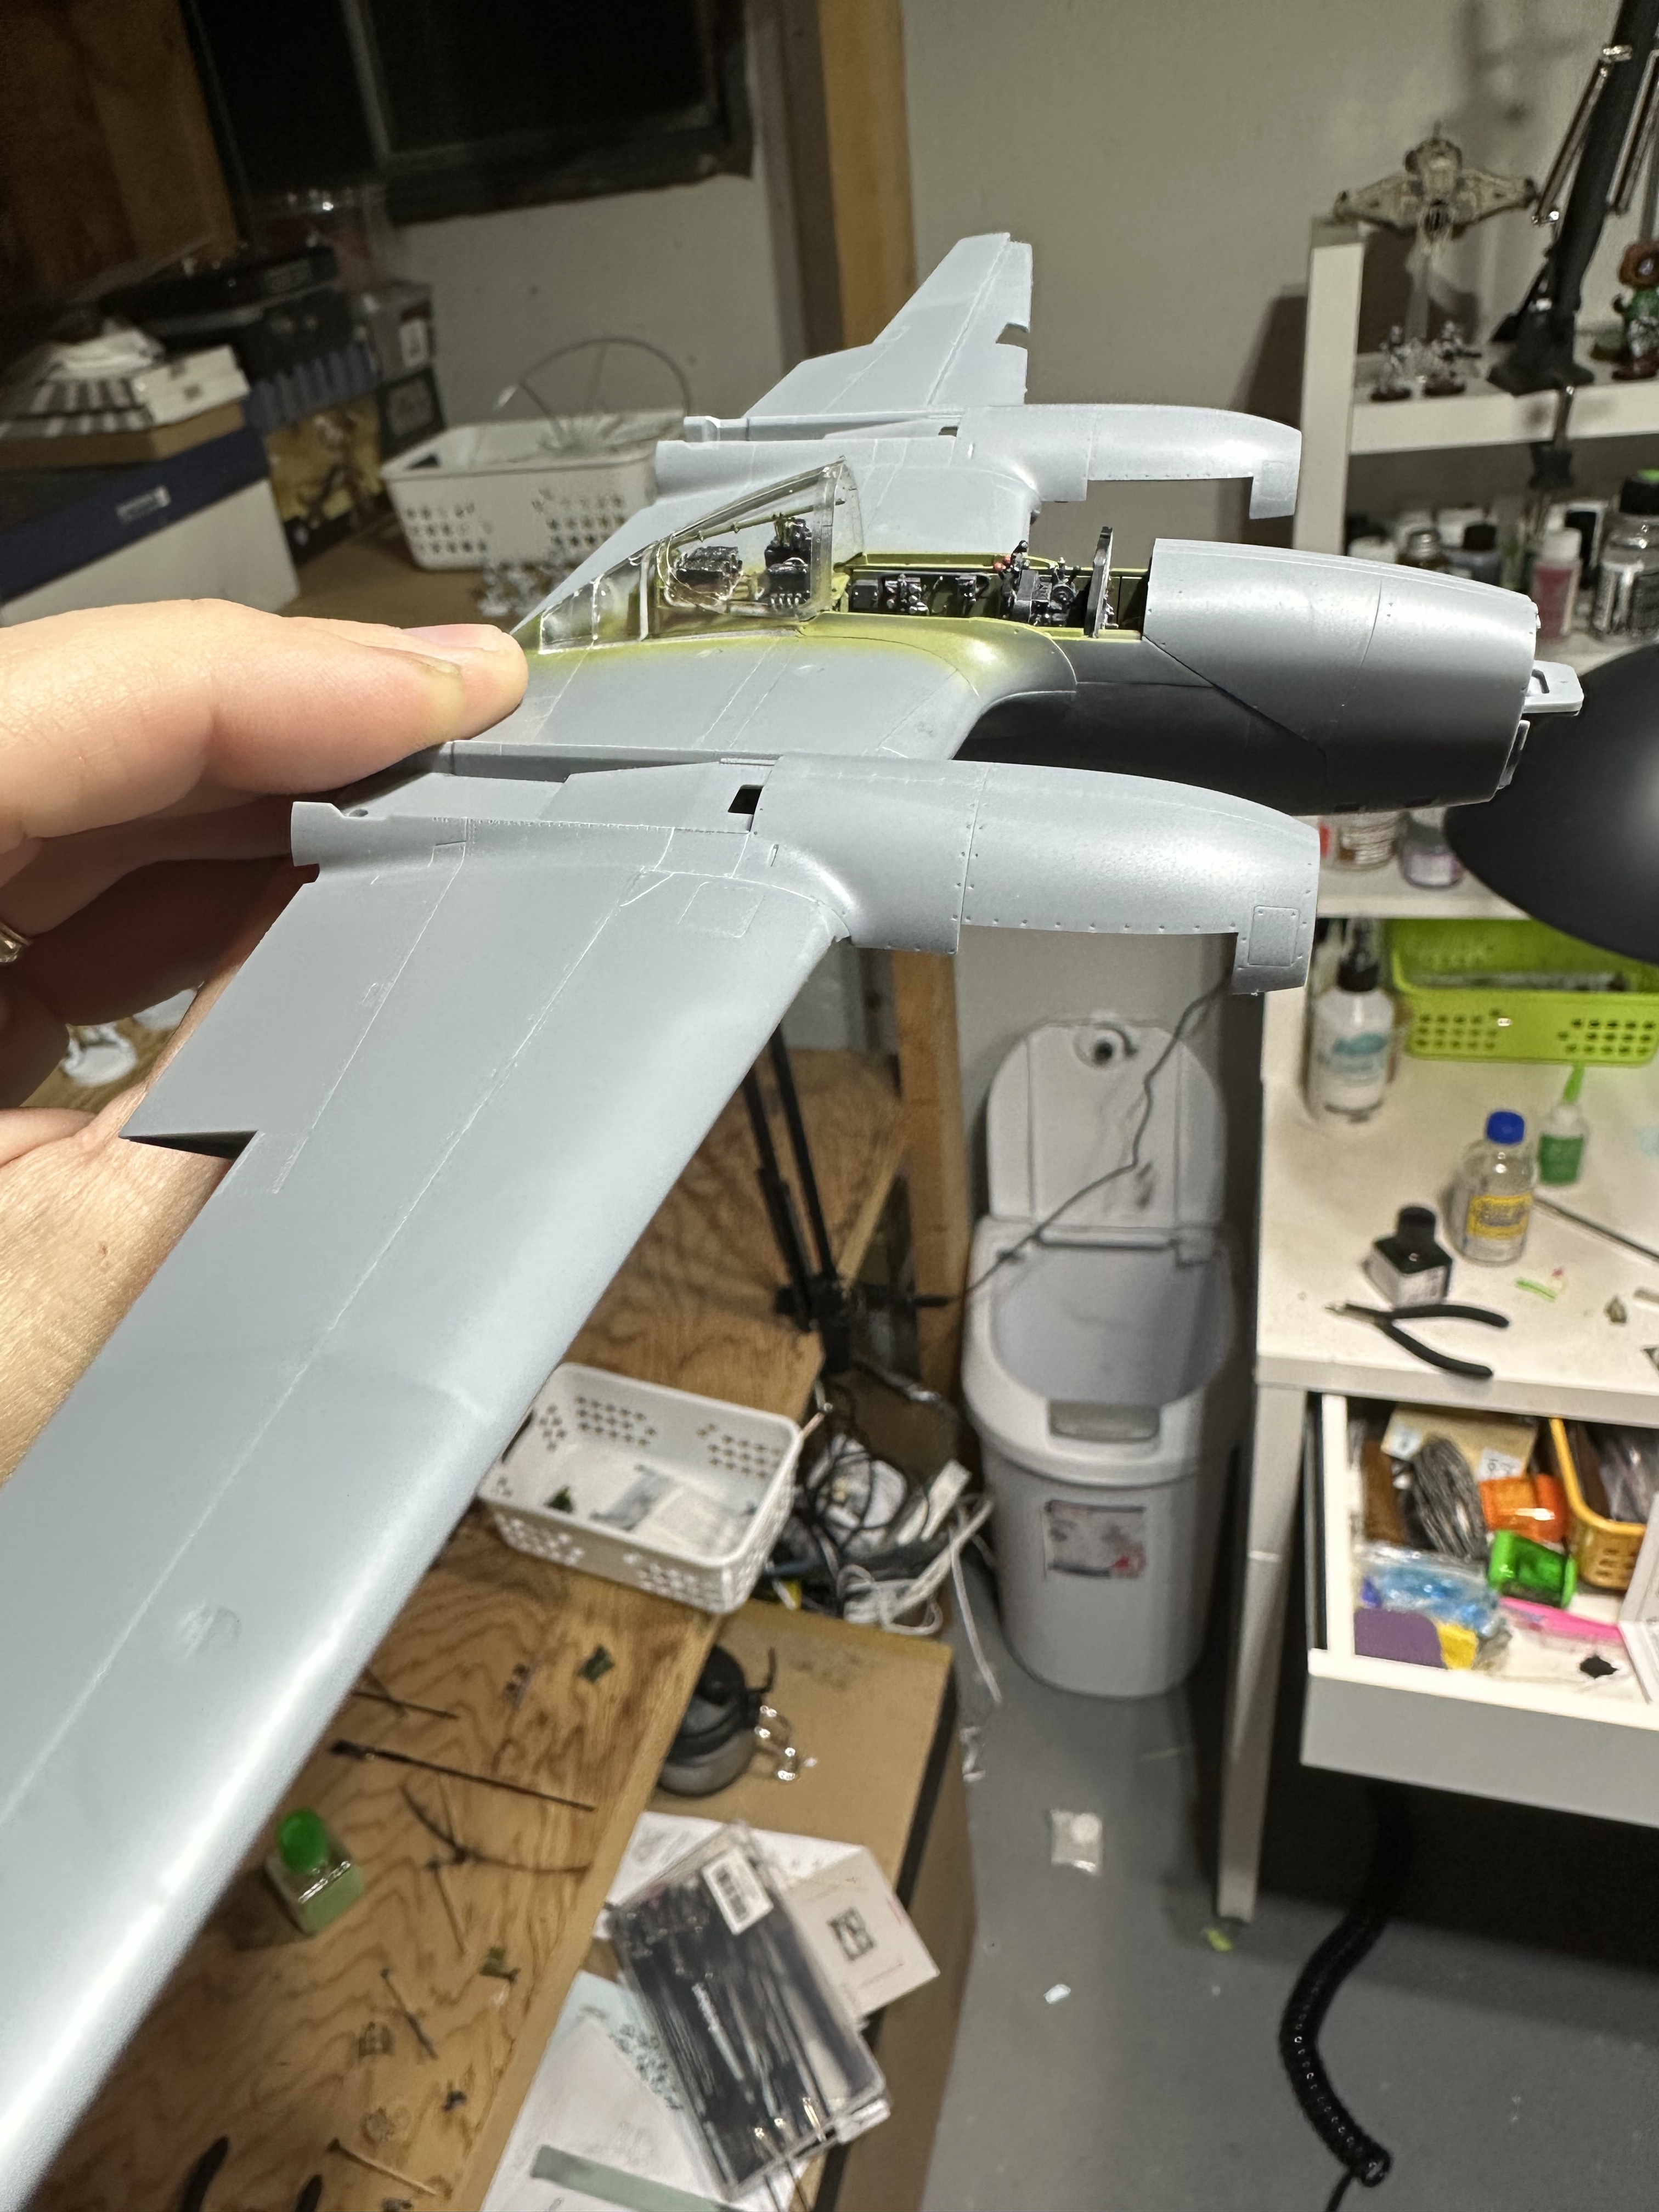
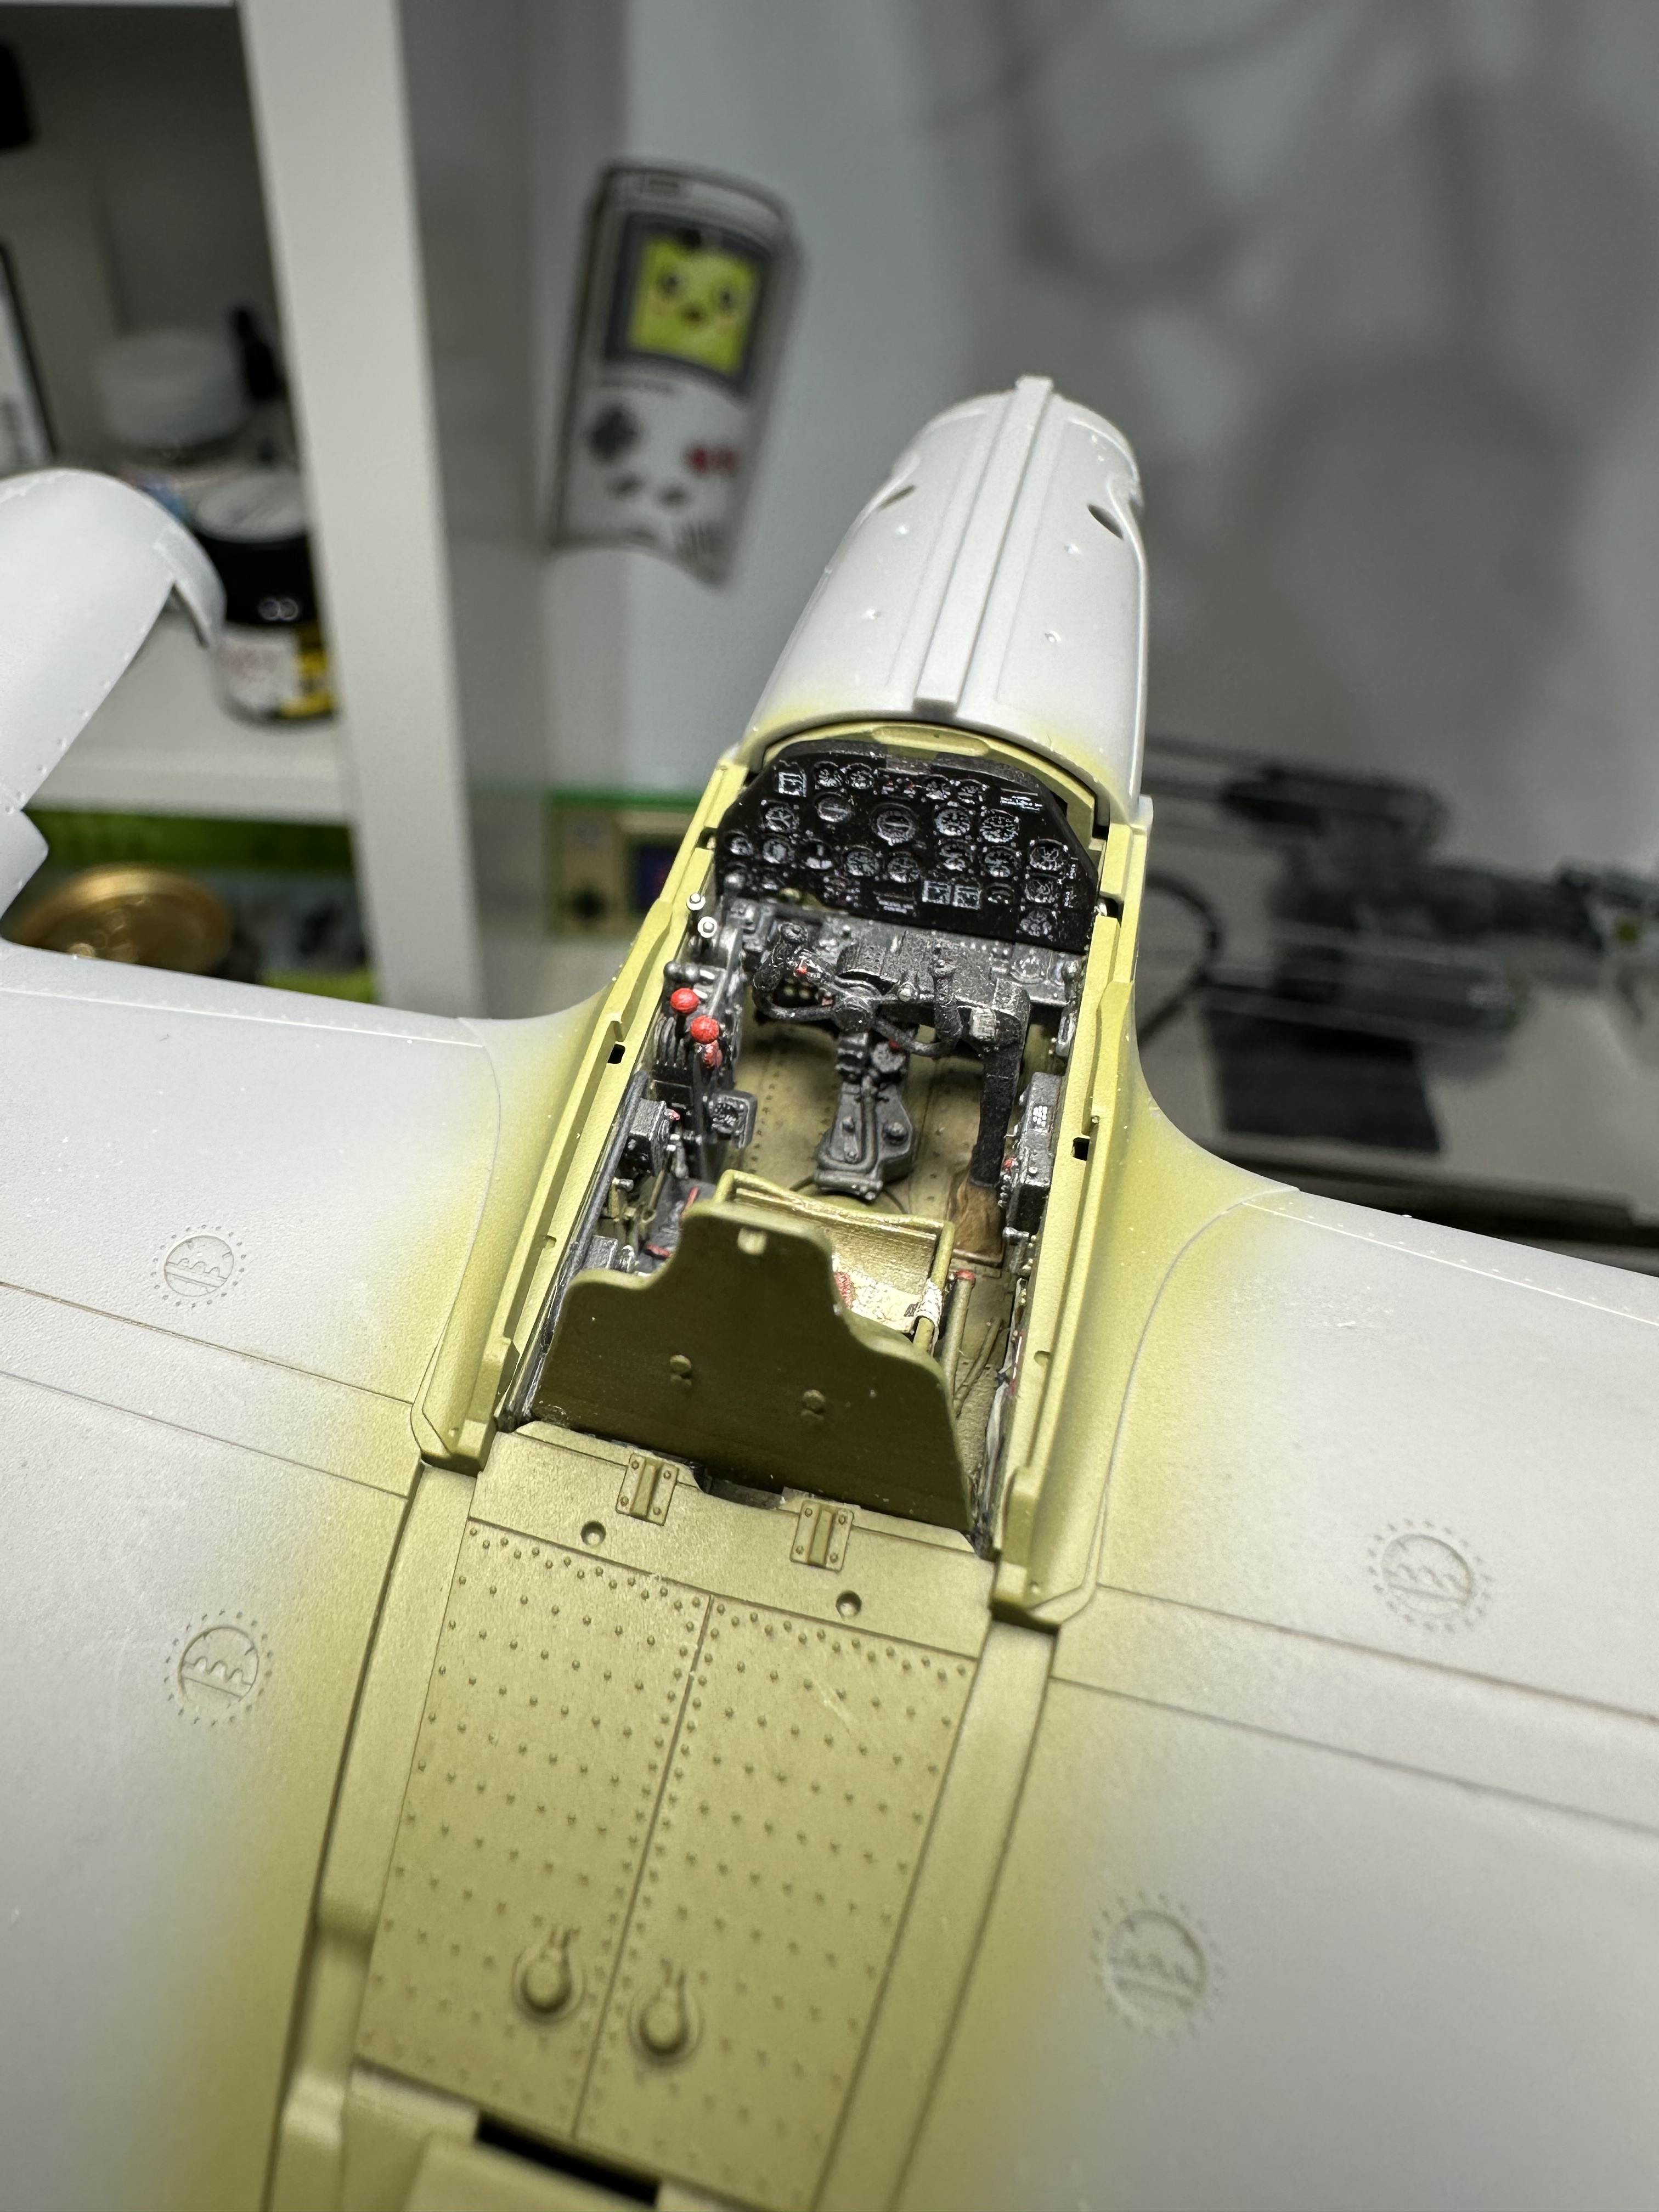
About to close everything up. With the cockpit tub only in it closes flush on its own. With the cockpit tub, center bar and main well well pieces in place it requires some pressure to sit flush.
Have been shaving down lots of plastic trying to remedy as much as possible. It will end up looking just fine, but I never like it when I feel I need to use too much pressure to keep a gap sealed. I still think ultimately if I shaved the cockpit tub down really thin then it would work but knowing me I’ll snap a sidewall.
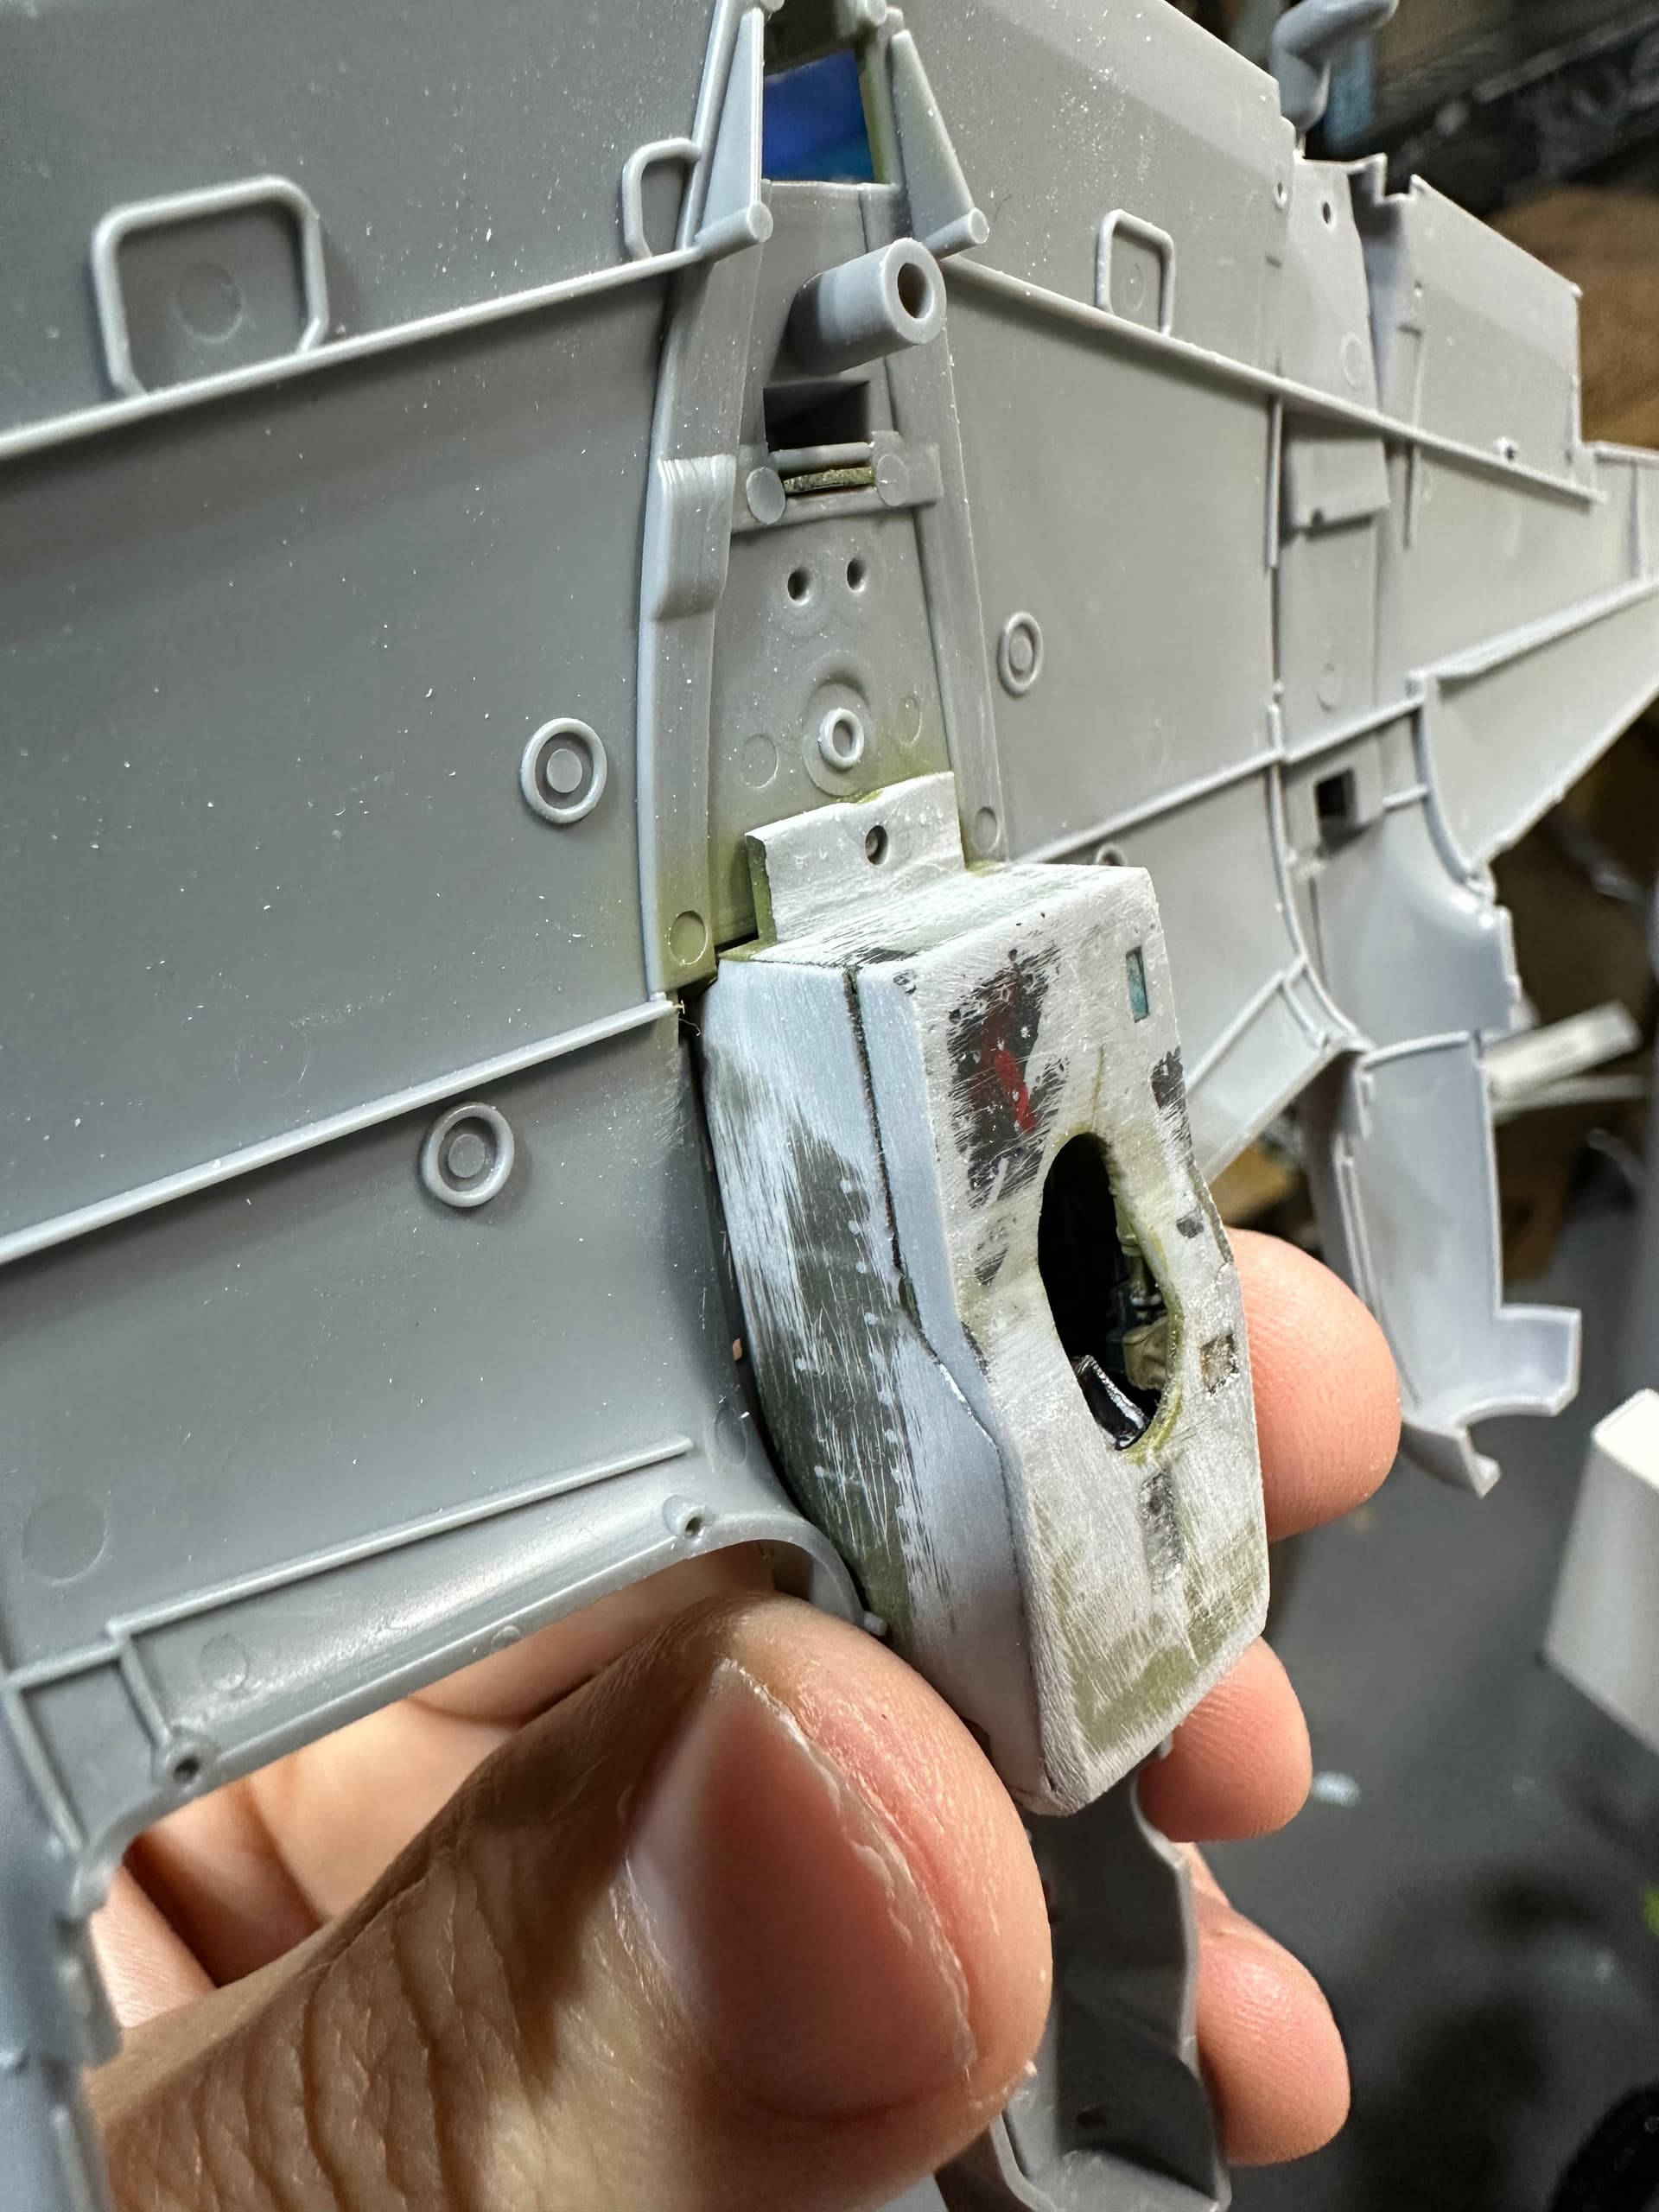
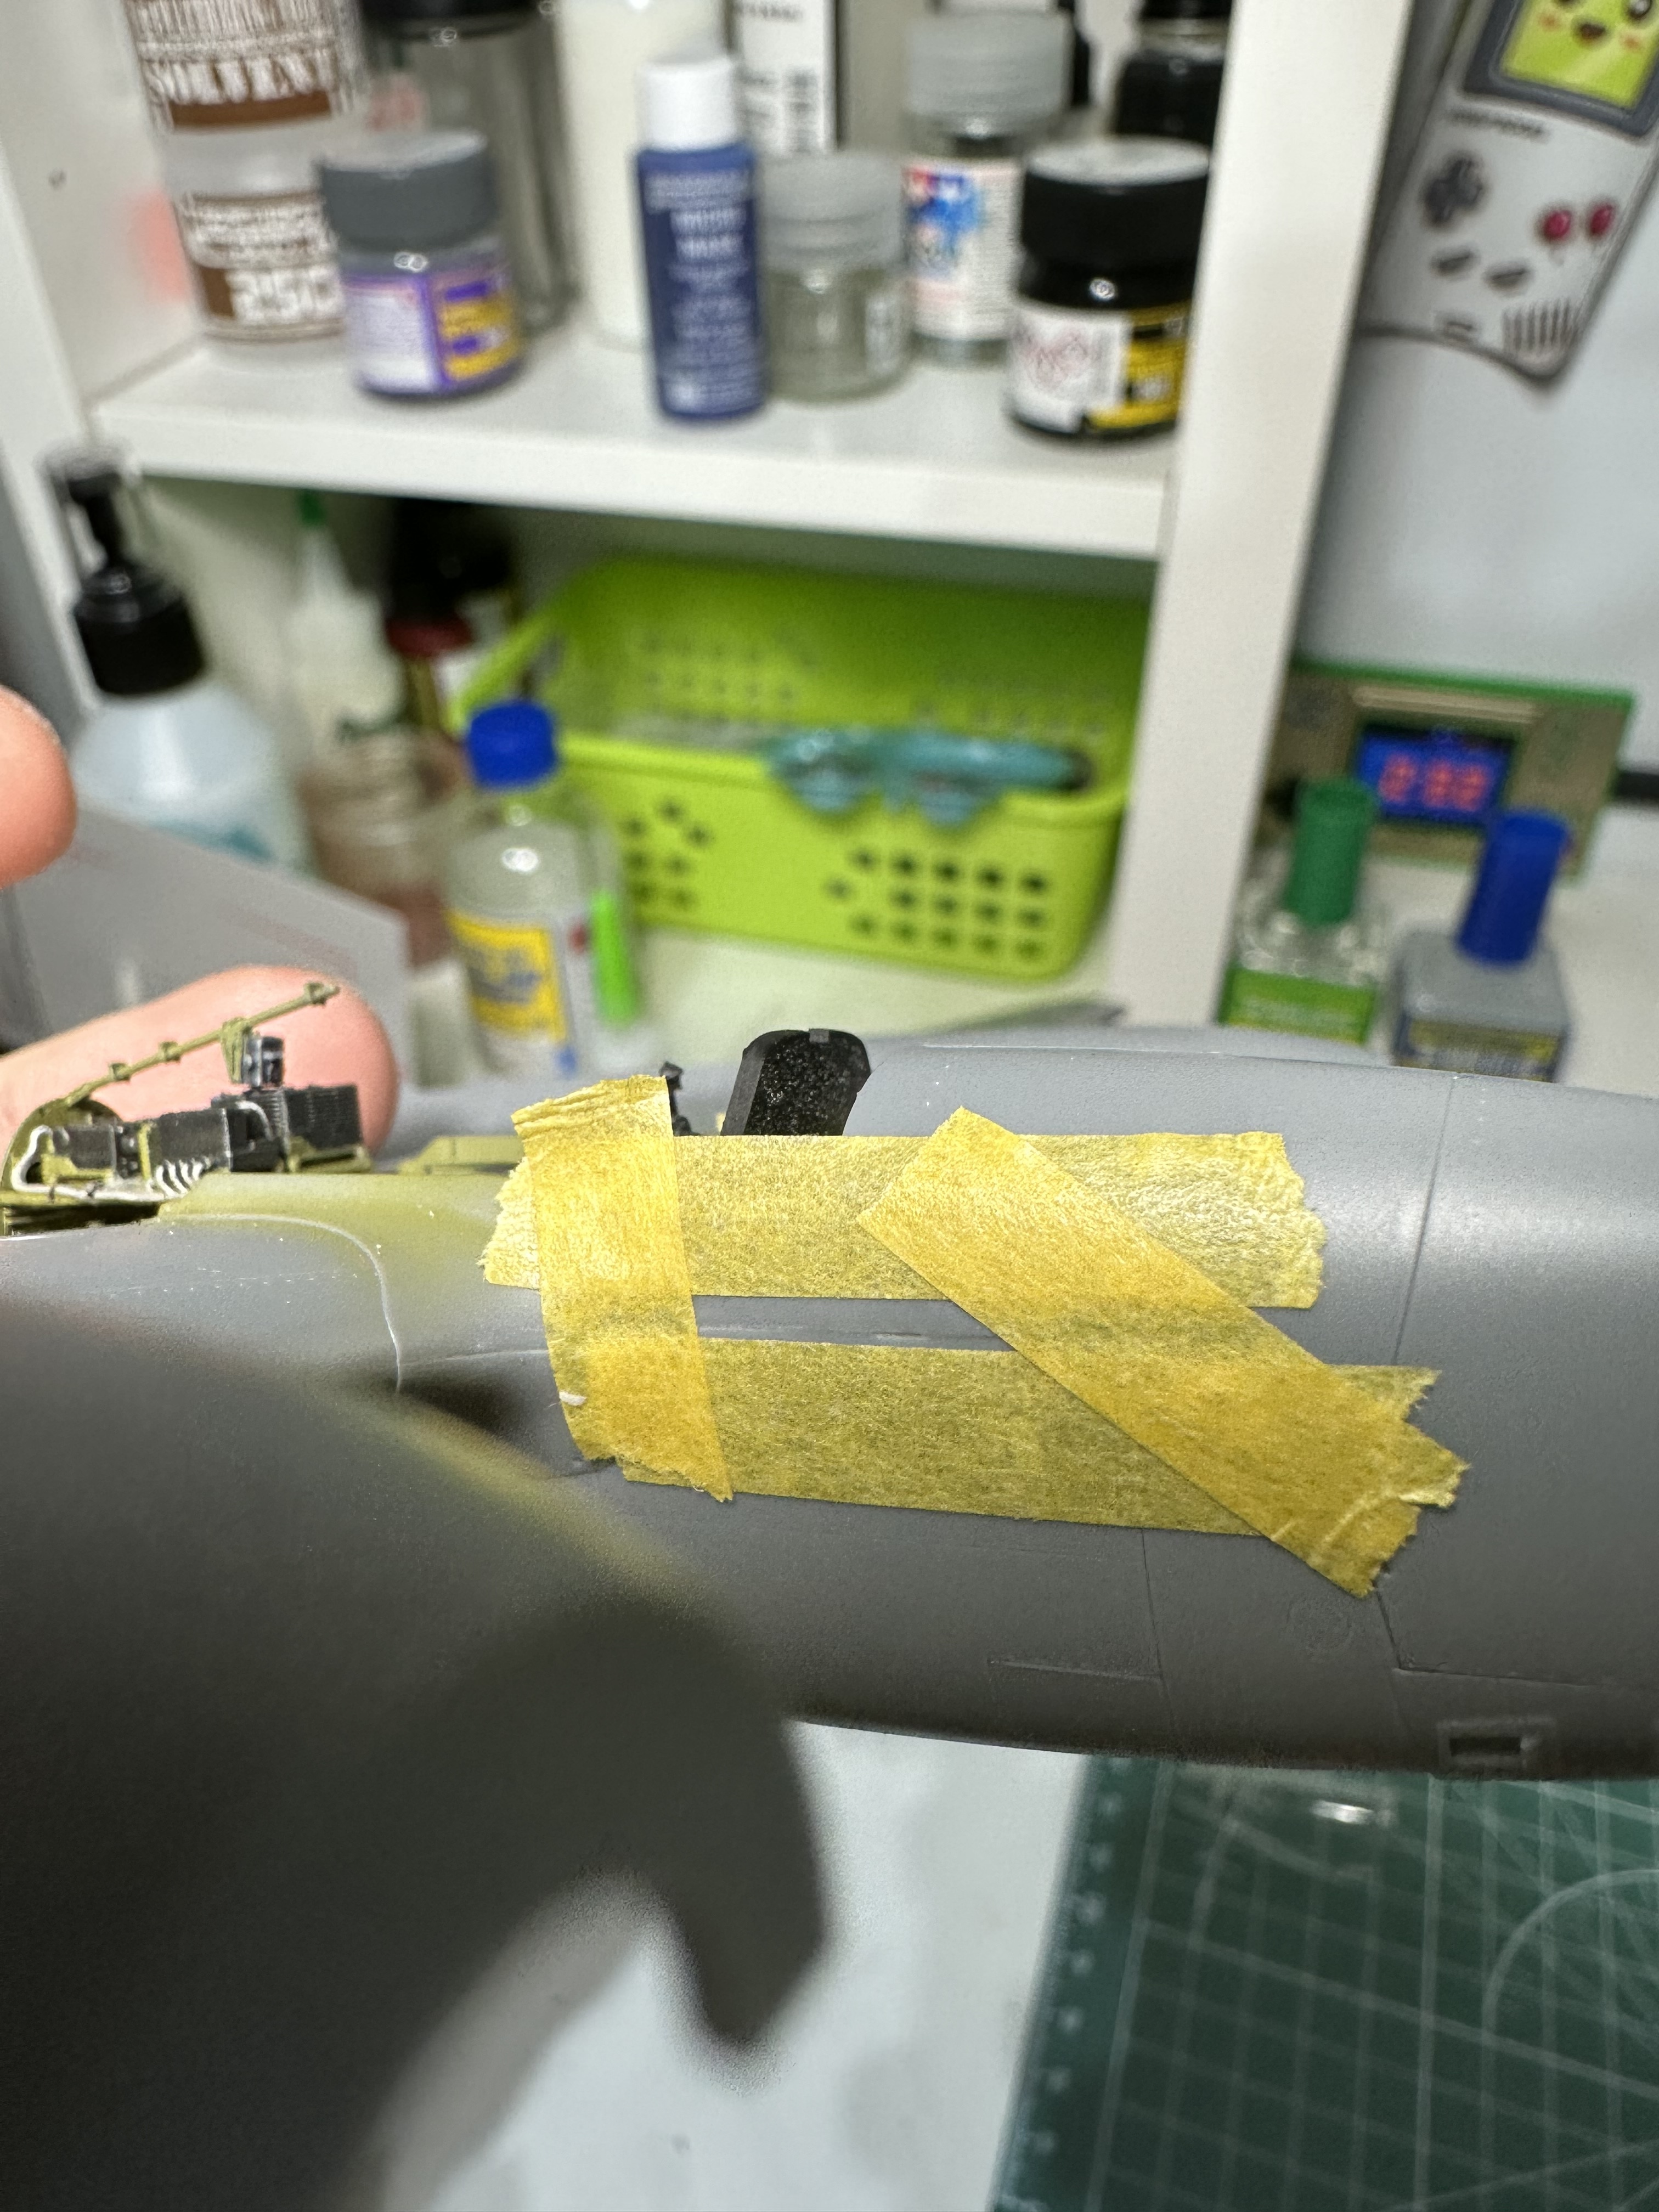
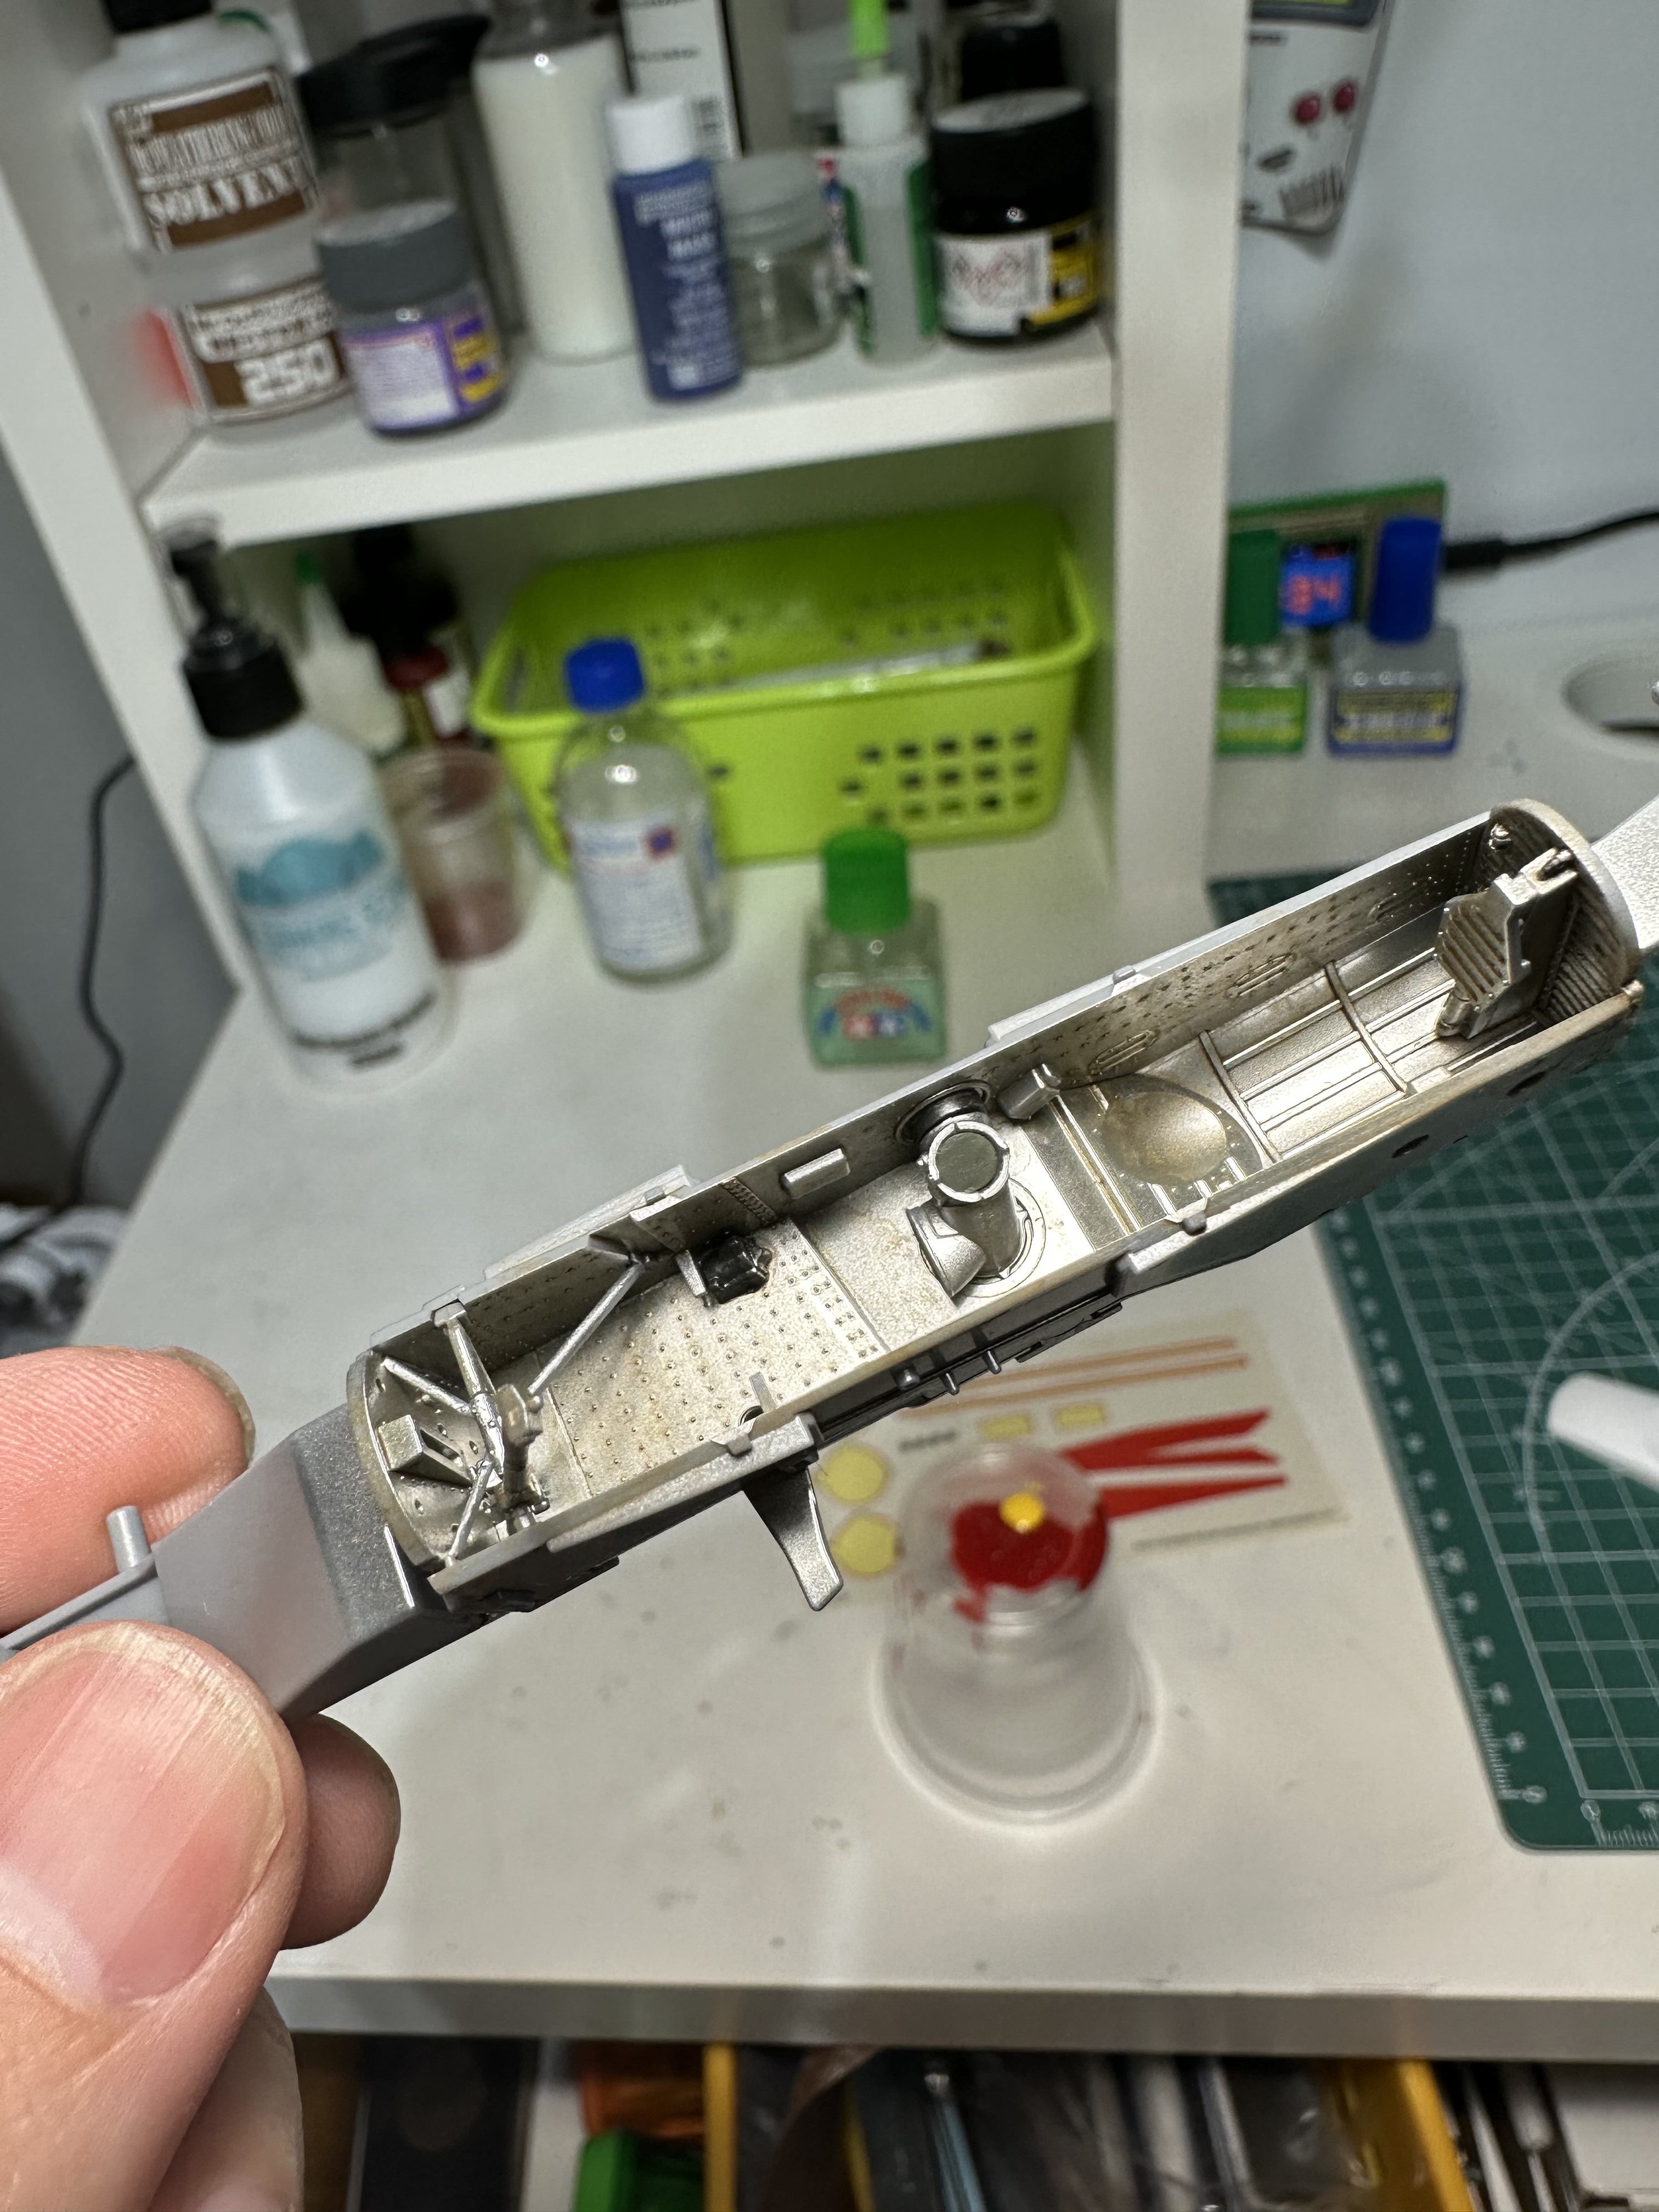
Yes, but that wasn’t the only piece I learned that needed adjusting. So I tried to use process of elimination a lot to figure out what needed to be adjusted the most. I needed to sand down the 3d cockpit sides a lot and then it fit flush, with nothing else added. When I added the central wing spar brace piece and the front wheel well pieces, then it yet again didn’t close fully.
I eventually sanded down much of the central wing spar that has the bump up for the cockpit floor. That helped greatly. Will get some pictures uploaded soon.
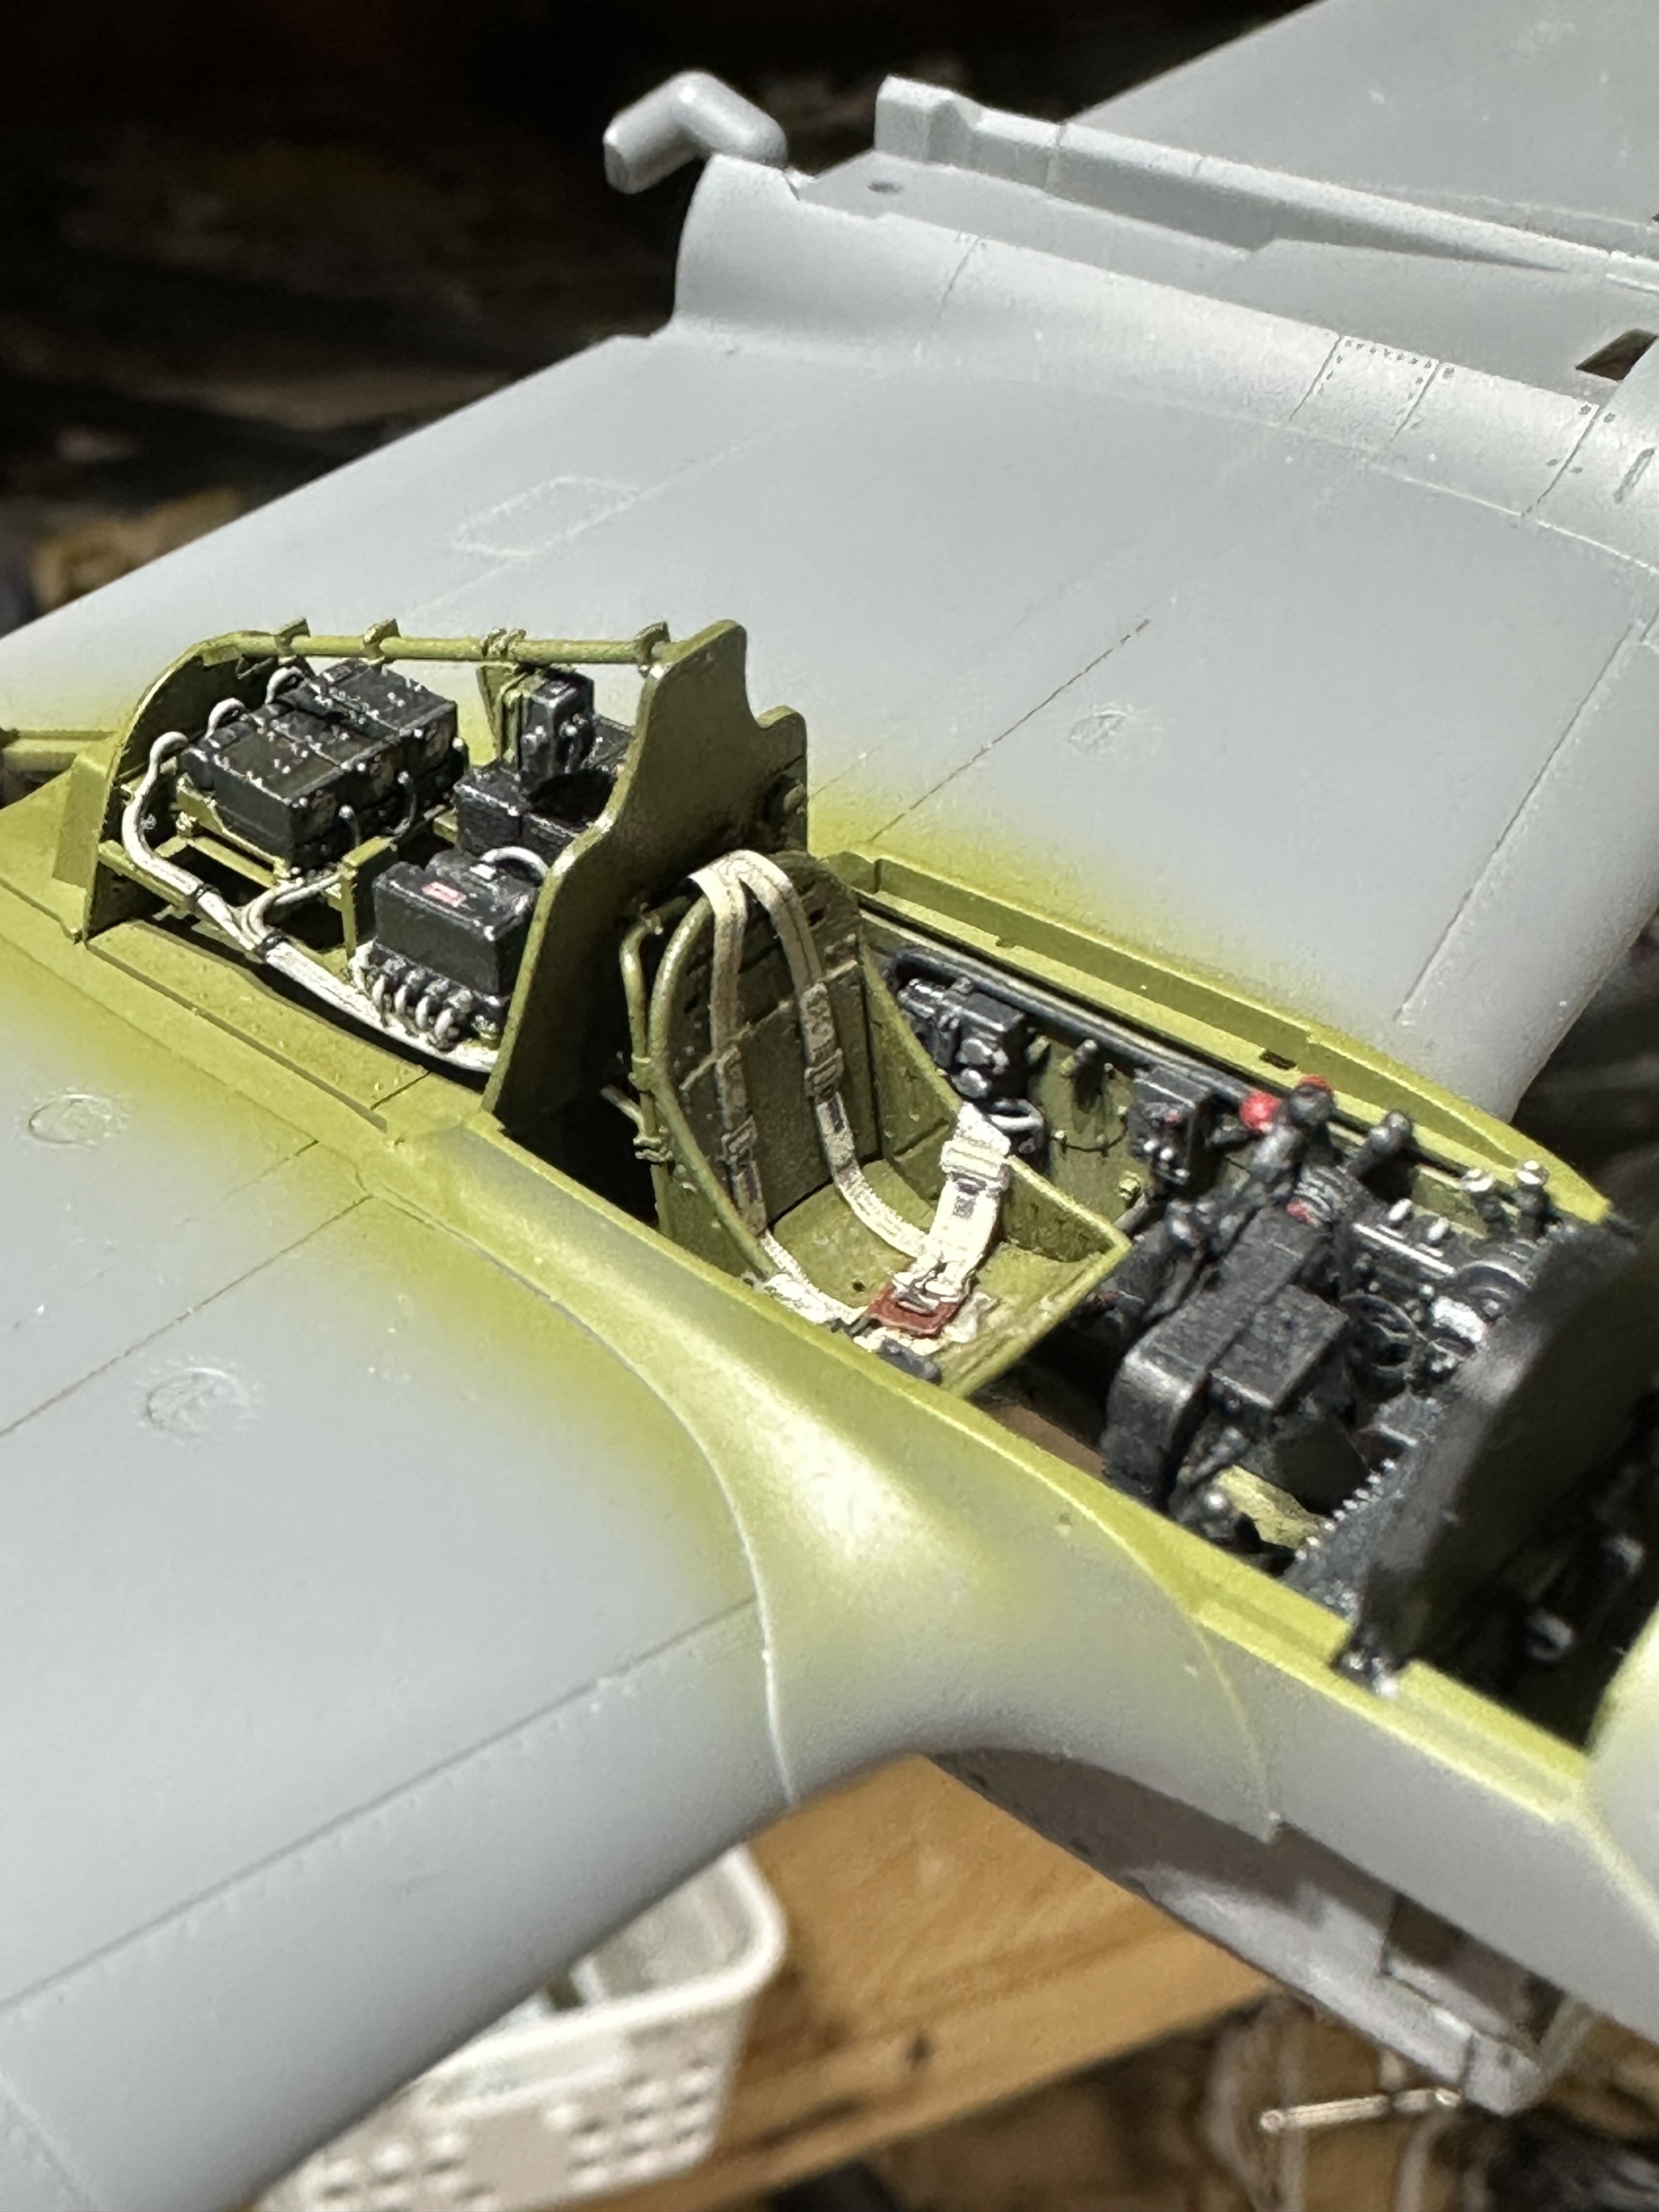
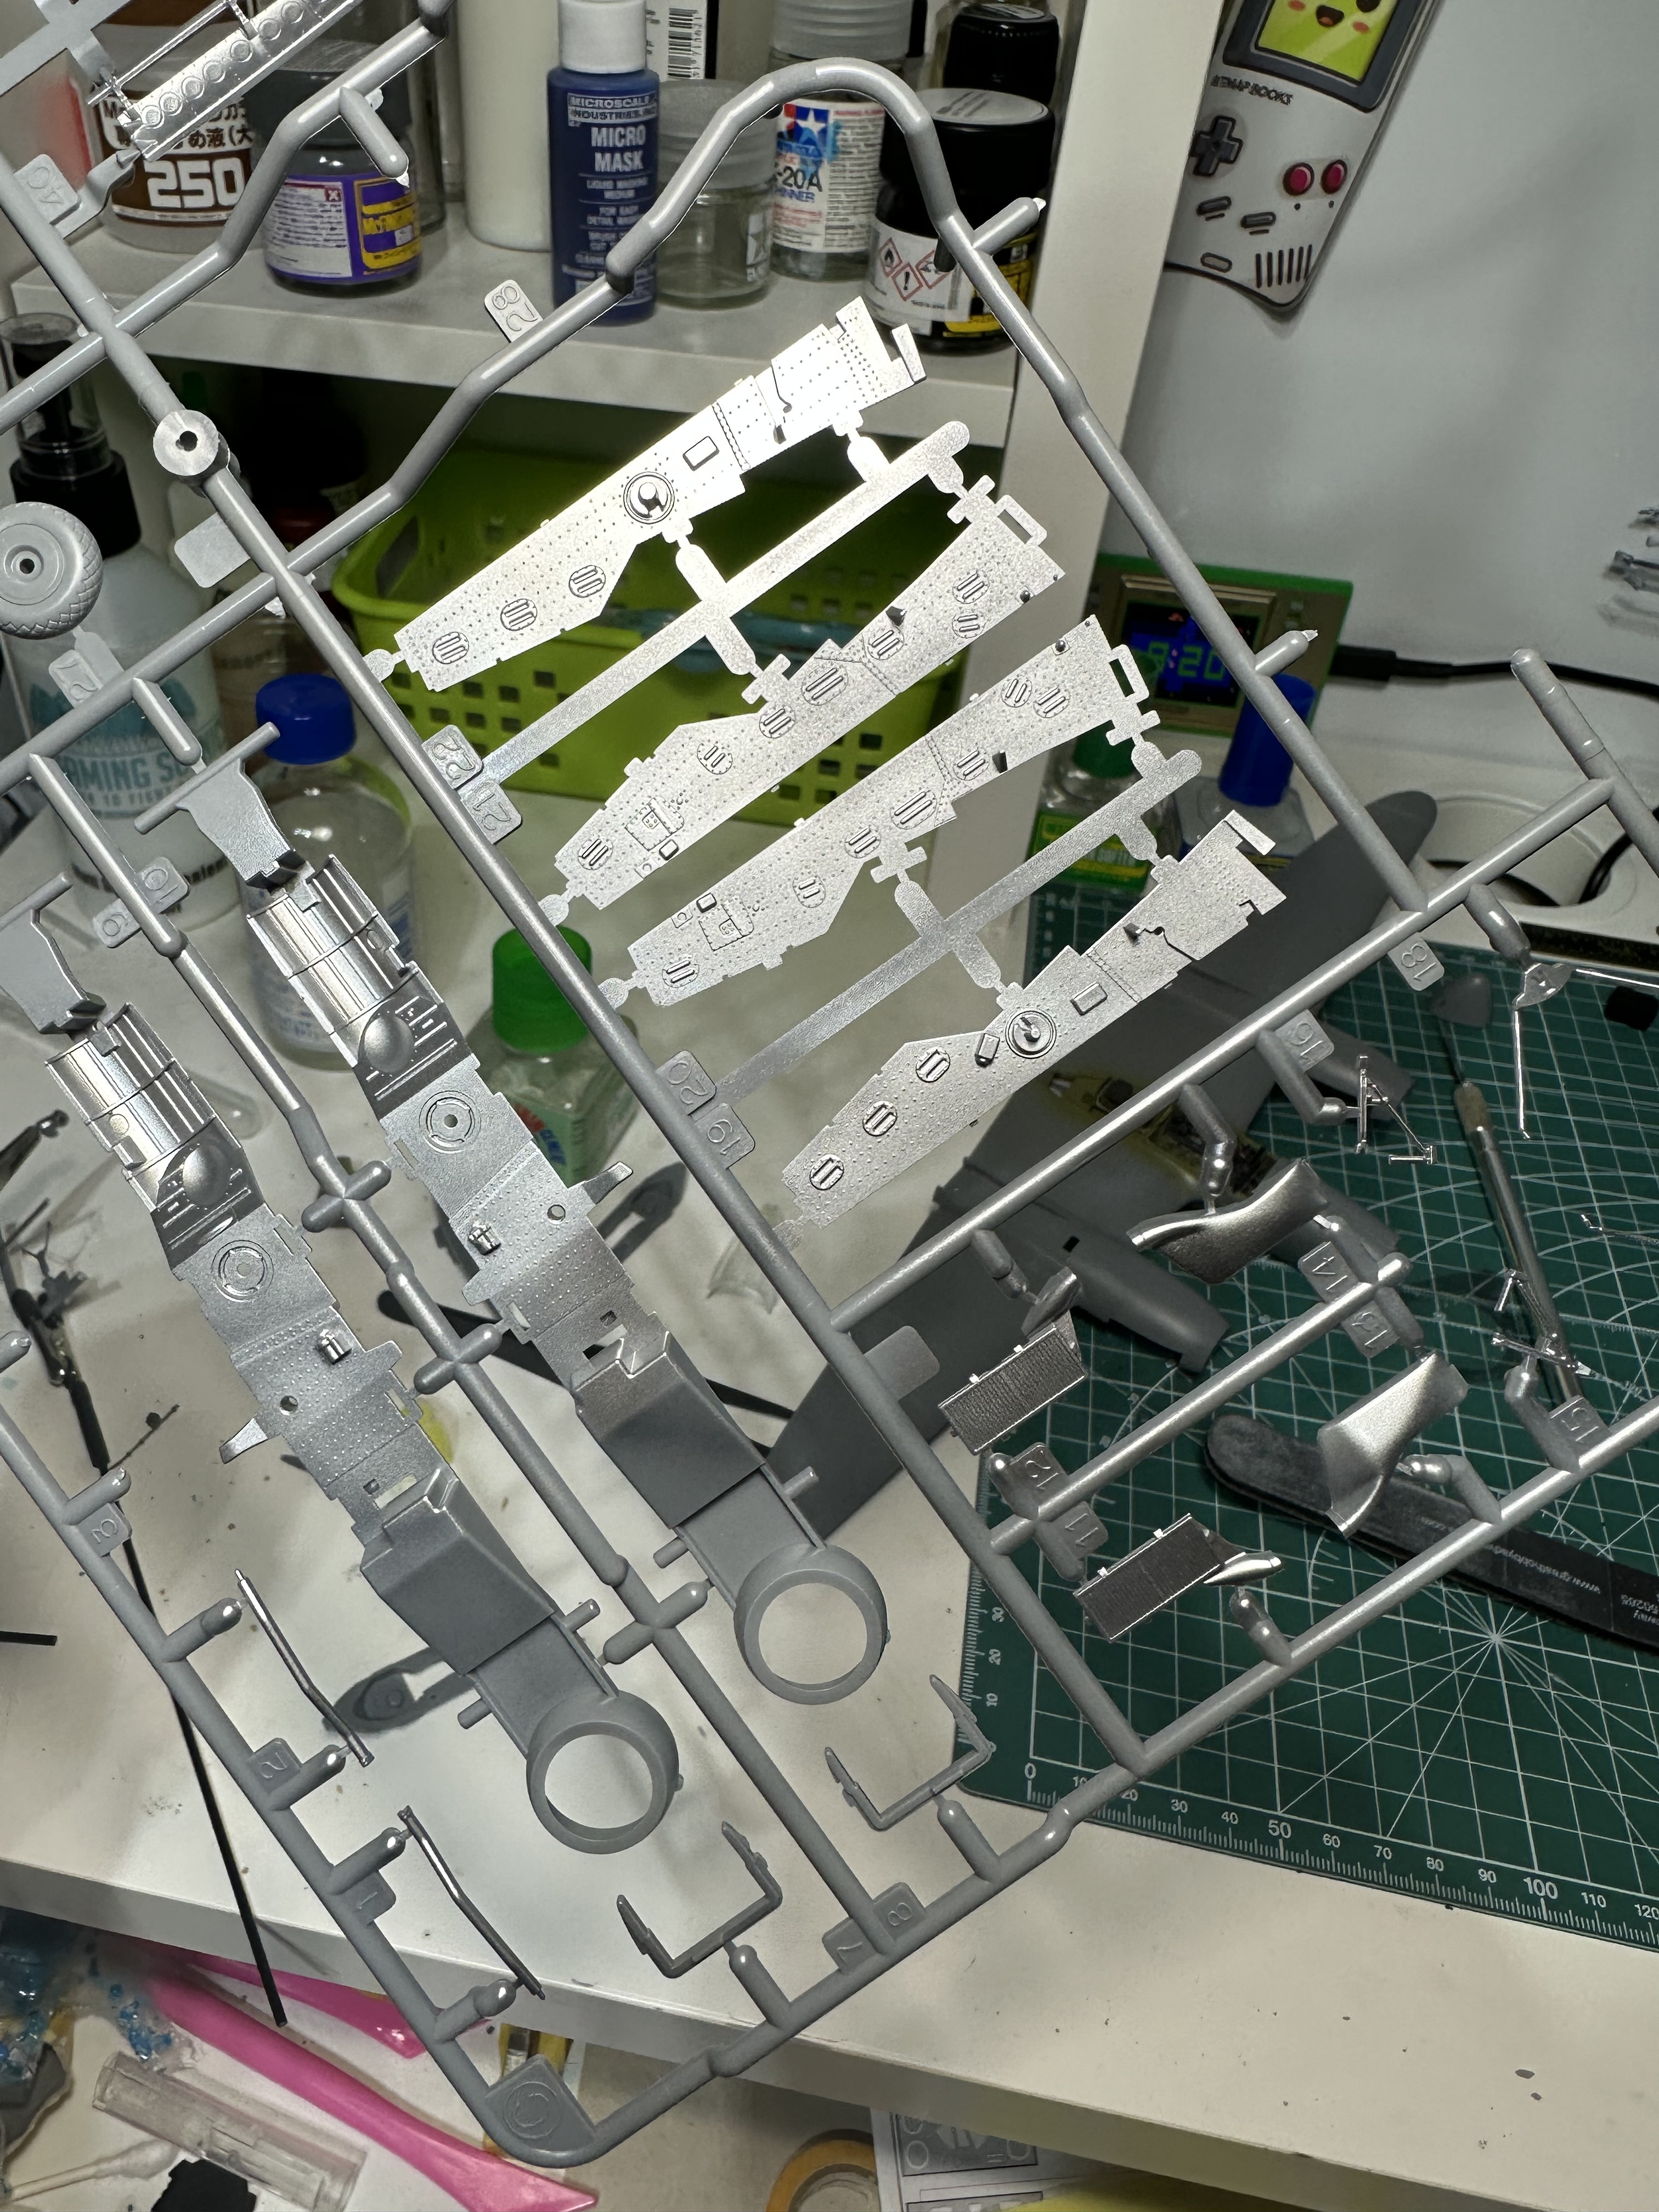
It looks like the Tamiya kit had quite a lot of detail on the cockpit walls this would of course all need to be removed for the Eduard cockpit, which I have to say looks exceptionally stunning, which is always nerve-wracking! I’ve built a number of kits with resin cockpits and some have had the plastic and resin so thin it was almost transparent! The Eduard parts look like they’ve copied the kit parts rather well in places?
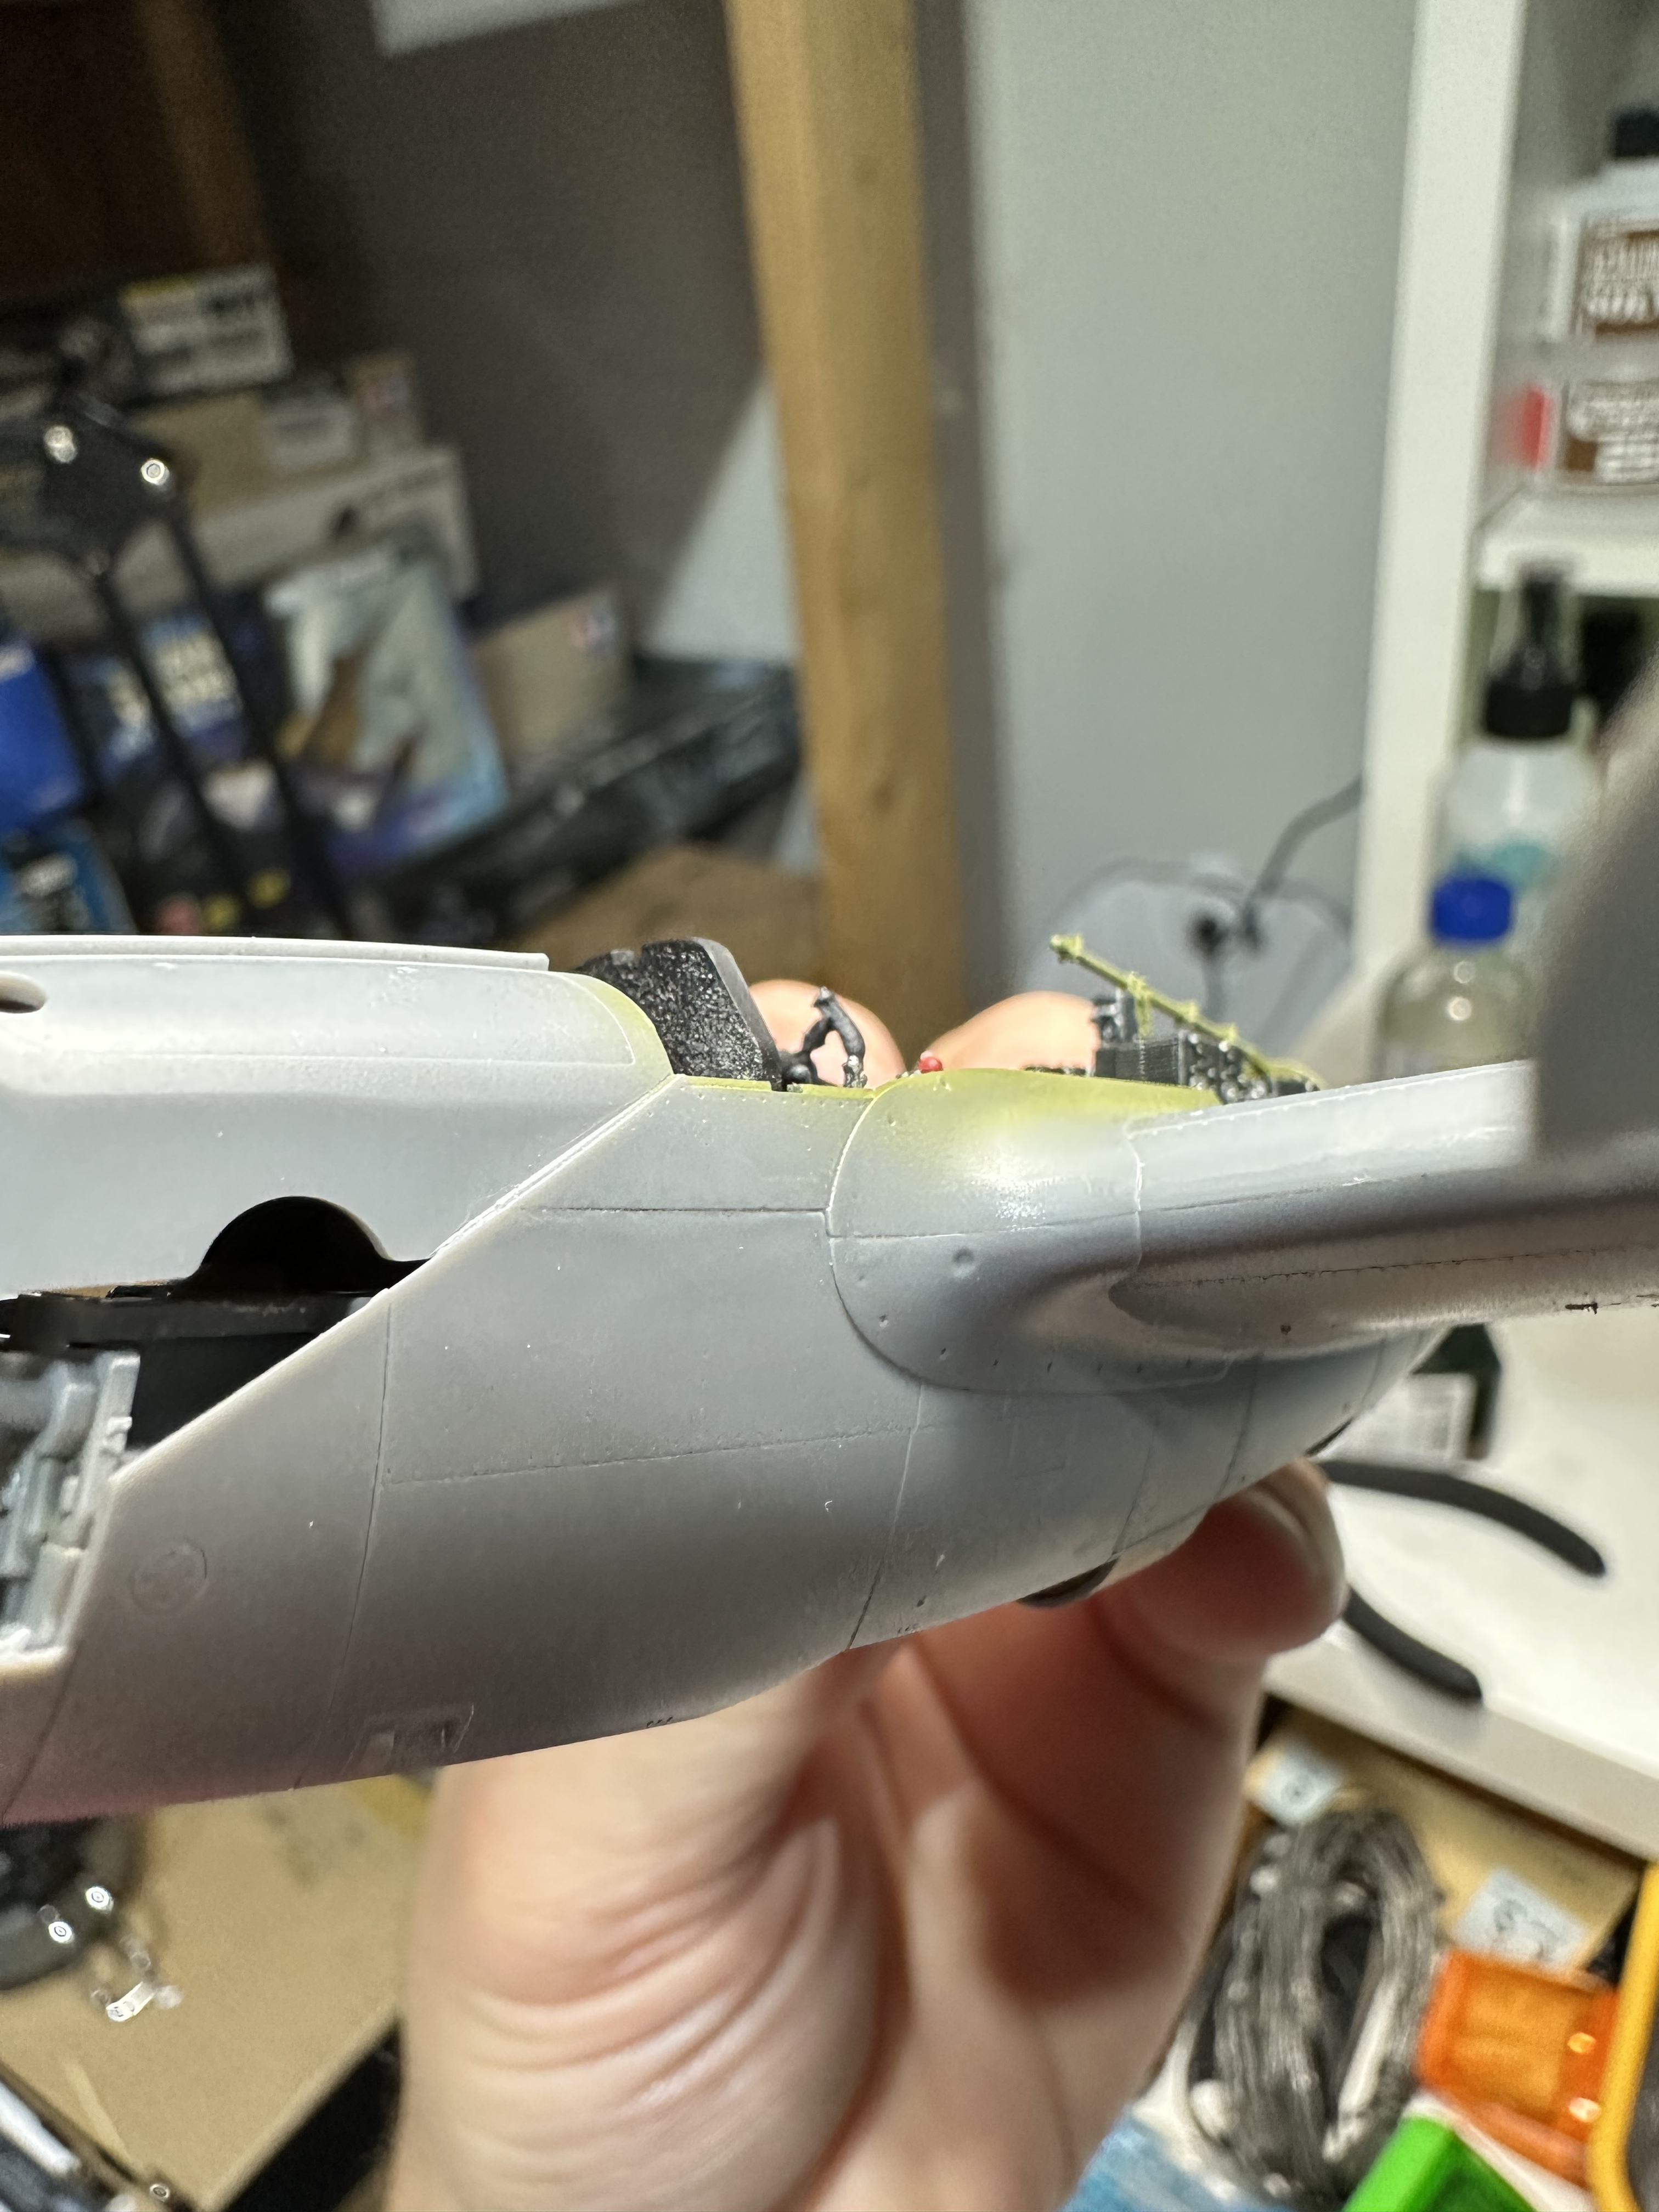
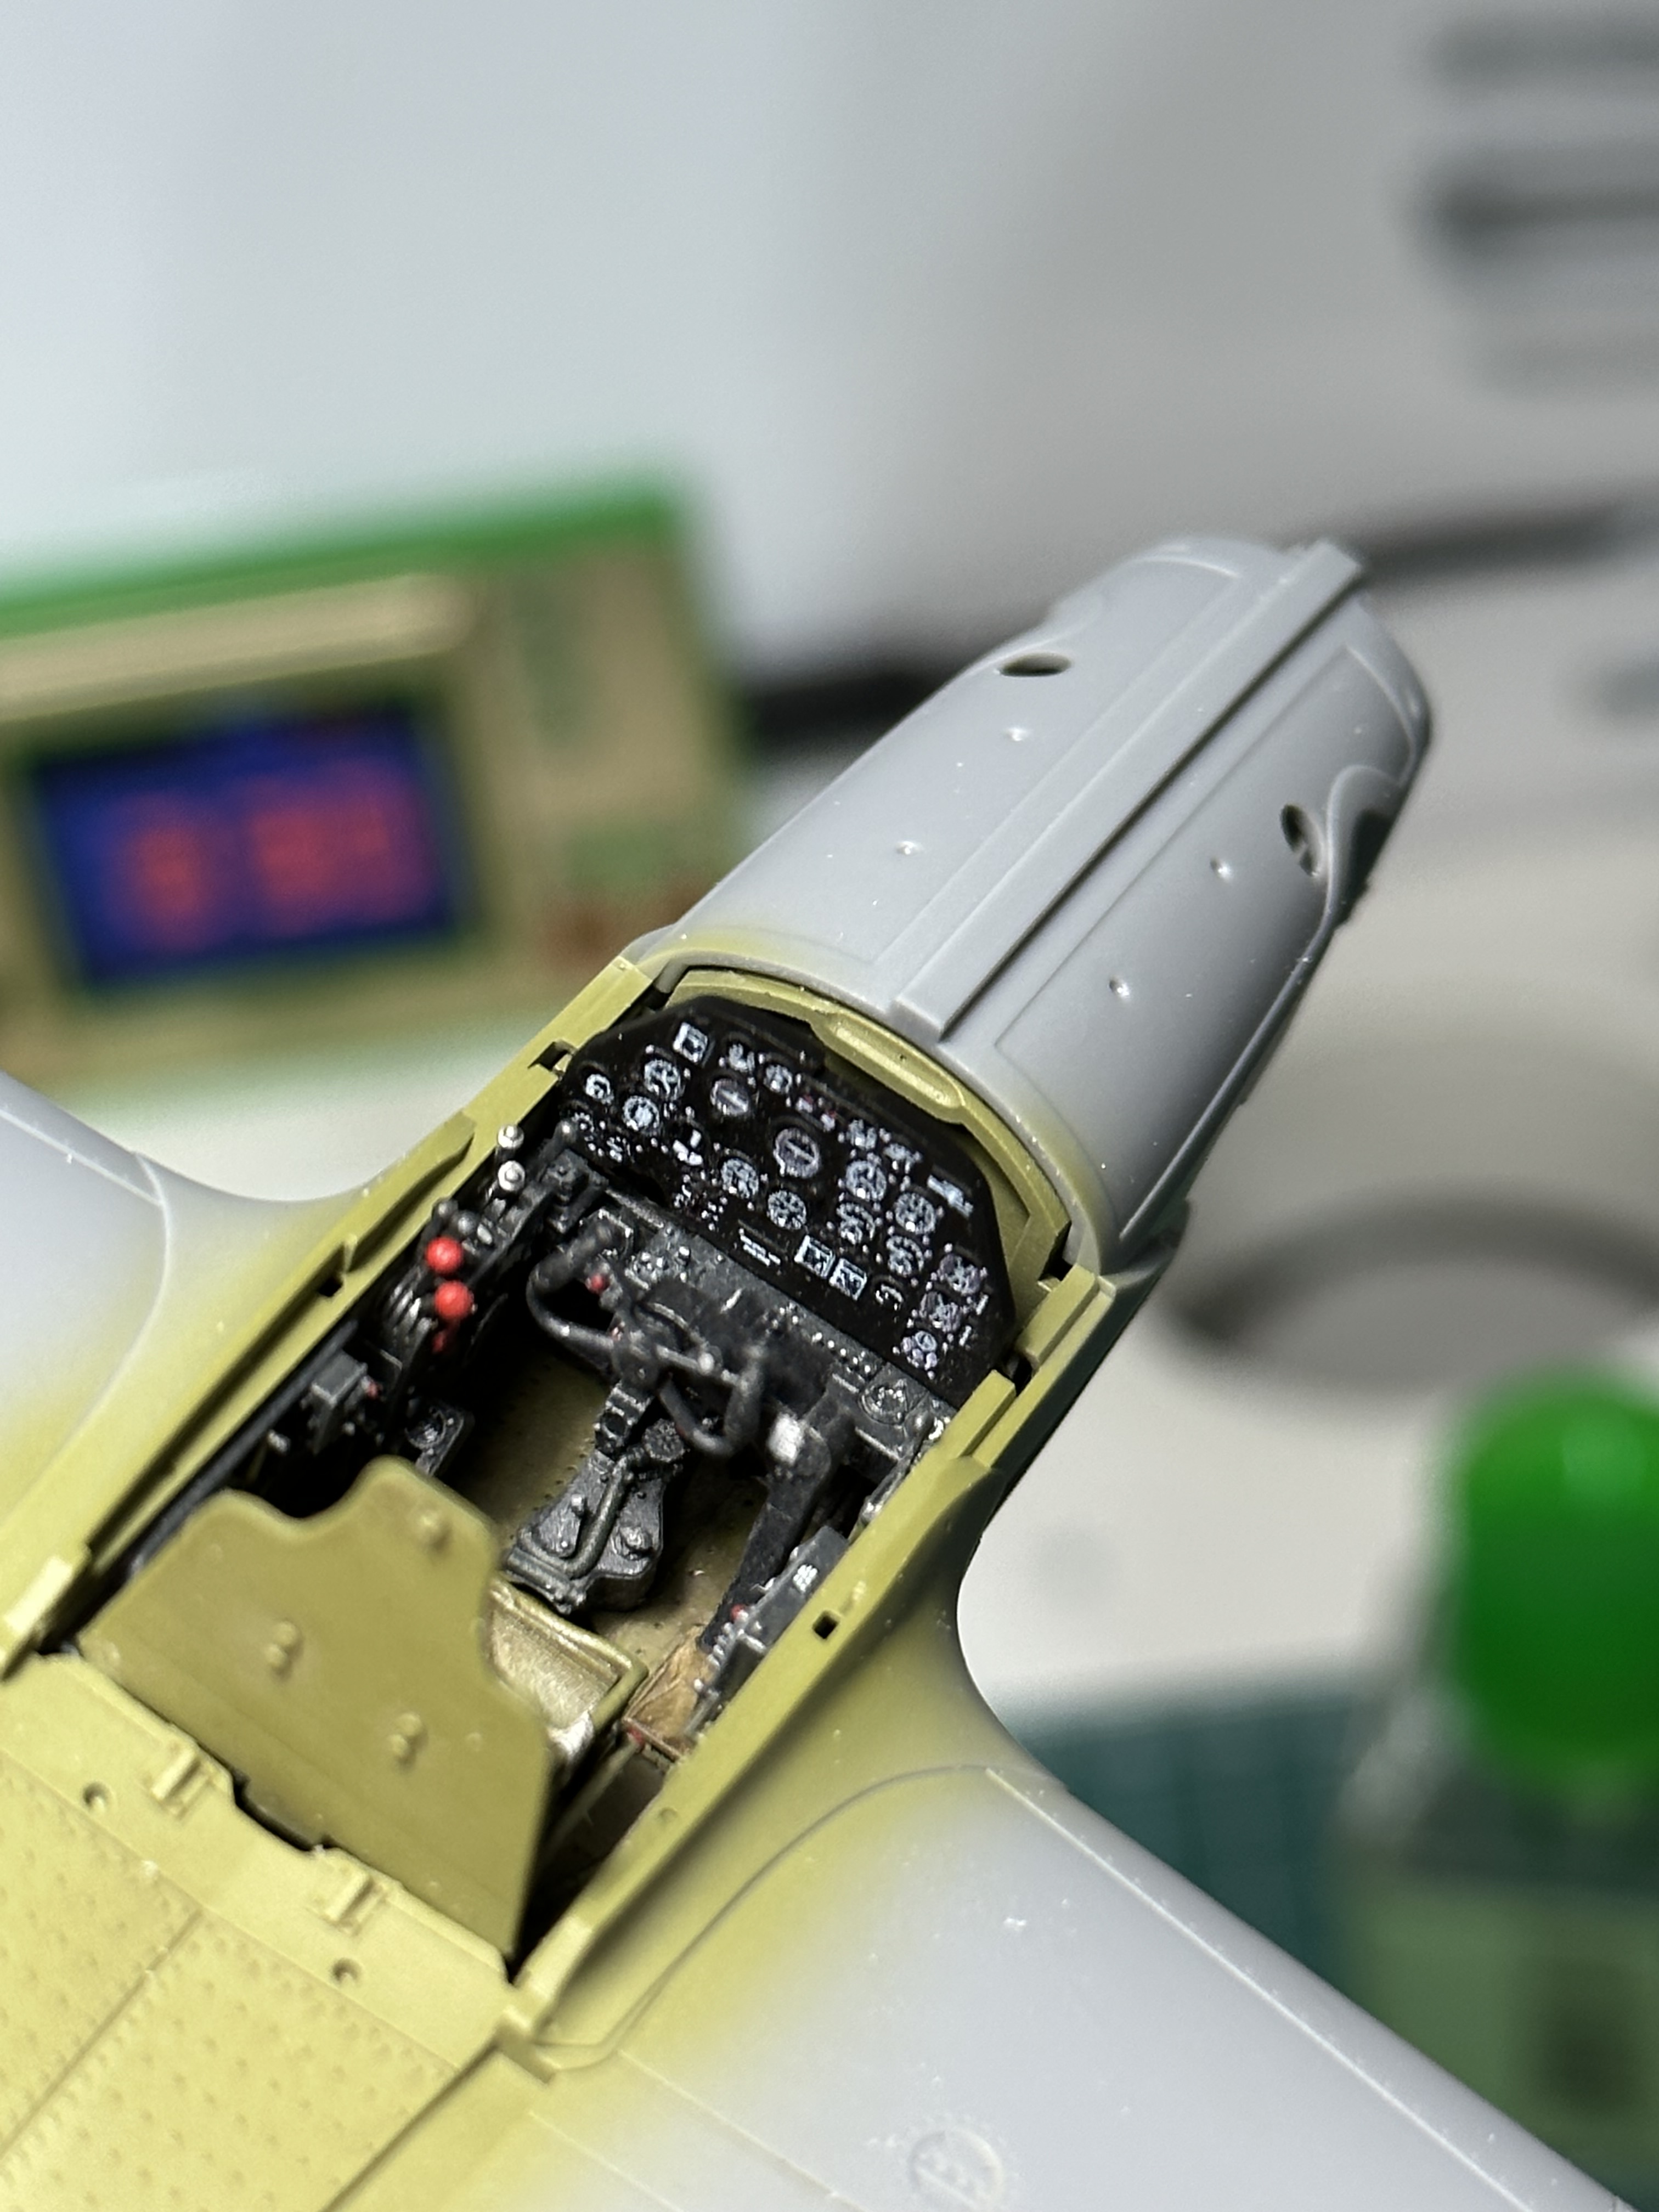
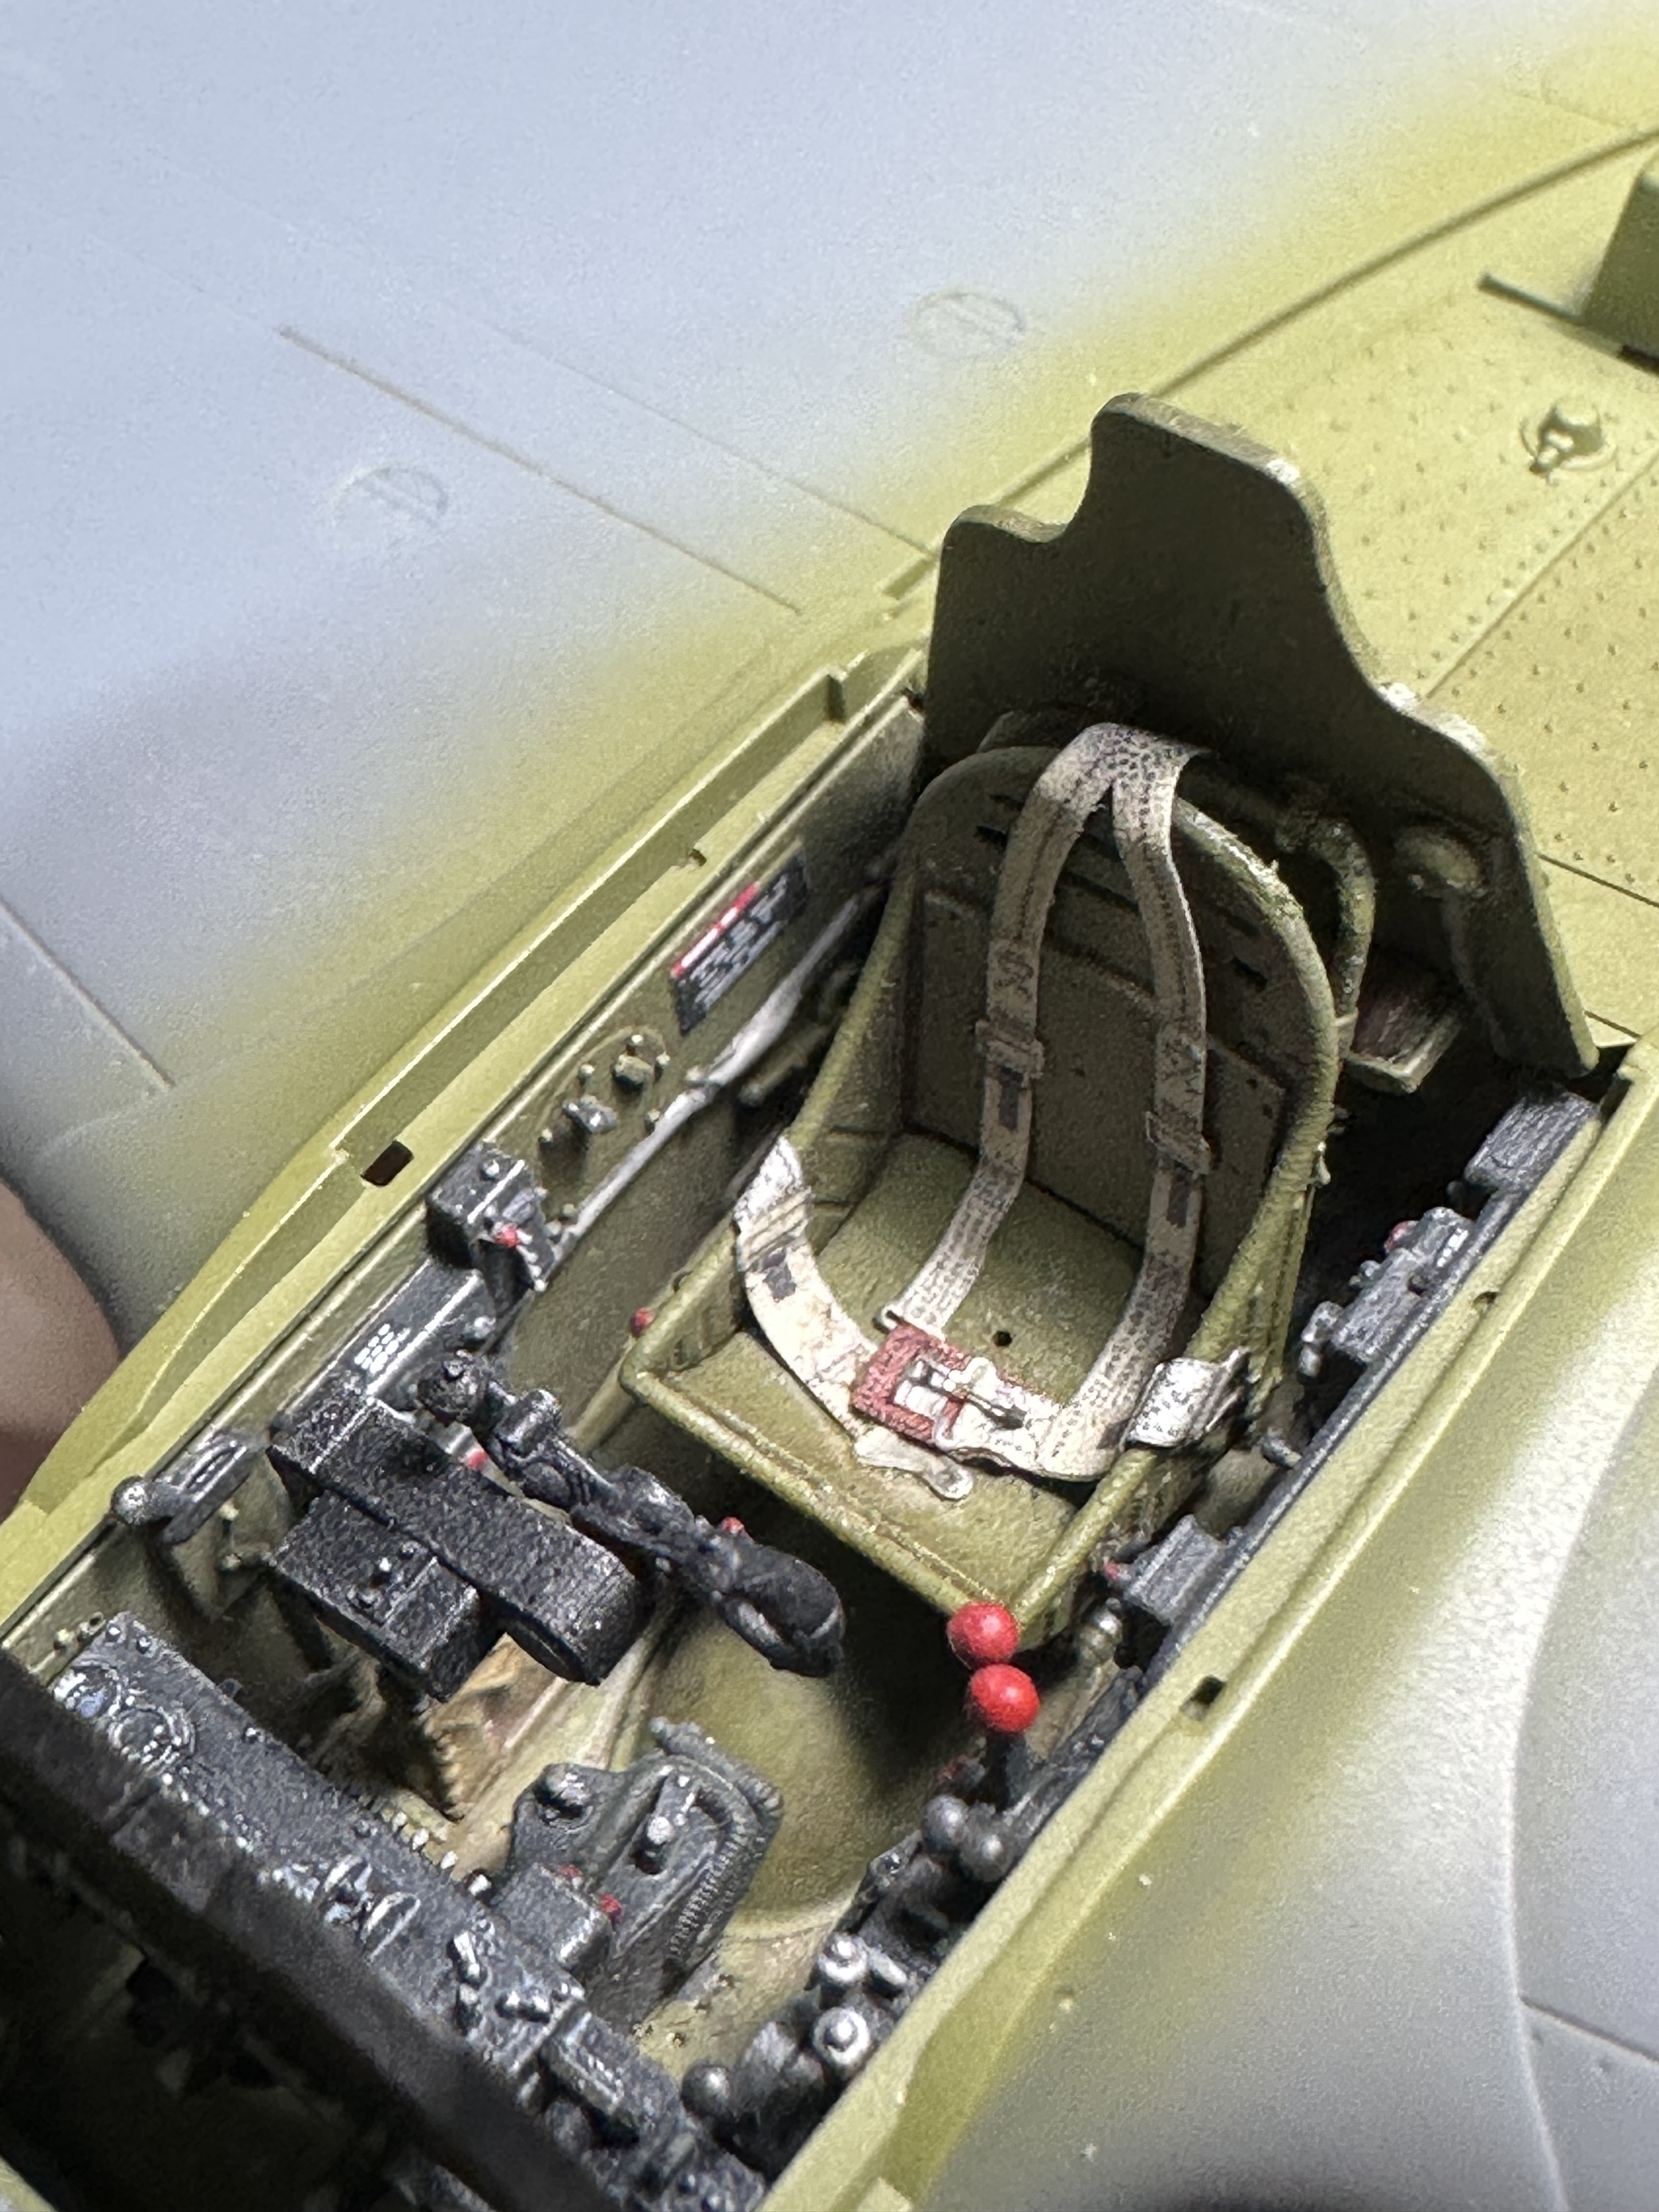
The Eduard cockpit parts are really better in nearly every way. To me the biggest standout is the left sidewall which has the many knobs/levels detailed in such a way that I don’t think any amount of PE pieces would ever make it look as good.
The only thing not as good is the seat frame which is extremely thin and fragile, so it has already snapped off twice. I’m going to wait until the very end of the build to glue the seat back in.
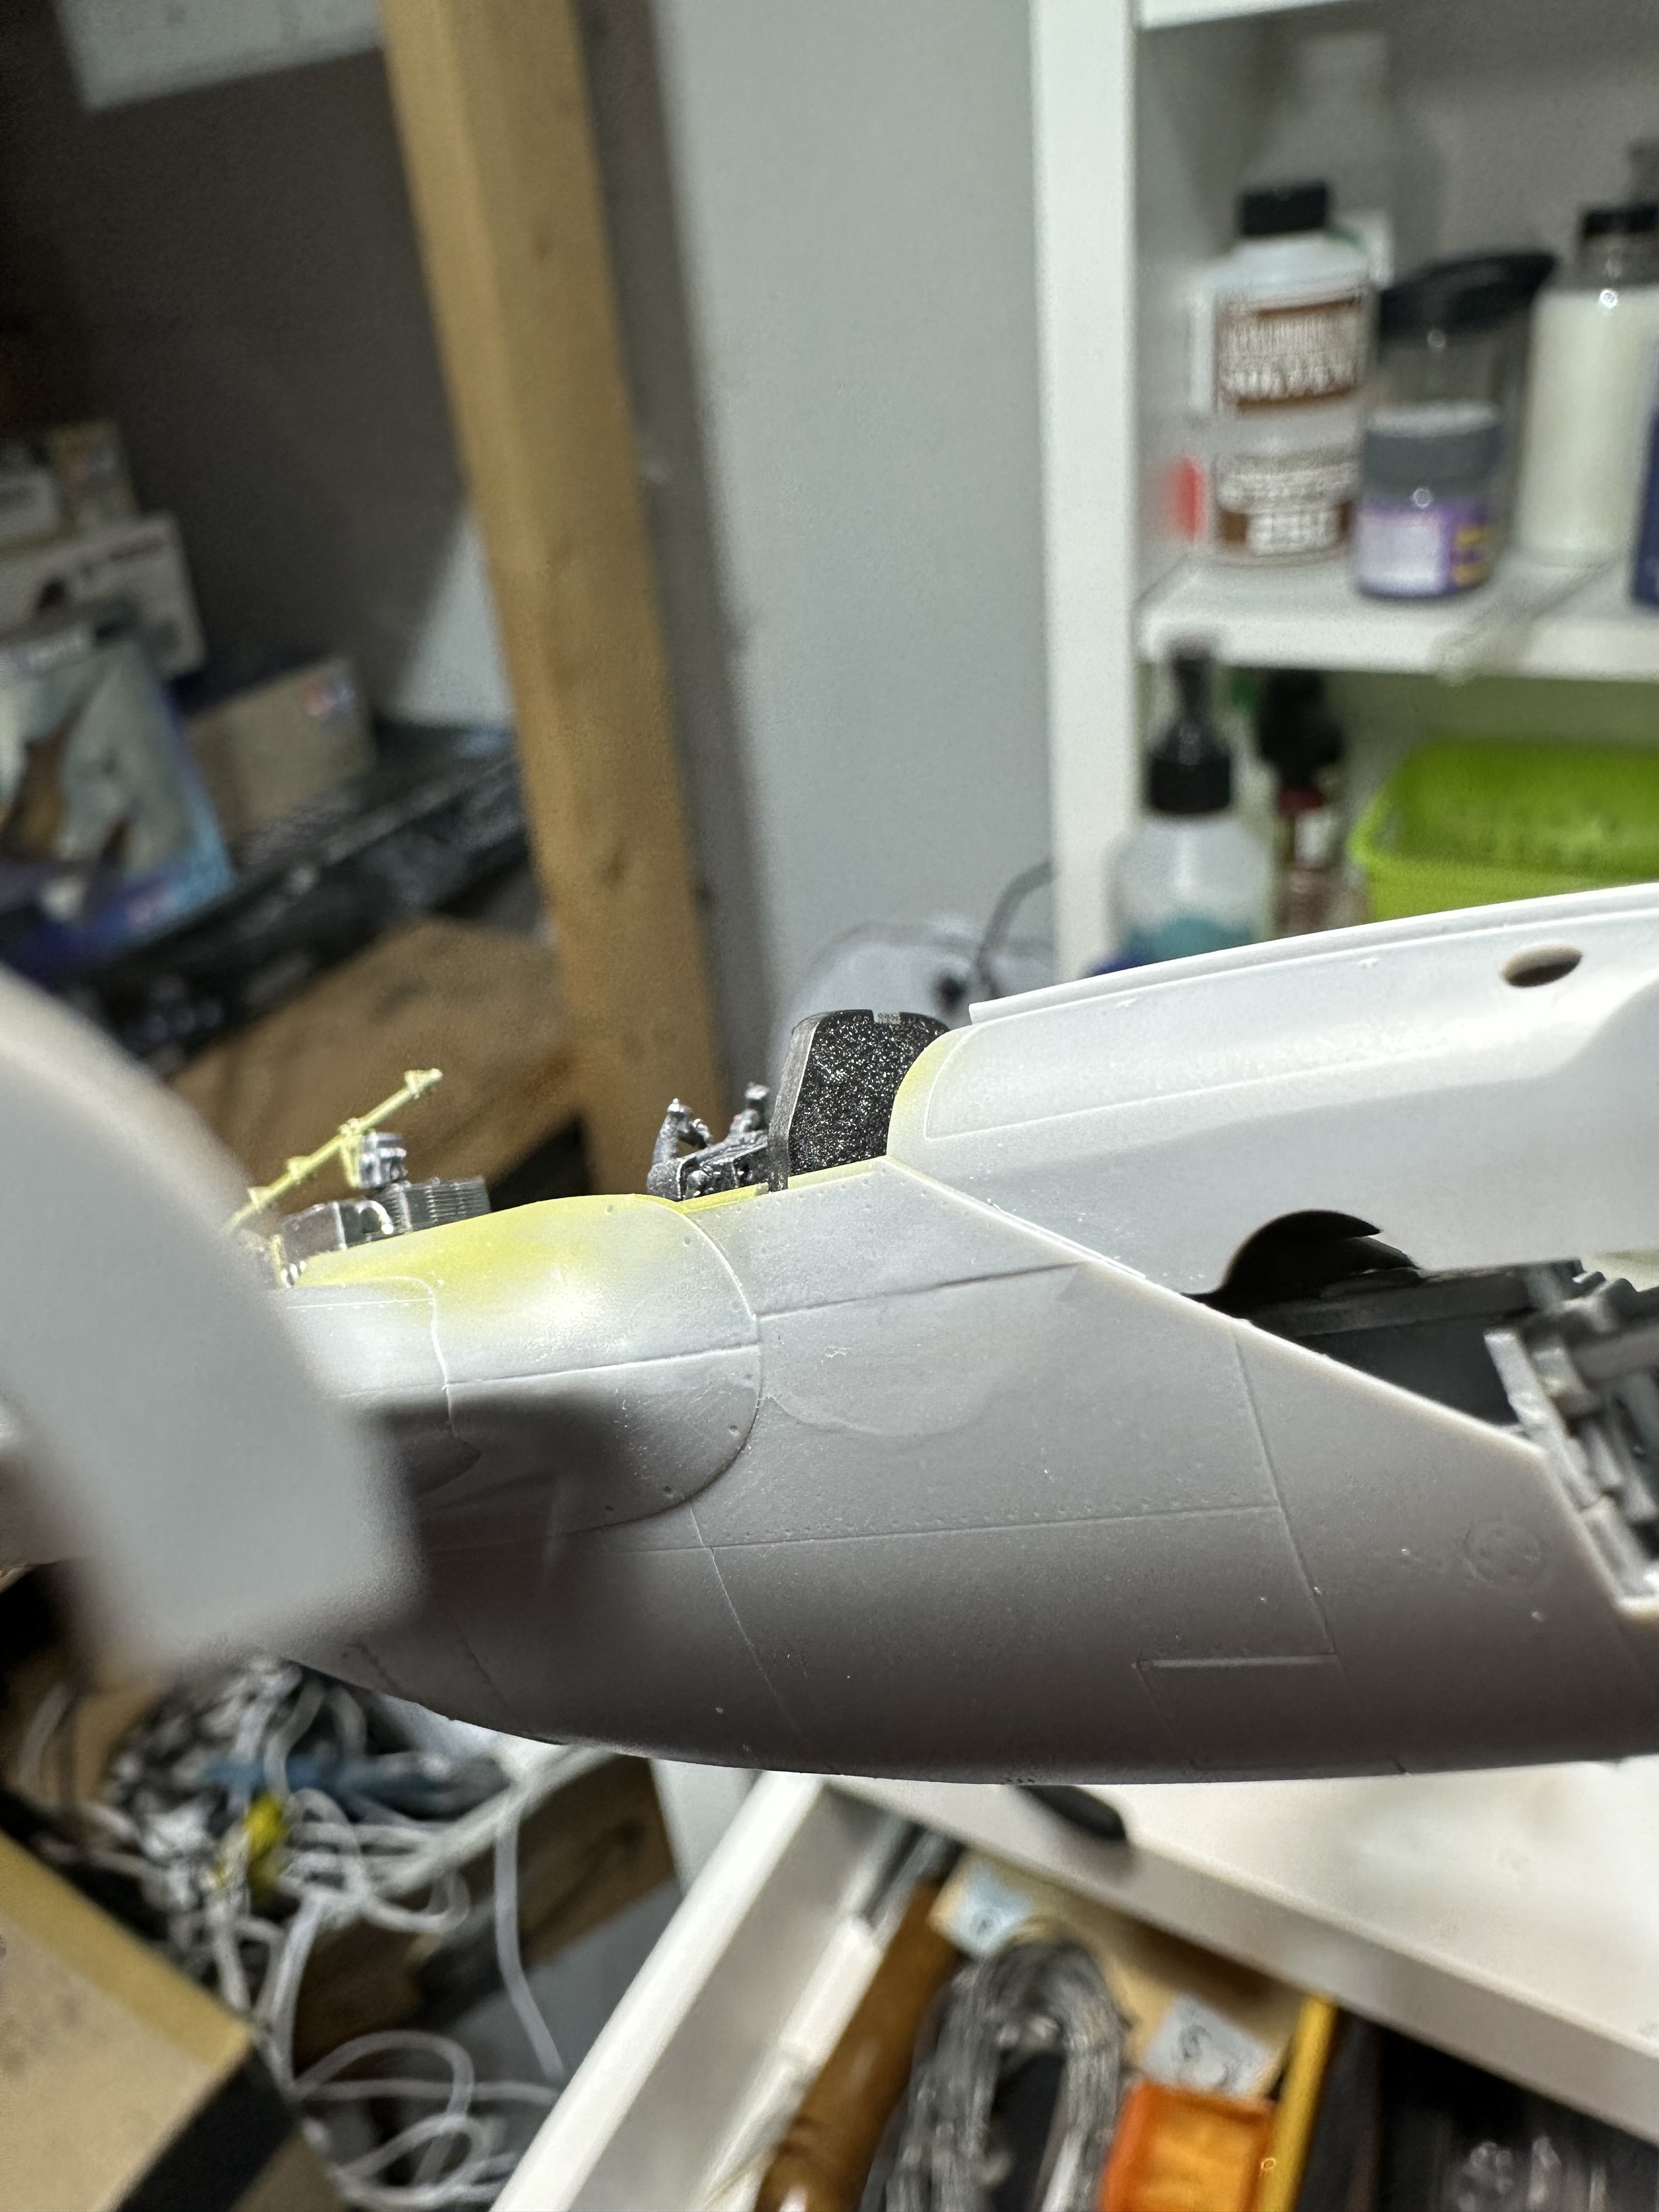
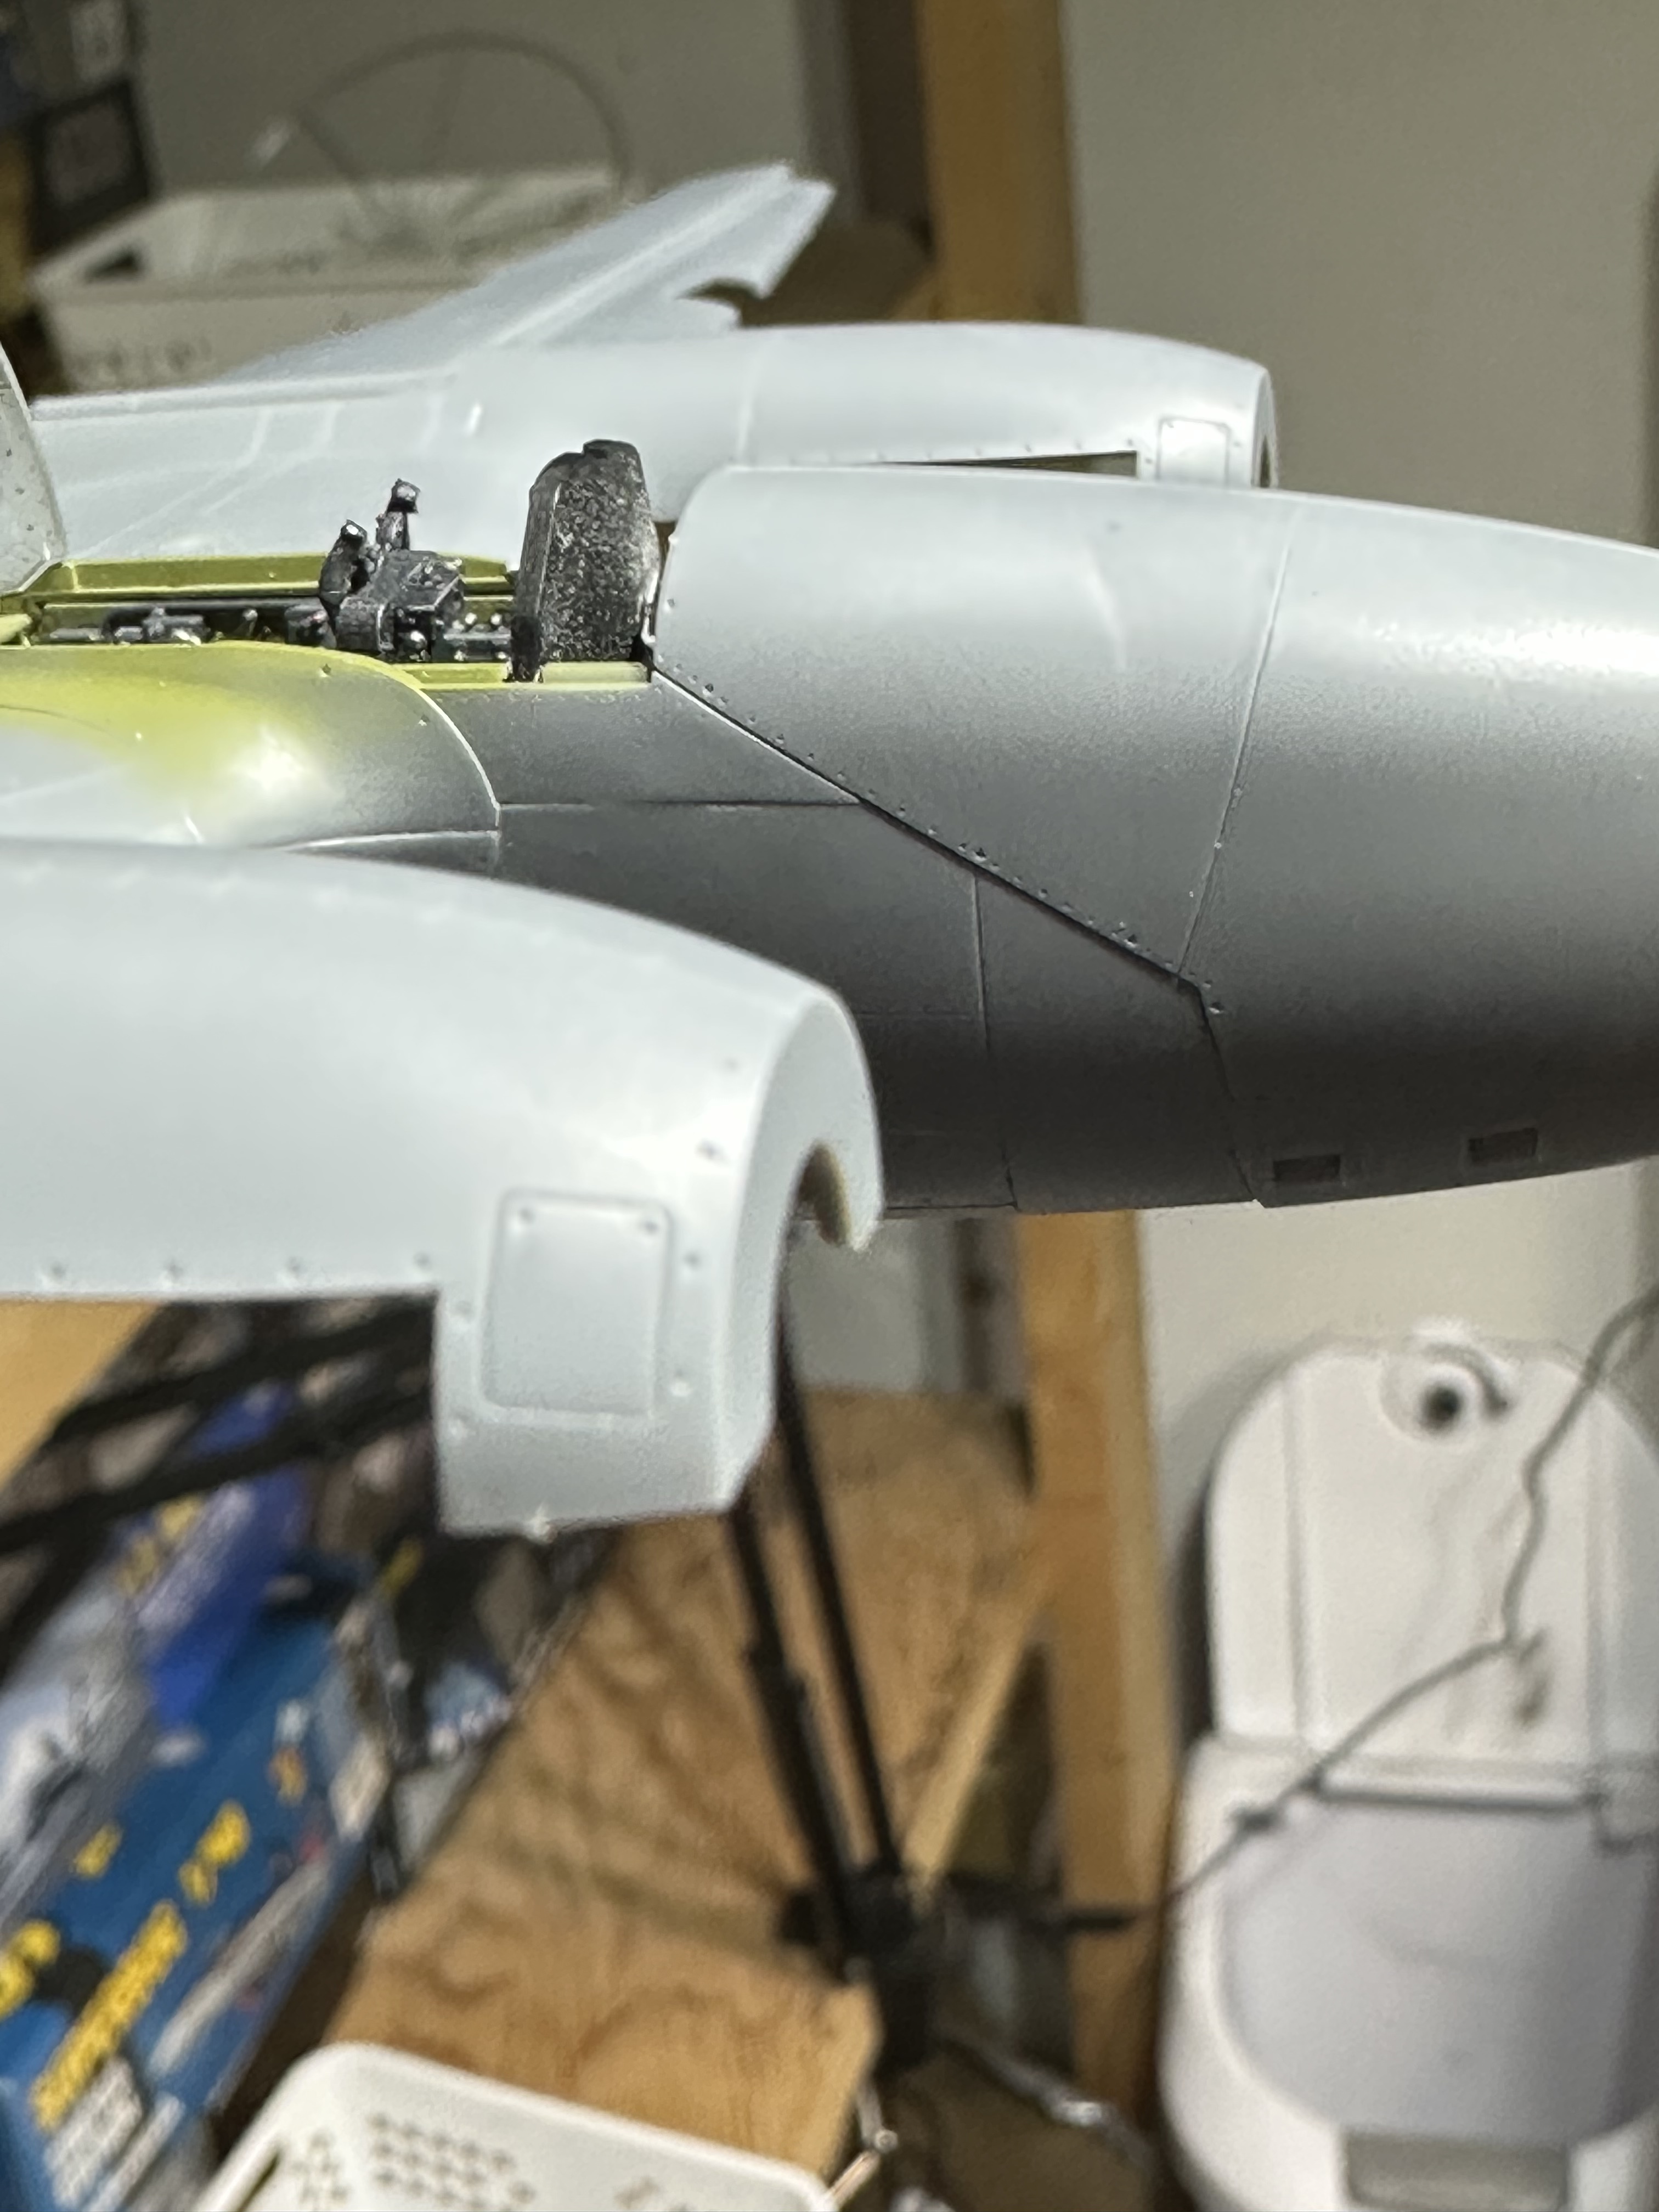
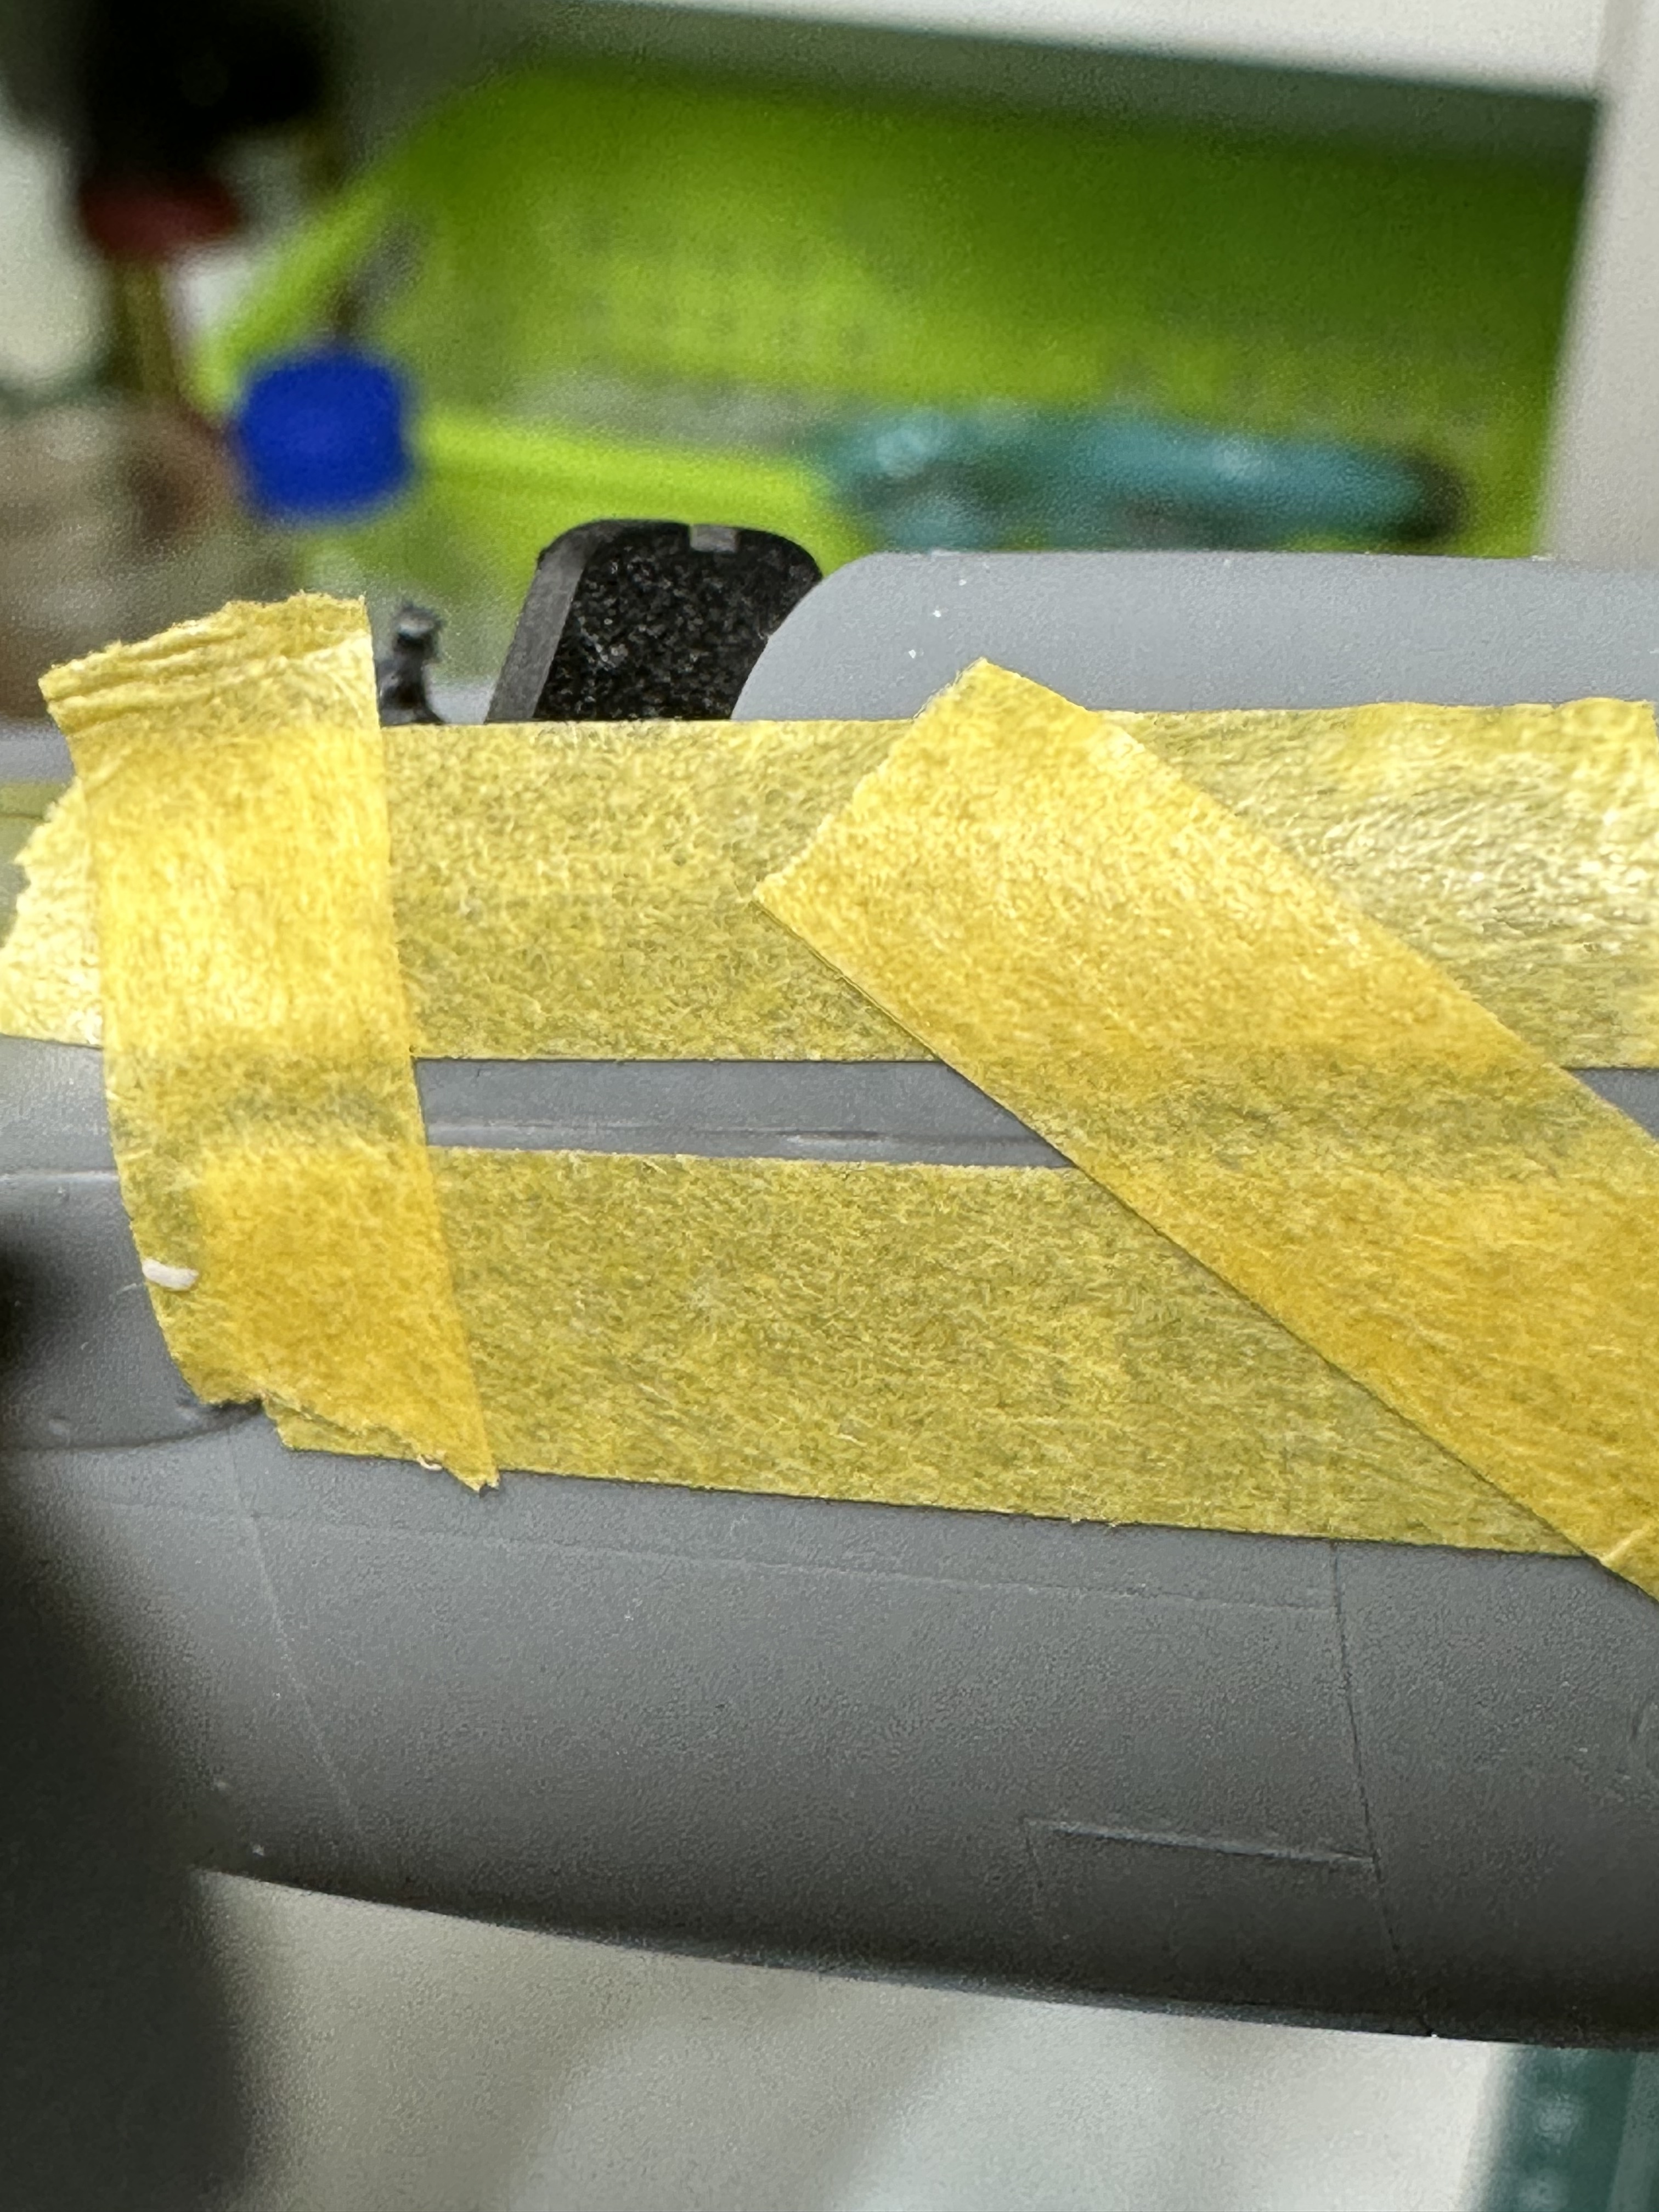
It looks much worse than it actually is but rubbing my finger across there is no step that I can actually feel. Also got way too much thin cement on the right side that looks scary but I hope is able to blend in when primed.
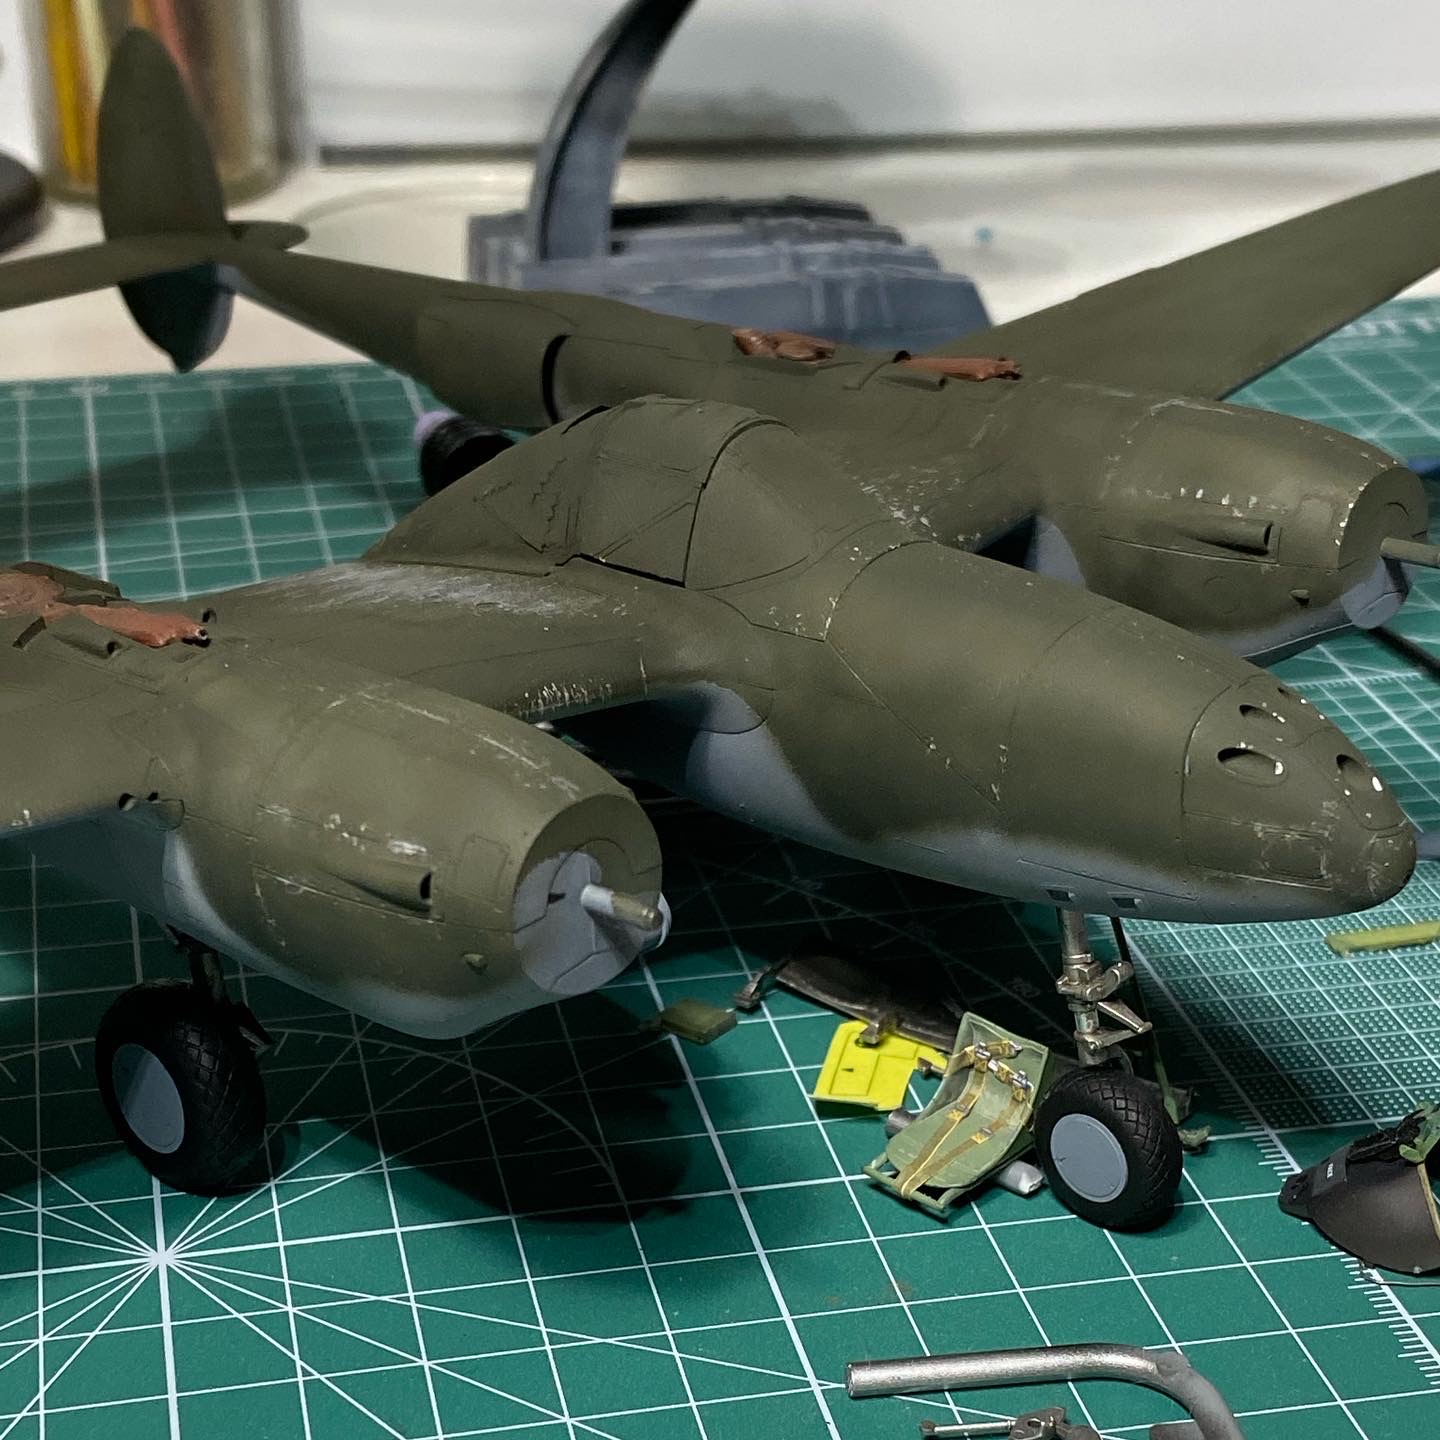
Thanks! I still think it’s more of a case of me not sanding enough material away in the first place, as it looked really good without the resin cockpit in place. I may need to try to put a little putty in but I don’t want to ruin the smoothness. Will probably use perfect plastic putty which can be wiped away with water. It didn’t look as bad on the P-38G I did before this, pictured.
Tiny update. Life is busy at the moment. Leading edges attached, with care taken to minimize cleanup once attached.
Additionally you can see the covers on the nose leave what looks like a step, though it honestly feels flush so I’m considering leaving it. My fear of pushing and gluing will result in the nice panel line getting gunked up.
Really, really, wish I was skilled enough to add plumbing. Seeing 5 parallel wires in other builds looks simple but I can’t manipulate small enough. If anyone has some thoughts let me know, happy to try. For now out of the box it is. Going a little rogue with colors to add some pop.