We want more. Keep going. Lol

Great work there. HUD is amazing.
1 Like
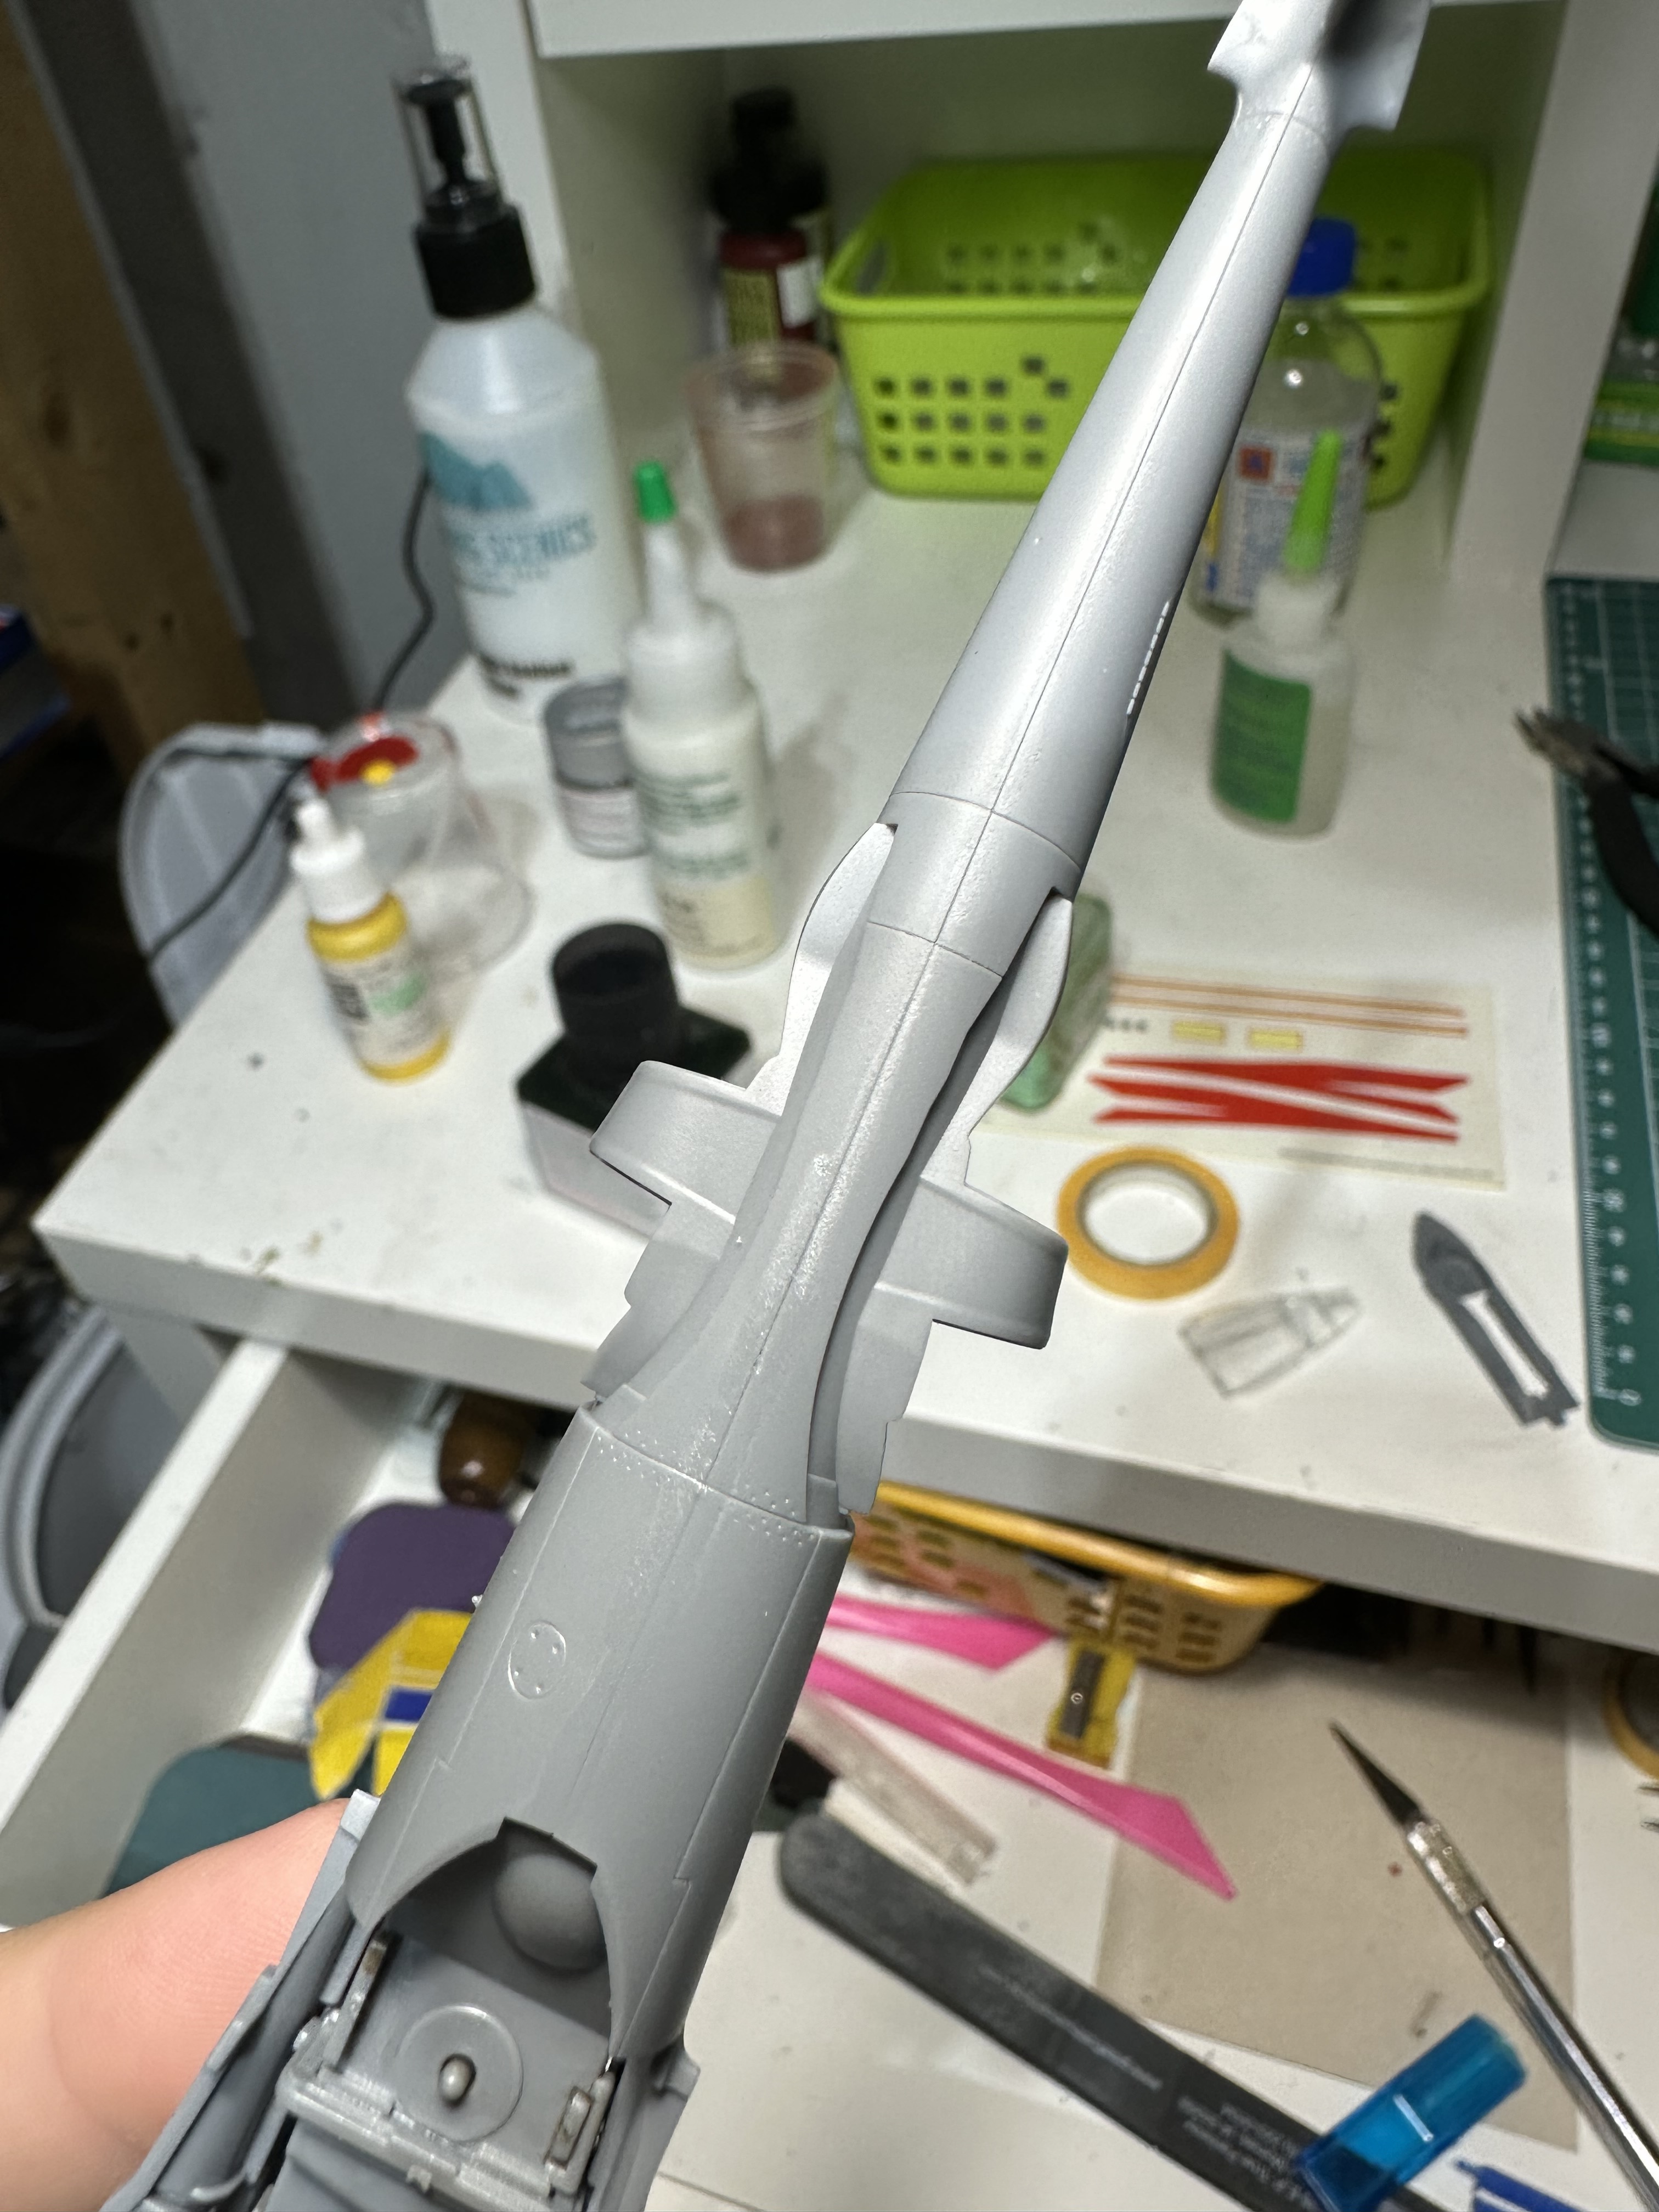
Front windscreen attached. Had to hold in place with pressure to fit flush as it wanted to form a gap. Pressure widened it a bit and kept everything flush.


7 Likes
Steady on!!
1 Like
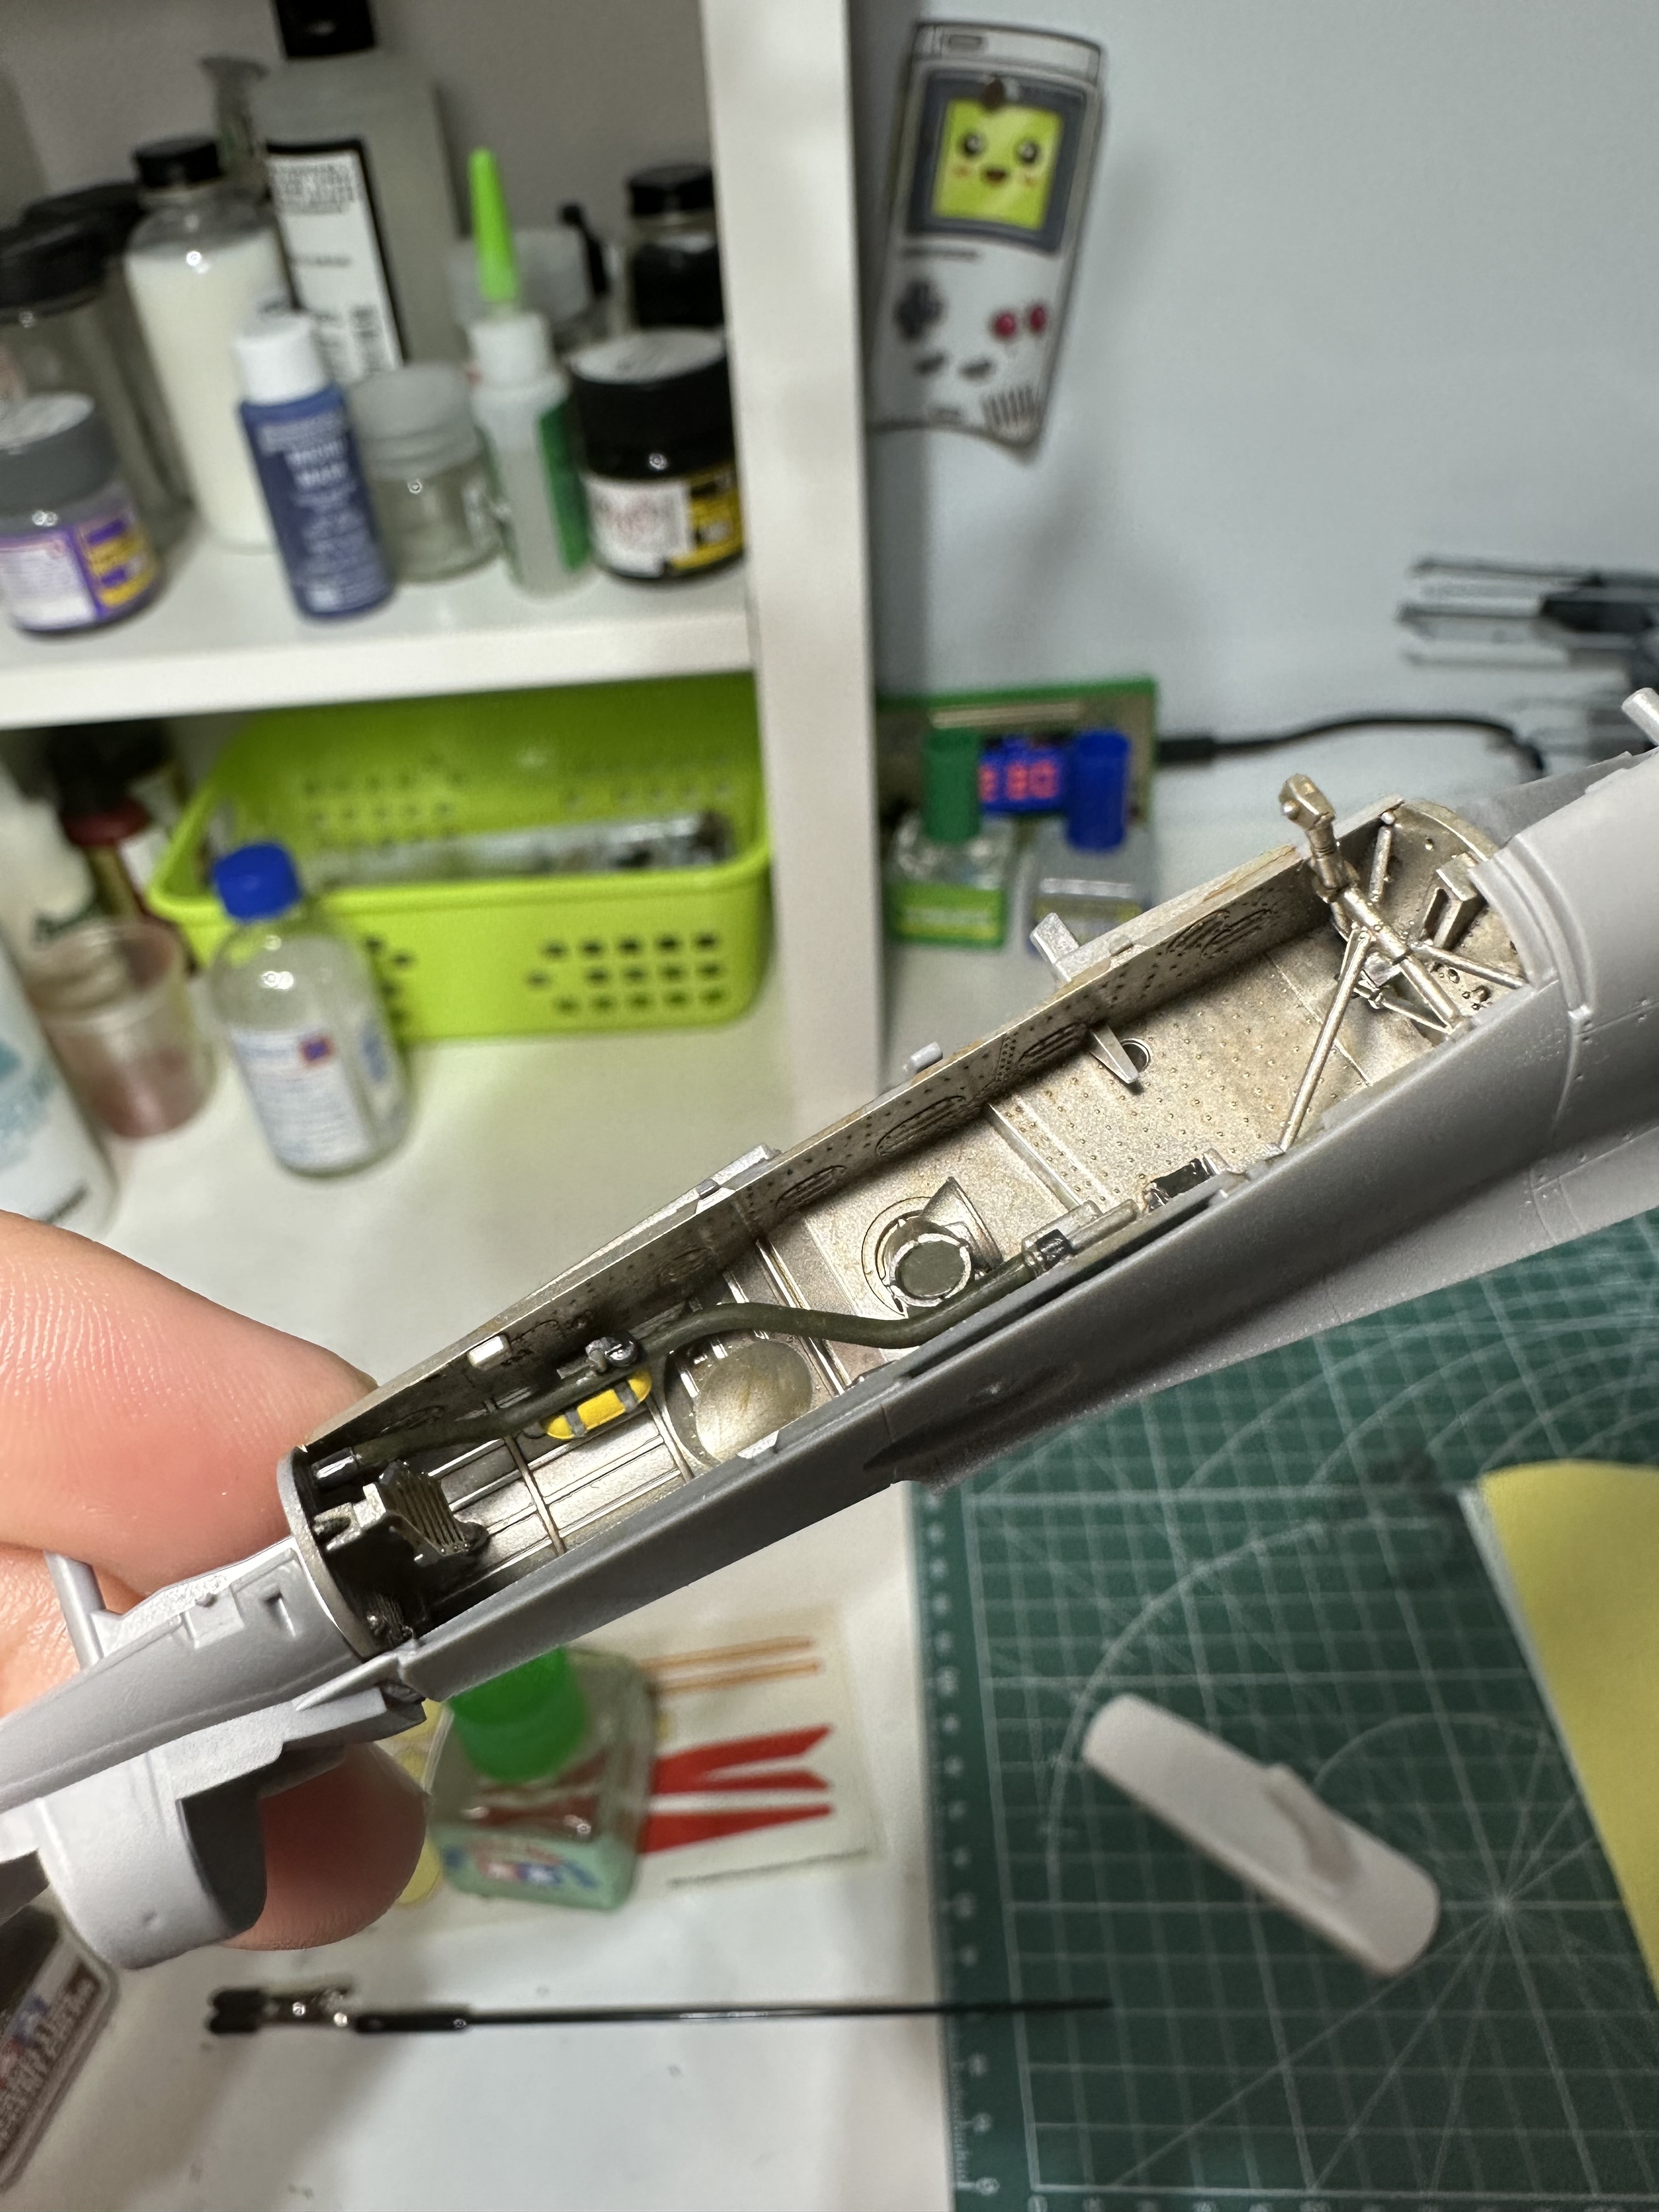
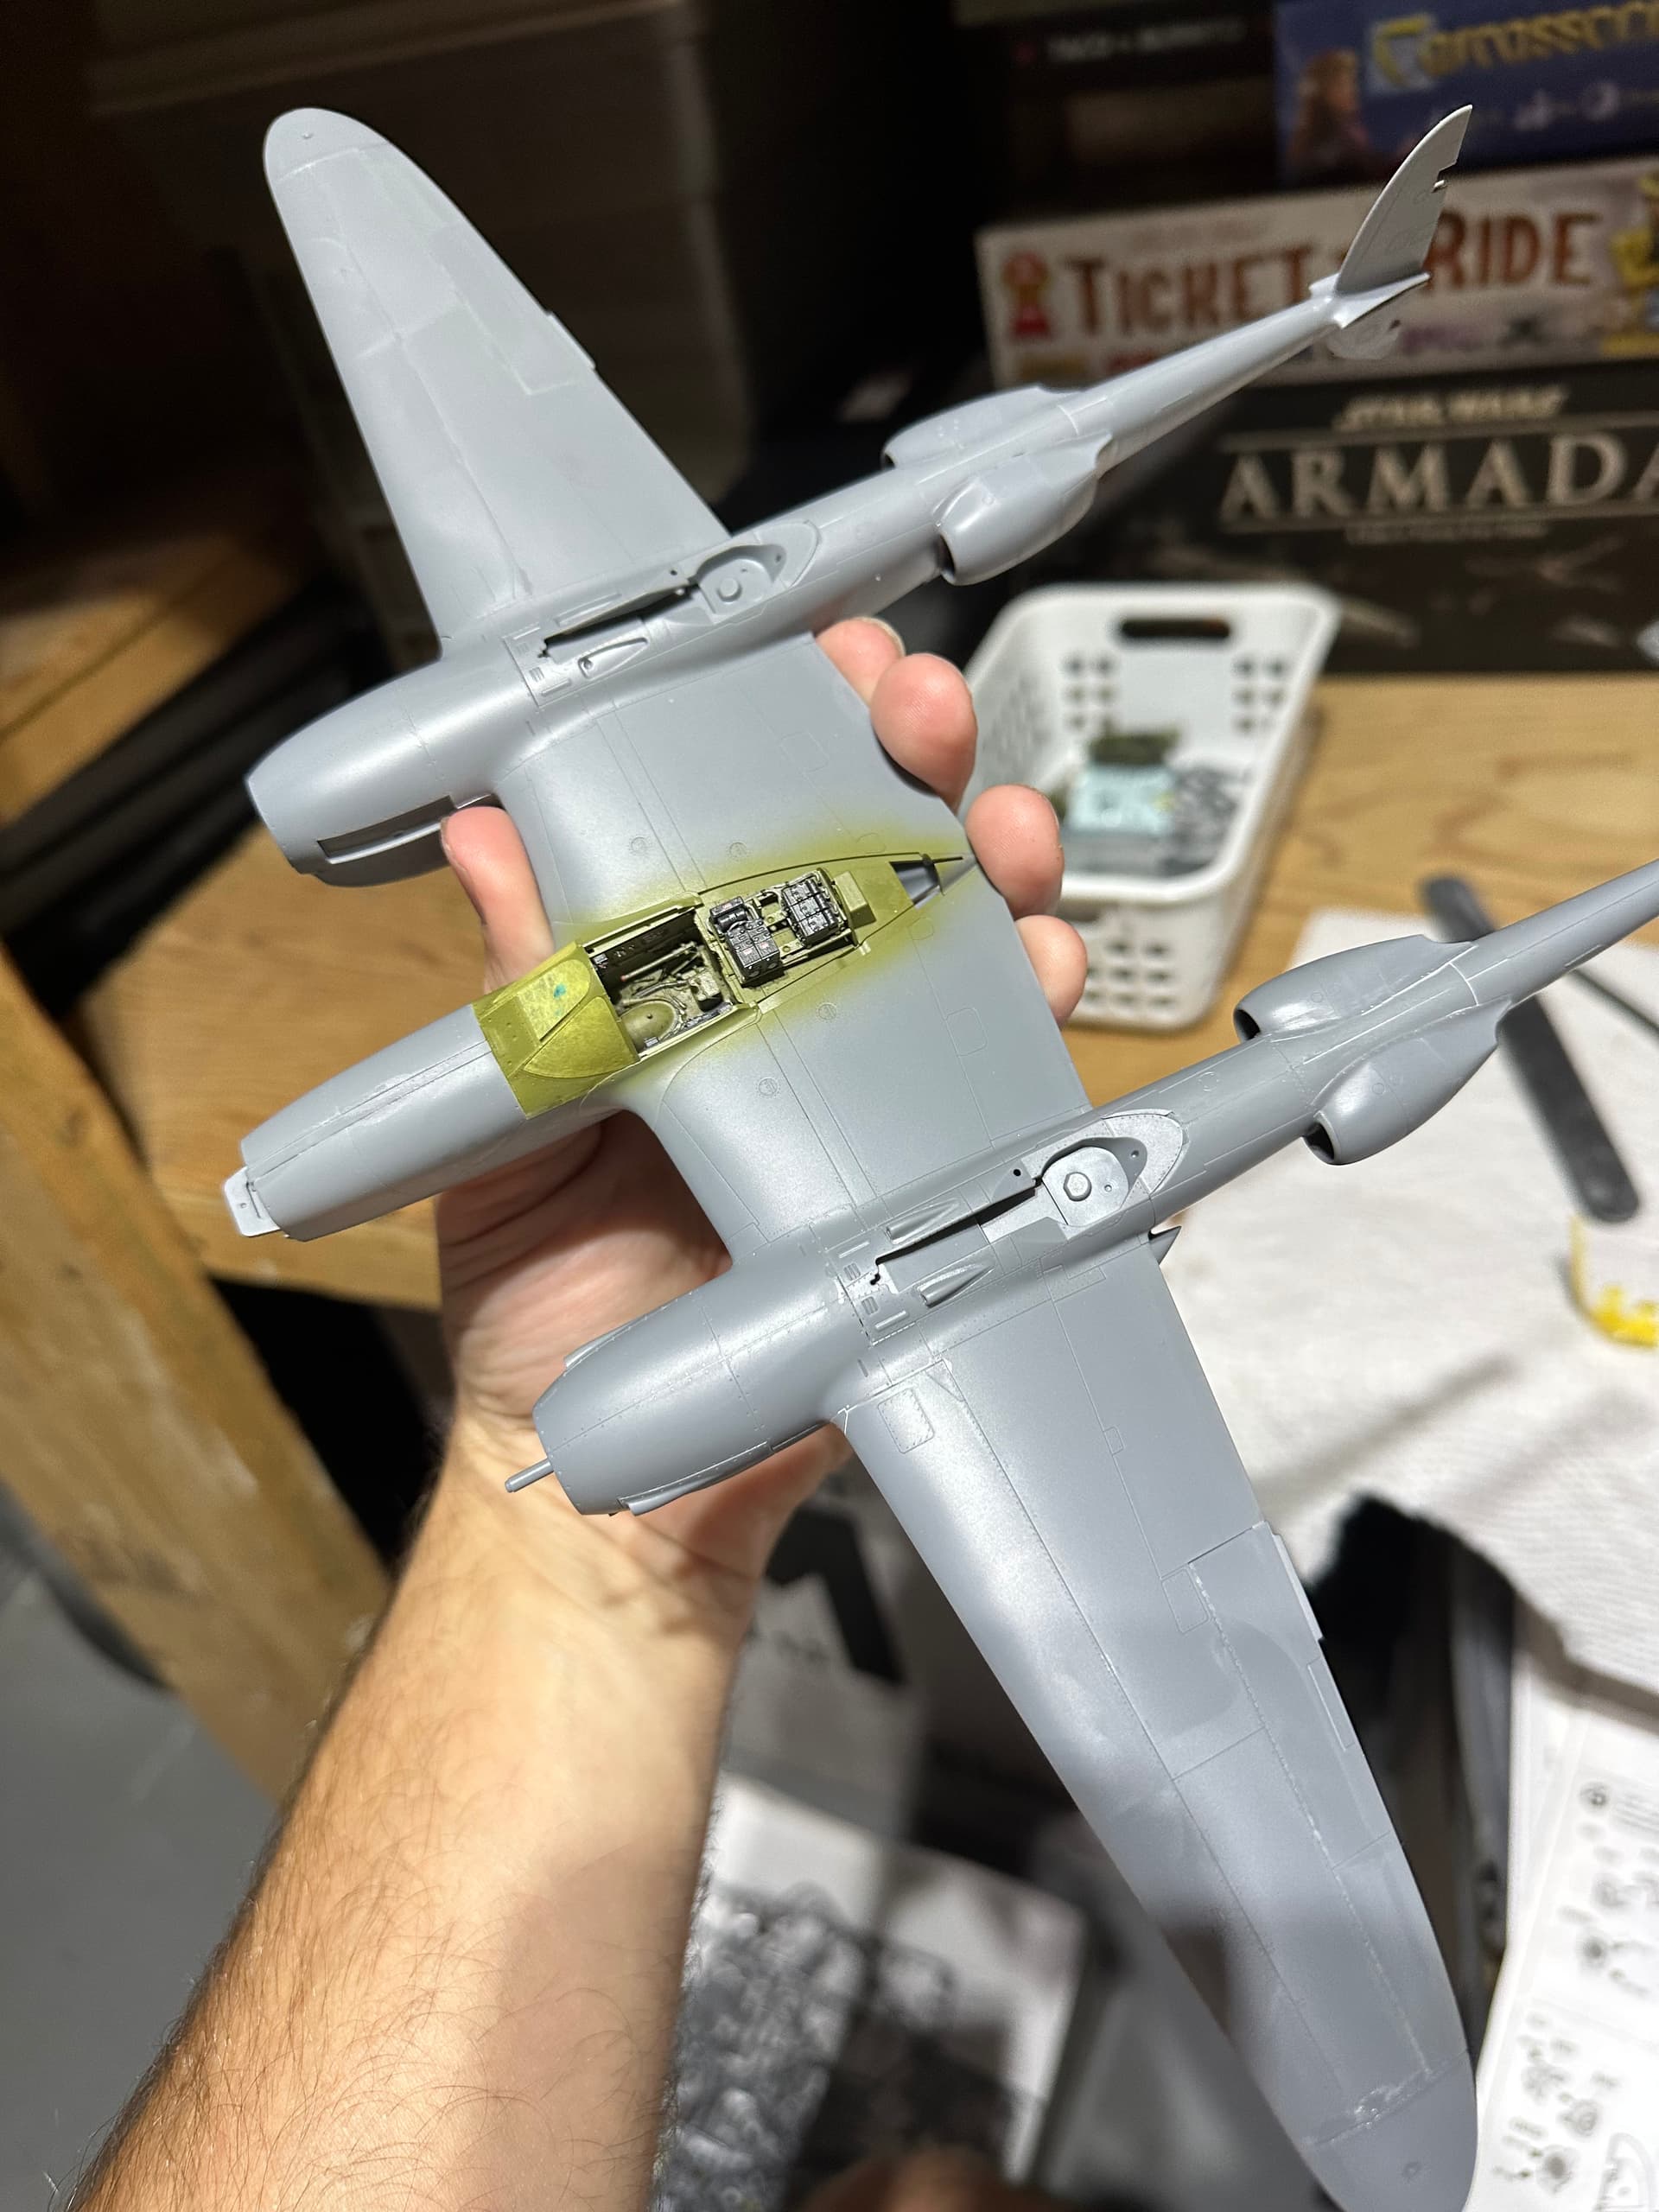
Starting on front cowl, want to ensure everything aligns nice before gluing the boom halves together. The grates will be so far back that I’m not worried about painting them the steel gray color called for.


4 Likes
Question: upon test fitting the canopy, I was considering closing it up rather than open ( due to the aftermarket kit piece over the radios not having a brace for the open option), but it is definitely not wide enough to sit well. Is there a way to widen the canopy part without damaging? See pics, one side is flush the other is not.


The other thing I could do is figure out how to kit bash the Eduard central spine with the Tamiya kit to include the brace for the open option to glue to.
5 Likes
Wish I could see it with my eyes. So the spine is in the way of going with a closed canopy?
Good call, it’s definitely hard to describe and I don’t know what the actual piece is called.
First pic is Tamiya kit part which includes a little ledge for open canopy piece. Second pic is Eduard piece. More detailed but will glue to back of headboard so no easy way to have canopy displayed open unless I rig something up. Hence I was considering going for closed canopy. Trying to think of what is lesser of two evils; having opened shows off more stuff but don’t know how to rig middle canopy piece.
Thoughts?


2 Likes

I could try that as an option! I like the Eduard pieces detail better so I’m considering looping off the top of the Tamiya piece and attaching it to the Eduard piece too.
1 Like
You know what the more I think about it I think maybe I have to stick with the Tamiya part to not mess with the structural integrity of it. So I think your idea is probably best. I will put a pin in it until the end of the build cause the seat and back won’t get permanently affixed till quite late.
1 Like
Hope it works out. Learning from your build.
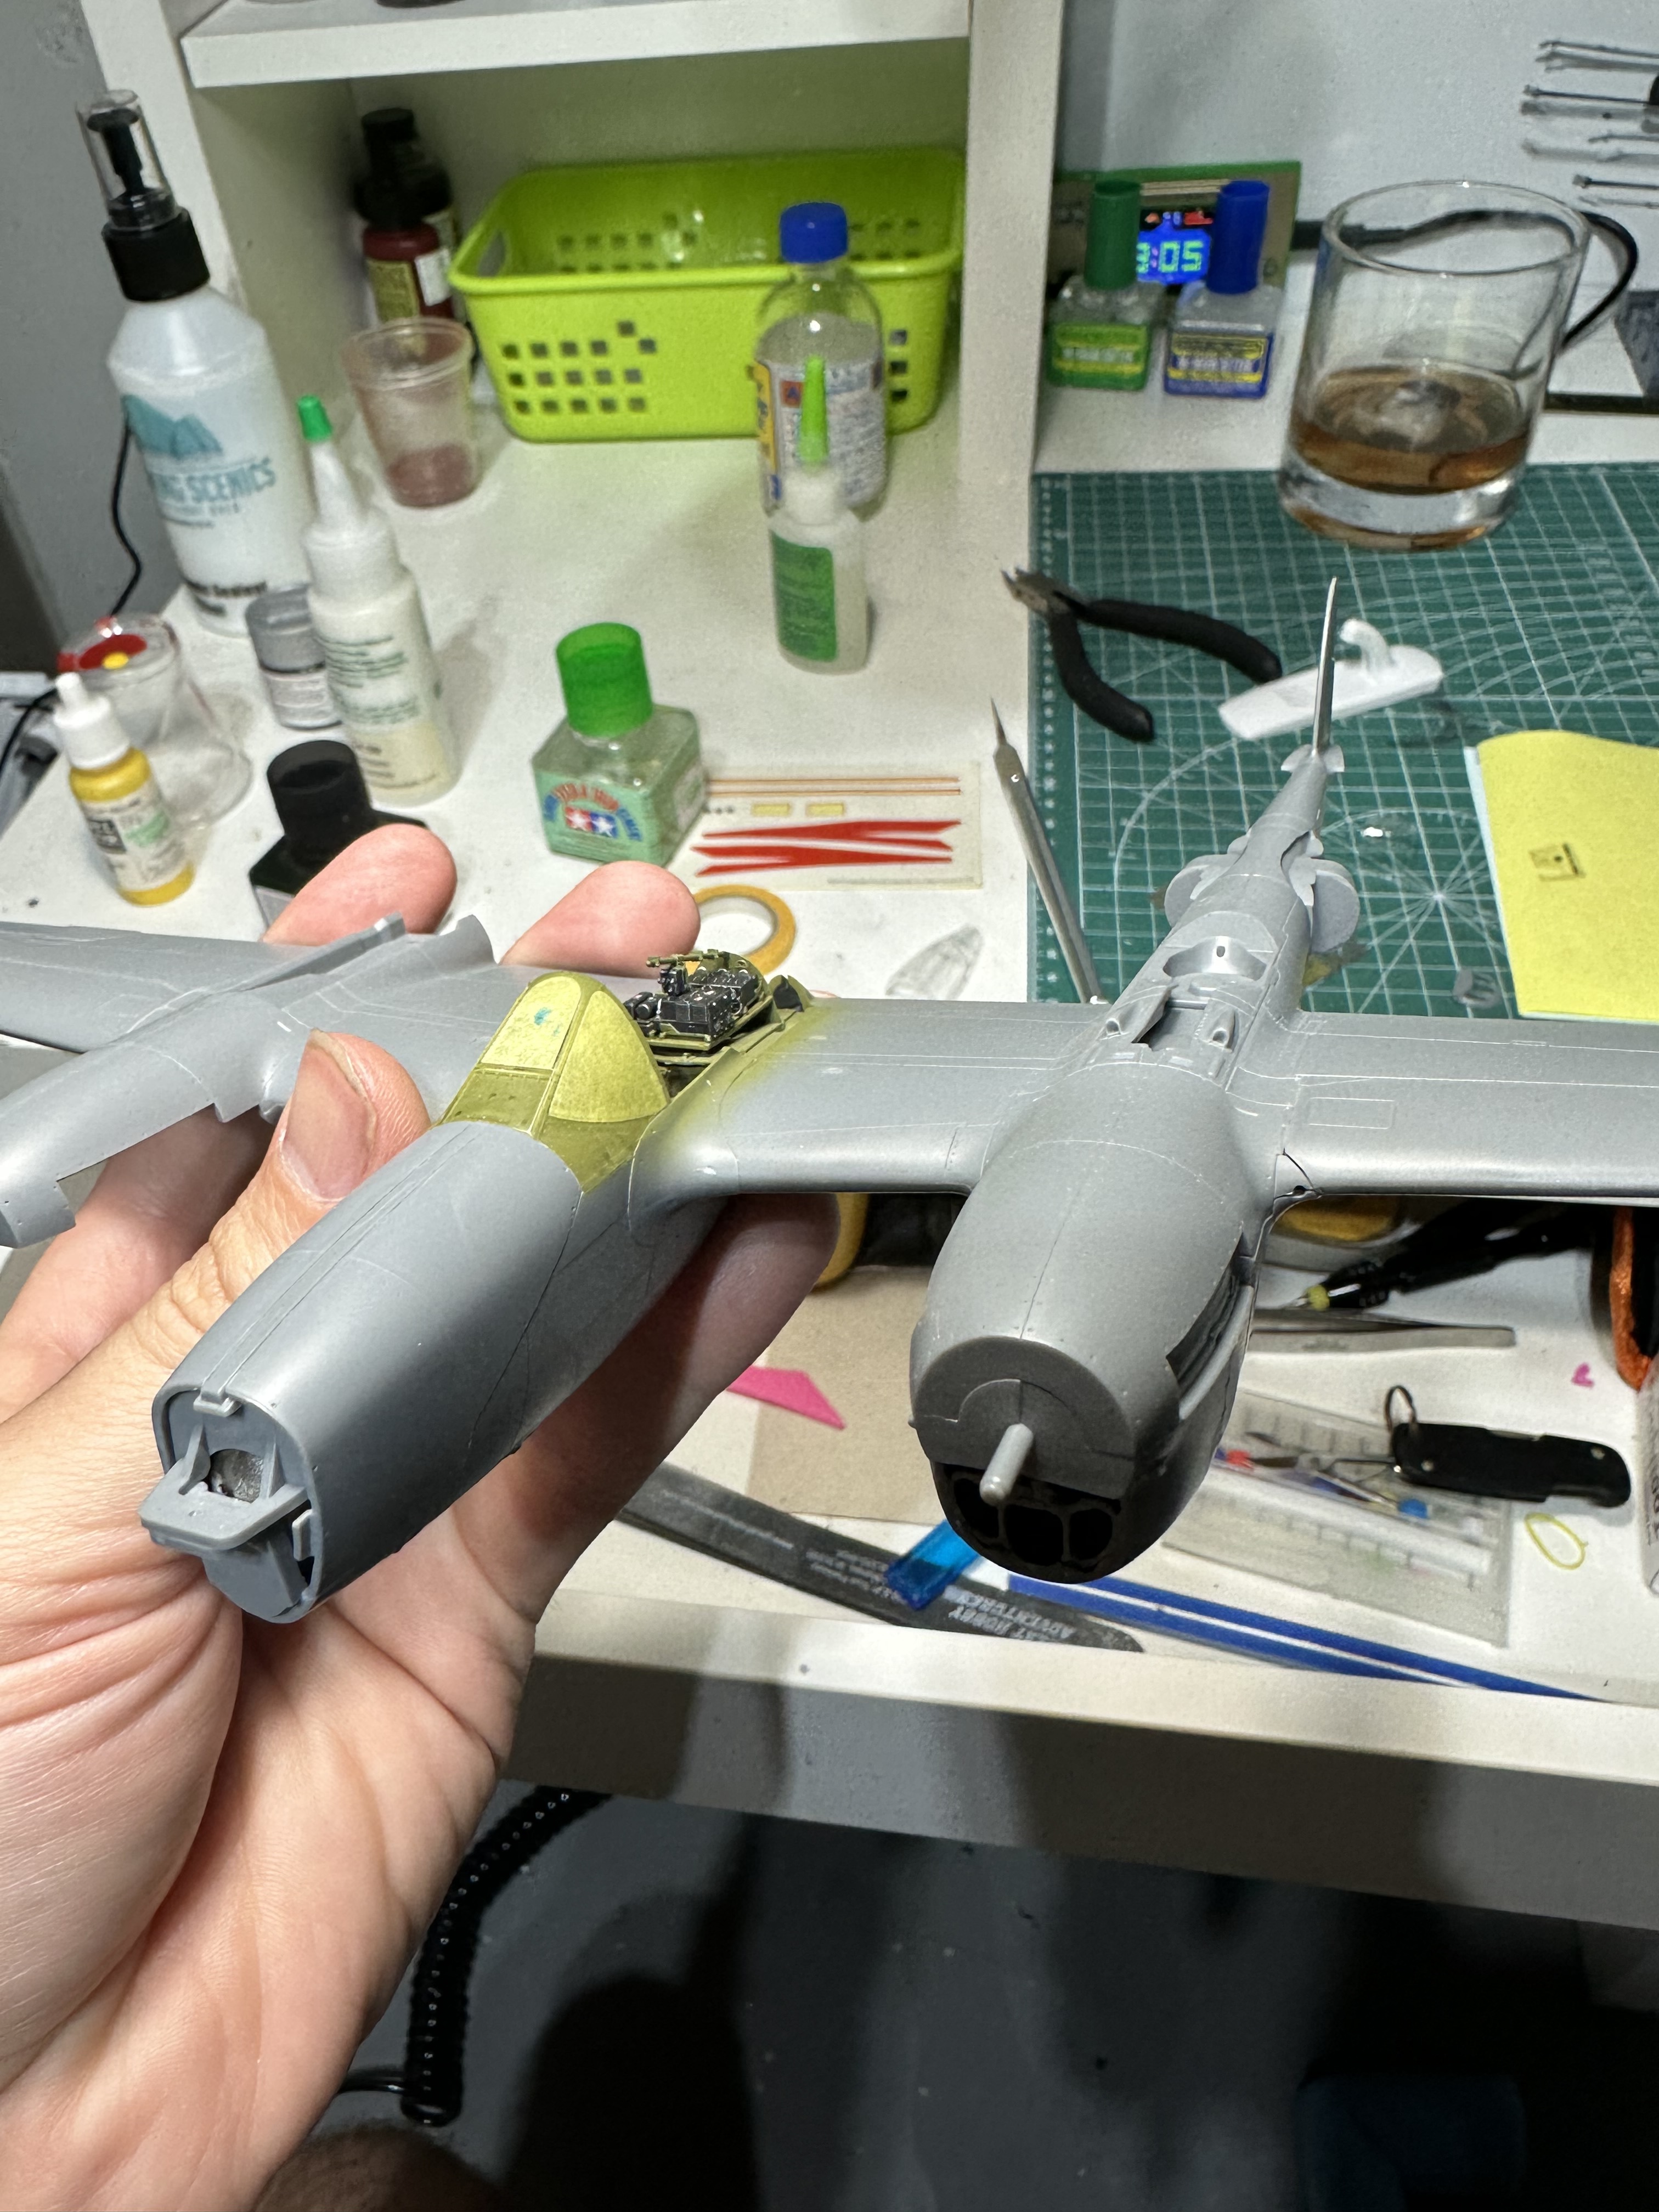
Left boom nearly complete. Getting antsy to get first primer coat done. Need to double check what gets filled and what doesn’t on top seam.

8 Likes
In Hilton Head for a week so pausing the build till I get back!
2 Likes
Started filling in lines that don’t exist on the real thing and some gaps I made. Perfect plastic putty is preferred. Cleans with water and I tape things up pretty good because I don’t rescribe well if I lose detail.


7 Likes
Looking good man
1 Like
Steve, this is one of my favorite aircraft builds to follow. Looking great! The candor and build details are much appreciated. Thank you!
2 Likes
Thanks!!
Appreciate the kind words. I only wish that I could build faster; with a 2 year old and a 4 year old the time doesn’t come often, and when it does I’m ready to sleep!
Small update: When attaching these covers, they go on well enough but do require some pressure to minimize gaps. The horizontal seam doesn’t exist on the real craft so the more I take care of it now, the less filling and sanding I will have to do later. Held in place until the glue dried.


Attached the second boom and as I was fitting it, I dropped it. Thank god the only undercarriage piece sticking out didn’t break off. I didn’t see until later that the locating pin for the propellor broke off. Should be easy enough to simply glue in place when ready, so no free spinning props for me.

11 Likes