Most bits and bobs on. To do is landing gear and doors before getting to priming

.
So tiny! These side windows took a lot out of me to be as straight as I can. The Eduard masks only cover one side so I’m using the Eduard mask for the middle part and cutting the Tamiya masks for the little bit on the sides and it then curves around. It would look poor if only one side got painted and the other side was clear plastic only.
Those small windows look very tedious to mask.
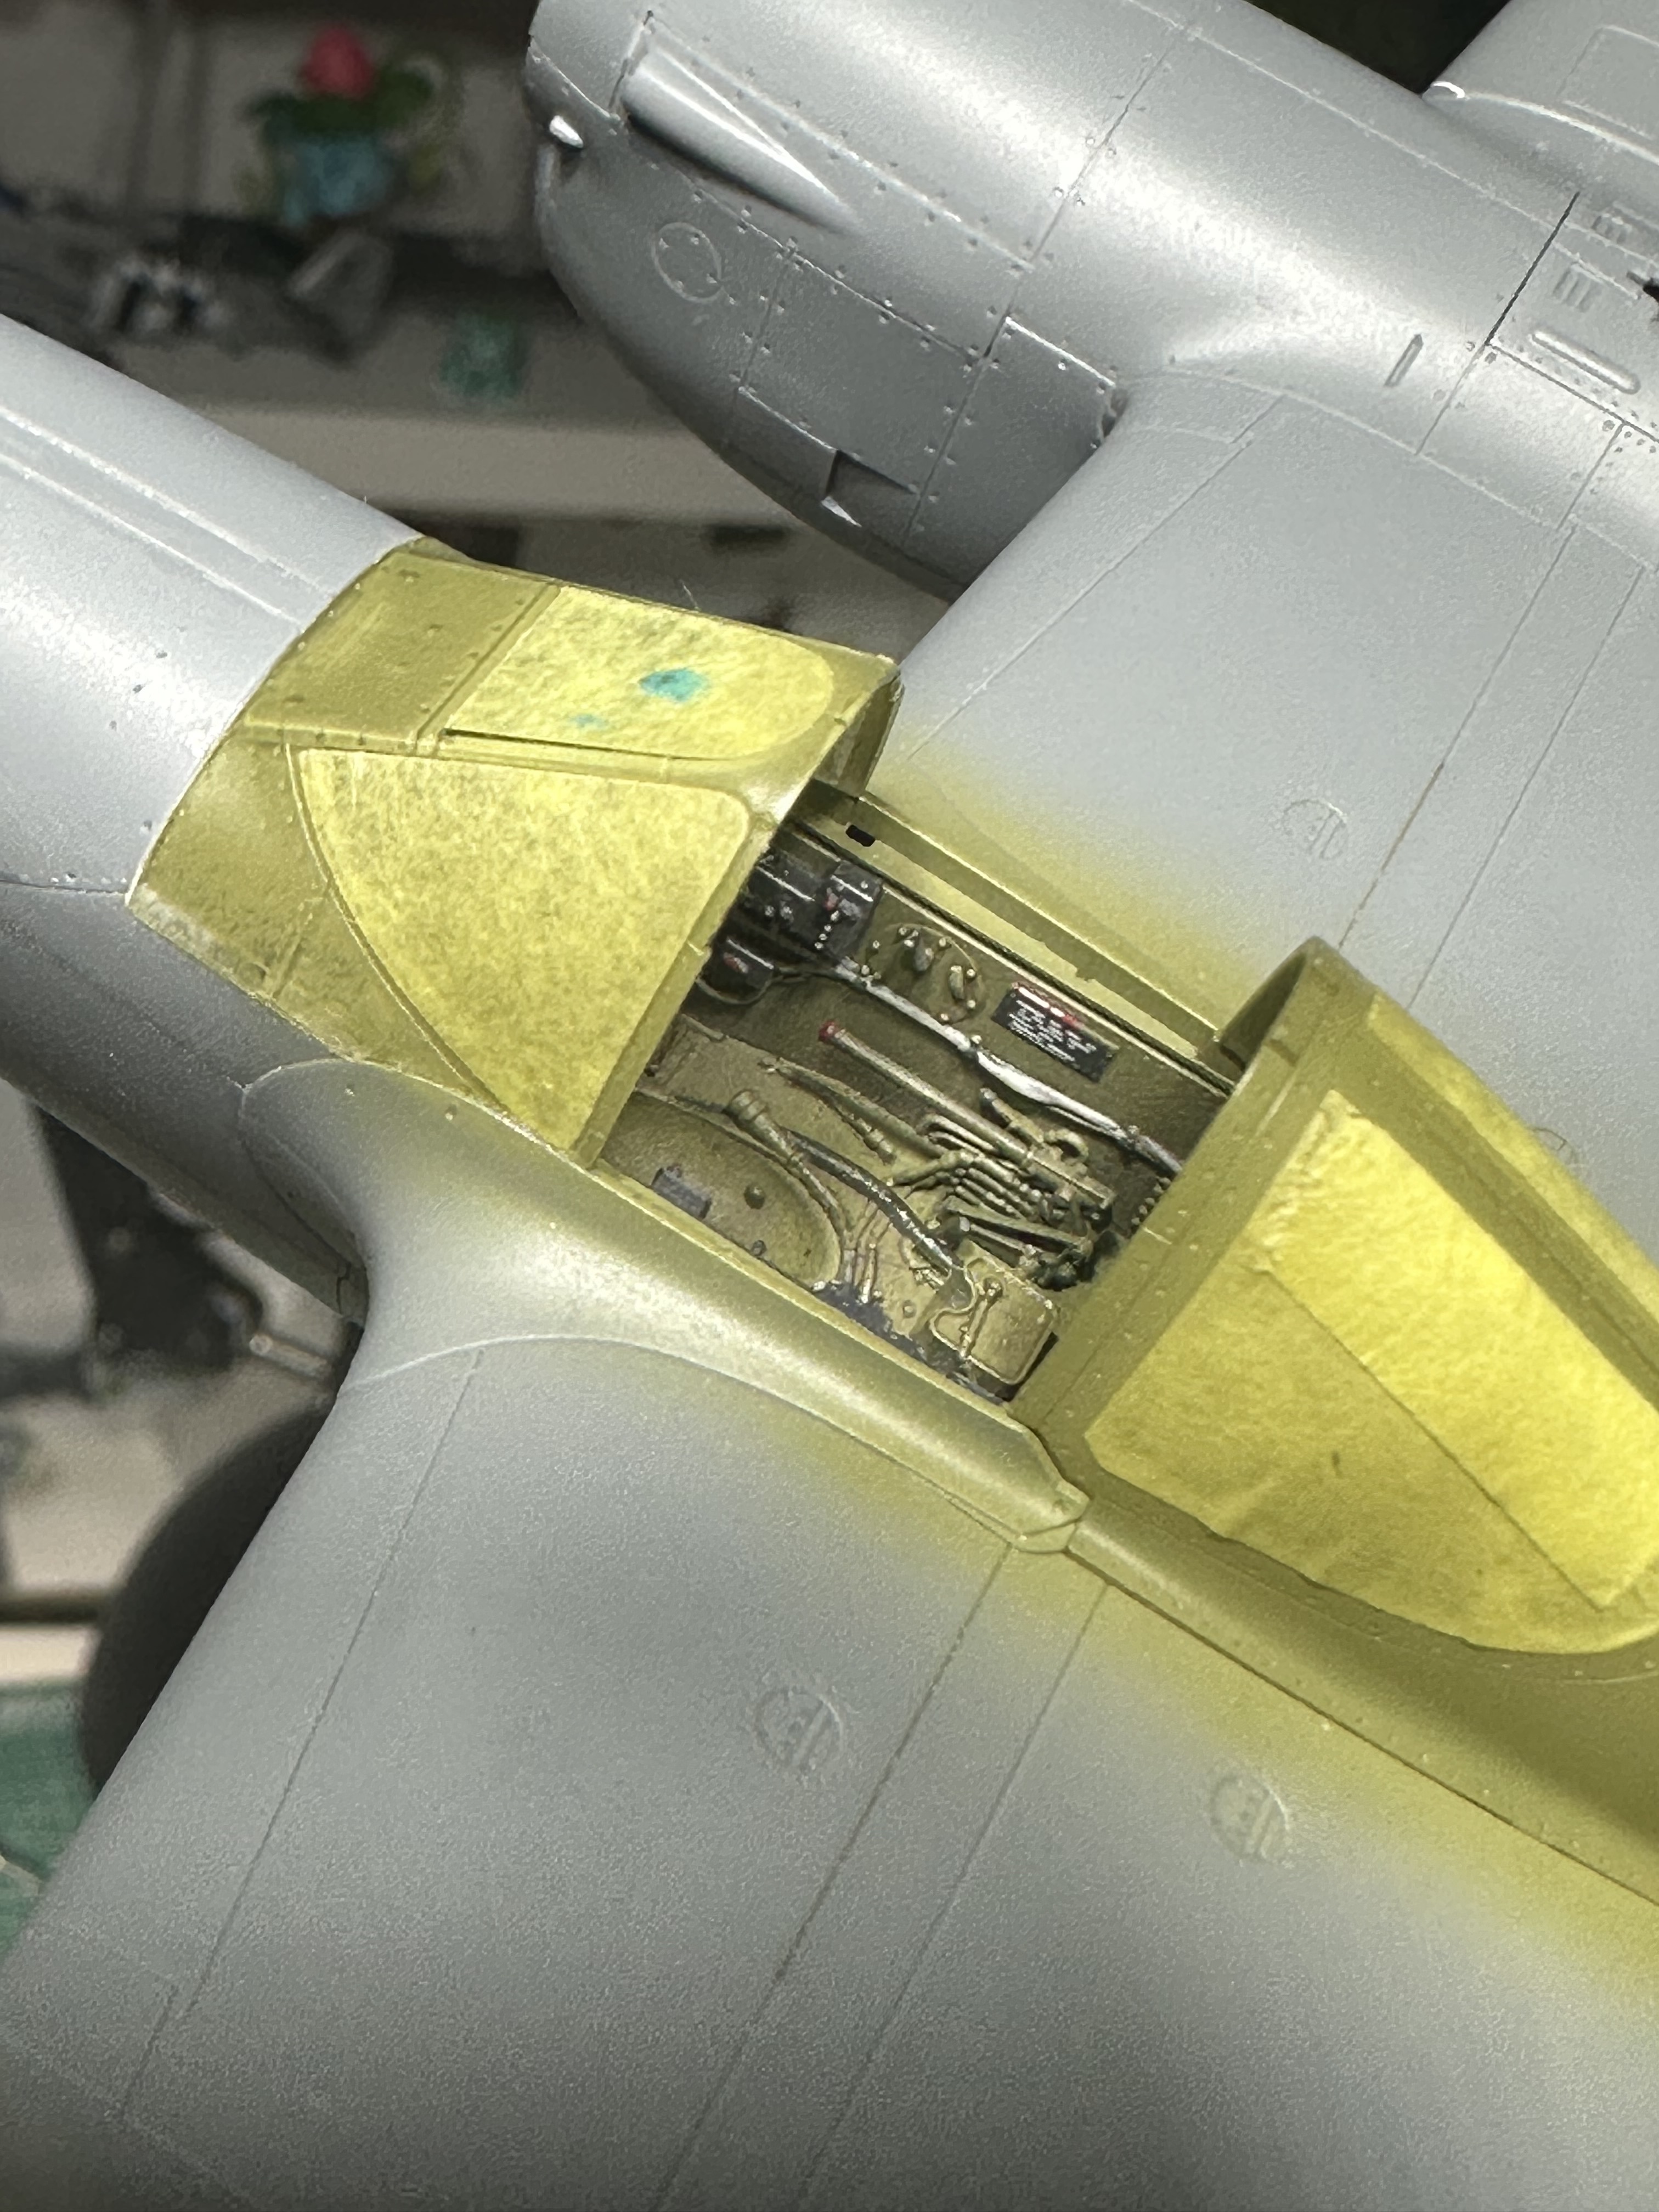
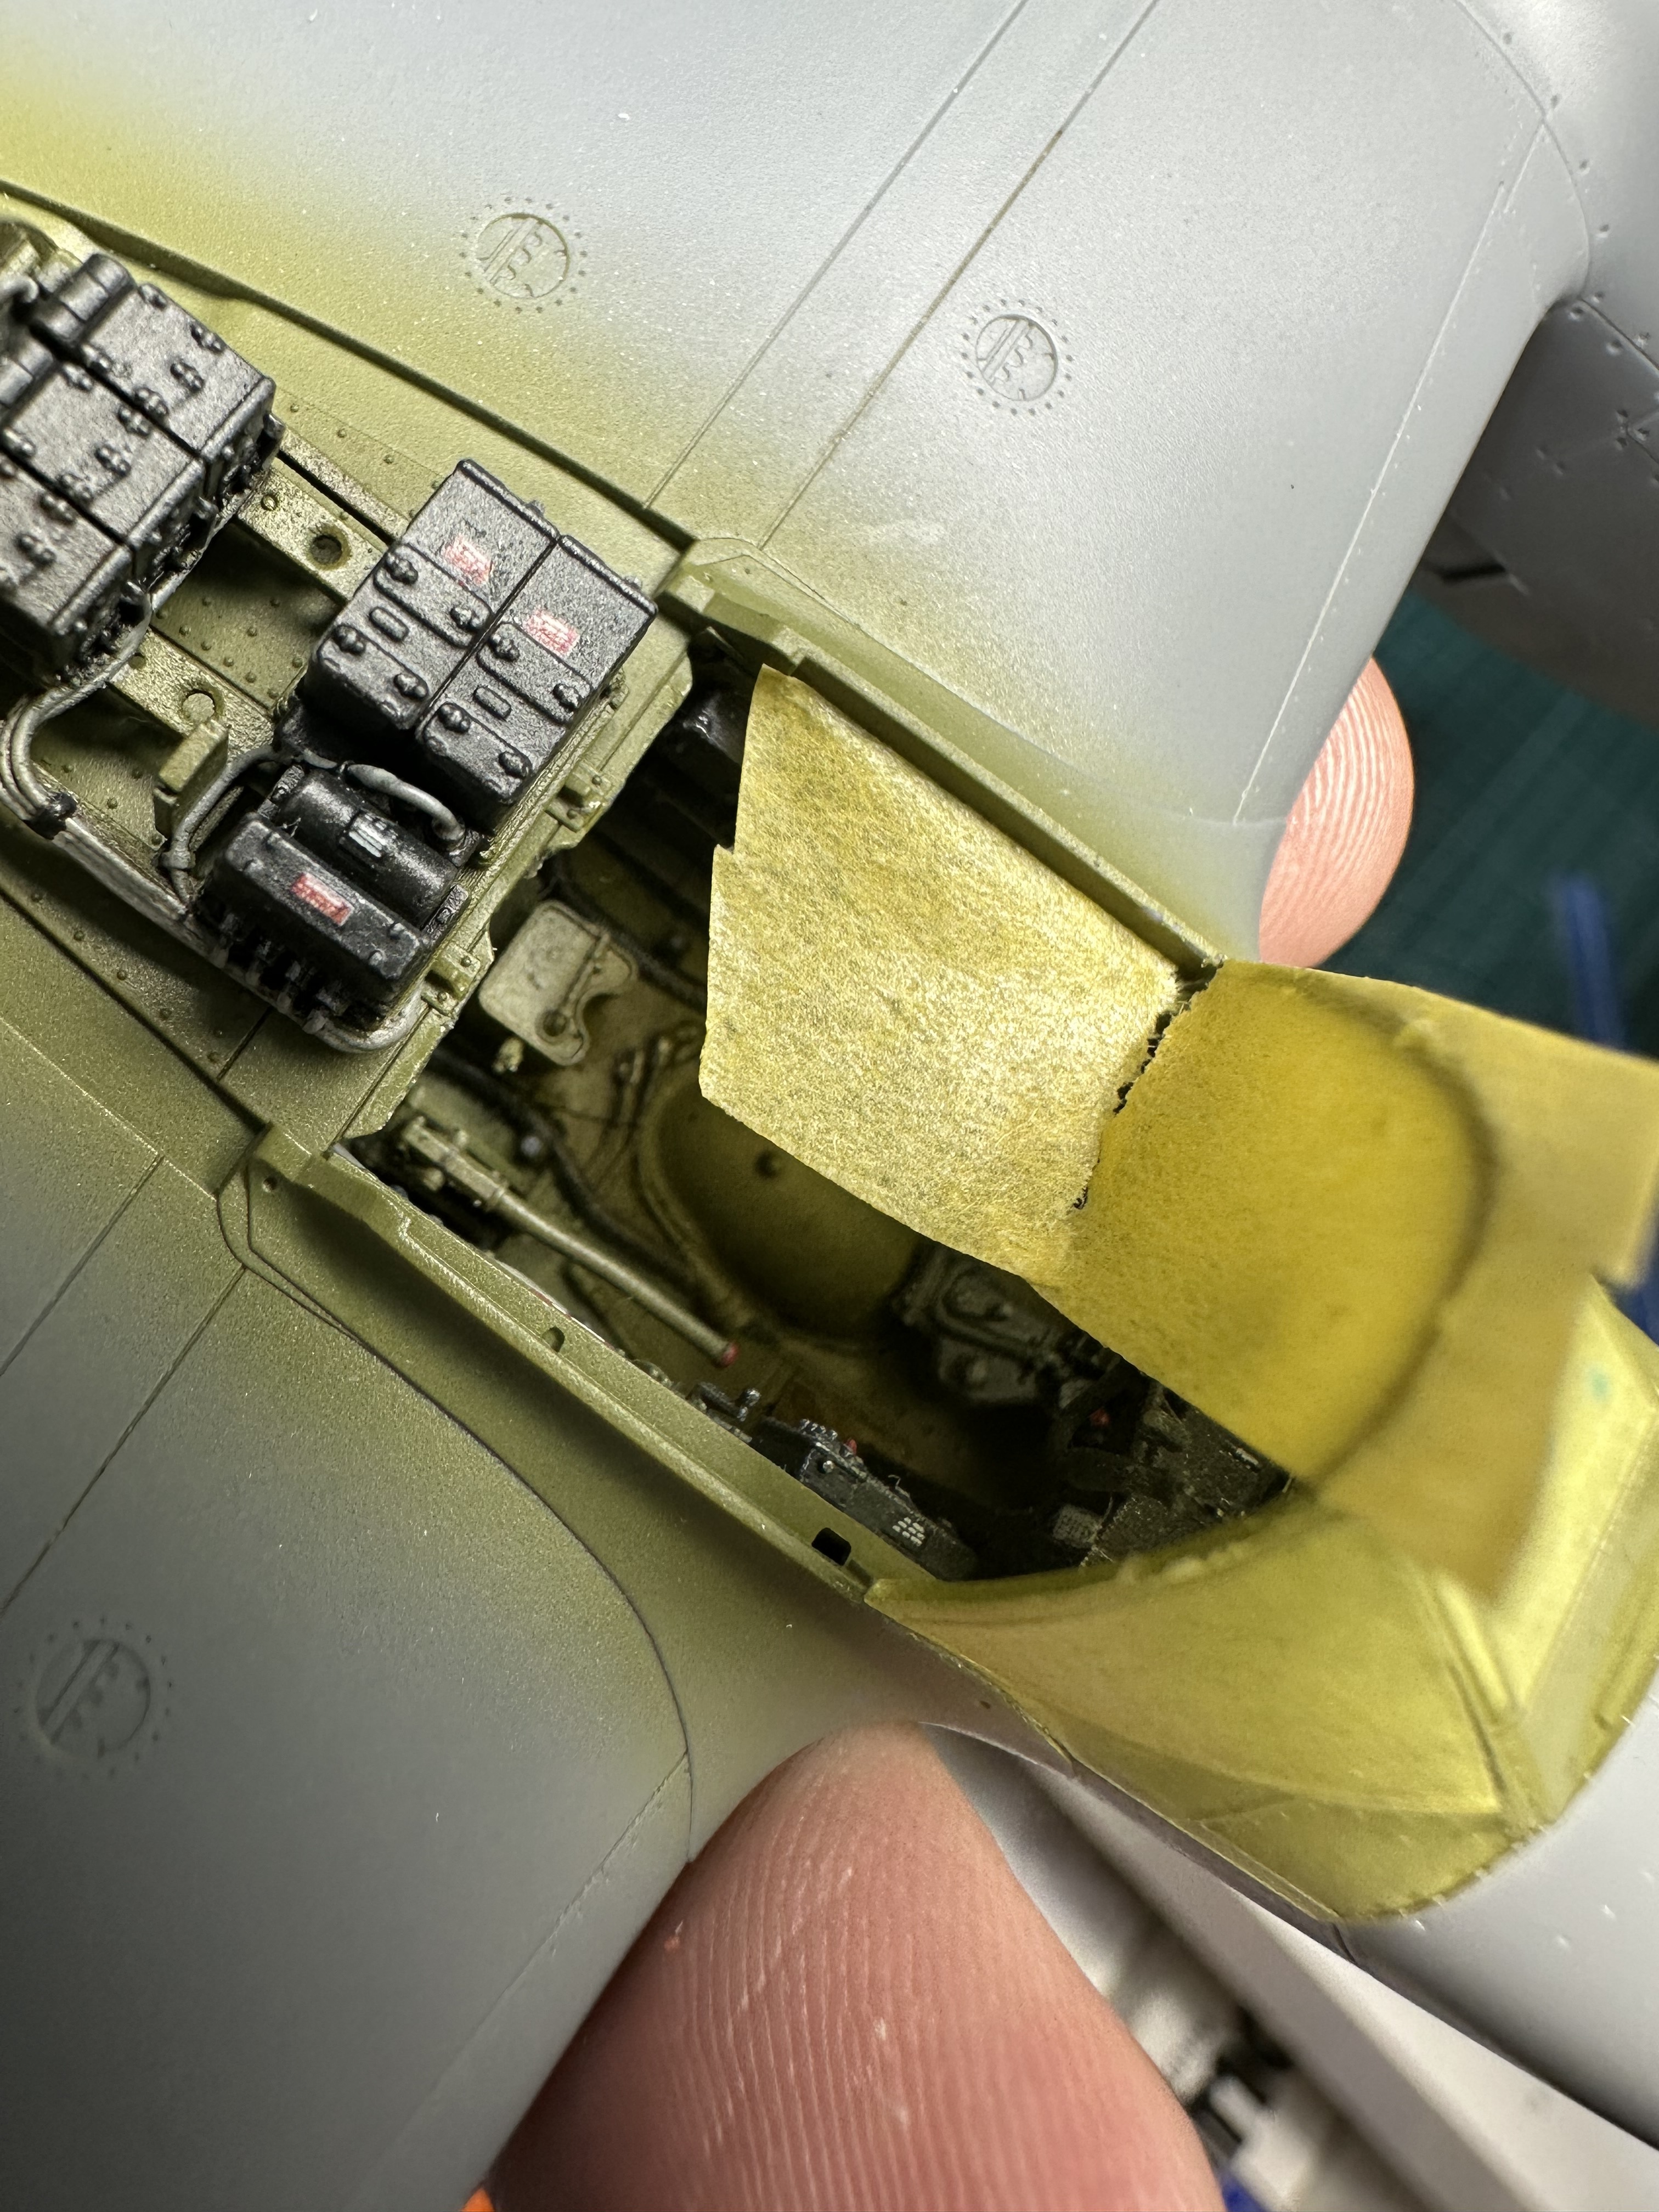
Just about ready to mask if the cockpit interior, but I’ve got some things to consider.
I don’t think I can use the closed middle canopy section to help with masking as it isn’t wide enough and using the Eduard interior has made it not fit as cleanly.
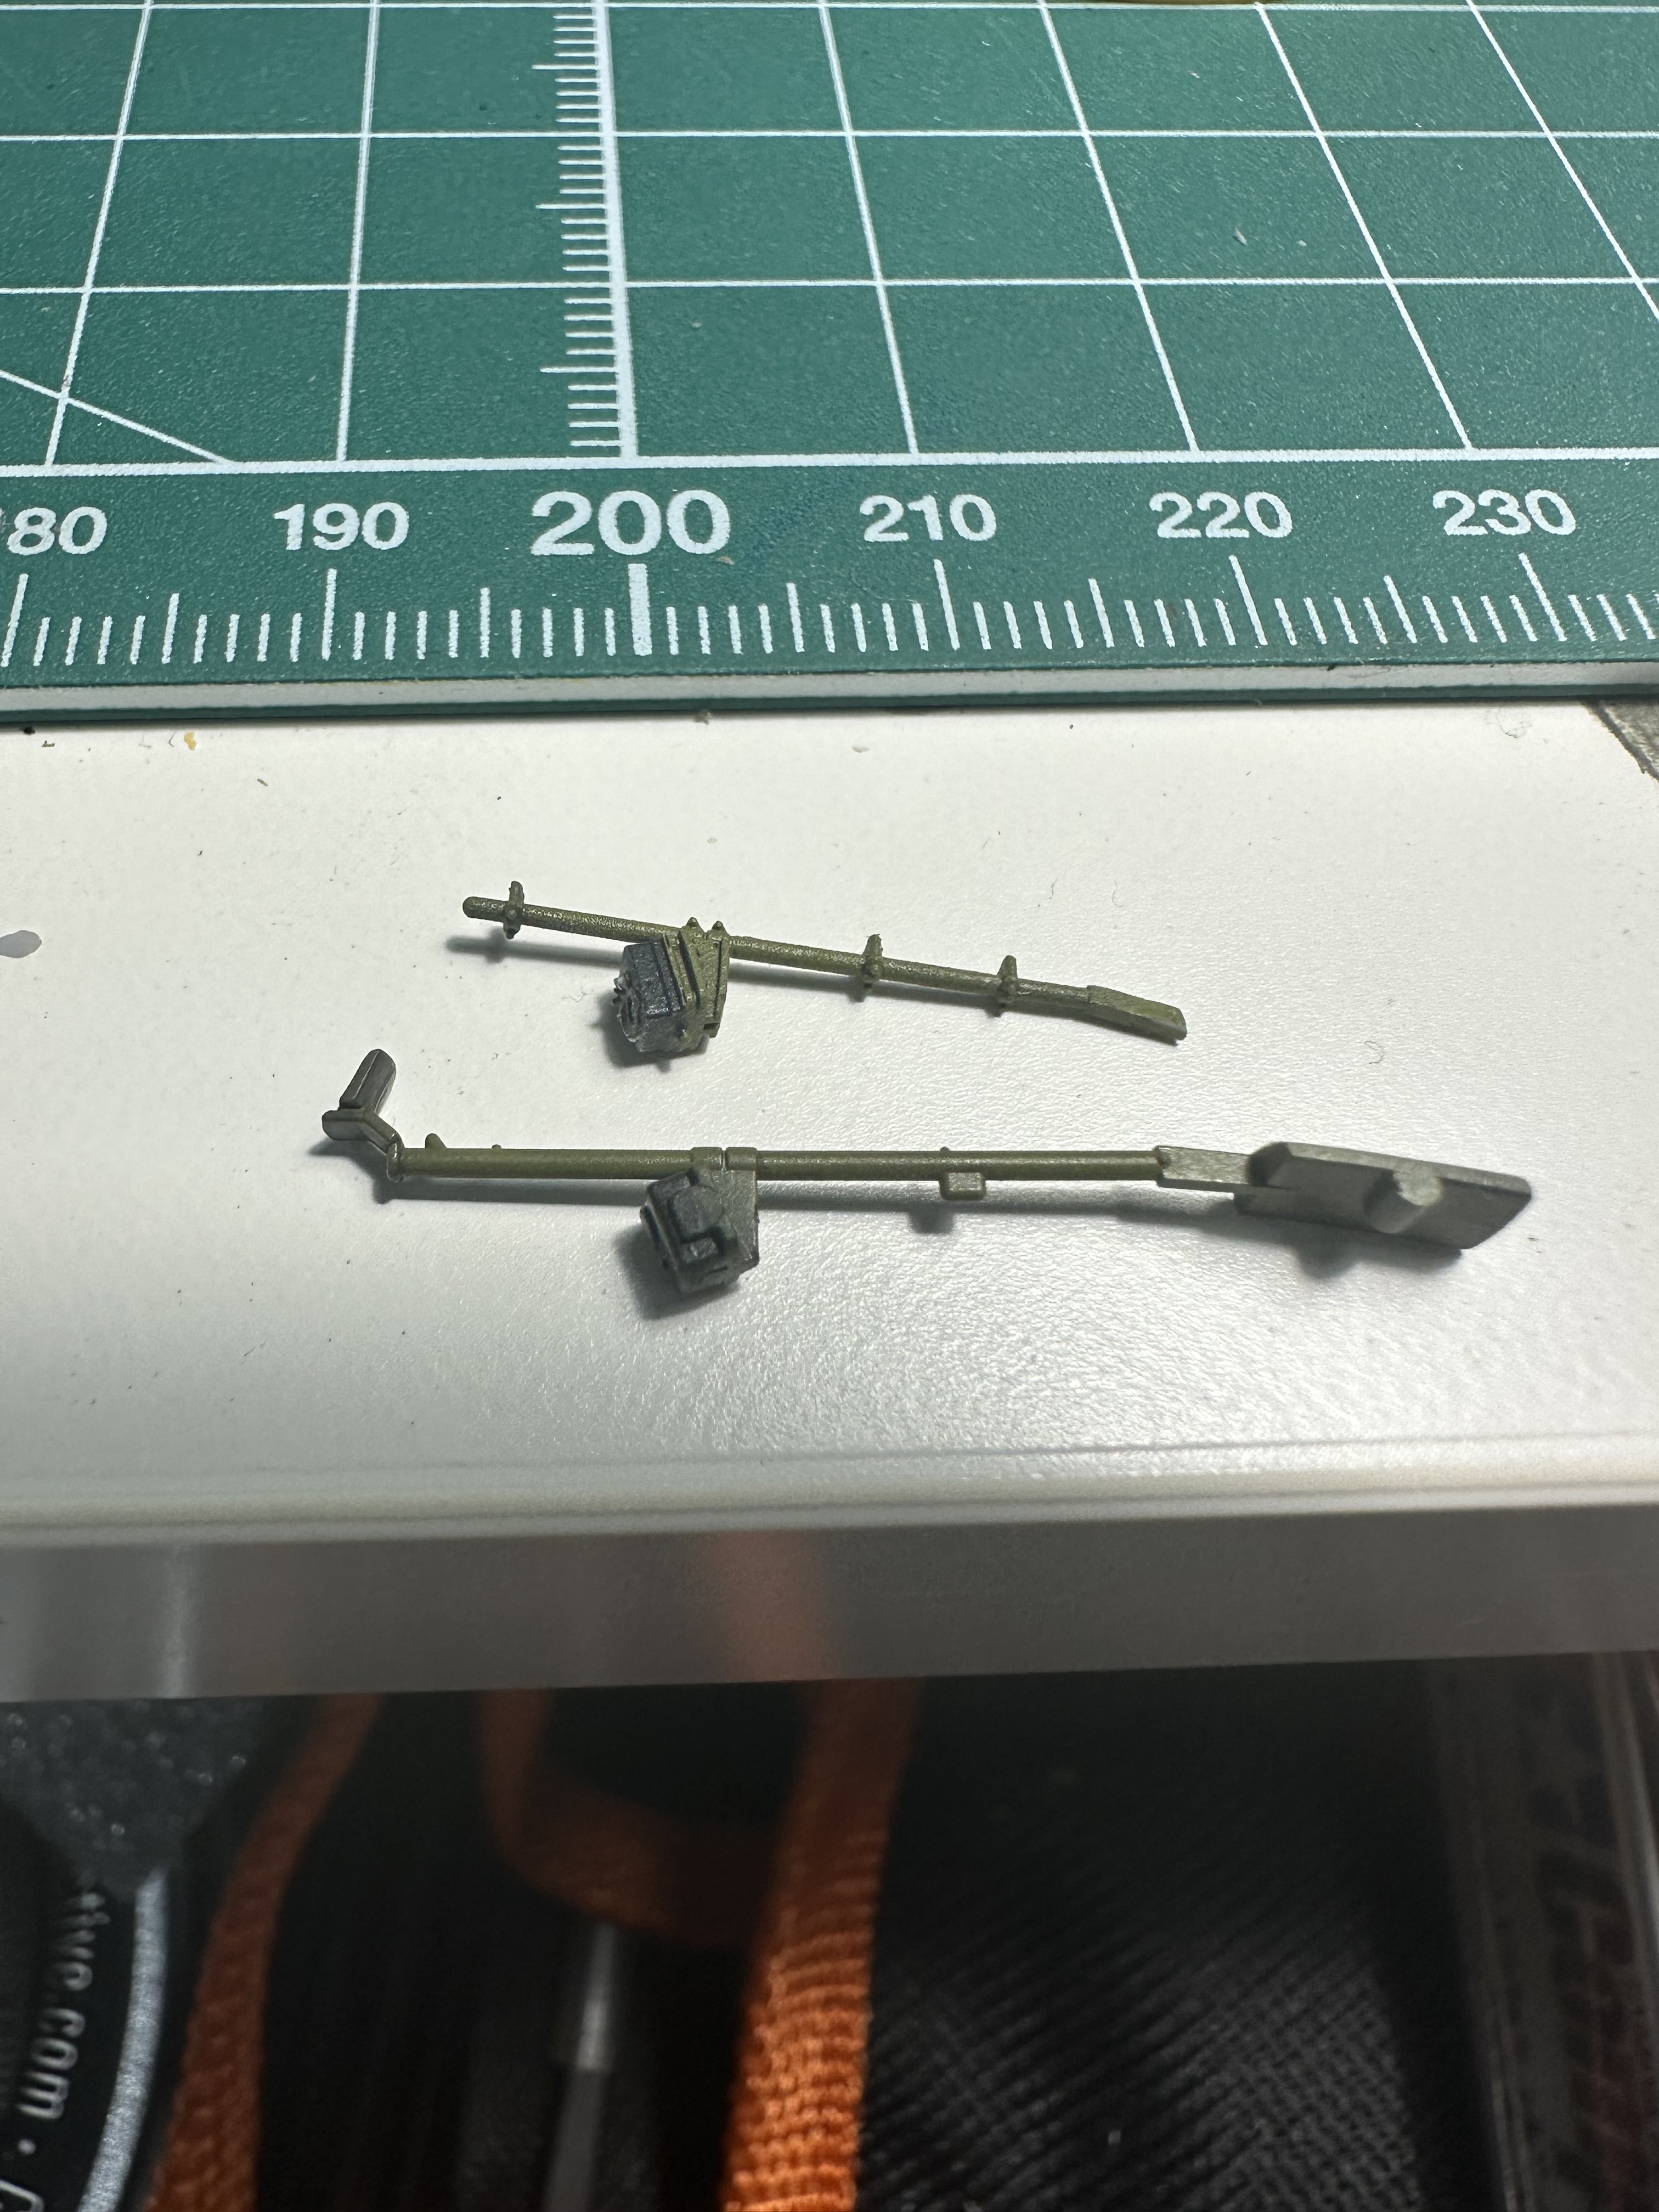
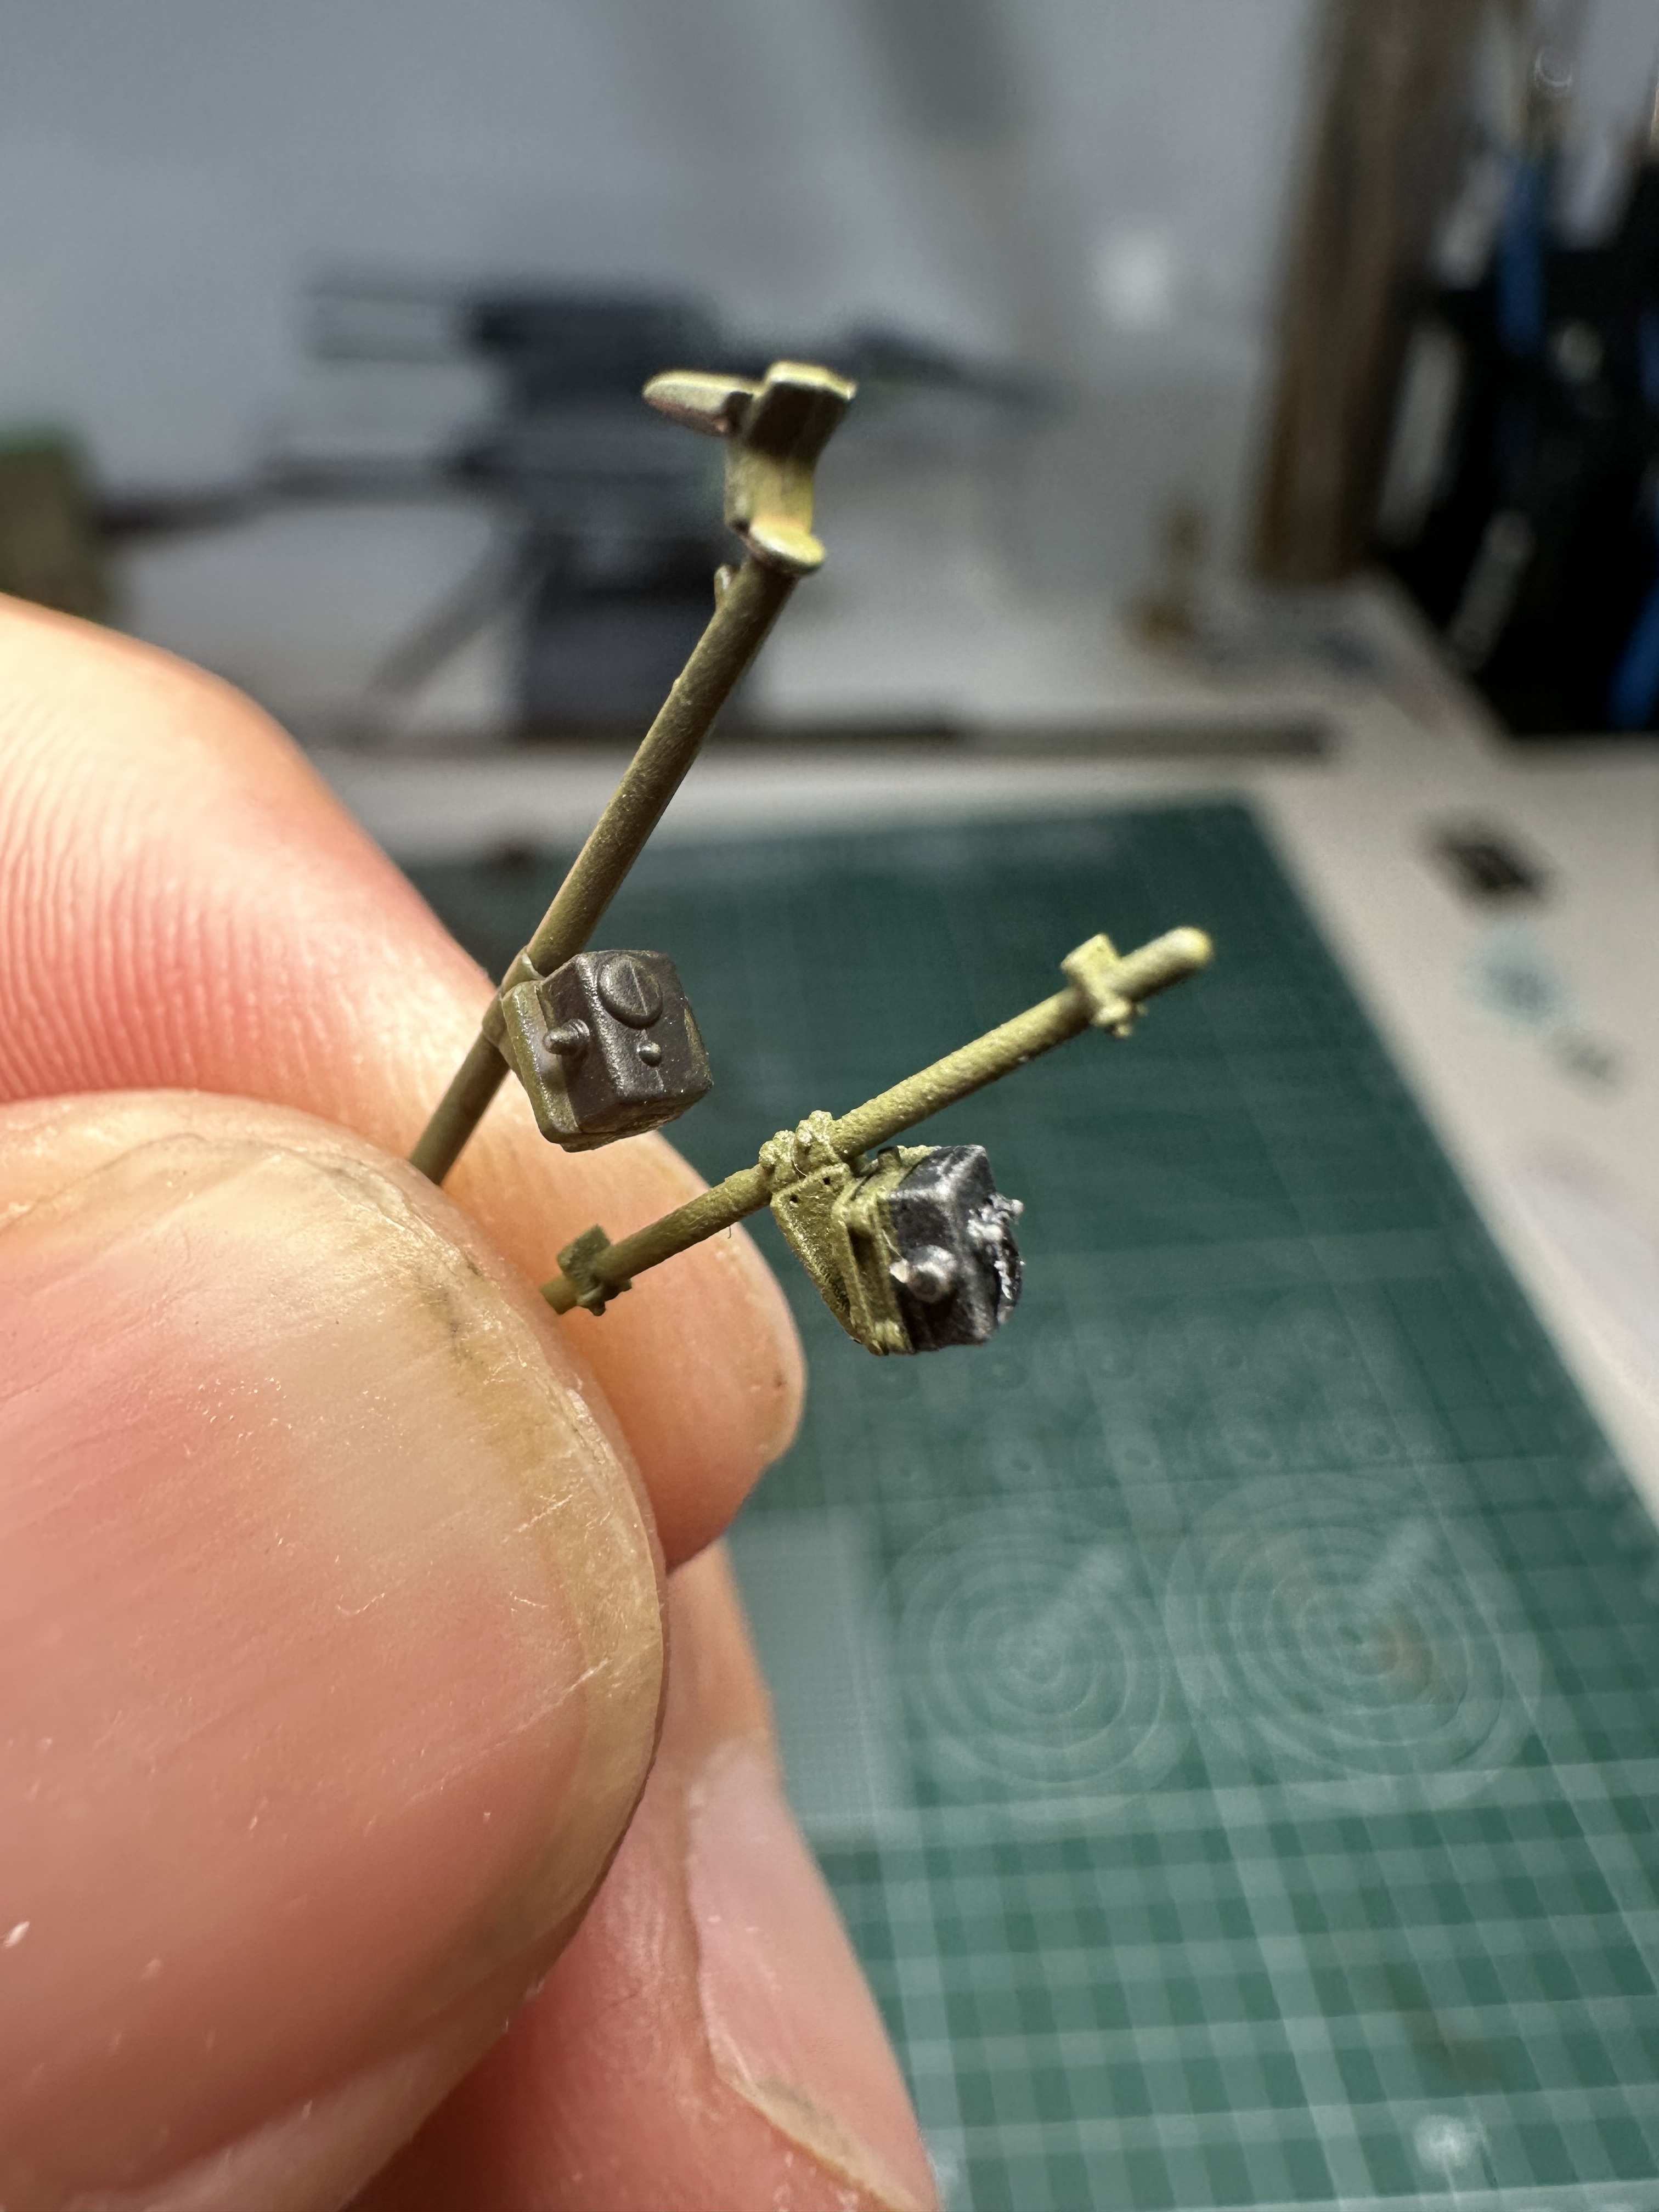
As pictured this is an easy masking job as all surfaces are pretty flat. Need to decide how to proceed with the radio spines. Think the answer is the Tamiya piece and lose detail.
Will just need to mask around the piece sticking out, so not as clean to mask.
Pro to using the stock piece is I can finalize the radio compartment and glue everything back their down, and not worry about painting, removing piece and glueing back on once completed back there.
Other thing I considered is snipping the end of the Tamiya piece, glueing into canopy and still using the Eduard spine. Would need to be delicate with open canopy piece going on.
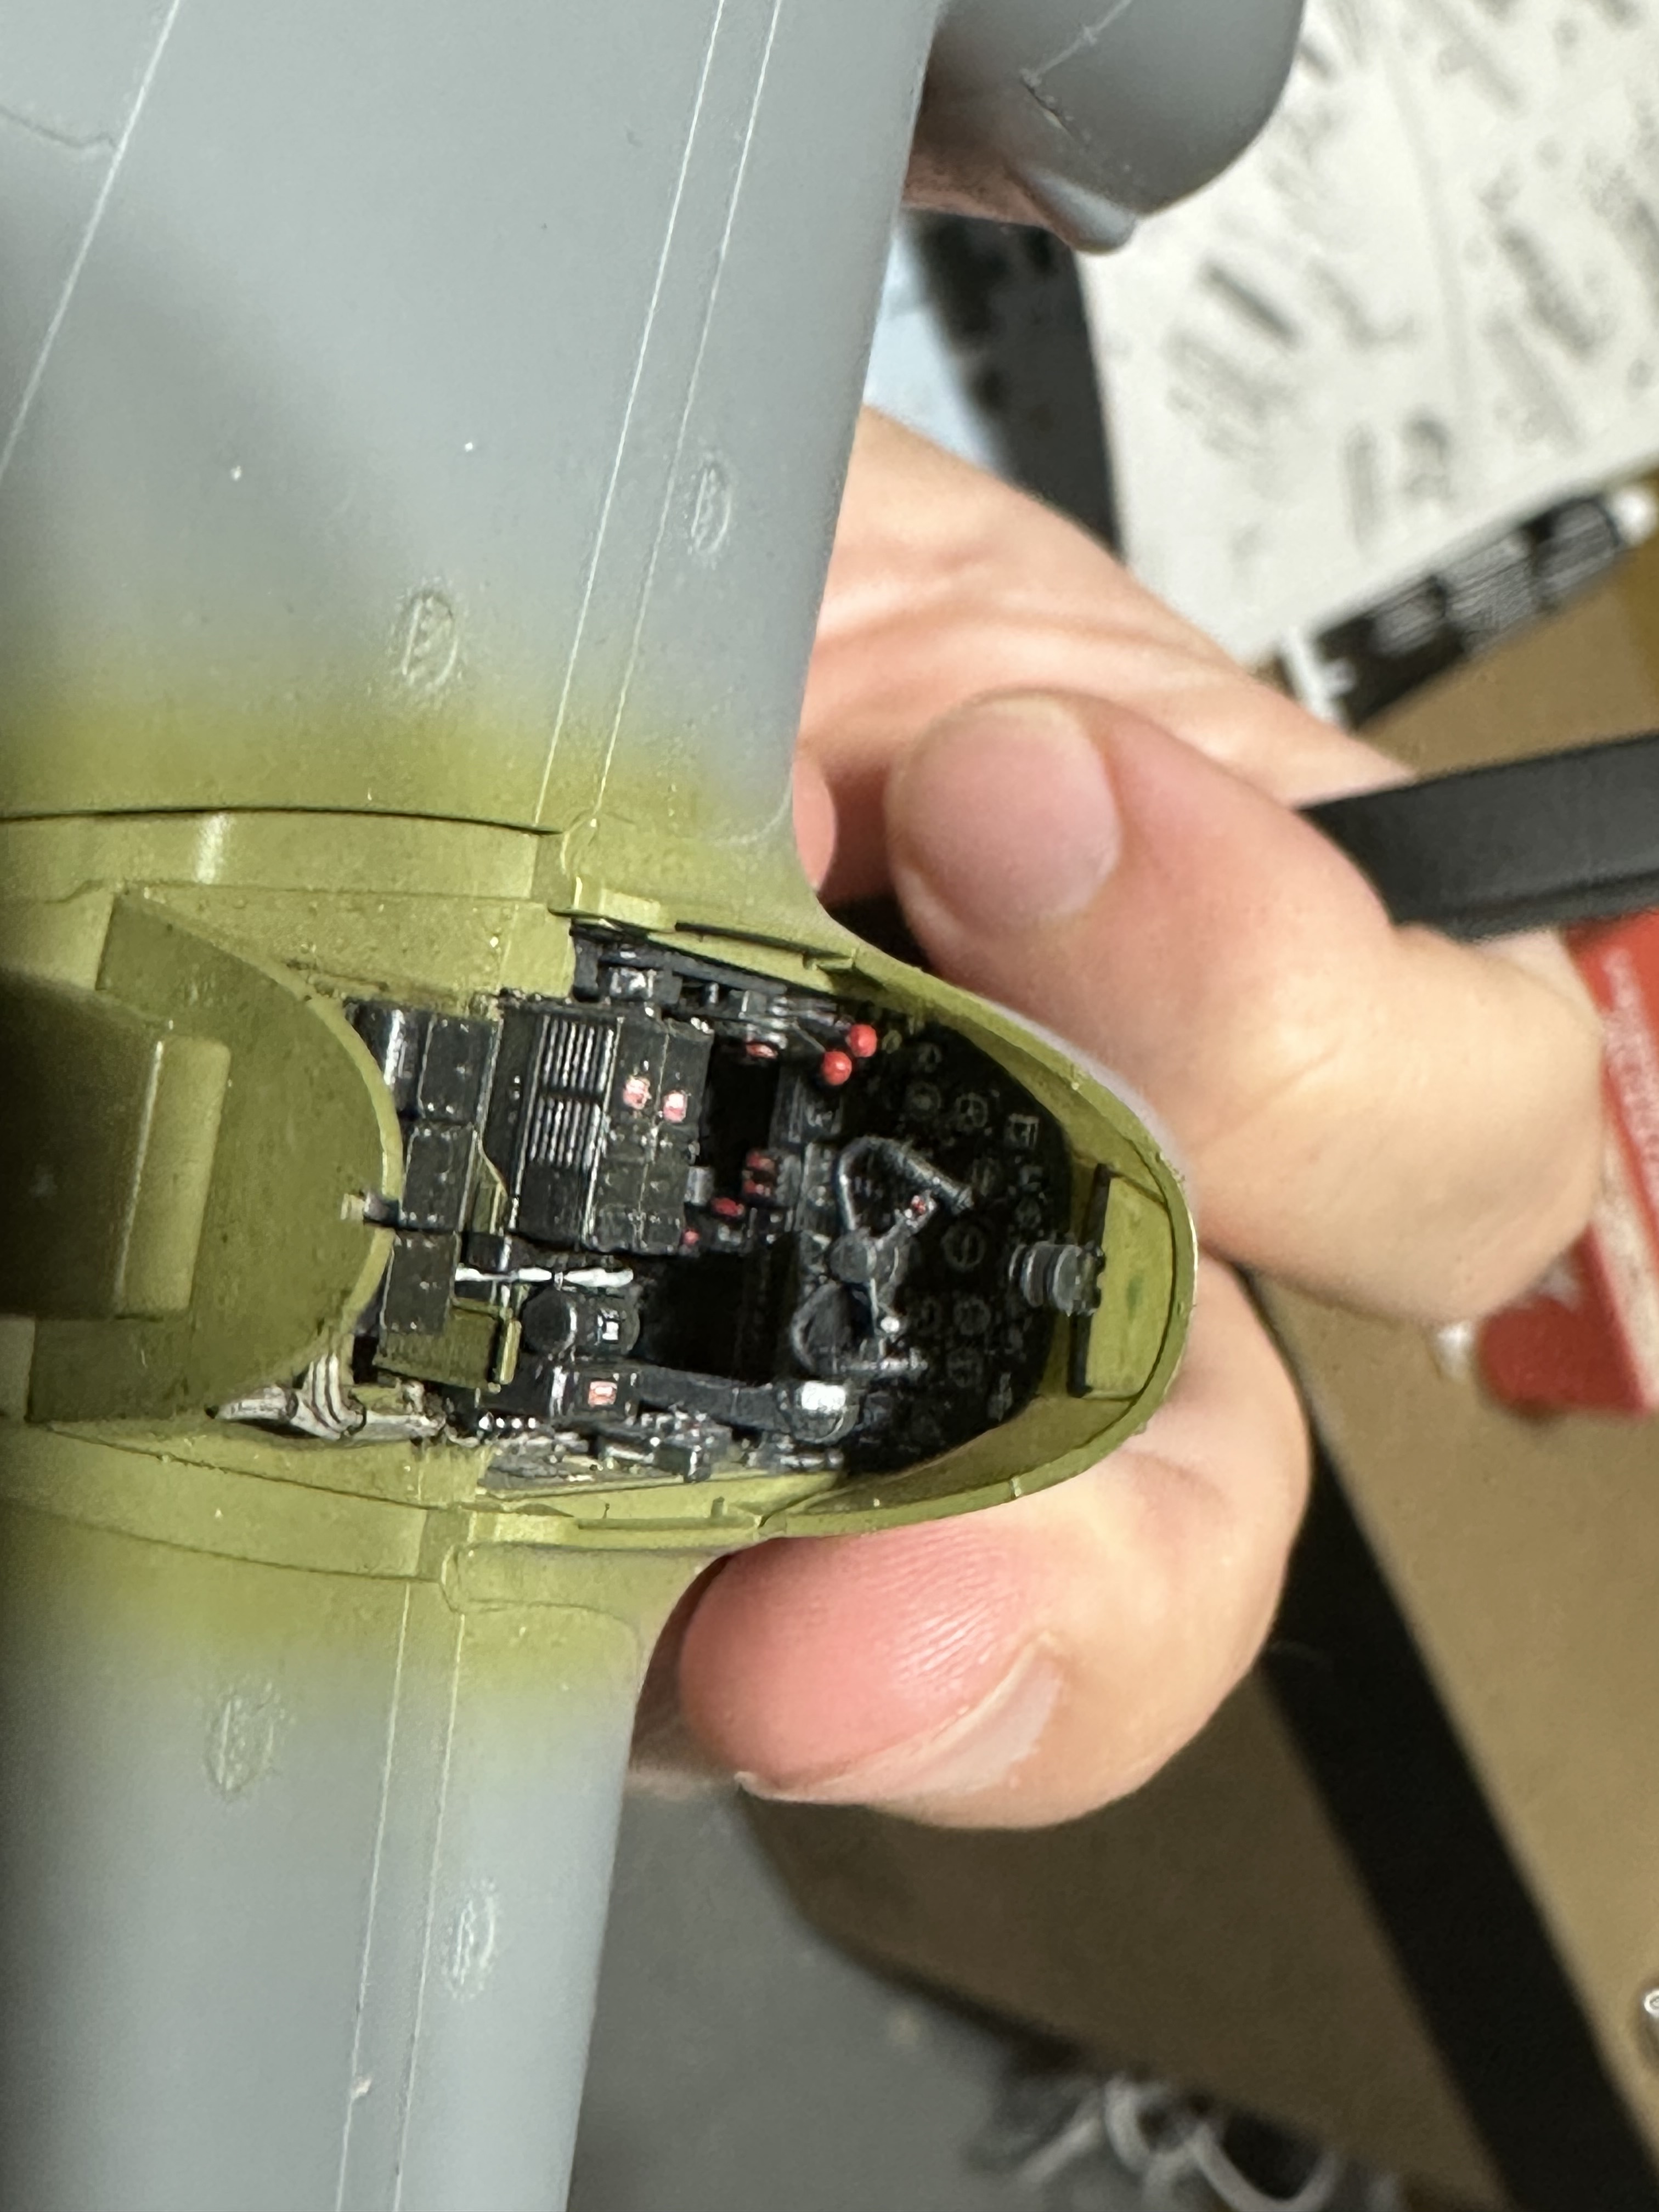
And I knocked off the clear targeting window trying to put a sponge in the cockpit lol. Gonna have to really finagle it back in as front windscreen is glued down.
Reattached clear plastic bit smaller than a grain of rice.
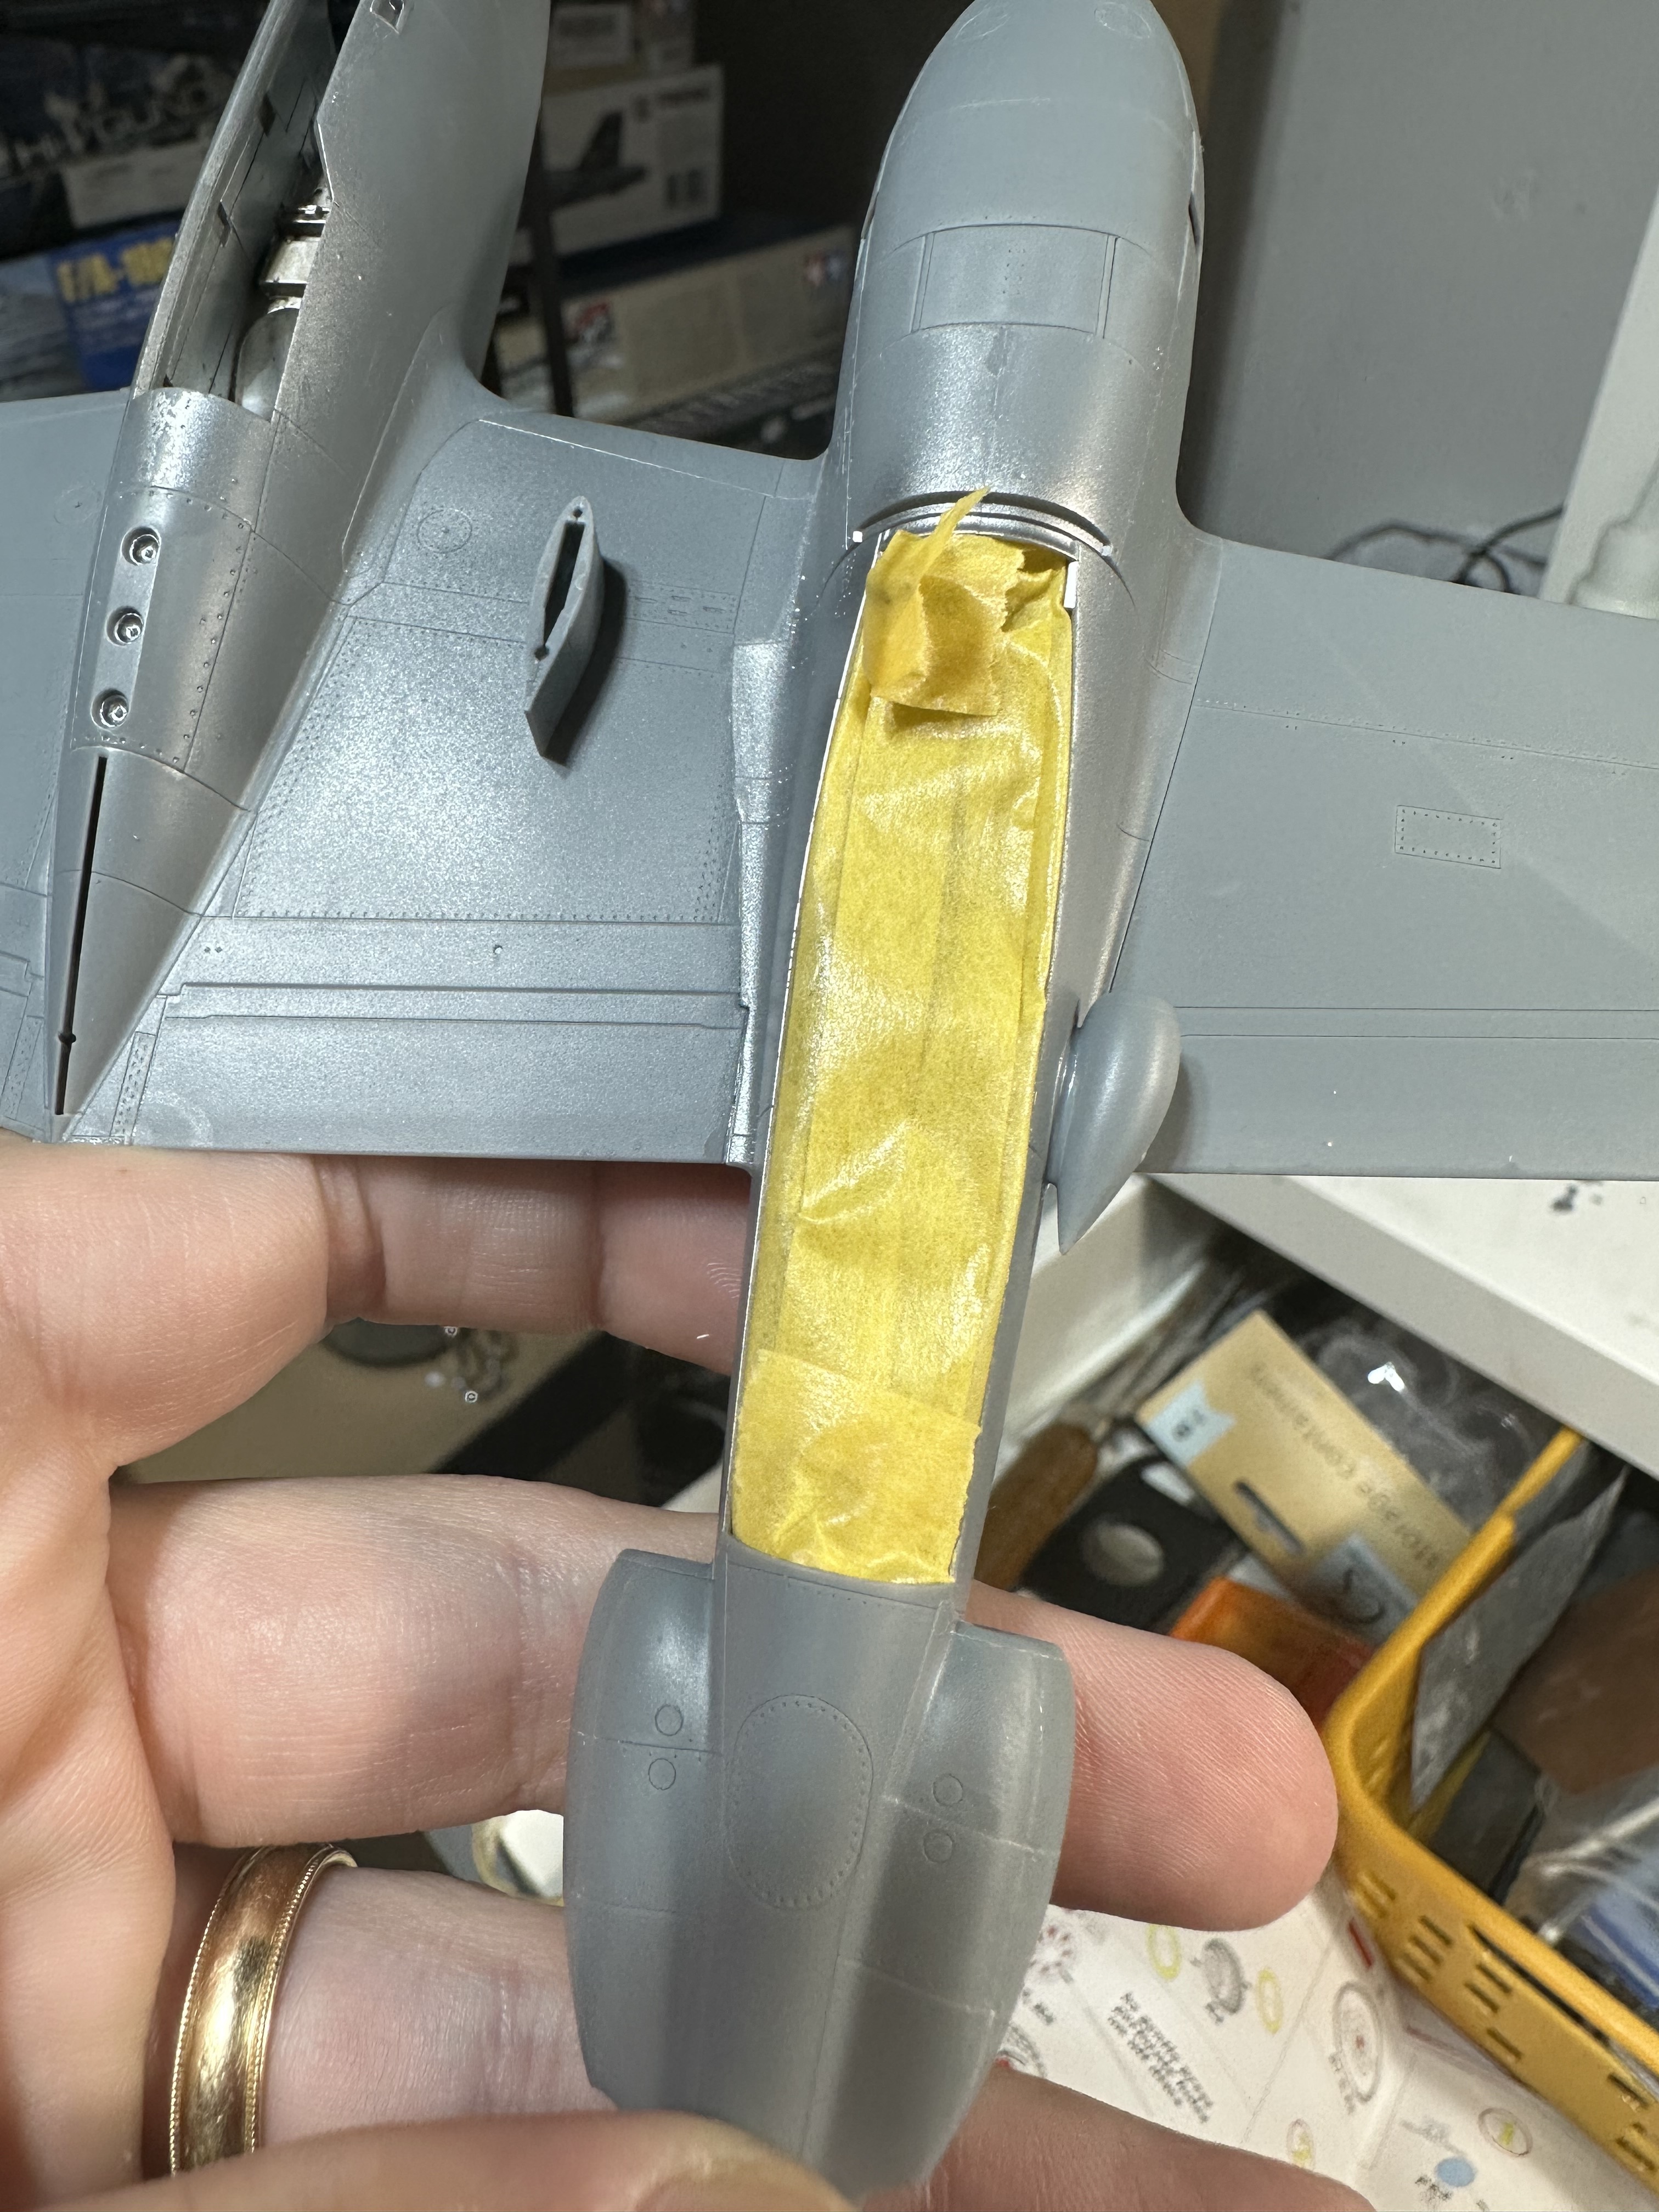
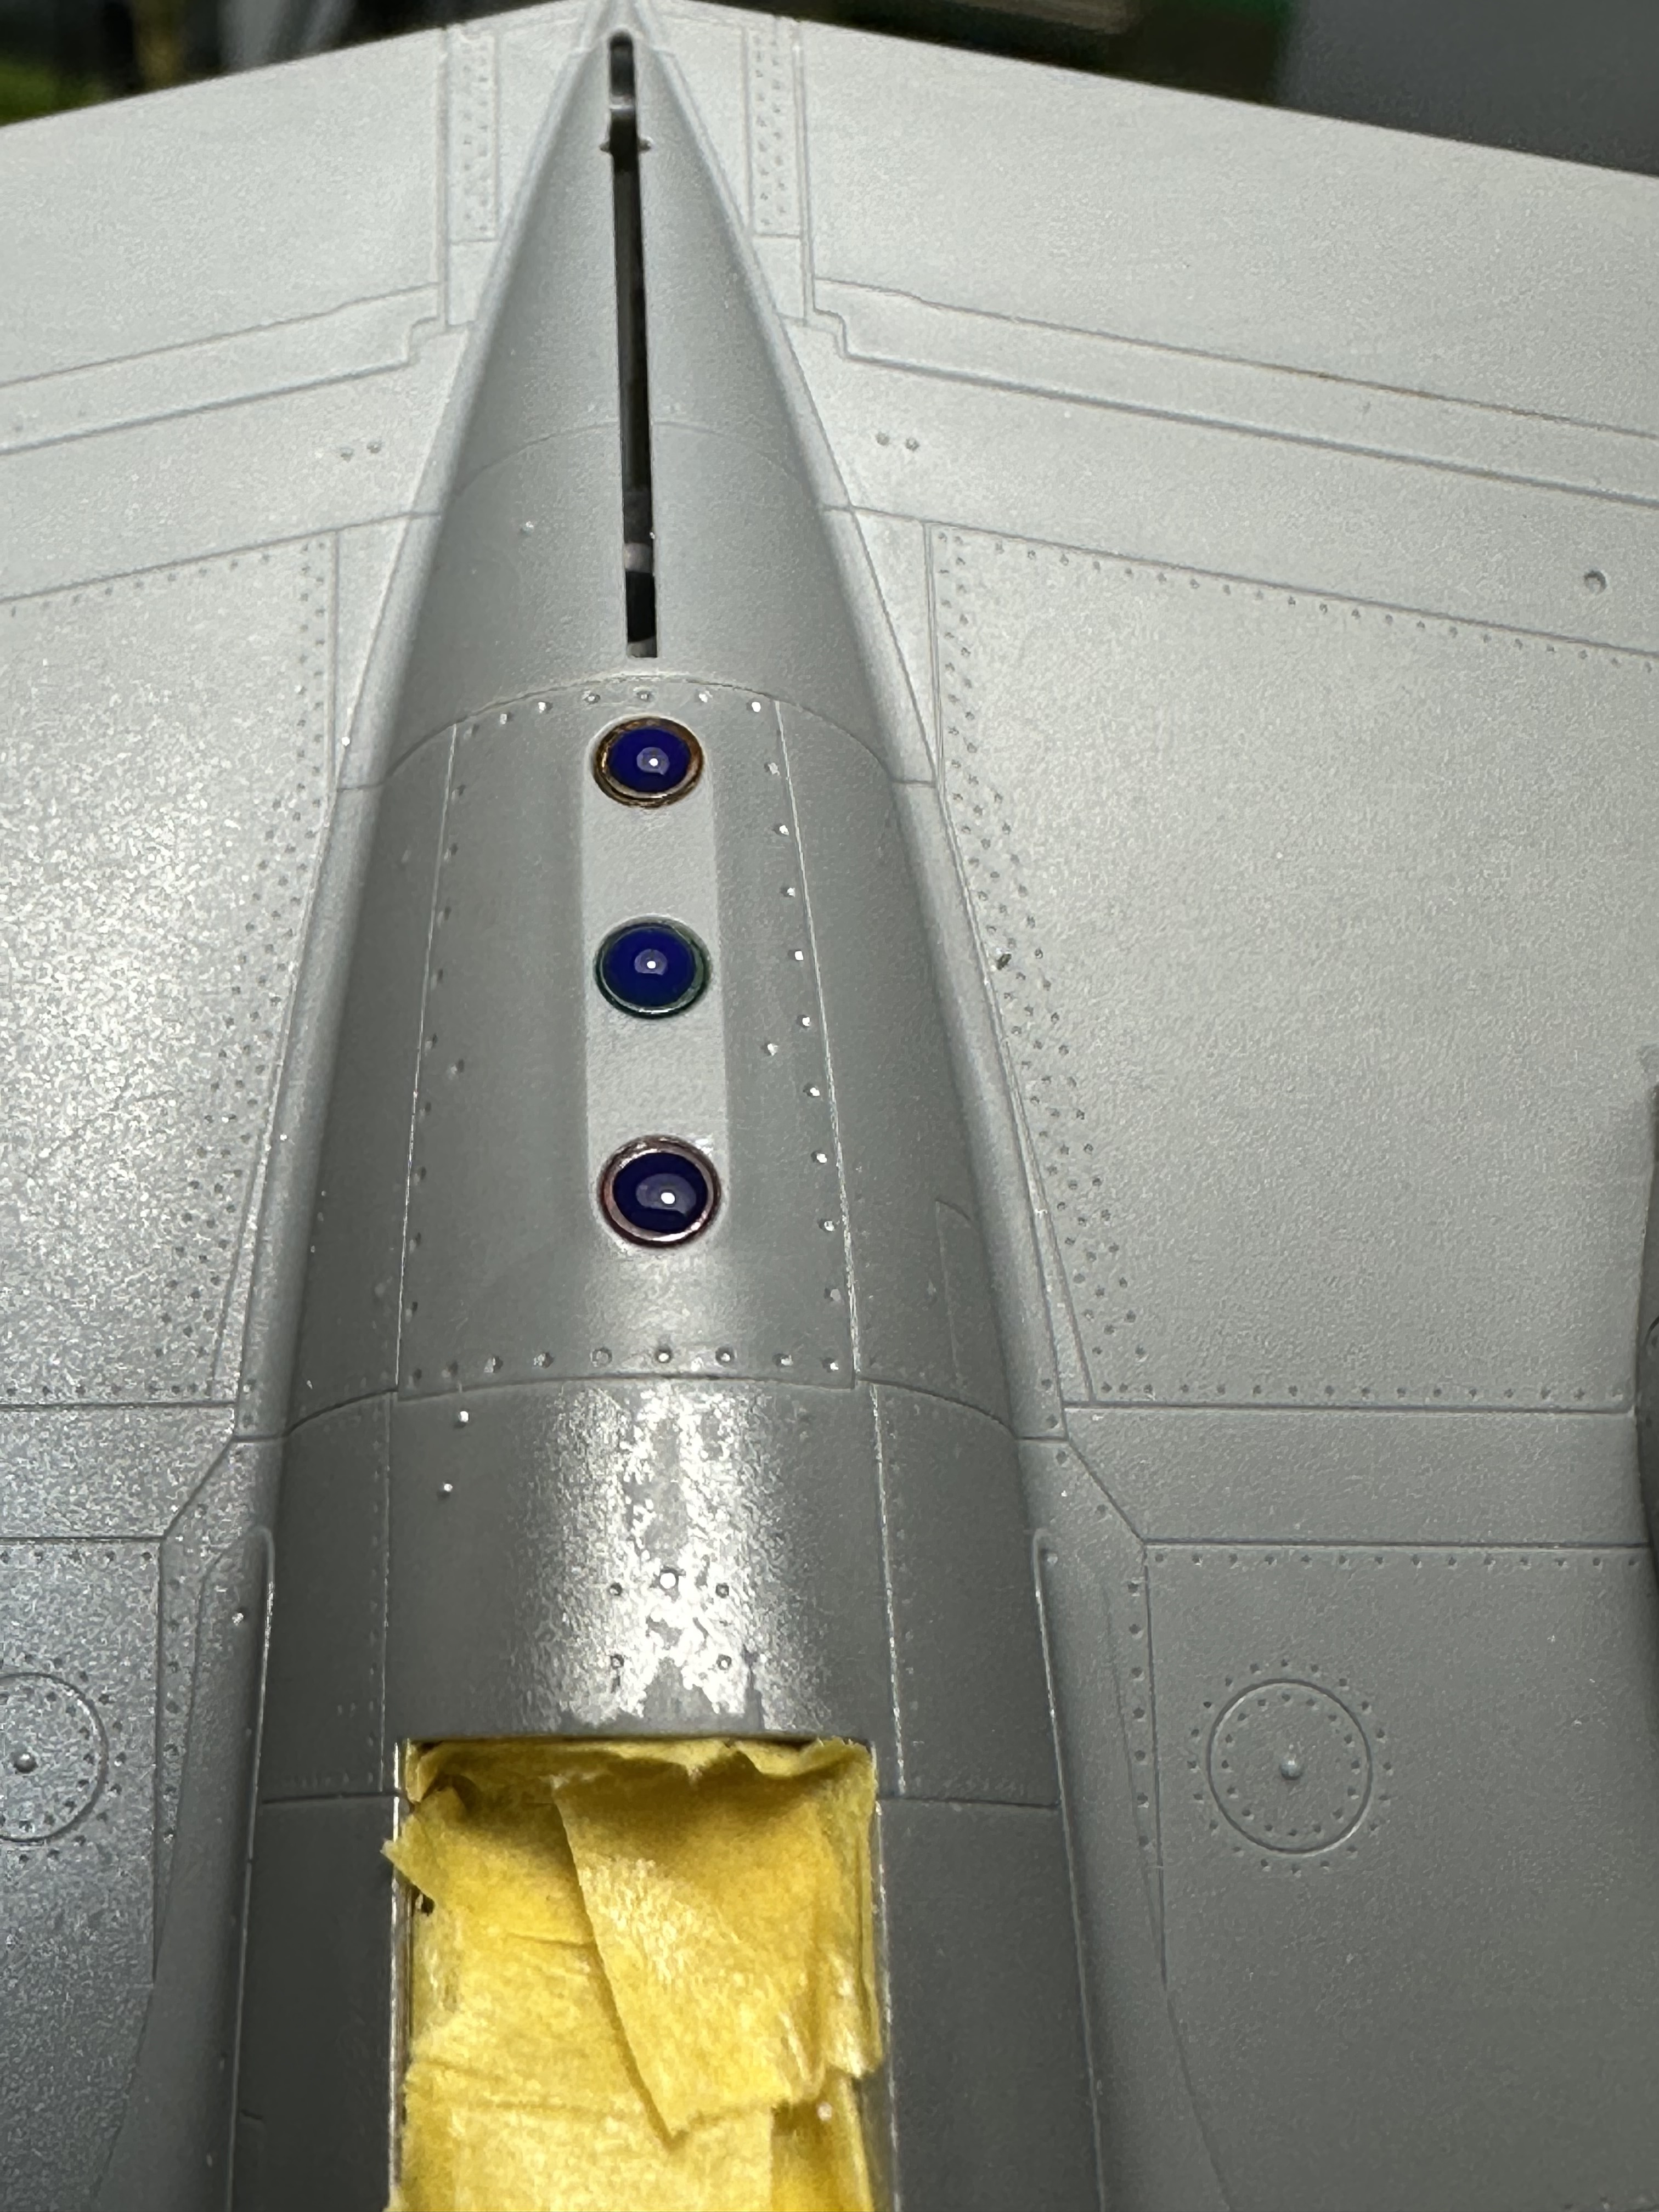
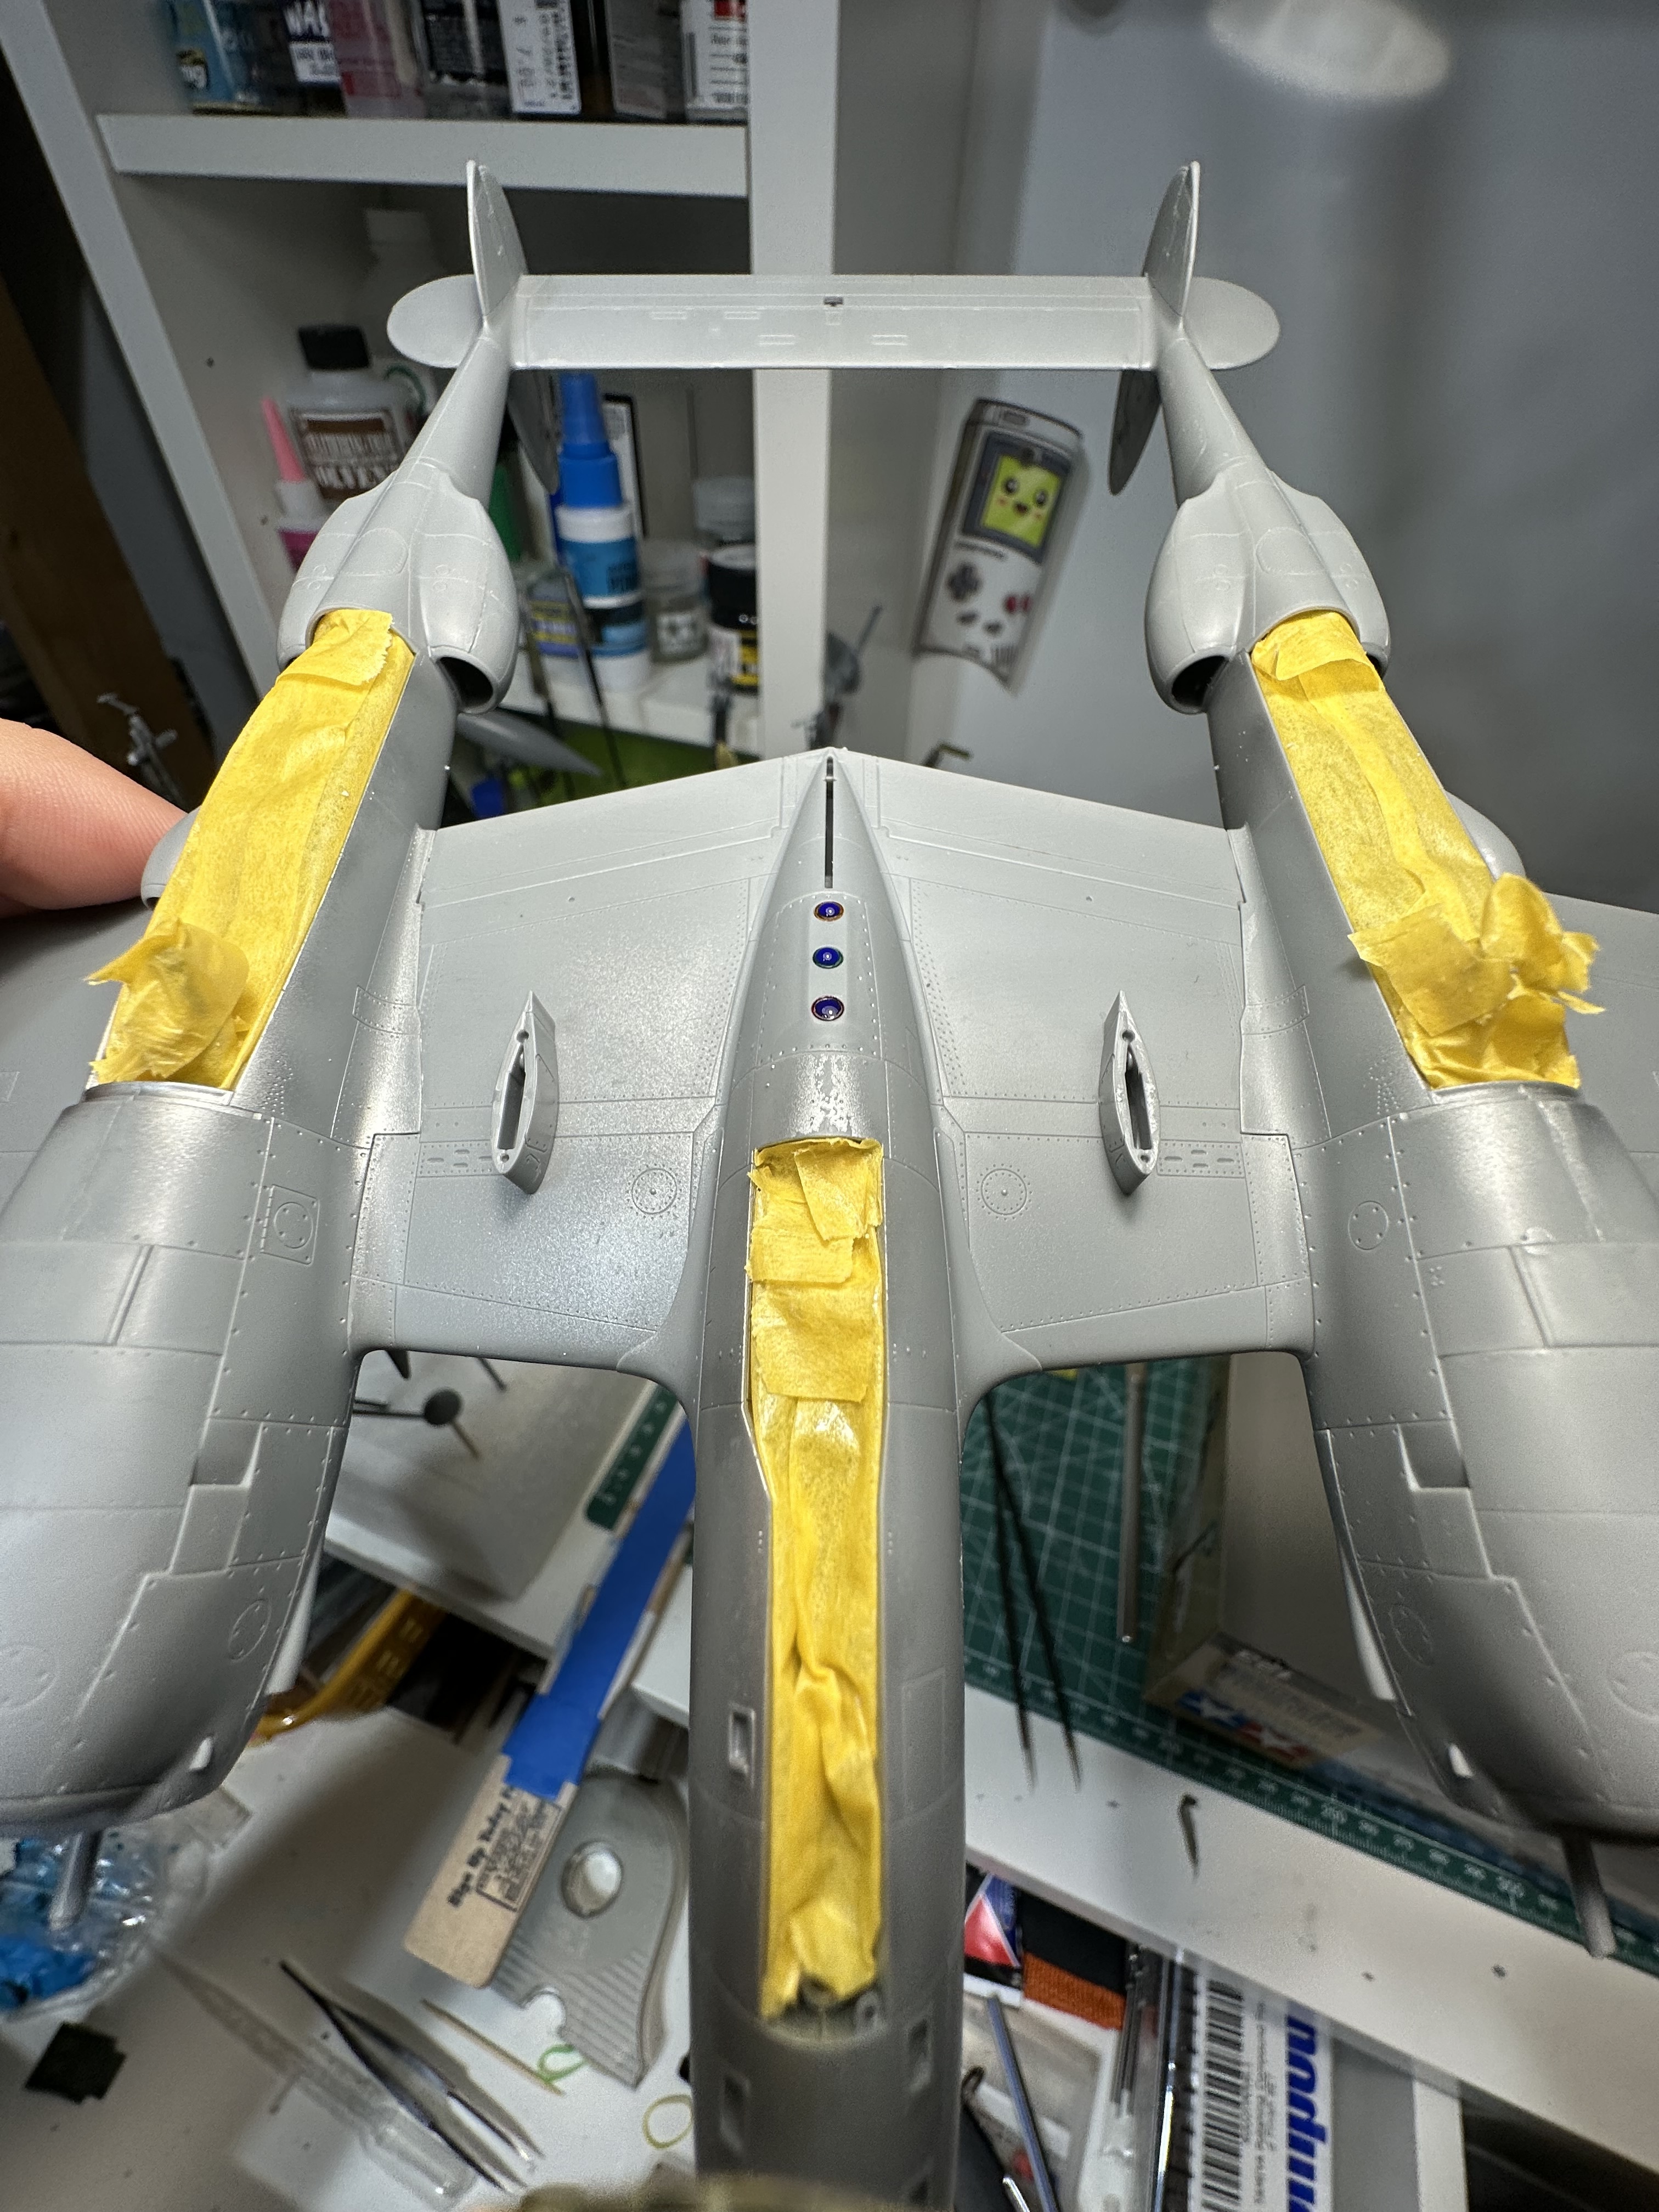
Masking differently trying to be precise. Does the top portion of the sidewall get painted metal? Seems like it based on some pics I’ve found. So will mask very carefully.
Slow going, as I keep finding “one more thing” that needs to be done before priming, as I hate having to redo the entire stripping and cleaning process to airbrush one part.
The plan is to go straight to Mr. Hobby Color GX-2 in place of primer. It is smooth, glossy, and tough.
I cannot get behind all the posts that say go through all levels of micro mesh sanding pads first; I find I don’t smooth anything, I add imperfections. Maybe I’m sanding too hard? If anything I’ll use a microfiber cloth after GX-2.
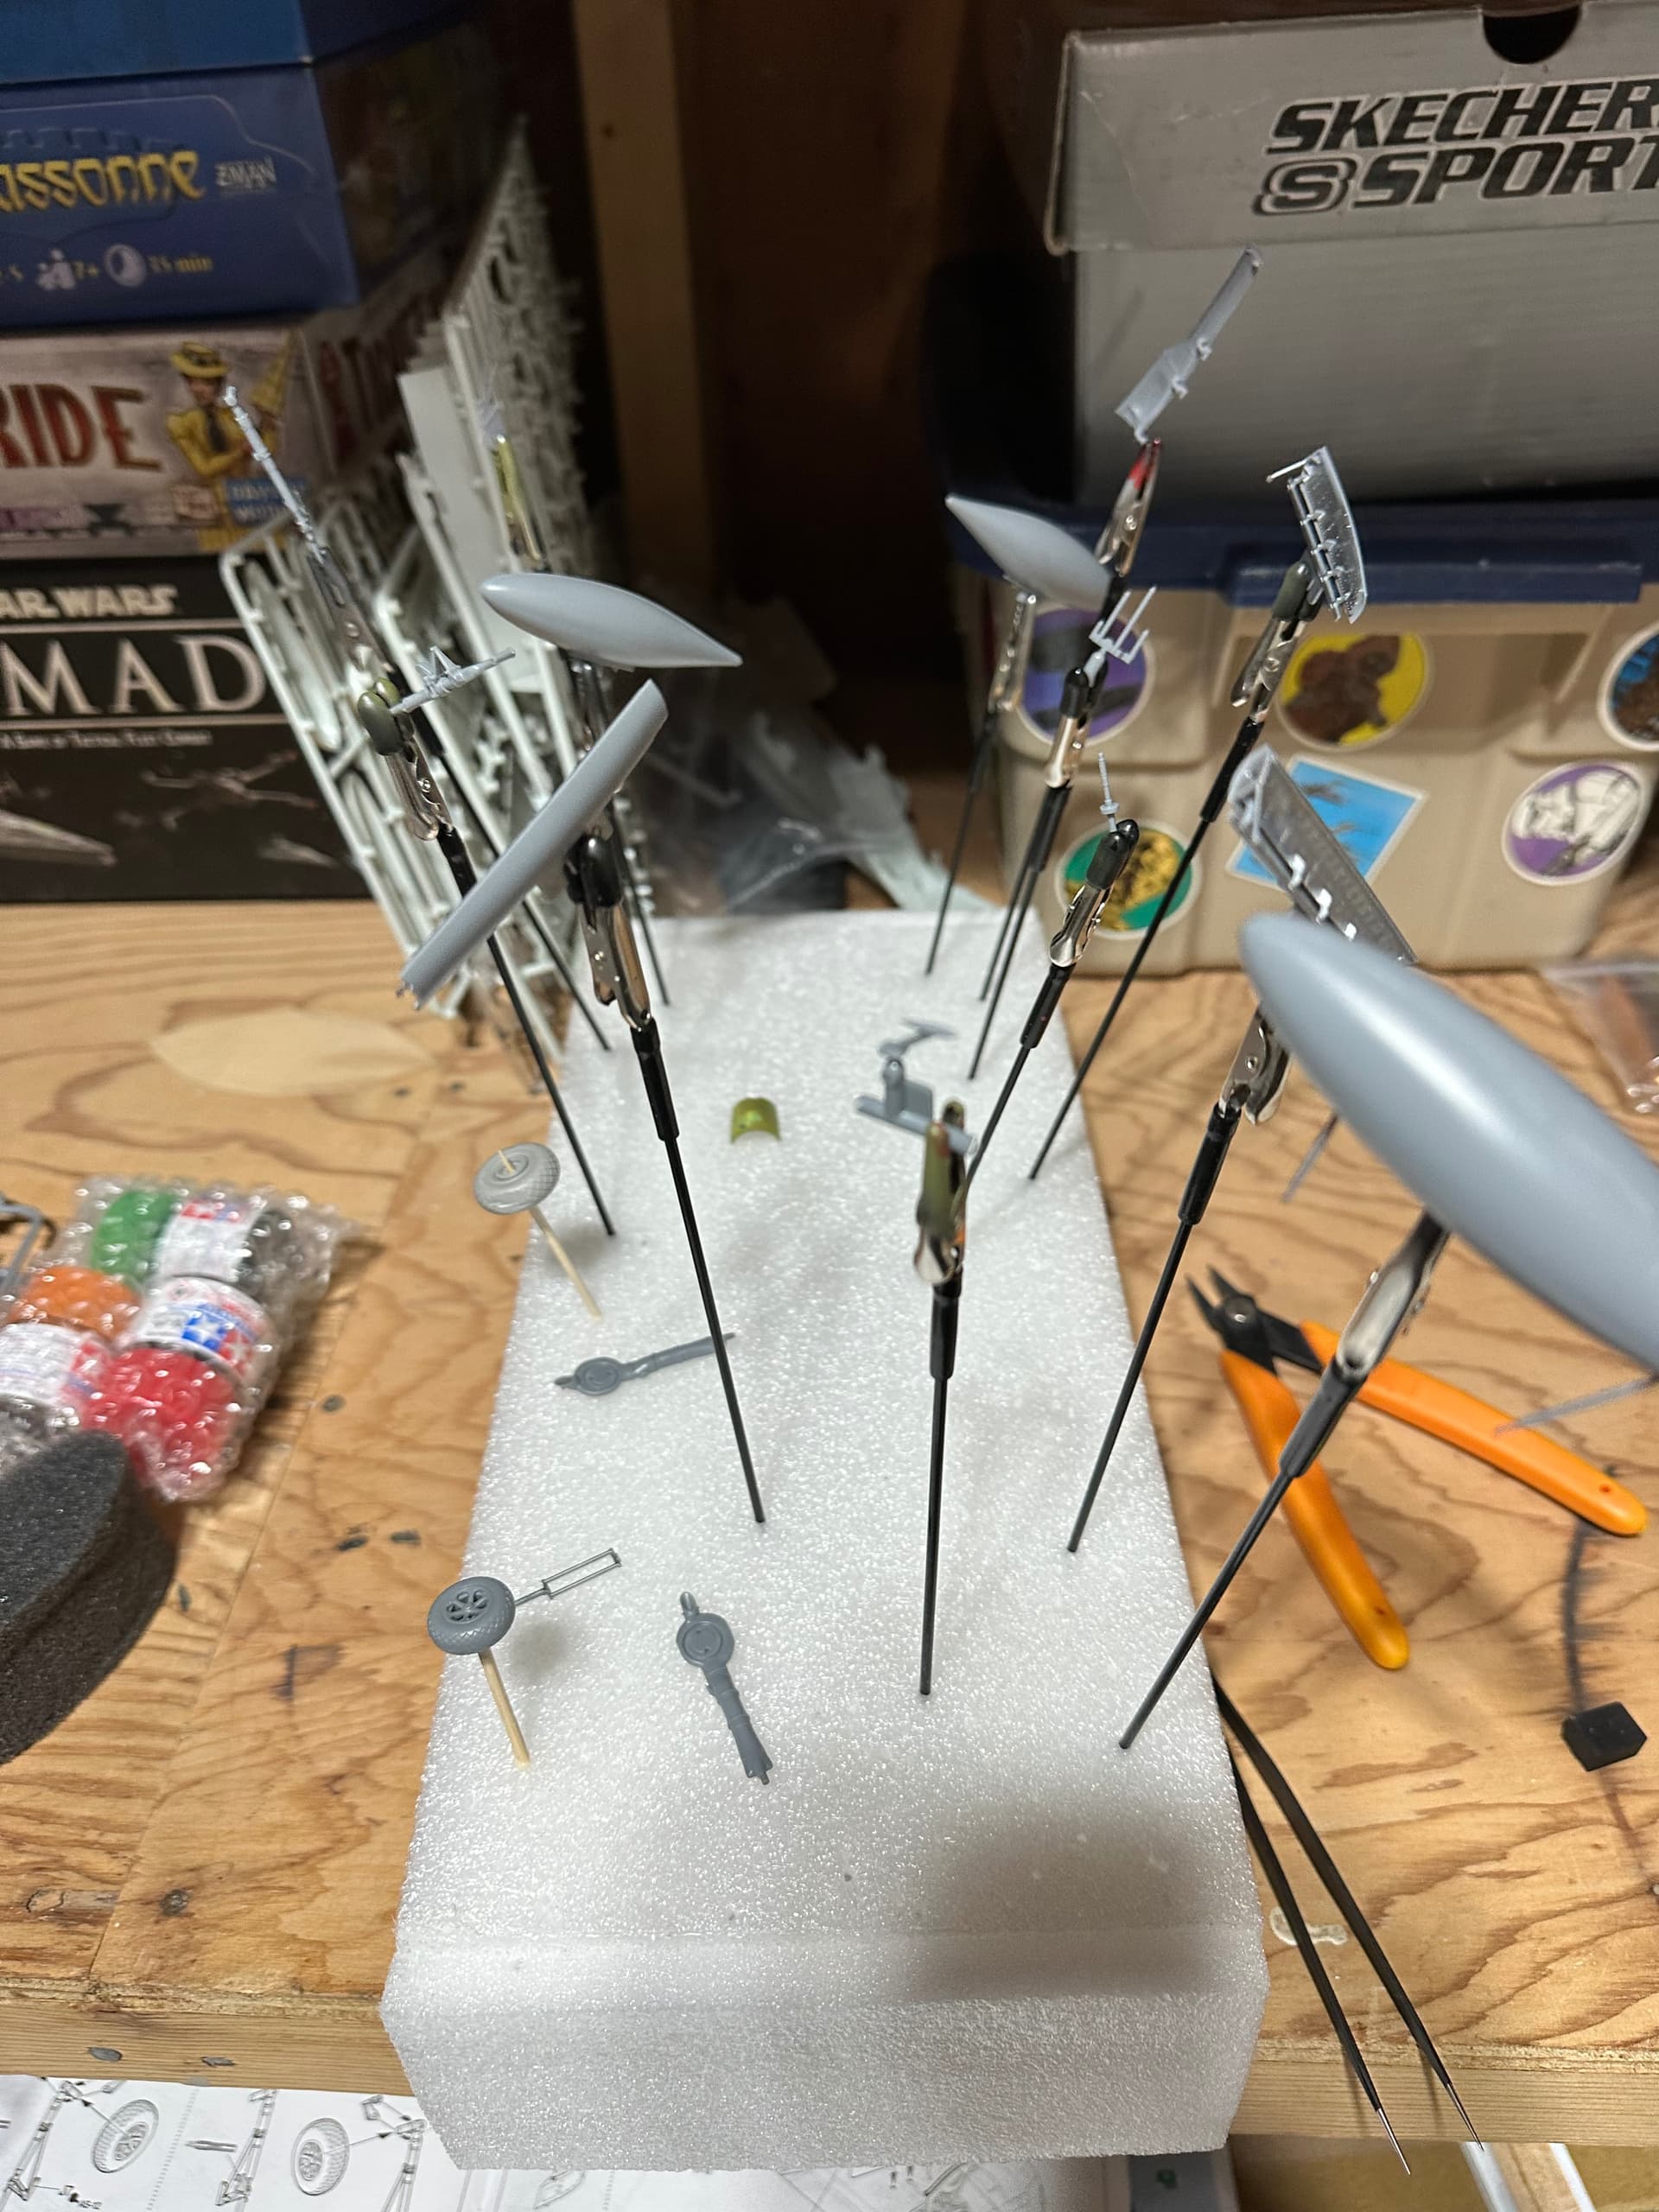
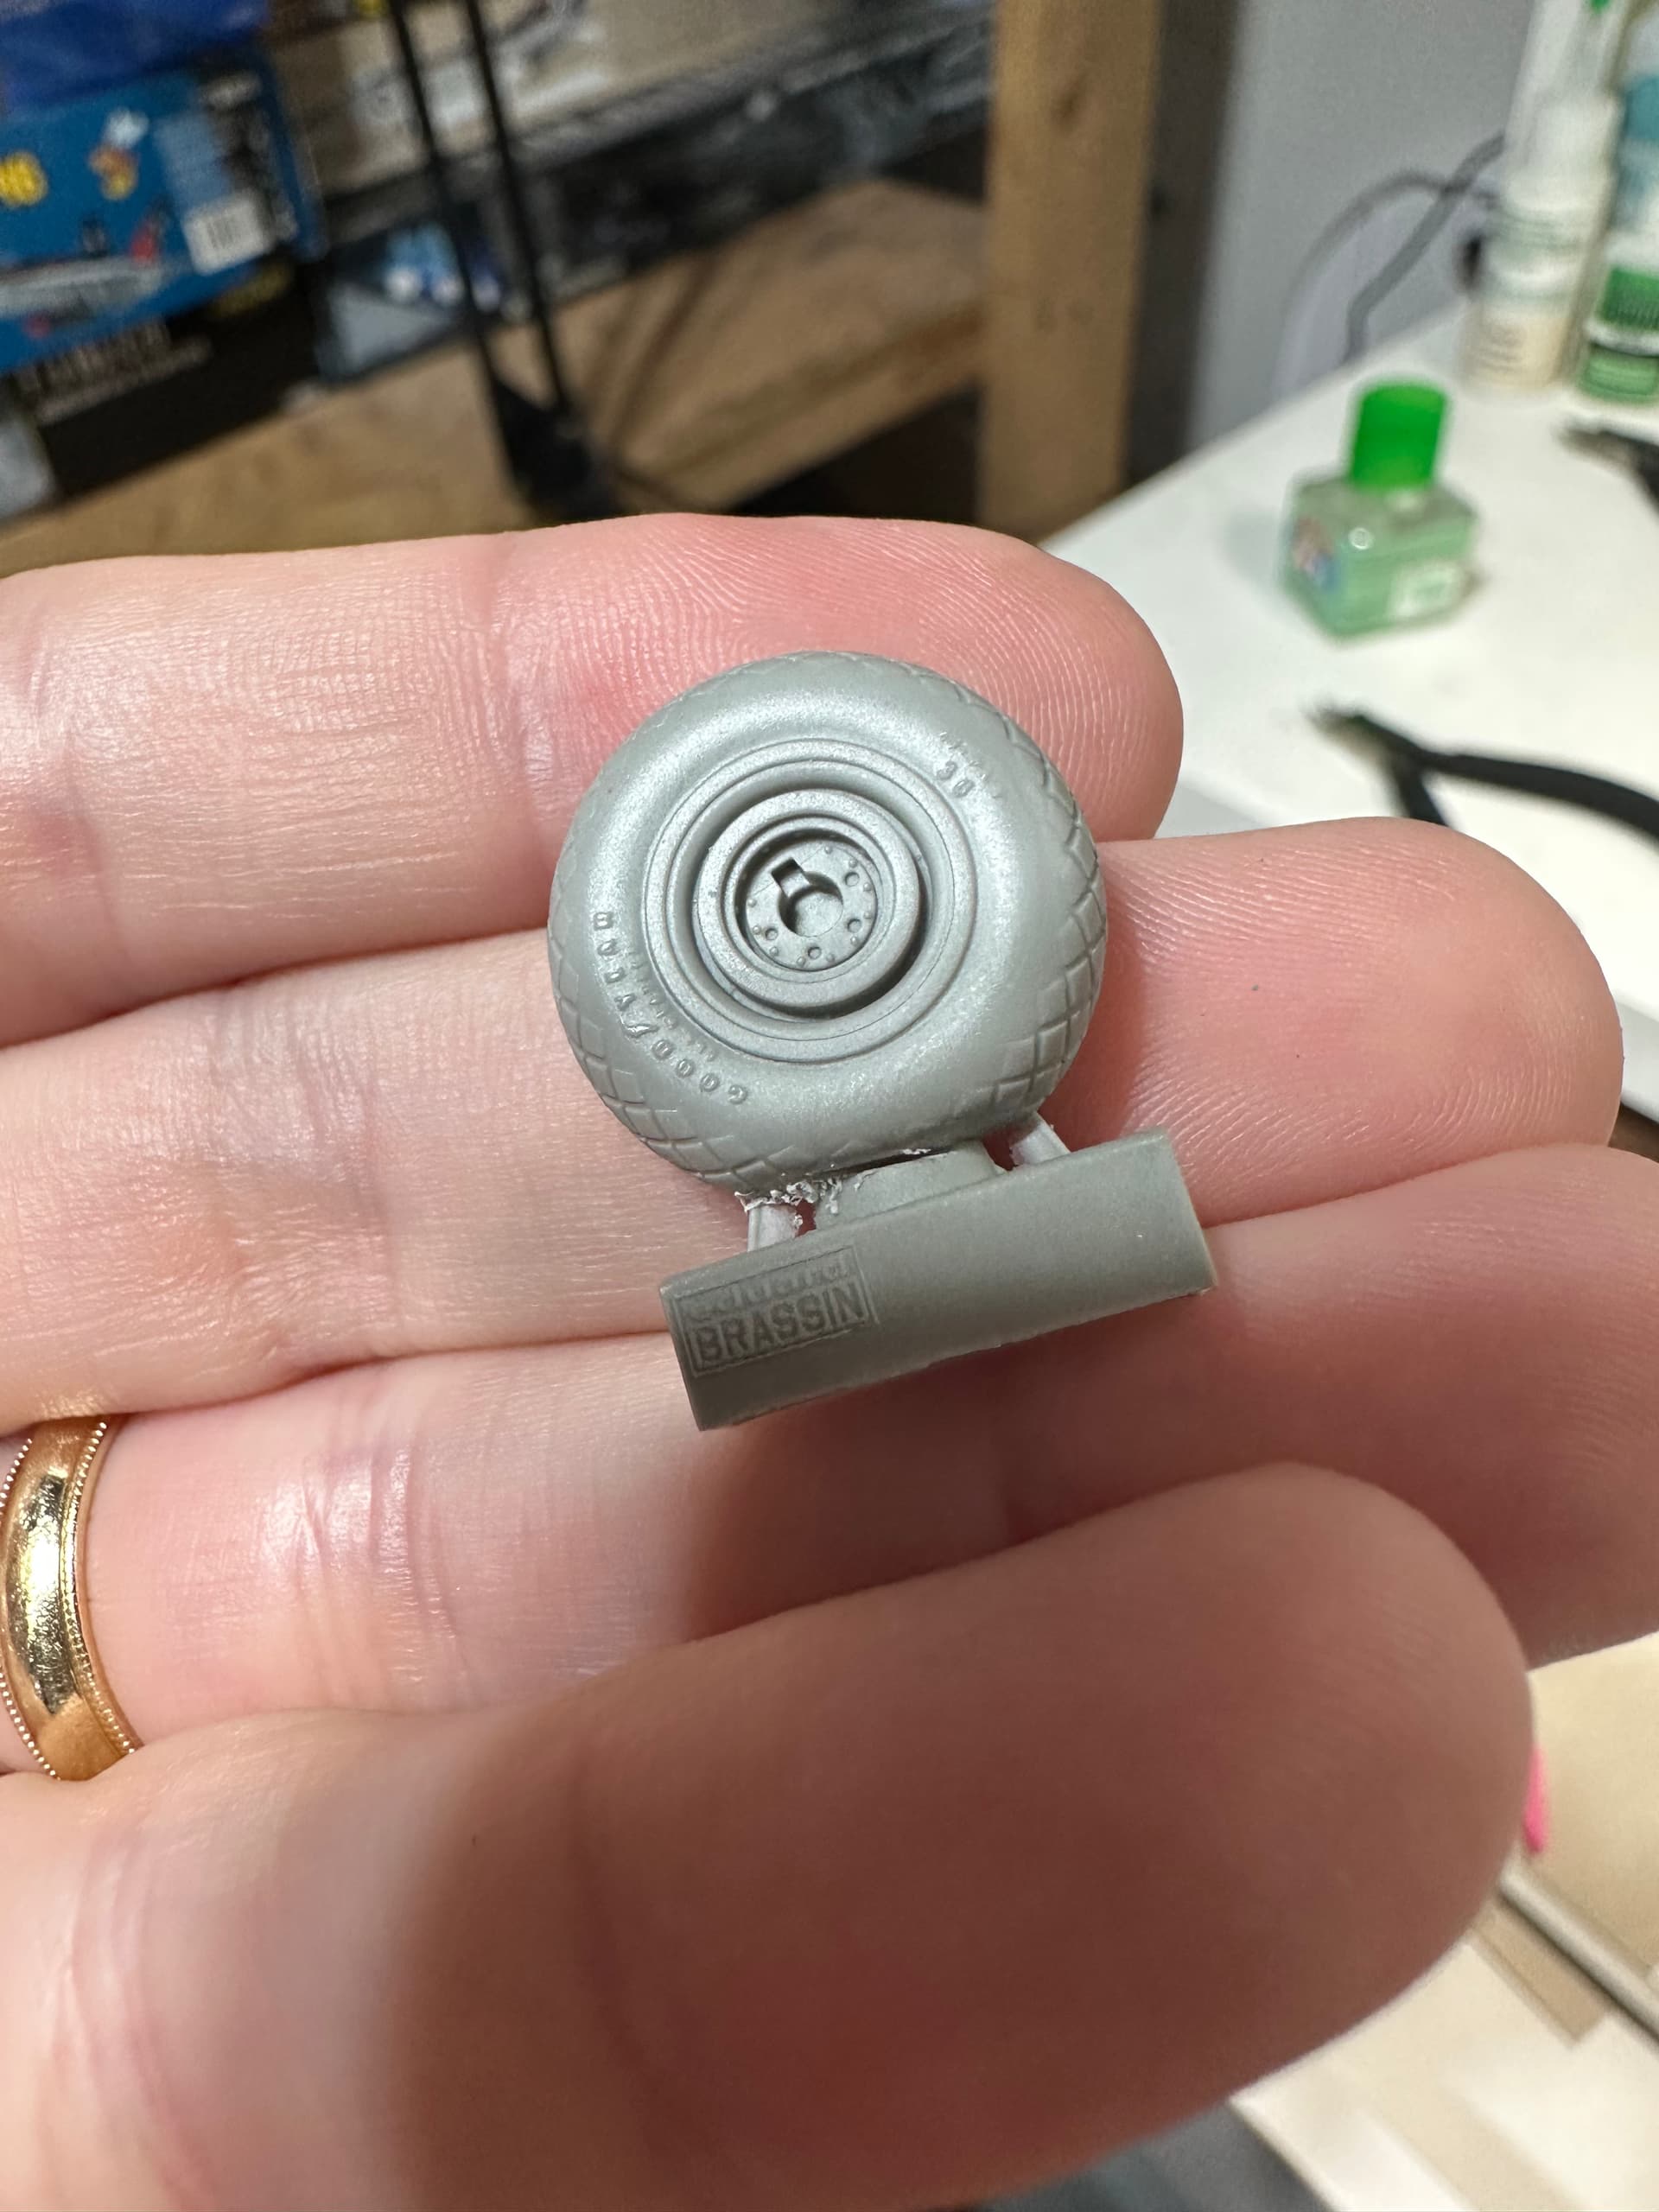
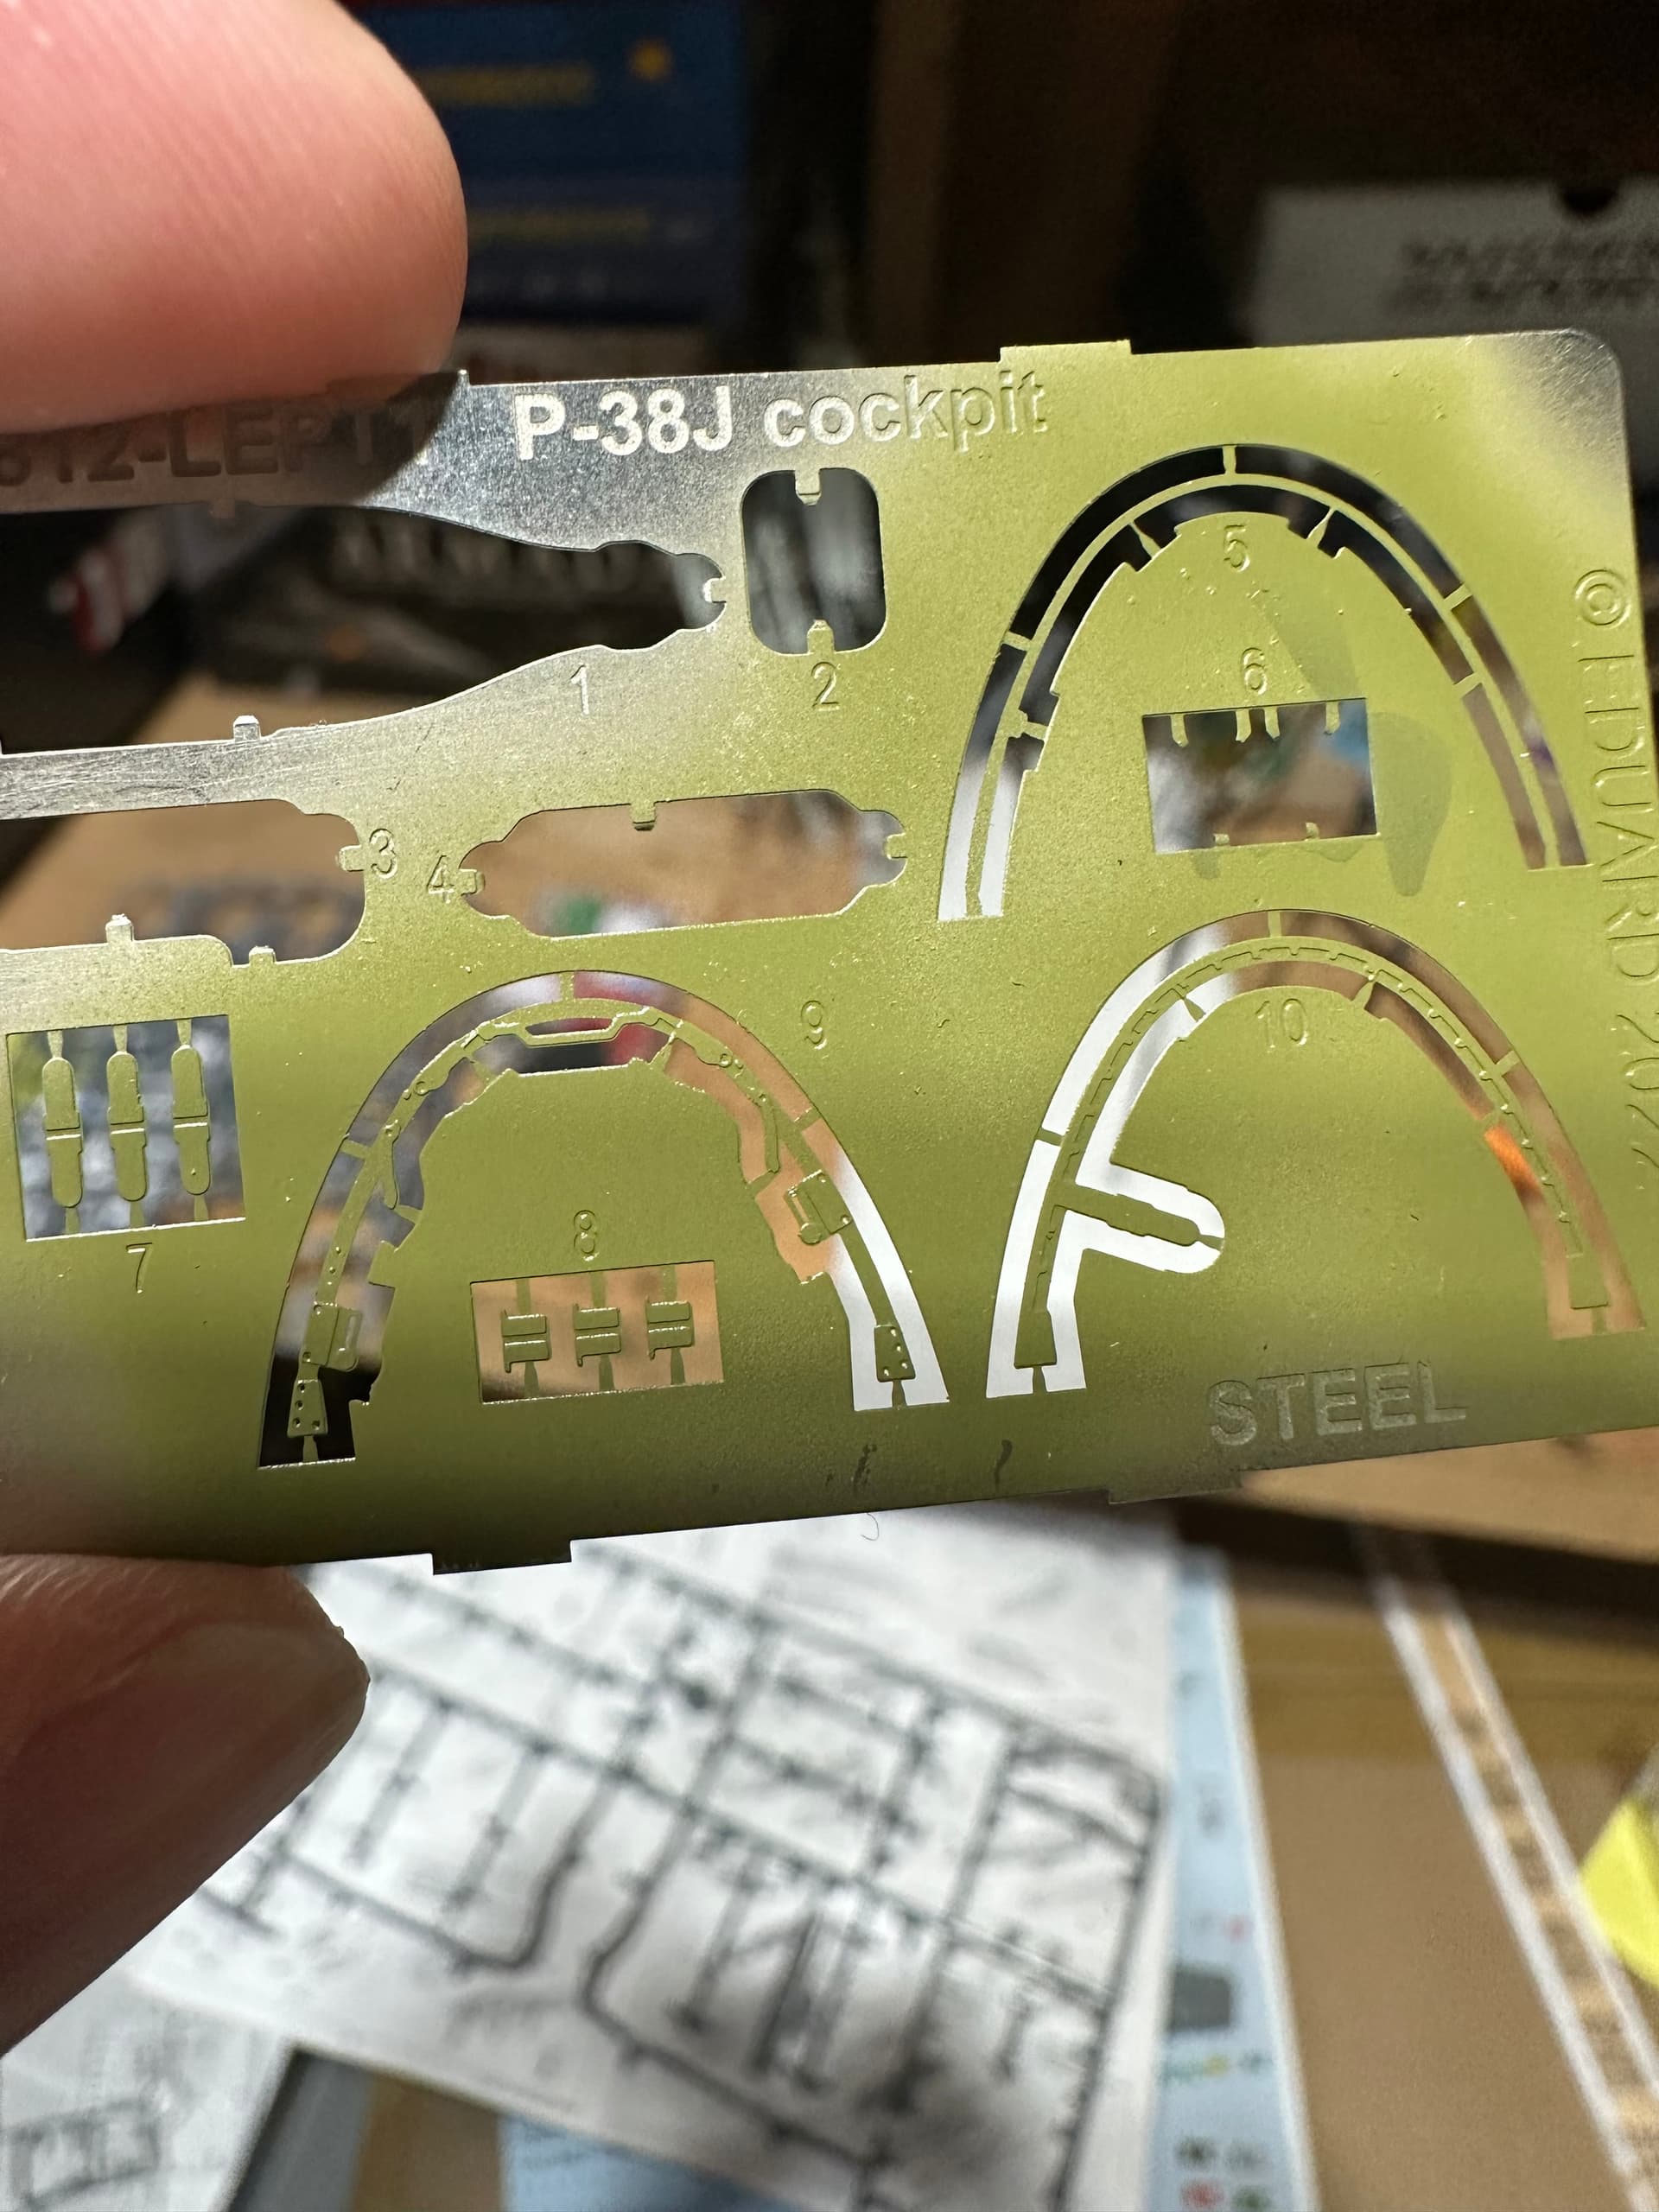
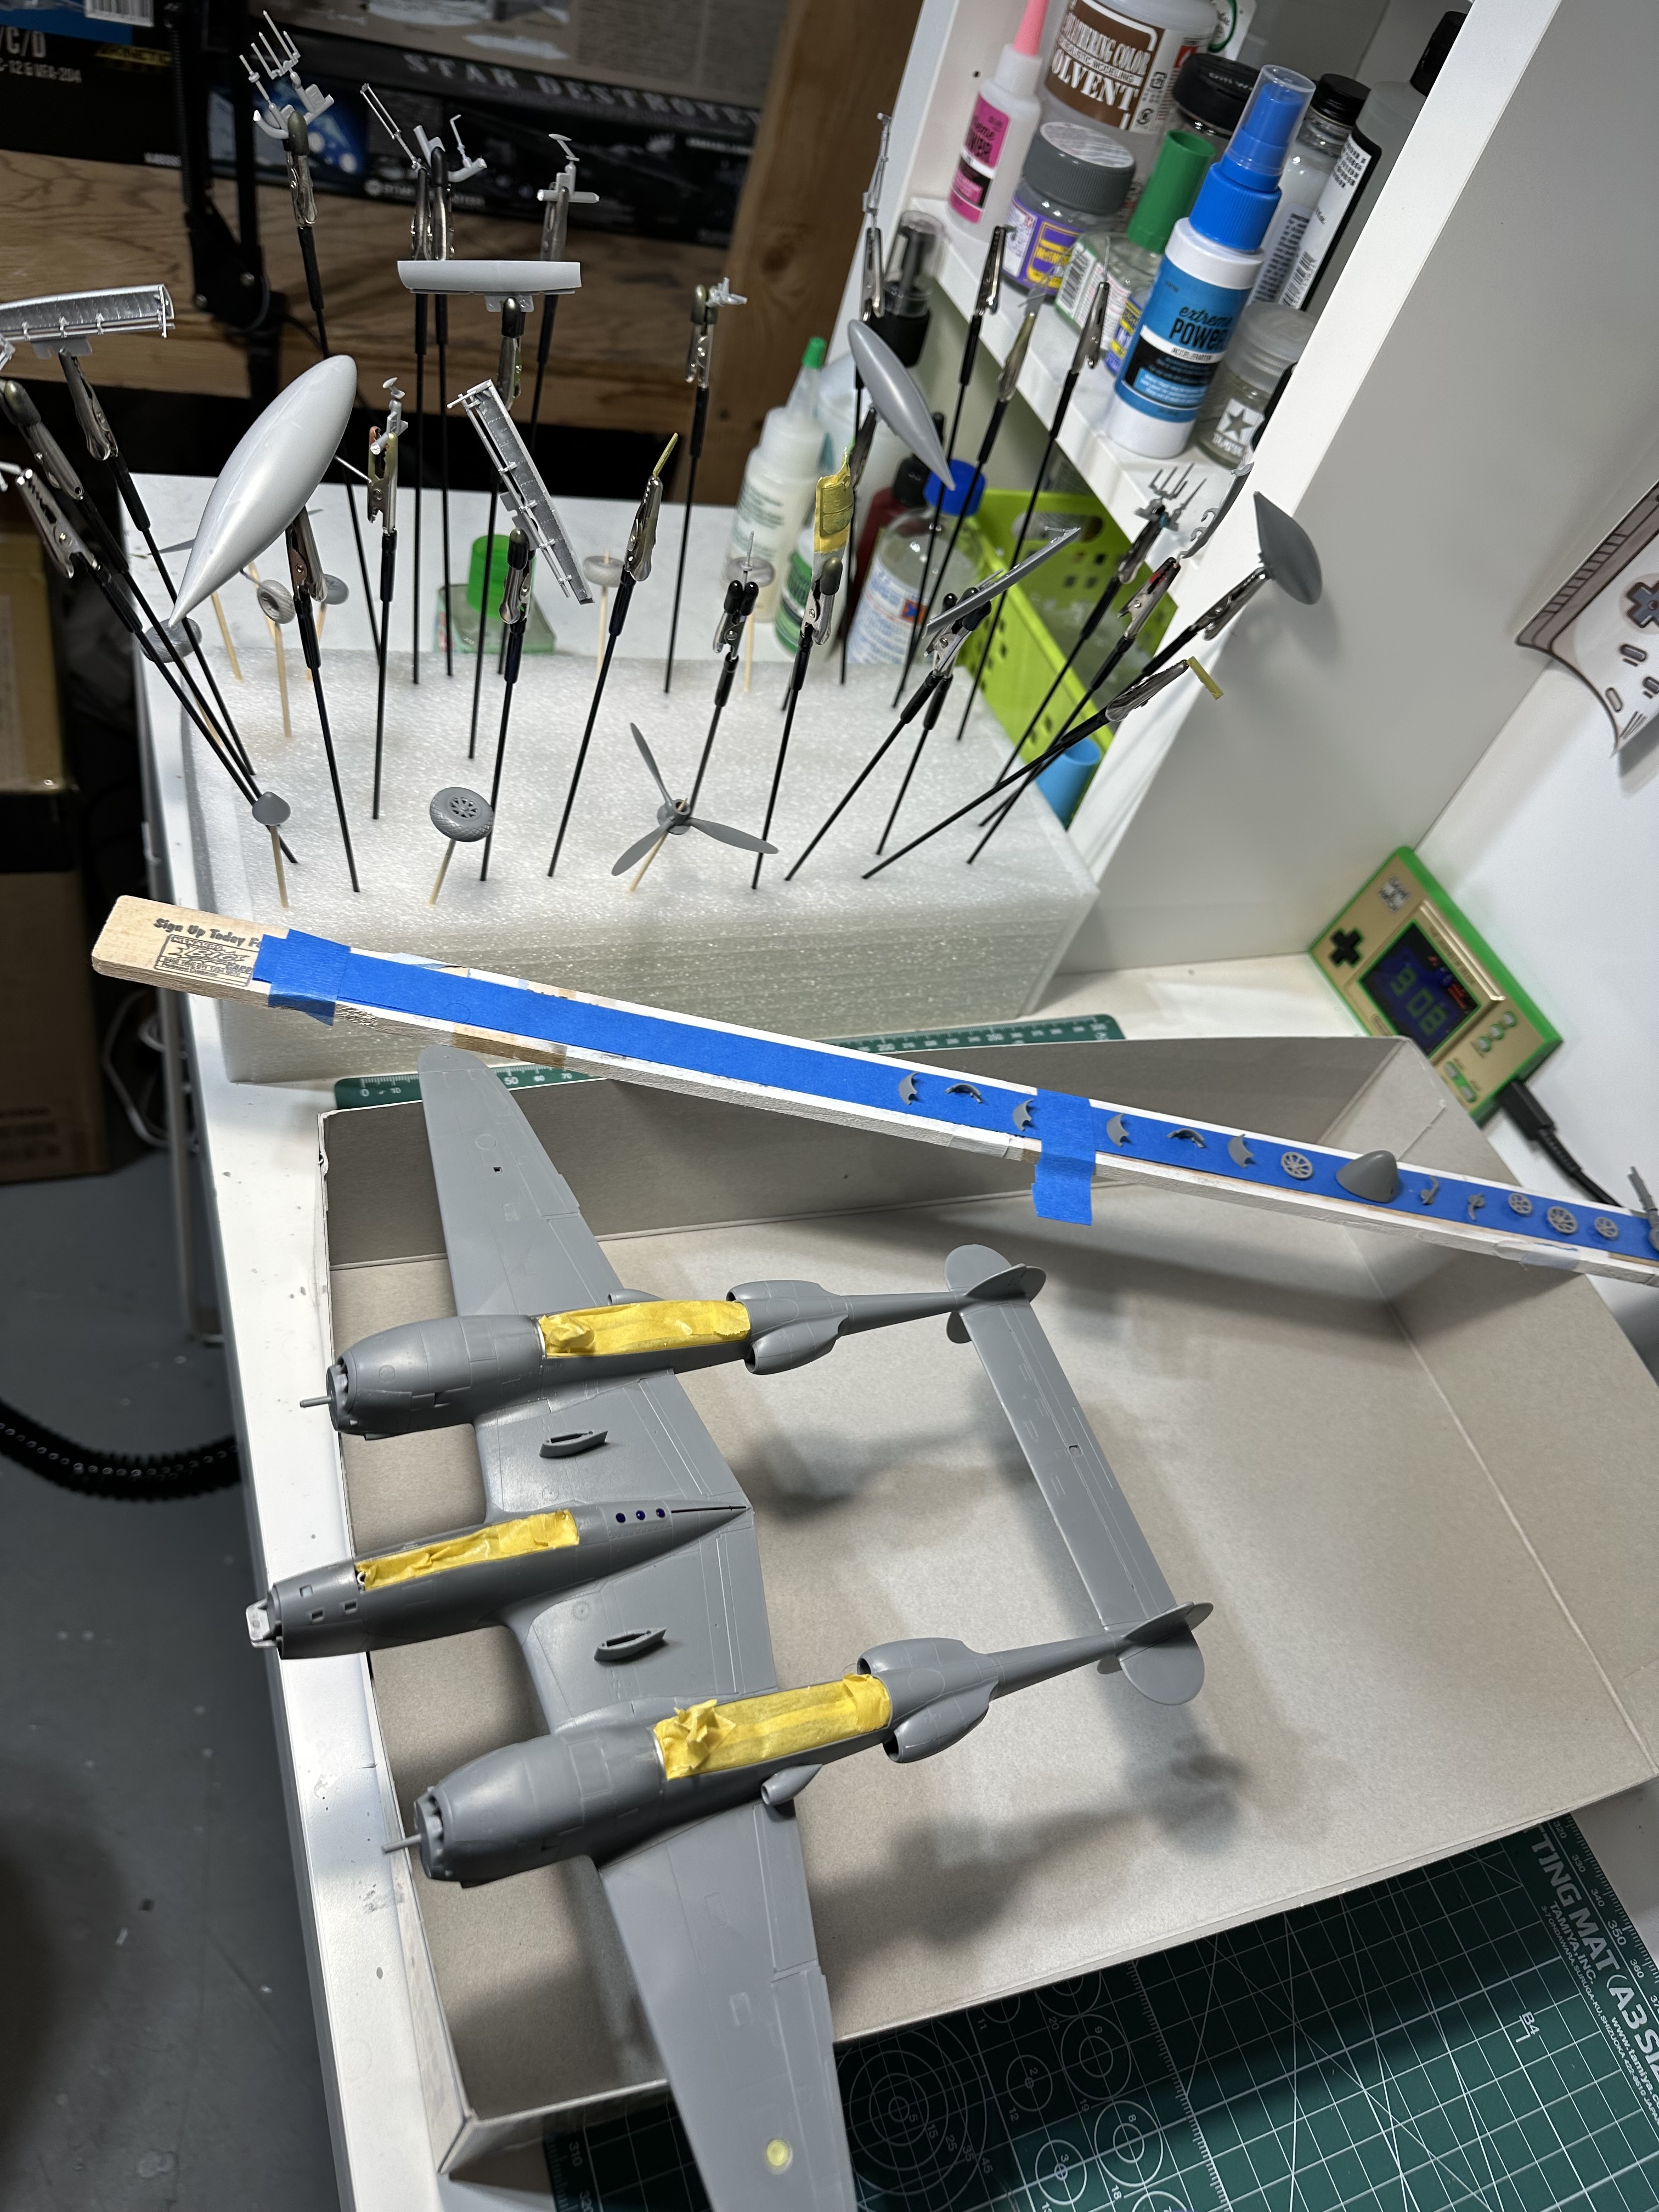
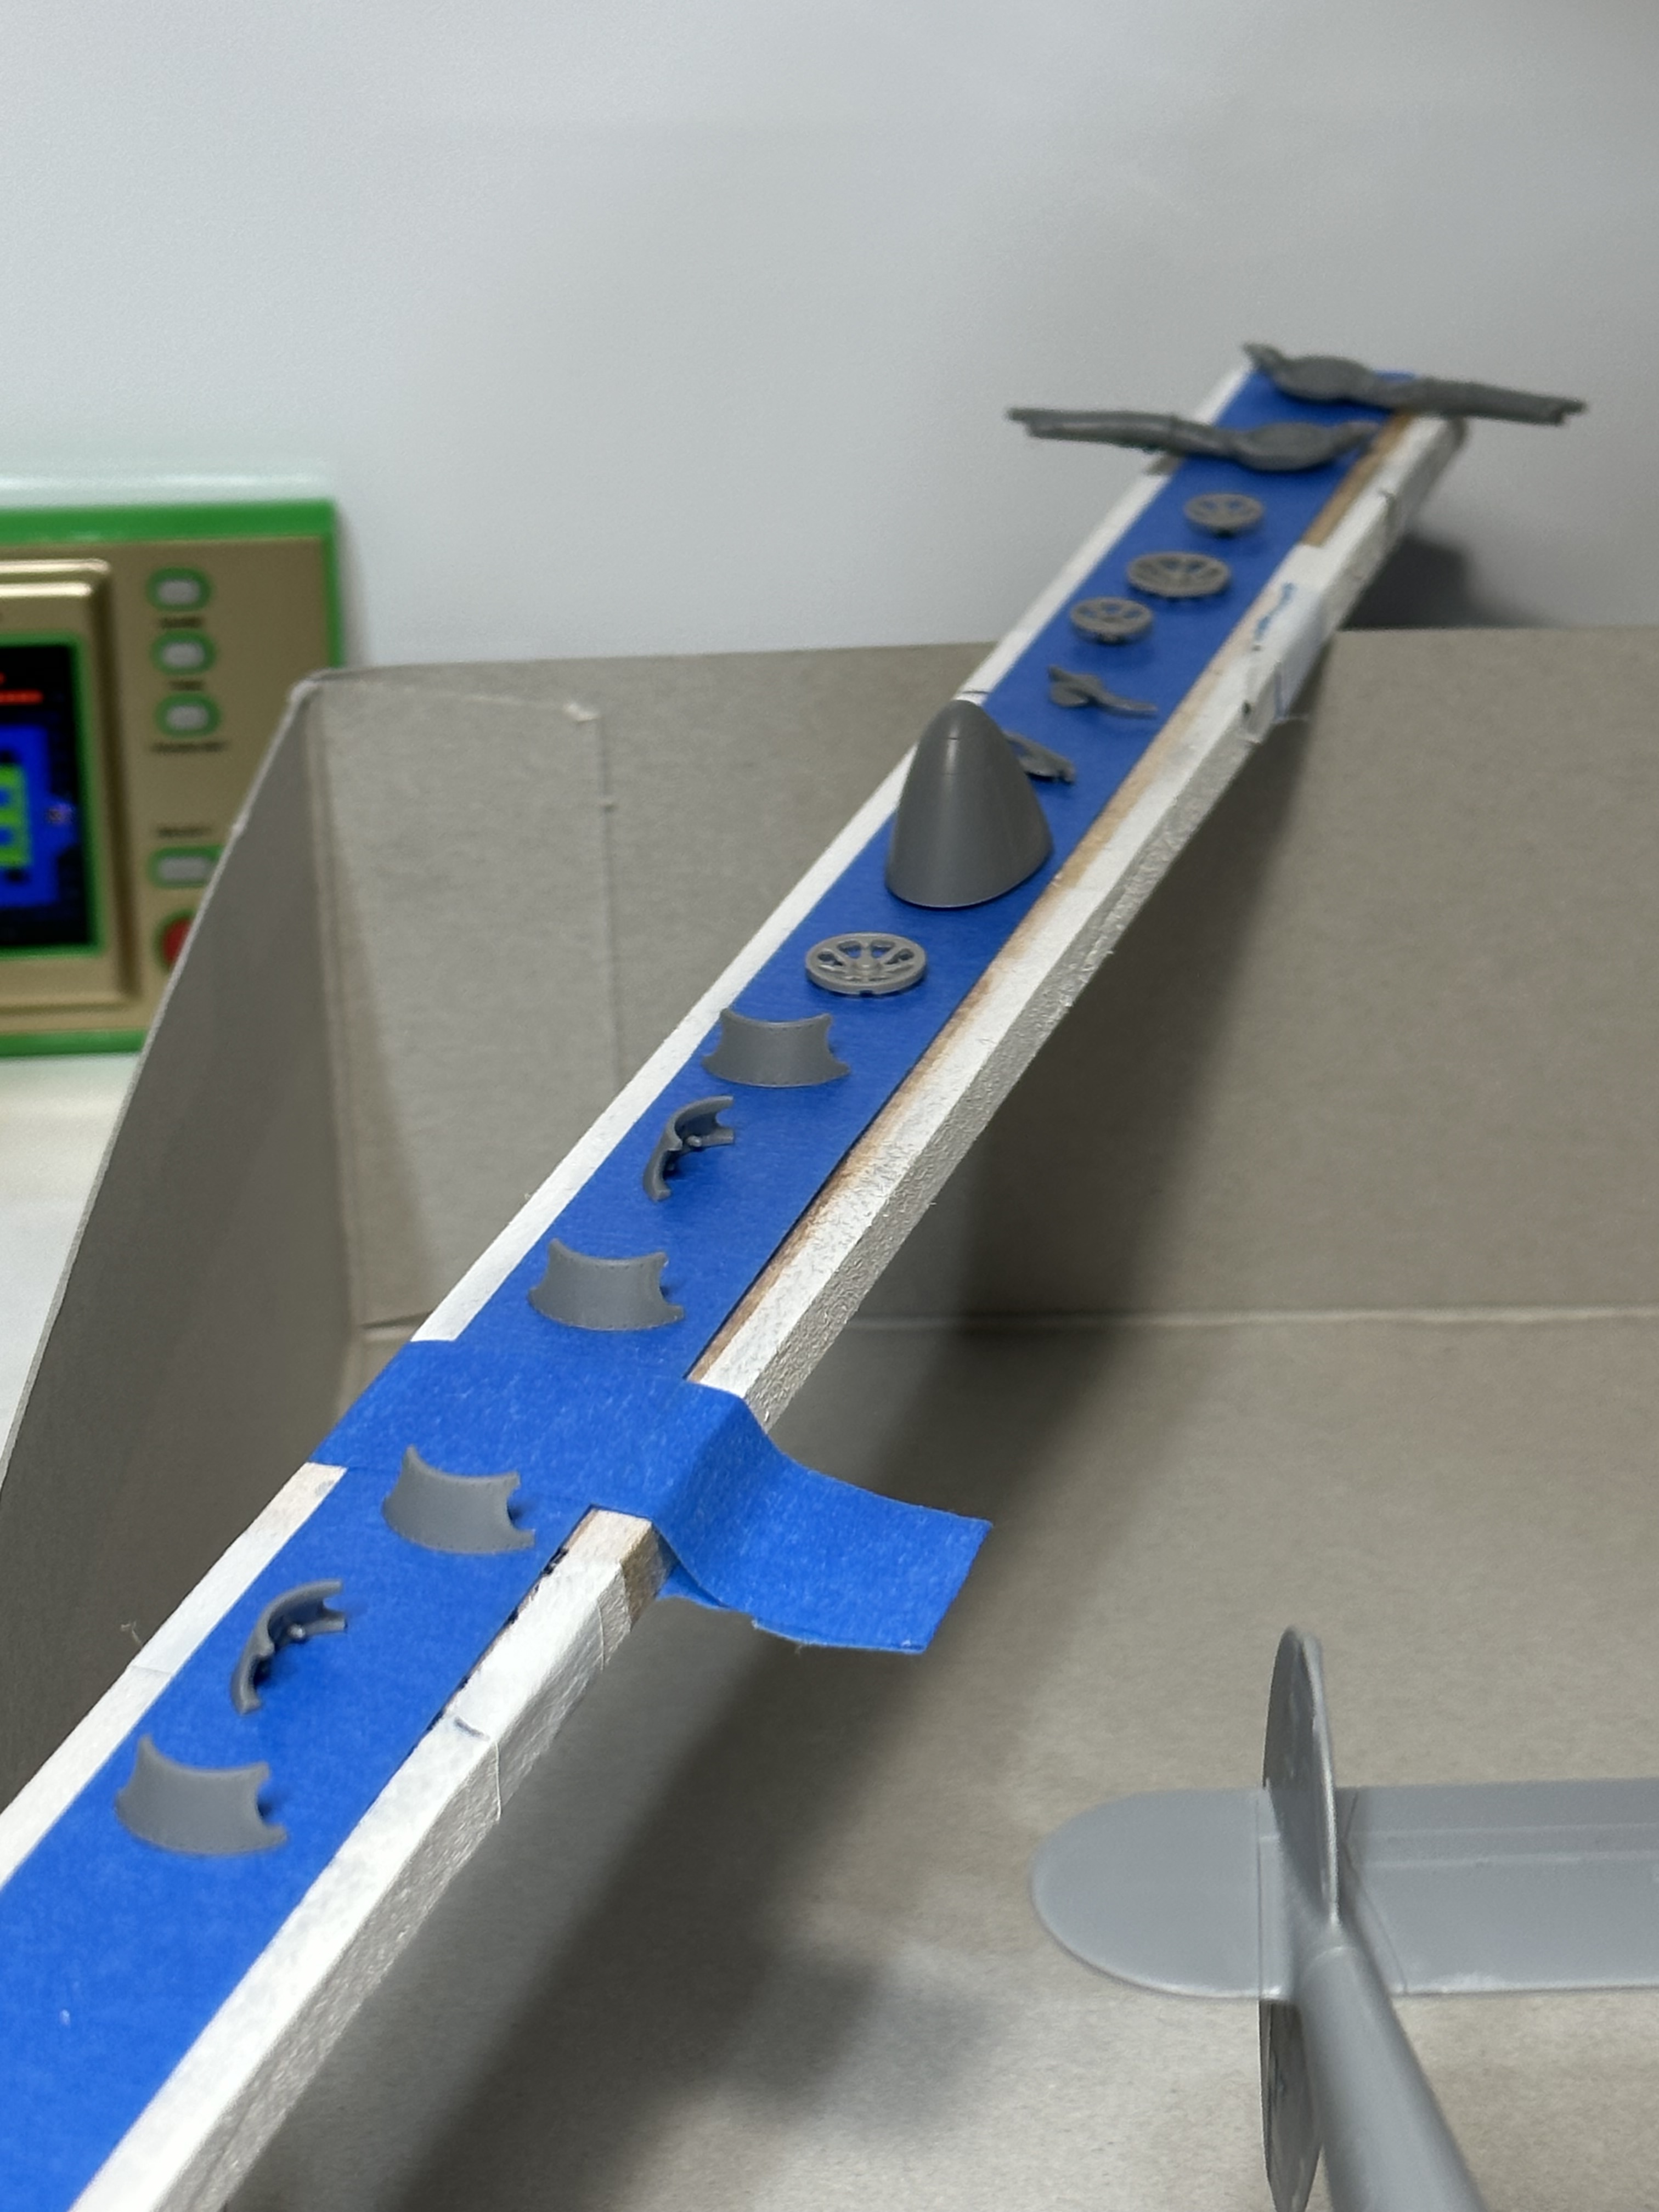
Pictured is my miscellaneous parts holder for painting, Resin Wheels (Love the Goodyear text!), and the Photoetch for details on cockpit canopy. We will see if I use them, but definitely not going to put it on now and attempt to mask over it.
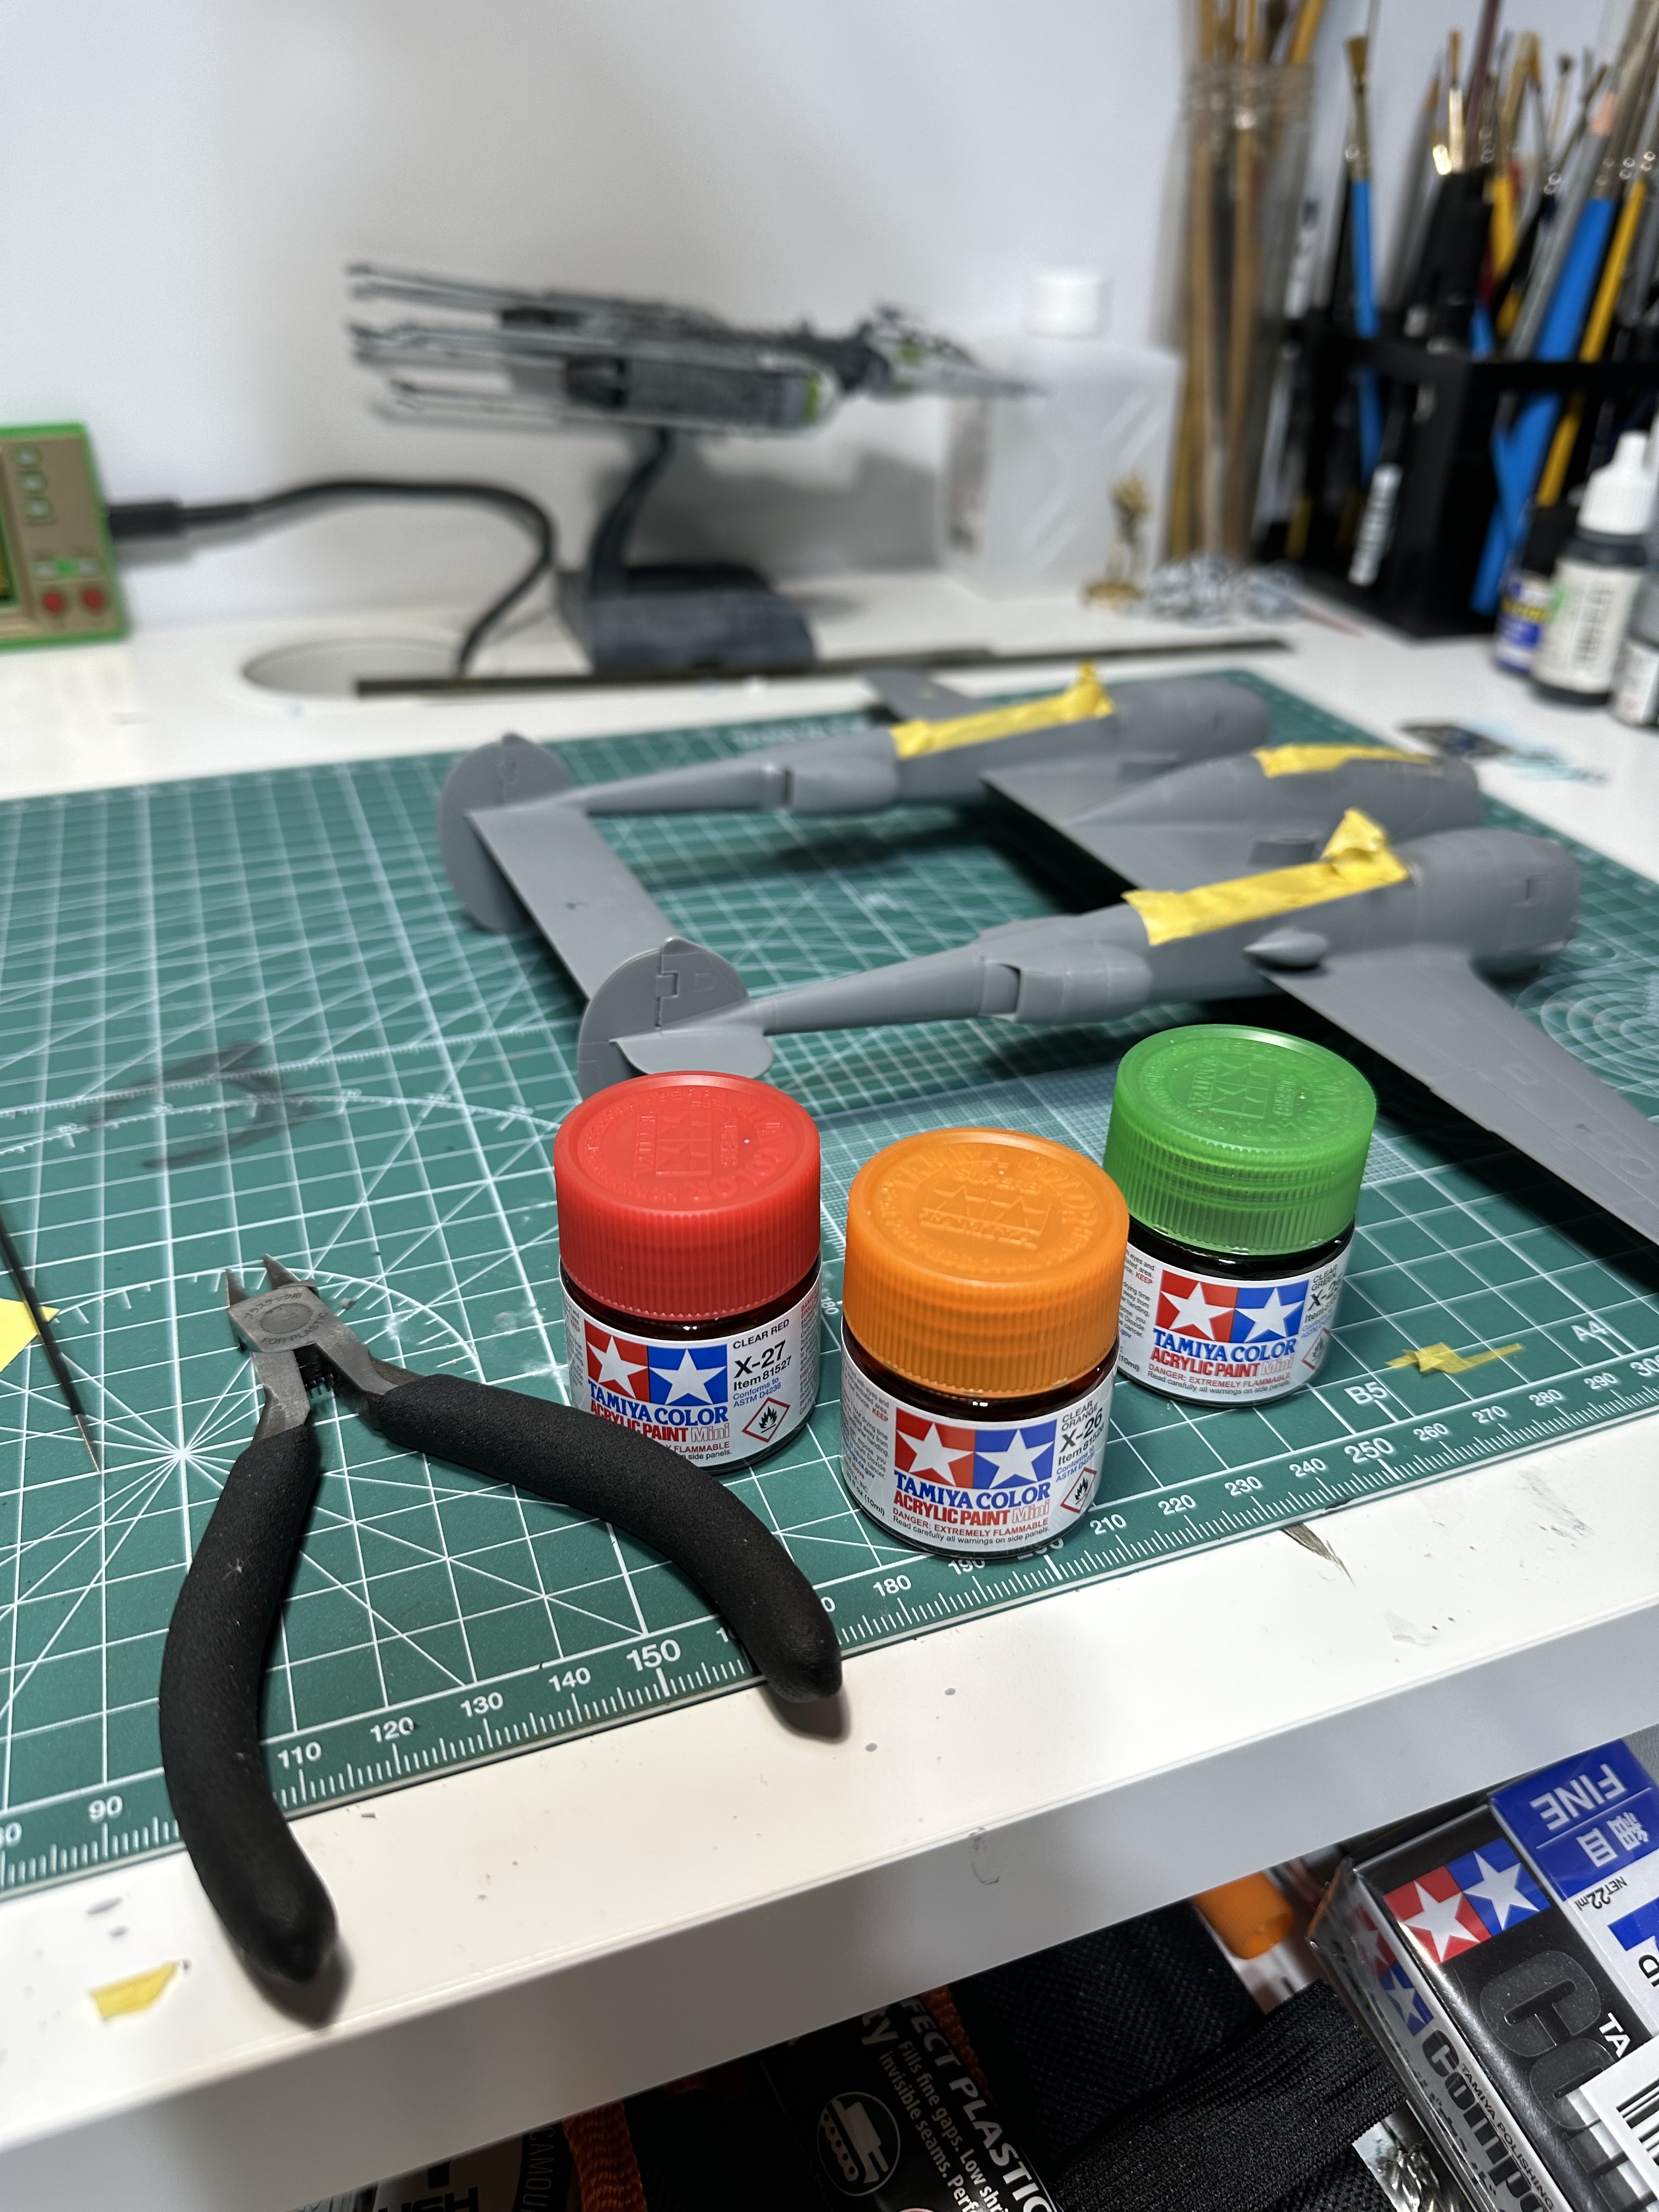
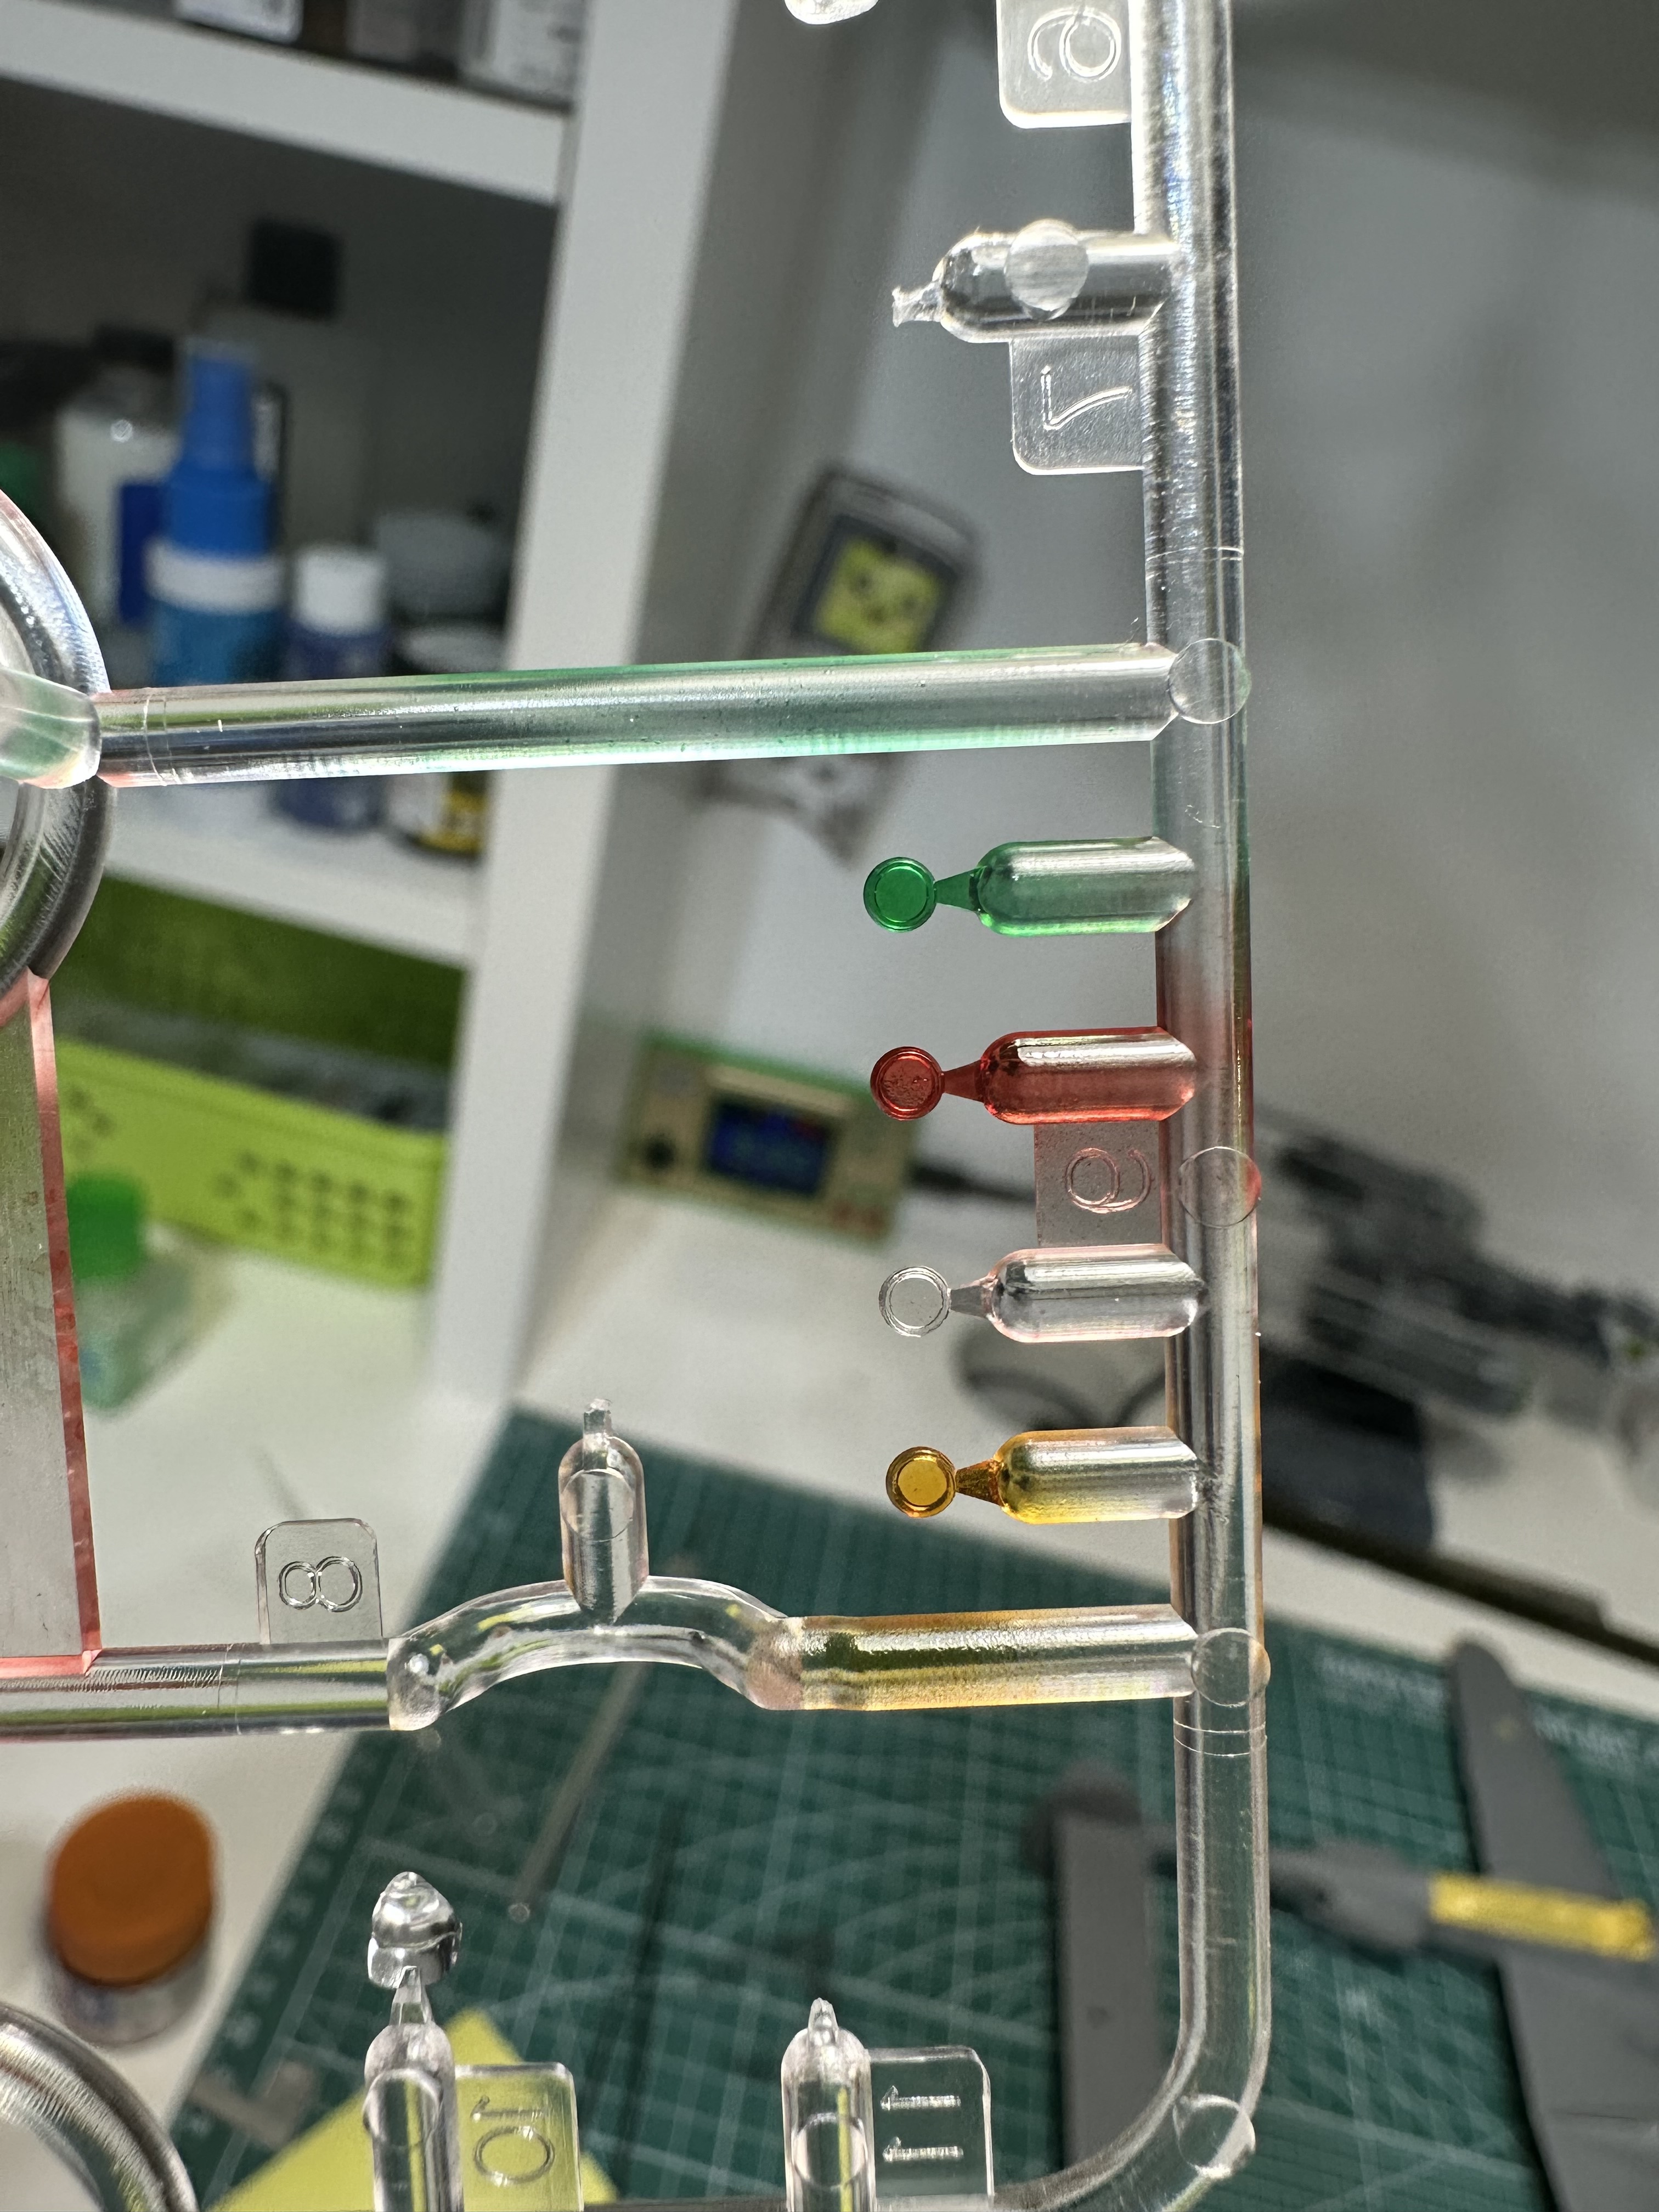
Bought these to use approximately 8 drops of paint. If it wasn’t the clear paints I’d mix them up myself buy previous attempts at making clear colors has not looked uniform. Getting closer!
Ready to Prime! Will gloss black everything except the landing gear doors will go straight to metal to add some initial variance.
Looking awesome!
It has to feel good to prepping to spray the black base coat!
You’ve done a fabulous job with the model thus far, and I’ll be watching for the rest of it. I really want to see how your natural metal finish work is going to go, as I plan to do the exact same thing with mine. I’ve built one P-38F/G, have 2 more in the stash, one of the limited P-38H kits, and 2 P-38Js left to build. I love the plane, and the Tamiya build was fantastic. Good luck with the finish of your J!!
That’s amazing! What are your preferred paints/methods for natural metal finish? This will be only my second time doing it.
Thank you! Next up is finding uninterrupted time to paint an absolute huge amount of parts lol.
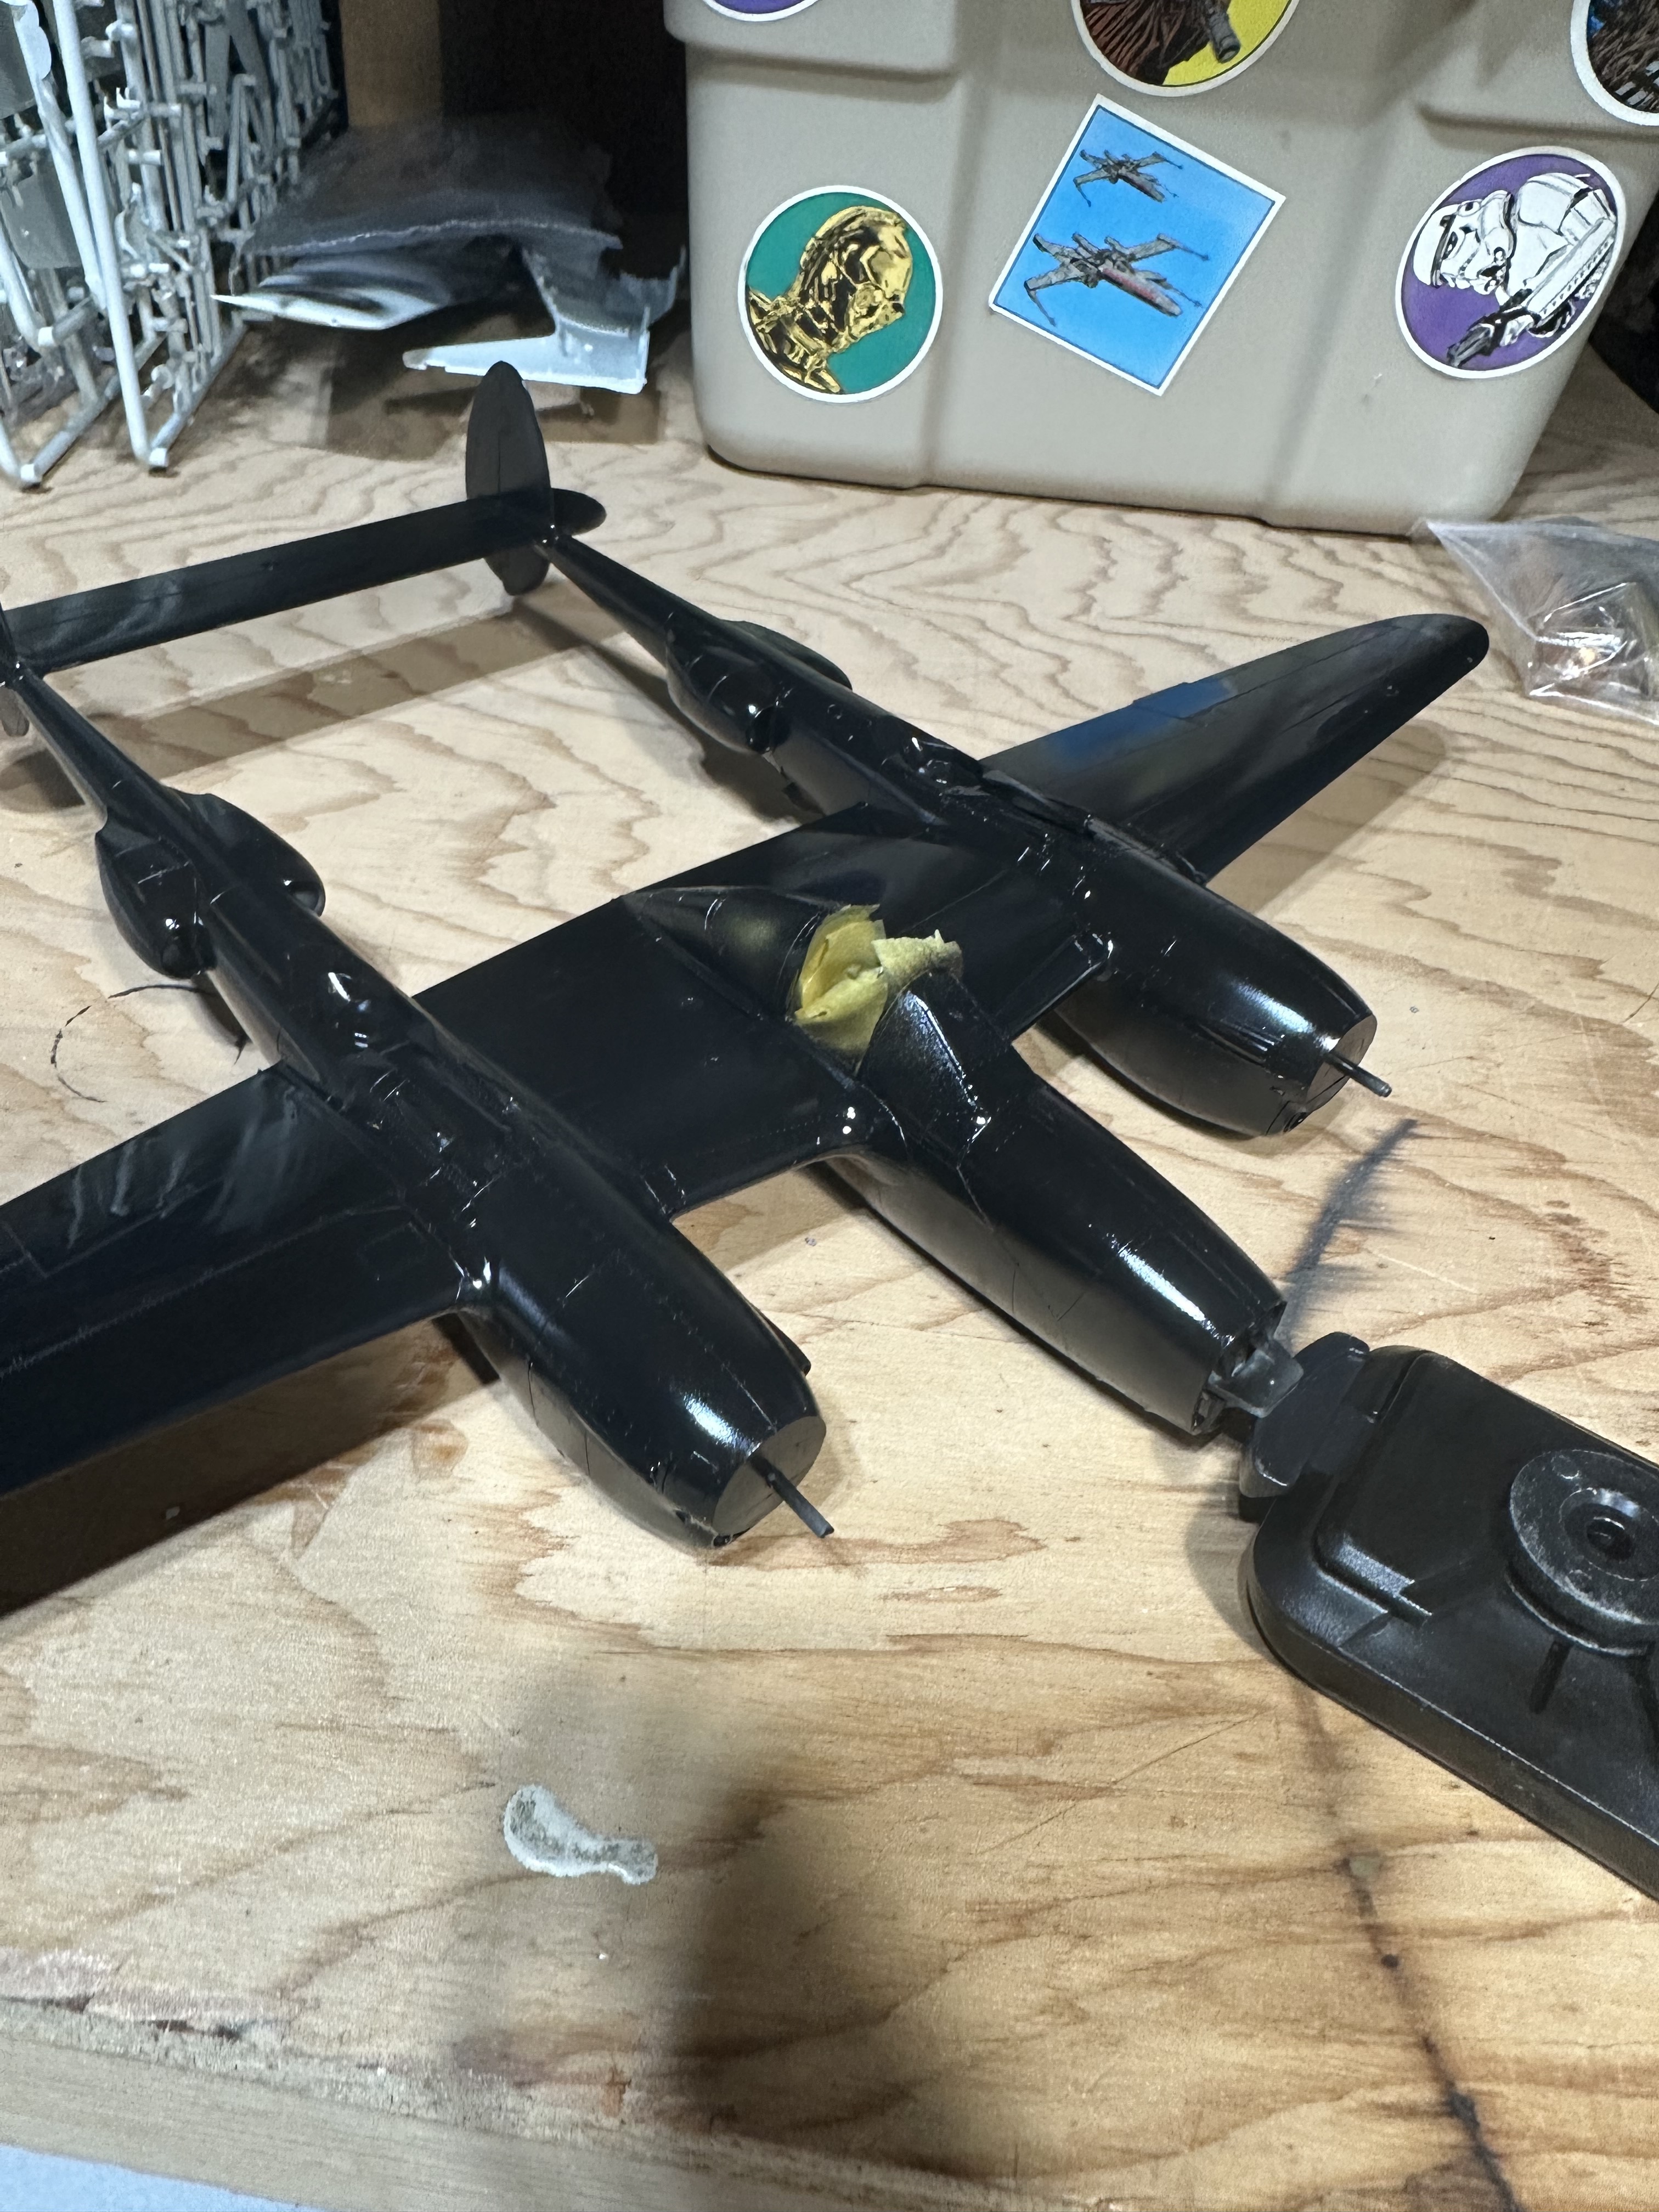
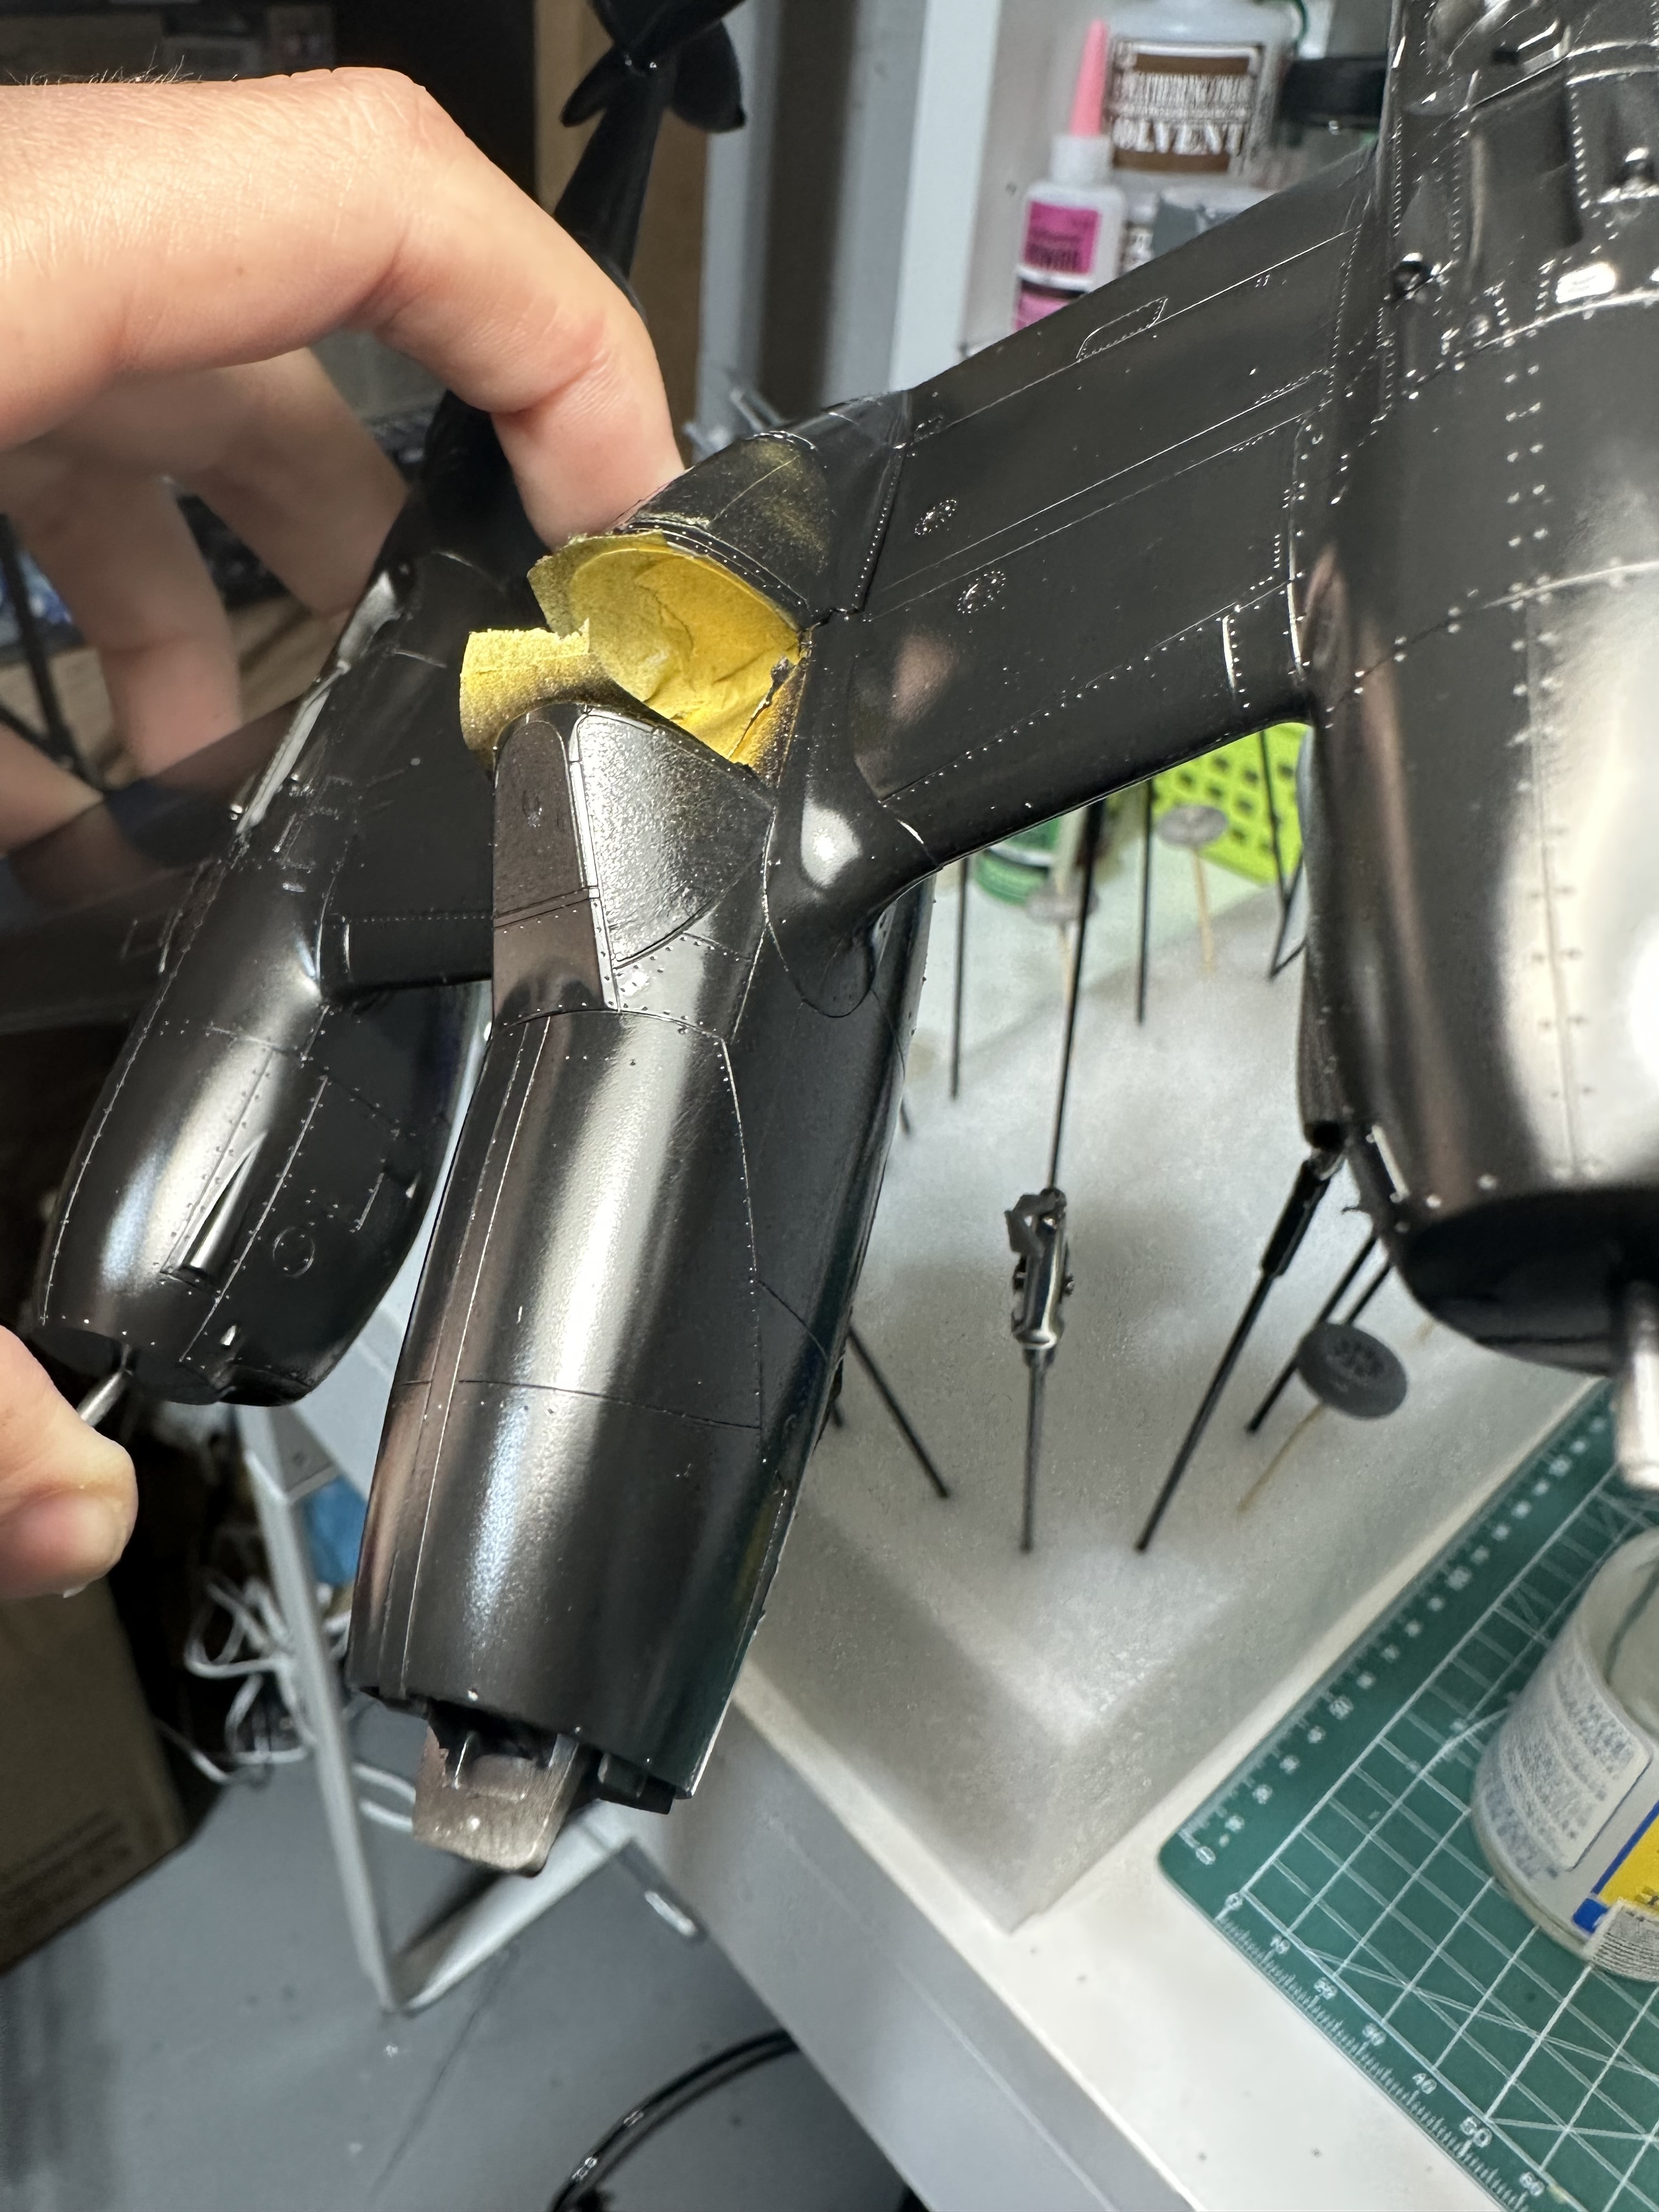
Priming session one done! Will take better pics when all dry. Very delicate right now. (Rubbed paint off on one tiny section on accident with box edge I was balancing wings on)
I don’t know who you were directing your question to about paints/methods for natural metal finish, but if may be so bold as to give you some thoughts… Your black primer looks fantastic. My plan is to use the amazing Gunze GX-2 Ueno Black, which is the glossiest black I have ever seen straight out of a paint bottle. I am a huge fan of the AK Xtreme Metal paints, and I will use those for my NMF on my P-38J. They have about 25 different metal colors, and they are just great, in terms of look and durability. I’m planning to use a variety of different metal colors on individual panels. I just did an inventory of the aftermarket items I’m planning to use on my P-38J builds. It turns out that I have 3 P-38Js, not 2. I’ve got the Eduard Brassin cockpit (just one of these), the Quinta cockpit set, Eduard canopy masks, and 3D printed wheels, turbochargers, seat, and a few more things, these latter ones for all 3 of the models. It’s going to be an amazing series of build, I just hope I’m worthy of using these upgrades! I’m going to do the Robin Olds Scat II, in NMF and with full invasion stripes, Richard Bong’s Marge, and Charles McDonald’s Putt Putt Maru. Scat II will use aftermarket decals, and the latter 2 will use the kit decals, until/unless the Tamiya ‘thick’ decals won’t sit down over thhe NMF finish.
Thanks! That all sounds great! I’m going to use mr color SM-201 but have heard great things about AK!
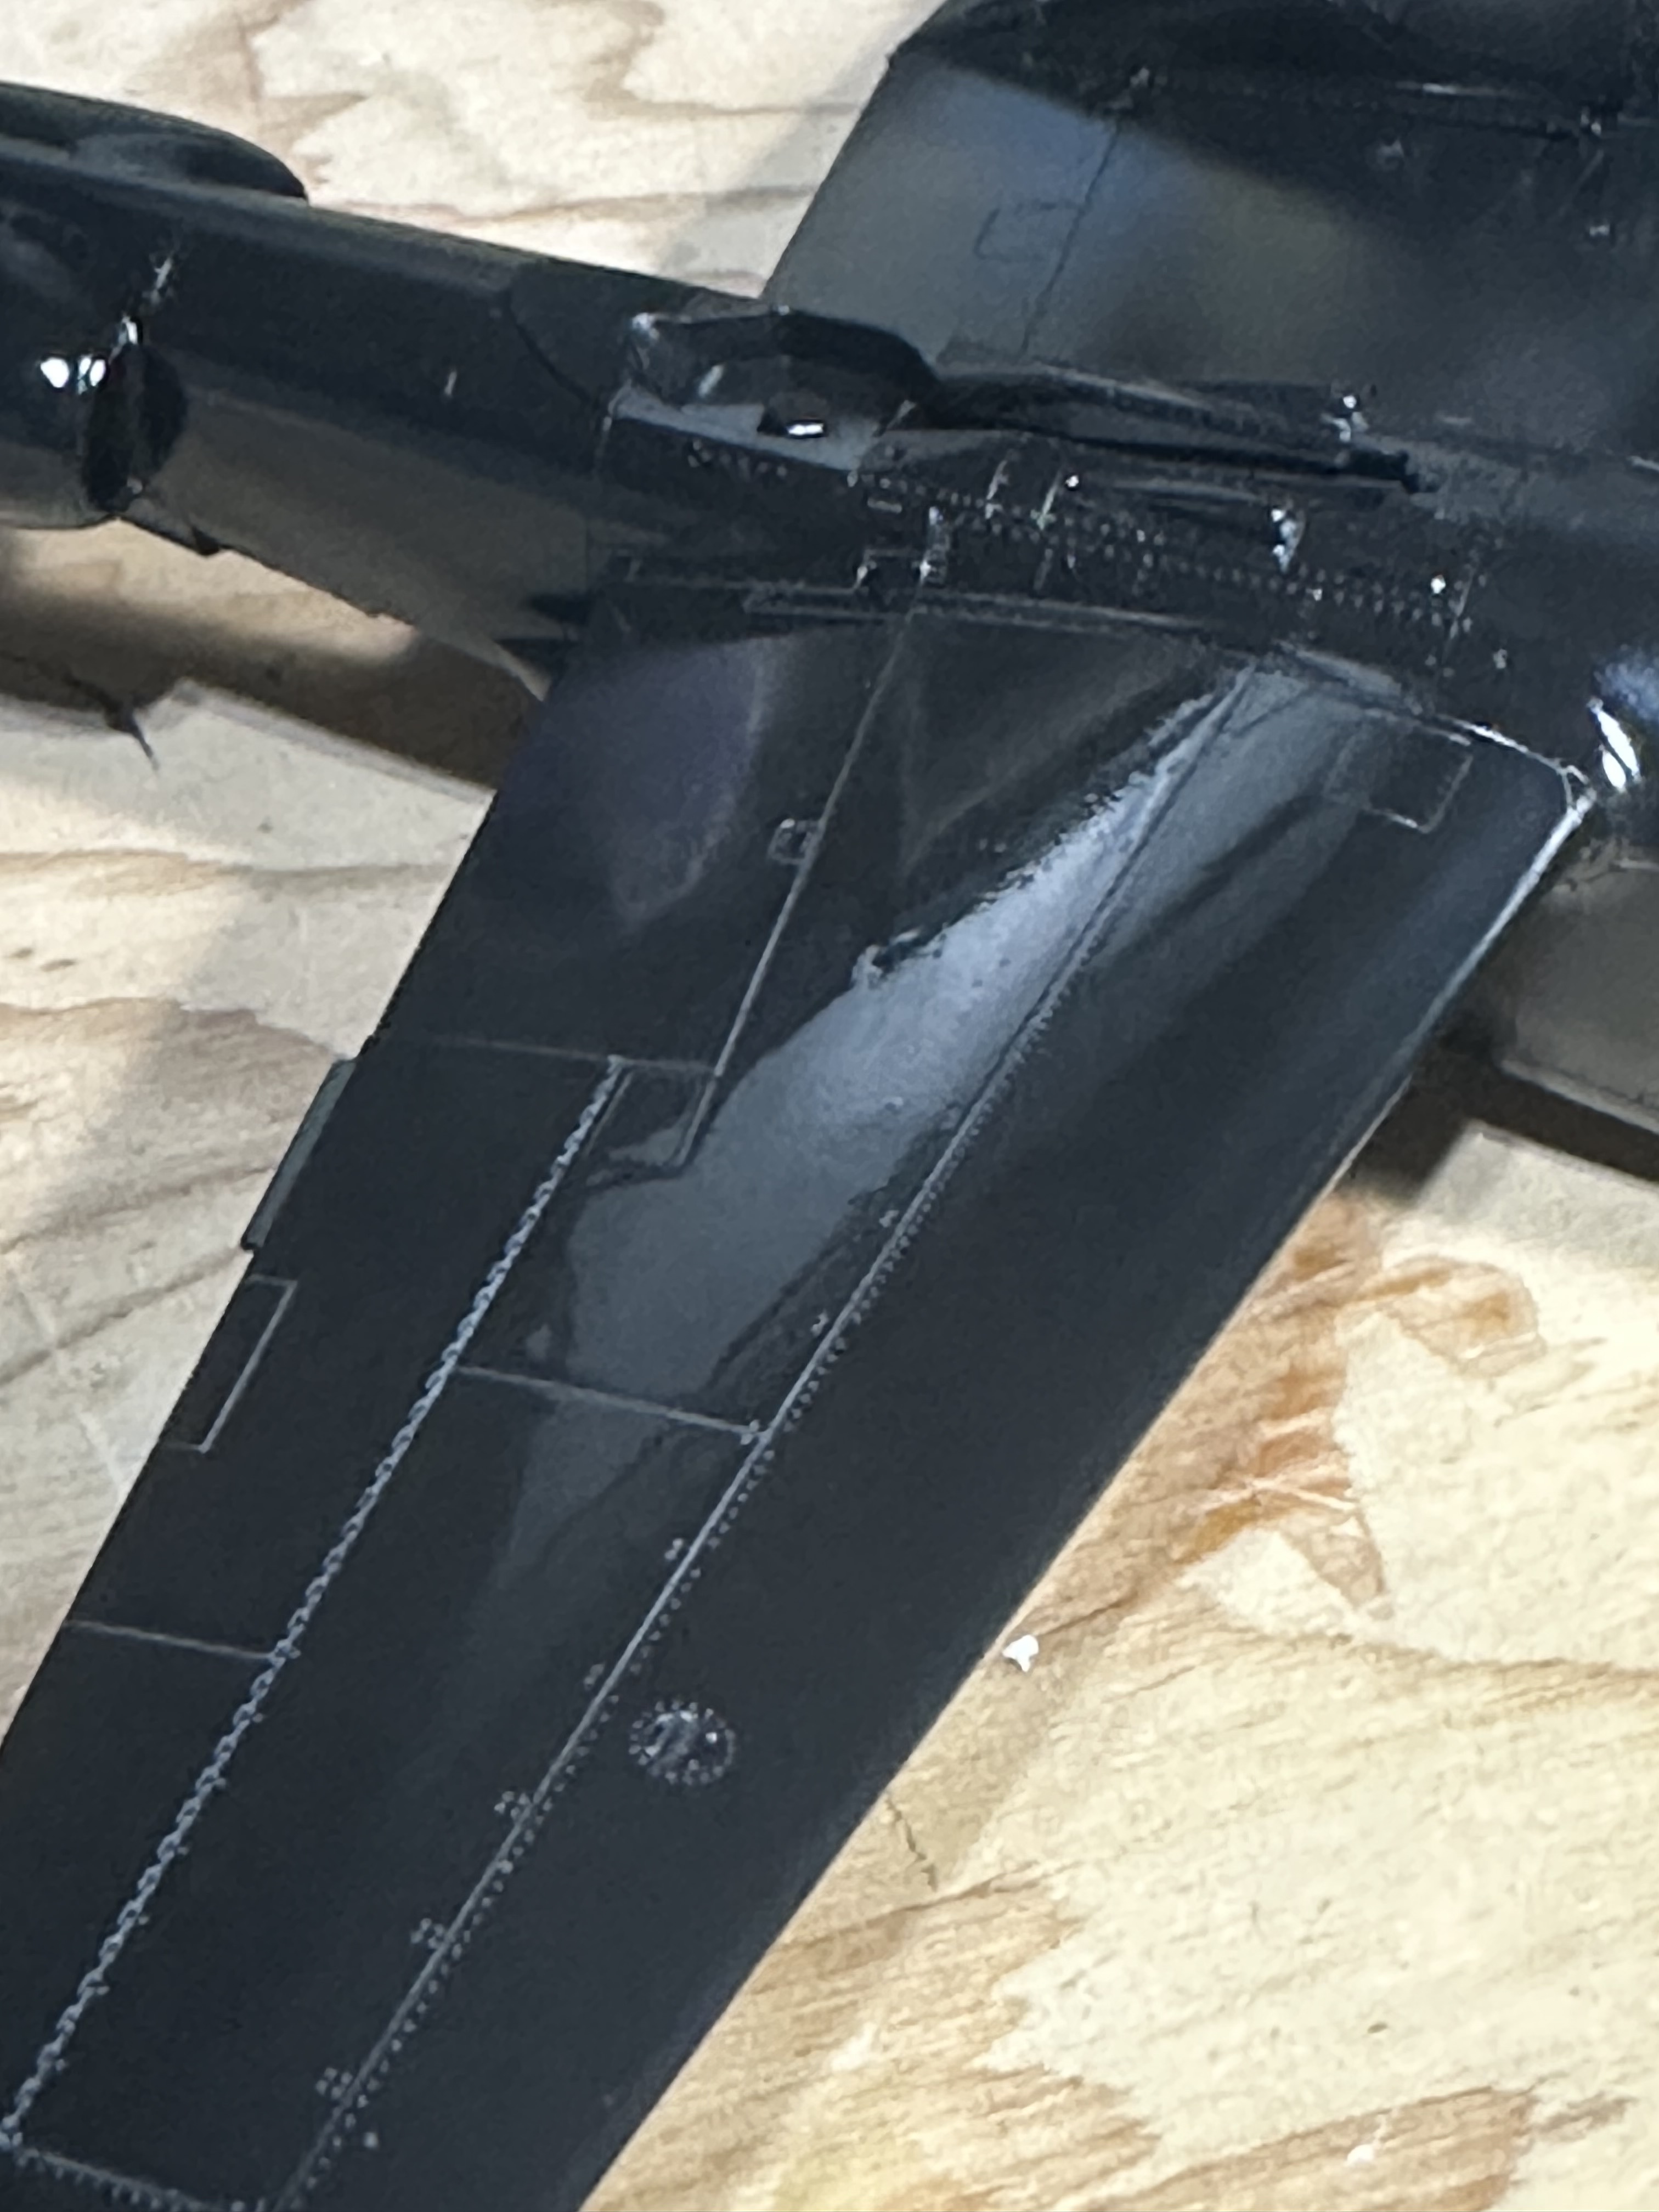
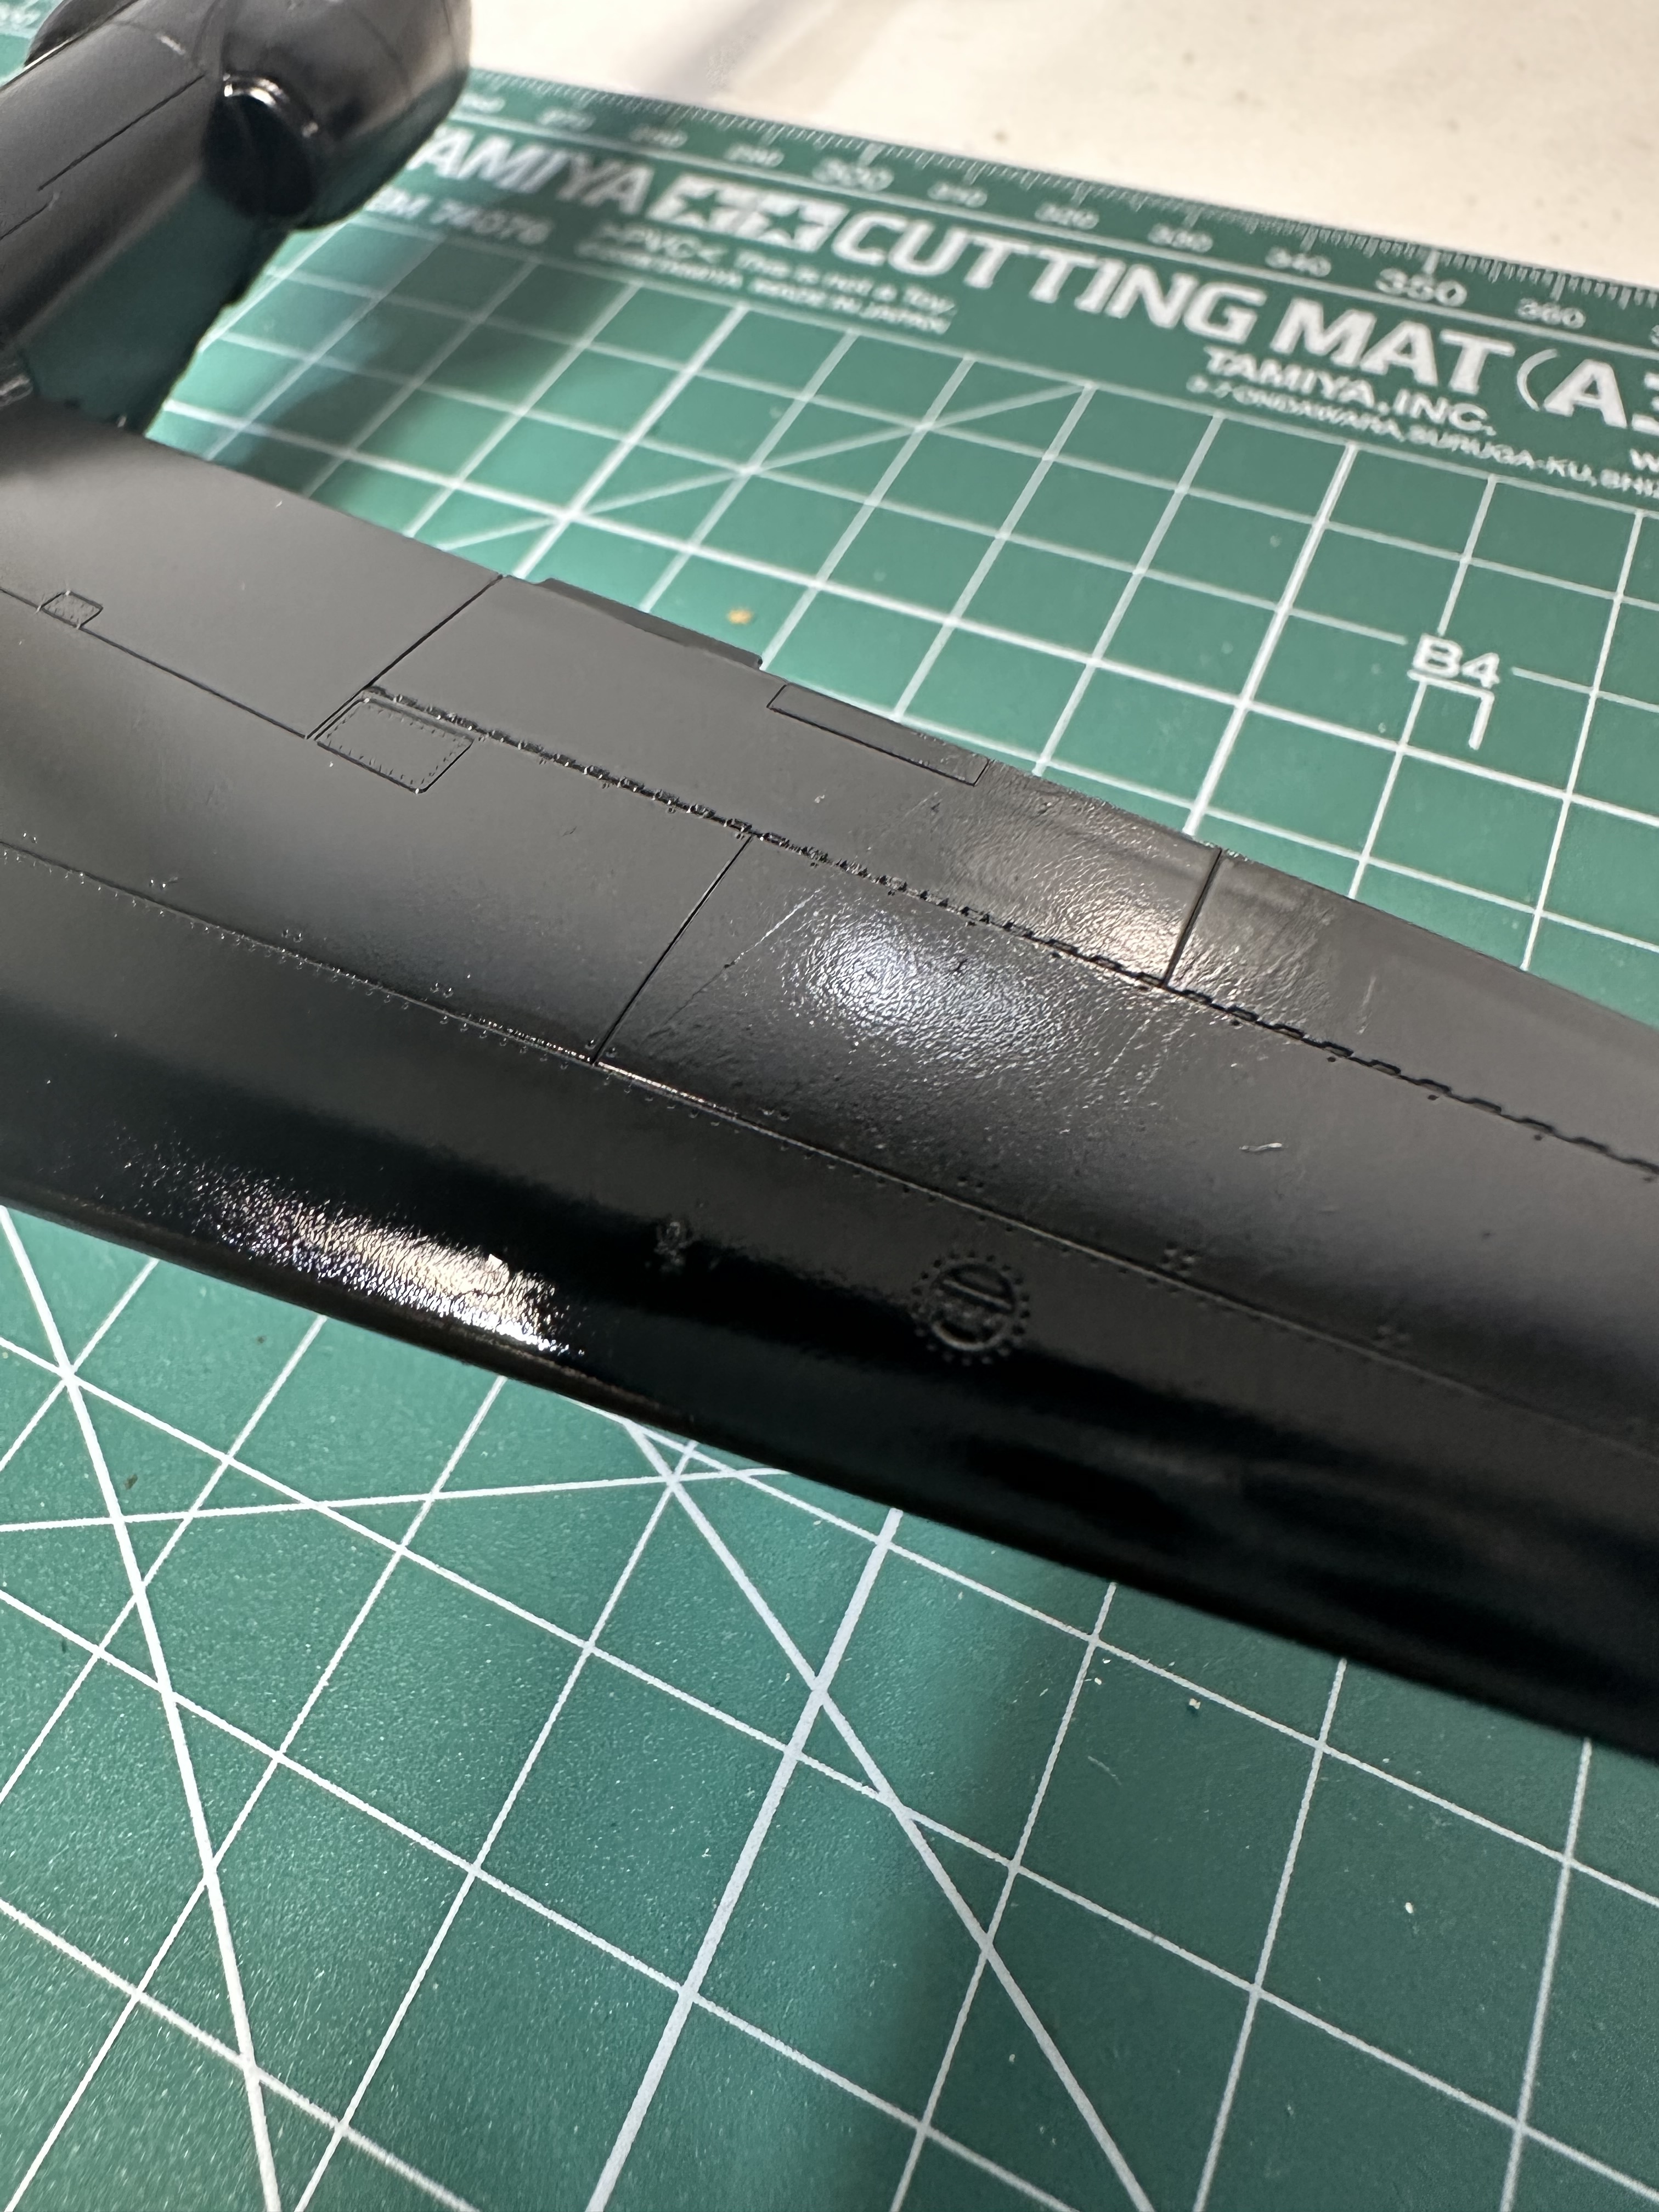
For the most part feel real good about this but don’t know how to go about fixing this slight ridge from where the box edge rubbed paint. I’m afraid to make it worse. Do I need to lightly sand it down and then do another round of black followed by MLT?
Overall process has been Mr. Color GX-2 thinned 50:50 with leveling thinner, sprayed in a light tack coat and then heavy pushing the paint, followed by straight MLT over everything.
Blue Magic metal polish is an excellent compound for rubbing out paint. If you have old white cotton t shirts cut them into 2”-3” squares. Smear some Blue Magic on them and let it dry overnight so the solvents evaporate.
Practice on a paint mule or an indistinct spot on the model . ( underside of wing between boom and center fuselage pod on P 38 ? ) .
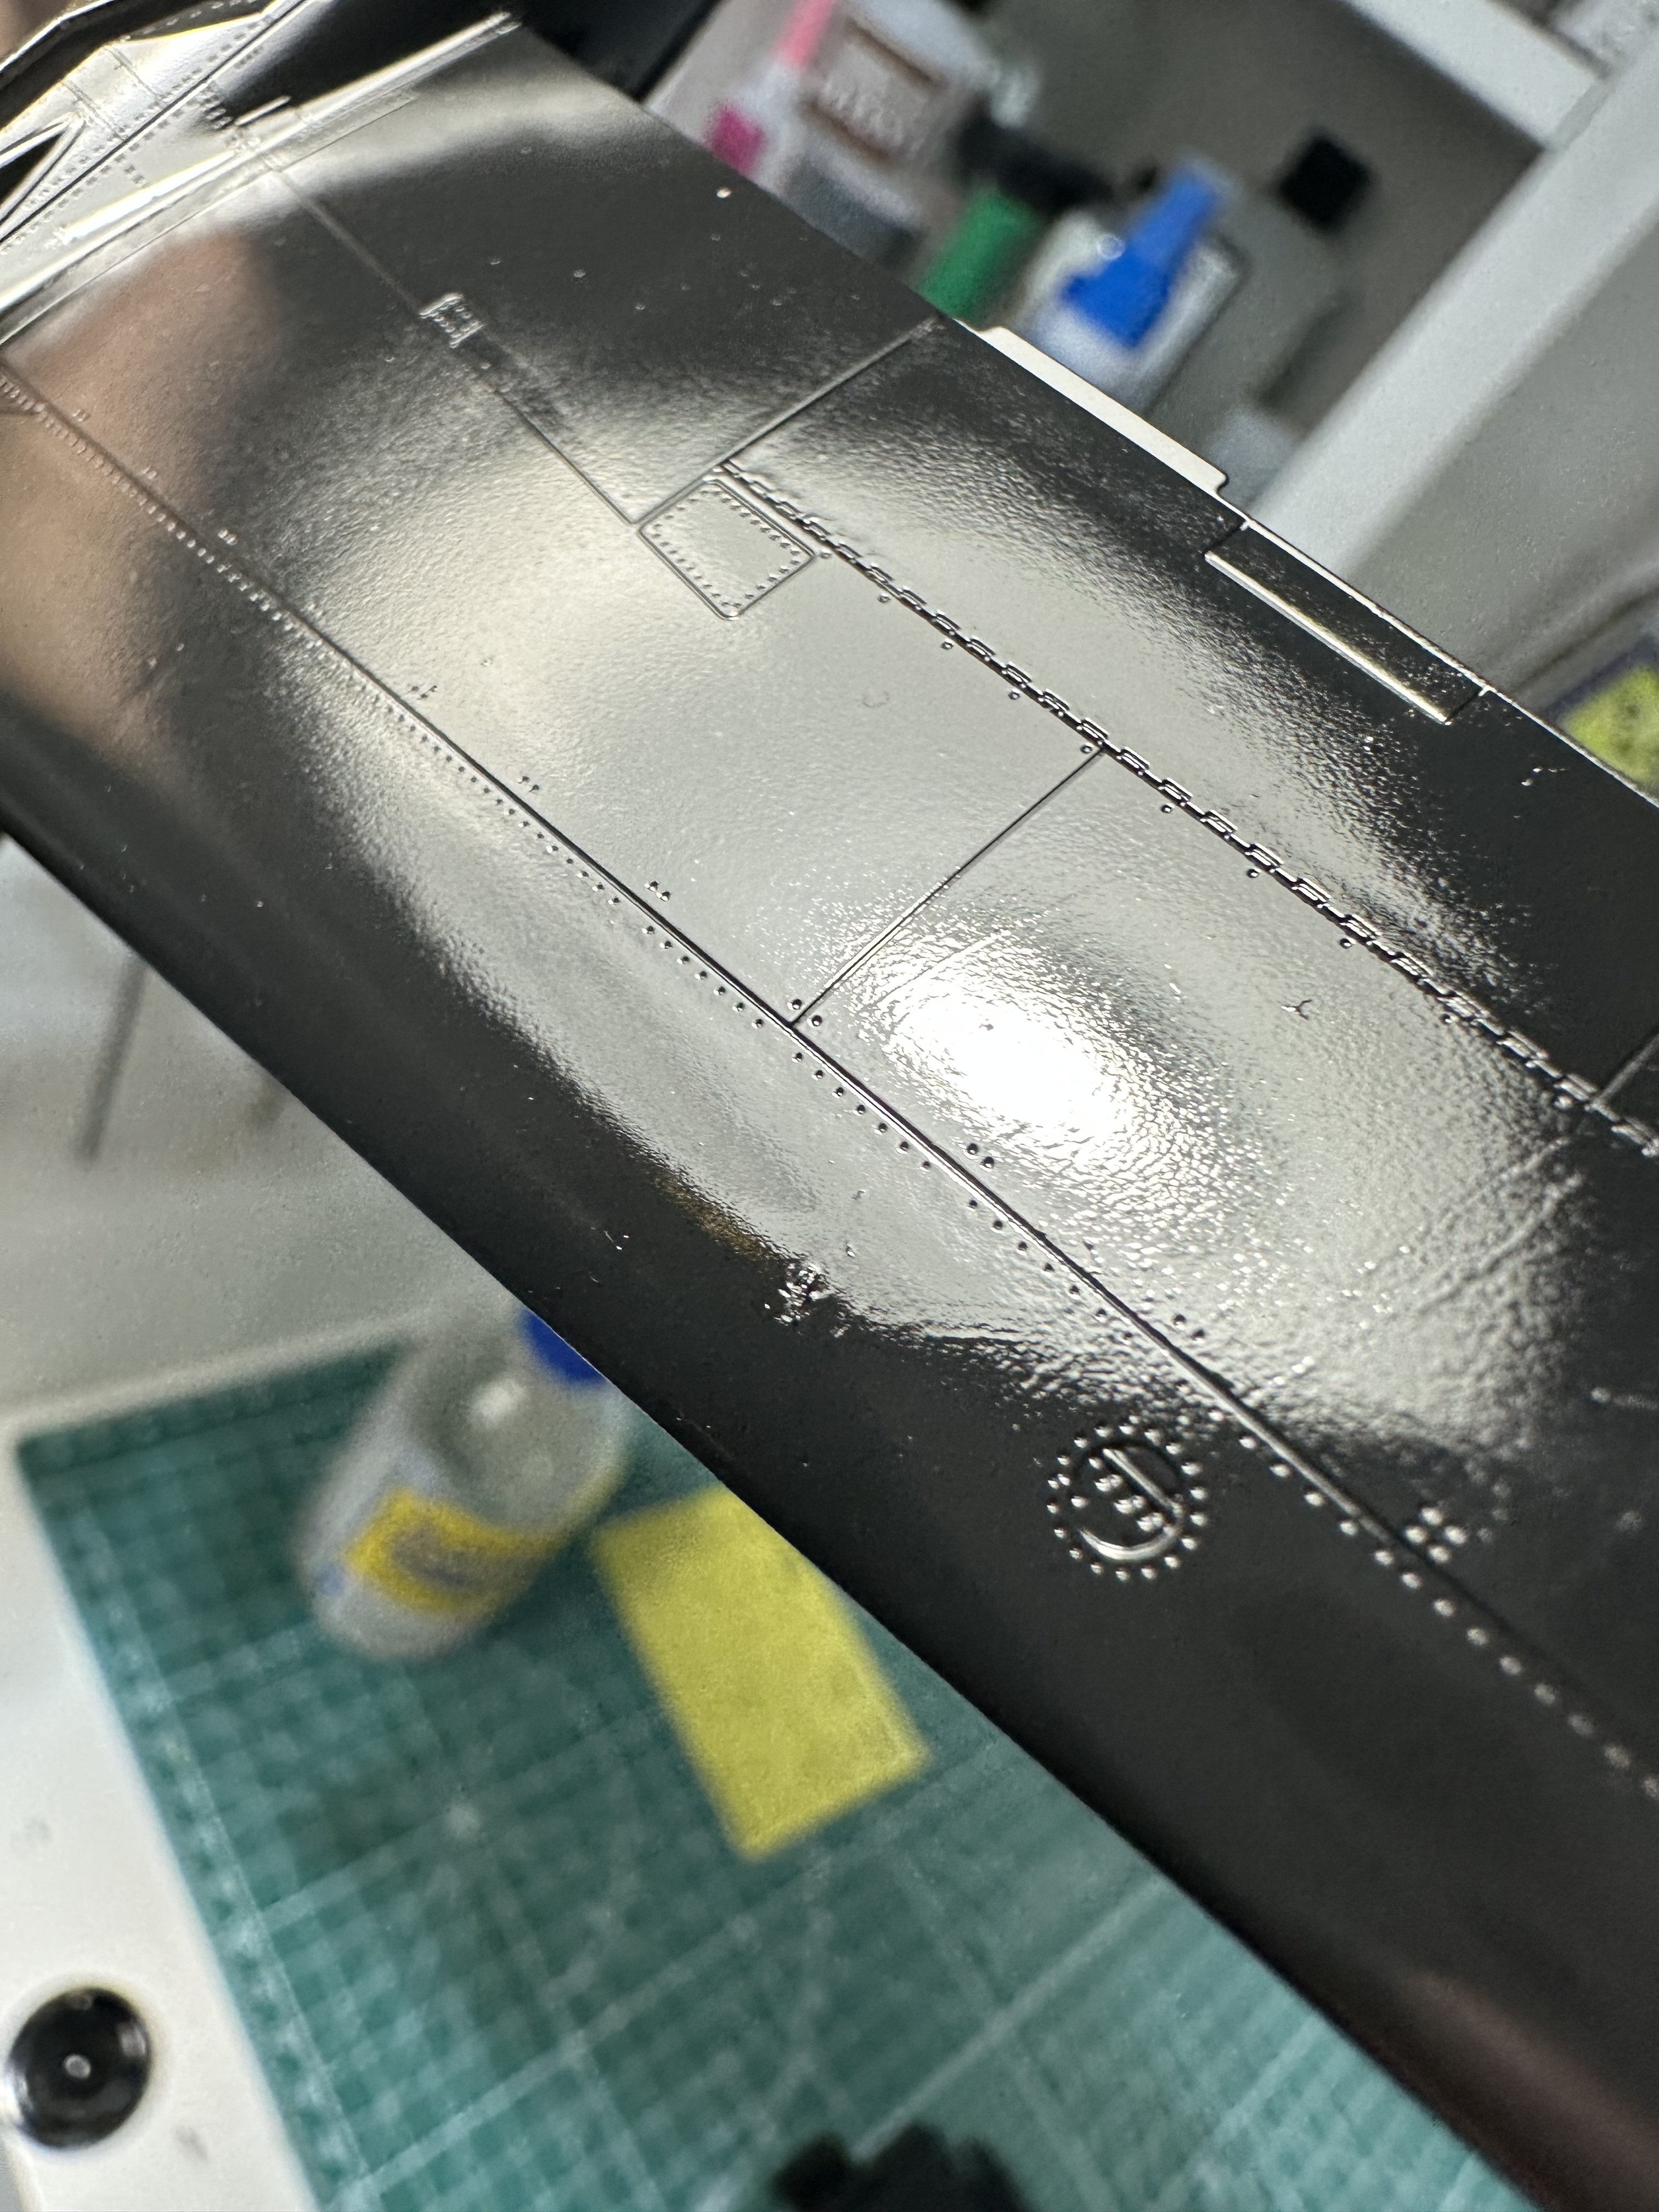
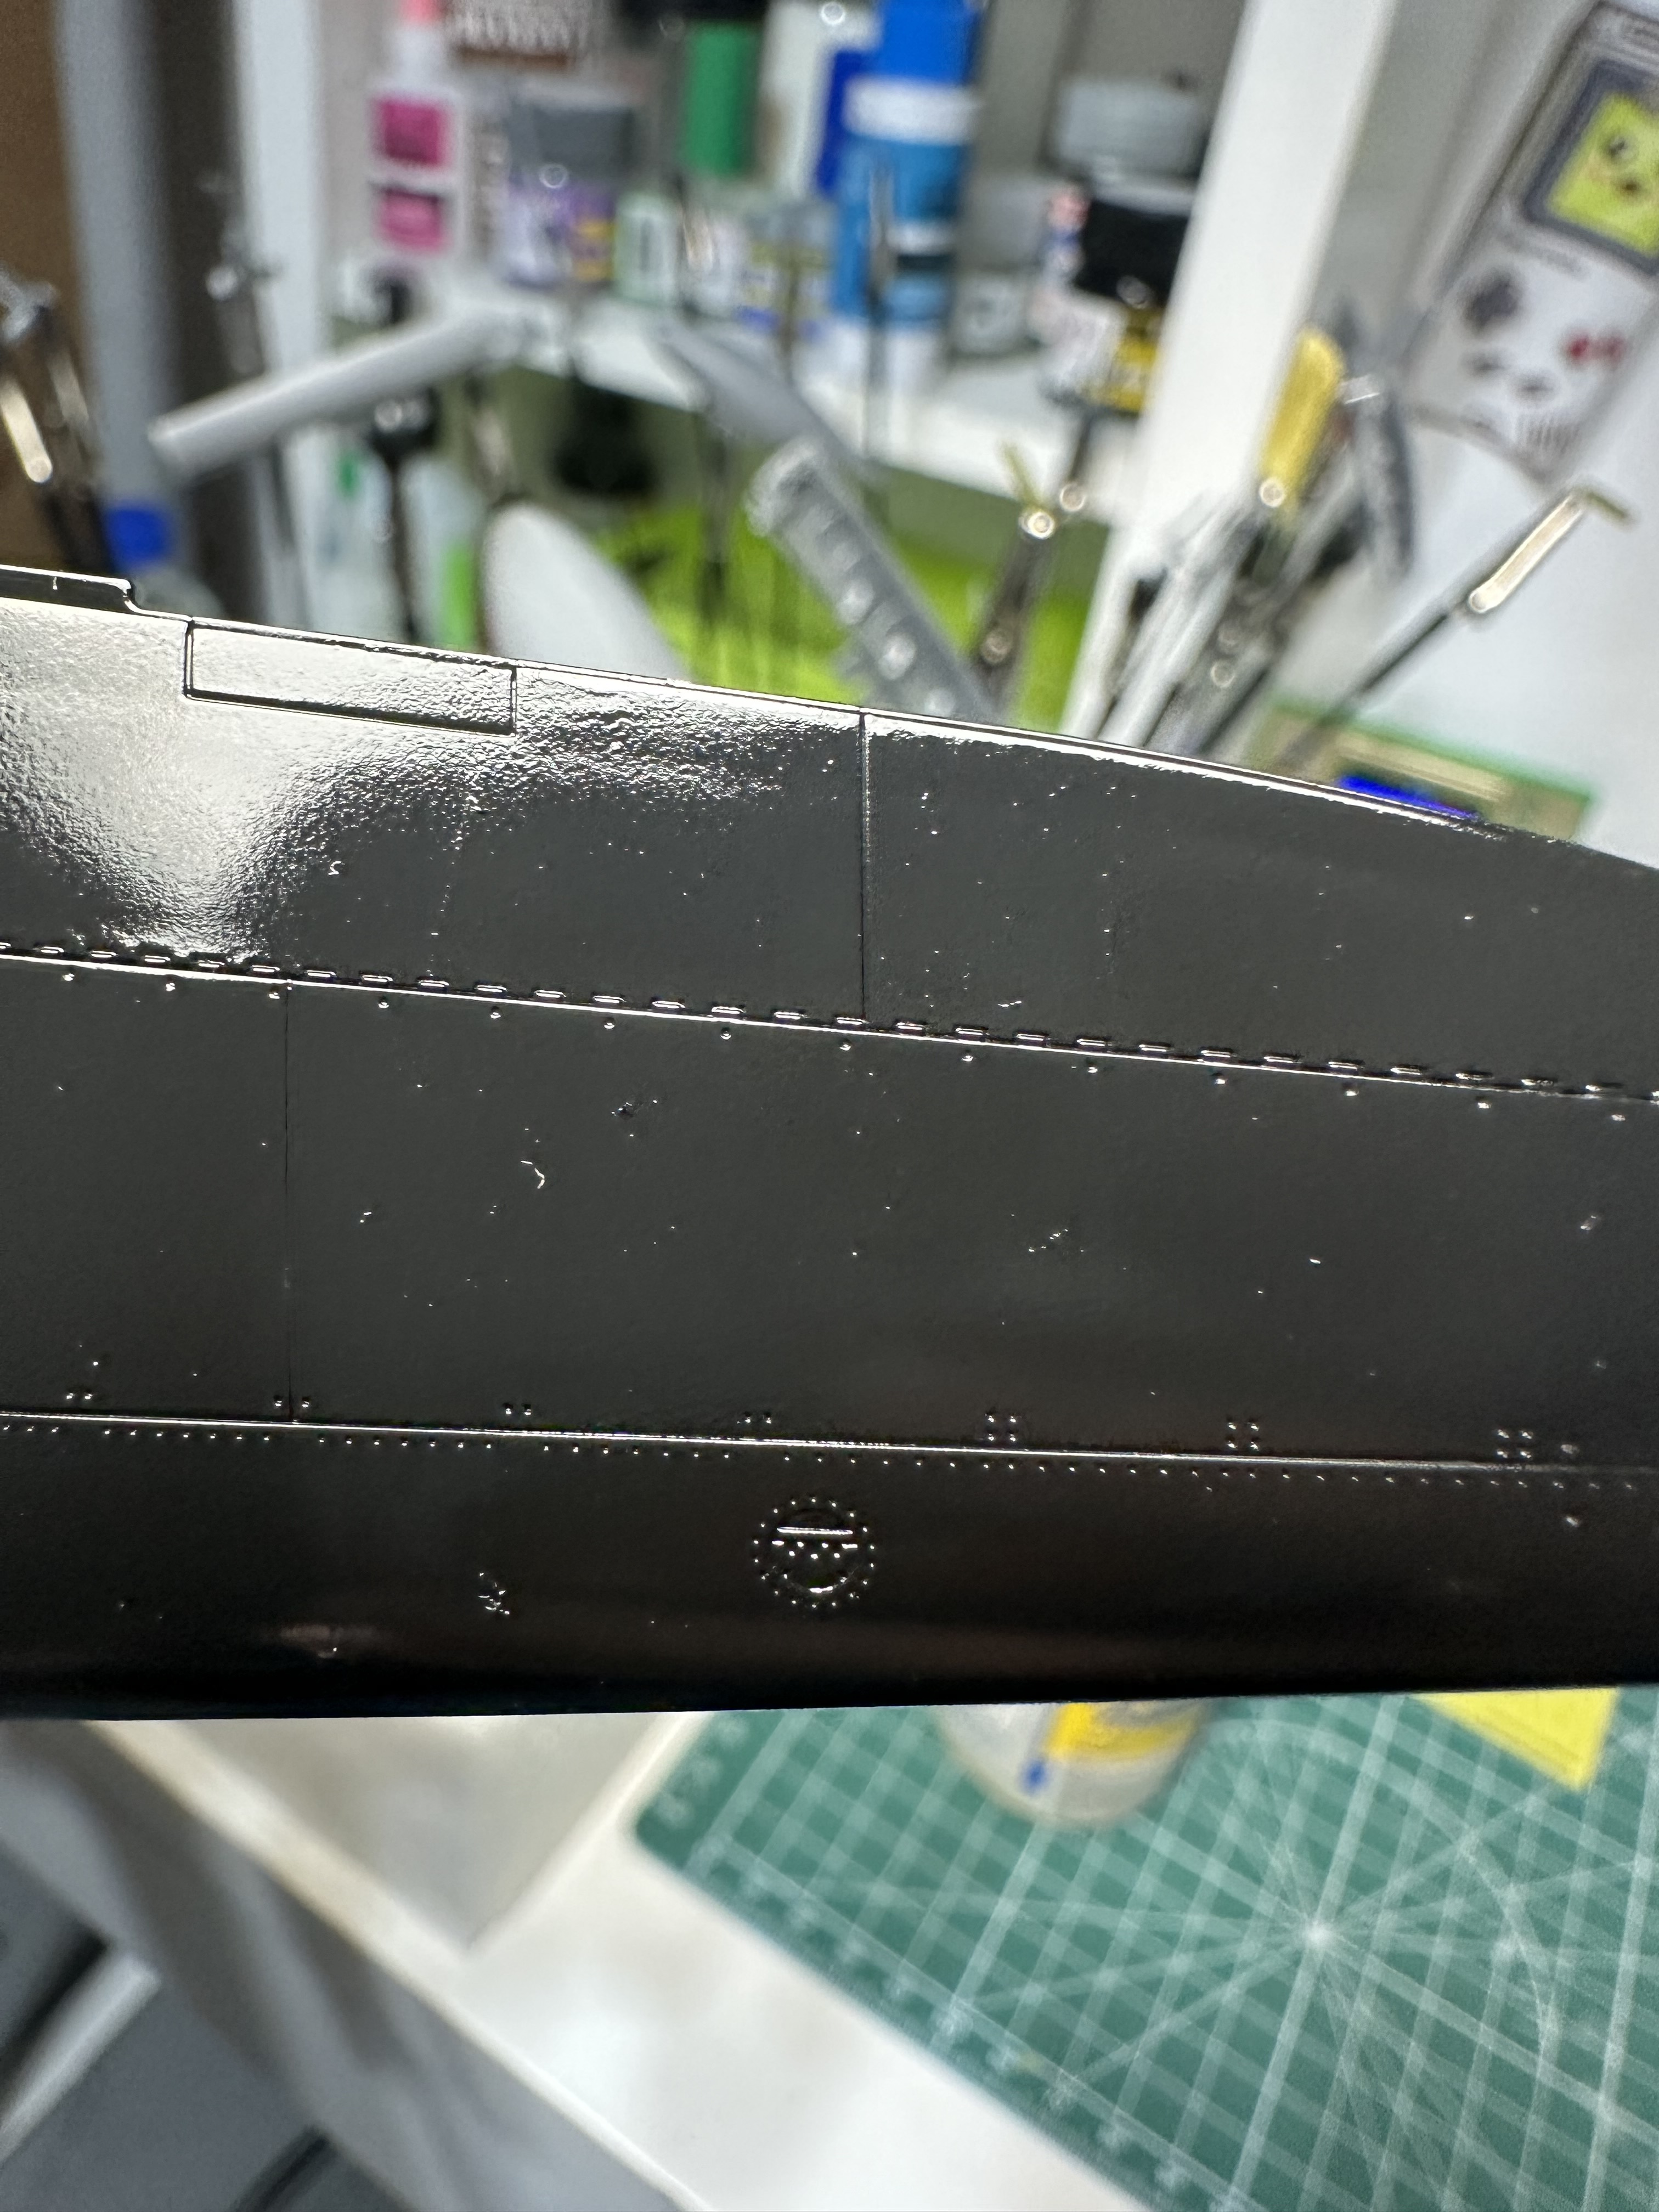
I see some orange peal in your photos. ( photos magnify much - it may not be bad in actual
viewing . ) Wet sanding with fine sanding sponges will knock that down but be aware that both sanding and rubbing out will remove paint from raised detail to a greater or lesser degree .
I think you are doing a beautiful job - keep it up !