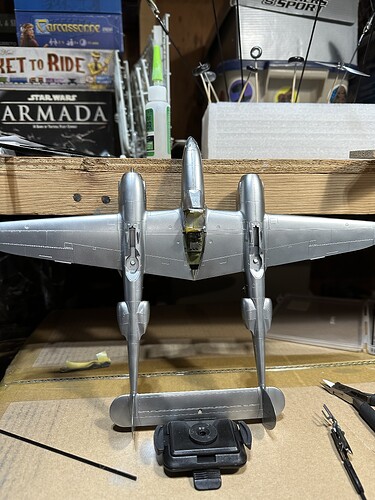
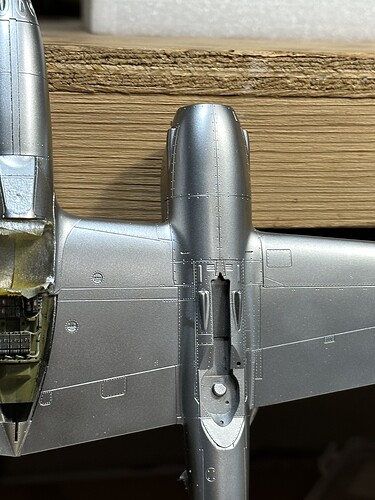
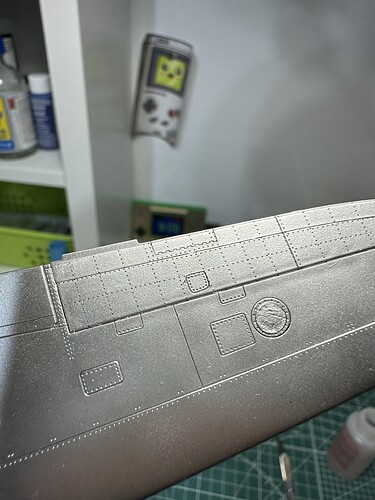
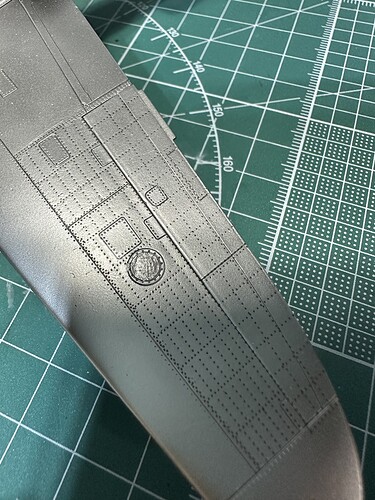
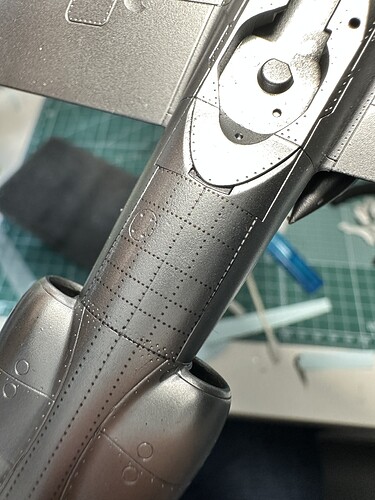
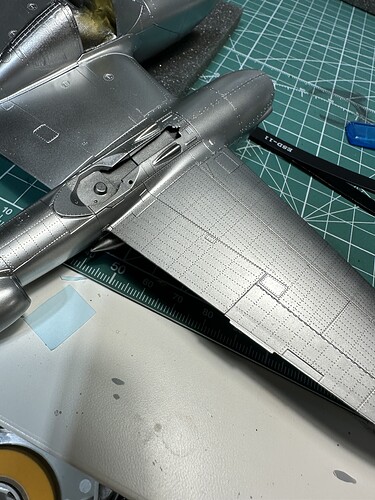
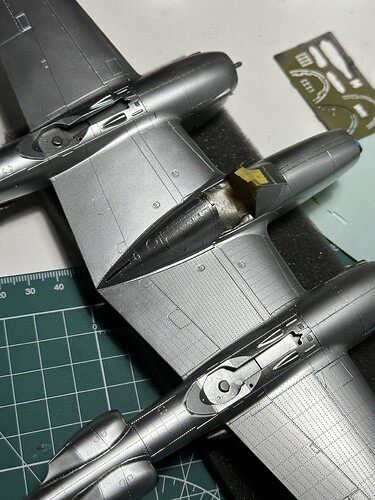
Exactly what I thought. Those look like proper seams. Build to satisfy yourself, but honestly I don’t think that will detract from your enjoyment of the finished project sitting on your shelf.
If you must redo the seams along the top of the booms most images show heavy exhaust staining along this surface aft of the turbochargers . This may give you an opportunity to cover up unwanted stuff …
Here is Tamiya’s H model I did a while back.
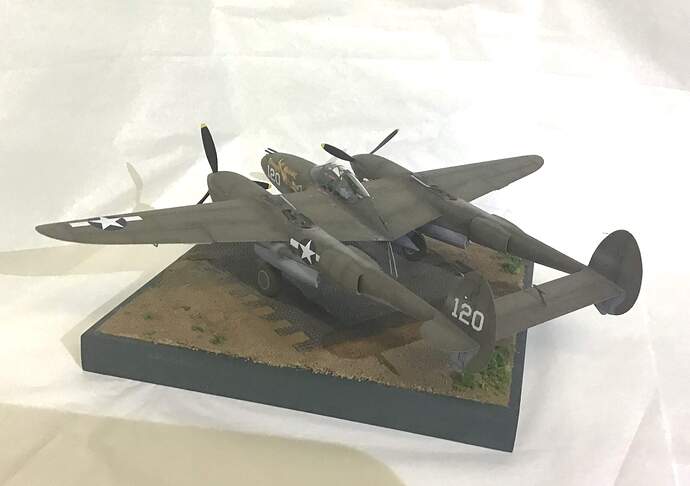
Yeah you’re right! I think the reason I think I was hung ho is when I didn’t know those seams were even meant to be gone on my P-38G, they looked so bad after exhaust stains. Thinking the rivets will help hide and may go light to no exhaust staining. Maybe it’s a fresh Dday bird lol
That looks great! Yeah think I’ll cover up as best I can
Salvaged!! So stoked that it barely shows any signs of TWO sessions of removing paint and trying again. On to the next stuff. Will try some river decals soon, likely over aqua gloss
Well done - something to be said about perseverance, eh ?
Haha yep! Perseverance and I spent way too much on all this!
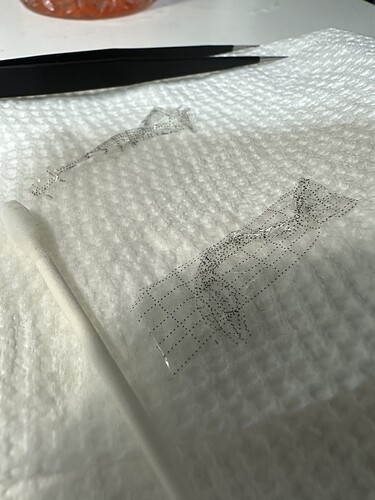
Pic 1: Mr Mark Setter: no good here, pieces immediately stick and can’t move at all.
Pic 2 and 3: just water. More forgiving. Still worried about big pieces so will cut up a lot. Plan to then put more SM-201 over top of everything when done.
Wanted to try peeling the film off the rivet decals, and the rivets started pulling up immediately. Not touching that again and just plan to seal all in with another coat of SM-201 when done.
Hi Steve, I’ve never done this myself but I was reading a book on a WnW Felixstowe build which was pretty good. I’ll quote what he wrote “I applied the rivets straight to bare styrene (sanded smooth with #4000 polishing cloth). adding some Mircro Sol Setting solution. When dry, I simply used Mr. Color Leveling Thinner to remove the decal film using gentle ‘scrubbing’ with a small soft brush”. Maybe an option? He was using Archer AR88015 rivets. Cheers / Ian
Honestly sounds like an awesome way of doing it if I was to start fresh on a different model! So far this film is barely noticeable so I’m lucking out.
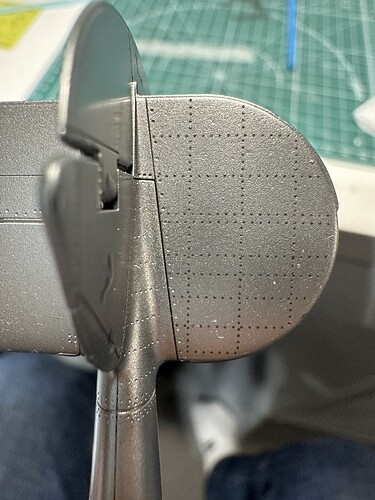
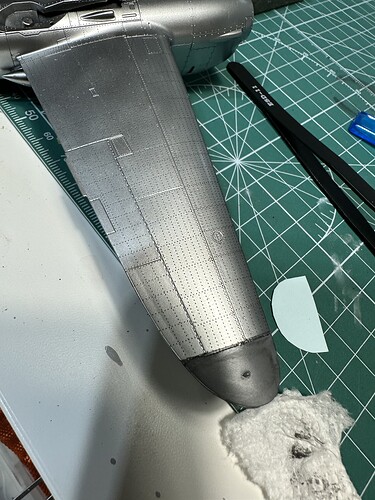
Moving along but I jinxed myself and pushed the decal around too much on the wing tip piece and the rivets were all wobbly. Tried to repair but it looked bad. Will use one of the underside pieces and try pin riveting that side.
Looking really good!
Trying to figure out best way to deal for eventual decals and masking for invasion stripes. Could do 3 options as far as I see it: 1) another coat of Mr. Hobby SM-201, then gloss coat (have Gx-100, AquaGloss, or X-22), 2) just another coat of SM-201 or 3) it’s metallic enough, seal with just gloss coat and no more main coat. Thoughts?? Thanks!!
Thought: cover everything with alclad polished aluminum? Getting jealous of super shine I’m seeing online, but obviously too late to knock things back to gloss black with rivets down. Is that crazy? Or just lock in with SM-201?
Reddit has said I can make the overall coat lighter adding alclad, but I will not gain any reflectivity unless it’s over gloss black. Don’t want to add another layer of black so will probably leave it be.
I’d leave it be and take notes for the next one.
