The Ausf.F had a full intercom.
That tank commander seems to be wearing headphones but not microphones. Did he remove his microphones and put them on the turret roof? I think that I can see their wires. Any thoughts?
David
The Ausf.F had a full intercom.
That tank commander seems to be wearing headphones but not microphones. Did he remove his microphones and put them on the turret roof? I think that I can see their wires. Any thoughts?
David
David; Ah…er…I don’t know why he isn’t wearing his throat mic. I tried to enlarge the image and improve the resolution, but to little avail;
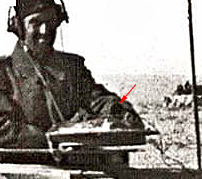
I think the arrow is pointing at the mic and I too see the wires in the lower right corner. Maybe his neck is sunburned and he needs a break from wearing them. I really have no idea why he wouldn’t need to be in constant contact with his crew and / or his superiors. 
I suppose that as long as he was monitoring the situation with his headphones on, he could respond by simply picking up his mic and pressing it to his throat. This renders the sunburn hypotheses a bit more plausible. Sorta… 
Mead, you are correct, there’s very few exceptions to displaying the swastika, totenkopf skull and SS runes in products both originating in Germany and materials for import. I do recall getting Revell Germany kits in the hobby shop I worked in during the 1980’s (in the mid-west) and those items would be cut out of decal sheets and blacked out on boxes. It’s popped up before in other threads so I won’t beat a dead horse other than saying it’s not cancel culture, it’s been their policy for decades before 'cancel culture’s and ‘pc’ was a thing. Very few us have a slice of less than a decade in our history where our governments have perpetrated a genocide of such magnitude and horror. While Germany wasnt trying to erase history they were still coming to terms with what did happen and a persistent radicalized slice of their society that was in denial and still celebrated the 3rd Reich. As such those symbols were censored, right or wrong is debatable and hindsight but it’s how they chose to confront what happened in the 30’s and 40’s.
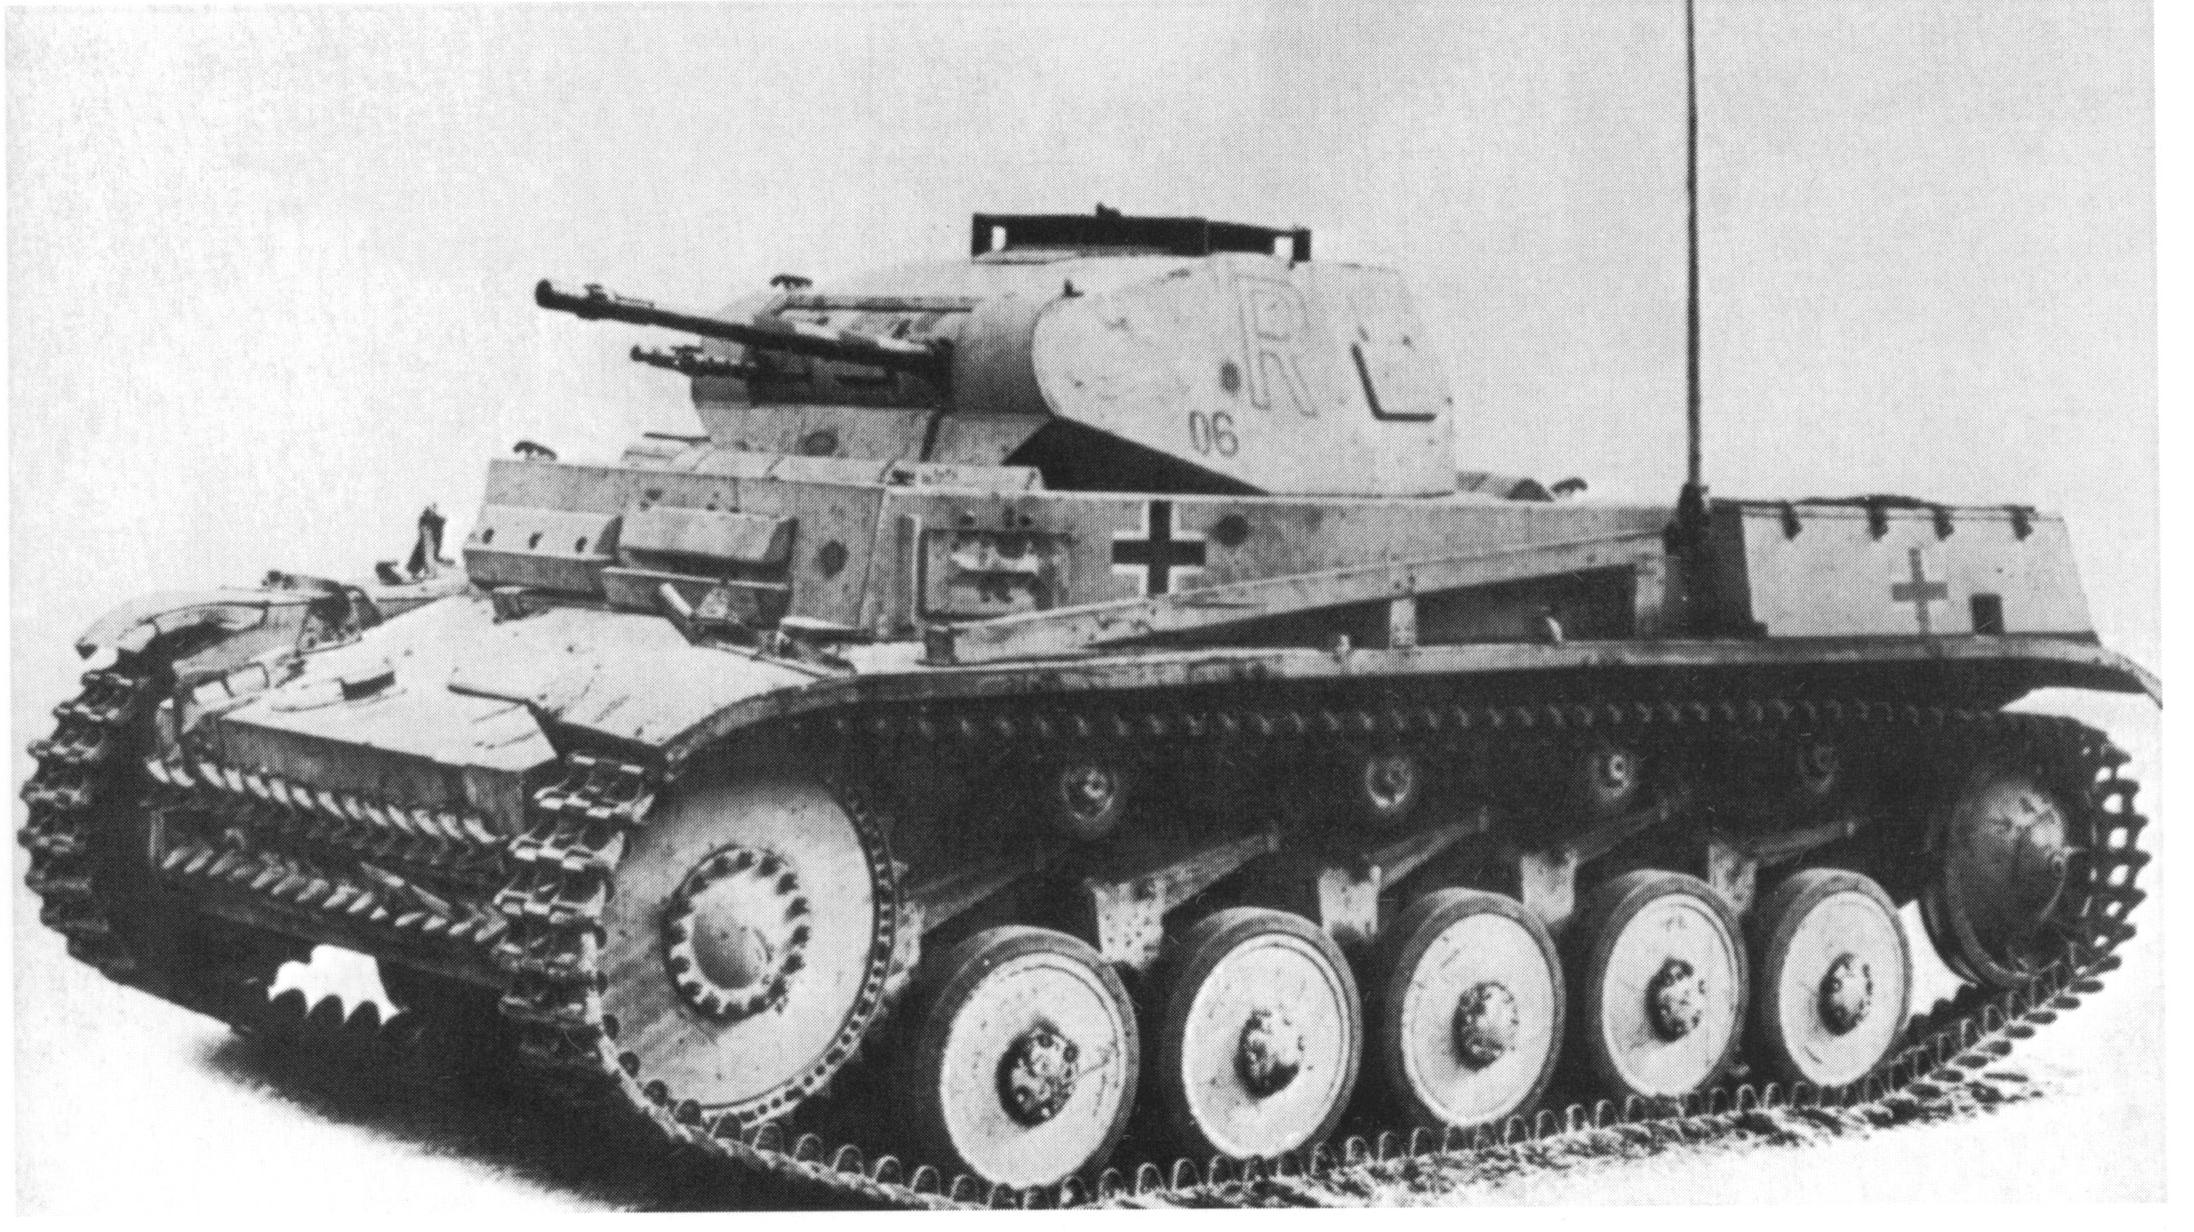
This is the only photo that I could find of the tank that Tamiya based its erroneously labeled kit upon.
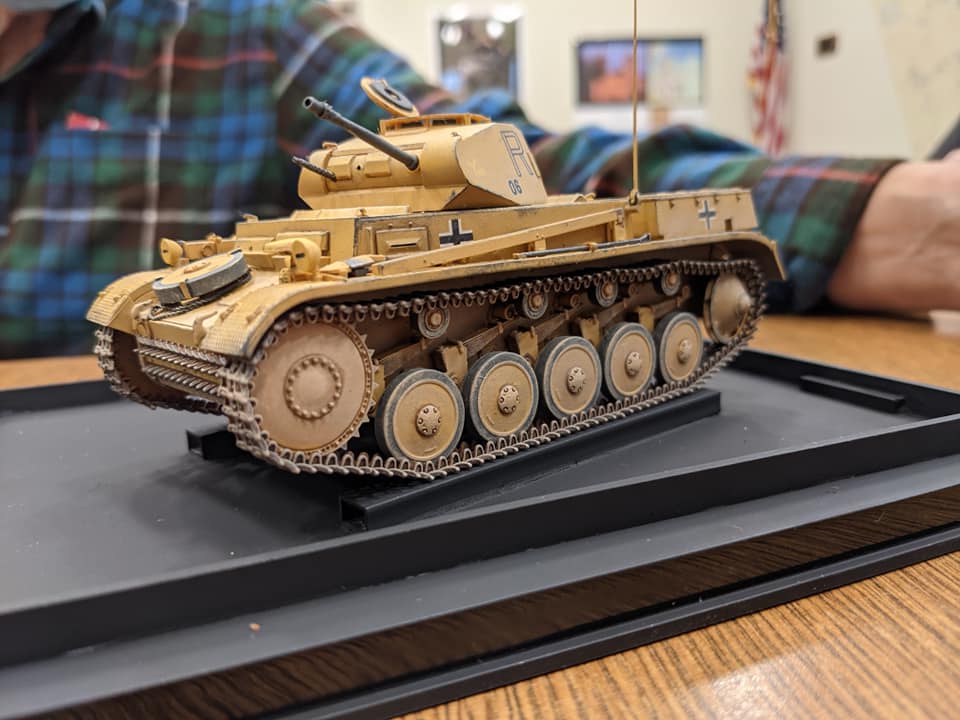
It was an Ausf F with a scavenged extra bin on the left rear fender. It is the same bin normally mounted on the right fender, complete with the Balkenkreuz. The new Academy Panzer II Ausf F comes with this as one of six options and includes the correct markings. This my build of that kit, the groundwork and figures are still to be added.
Hope this helps.
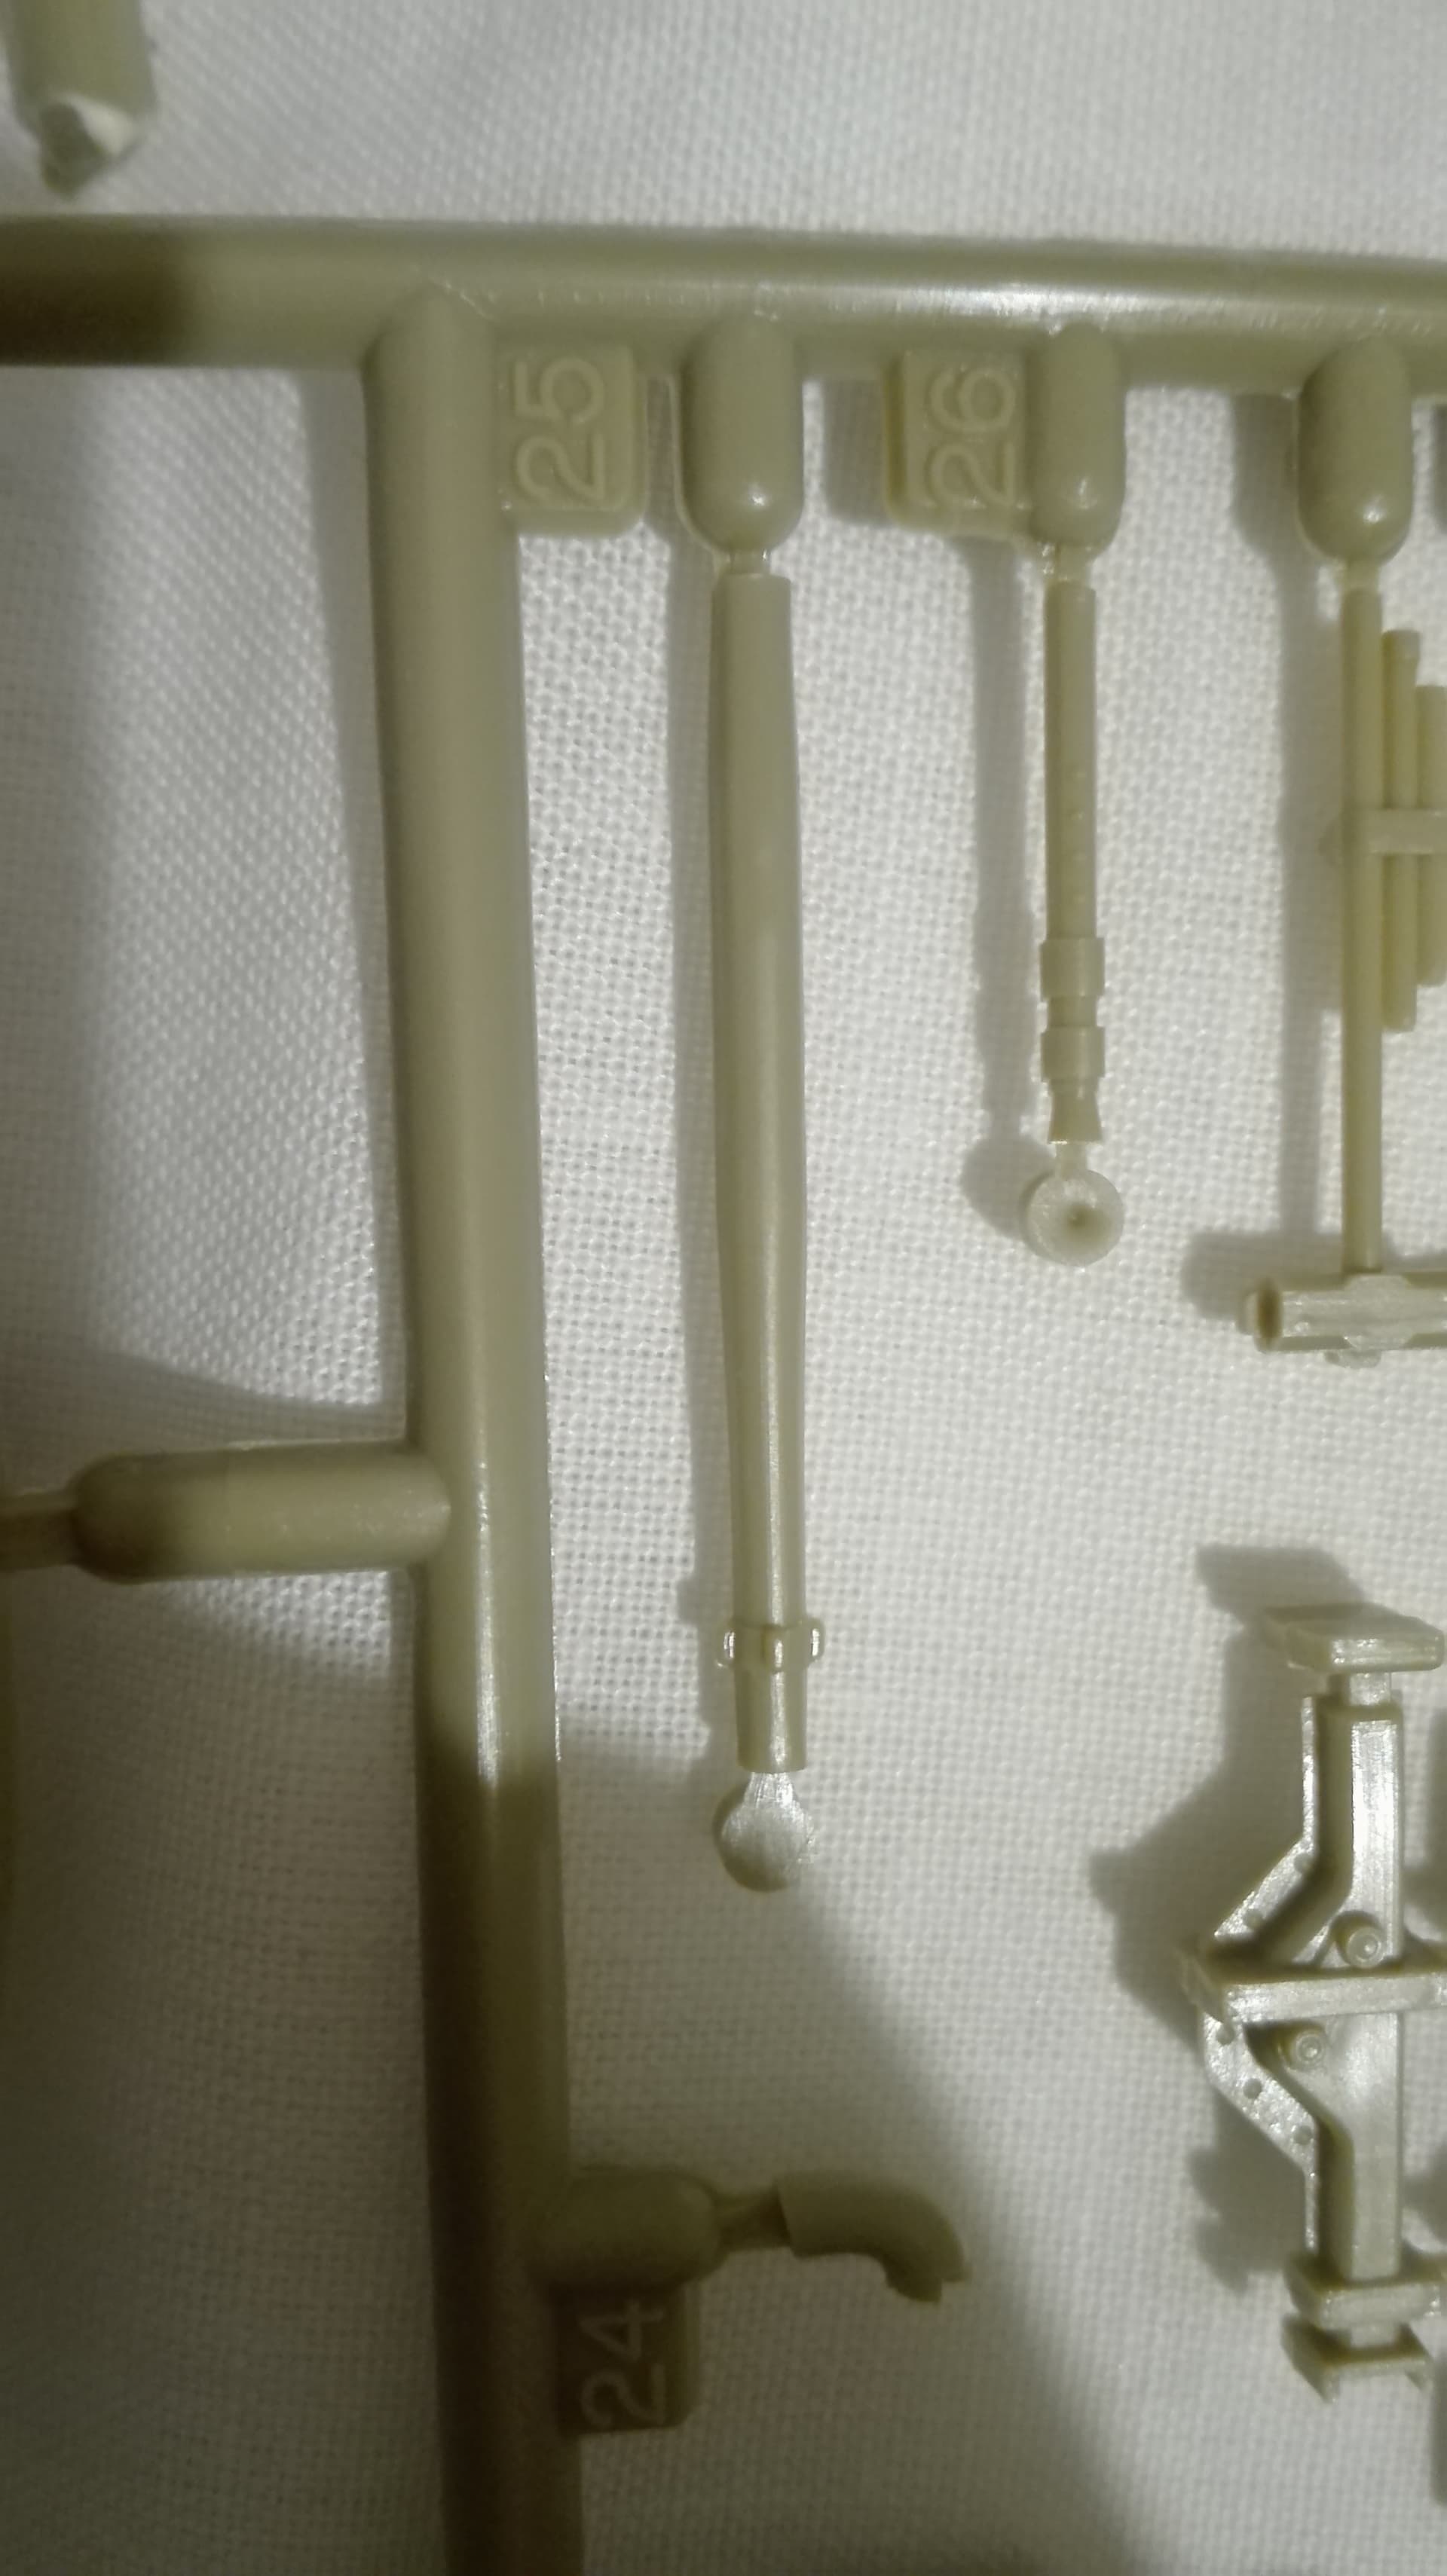
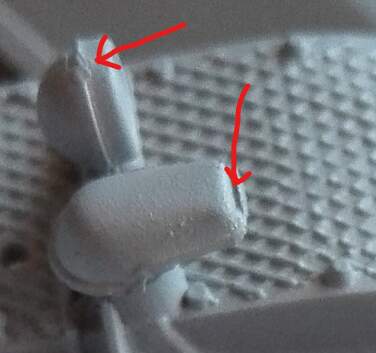
Here are the barrels, as requested:
@Taffy3 , that’s a very beautiful model, I think I will use it as example
Not terrible, here are the dragon ones for comparison
For these small tanks I really like to use metal barrels as the flash suppressors are often a little soft on the smaller caliber barrels. Here is how the aber barrels look, the flash suppressors and mg-34 is much crisper, it adds a cost of about $9 and about a 4 week wait but in my opinion it makes a big difference for small vehicles
Thank you, much appreciated.
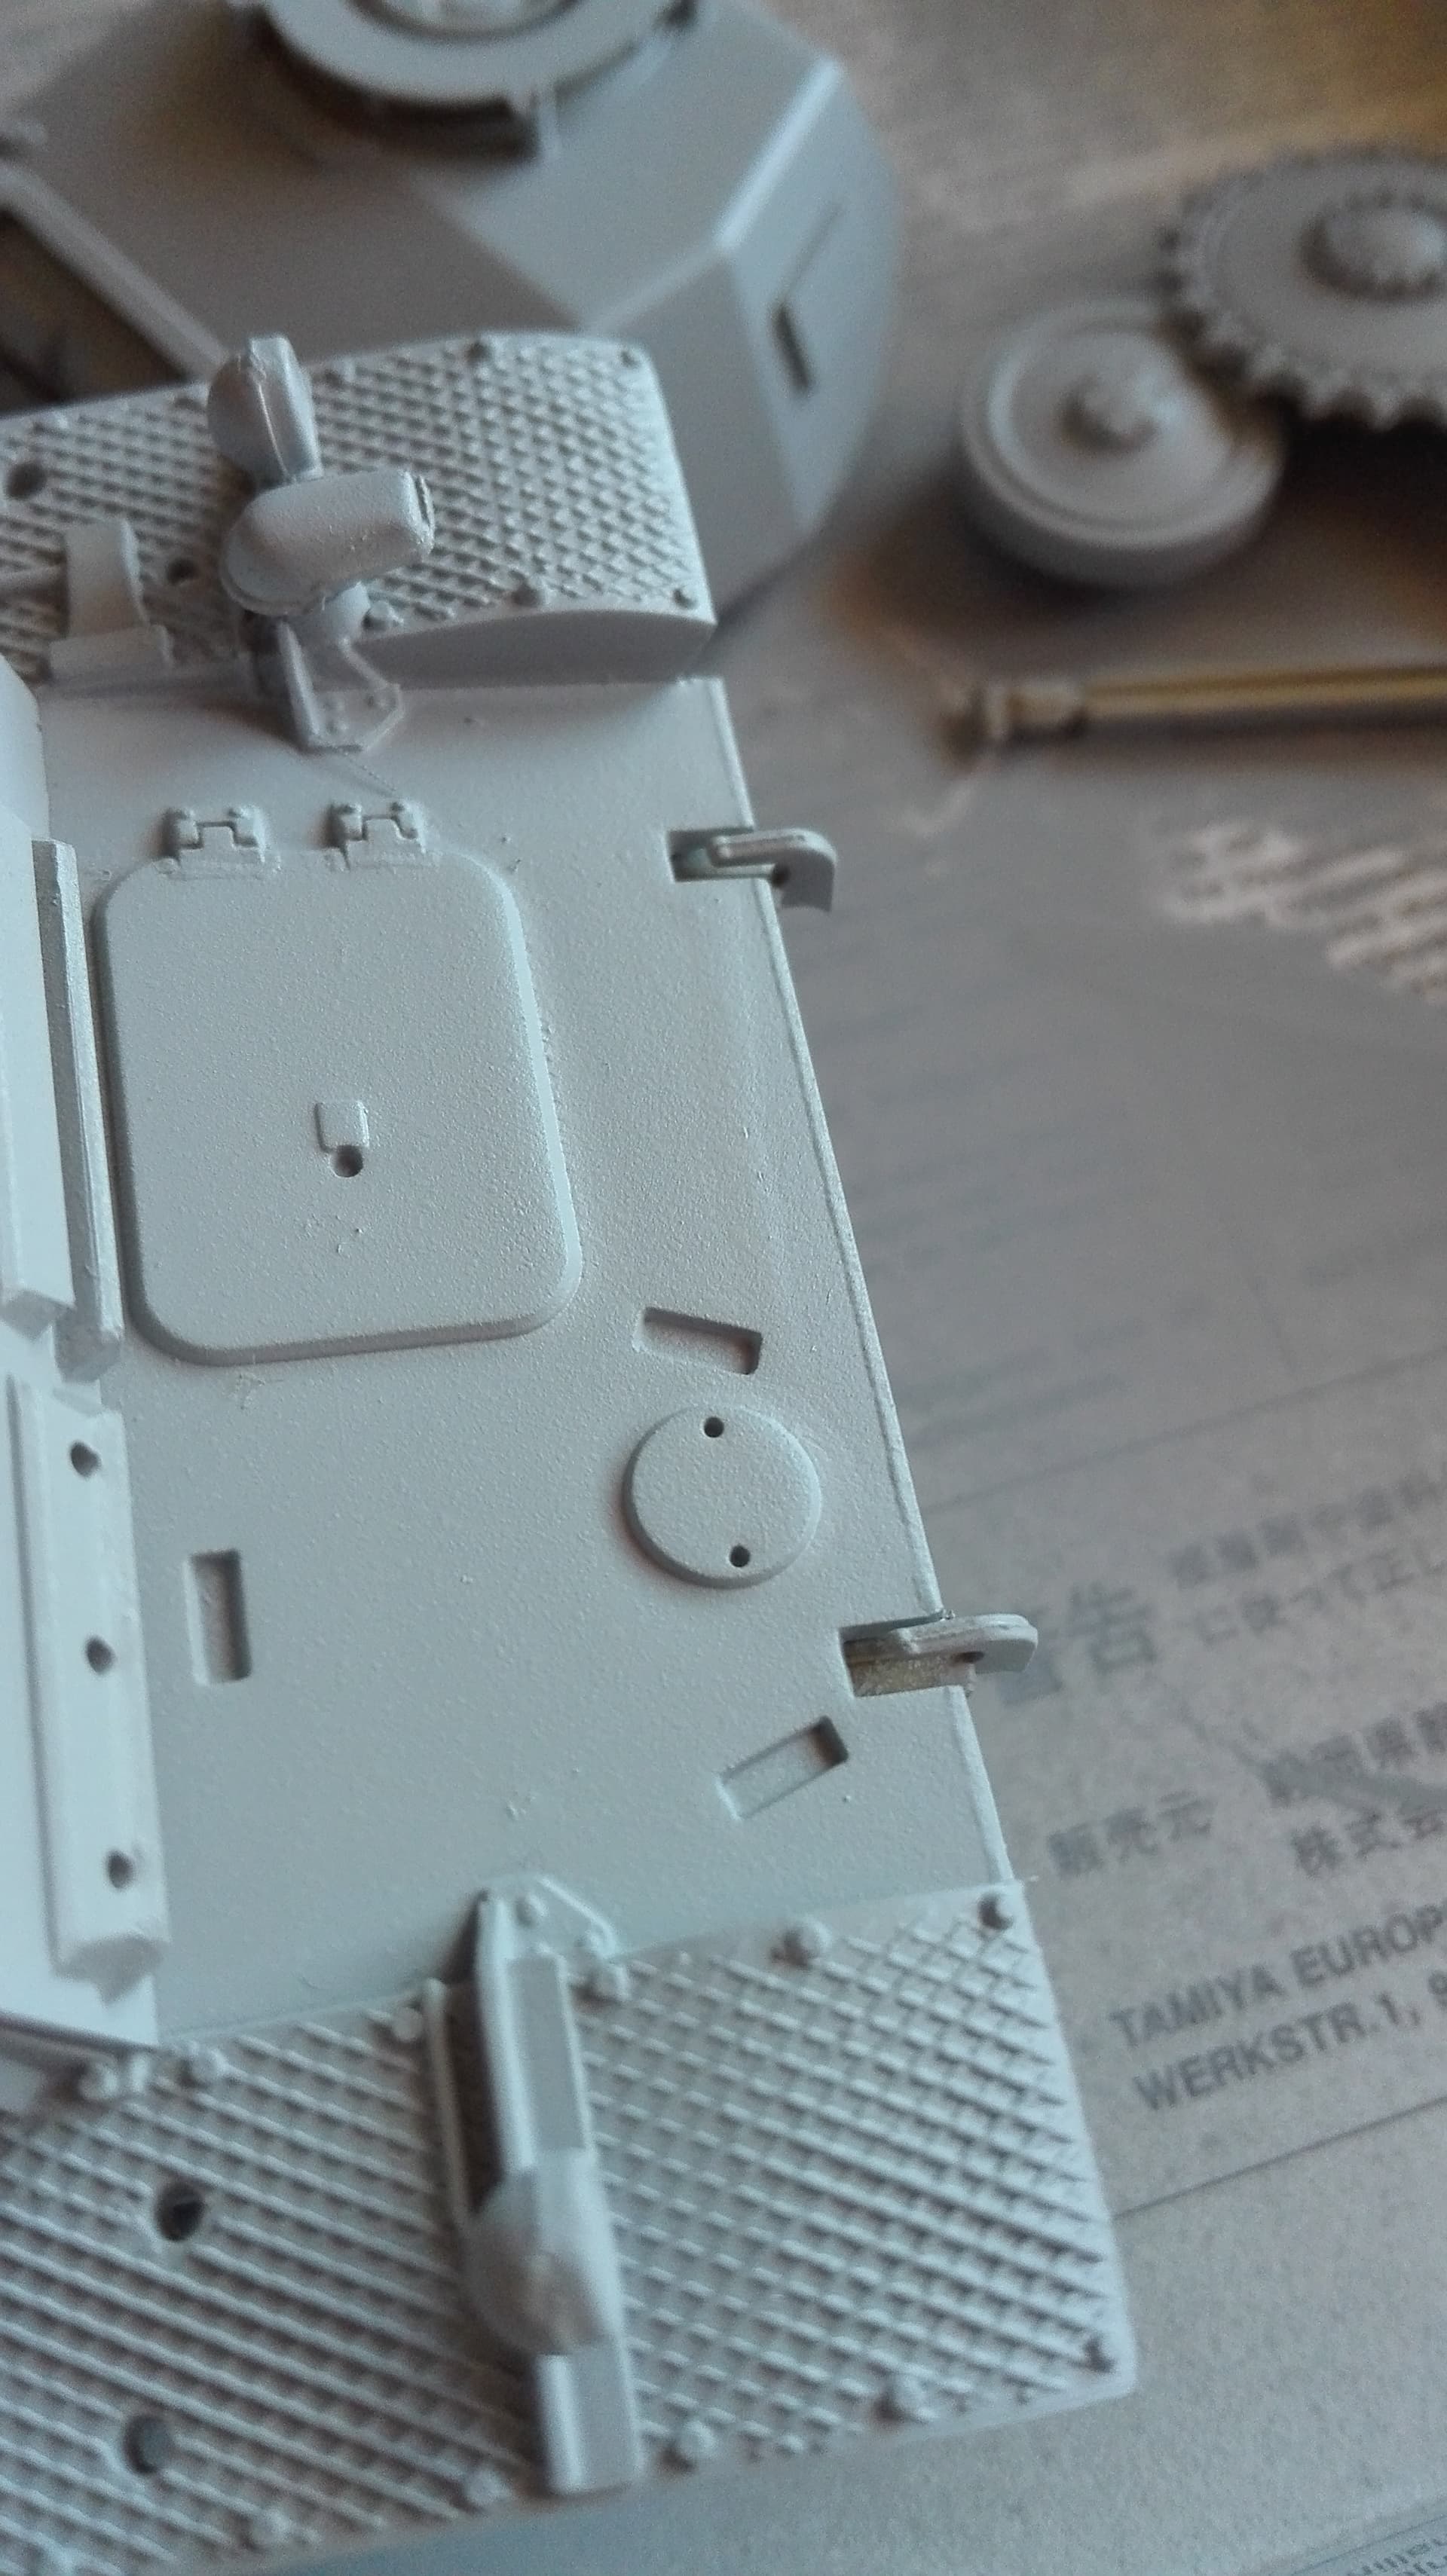
Started the assembly.
Very easy so far, as expected.
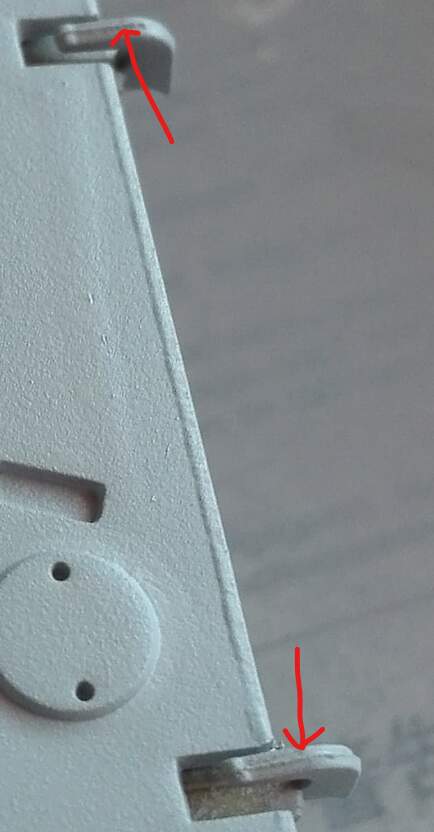
I found out that one of the little hooks on the lower hull is slightly misshapen but nothing excessively bad.
Wheels hubs have an ingenious rubber sheath that allows you to fit them without glue. I really love this.
Unlike Zvezda, everything fits perfectly to the millimeter (I checked) and requires no adjustments.
What Tamiya kits lack in detail they more than make up for in engineering with extremely good fit
This isn’t to say Tamiya kits have bad detail, many are very nice! But their engineering is unmatched
Easy going for now, a very pleasant assembly session.
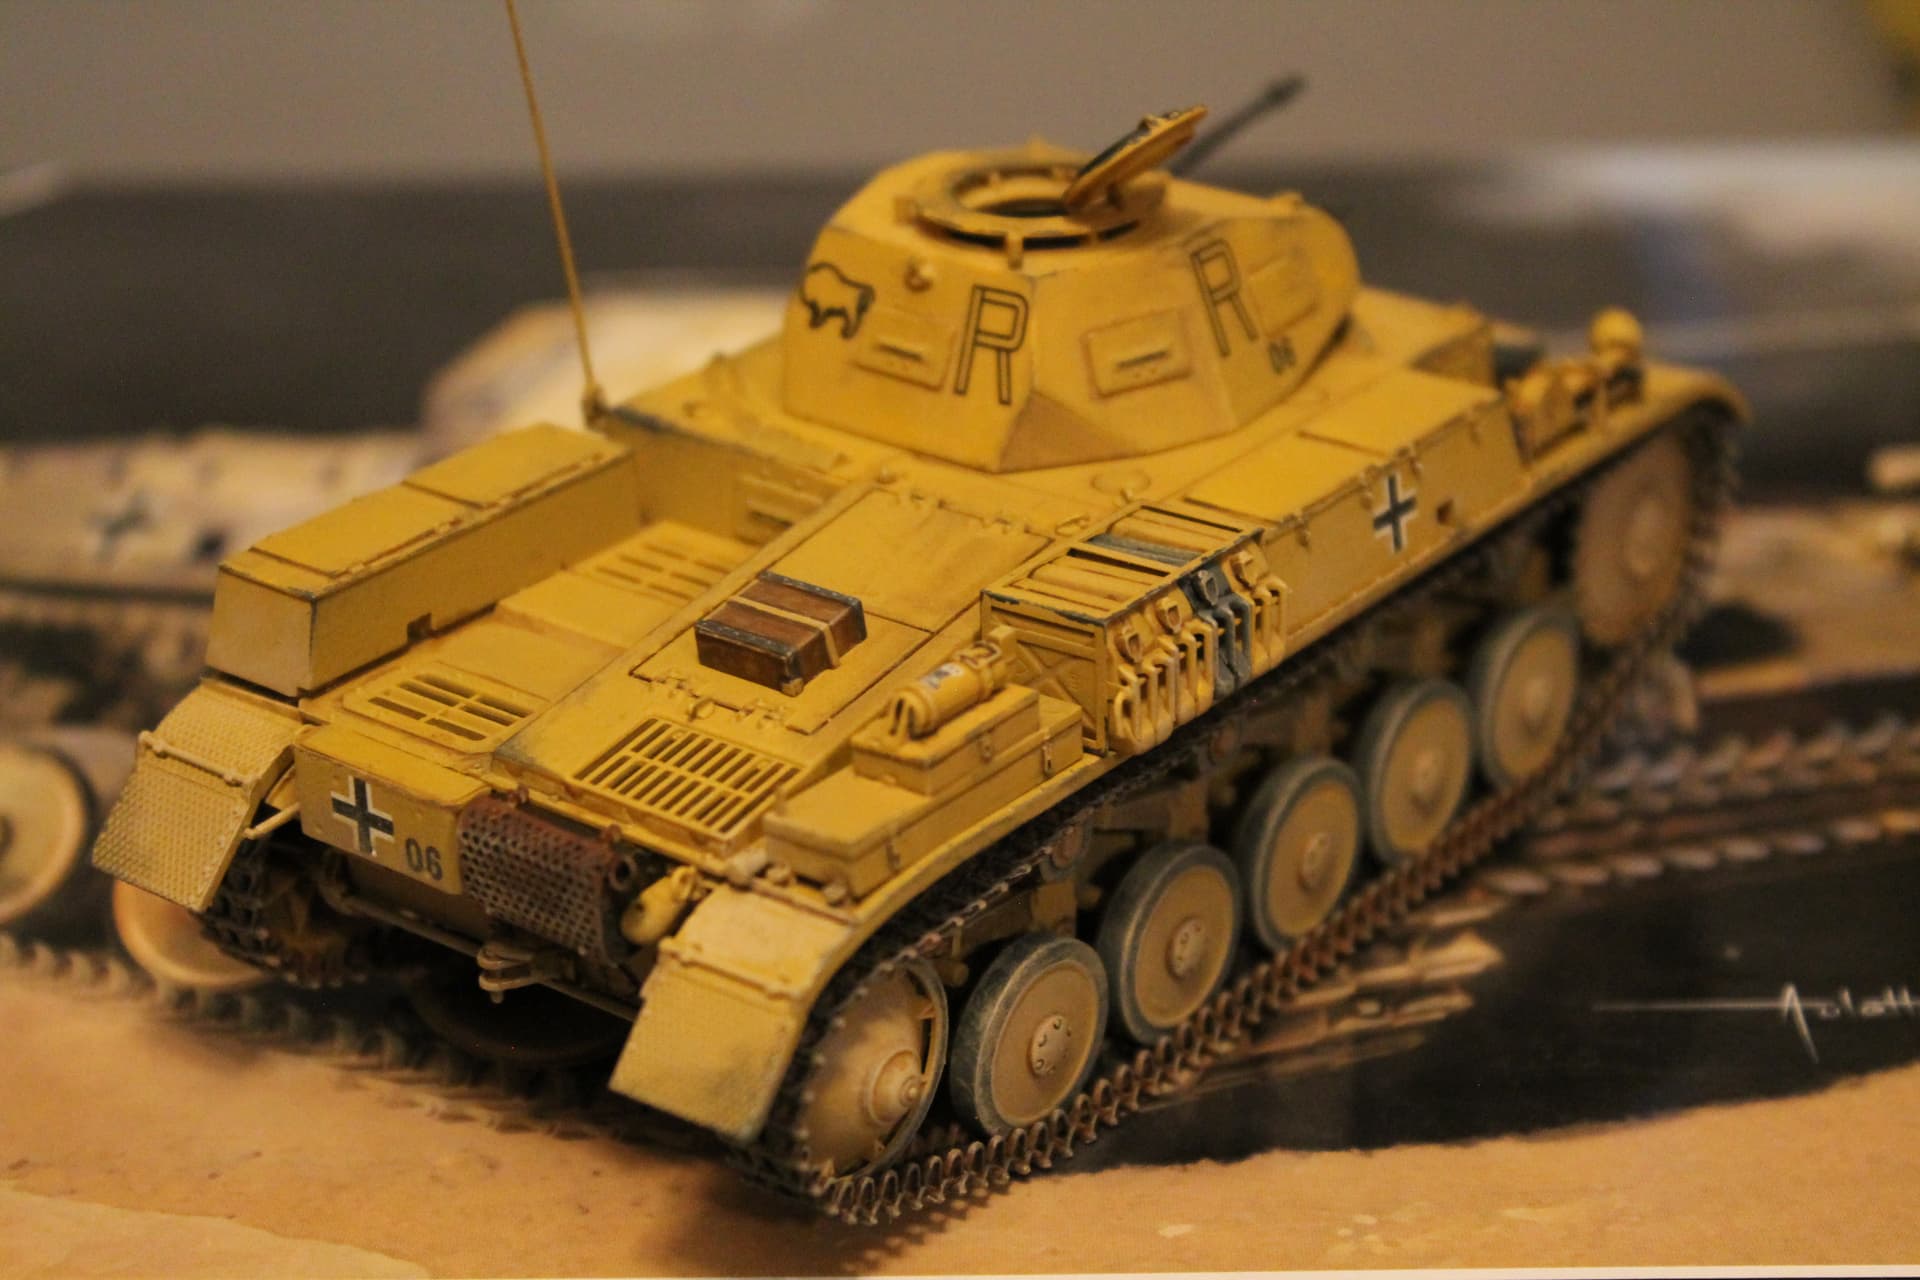
@Taffy3 and you guys who own a finished model, could you take a picture of the top hull? I want to see how you painted all the little stuff hanging on it, I usually prime, paint and glue them later after the main coat on the hull is done to avoid making mess.
Thanks, very useful indeed.
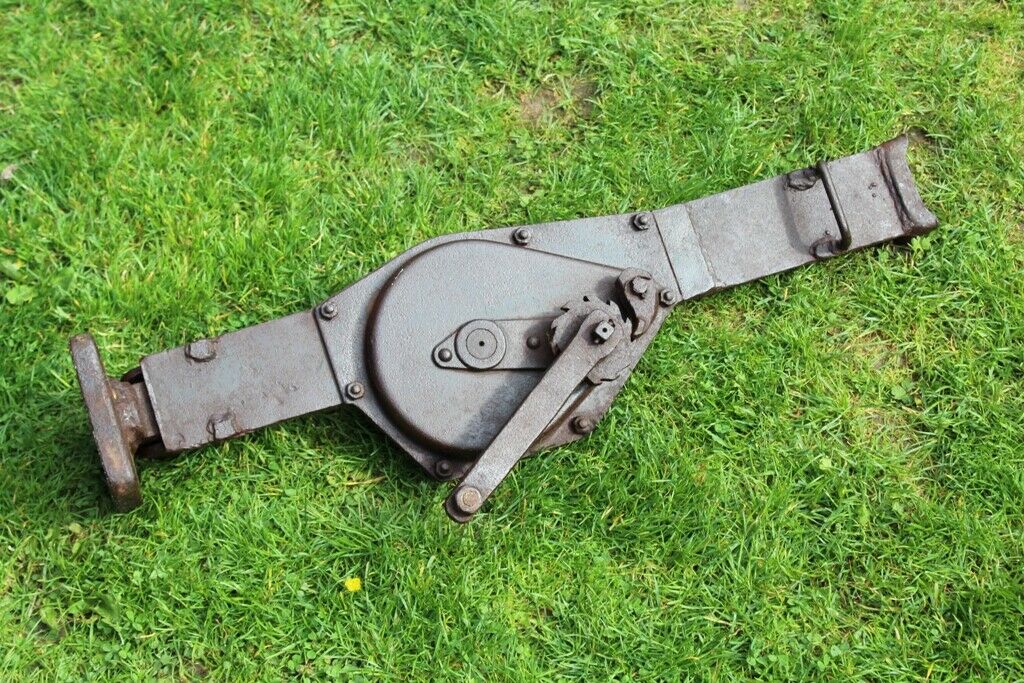
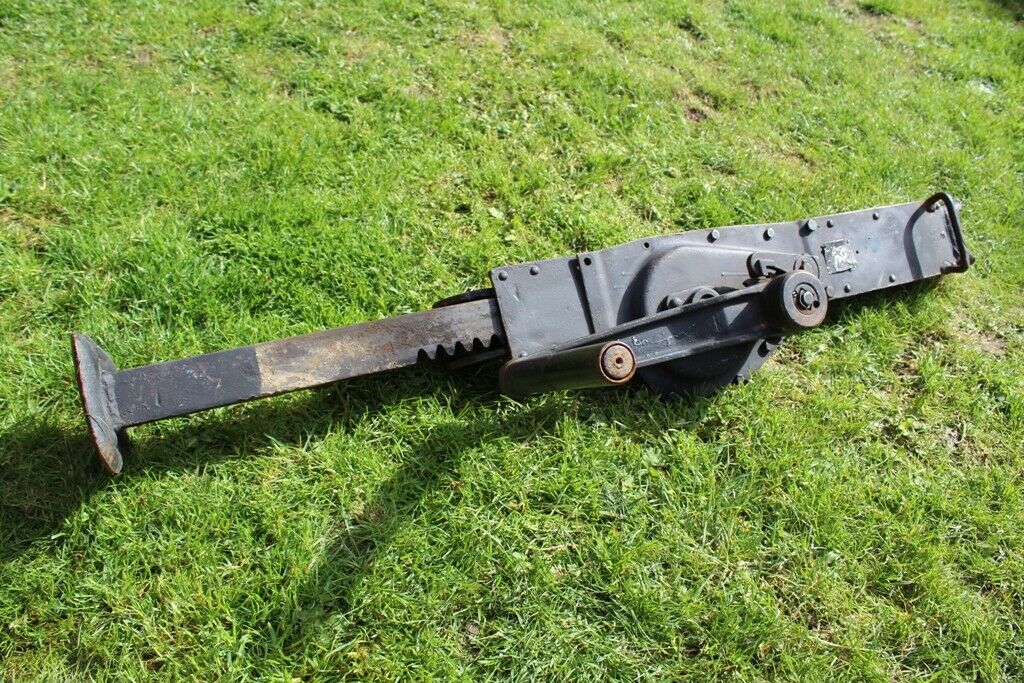
I was wondering what is that thing behind the headlight, I have it on my model too and I couldn’t really understand what kind of tool is.
Are you referring to the jack?
Ha, I never imagined you could use a crank to lift a tank 
You can’t. The jack on the larger tanks is to compress the torsion bar suspension to allow you to remove individual wheels.
Thanks, knew that they weren’t, it was just an attempt at humor.
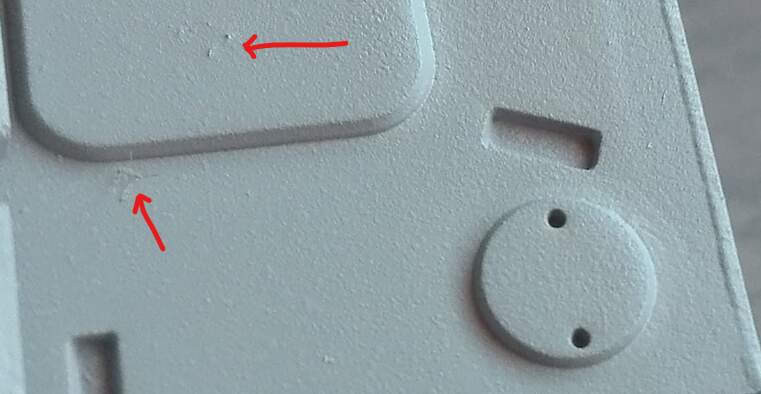
Primed.
Apparently my Tamiya can reached the bottom and sputtered a little, so I got this little subtle “wave” here:
I suppose I could “smooth” it out with the airbrush while painting by focusing on the nearby areas with a little more.
Also since I plan to use some caked sand pigment with pigment binder, I might just mask it as I did with the botched decal on the kv-2.
What do you think?
I would sand it out. Fine grit and small motions to avoid wandering outside the blemish.
The full size picture looked as if there was some lint or dust in the paint as well
Injection gate marks?
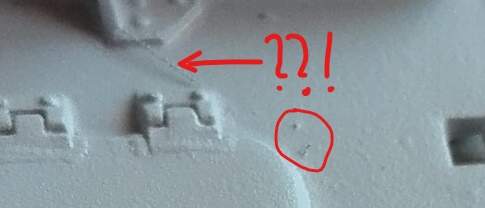
WHAT is this?? Some small dust, dirt or paint clot