Tamiya “Tiger 131” vacation build

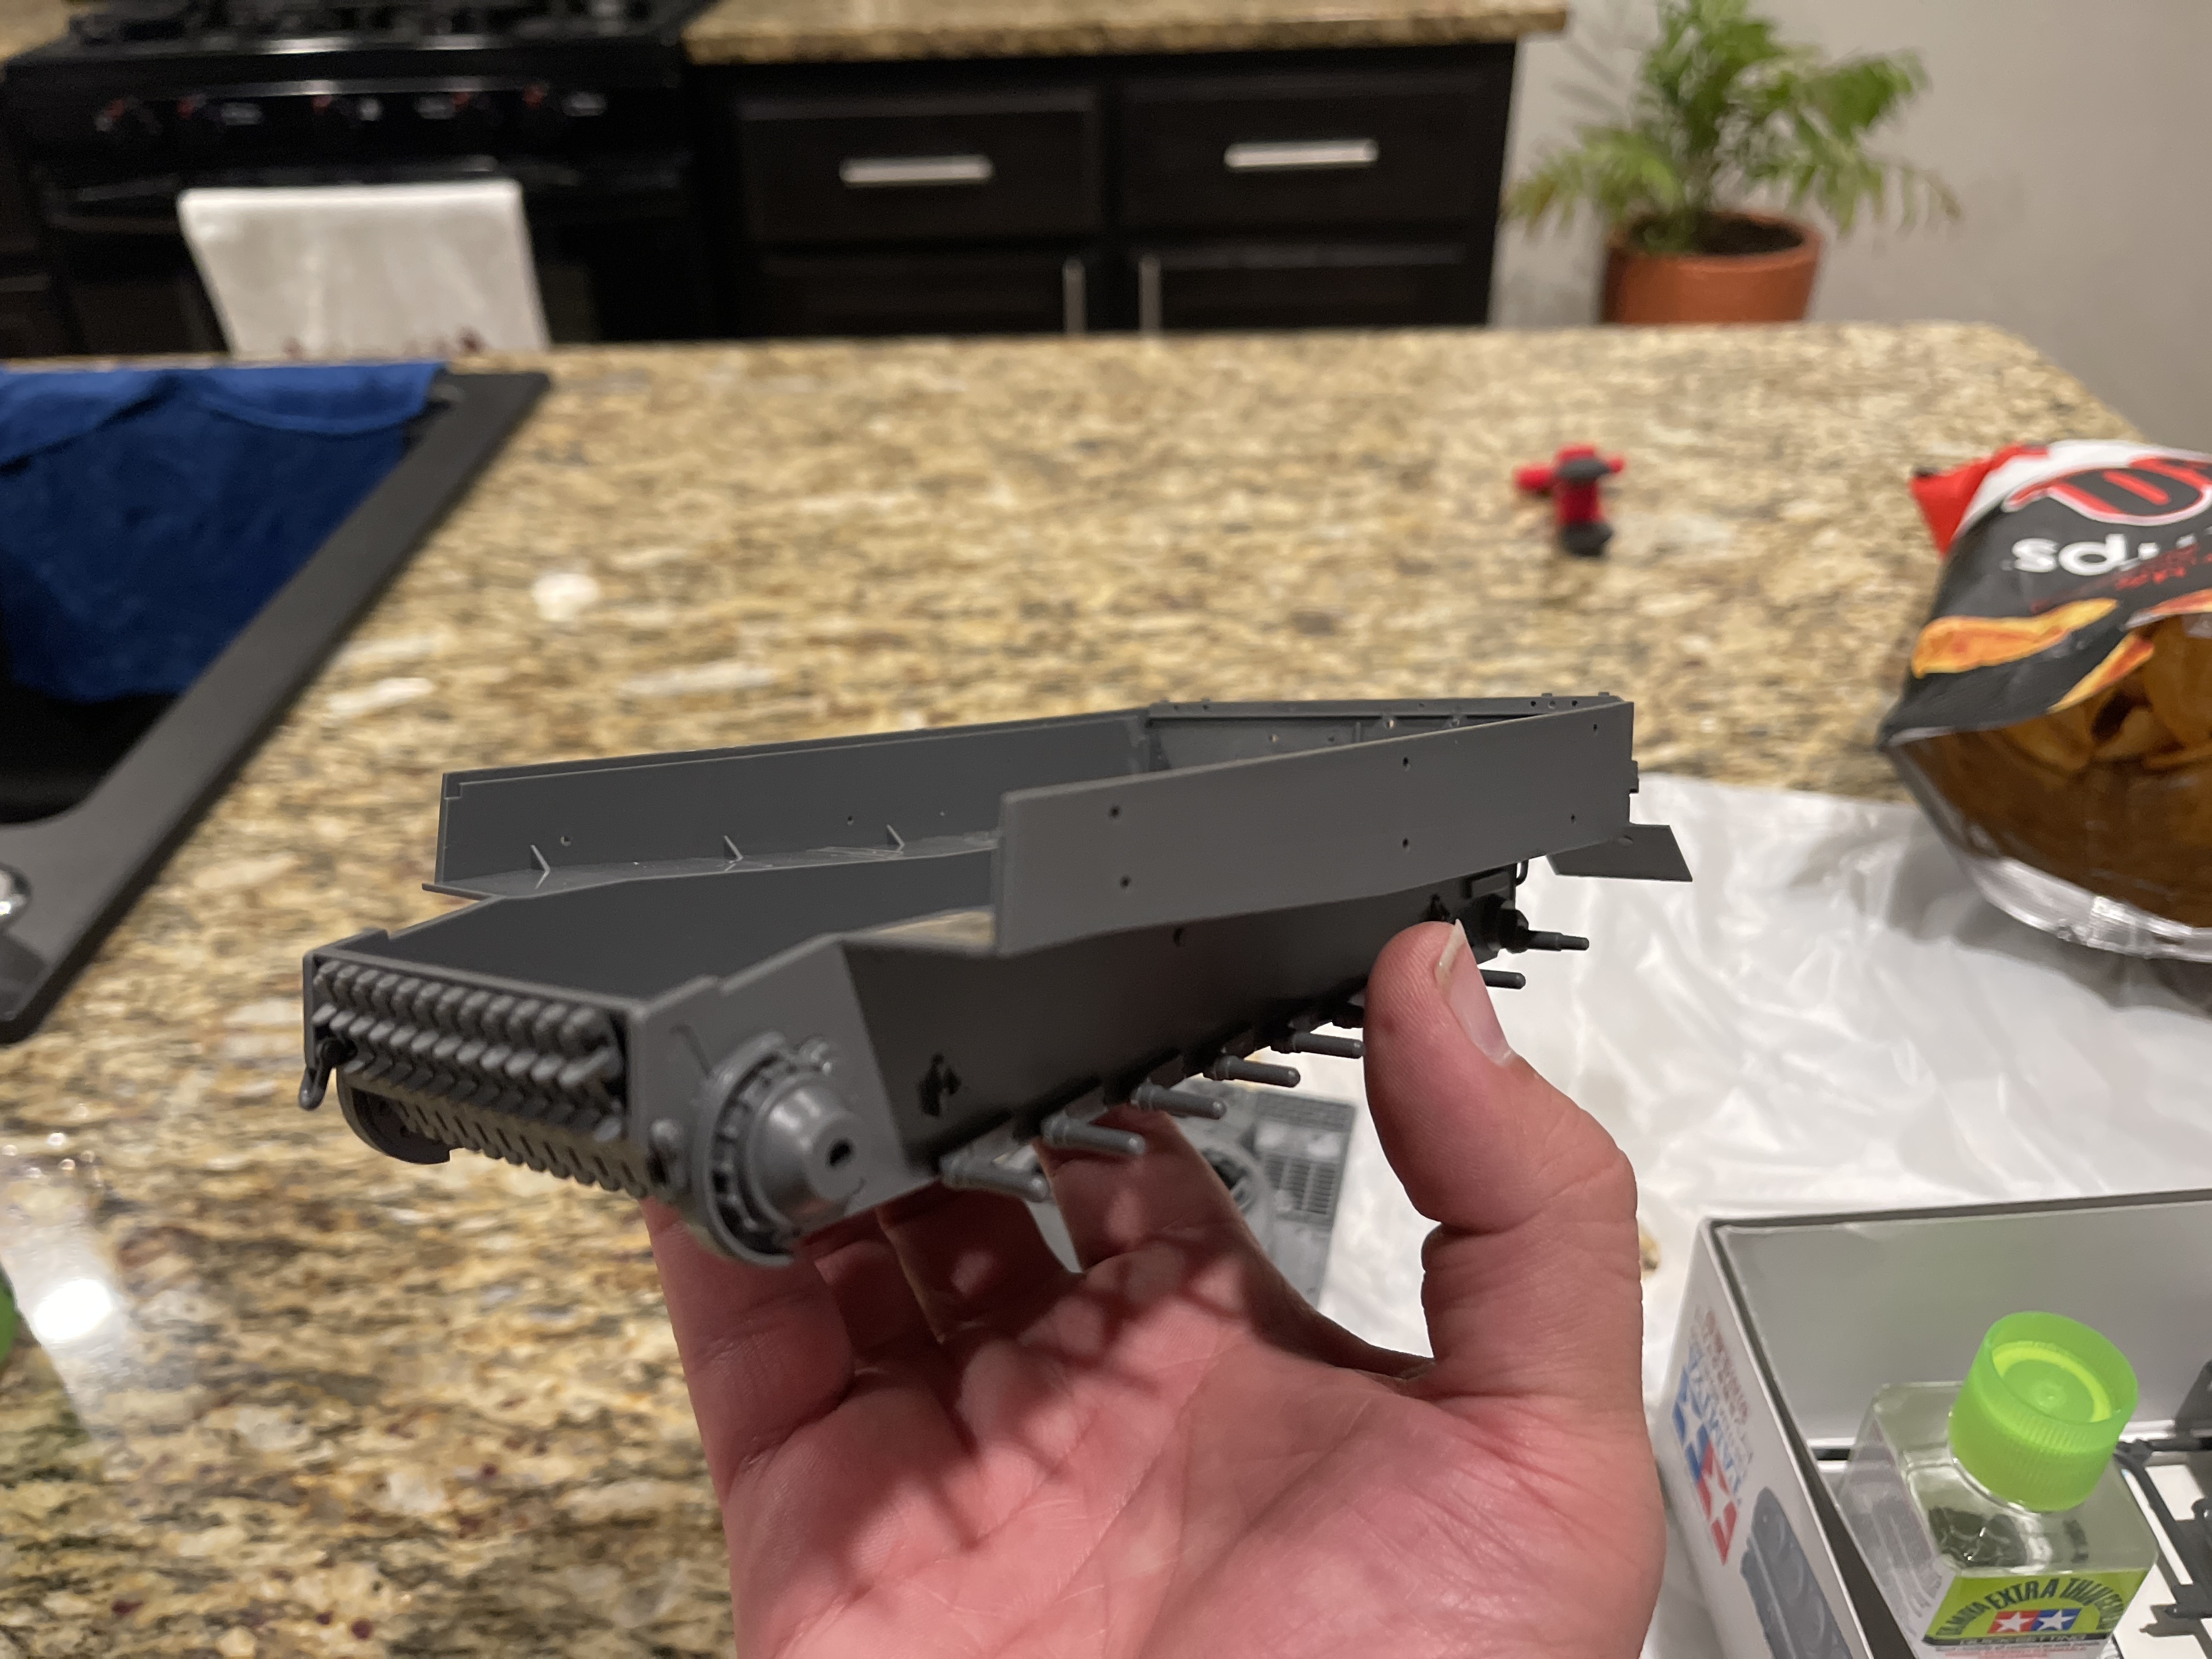
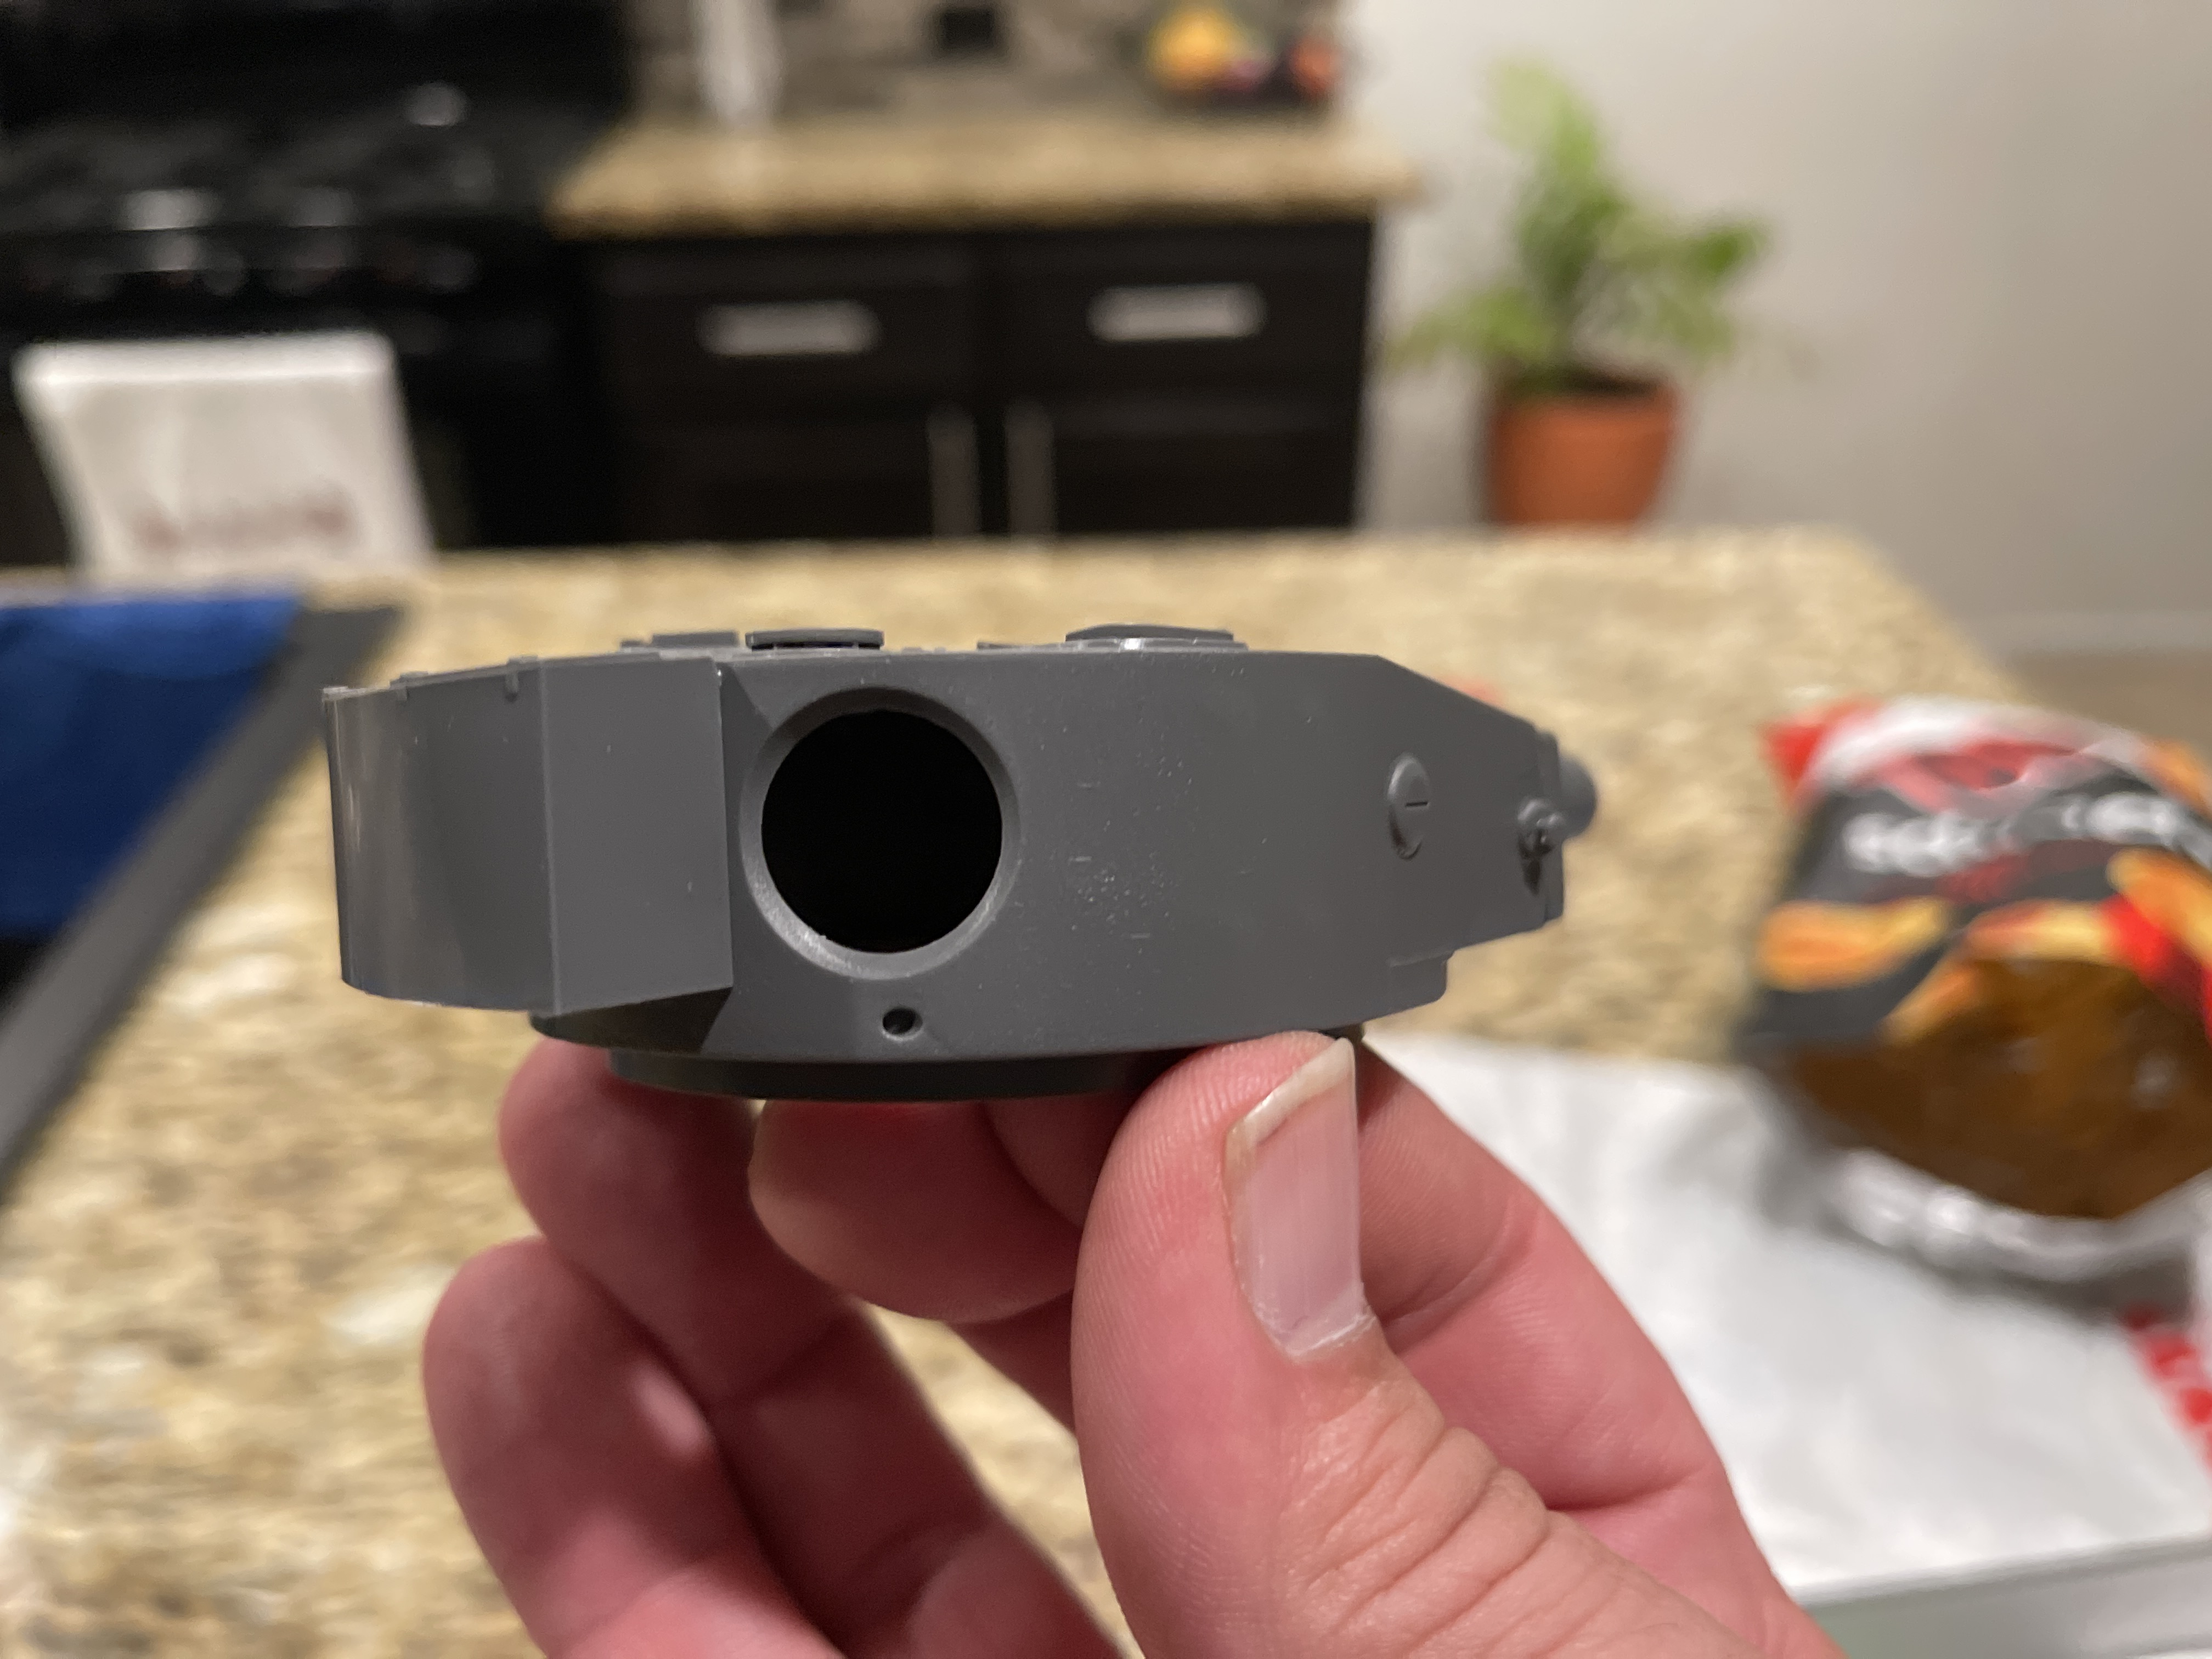
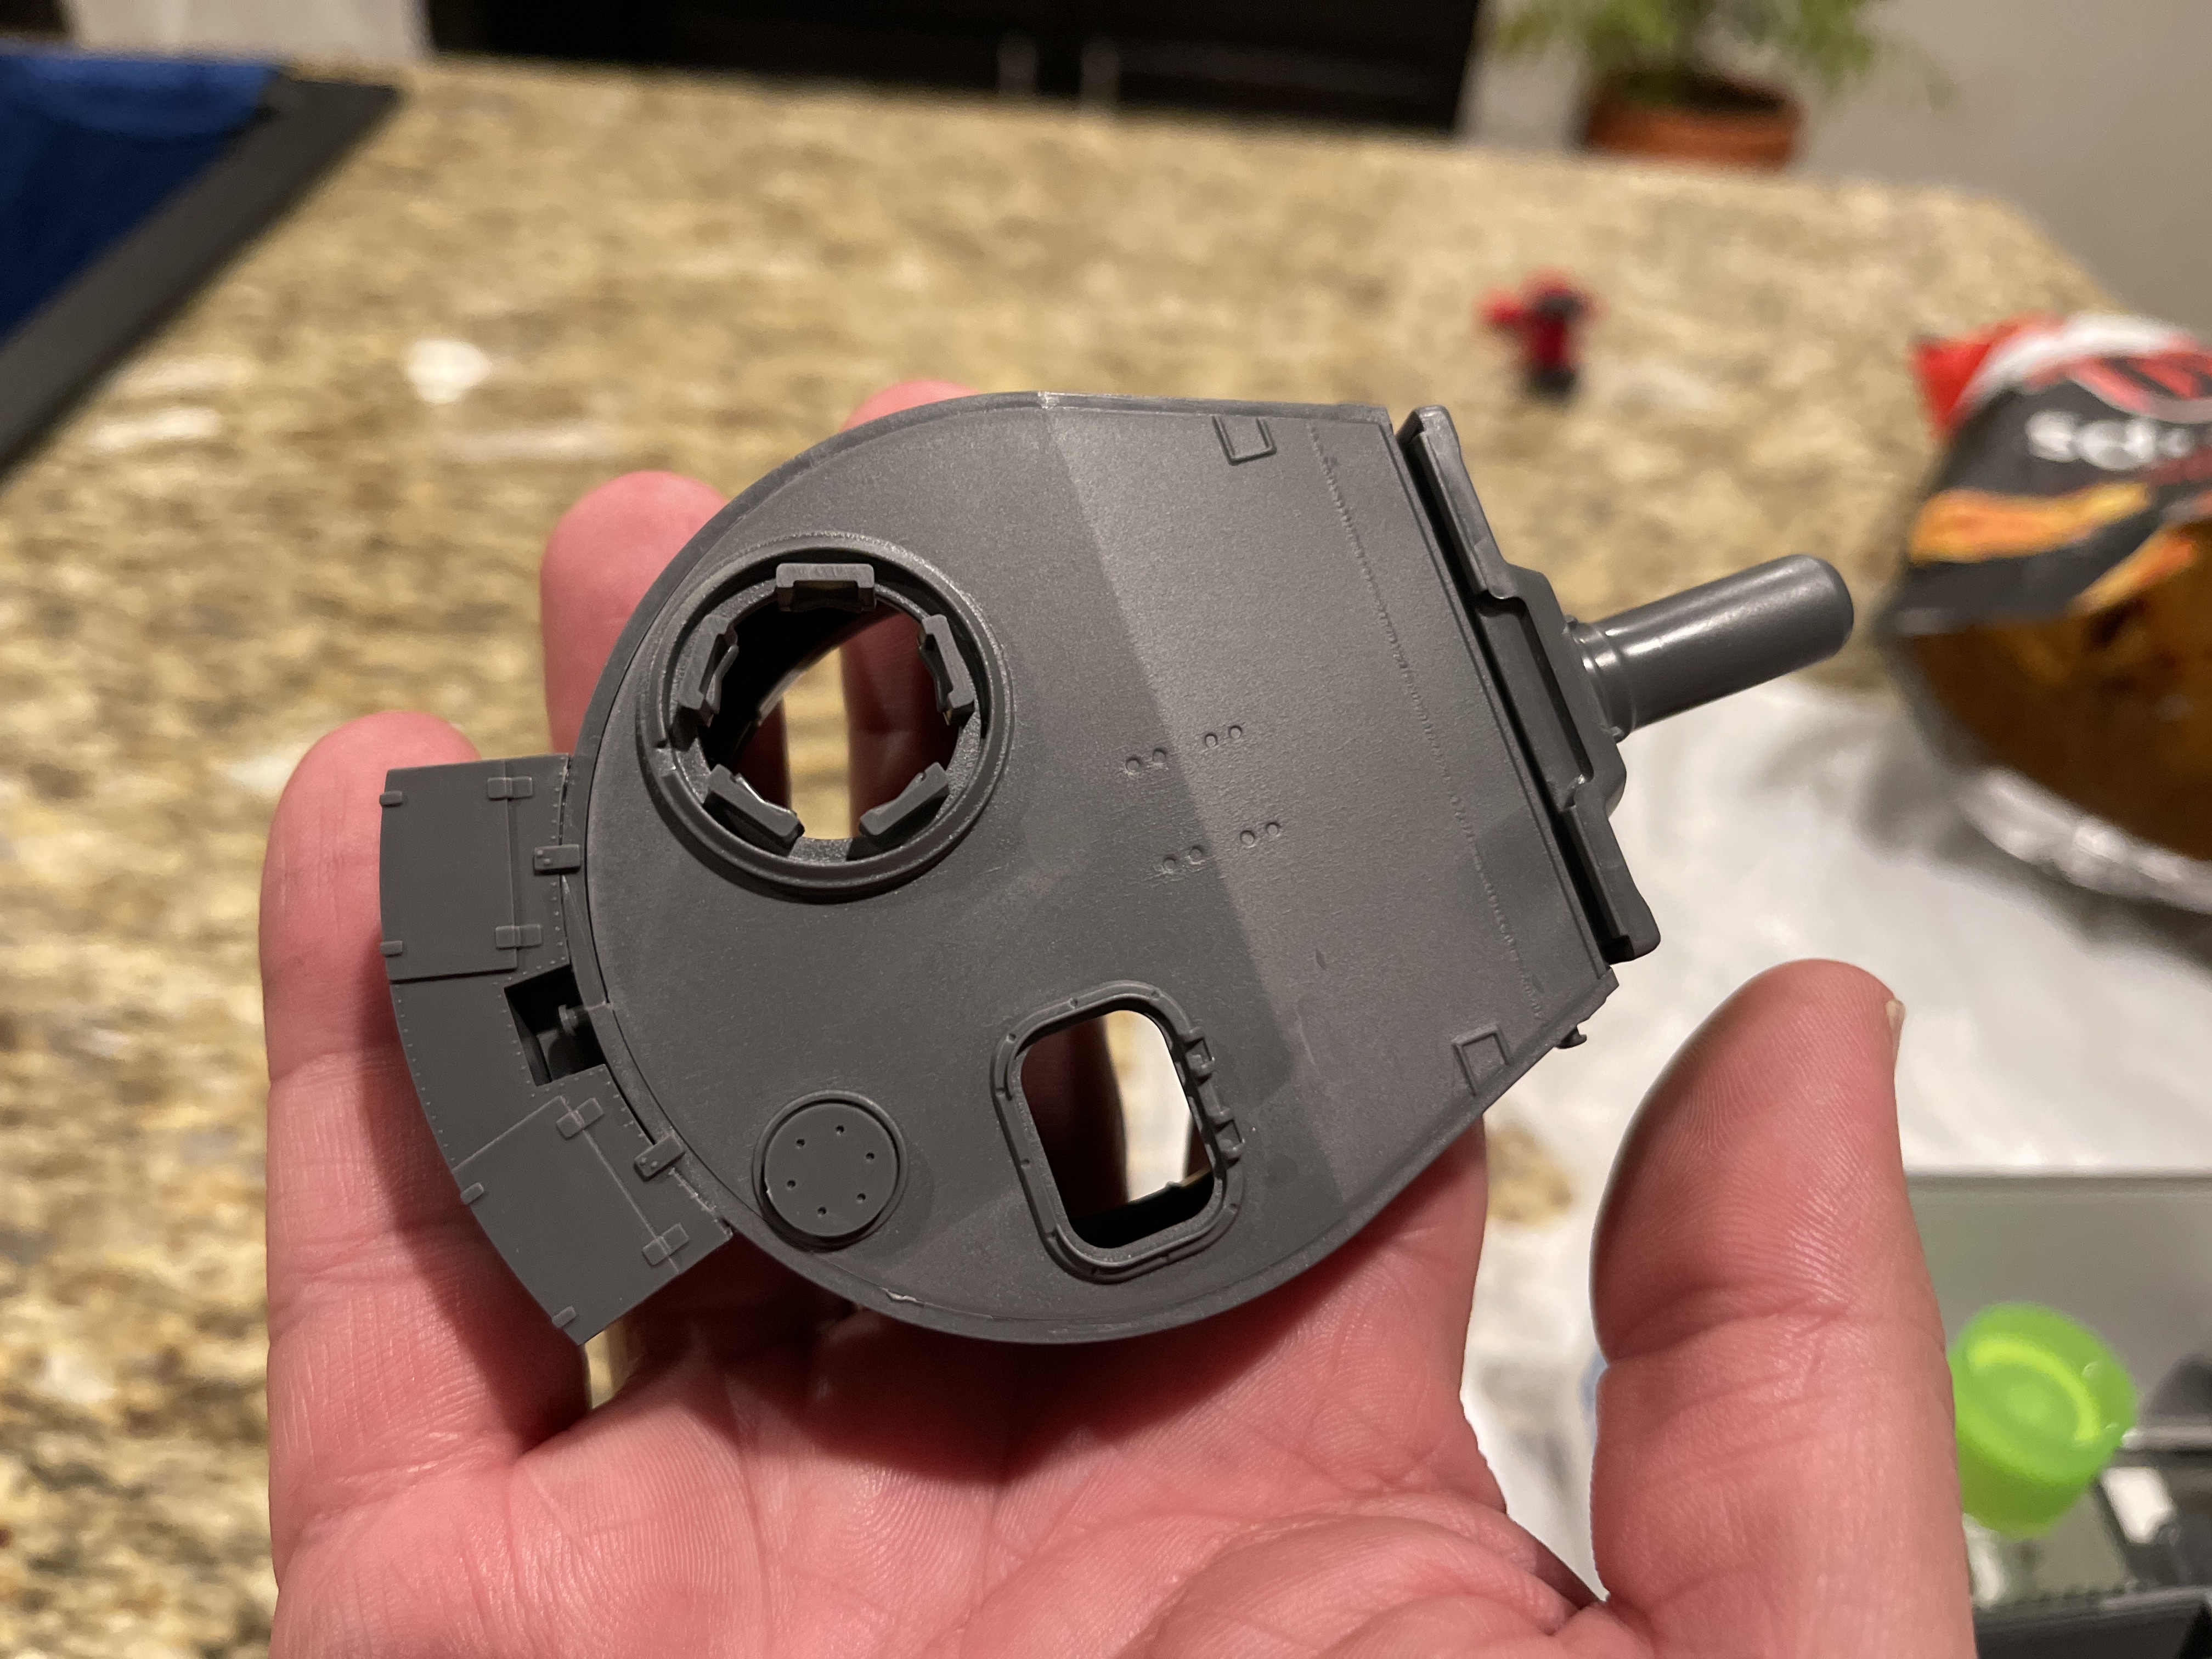
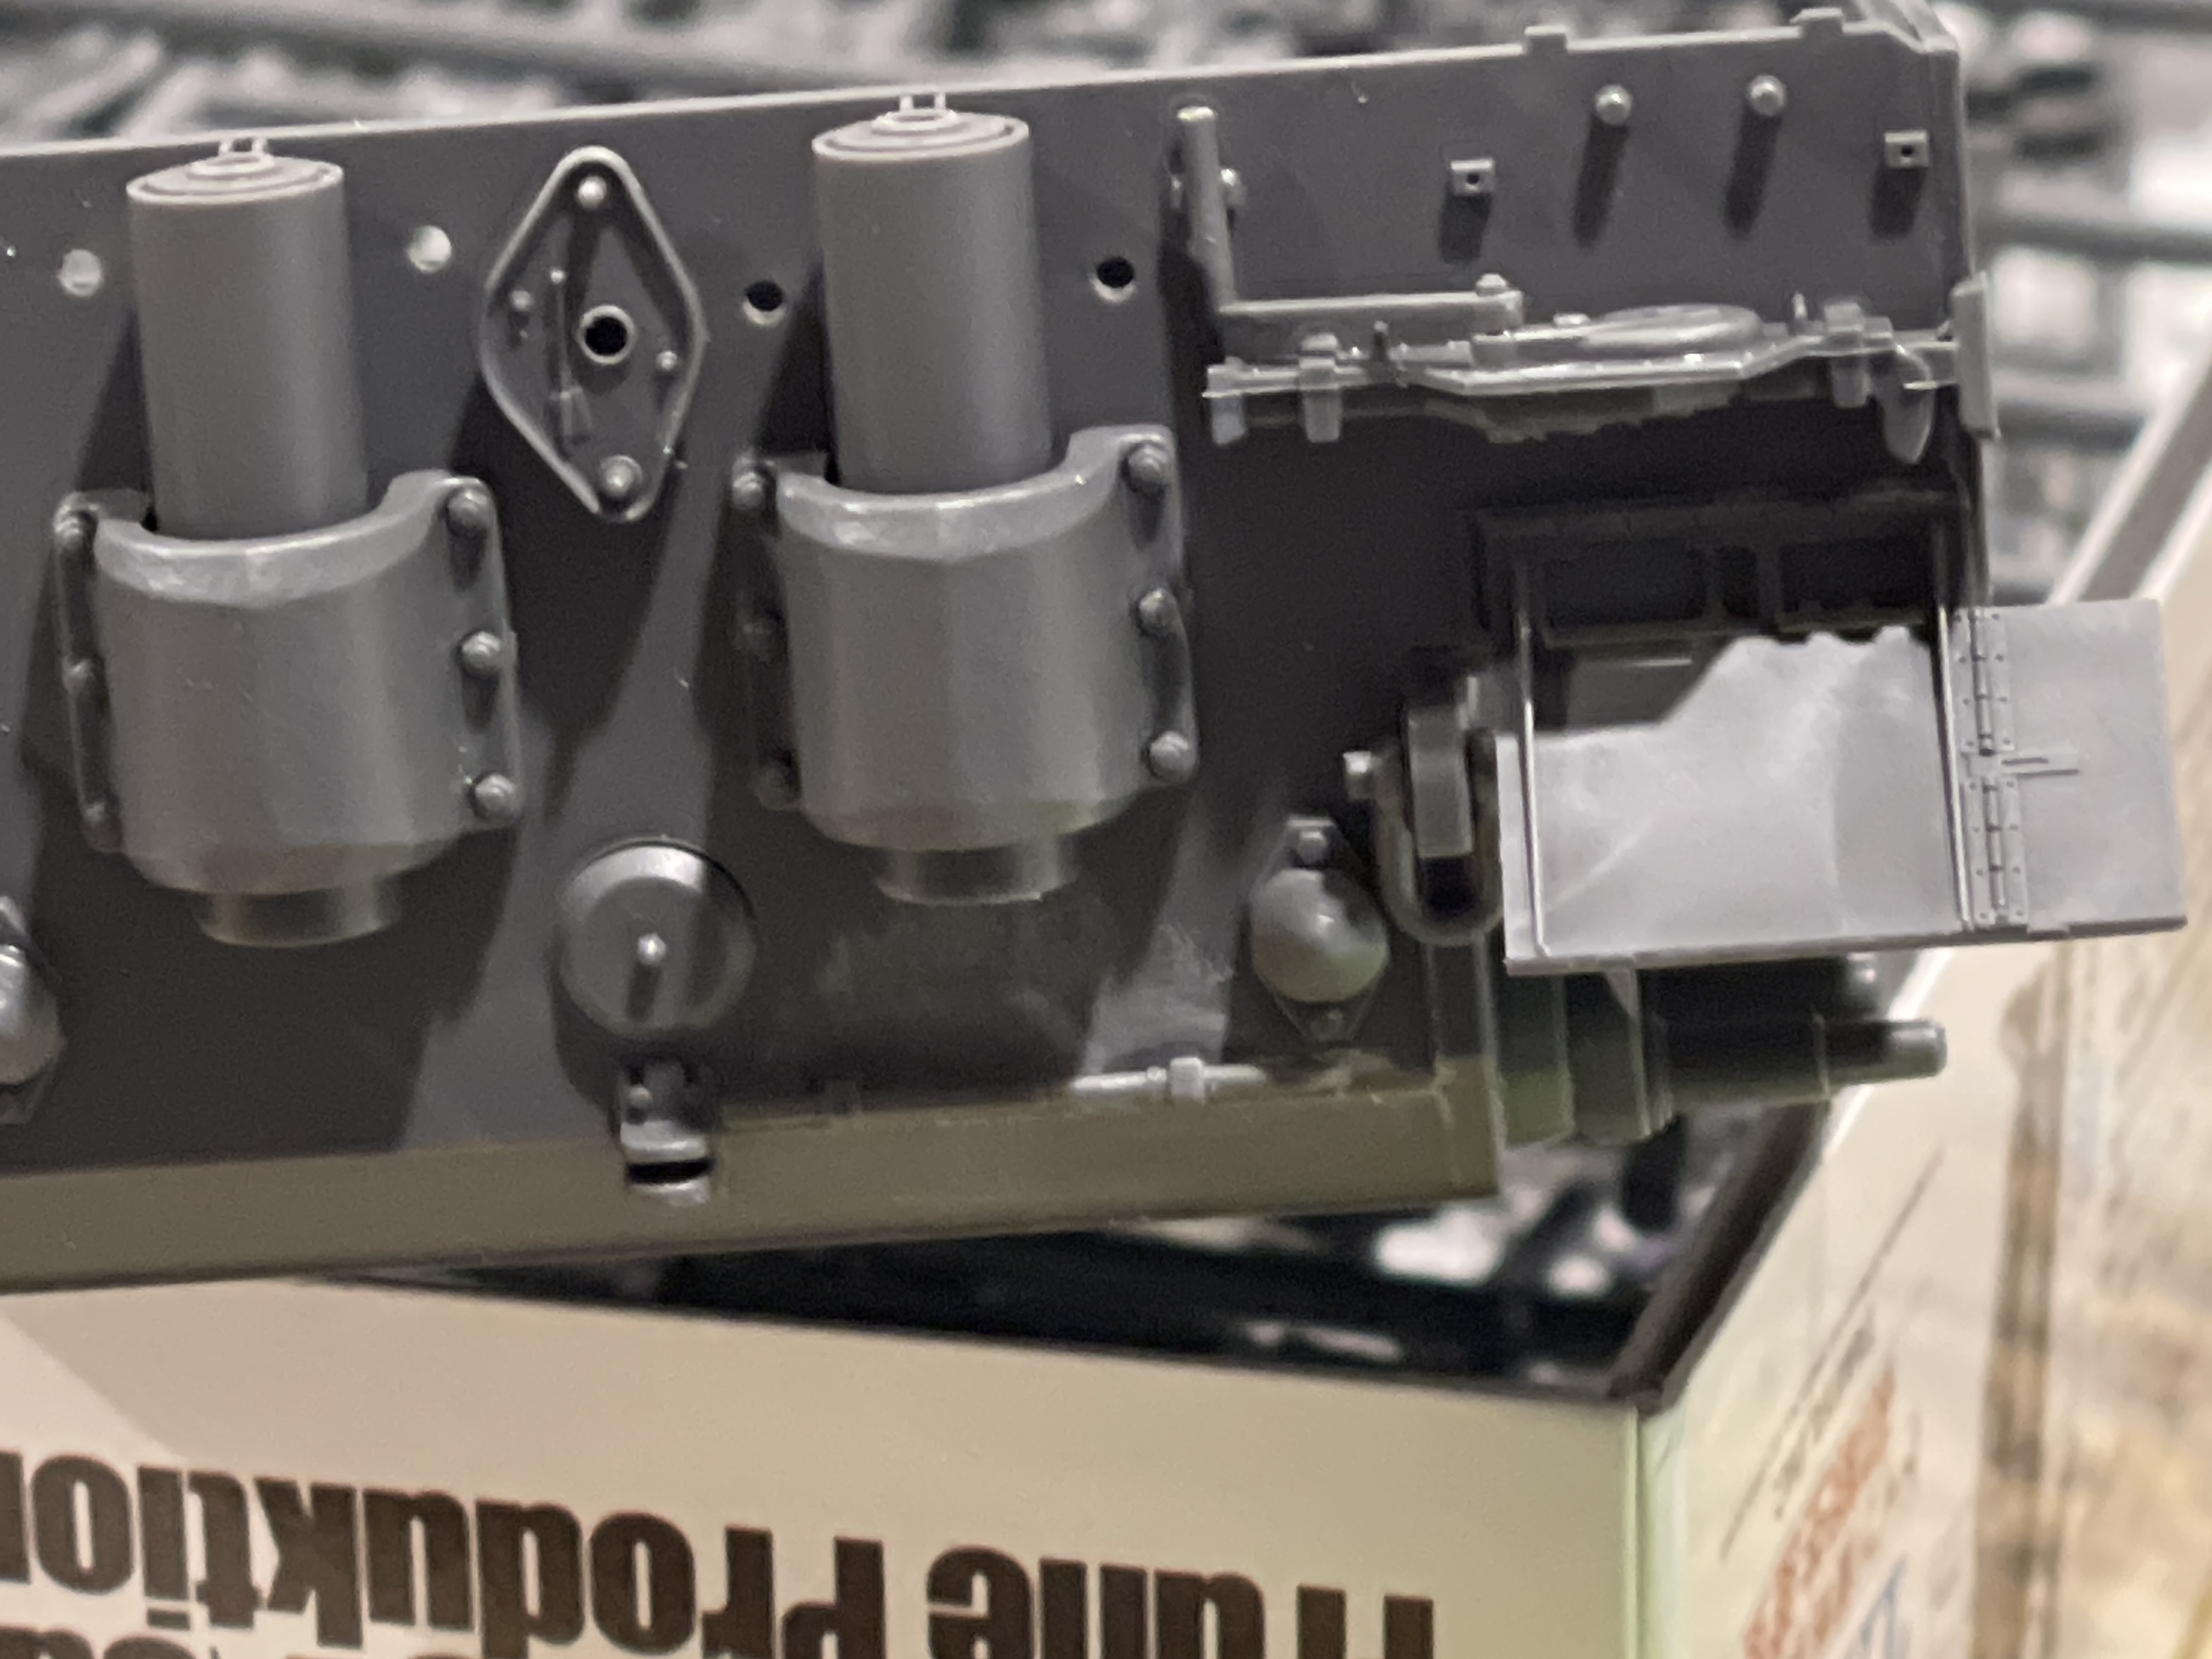
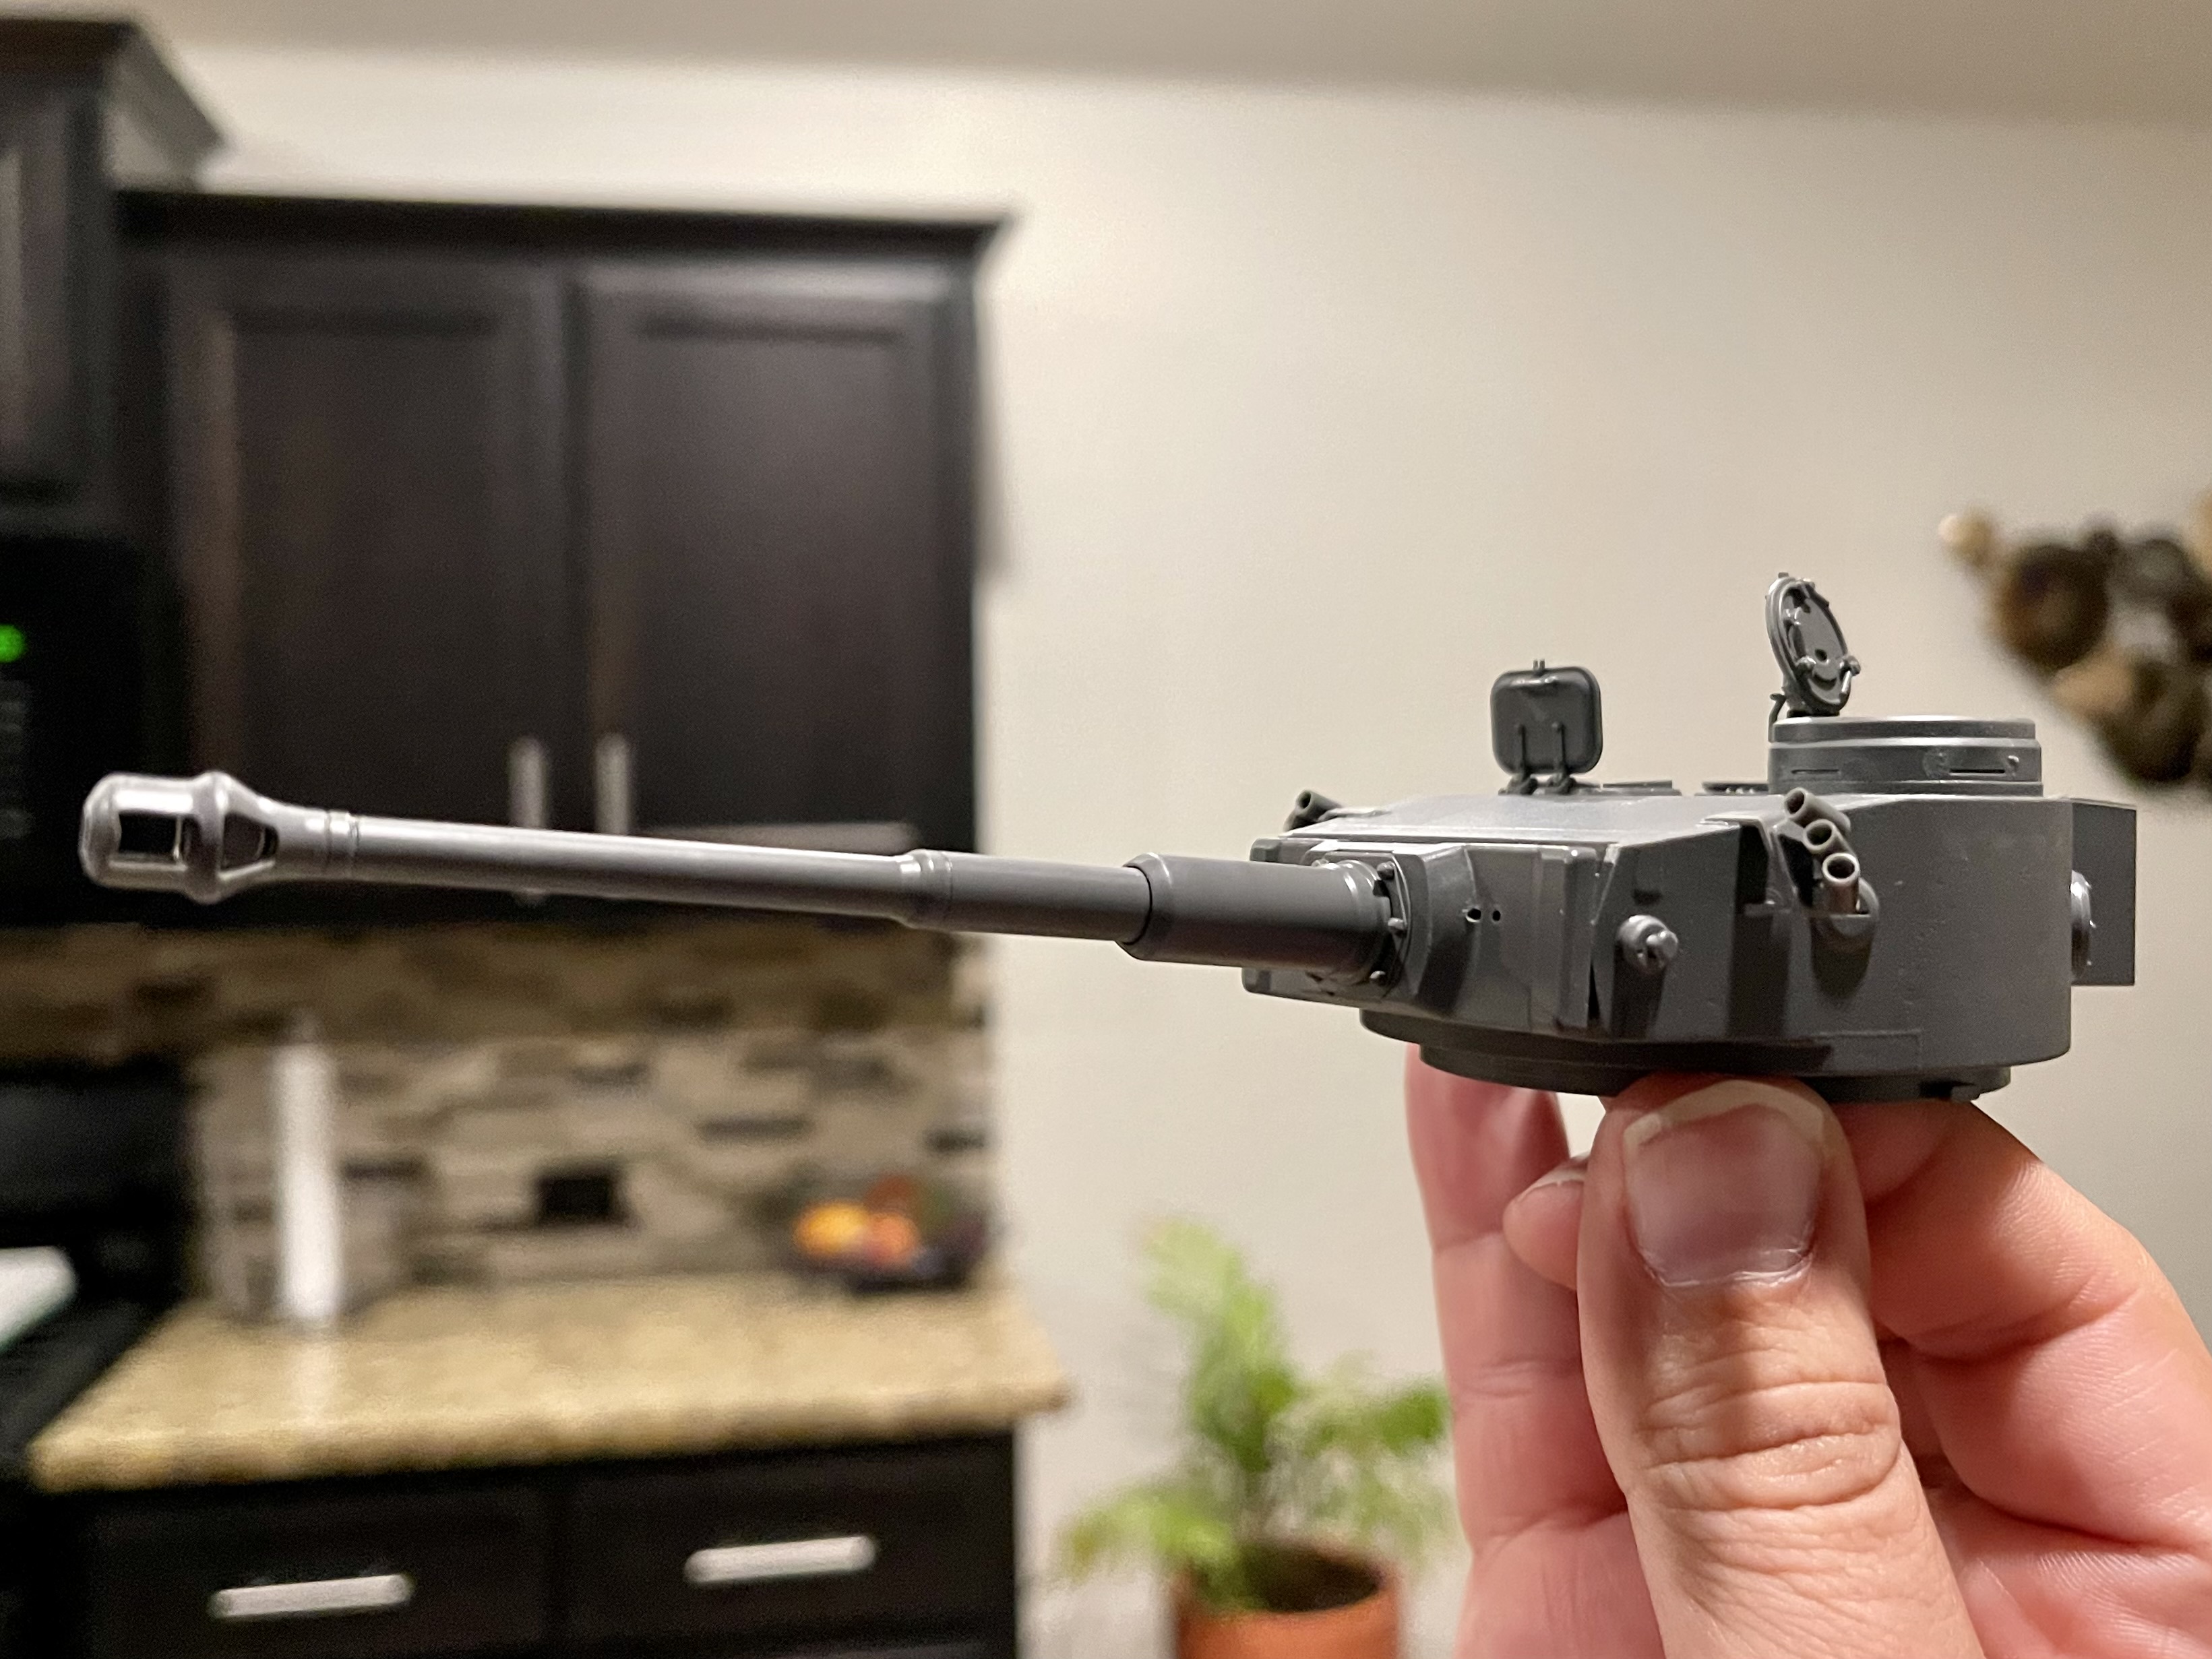
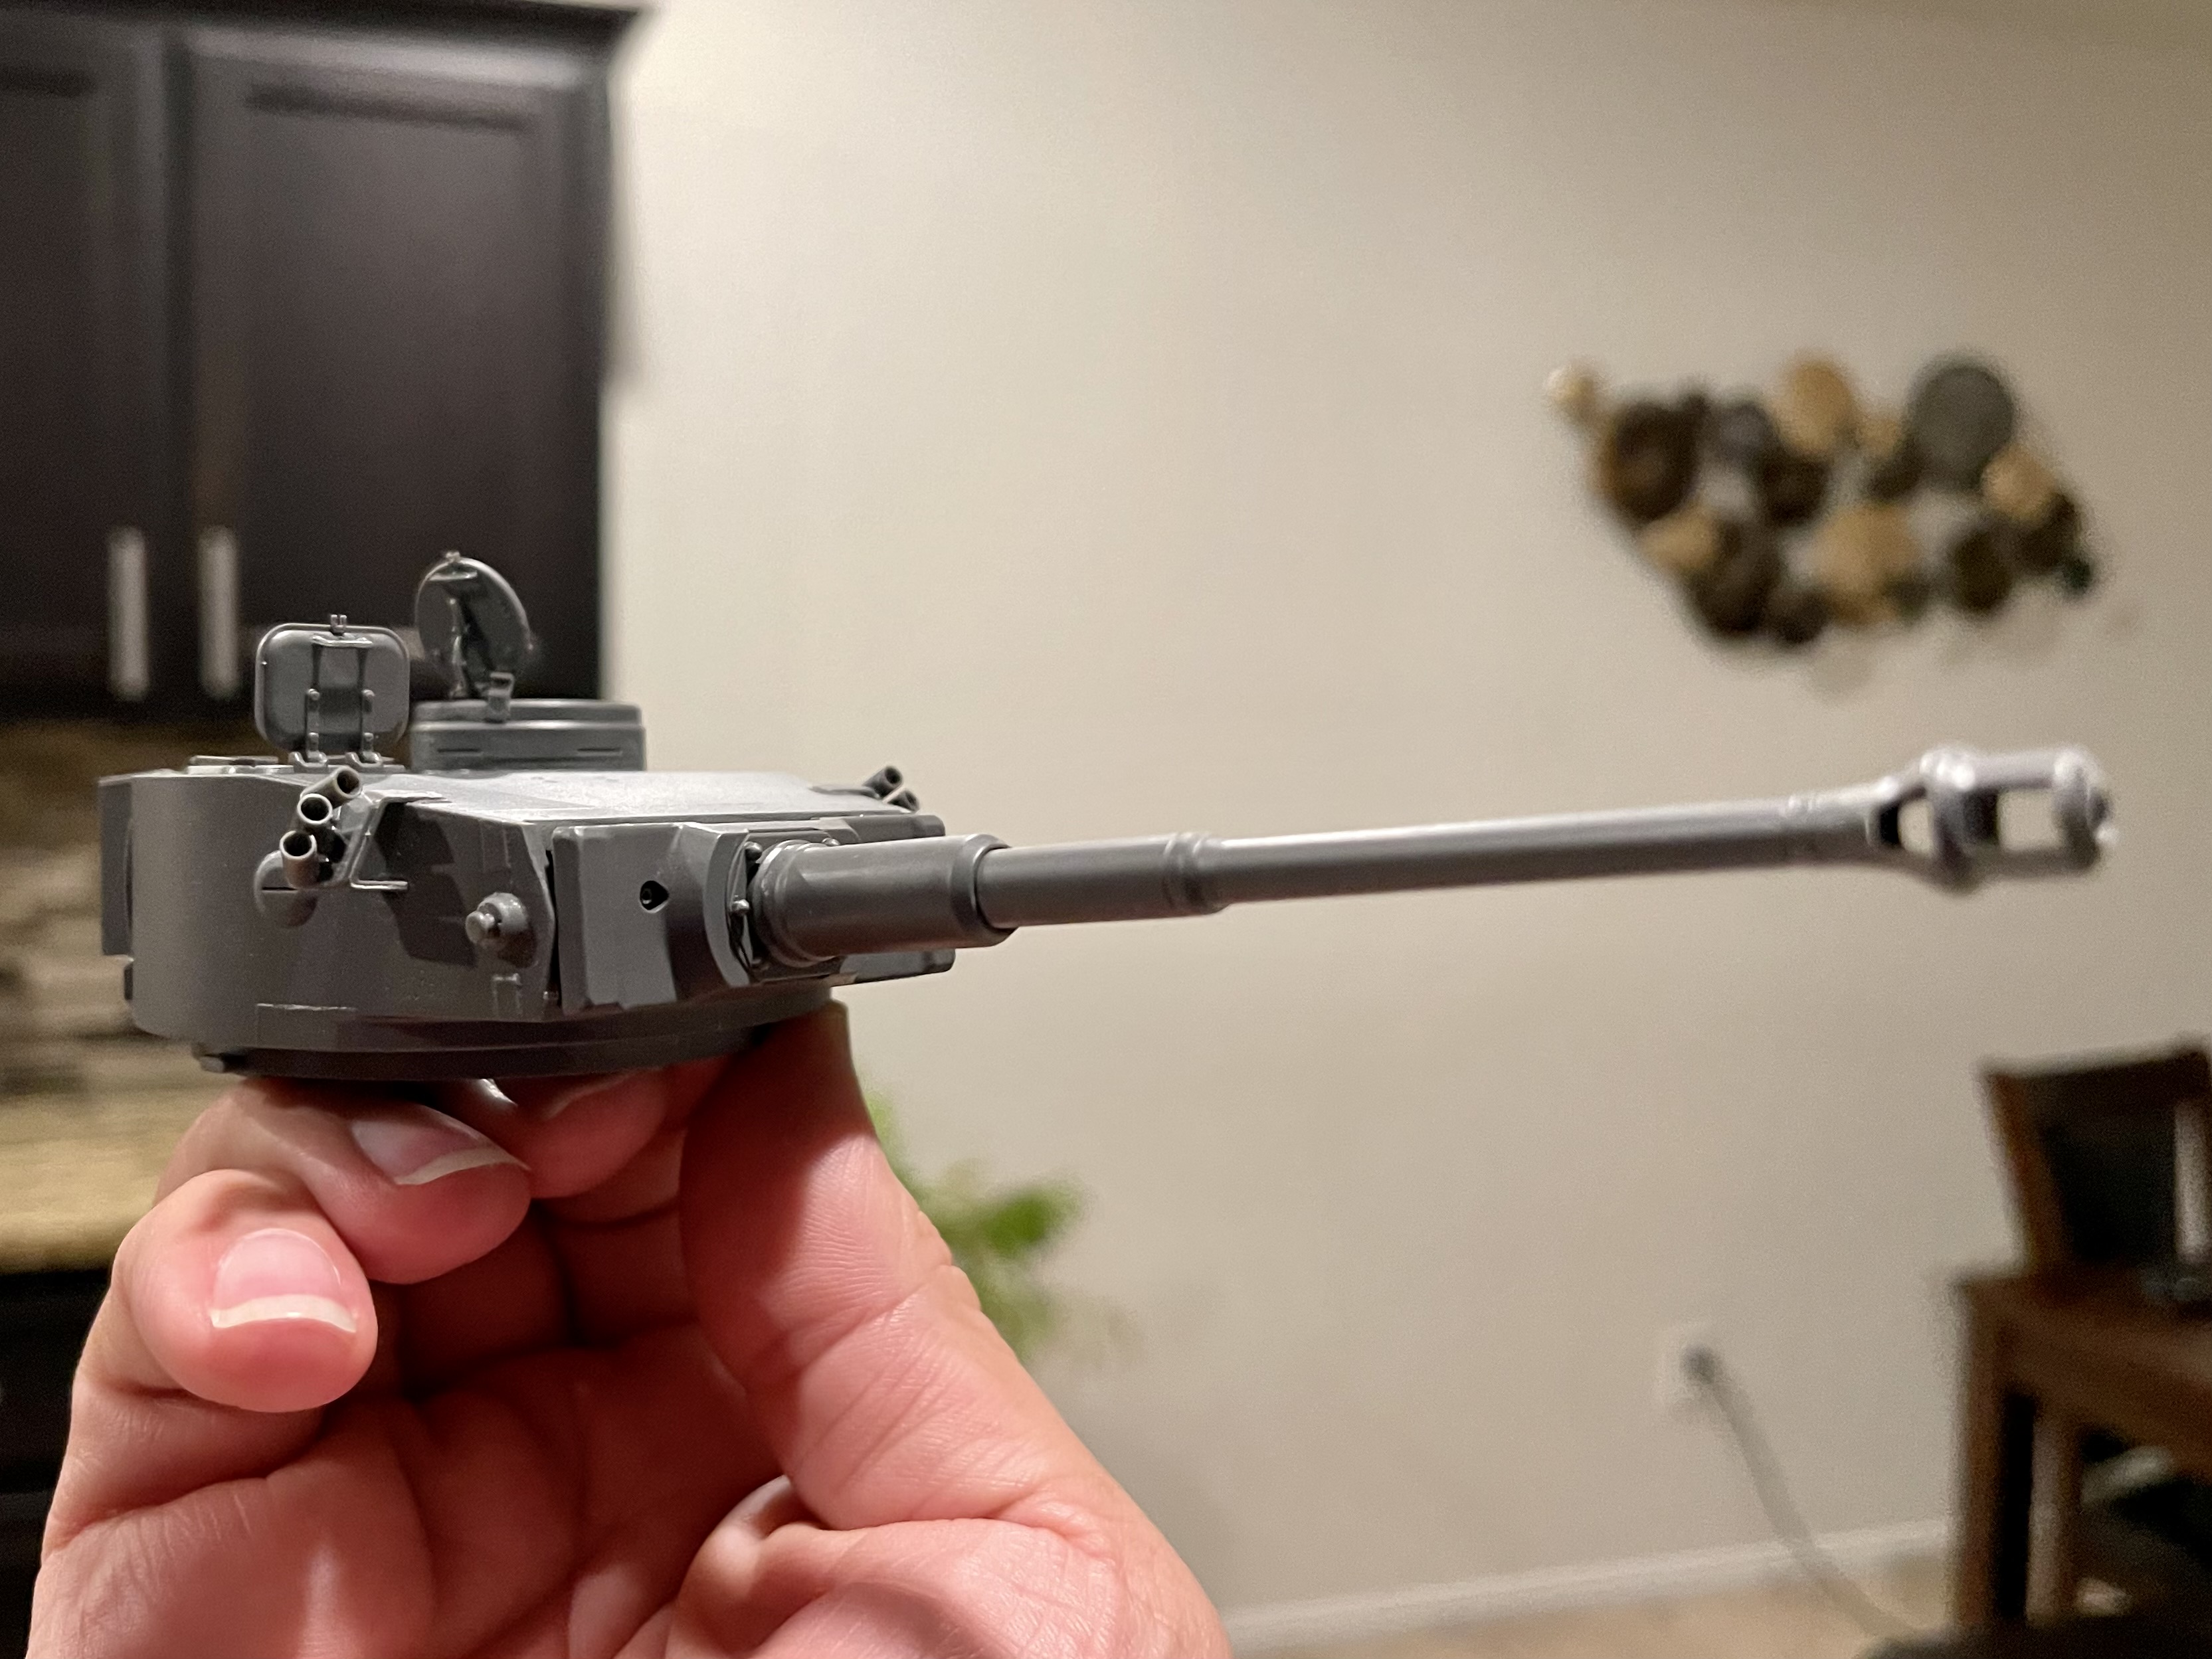
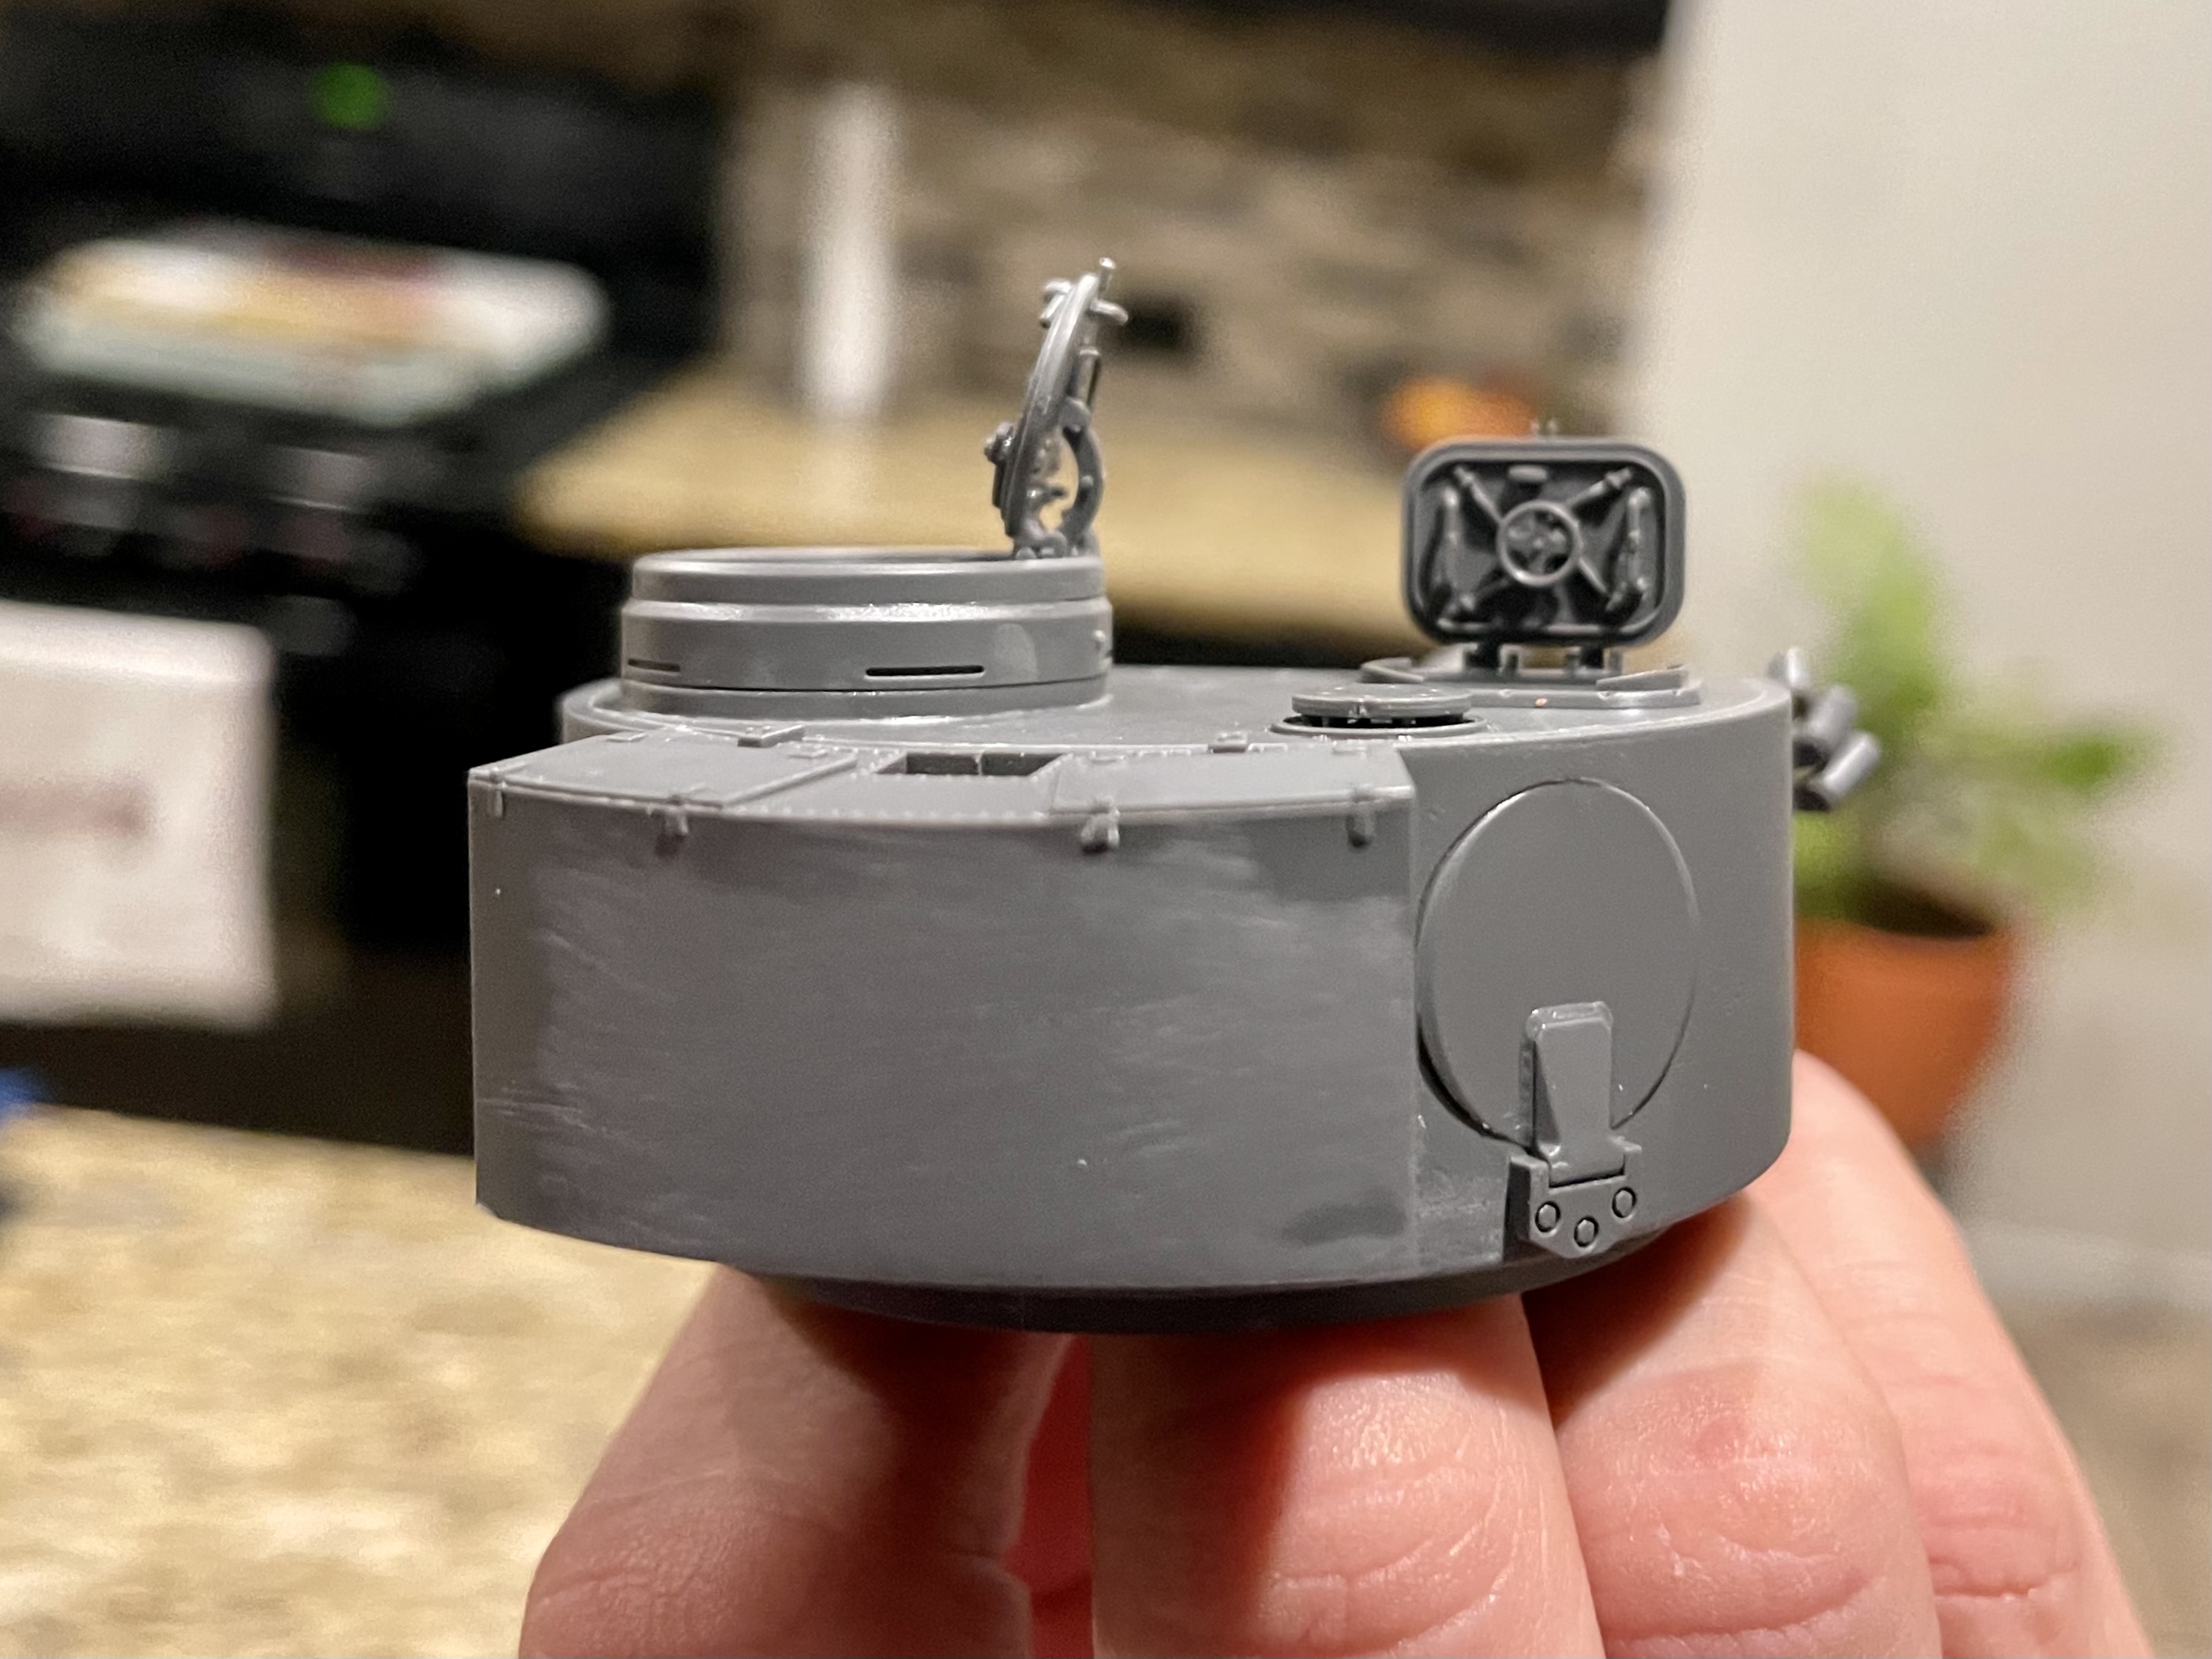
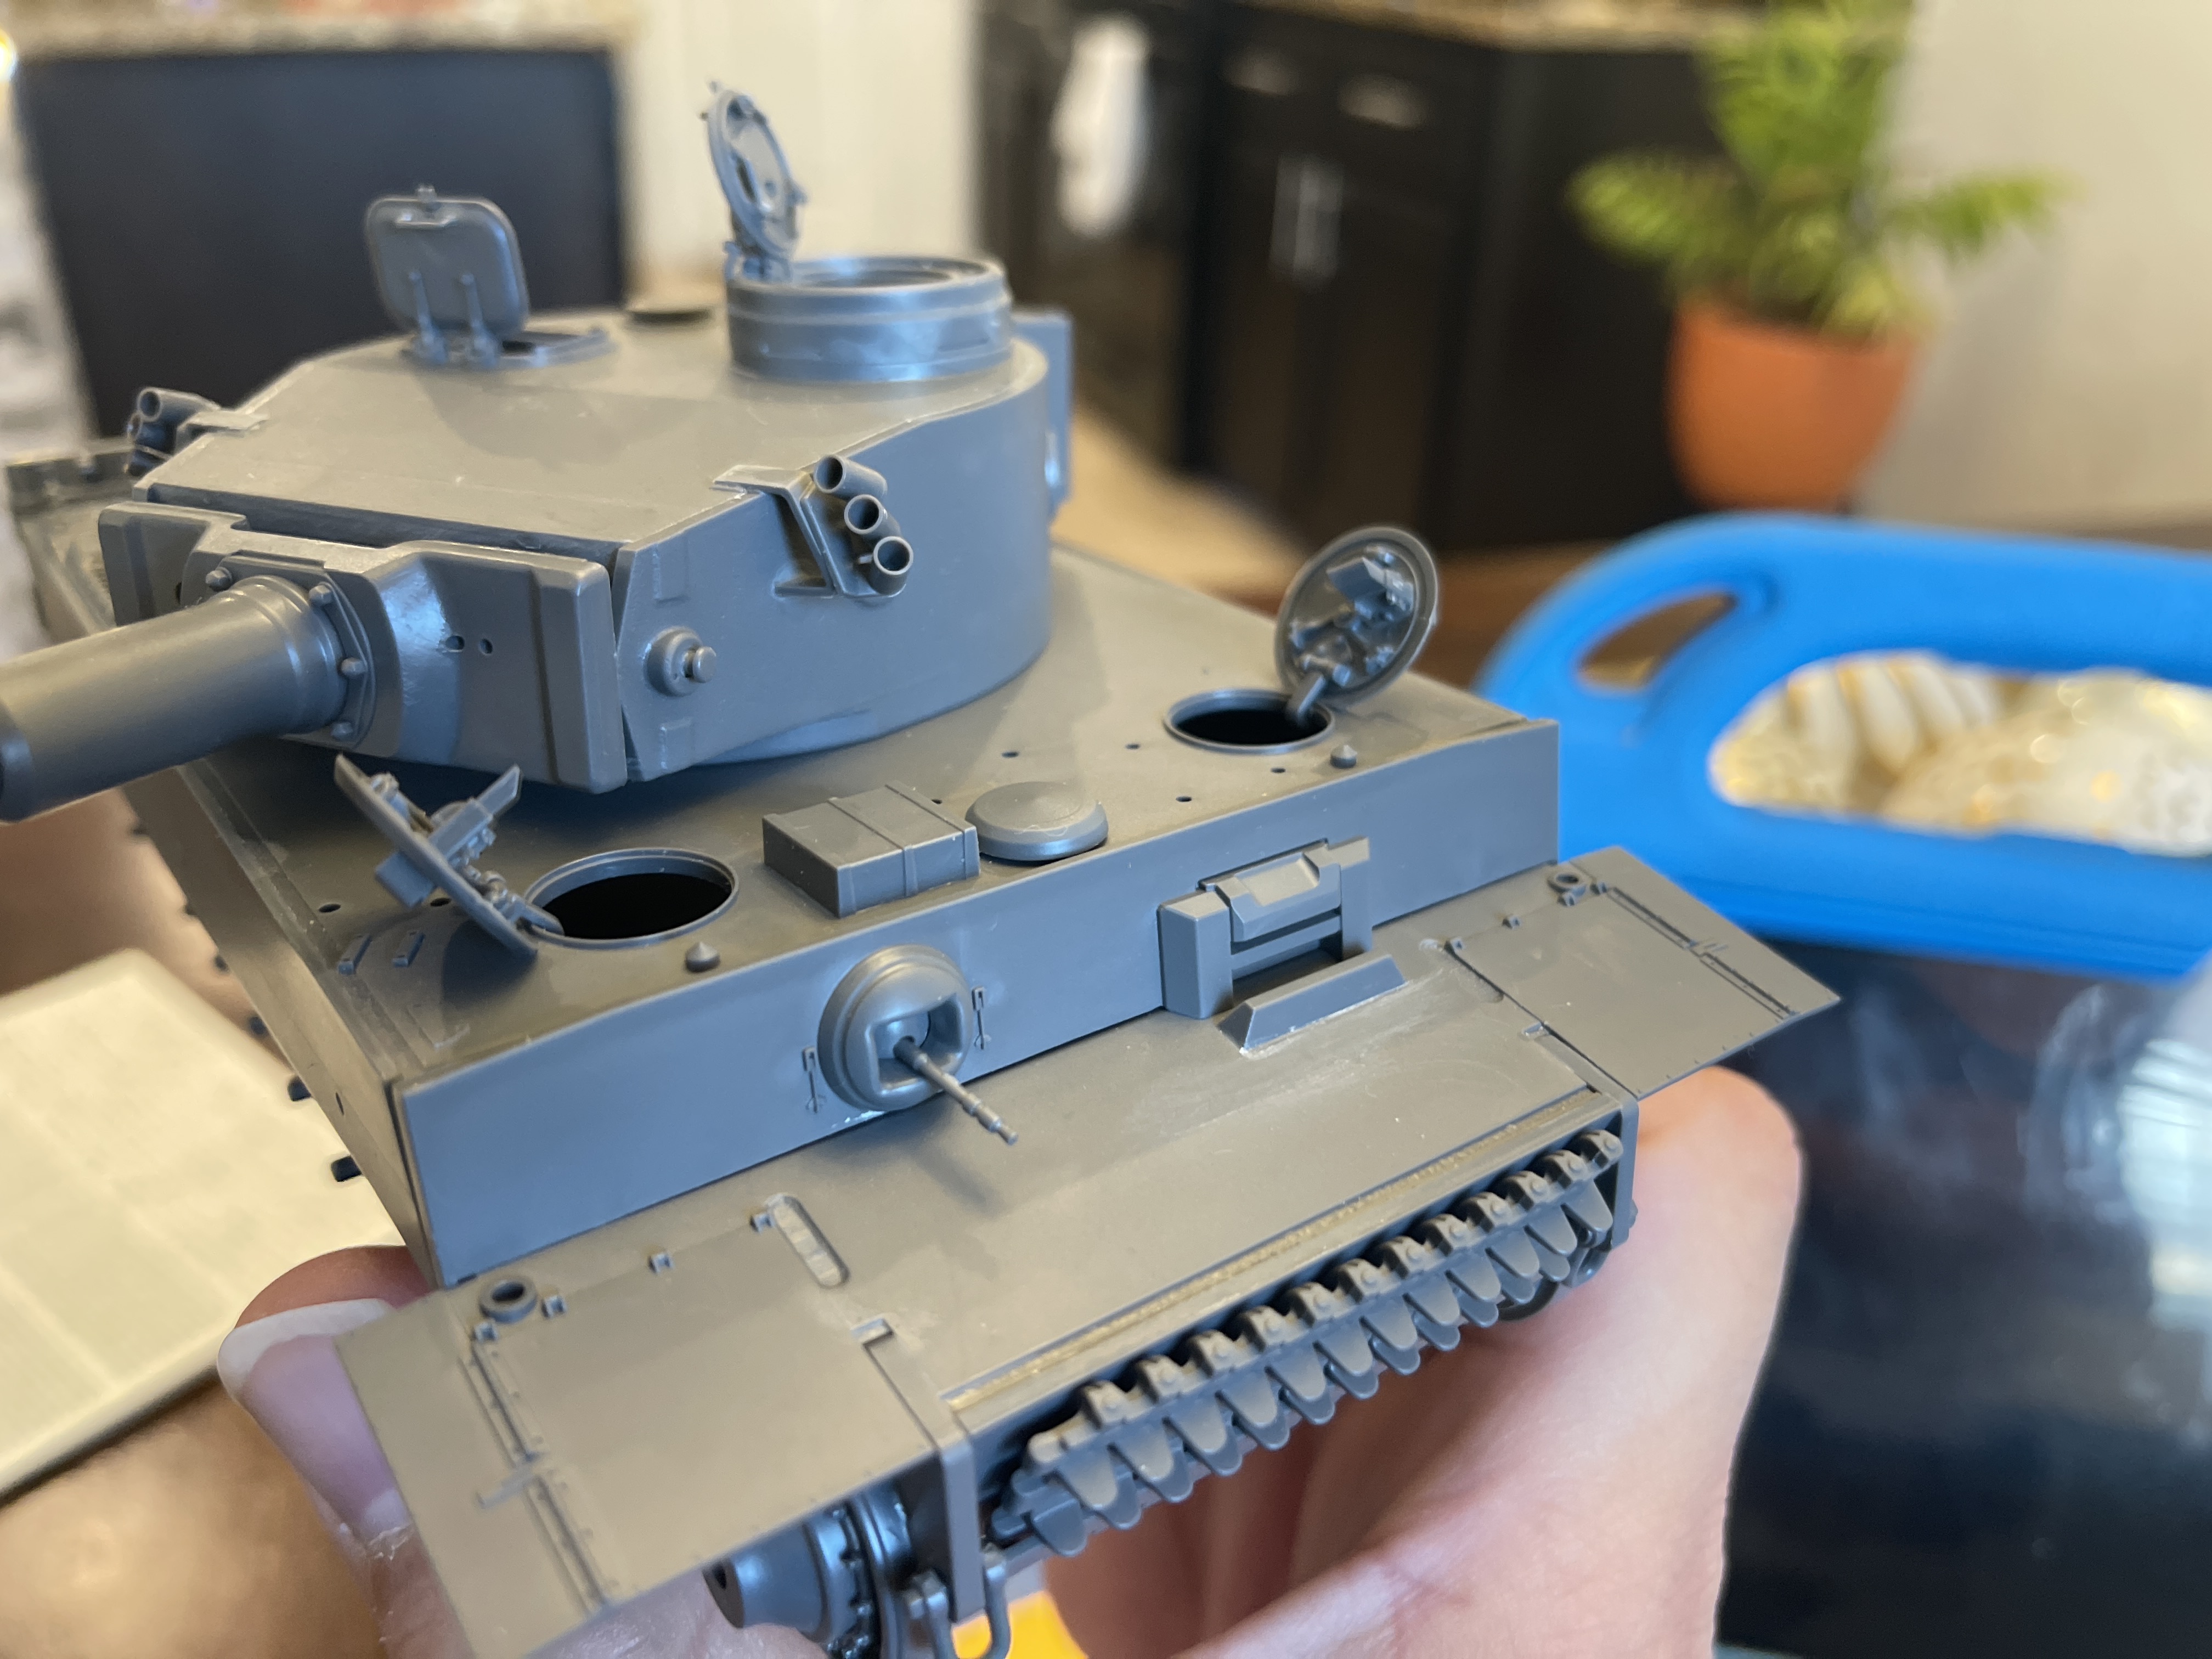
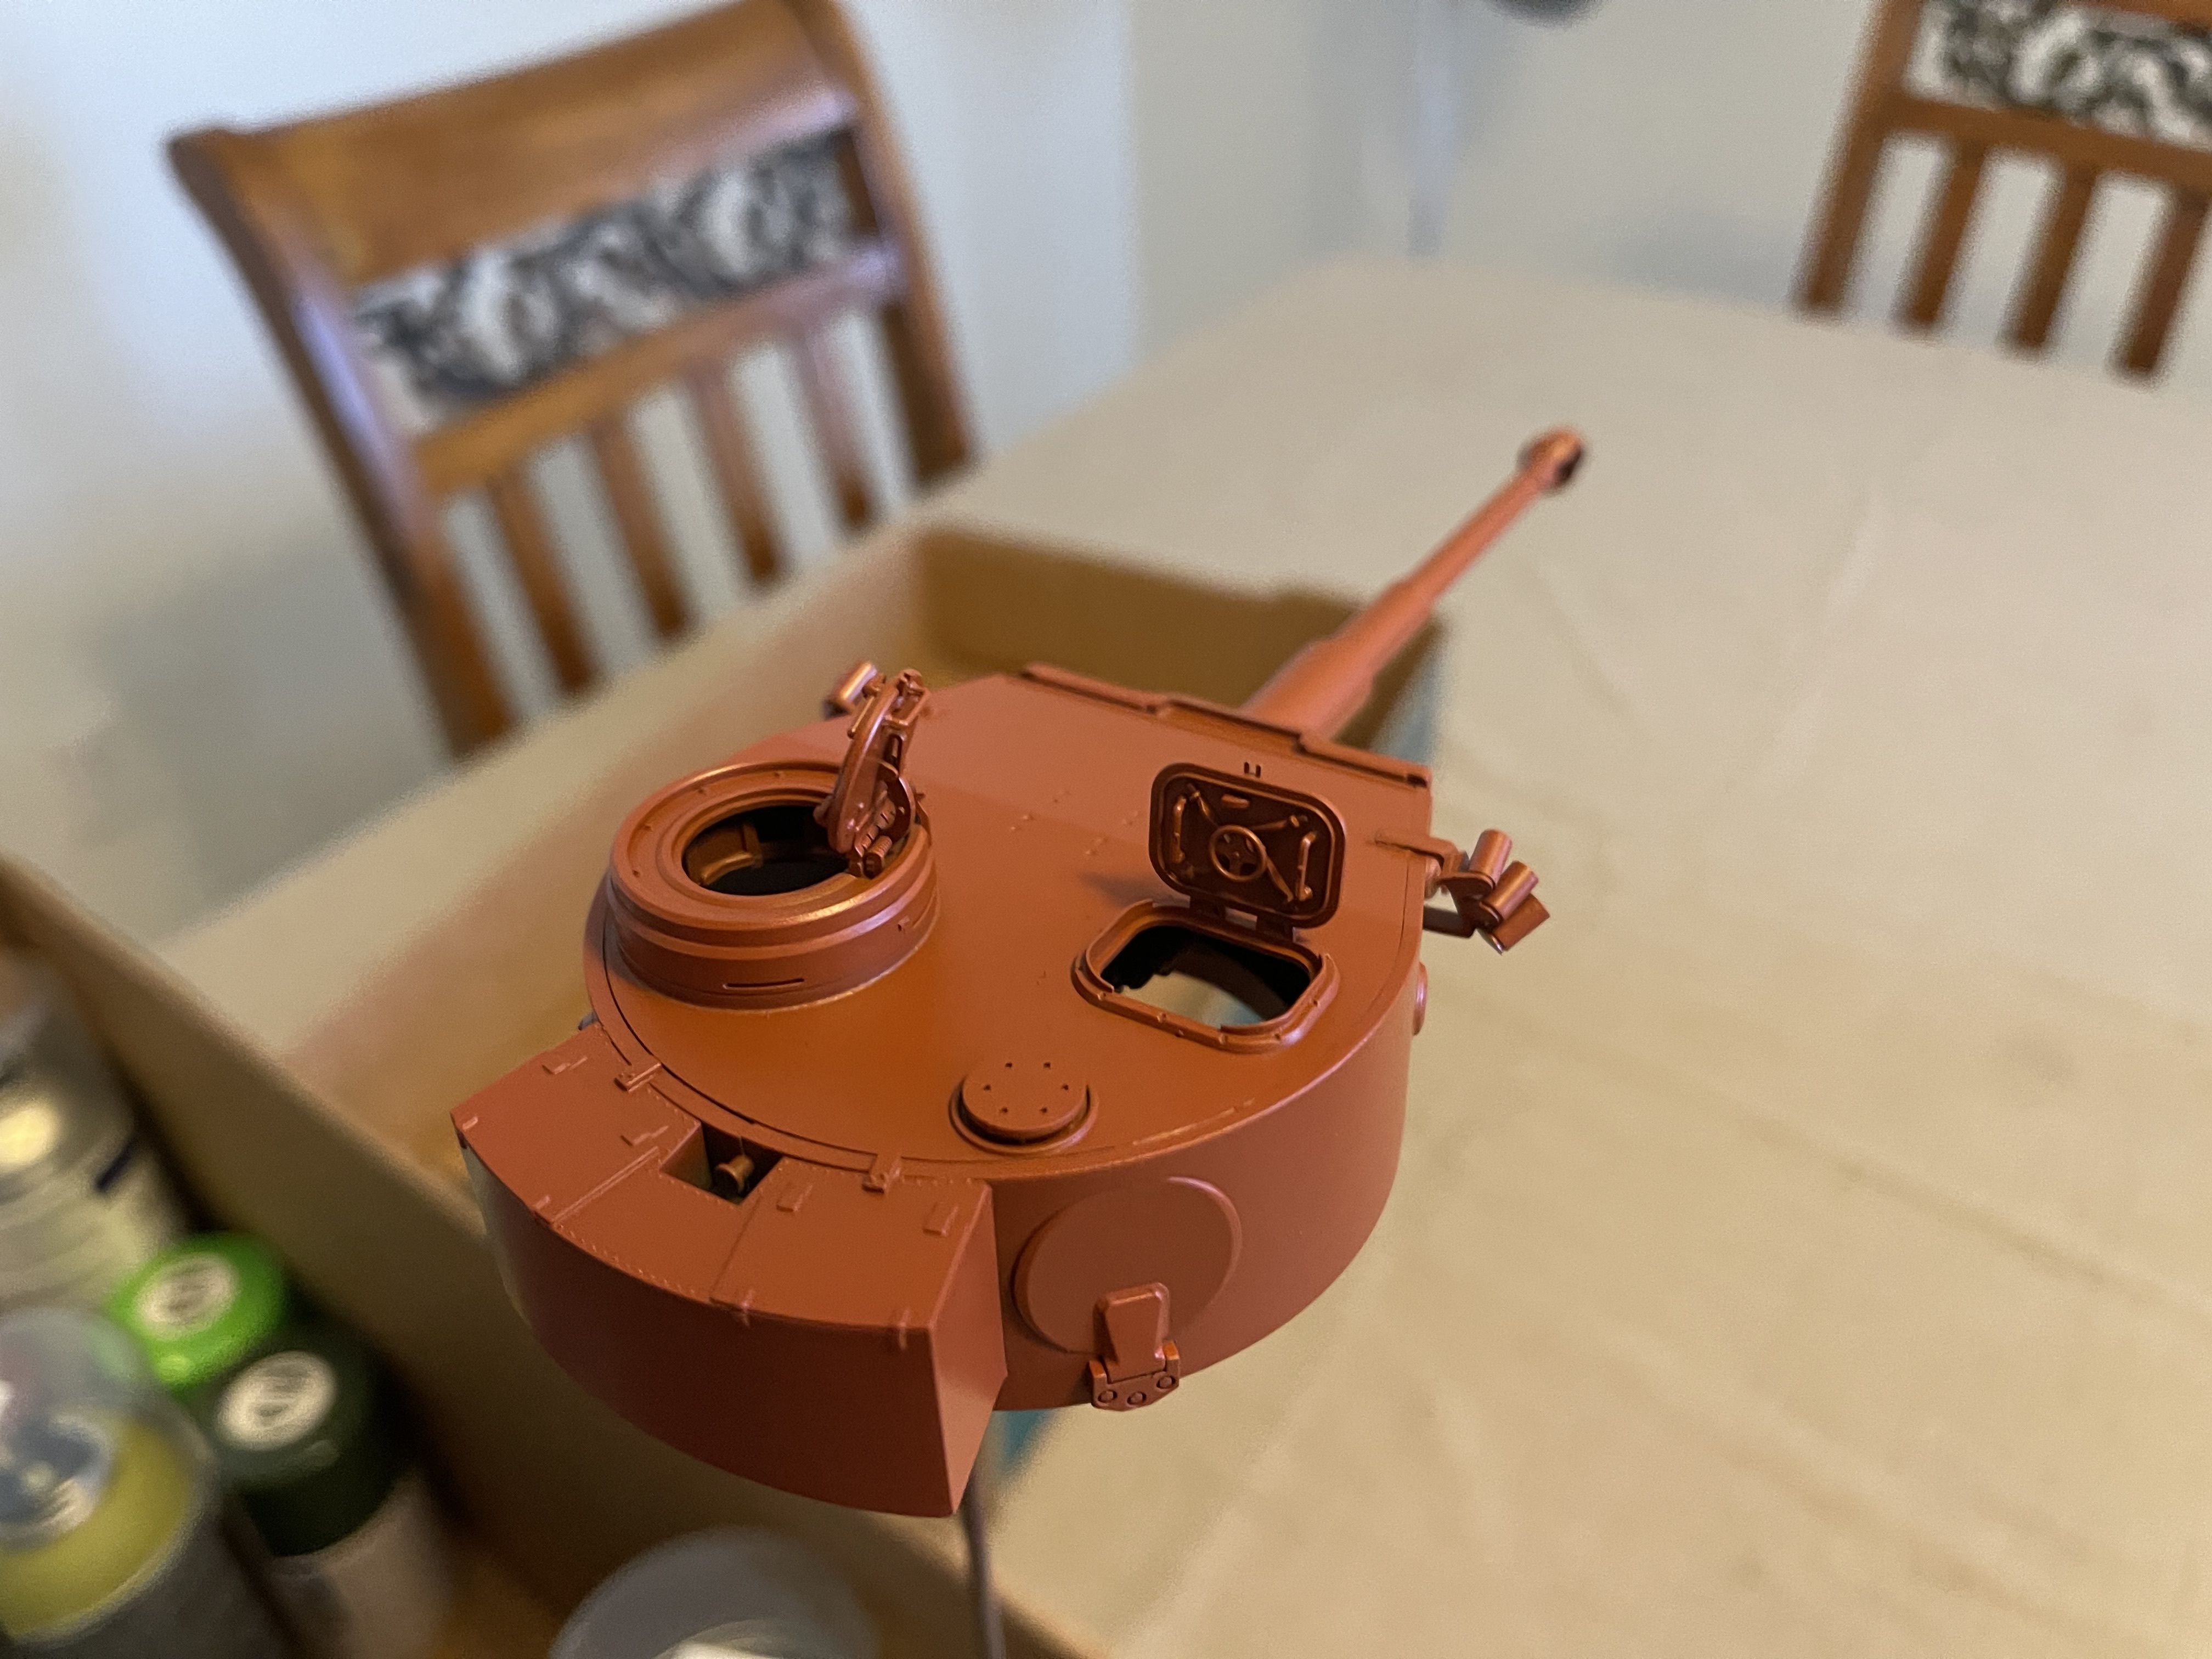
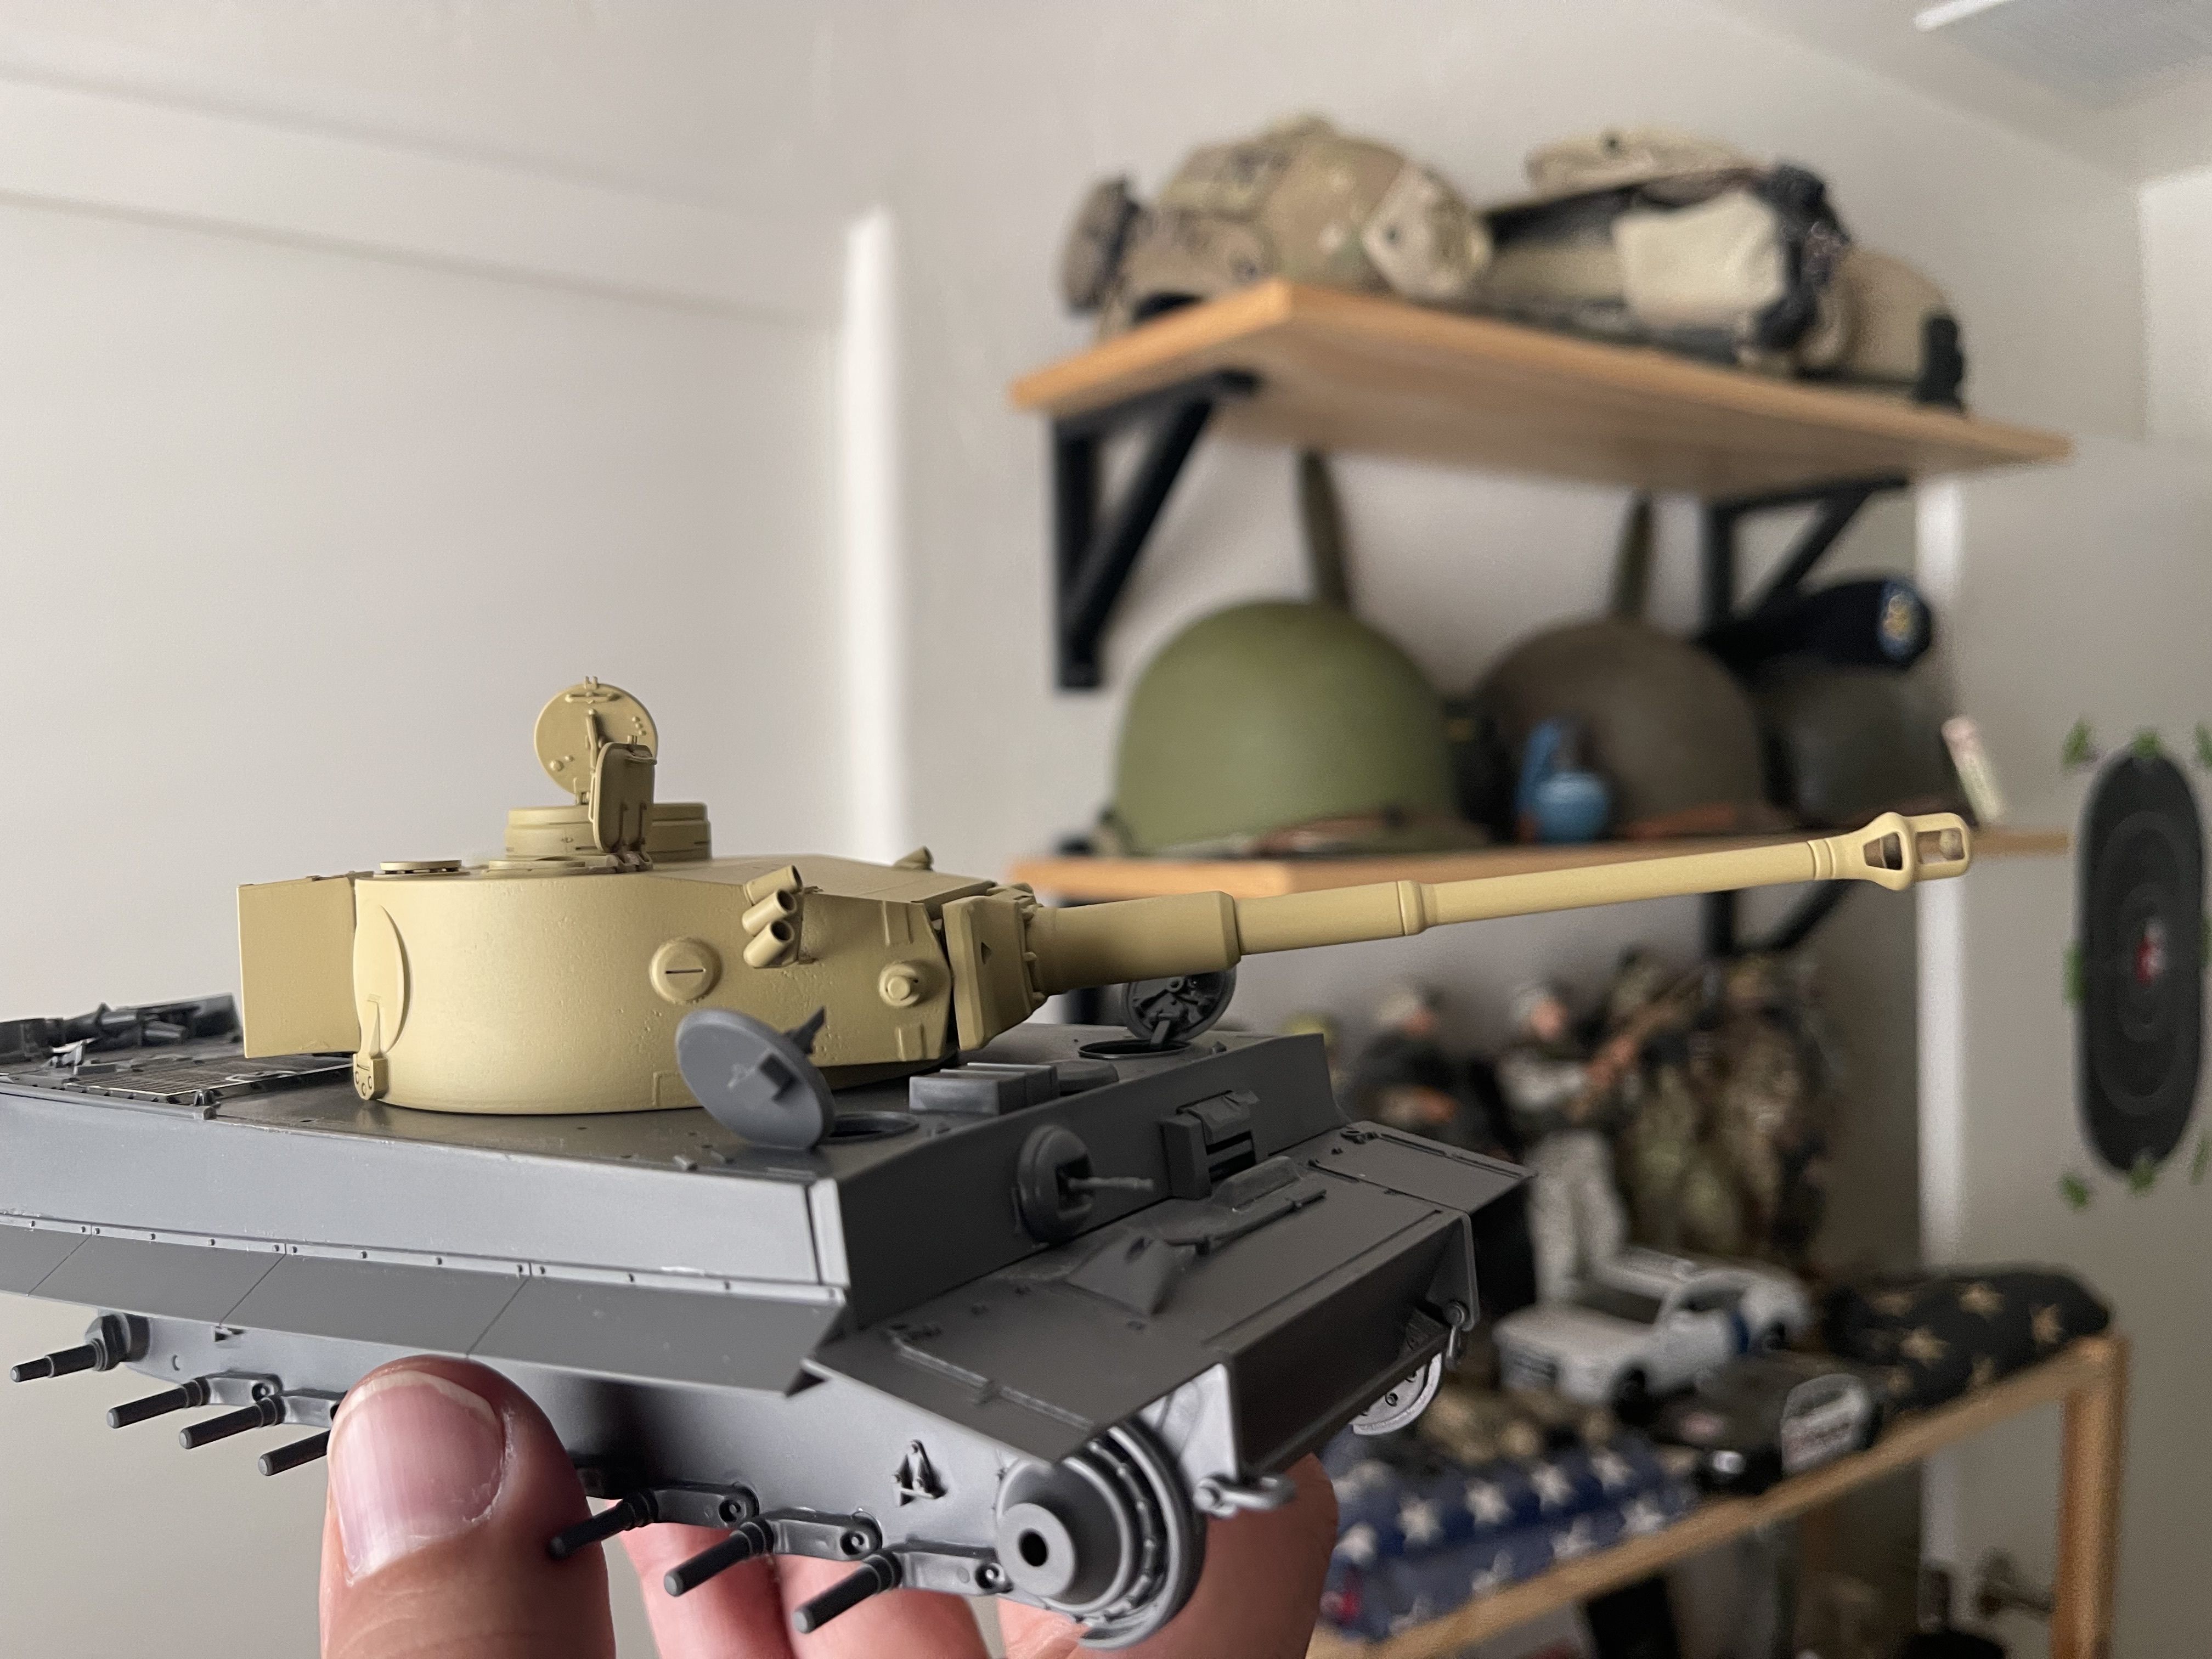
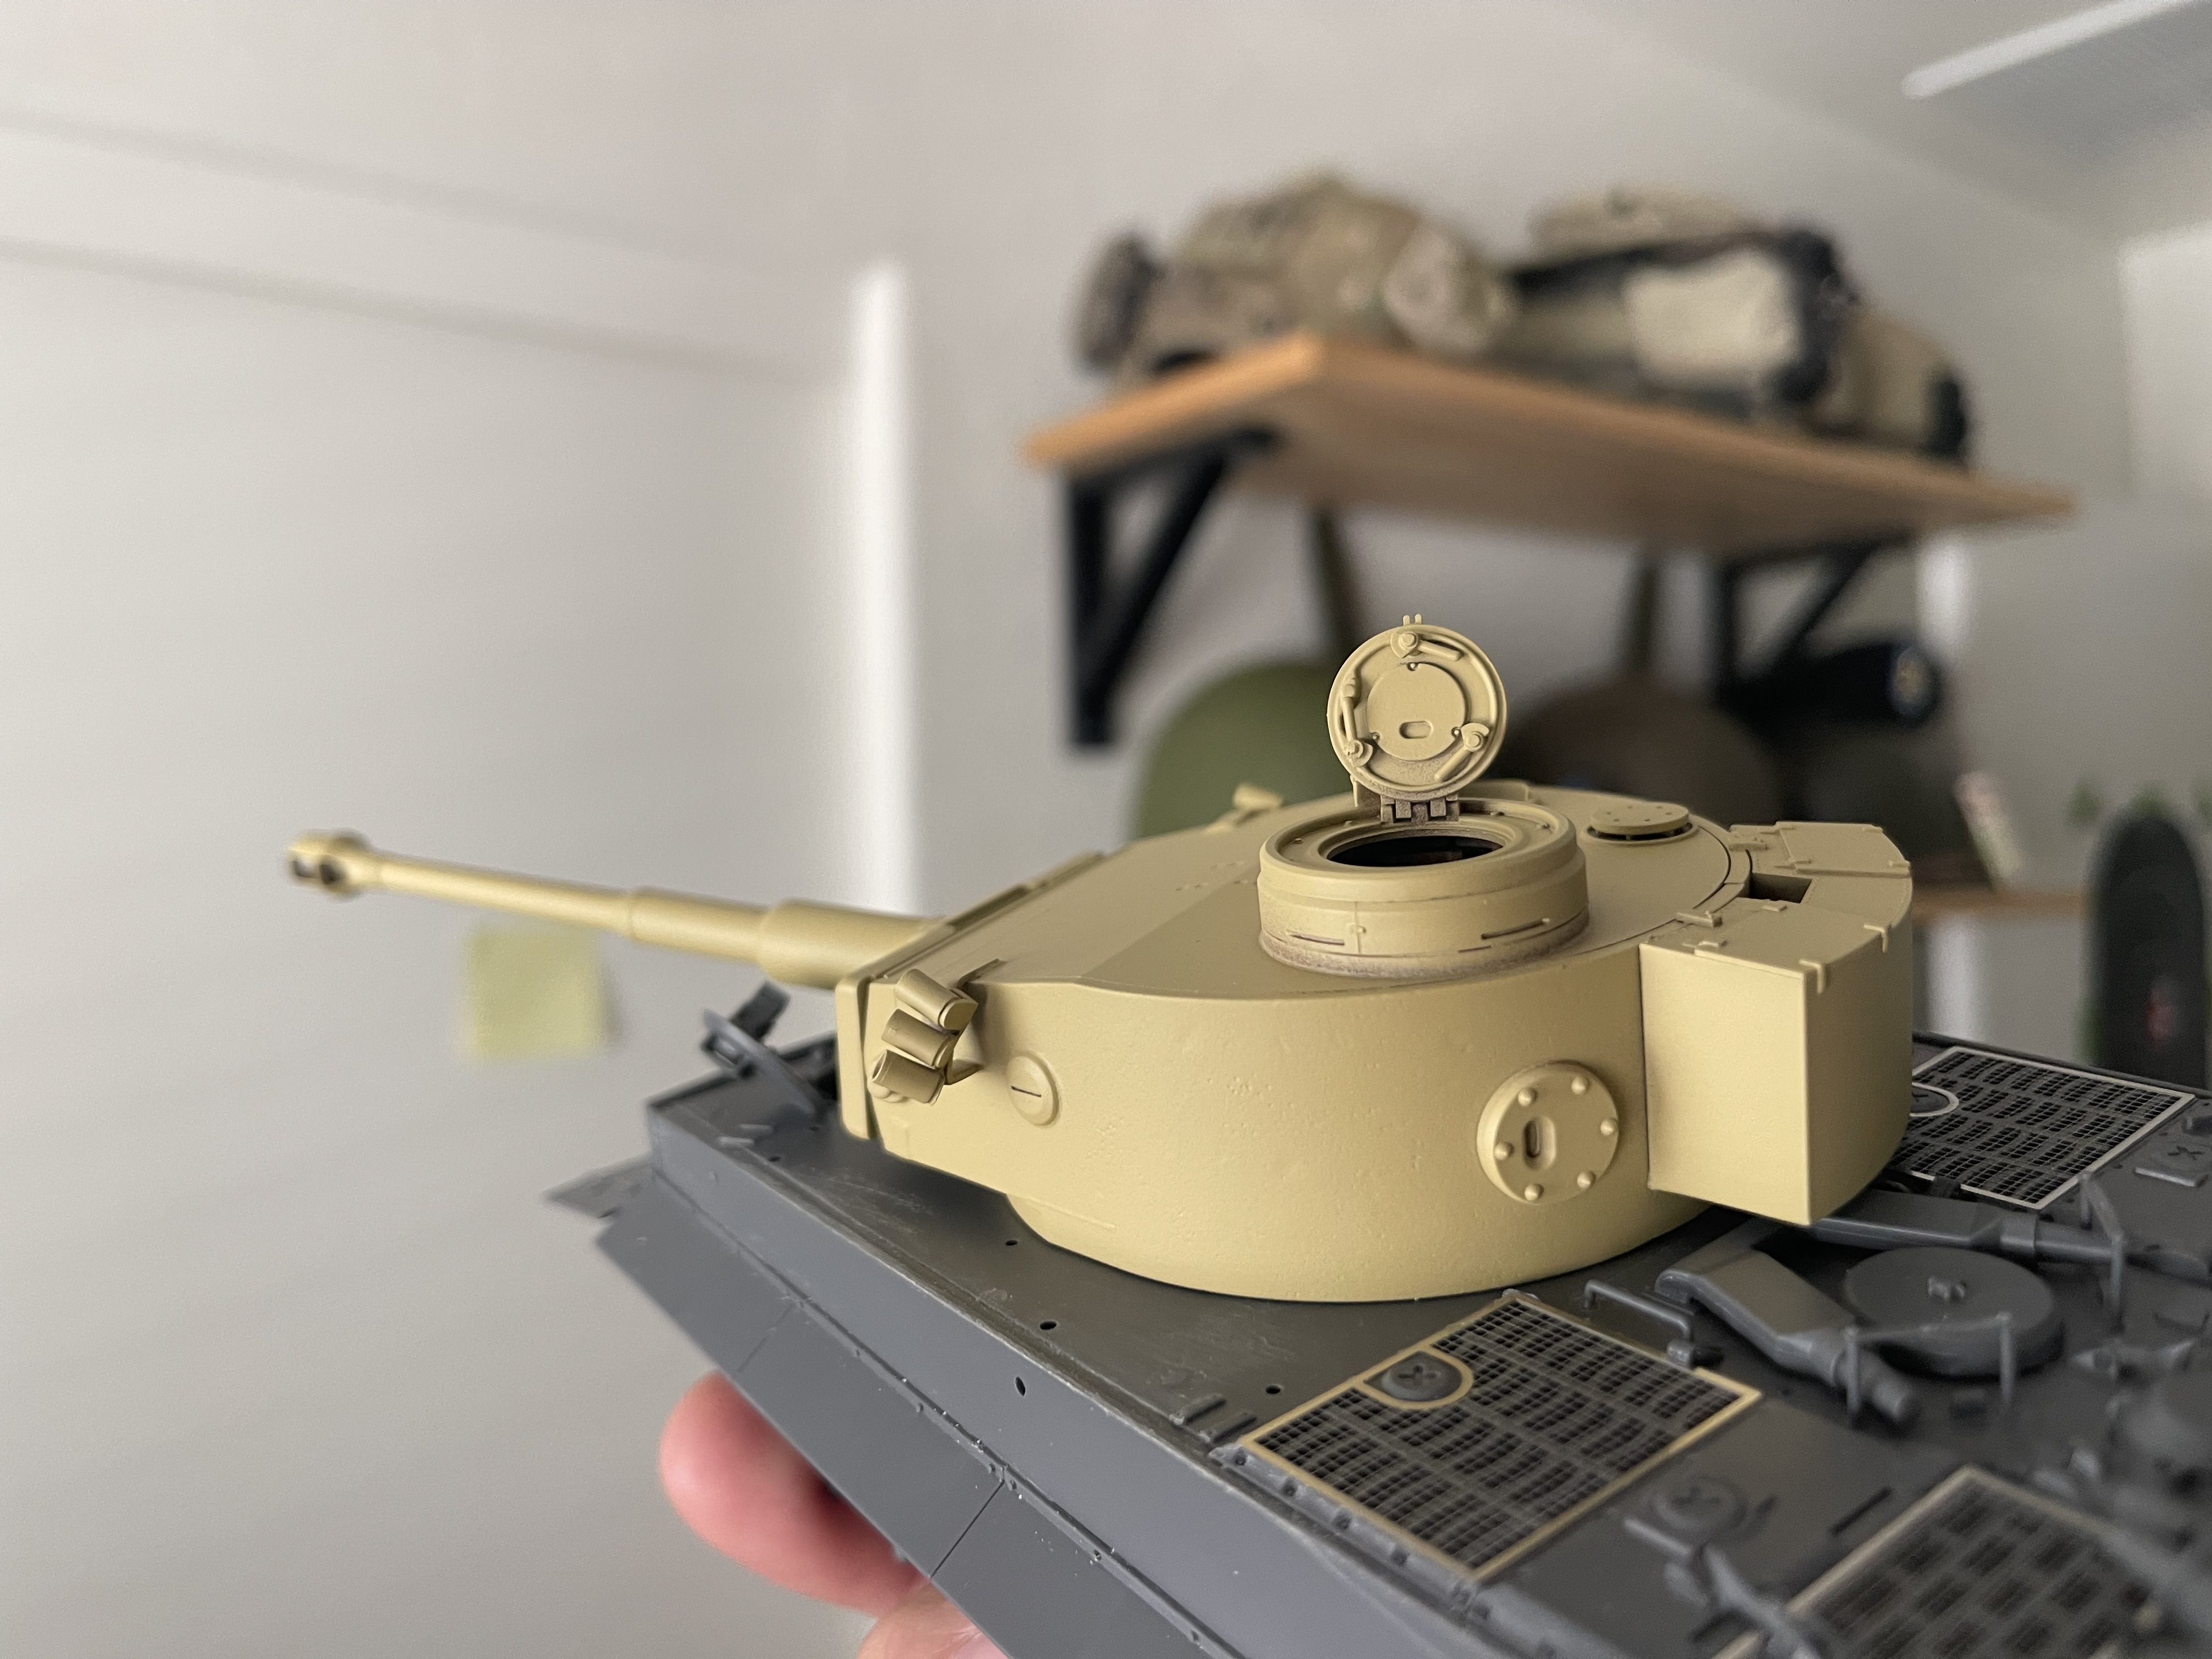
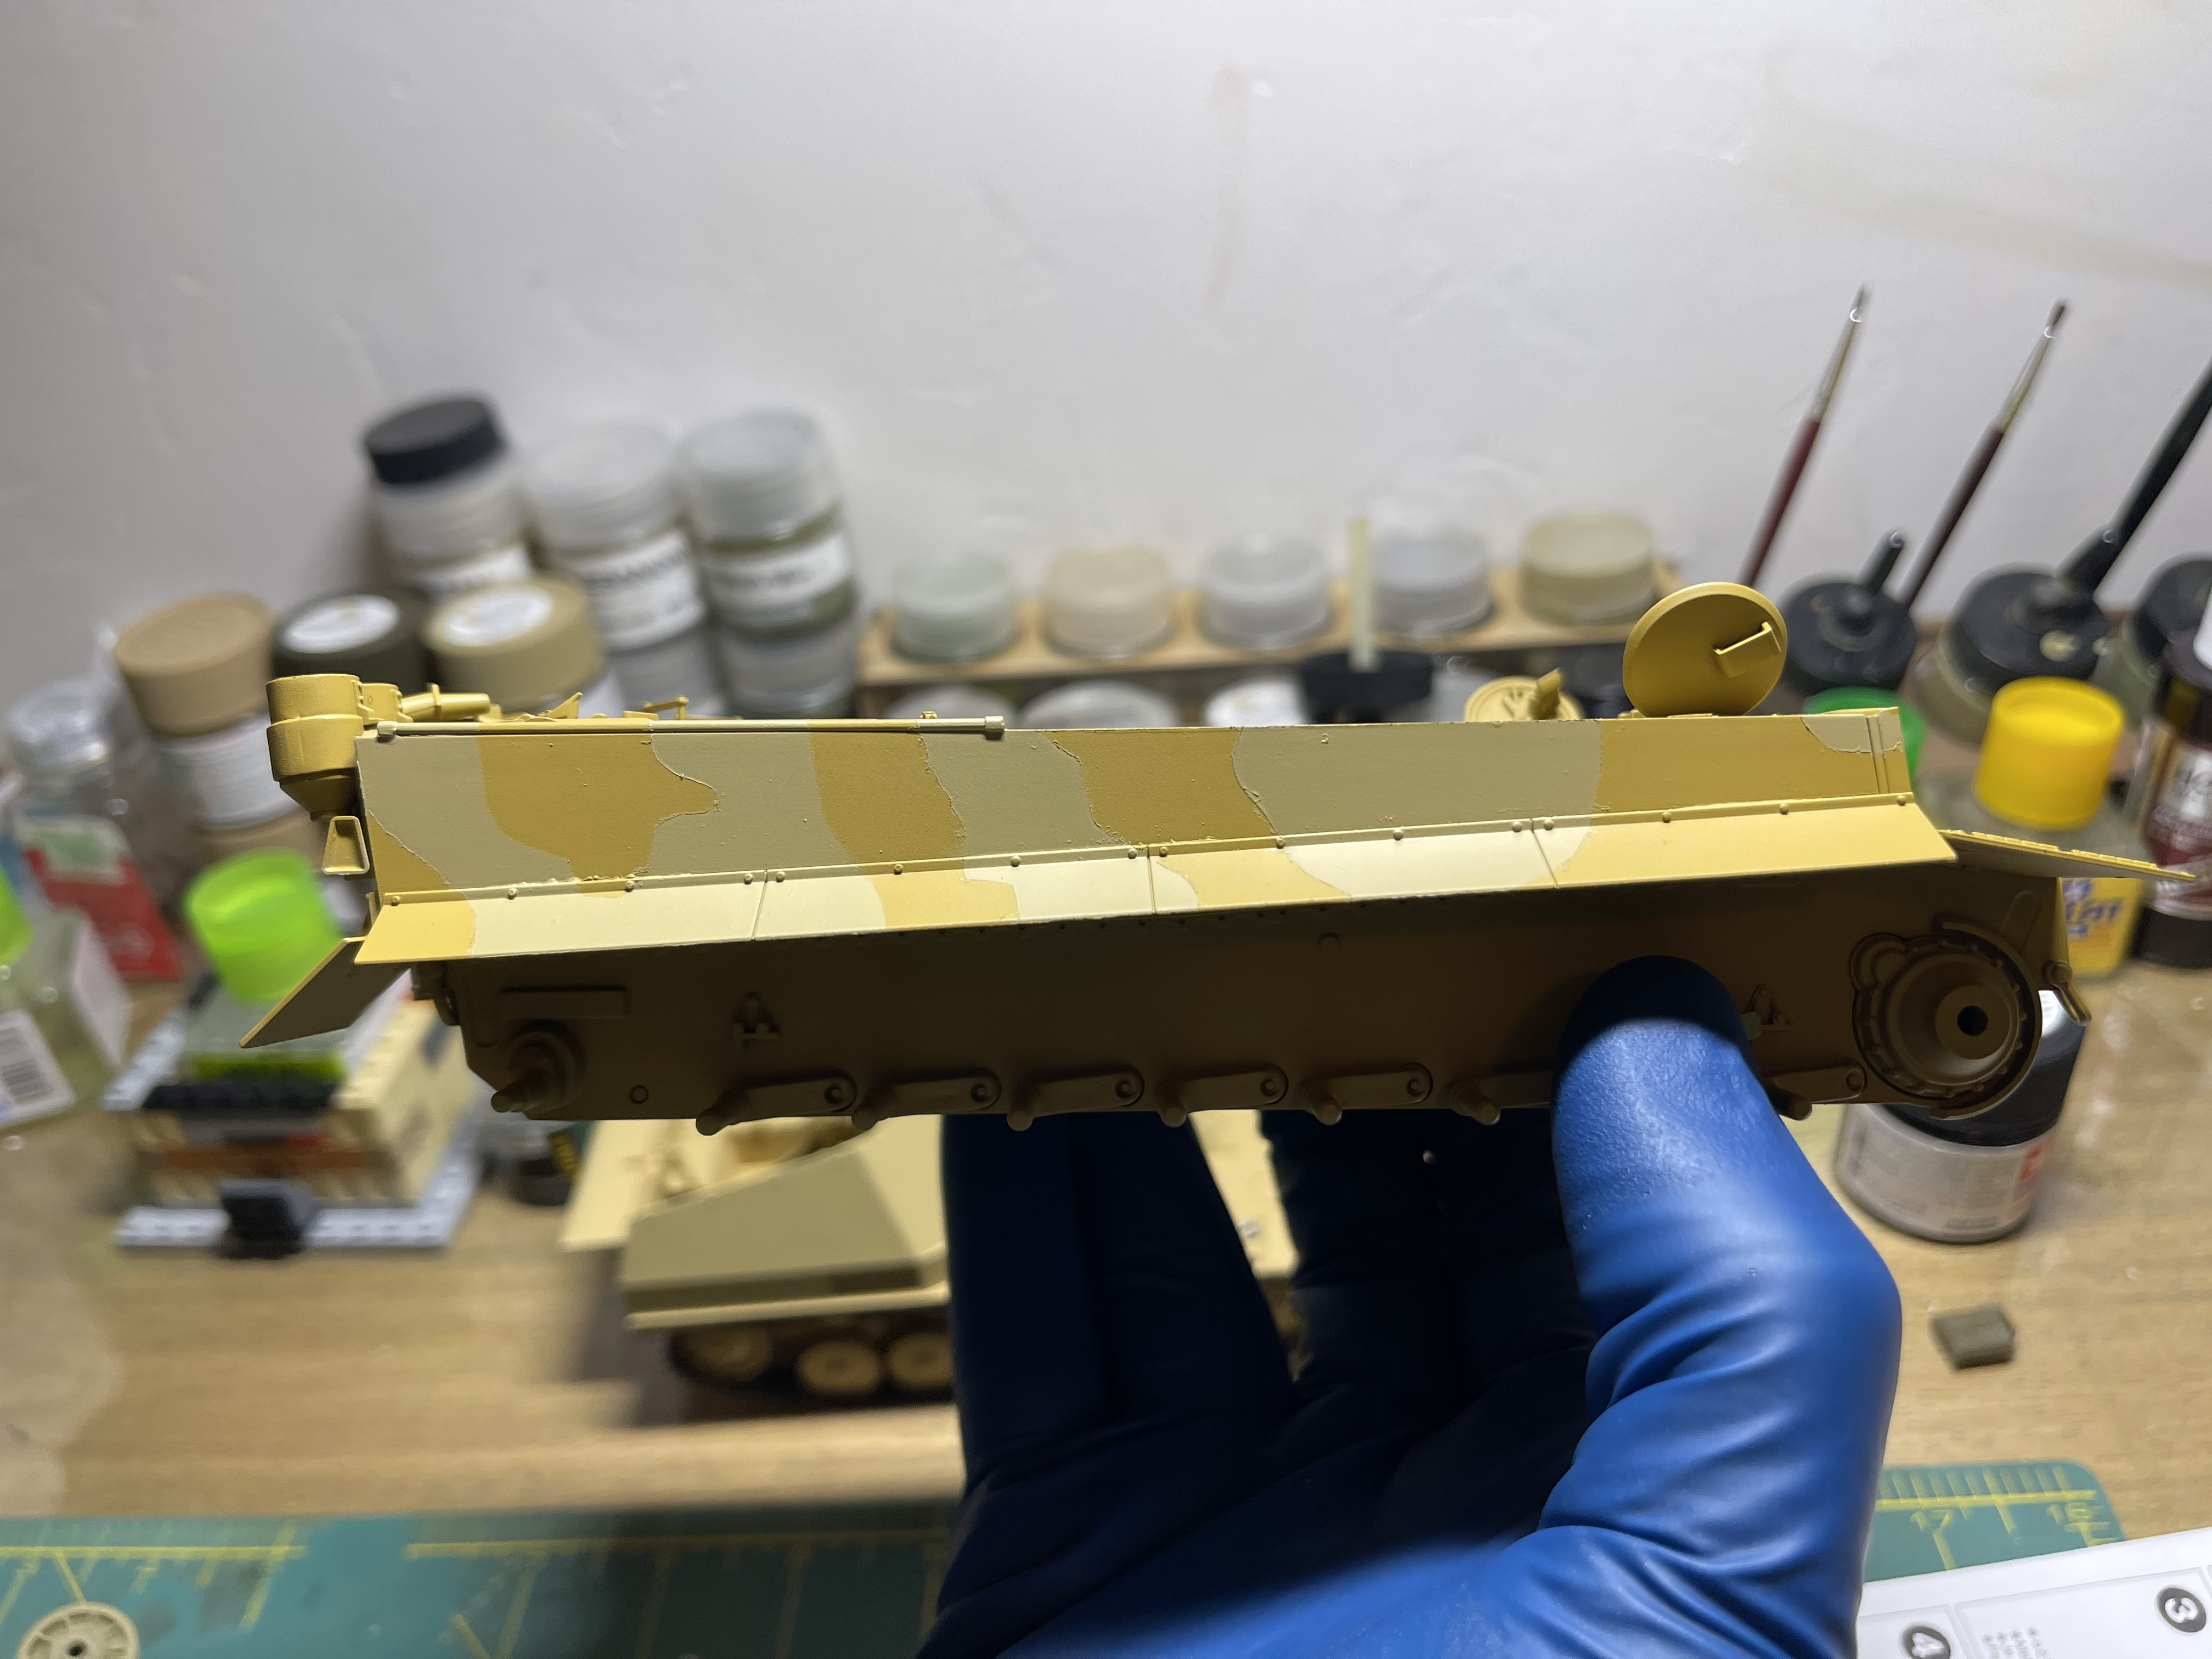
Finally got my hands on the kit while visiting family in Texas. Quick and dirty build. I’ll handle the painting and detailing once I get home, but assembling will take place here.

This will be an almost OOB build, since I’ll use AM metal tracks.

I’ll be getting some mail files from the local beauty supply store to knock out some of the flash marks.

Been wanting to add anothe Tiger to my stable.

8 Likes

Hint: Tamiya are wrong to put the entire starter handle on the back wall. It broke into 2 parts. Only the main shaft was there.

David

2 Likes

Reynier looks like that Tiger is out of the gate and off to an excellent start! Excellent vacation project choice.

2 Likes

The Tiger had both versions; I decided to use the earlier 1-piece crank as opposed to the takedown hand crank used on mostly mid production Tiger ‘s.

The kit gives you options to build six separate variants of the Tiger I, so it has a few extra parts

Or I can simply cut it off the kit since Tiger 131 doesn’t have either ( they actually have it, but choose not to fit it on the tank).

1 Like

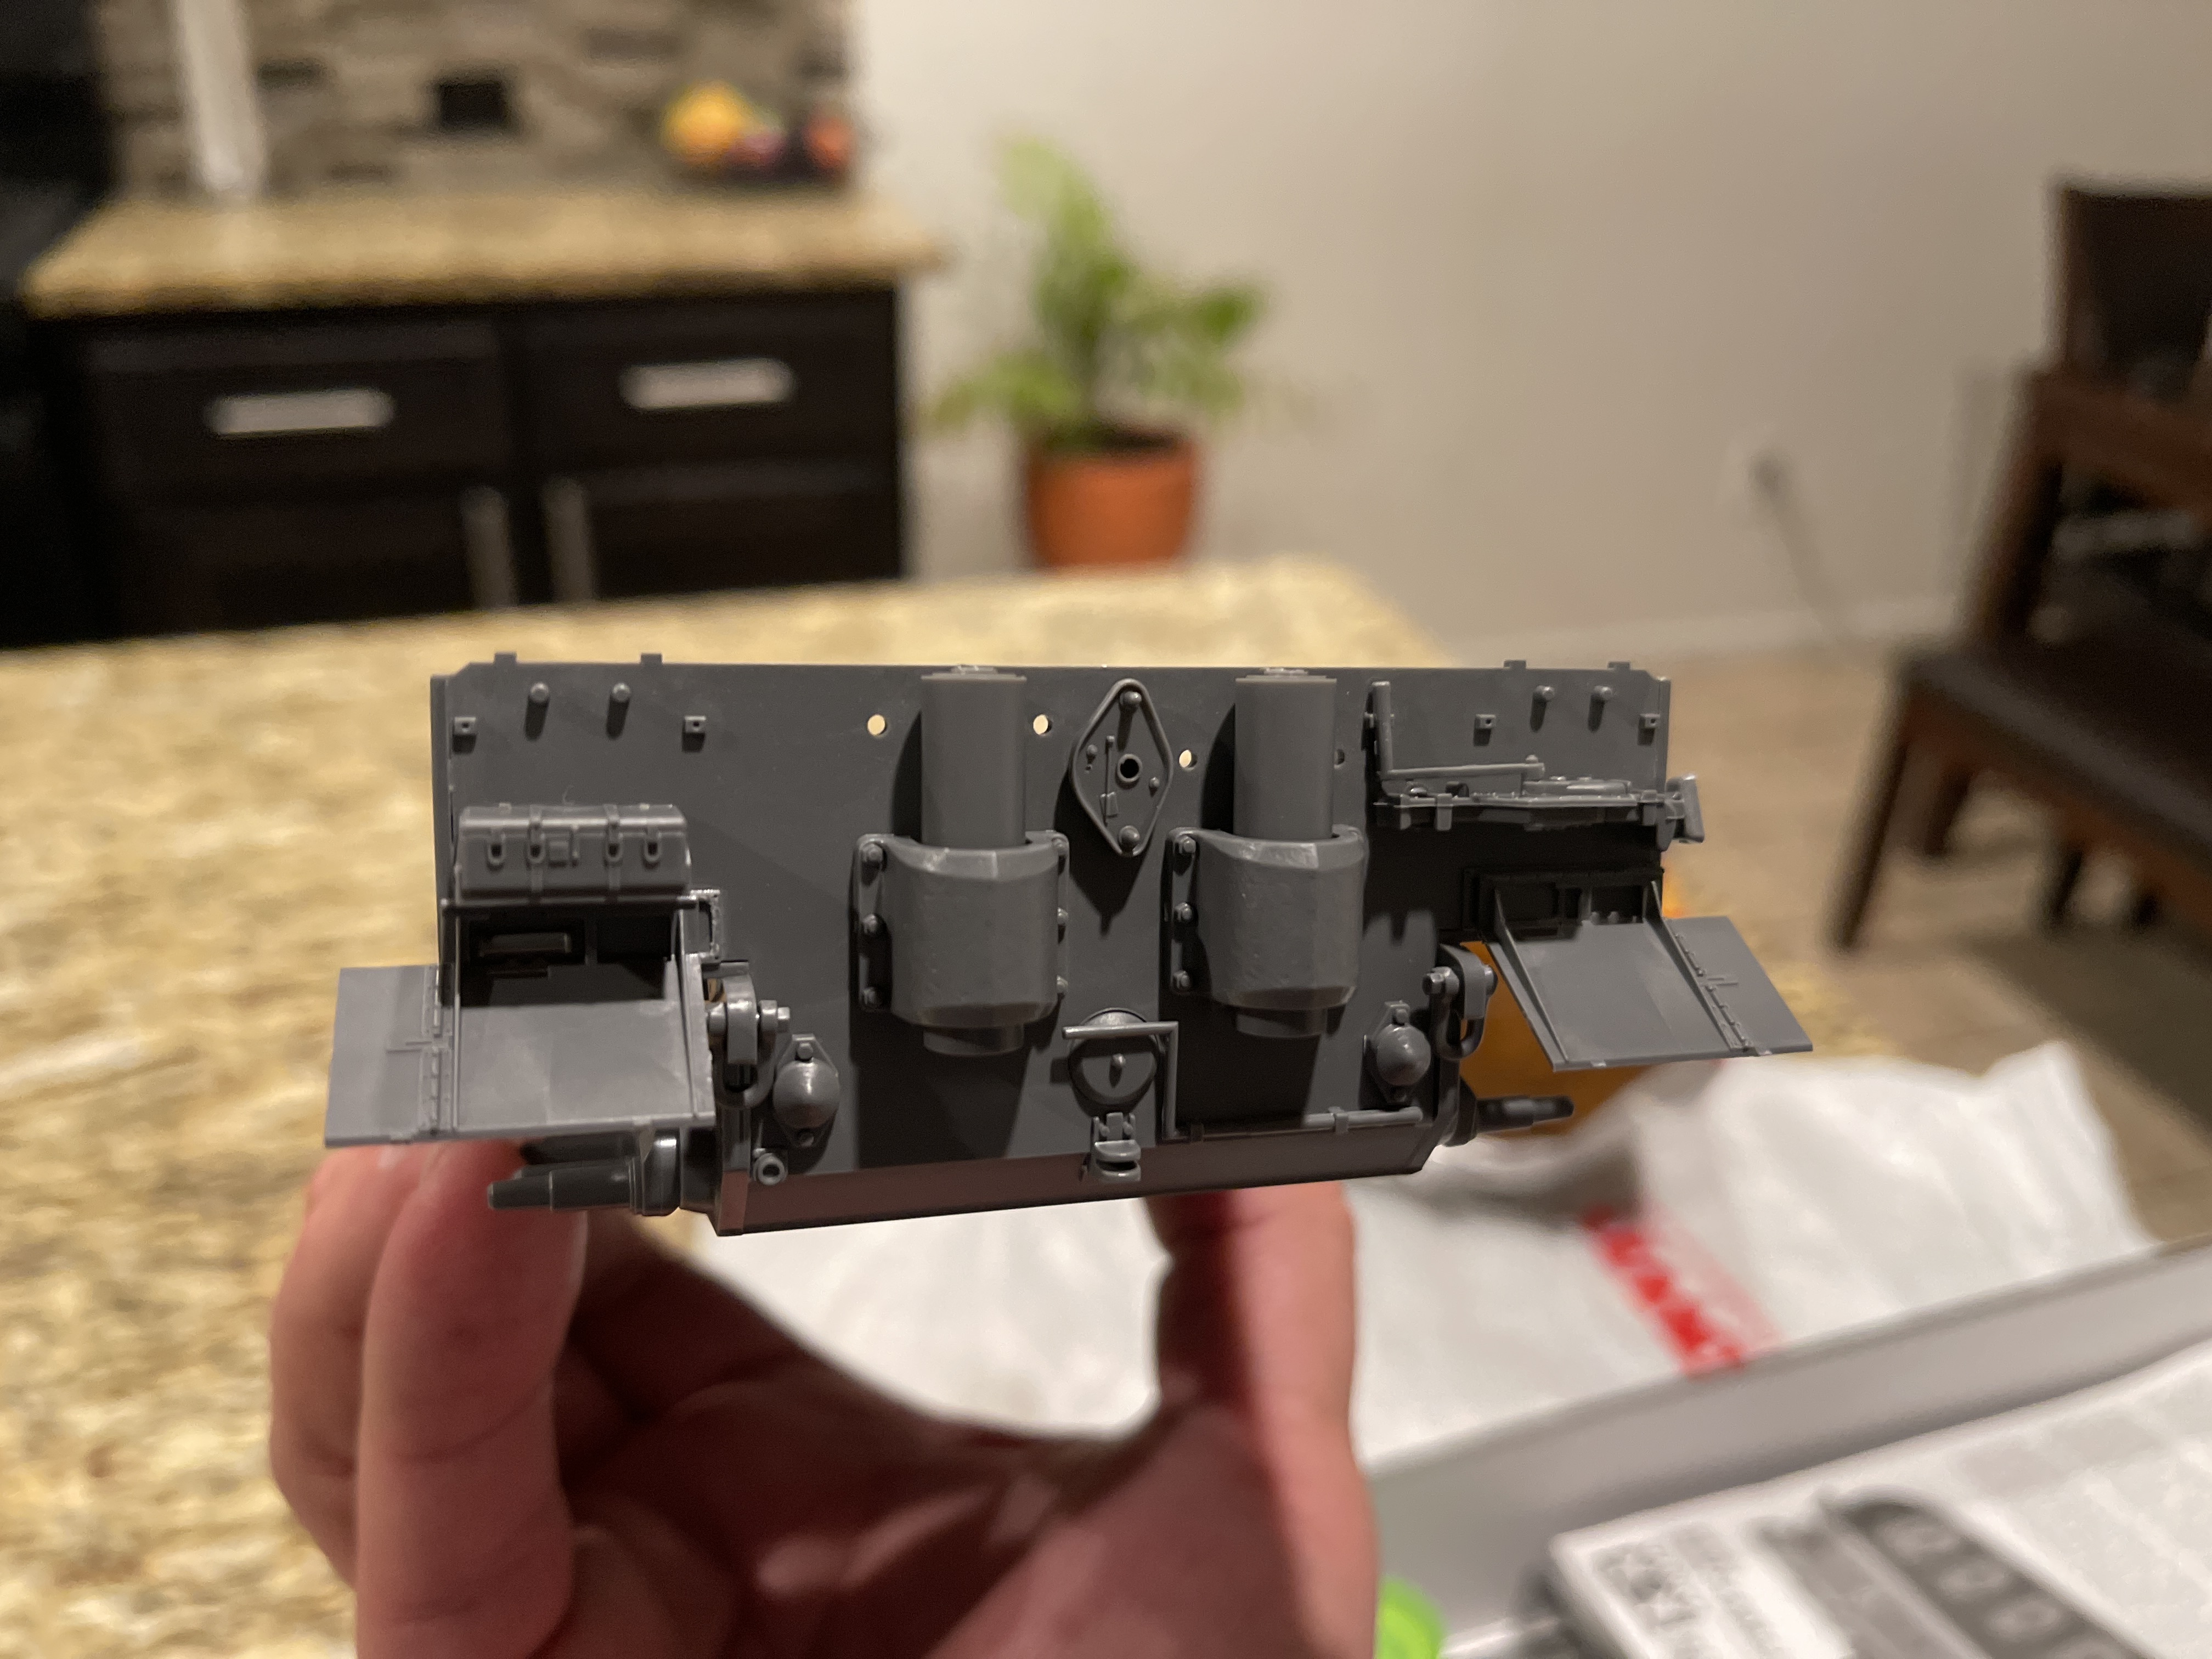
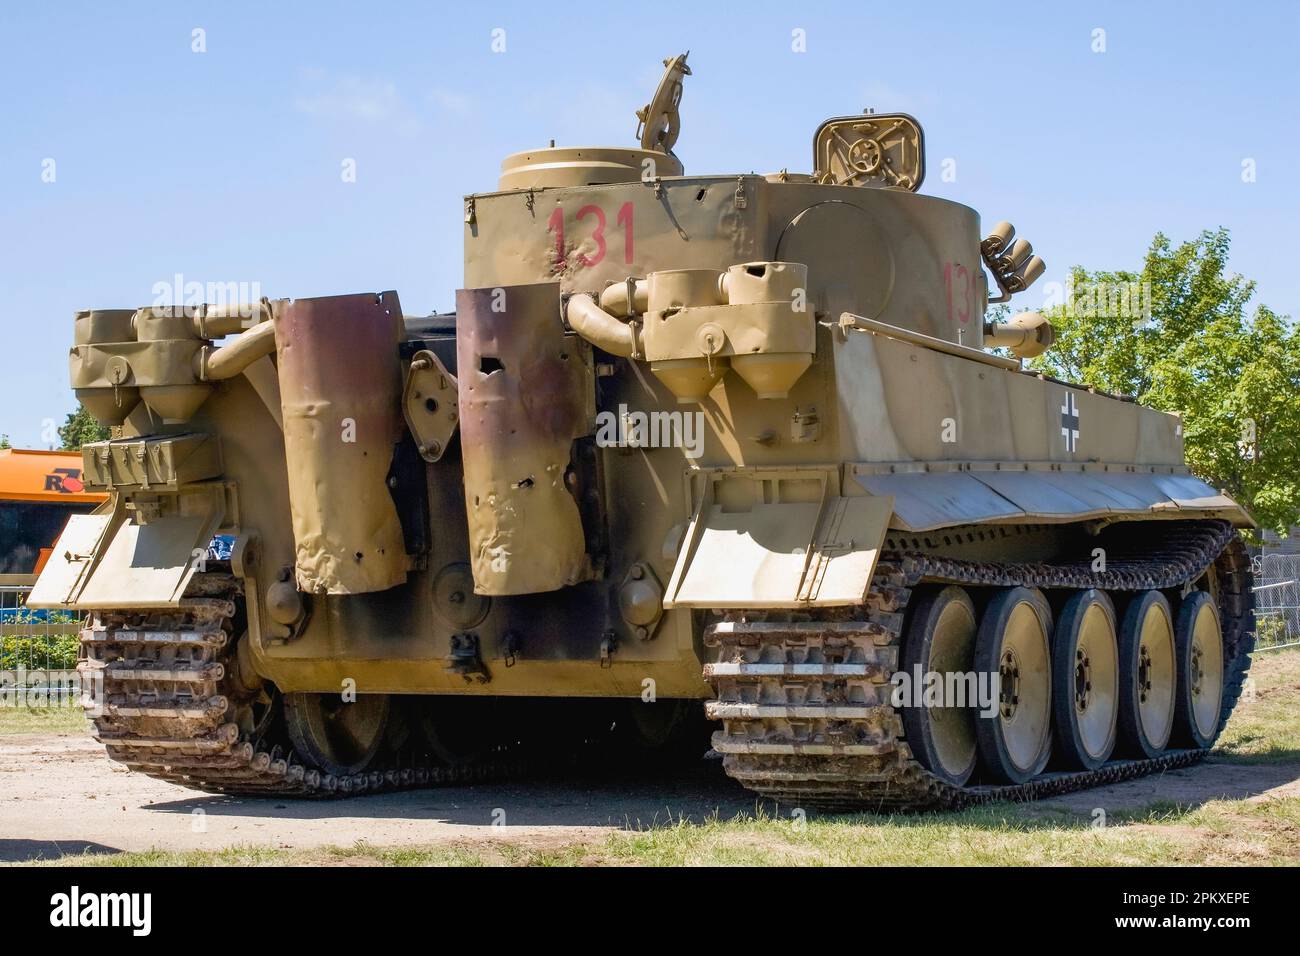
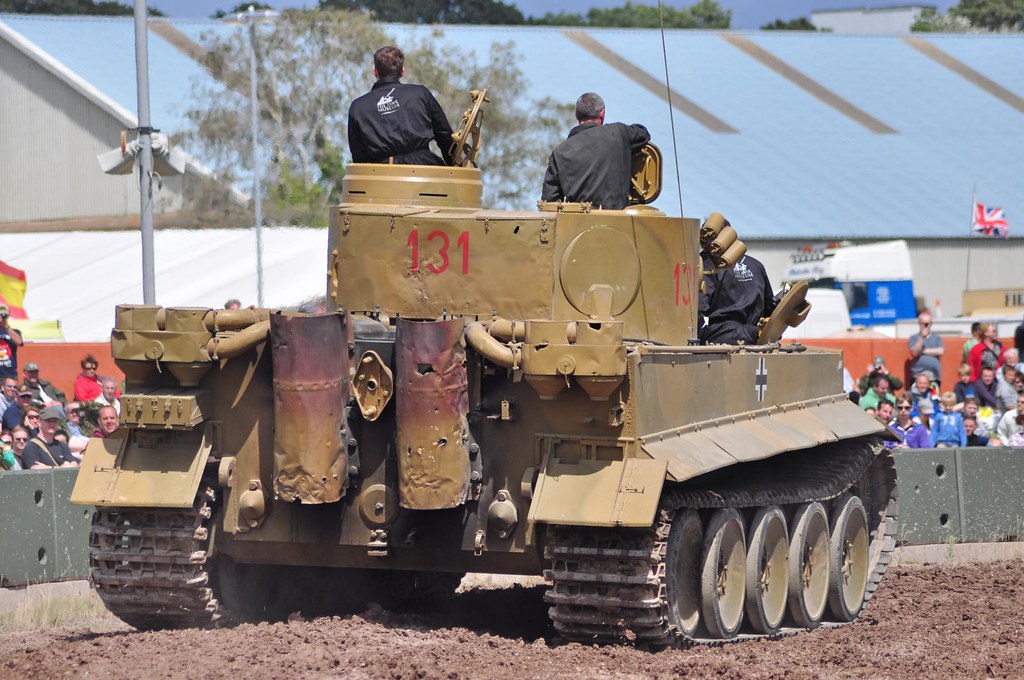
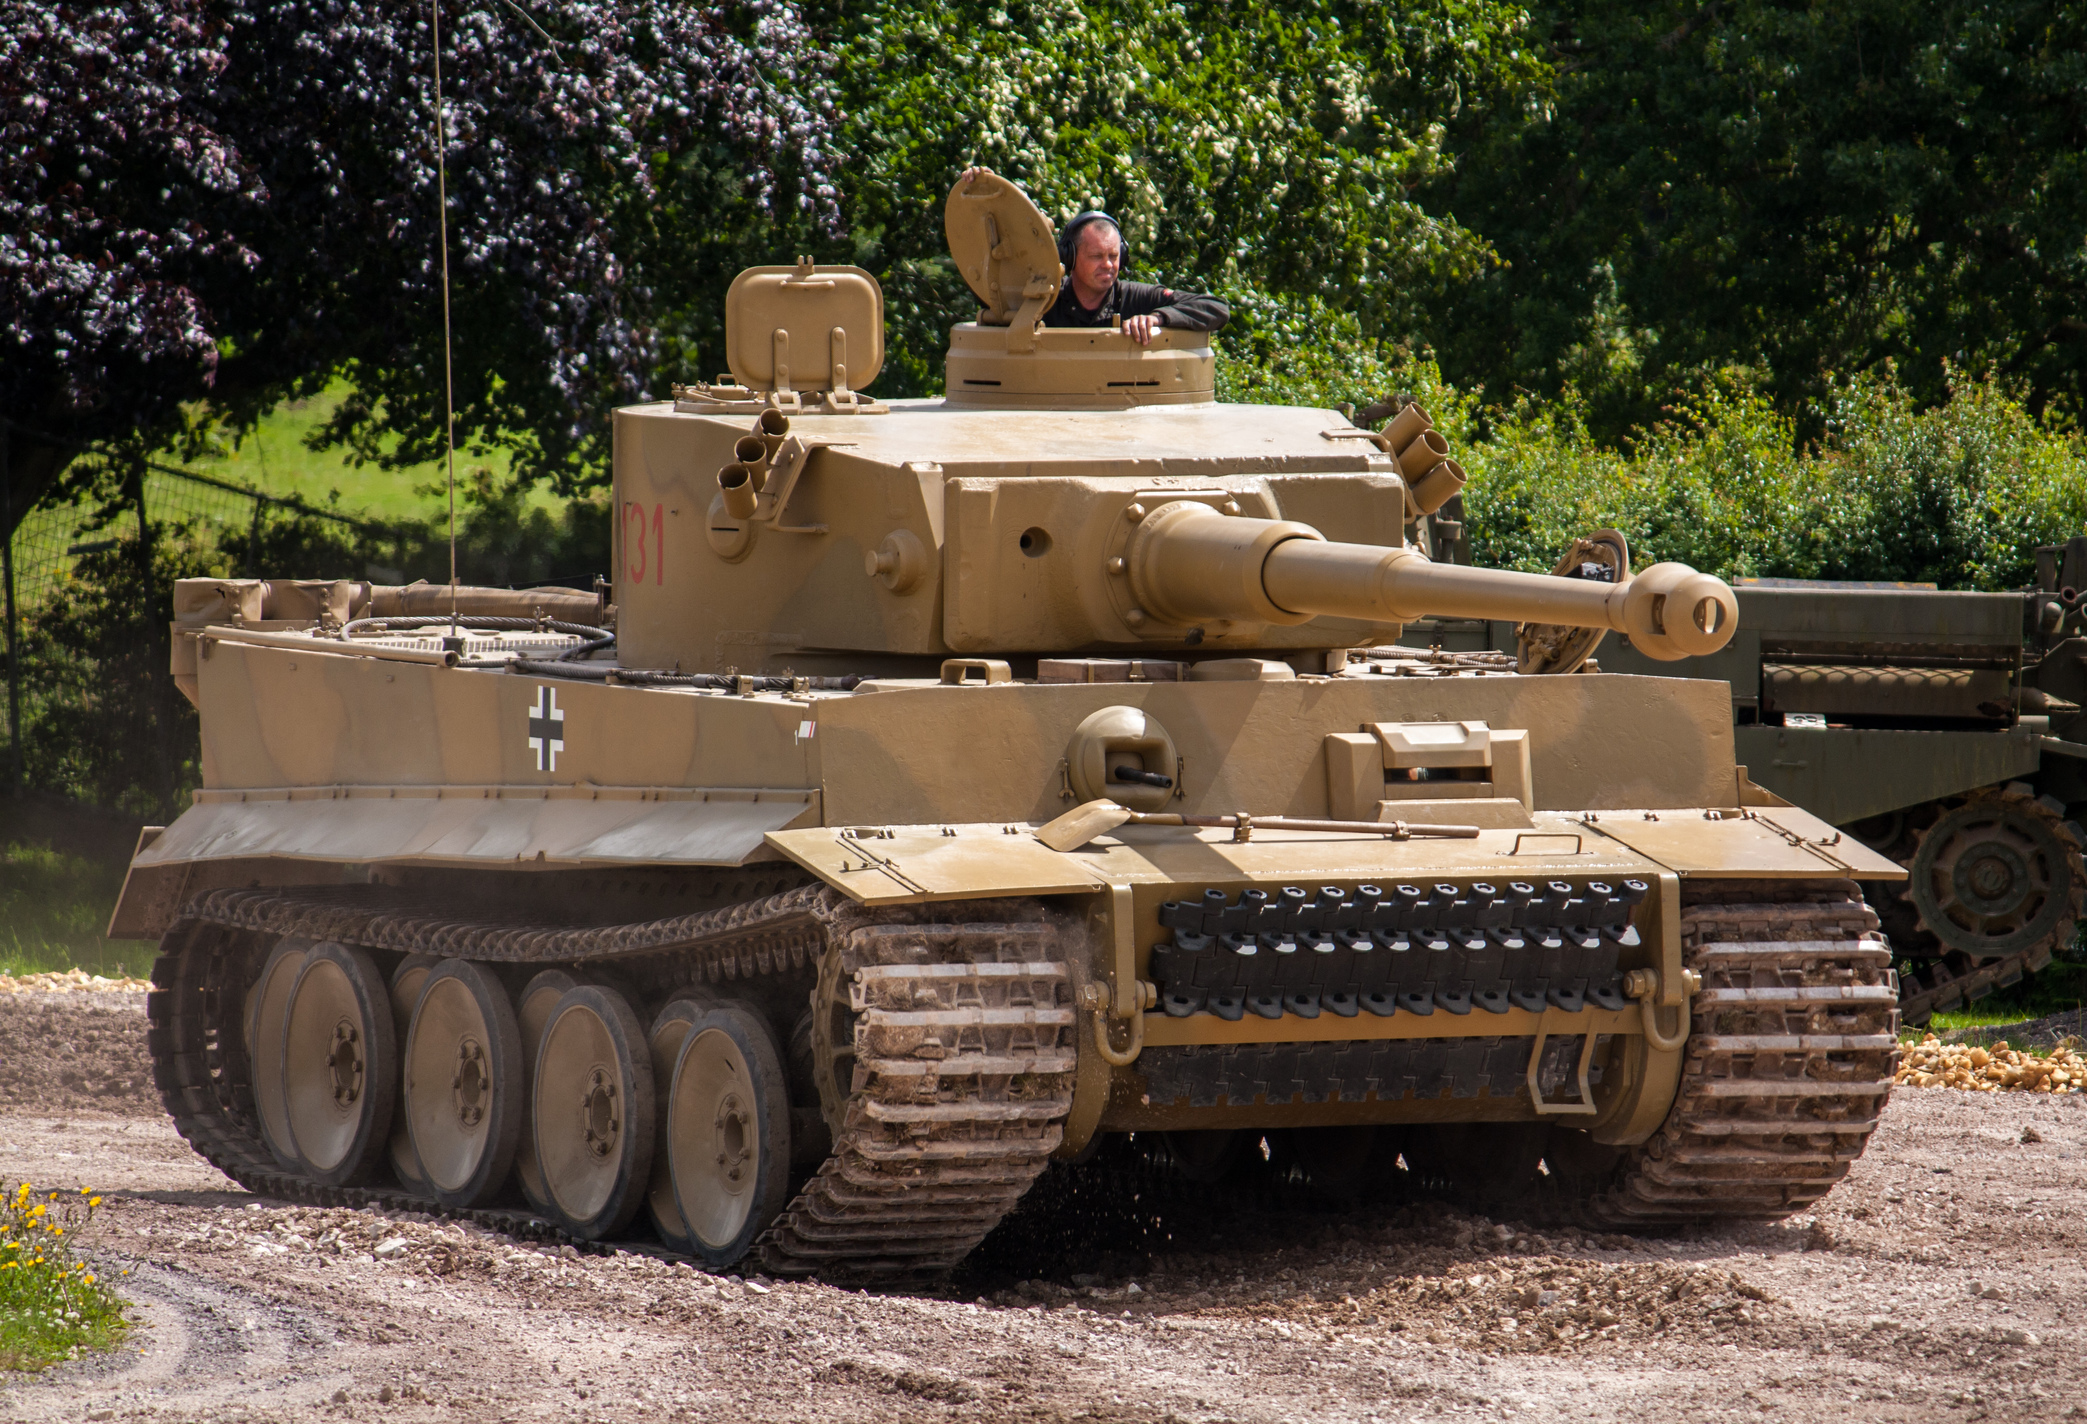
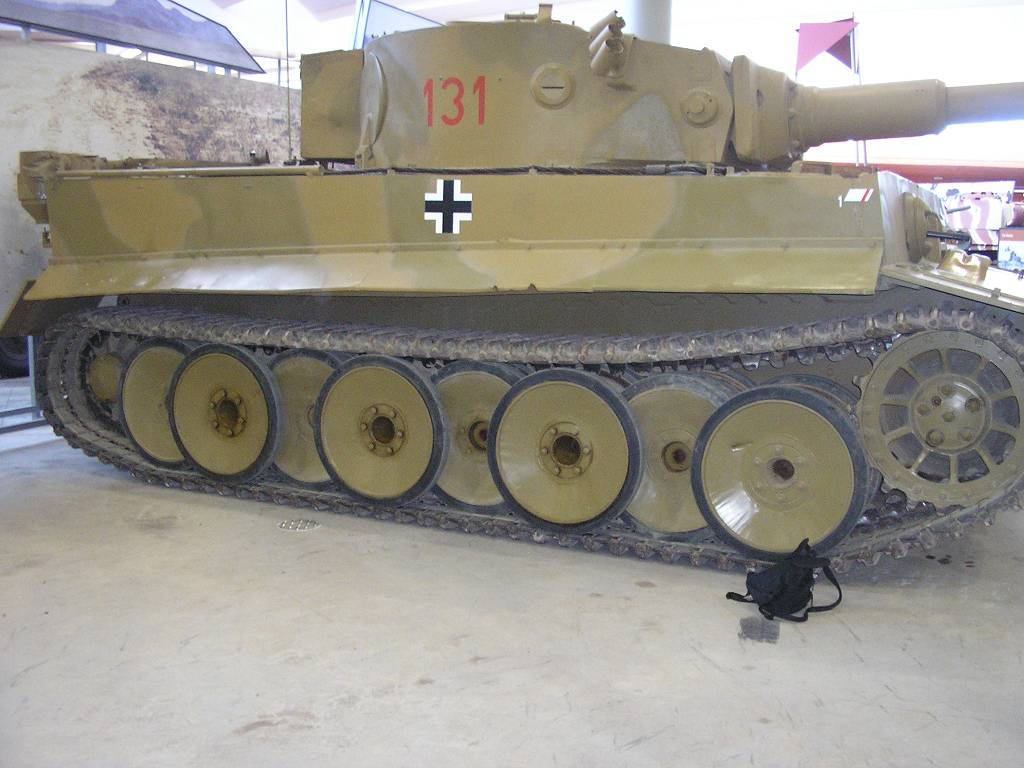
I have never seen any evidence of a 1-piece crank for the Tiger.
The clips for the crank handle were introduced shortly before Tiger 131 was built. If the handle had been one-piece at that time, they very probably would have used 3 clamps to stop it dangling below the hull bottom. In that position it will get torn off the first time you drive through foilage.

David

1 Like

Okay. Swapped cranks.

And finished the turret.

6 Likes

Dried a few extra details while celebrating my 49th spin around the Sun.

3 Likes

Birthday ? Congratulations - next year is a BIG one then , eh ?

2 Likes

Happy Birthday there Reynier! You’ve got LOADS of modeling time to look forward to. I just celebrated the big 6-0 last Saturday, the 2nd. I’m having big time personal problems with the number.
Excellent work so far on the Tiger. Nice tight build!

4 Likes

“It’s weird, being the same age as old people.”

6 Likes

Truer words were never spoken, David!

1 Like

Killin’ it in the “Old People” Department. :grin:

One more turn ‘round the old Light Bulb in the sky, and I’ll be getting g my discounts at Denny’s. Woo-Hoo!!!

3 Likes

Well back home. Started painting the Tiger. Using a base coat of Mr. Surfacer Red Oxide Primer.

As for color choices. I know that Tiger 131 is painted I. A 2-tone scheme of different shades of Dunkelgelb.

Lucky for me, I have a couple cans of paint that will fit the bill.

I think the colors will work great.

AK Interactive Dunkelgelb (Left); Tamiya TS-3 Dark Yellow (Right).

I will let the turret cure over the next 9 hours while I’m at work, then paint the turret when I get home.

3 Likes

Wow - 49 and 60 . Bunch of kids here … :wink:

1 Like

Wait until you hit 70!

Bill

2 Likes

Base color layer applied in the turret.

3 Likes

Nice paint! I like the Battle Barbies in the background.

3 Likes

Redid the base color and applied some camouflage to the right side of the hull, trying my best to match the pattern to the pics I have.

Cutting camo masks is not my forte, but neither is airbrushing them either.

Tell me what you guys think…

My reference pic.

3 Likes

Somehow you seem to have turned the camouflage pattern on the rear into a negative…

1 Like

Hmmm.

Damn…

3 Likes