Universal confirmed, our club build days are more BS than building.
2 Likes
LOL…ours would be the same. More look what’s new at the hobby shop & the postman brought ![]() Probably took two build nights to clean up three road wheels
Probably took two build nights to clean up three road wheels ![]()
3 Likes
Same here. By the time we have unpacked tables and chairs, looked over and debated the merits of the books, kits, etc, on offer for sale from a couple of trader members and from stash clearances, discussion over the builds in display, our monthly Military Trivia quiz, the formal announcements, and the general catch up amongst us, I often wonder why I bring something to build at all…
4 Likes
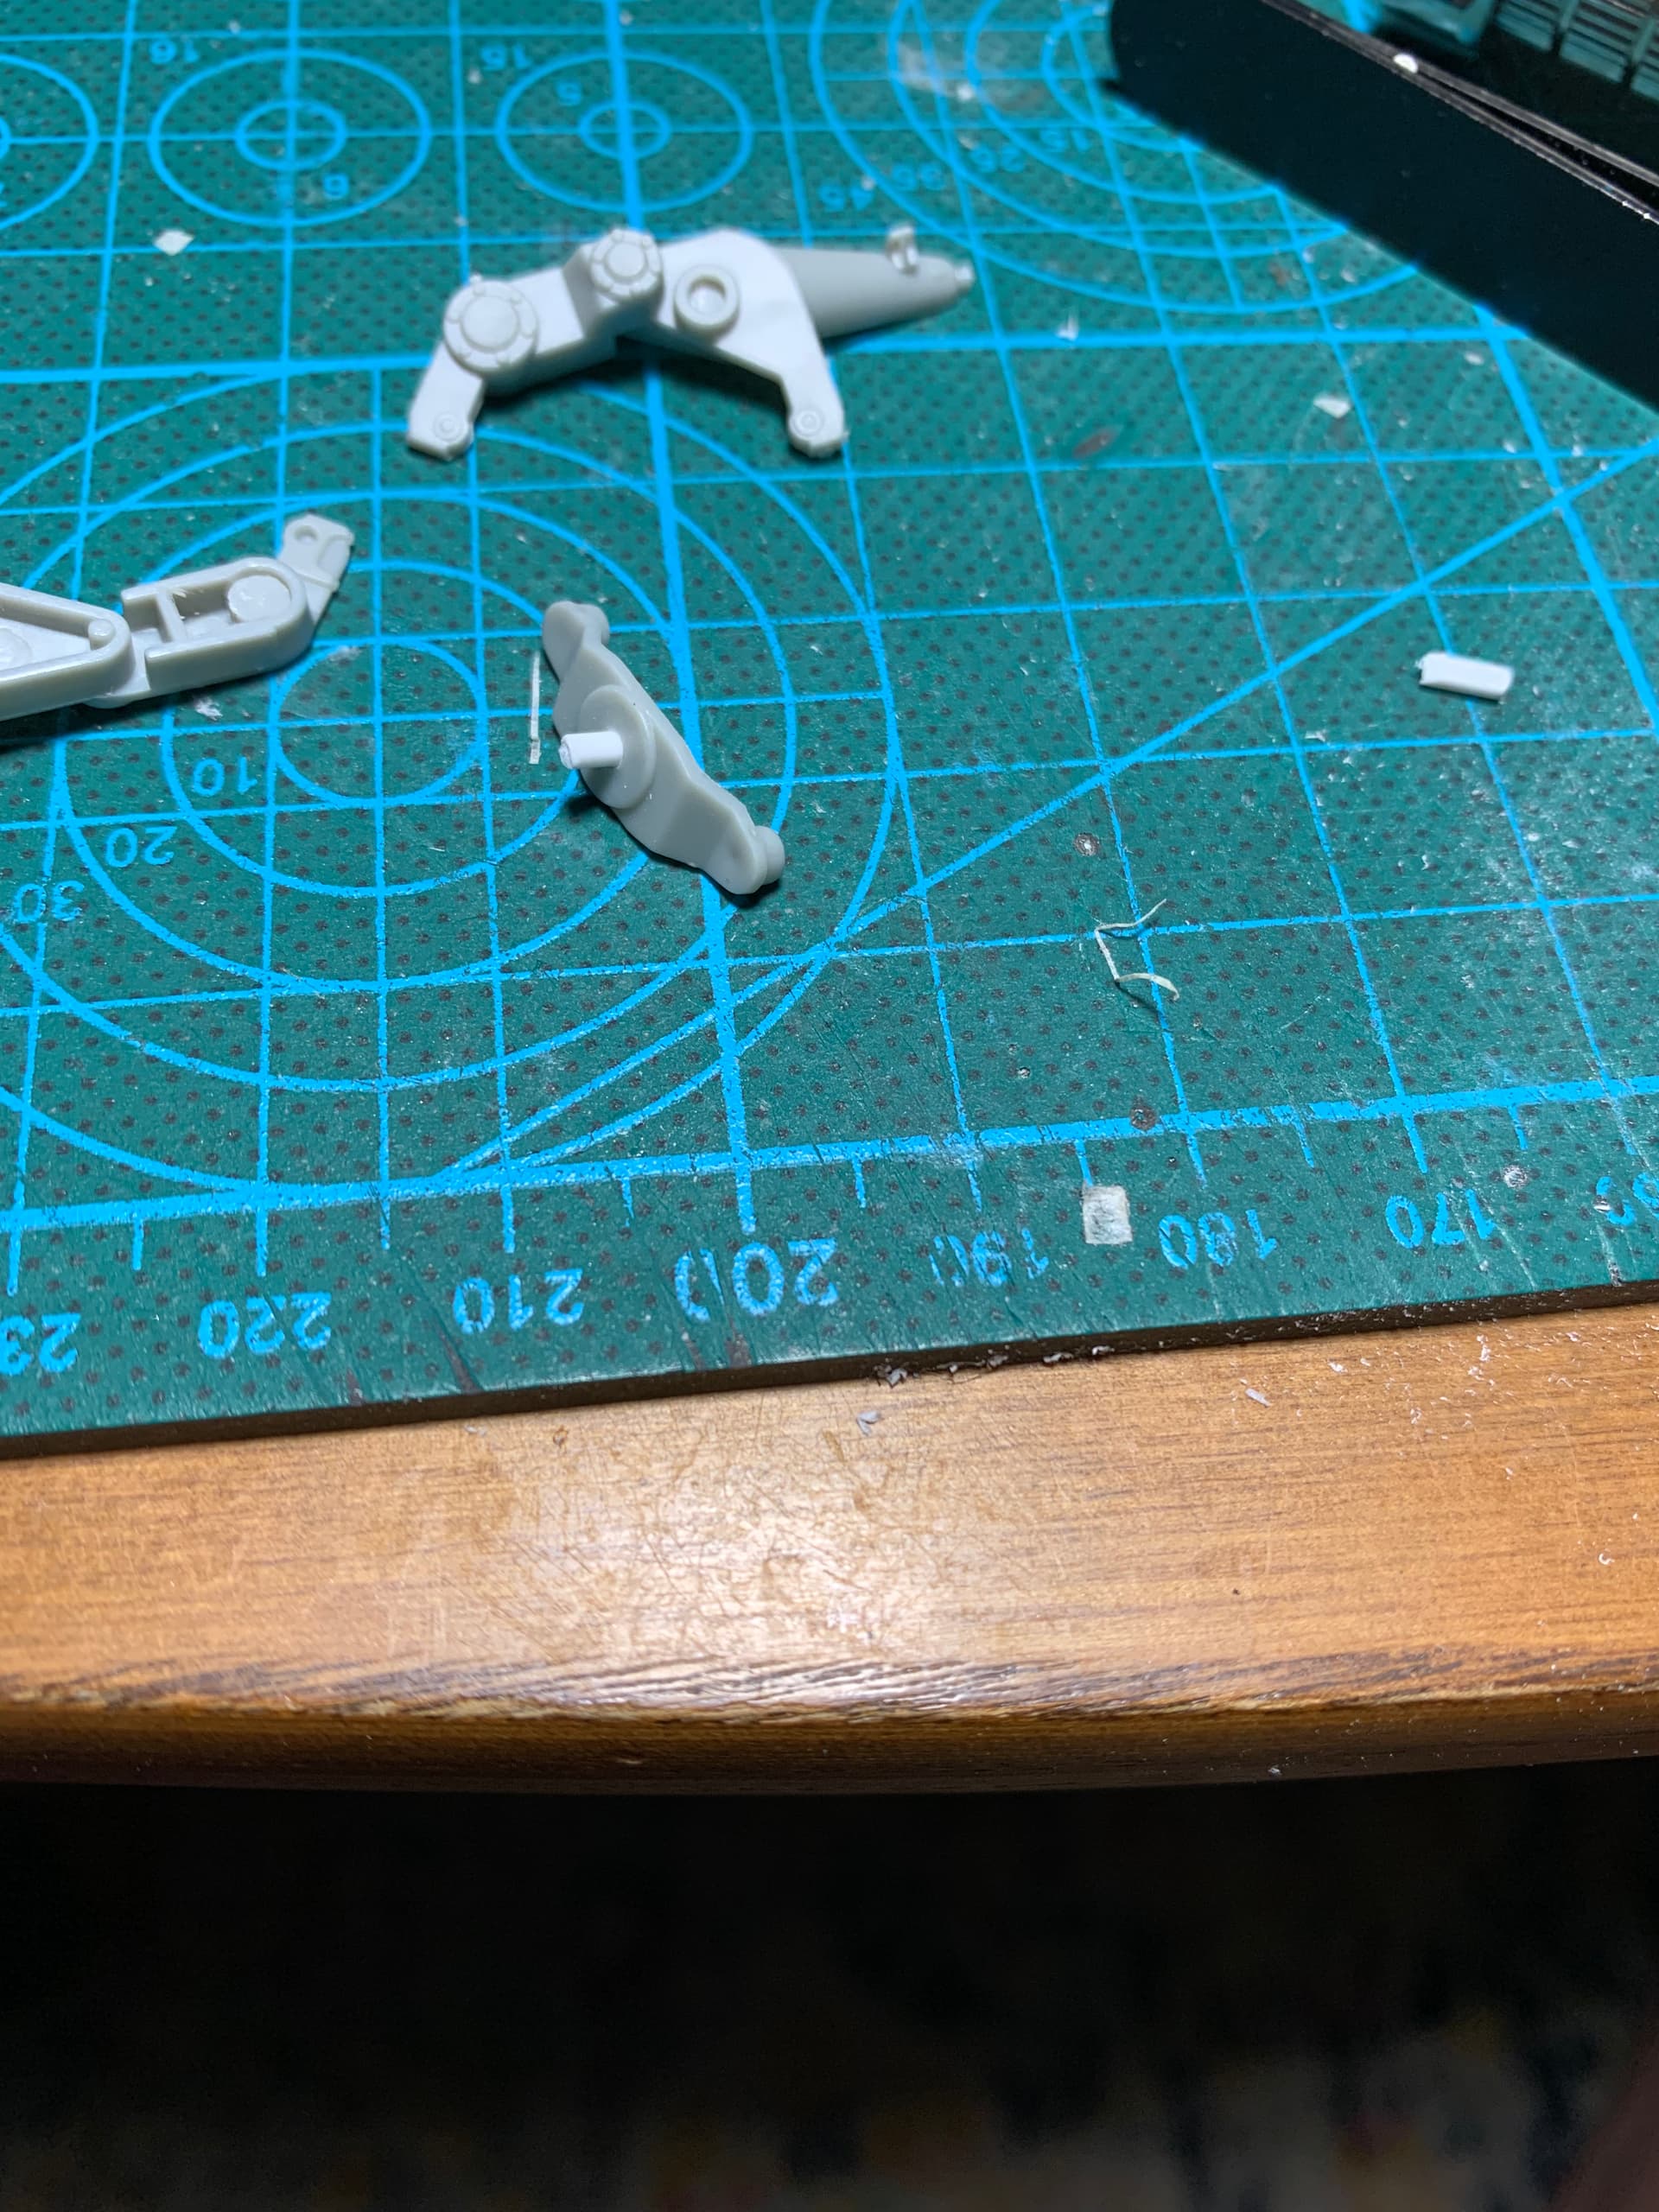
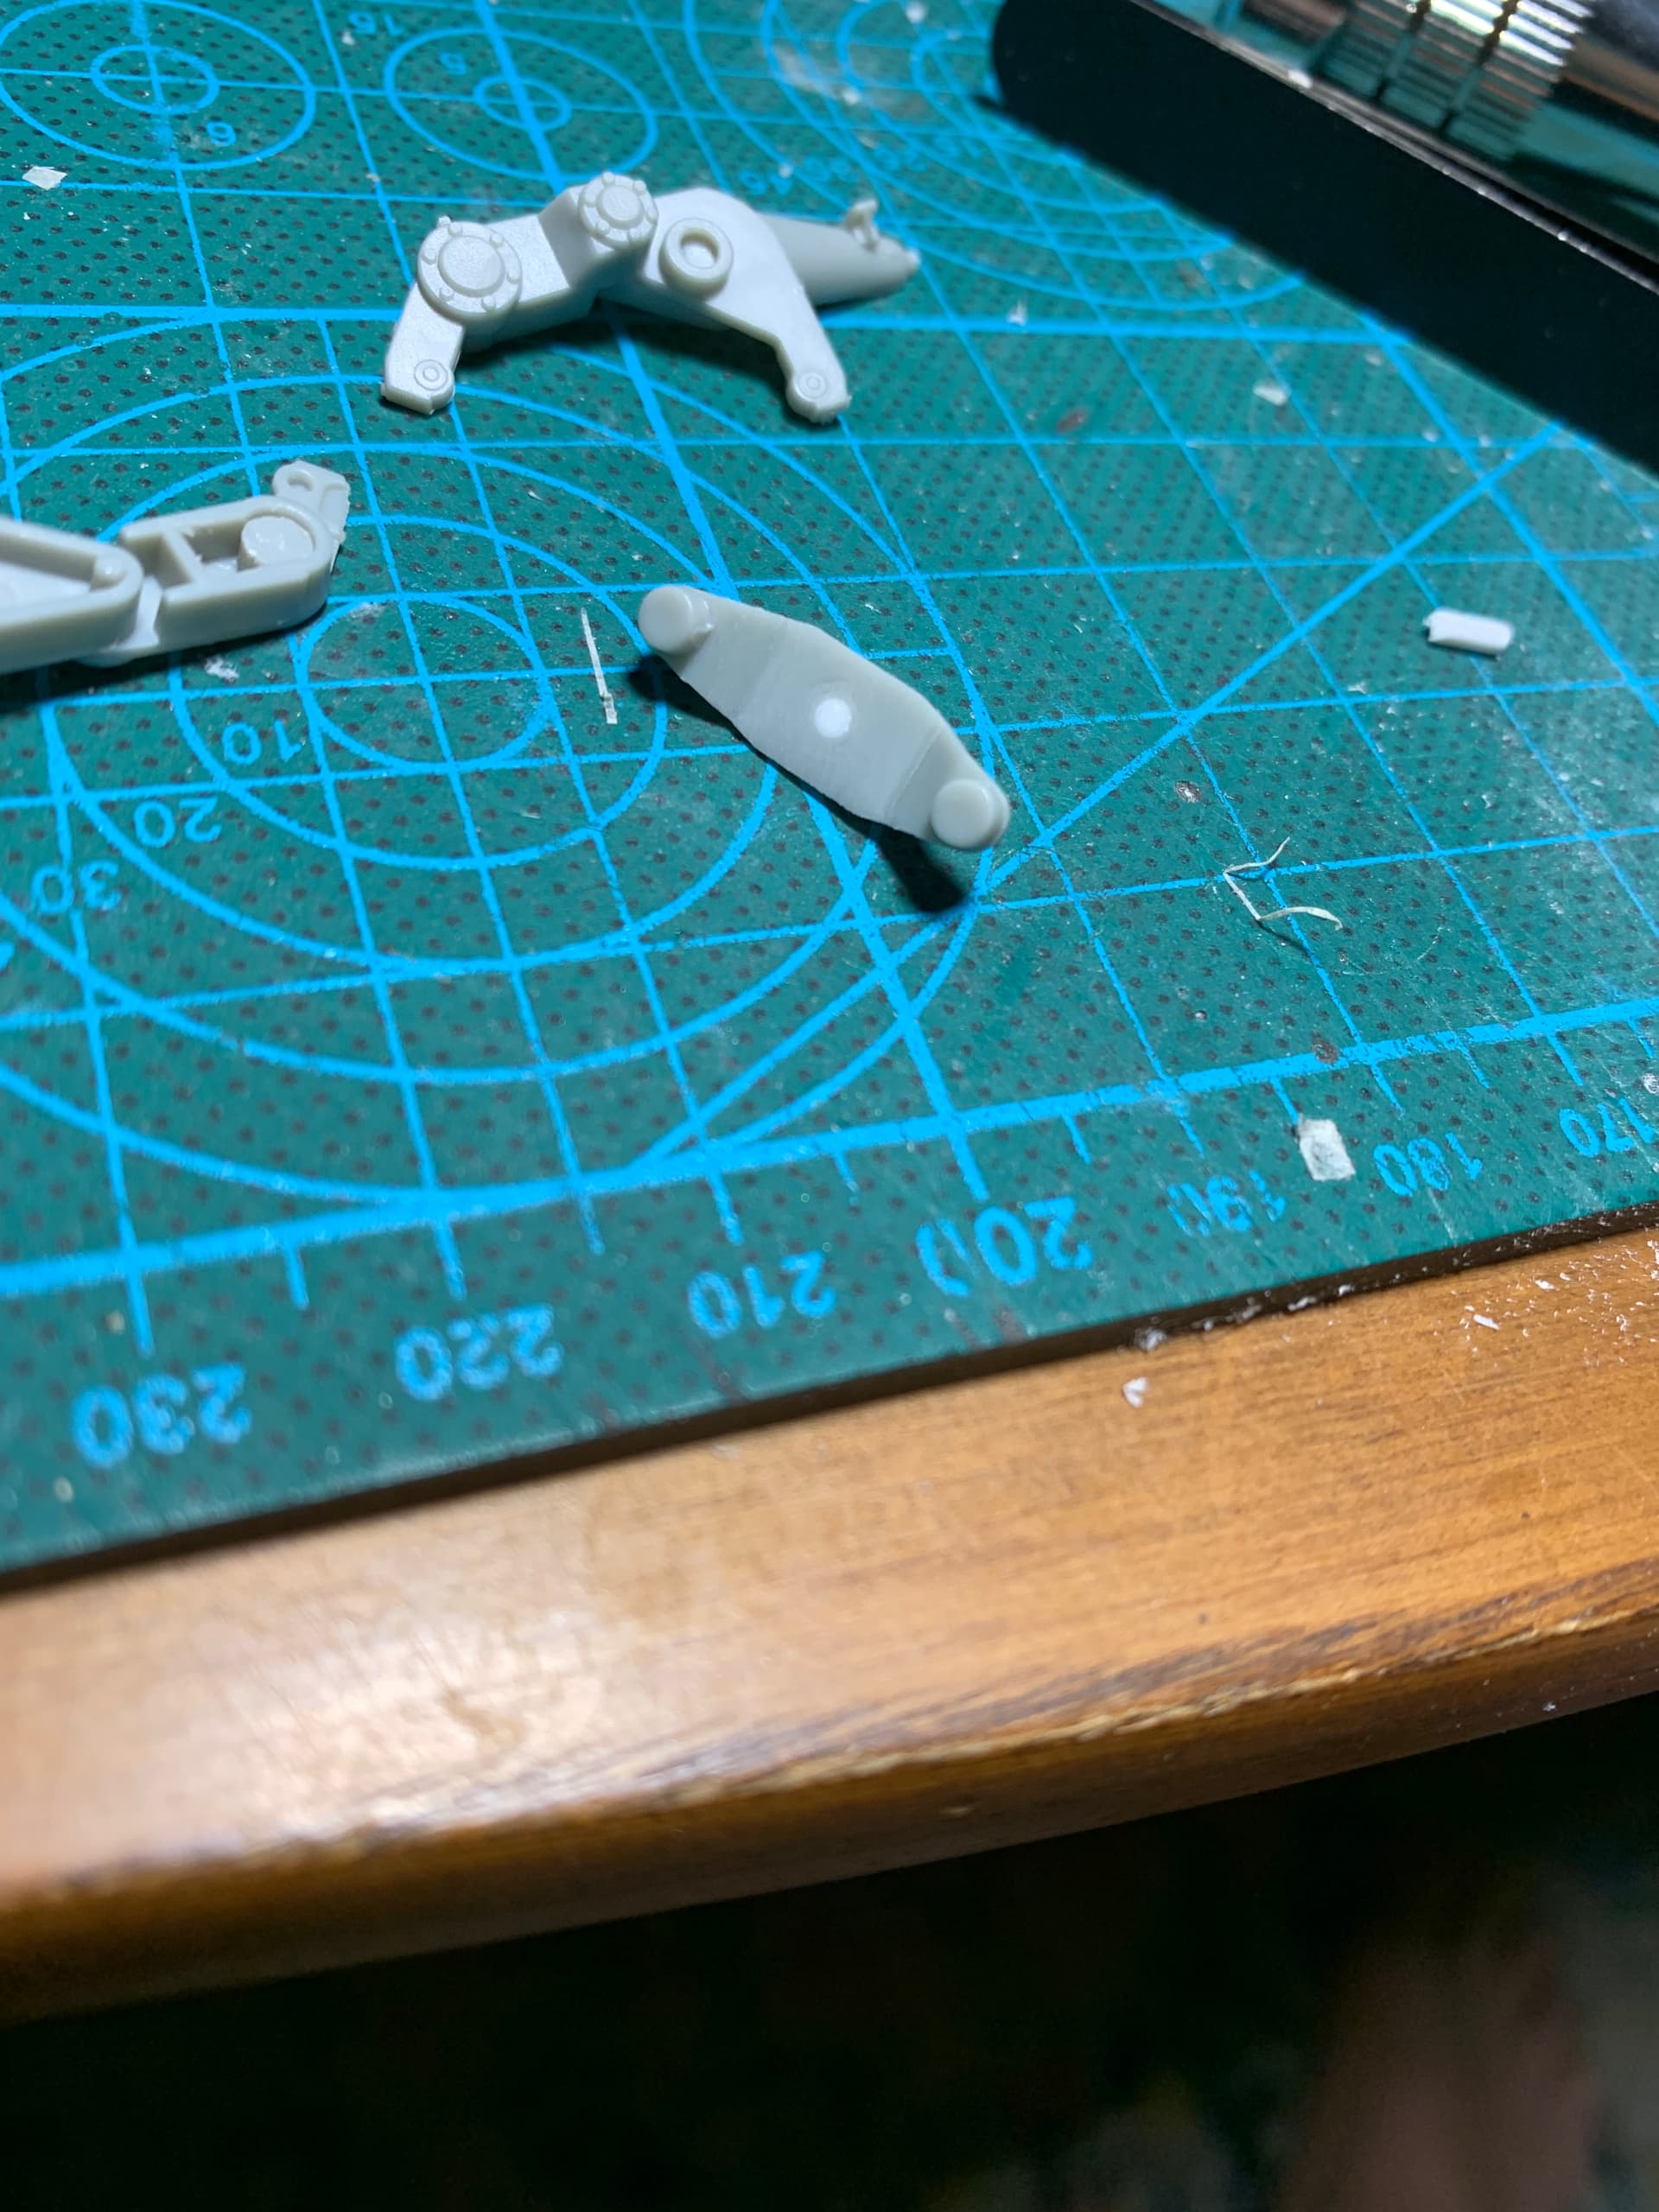
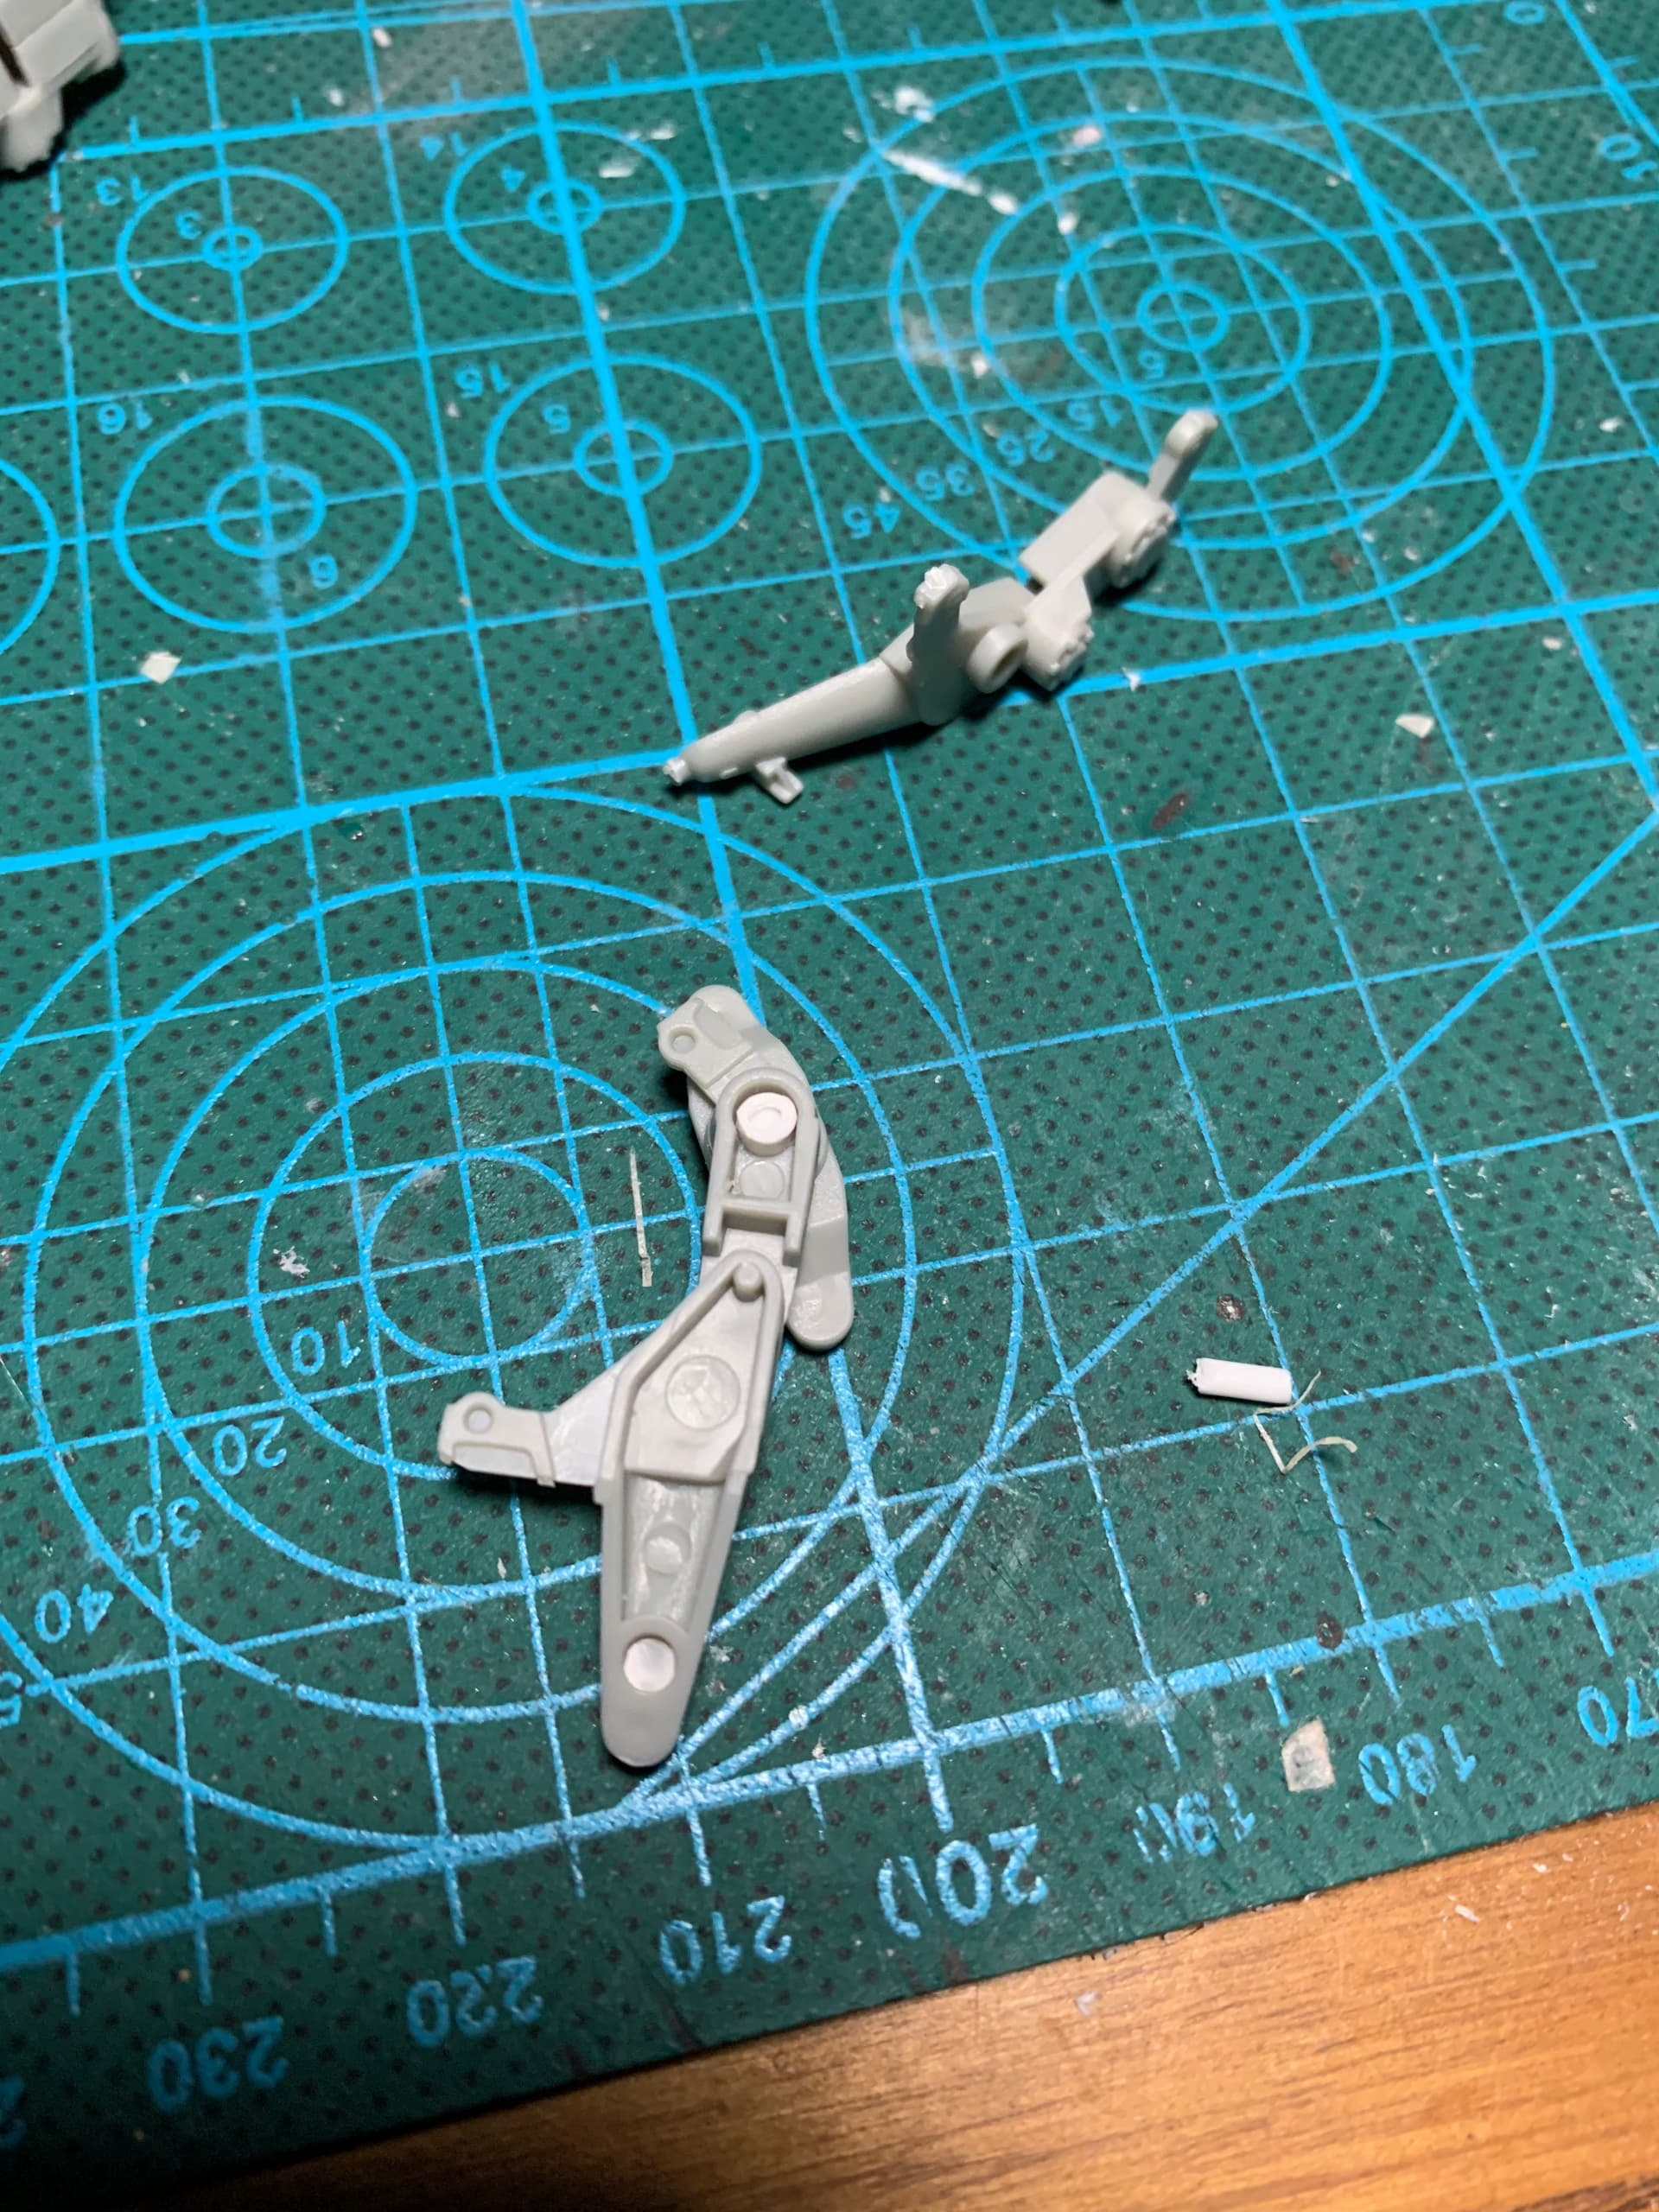
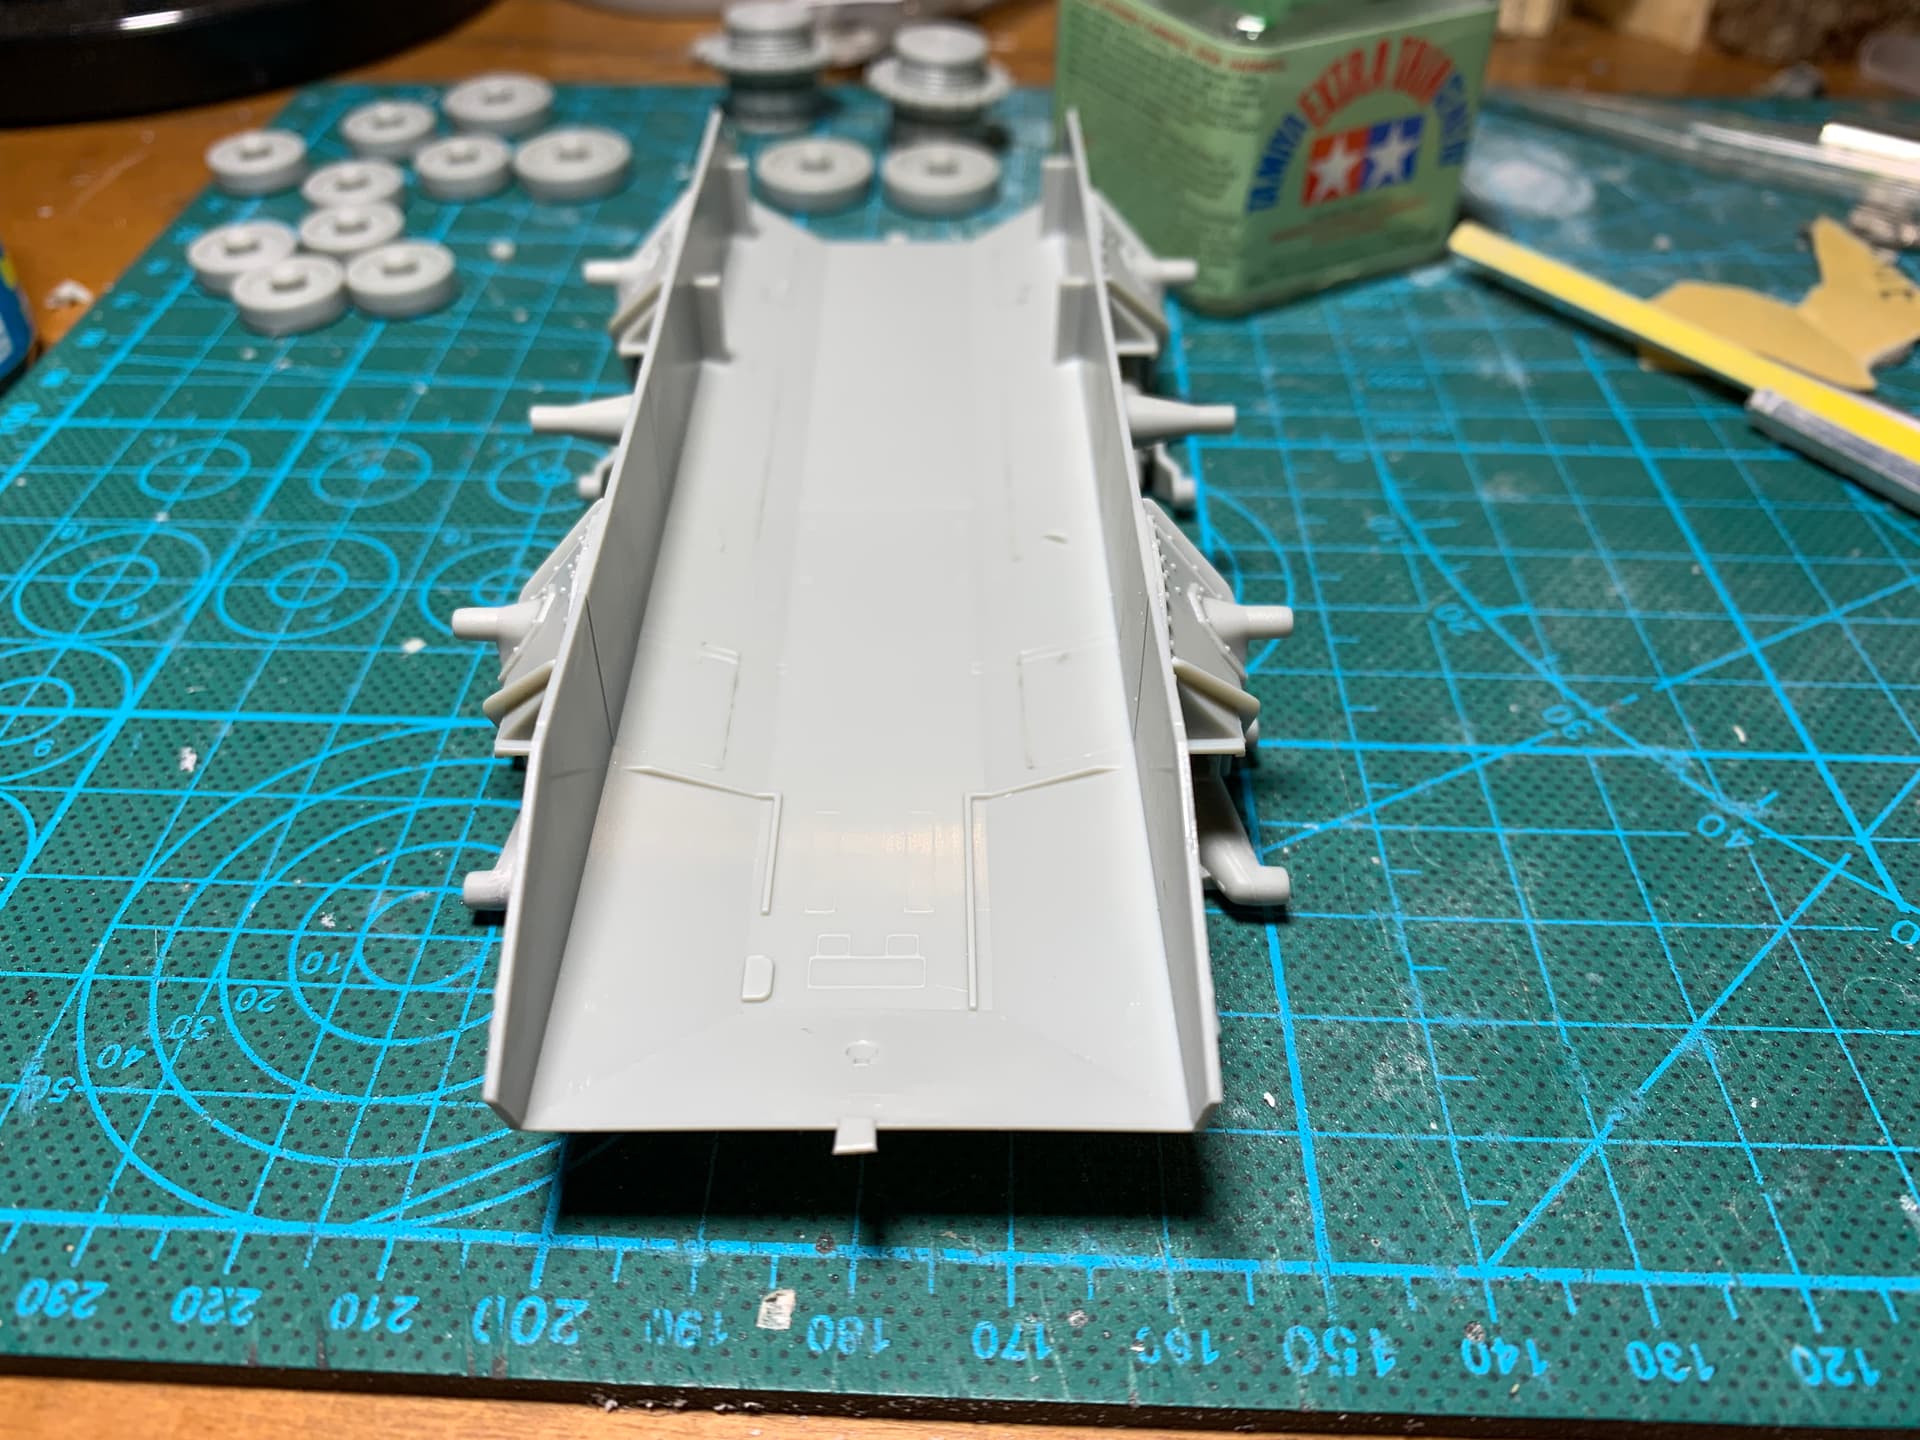
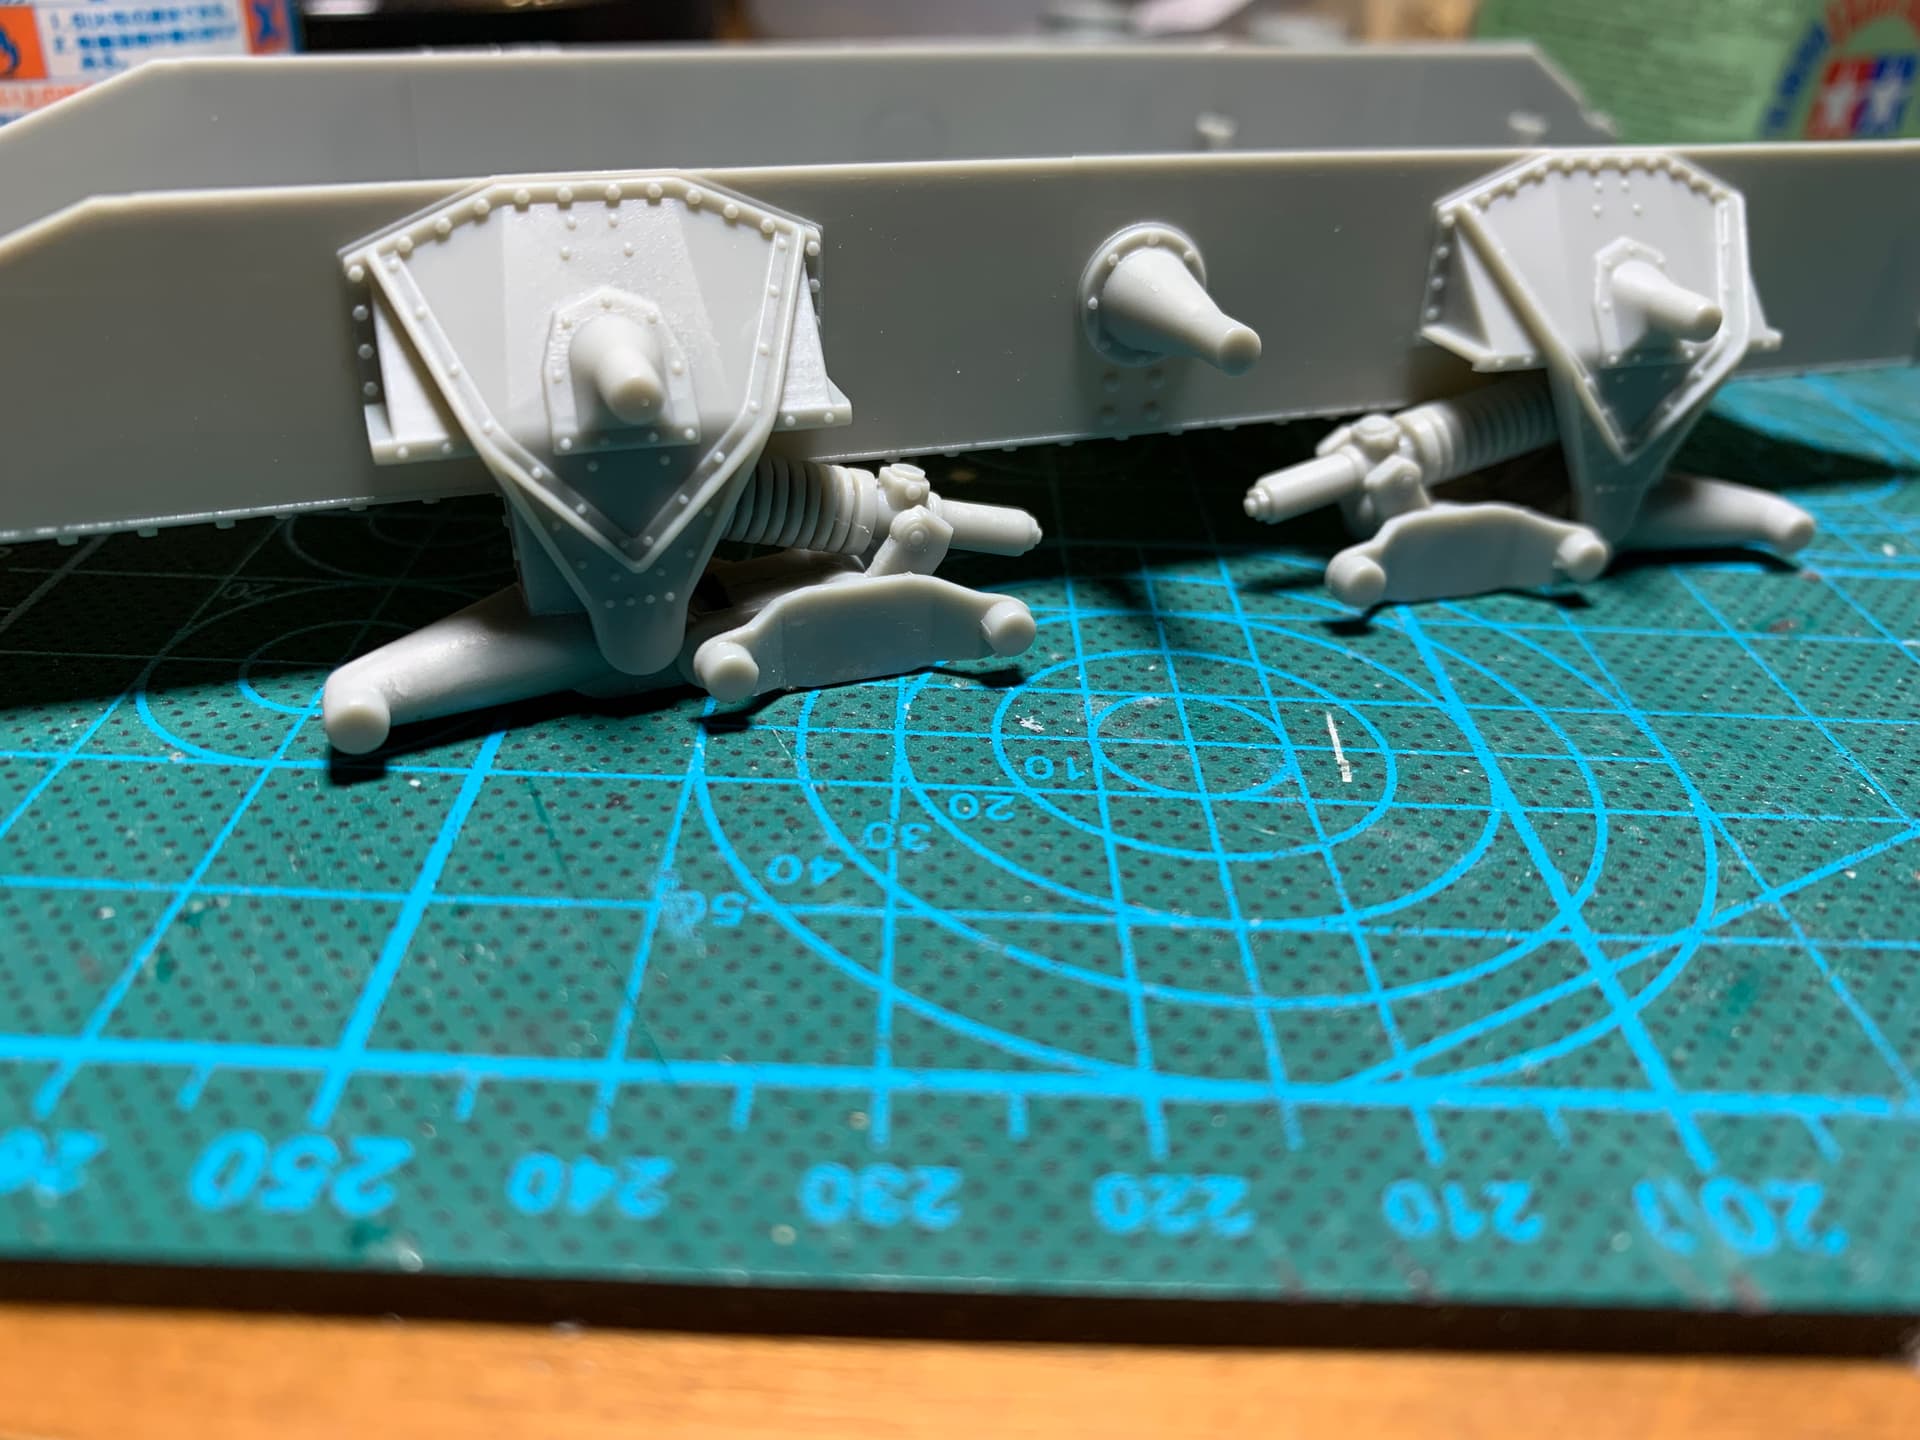
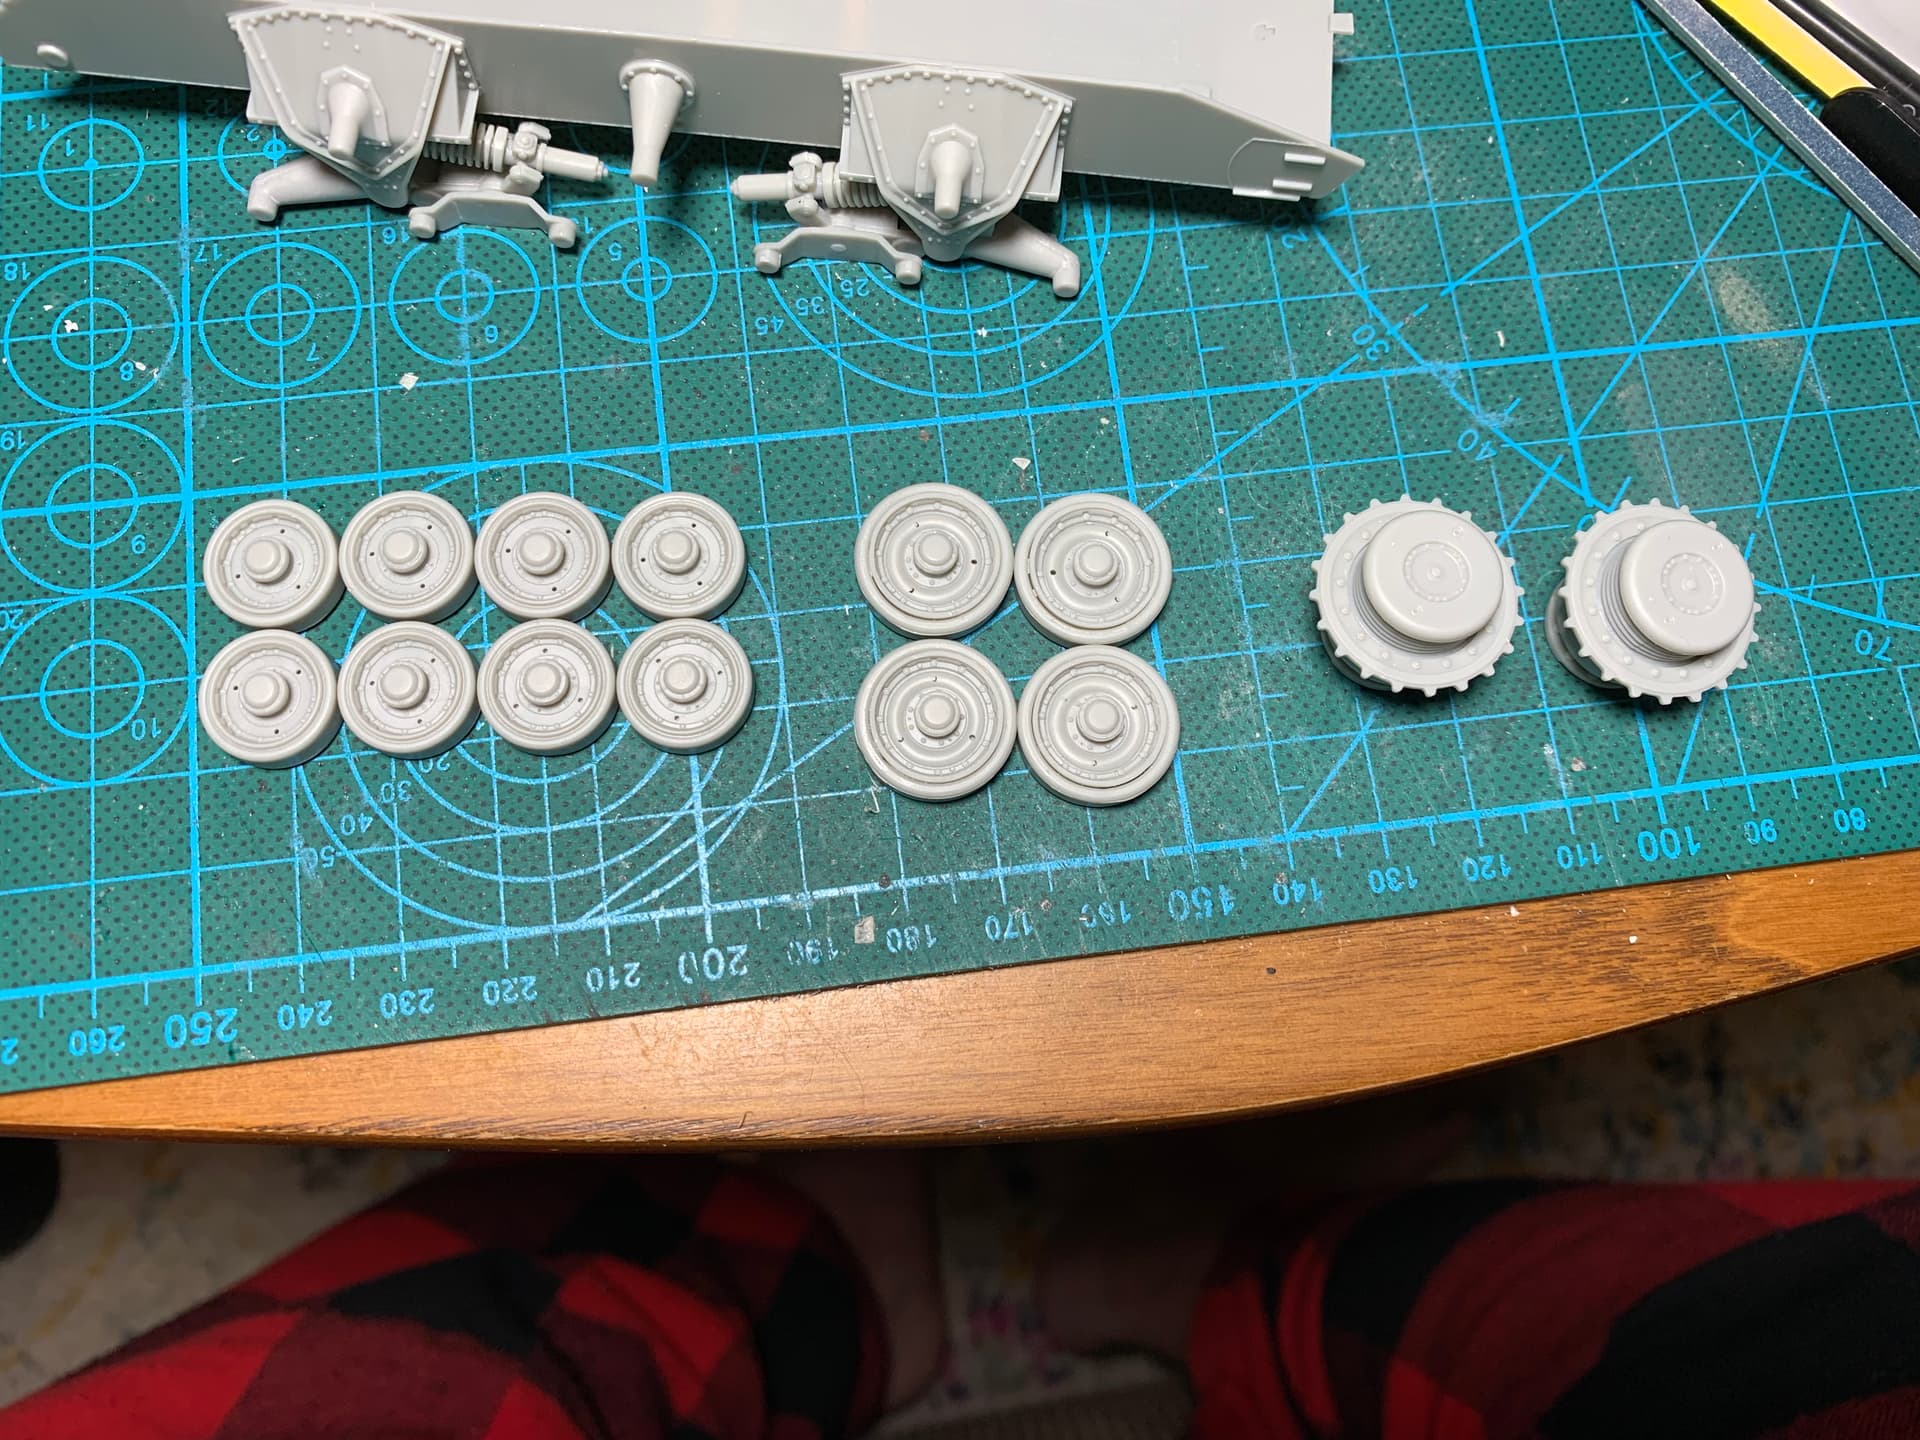
Got most of the suspension, road wheels and running gear assembly done on the archer. This was a pretty complex grouping of parts to end up with 4 suspension units, 12 road wheels, and 2 drive sprockets. About 100 parts in total. The suspension are designed to fully articulate. To accomplish this, the swing arm that holds the two smaller road wheels on each suspension unit has a leg that goes through a hole and then this is retained with a small cap. The issue is that the cap is near impossible to glue on without also gluing the peg to the suspension unit rendering the suspension stuck. 3 of 4 were successful but in the fourth some glue must have gotten on the peg, as when I went to turn it to test the articulation the peg snapped 
Thankfully I was able to salvage it by drilling out the hole to wider 1.5 mm diameter, cutting some 1.5mm evergreen rod to make a new peg and then making a new retainer out of evergreen tube. I kinda of wish I did this on all 4, much easier to glue the retaining rod than the tiny cap the kit provides.
7 Likes
I hope it all articulates, otherwise you are going to have a problem as the outer wheels are larger and the arm for that sits higher than the two for the smaller wheels.
If I remember rightly, this uses the Miniart Valentine mouldings and you will find securing the wheels is a very sloppy fit. Take care they all line up. I found resting the hull on two thin ‘Post it’ pads , with a suitable number of leaves removed so the wheels just touch the table helped to prevent wheel splay whilst setting up.
2 Likes
Nice save on that suspension pin! 
1 Like
thanks for the tip on setting the wheel height to avoid splay, I did notice last night, the wheel fit is quite sloppy and the wheels don’t fit tight in their posts.
They do fully articulate. The suspension units right now are just clipped in between the outer and inner brackets, so I can move them. I also left them this way so I can take them off to paint so I don’t miss the small nooks
1 Like
Nice job on the Archer!
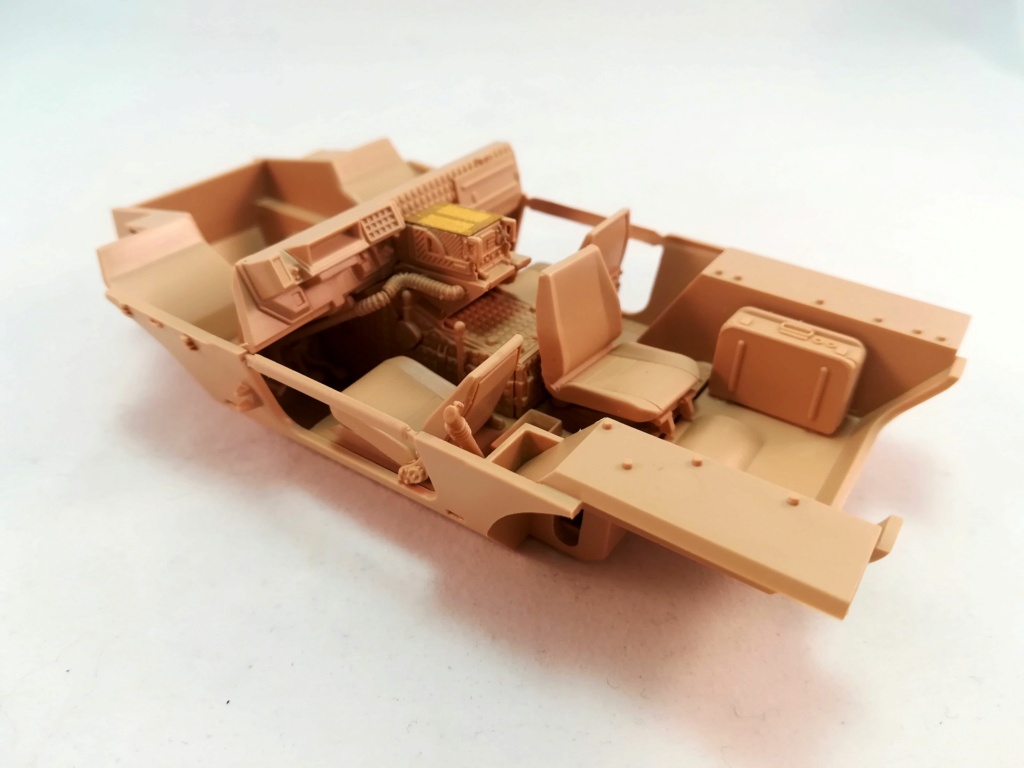
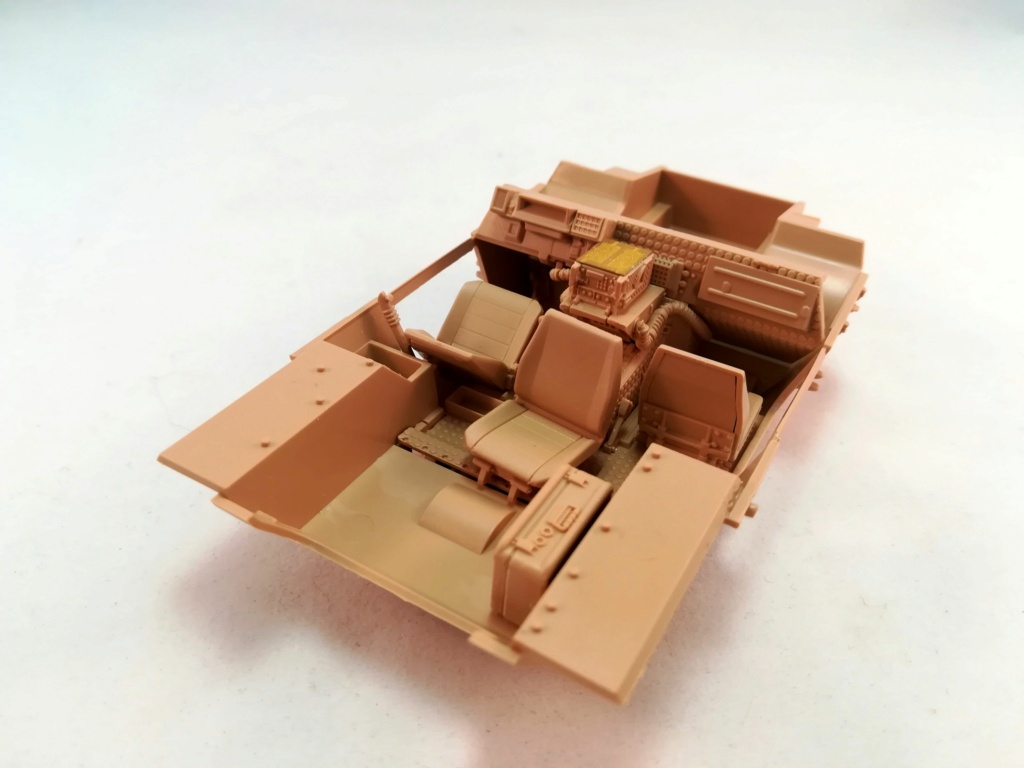
I managed to progress a bit on the interior of the VBL. Most of it is still in sub-assemblies so I can paint it more easily.
In the instructions Tiger Model have omitted some parts and misnumbered others. Fortunately I have the basic VBL also and the instructions are far better.

Olivier
6 Likes
Shaping up nicely Olivier.
Love the suitcase - looks like the crew are going away for a holiday! 
1 Like
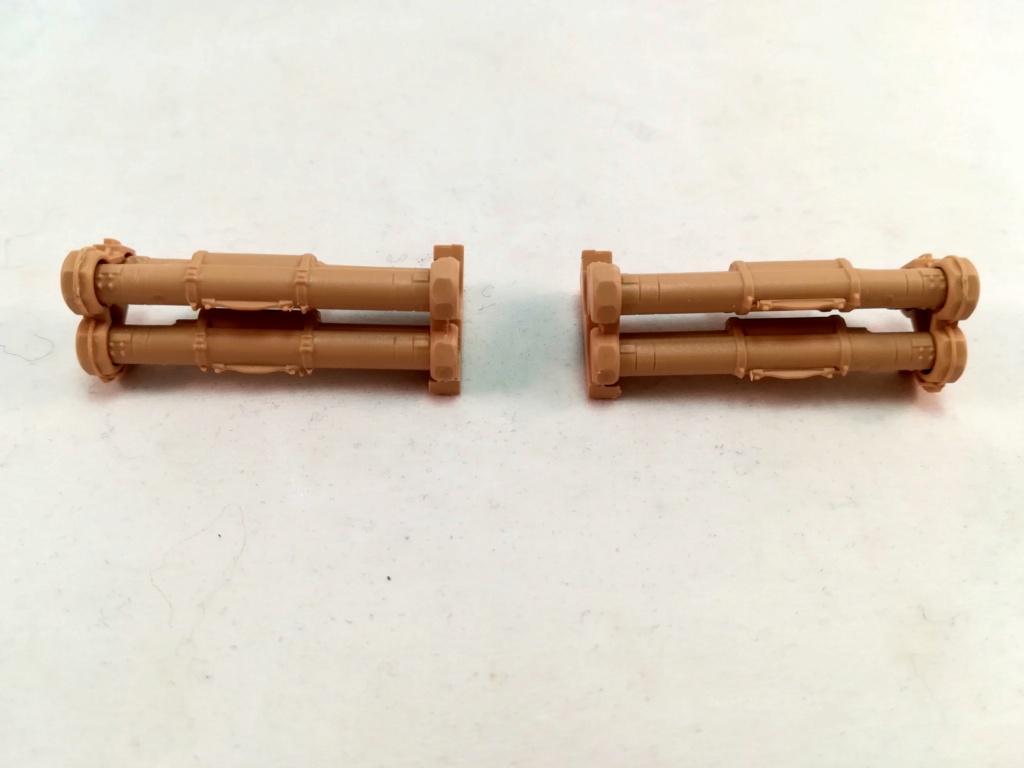
Thanks Peter.
The case protects the MIRA thermal camera during transports.
Olivier
2 Likes
Aloha All,
Olivier: nice work on the VBL. I have one of its cousins in the stash. I really like the lines of the VBL.
Mead93: Nice work on the Archer.
Pete: nice tip on the wheels. I think I might need it on the RSO.
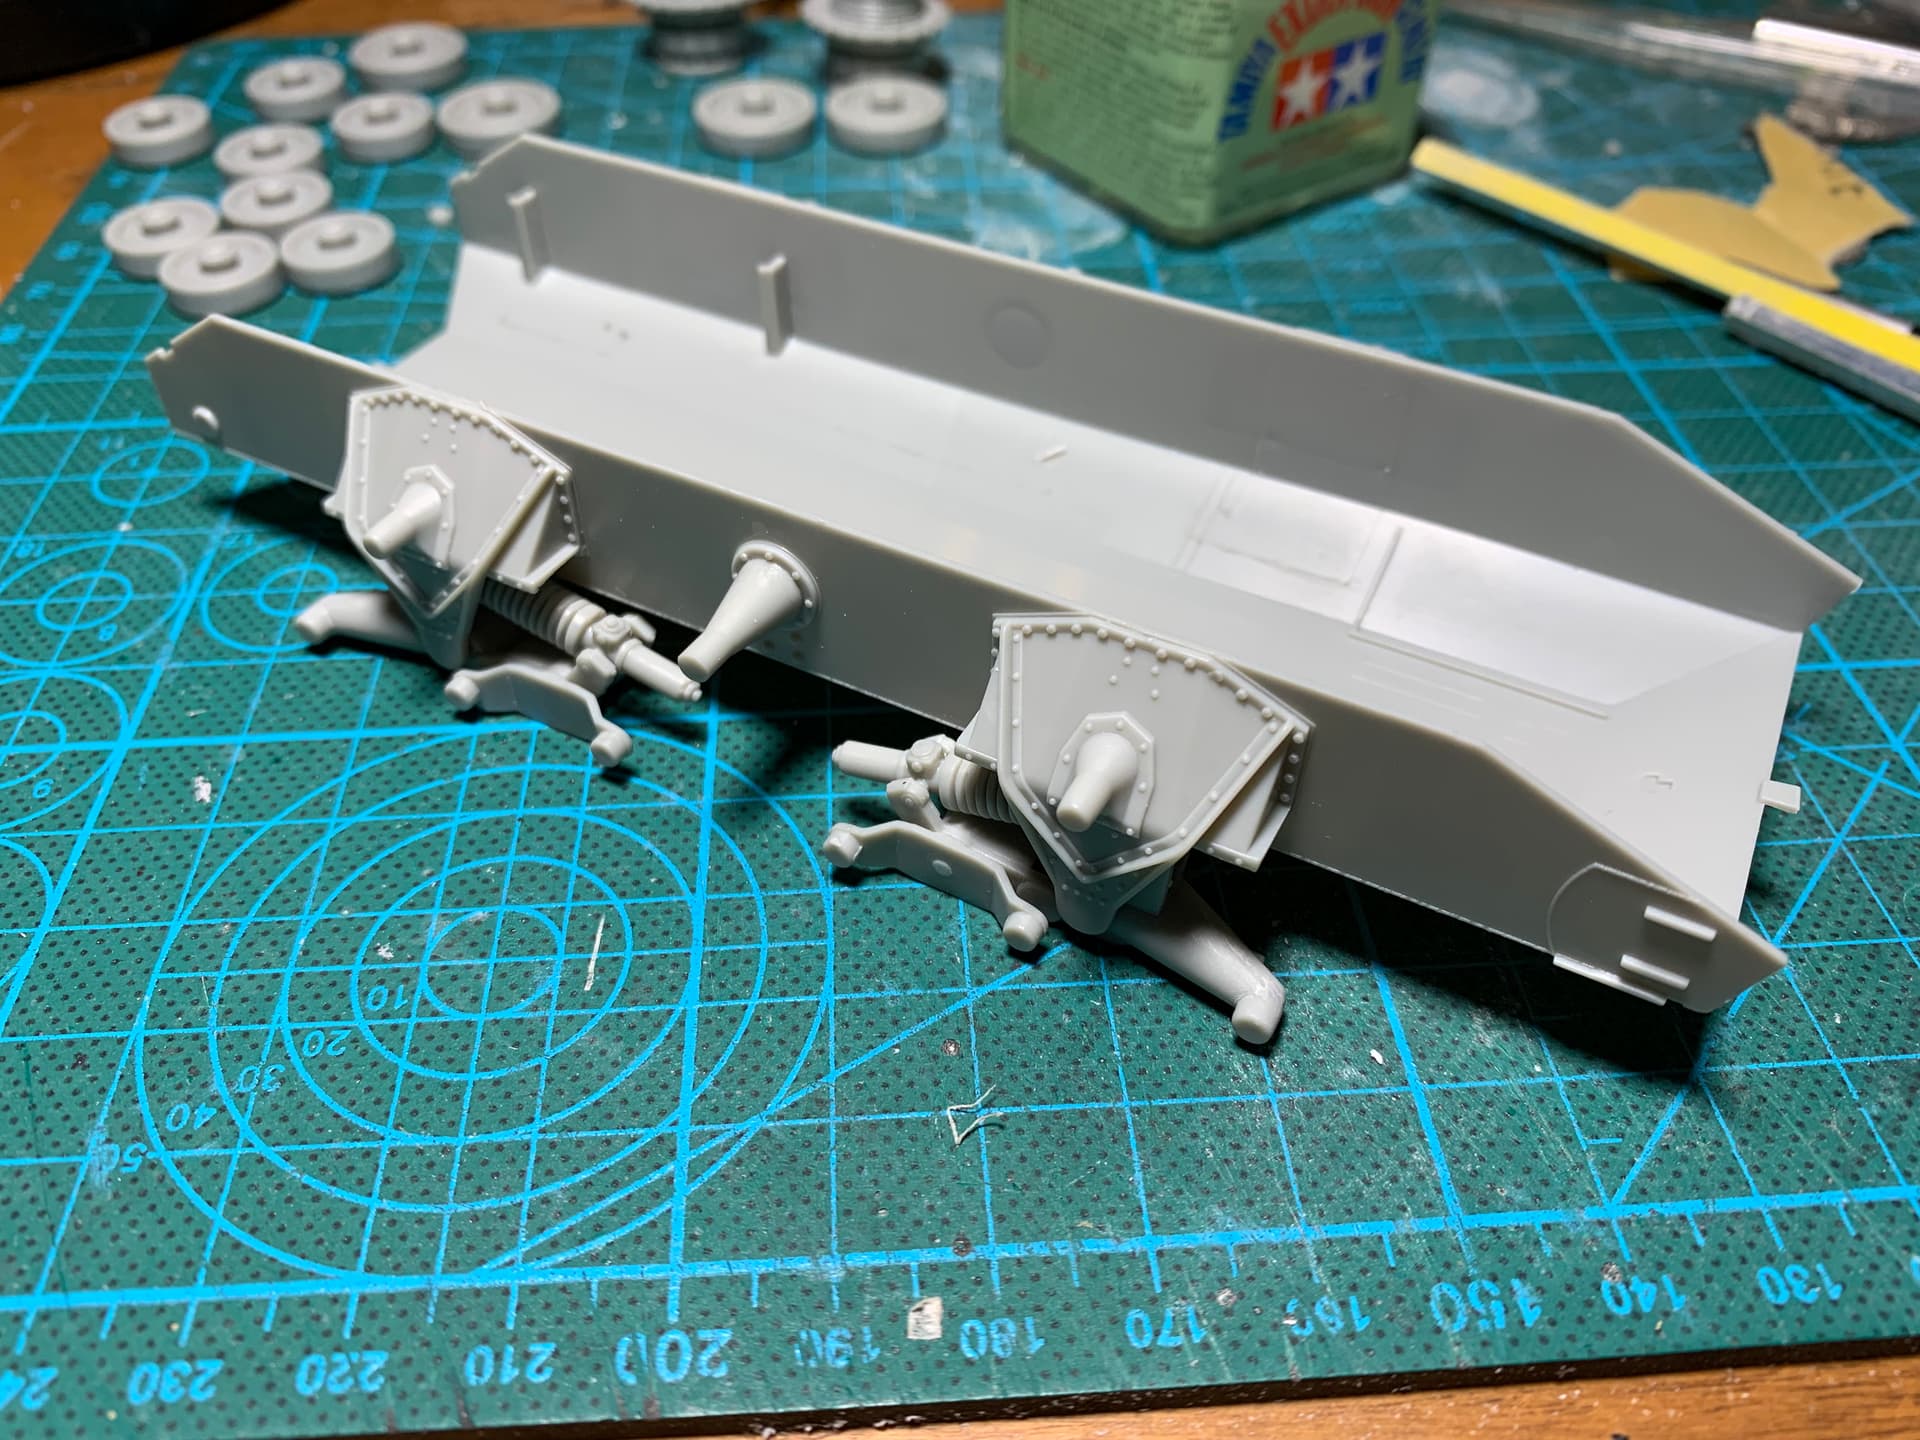
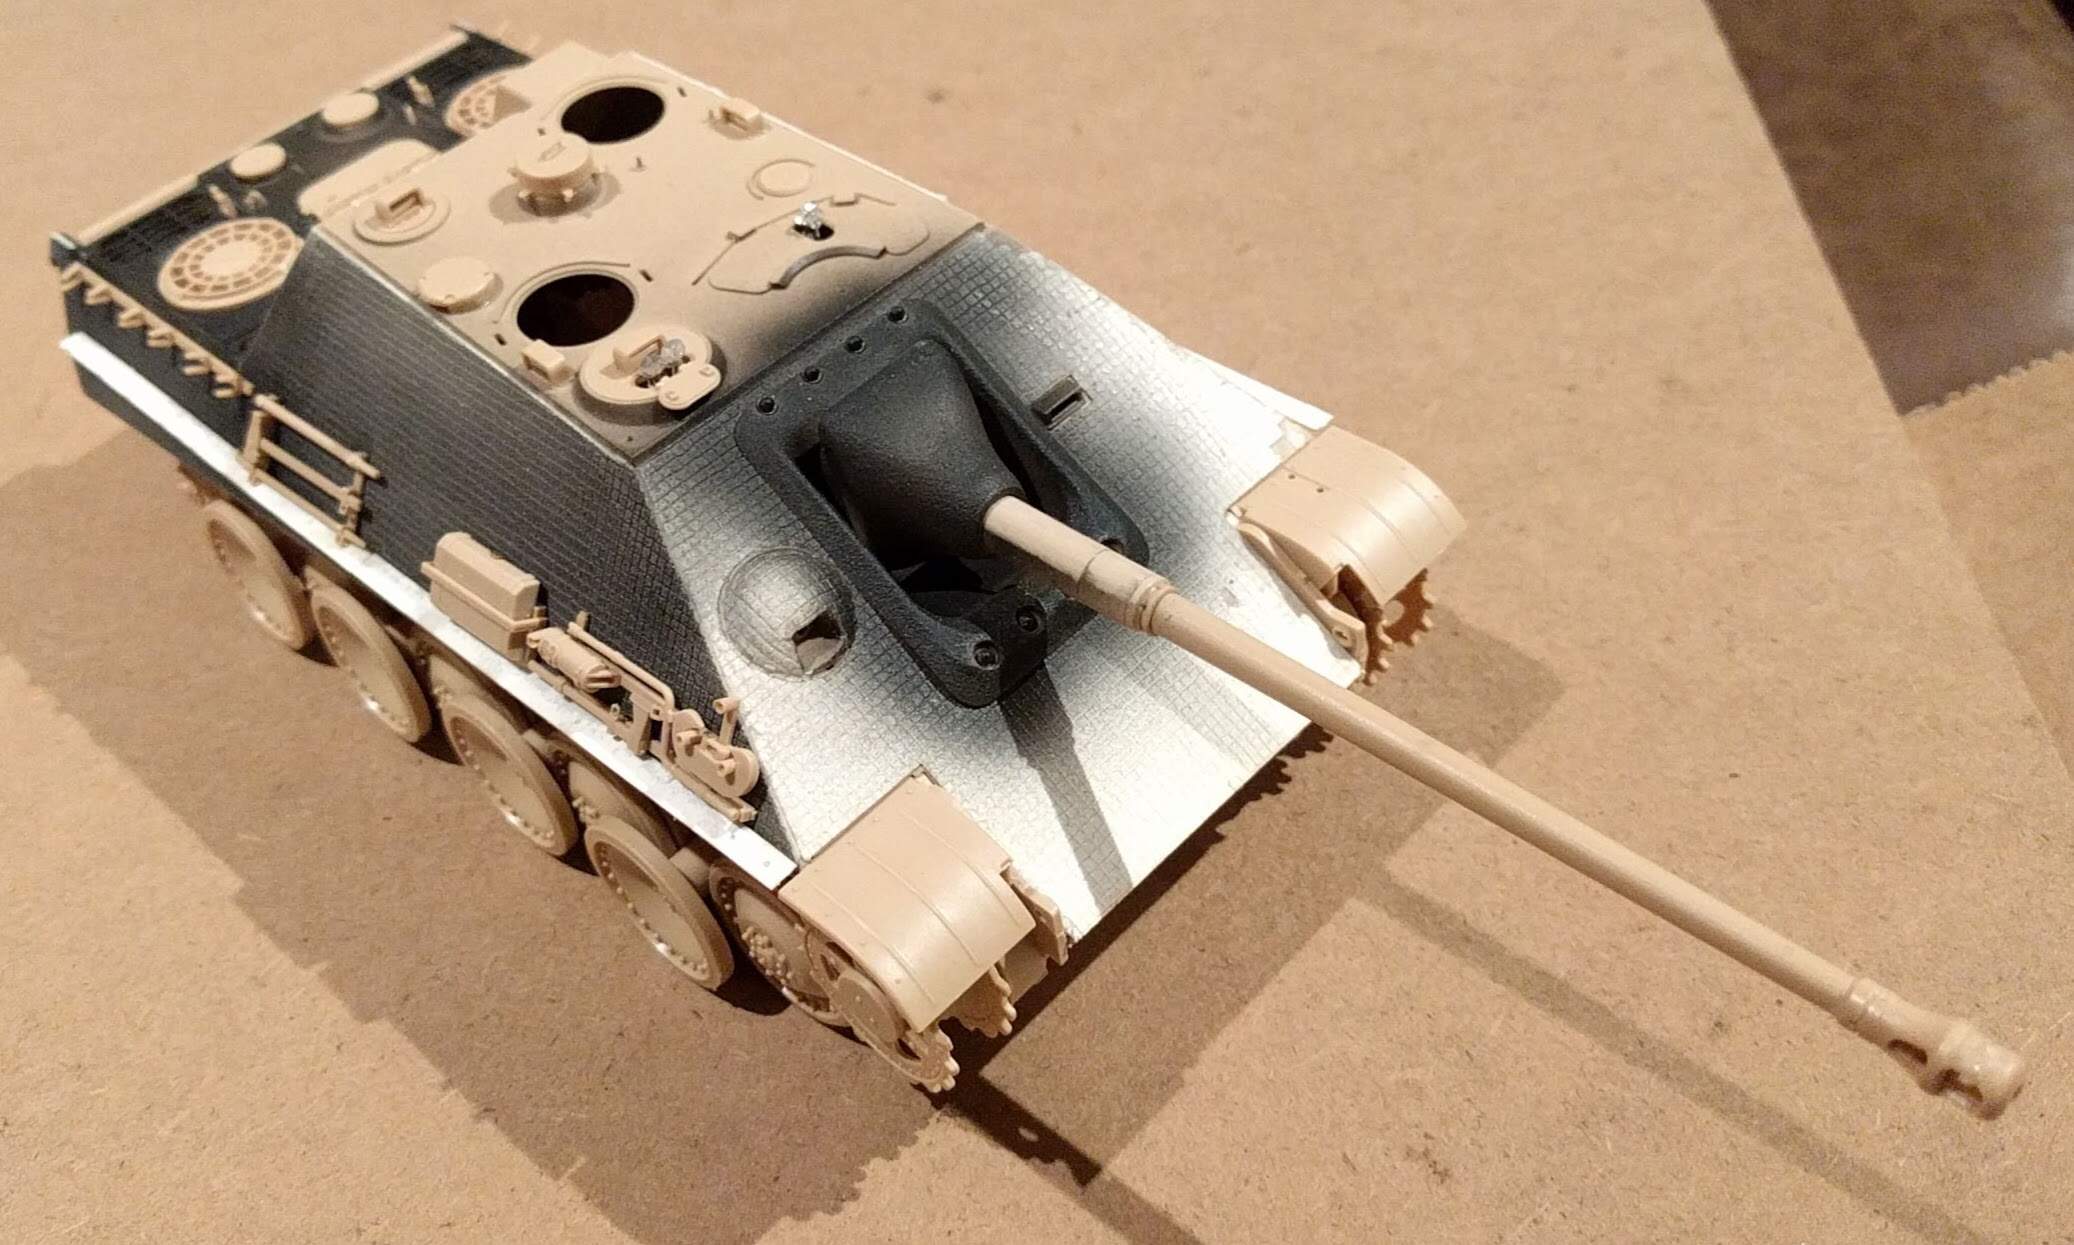
Managed some progress on the vehicle for the RSO with Pak 40. Working toward sub-assemblies to help with painting.


So far I’ve really struggled with this kit. The instructions miss some of the parts and the assembly order leaves a bit to be desired in some cases. I’ve had to disassemble several pieces. Looking back on it, a better strategy would be to dry-fit at least 3 steps, then lightly cement the parts. I’ve become too used to Tamiya…
Happy Modeling,
Zon
4 Likes
sooo… this is perhaps a bit far along for this particular group build.
and, so as not raise the ire of the mods, I’ll not be doing a tank hunter sherman what-if. (shermgeschutz?)
So, I have to choose from a cute wee Zis 30, Academy/airfix Hellcat or a Tamiya Archer. Votes?
2 Likes
I have friends that curse that kit Zon.
Are you aware the seats are not correct in the kit? Apparently they are based on a museum vehicle that had M113 seats without the cushions fitted…
https://www.perthmilitarymodelling.com/reviews/vehicles/dragon/dr6640d04.html
The PMMS review has some info on the other kit issues:
https://www.perthmilitarymodelling.com/reviews/vehicles/dragon/dr6640.html
Hellcat! M-18’s are awesome!
1 Like
Hello All, This is Mukund. I would like to be part of this group build. I have been out of modeling scene for a few years now, Hope I am not too late to join this. I will be building this…
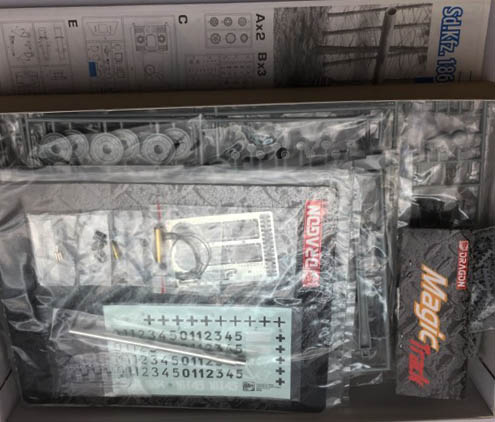
Have a Great Day
Mukund
7 Likes
Welcome Mukund.
Nice to see someone come back to the fold.
1 Like
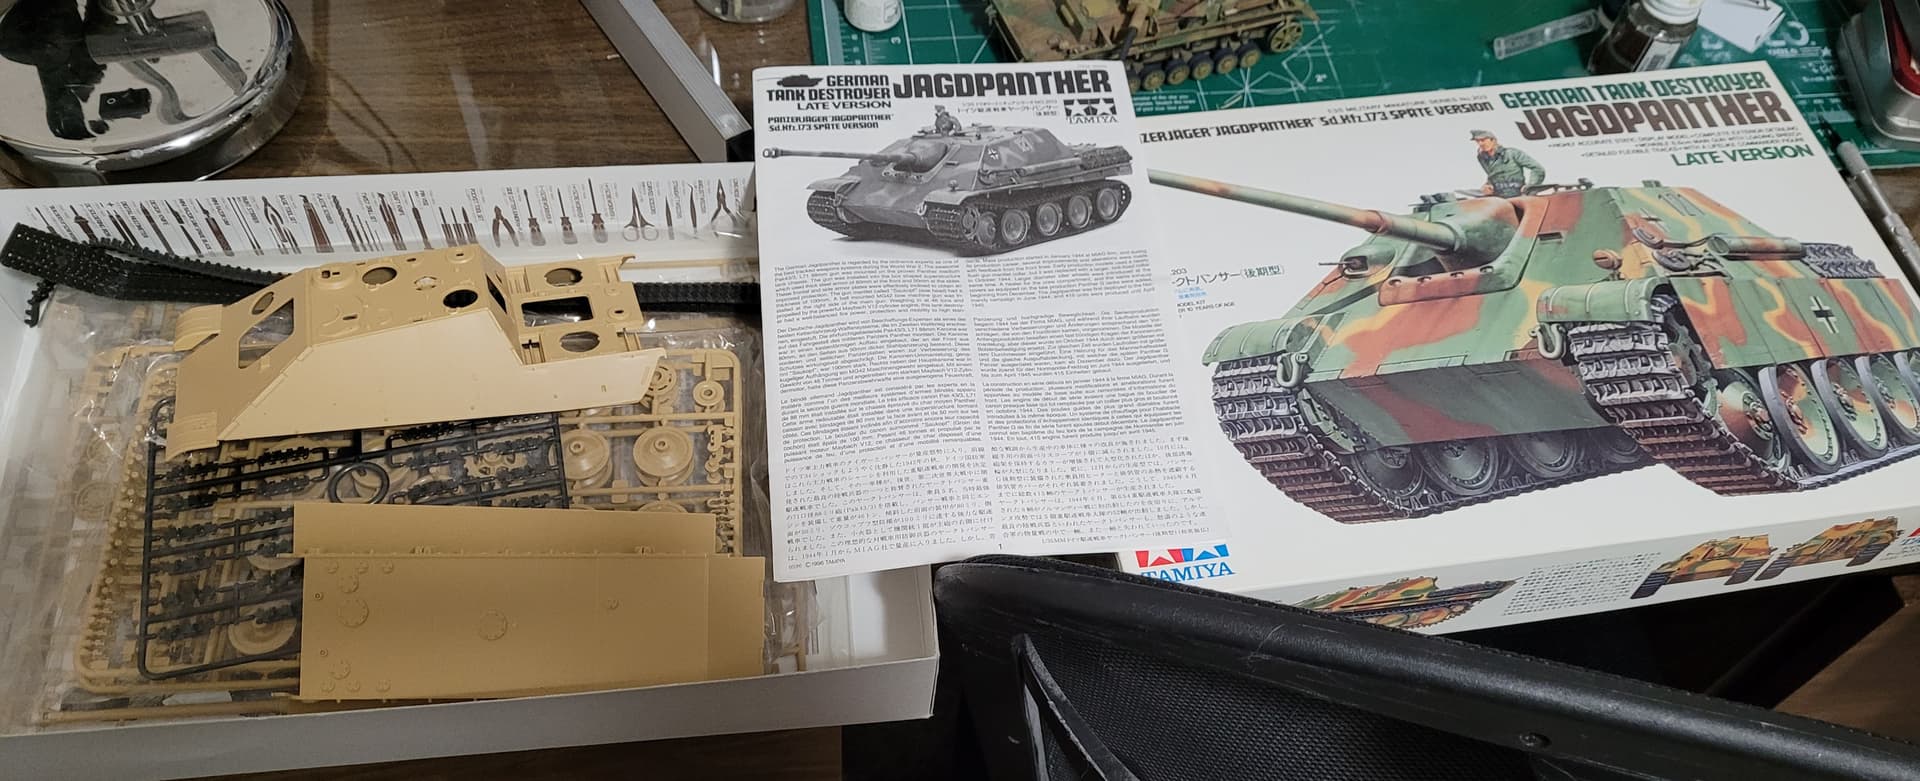
excellent choice Mukund, I built the tamiya version last year.
1 Like
Welcome back to the hobby, Mukund! Nice choice of kit - a real beast! 
1 Like
Aloha Pete,
Thank you for the links. So far I’ve found every error mentioned in the article, but the hard way! Sadly I think I’m stuck with the seats as I don’t think I have suitable replacements in the spares. To me they look “farm tractor”.
Happy Modeling,
Zon
1 Like