I hoped today would be a victorious post on the Ferdinand totally painted and ready for the decals… that was not the case
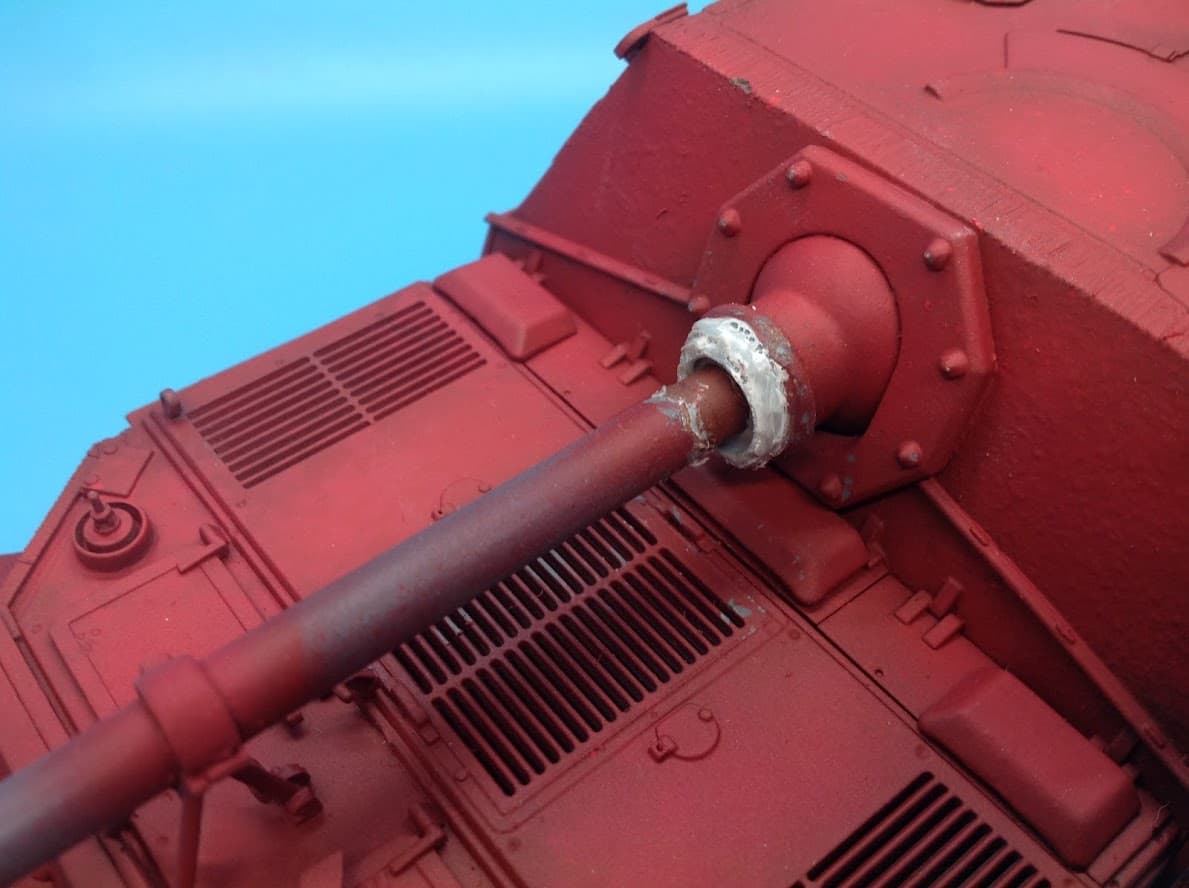
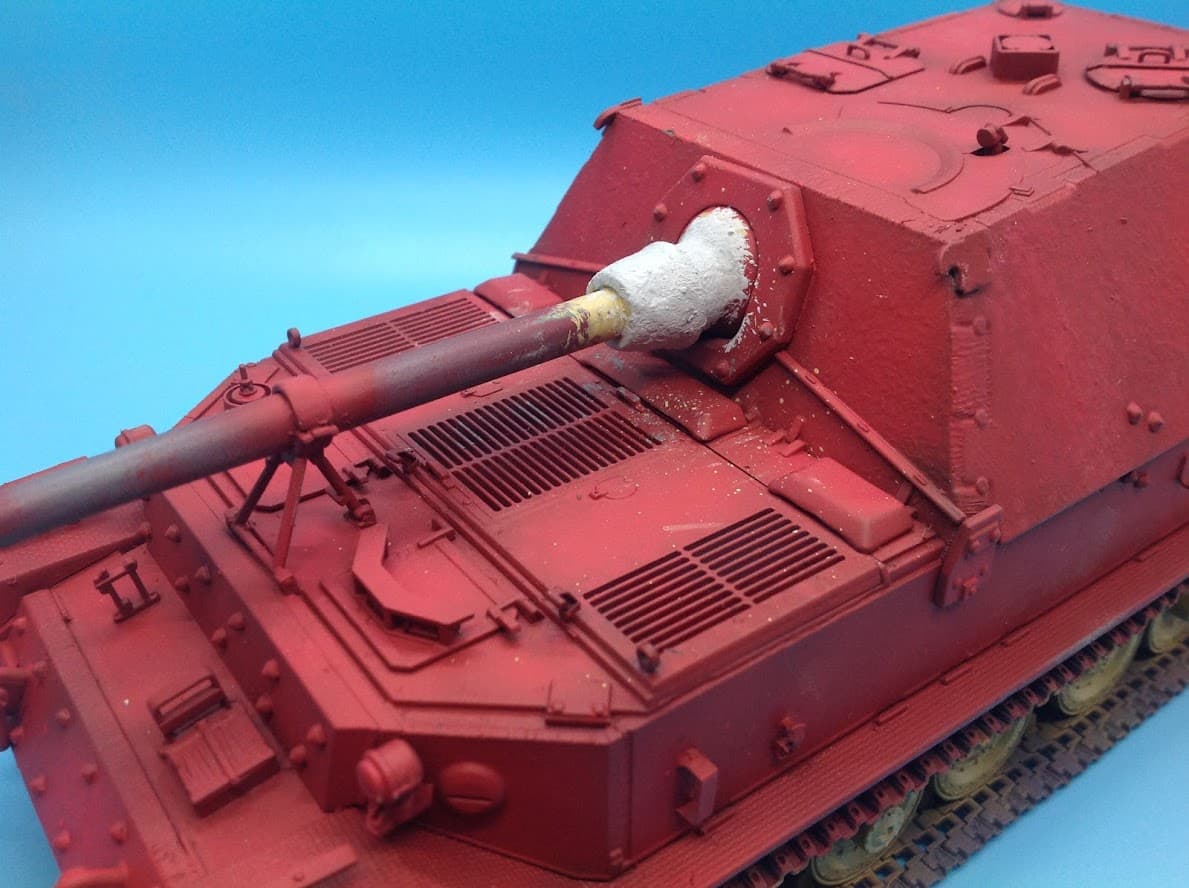
Looking at a pic of the real vehicle I noticed the splinter shield on the mantlet was missing, so in my infinite wisdom I ripped it off and also took part of the mantlet with it. So until I can find a replacement part (C 25 from the Dragon Ferdinand) Im pretty much screwed.
And cuz when it rains it pours, I got food poisoning from some bad Chinese food and spent the entire night with chills and throwing up.
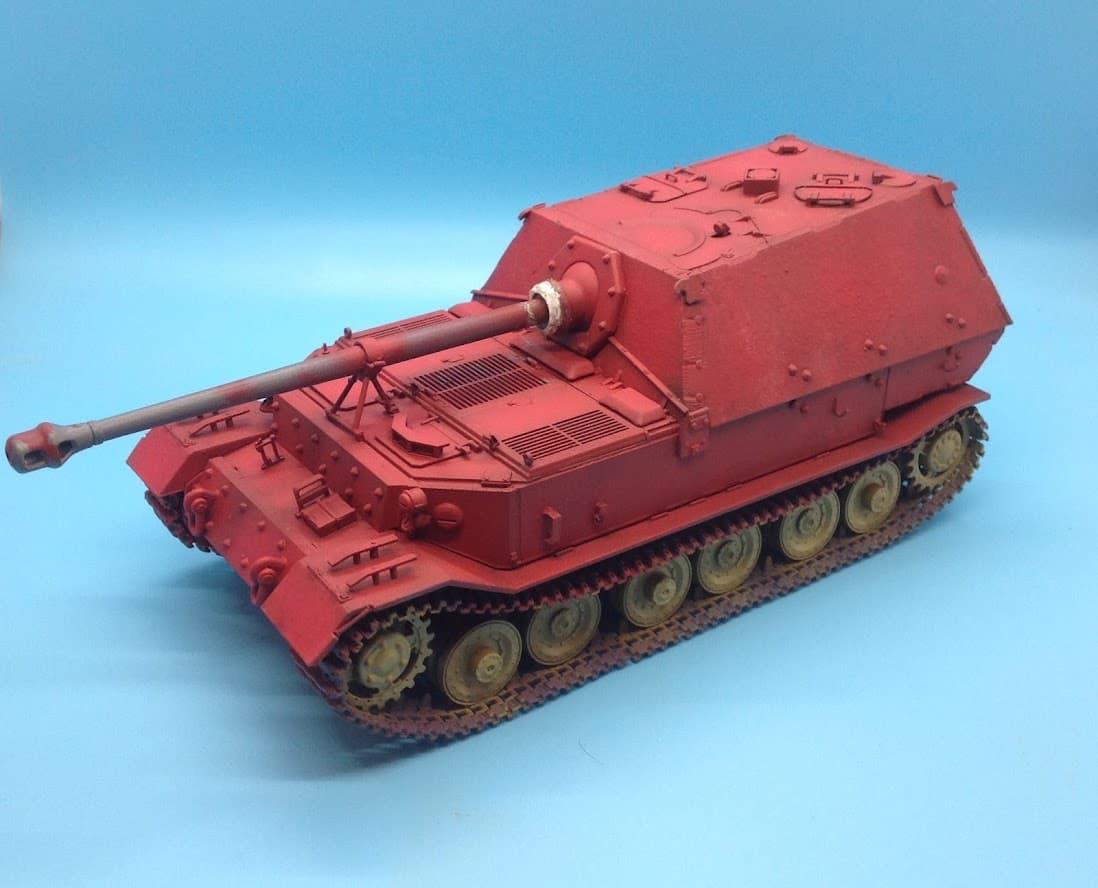
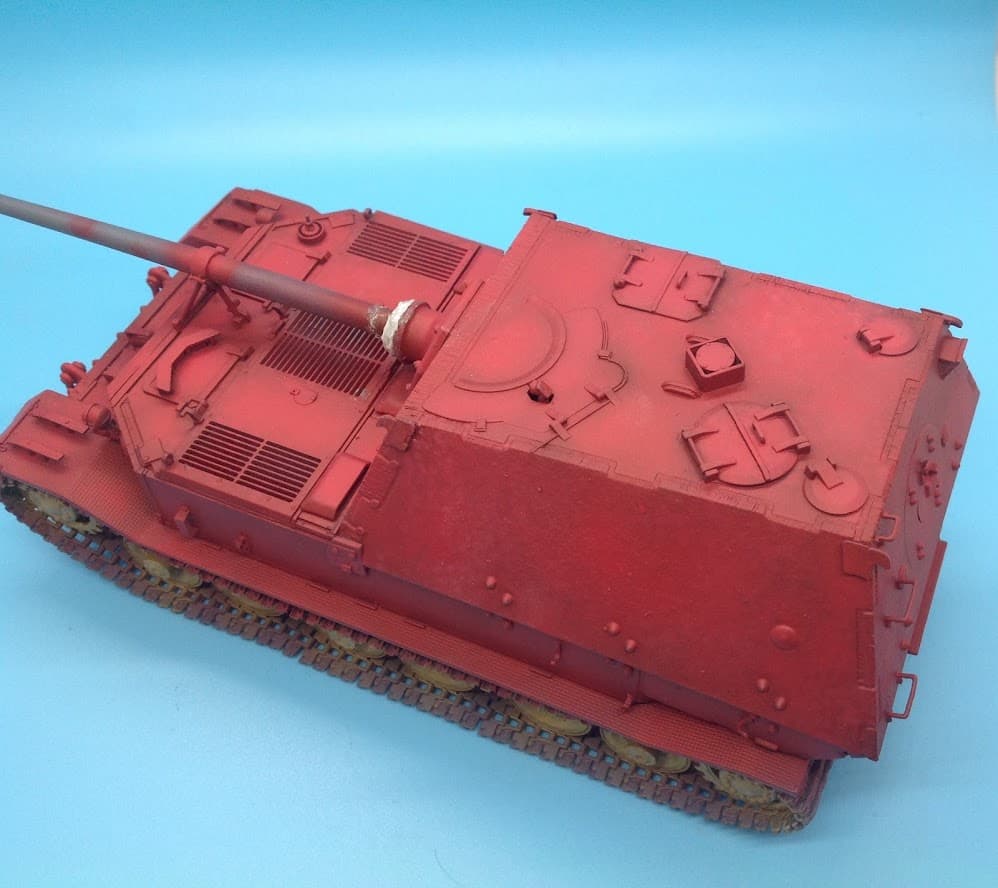
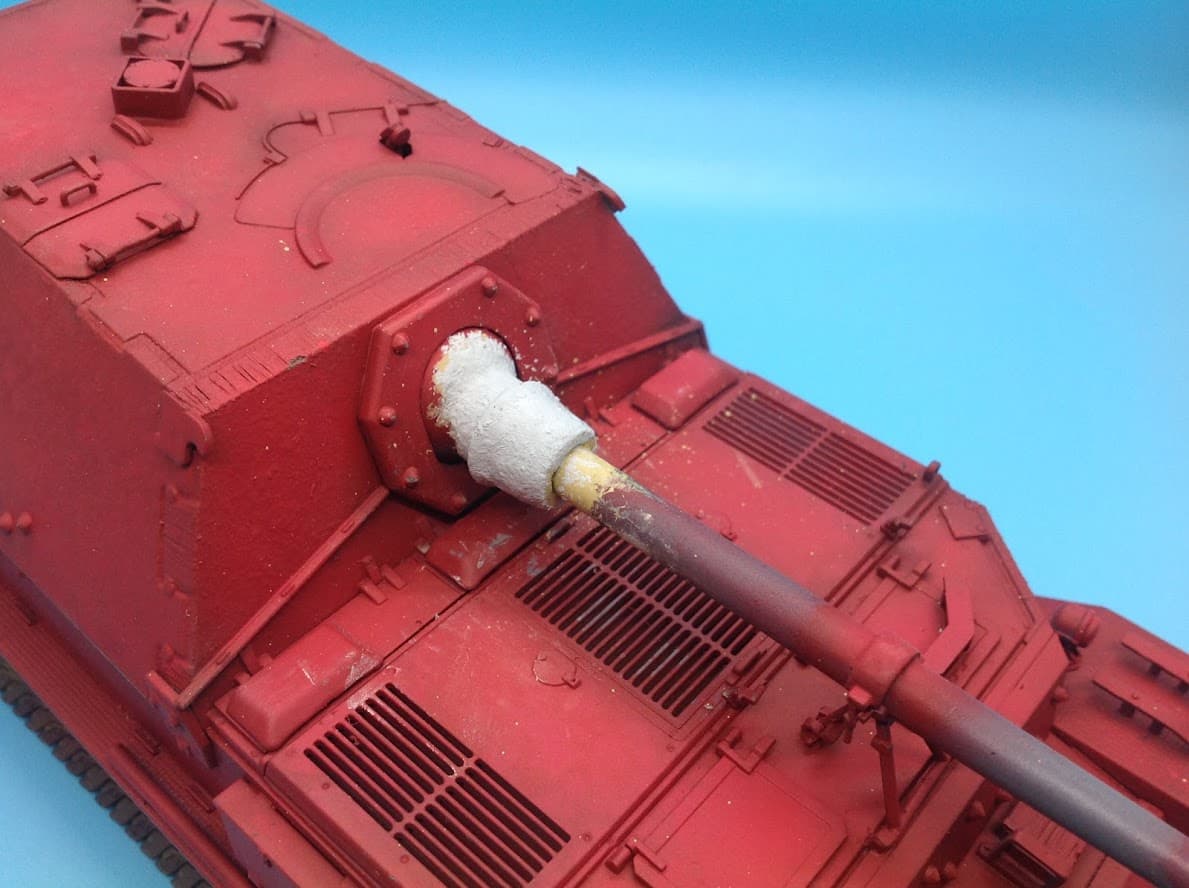
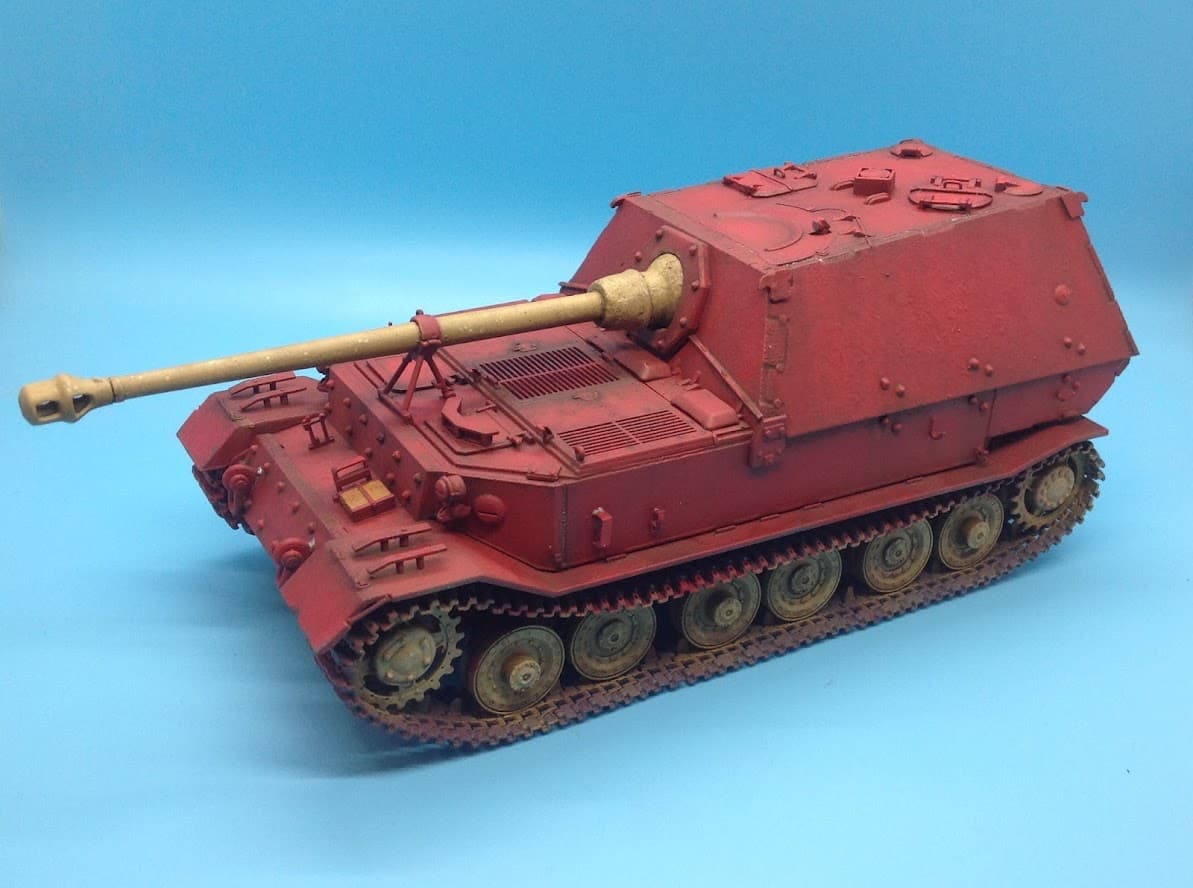
The worst part was Im super happy with my Oxide red base coat. I love the variation I got.
Ezra Buddy, I’m sorry about your food poisoning. That’s awful. I feel for you man. I’m also sorry you damaged the gun mantlet. That’s almost worse. At least the food poisoning goes away.
But I love your red oxide primer coat! It rocks! What paint did you use? That’s what German primer looks like people. Red, not brown. That’s red oxide, and red brown was never a primer color.
I have the Cyber-Hobby kit of this TD with the decals and have been itching to build it since I found Hataka Lacquer red oxide paint. Your excellent model has brought me one step closer to withdrawing it from the stash. Good luck on the repair work. Your red oxide is outstanding!
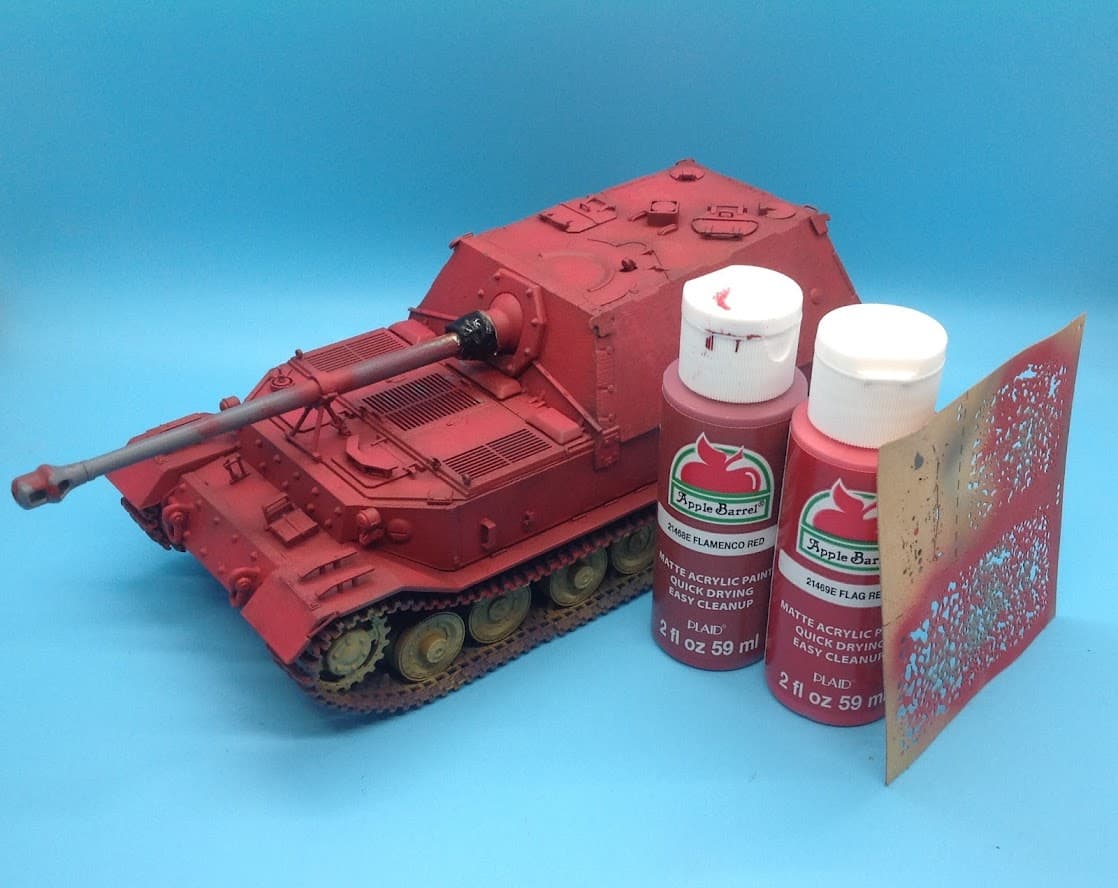
Simple! I used Apple Barrel paints from Walmart. And I sprayed them using @Chris_Bryan’s method.
(I just switched out the water with X-20a) It sprayed as nice as AMMO paints!
Nowhere near as fancy as those Hataka lacquers but they did the trick.
Ive actually (finger crossed) been able to fix the mantlet. I found parts of it that had been torn off and like a jig saw puzzle matched them back up. I was pretty much completely able to build it up with only a few small holes in the rear.
Right now they are all filled with Apoxie sculpt and have a heavy coat of thick black paint over it. Once thats all dry it will hopefully be sanded smooth.
Ezra that looks amazing.
Sorry I haven’t been around much lately. Been putting the finish on a secret weapon that has been under development for 3 years
@Panzer_modeler really nice job, I love the Elefant and yours looks menacing already! My Elefant might be the next beast I tackle. Yours has pushed me in that direction
The VBL is looking great Olivier. You have really made that look lovely. The Milan tubes with the decals on look very nice and I love the Milan post, it looks super detailed and brings back some fond memories of firing it on the range …
The missiles are pretty nice indeed. However the one on the firing post has too large grooves where you are supposed to apply the black and brown stripes. I’ll have to fill them before applying the decals.
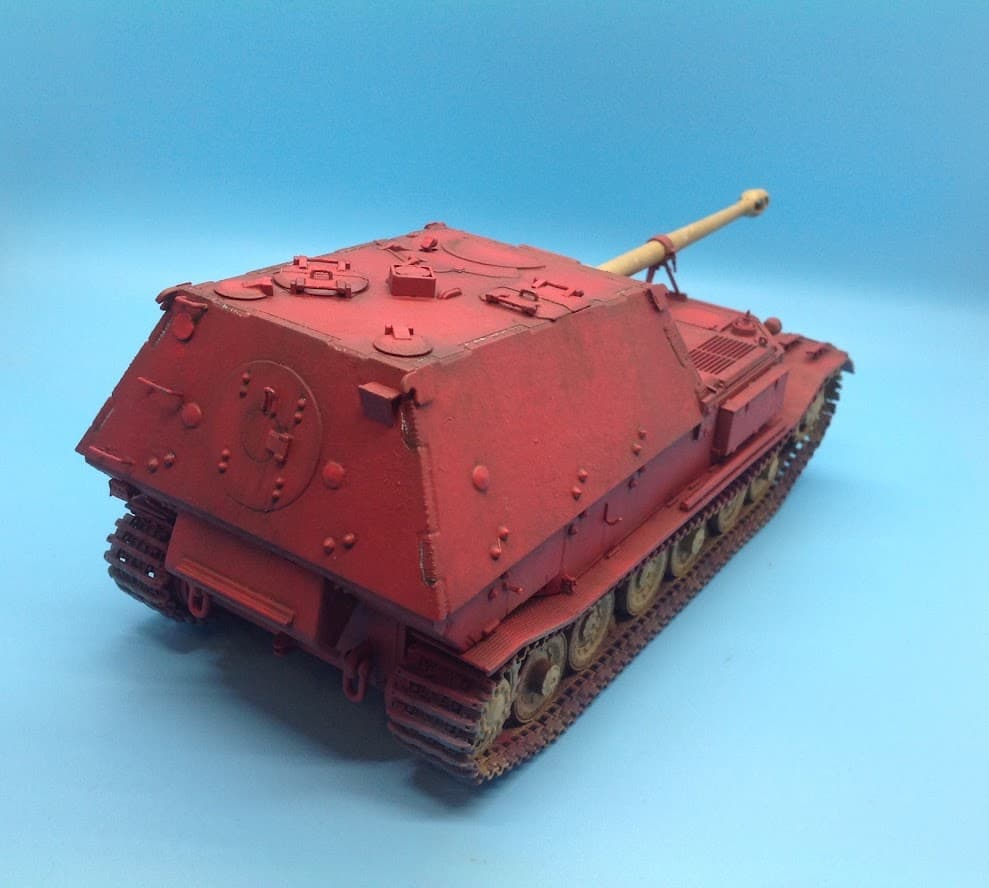
Finished repainting yesterday and minus track painting its ready for decals. I did all the weathering except for dust before the decals as I want to keep them pure white, like they were freshly applied.
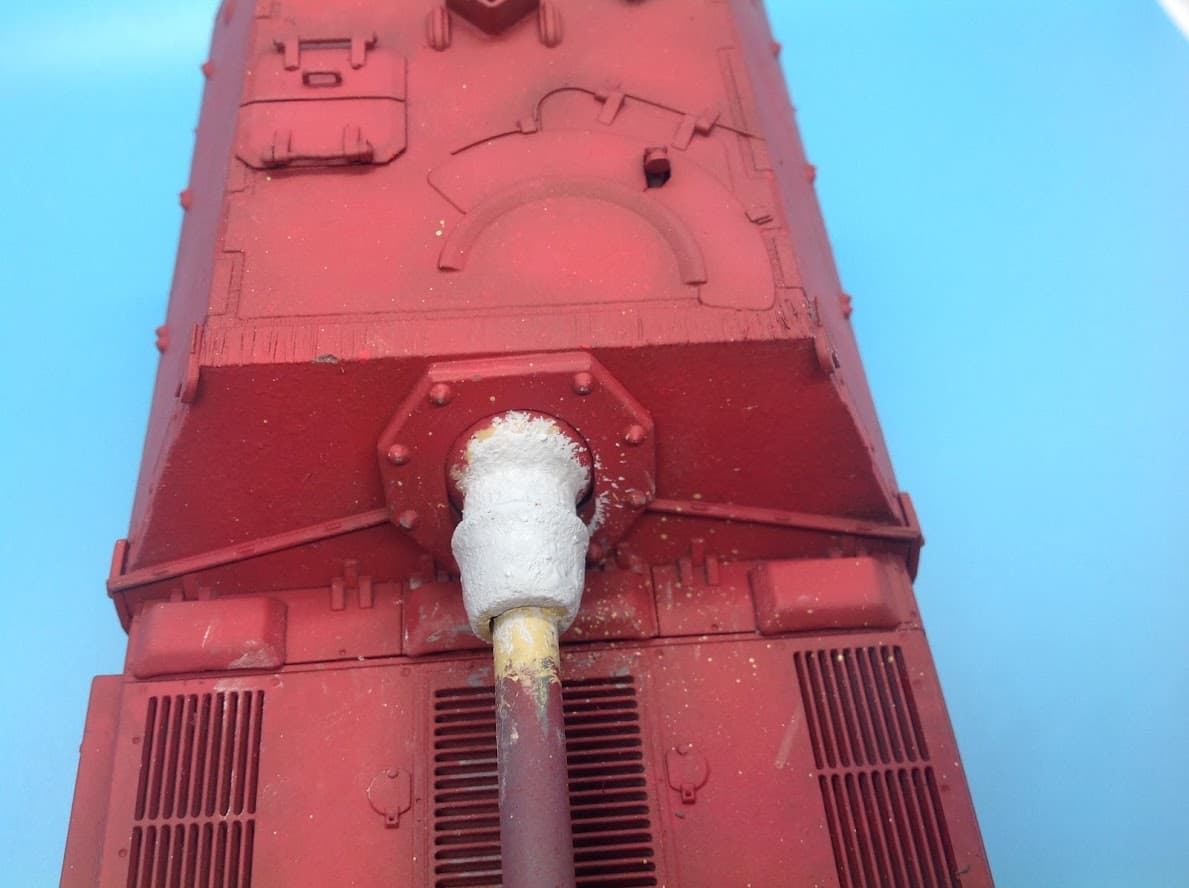
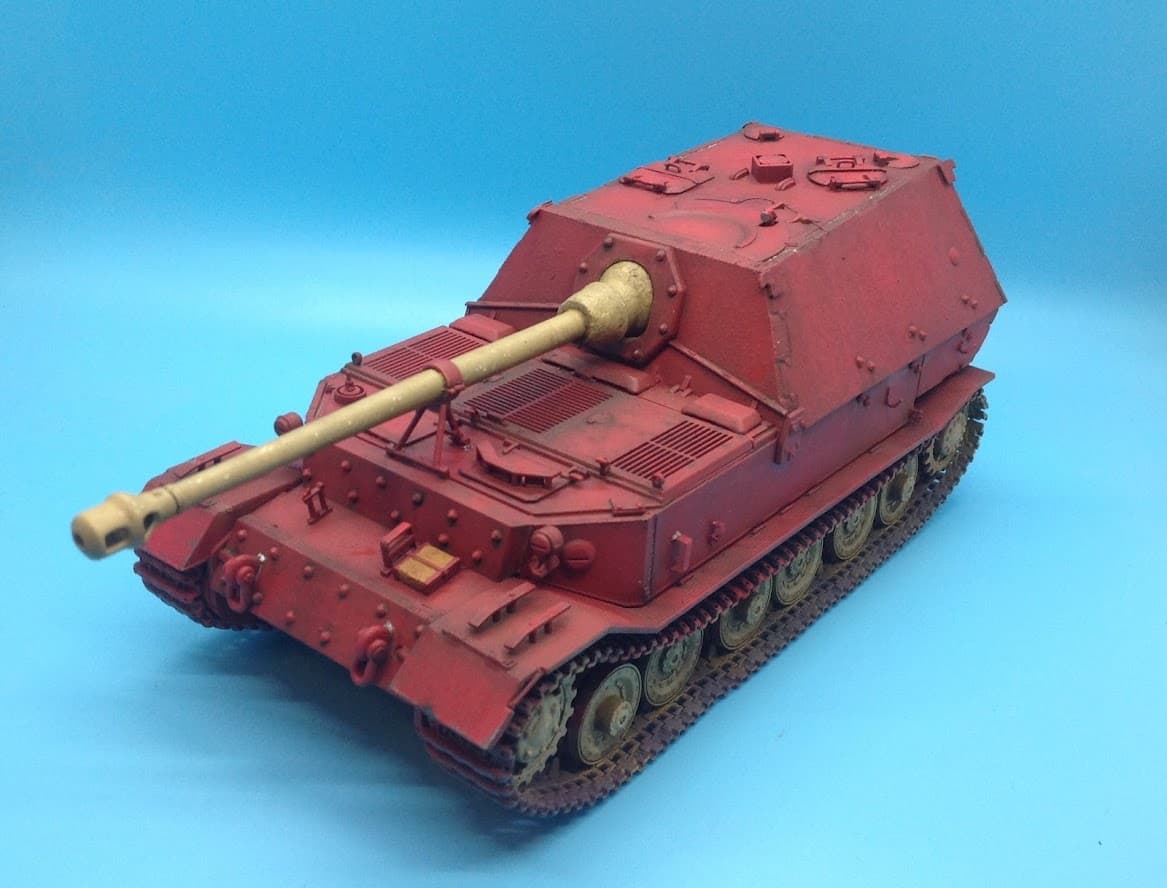
I am curious as too your colour choices for the mantlet, gun barrel and road wheels. Wouldn’t the mantlet still be in the red primer? (which it looks like you had before) and not the dunkelgelb.
I also feel painting guides for this vehicle show the barrel in primer grey an the road wheels in primer red. Its been a while since I looked it up so I could be wrong on that.
Edit: Hmmm, I have gone back and looked up this vehicle and it looks like different manufacturers have different schemes. Amusing hobbies have the red wheels, grey barrel and red mantlet while Dragon have the Dunkelgelb Mantlet, Barrel and wheels. So who really knows Shrug
I would go grey myself Ezra. There are lots of different opinions about how parts were delivered to German factories (including lots of misguided comments of primer being black on the web), and what effect allied bombing of various factories had on their ability to produce, or to receive the raw material required to follow orders. The more learned believe that to distribute gelb paint to so many smaller manufacturers would be impractical, but painting all at the assembly plant was more logistically viable. All I can say is a picture is worth a thousand opinions:
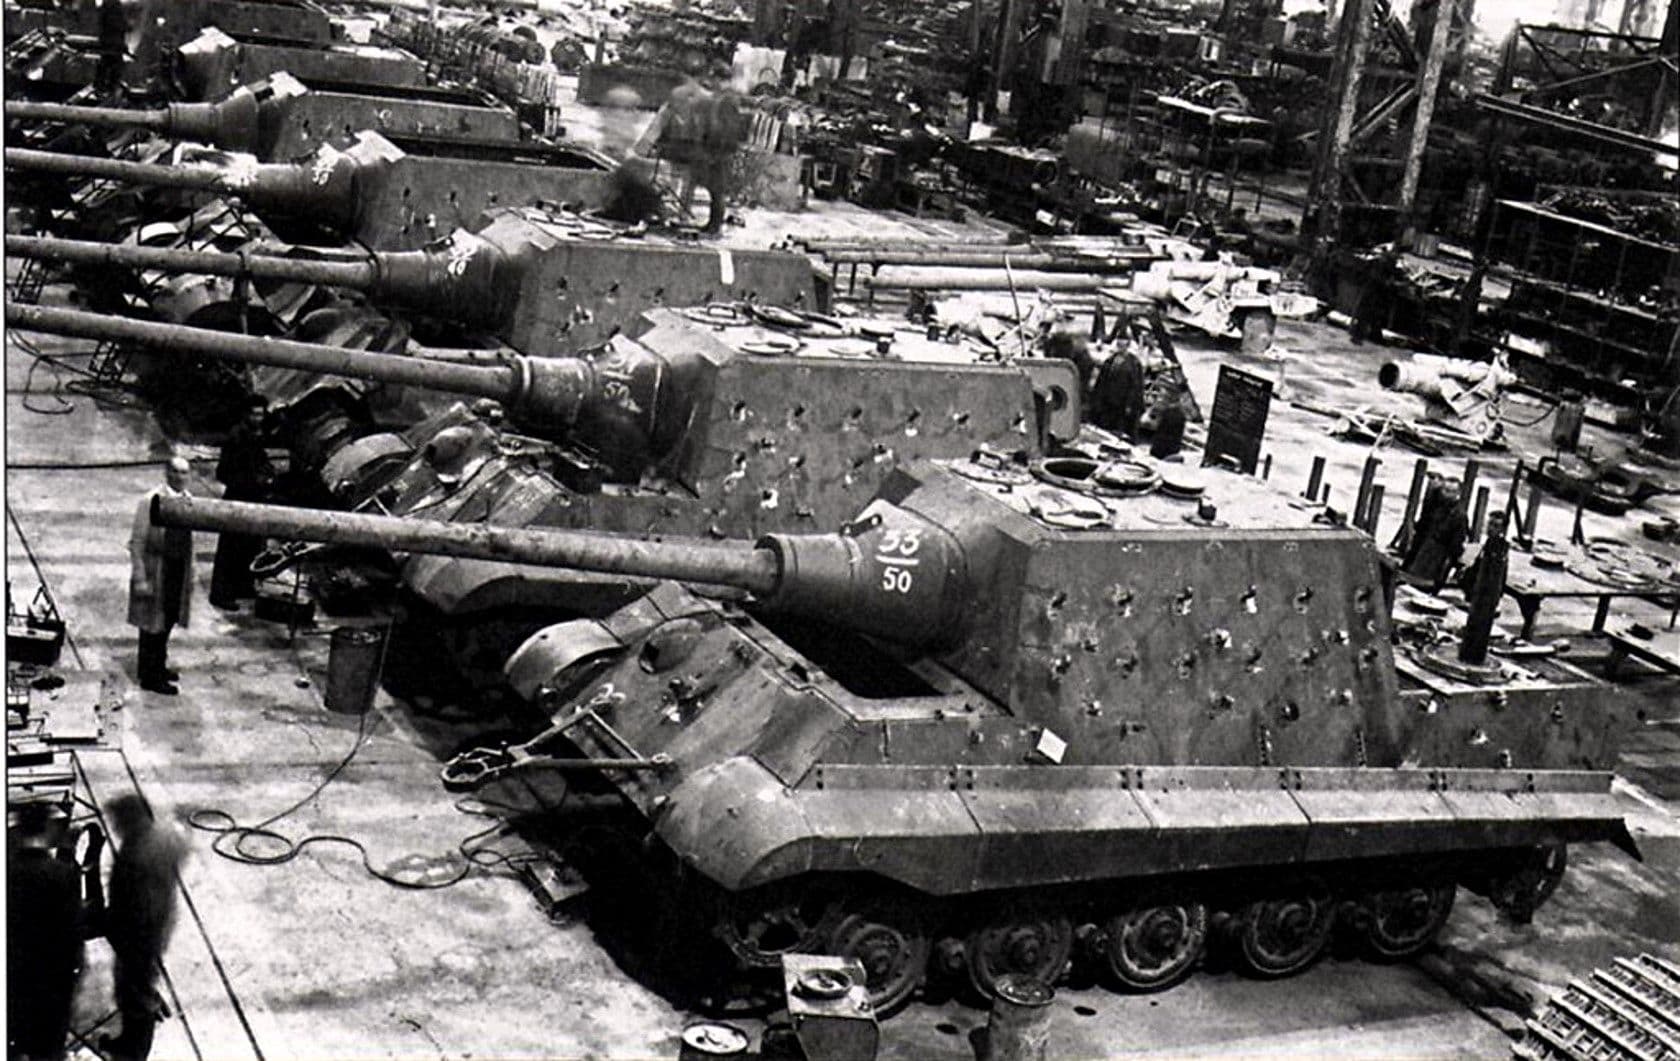
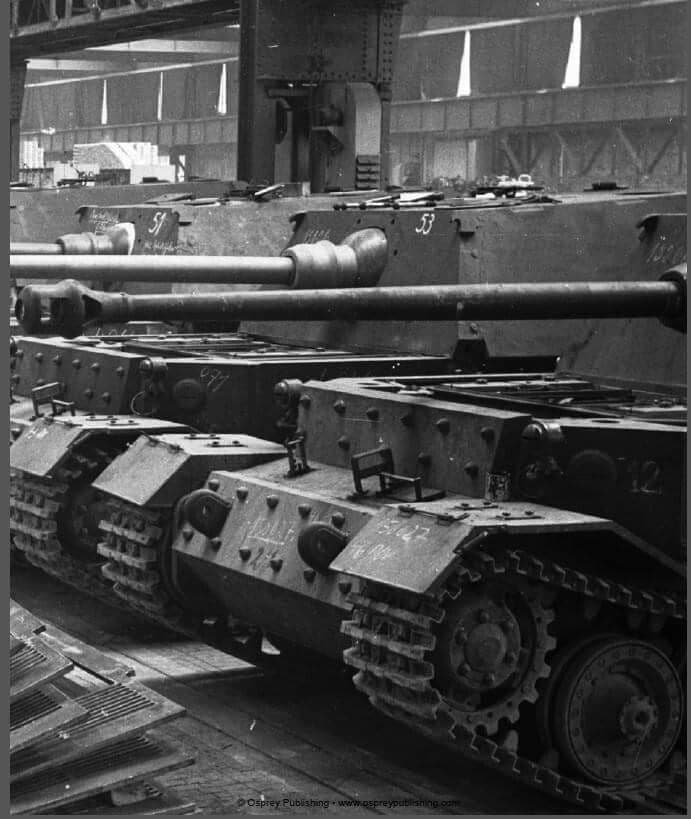
Jagdtiger on production line. Definitely no gelb on these yet and I would bet my first born that the barrels are not pre-painted gelb.
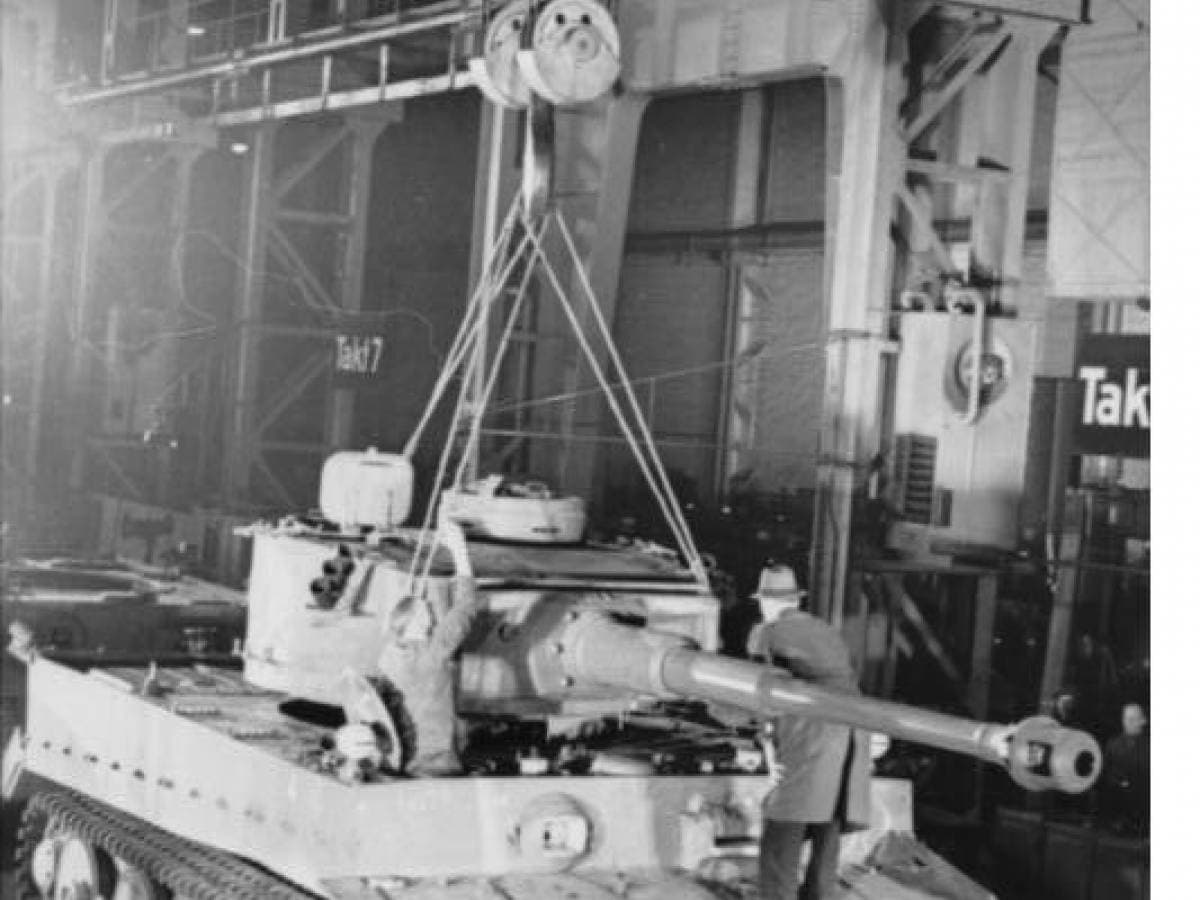
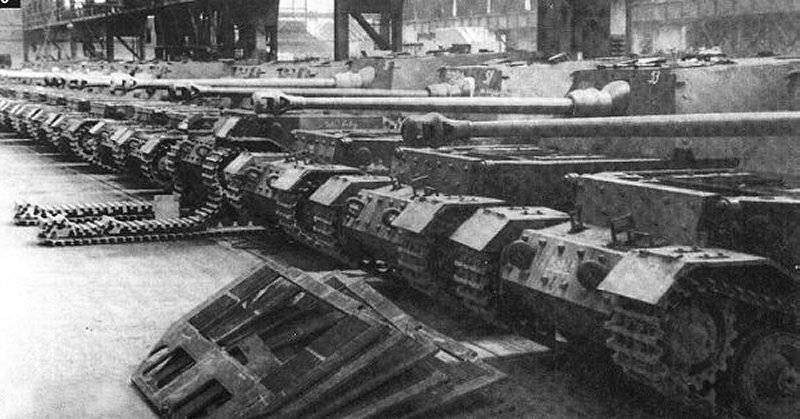
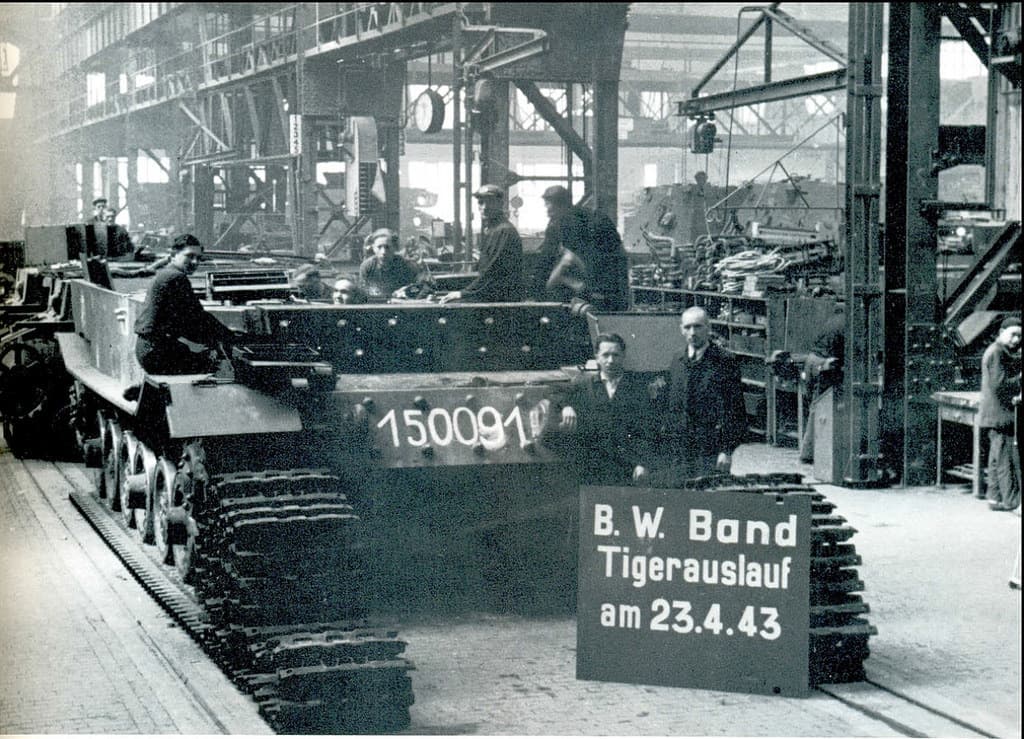
Tiger on production line, the barrel does not appear painted the same as the tank yet and by the play of light on it, it is not flat red oxide and likely not Gelb either:
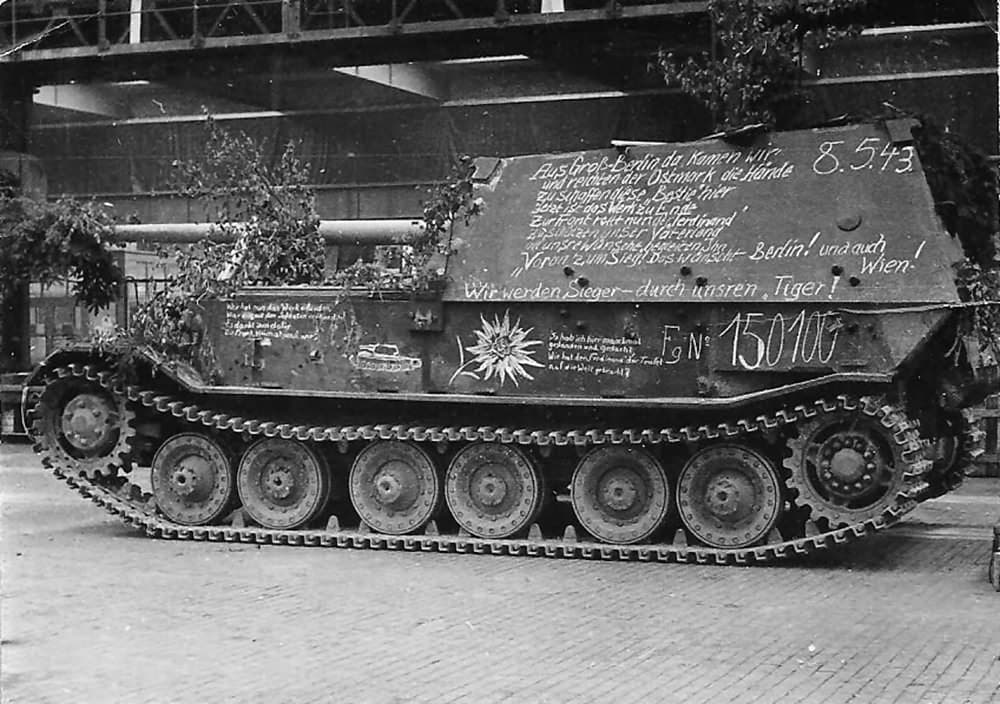
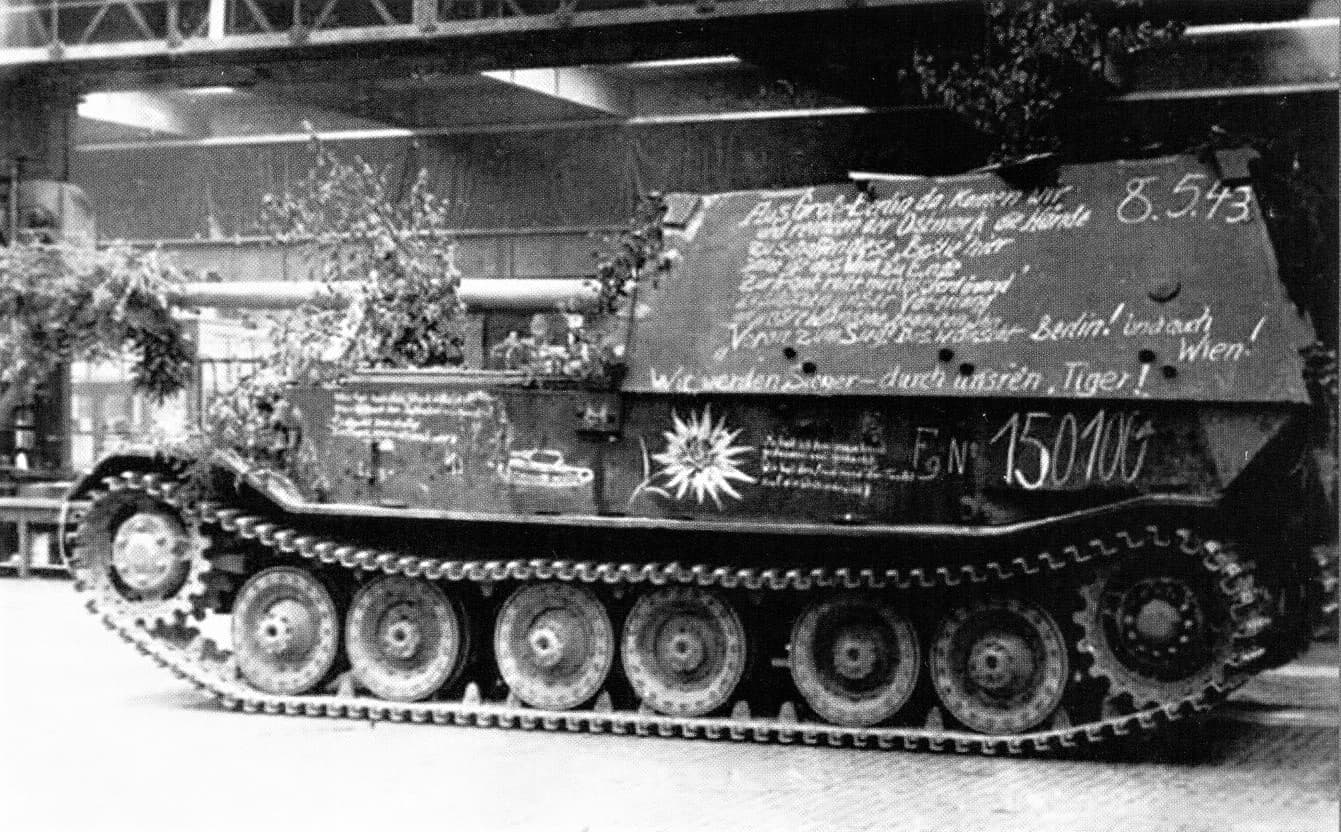
In the end though - this is my ‘go to’ picture. Yes it is later than when the Ferdinand came of the line, being Hannover 1945, but it tells the story for me:
Hmm good point, What about the mantlet then? Its clearly the same pic as the barrel, would that be the grey as well?
And then would the roadwheels be the same as the barrel?
High Ezra. The barrel was grey because it was a heat treatment primer. That was not needed for the rest of the vehicle. The wheels would be red oxide primer too. I have seen photos of Tiger and Panther roadwheels ready for fitting in the factory and they are still in primer.
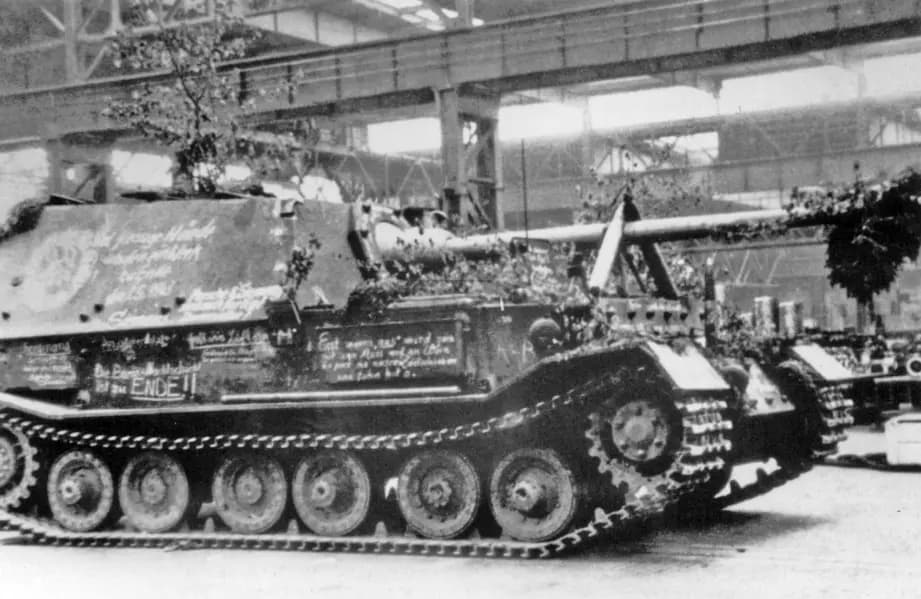
There is some talk around that the wheels on this vehicle were gelb due to the light colour on this pic caused by the bright light coming in:
I can mention that I have seen a brand new front plate for a Jagdpanther which was never fitted to a vehicle. It was found on a factory floor during renovations. It has traces of what looks like red primer and gelb, but school is out on whether the whole slab was primed before welding to the vehicle or it was just traces from something else. It is currently in a stack of other parts that are red primer…
It is now in the loving care of the Australian Armour and Artillery Museum, awaiting its fitment to a Jagdpanther they are rebuilding. Unfortunately, we were not allowed to take pics in the workshop and we respected their wishes.