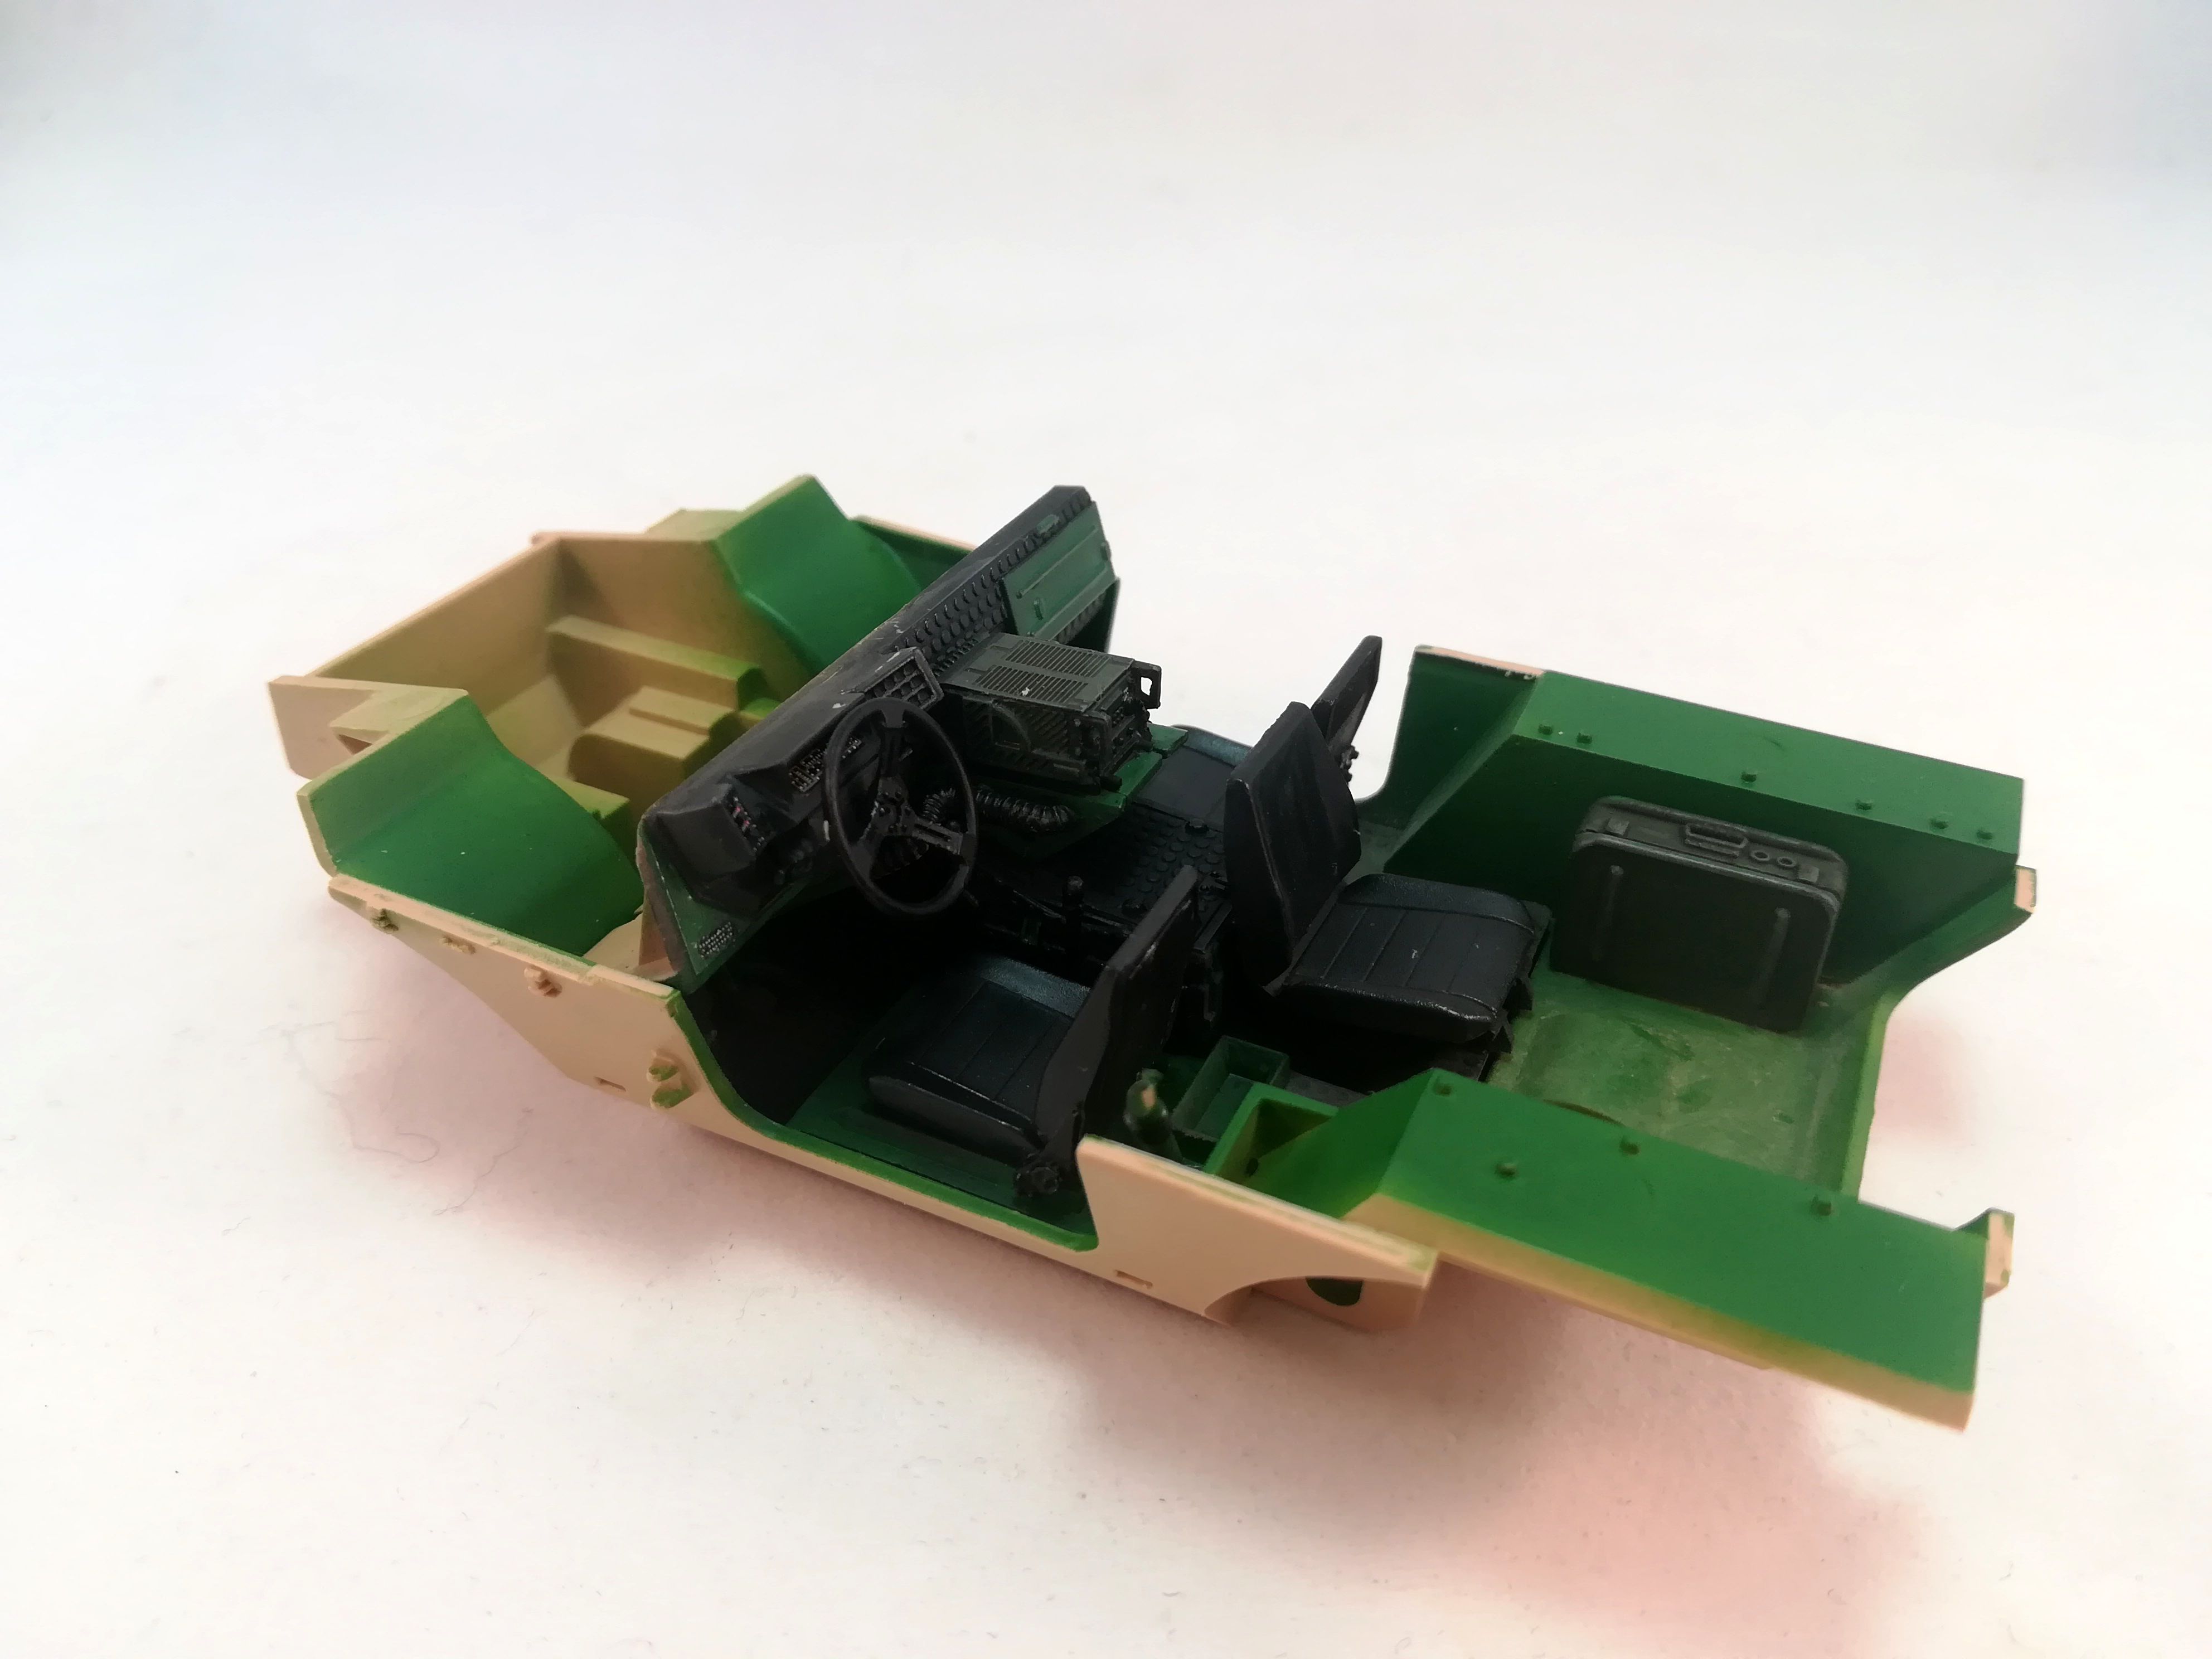
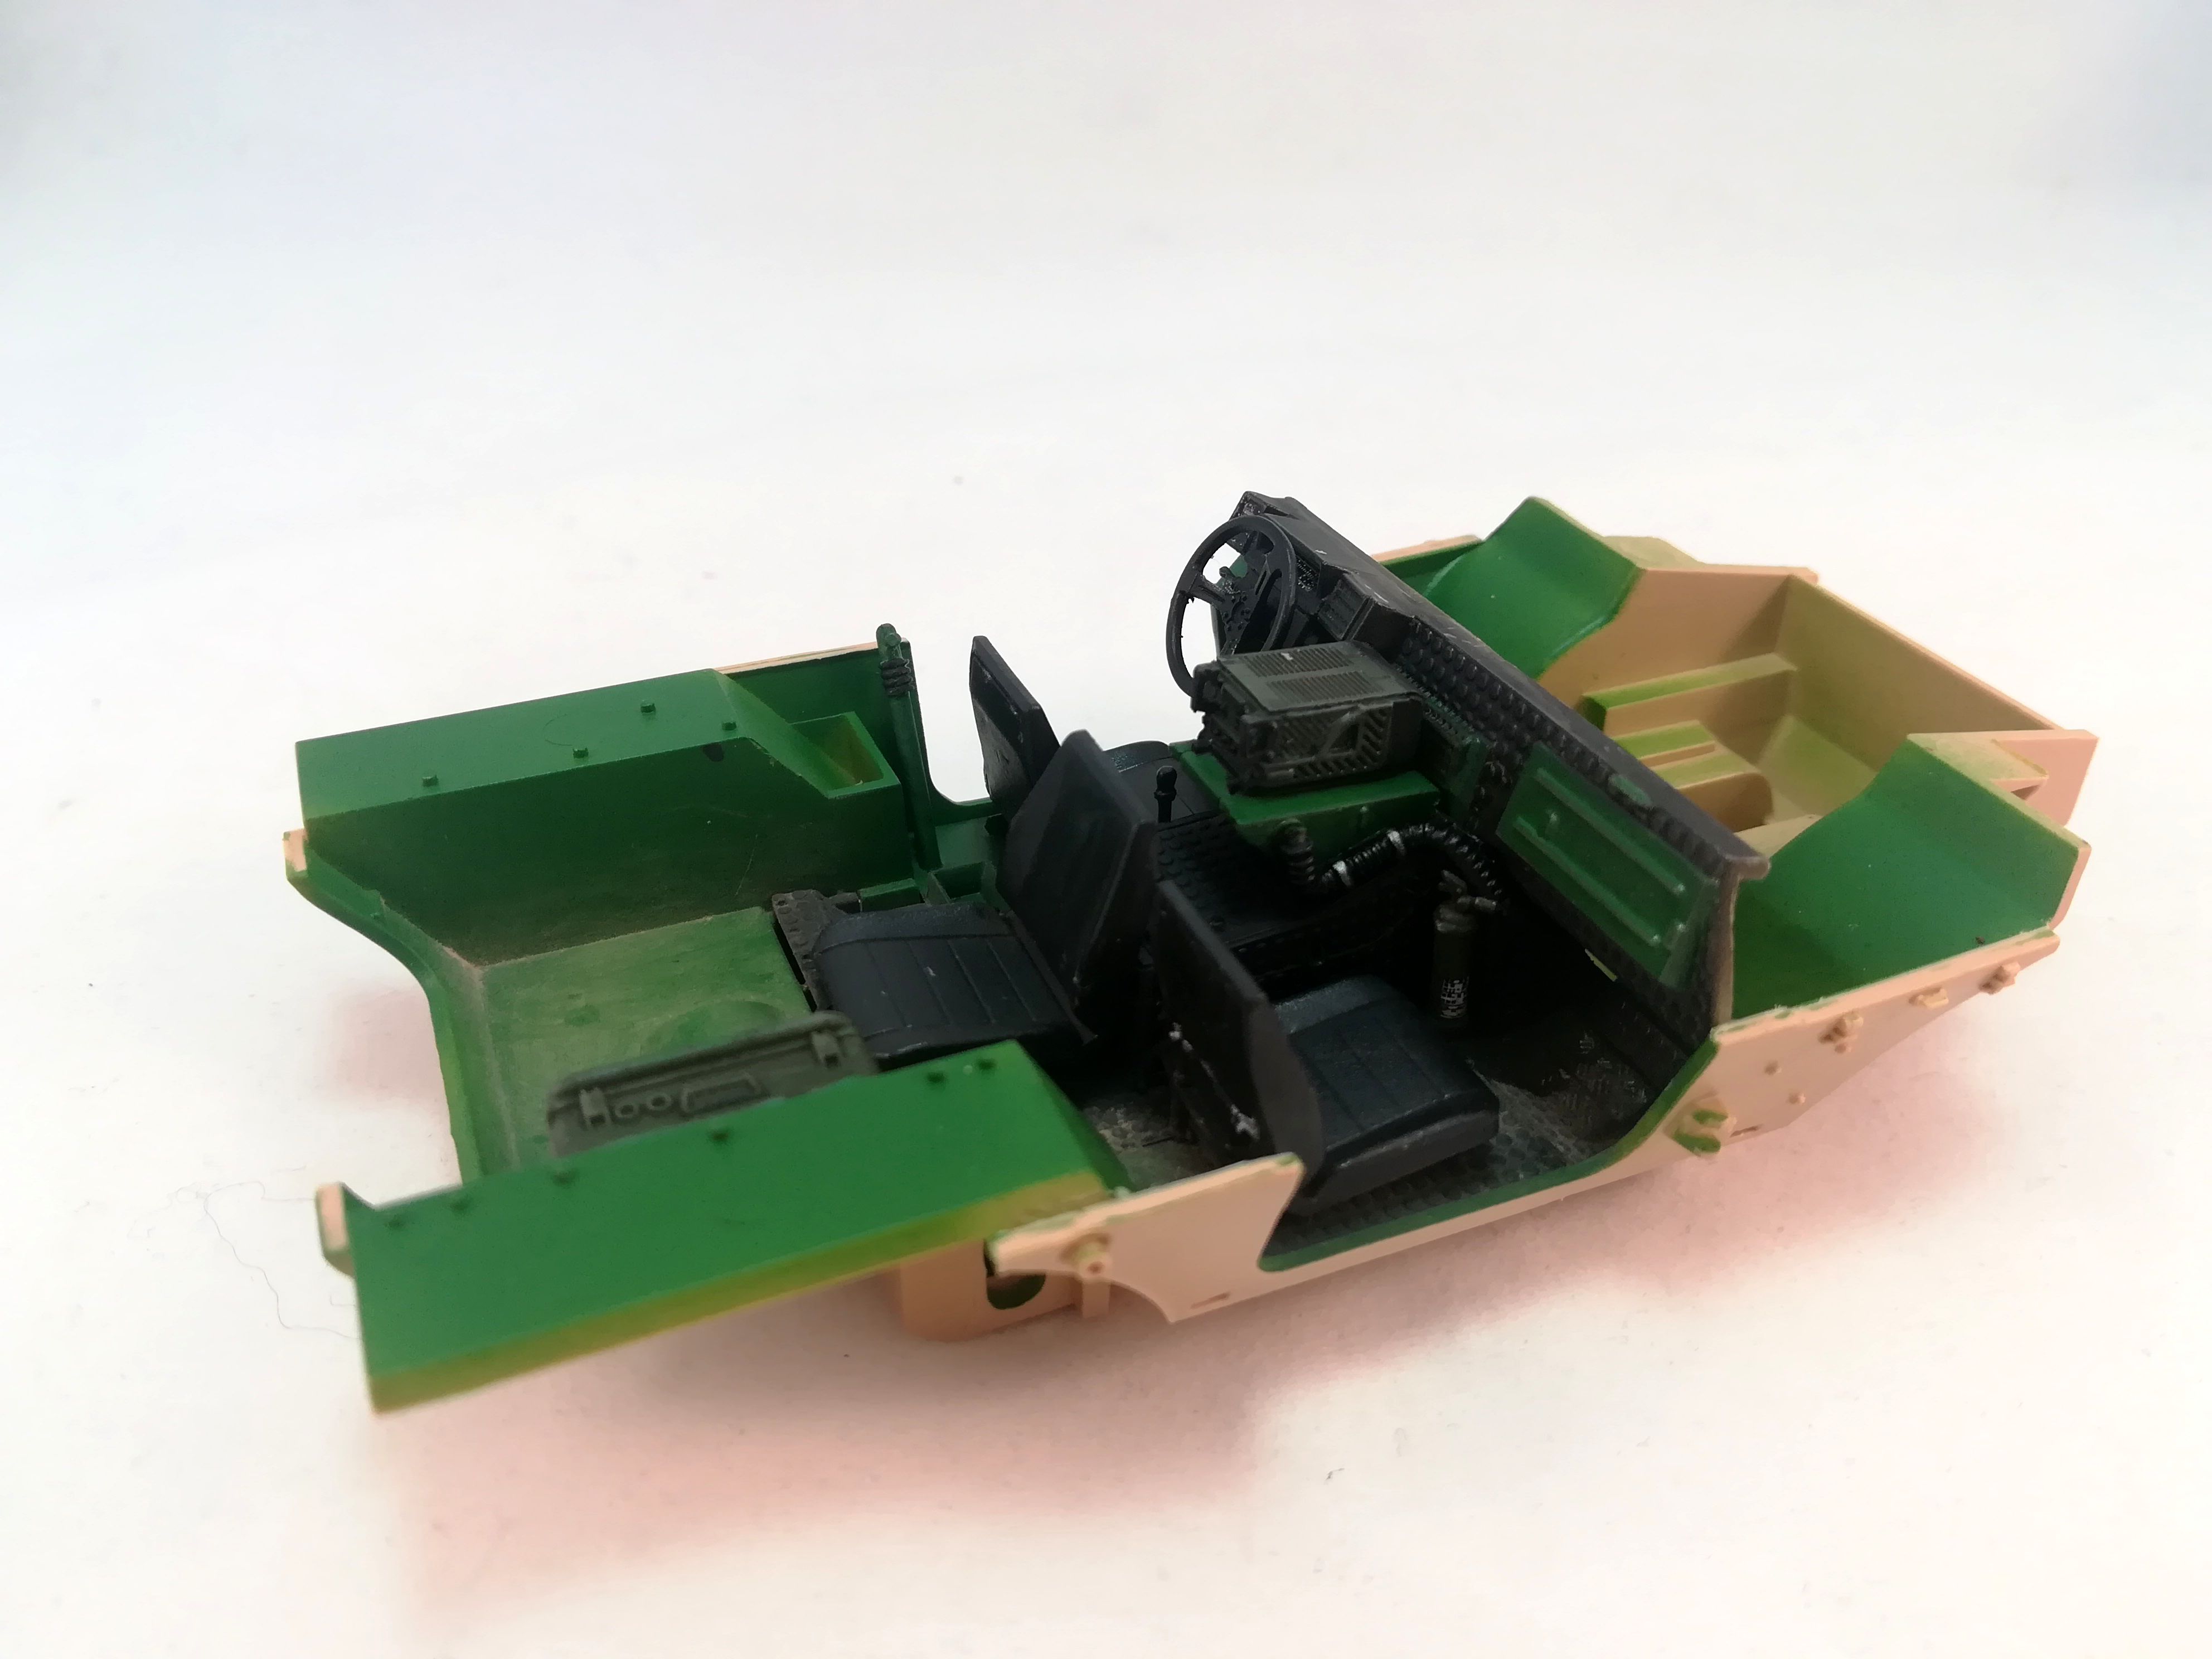
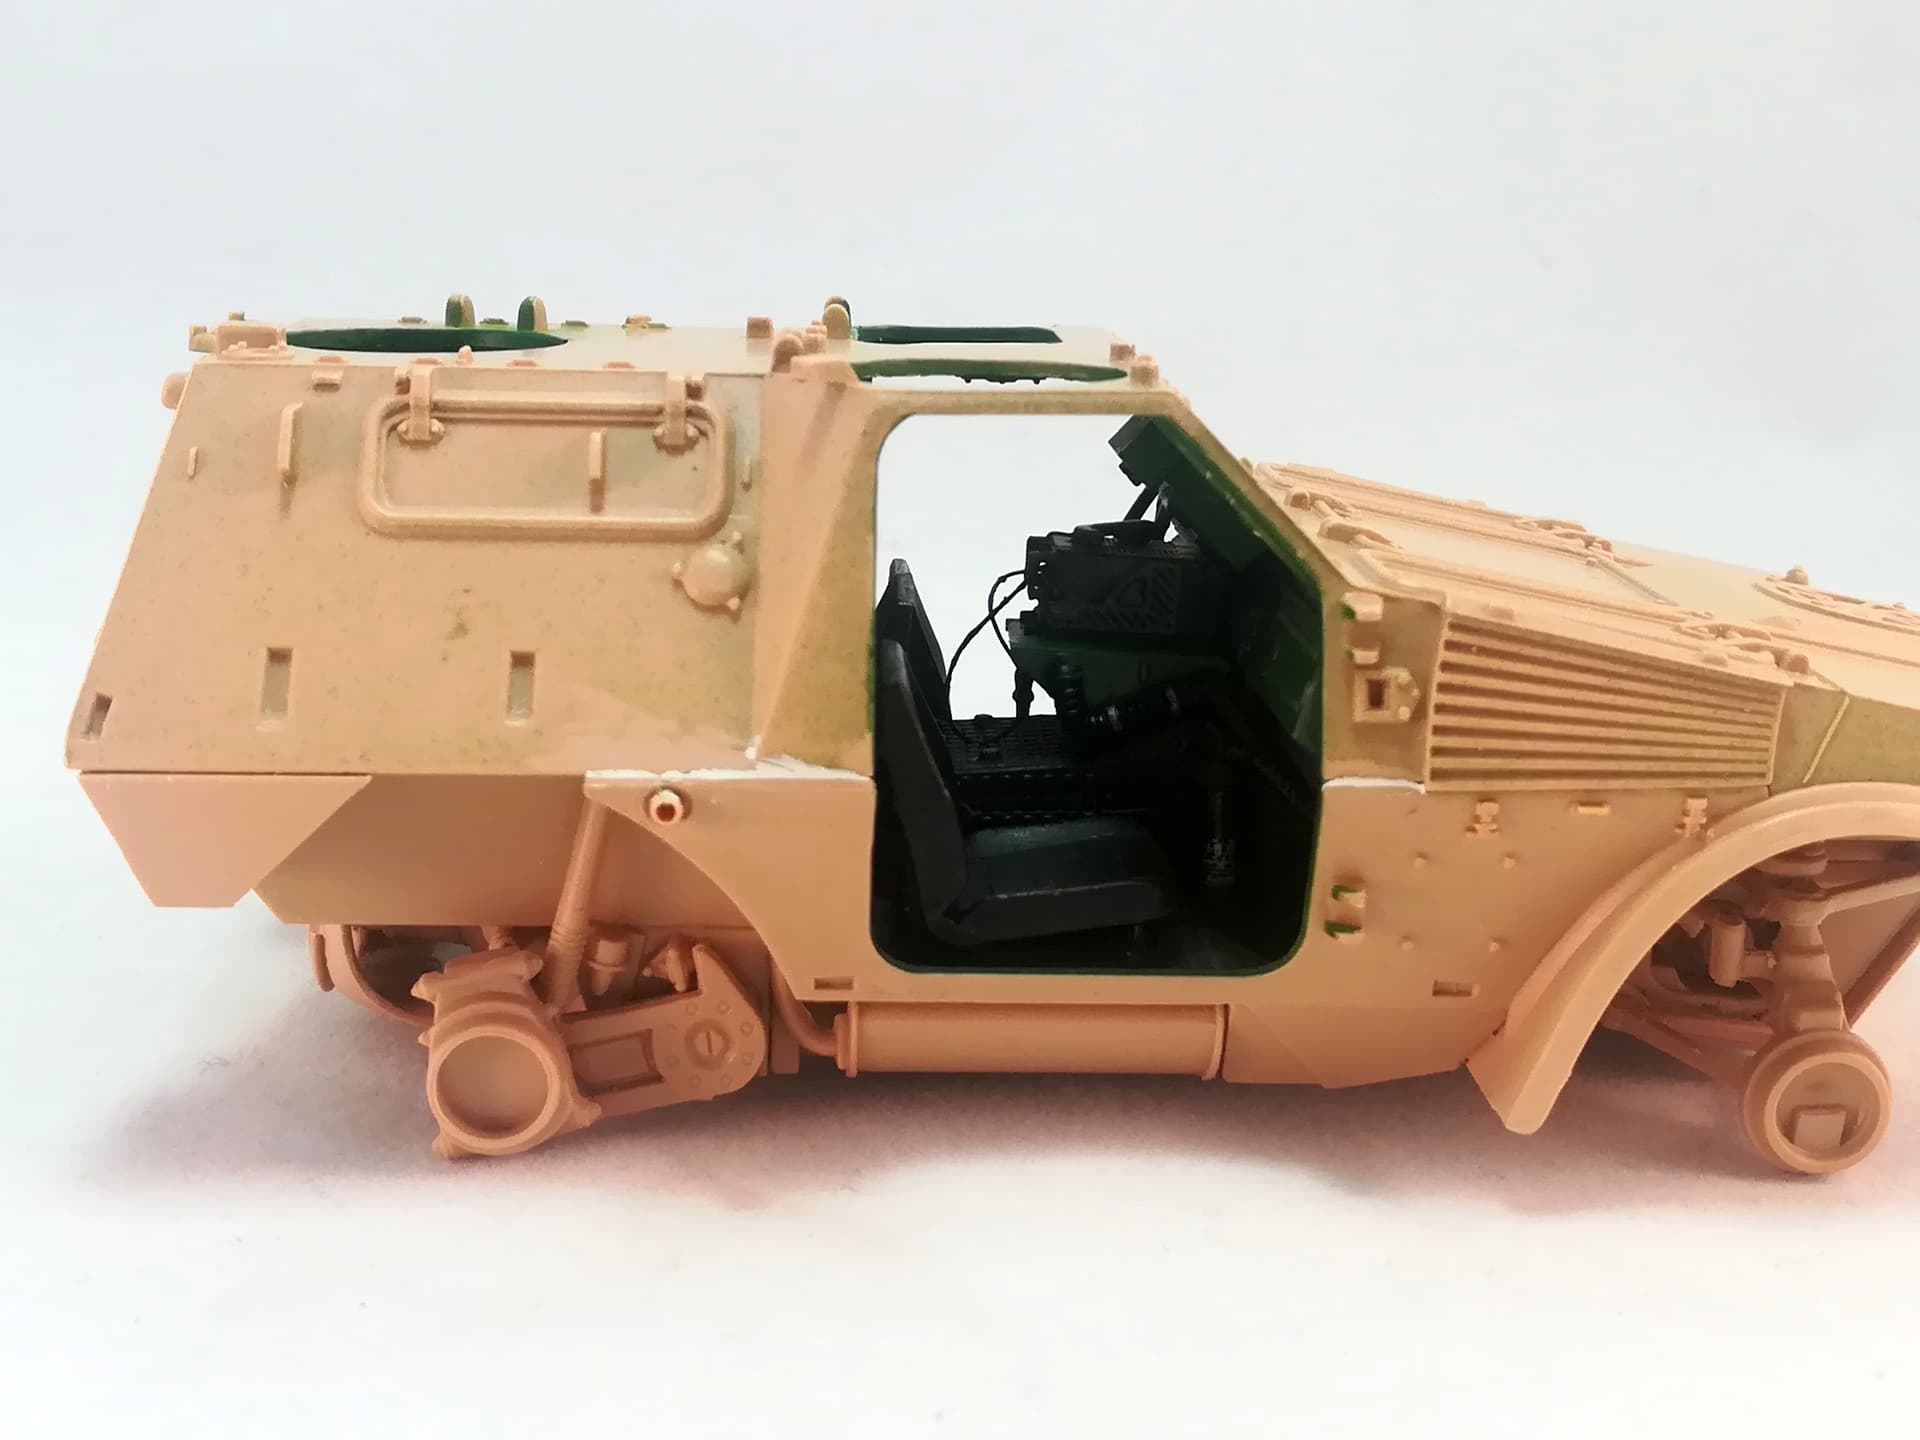
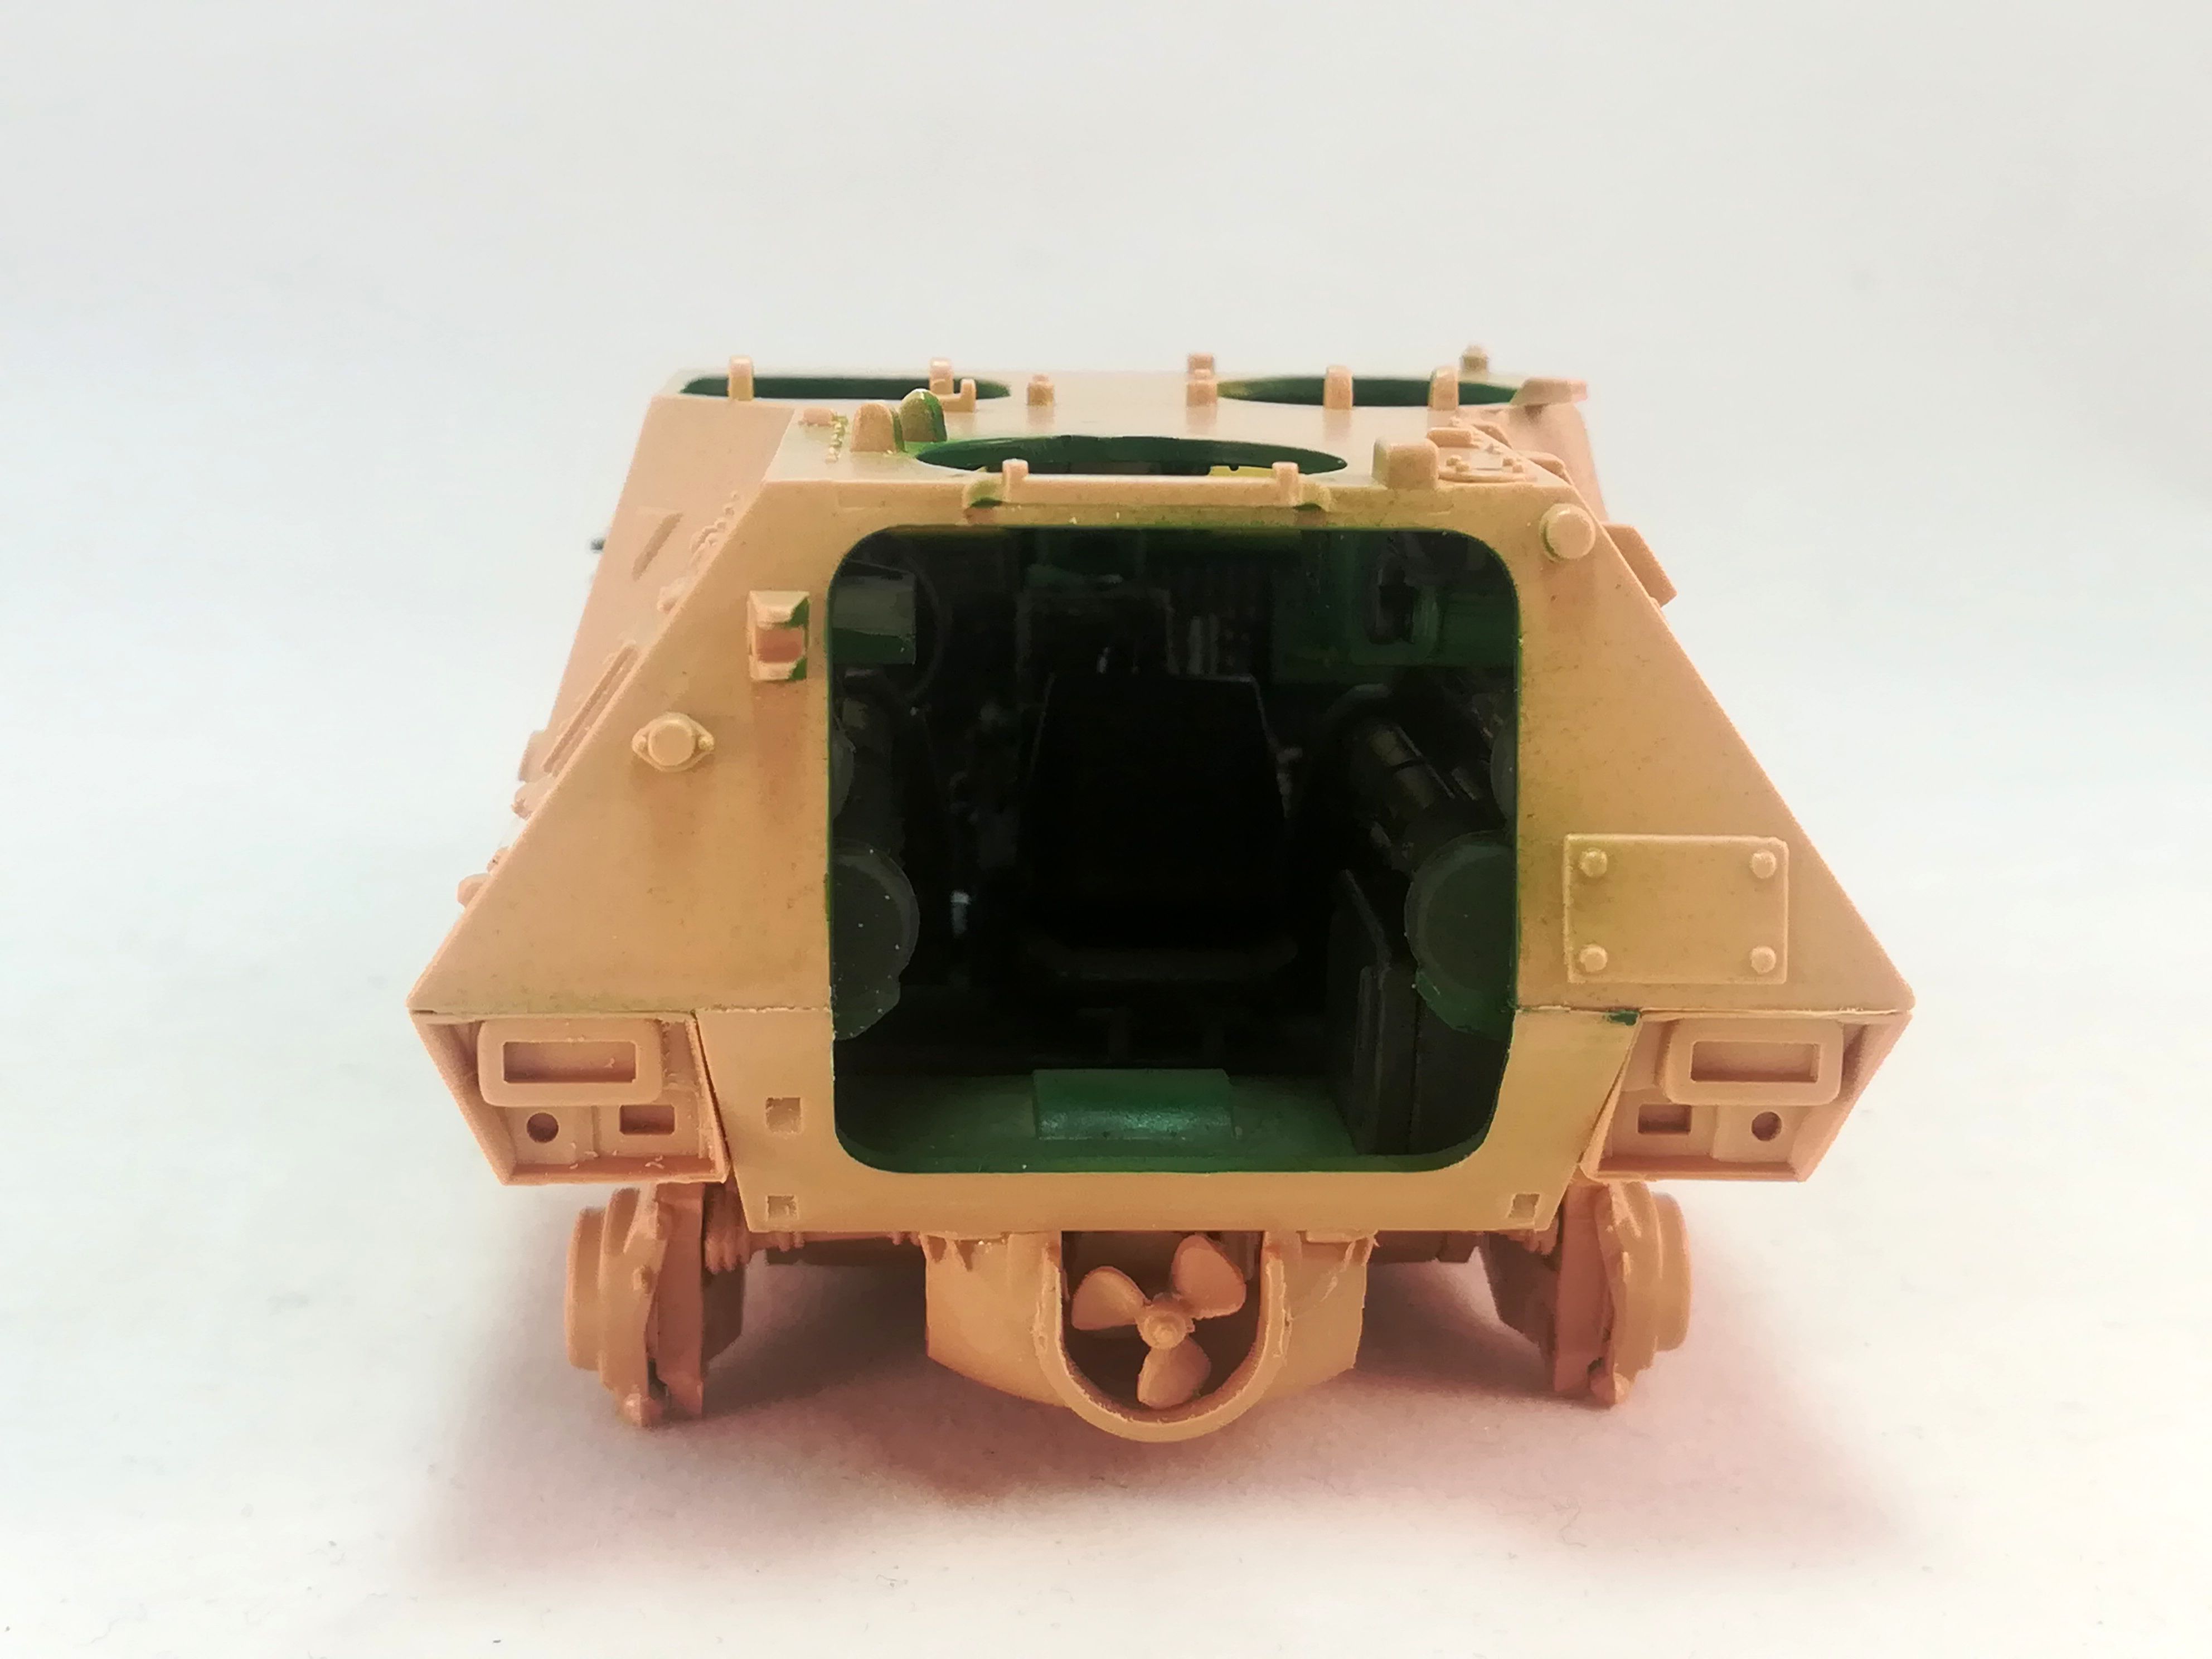
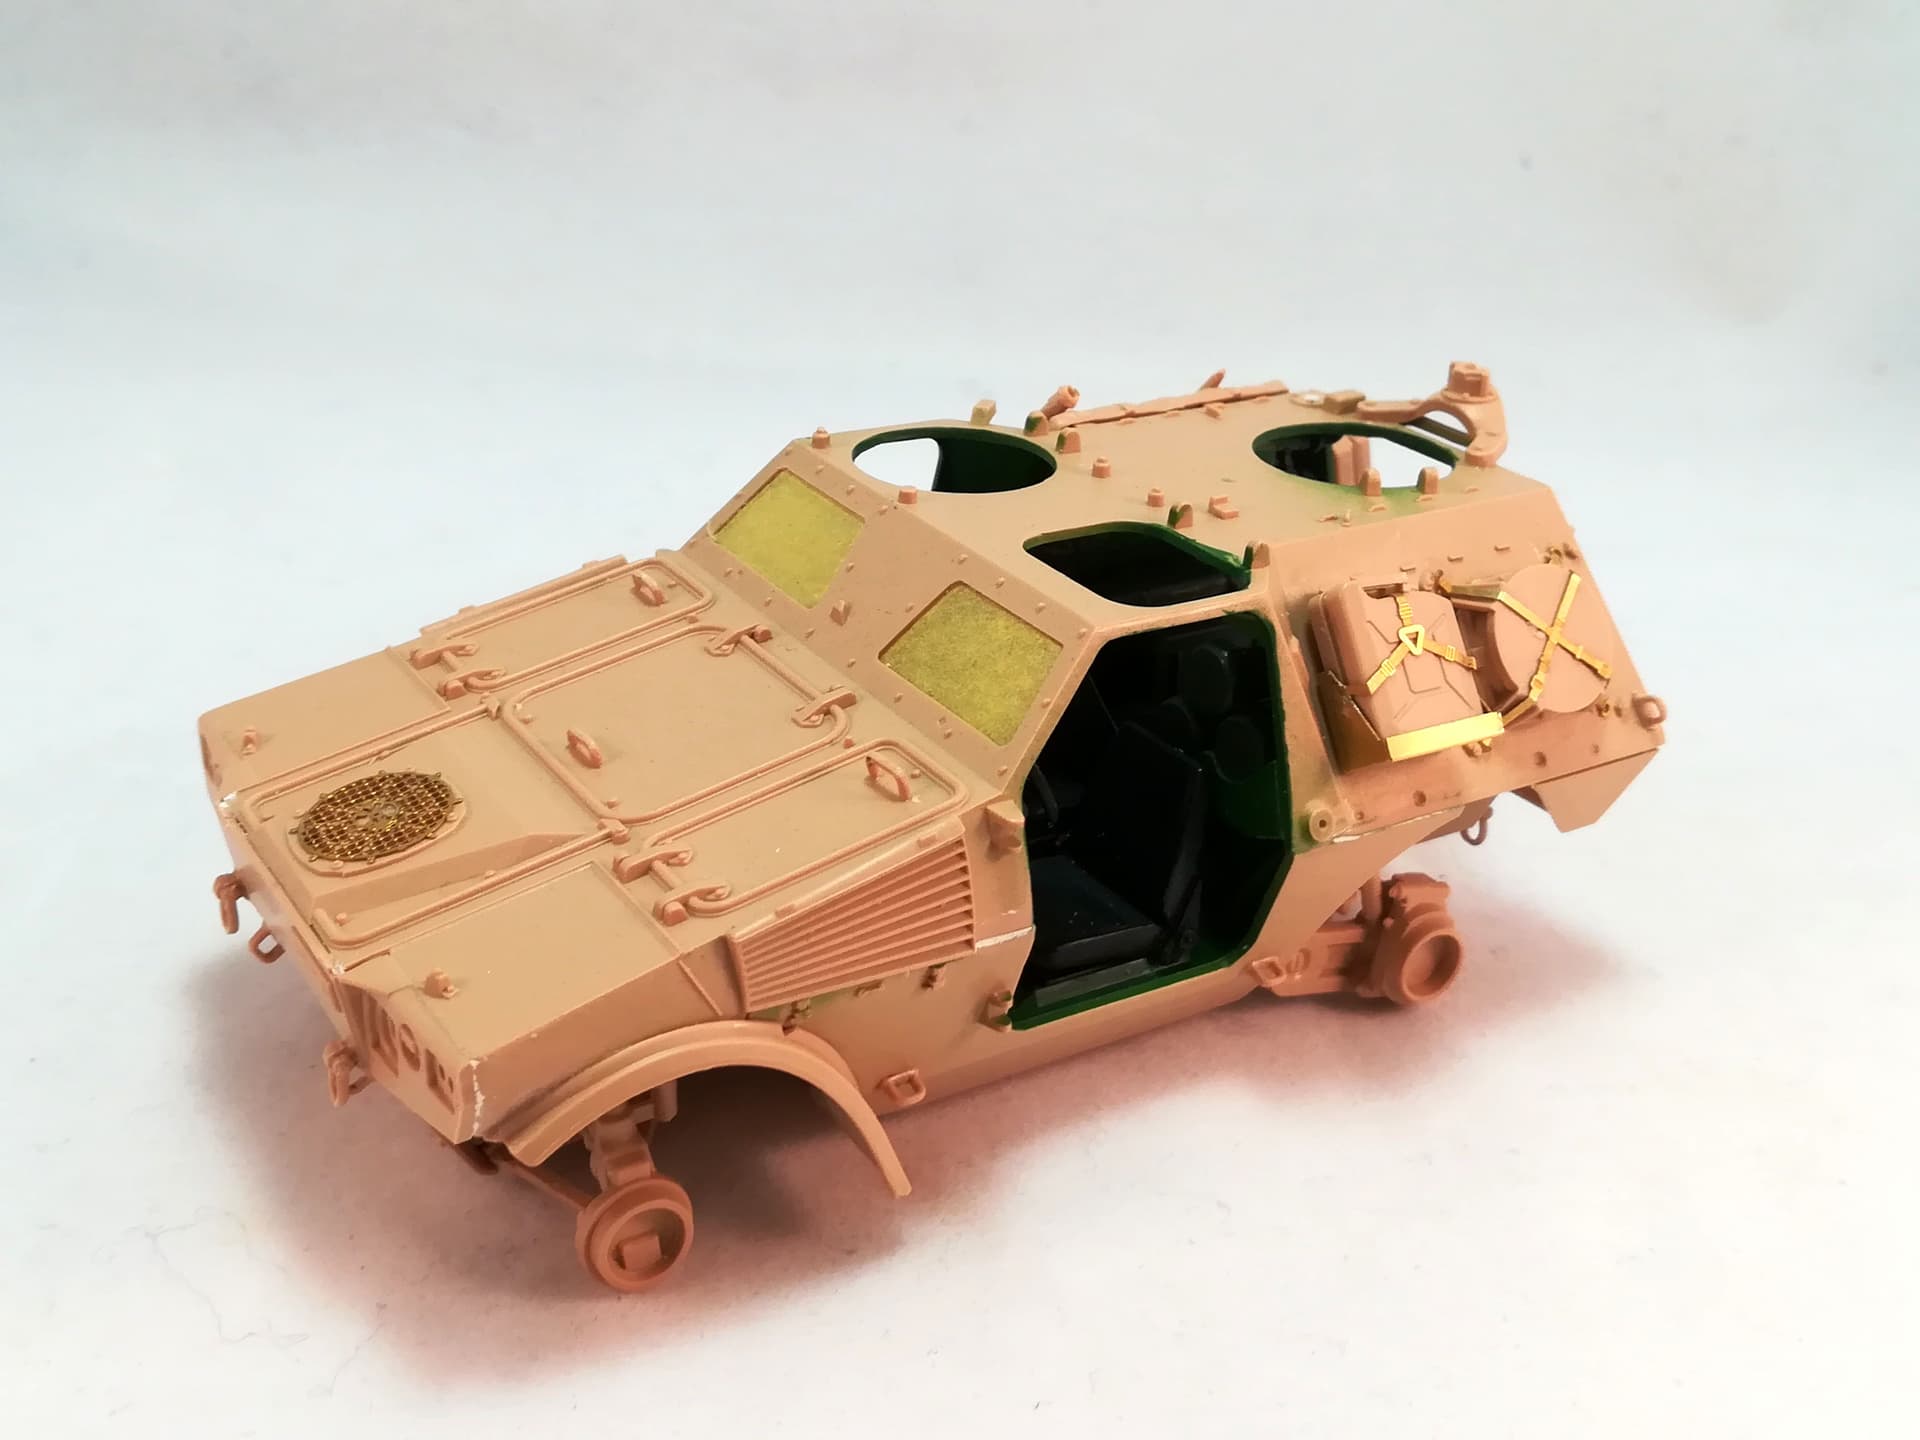
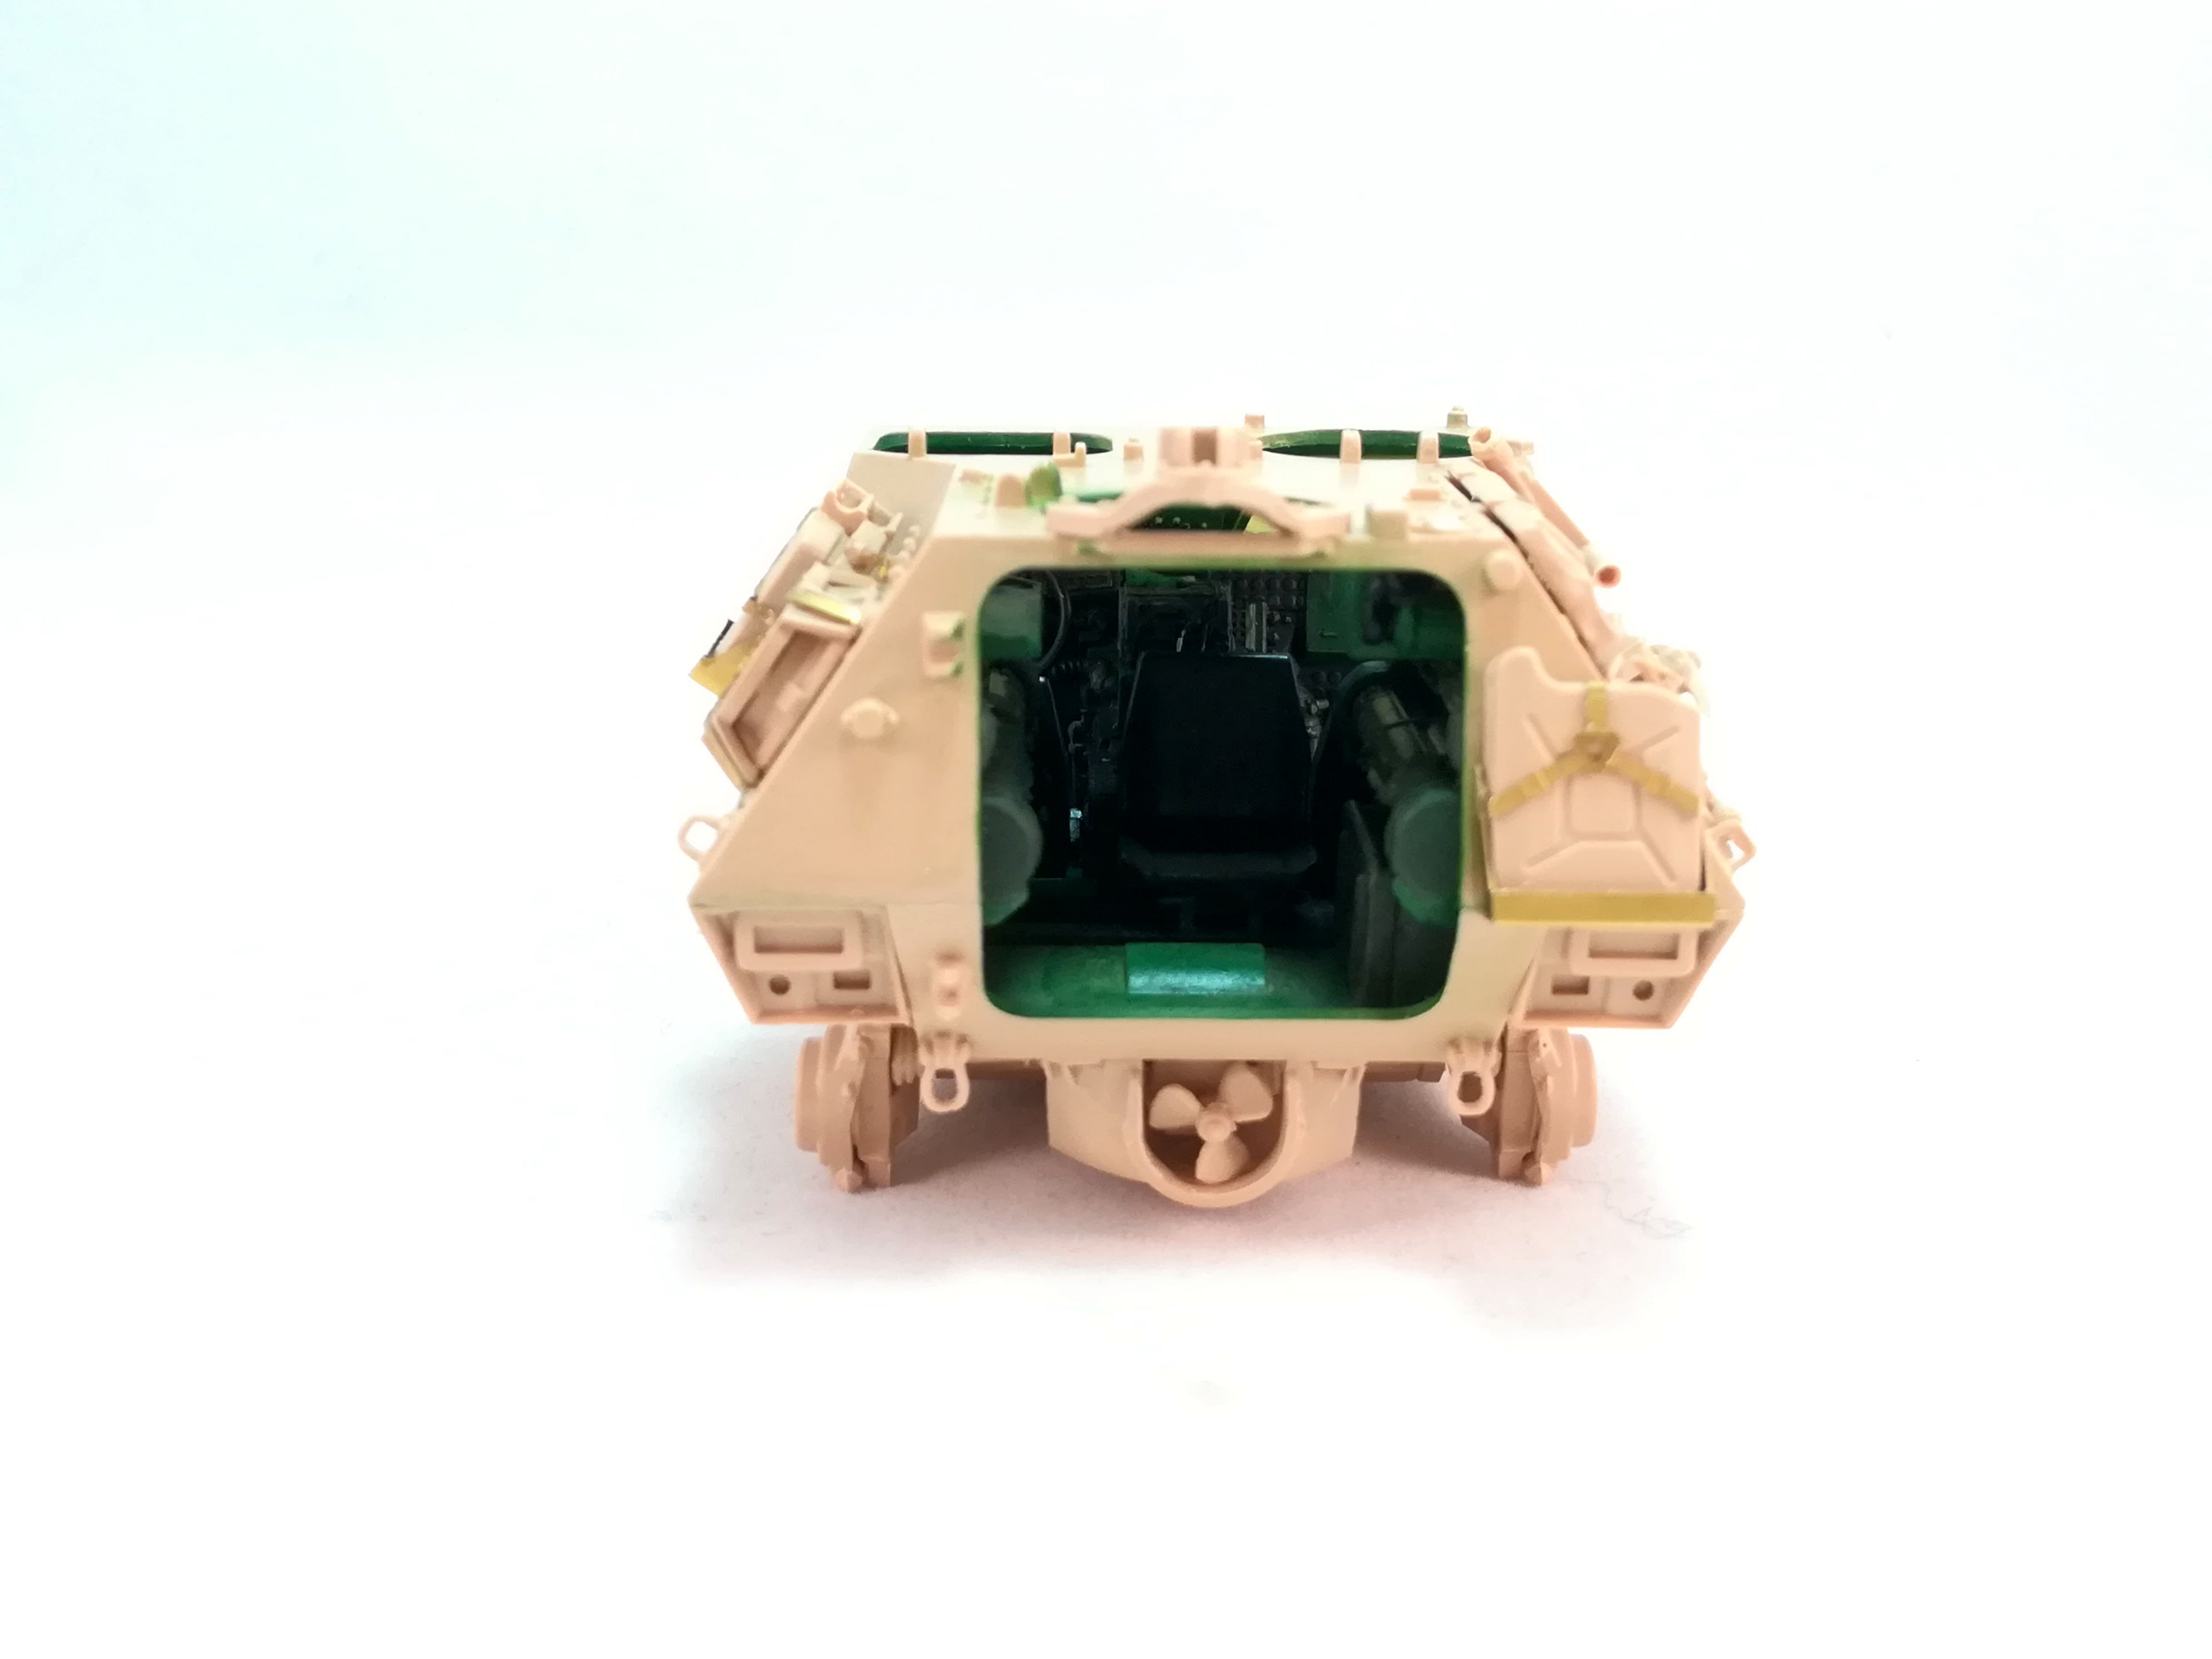
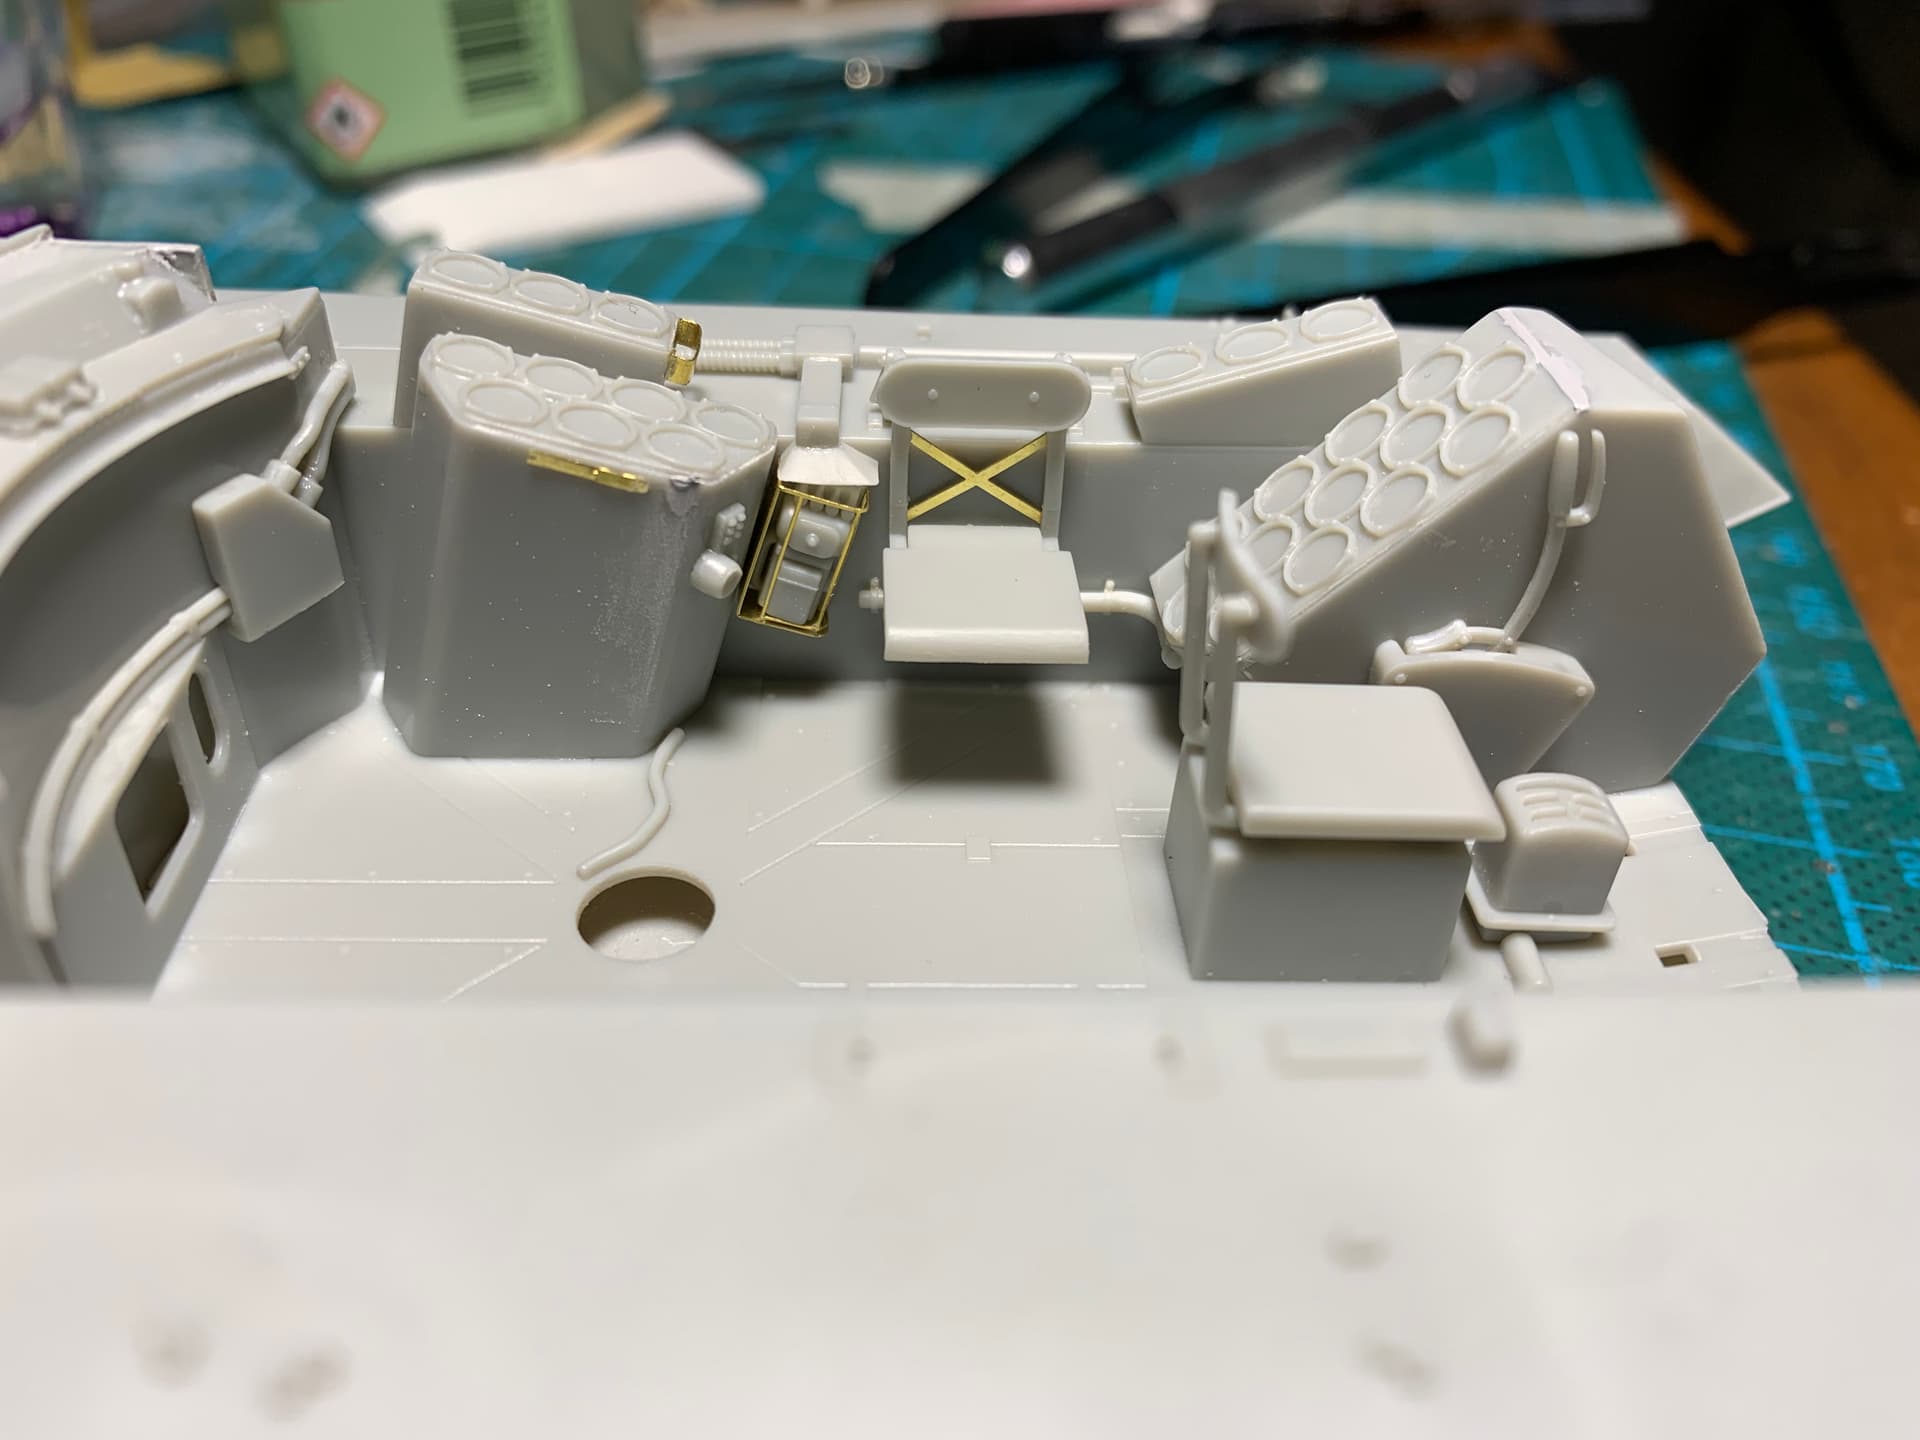
I finally managed to get the interior of the VBL painted. I still need to add the radio handset and I can close the hull.
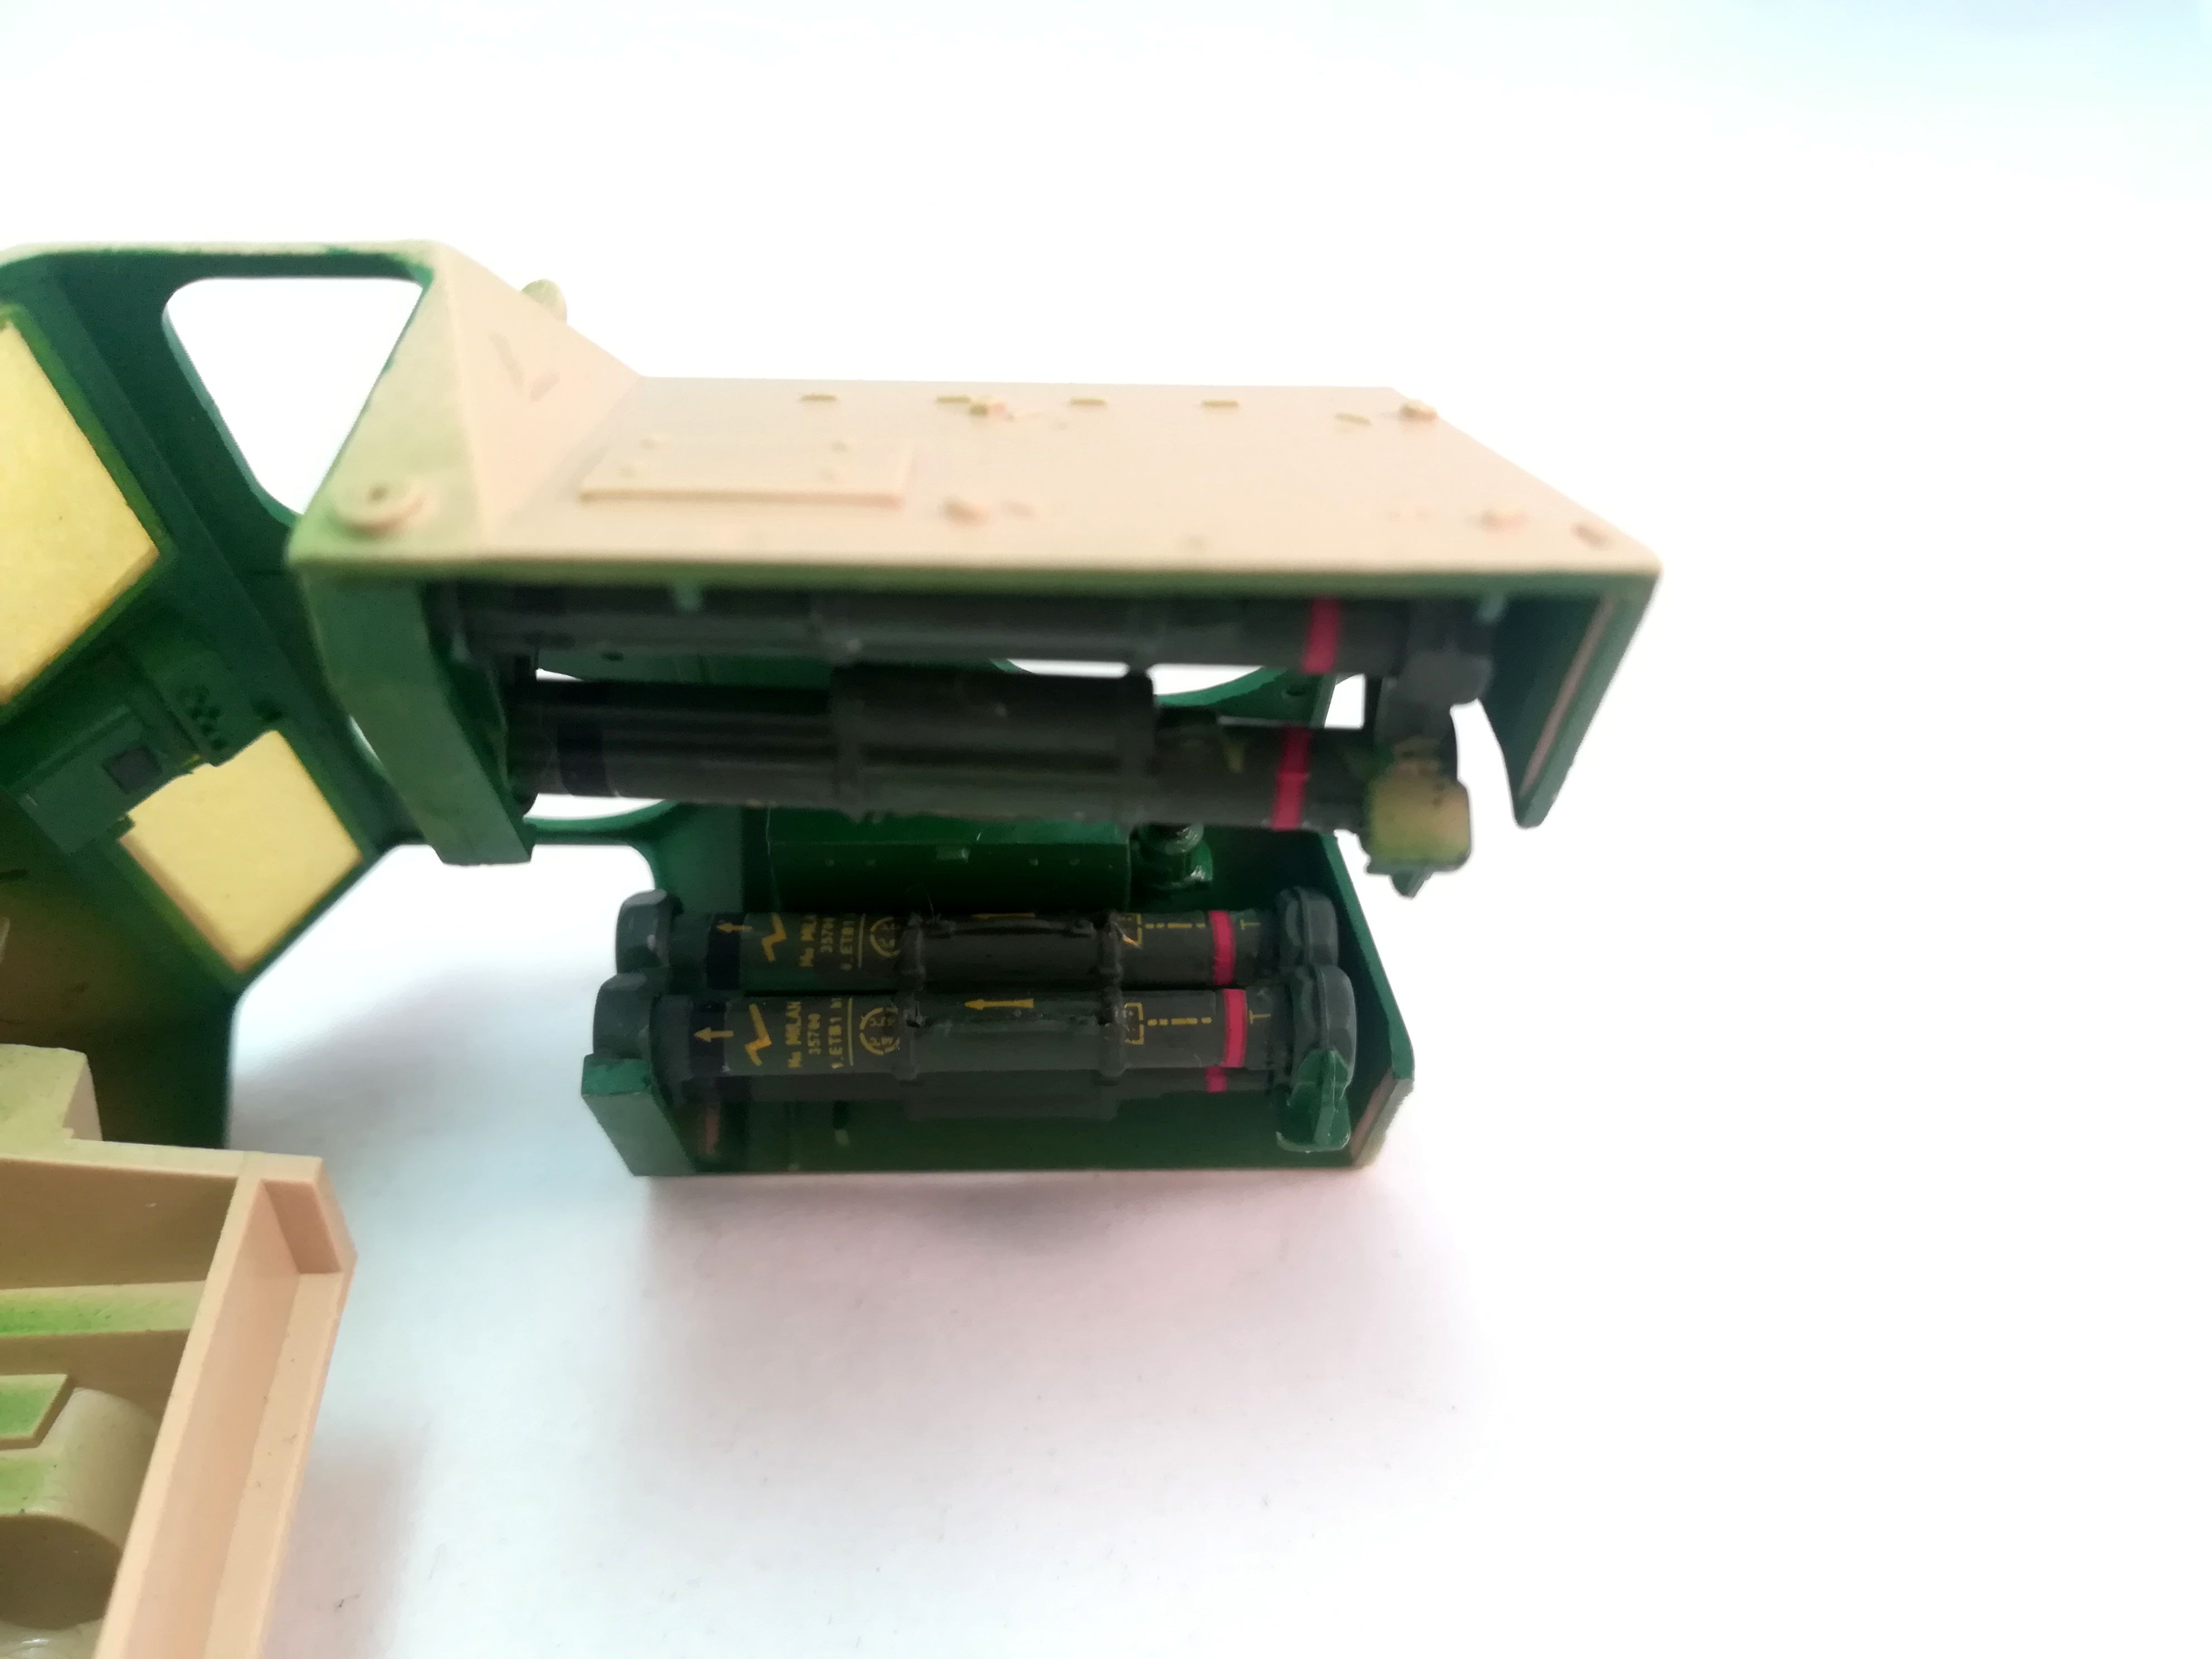
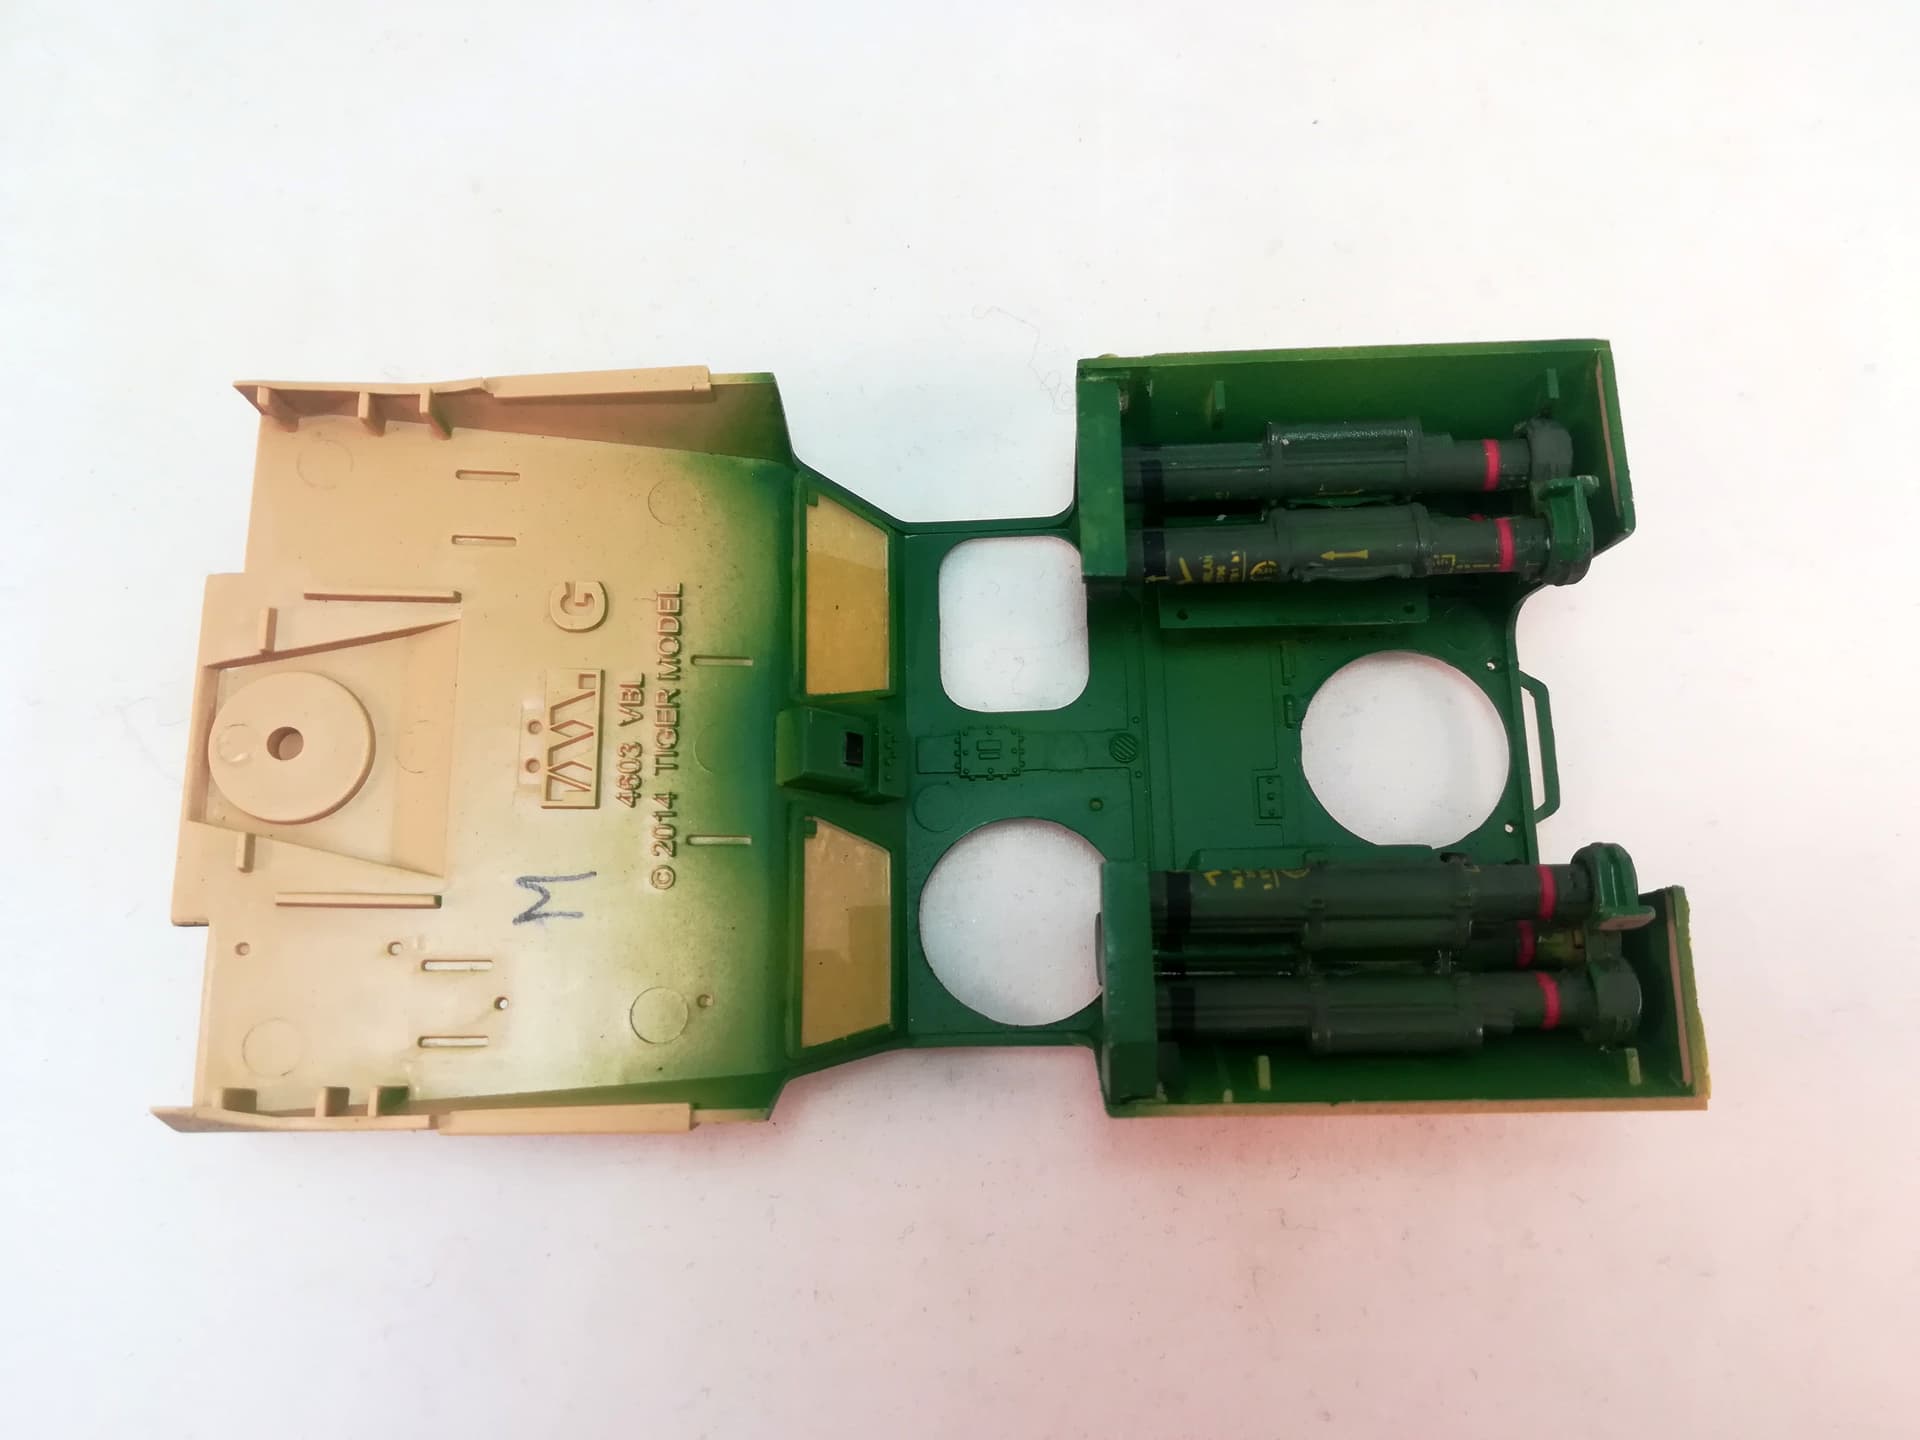
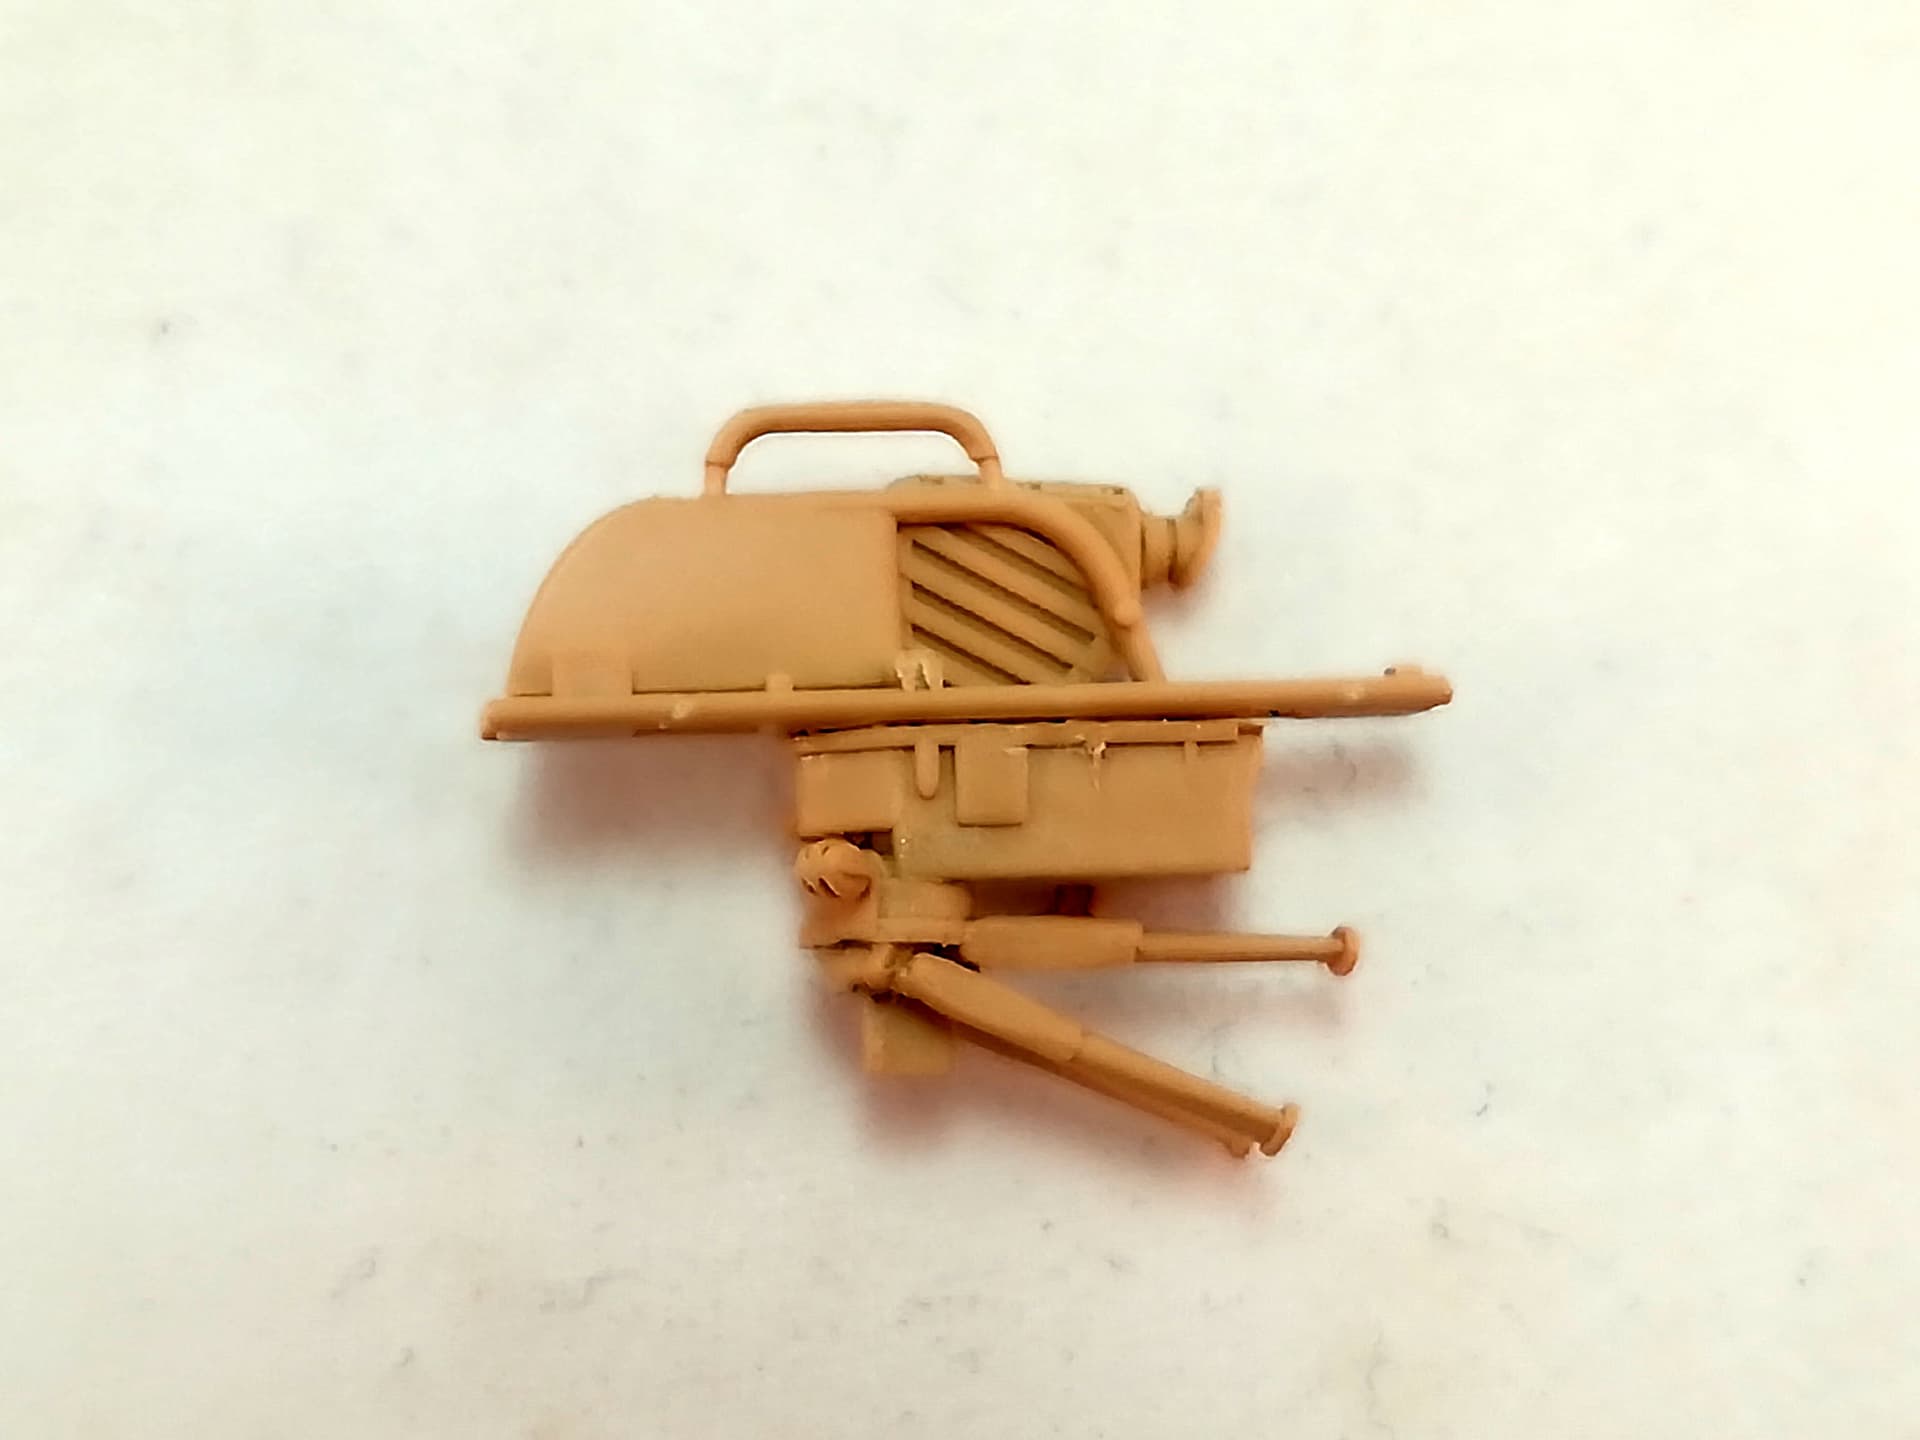
The Milan markings needed to be trimmed as Tiger Model did not take into account the strapes of the missile connections cover.
Thank you Jesper.
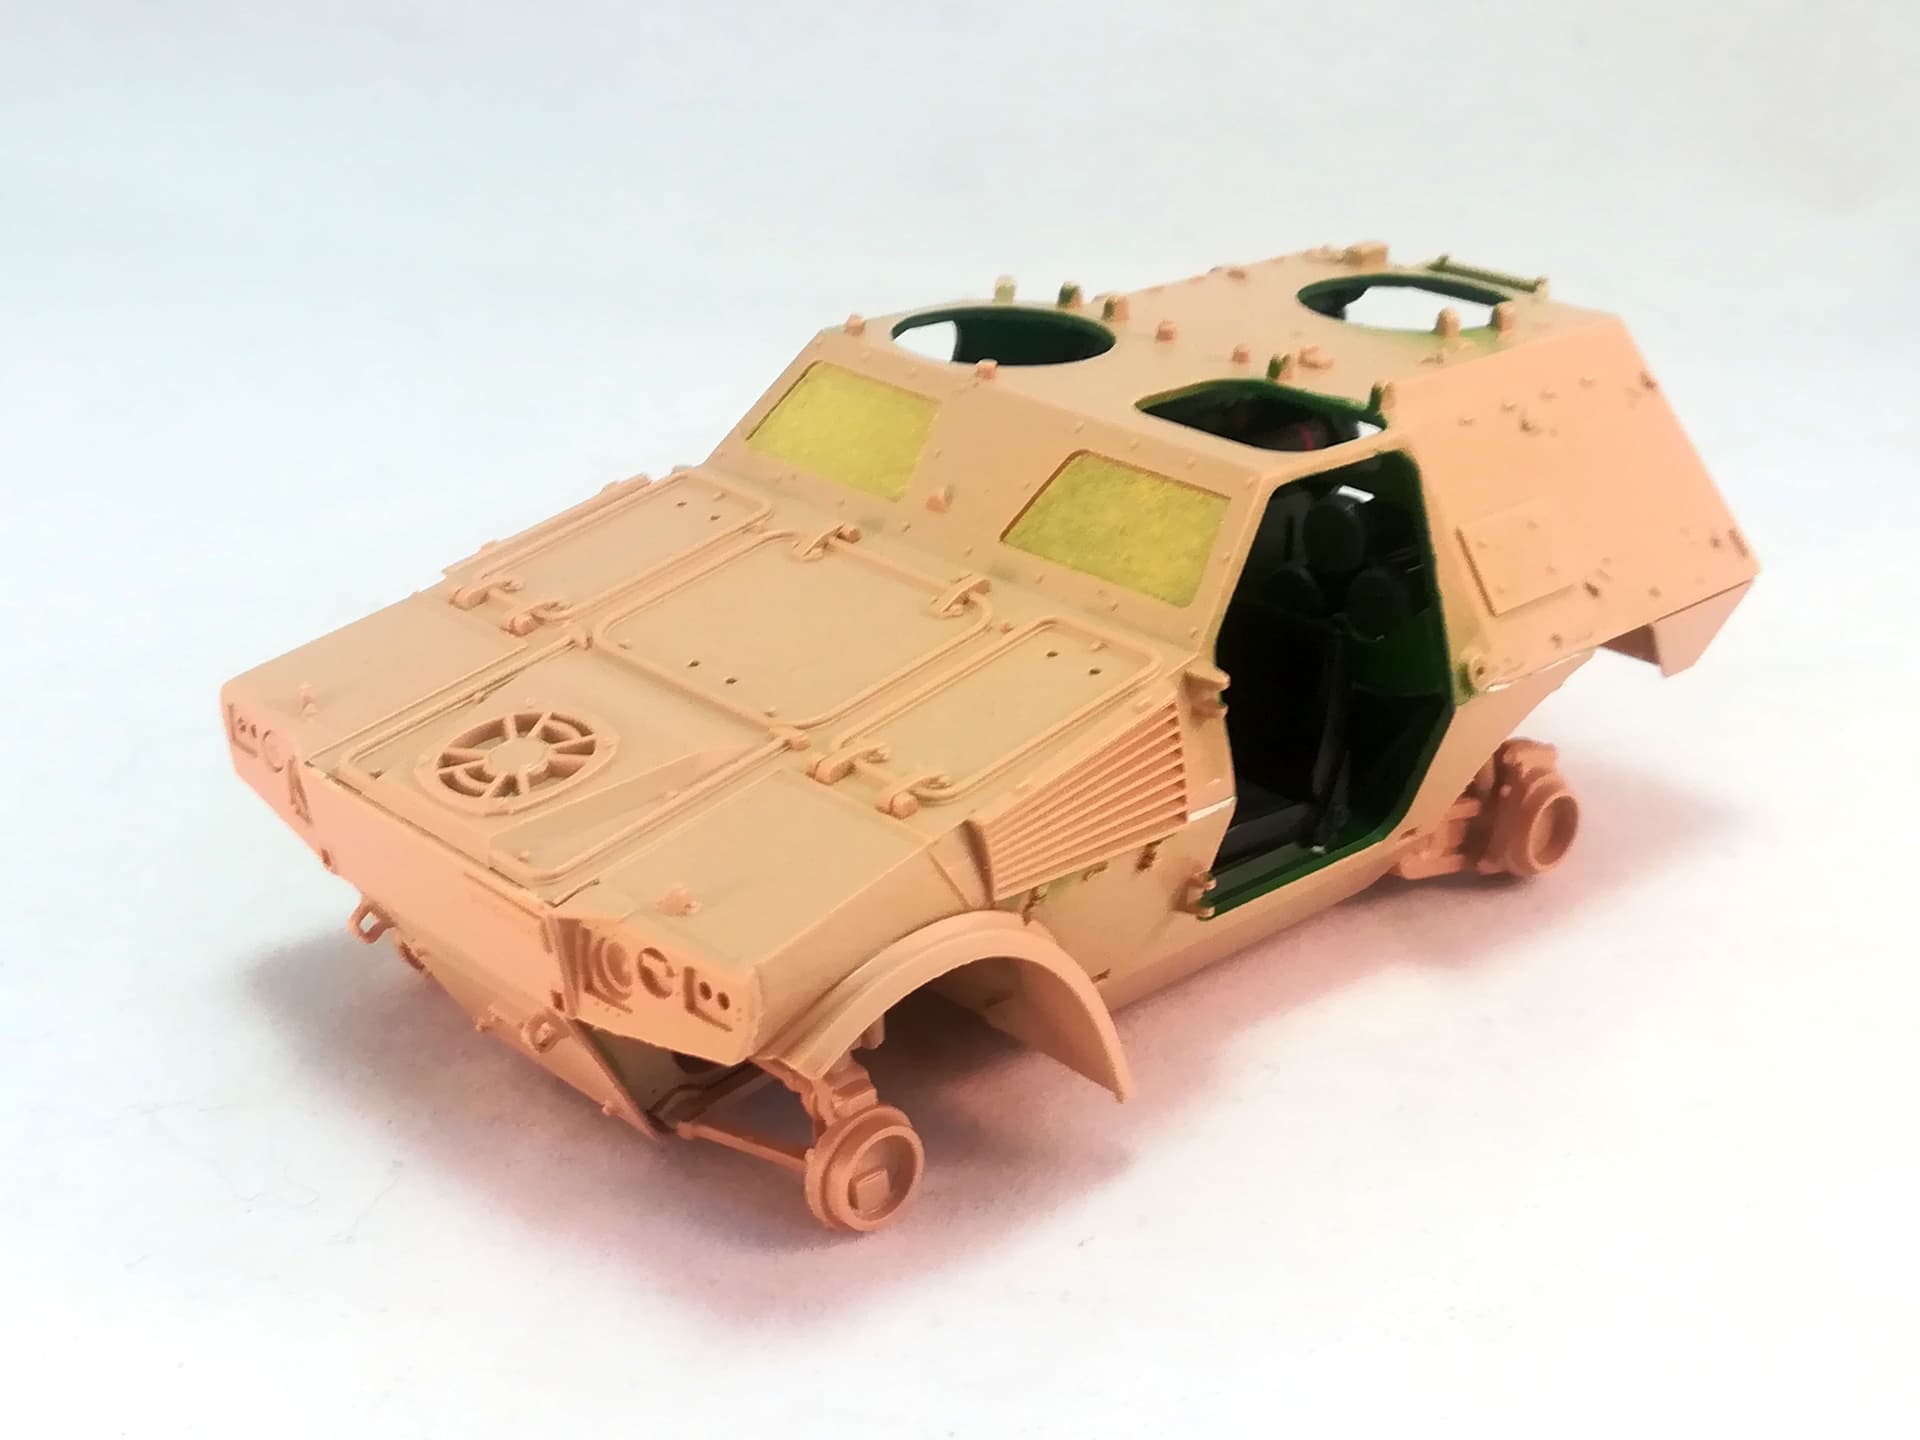
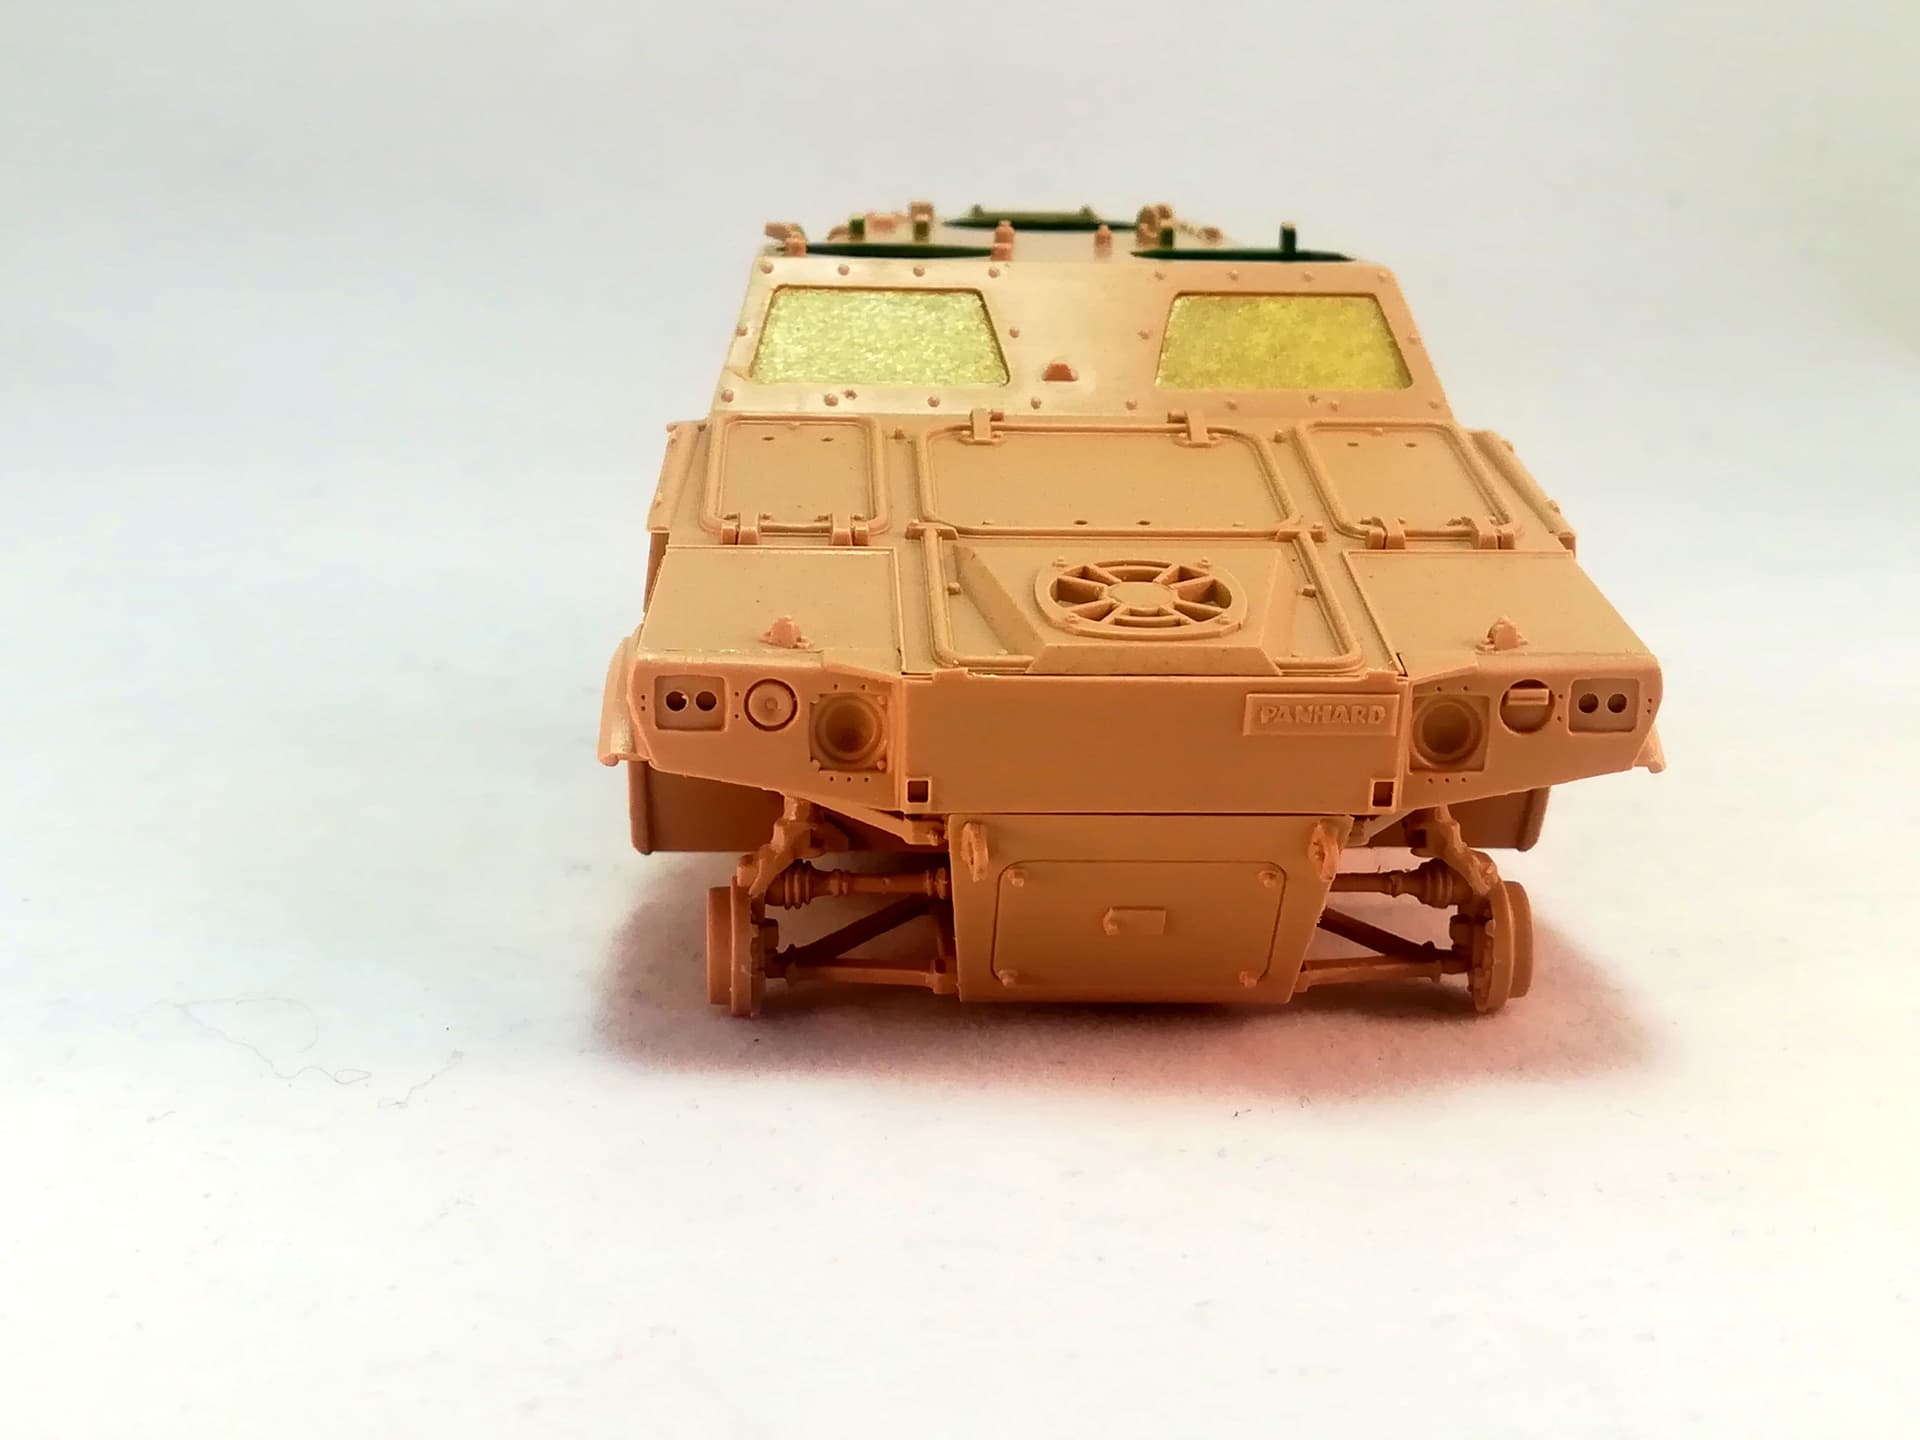
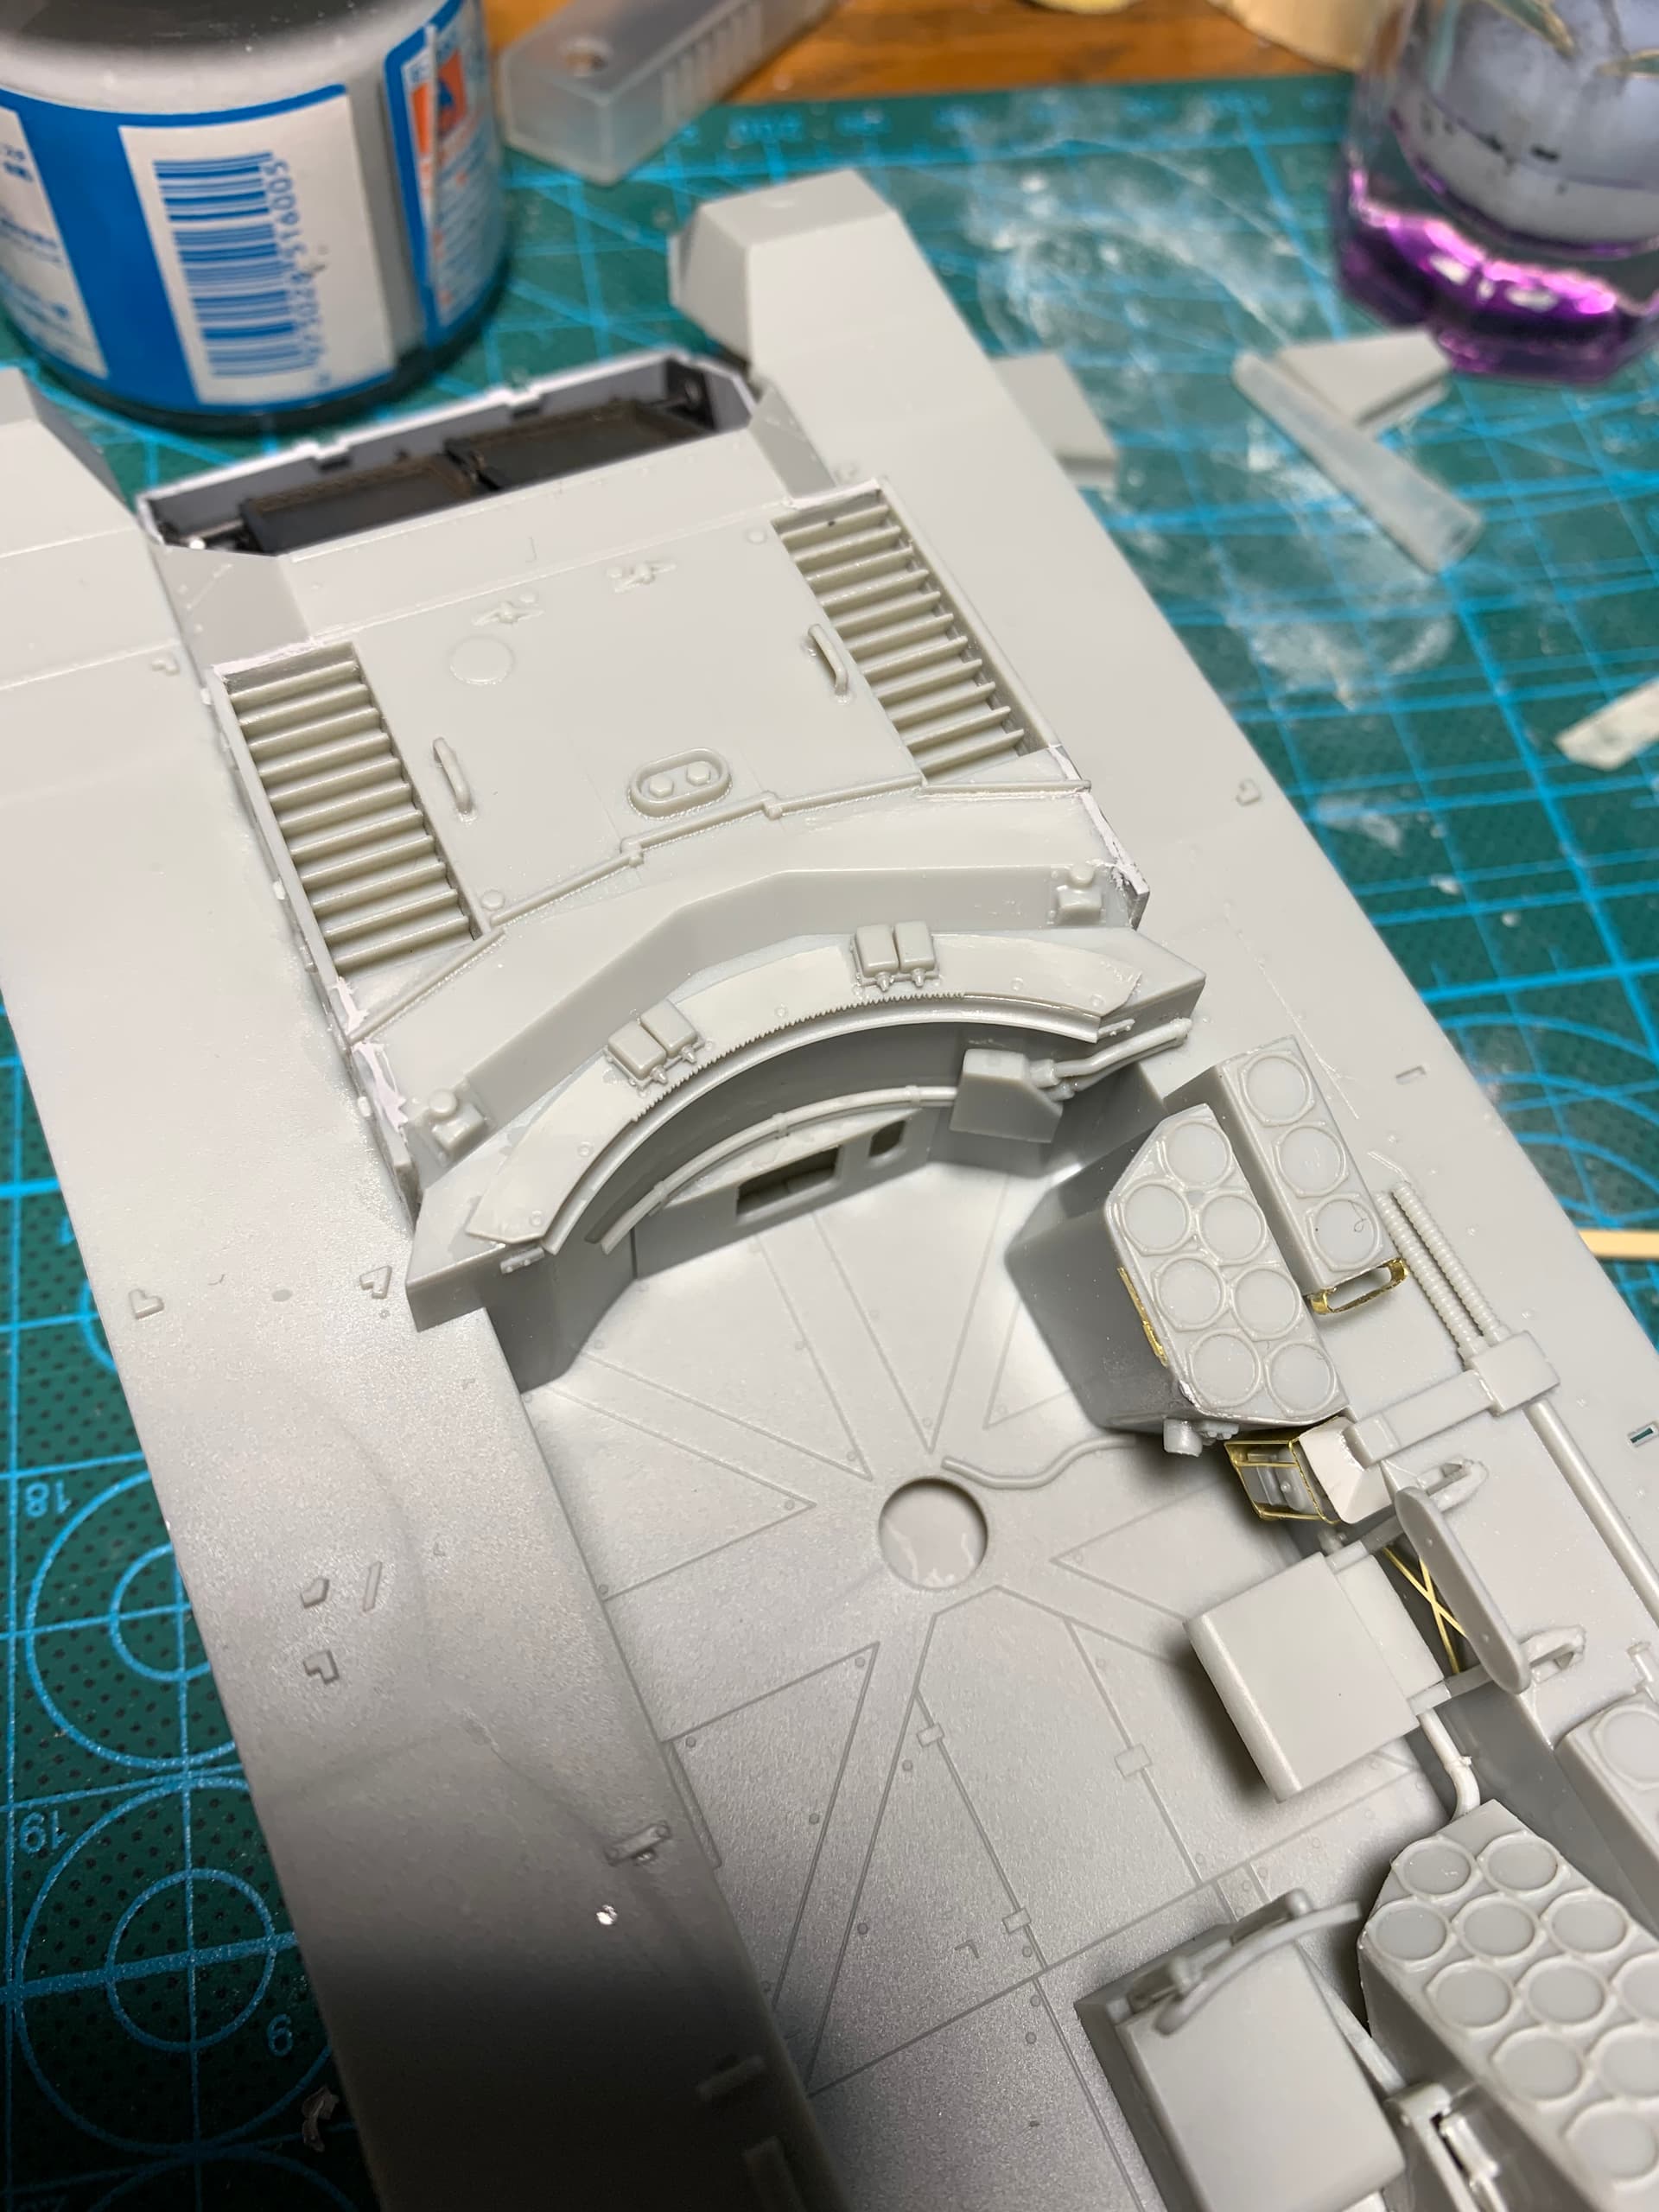
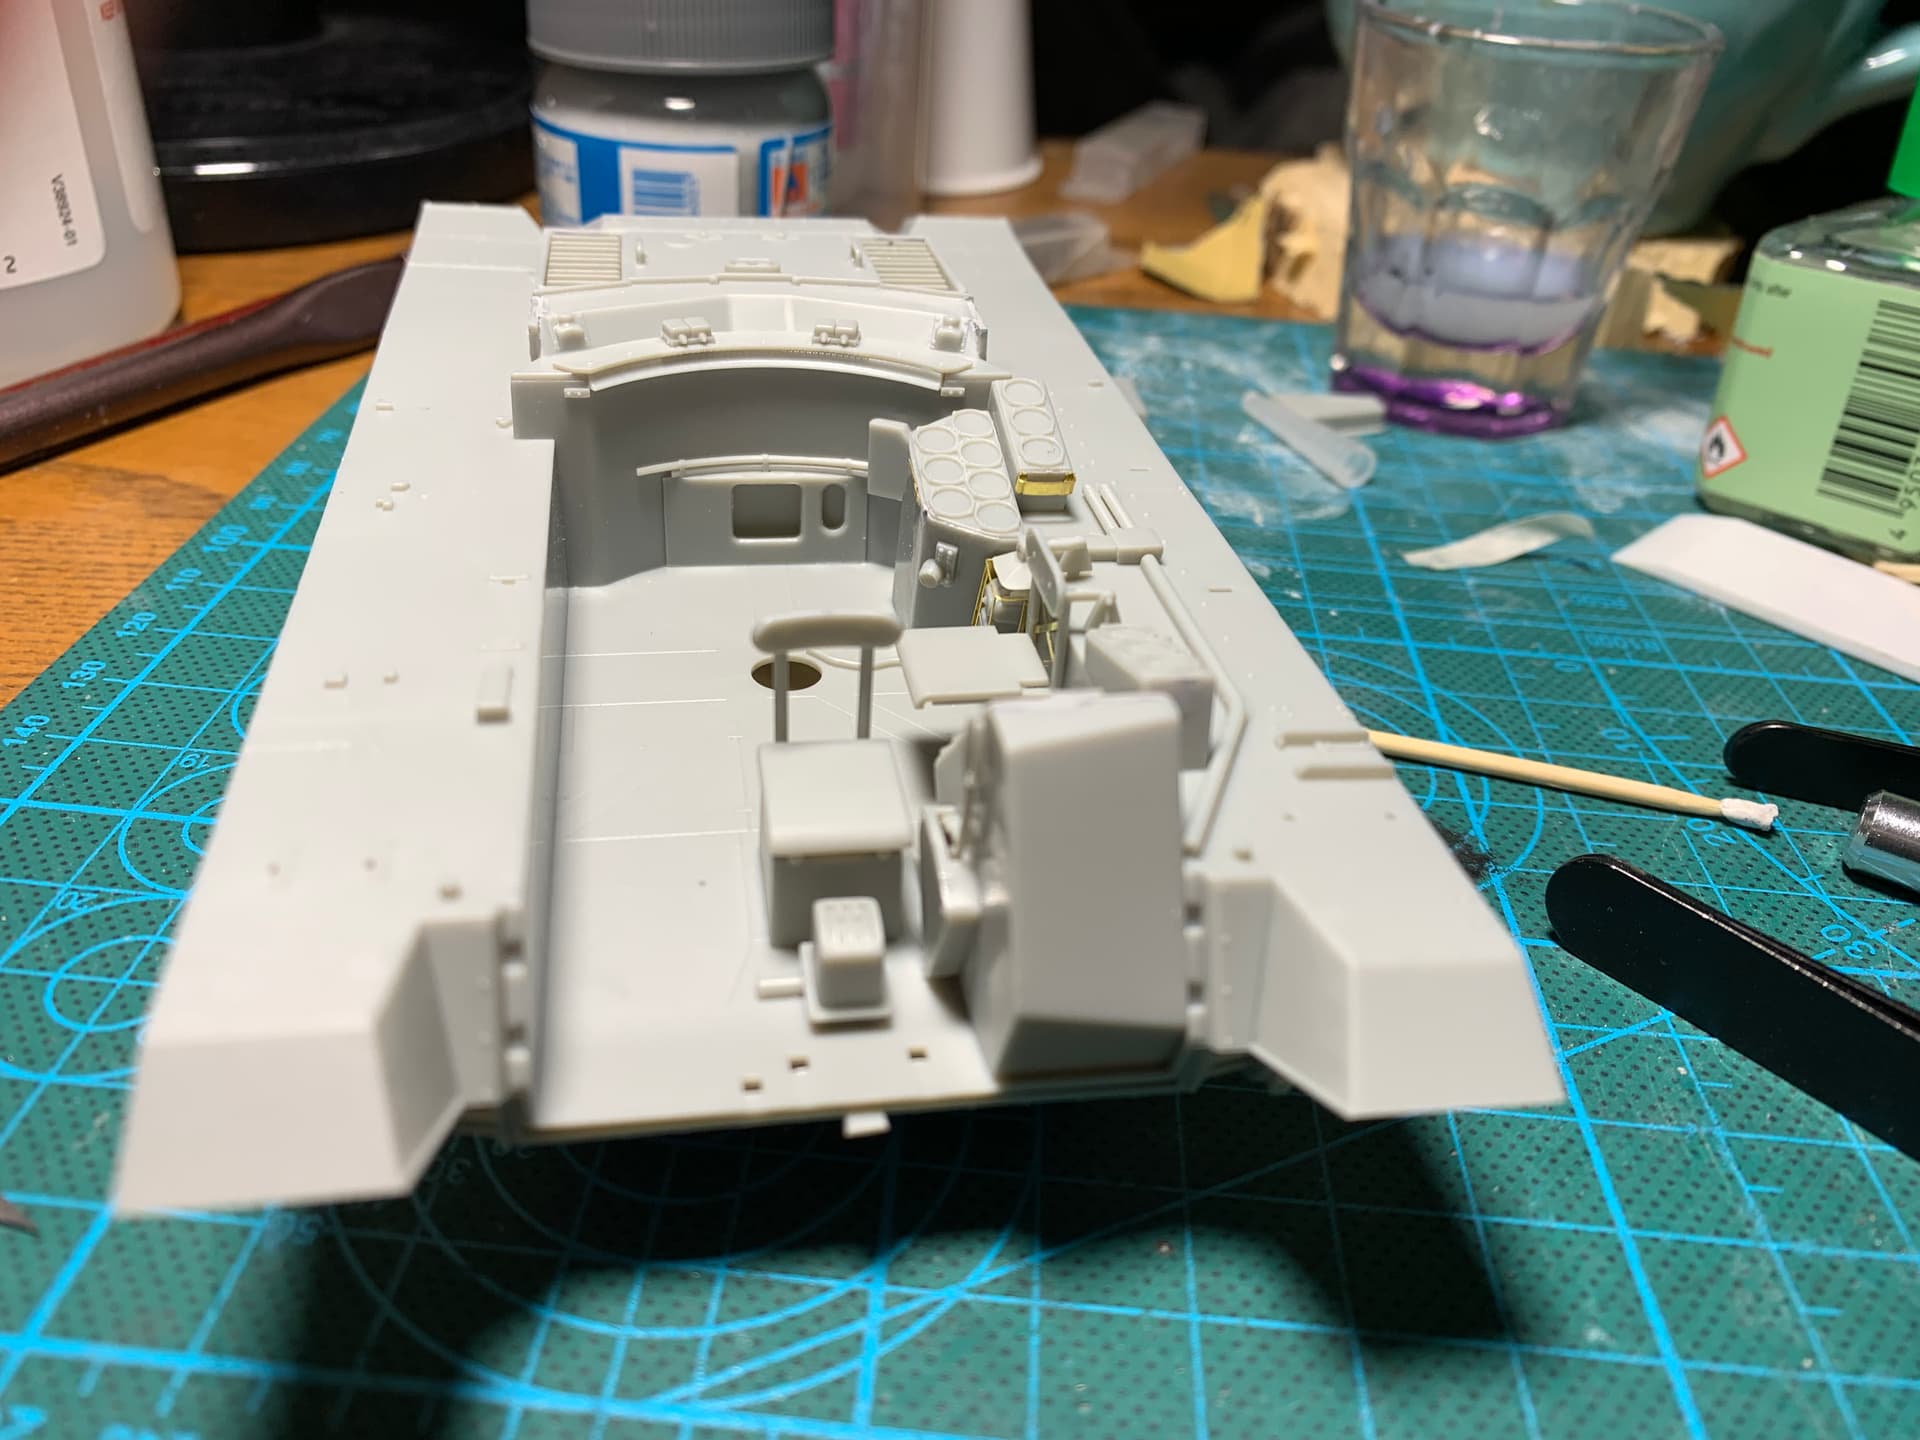
The hull is assembled. There are many gaps to fill either with putty or styrene strips. I’ve already dealt with the ones on the sides. I still need to fill the large horizontal gap between the bow plates.
Tiger Model also made a mistake on the right rear light cluster. At the bottom there is a rectangular hole to attach a 2-light block. This block is present on the left side only. So I’ll glue a piece of plastic card to blank it. Not a big deal in fact.
Nice little compact vehicle there Olivier. Shame about the gaps that you now have to put right. extra work that none of need but once done you will have a great clean base to get the paint on.
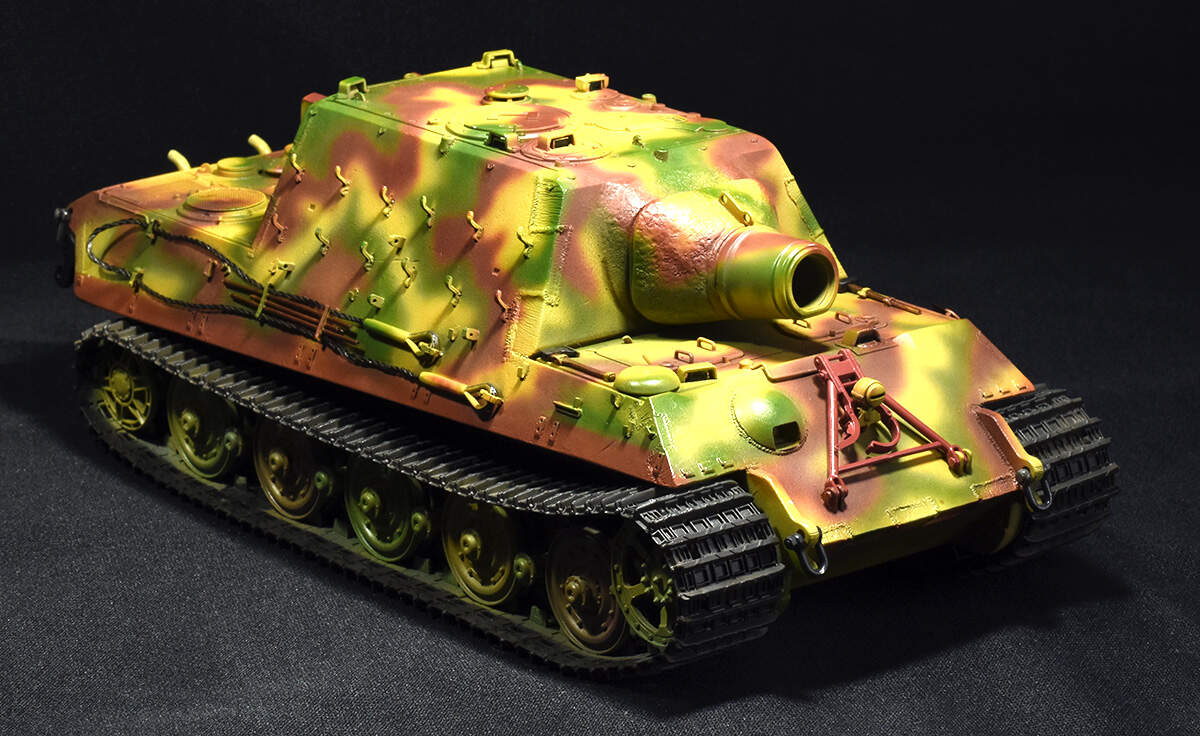
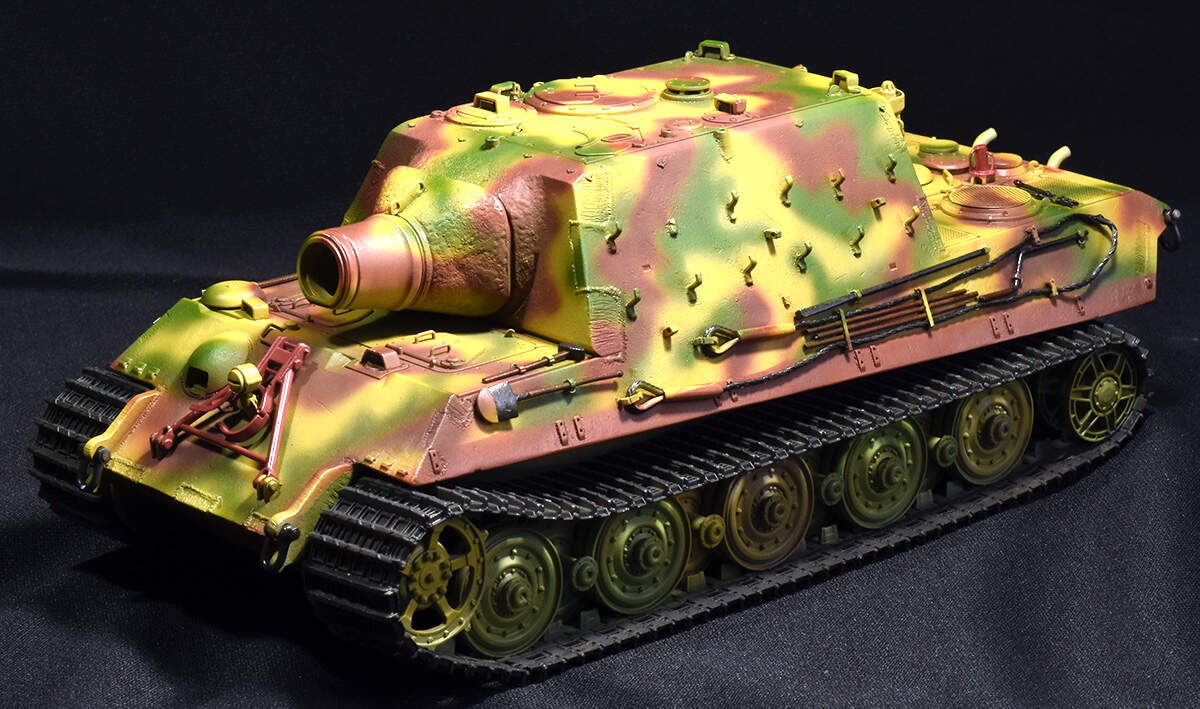
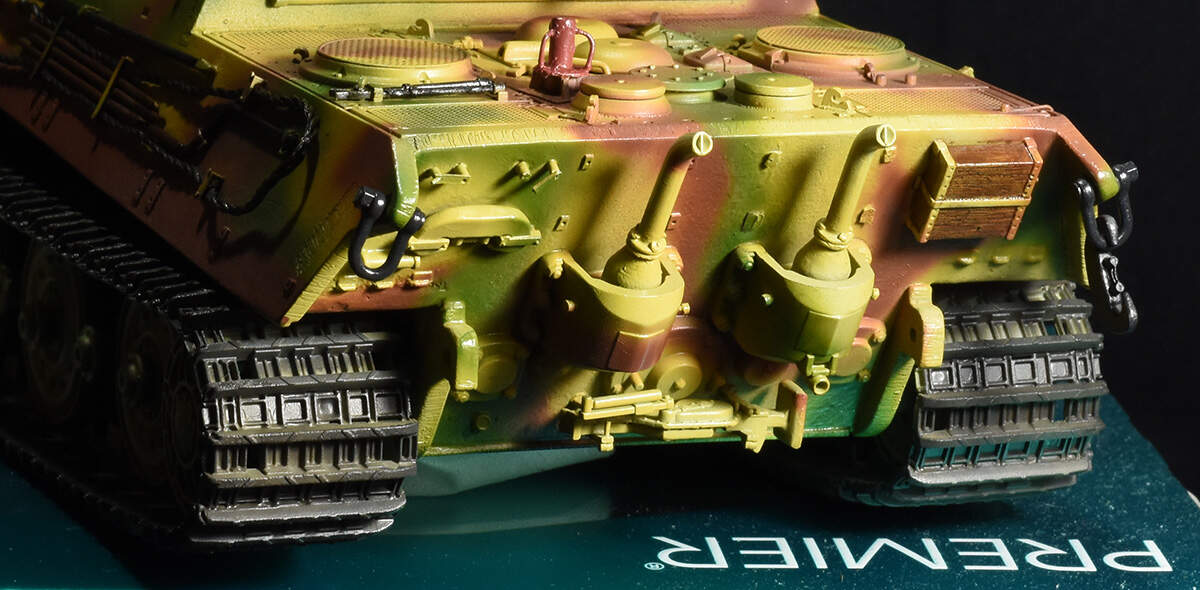
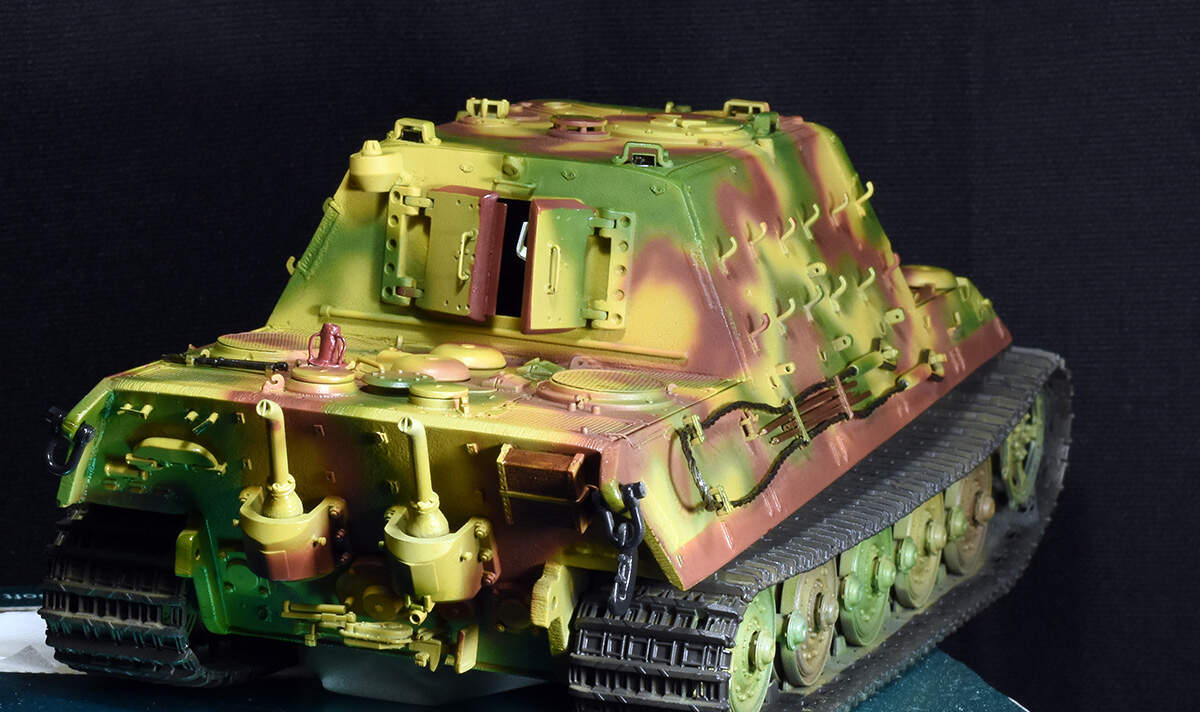
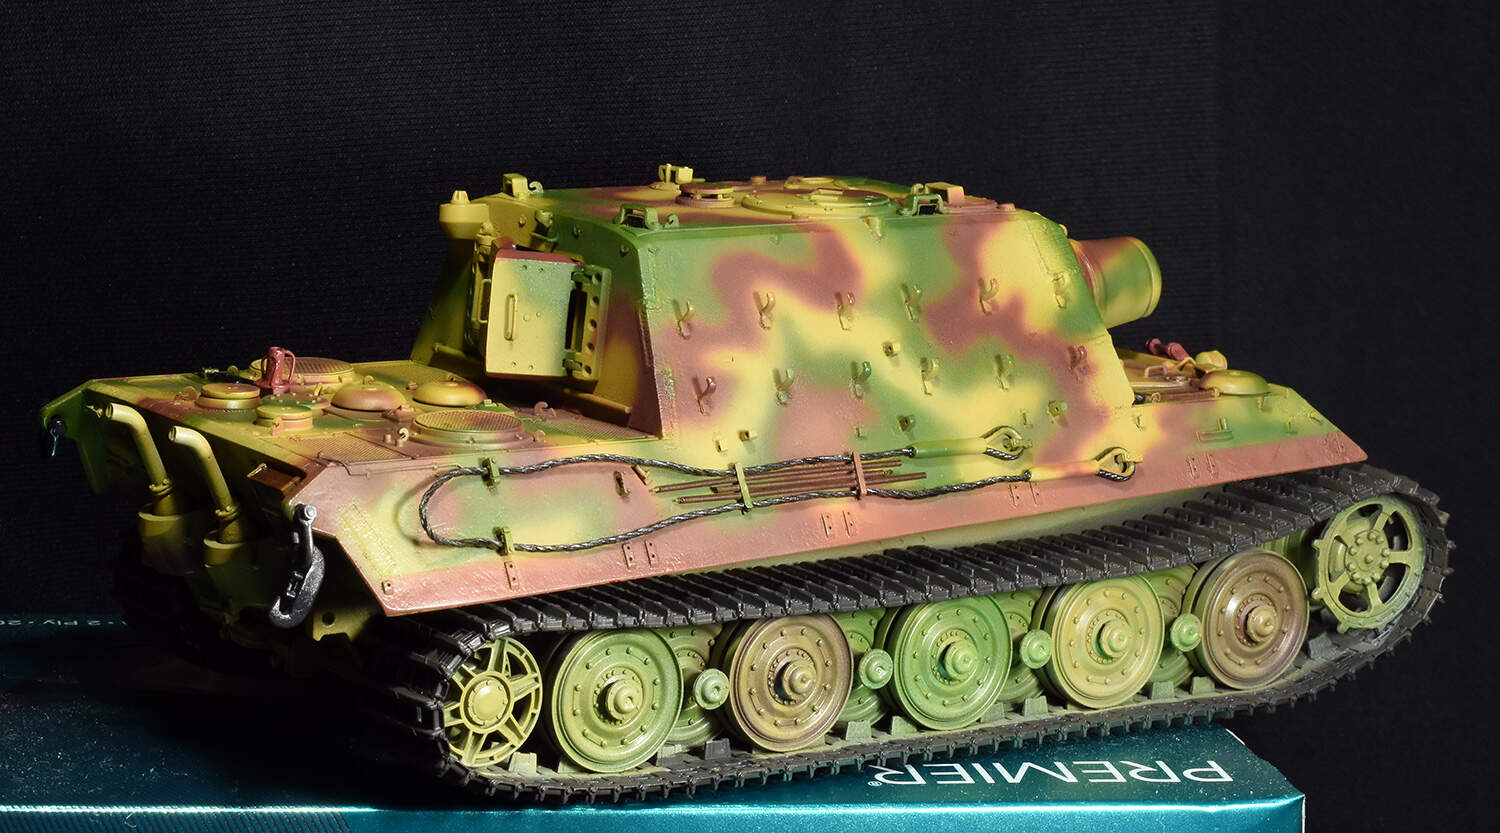
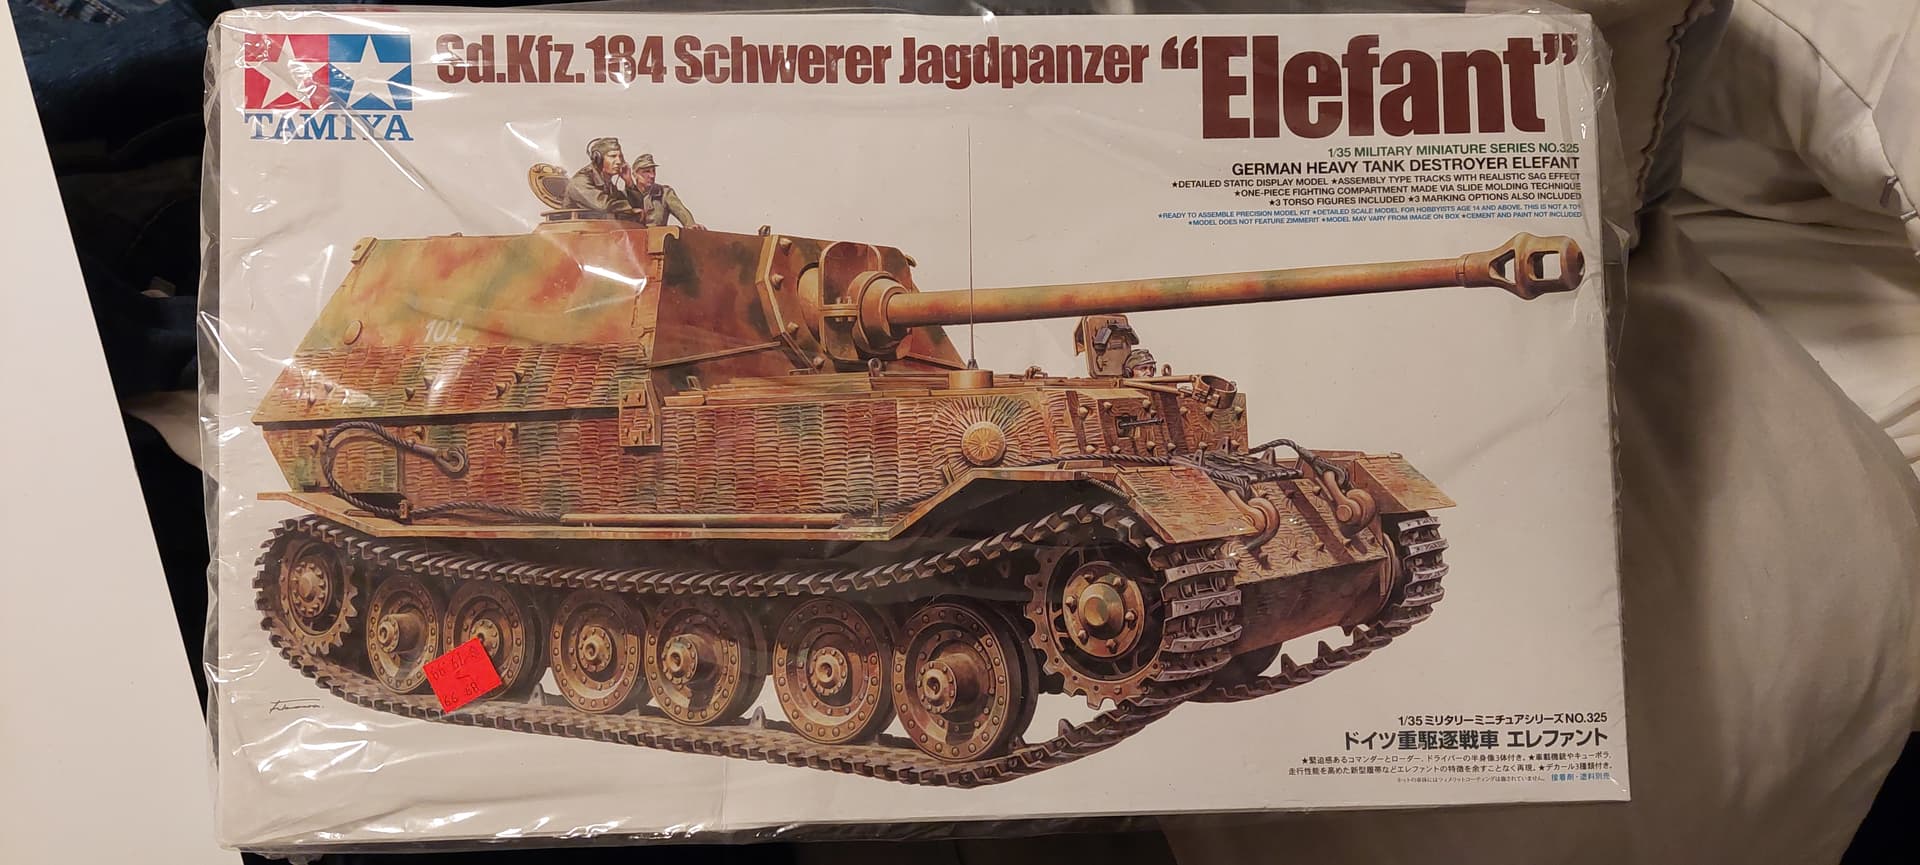
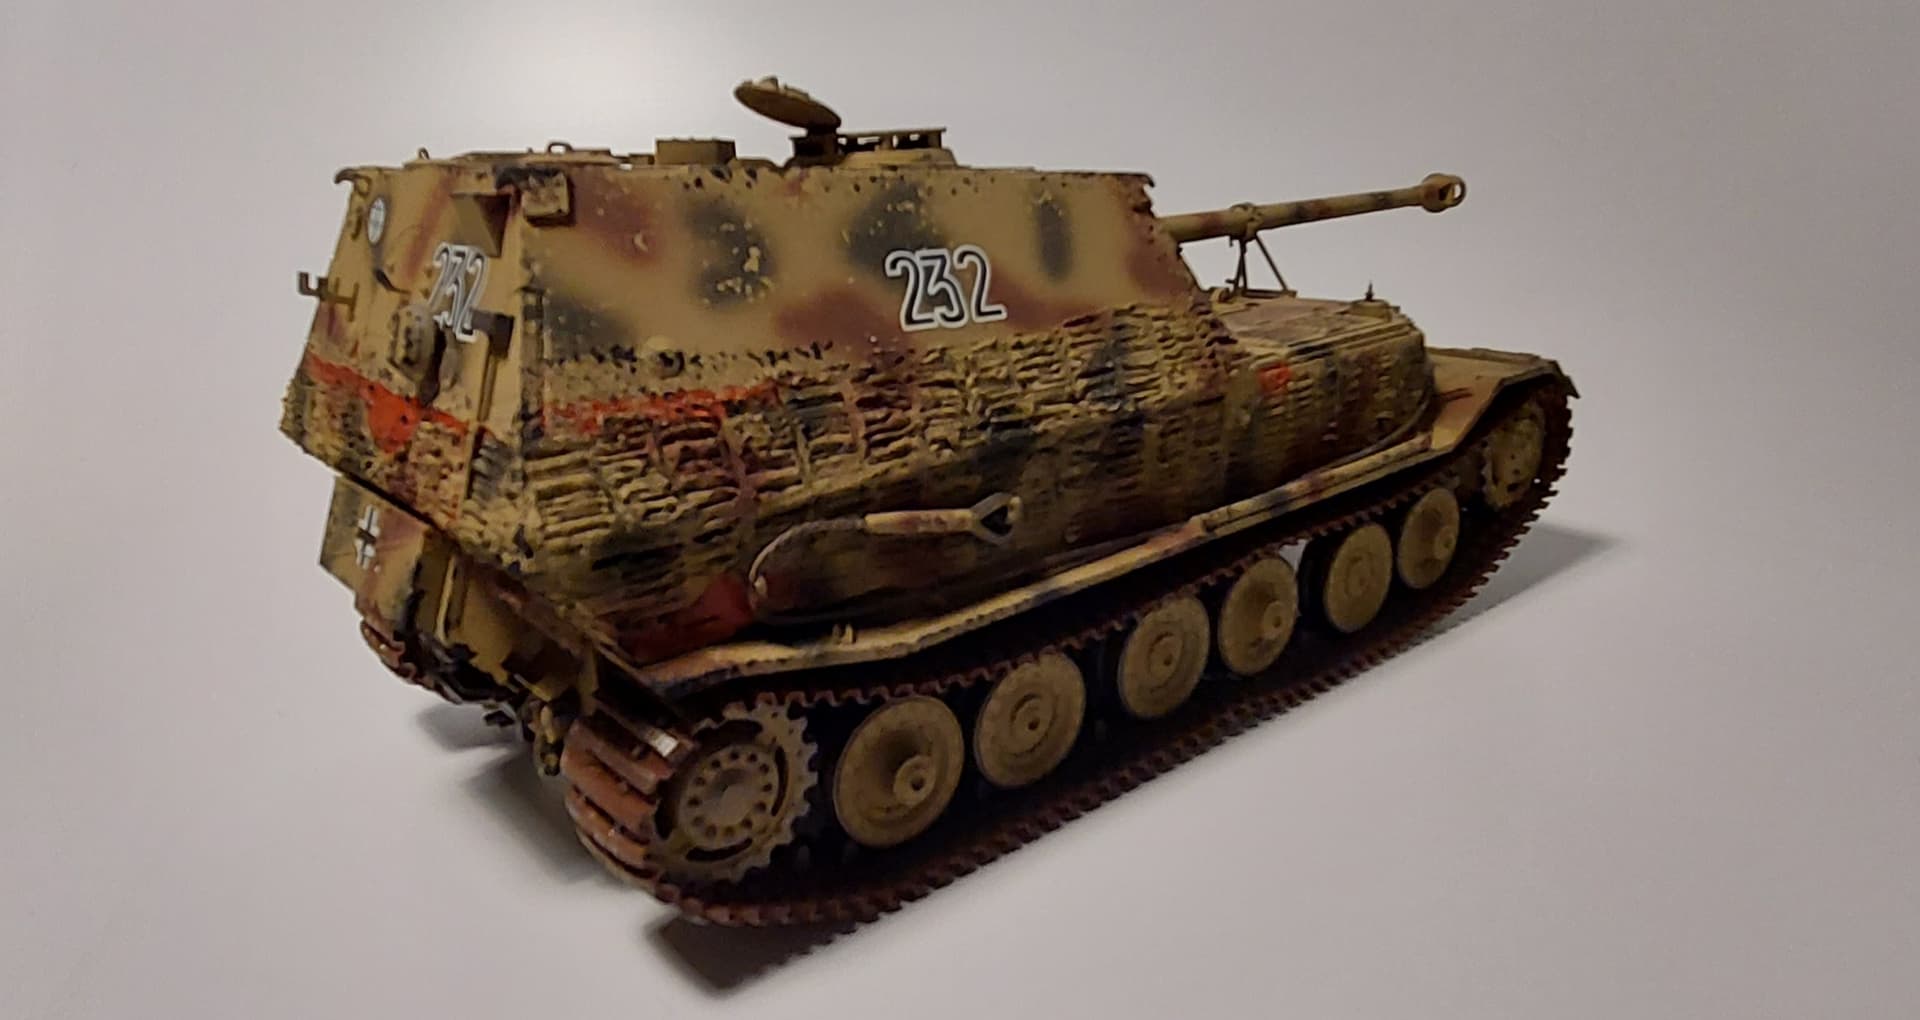
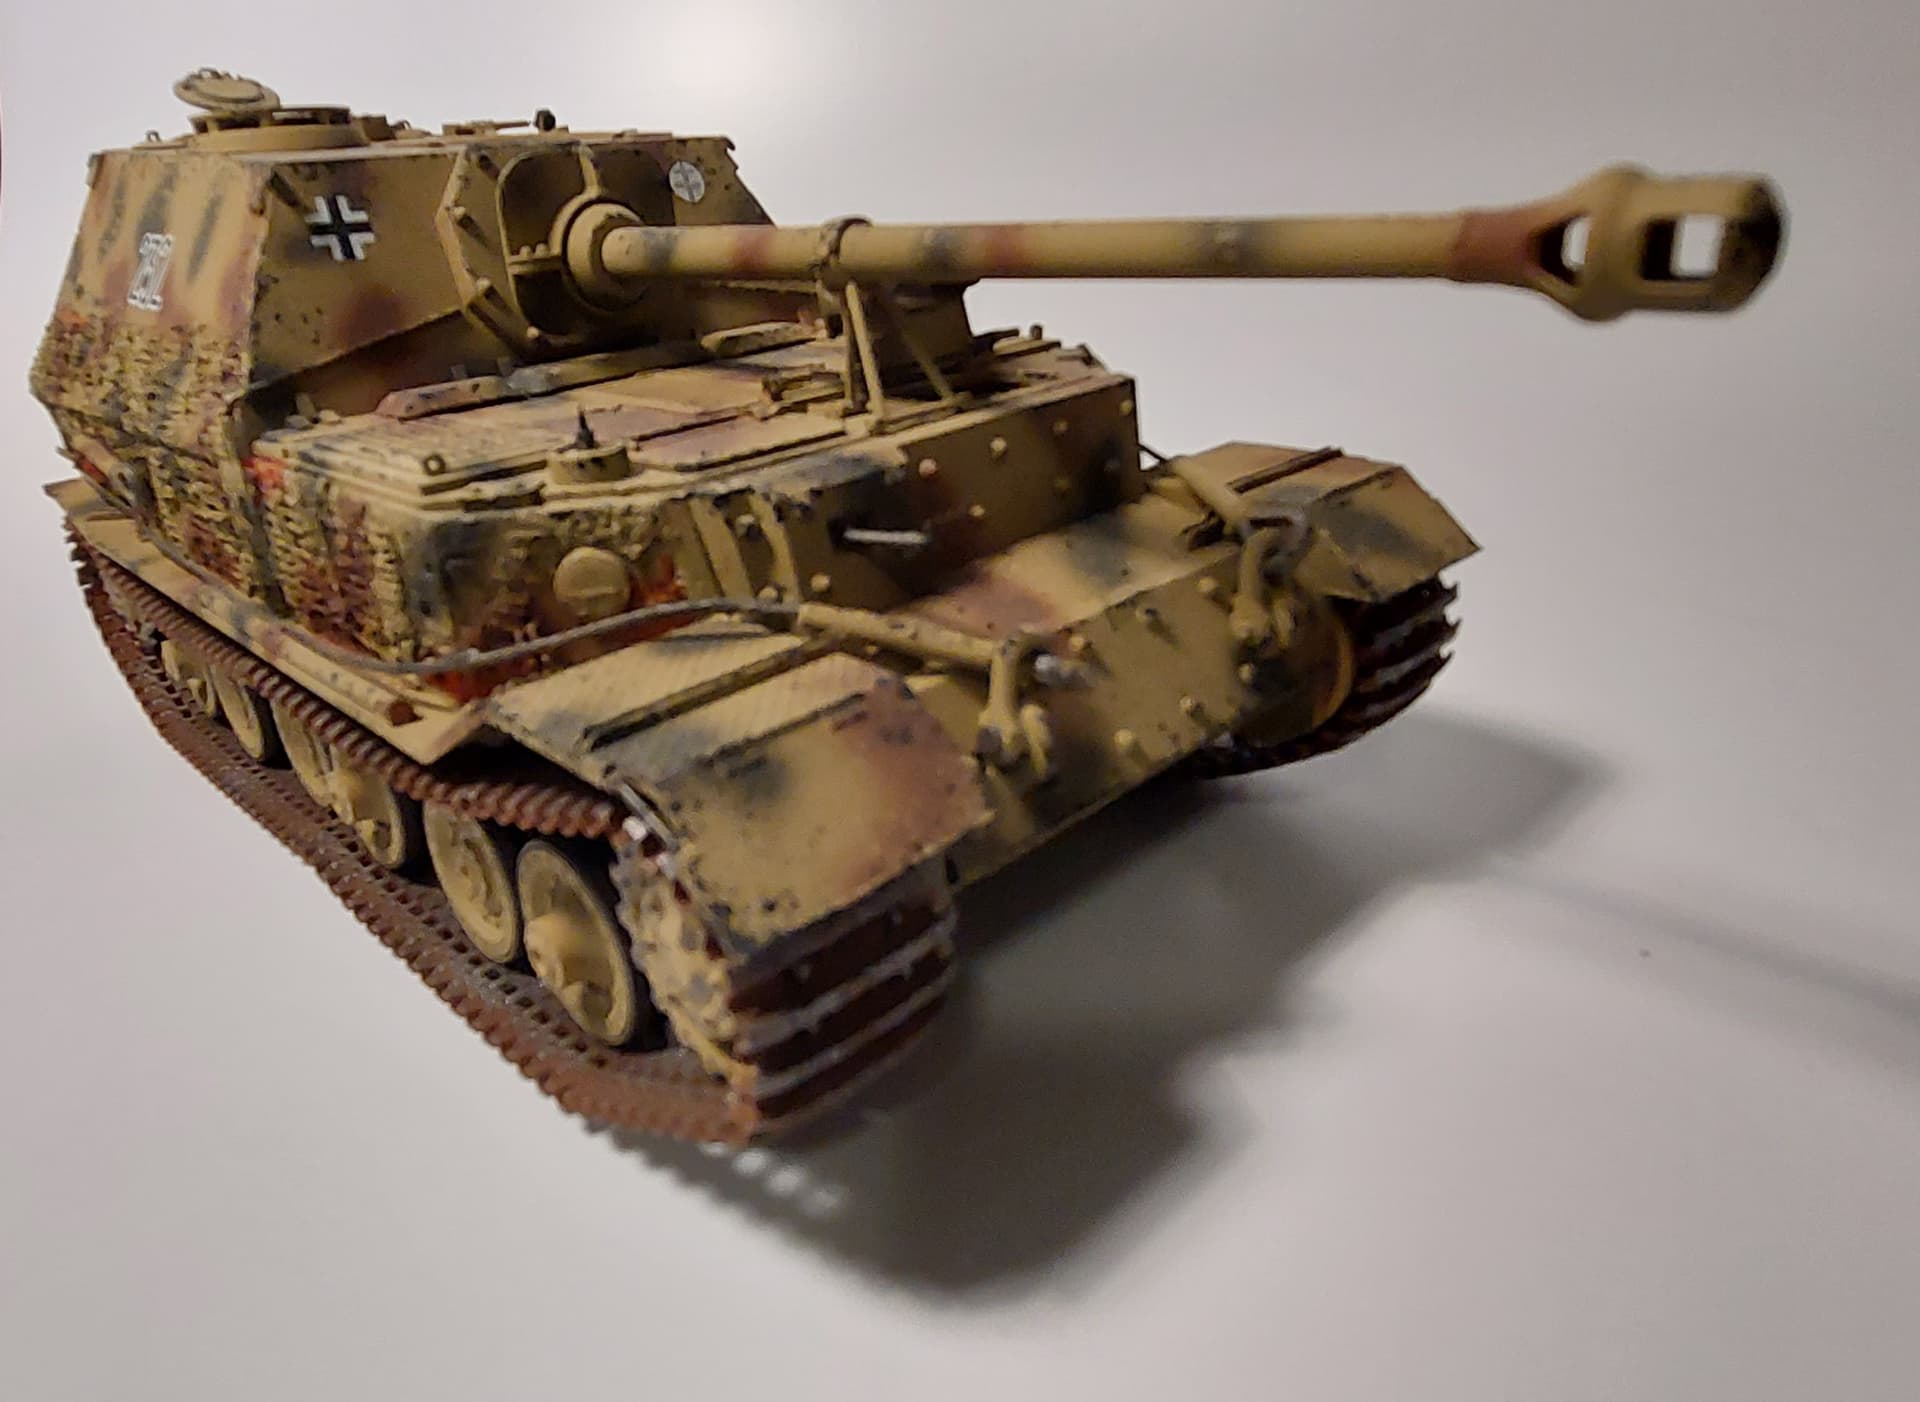
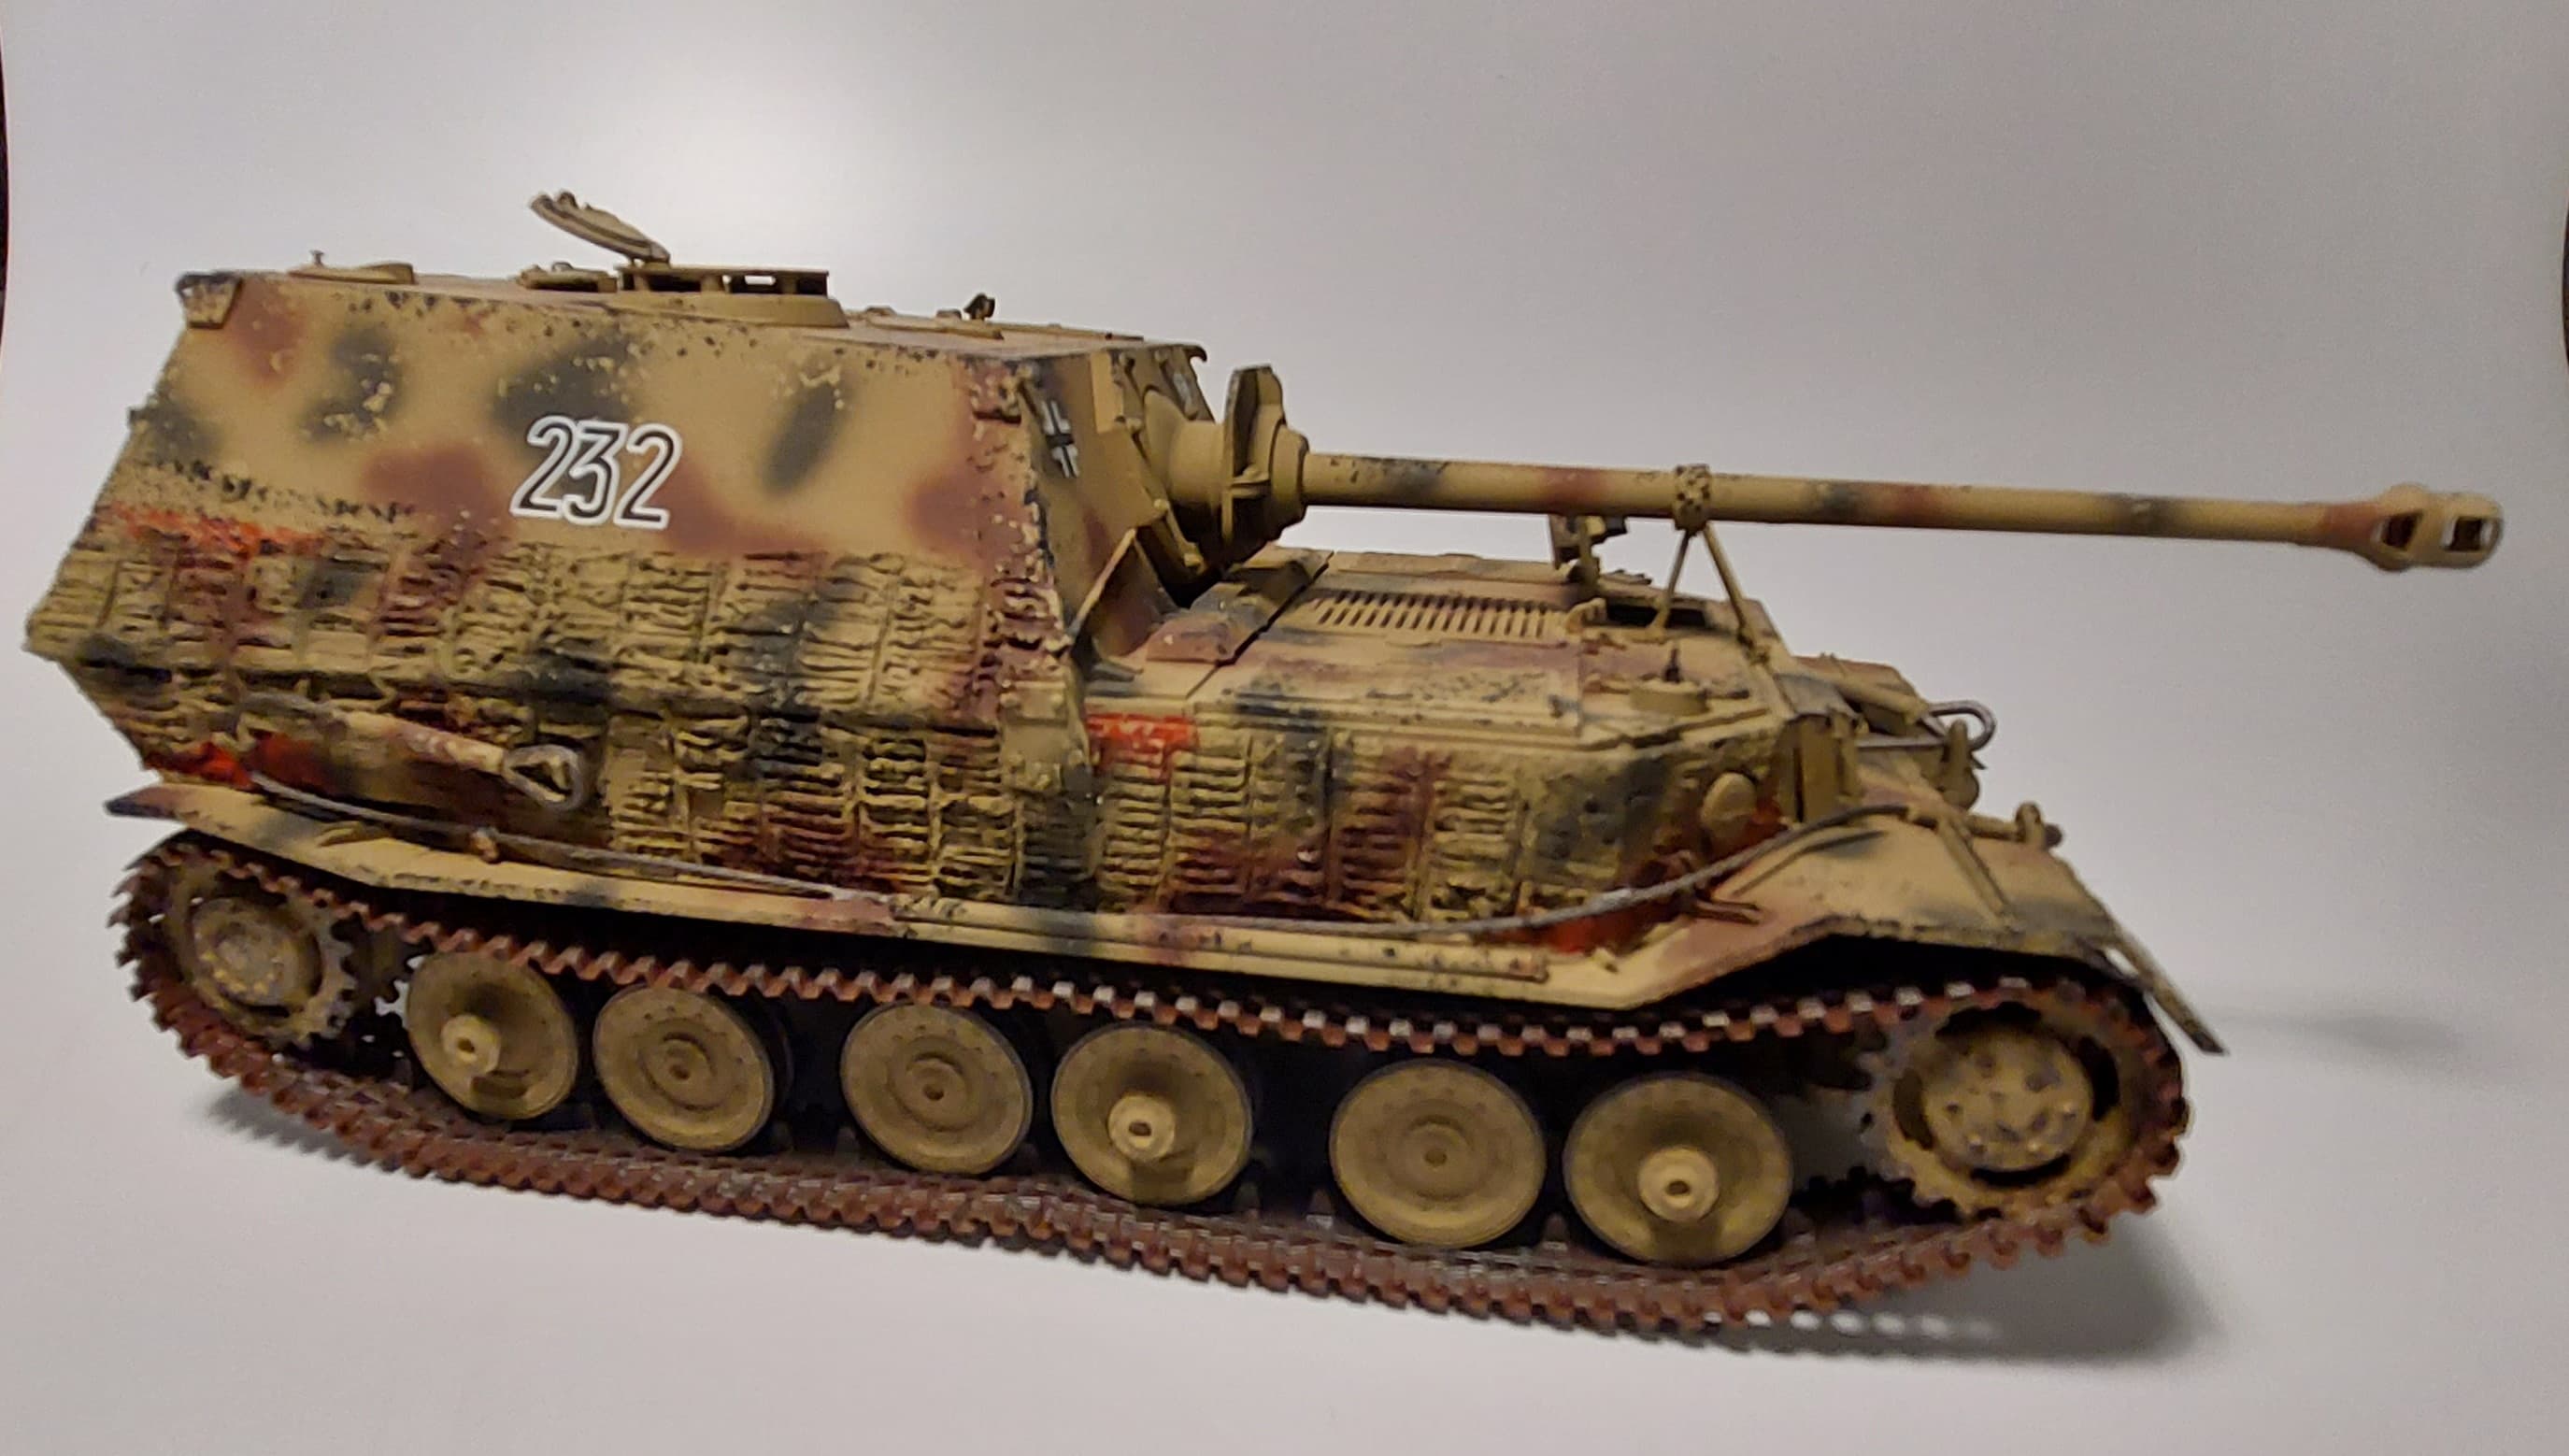
Small update on my Jagdtiger. Painting mostly done except for small bits…
Getting ready for washes… It has been some time (6 years) since I have reached to weathering stage
That’s a huge thing Mukund. I guess it is three times larger than my tiny VBL.
Great paint job. Be confident that the weathering will tone down the shiny look.
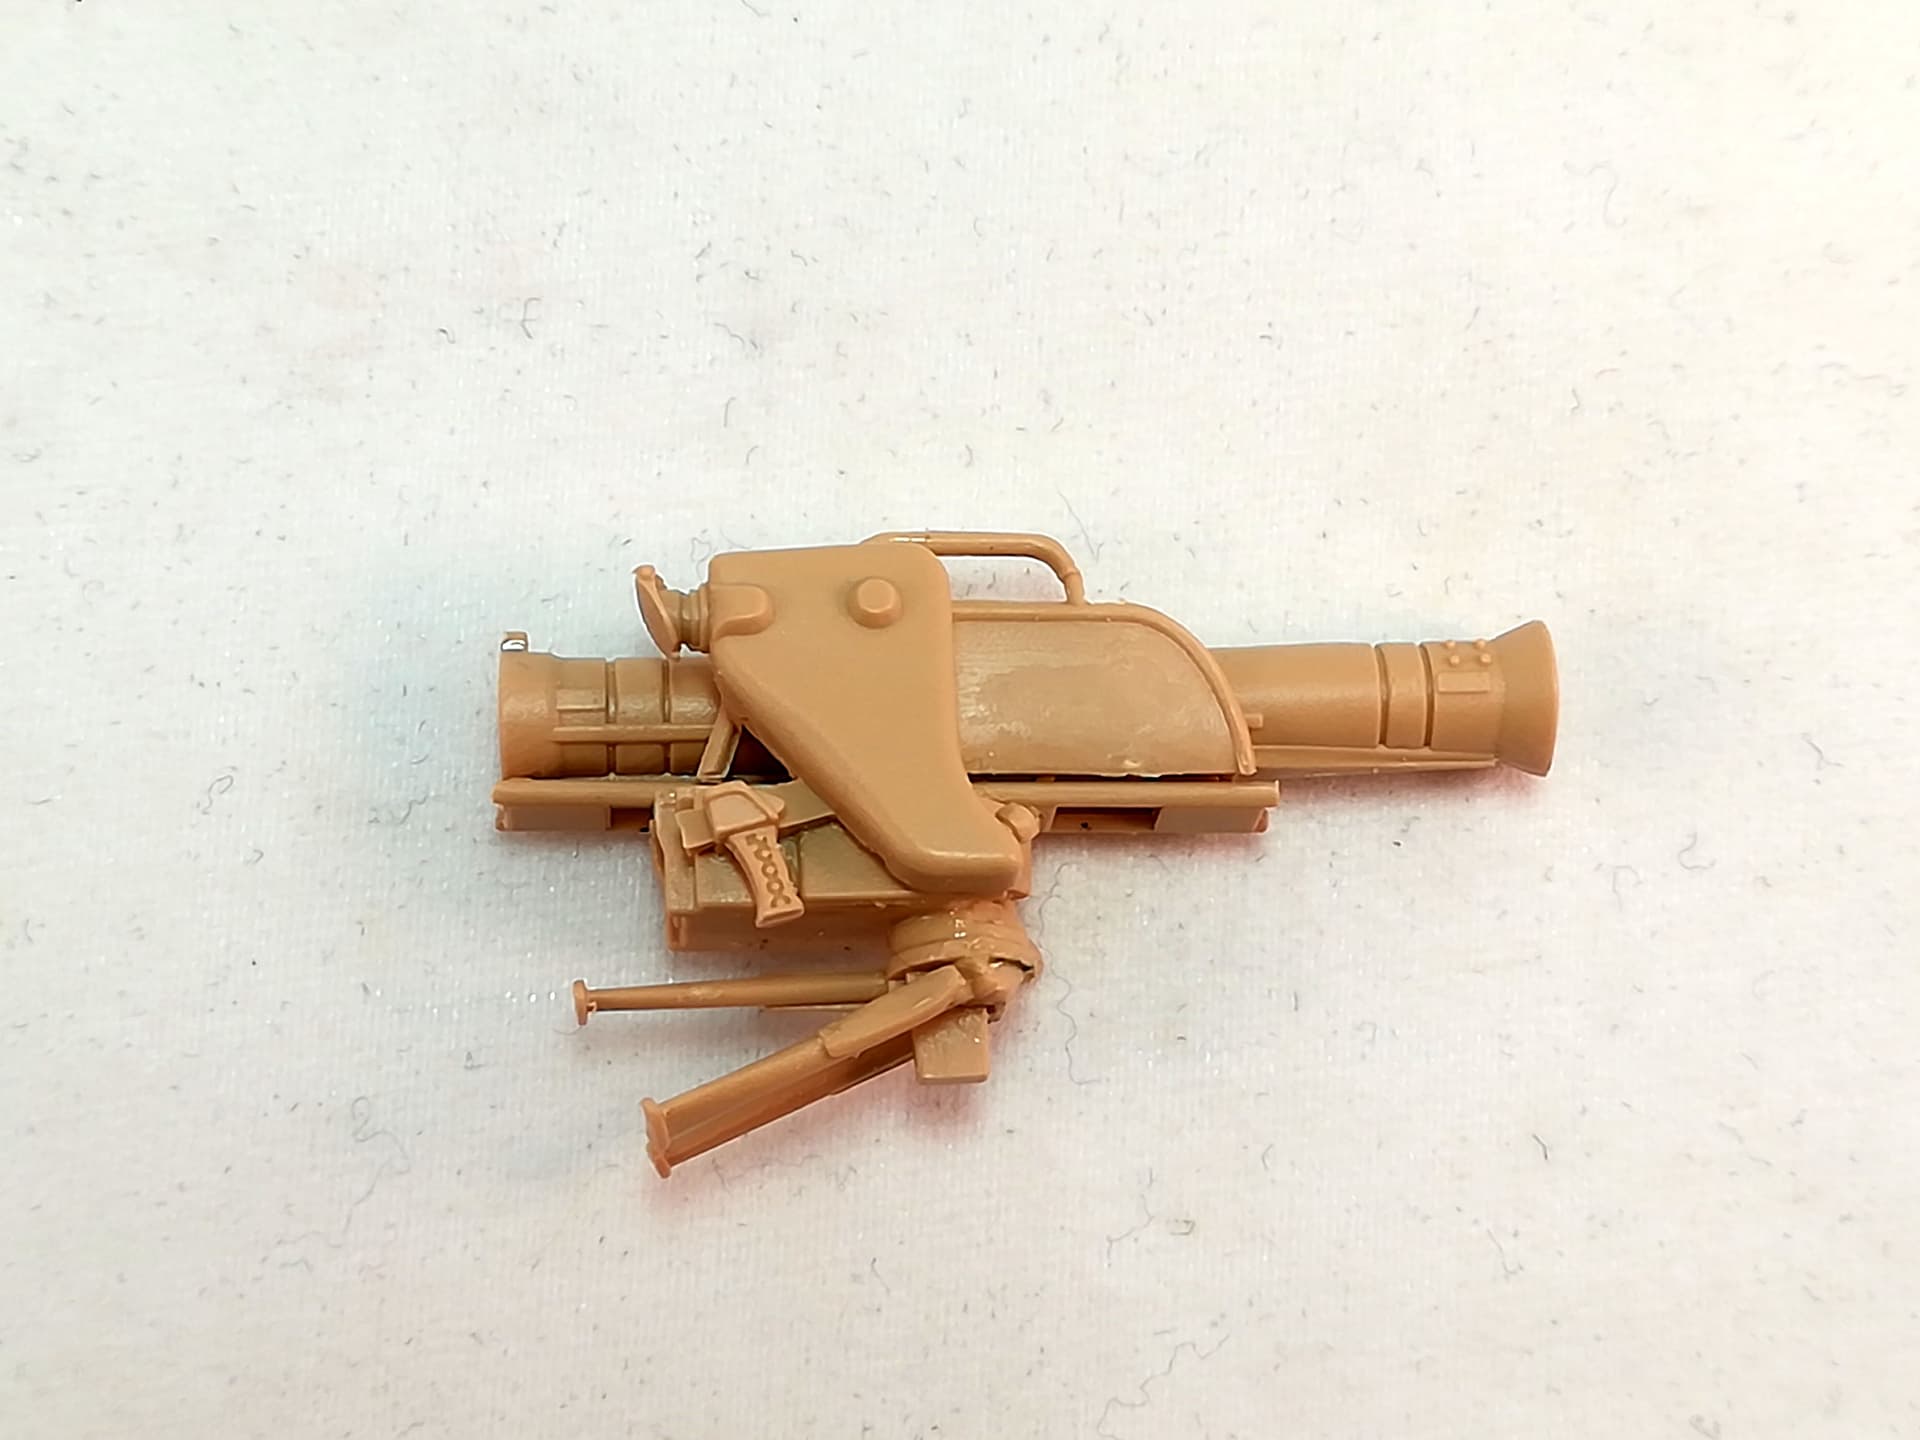
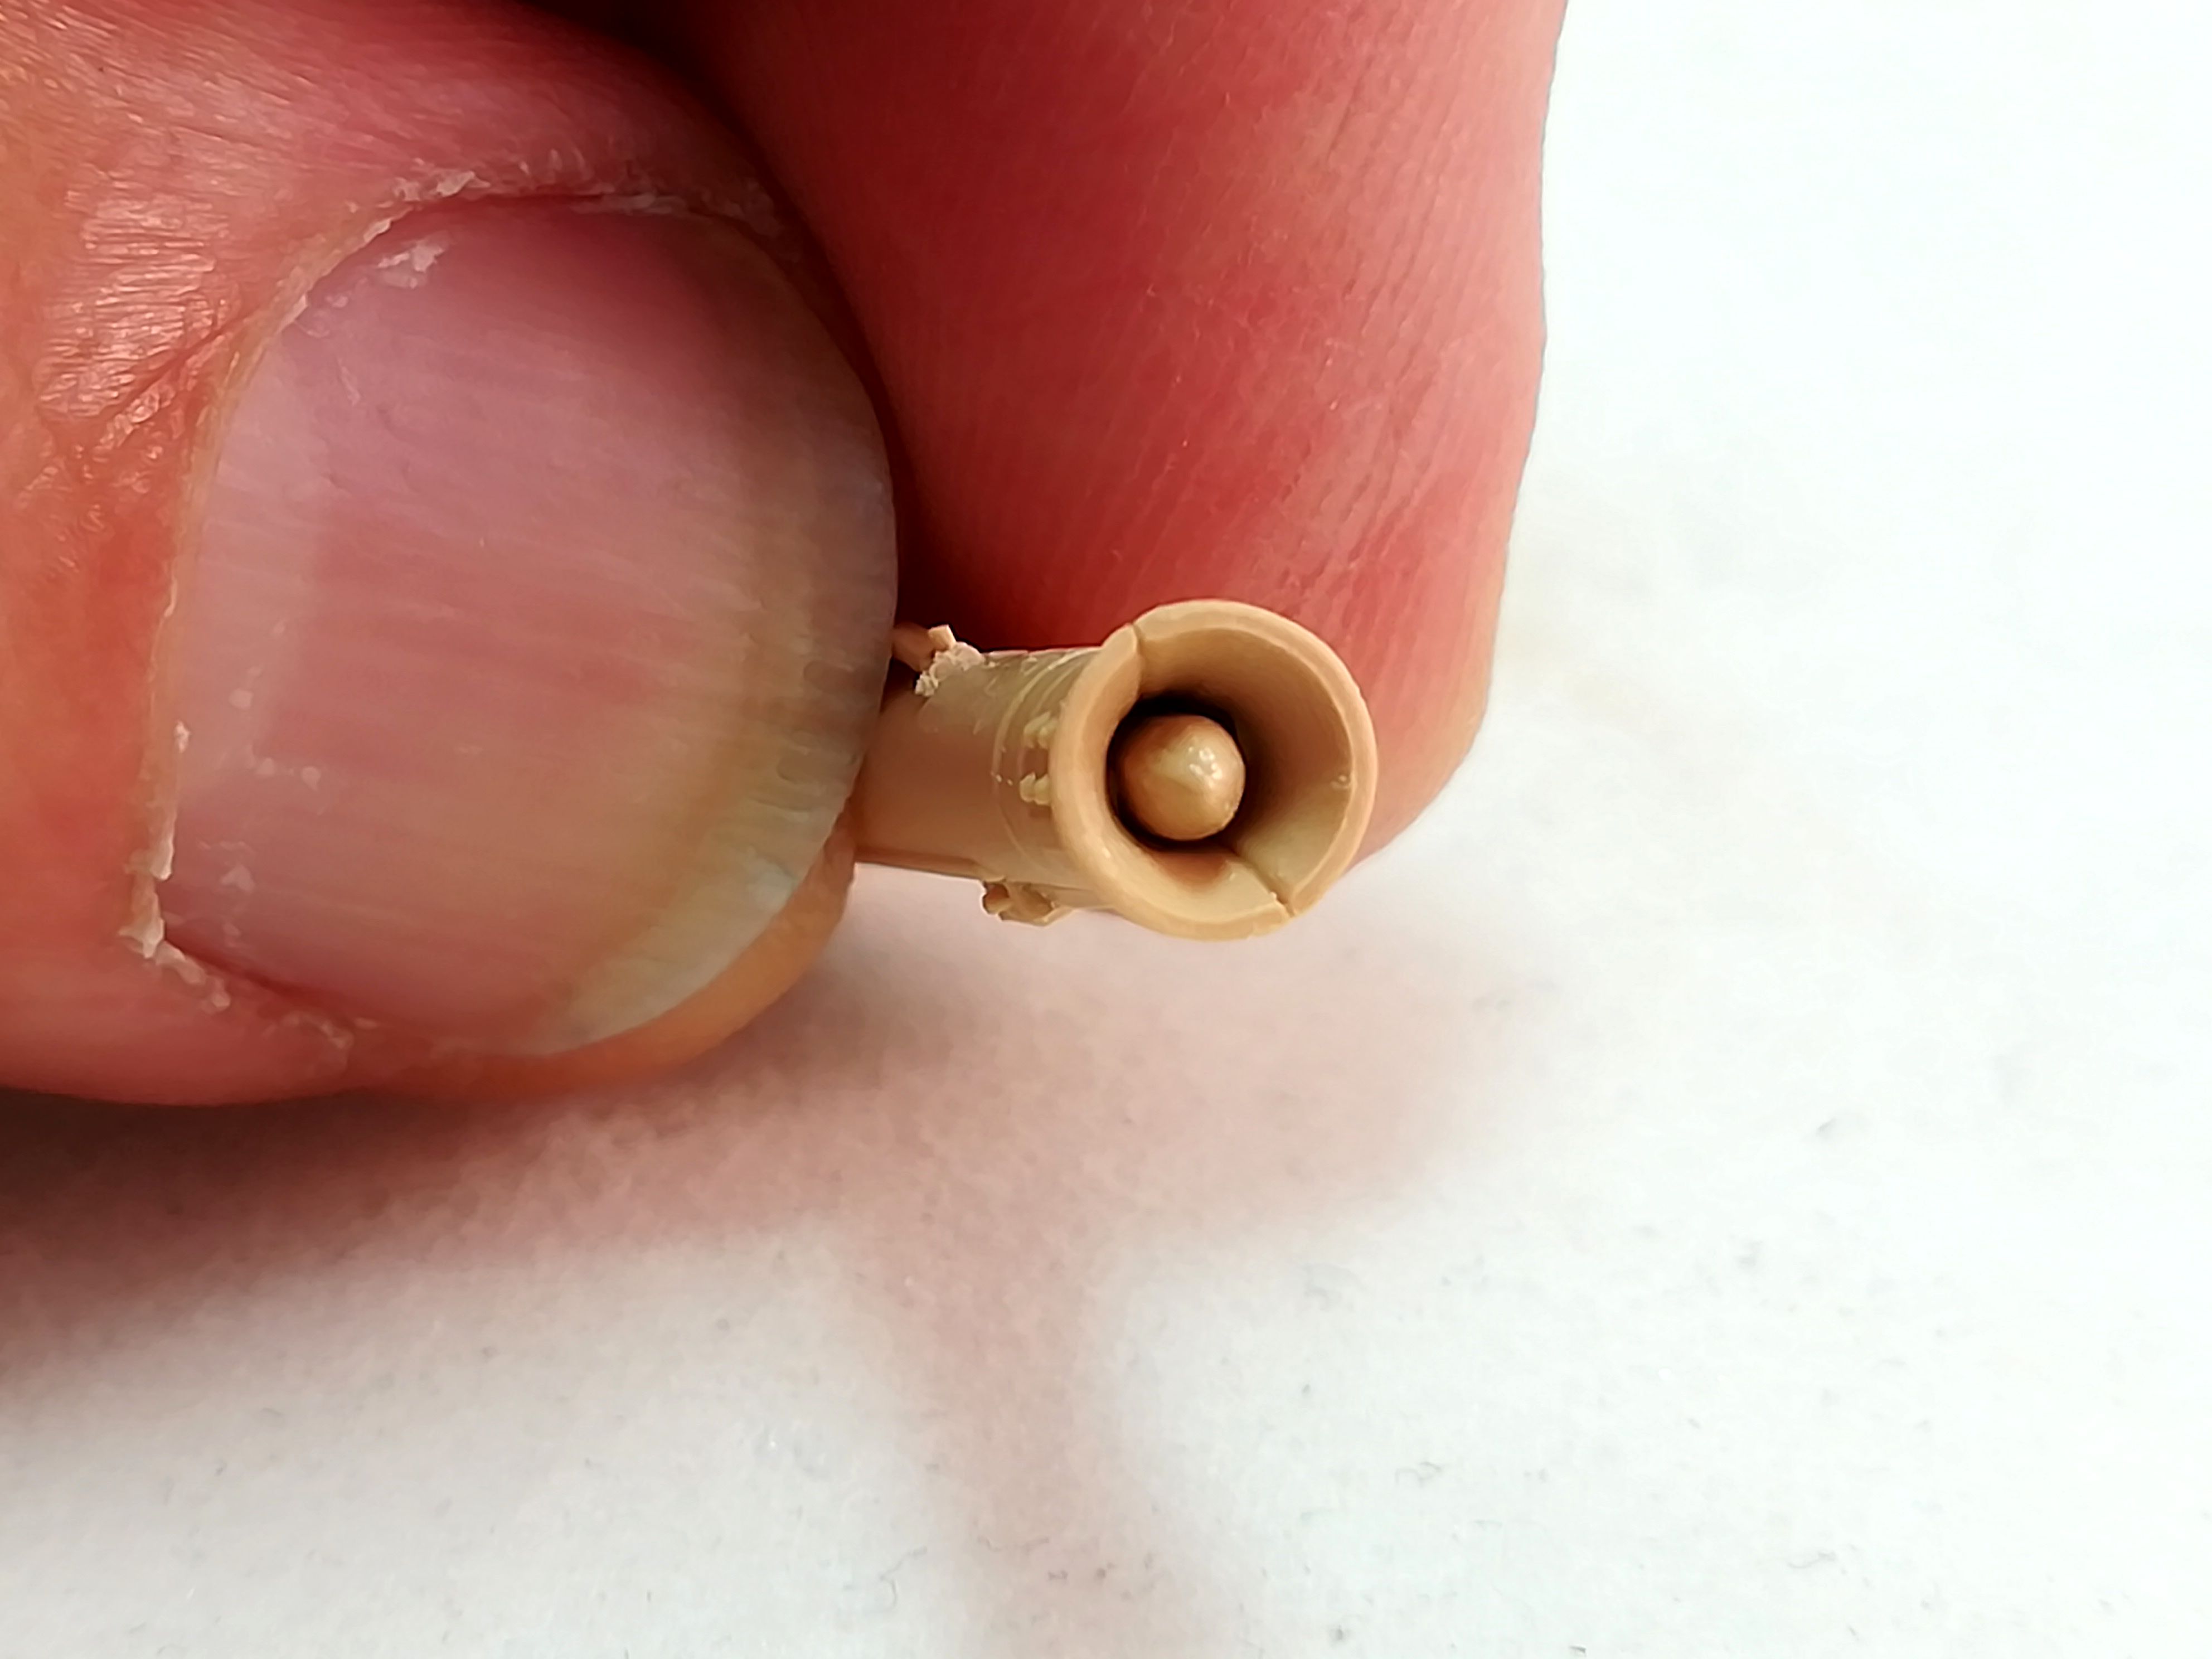
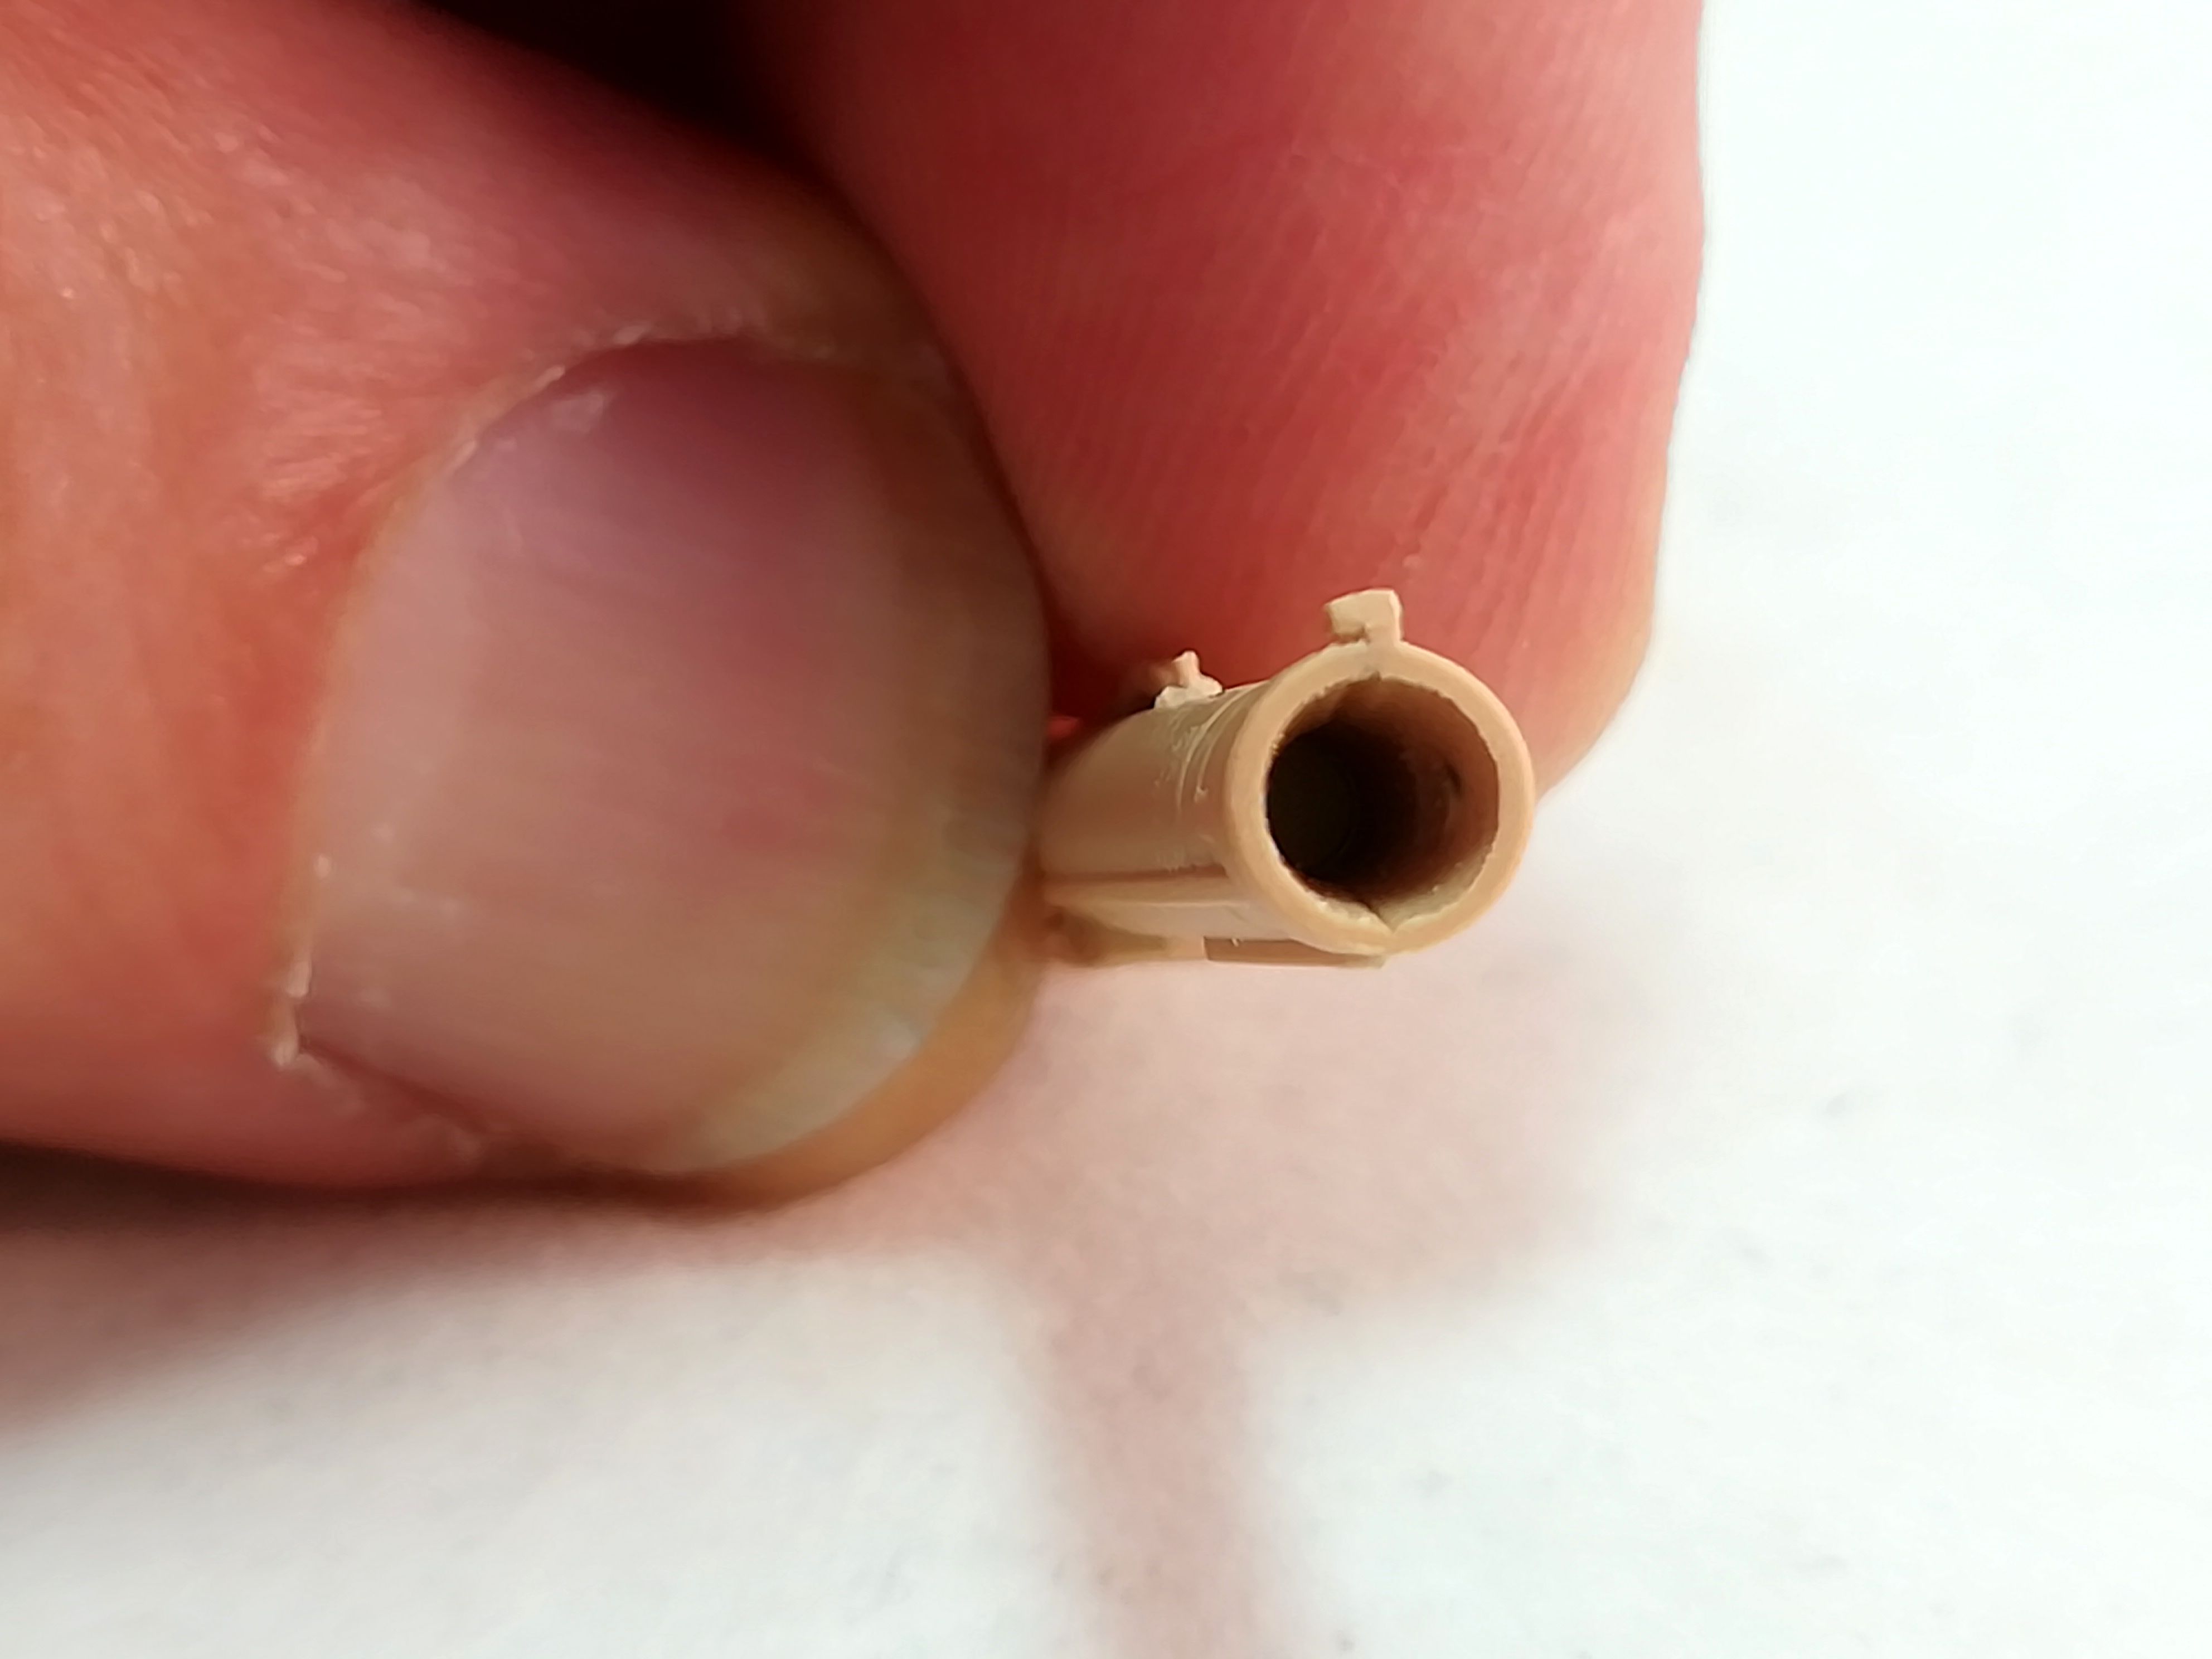
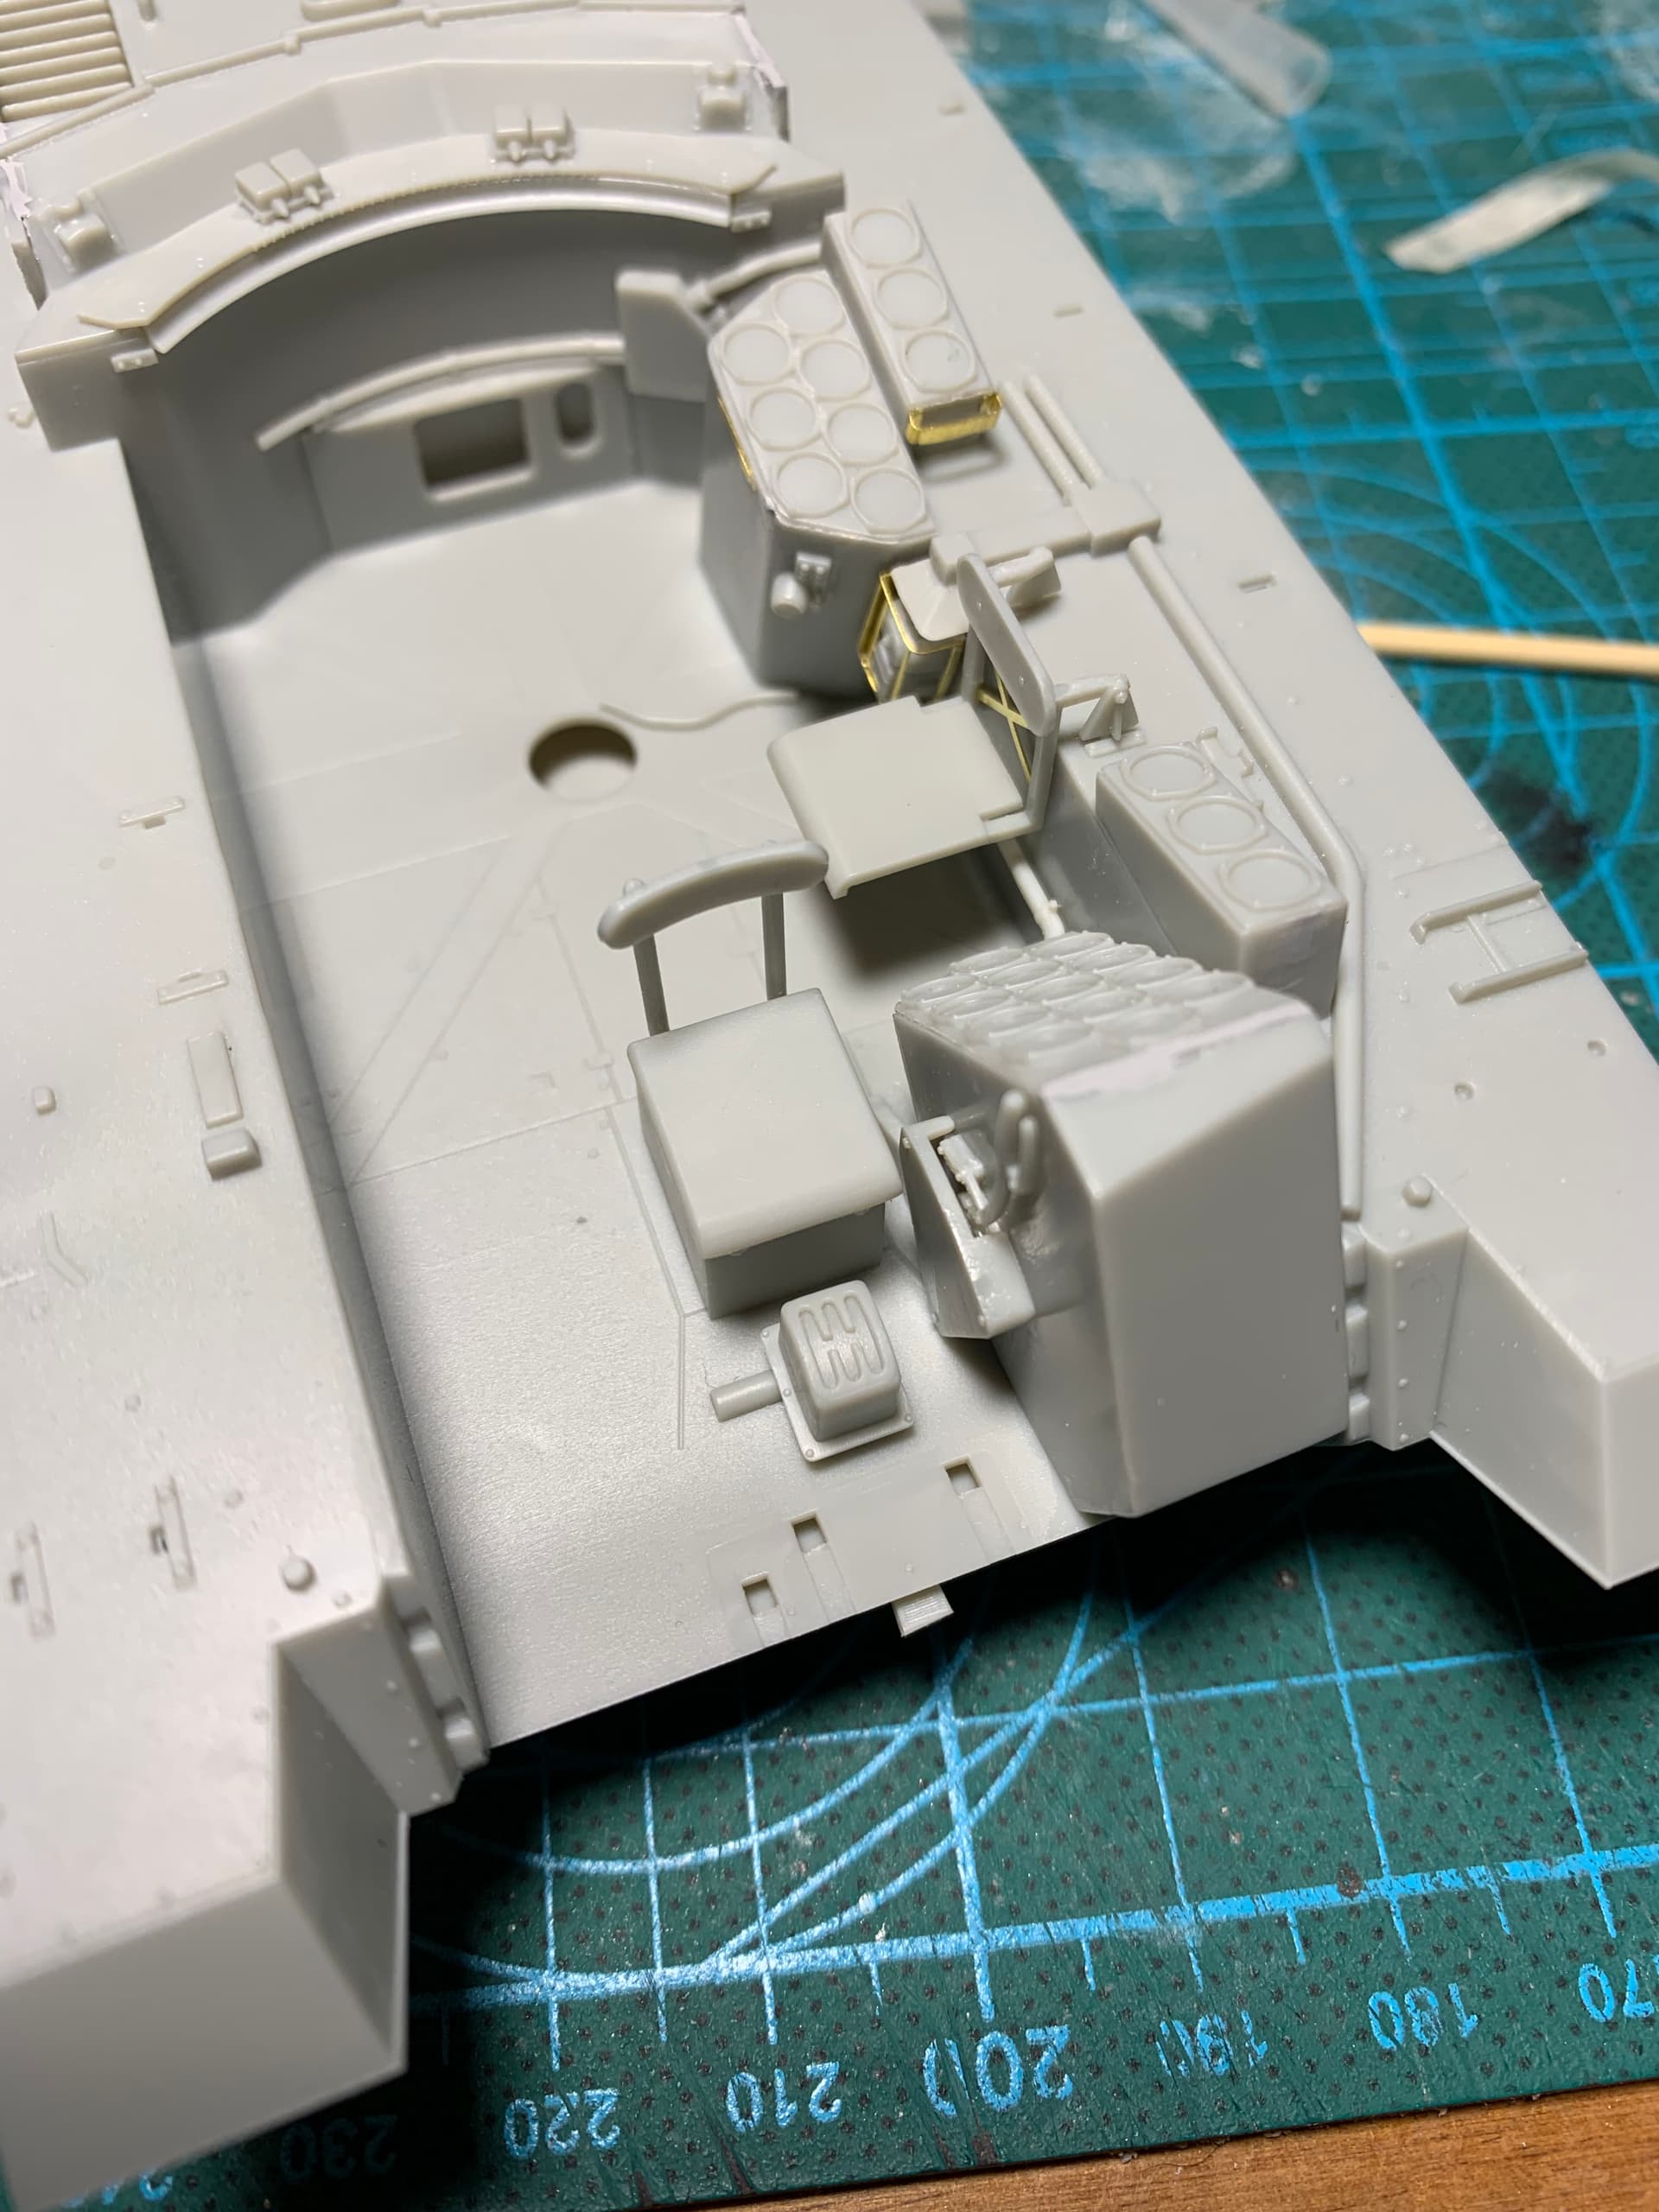
More pictures of the VBL which is 95% complete. The missing parts will be added only after the painting. The doors and hatches will be installed with blu-tac during the process. The firing post is not bad but there is no MIRA. The missile front is hollow whereas there should be a thin cover. I’ll do it with thin plastic card. The seam line at the rear end needs to be filled.
Nice Elephant Captain. Great to see you tackle the zimmerit.
Go to the very first post in the thread and you will see the rules about what meets the campaign requirements. If you are happy with those and want to join in, then you will see some buttons on screen. Press “Going” and that will set you up as a participant. Then post a pic of the kit you will build for the campaign, showing it unbuilt. Hope to see you joining in.
The zimmerit was the 1st time I had done it. After I did it I feel like it needed to be smaller in between each line but I was not having very good drying time on the puddy I was using. I just used tamiya green filler puddy and it was soft and it was hard to get a sharp lines. If I would do zimmerit again I will look for some other kinda of puddy that gets very hard faster so it would work easier to get tight lines. After I did mine I saw a zimmerit tool somewhere that would have been a better way to go. I just used a squared off xacto blade to apply it. Looking at it now it’s OK. I tried to have places where it chiped off and had the red primer showing under. That was hard not to go overboard without just having one or two spots of red paint on your tank. I hope to try it again someday
I really love that tank. It’s probably my favorite and I will need to buy another kit to try to build another one. And I will be buying the tool and correct puddy next build. I just worked with what I had last minute on the last one.