Filled those holes quite nicely!
7 Likes
Nice. One of my favourite … Will be following this up 
Built mine and I have one ordered …
Nice one, and I also have a StuG IV in my stash, but in 1/72 scale.
Will watch this build unfold…
Nice Kelly. Ancient history for me - one of the first Tamiya kits I ever built. If I recall right, she makes up into a very fine looking model. Looking forward to seeing you put it together.
1 Like
Nice choice, Clark! A true classic - Great kit with a nice portion of nostalgia added. 
That’s the kit I built last Christmas that got me back into the hobby. Goes together very well and is pretty nice for a 1970’s kit. Watching to see what you do with it!
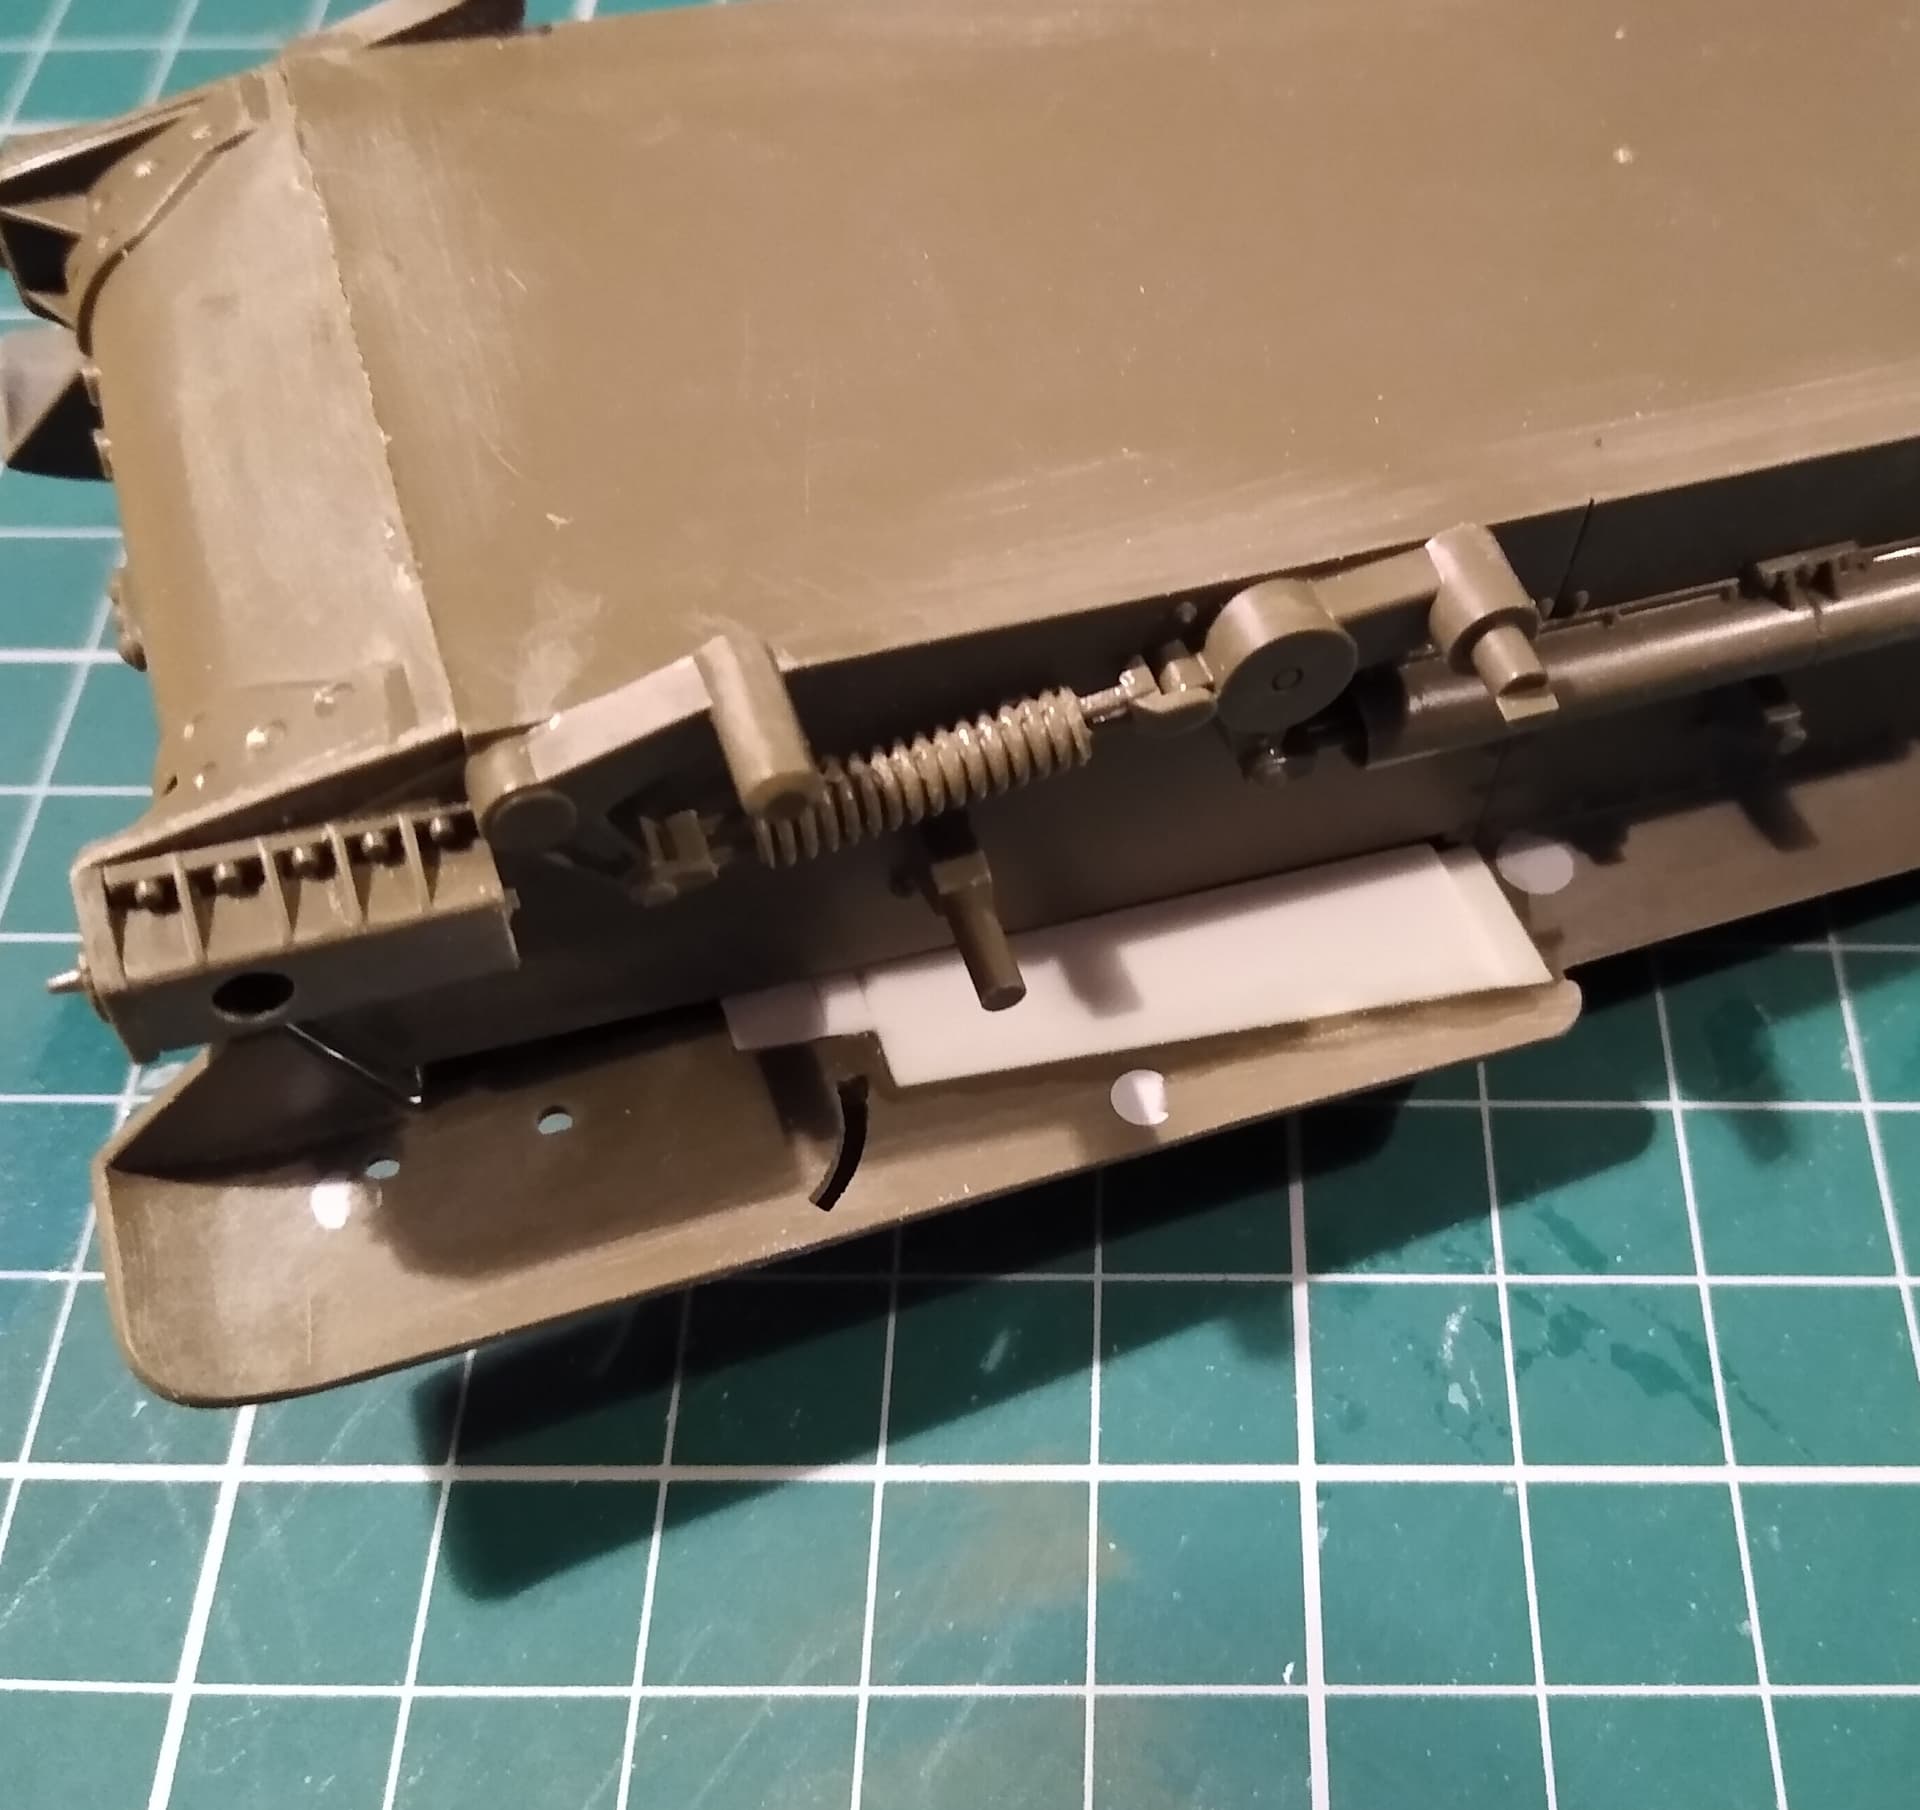
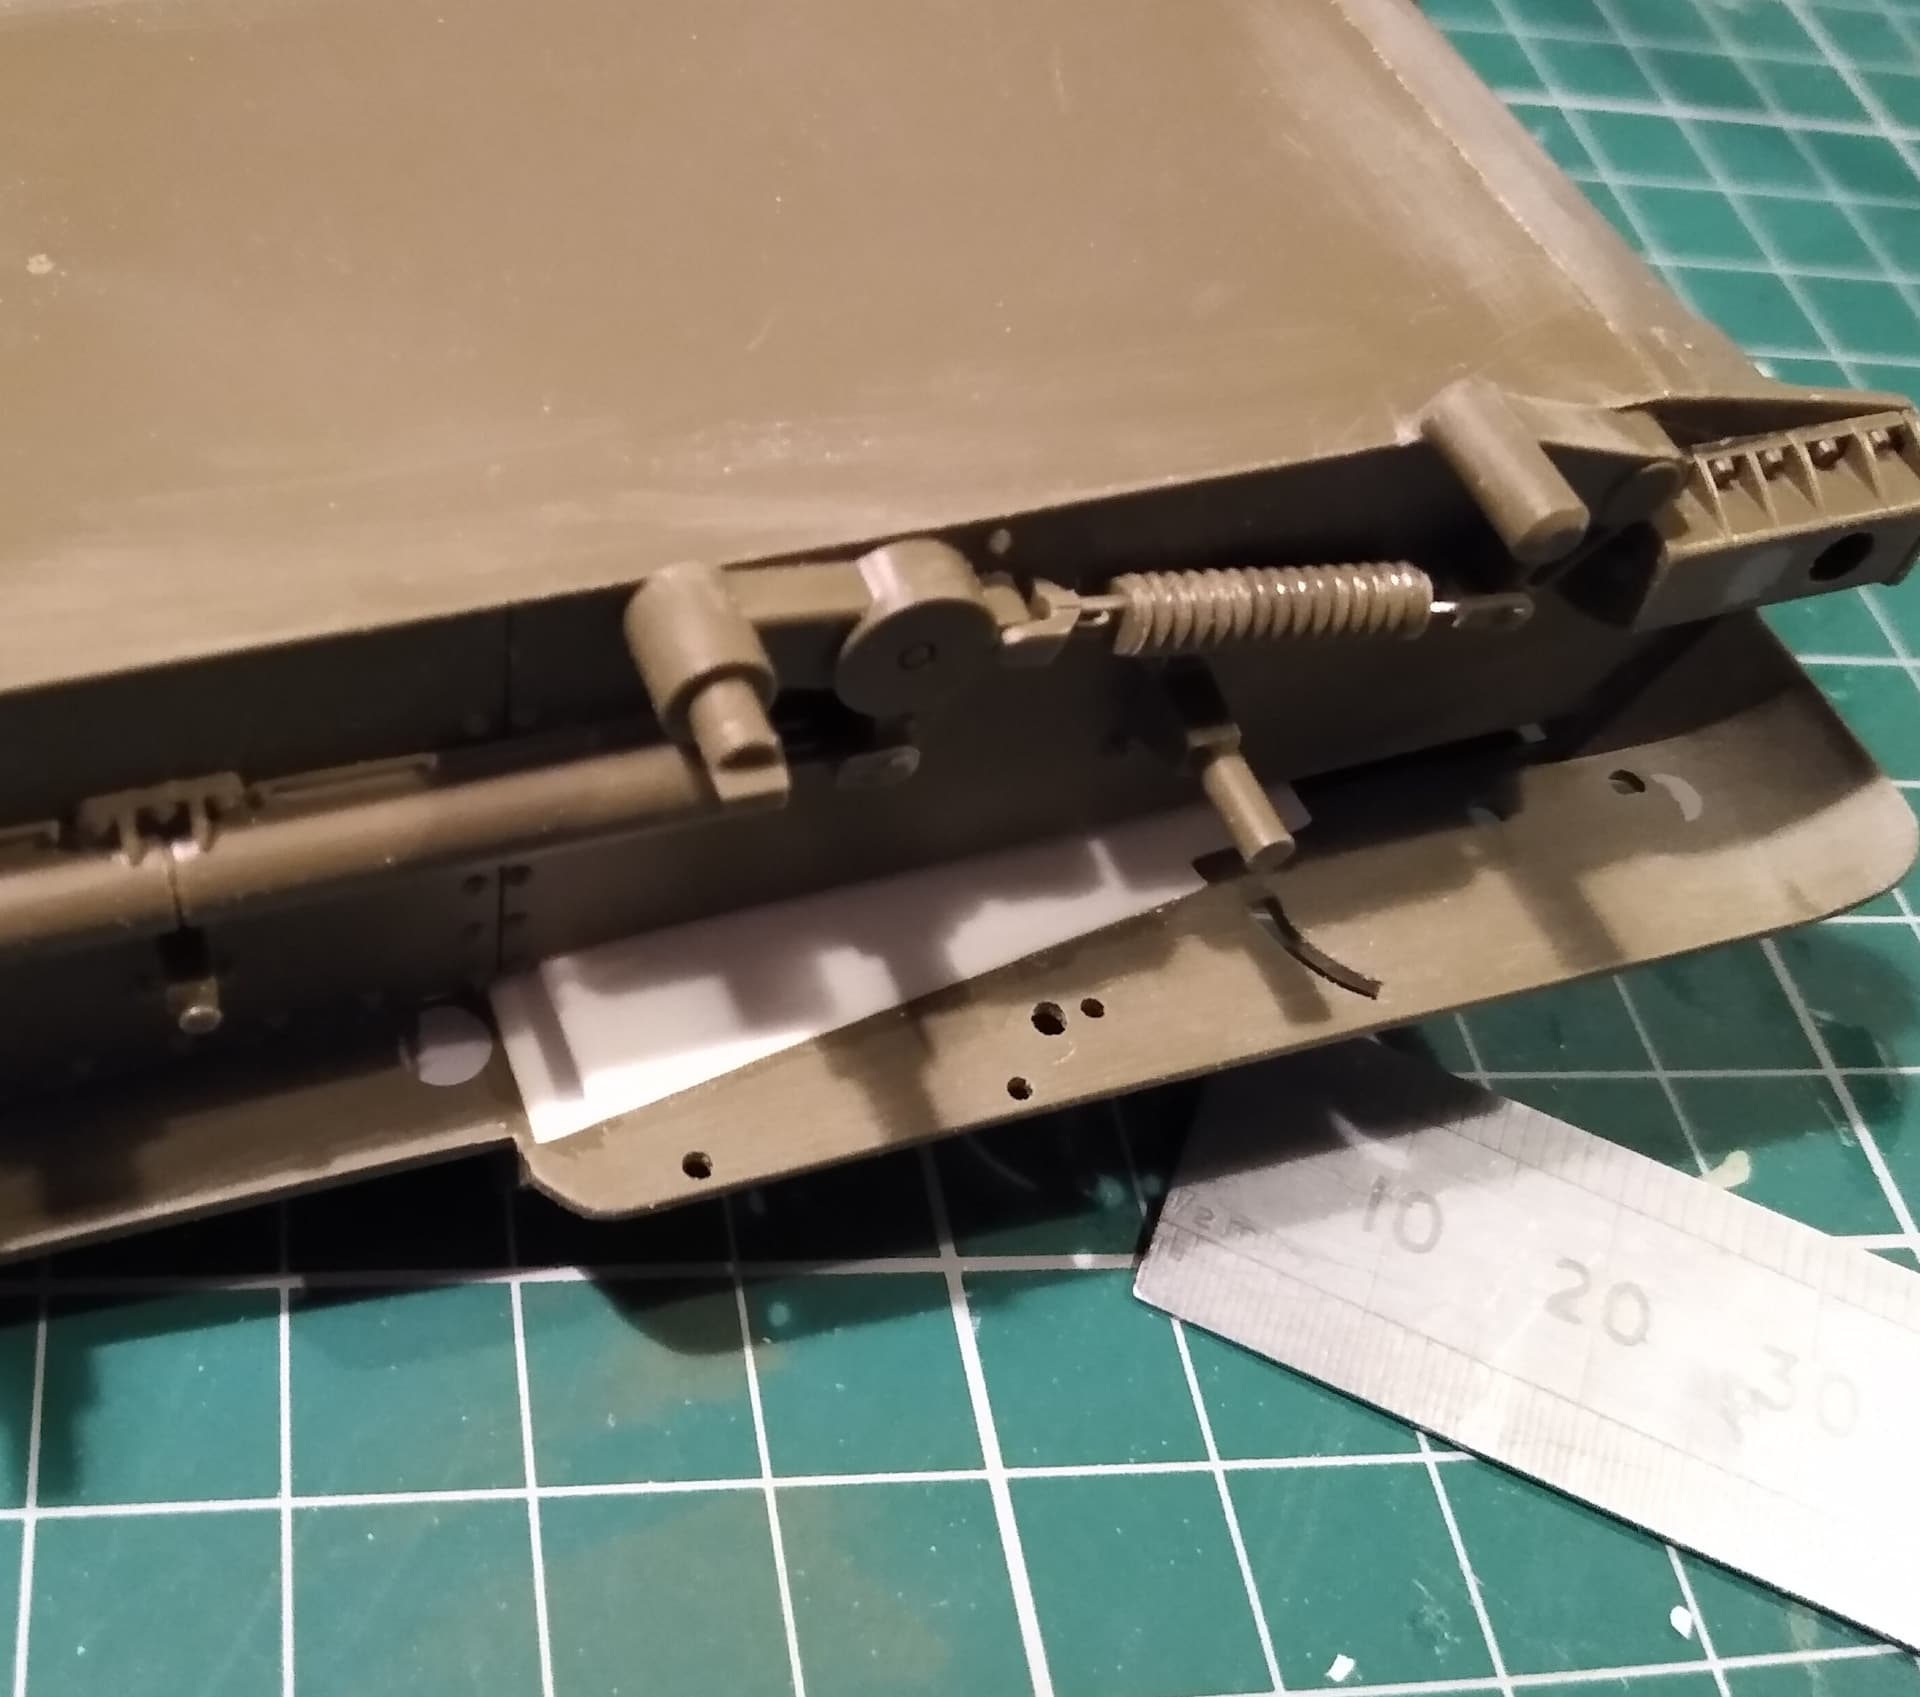
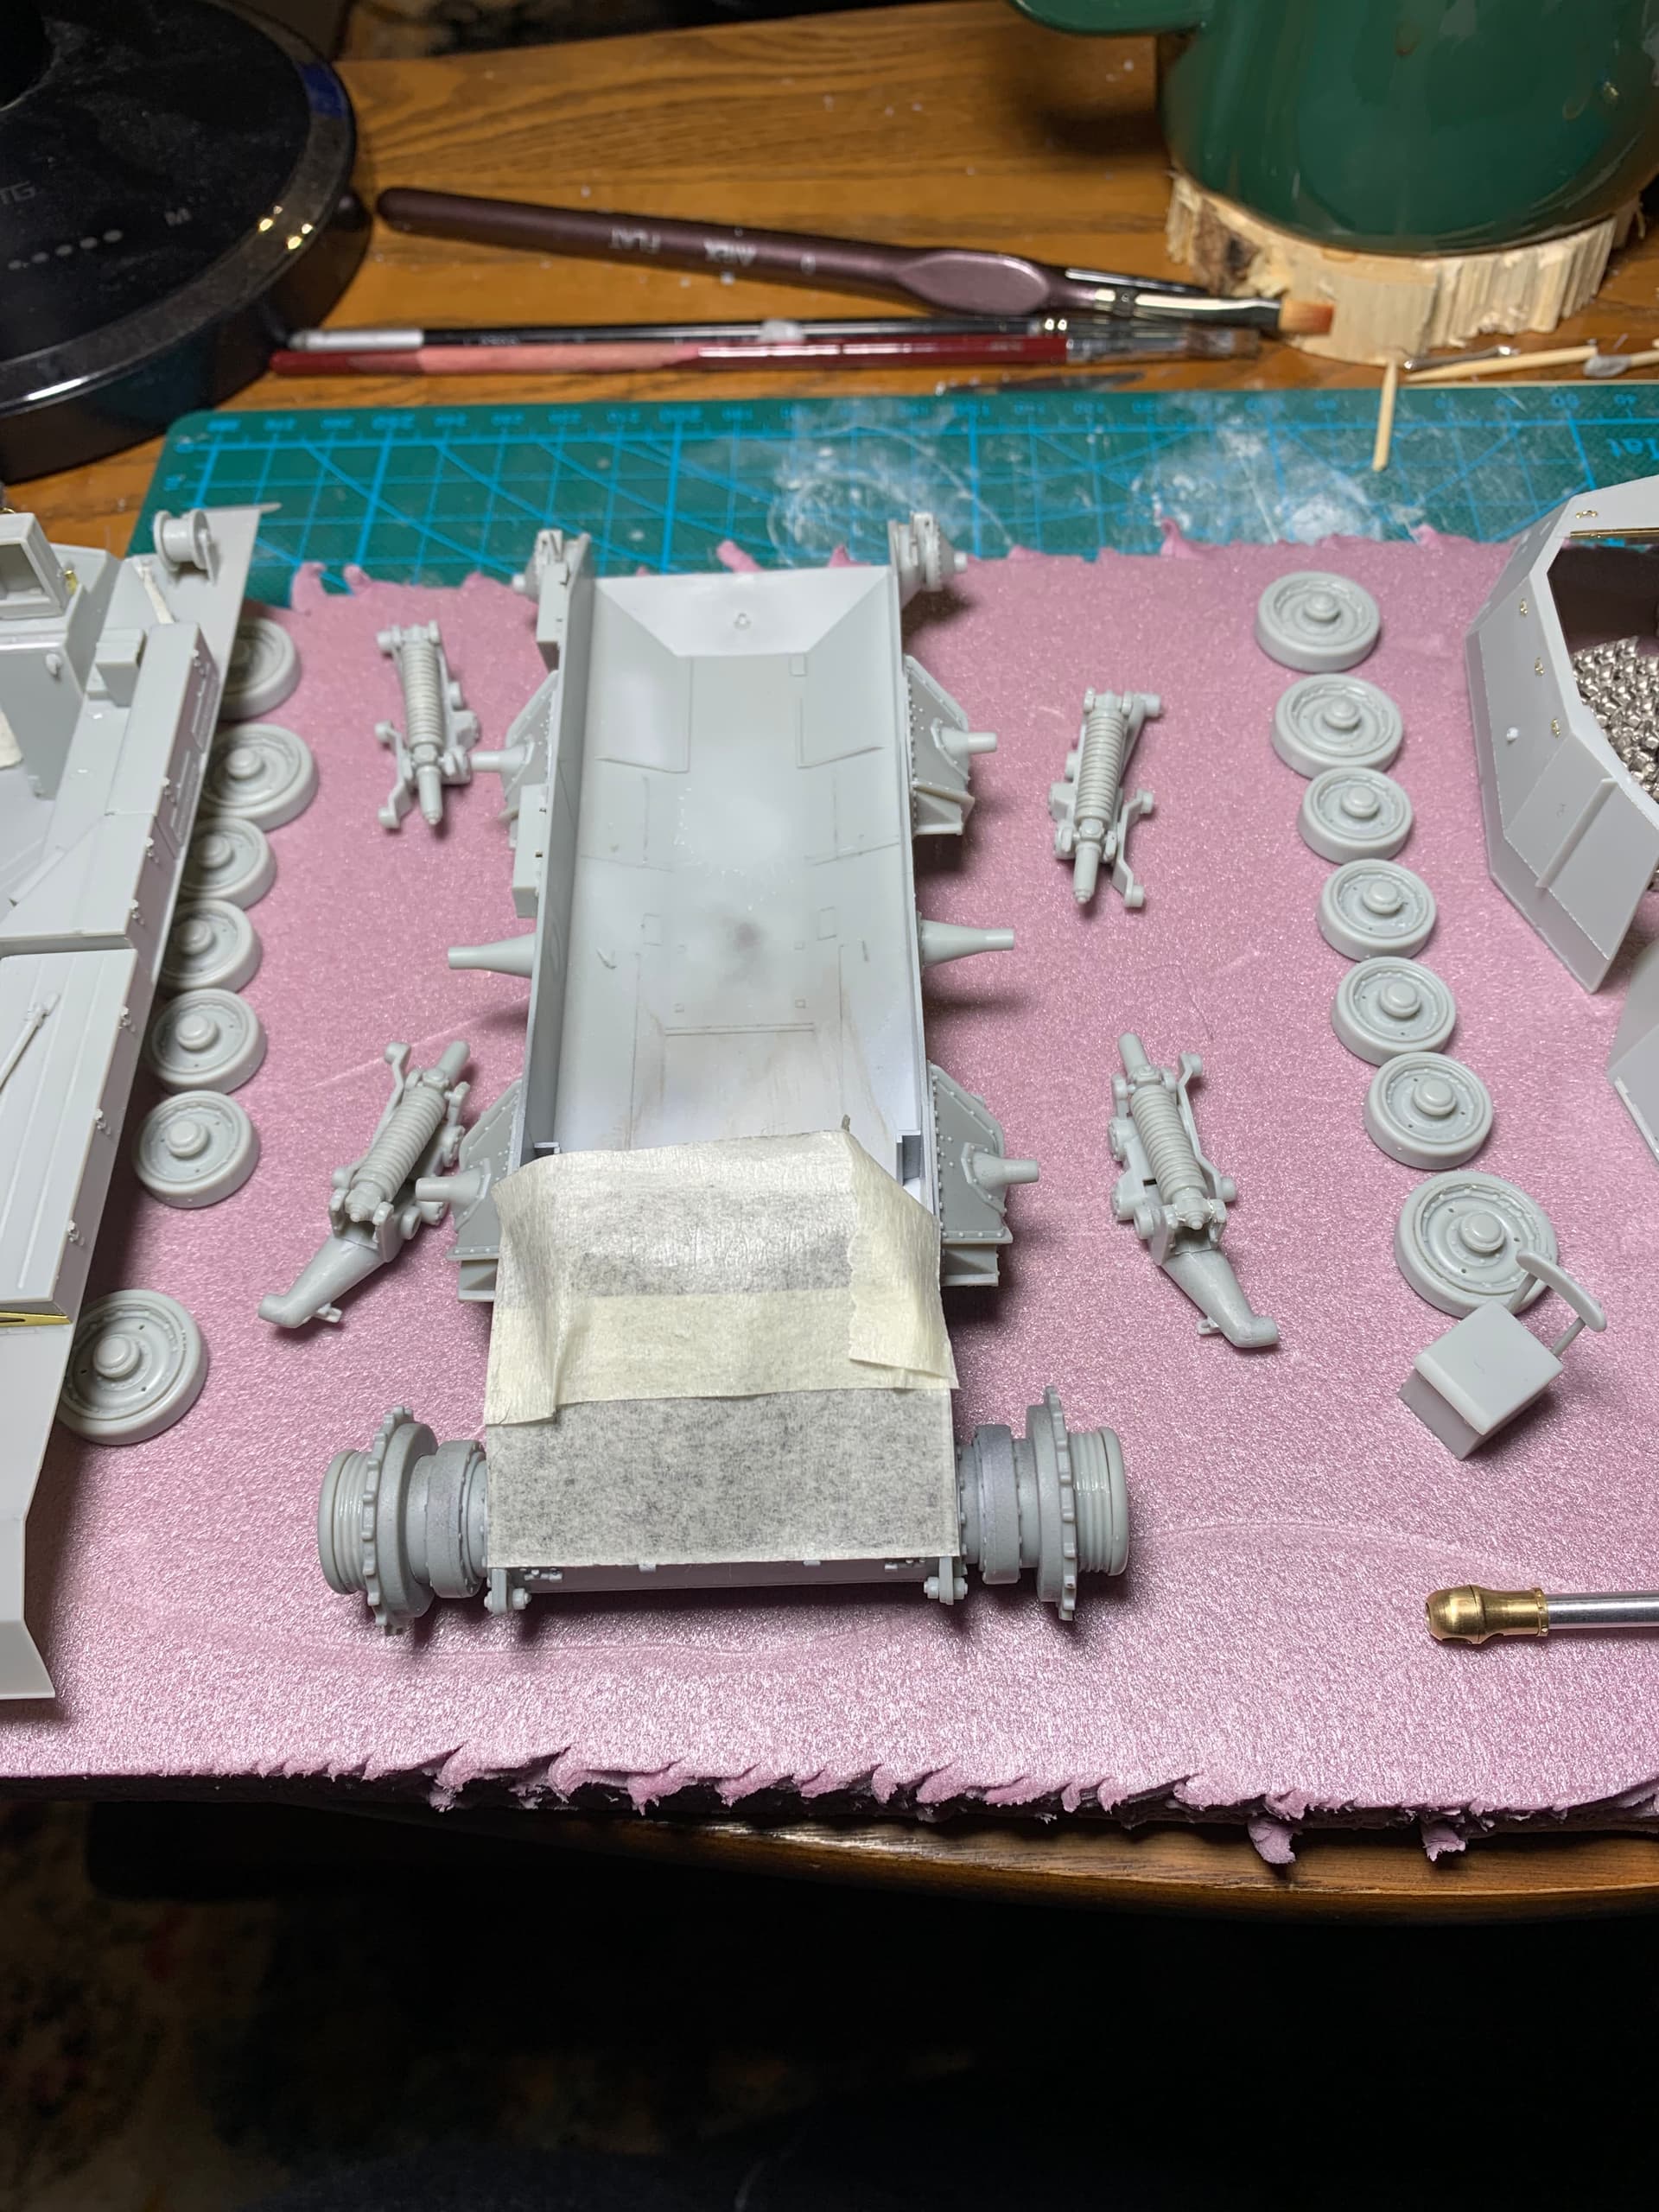
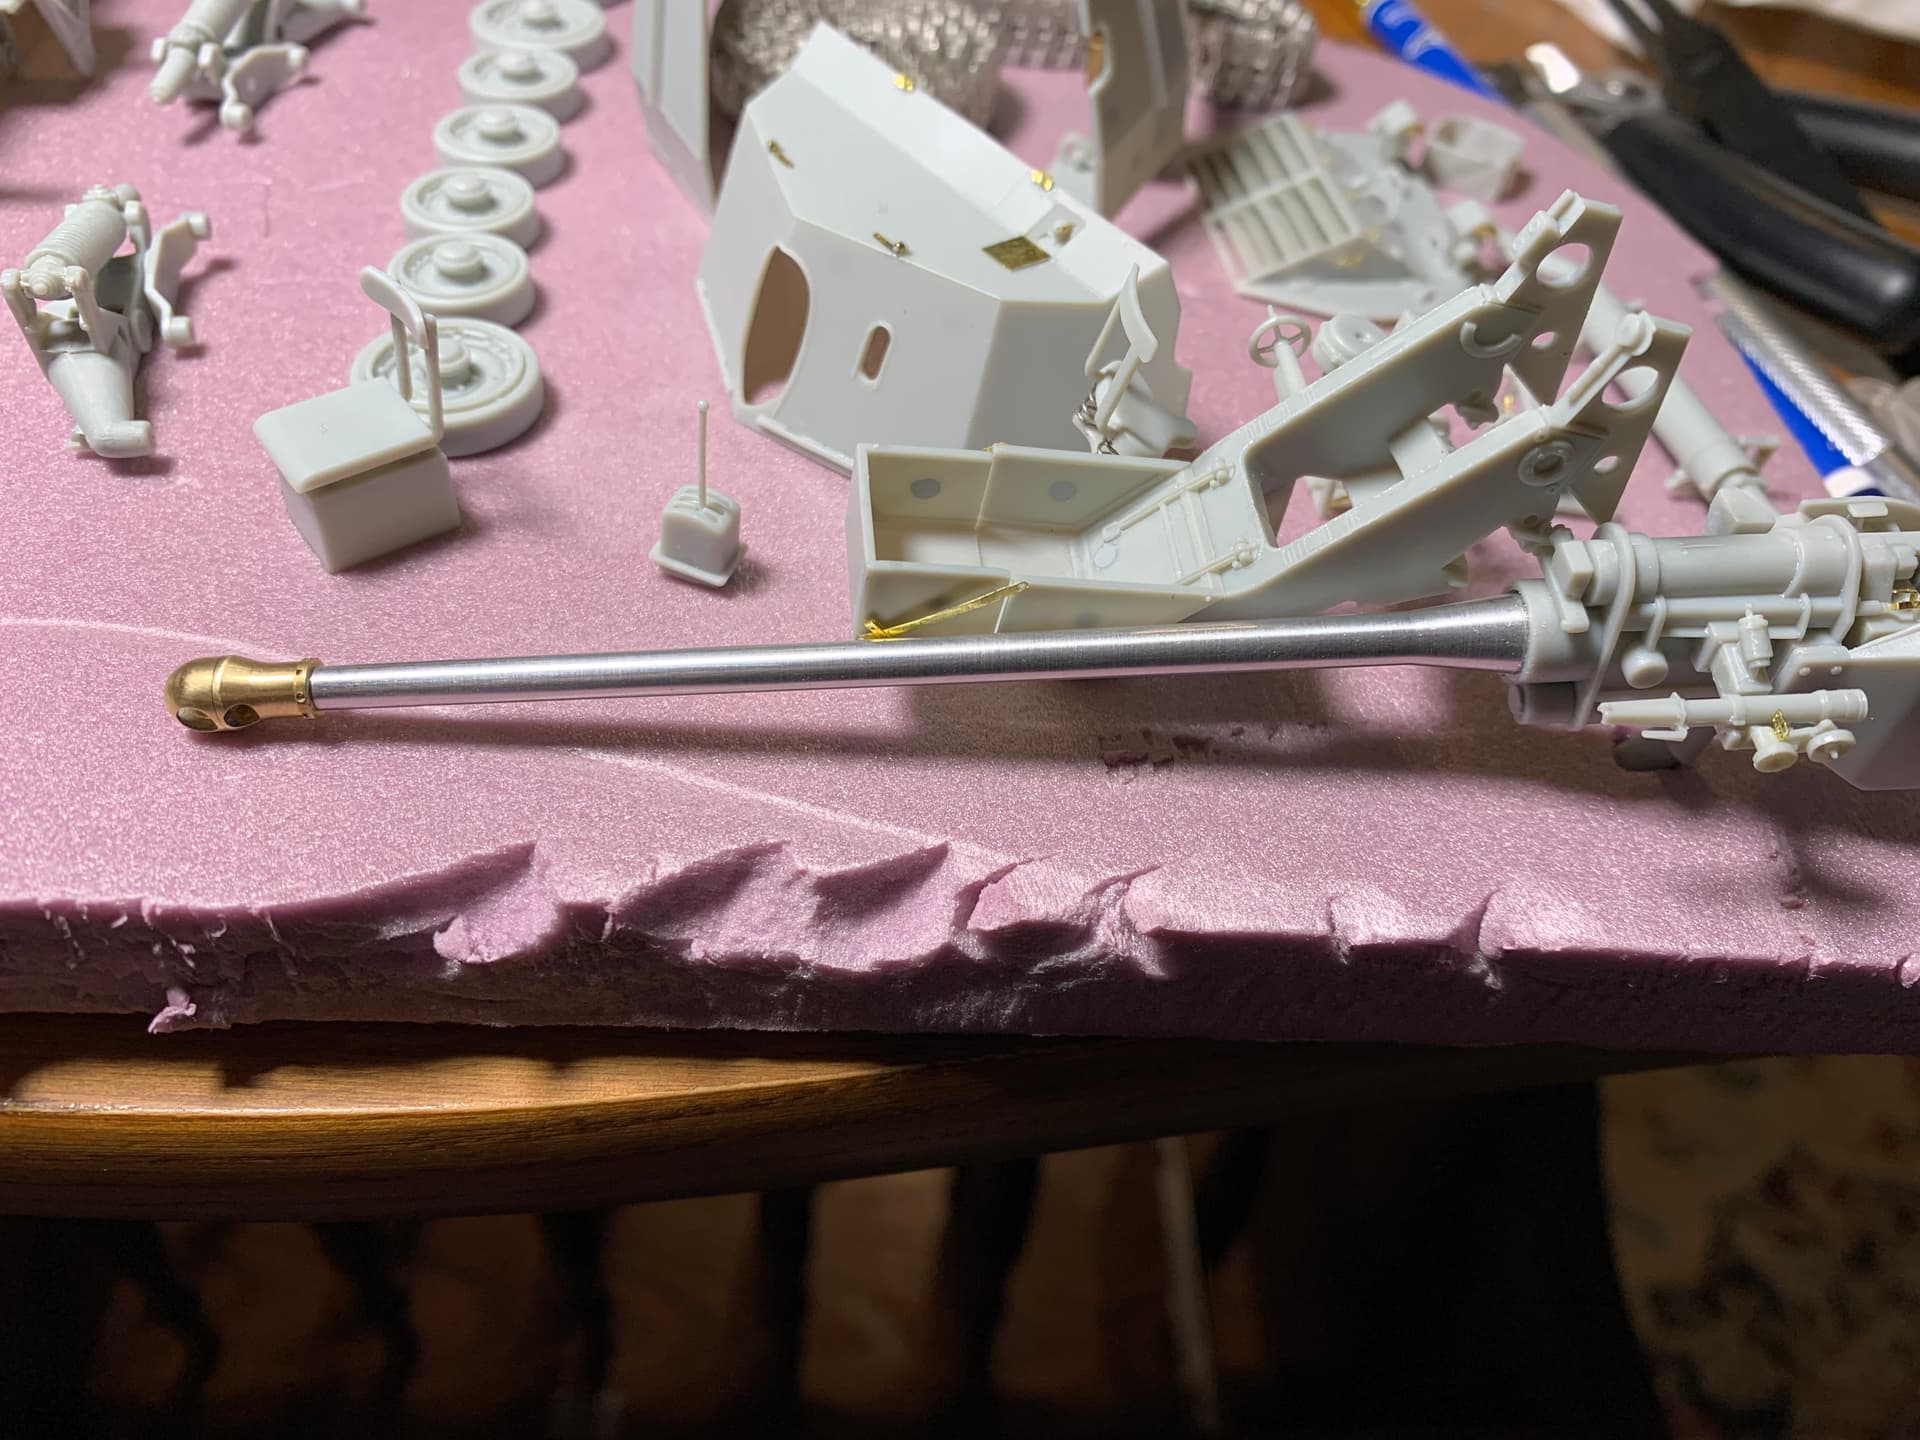
Closing in on the finish line. Last major hurdle was the gun assembly. Went together easily but was fiddly. It’s really well engineered though and even comes with with working breech block!
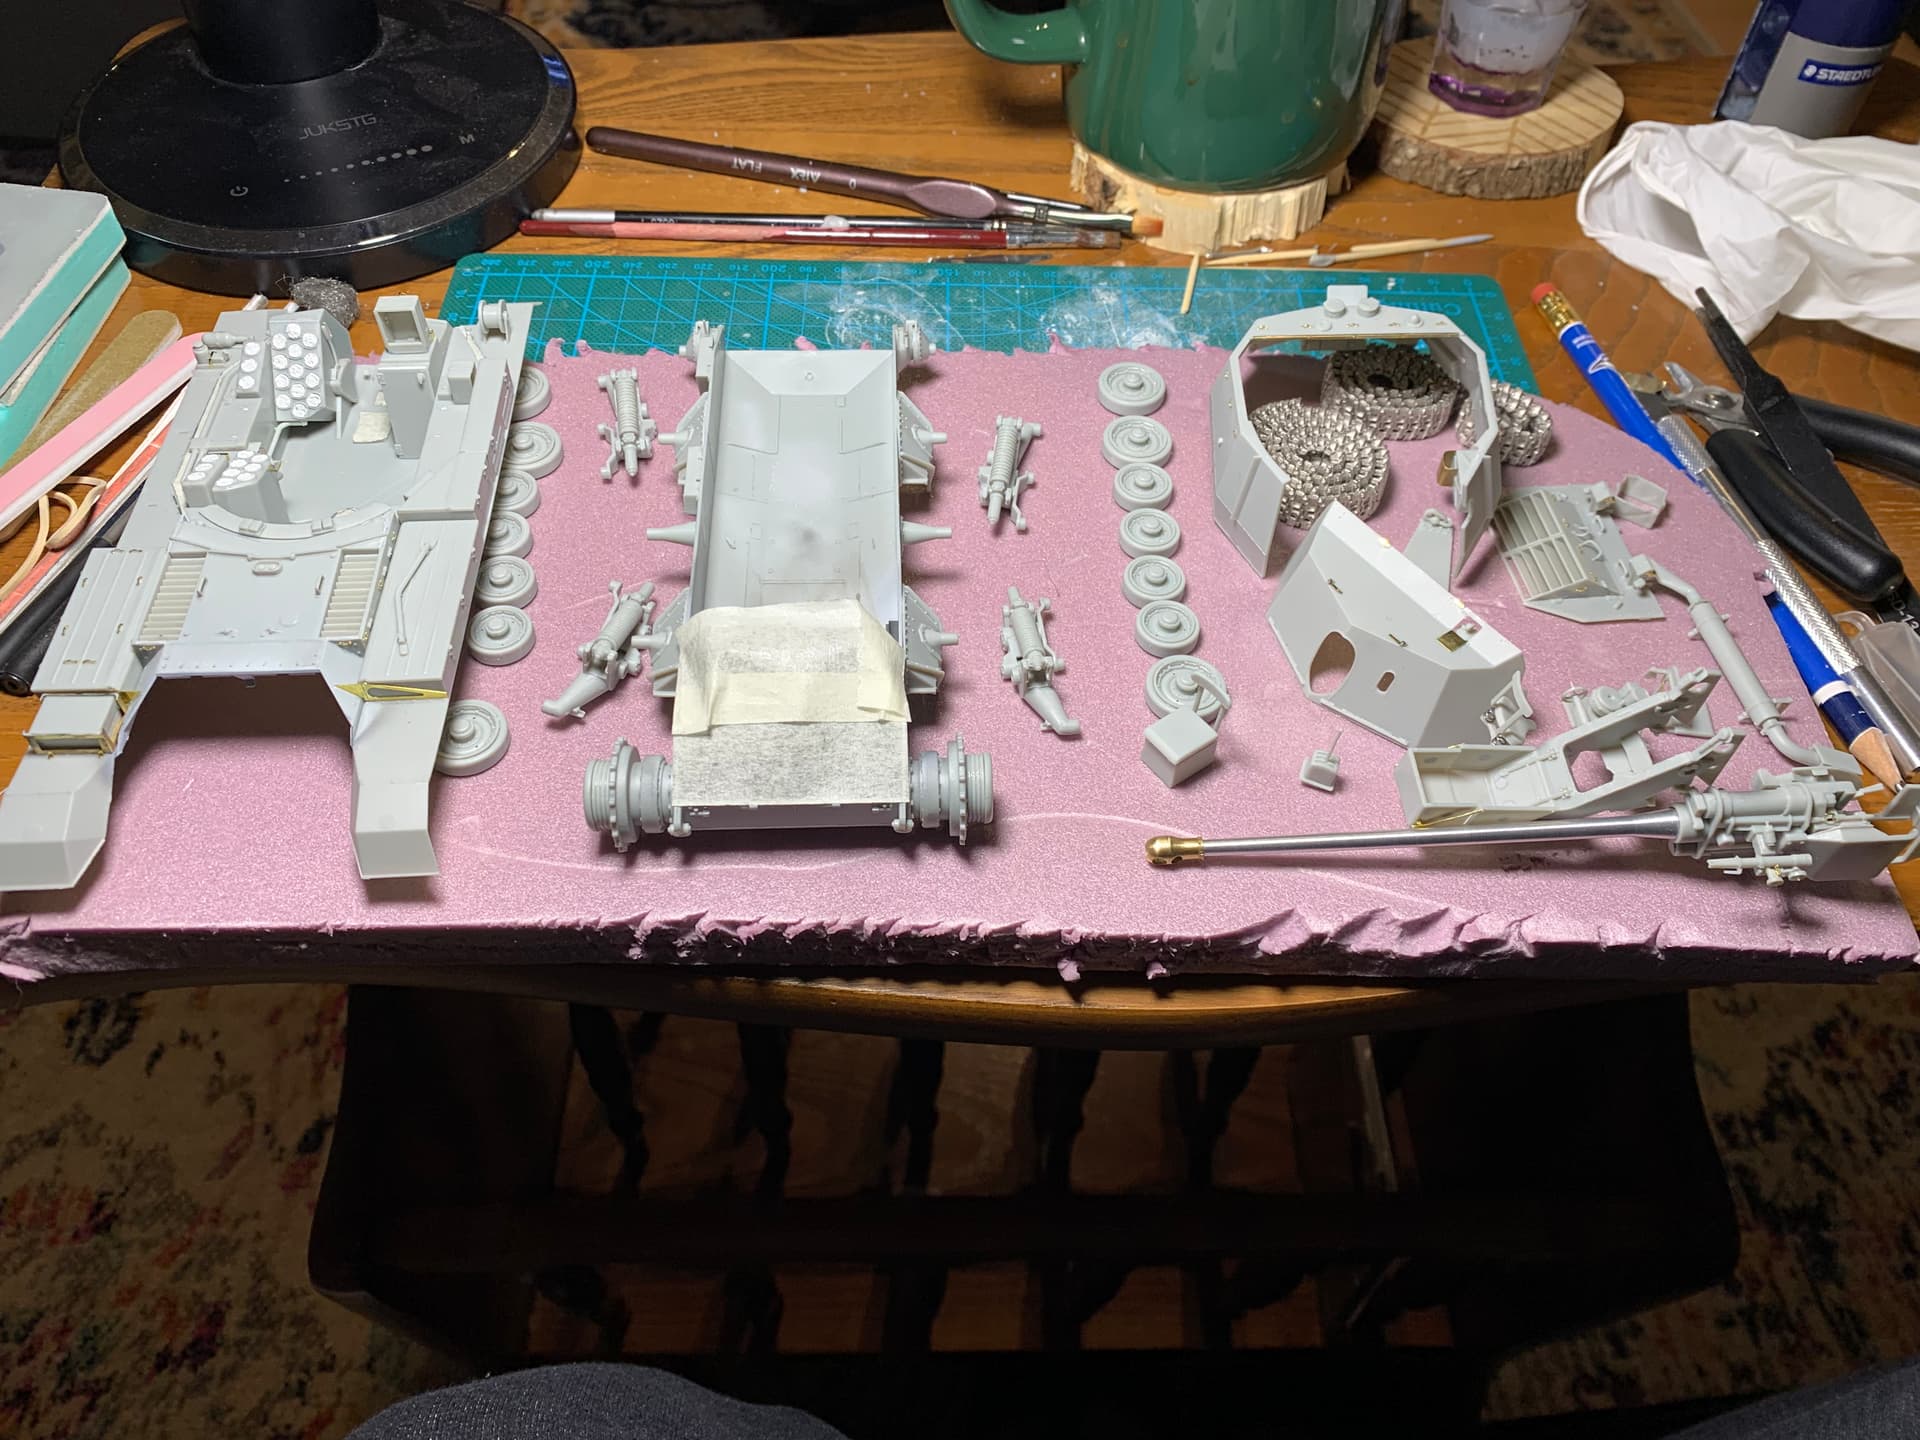
Just a few minor subassemblies, hope to lay down primer this weekend

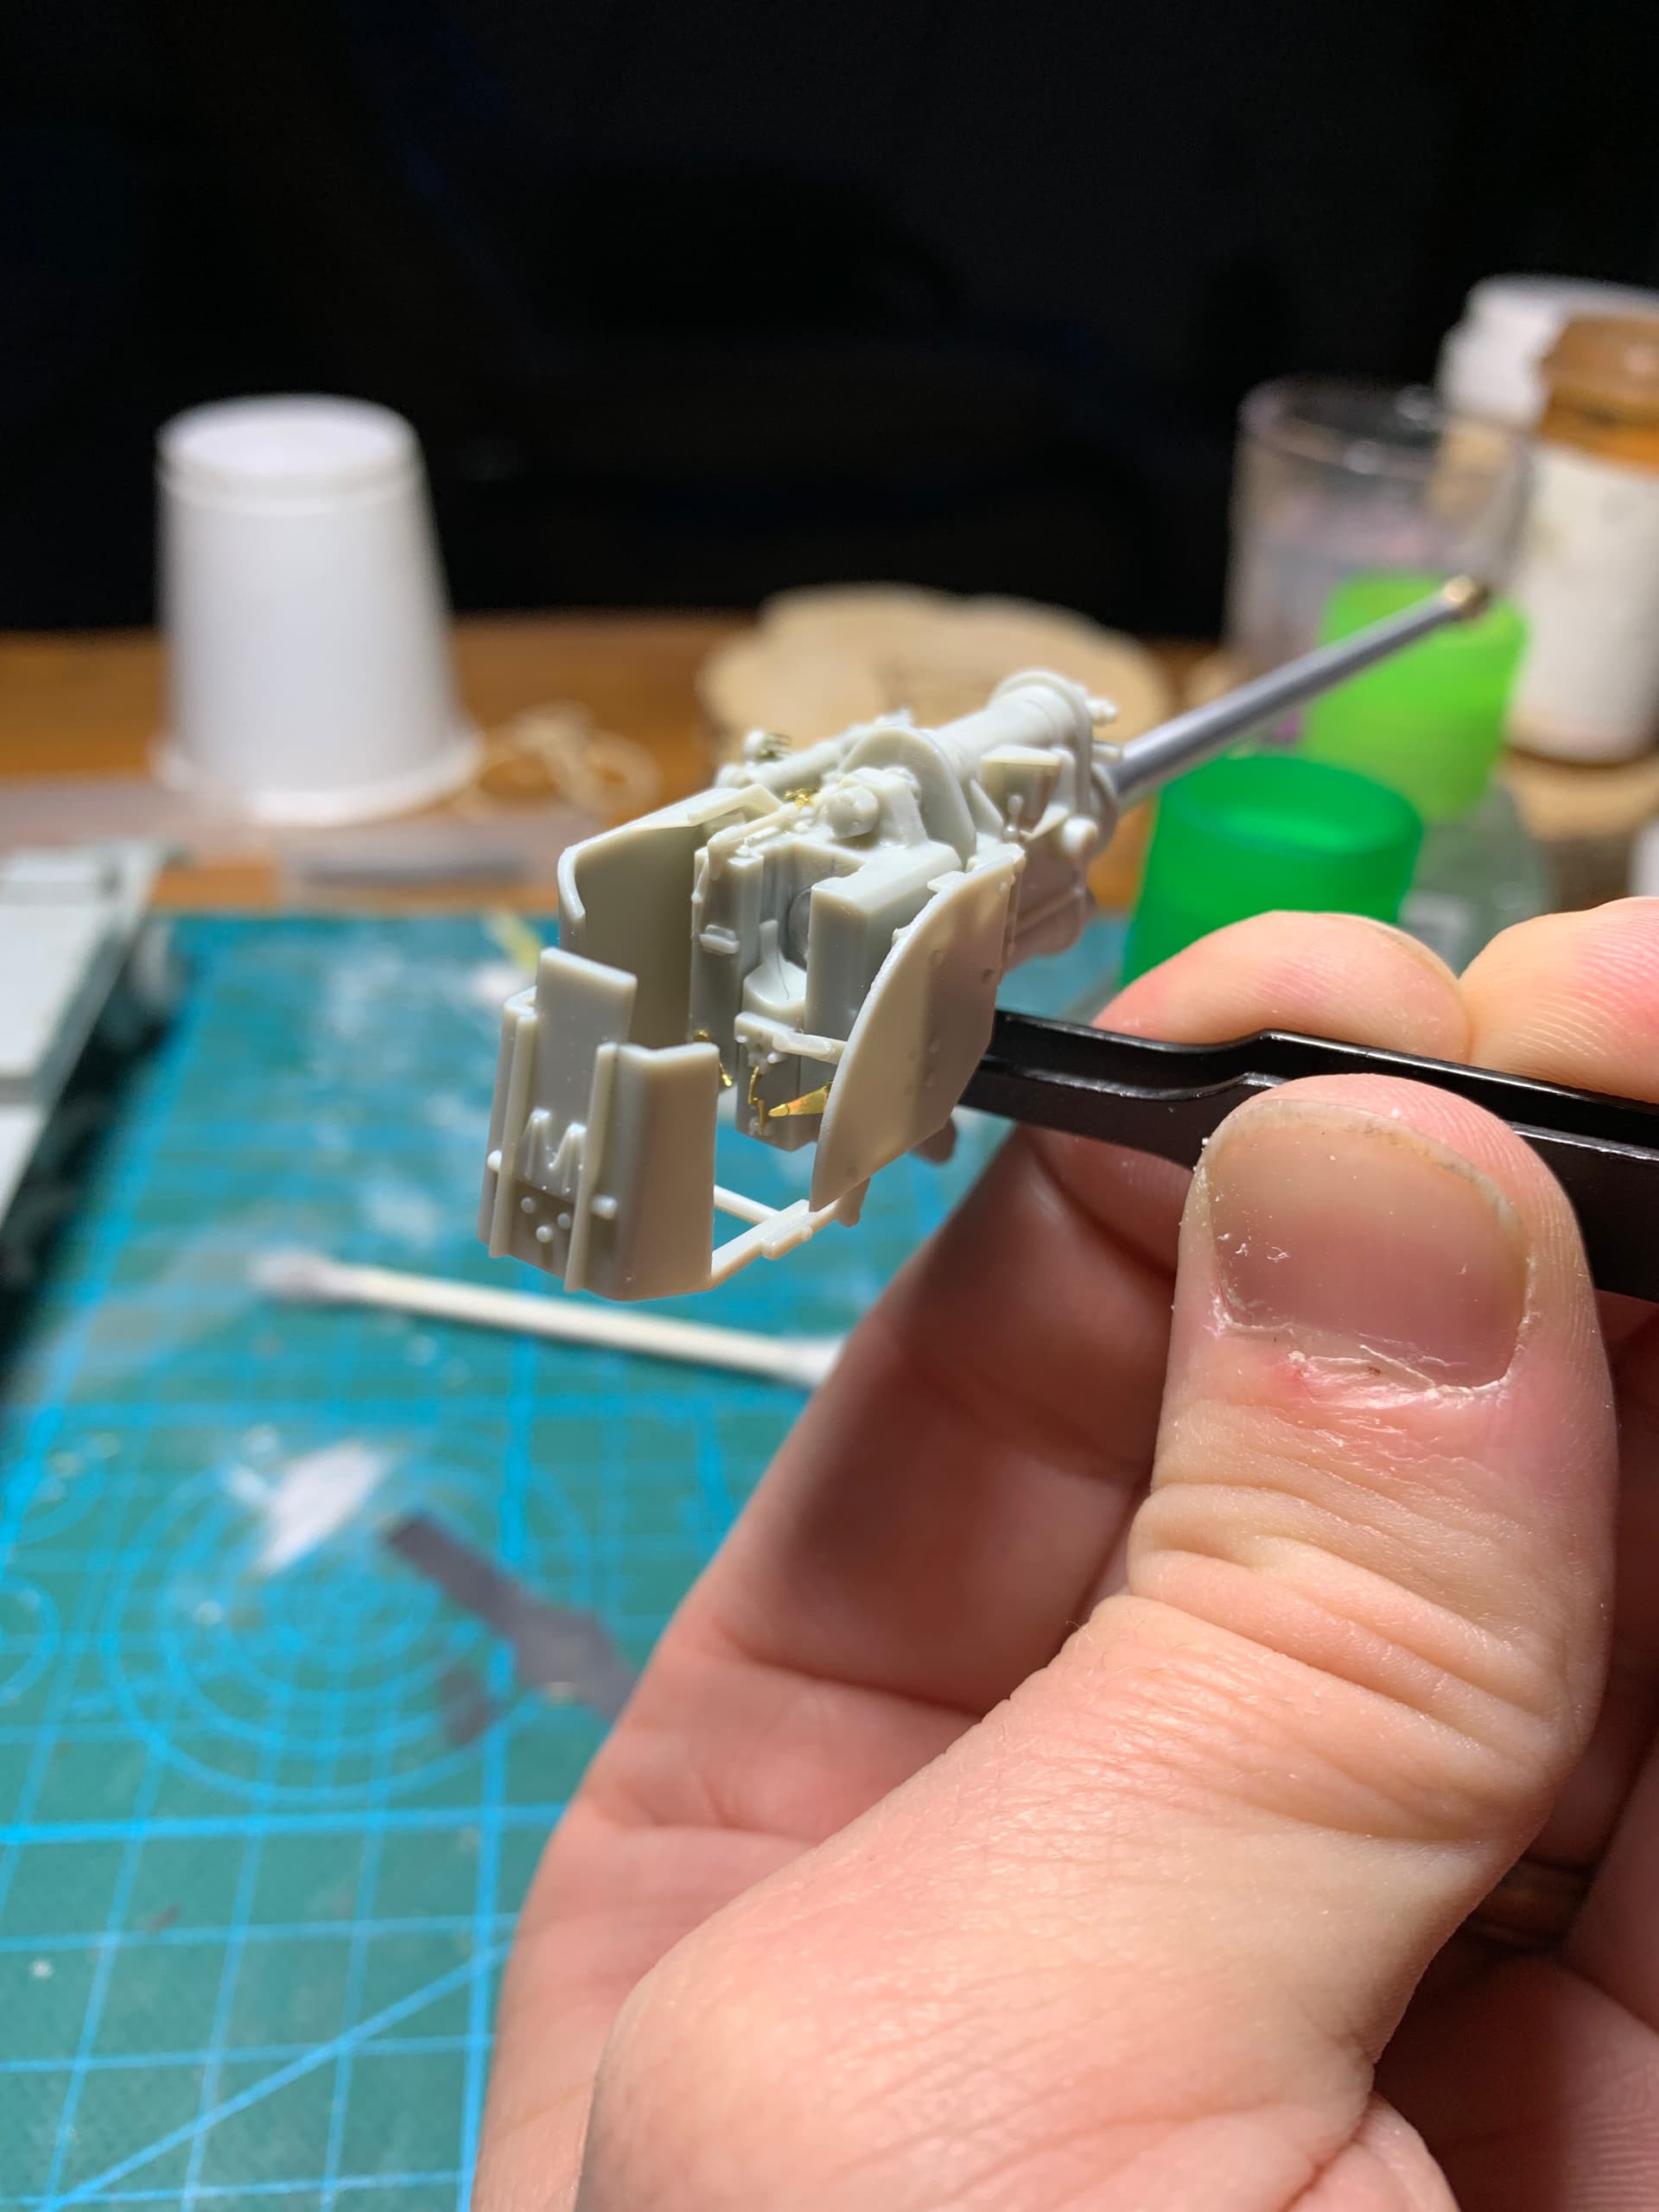
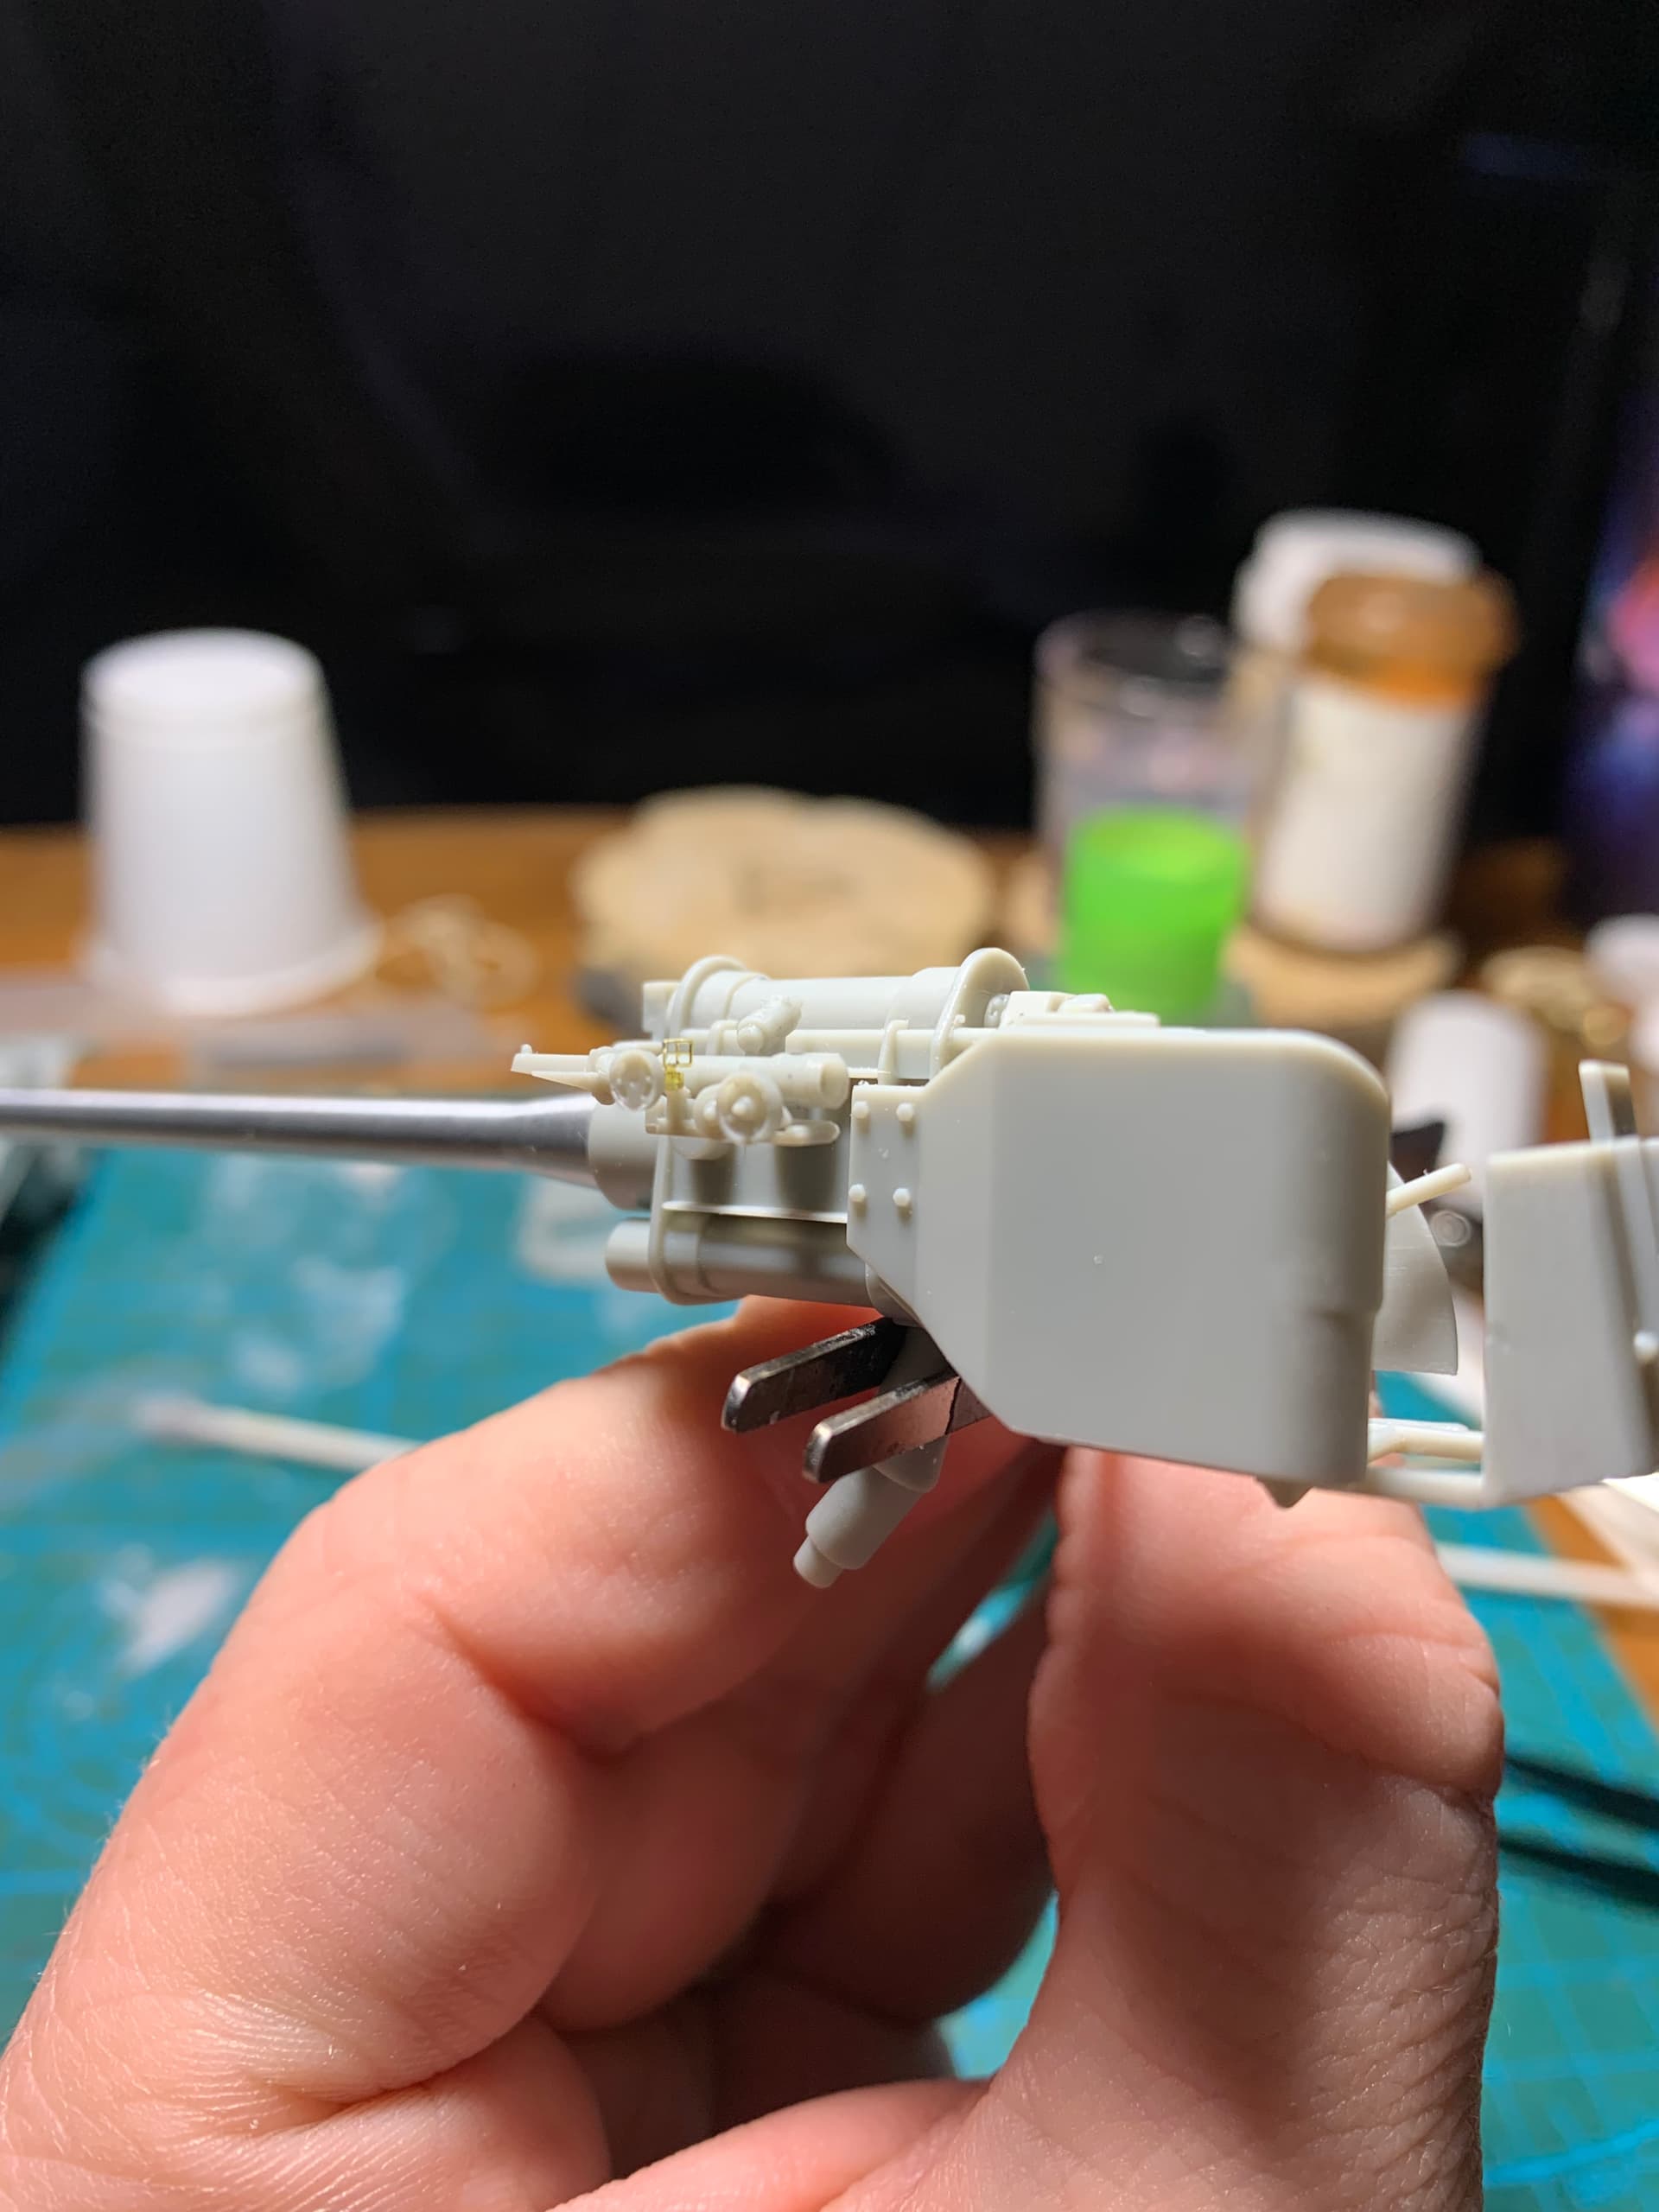
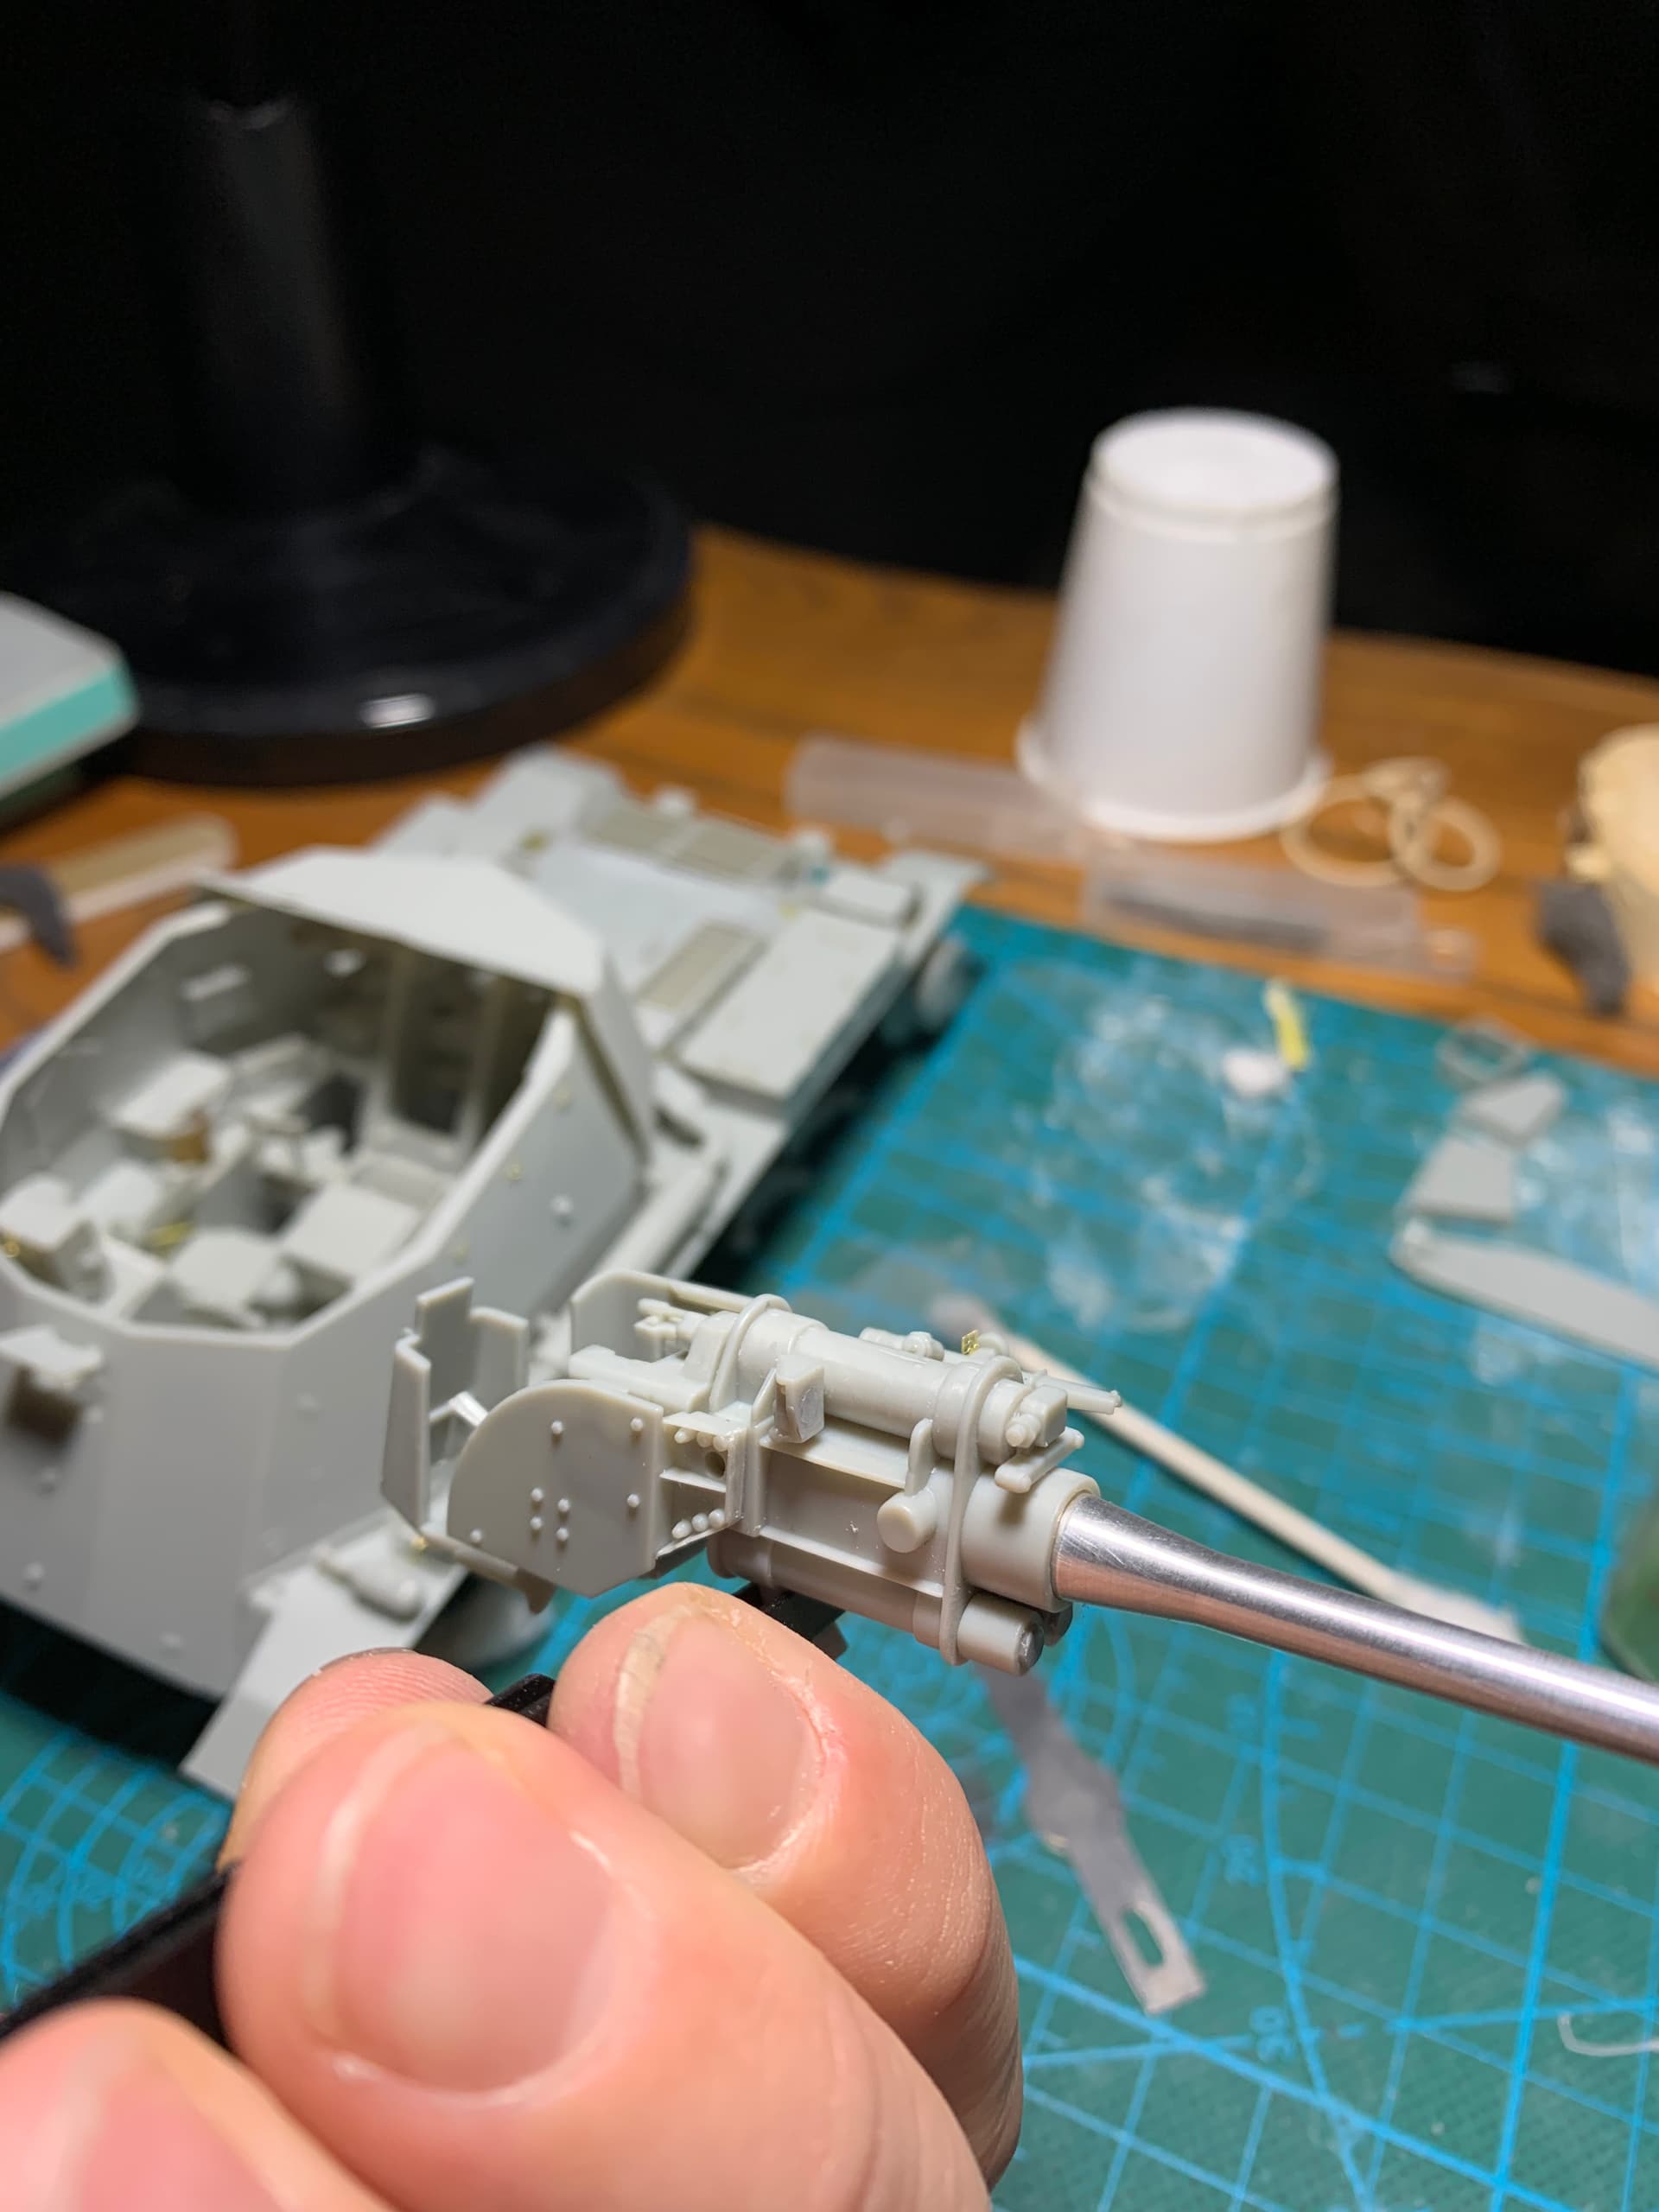
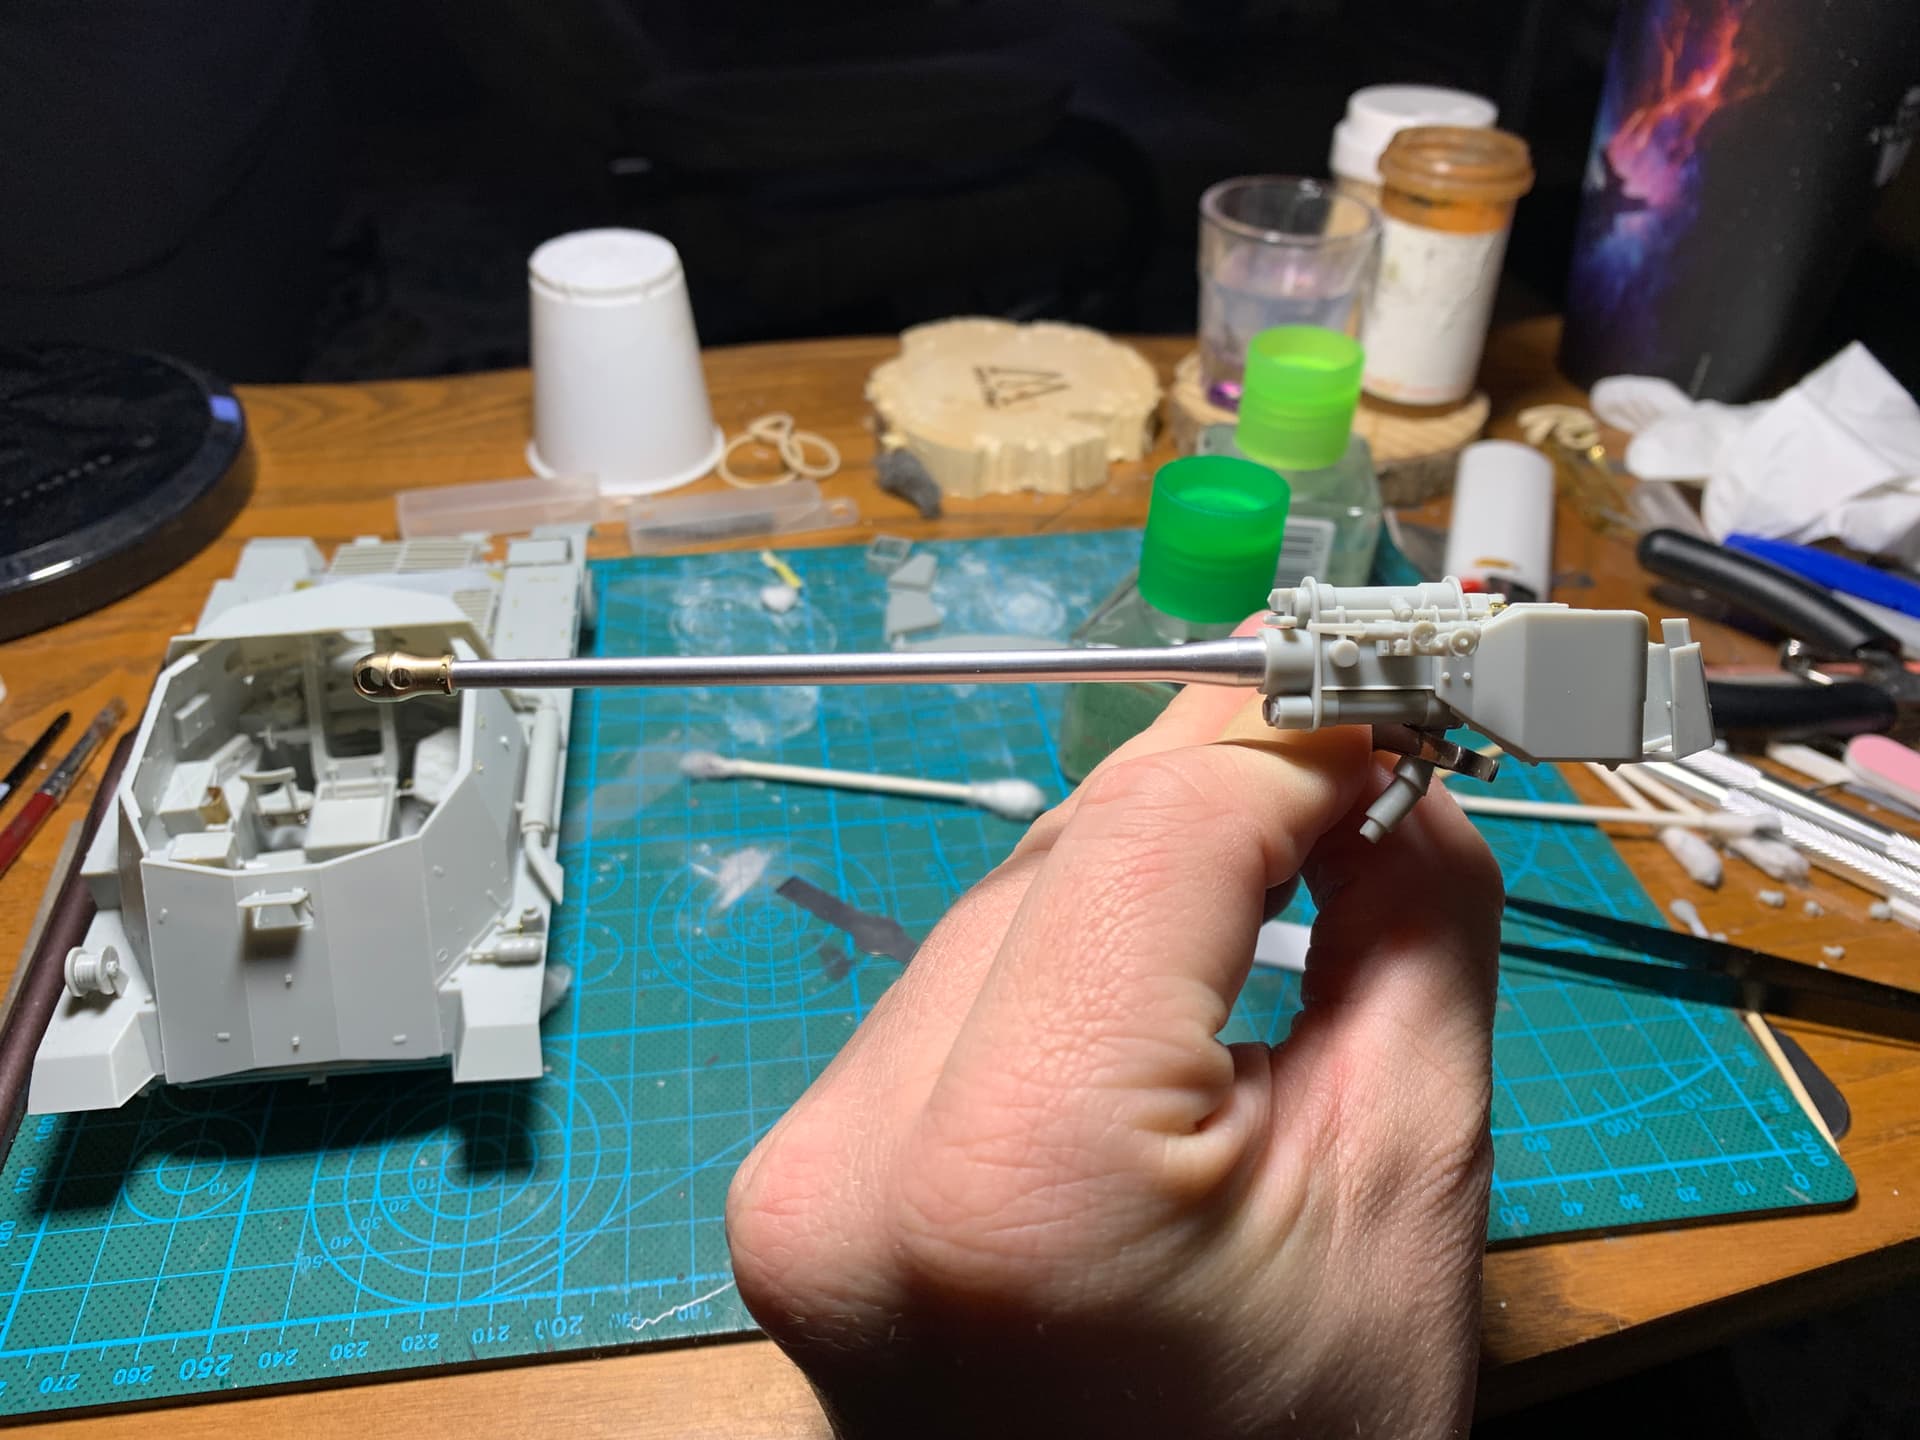
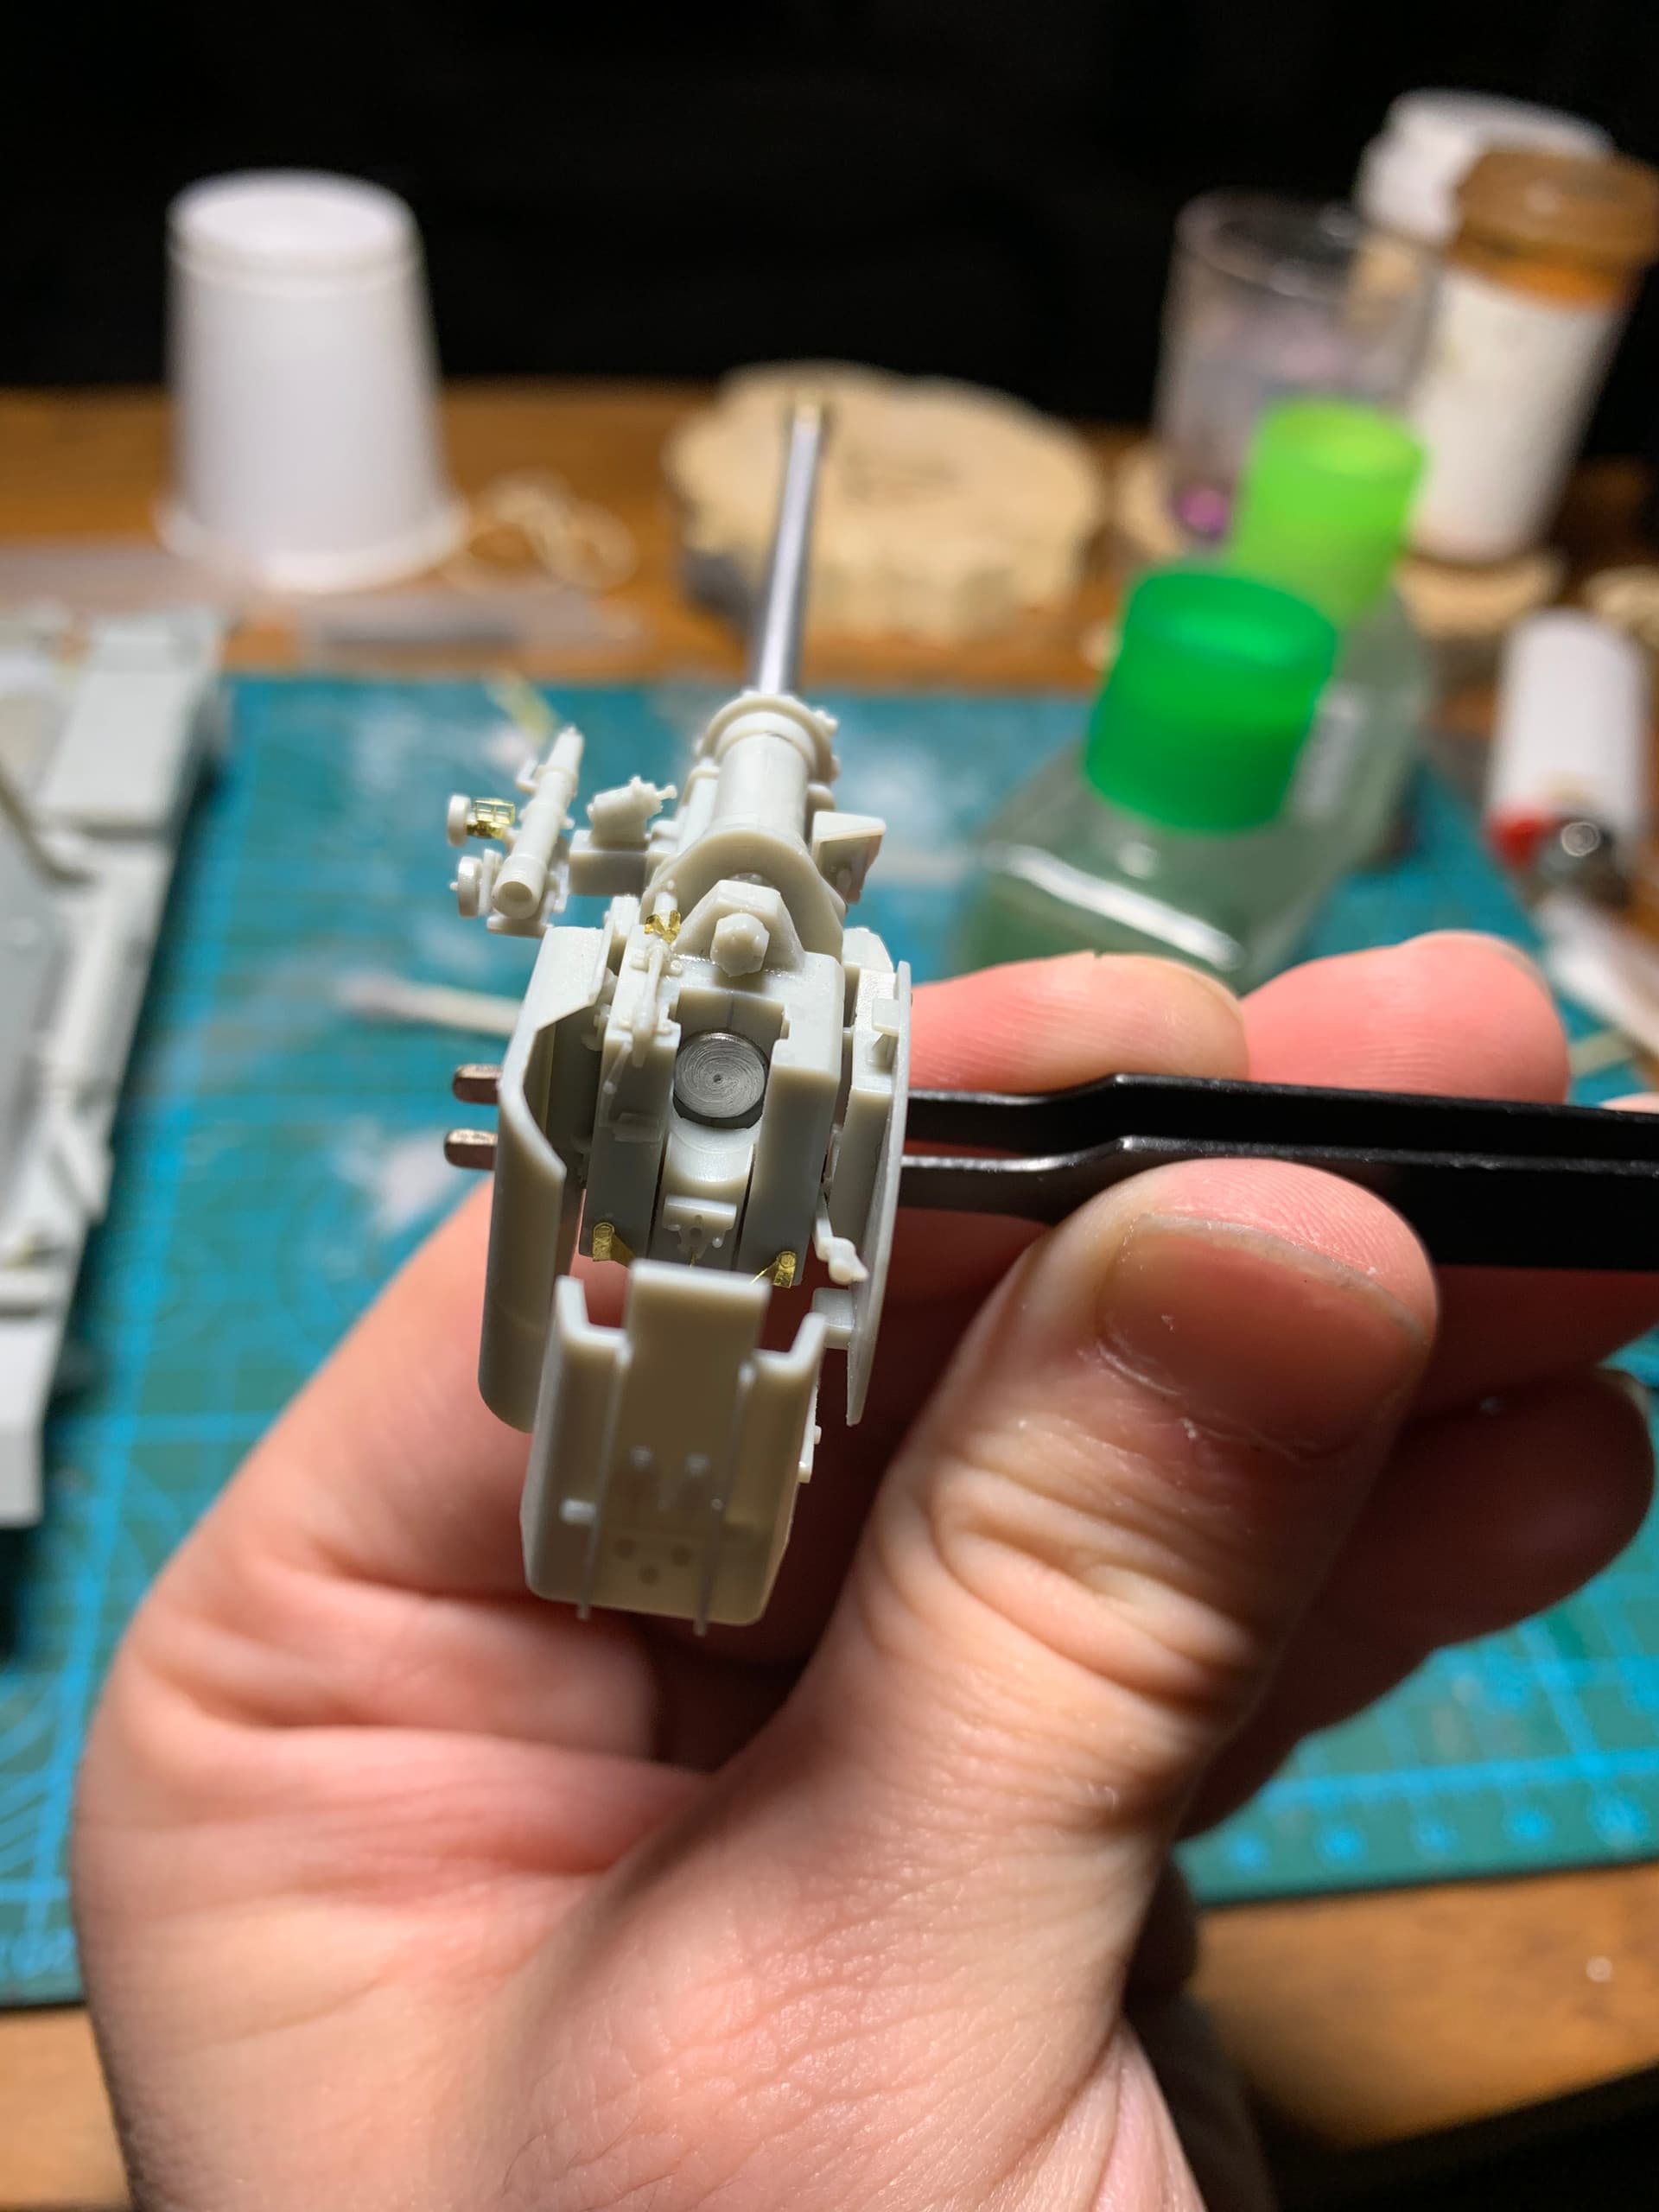
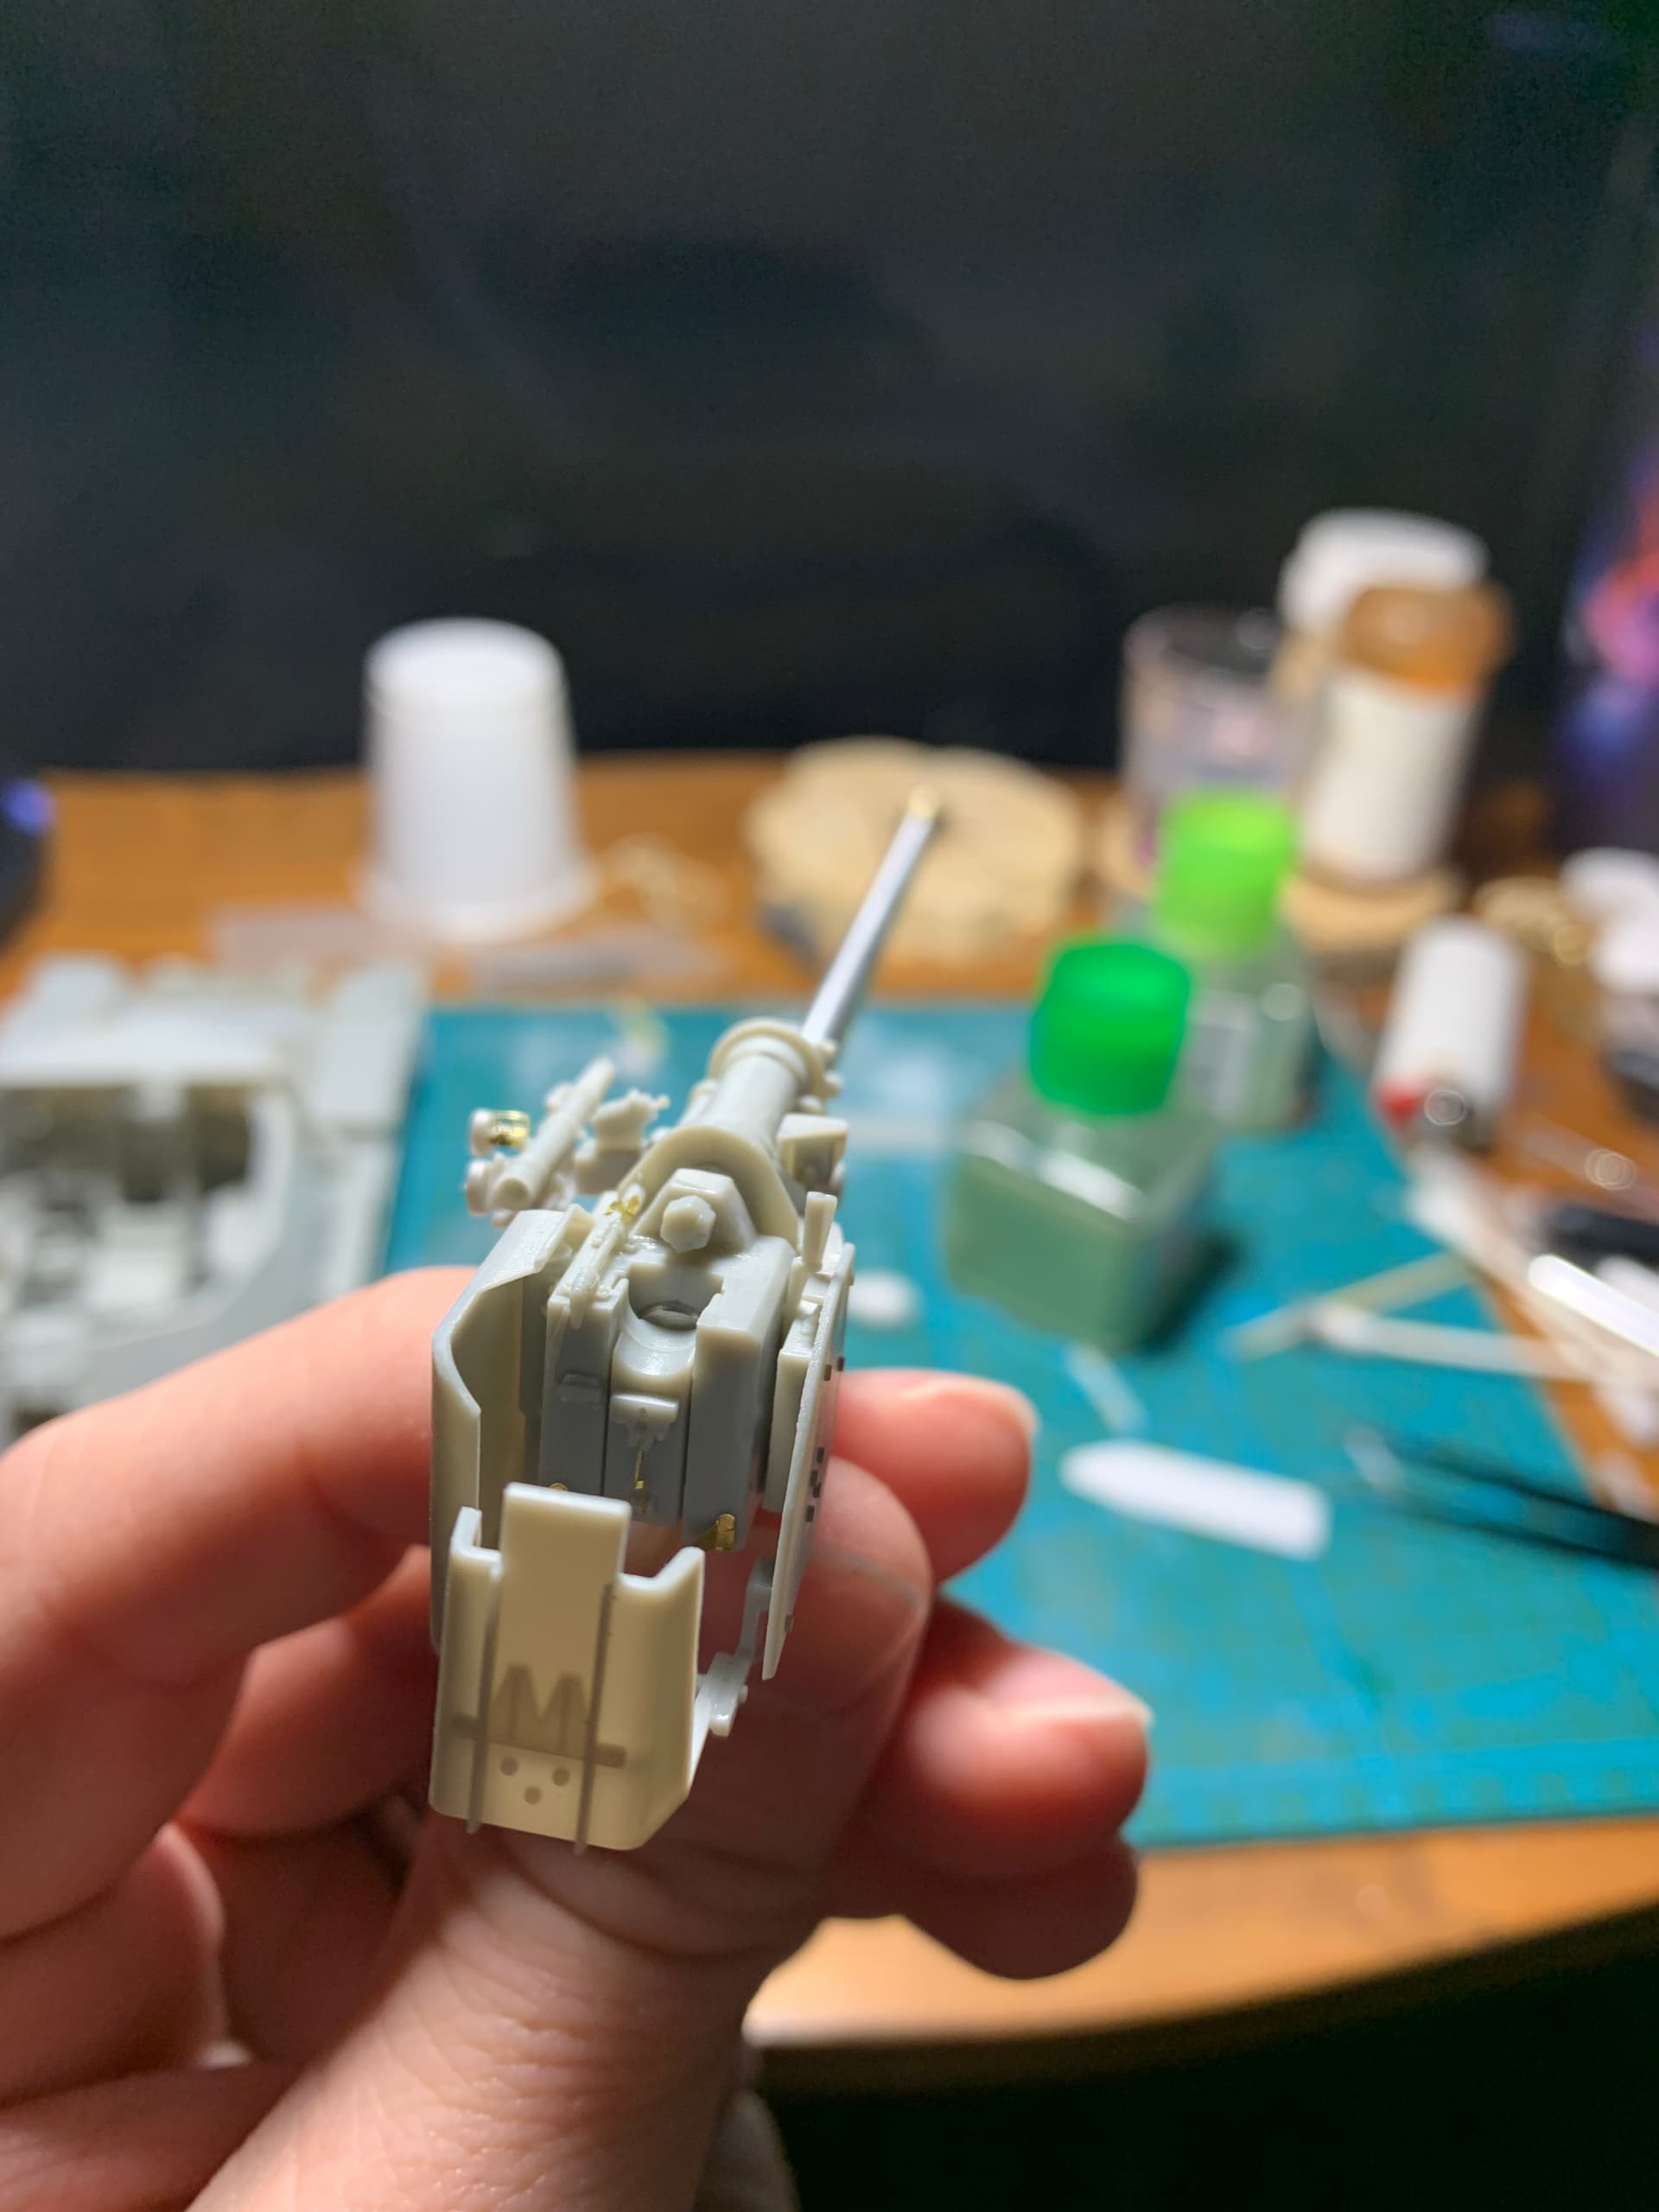
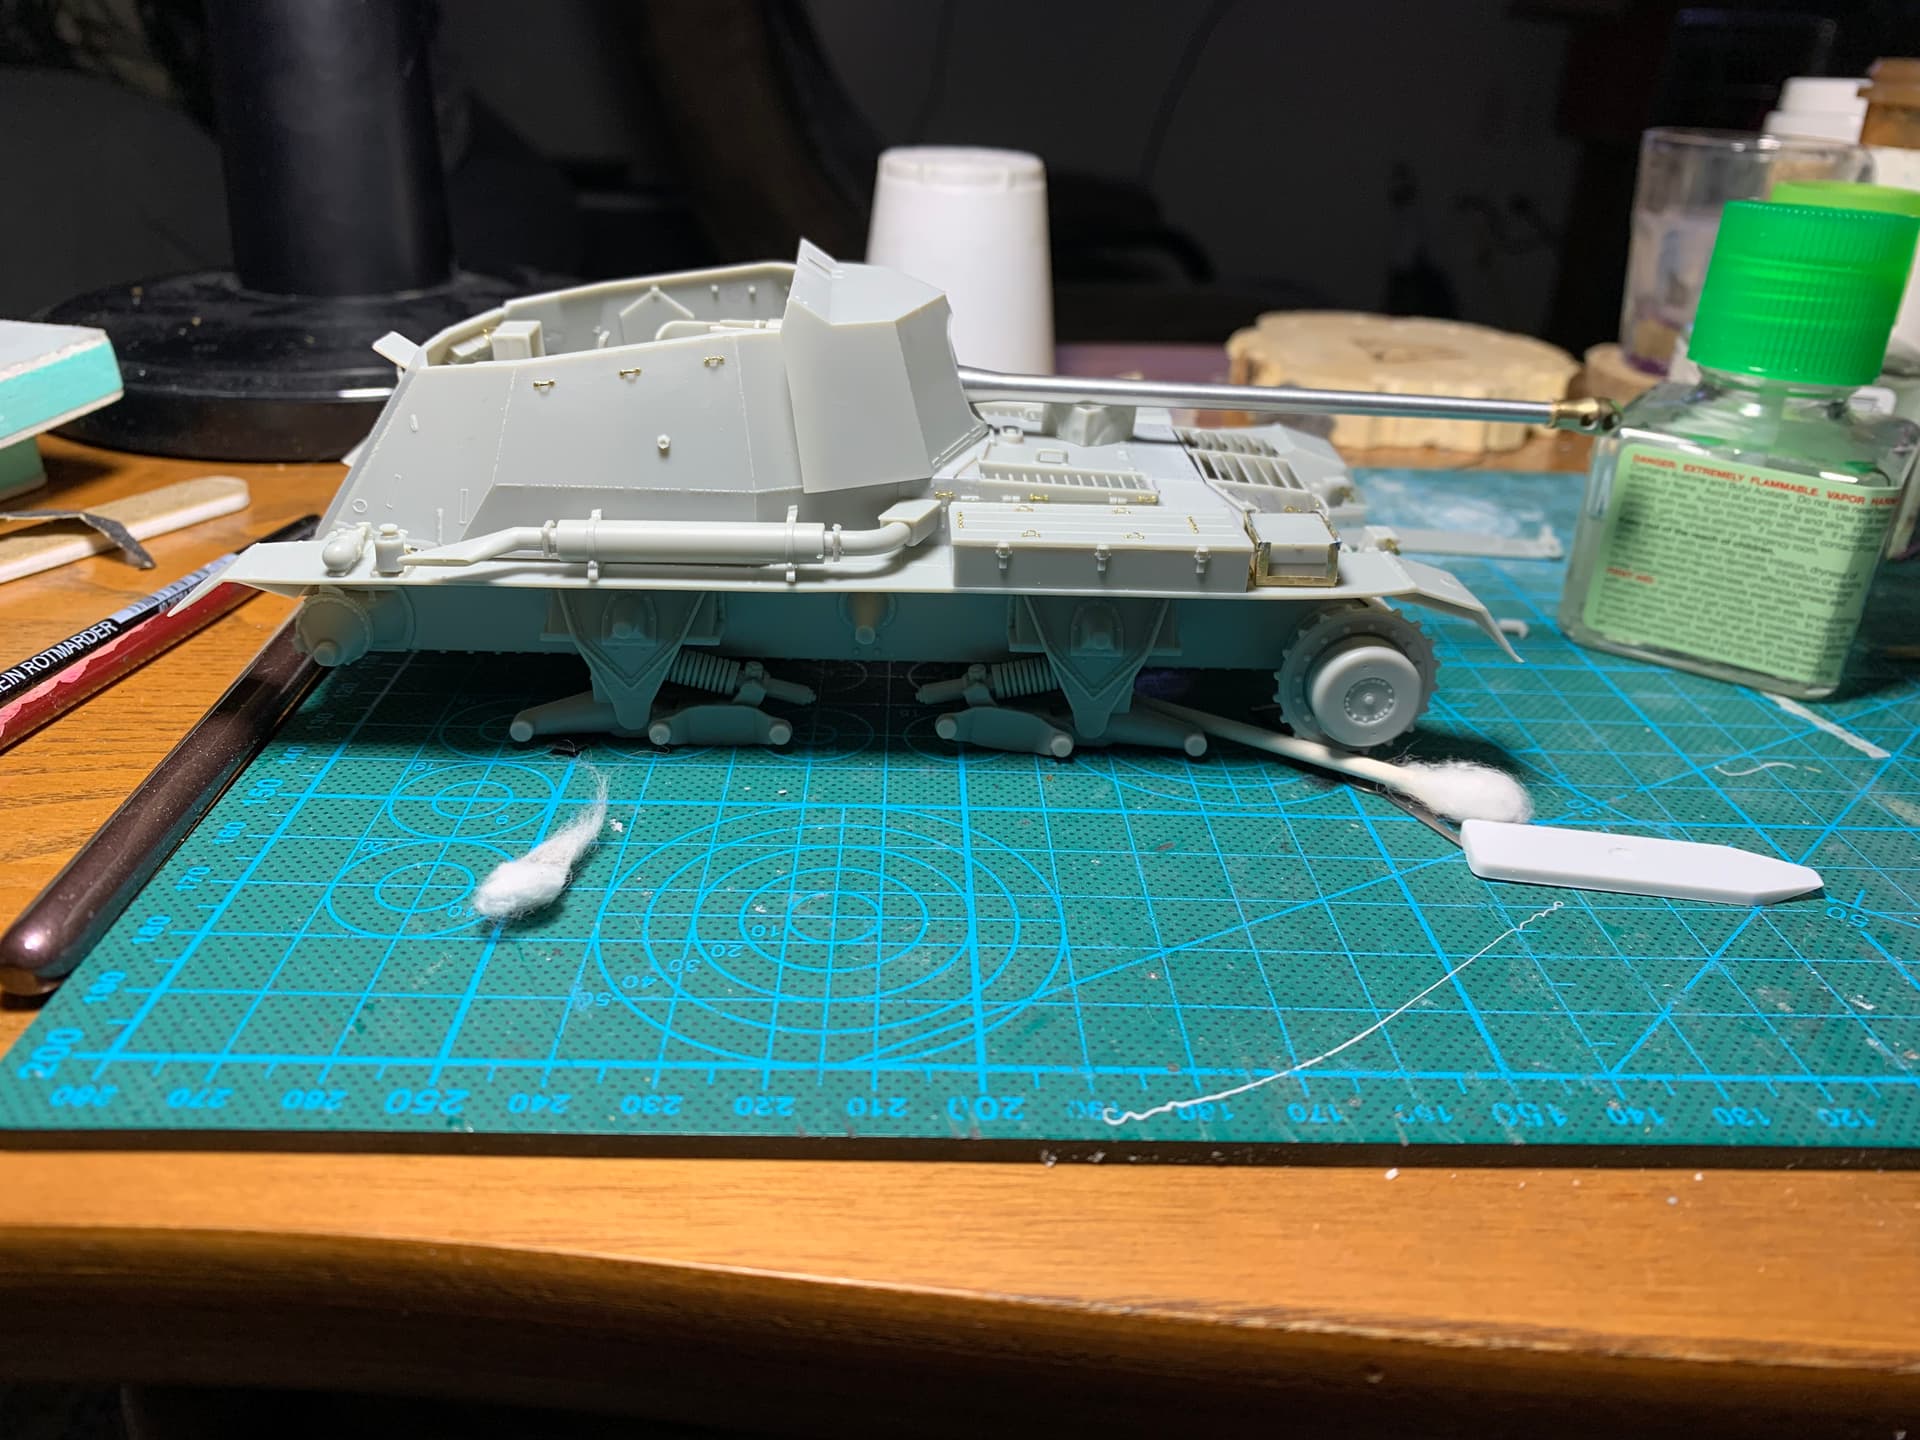
Metal barrel is a tad heavy so I might have to reinforce the joint
15 Likes
It is really coming together, mead! Looks very nice!
Kinda makes me want to do my Tamiya one. Just for contrast.
Thanks! It’s a really nice kit.
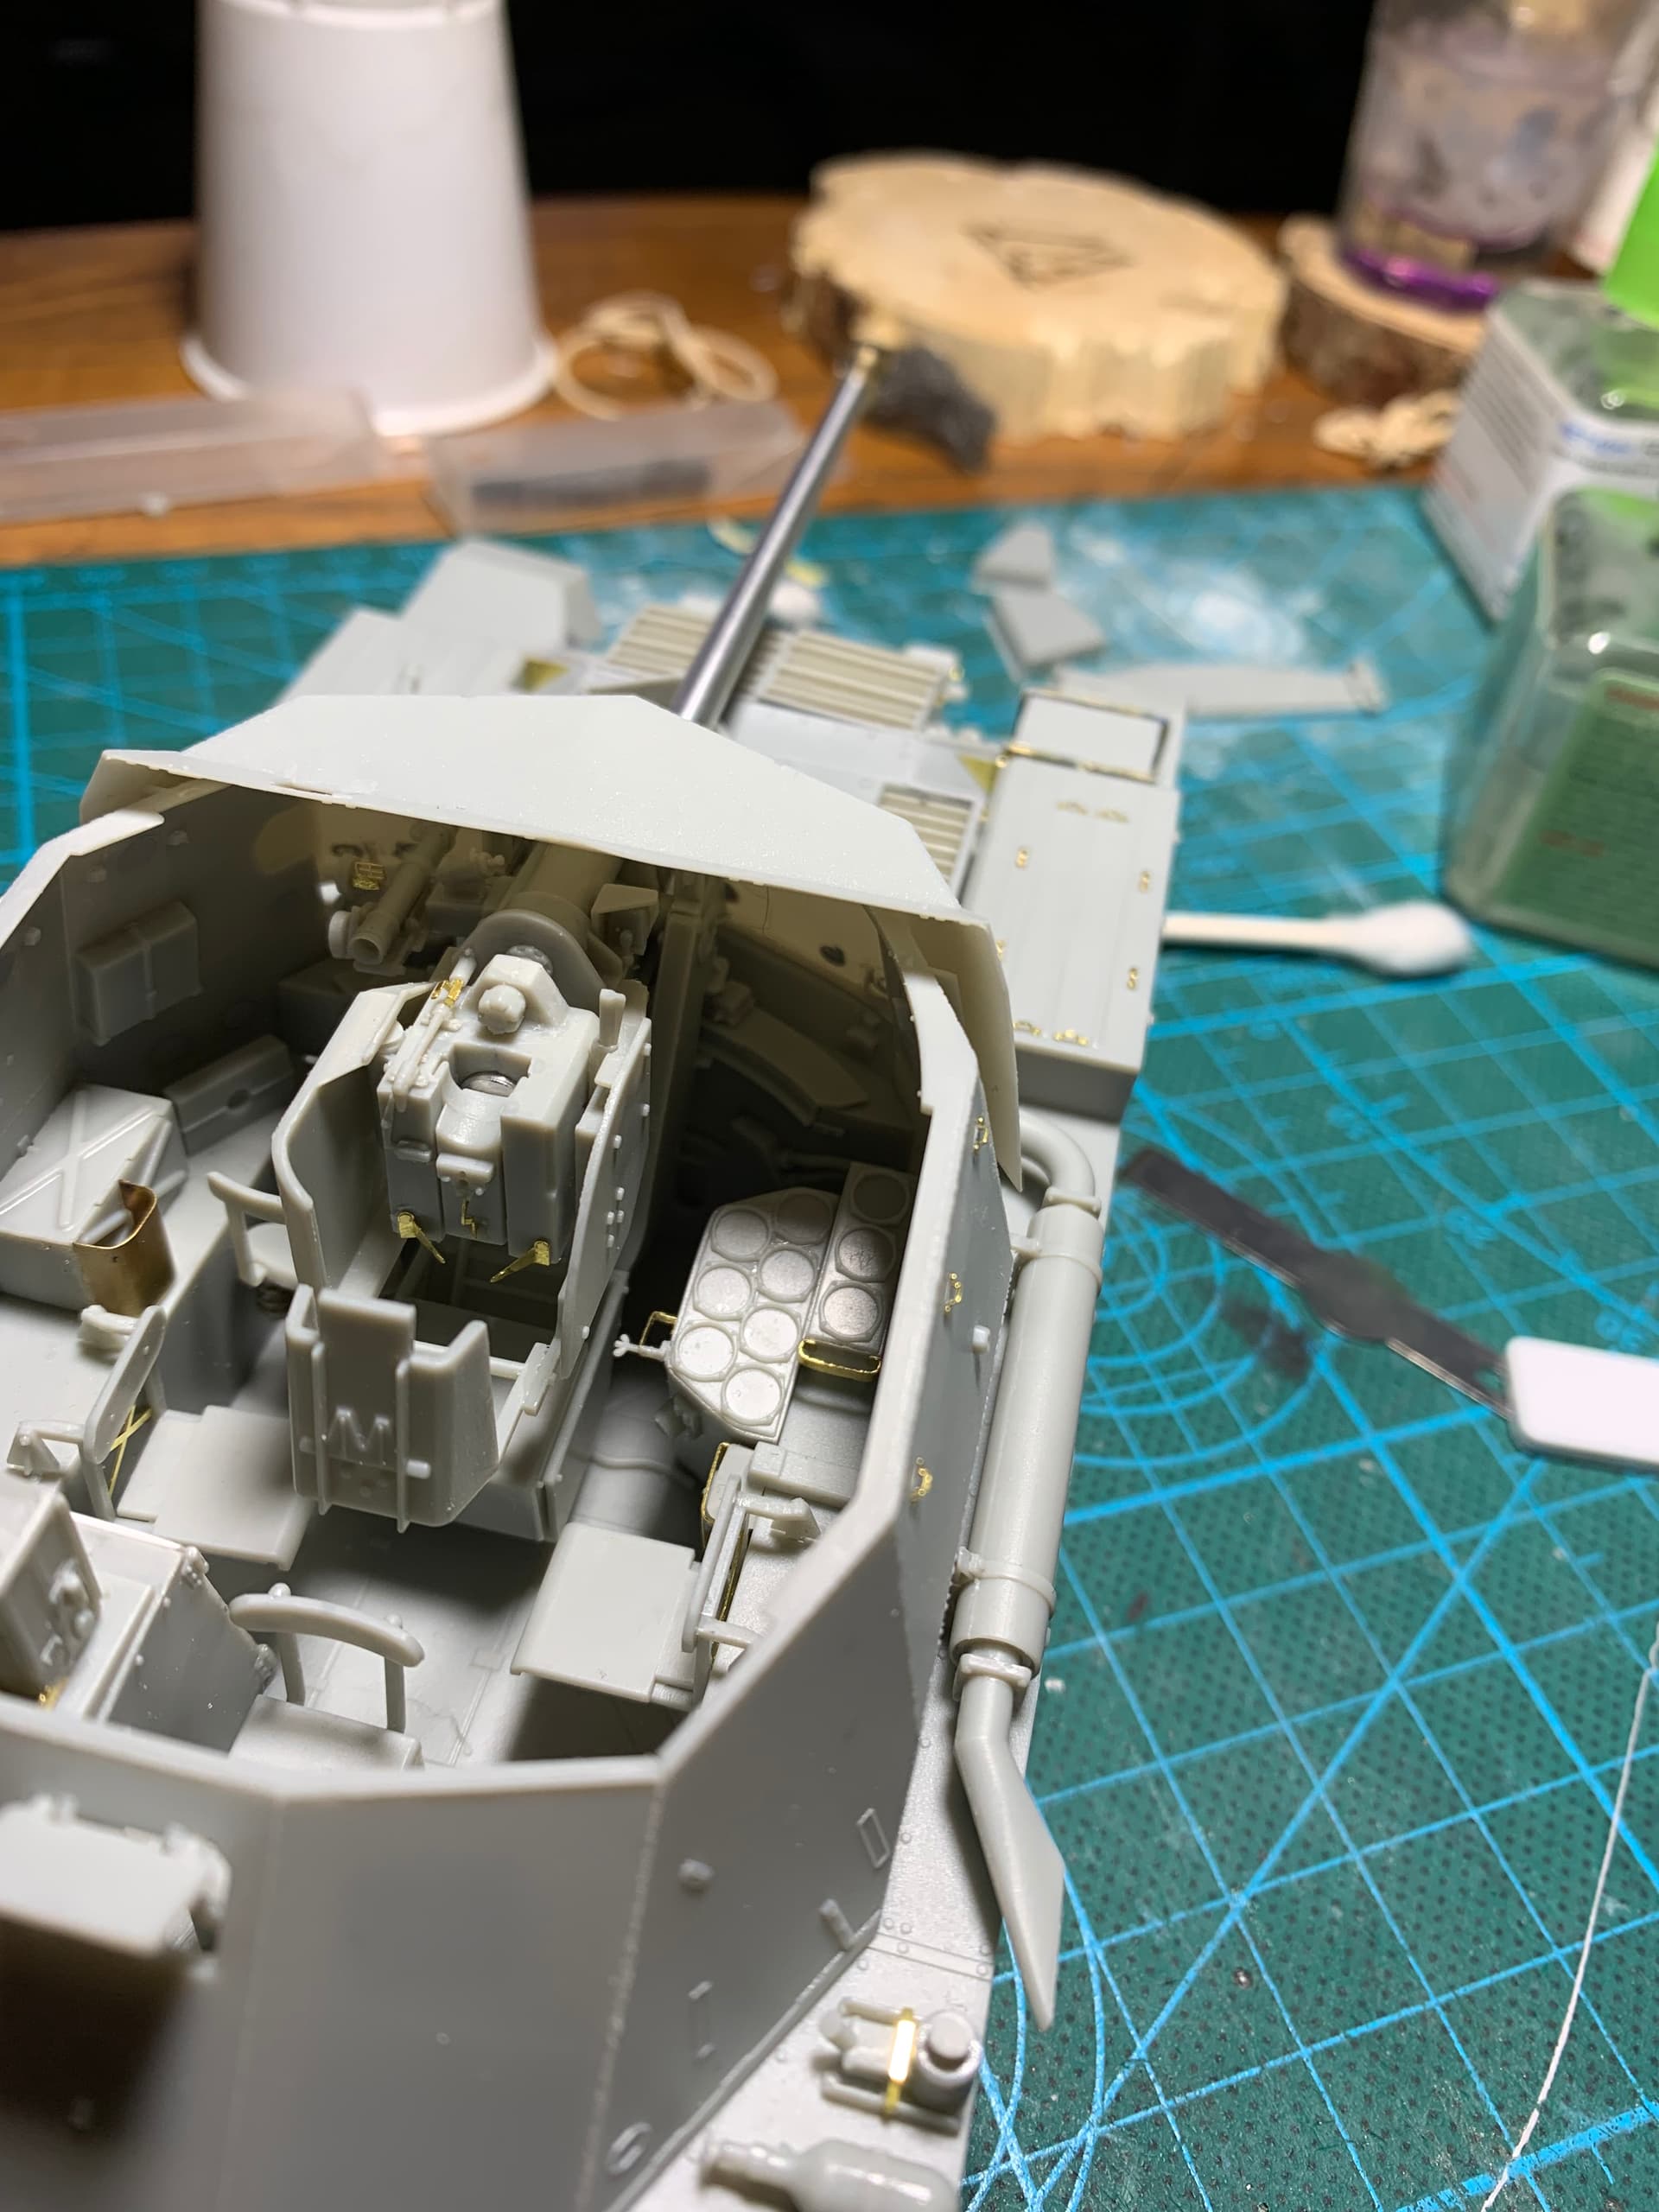
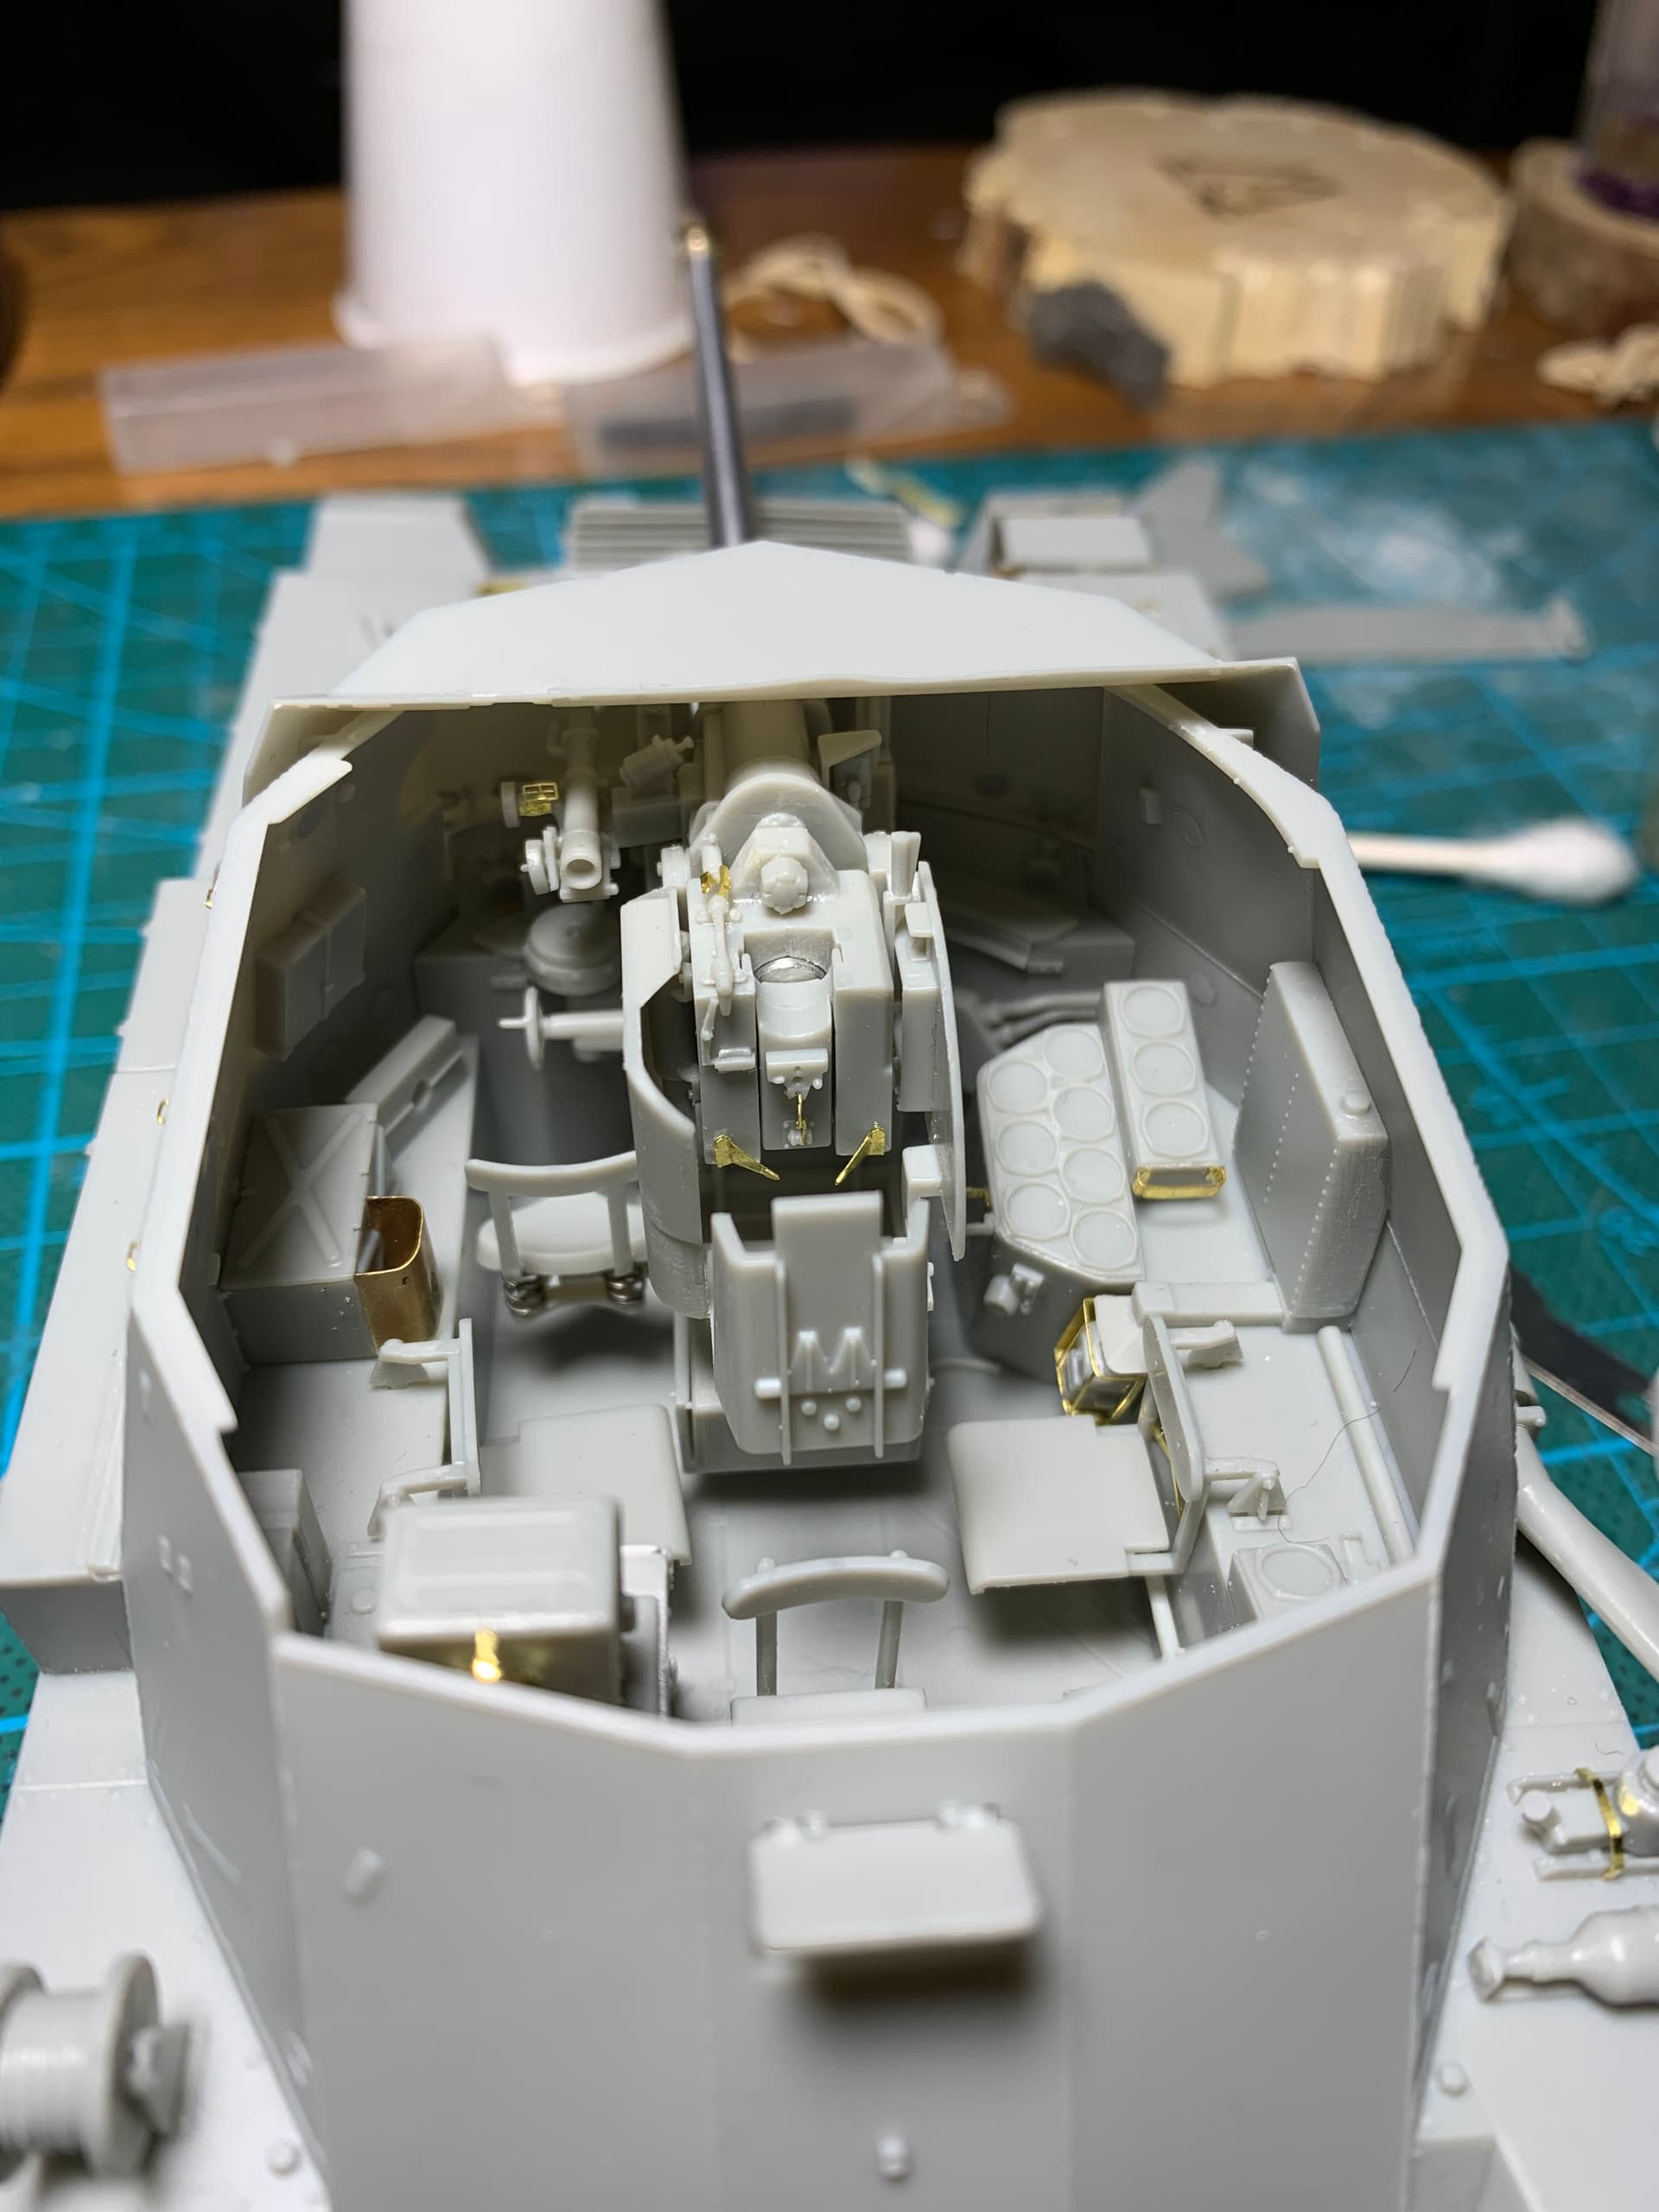
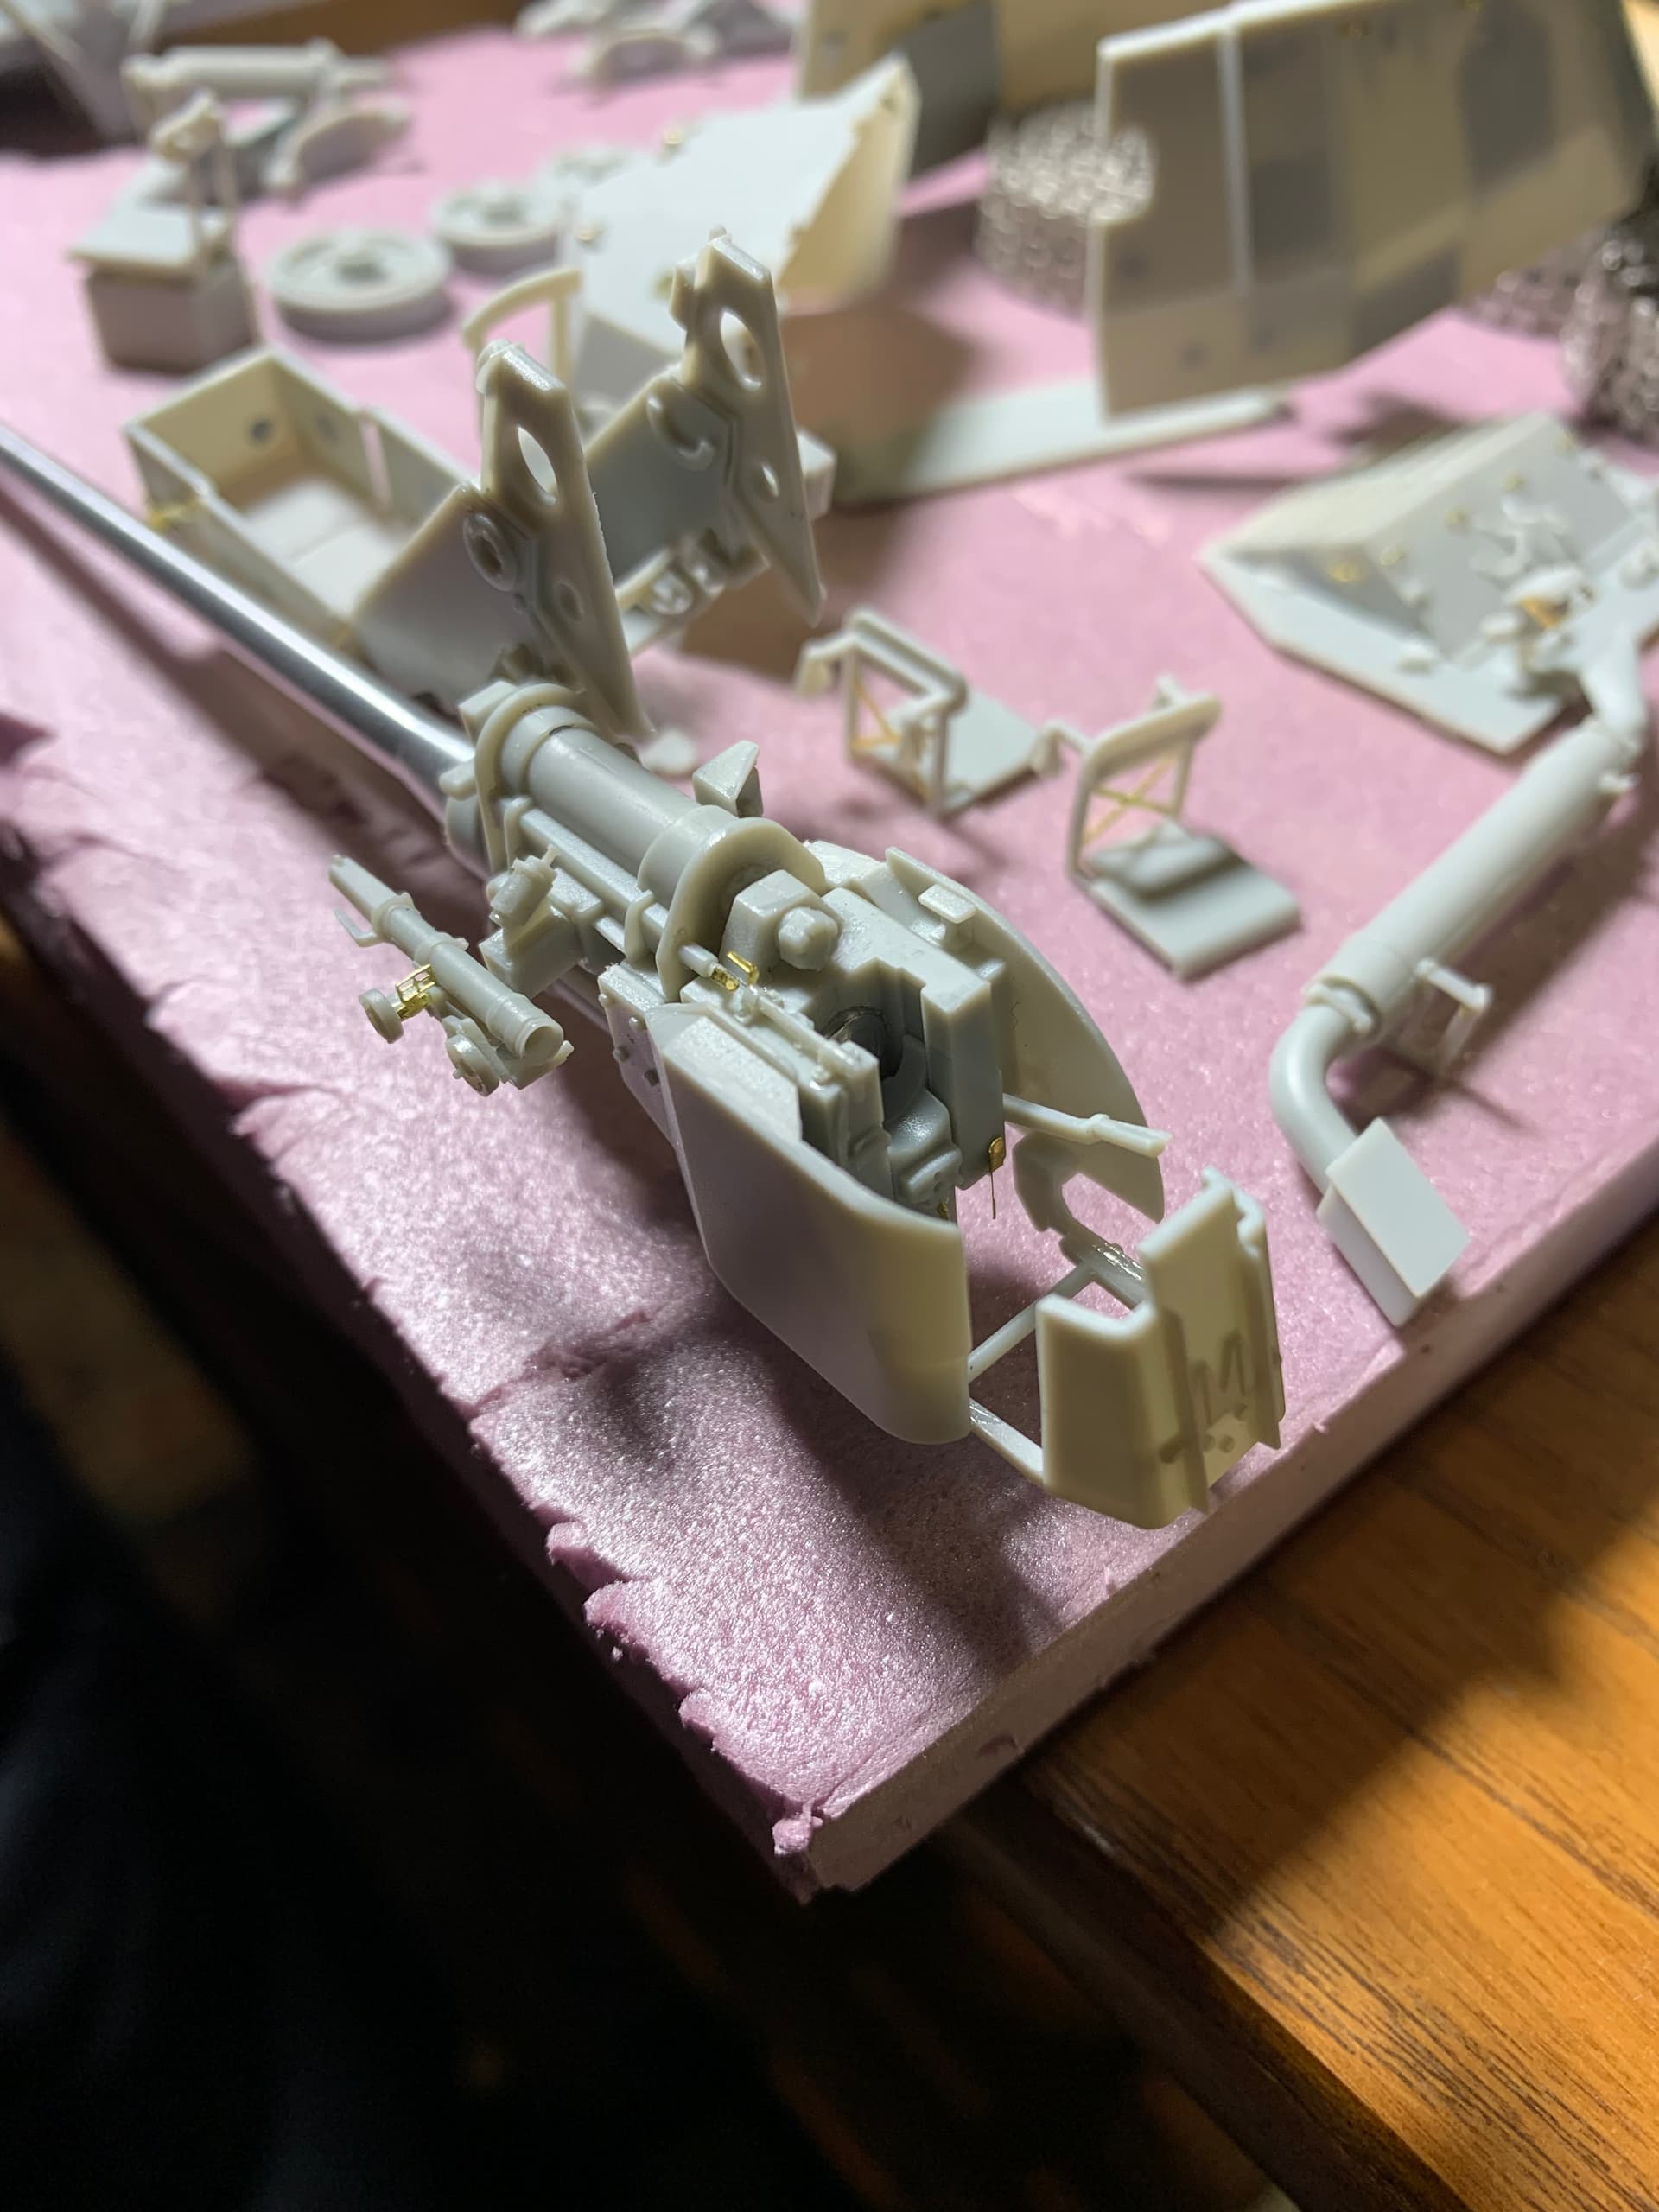
Putting the gun on it definitely shows why they had to mount it backwards. The 17 pounder is massive!
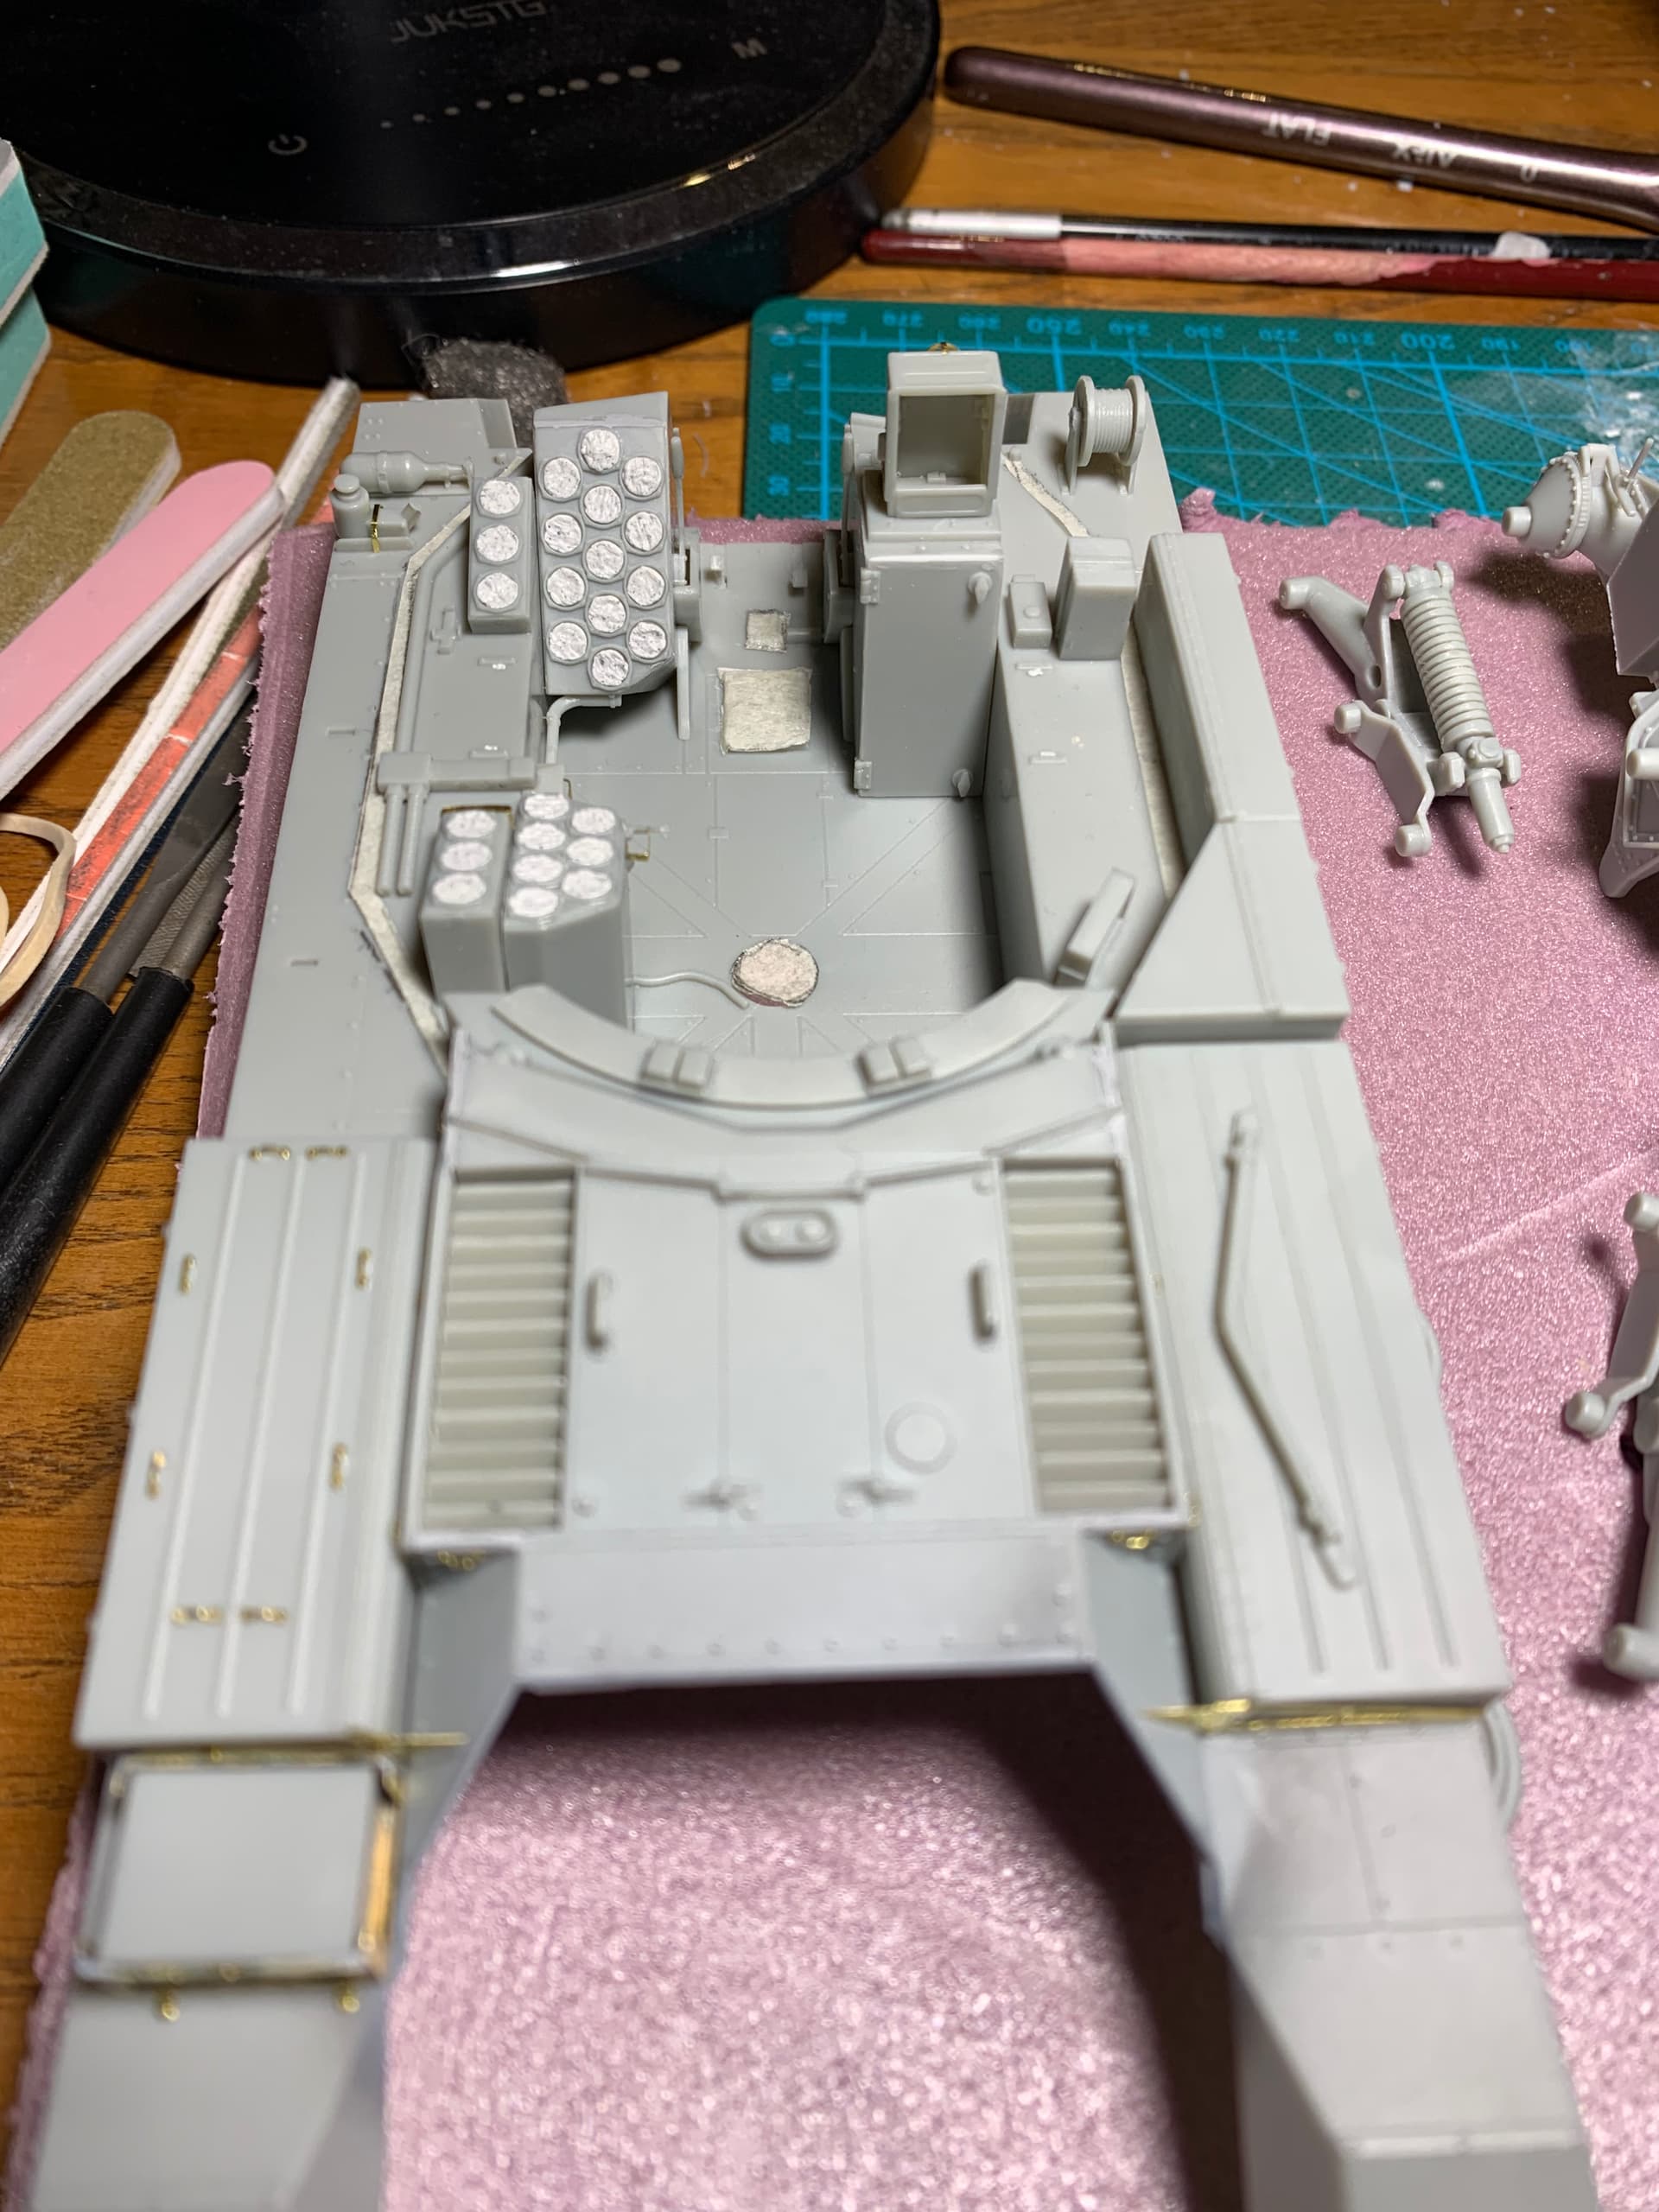
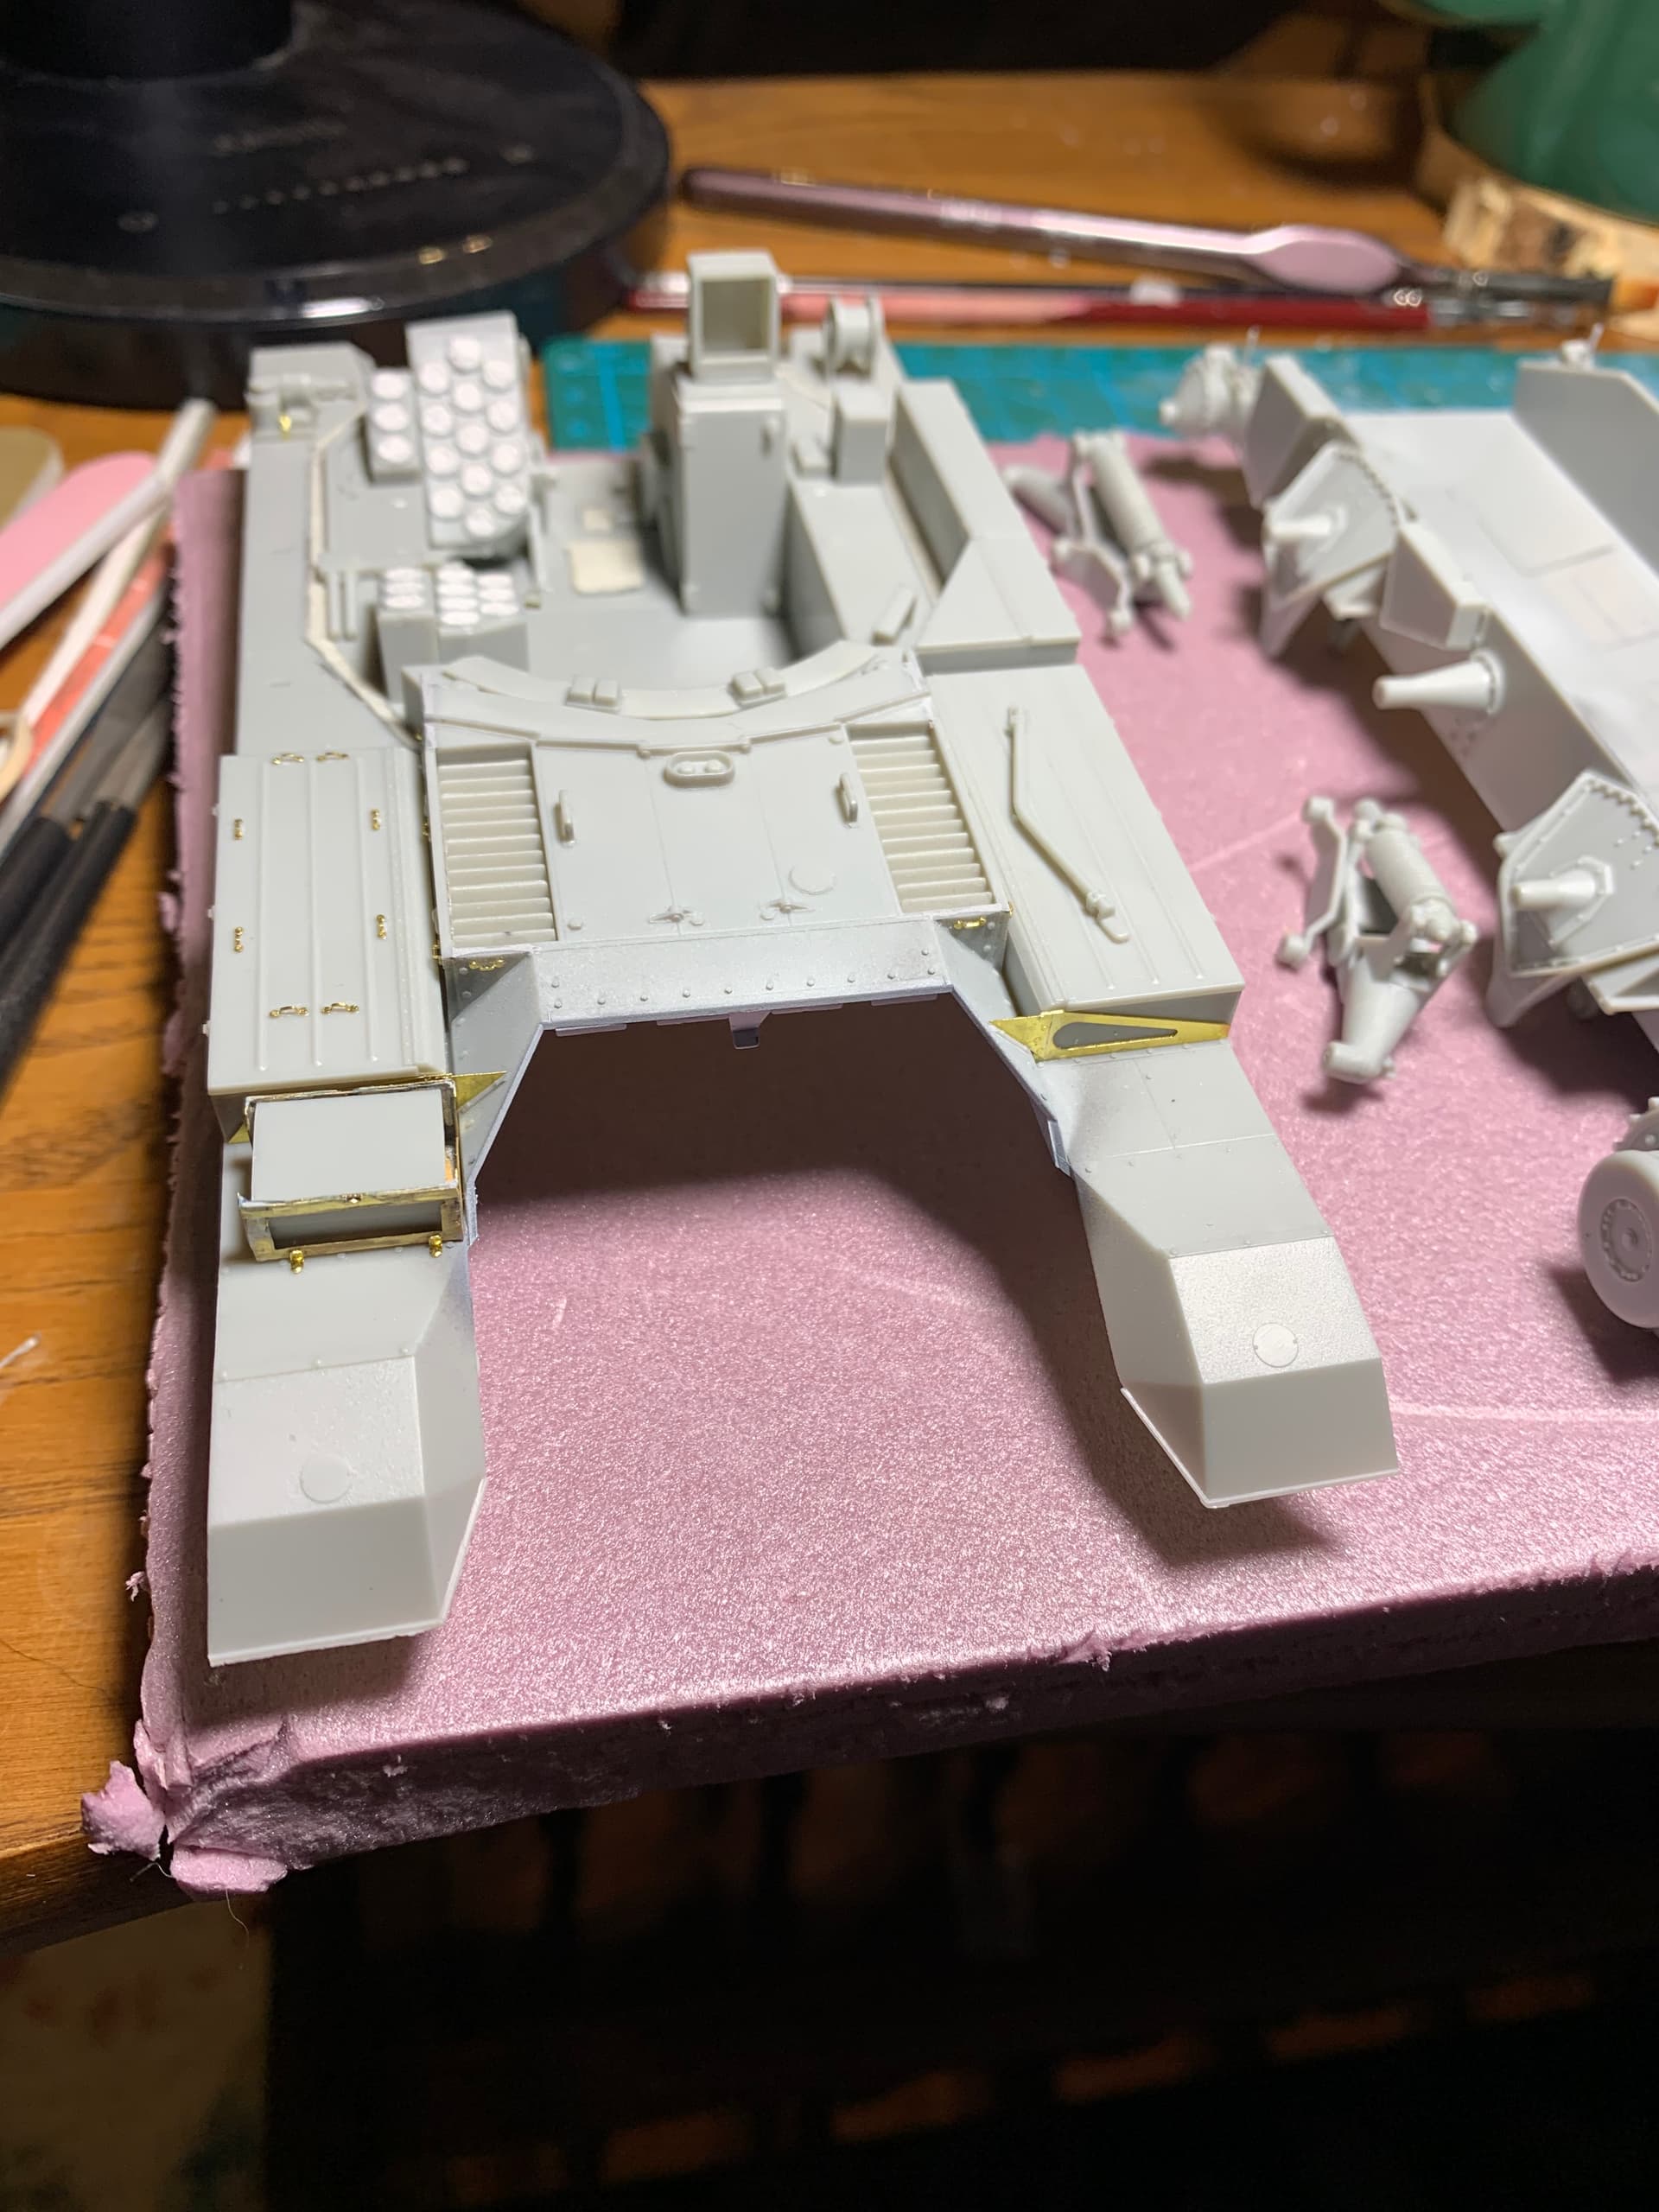
Gun assembly looks great and the whole internal fighting area combined with it looks great
Thanks! I’m super pleased with how it looks so far. The kit is very well engineered and I think once it’s painted the open top will look really nice
1 Like
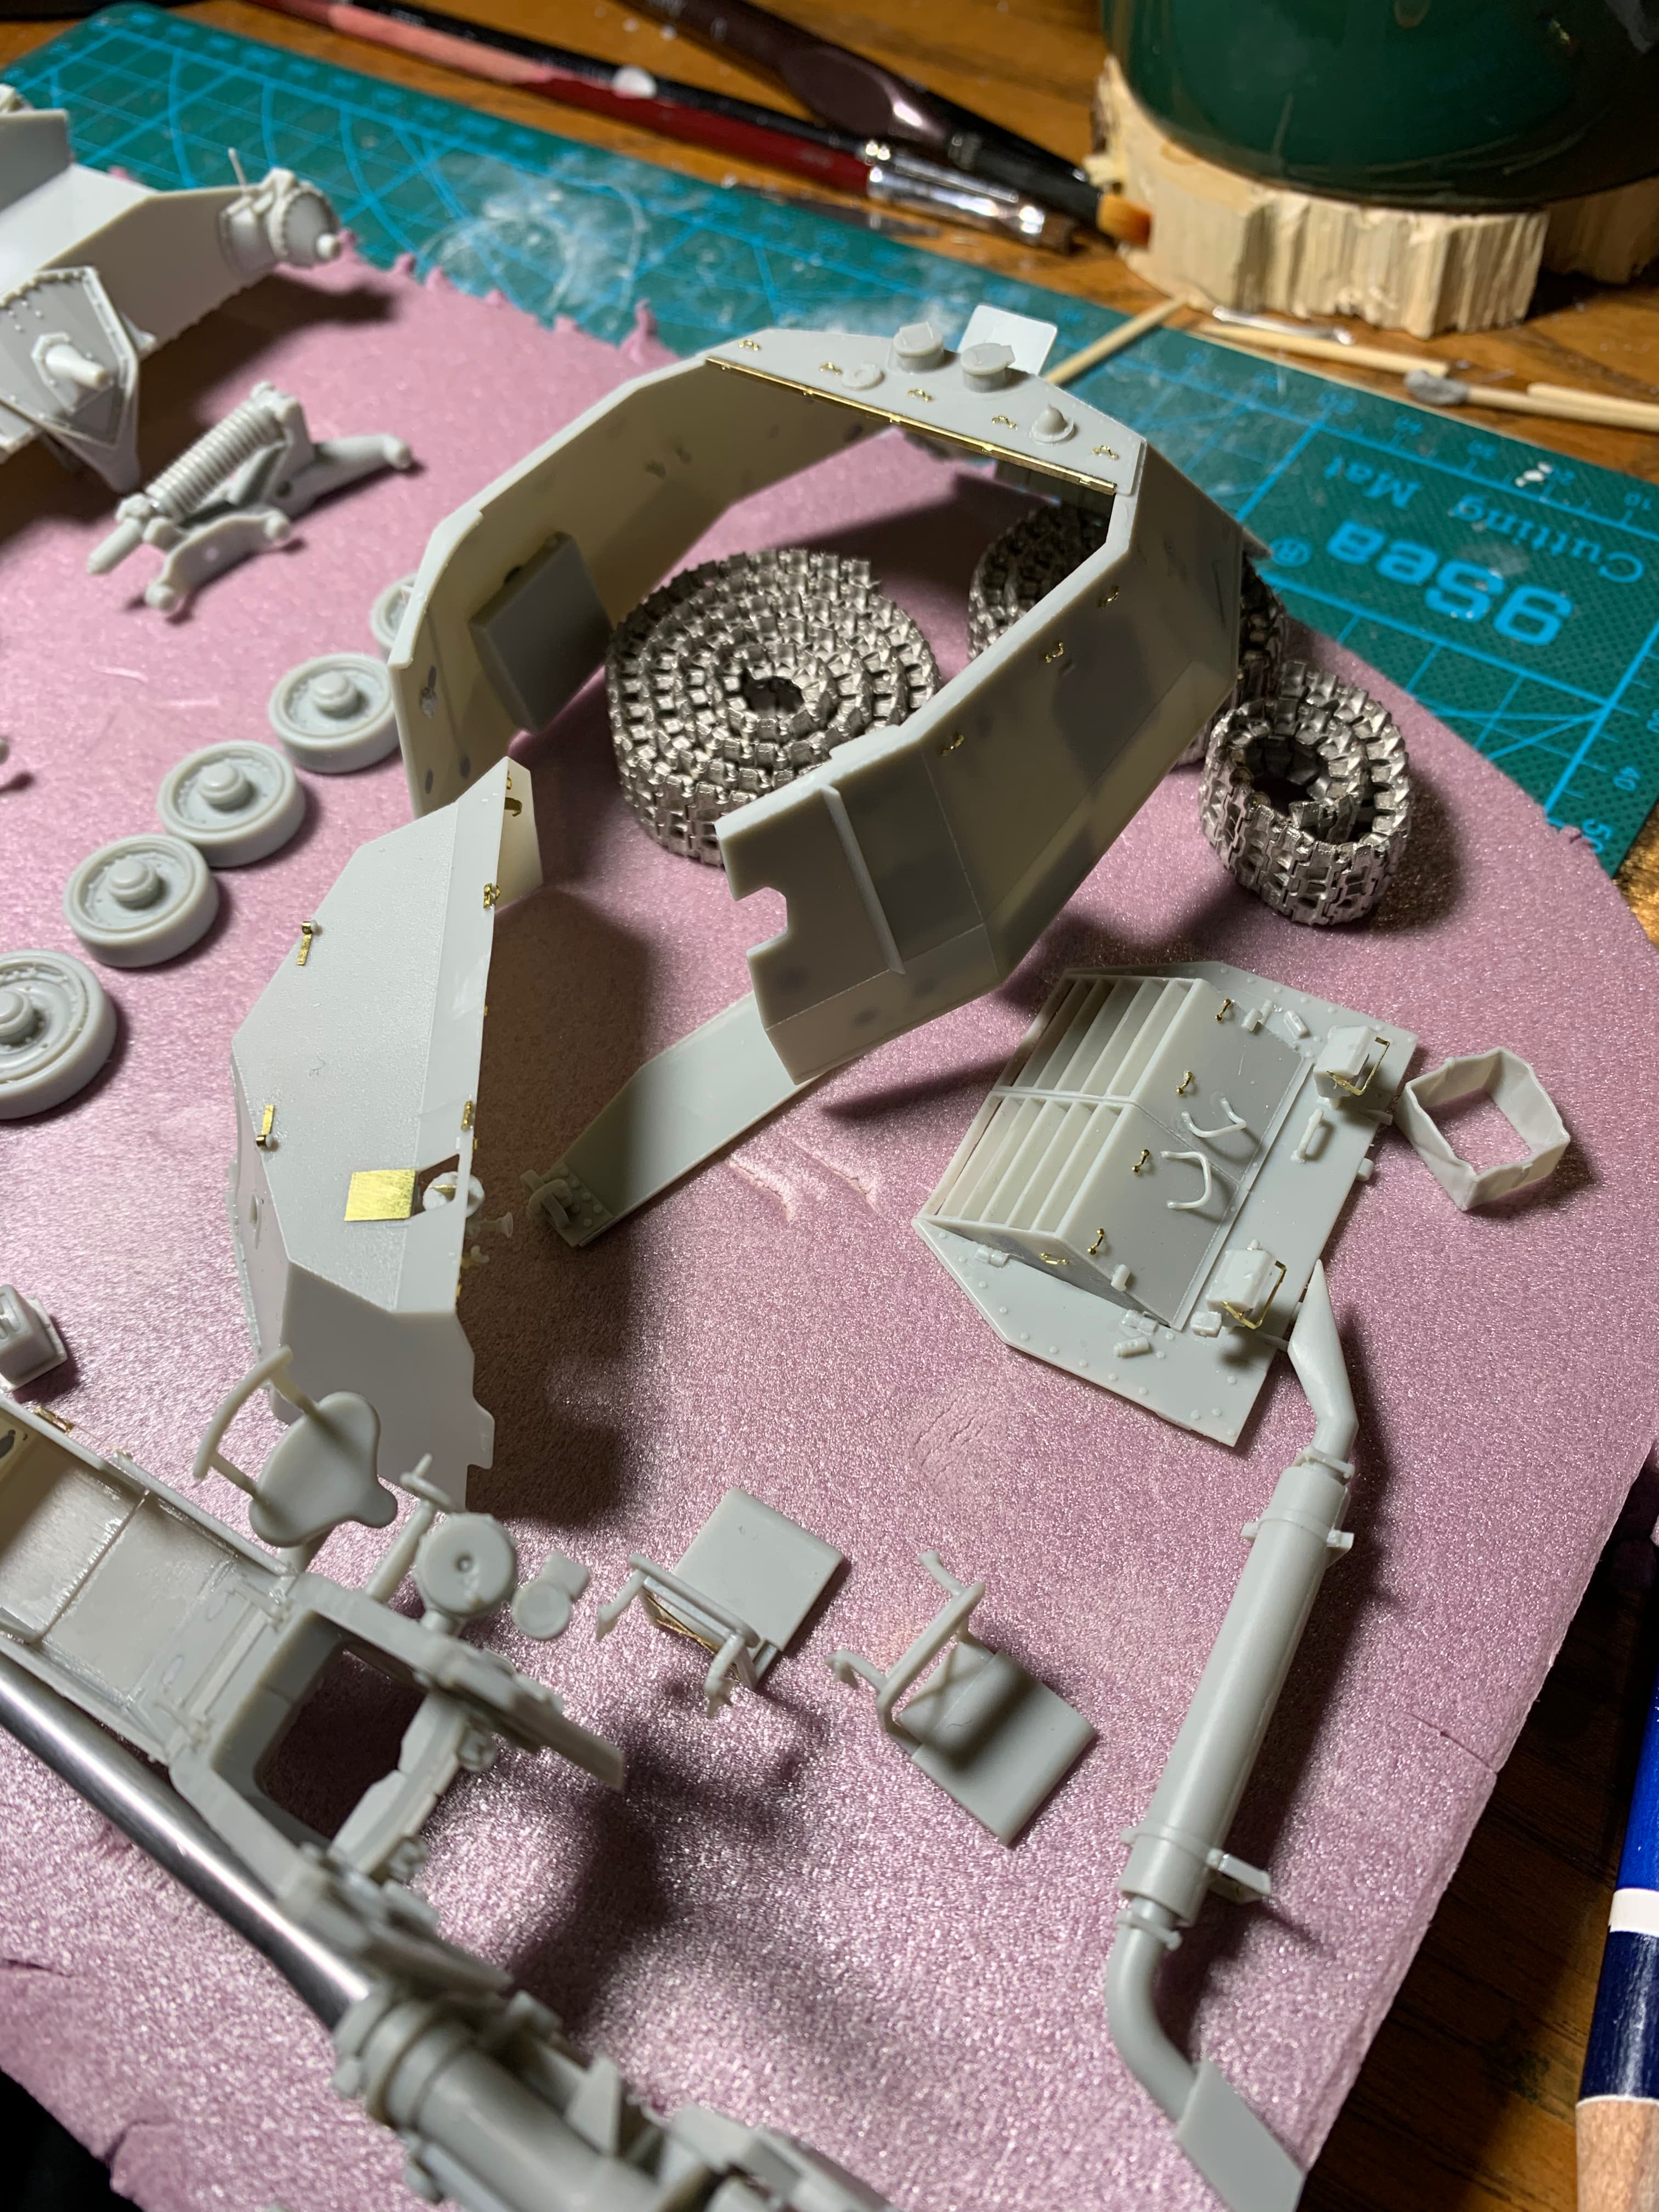
Disassembled, masked, and ready for paint. There is still some building to do but it is mostly exterior small parts that I worry will break when I have to elastic the top and bottom hull together. The plan is to the paint the lower hull, road wheels, tracks and interior fighting compartment. Then finish construction and paint the exterior. Hope to get primer down tomorrow, need to mask a couple mustangs and rescribe panel lines so I can prime them all at the same time.
10 Likes
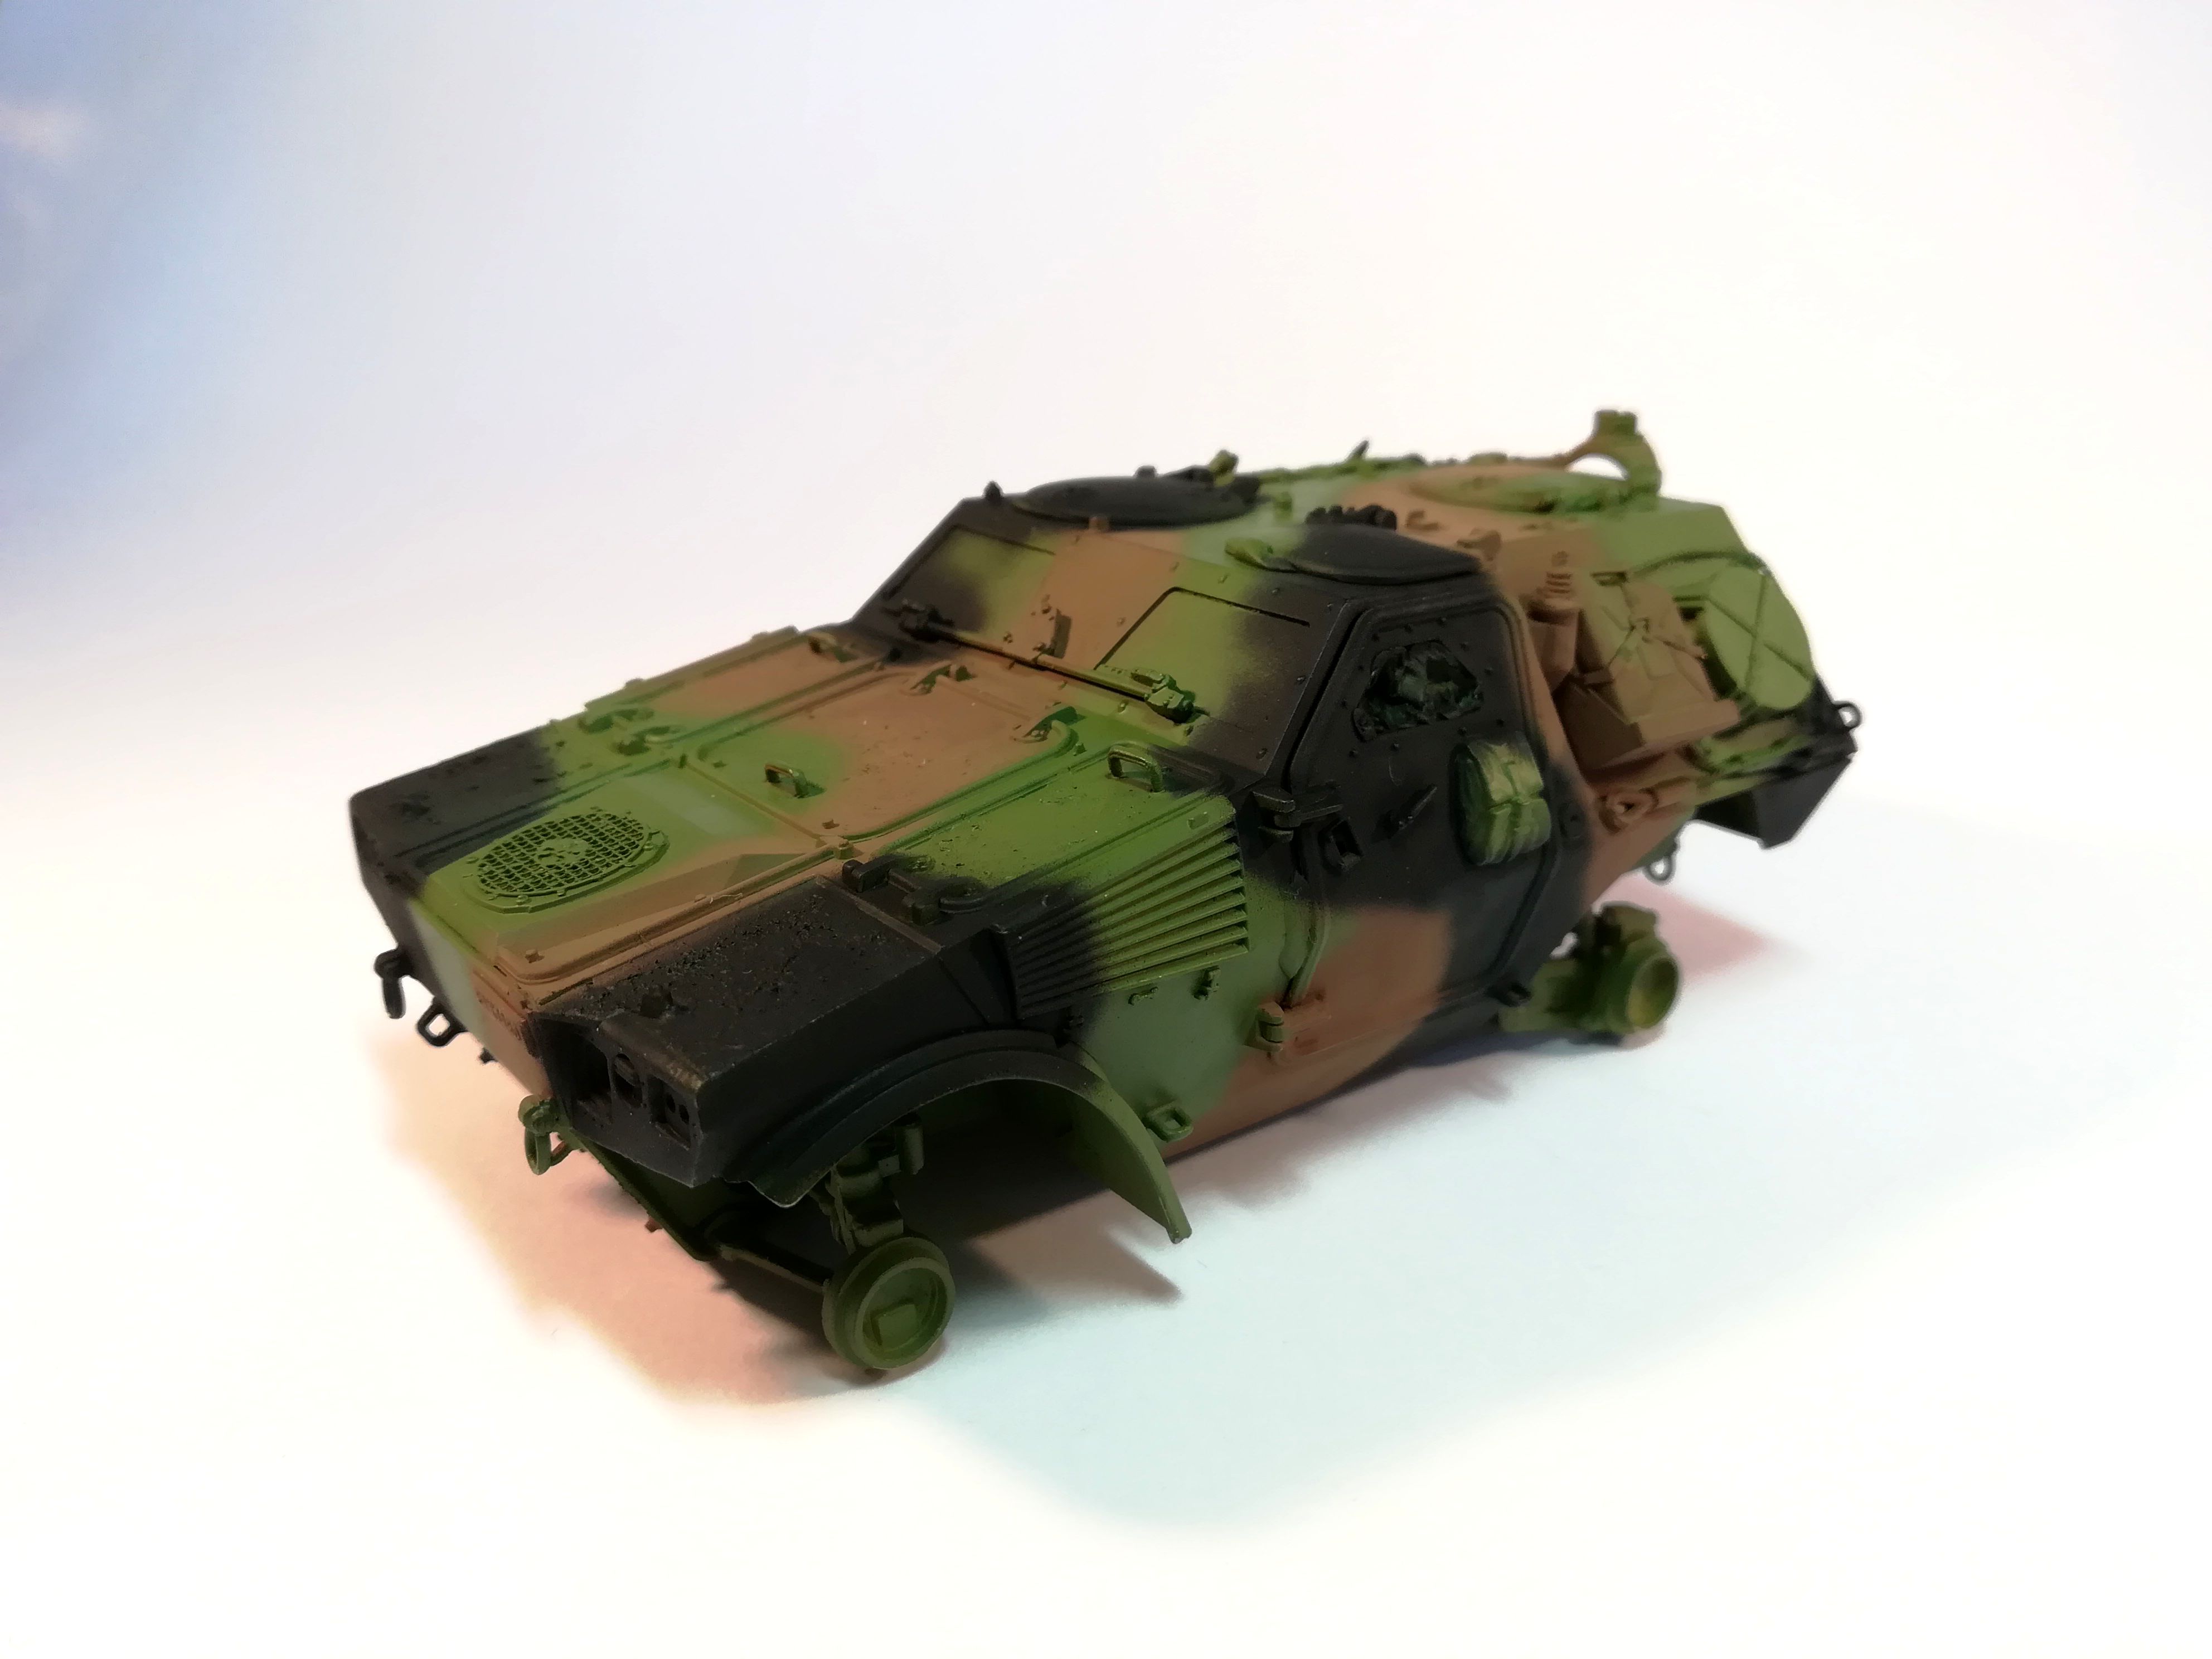
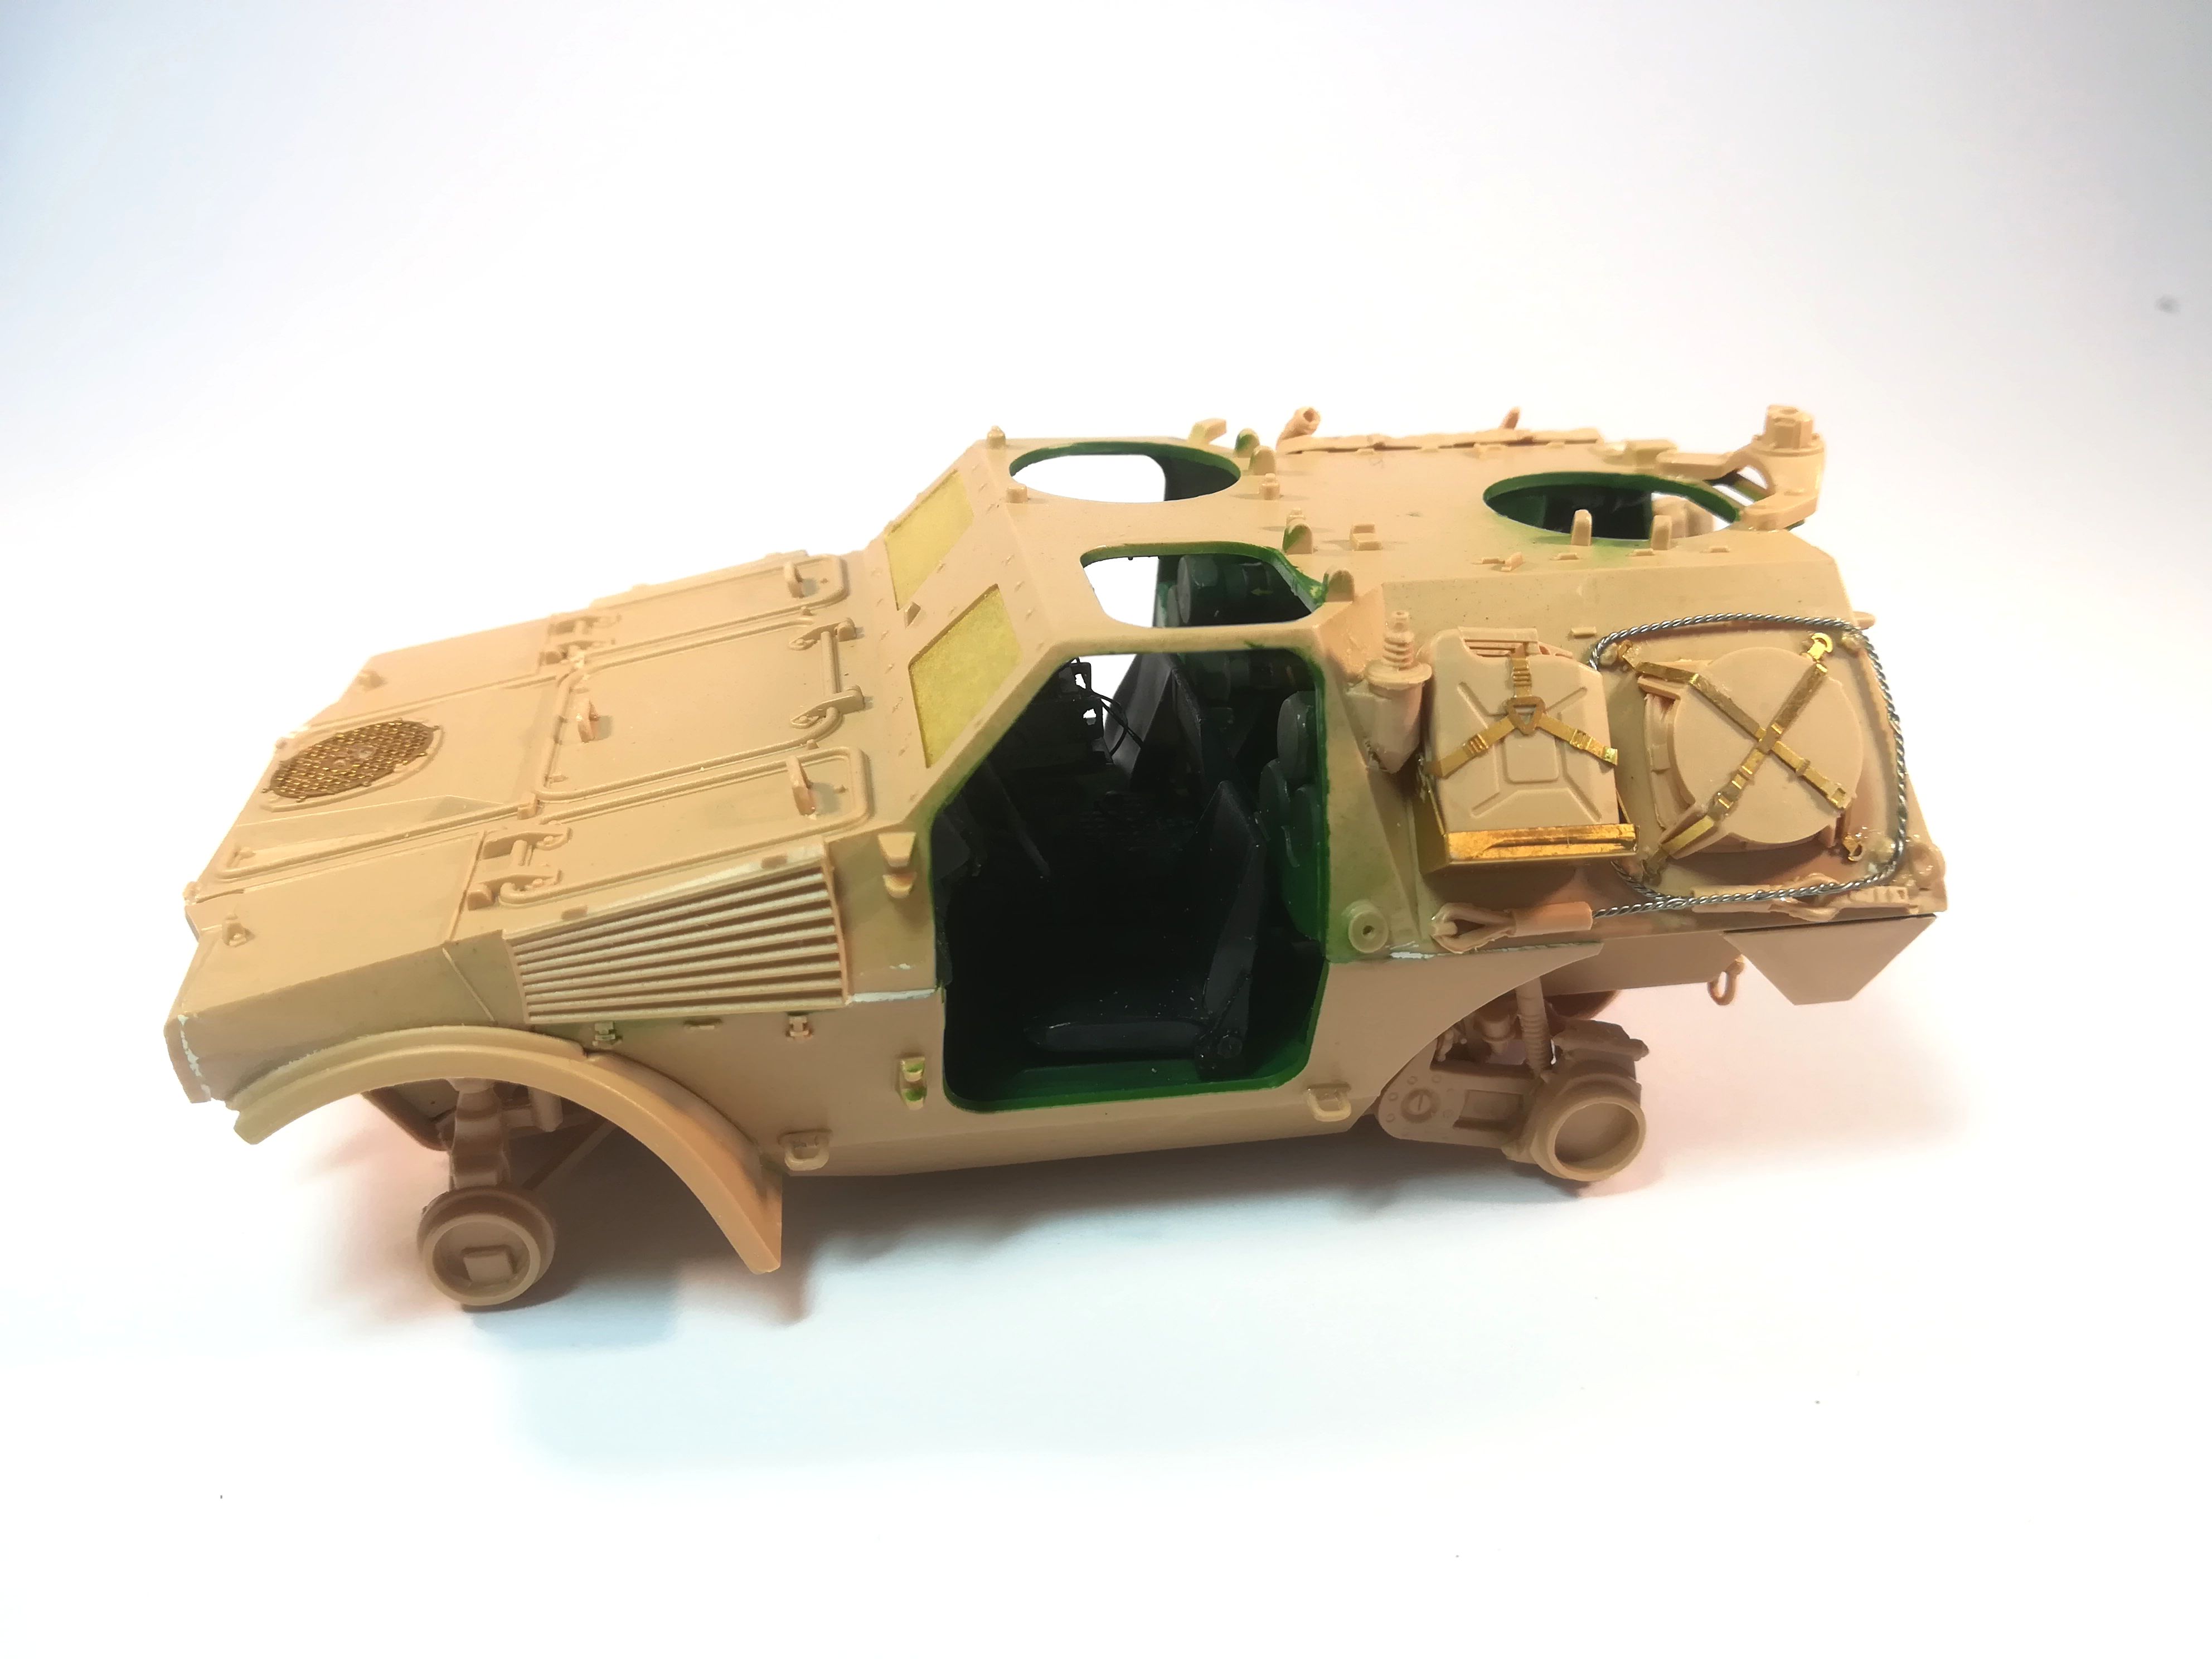
Small update on my VBL Milan. I added tow cable from twisted metal wire. The cable provided in the bow is too thick. Tiger Model requires you cut a length of 10 cm but 7.5 cm are enough. On the real thing you get 4 supports on the “corners” of the coil. TM molded them flat so I’ve cheated and glued the cable on the supports.
Next step is applying the antislip coating on the engine deck panels and then I can start the painting.
Olivier
7 Likes
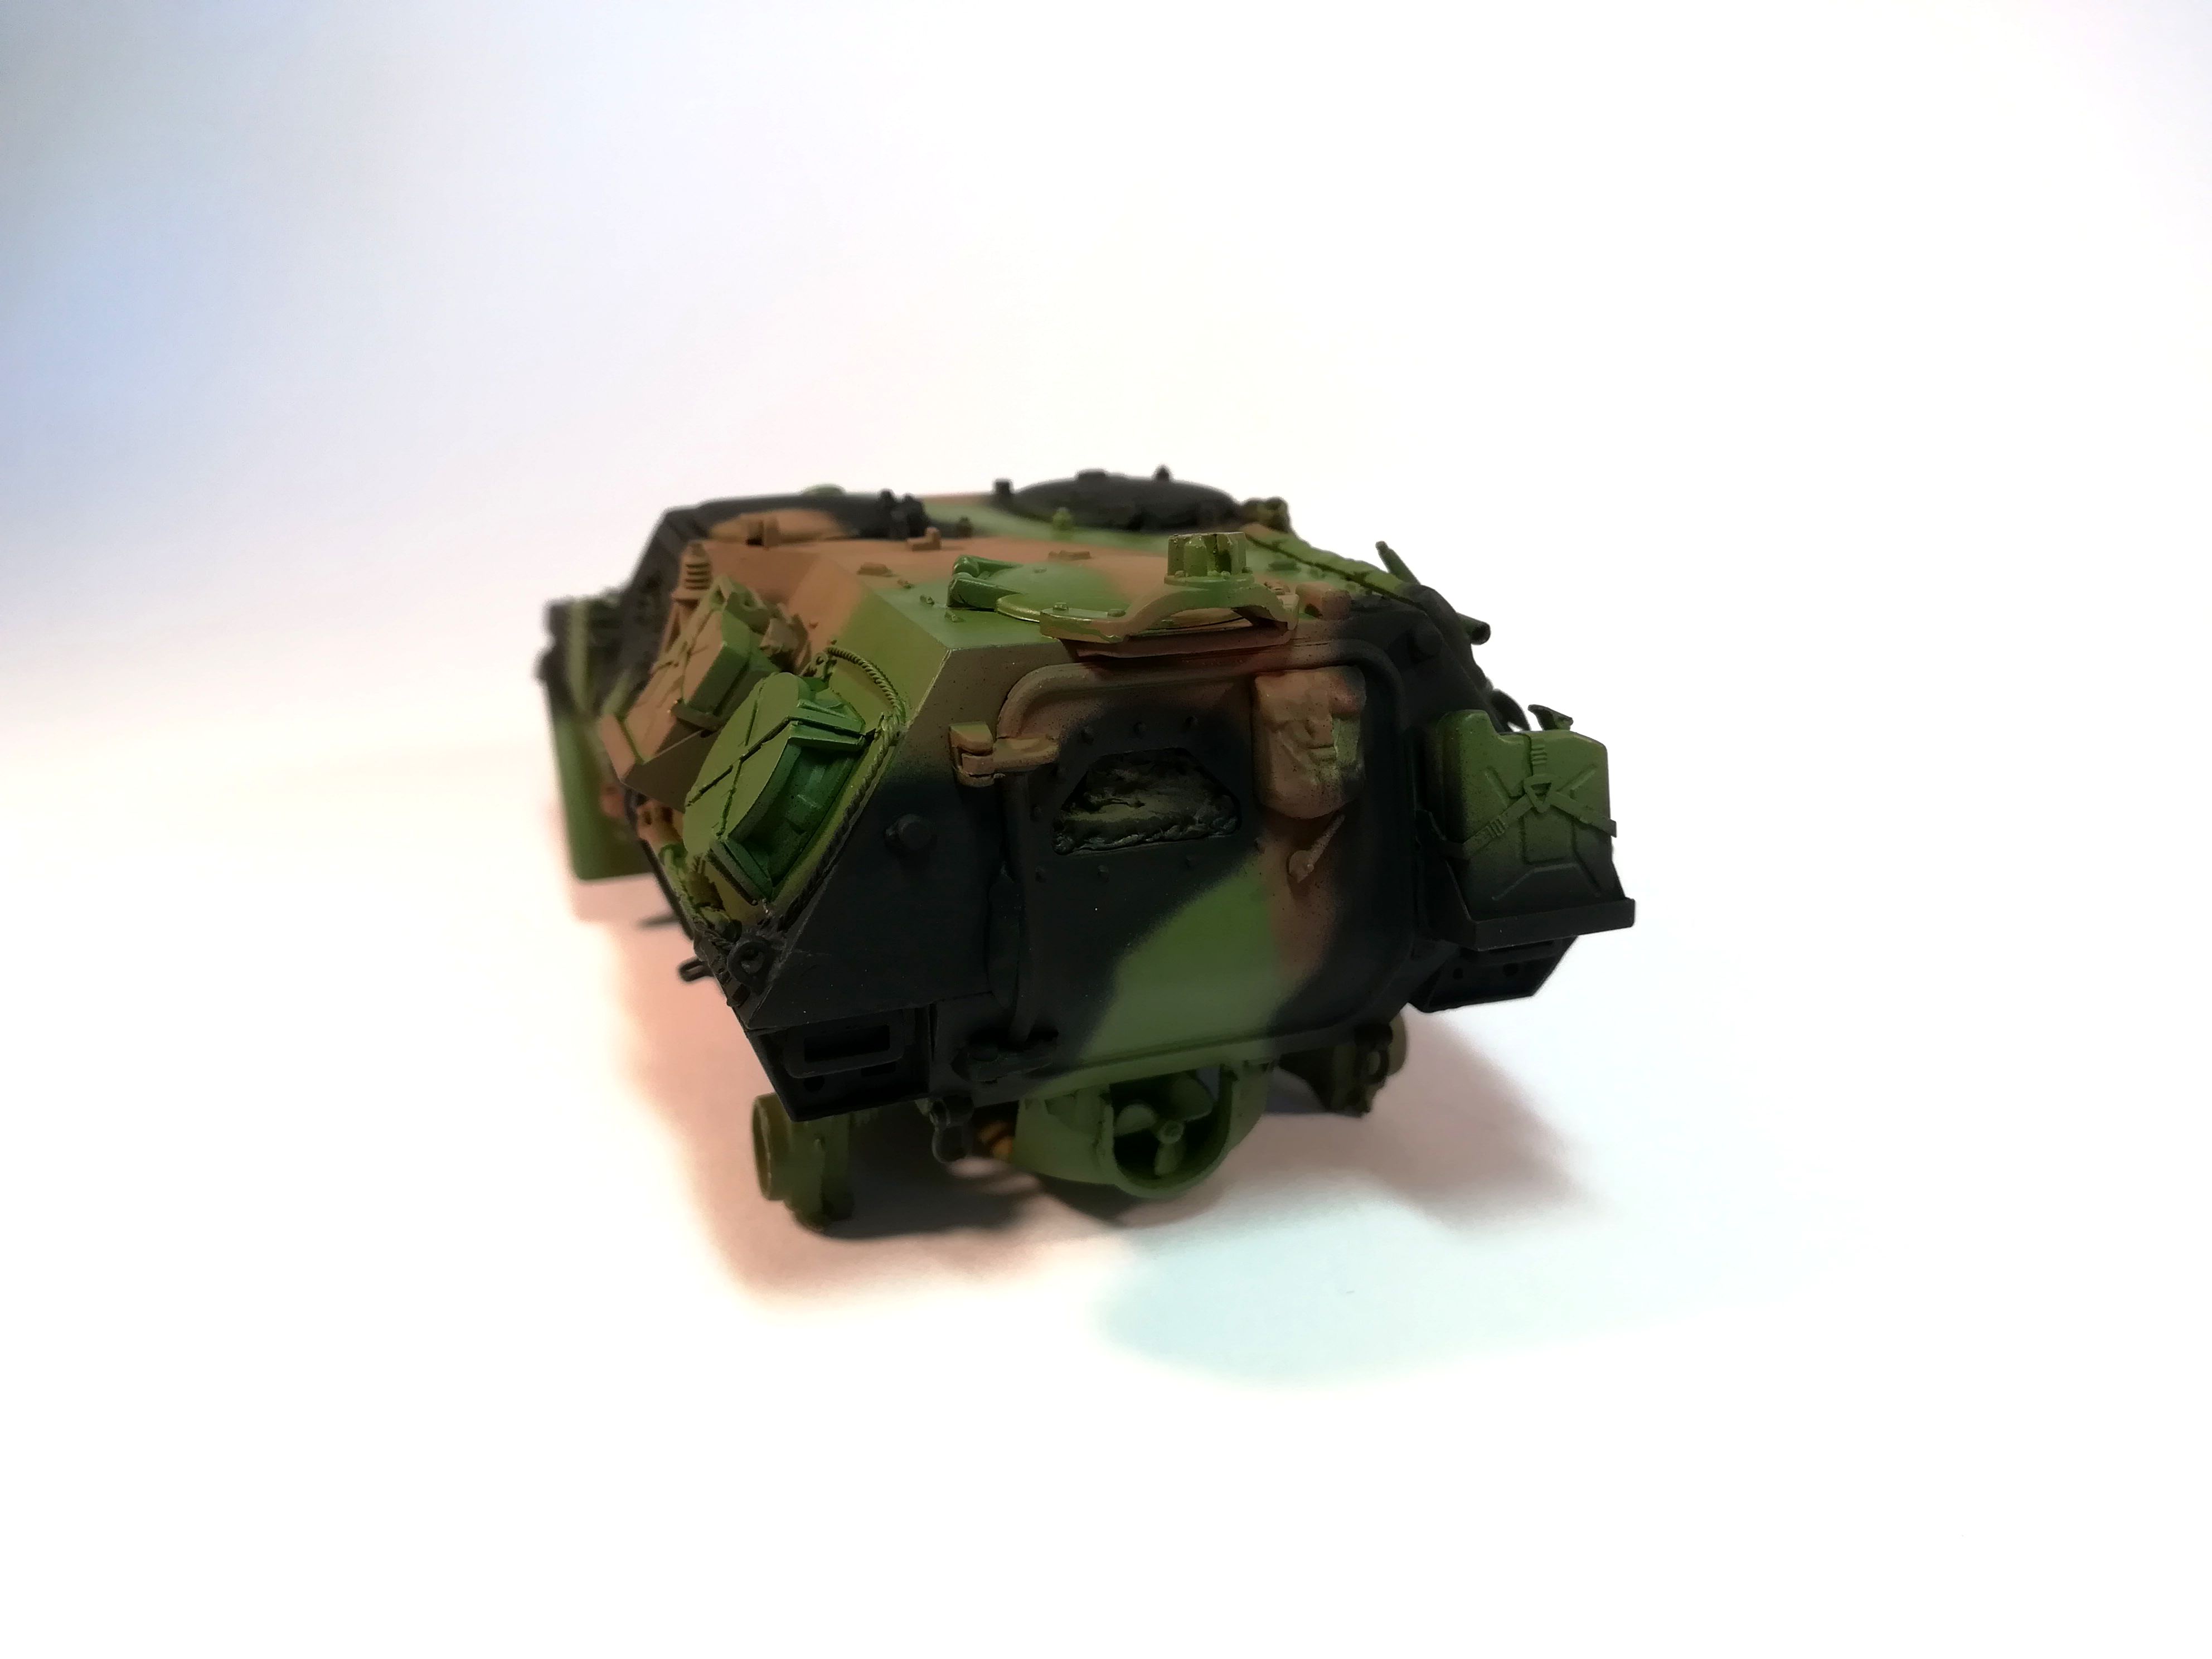
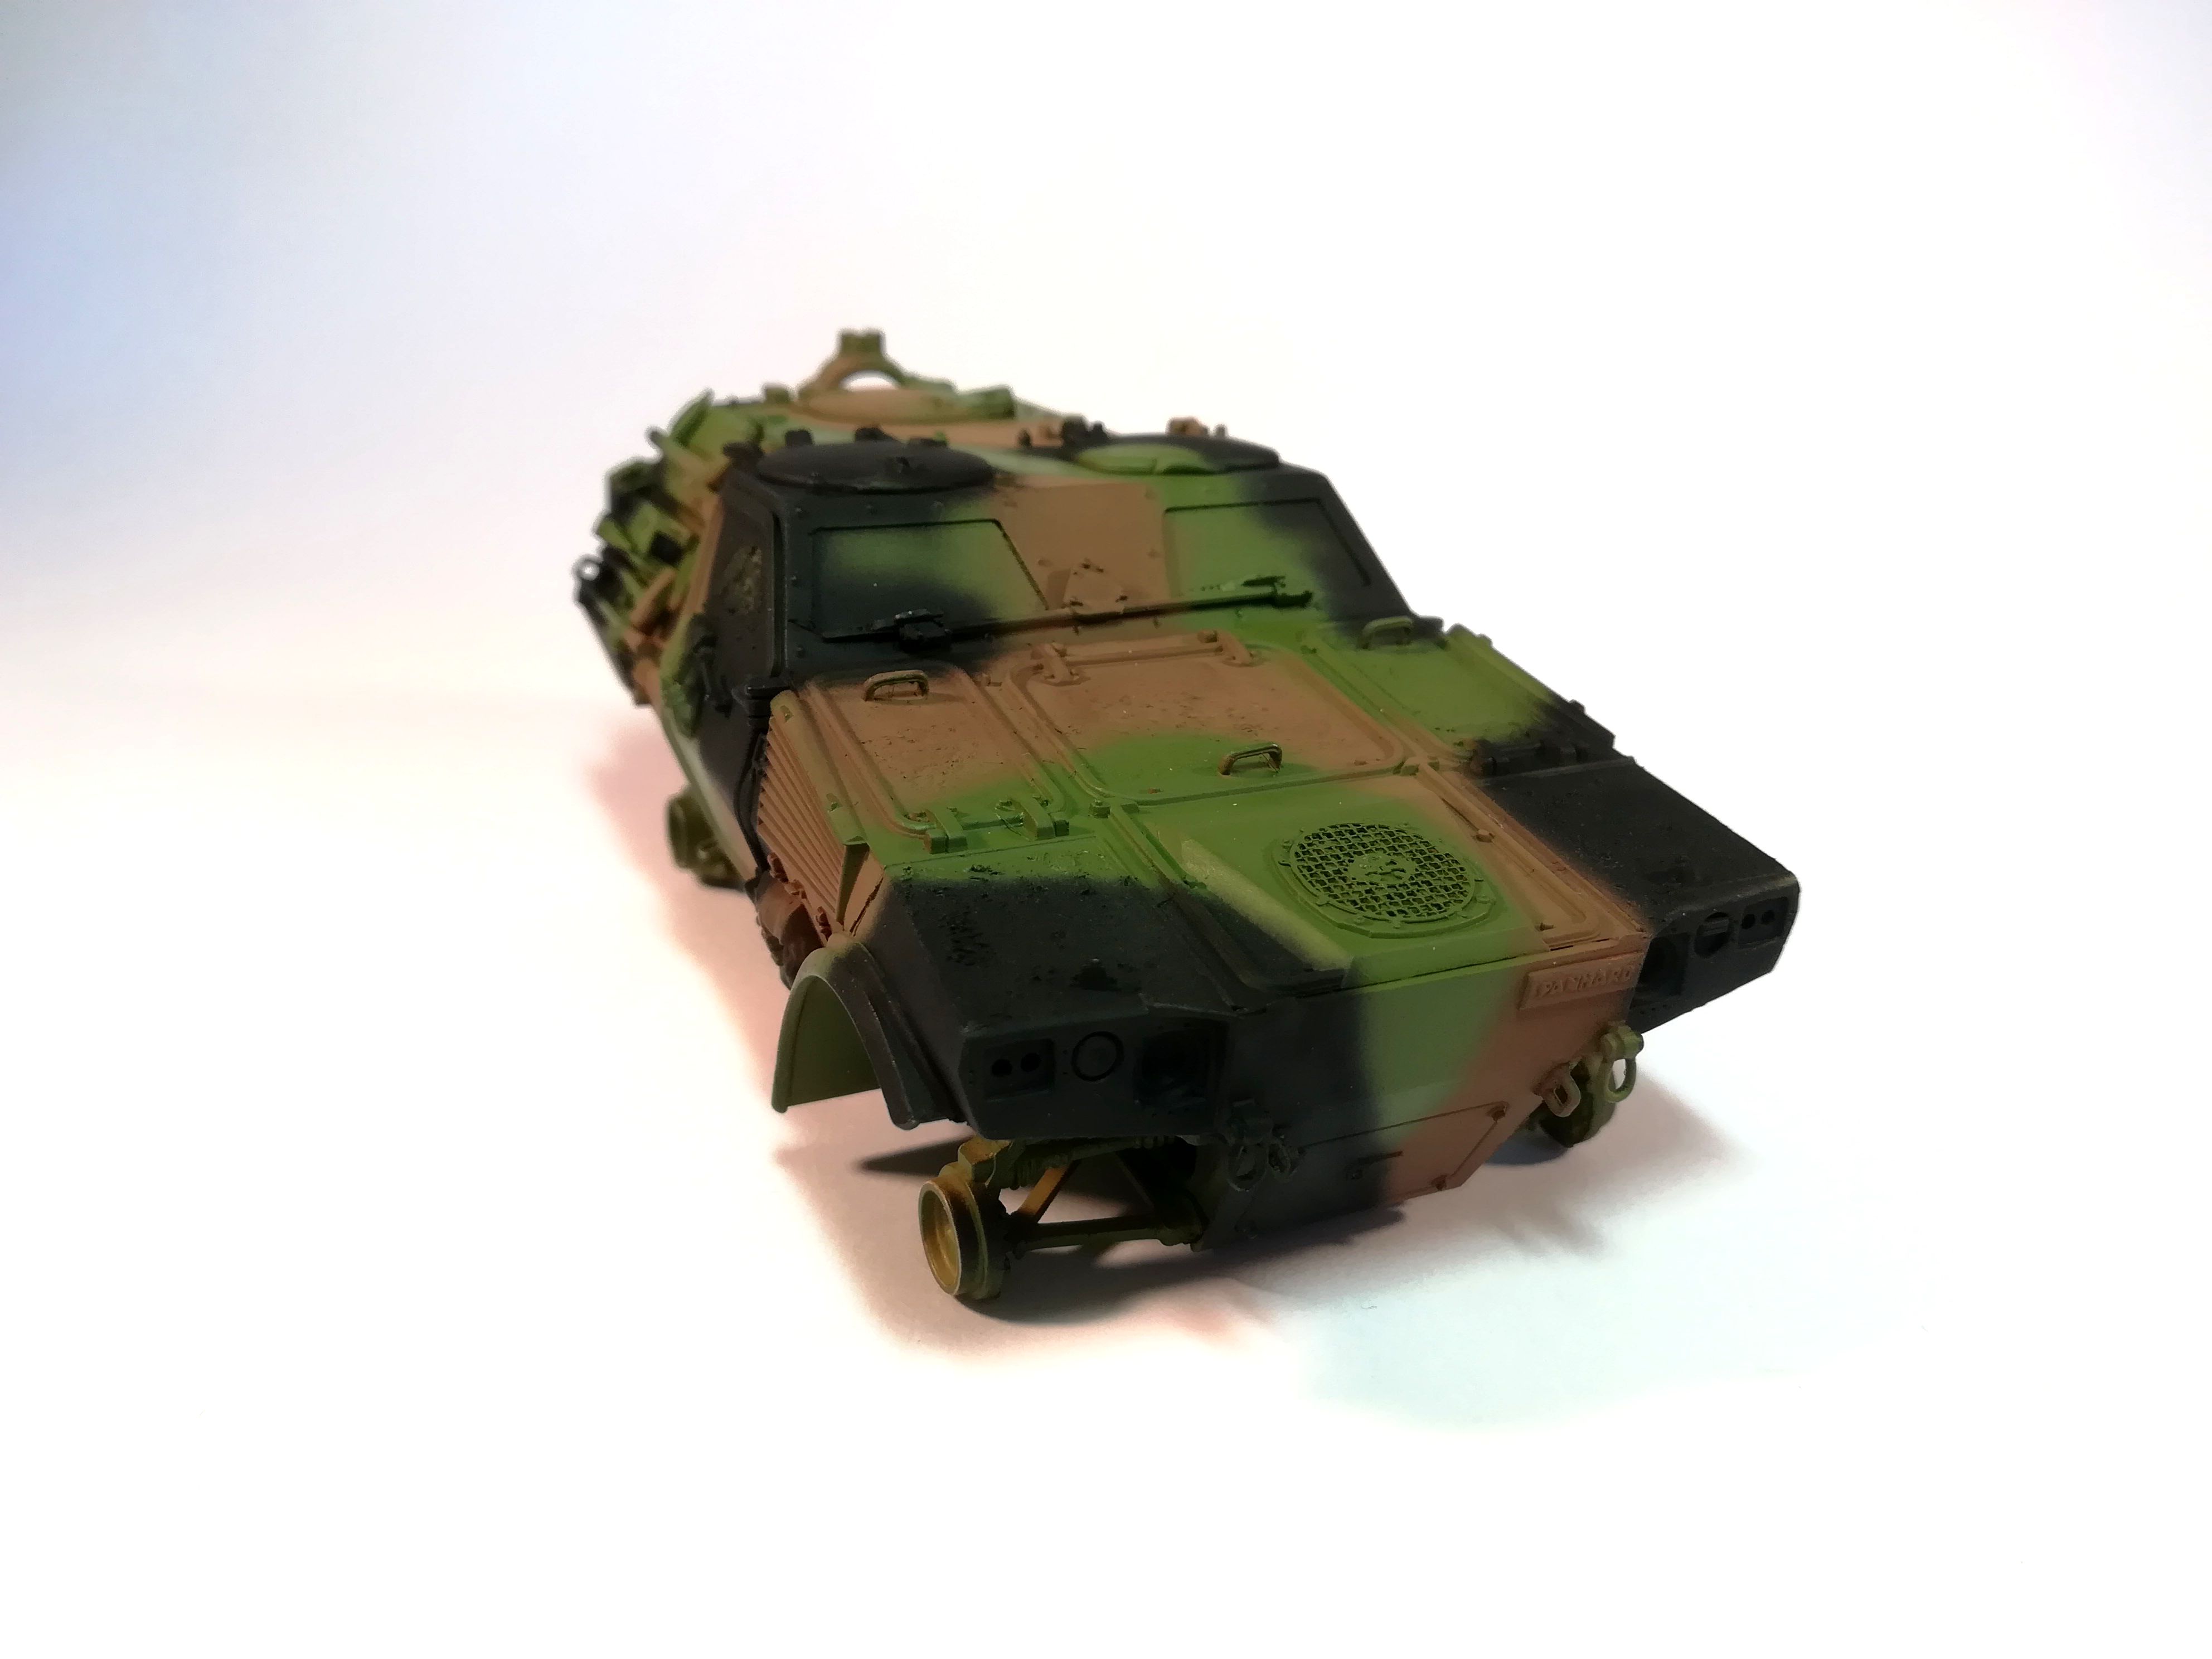
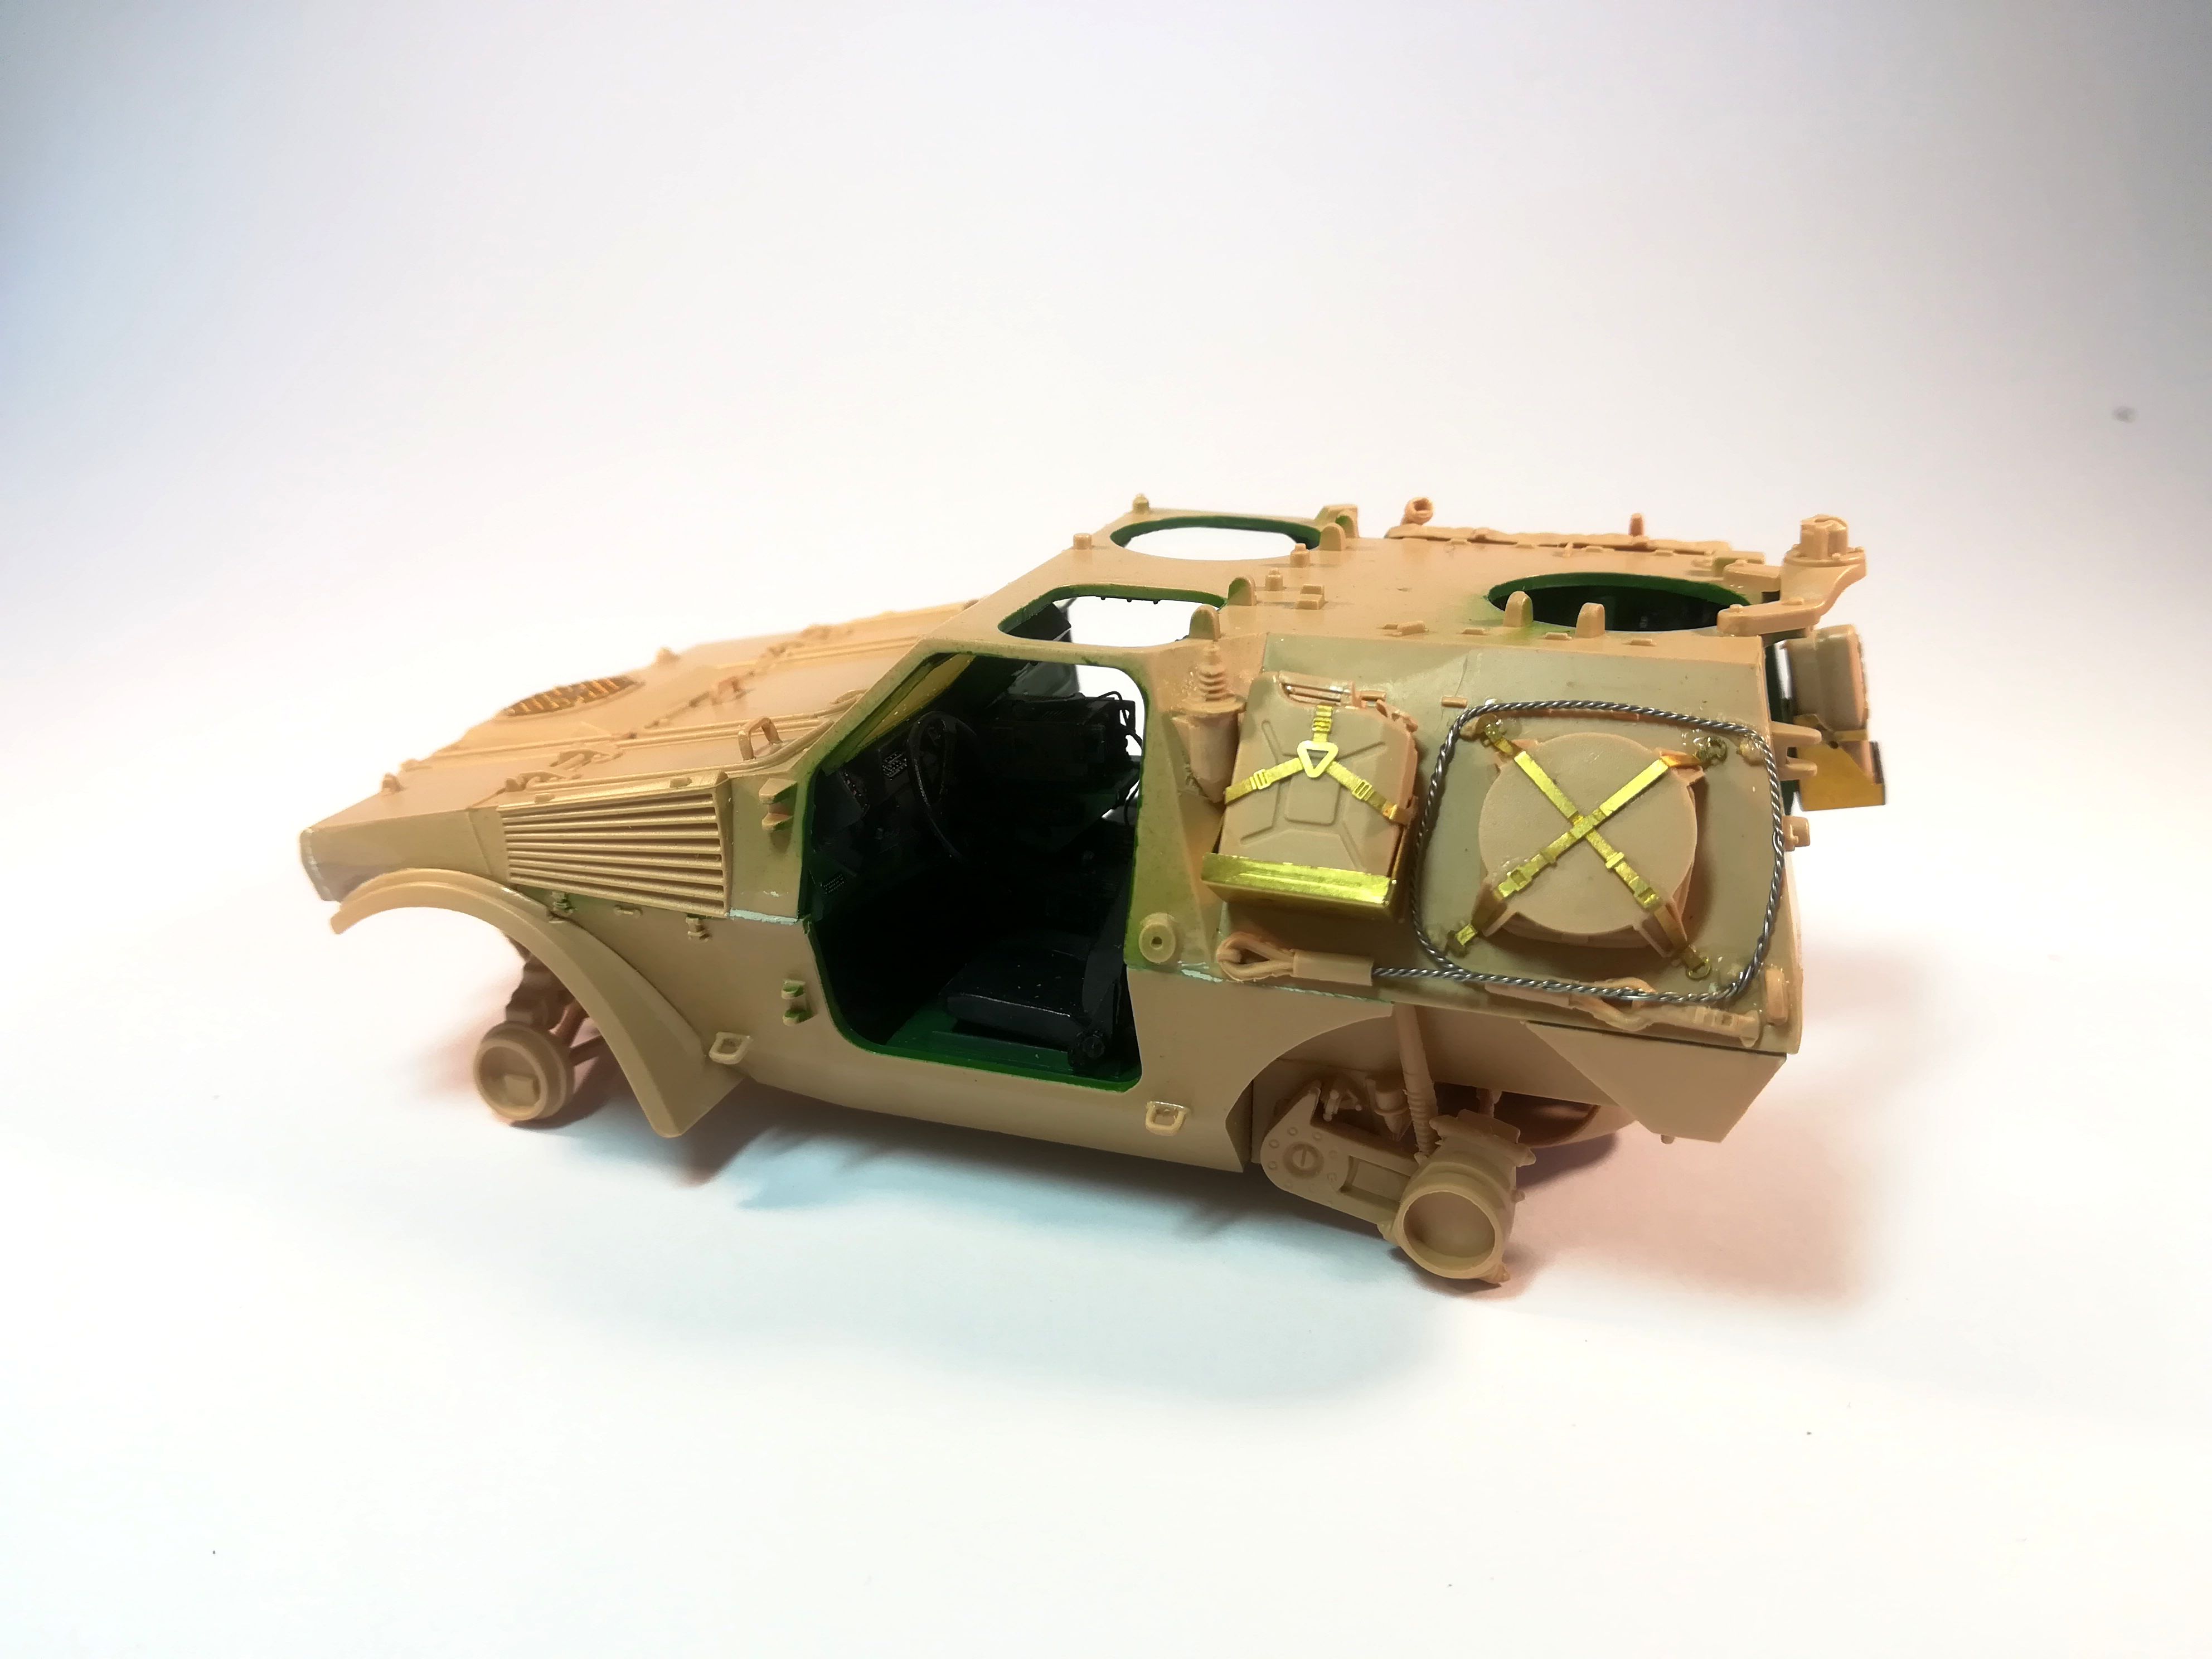
Looks good now you see it more together. Its quite a compact little wagon when you see it like that. The side stowage looks very good as well … will doors be open or closed ?
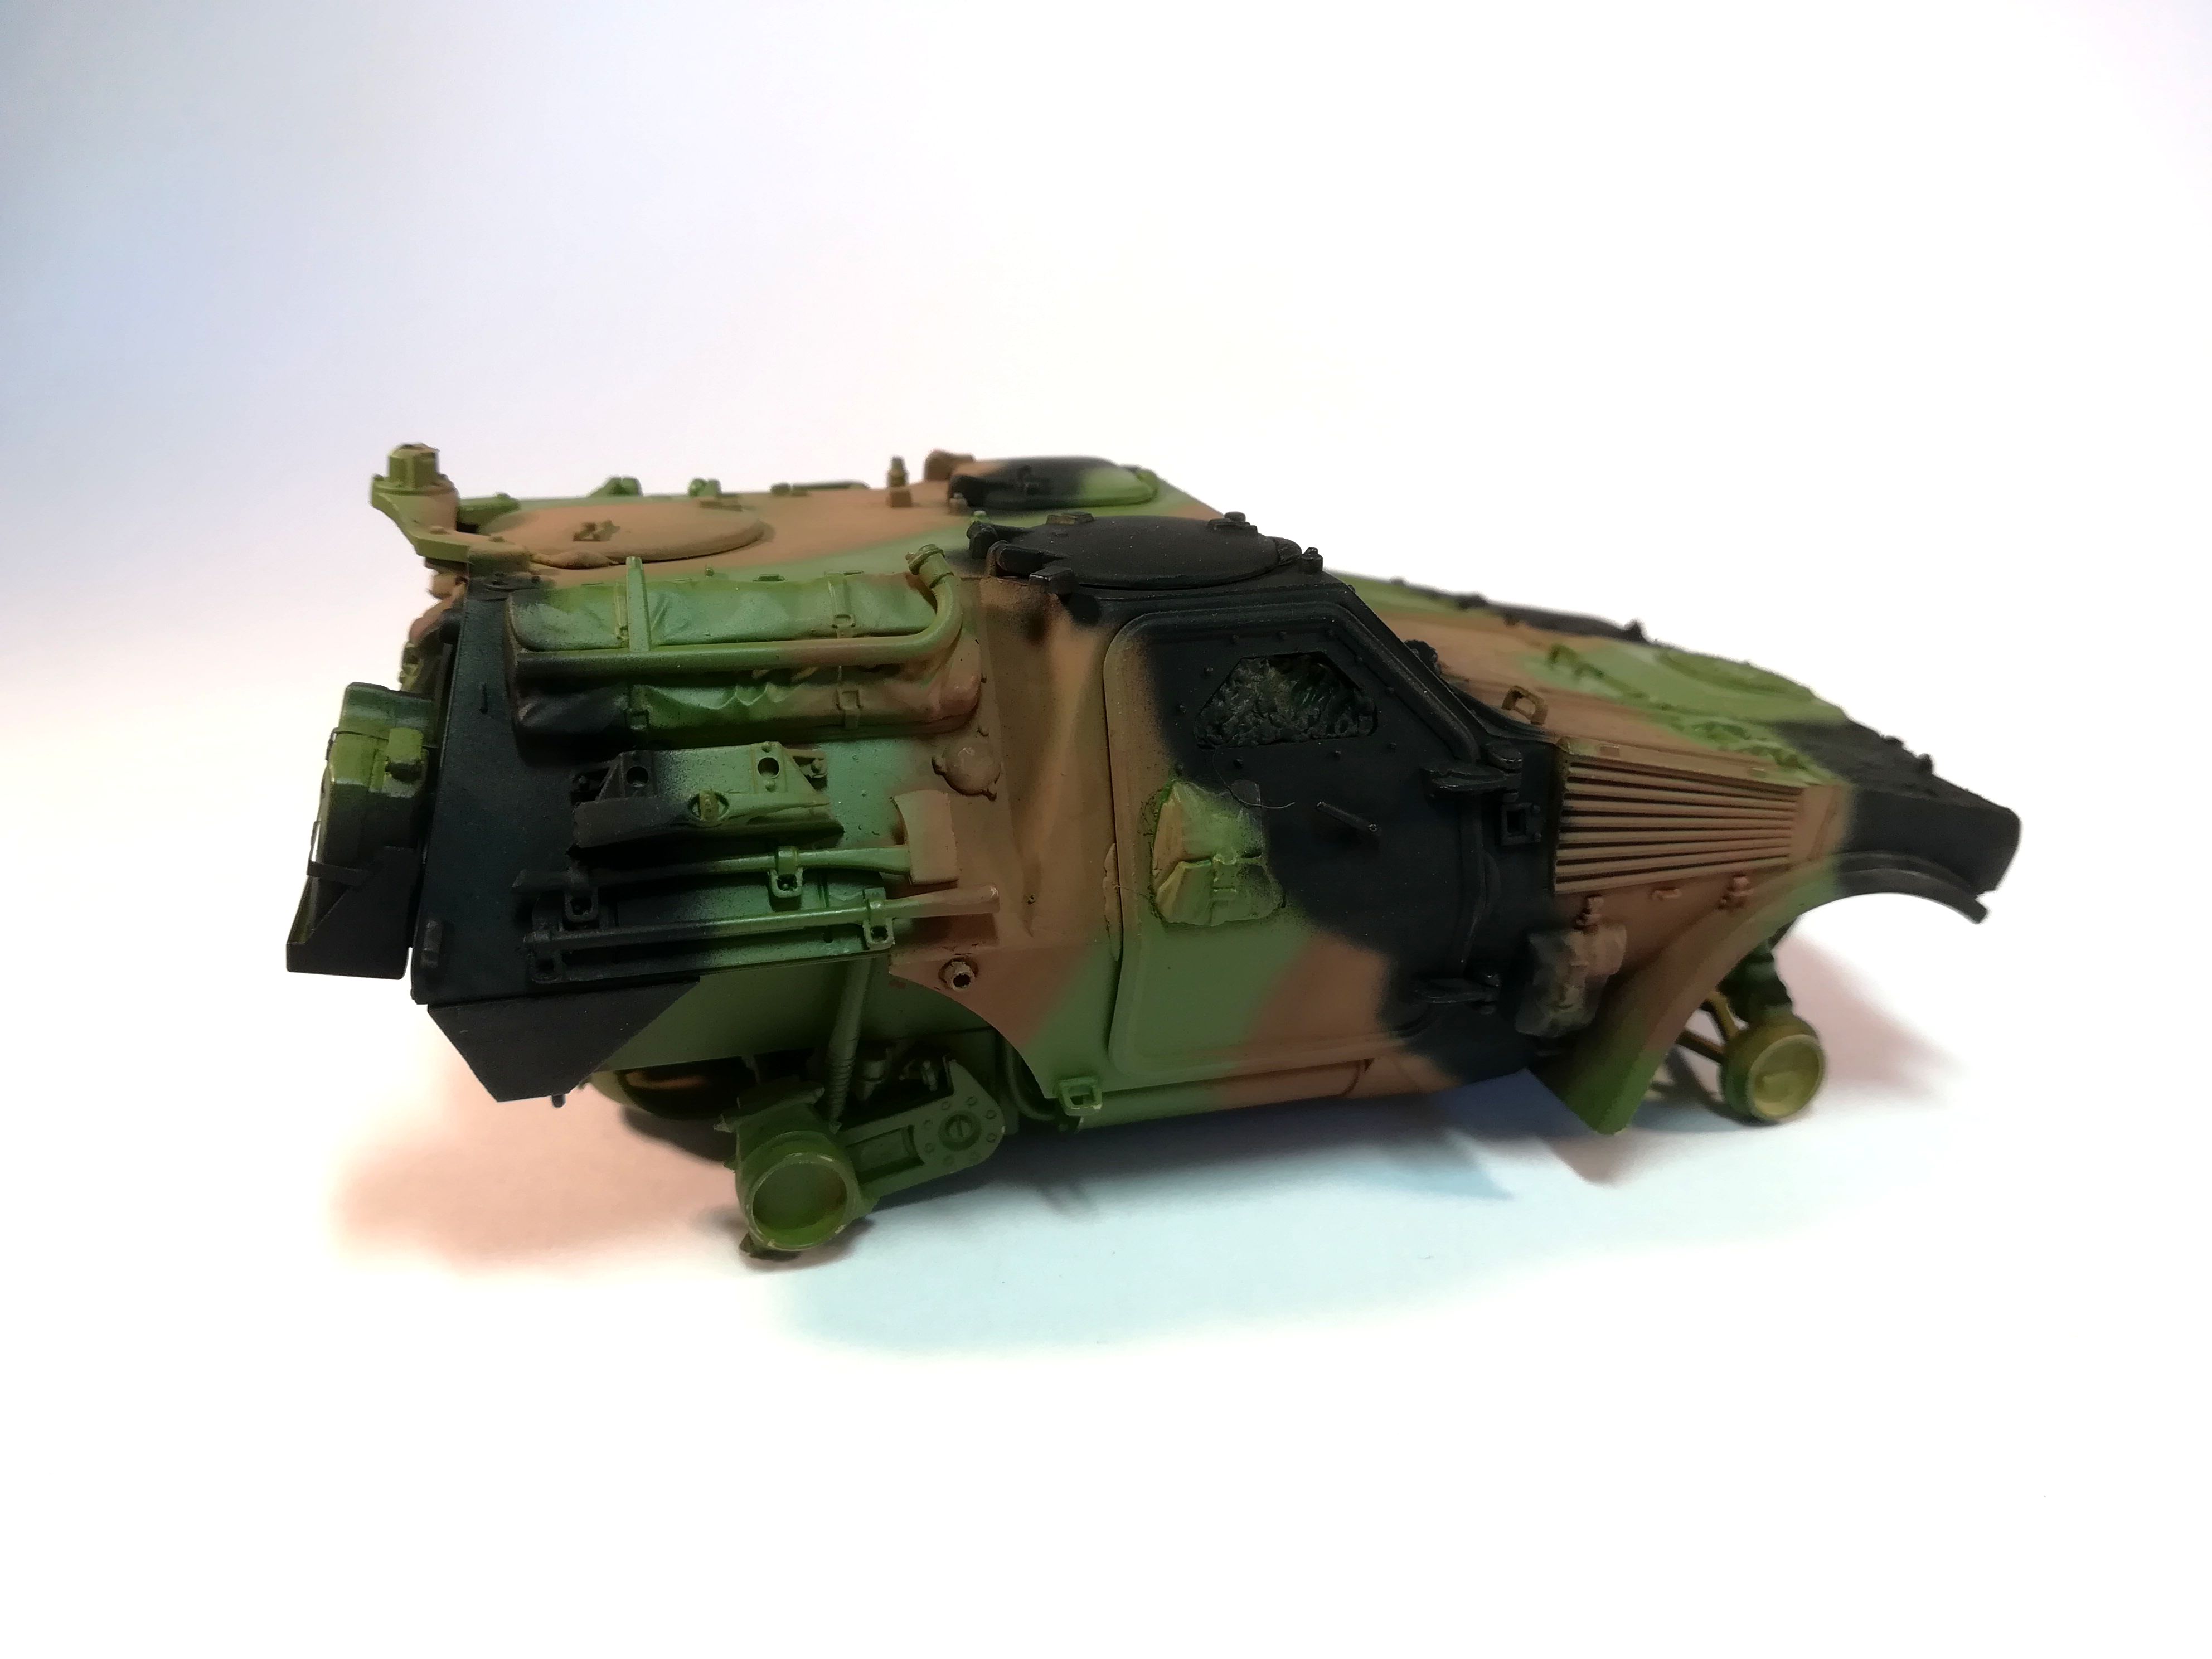
Coming along very nicely. Interesting design for the Jerry can strap. Very ornate.
Nice choice, Dobs.
Looking forward to see more