Really nice work Ezra! And the grey barrel was a good call. IMHO.
1 Like
That is one amazing looking Elefant!
Super unique and will be a stand out!
1 Like
That looks fantastic now Ezra.
1 Like
Great work, Ezra
1 Like
Really very nice job on the coloring and weathering effects.
Beautiful work.
1 Like
All of your builds are fantastic Ezra but this one is really outstanding. How did you achieve the staining and grime? What did you use? This model is a real show stopper.
1 Like
Some great job on these big guns!
Applying those decals should have been a real pain. But the work pays off.
Olivier
1 Like
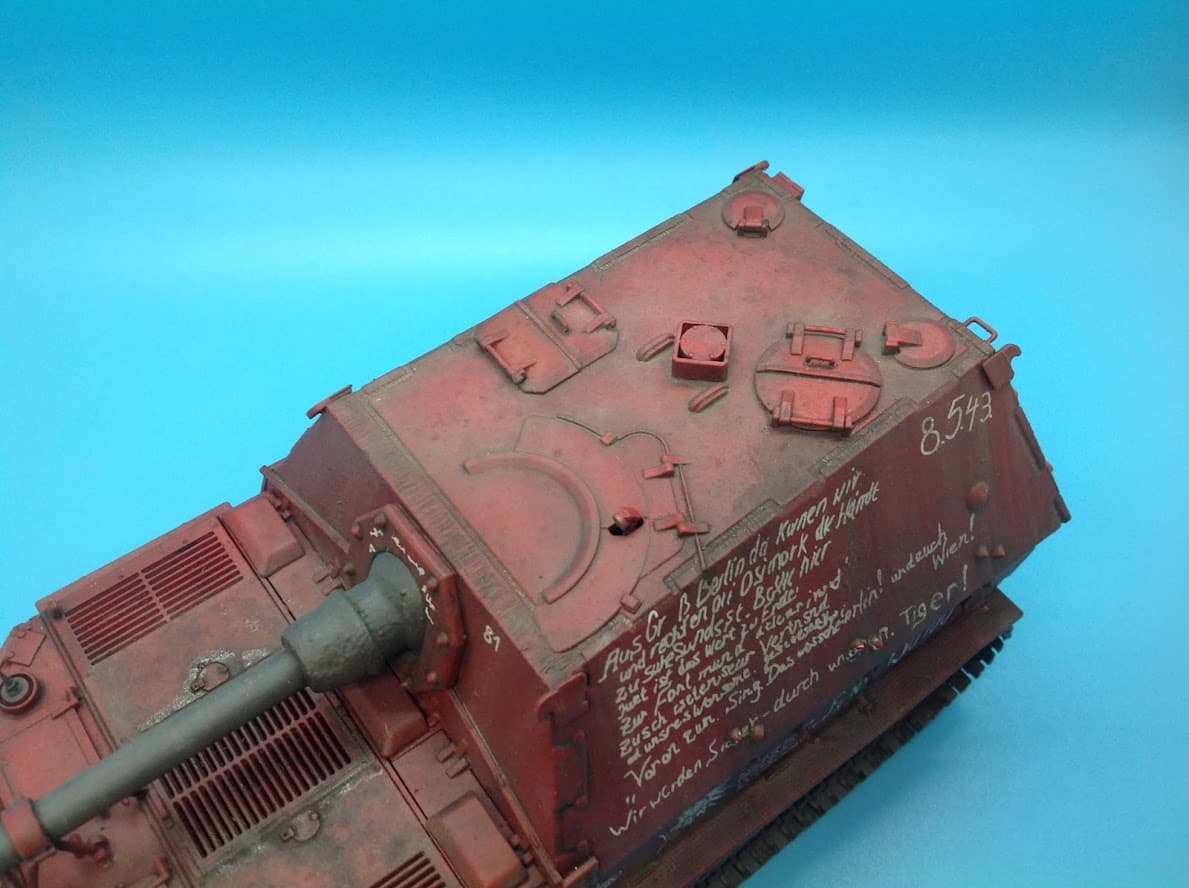
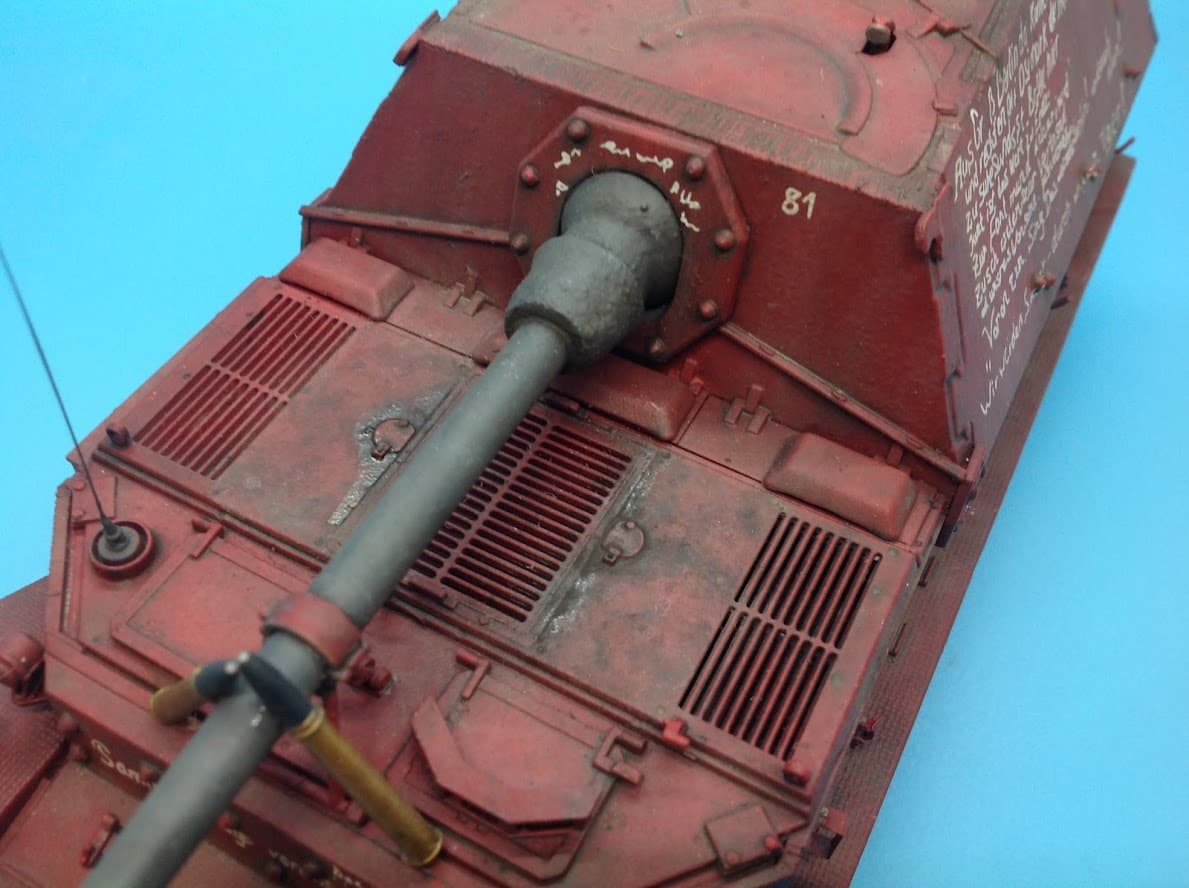
Took a few more pictures after the first round of wash on my Jagdtiger. I could spot issues in pictures rather than looking at the real model. Even with Opti-visor 

Leaving it alone for a couple of weeks and continue with chips, tracks etc…
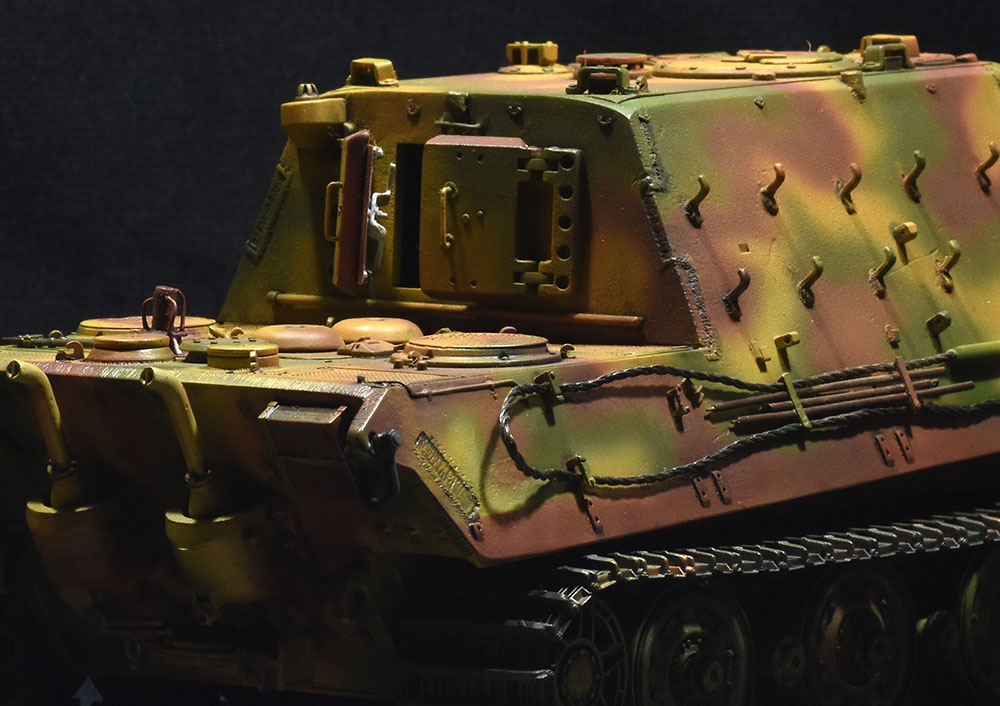
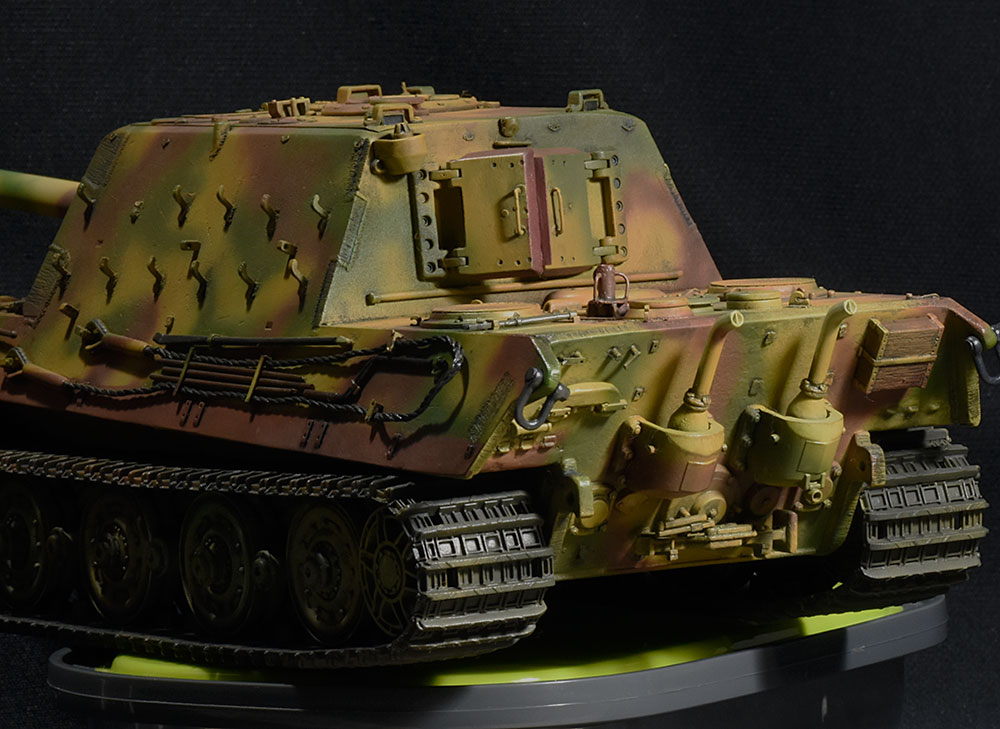
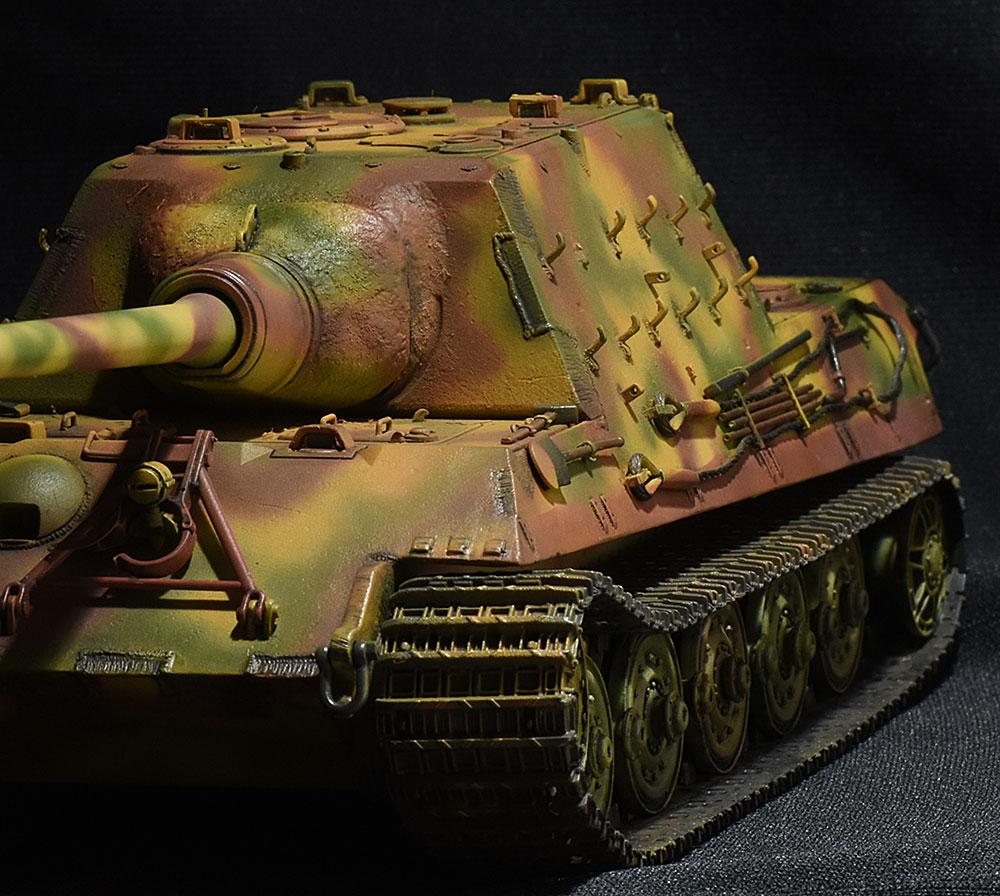
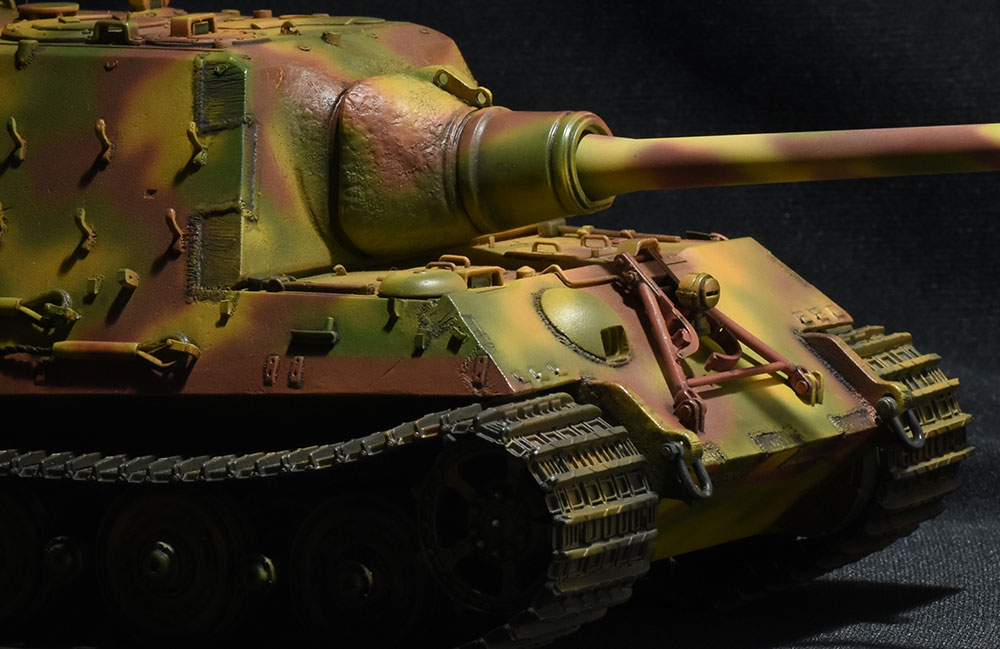

Let me know if you spot anything very odd… Comments and suggestions welcome .
Have a great day folks 
10 Likes
Thanks guys!
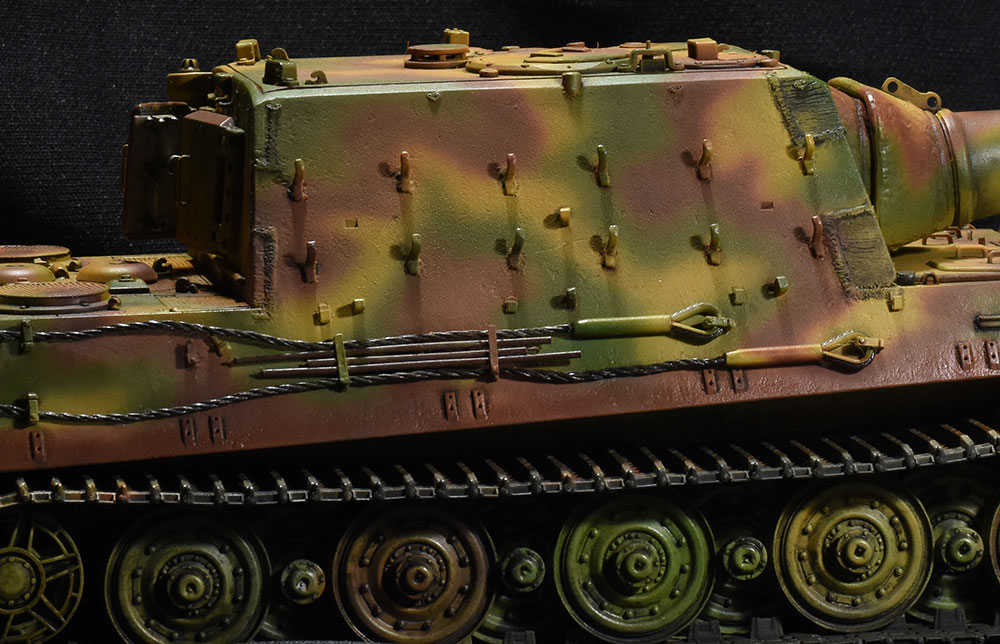
@SSGToms Thank you! The staining was gotten first by adding some base dust effects with AK and AMMO enamel’s, lightly brushing on the smallest bit of light pigment and flicking and adding puddles and tide marks with thinner that had a drop of streaking grime mixed in.
The effect may be overdone a bit bit it gives the model a really grimy look.
Fuel was pretty much done the same way, I just used almost pure streaking grime then I added some thinned AK fuel for a glossy look.
Next is covering it in branches and bushes.
@Mukund Your JagdTiger looks awesome!
It has a real heavy metal look.
9 Likes
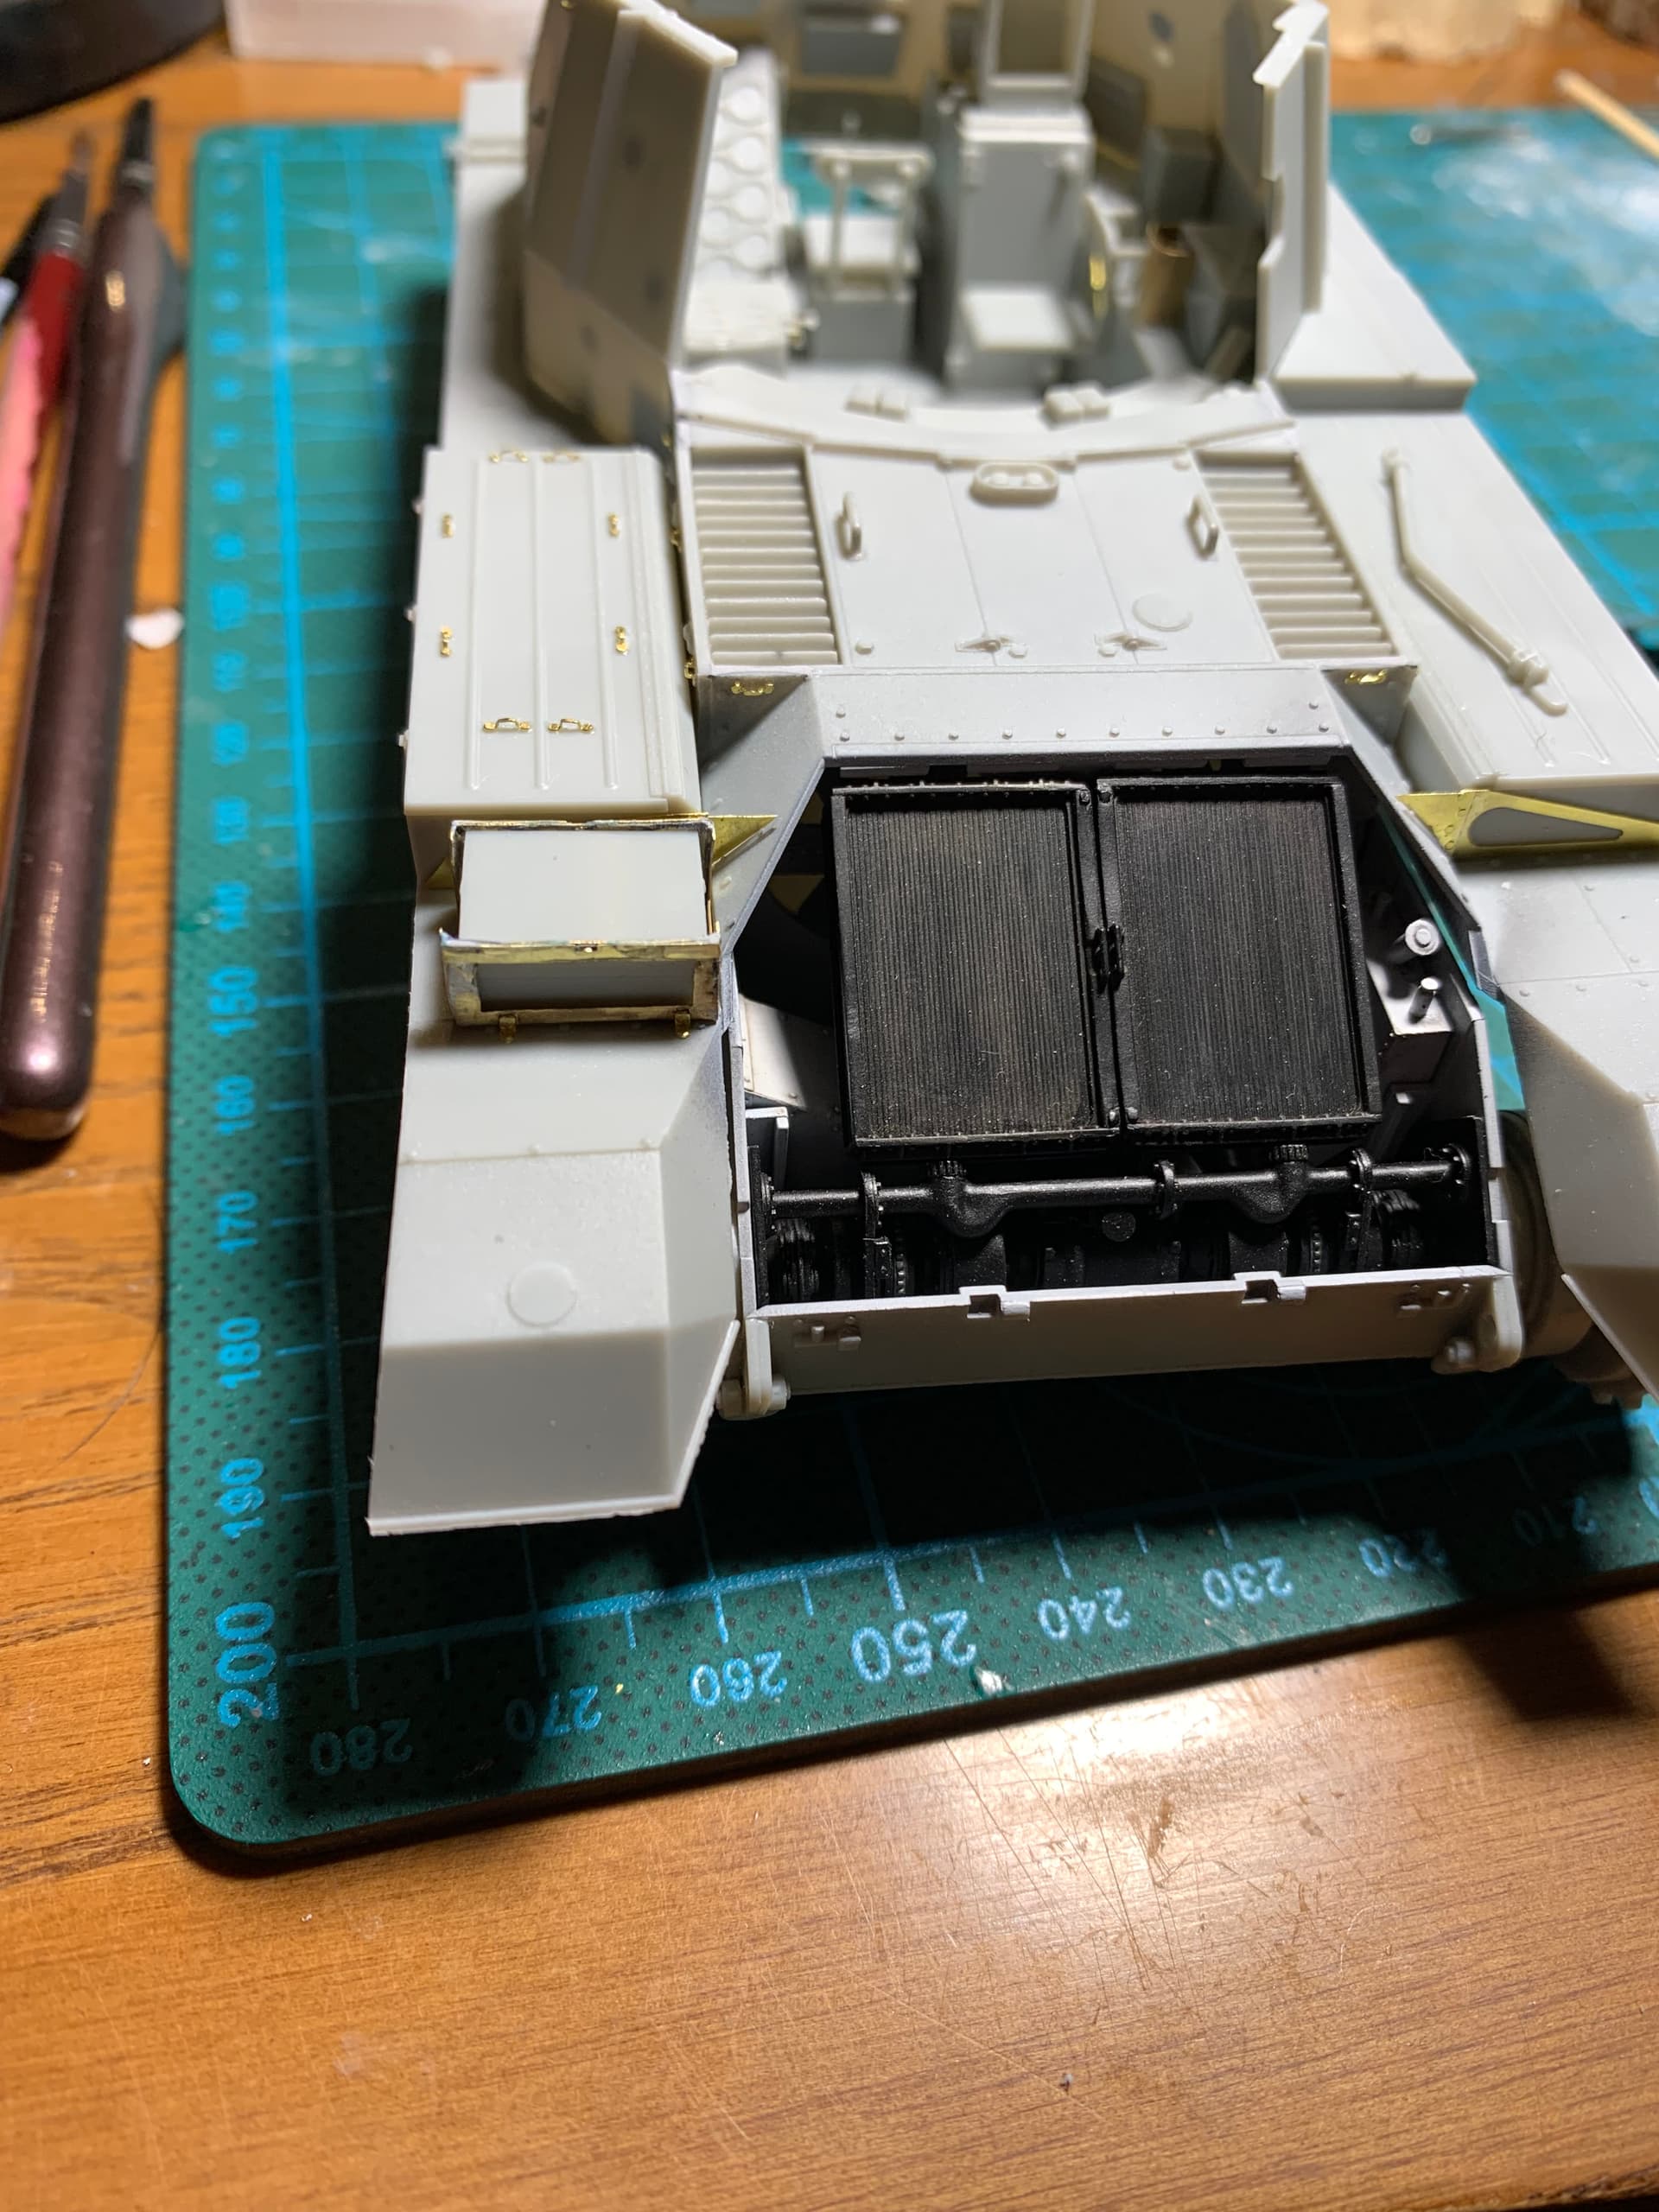
Looks Great Mukund. Only thing that really stands out to me is the location points on the upper casemate side. If you are not adding the fitting intended to be glued there, it would be better to fill this, as there was no rectangular indent in the plate.

4 Likes
Good catch there @petbat I will fix that. Thanks for pointing that out…
I have also found few more fixes. Lets wait if anyone is able to identify those… 
1 Like
Getting close to being done the main construction on this one. All that’s left is some PE I’ve left off until I fit the top and bottom hull together. The fenders are a tad warped so I’ll have to tape/rubber band them while the hull join sets, I’m worried the PE with break off so it’s off for now, and then I need to do the gun, and the front shield and I’m done!
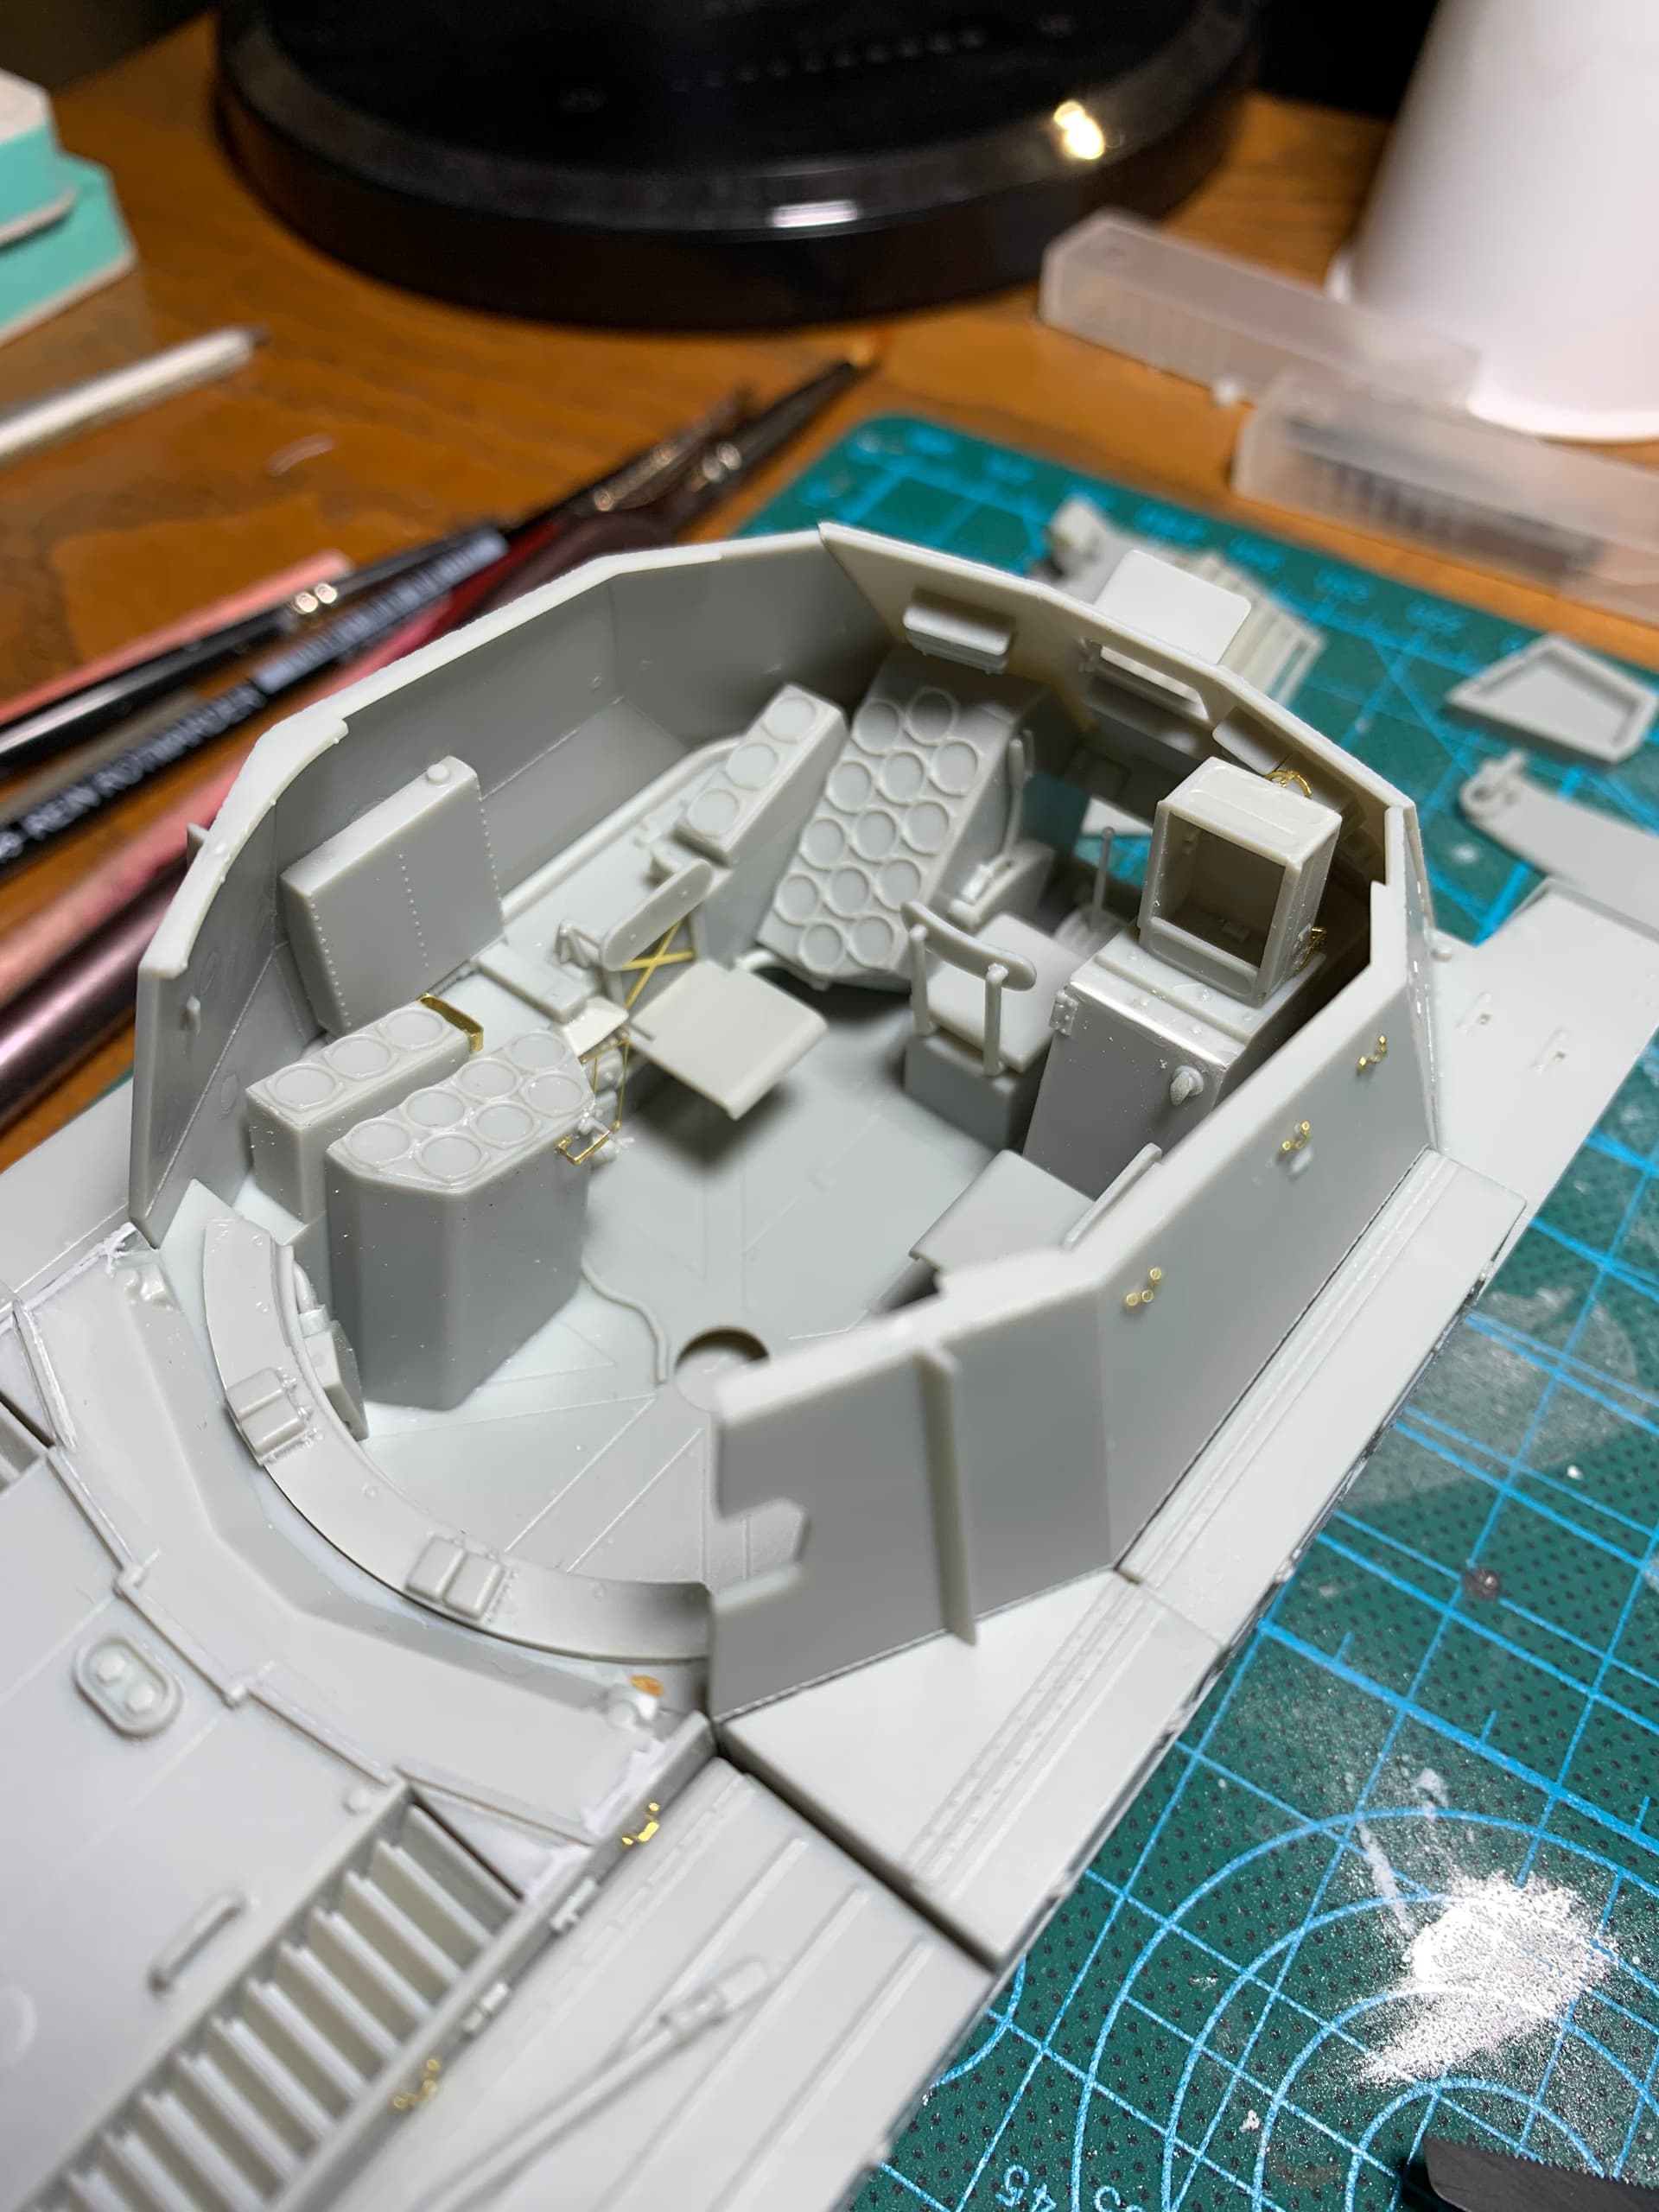
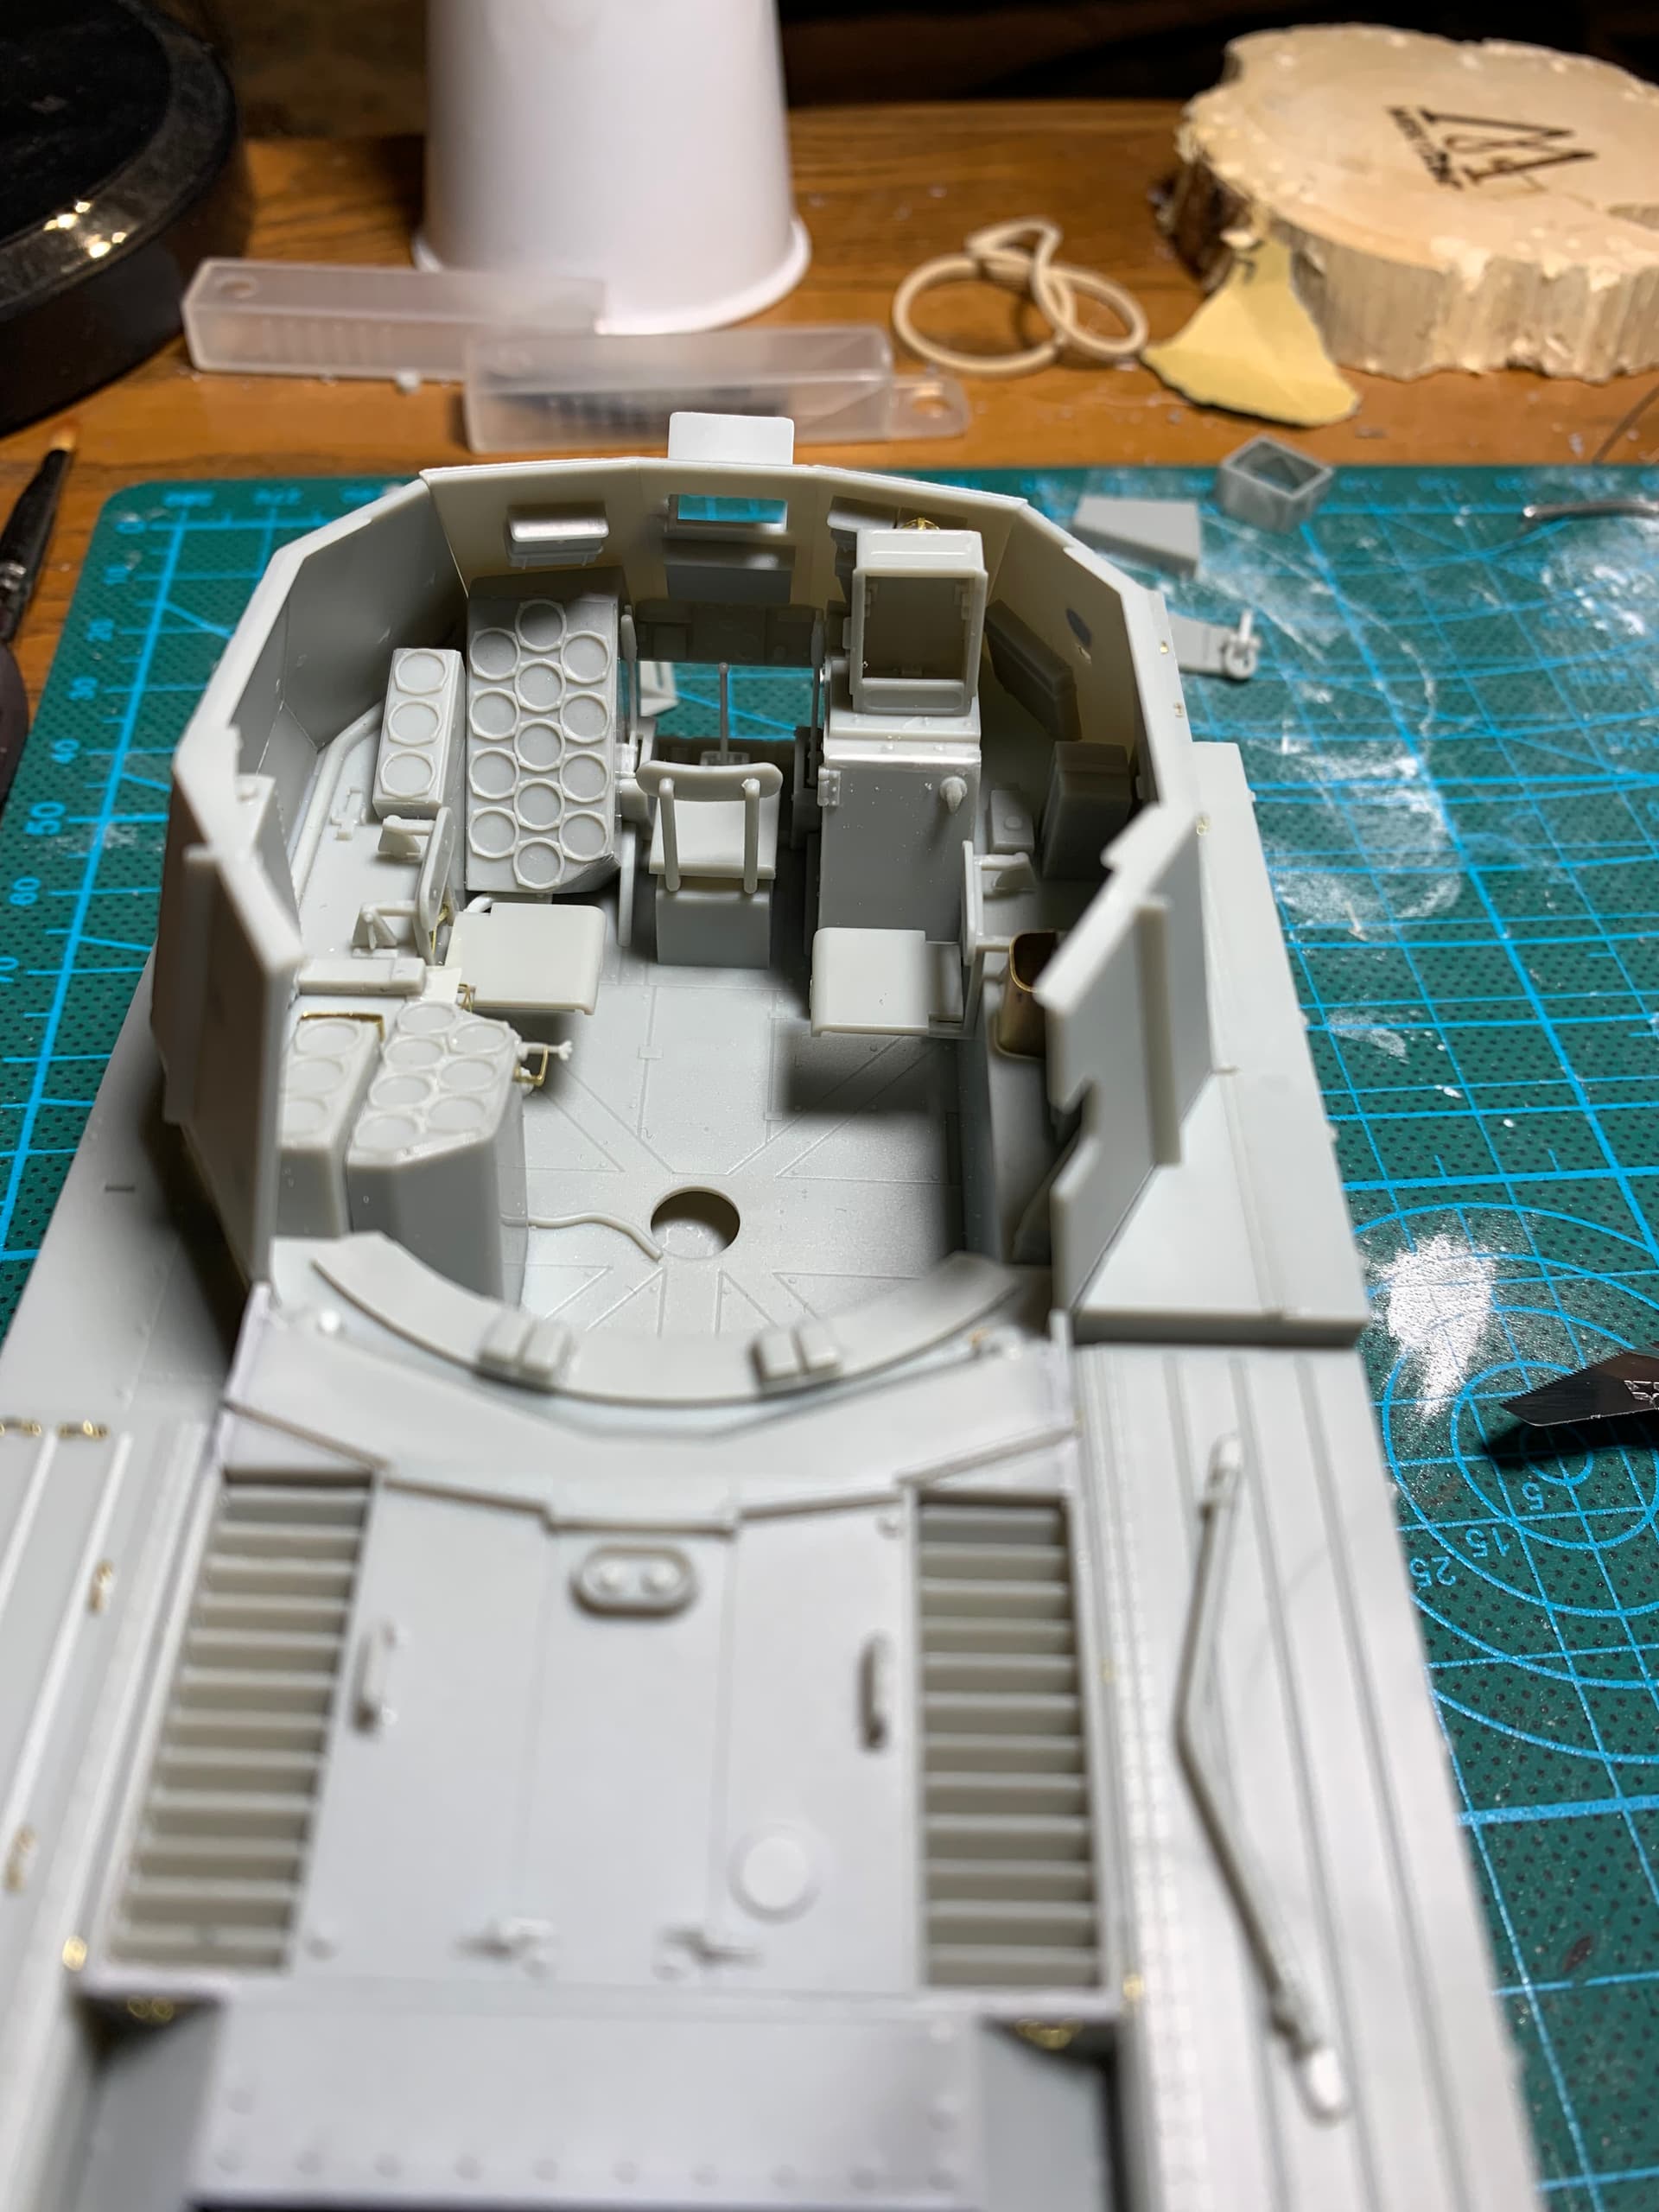
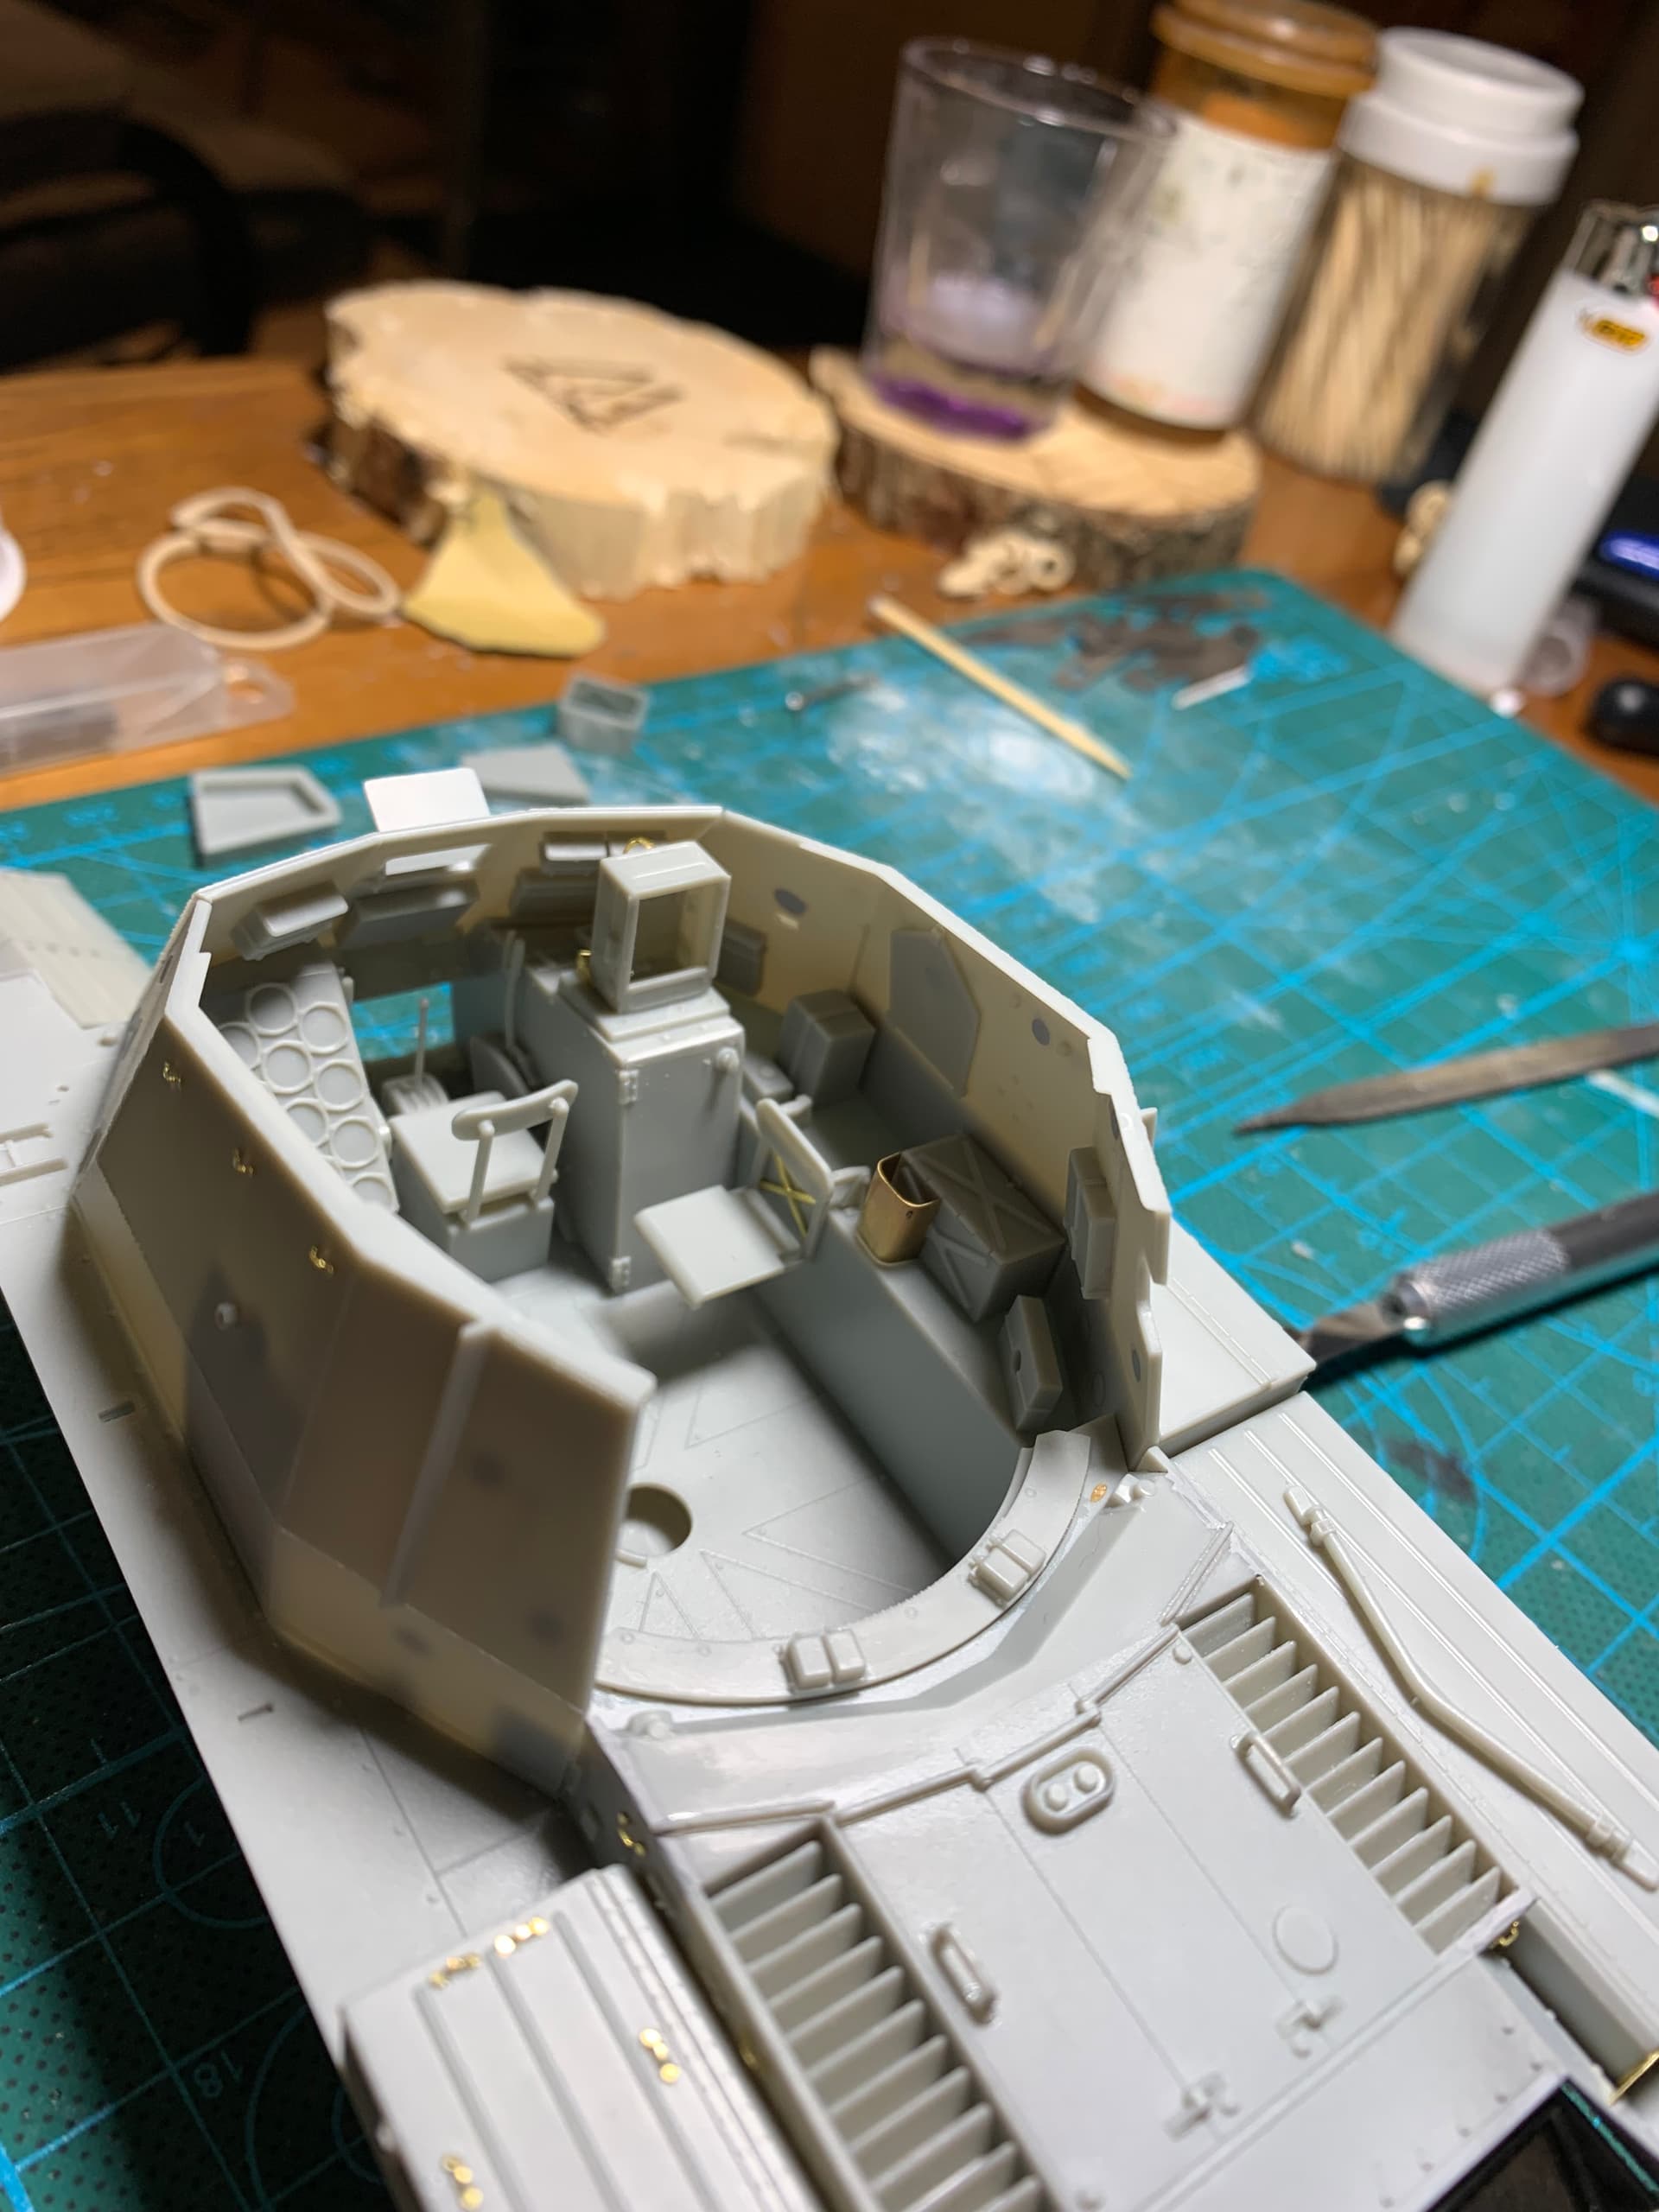
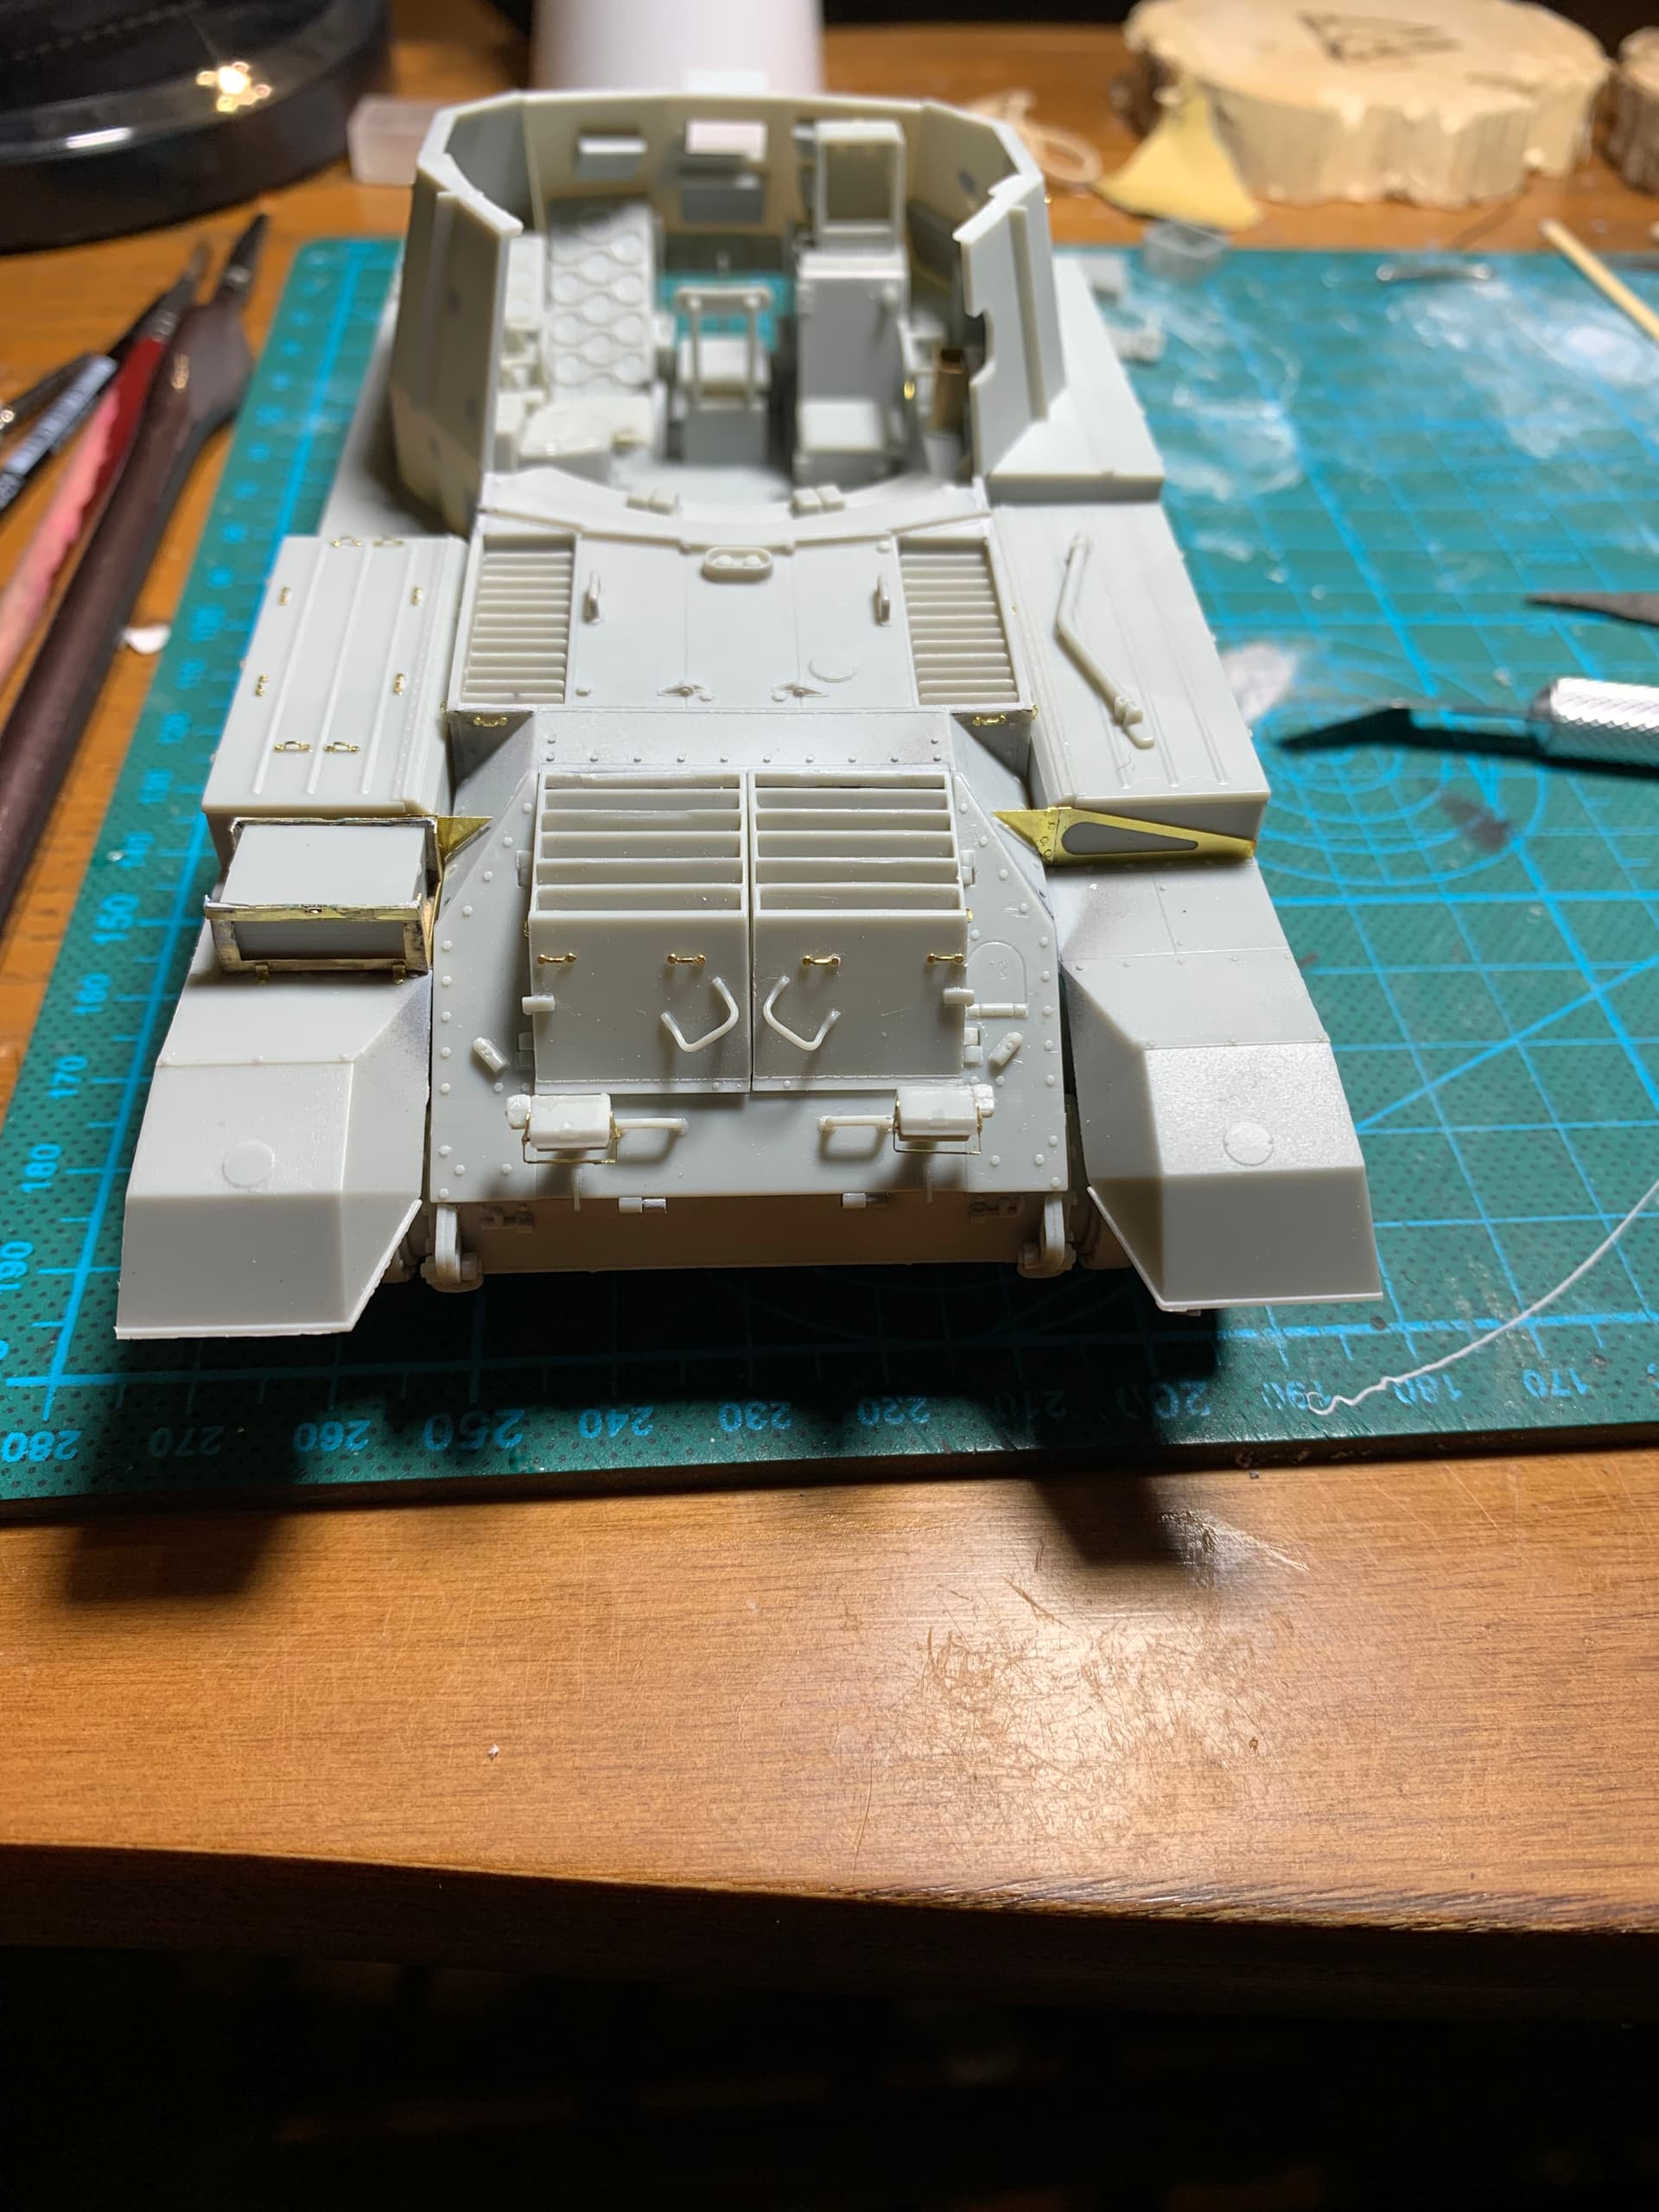
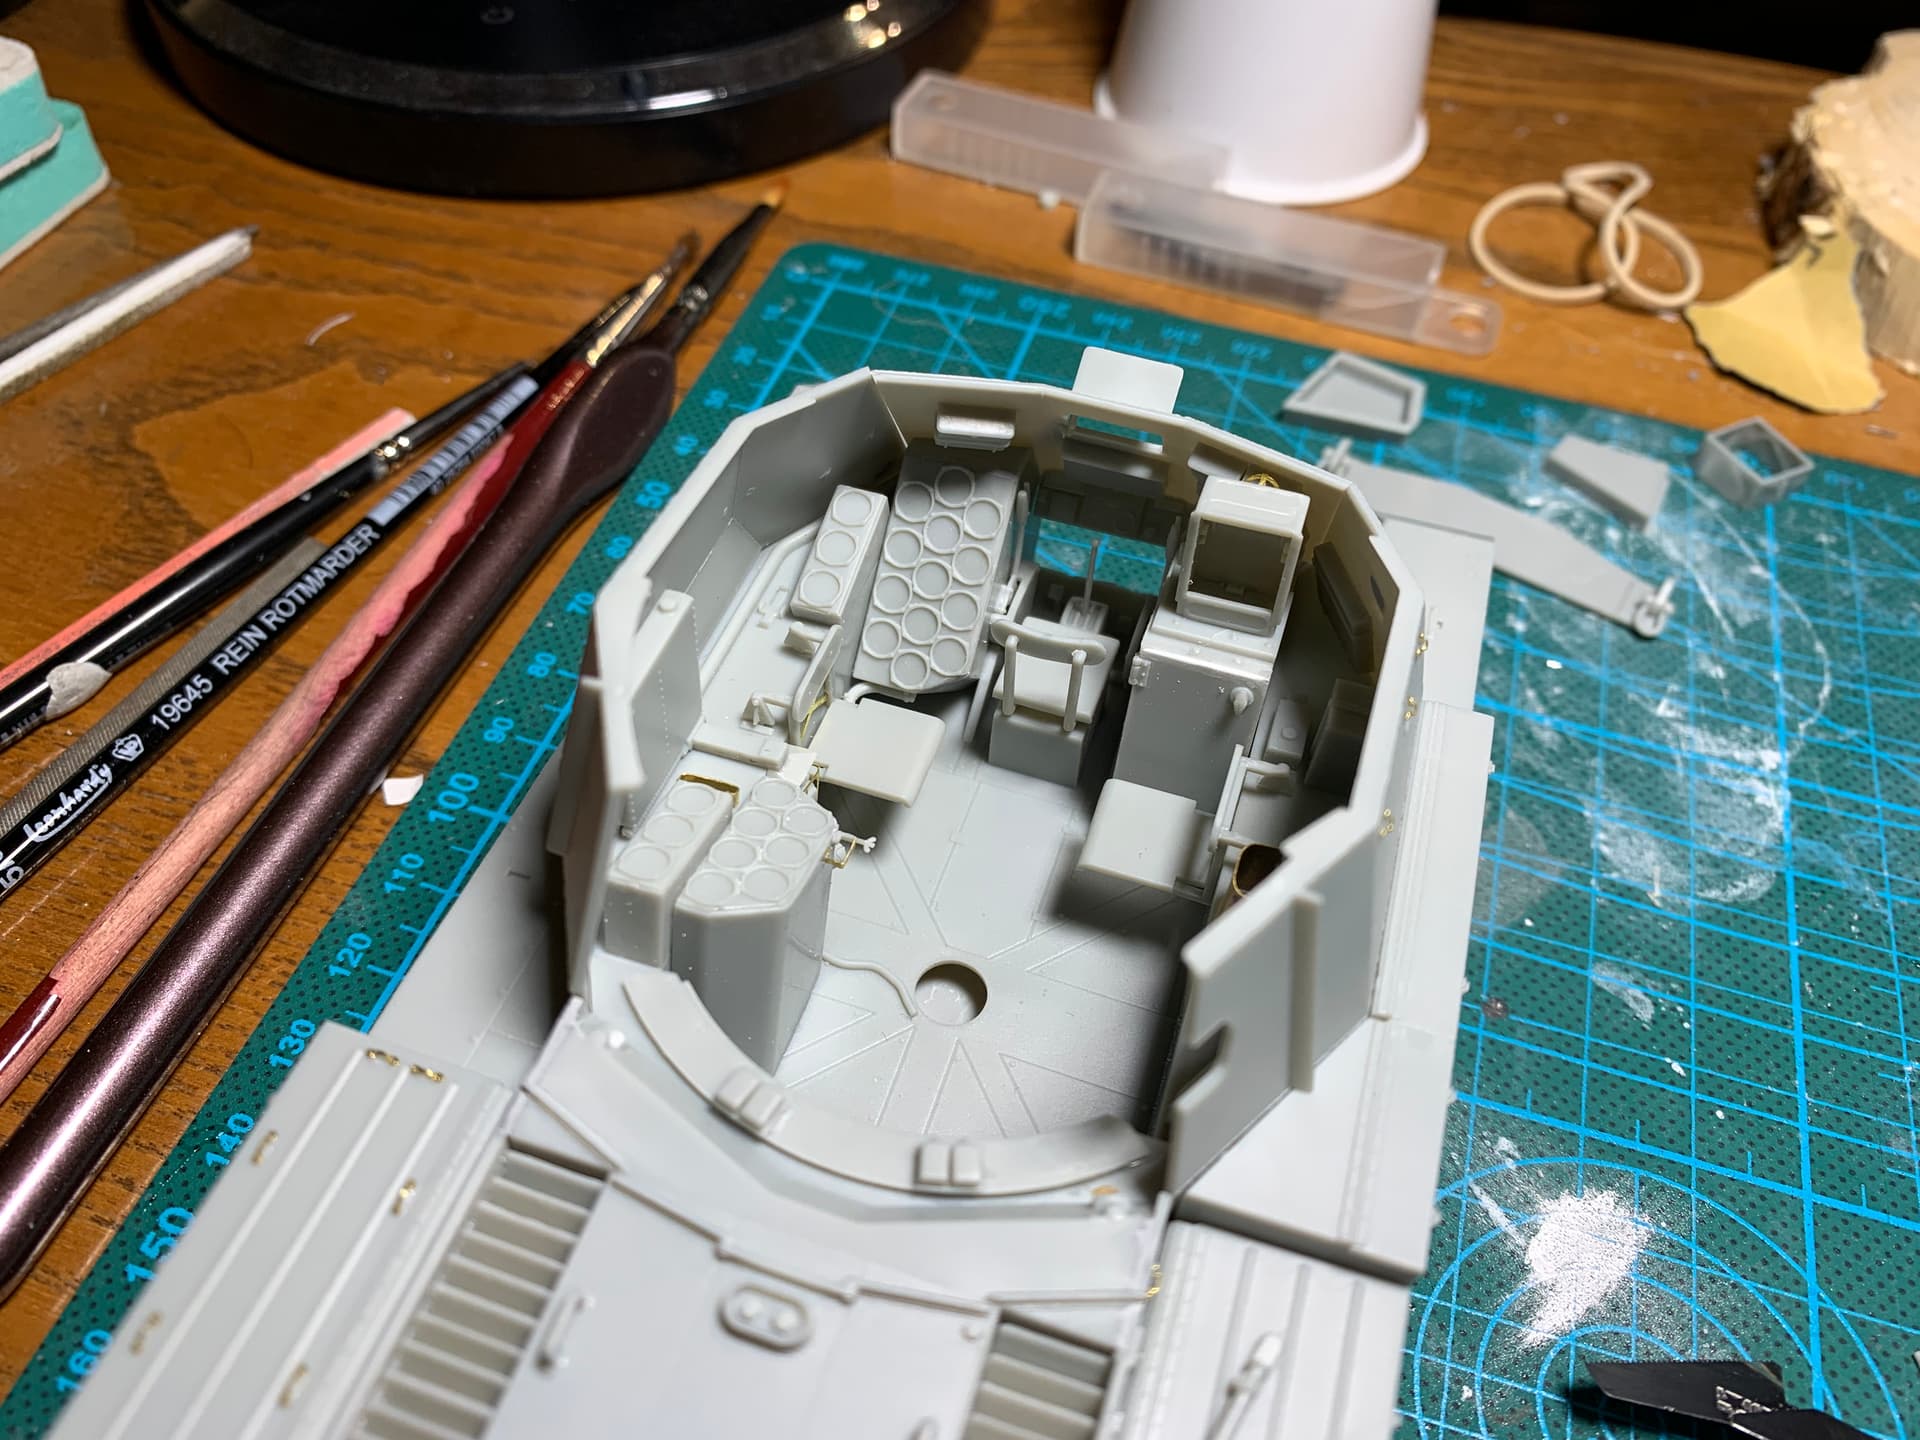
The majority of the sub assemblies are dry fit to help with painting.
11 Likes
So the tracks are finally put together! Still need to add all the pins in later though… Fenders and other stuff added. For some reason the headlights have tiny PE parts. Gonna replace them with something else.

The hull has some welds, though they just randomly end. So I added my own, first with some two part putty epoxy but then I tried the thin strips of evergreen.

I’ve been thinking about the turret layout a bit. Keep it simple or add some more things… To add something to it, I picked up this Verlinden ammo set

Also picked up some figures I’m hoping I can modify to work with this kit.
Since I’m working on one vehicle from World of Tanks, why not another?

Upper hull mostly done, gotta love how quick and easy Tamiya ktis go together.

Here is what Wargaming refers to as the D-4S made from the kit parts and some evergreen rod.

Now that’s some real power. Decided to make the barrel slightly shorter than the BL-10 gun.

Also had this bad boy come in.

8 Likes
My apologies, due to changing personal circumstances, I am withdrawing from the group build.
I look forward to continuing to check in and see the exciting progress and excellent work.
@Armor_Buff sorry to hear that Wade, i hope things get better for you soon.
1 Like
An unfortunate turn of events @Armor_Buff.
I was quite hoping to see your build
1 Like
Appreciated. Too hectic in real life right now for building much.
1 Like
@Armor_Buff I’m real sorry to hear that Wade. You’re an important member of our community. I hope things clear up and you’re back to the bench soon.
5 Likes
Hear Hear to what Matt said.
1 Like
Everyone’s builds are coming along really nicely.
I did a test fit of the hull parts on my Type 1 and found some annoying hollows under the track guards. Rather typical of older Tamiya kits.
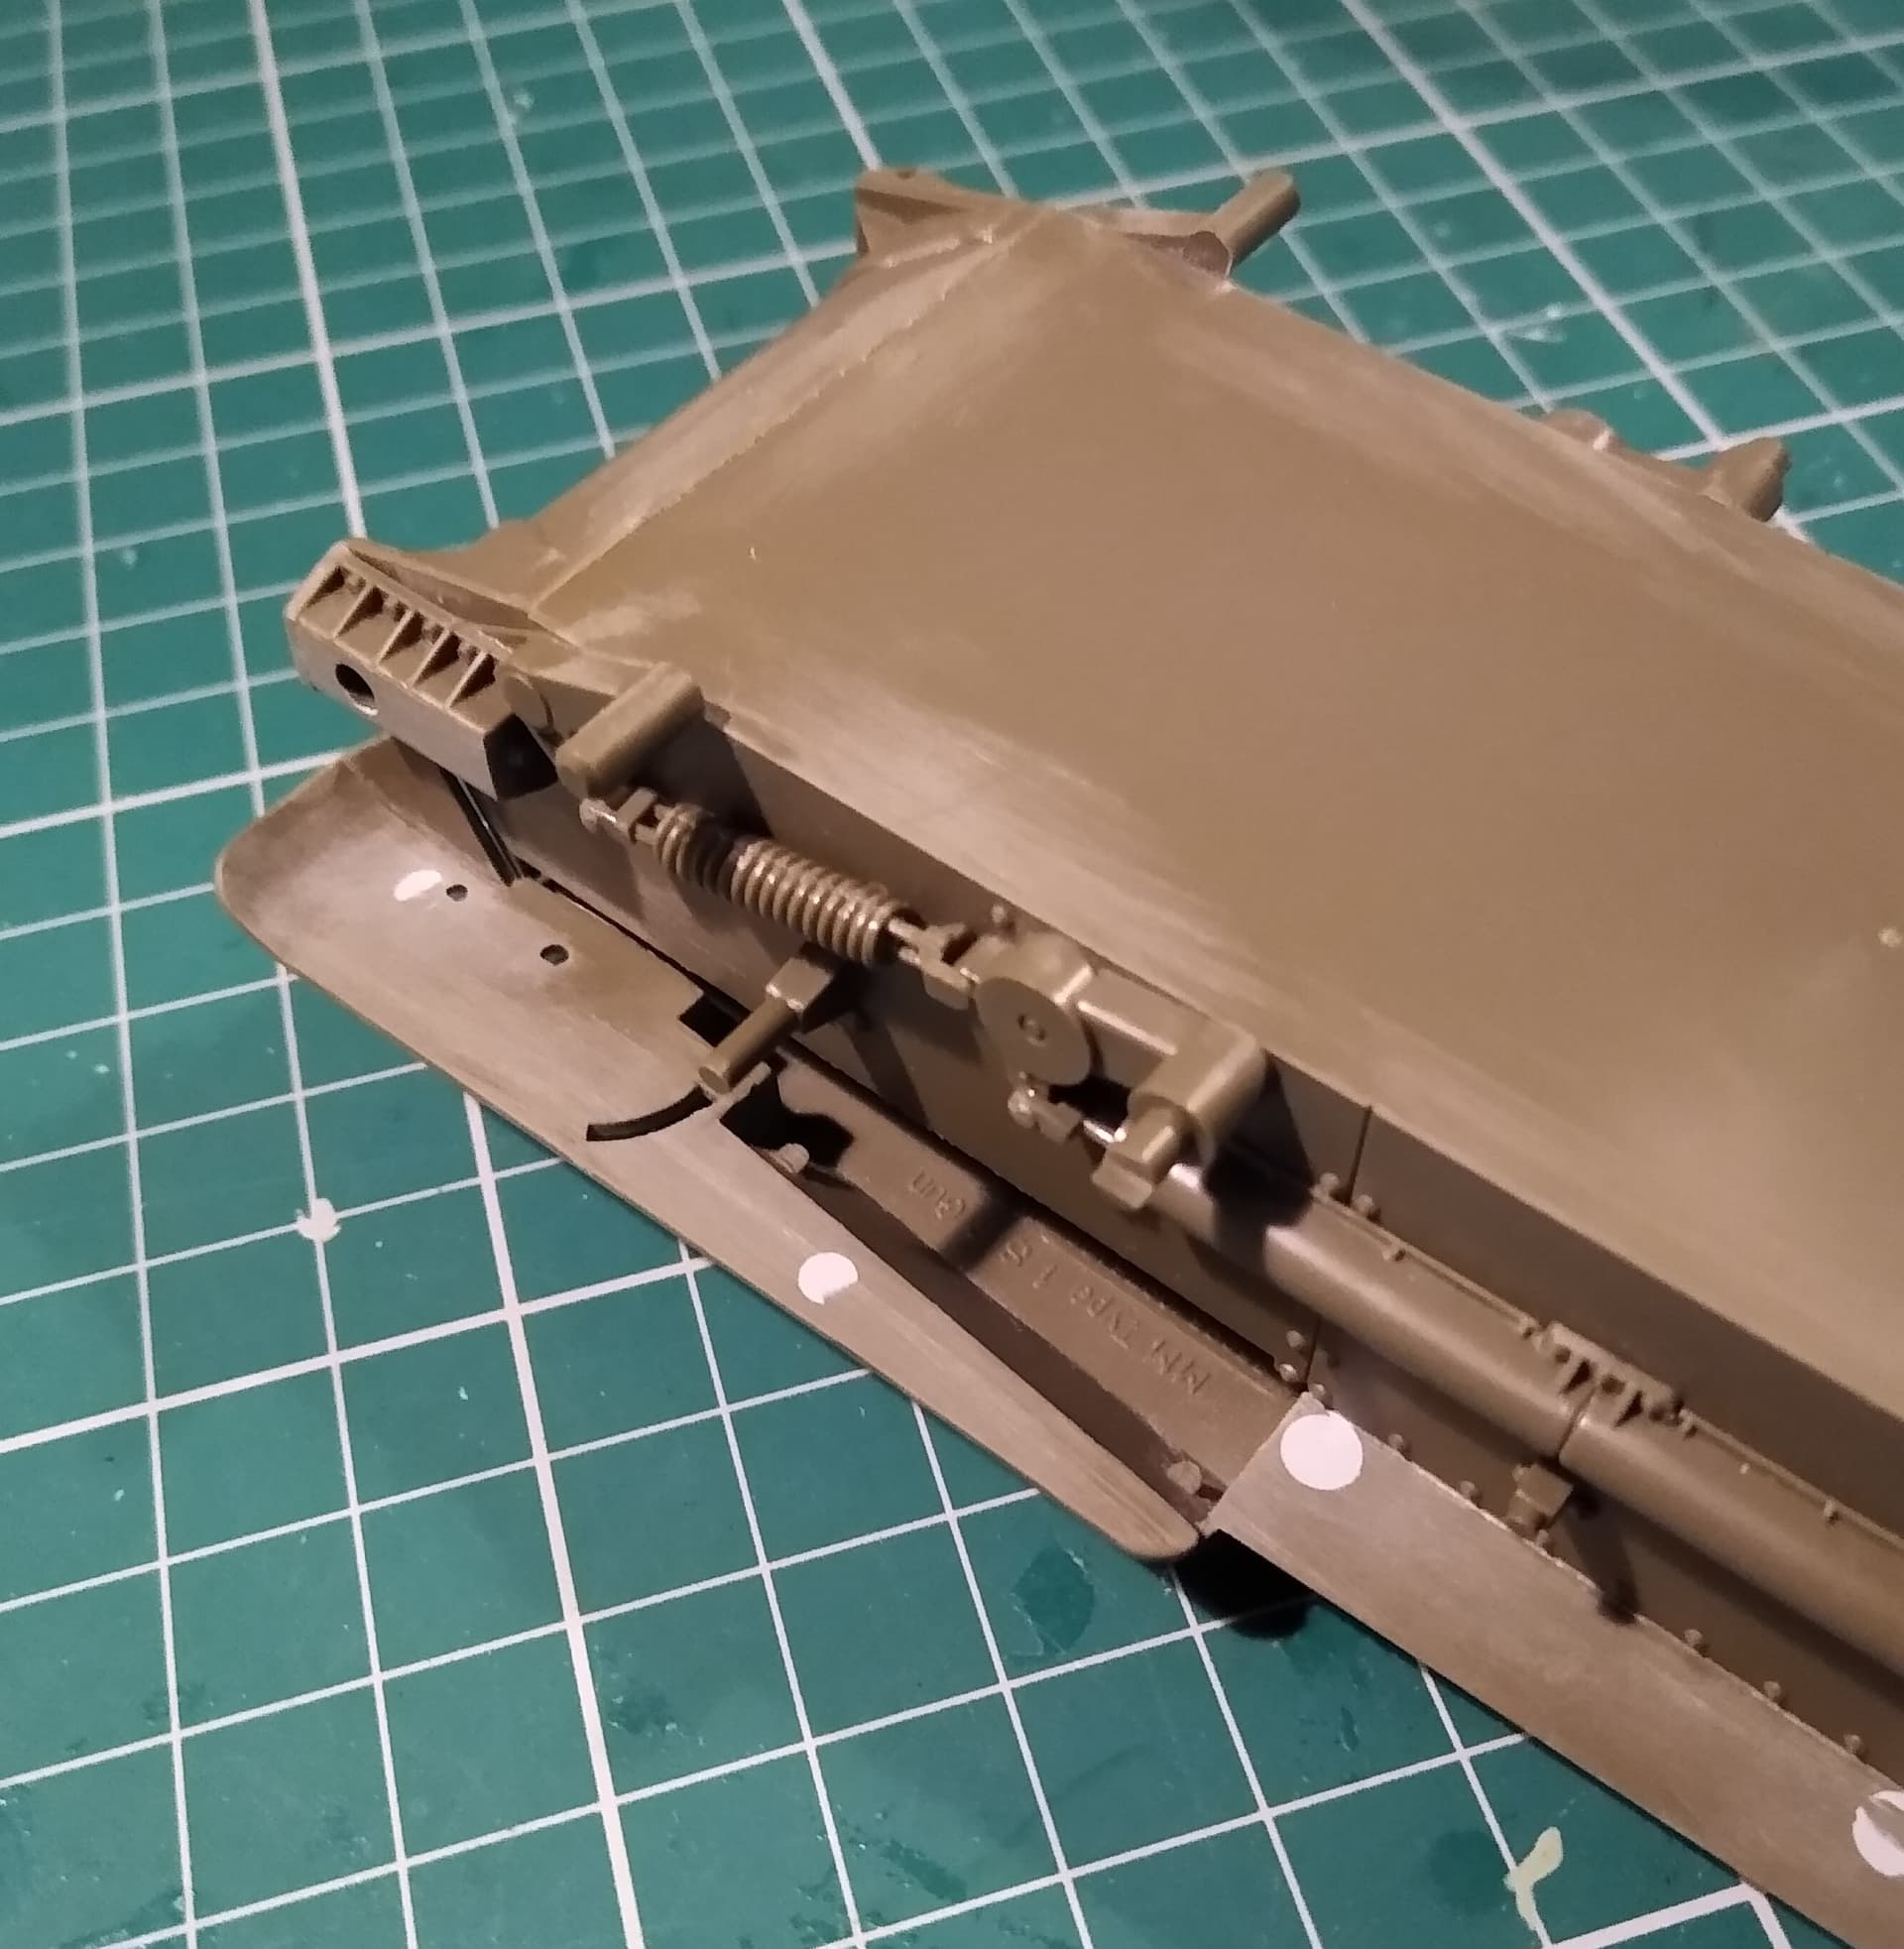
So, out with the plasticard to fill them in.
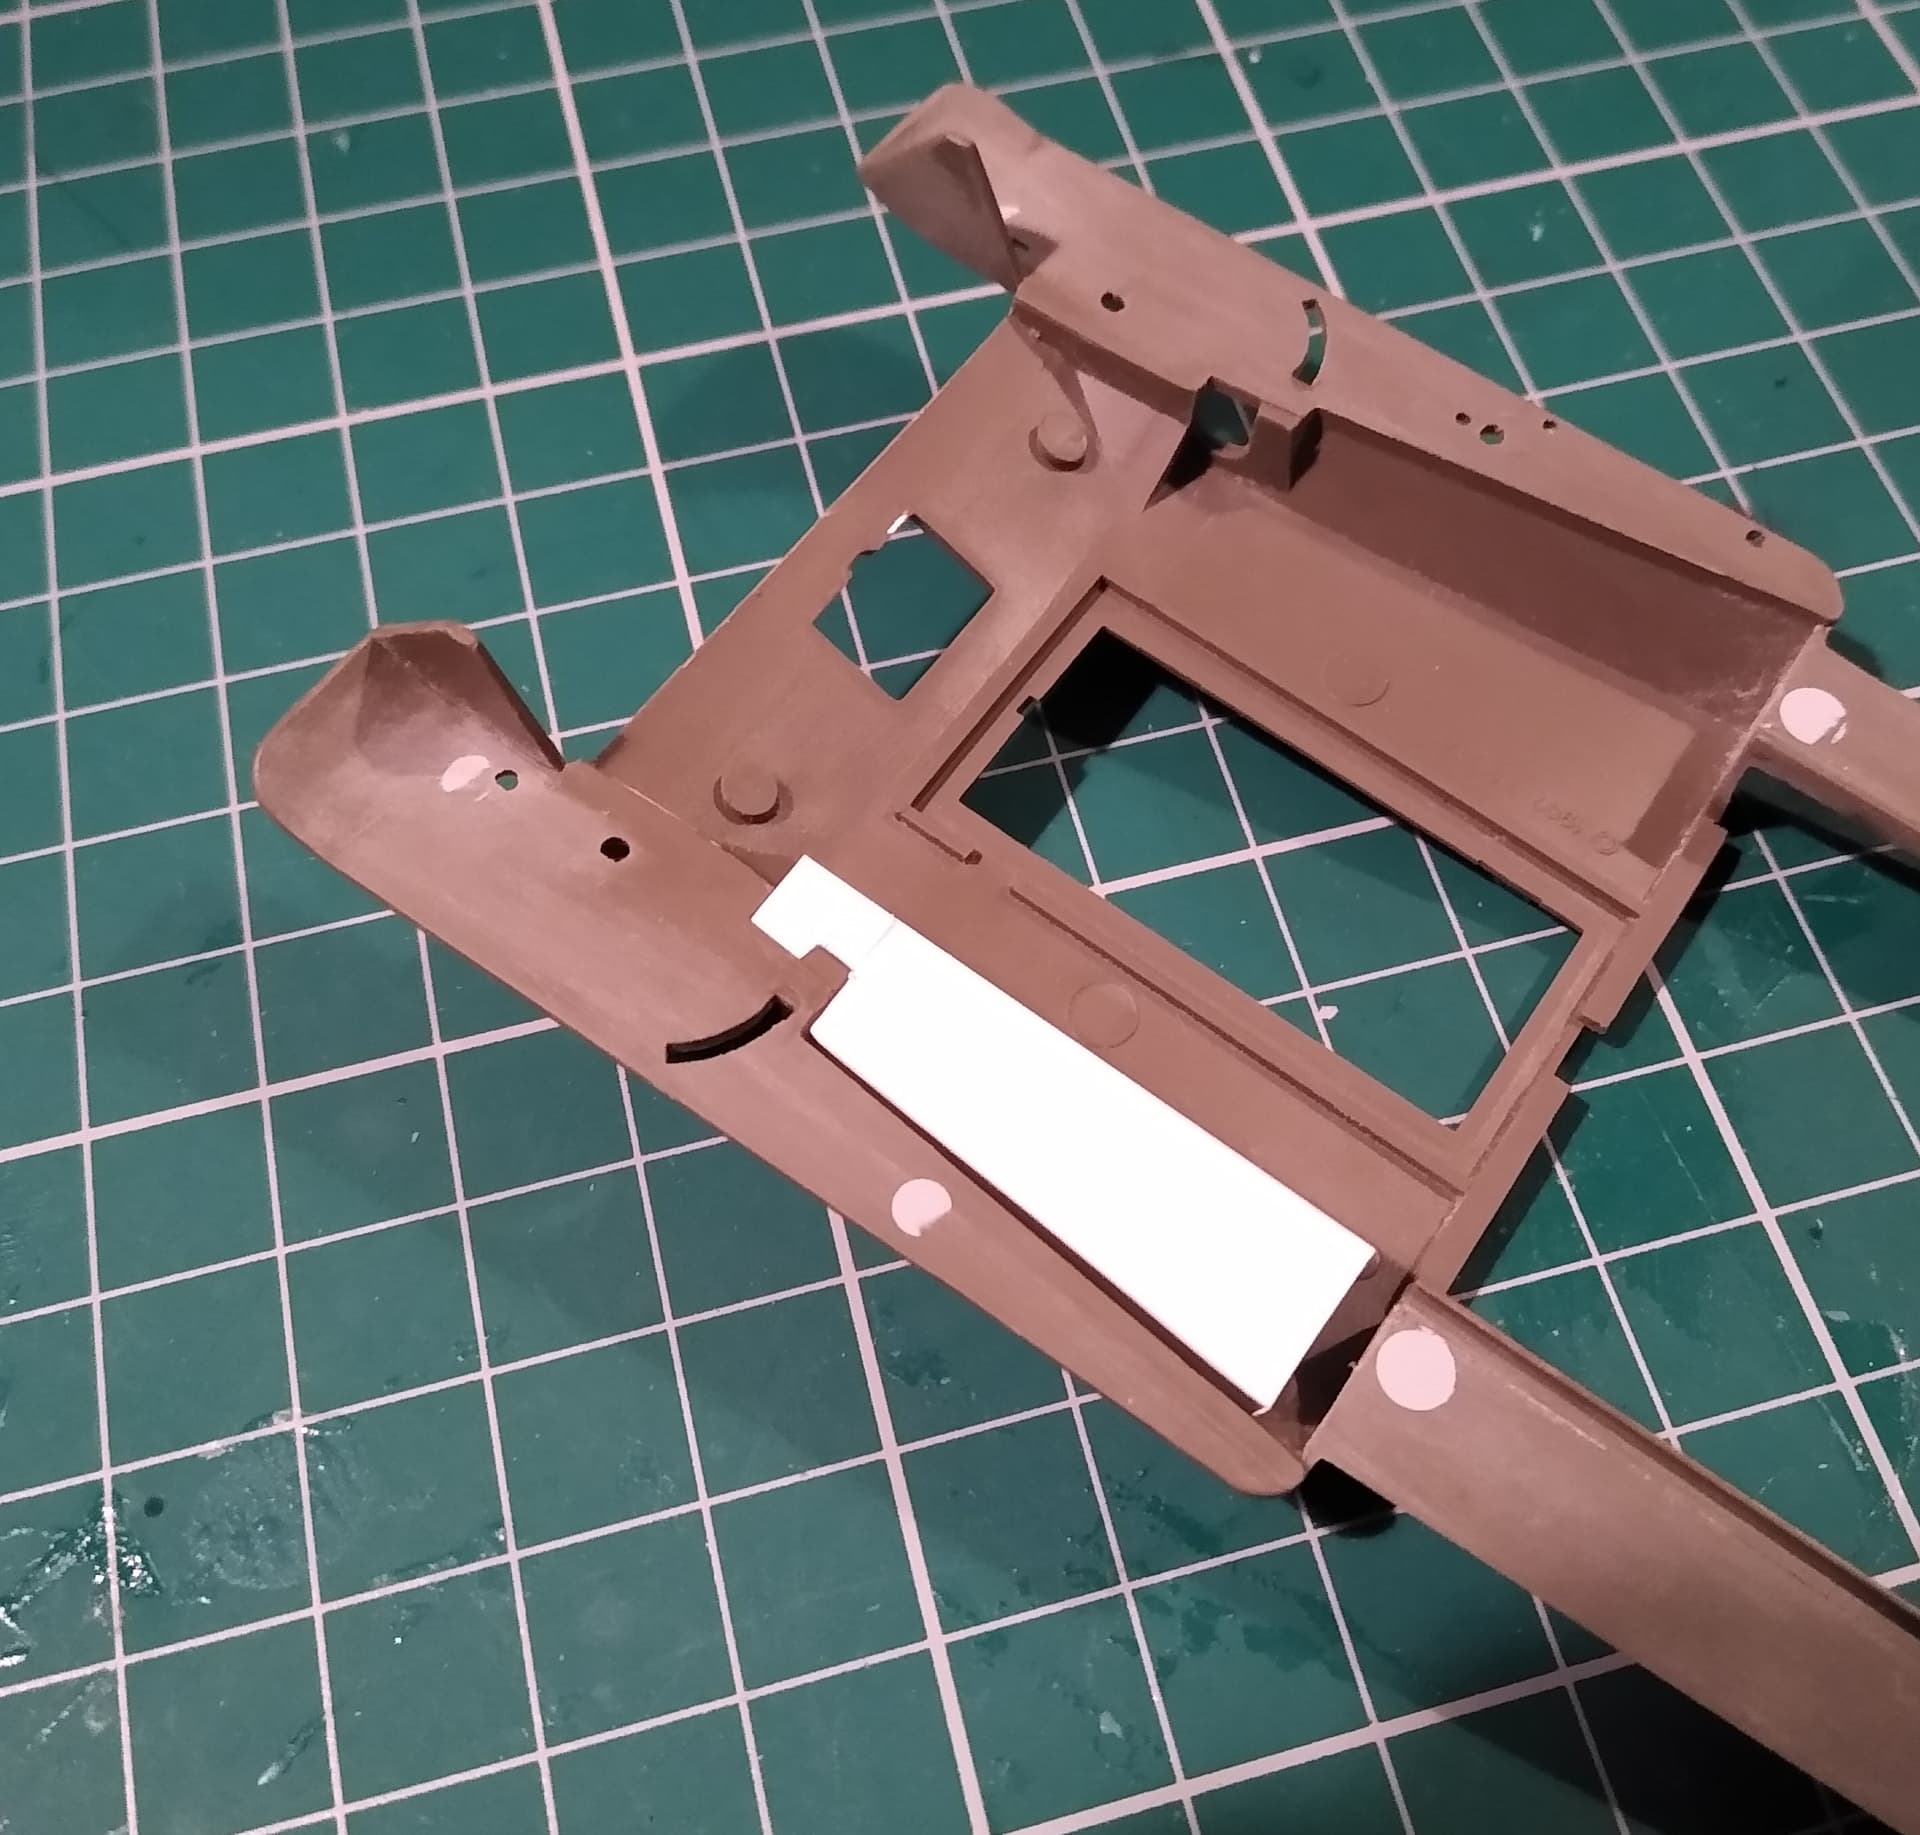
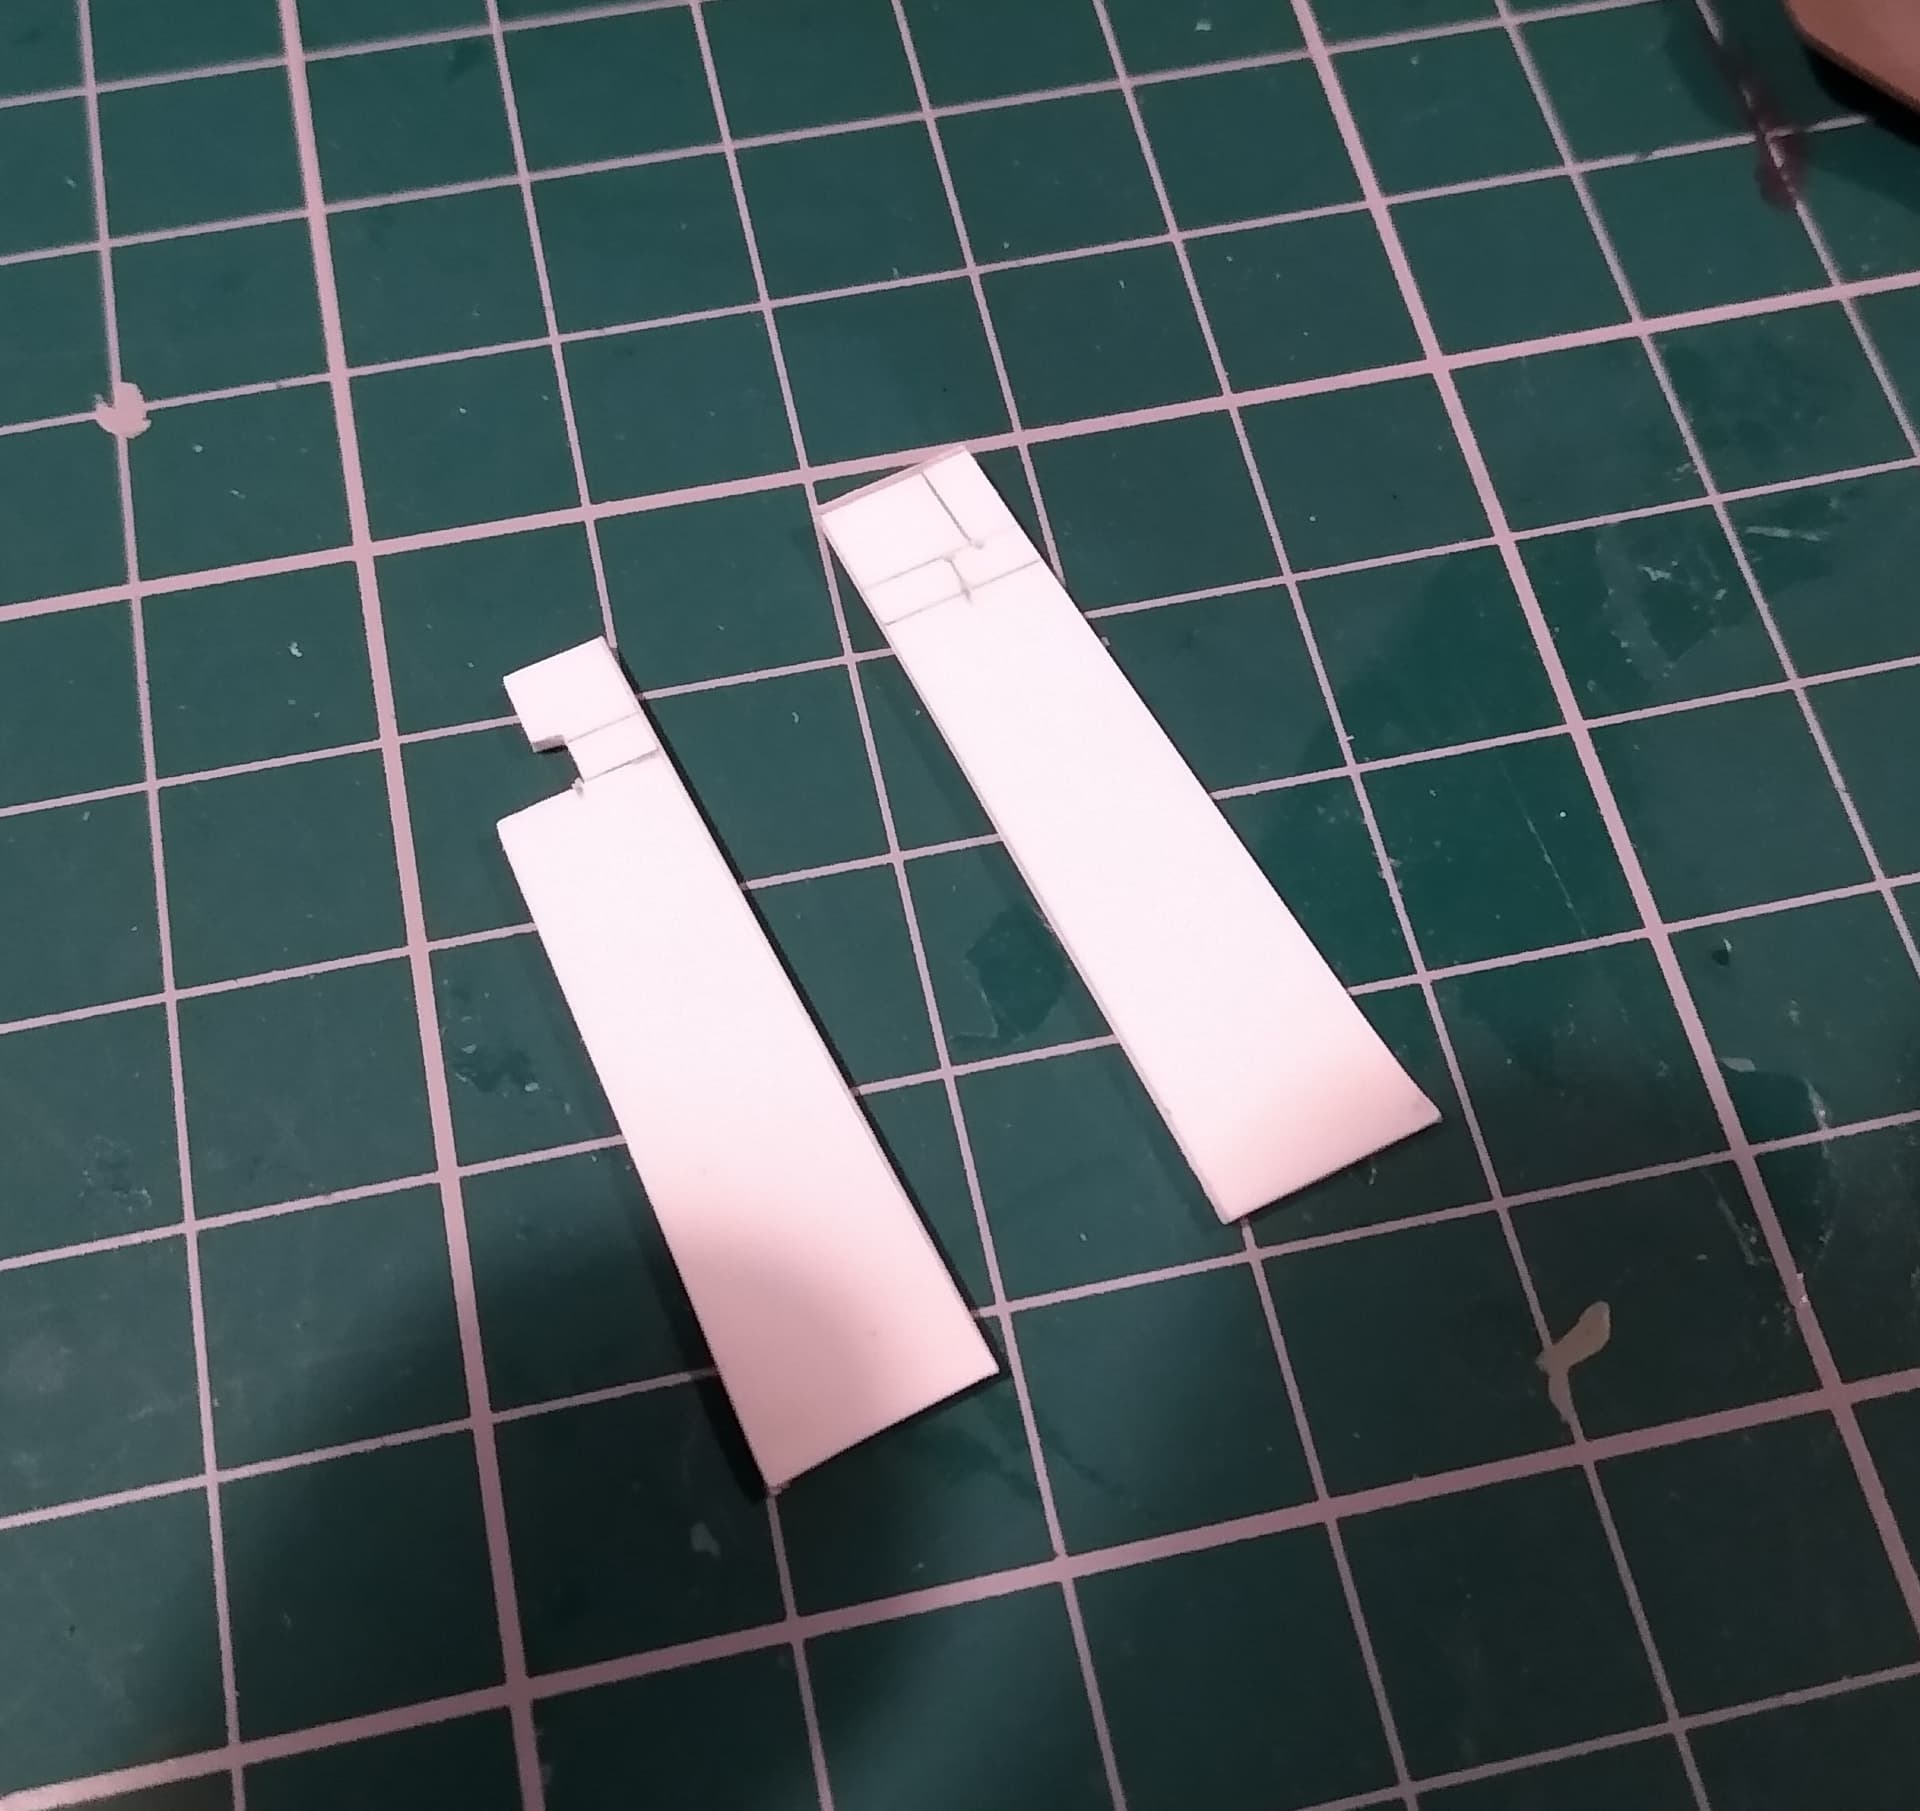
Still needs a bit of whittling to get a good fit, but they should do the trick.
5 Likes