I got mine finished before I decided to invest in an airbrush => horrible paintjob
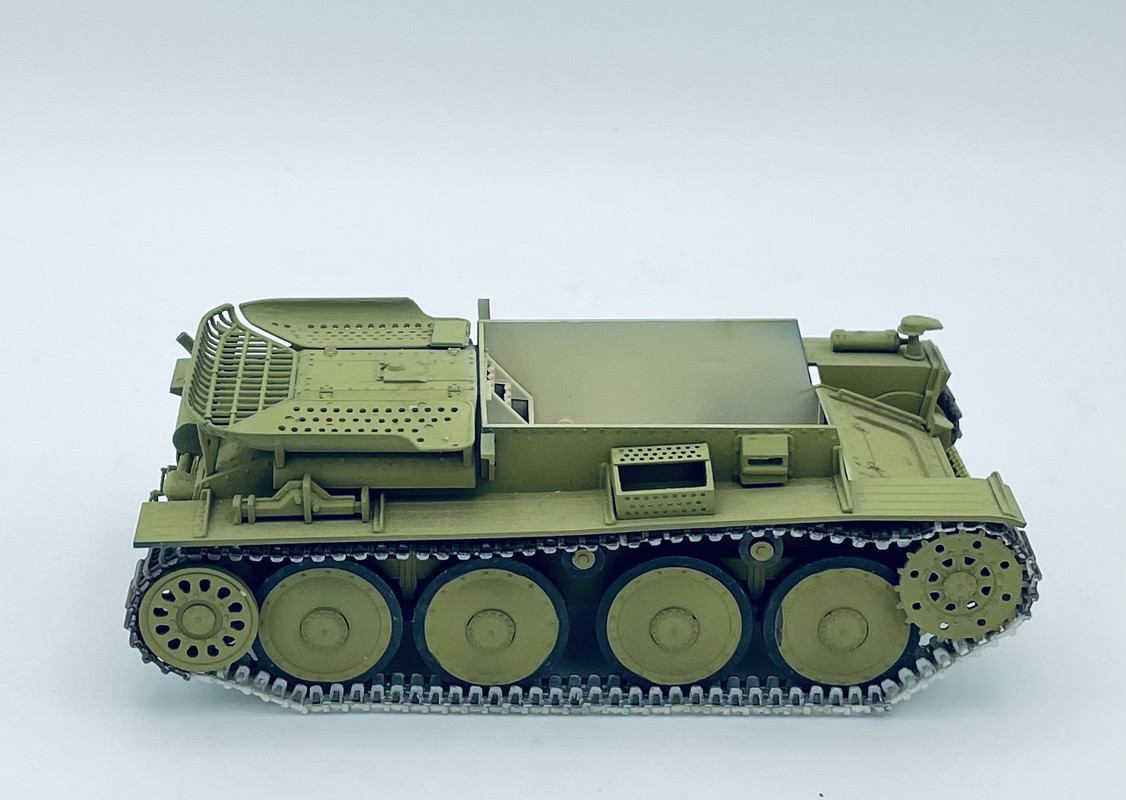
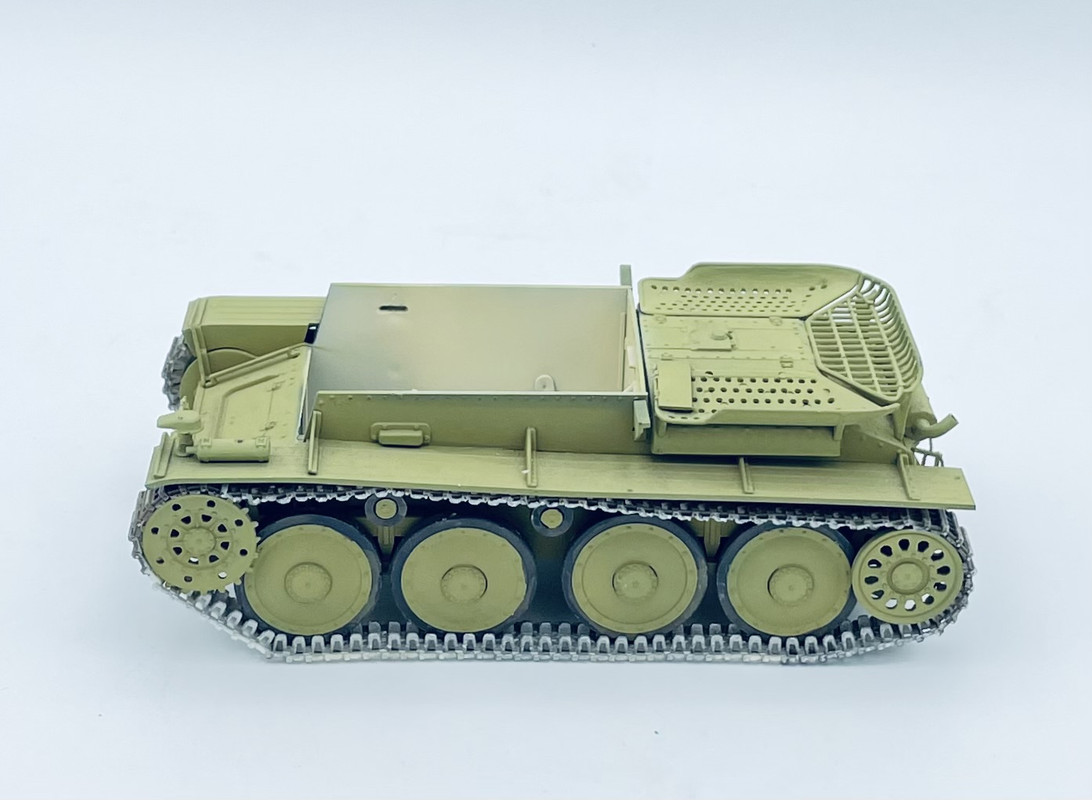
I used the kit tracks (should have sold them to someone making a cat o’nine tails),
those stiff cargo straps from Italeri belong in the bin.
@metalhead85, Richard, I’m doing what I can to resurrect this build. I’m trying to whittle away the shelf of doom population here…
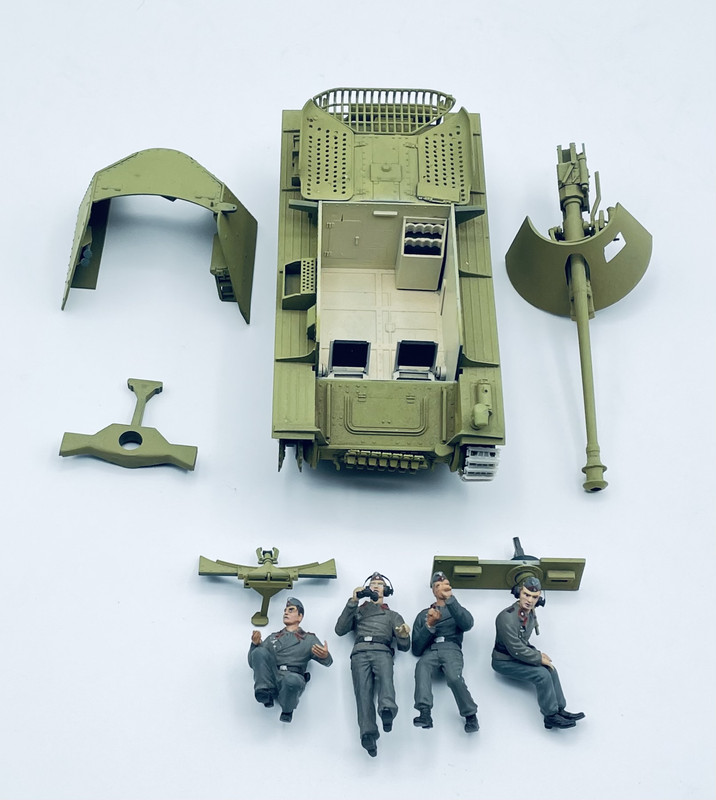
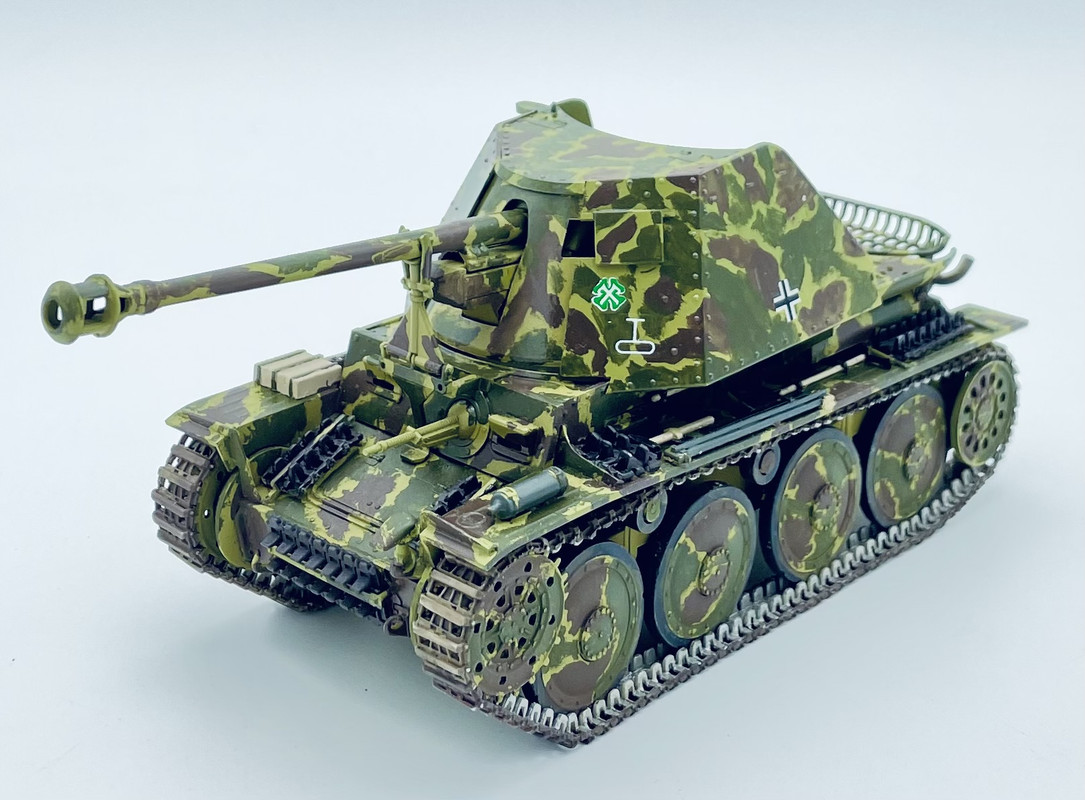
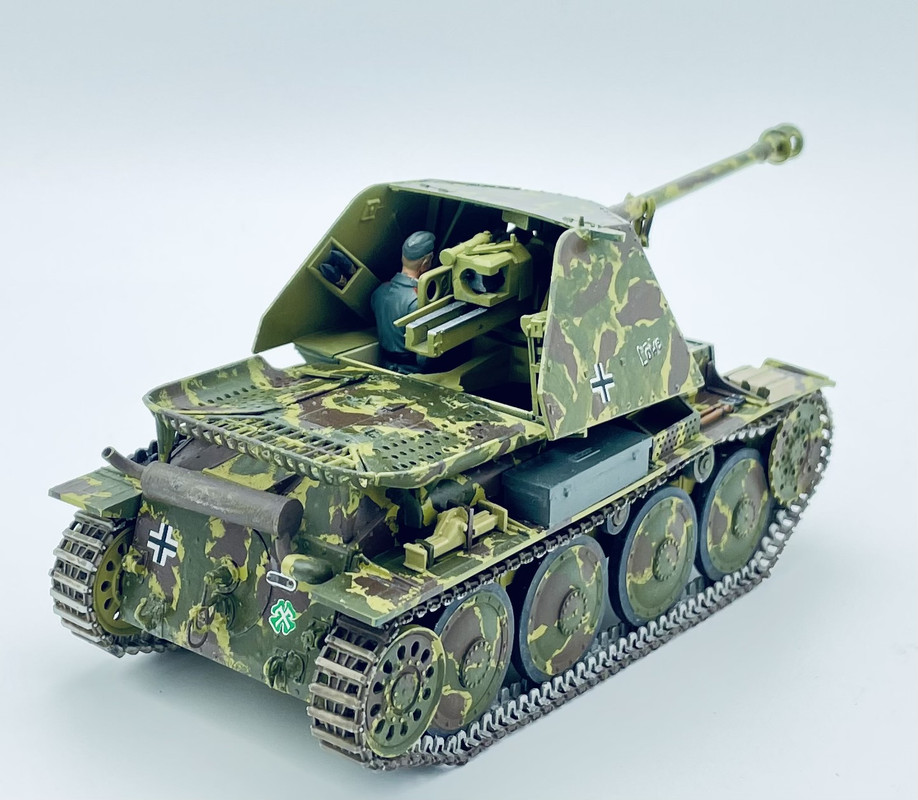
@Uncle-Heavy, Robin, yeah the kit tracks suck bigtime. That’s why I bought the Dragon indy link tracks… but man each link needs a few needle file swipes at the connector points to fit together properly… and I’m doing this one based off some photos of Marders in Italy, and those had brushed on brown & green camo, so I’ll do the camo colors by brush myself.
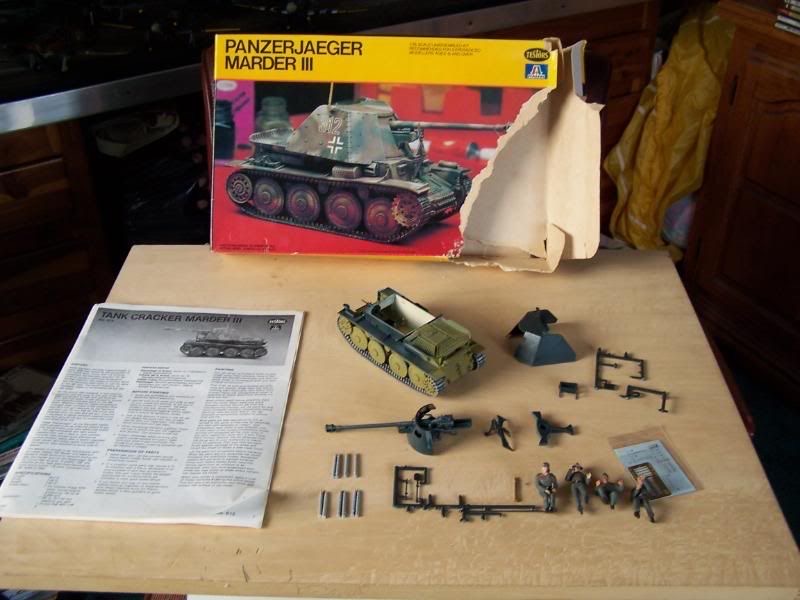
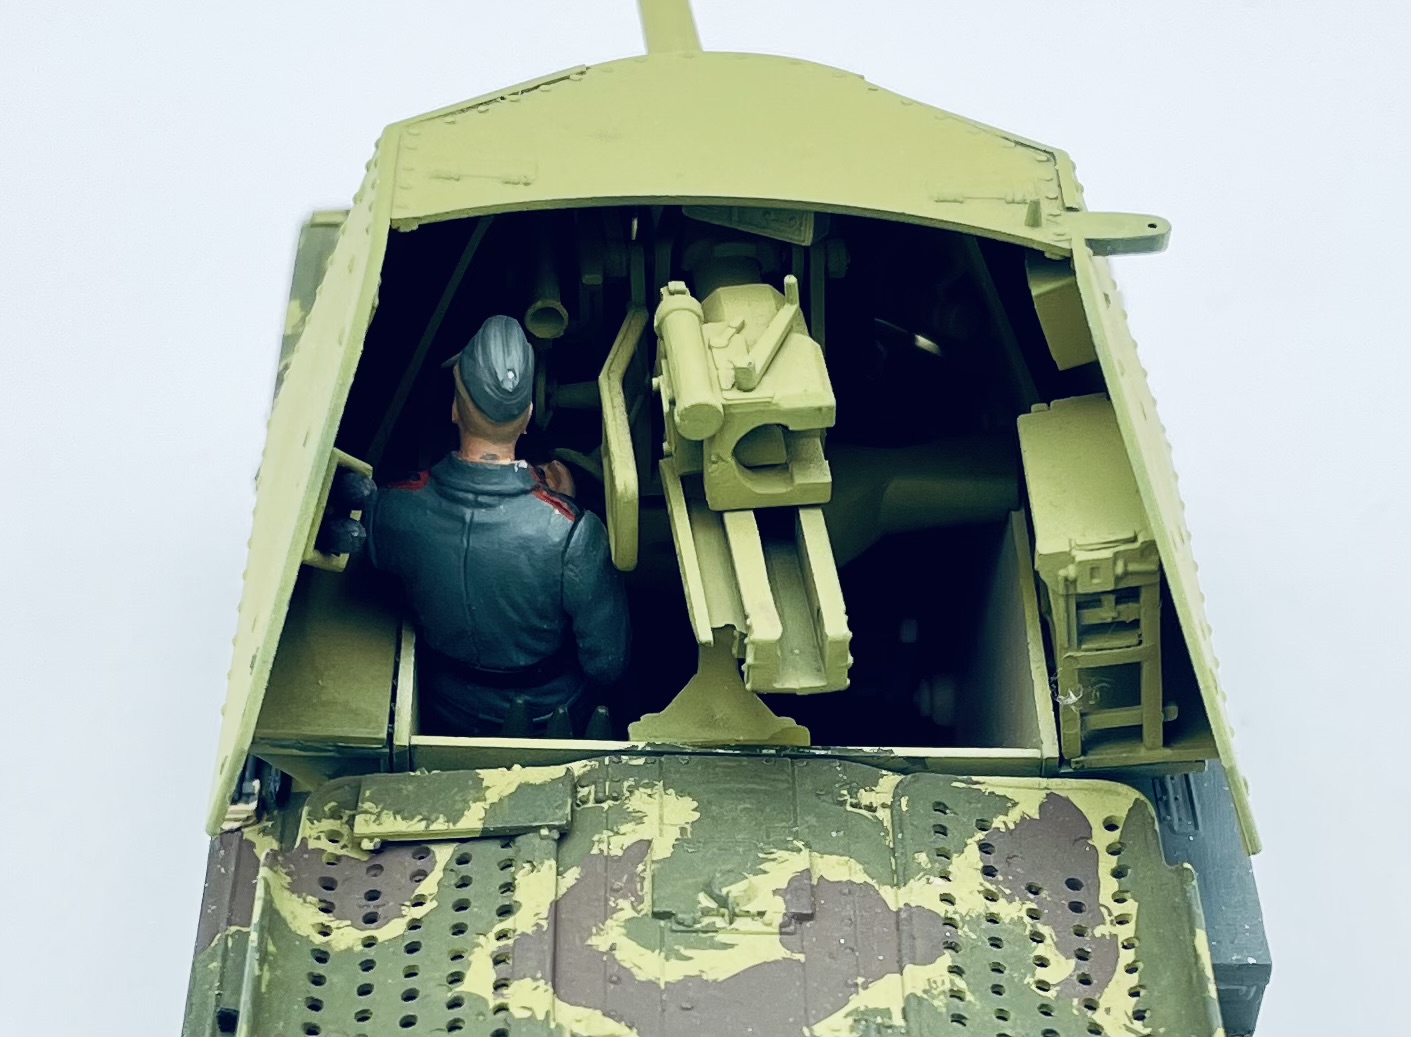
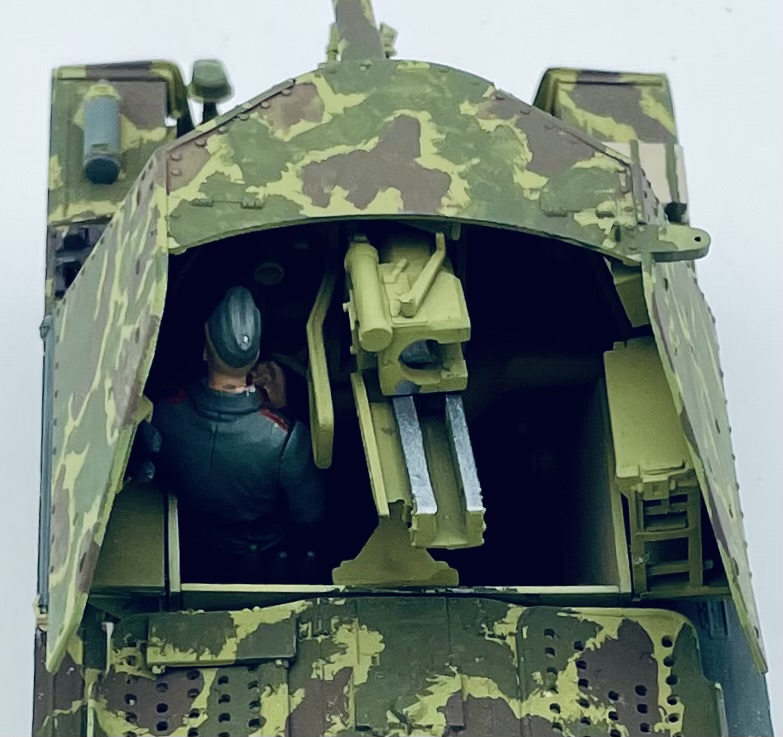
@Hohenstaufen, yes the kit is quite old. I built the original Italierei (old spelling) issue back in the 70’s. The Testors-Italeri boxing came out in the 80’s. And no, those are not the kit crew figures. Dragon released a set of figures for their Marder III H kit maybe 12-15 years ago or so, and I bought them for my project then.
As a kid, that model was on the want list. Never did get one. At some point I picked up a Tamiya Marder III M, which is pretty close. Kinda curious how they compare. Come to think of it, I also remember a Dragon Marder III H (or M or ???). Really need to conduct an inventory.
I have the Tamiya III M in my stash. It’s a newer, nicer kit compared to this old girl. The Tamiya kit had better detail in the fighting compartment area, and better tracks, but I’m still not sure if I’d trust those due to past issues with Tamiya’s single length glueable tracks.
Dragon and TriStar also made III H kits. Hobbyboss has announced that they are going to issue their boxing of the TriStar molds. Again, these are both newer tool, more detailed and advanced kits of the subject.
Vinyl is the Devil. All vinyl parts get tossed or traded away.
TriStar produced some great models. I have a few in the stockpile, some issued by Tristar, some by HobbyBoss, and plan to purchase more. When the Marder III H comes around again, I will definitely pick one up. Not only will it have much more detail, it will include very good plastic tracks which saves a lot of money over other brands.
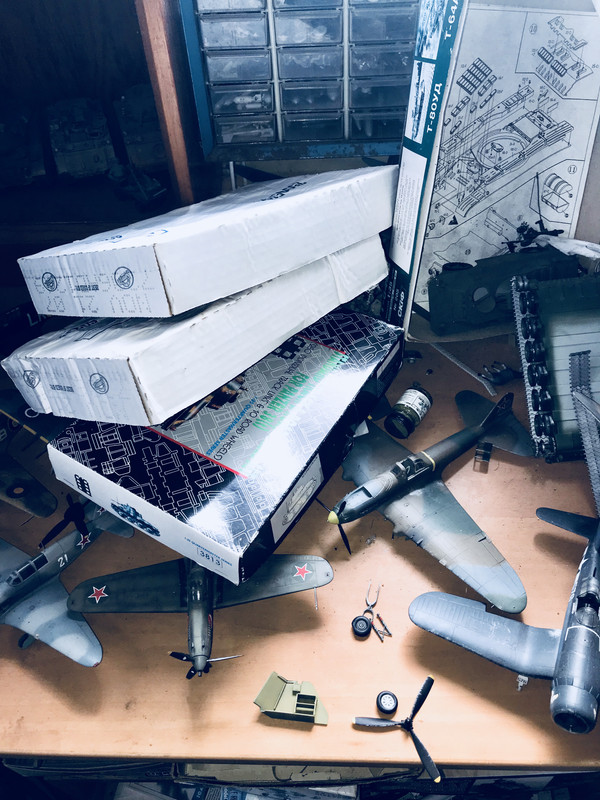
I am enjoying your Italeri Marder III H build. Even after the cat-astrophe it looks really nice. My own travels will soon include three old Italeri kits. Gotta get em done.
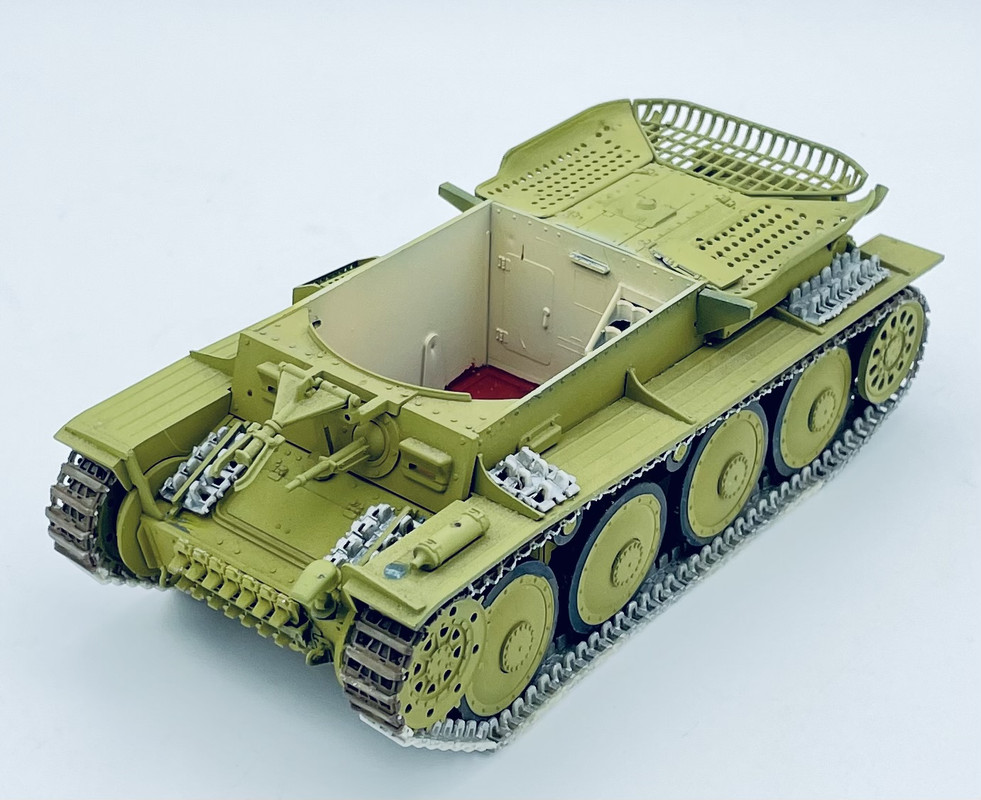
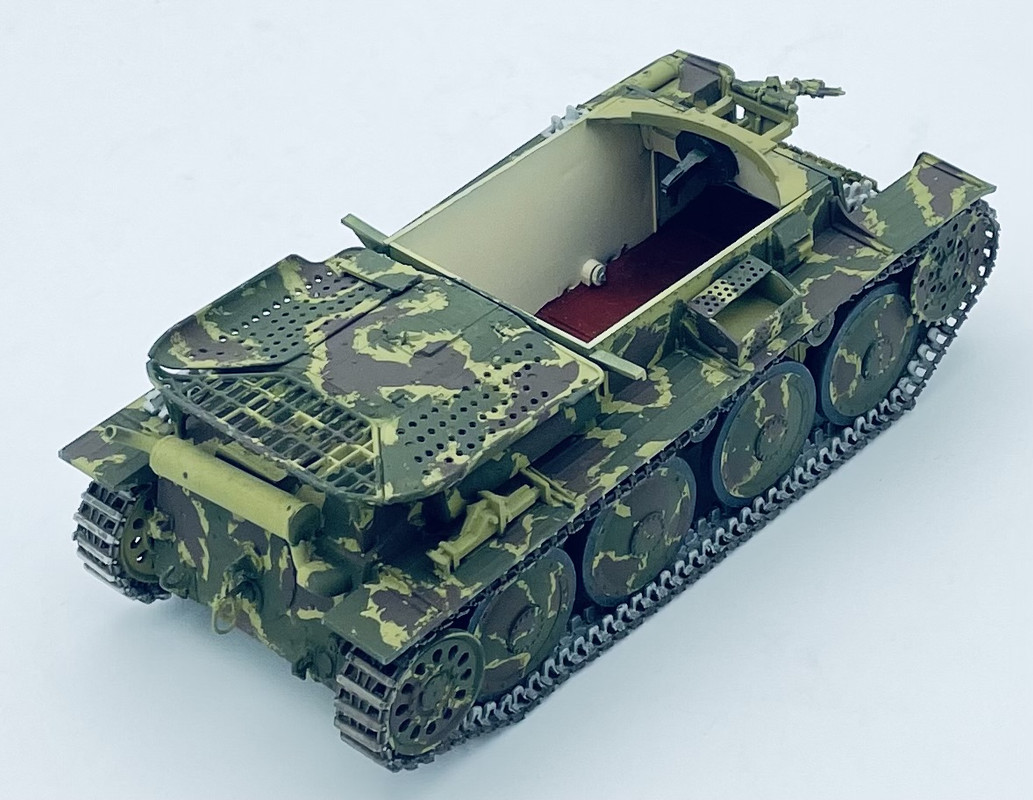
Yesterday I started adding some stowage- spare tracks, onto the fenders and glacis plate. I also painted the floorboards in primer red, which was supposed to be a standard practice on German AFVs.
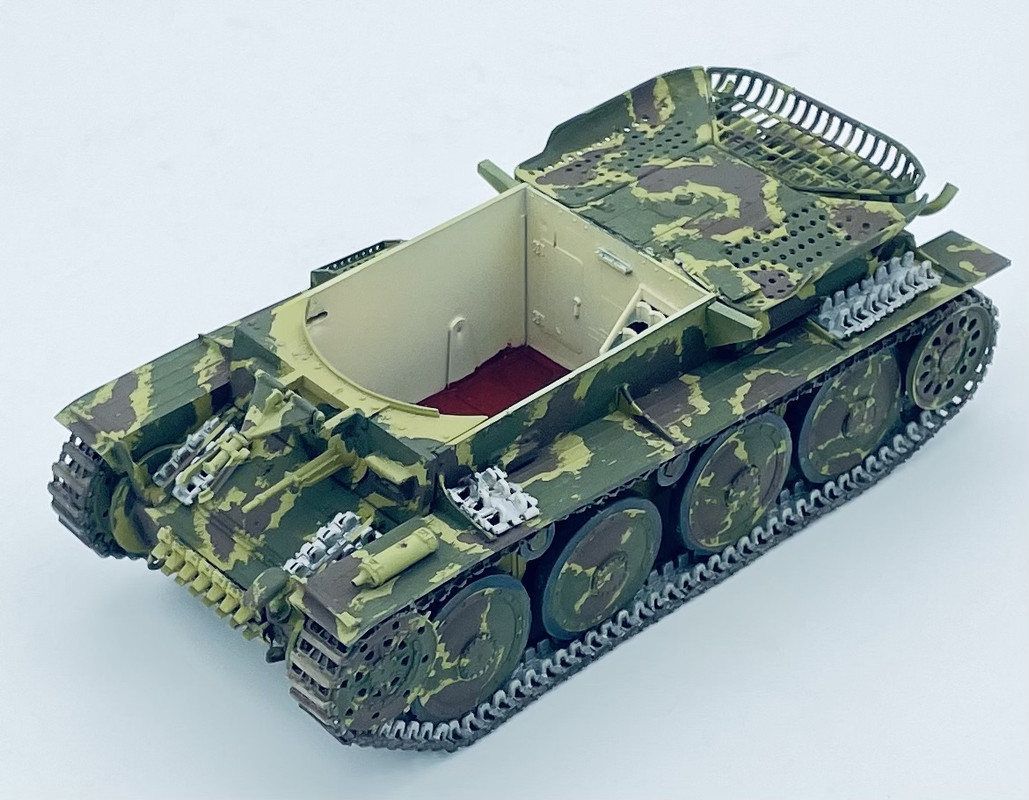
Today I got the hull camouflage colors on, based upon multiple photos of this vehicle that I’ve found online. The colors were applied with a brush and rather roughly on the real thing.
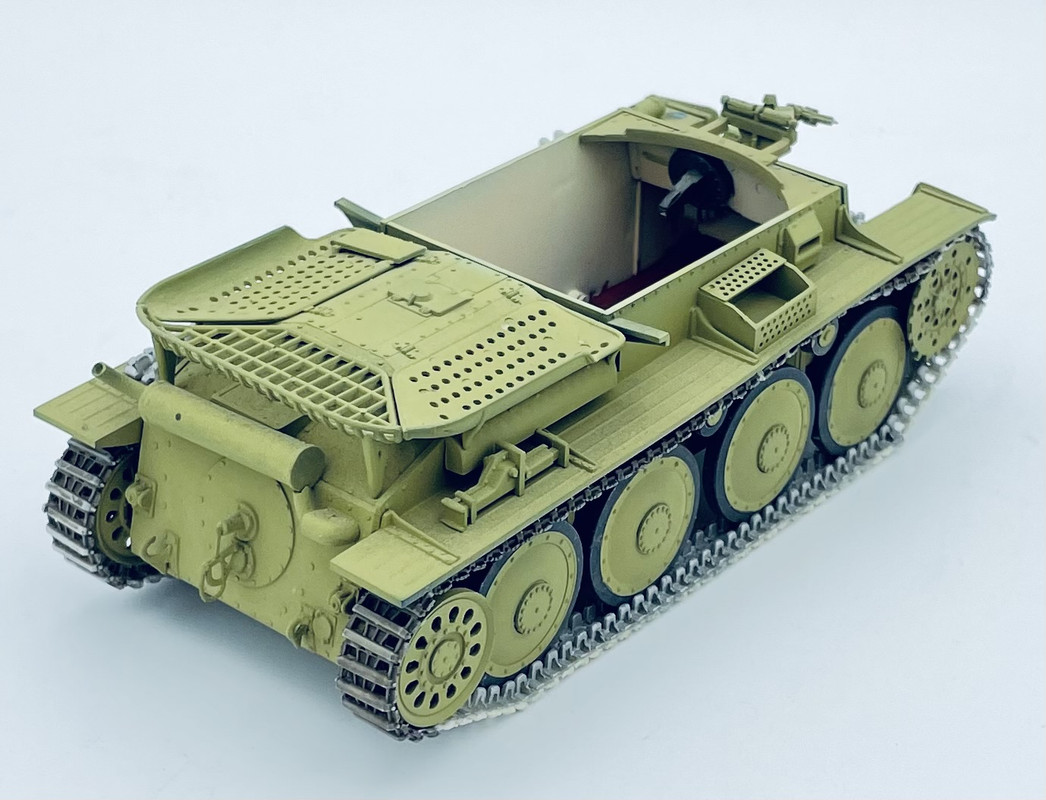
I have to paint up the OVM tools now and get them installed, paint up the muffler, spare tracks, and whatever else I can to fill the time while I wait for the fighting compartment drivetrain goodies to arrive…