Thanks buddy, I will look out for that over here as I am doing a full on F15E for the F teens group build in Feb… I already have the Academy one waiting ![]()
2 Likes
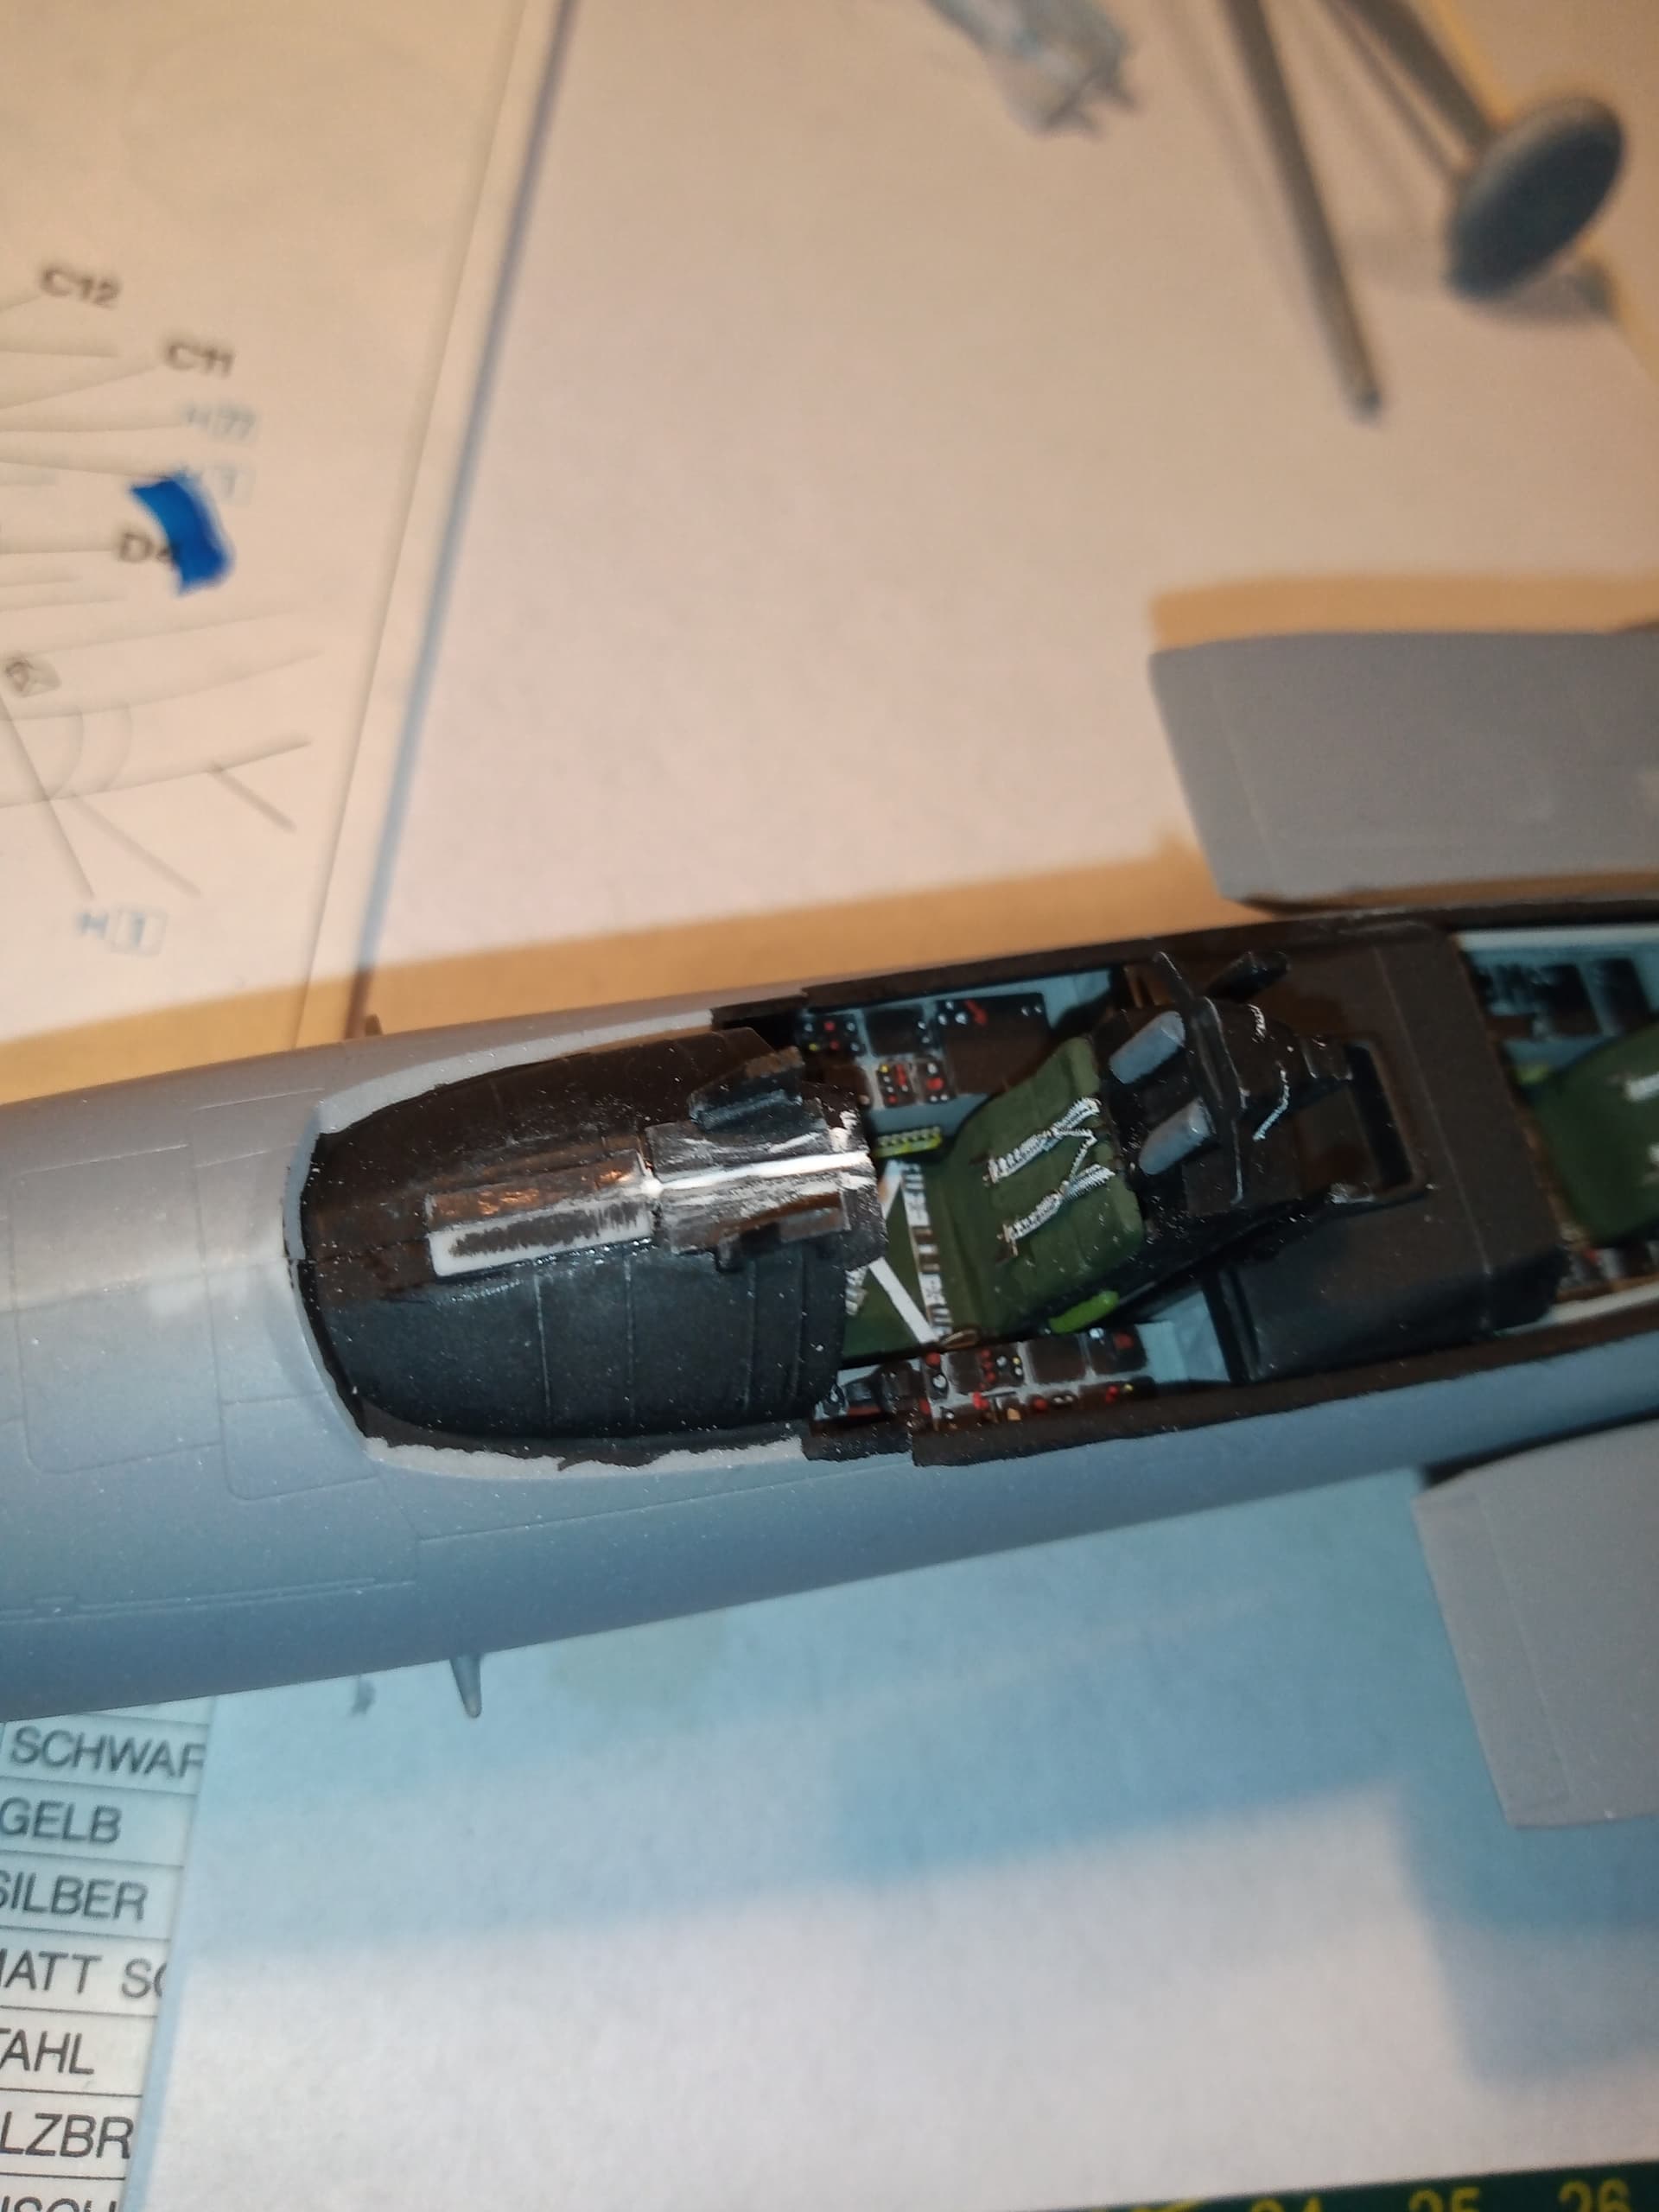
Good bit of the tedious work done tonight.
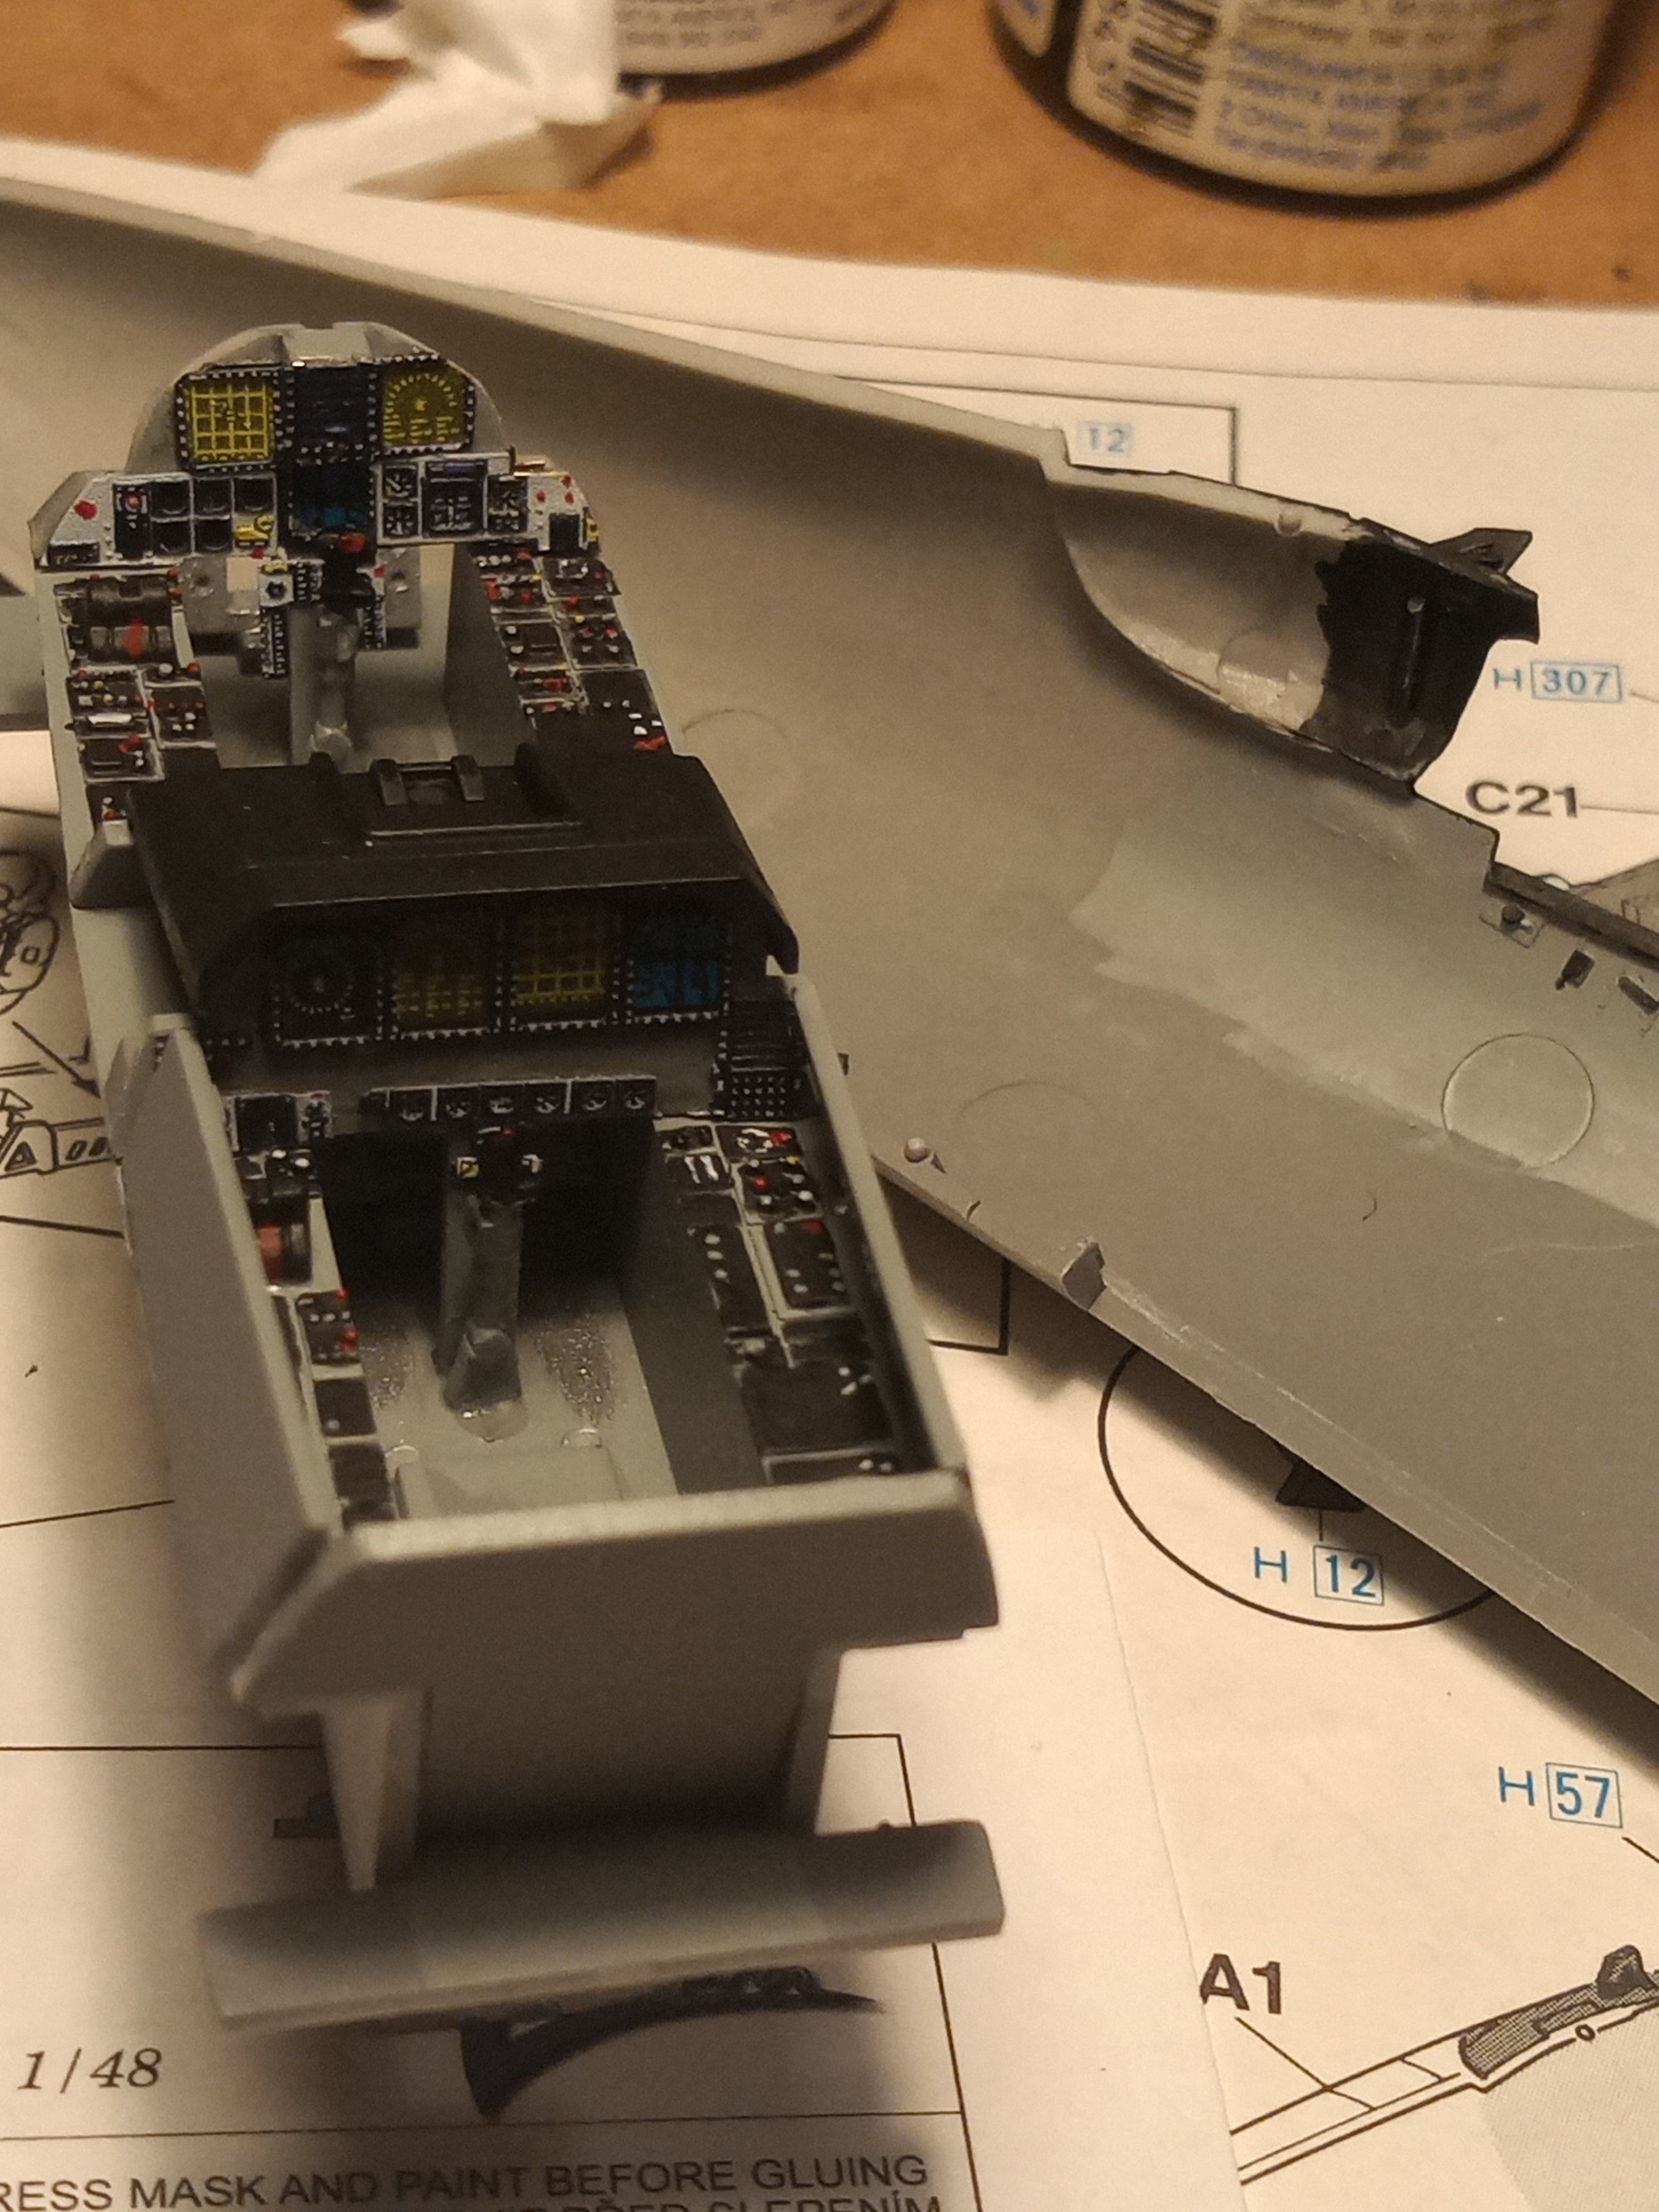
Enlarged the pilot and Weapons jockey panels to give the Eduard PE cockpit stuff some extra area to secure onto.
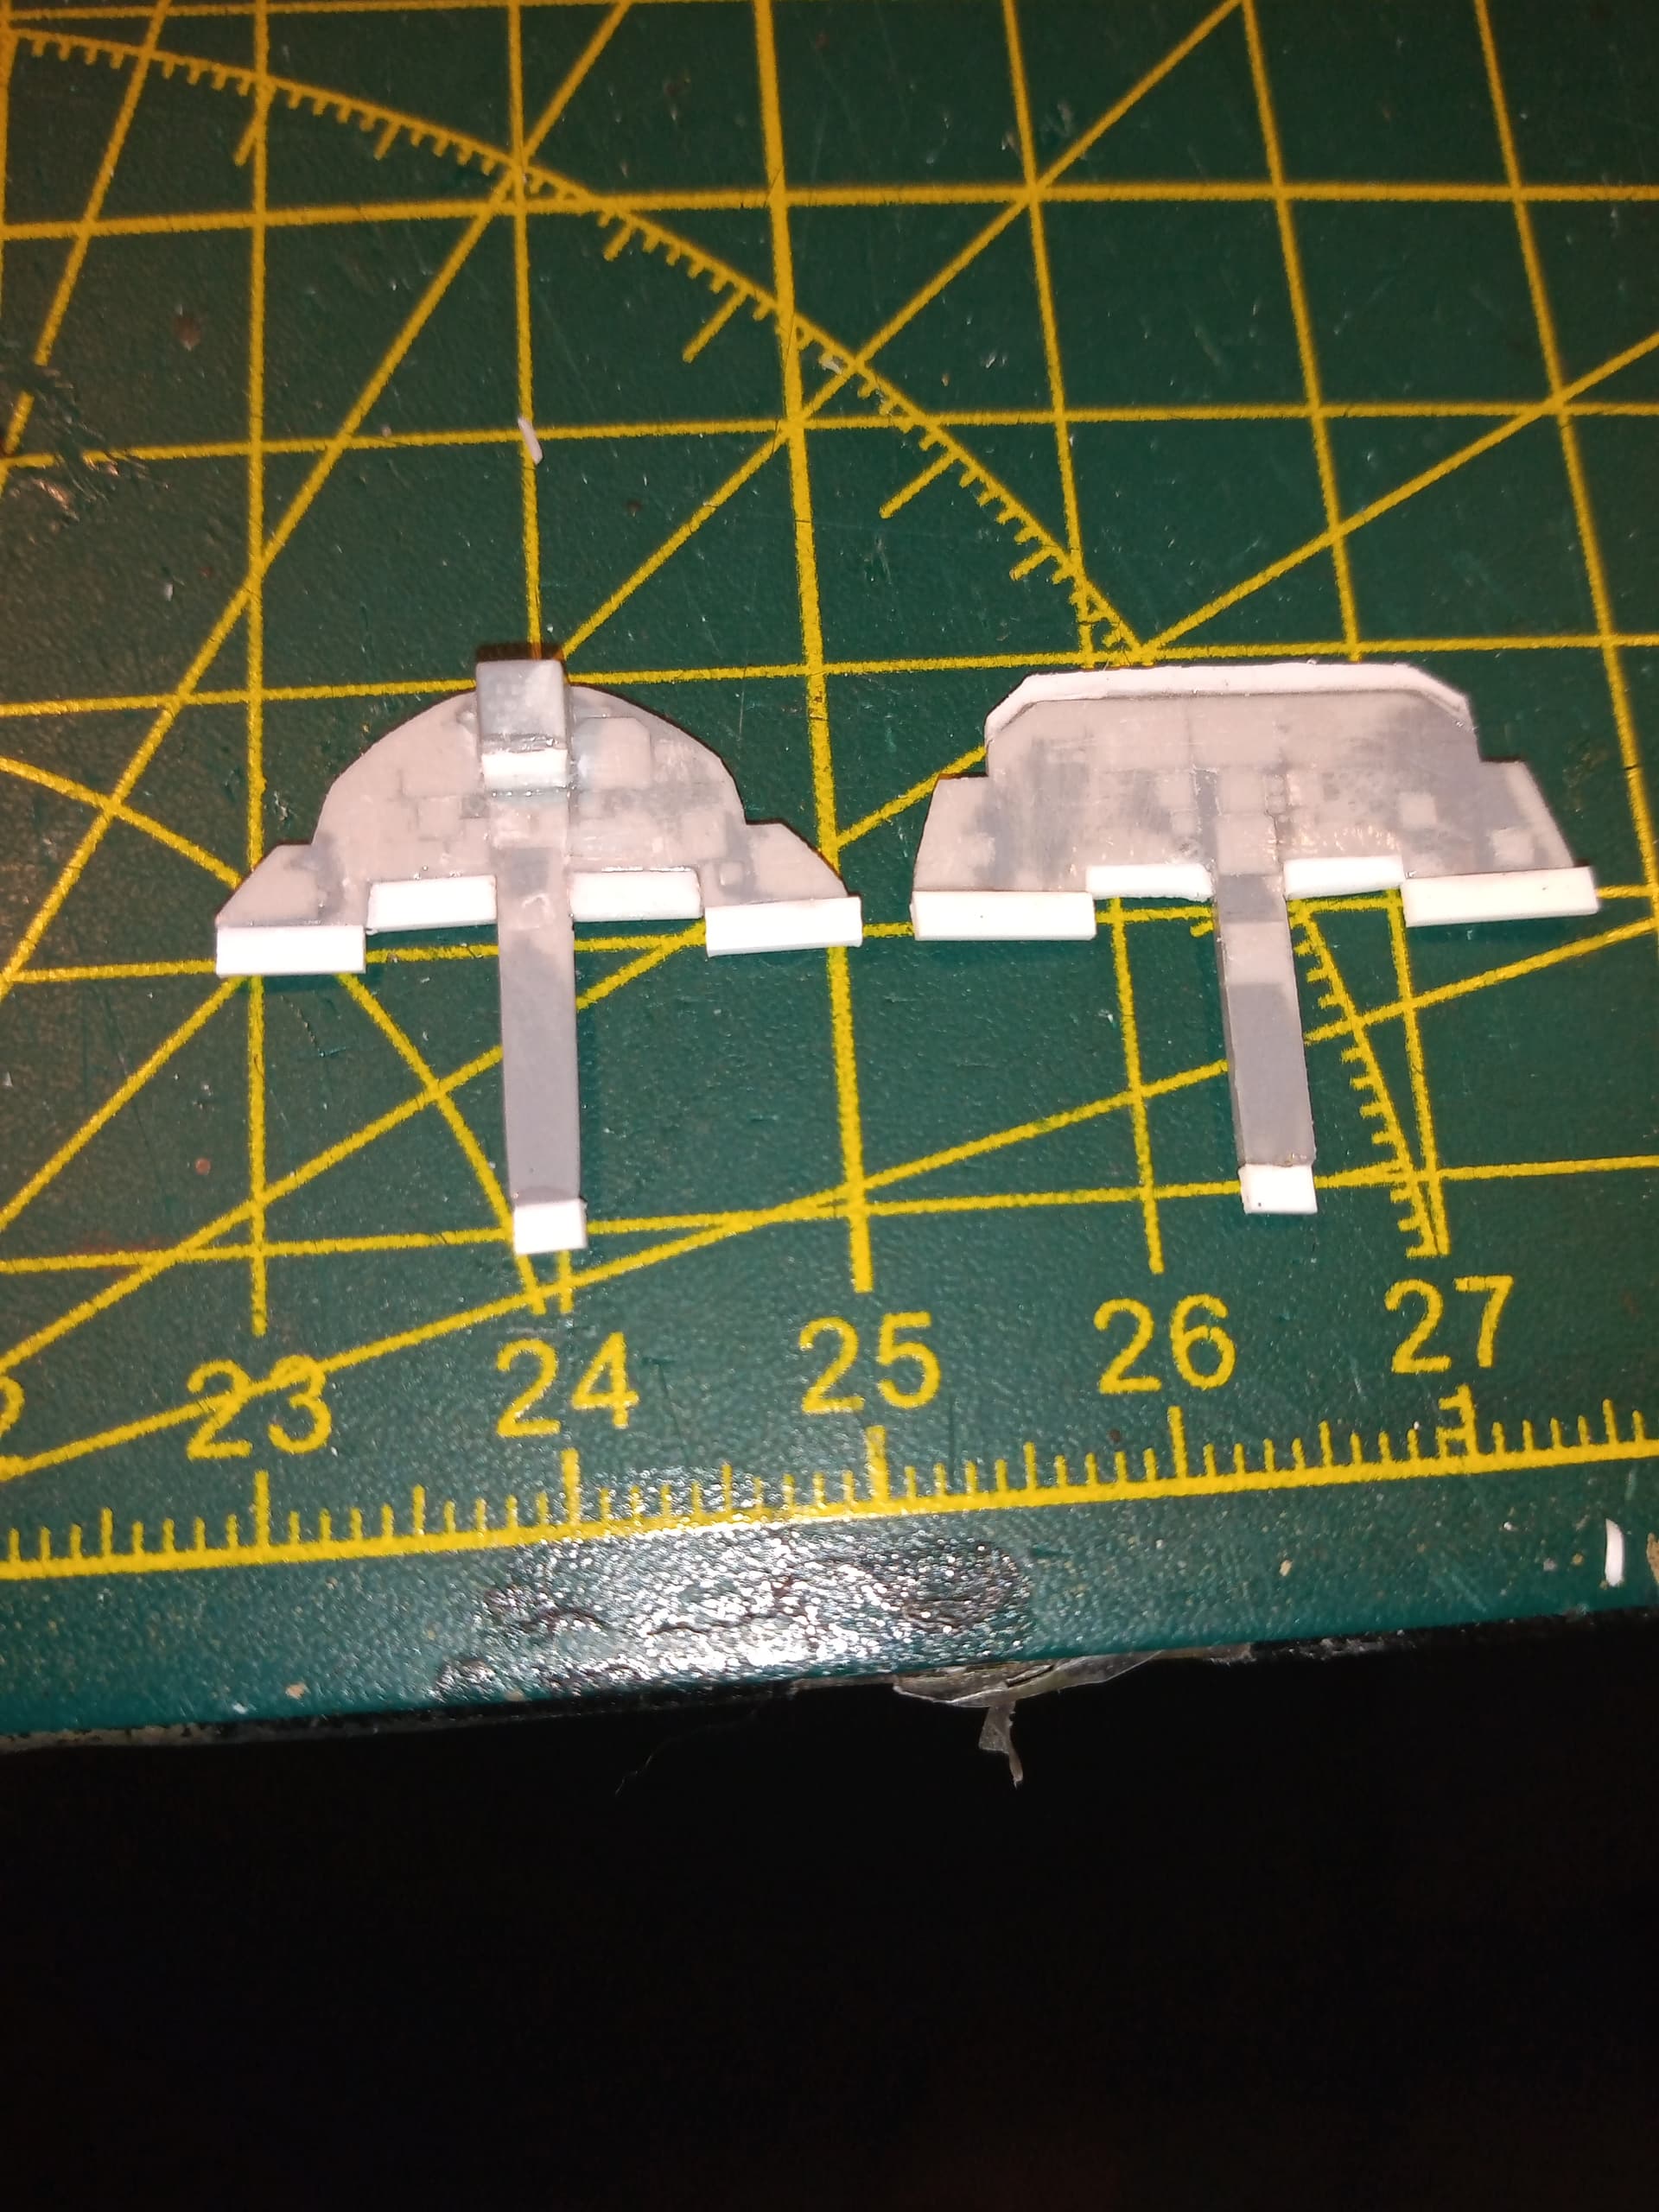
Just basic plastic strip cut to shape or length. May need to finely sand it back in a few contact areas but should work ok. Canopy will be up so that should help as well hopefully…
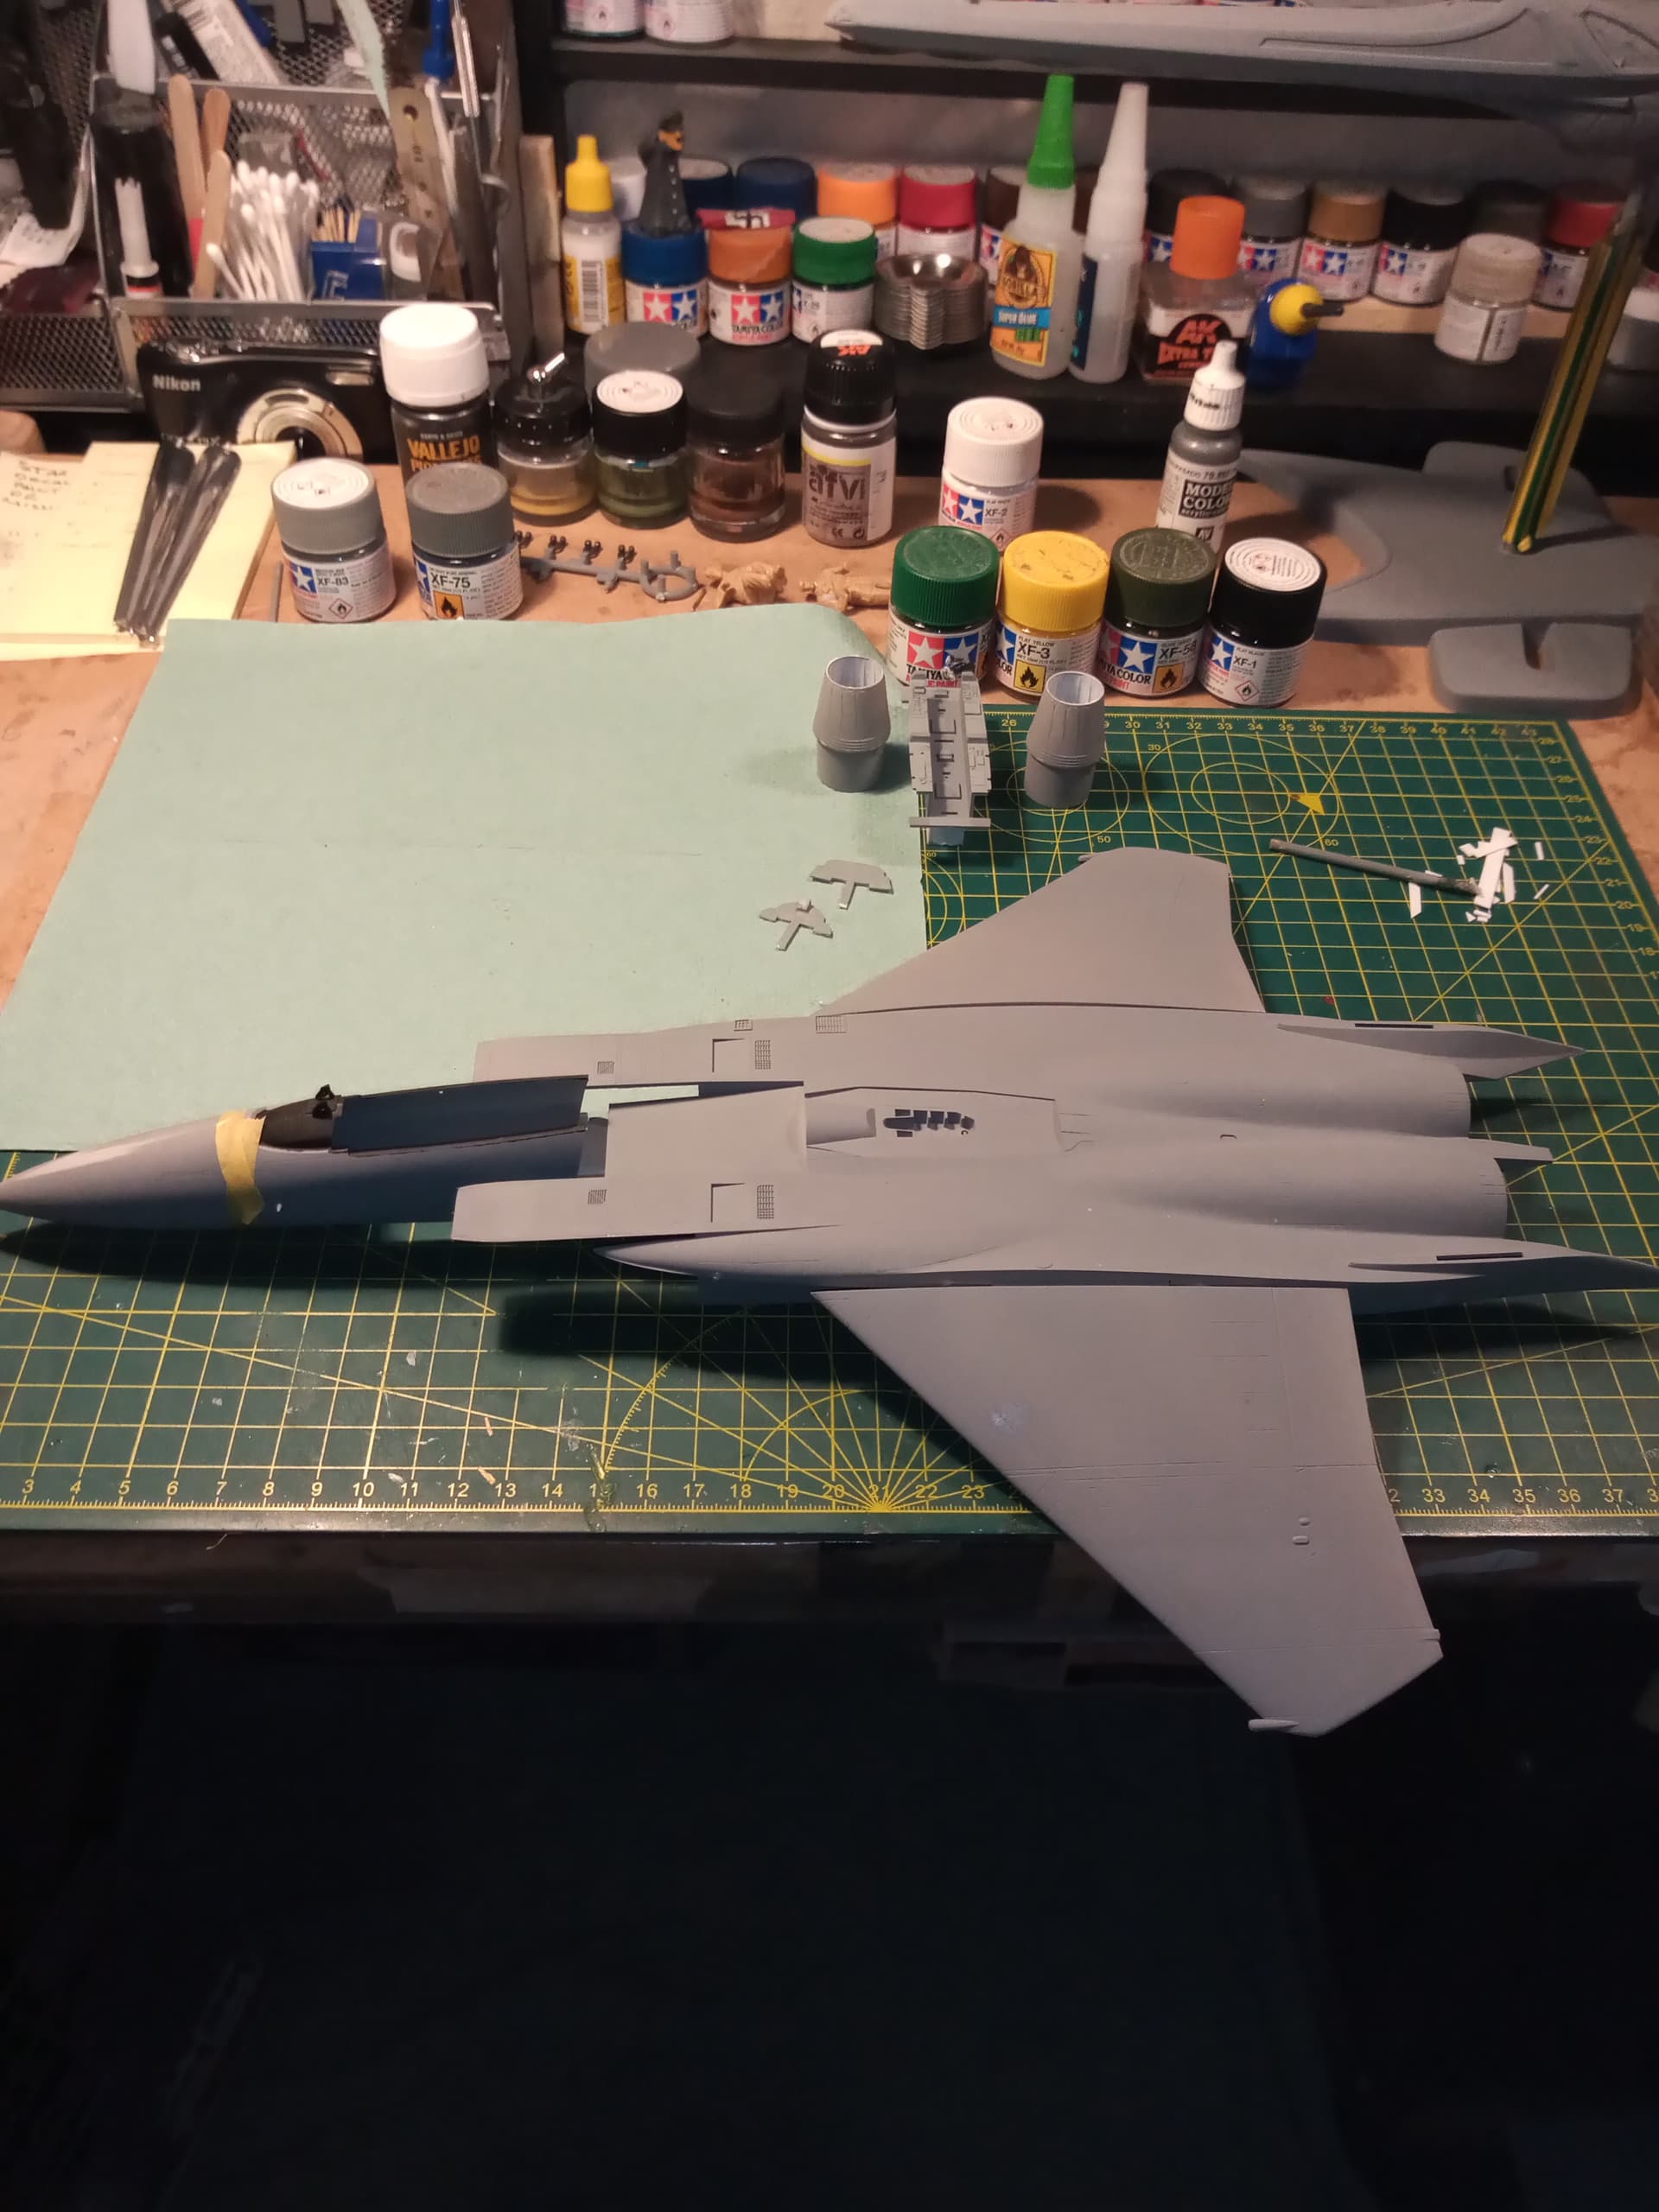
Also got all the internal areas you can see from outside painted the basic grey colour … used Tamiya xf75 for that and the cockpit area and tub/instrument panels and side walls are Tamiya xf83.

Also got the wings together and the exhaust sections done internally

If my masking tape arrives tomorrow I will do a bit of masking on the Enterprise E, if not, a bit more work on this.
4 Likes
Sorry… Failed miserably to get anything done tonight other than cut some bits of the sprues… Was knackered after work…
Thought I’d dry fit the fuselage and nose section together so I could get a sense of the size …
It’s a faír old size, about 40 cm all in.
5 Likes
Just doing some cockpit work so I can get it in the 2 forward halves of the fuselage.

Both seats started to be painted , cockpit tub and the instrument panels all of which need more detail painting…more tomorrow ![]()
4 Likes
More progress.
Cockpit tub is pretty well done now.
Dry fitted panels and side panels painted
Sorry these are a bit dark, battery was about to go on my phone and flash stops below a certain battery %… Will do better ones tomorrow once it’s all assembled.
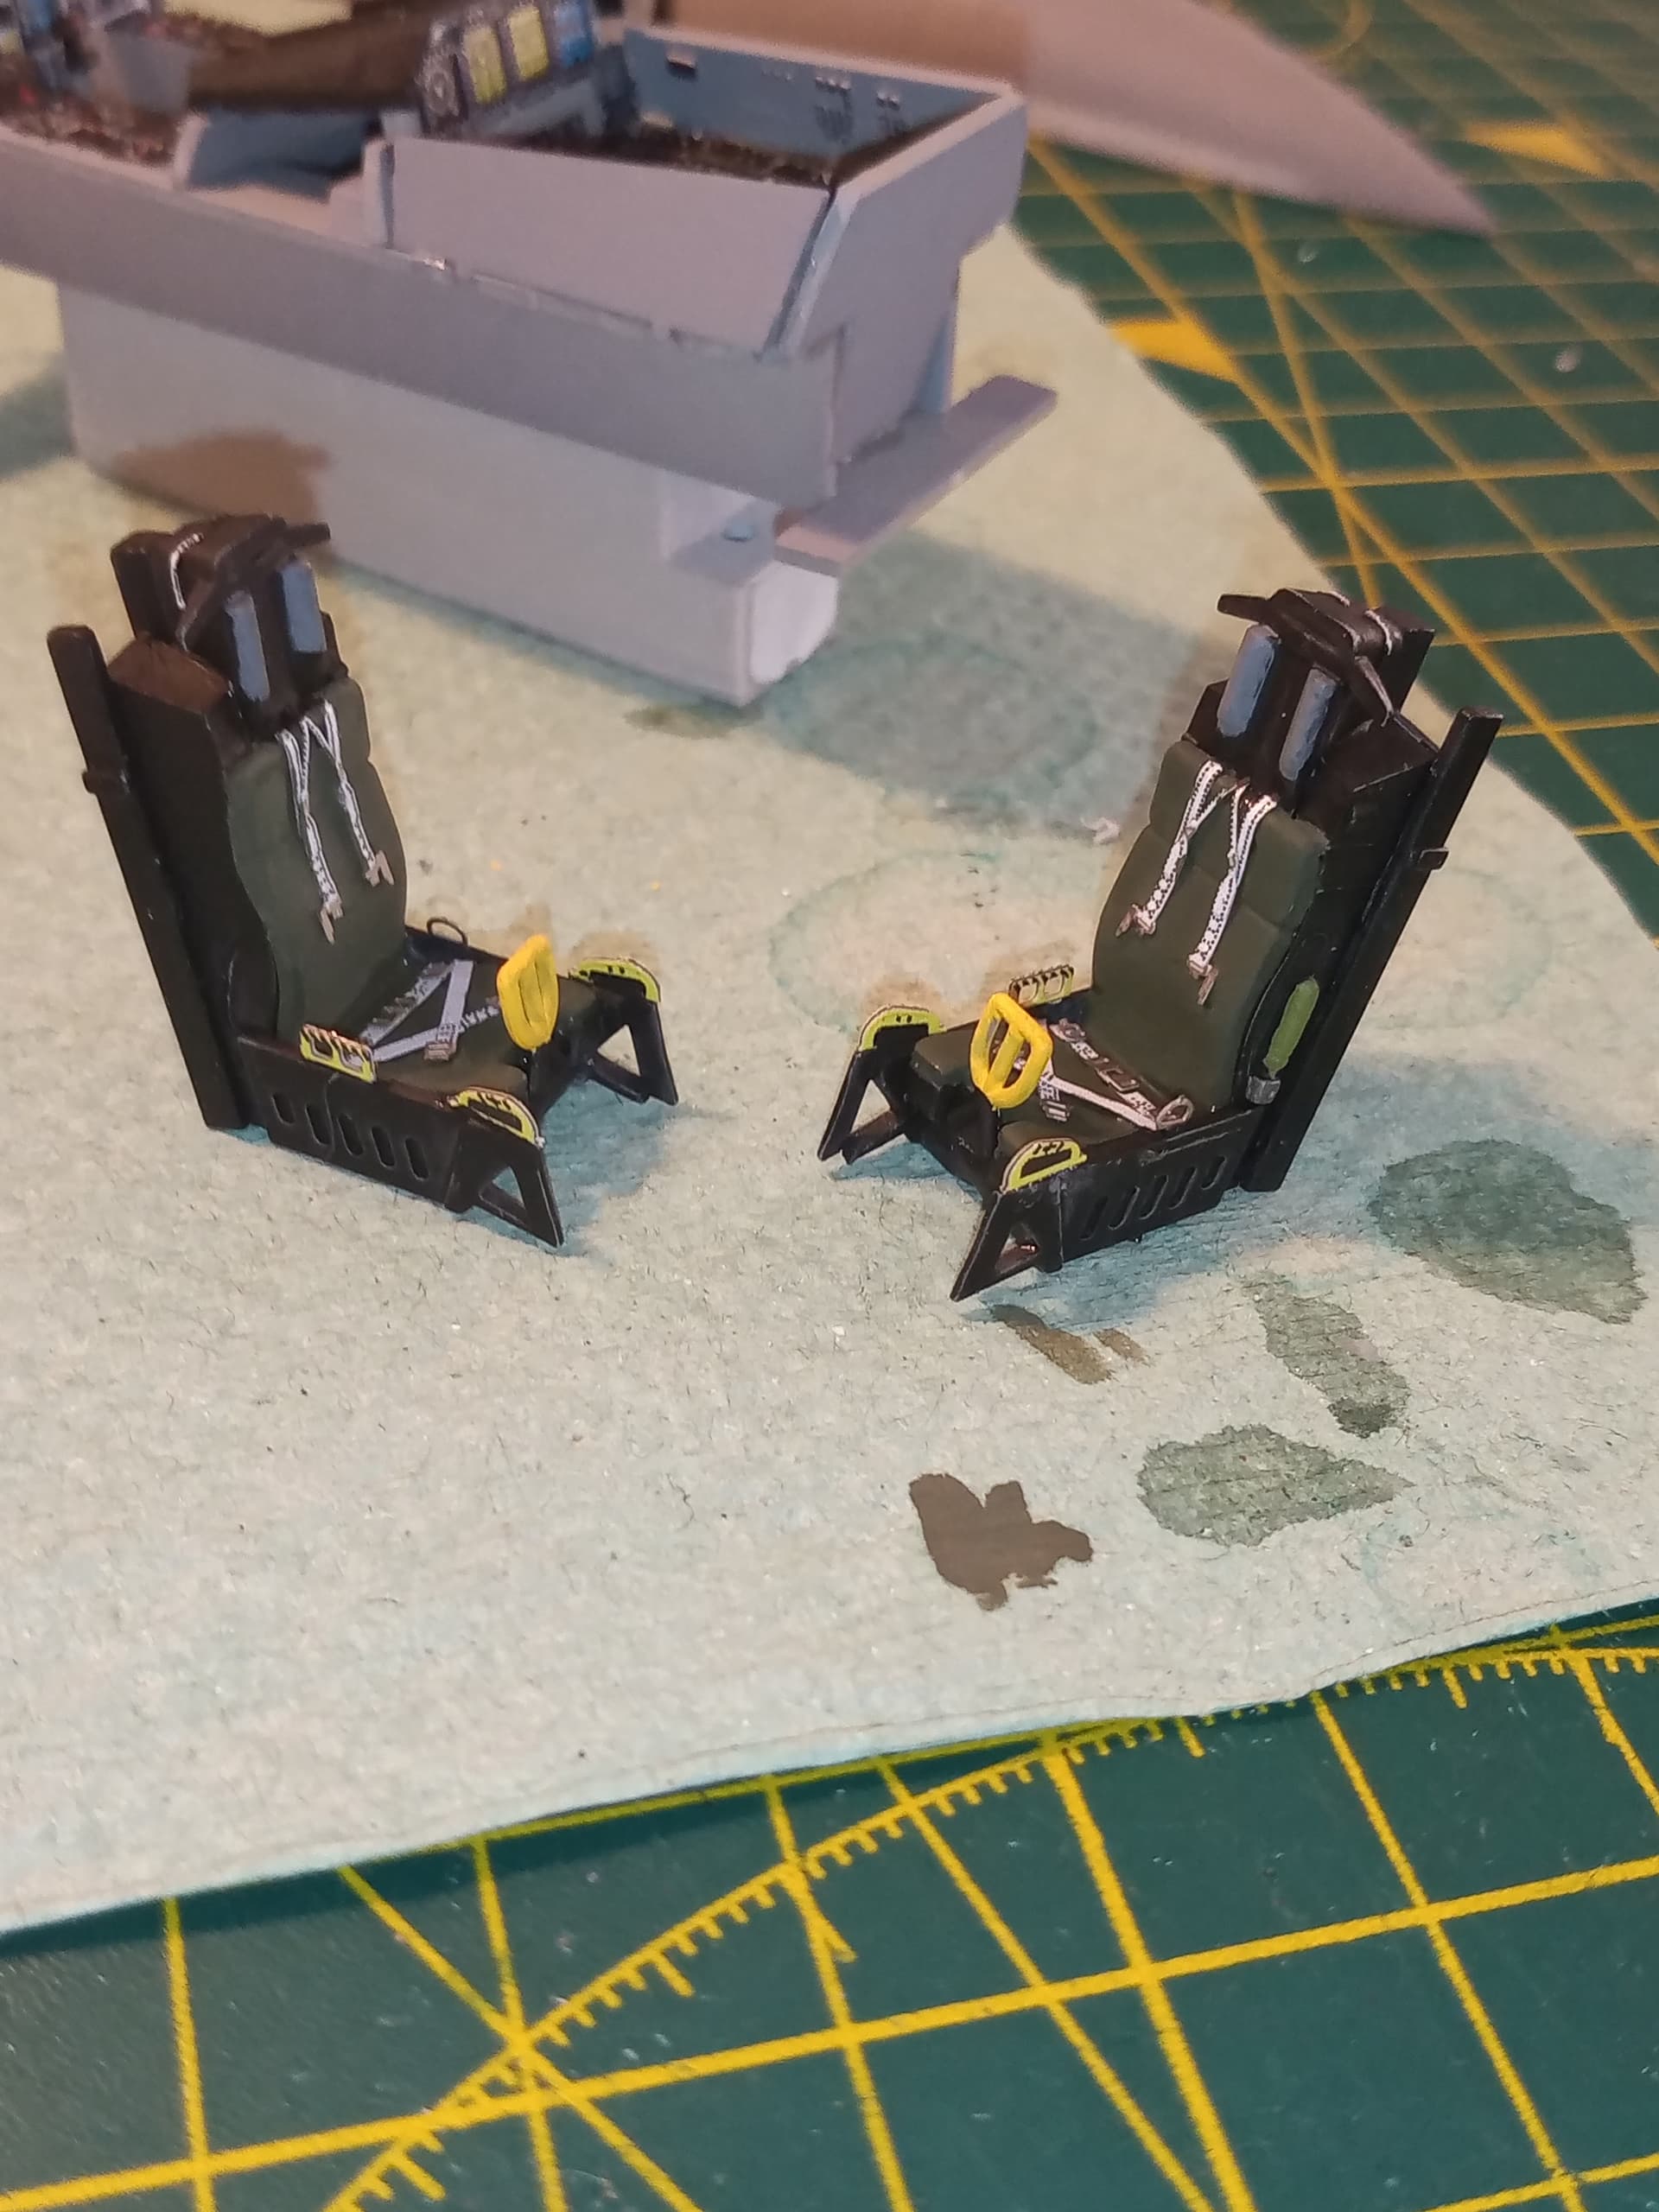
And both seats with the PE additions
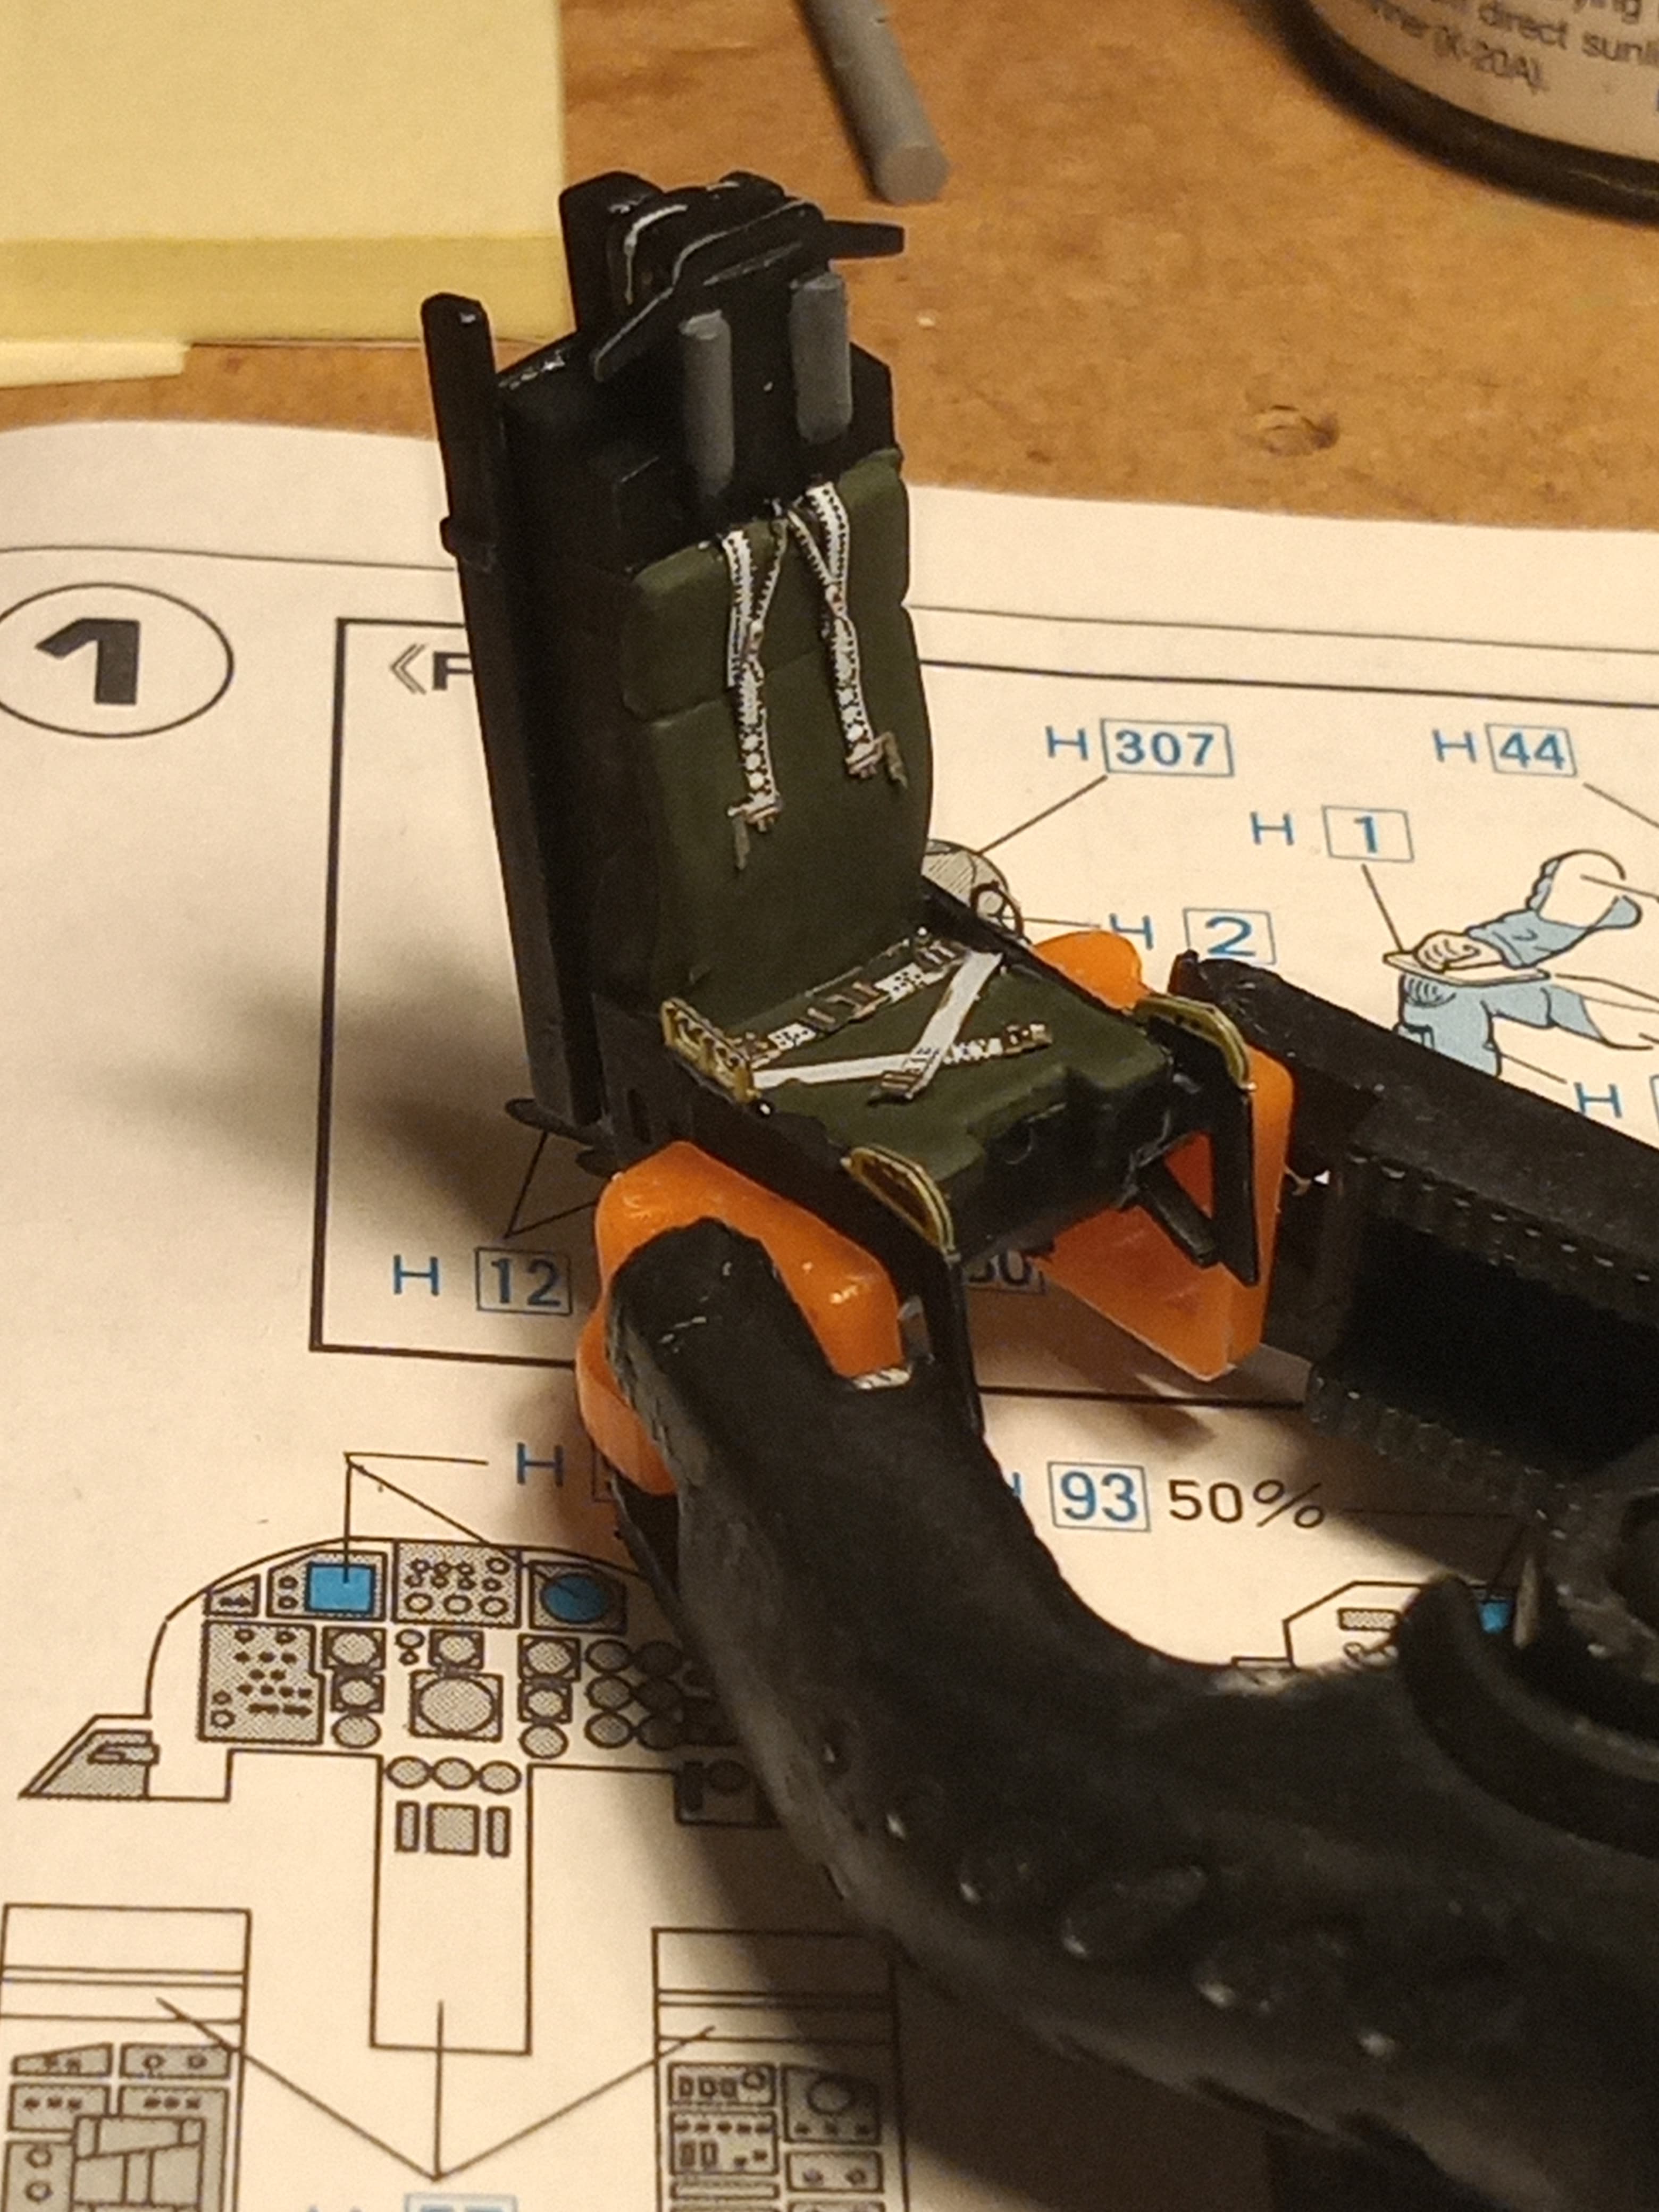

Just need to add the main ejection handle to both. They are on the sprue waiting for paint to dry ![]()
7 Likes
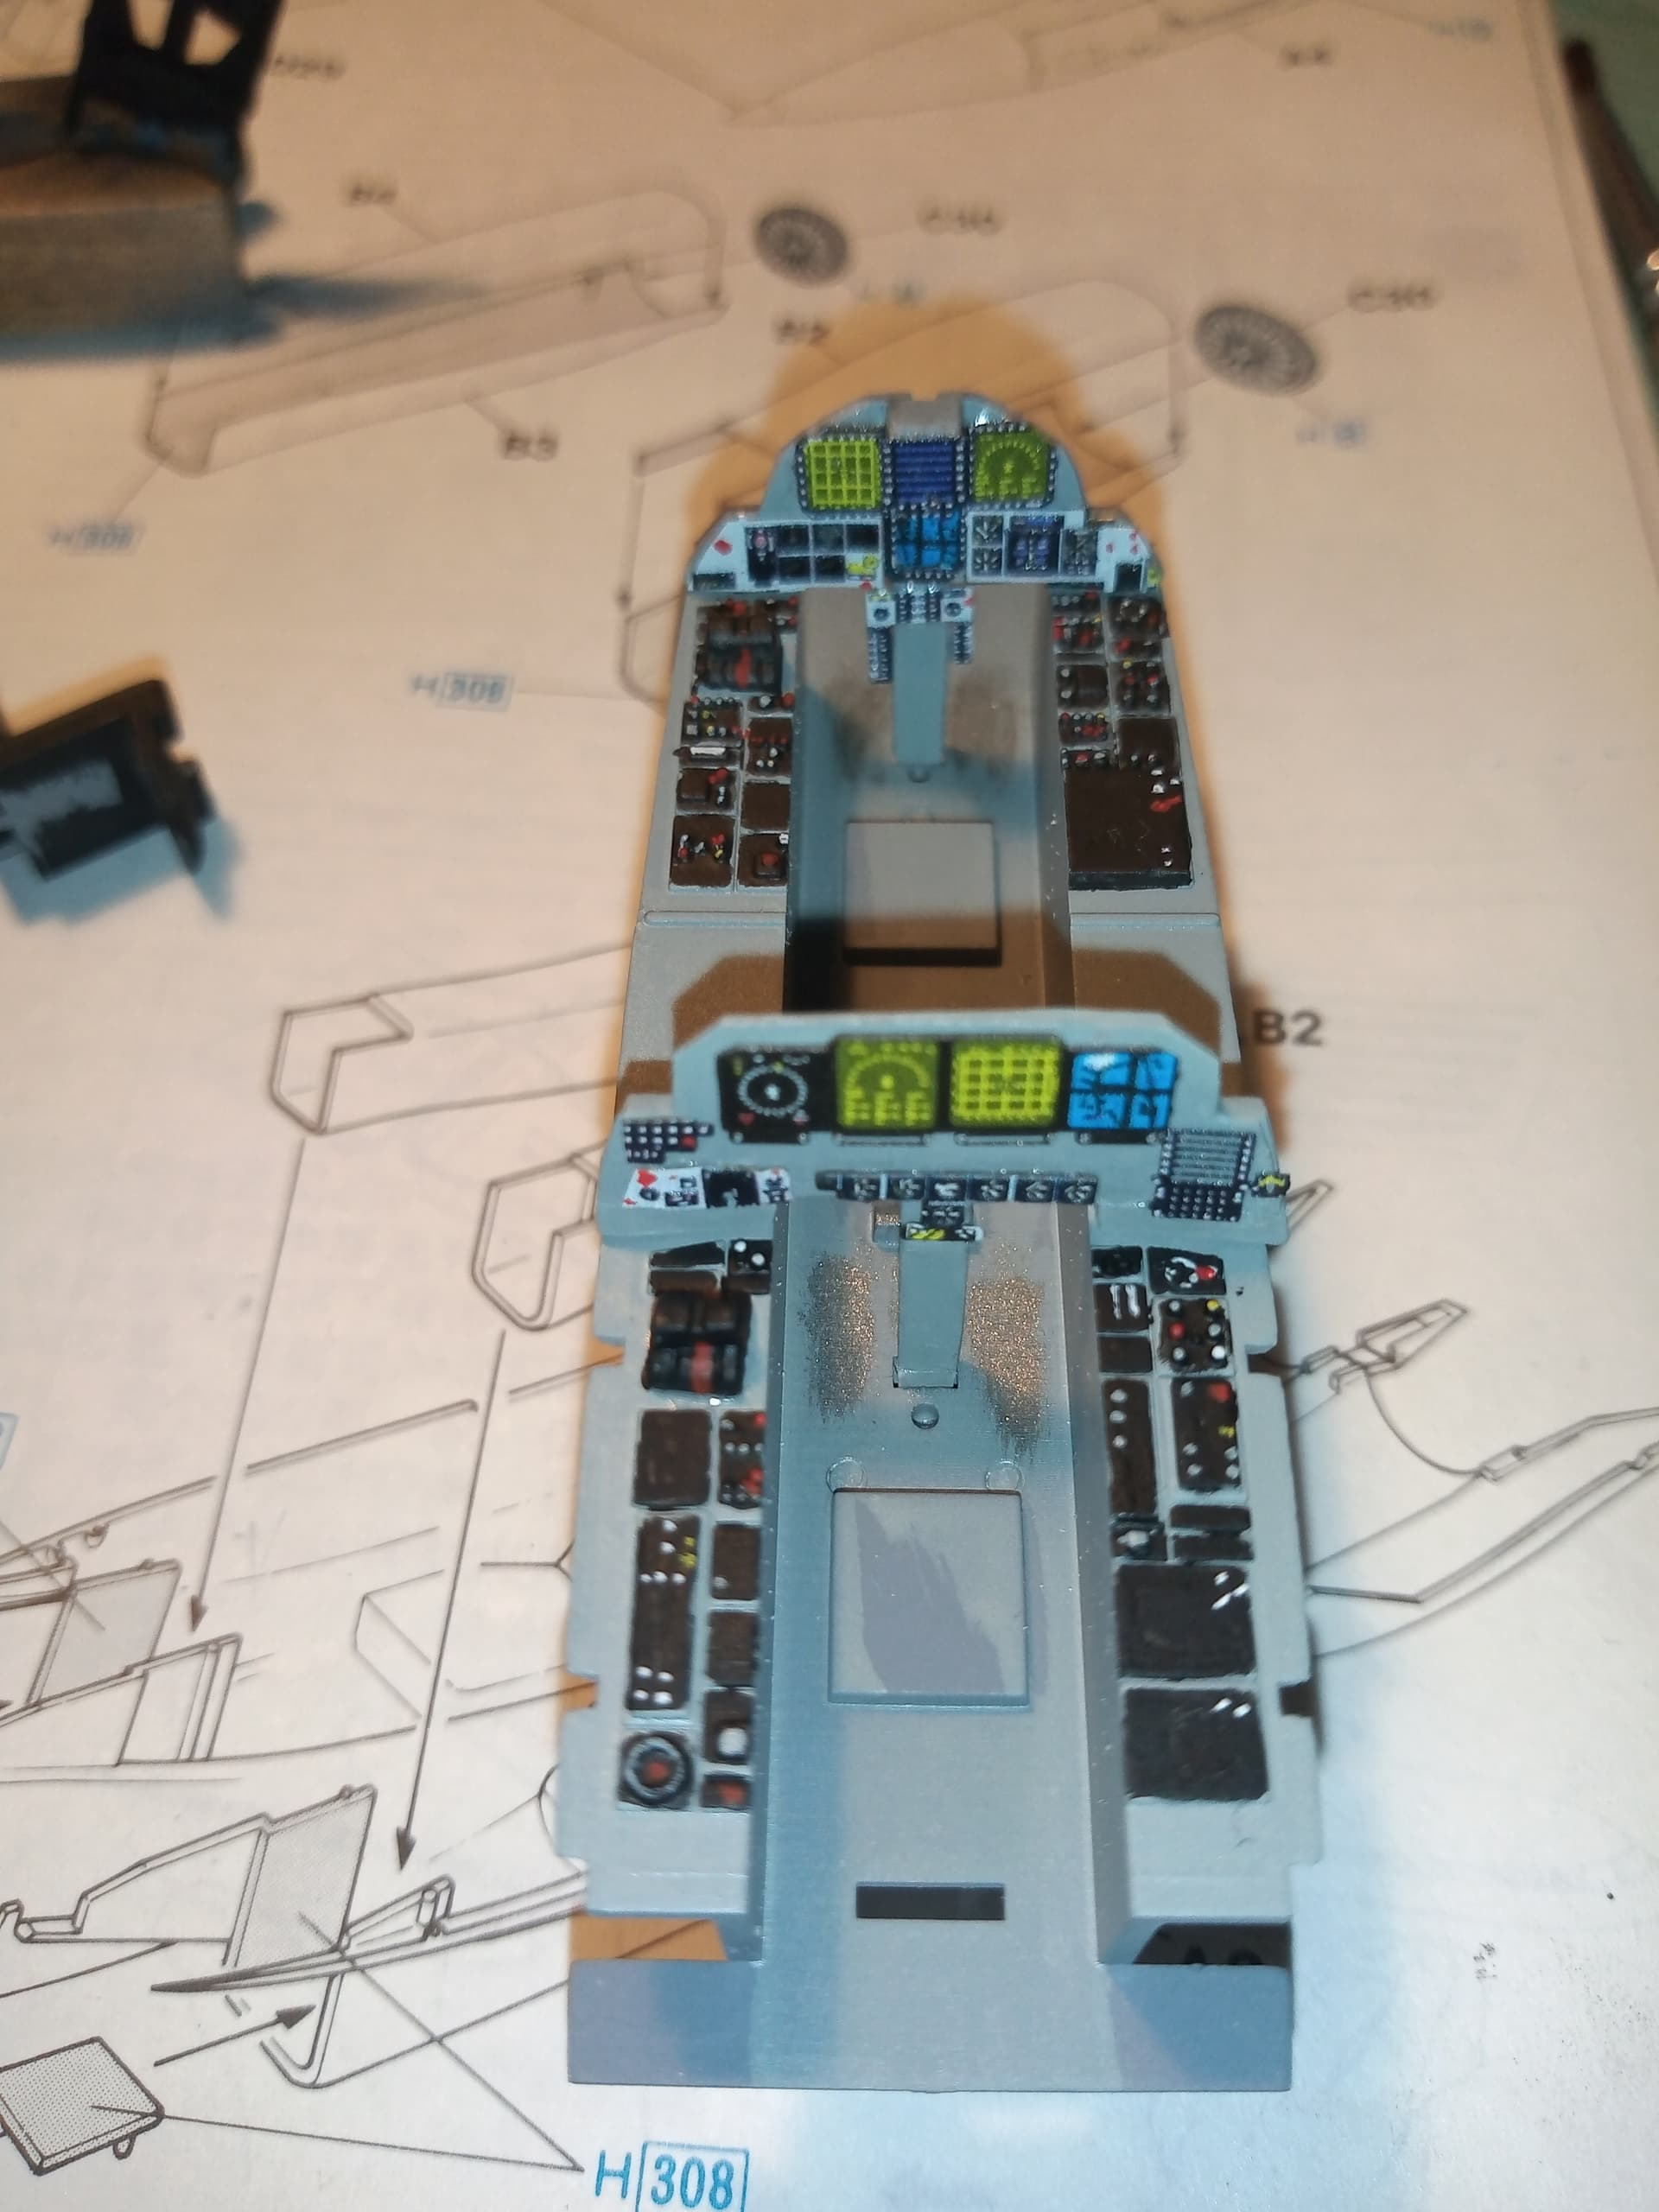
Better images of the completed seats and then fitted.
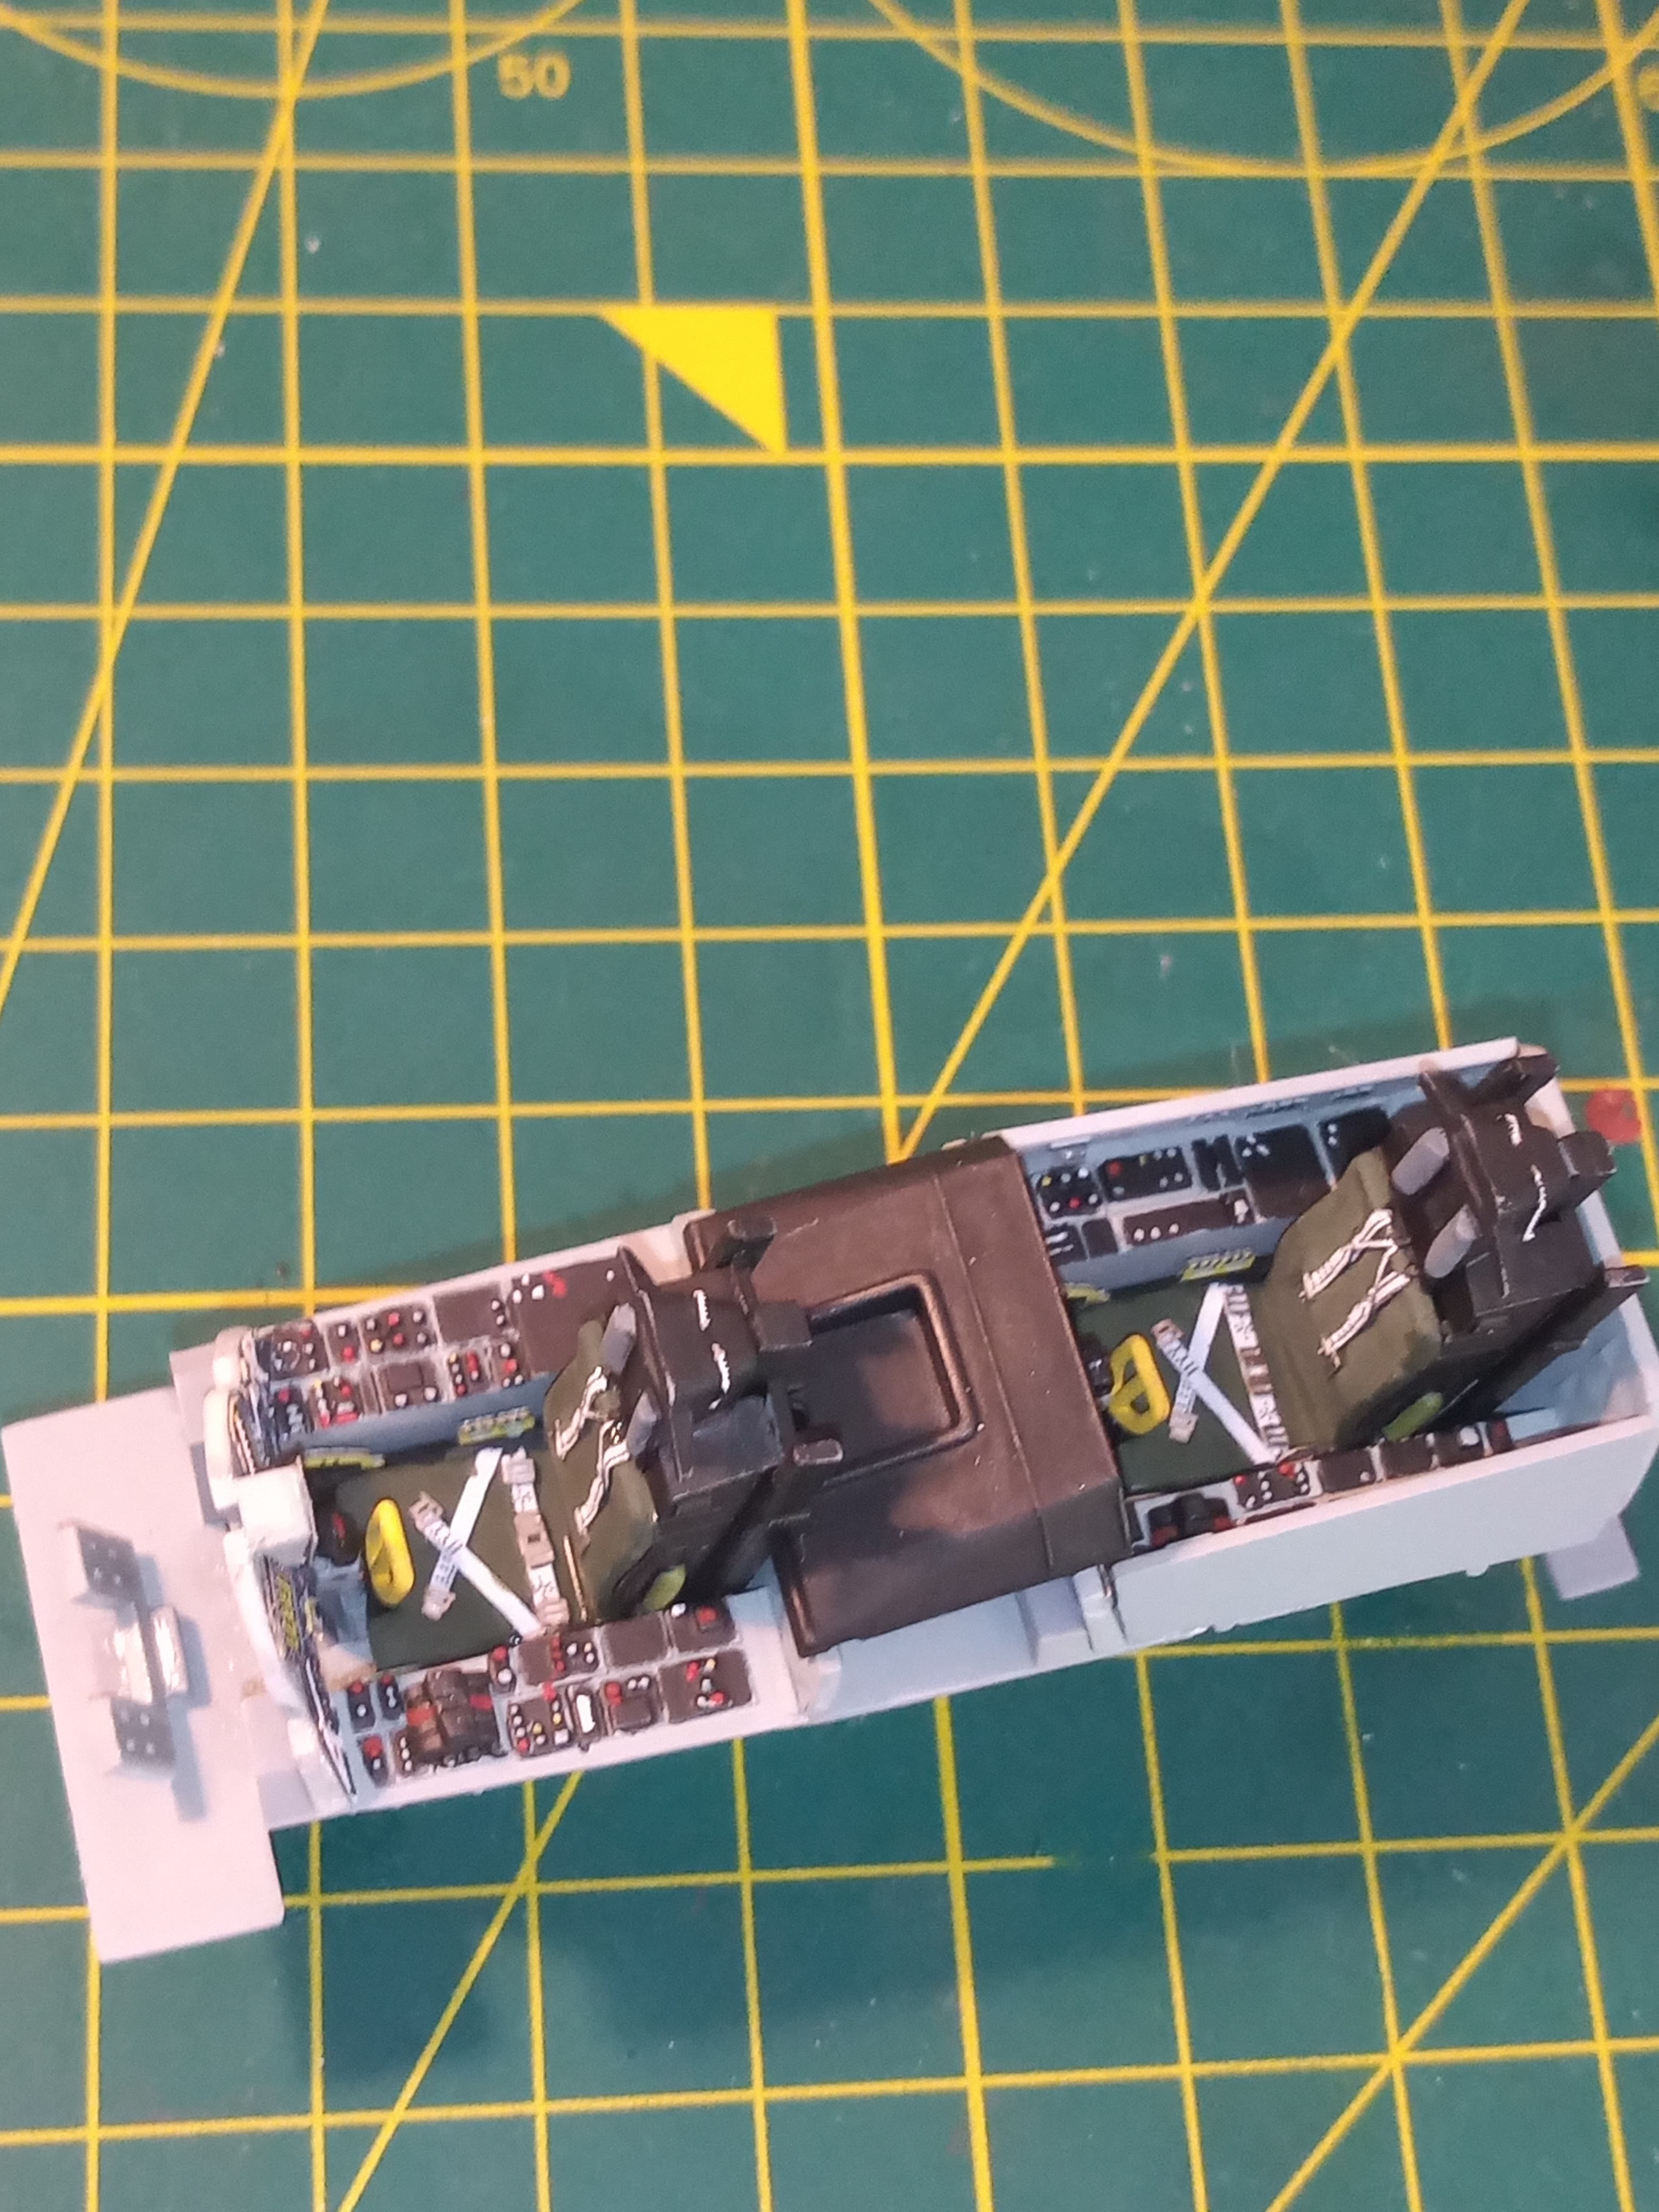
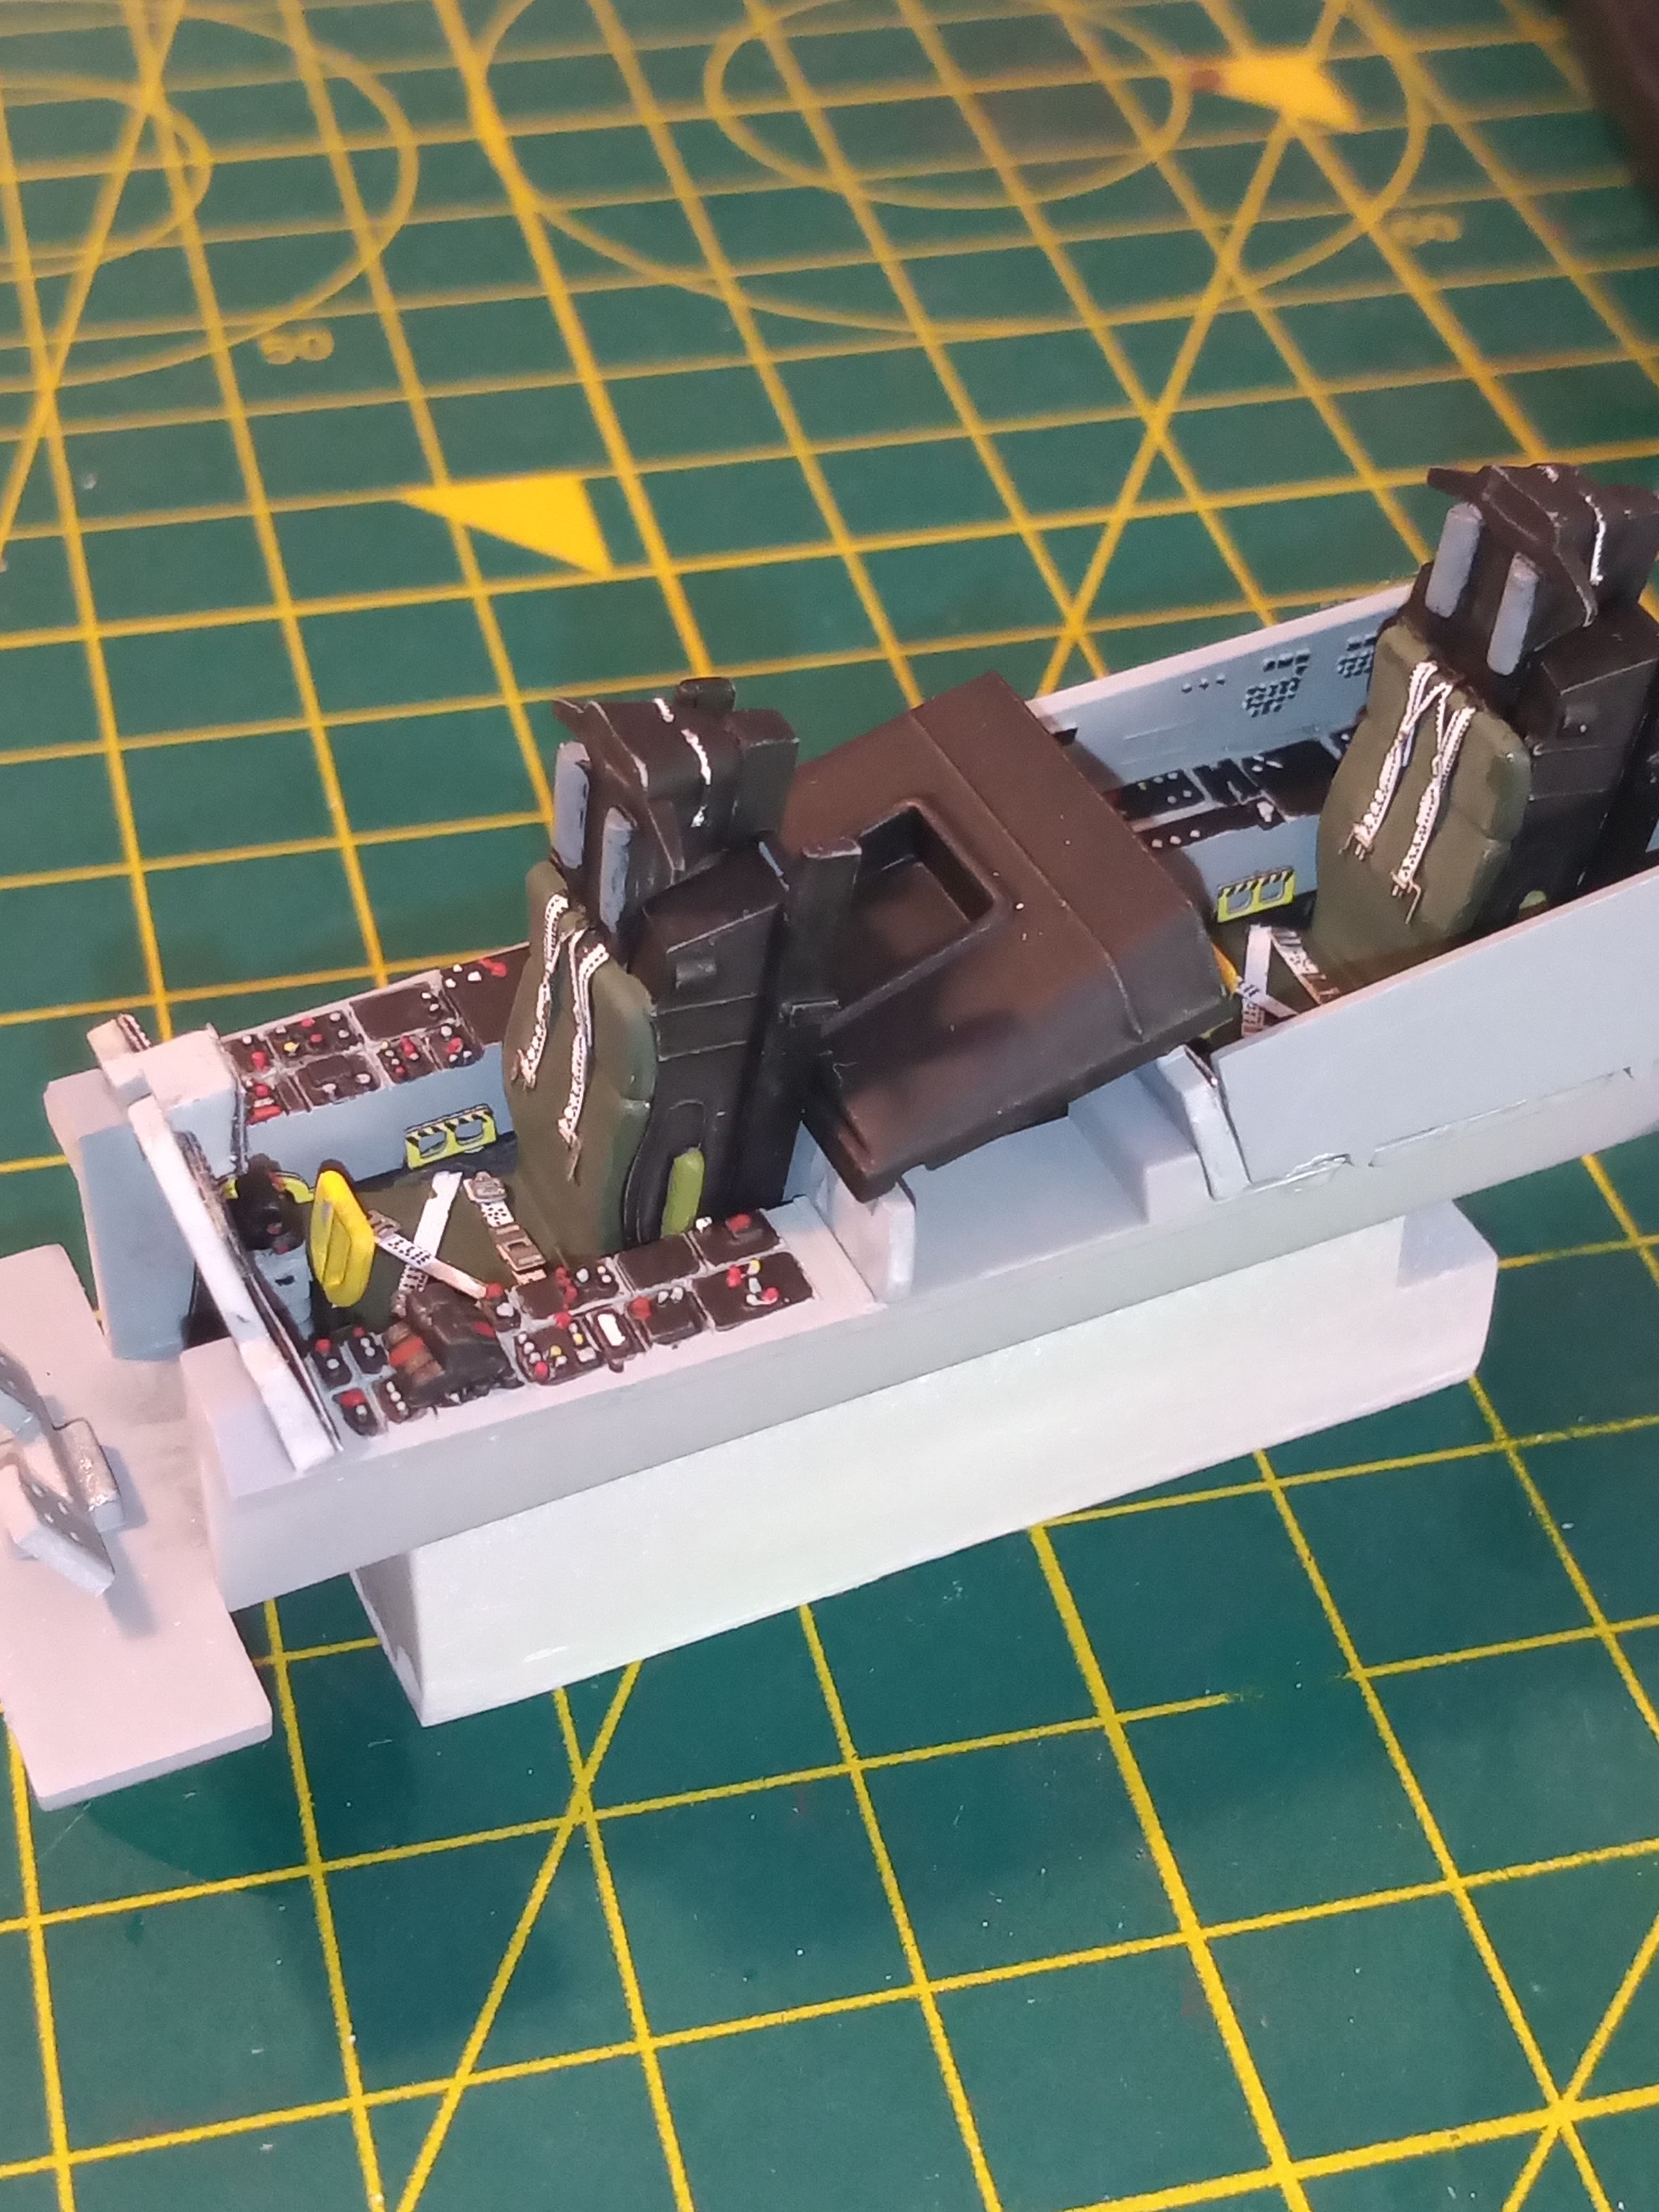

I admit to using a bit of artistic licence on some parts of the instrument panels, but I figured as it’s a demo plane and a test bed for the F15E there would be some in use changes and mods until they were happy with the final design etc.
Have also now joined the fuselage sections together and just waiting for glue to set ![]()
7 Likes
Enjoying this build and your trip on the wingy side!
2 Likes
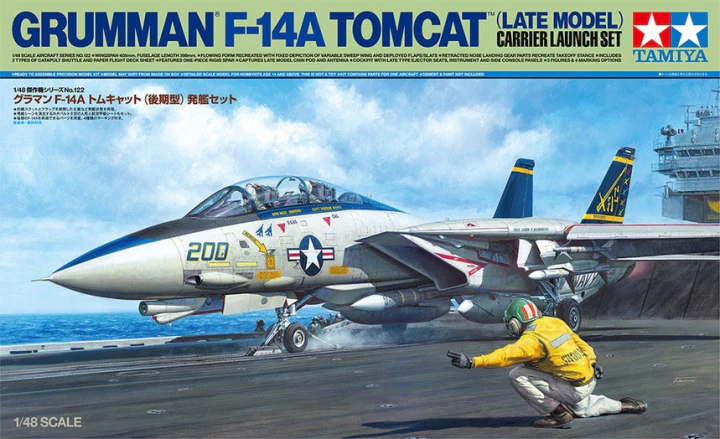
Cheers Tim. This is my F15 practice run for the F15E Strike Eagle I’m doing for the Teens group build in Feb…I did want to do a Tomcat, but refuse to pay the mad Tamiya money for one …
1 Like
But she is so pretty.
3 Likes
That’s not helping lol
3 Likes
Yeah just keep rubbing it in why don’t you …that and those crappy sprue brother discount sales…![]()
![]()
![]()
![]() …
… ![]()
2 Likes
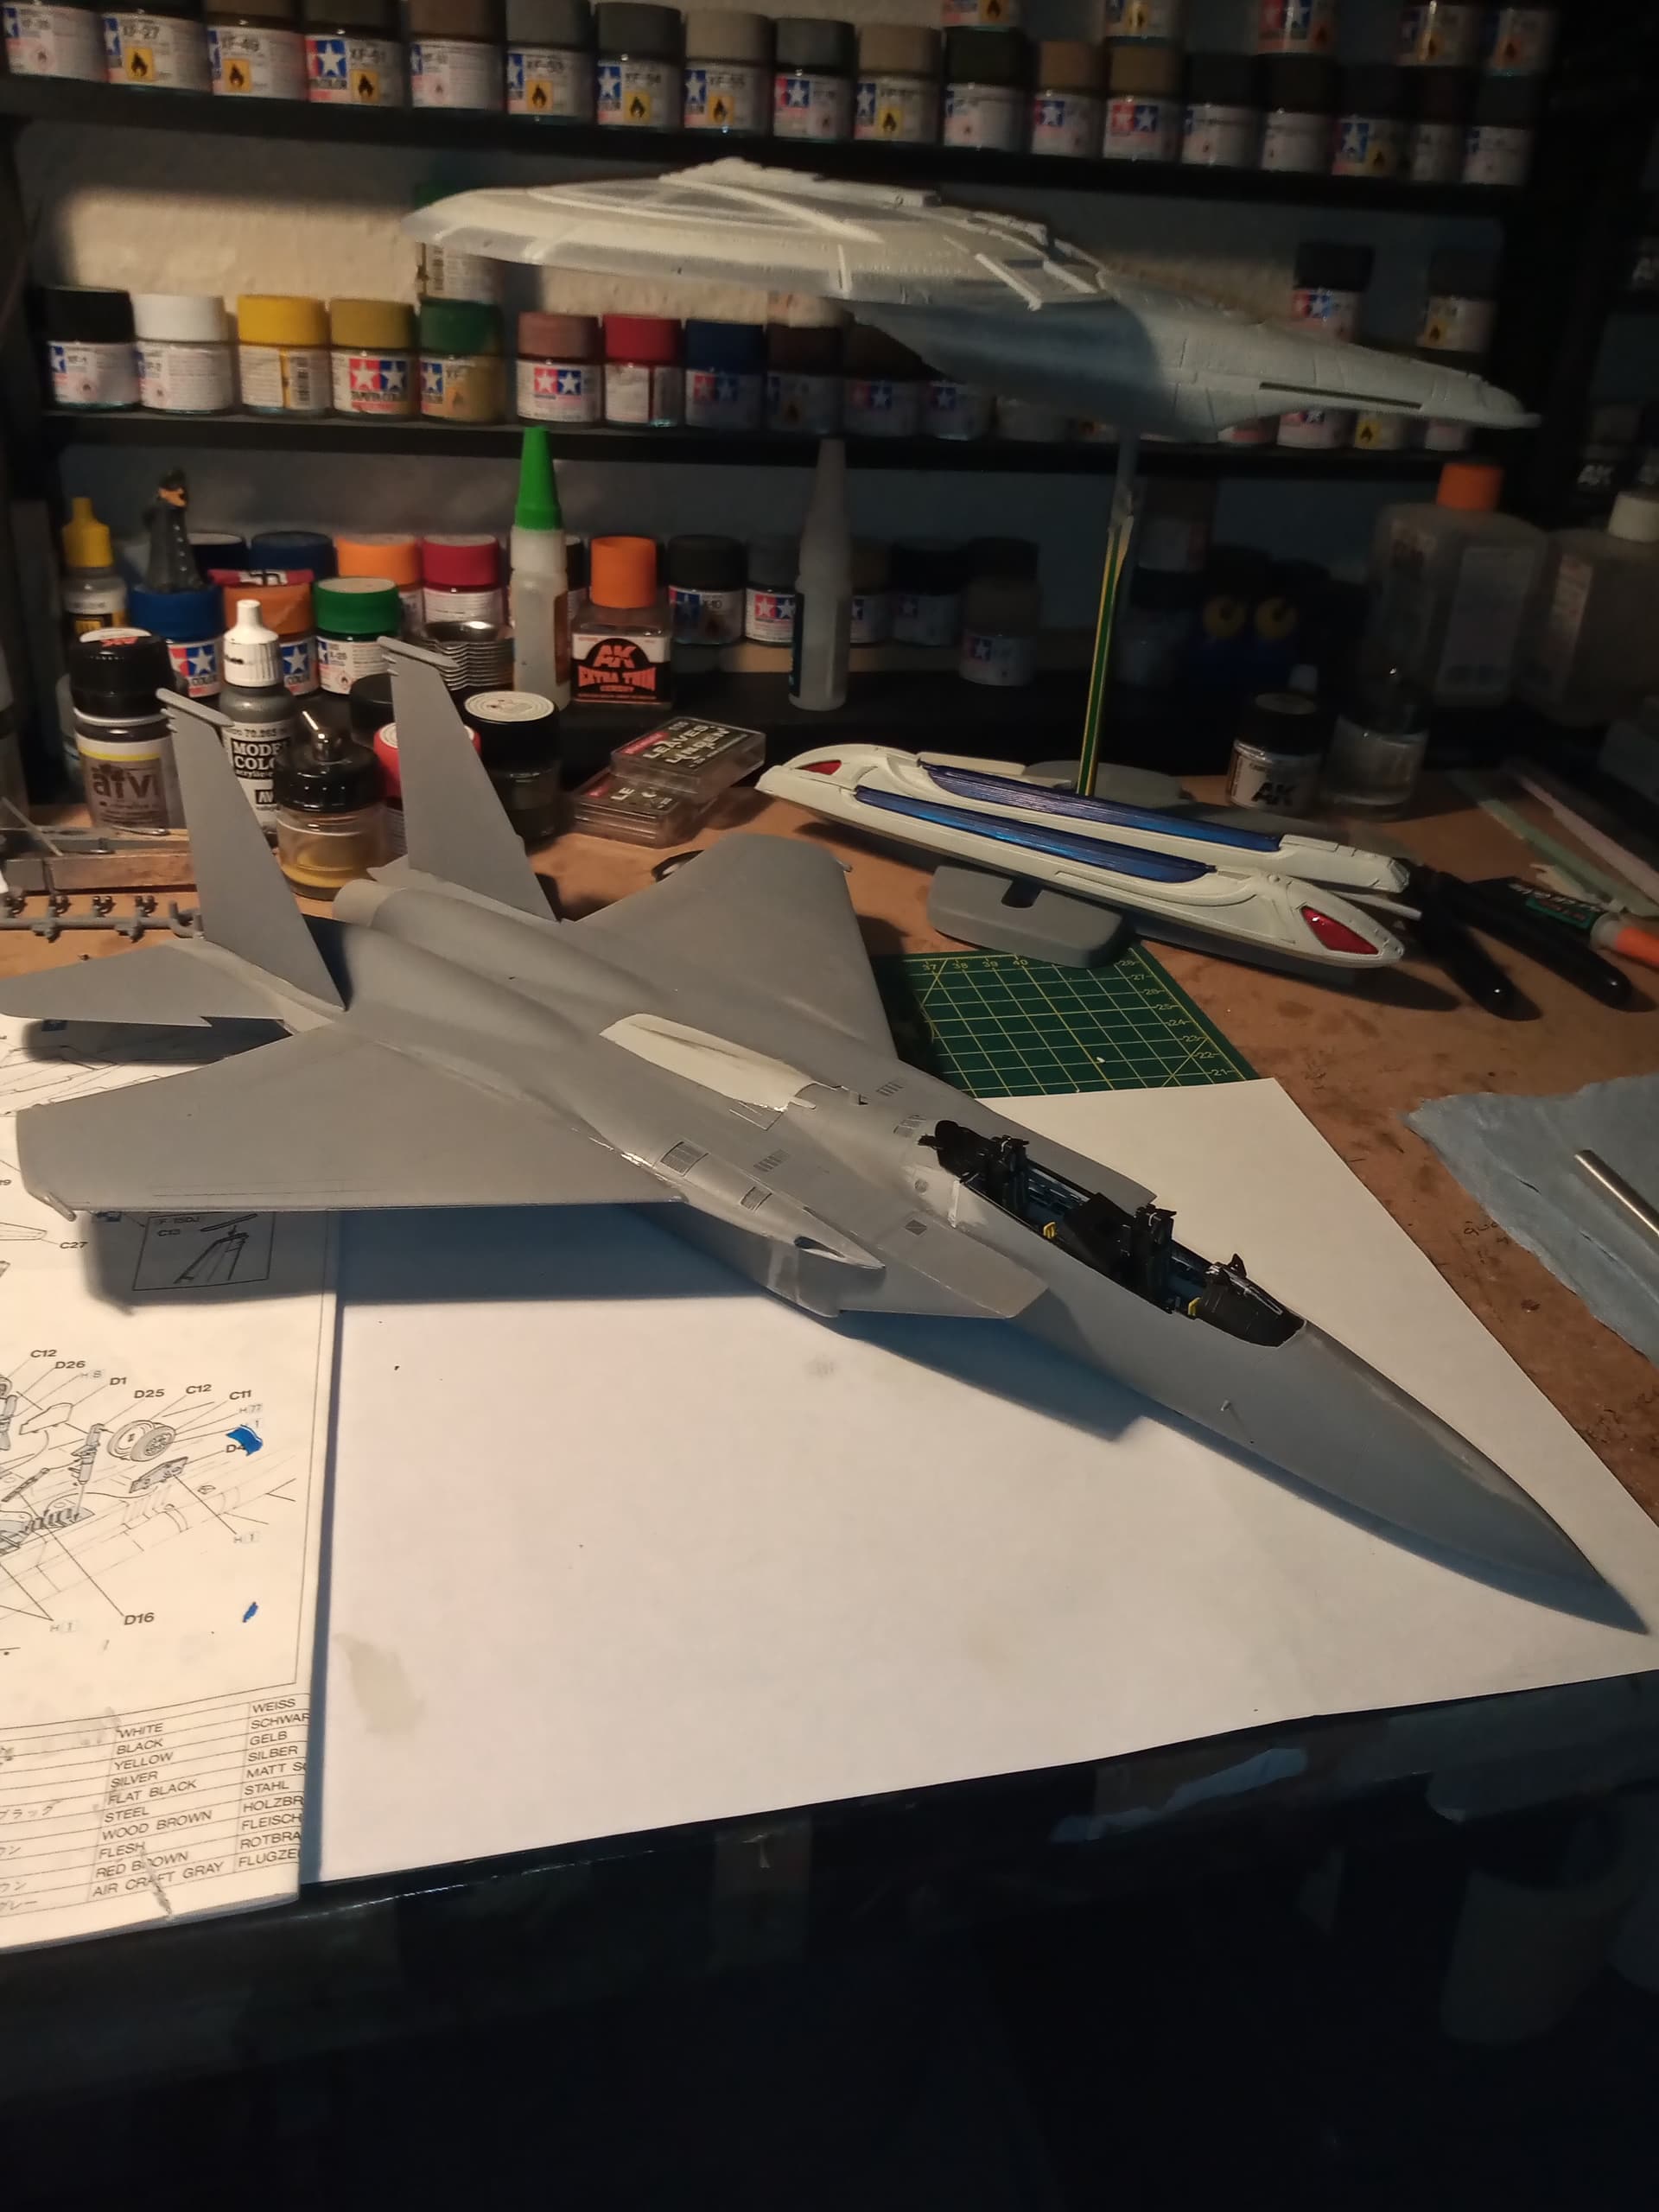
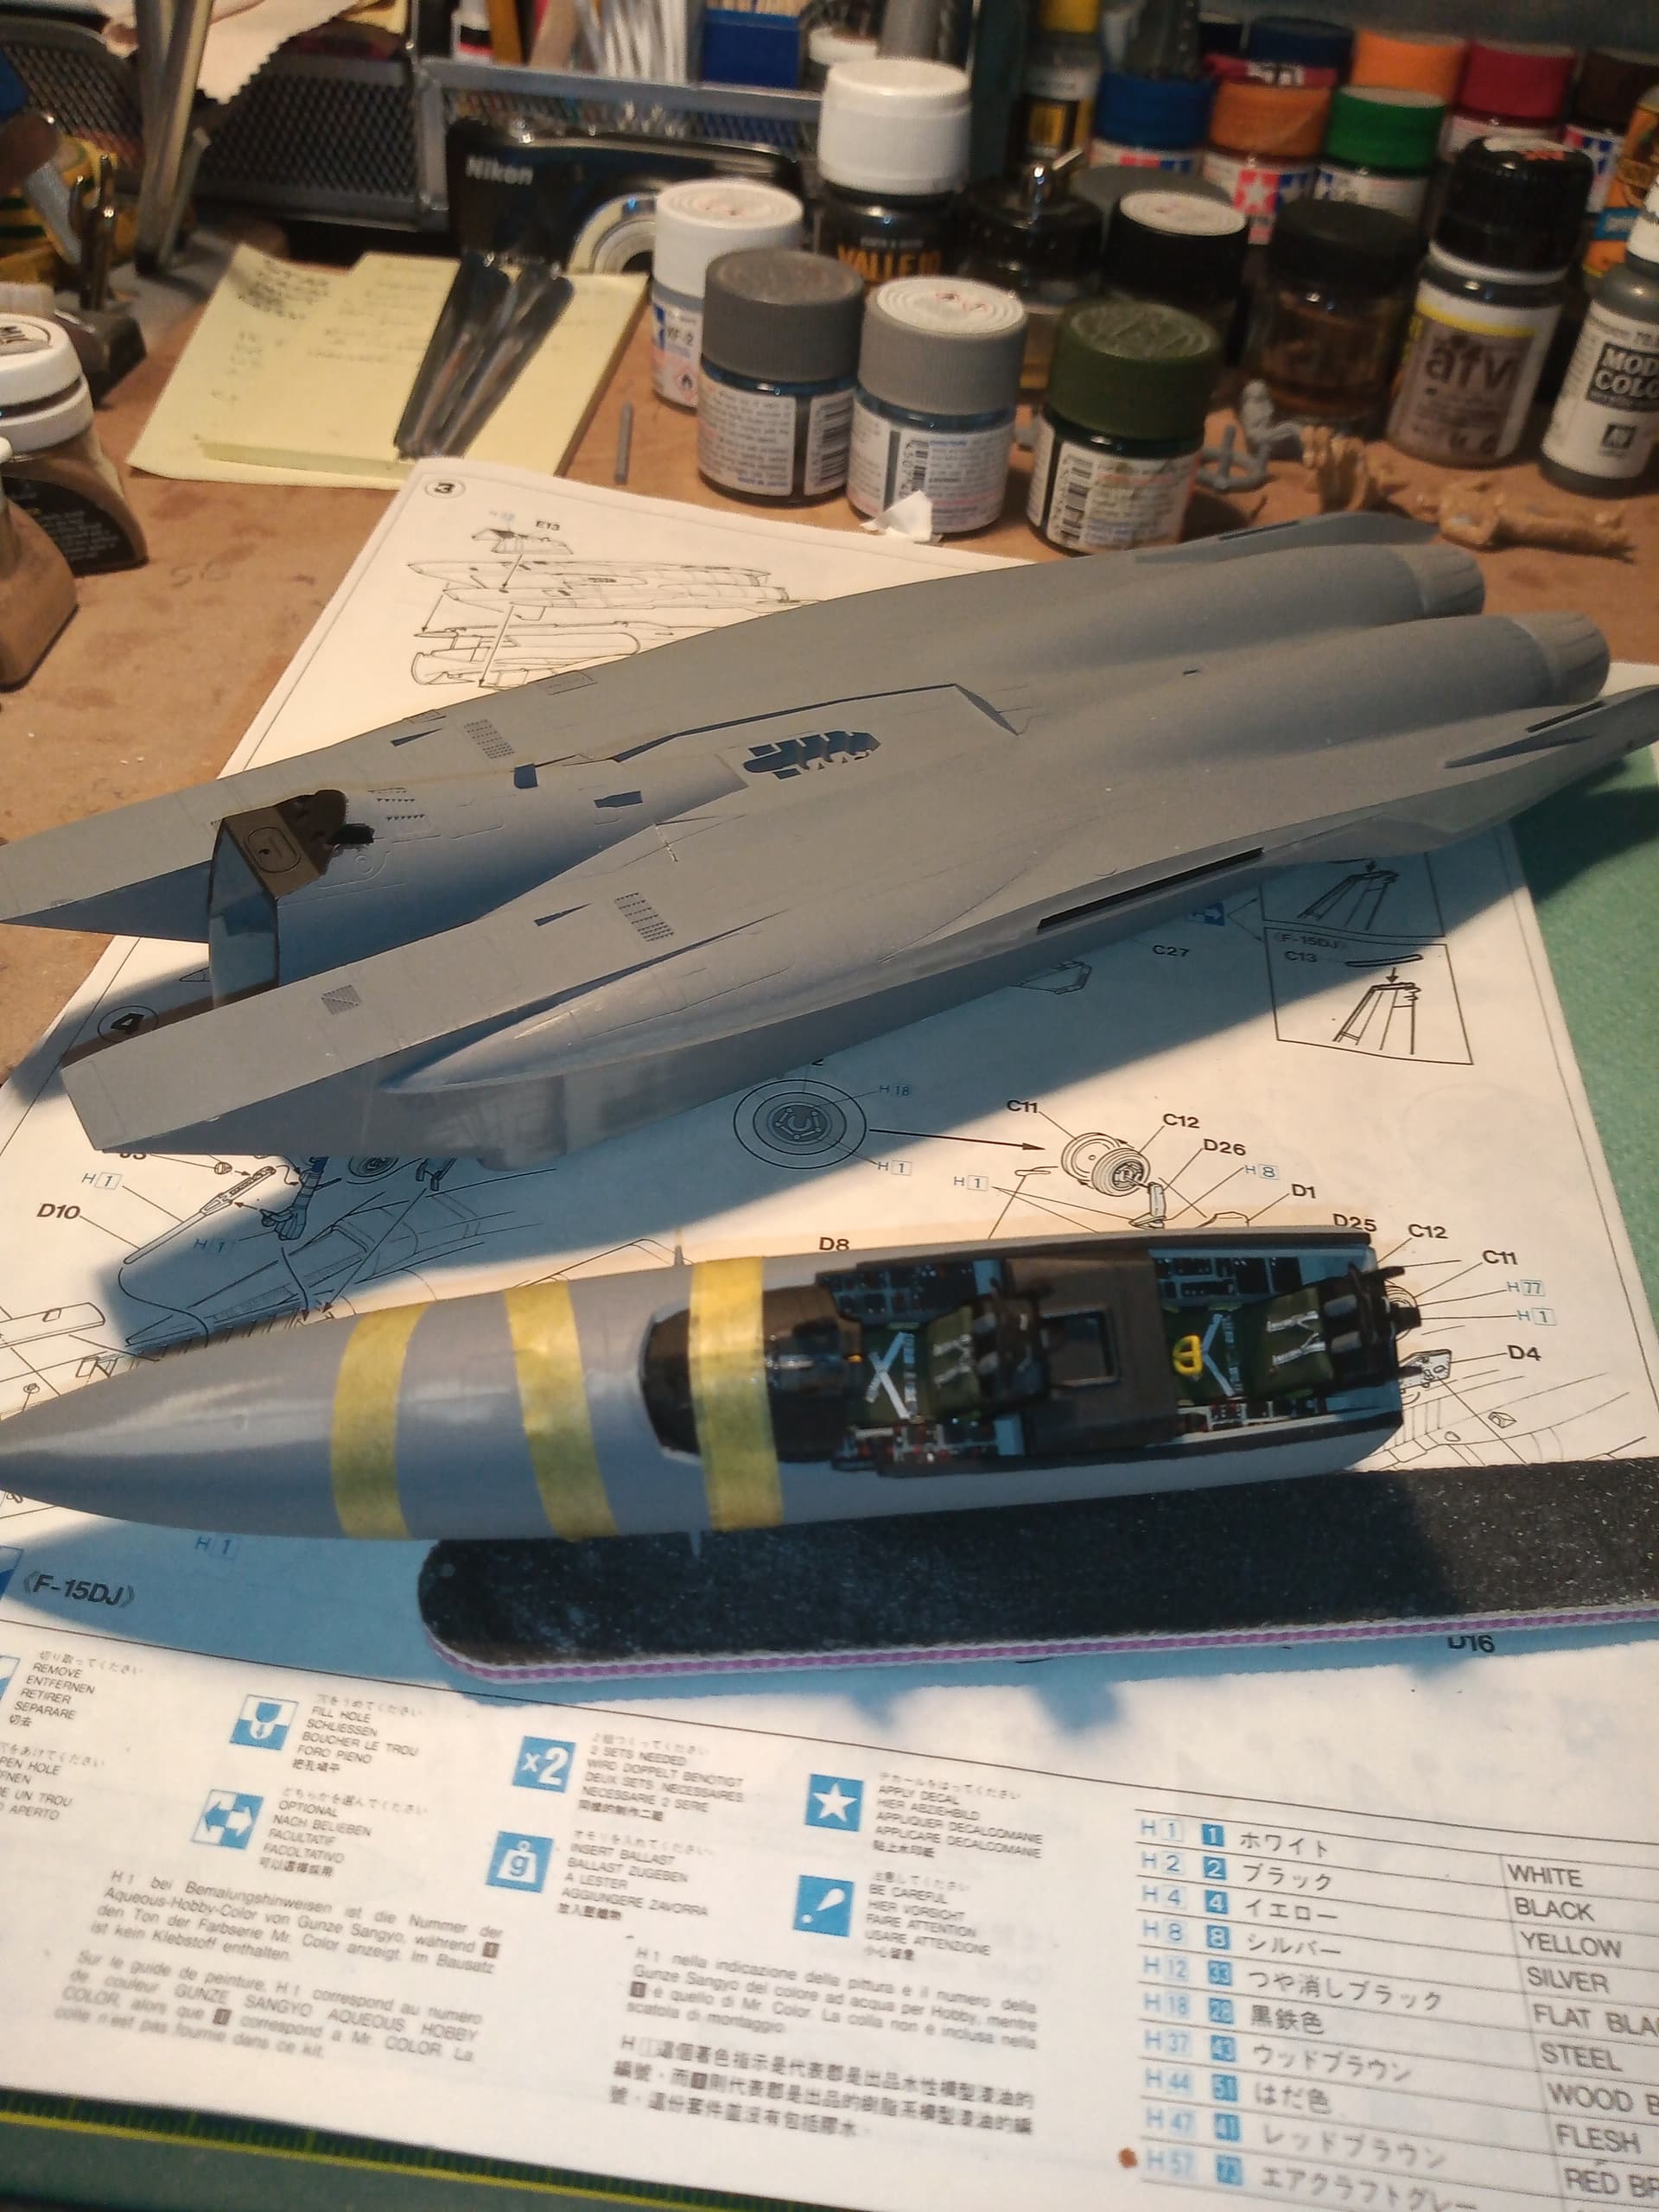
Nose section is secured to main fuselage…
I can happily report that there is going to be relatively hardly any filling required on any of the fuselage seams.

It went together really well.
When I dry fitted the nose section and main together, there was a miniscule gap on both sides at the top while the bottom paired up perfectly, so I was prepared for that.


Once the glue had dried though, the gaps were even smaller which I’m very happy with.
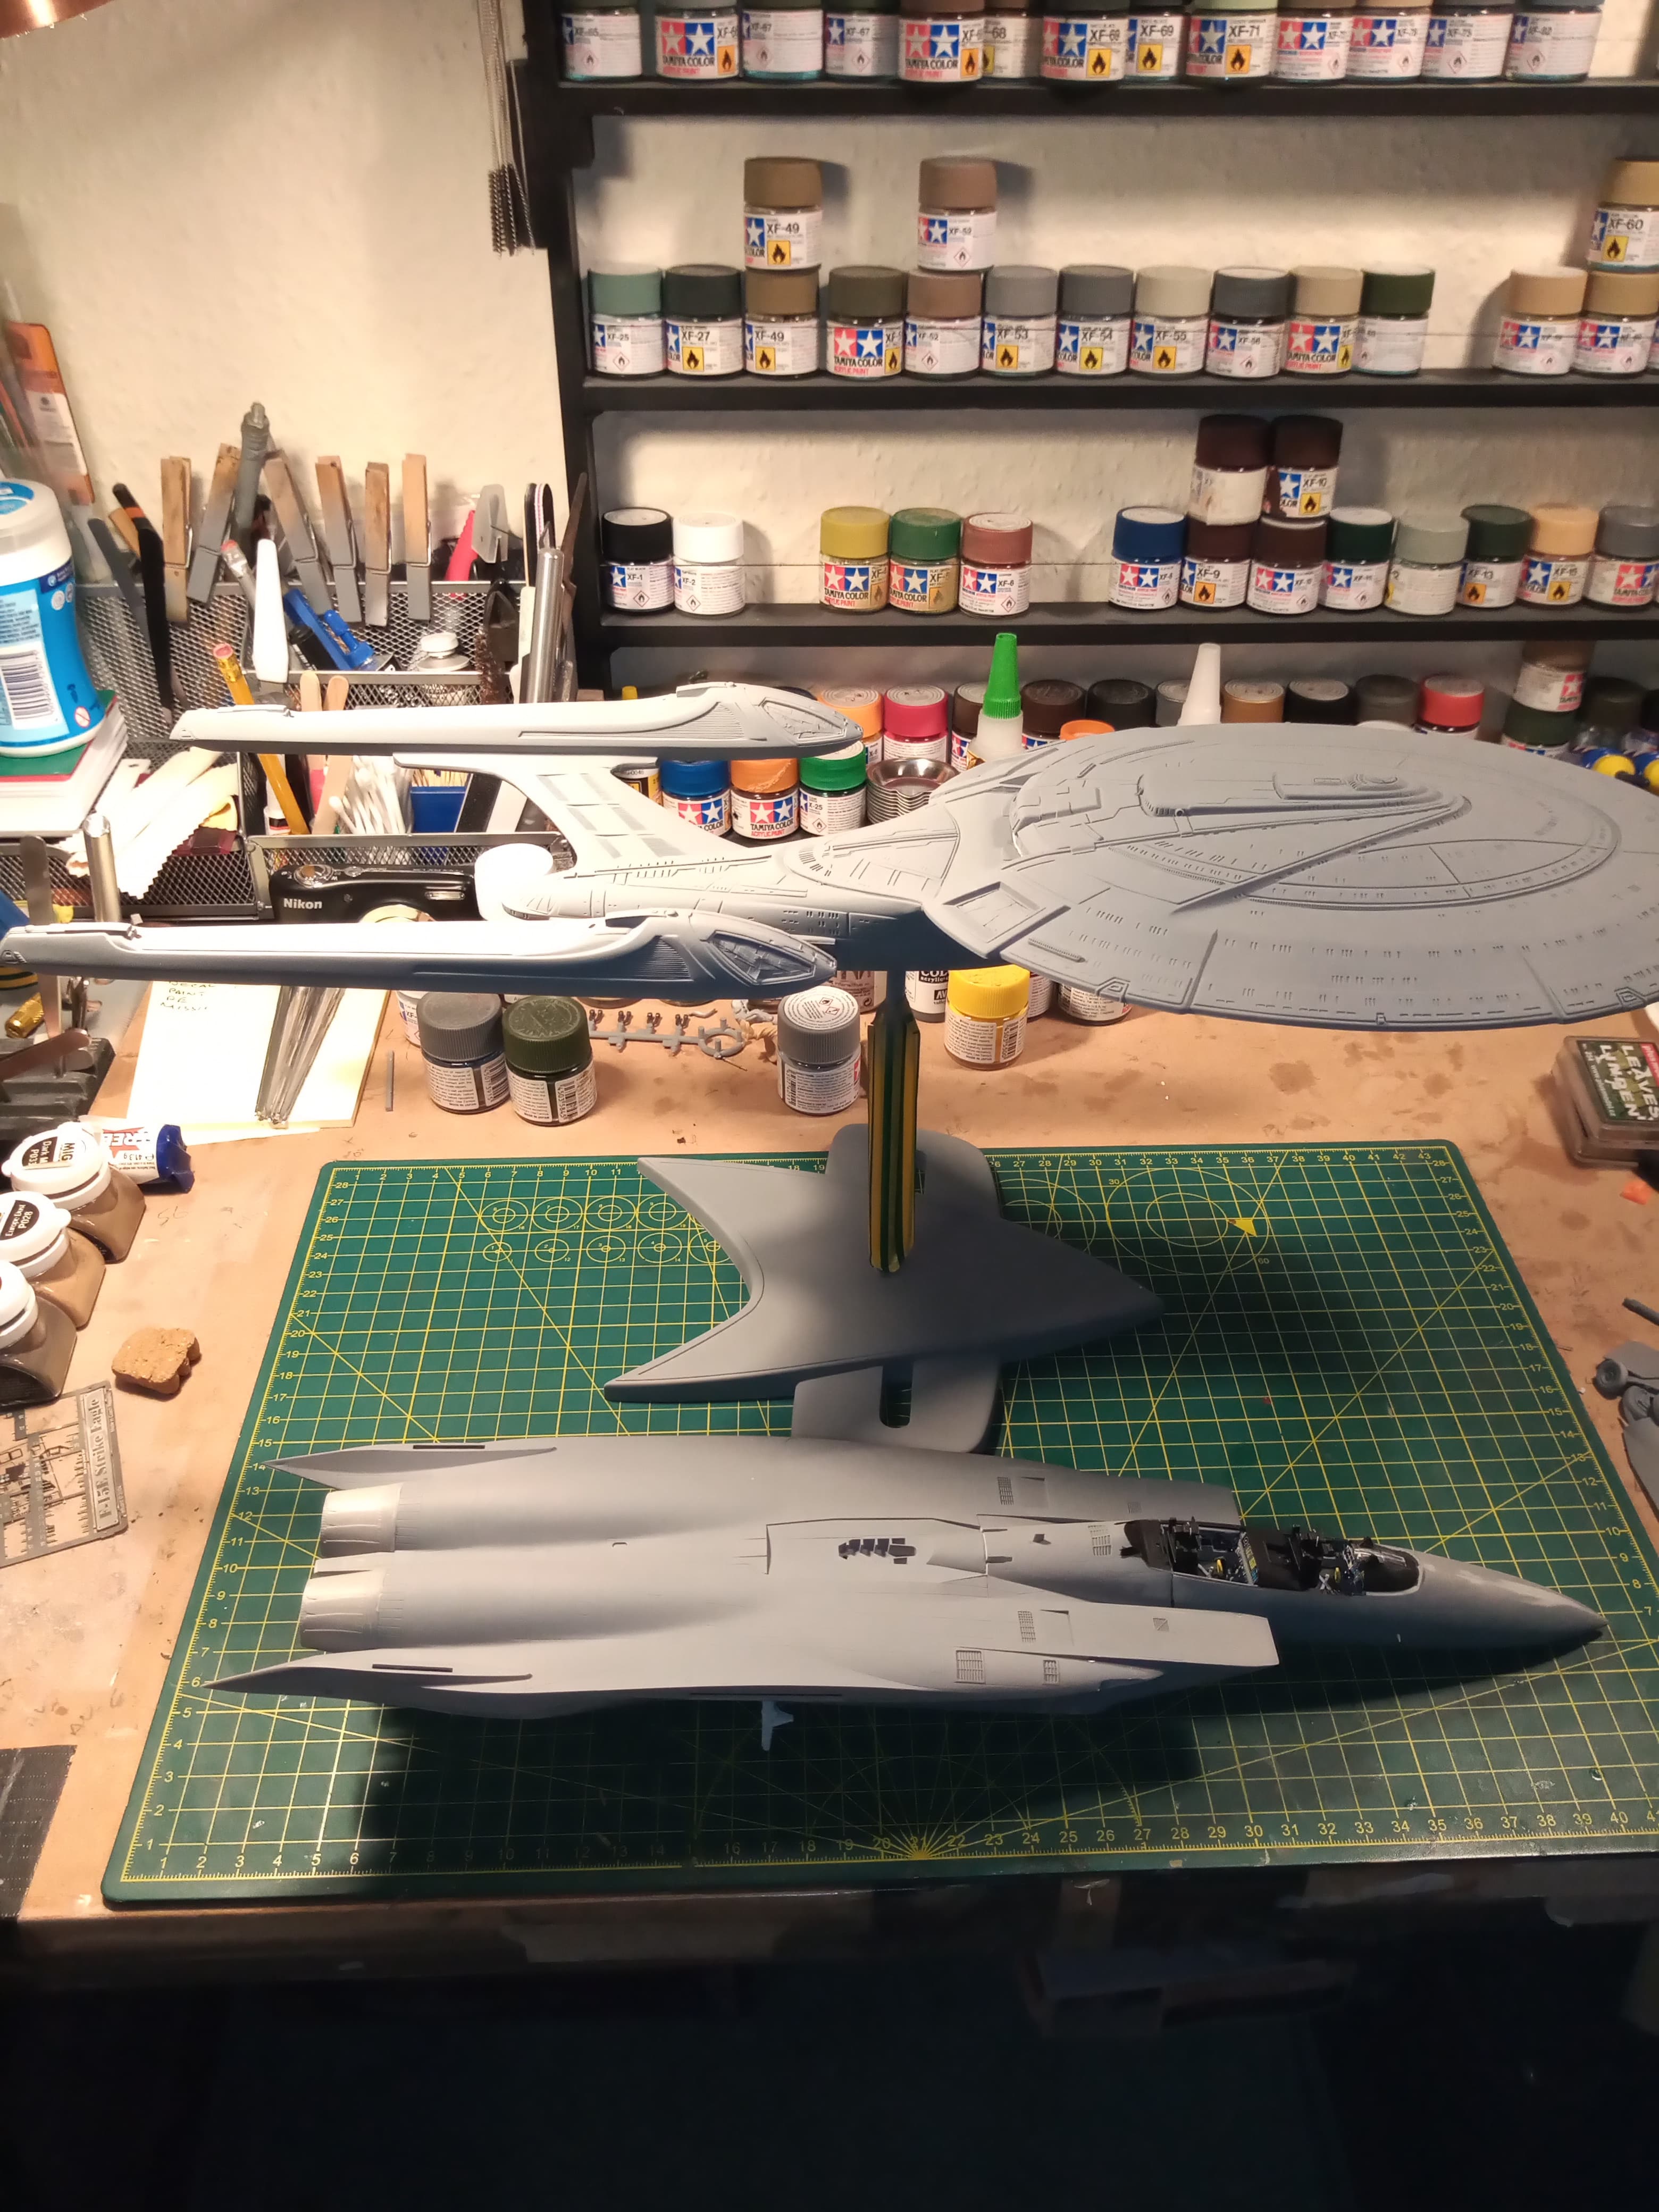
And a quick size comparison with the Enterprise E
7 Likes
Coming along nicely John ![]() It’s good to see a kit go together so well.
It’s good to see a kit go together so well.
I put the F15 at odds on favorite against Enterprise ![]()
2 Likes
It did get a big sigh of relief… Fingers crossed ![]() the wings and tail planes follow suit…
the wings and tail planes follow suit…
I reckon Jean Luc could give any Eagle jockey a good run for his money lol…
2 Likes
But the Eagle is the best! ![]()
2 Likes
Wings are on.

I don’t want to jinx anything, but the fit for a very old kit is really good thus far.
A real bargain for 20 quid.
4 Likes
Wings are on and set. All lined up and true.

When I dry fitted them, I thought there were going to be some sizable gaps on the underside, but thankfully again, not the case. There are a few small (3mm) lengths that will only need some Mr Surfacer 500 applied and that should be it. On the image of the top area, it’s looks like there are some gaps, but it’s just where the glue squeezed out… Just needs a very small sand back.
The one thing so far which didn’t fit, was the air brake. Well, it fitted, but on each edge it was standing proud of the surrounding surfaces.
Initially I wasn’t bothered as I was going to show the air brake up, but then changed my mind and opted to show it down. There followed a lot of sanding to make it flush from all angles… Looks ok though…

Also filled and sanded back the 2 micro gaps from when I joined the nose section to the main fuselage. Need to go over the black again in the cockpit area and around where the HUD is as that also had a small gap.

Going to detail paint the undercarriage next.
5 Likes